The first step was to shoot the pictures for the mosaicing. When taking photos of a nonplanar scene, I tried to keep the center of projection the same for all the images to ensure the images will line up when projecting the photos onto a common plane.
Next, I had to recover the homographies, projective transformations, between the images. A homography has eight parameters and transforms one image into the image plane of another. Therefore, in order to solve for the homography, I had to solve the following lienary system of n equations:
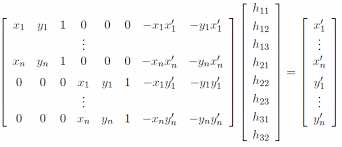
Because the homography matrix has 8 unknowns, a minimum of 4 correspondence points are required to solve the lineary system. However, more correspondence points can be provided to produce an overdetermined system which can then be solved using least-squares.
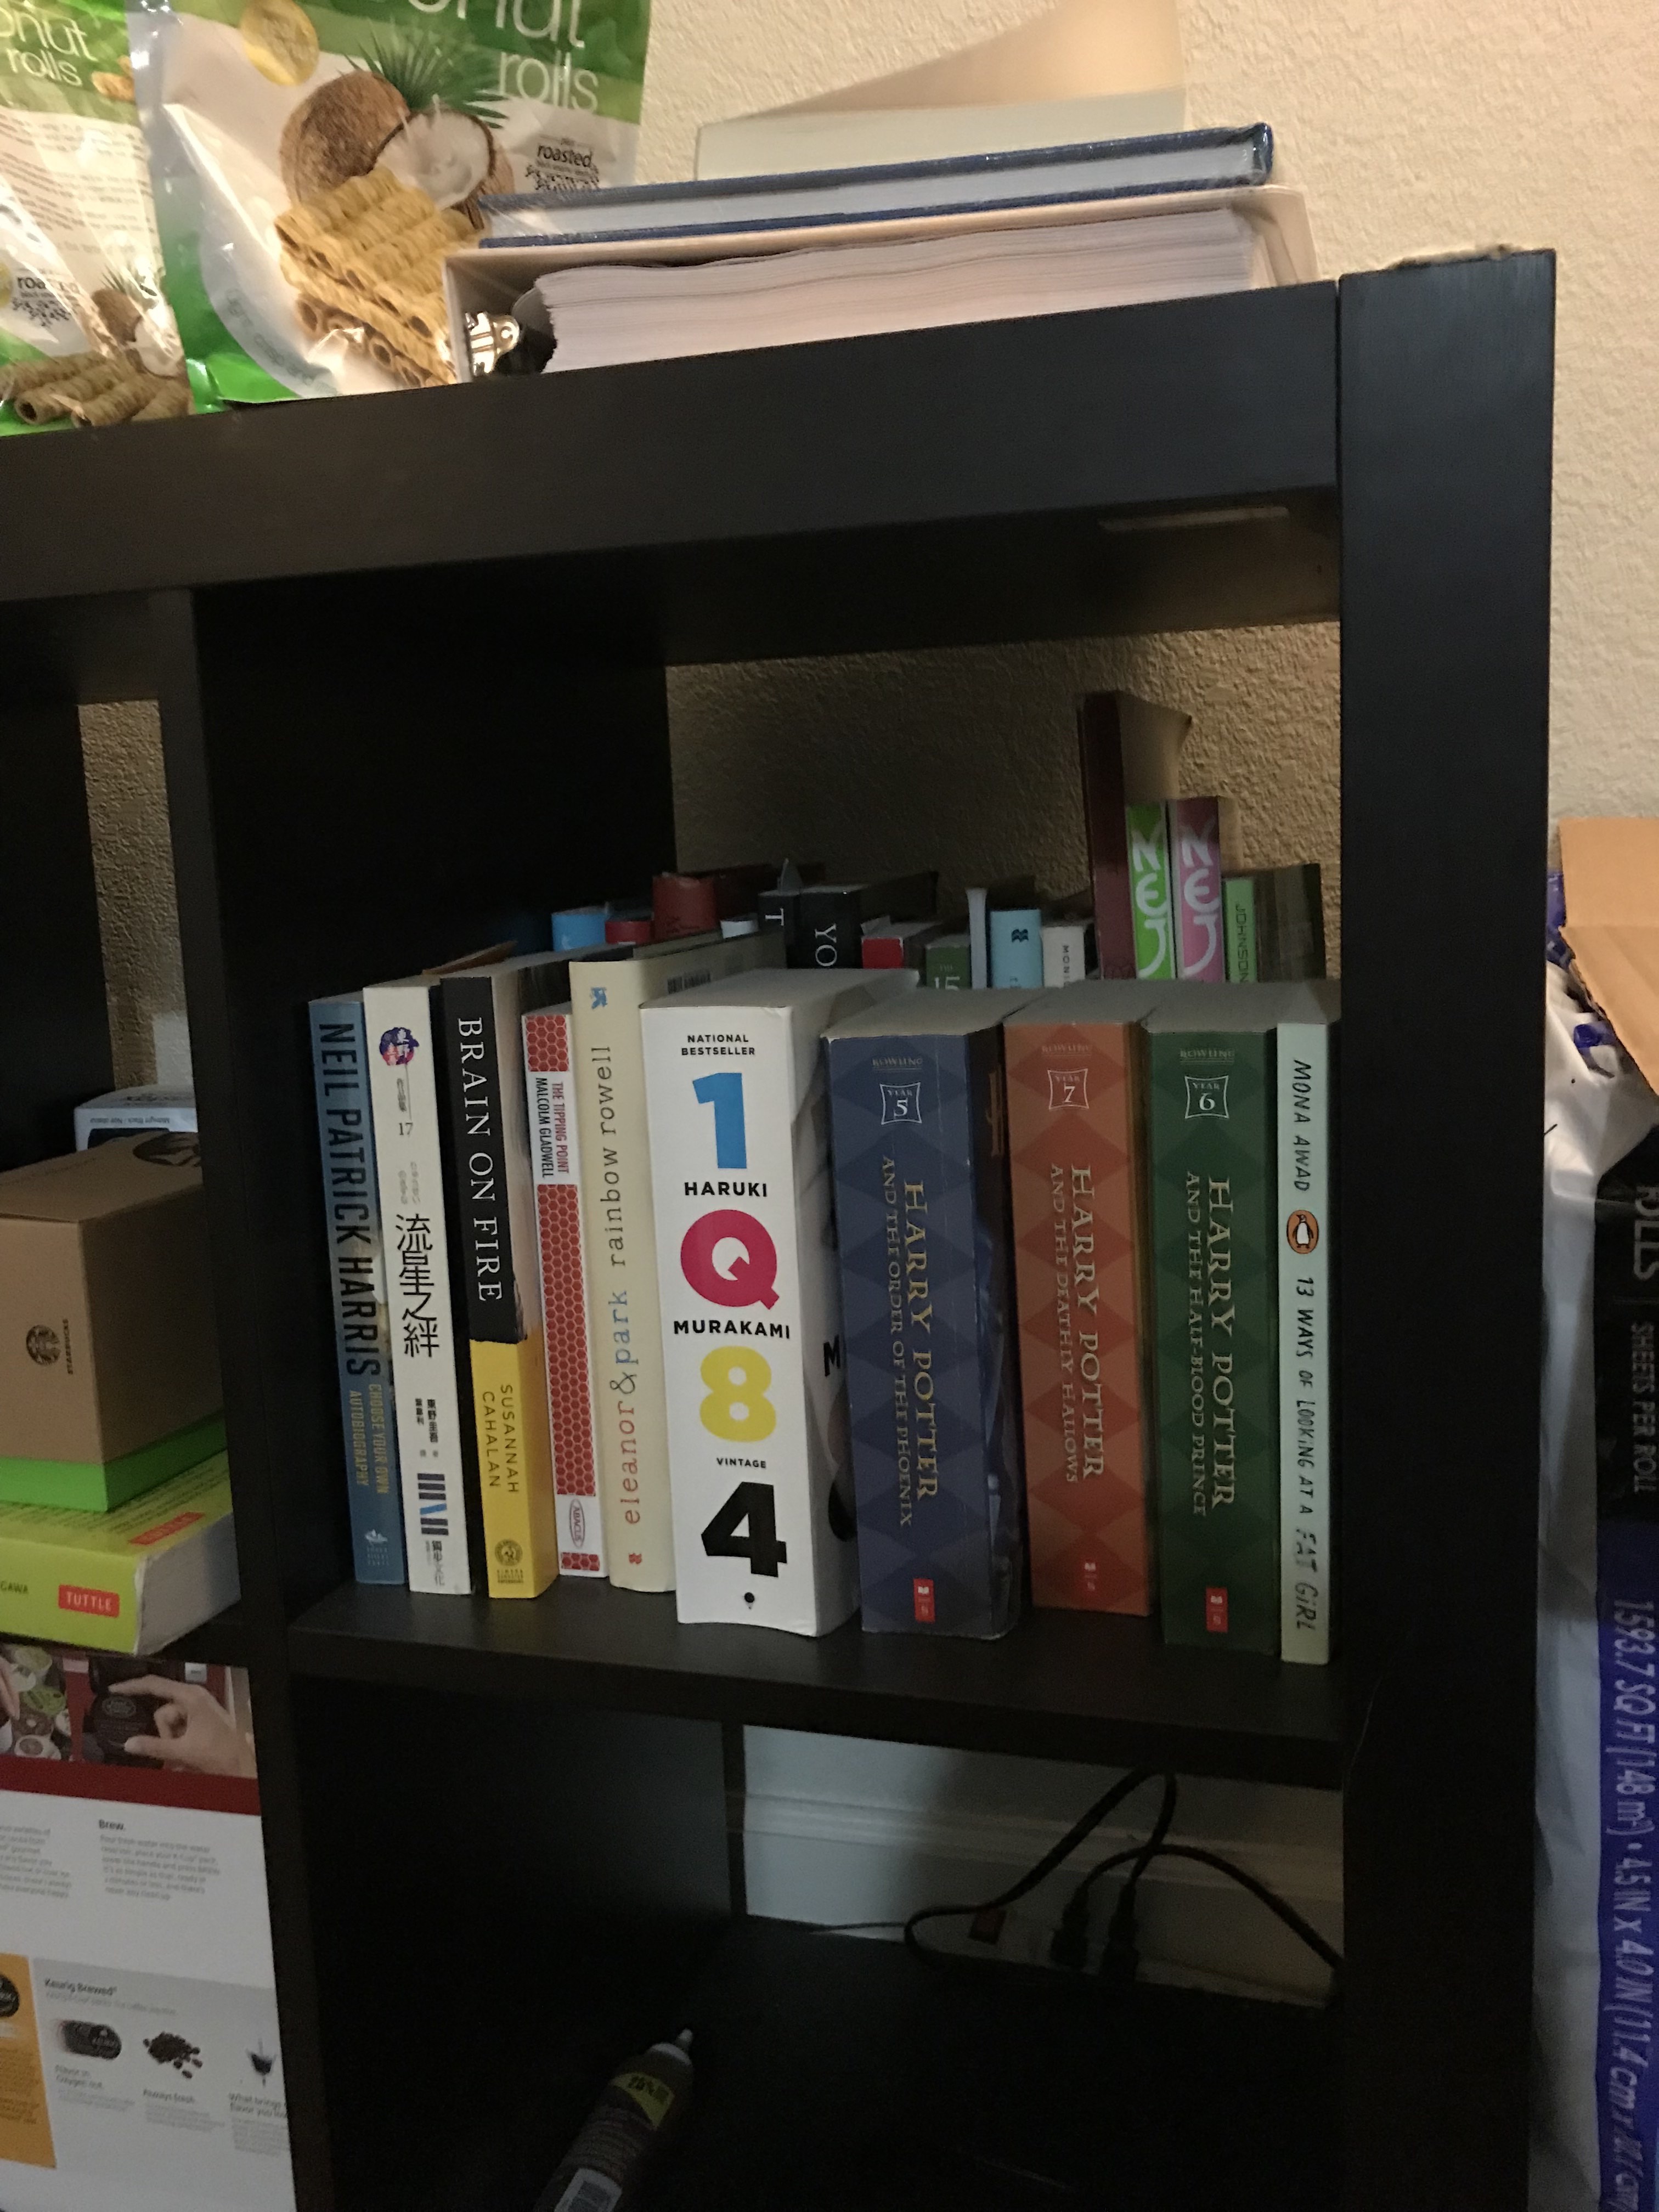
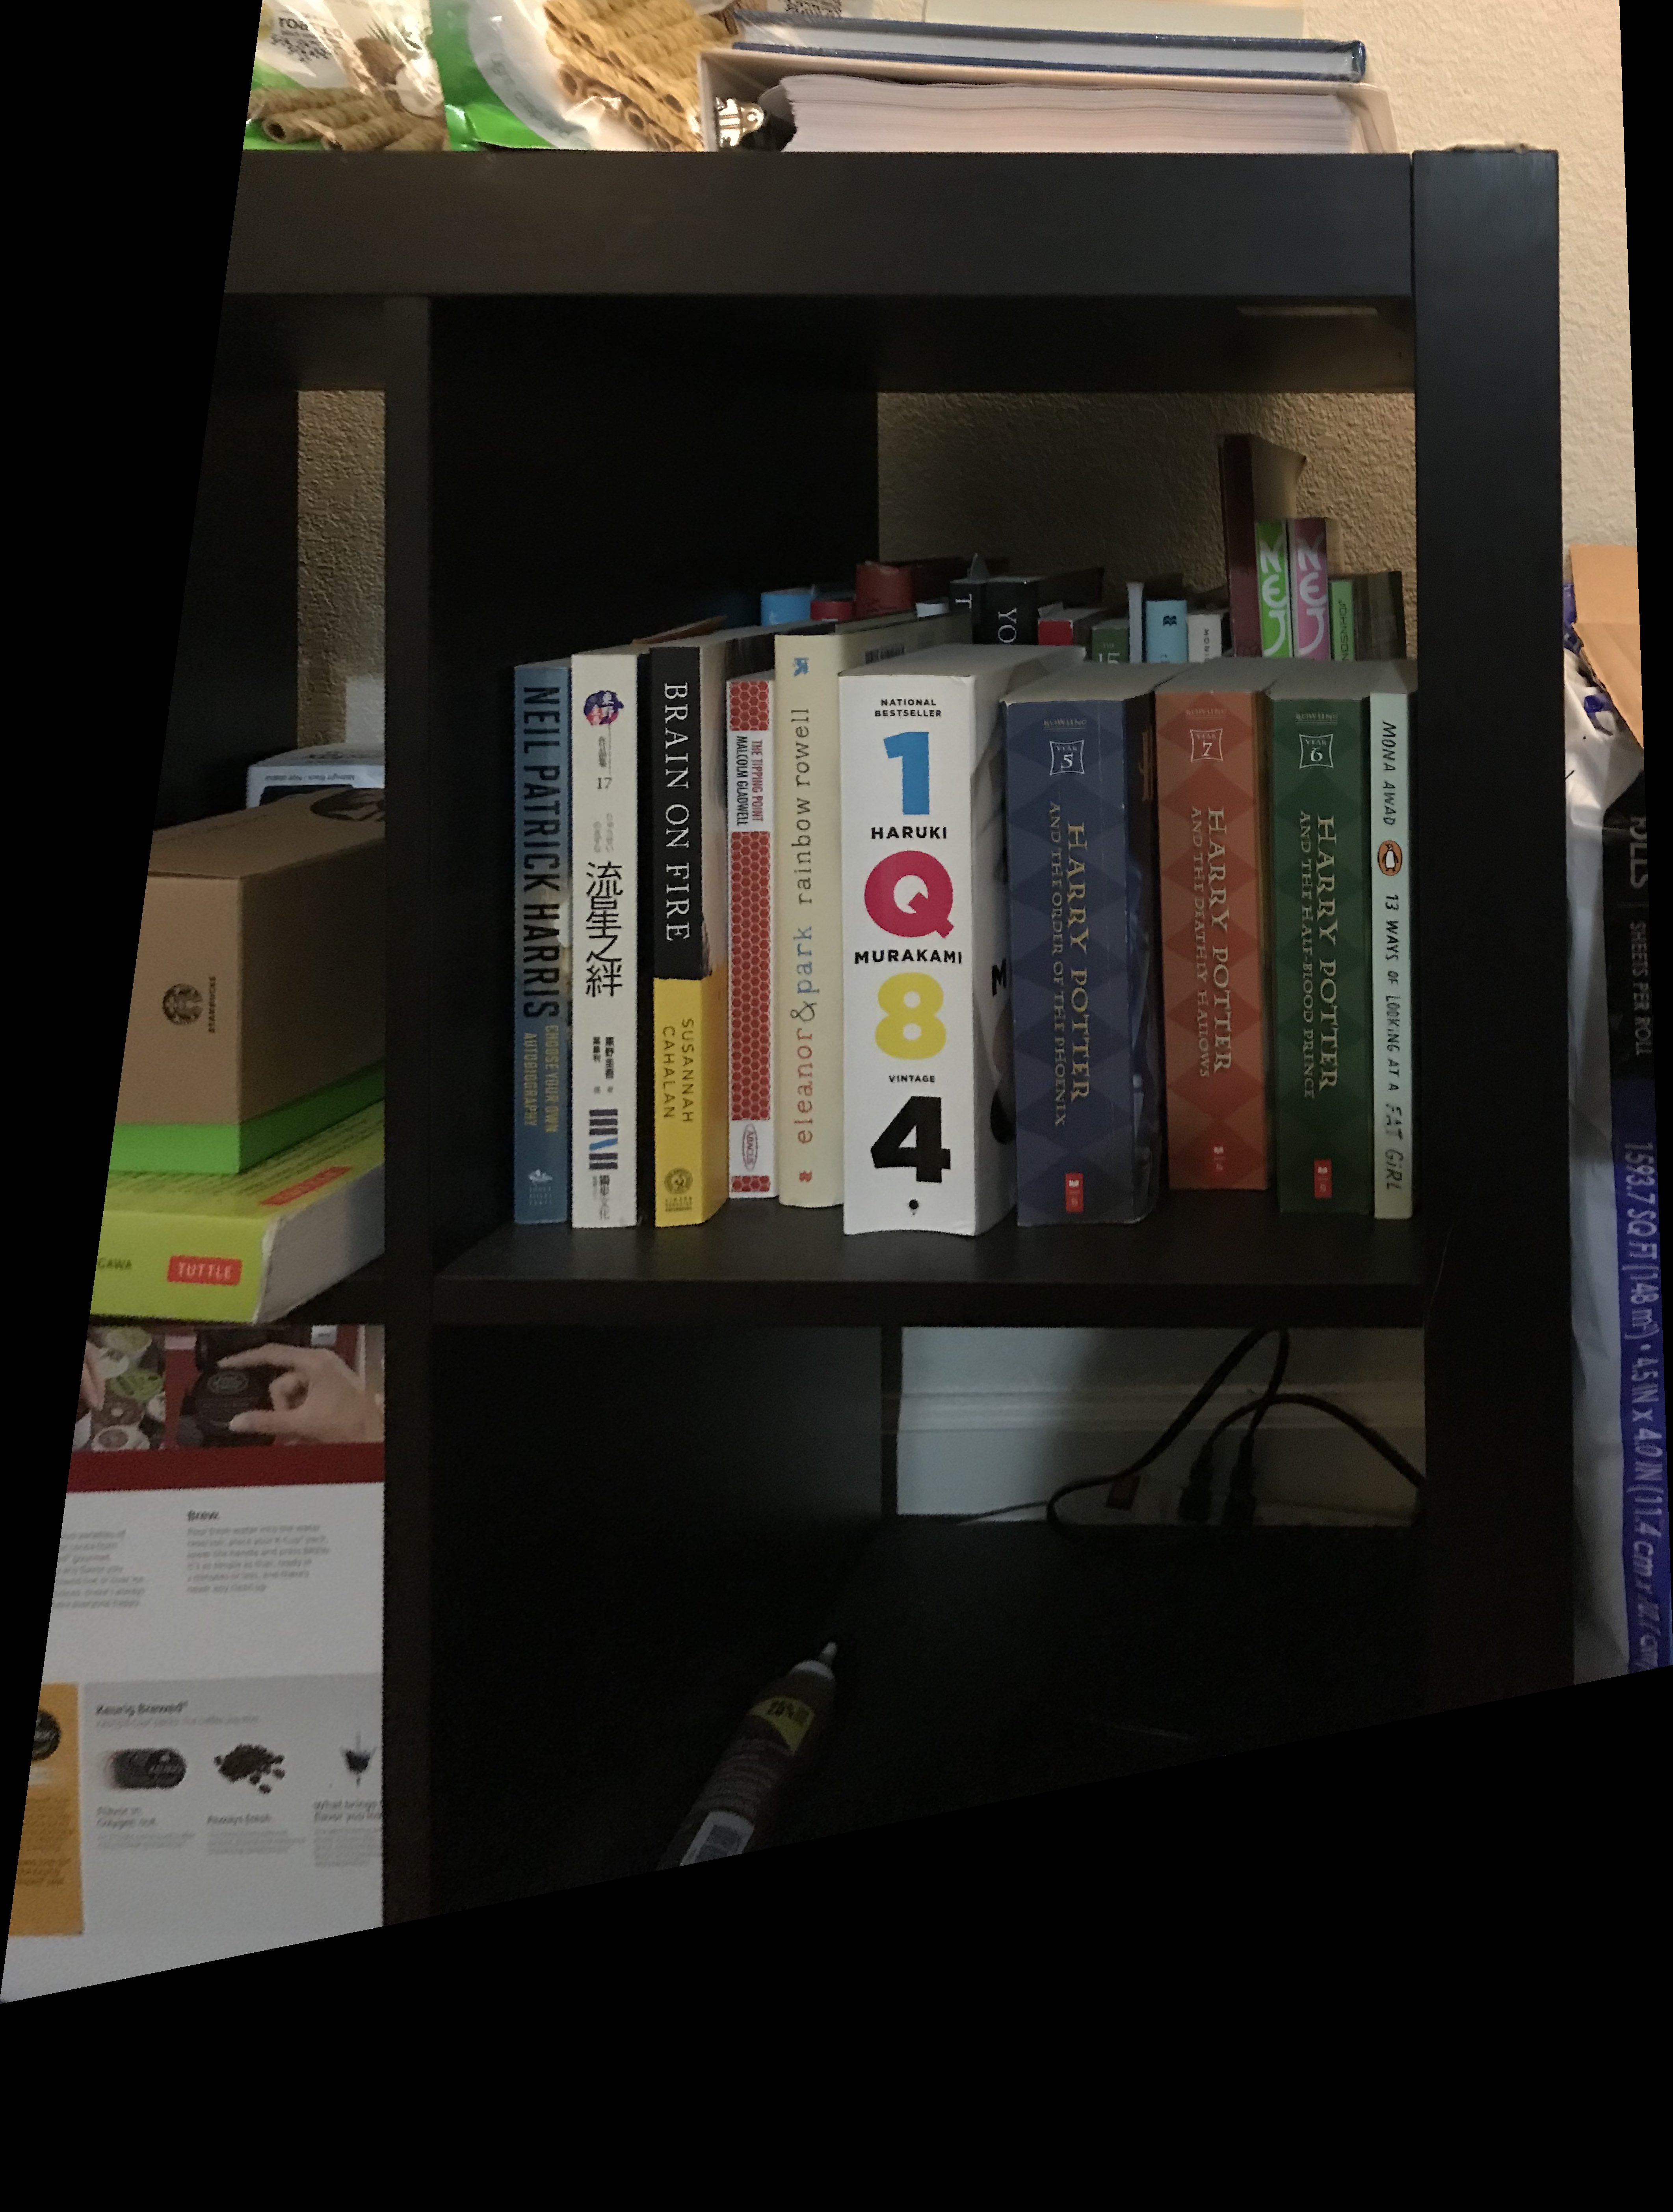
Once I obtained the homography matrix, I was able to warp images from one perspective to another. Below are some examples of images being warped so that the plane is frontal-parallel. This was done by creating correspondence points between an object of a known shape (ex. a sqaure) in the original image to the exact points of that shape in the frontal-parallel plane (ex. [0 0; 0 1; 1 0; 1 1]). The original image is on the left and the warped image is on the right.
Image rectified to square muffin quote
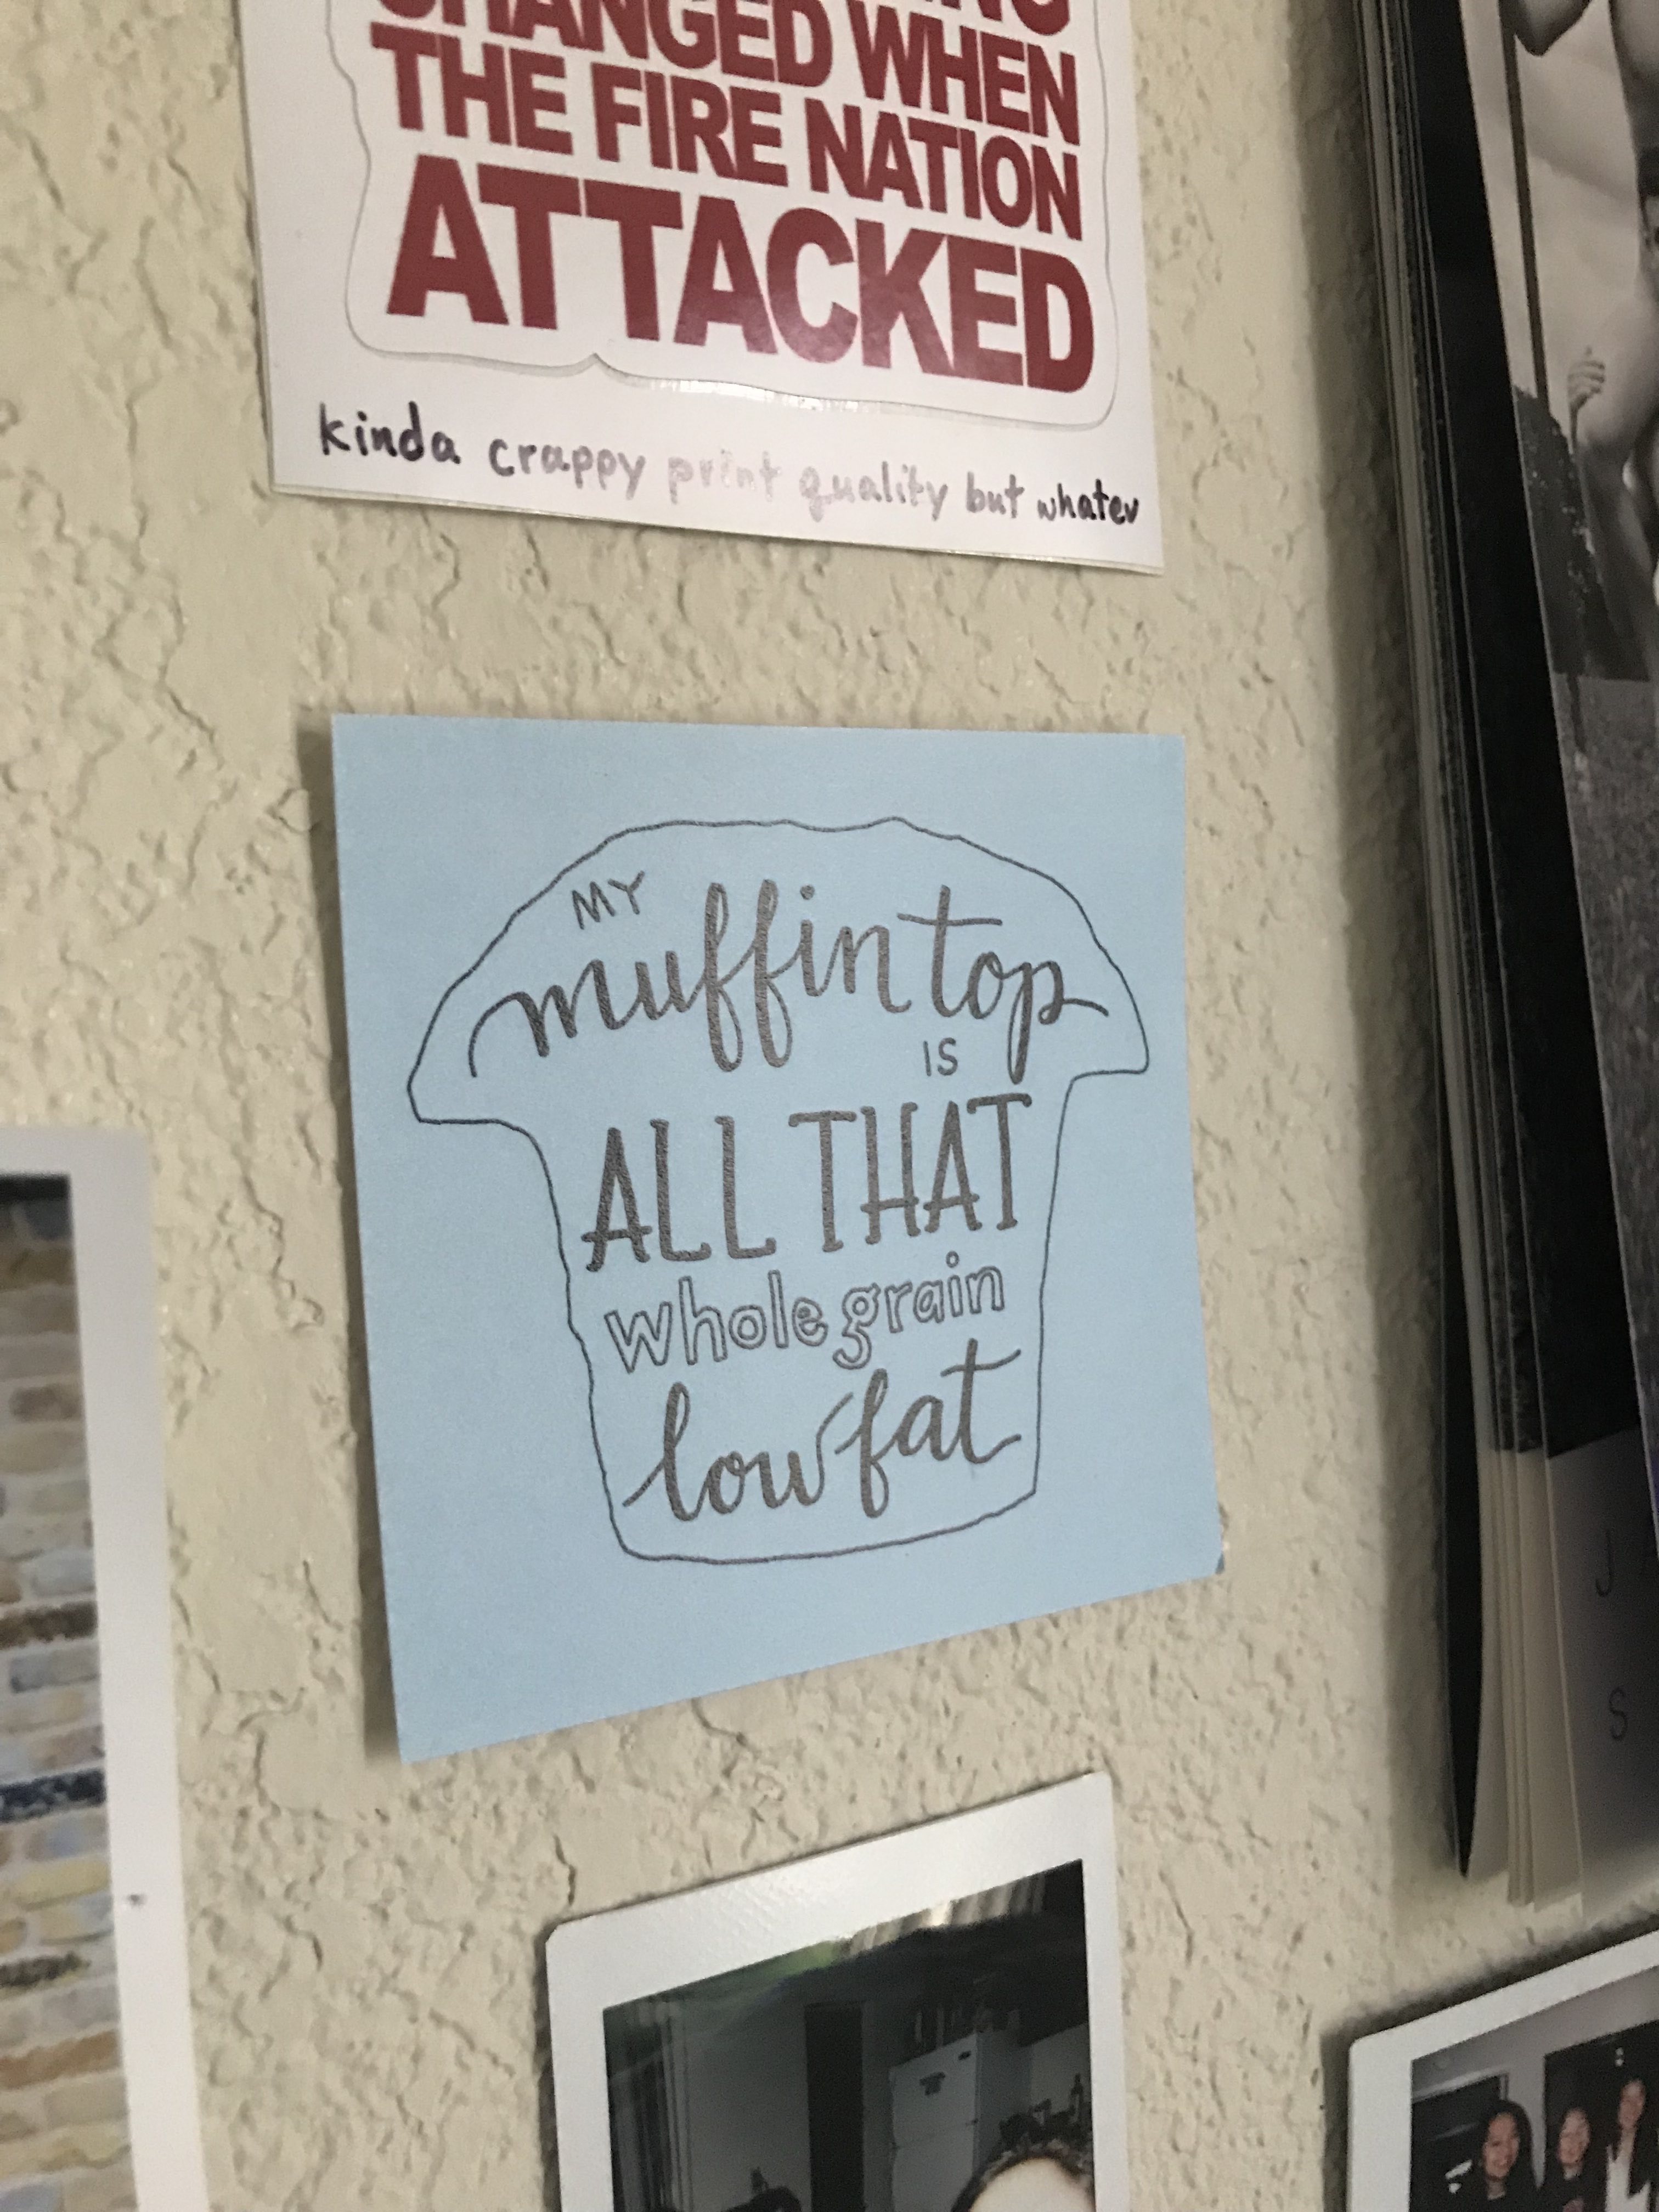
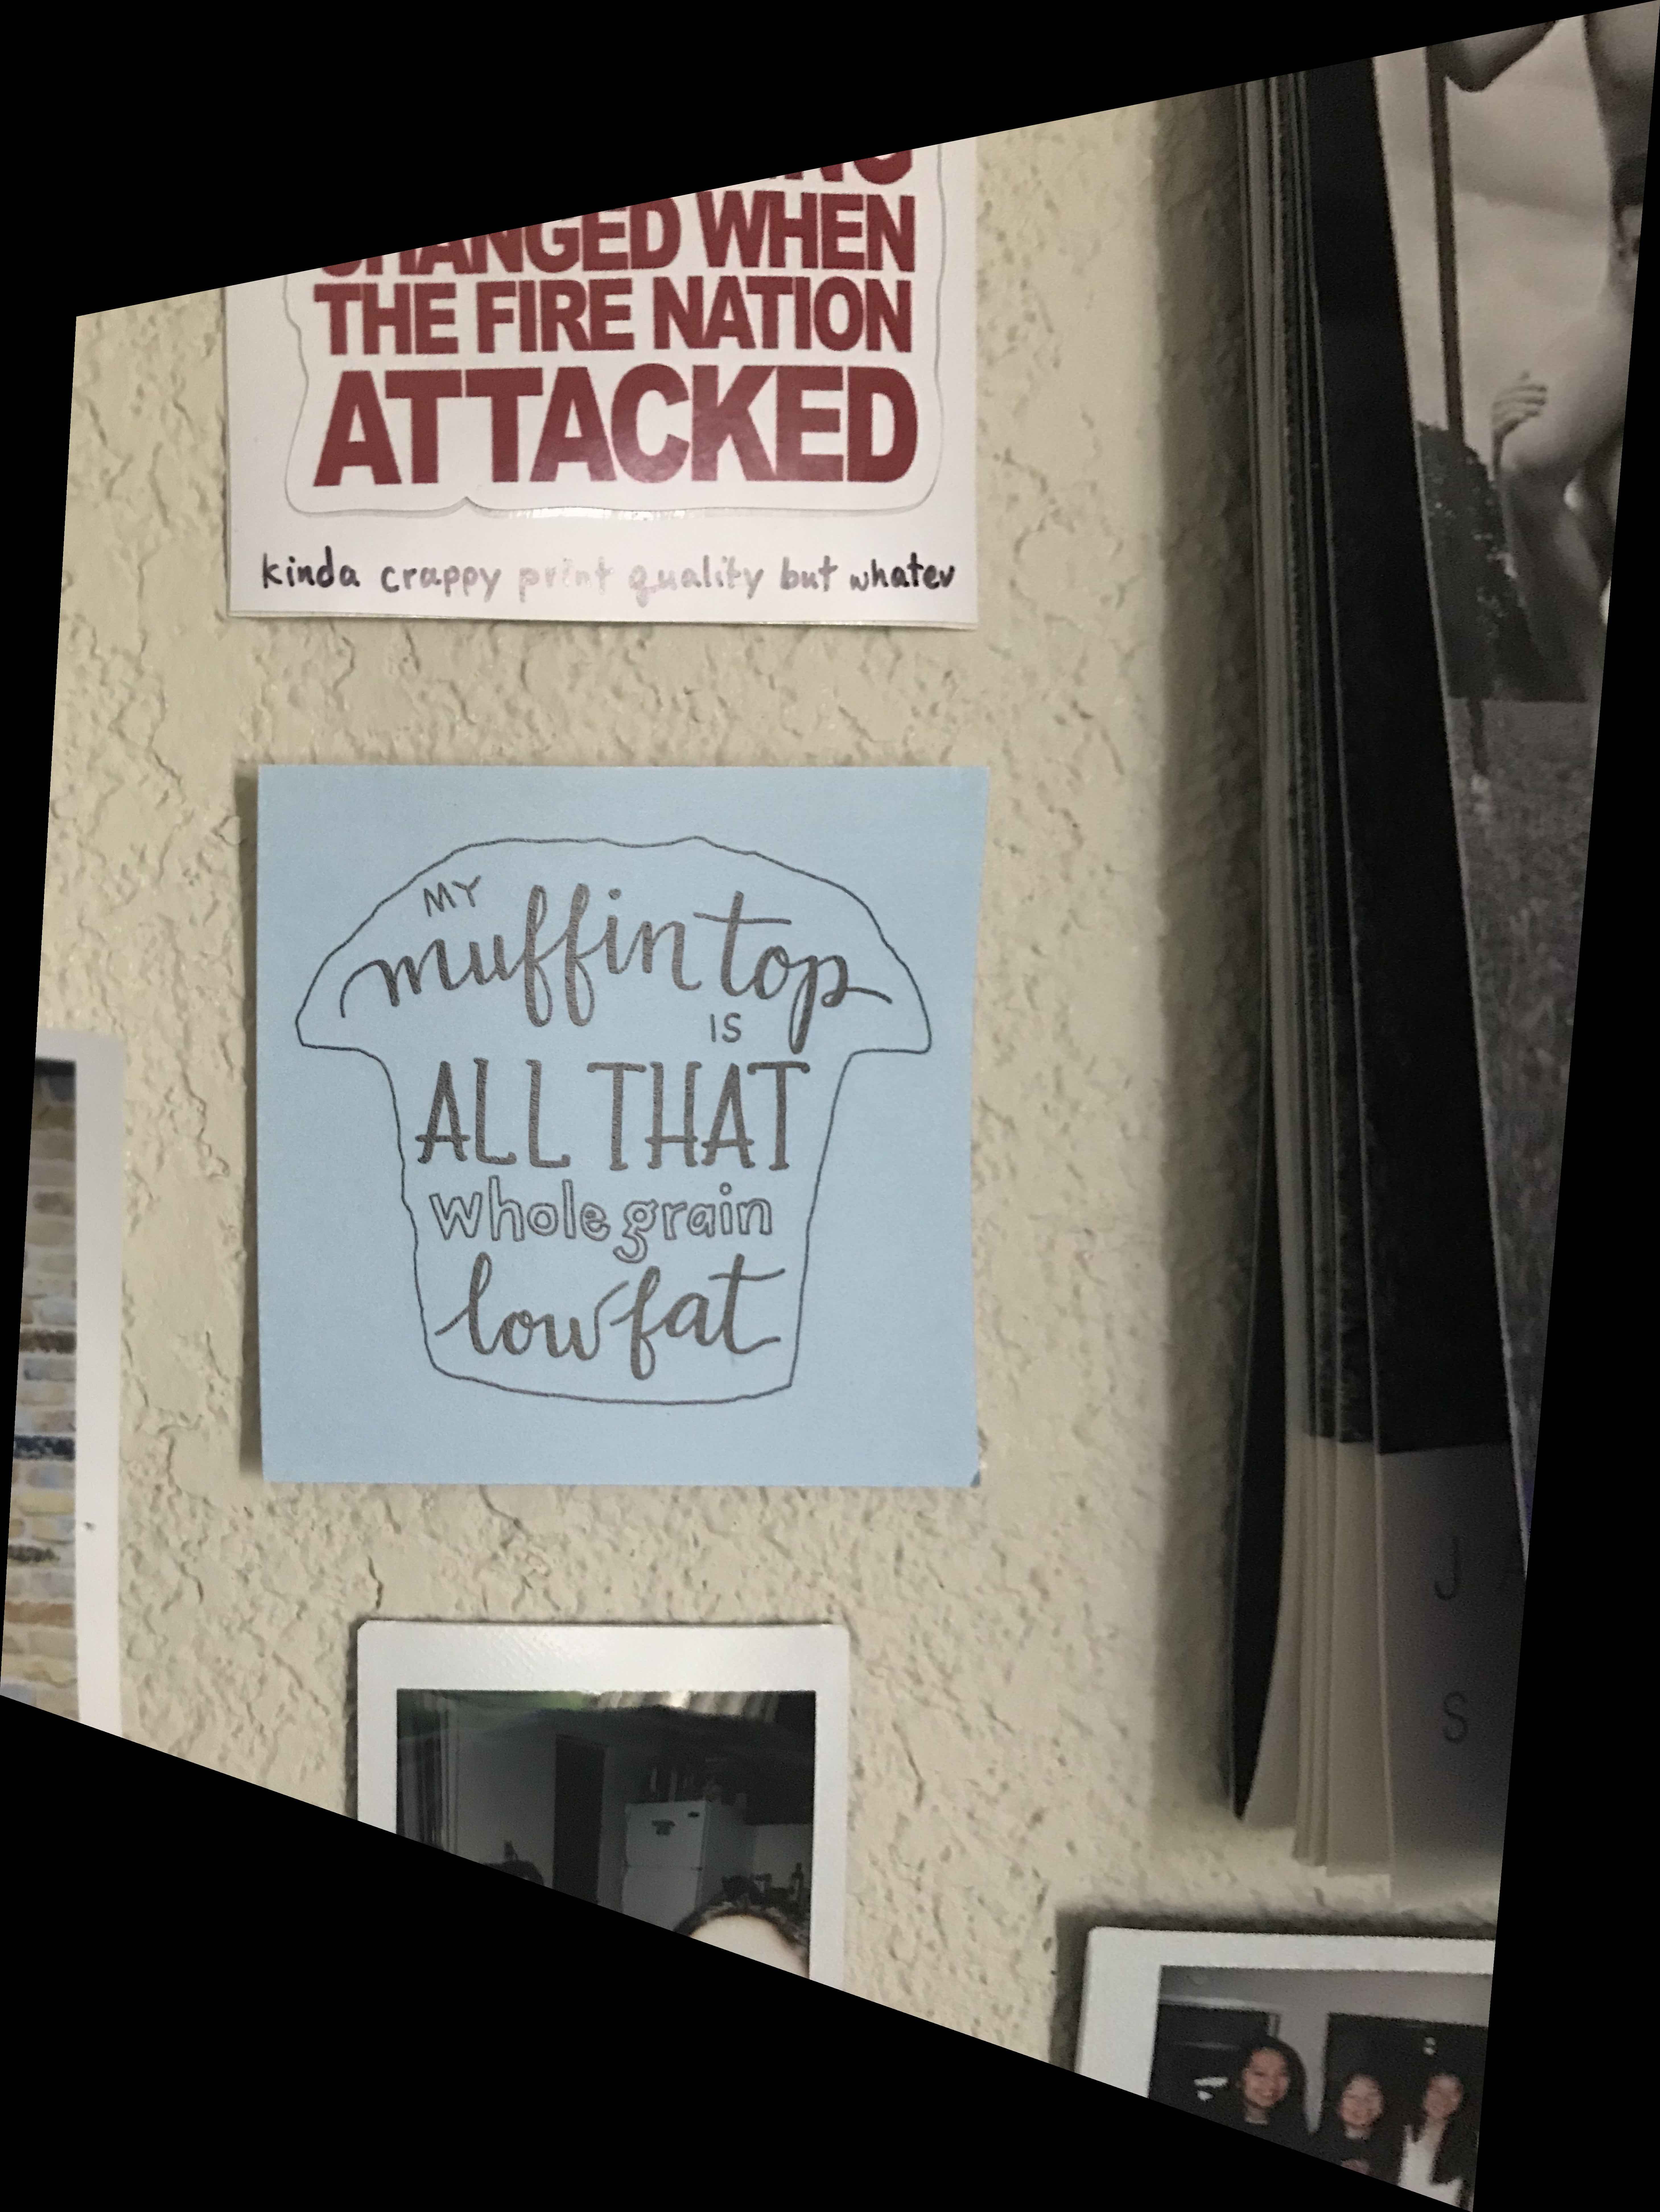
Image rectified to square bookcase shelf
Lastly, I was able to create an image mosaic by combining the images warped to the same plane. For my mosaics, I warped the left image towards to the plane of the right image.
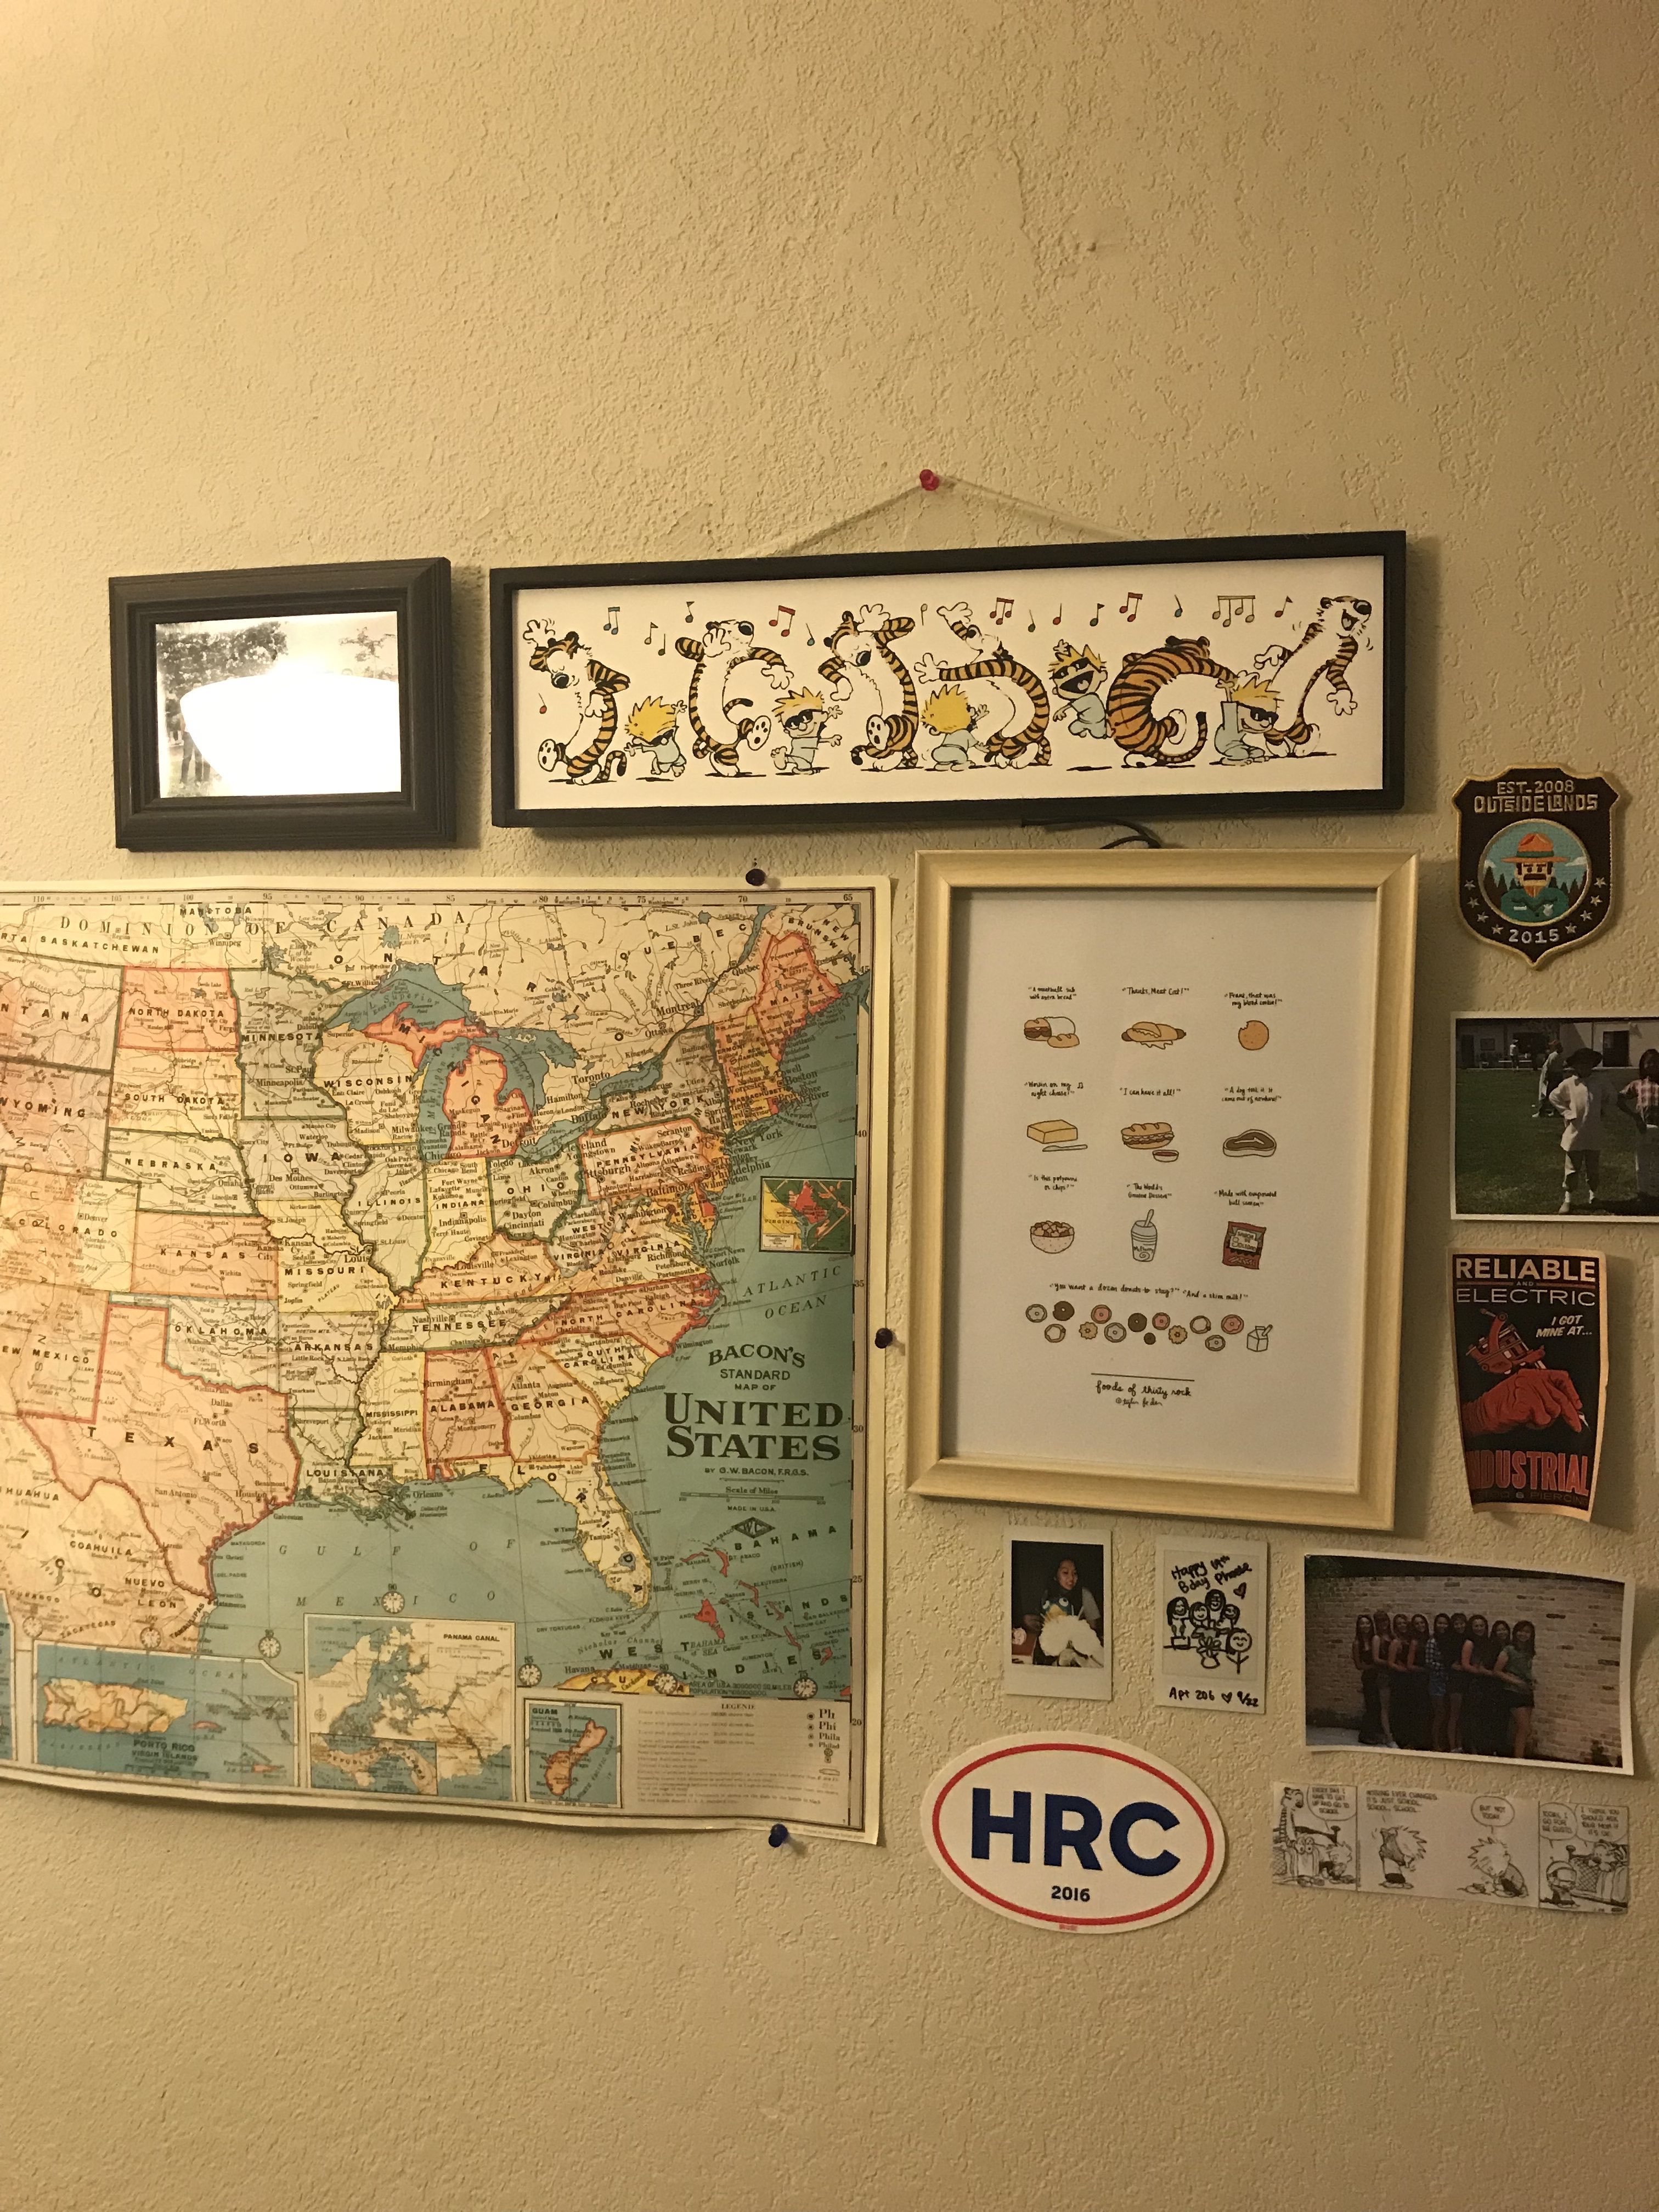
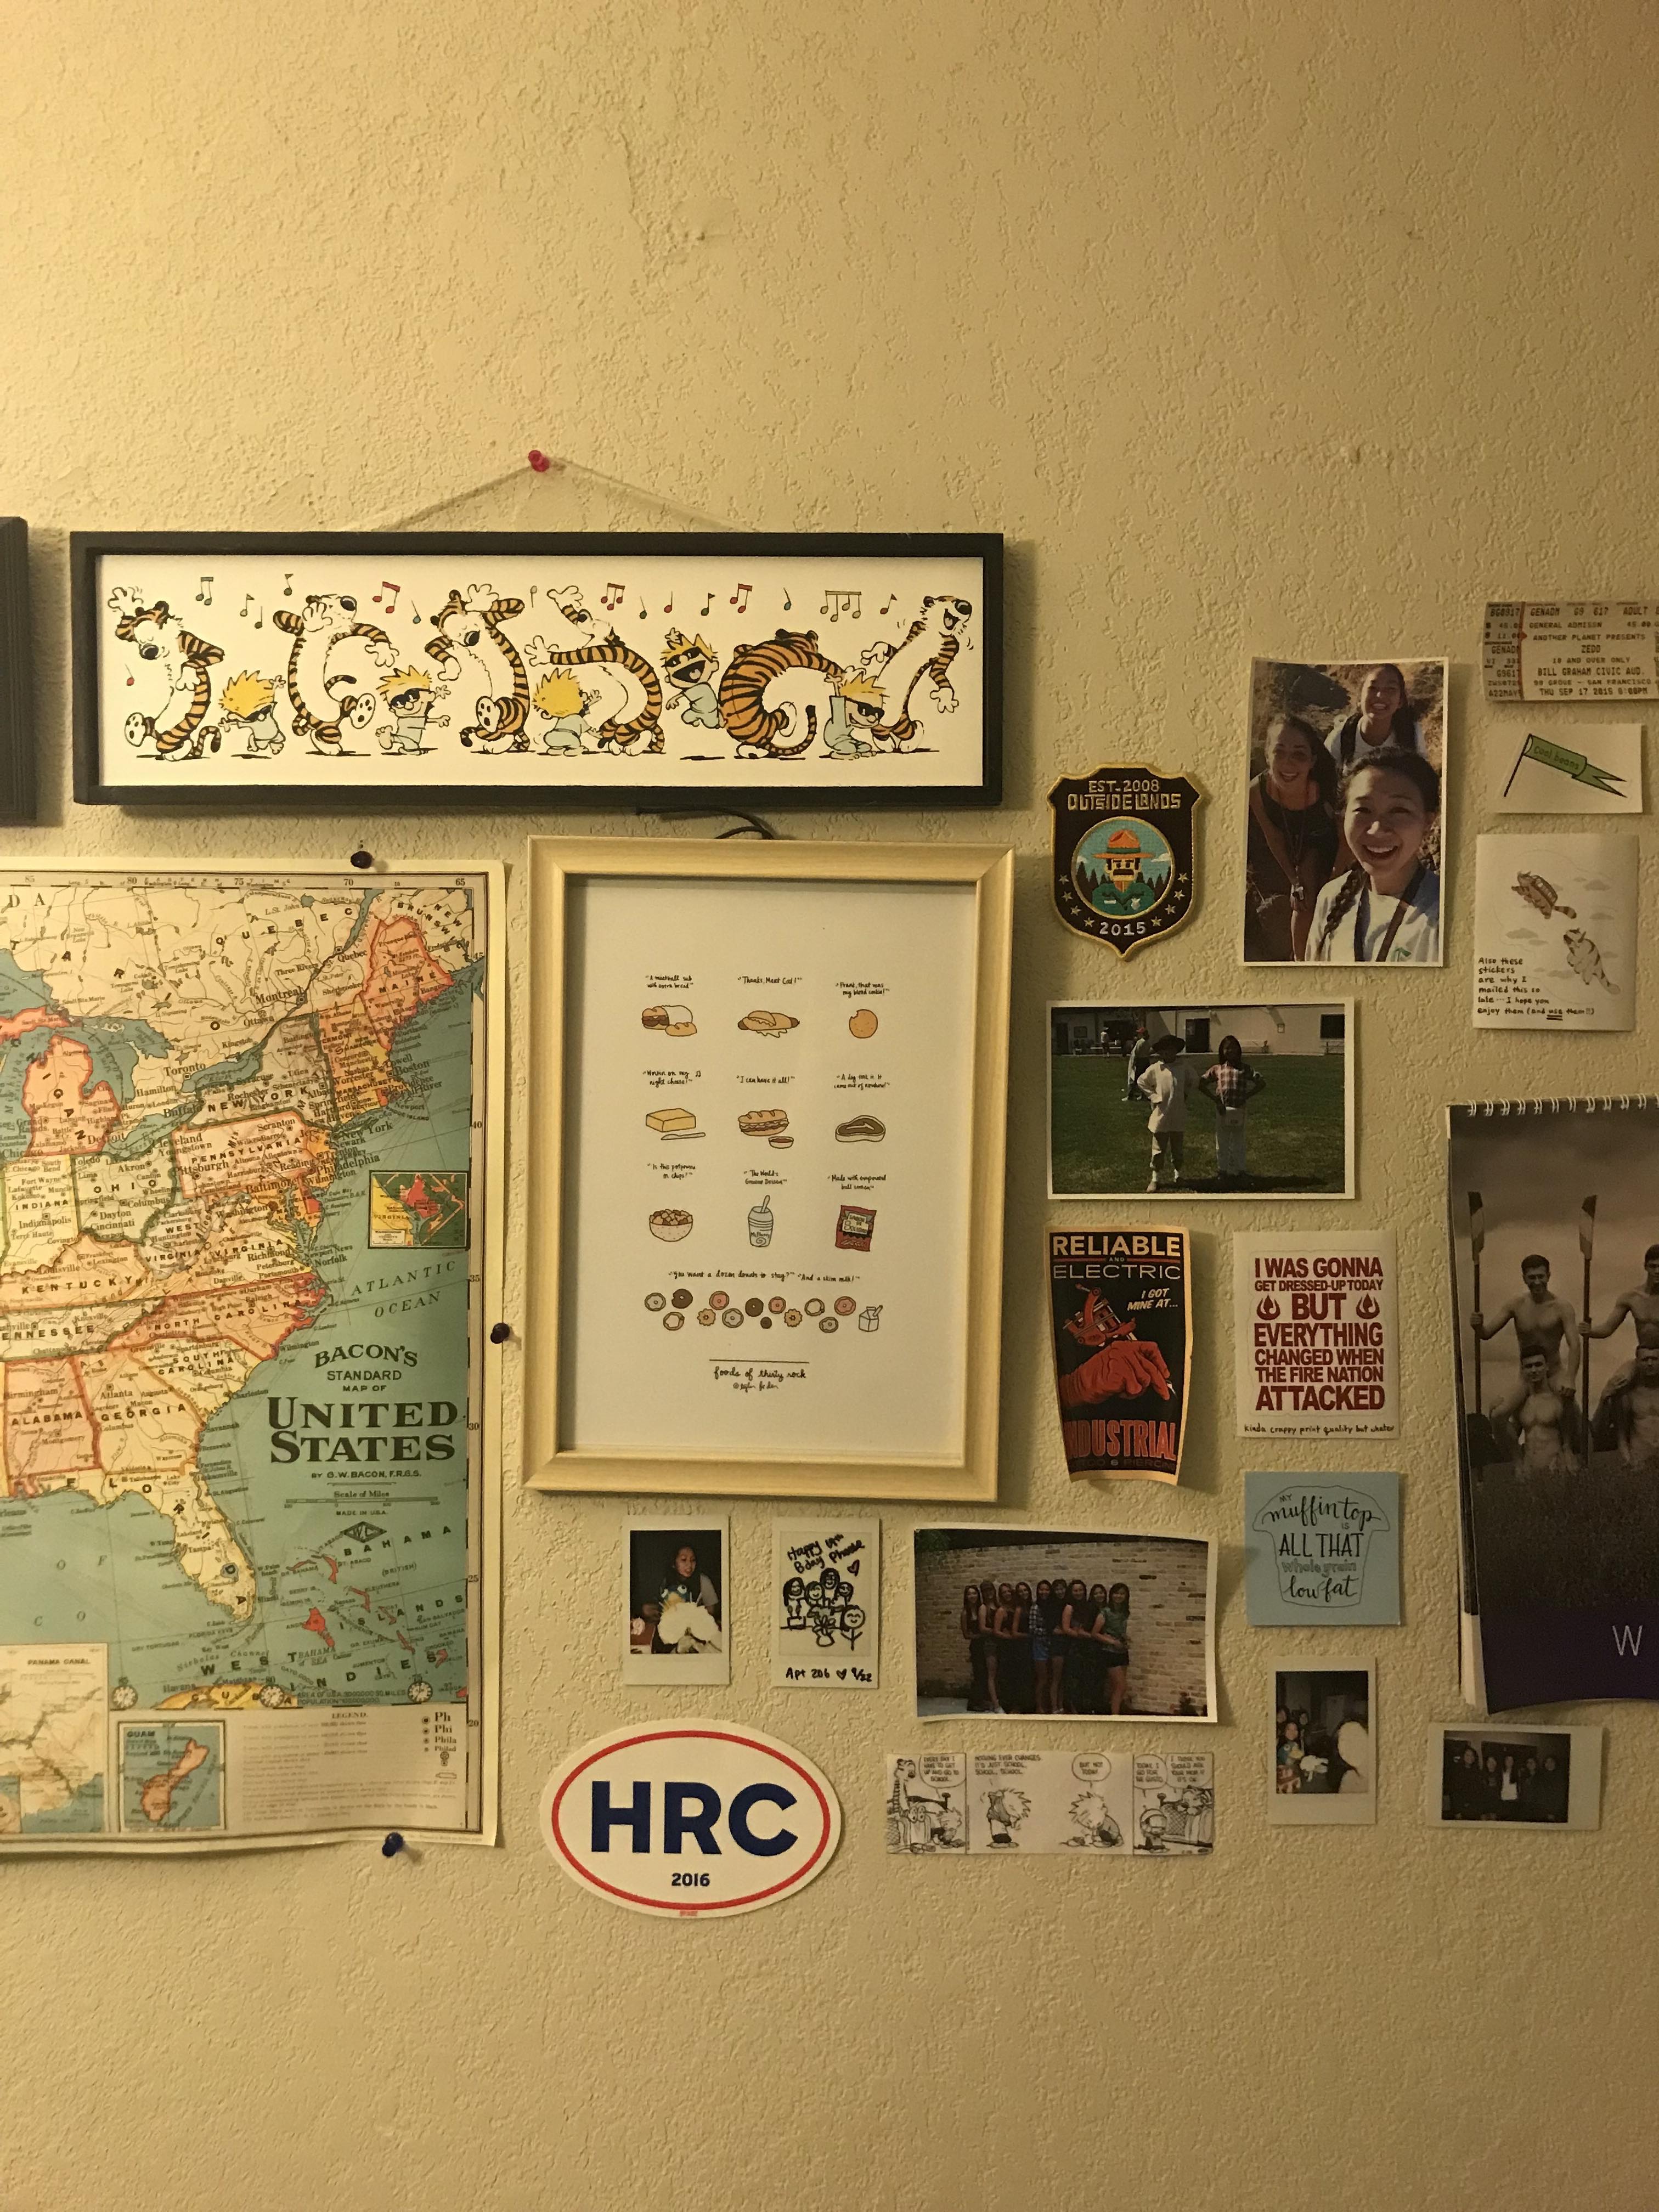
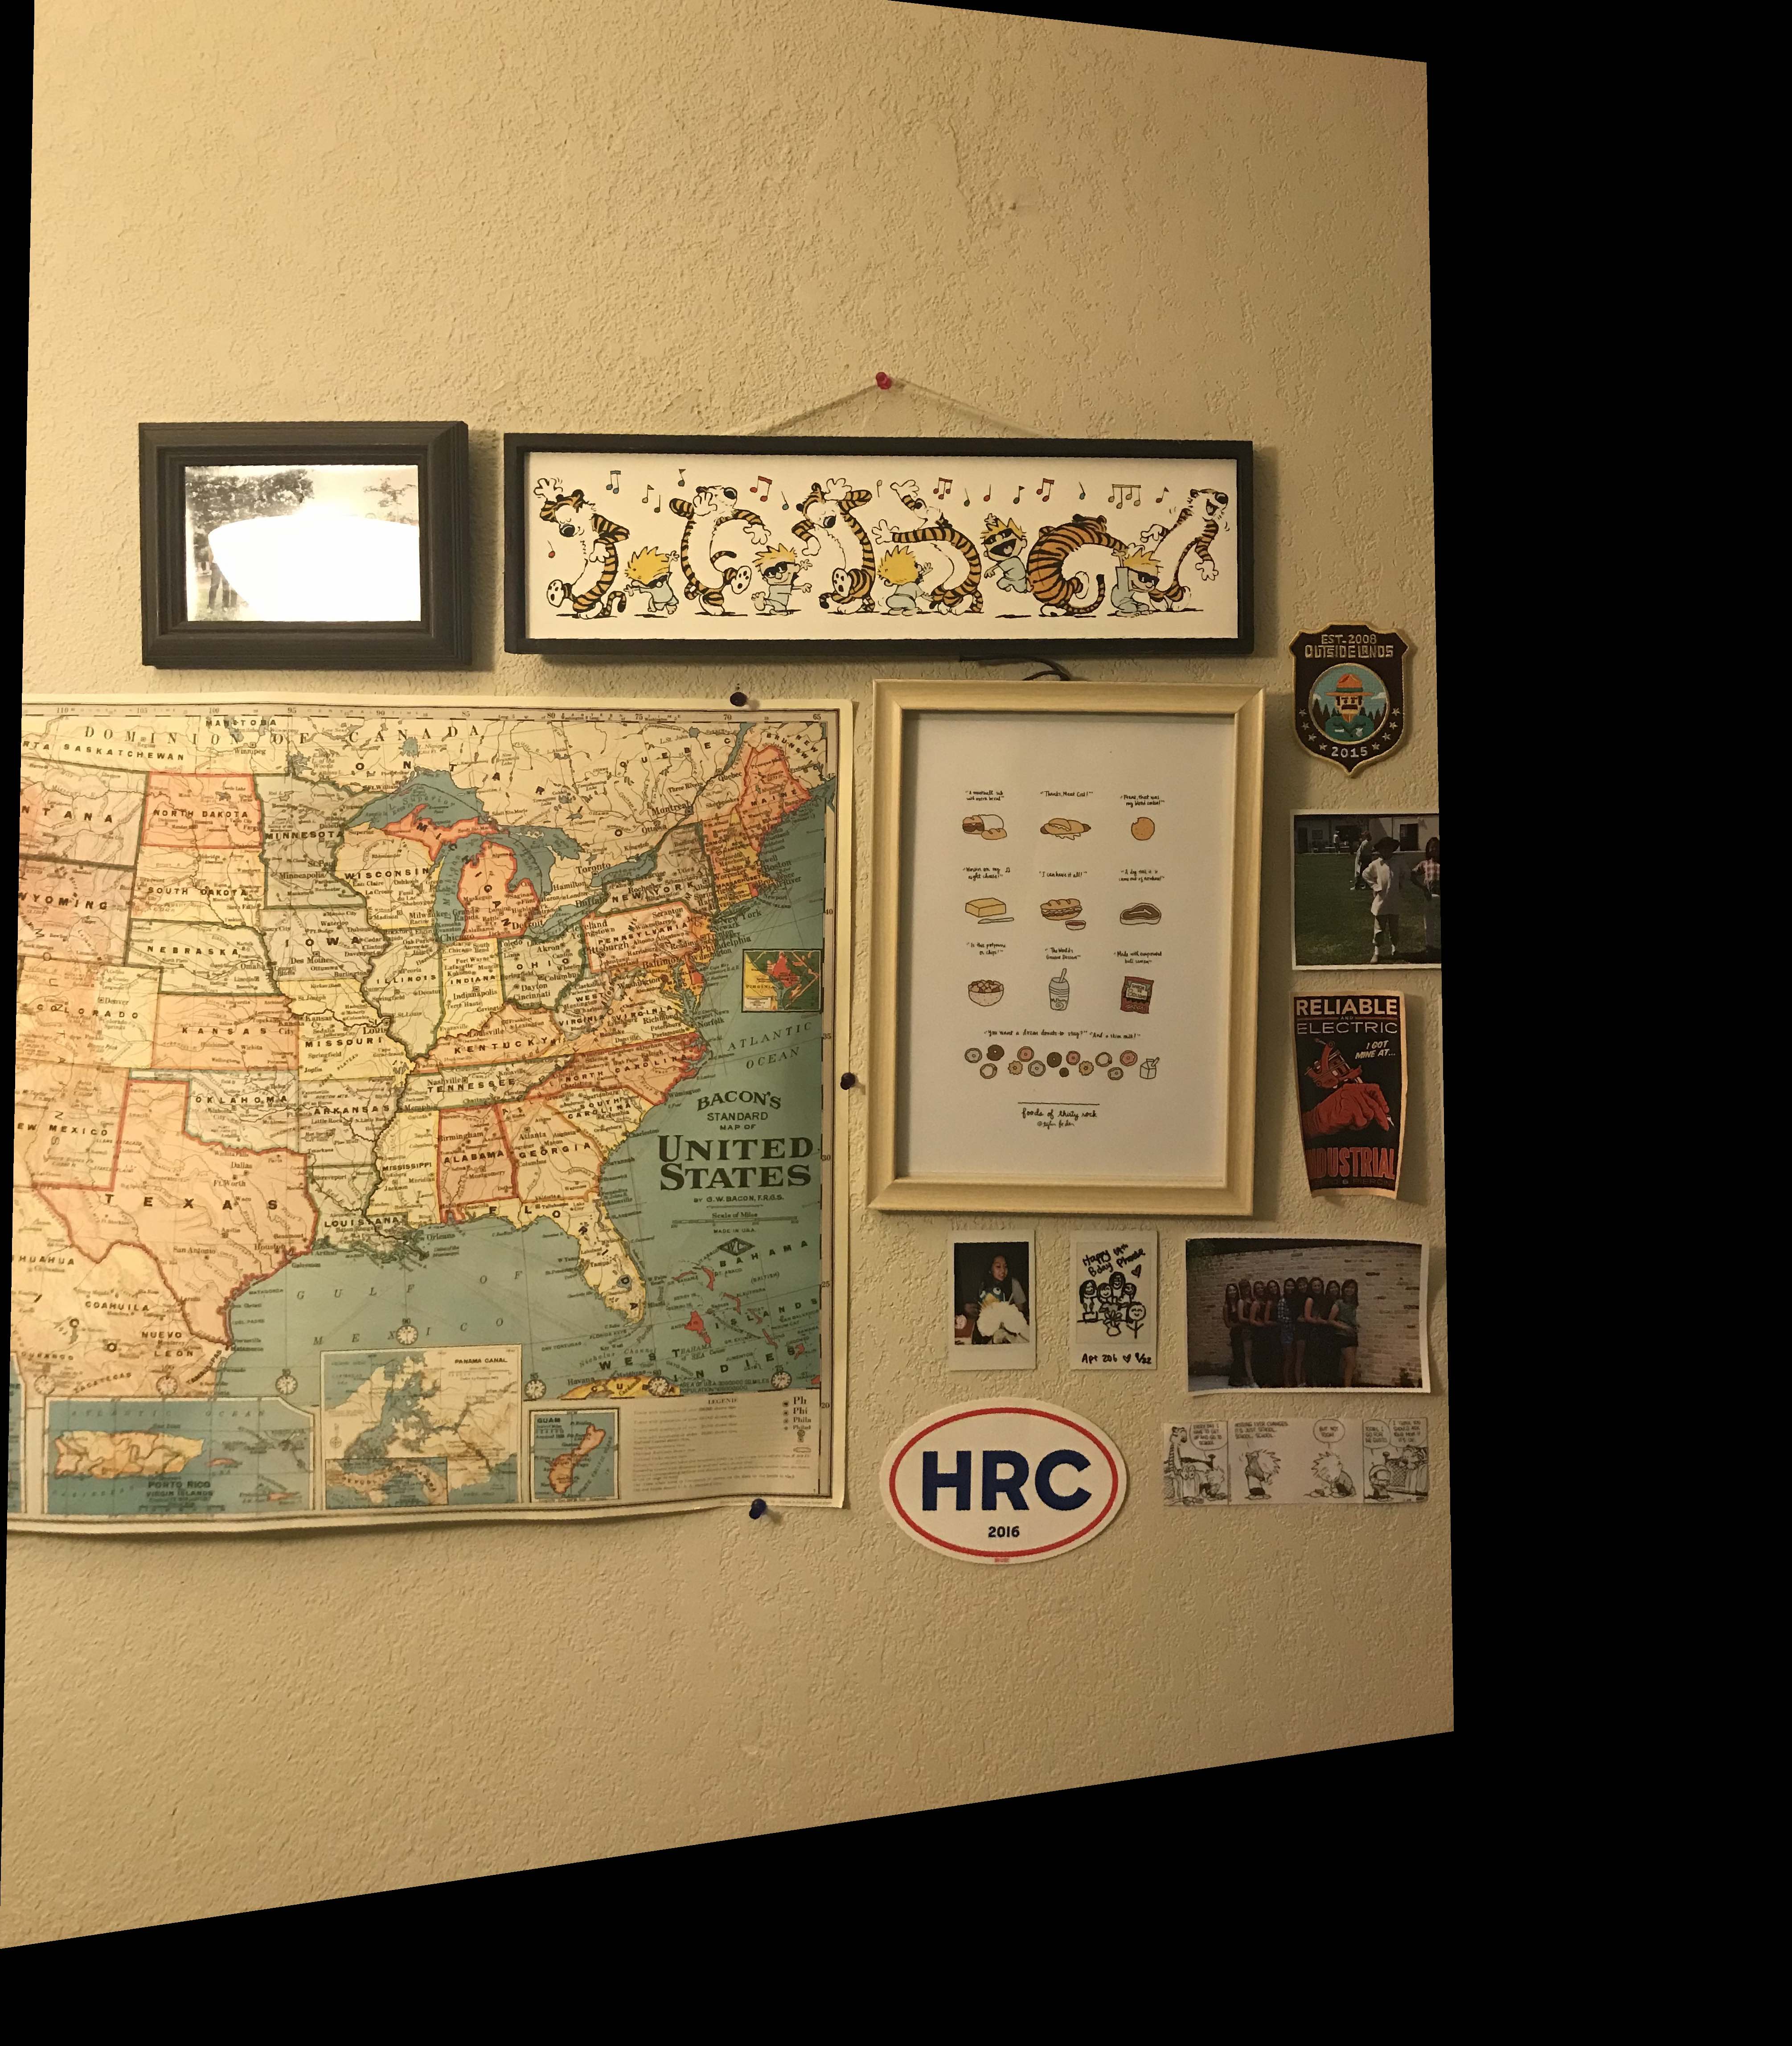
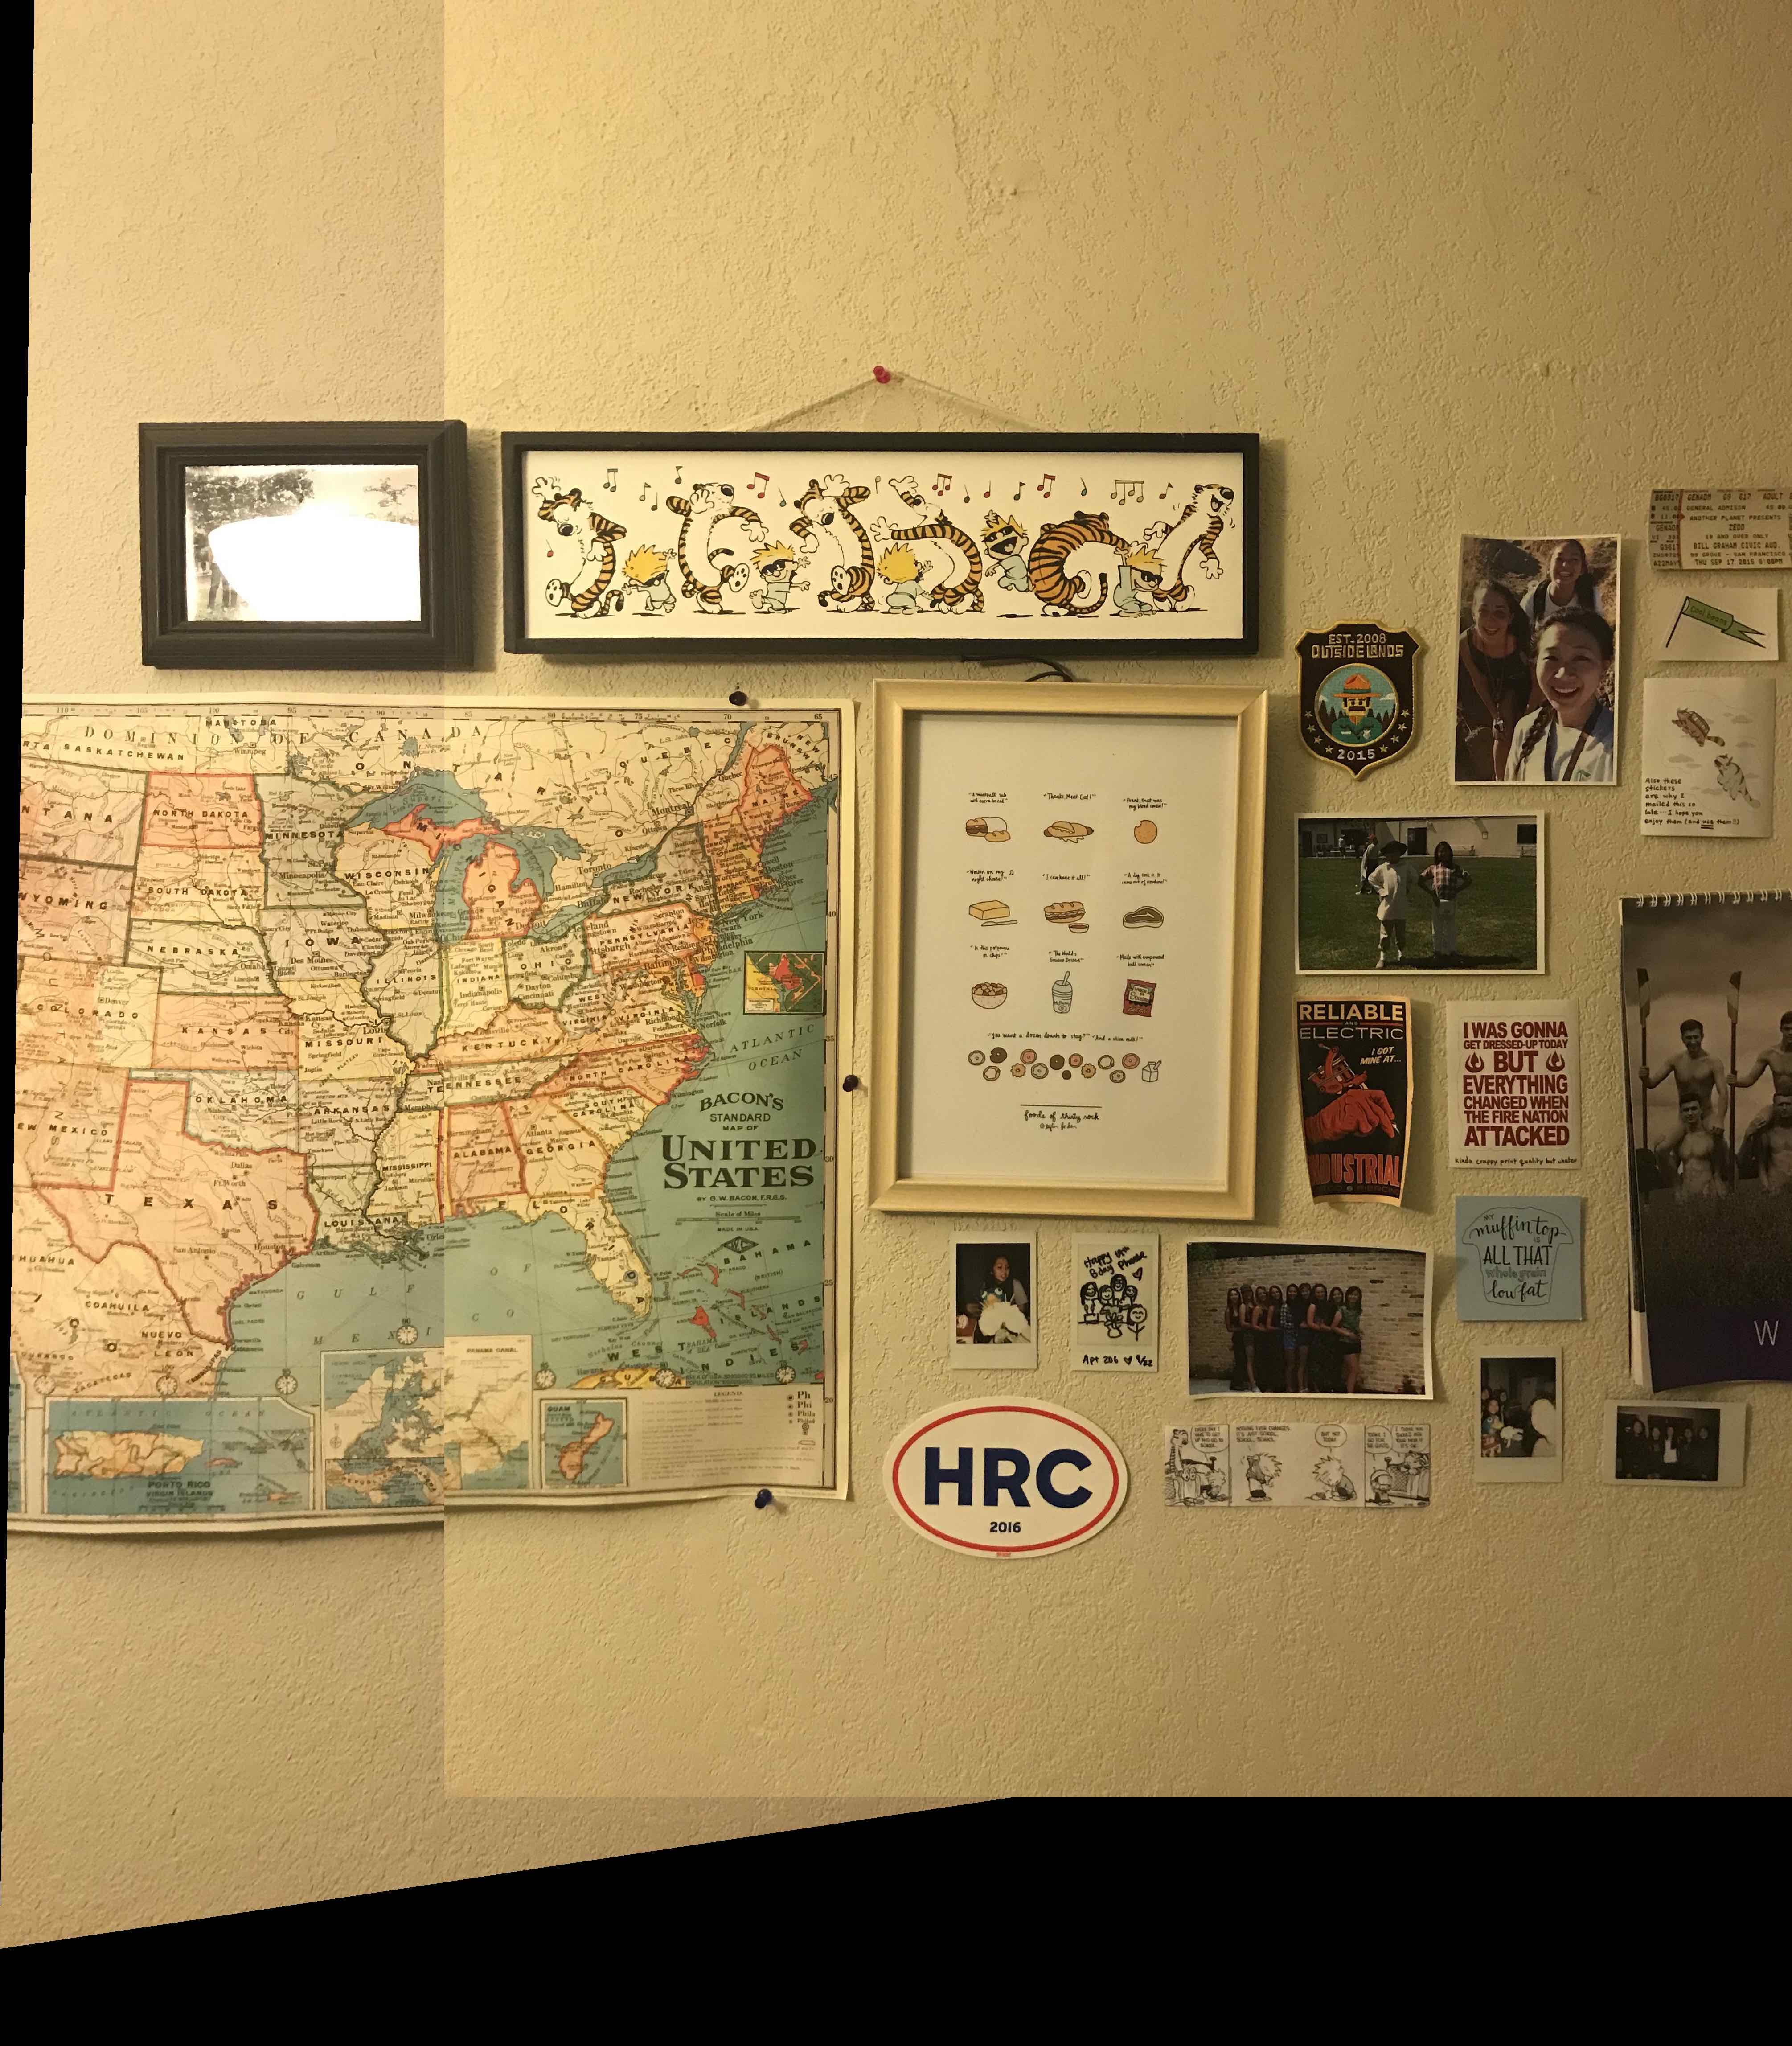
Original images of my bedroom wall
Warped left image
Naive mosaic with no blending
However, with no blending, the mosaic contained harsh edges where the two images were naively stiched together. Therefore, linear blending was implemented to decrease the effects of the harsh edges. Below is my bedroom wall mosaic created with linear blending. Clearly, linear blending helped produce a more cohesive mosaic, for example, the bottom edge of the map in the blended image does not have the sharp edge that the naive mosaic contains.
Final mosaic with linear blending

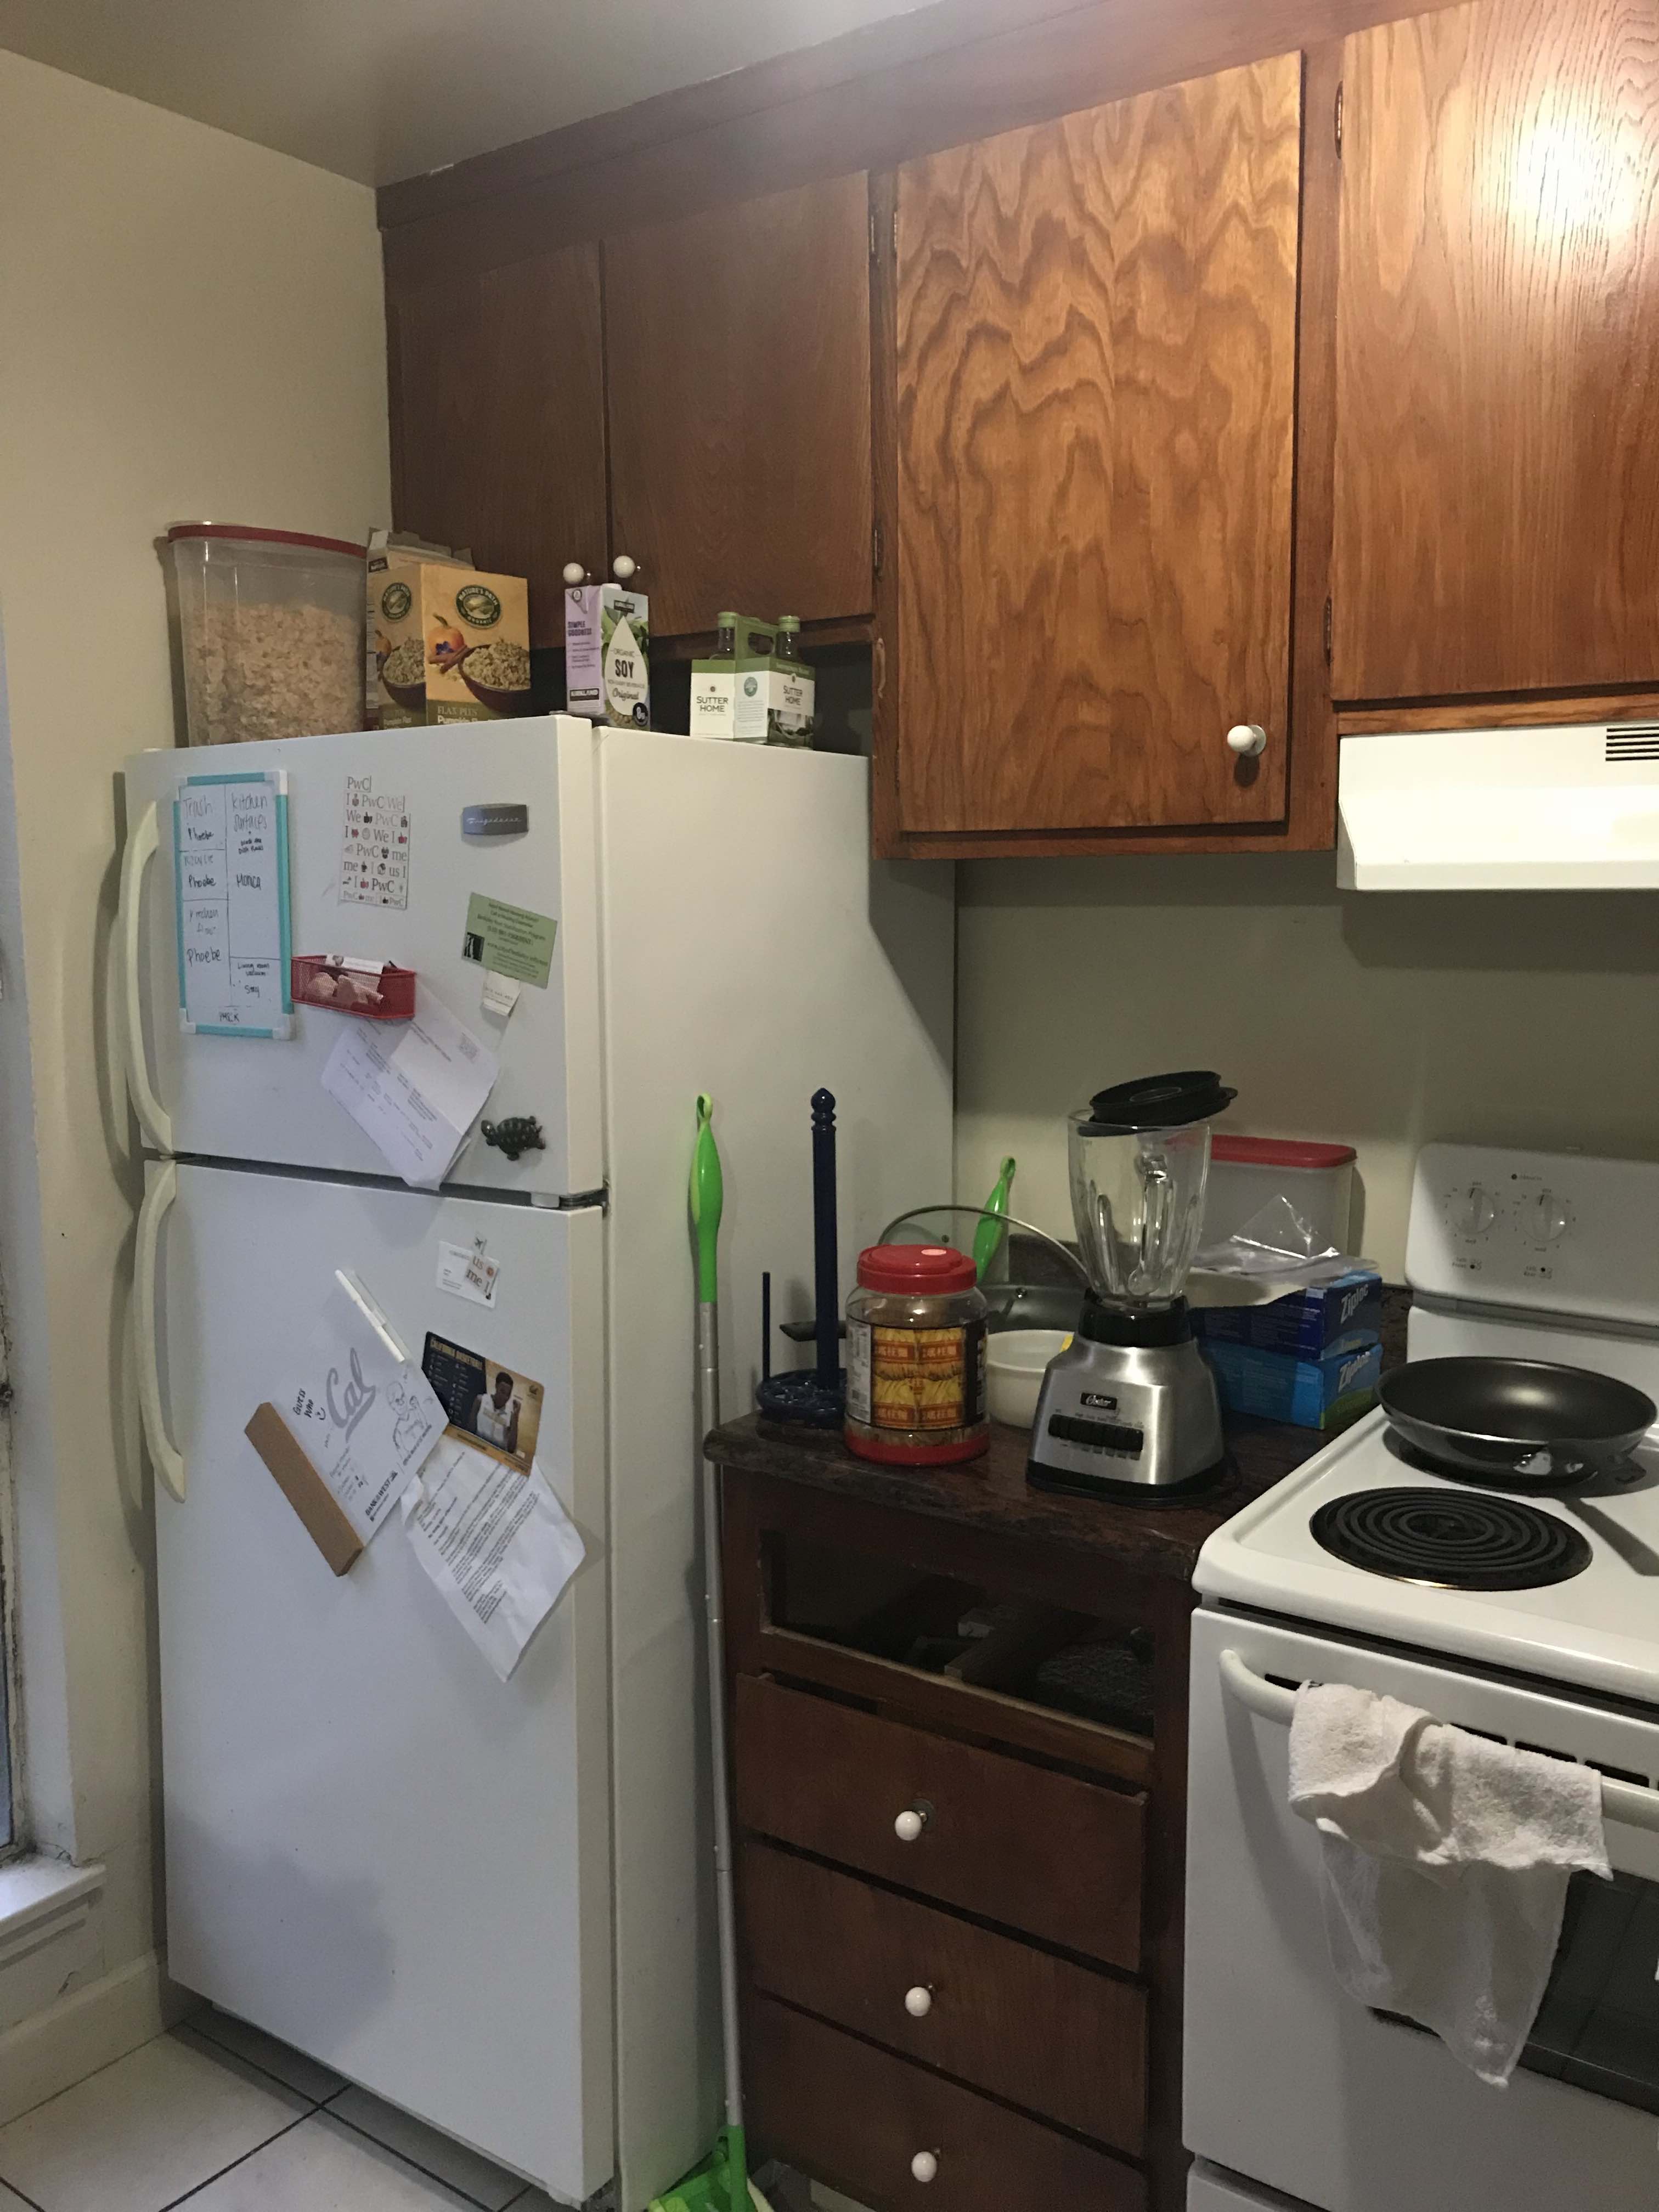
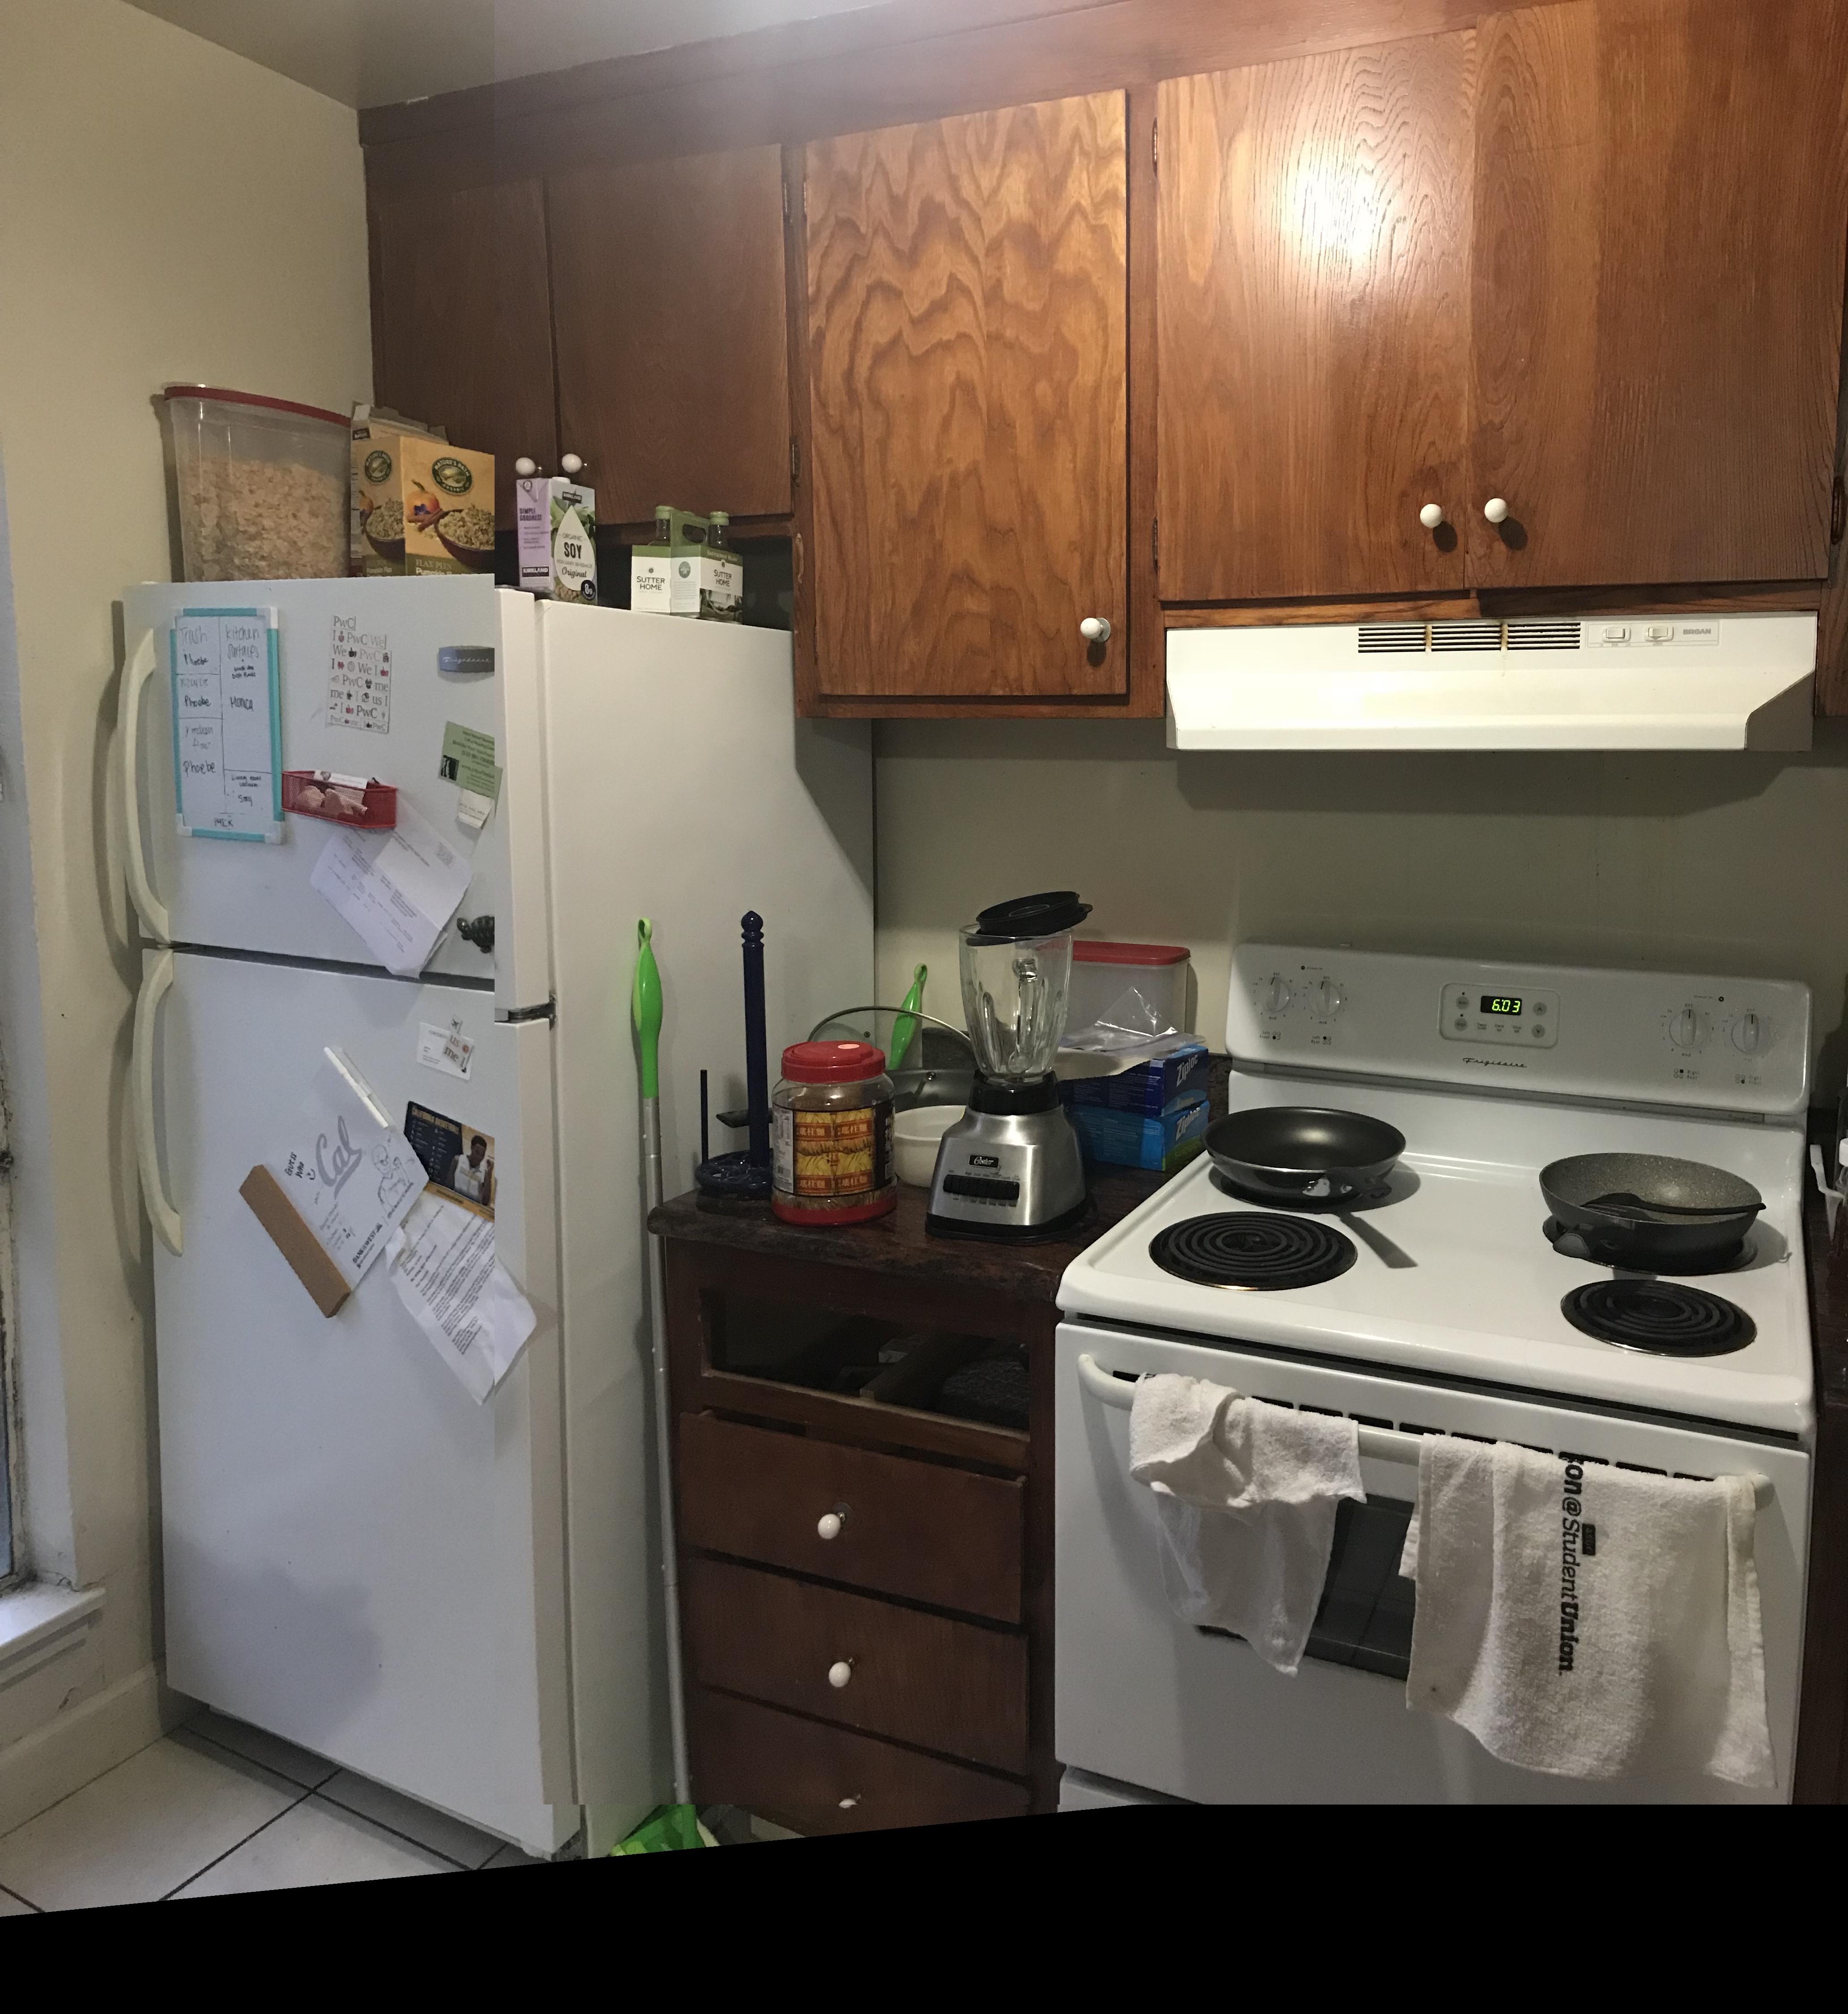
Original images of my kitchen
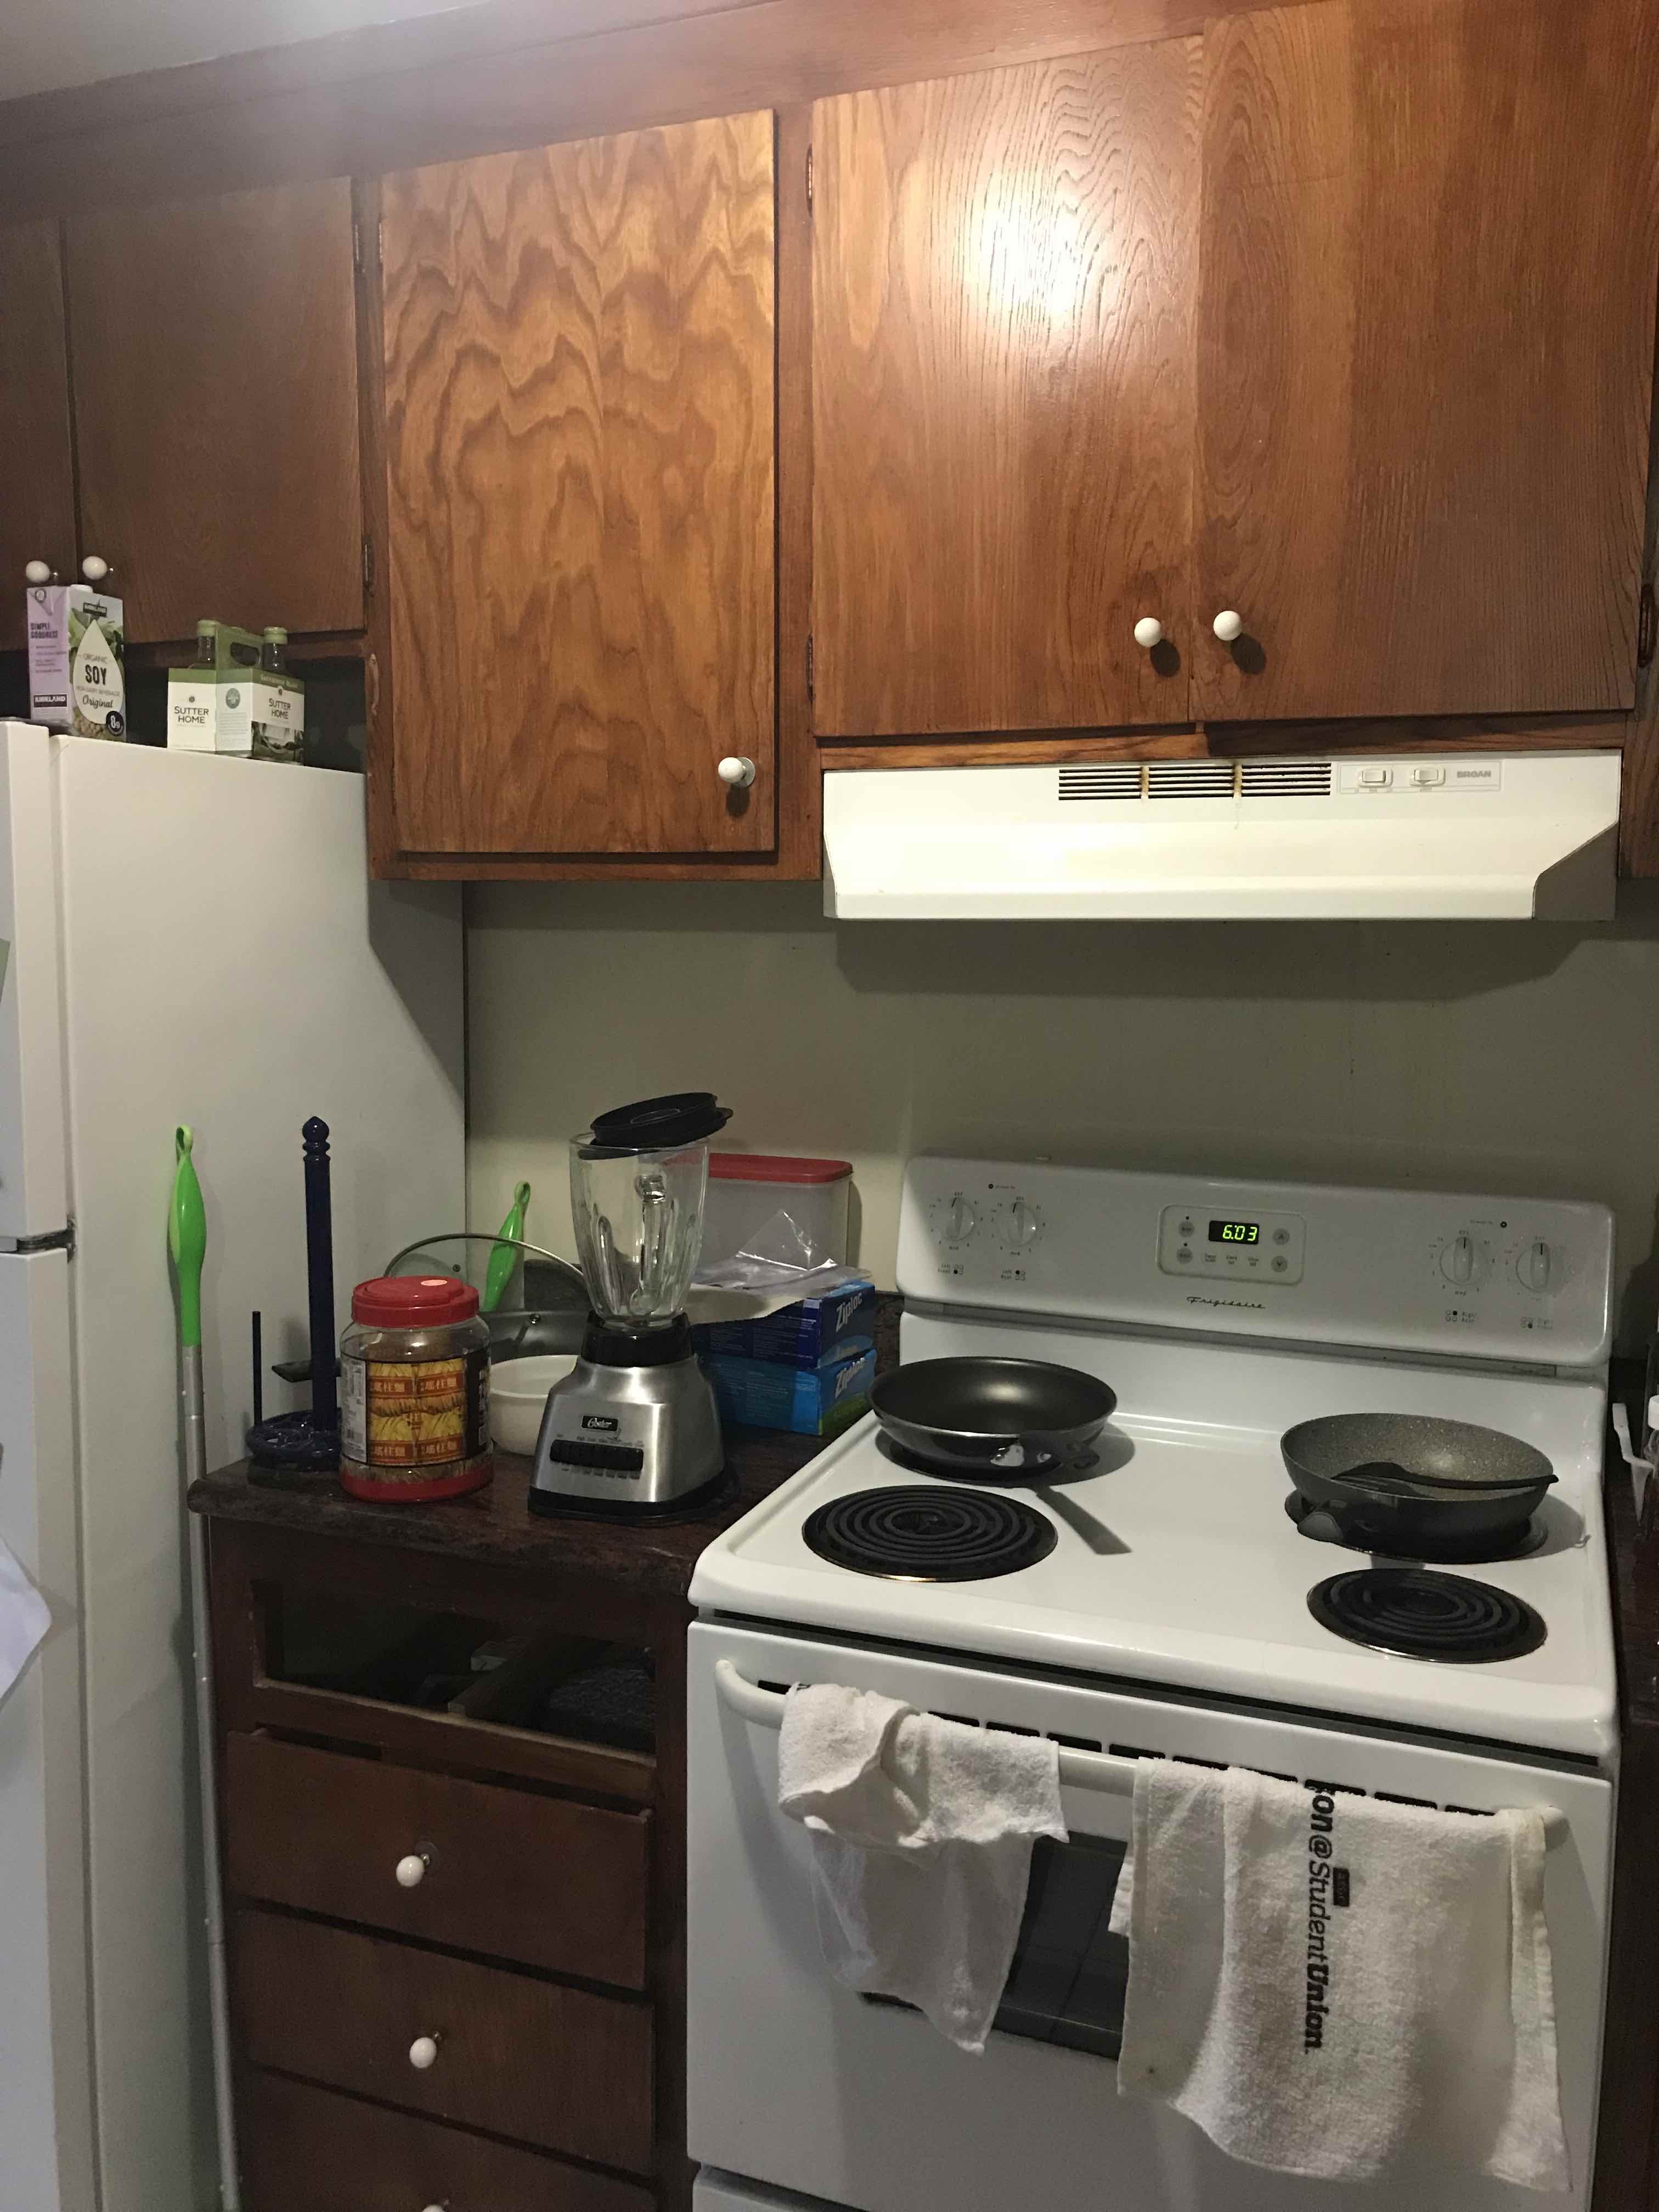
Warped left image
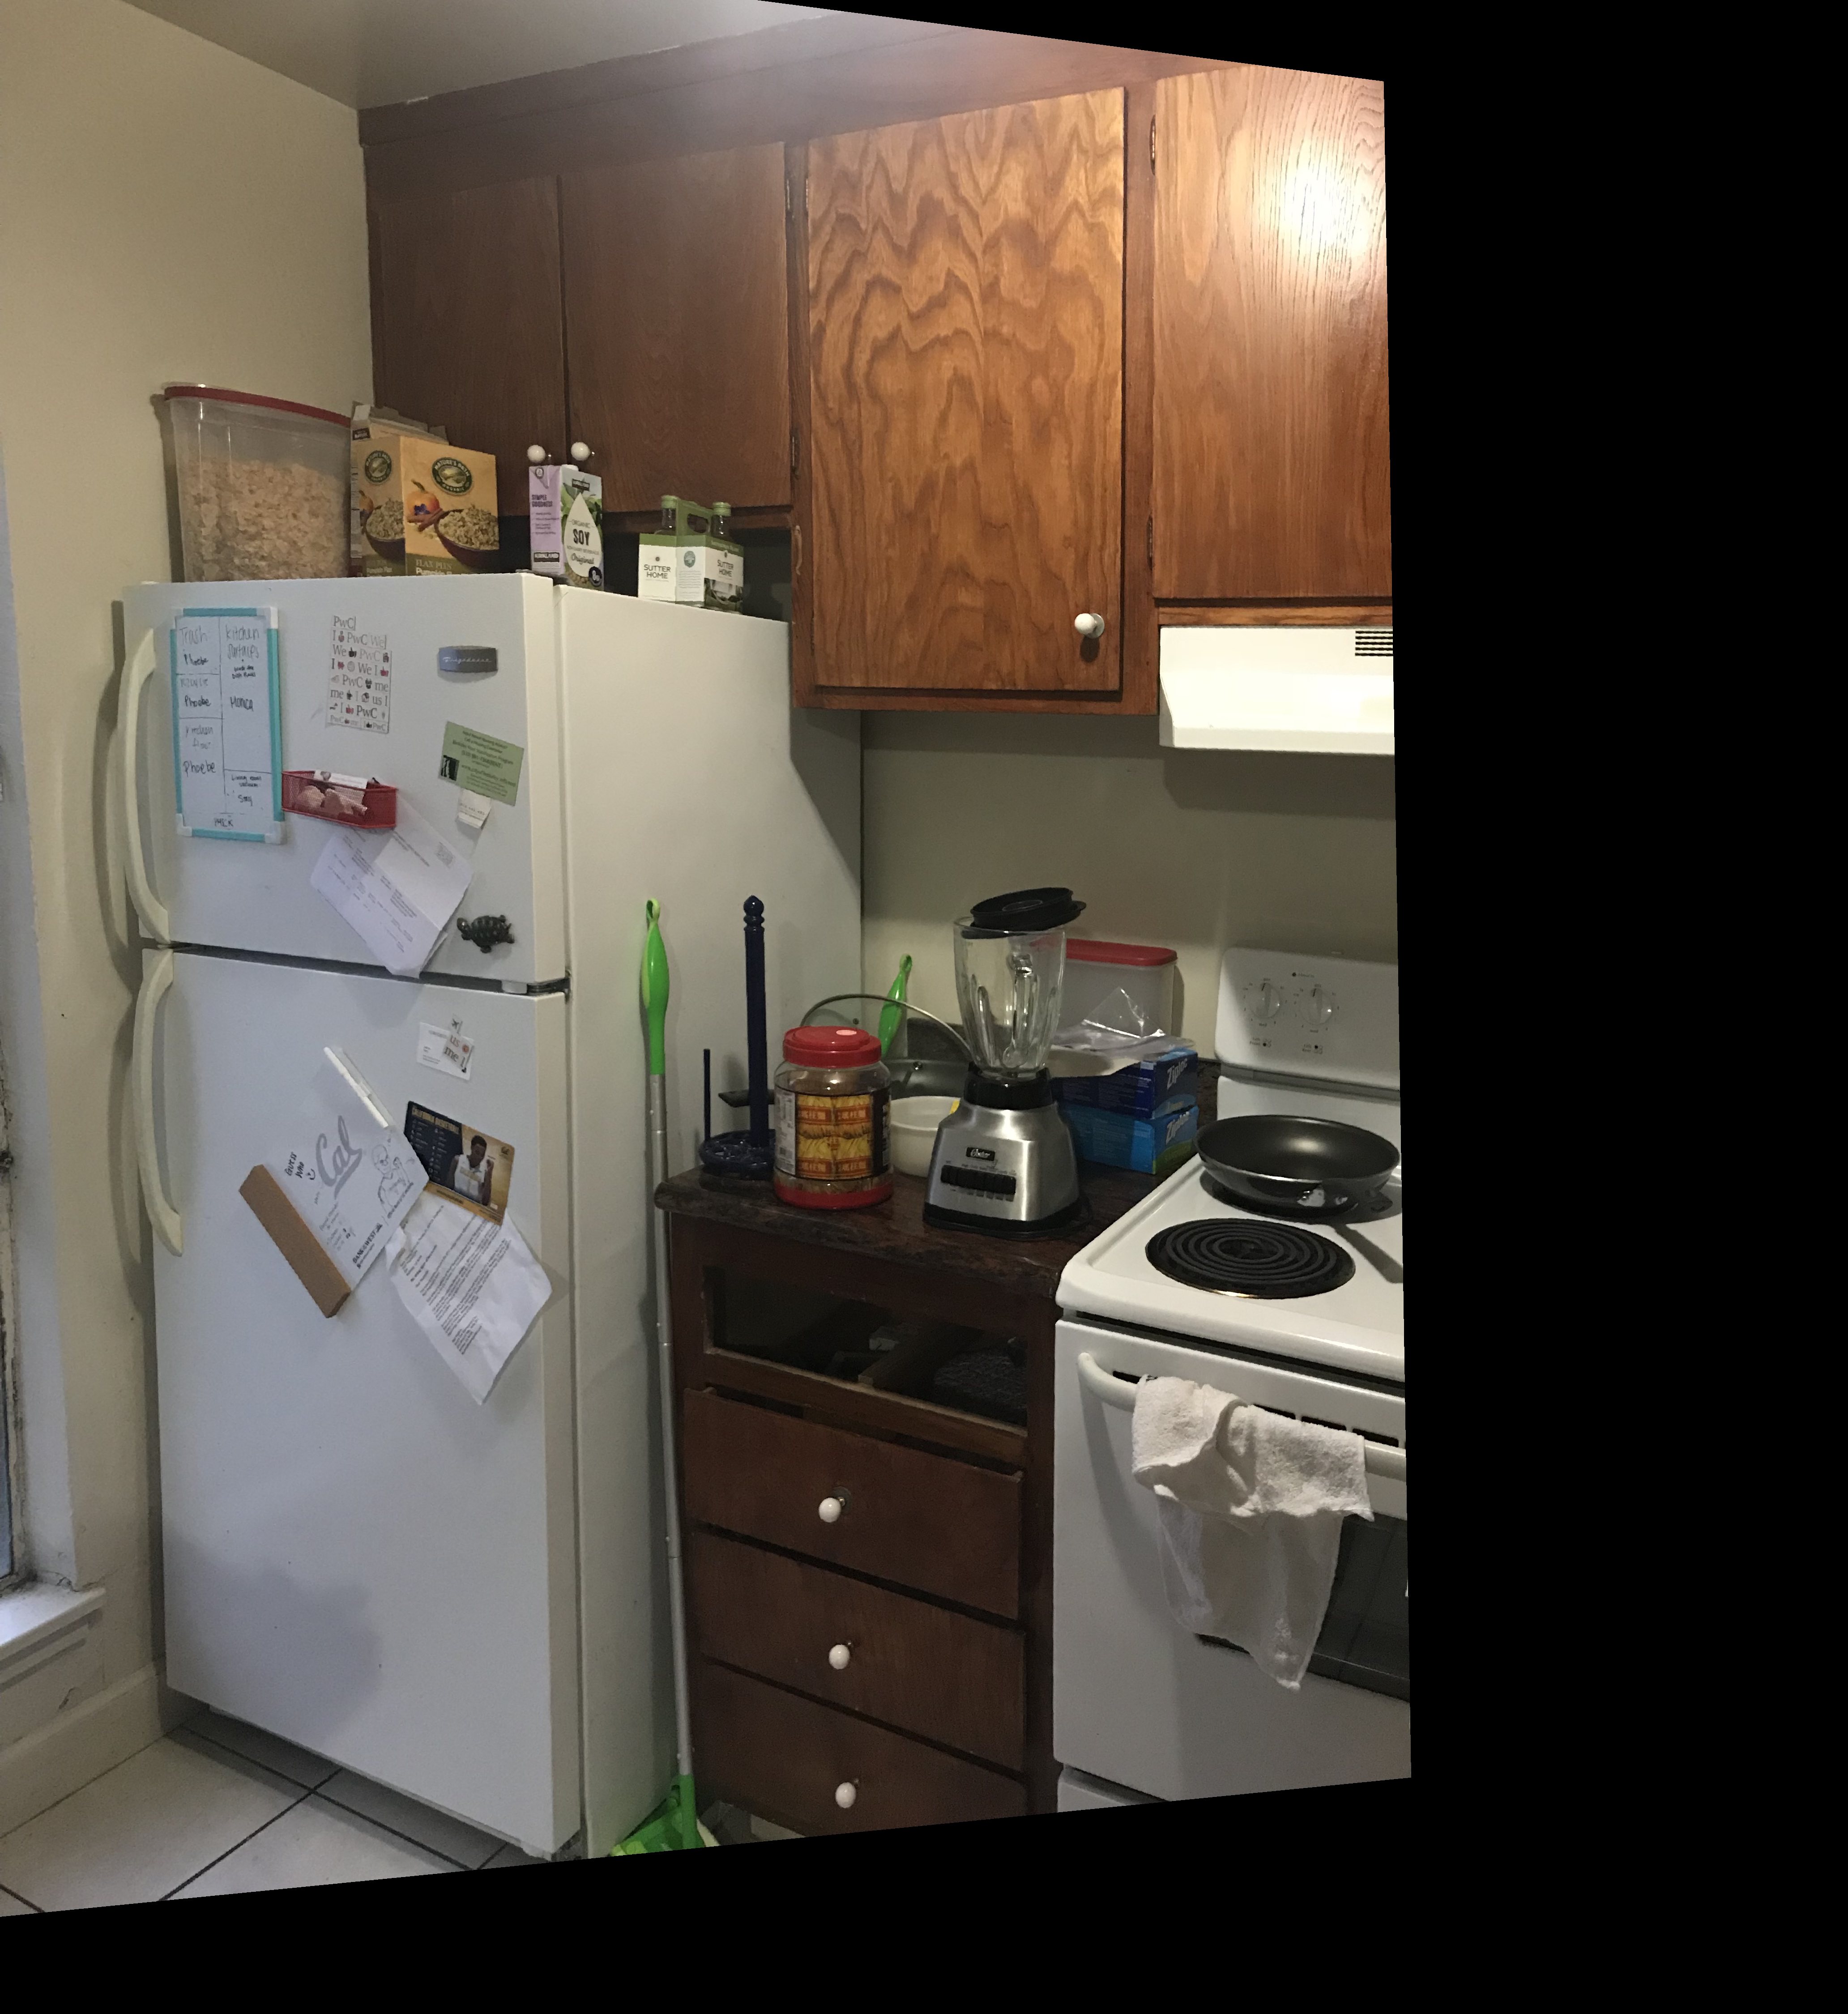
Final mosaic with linear blending
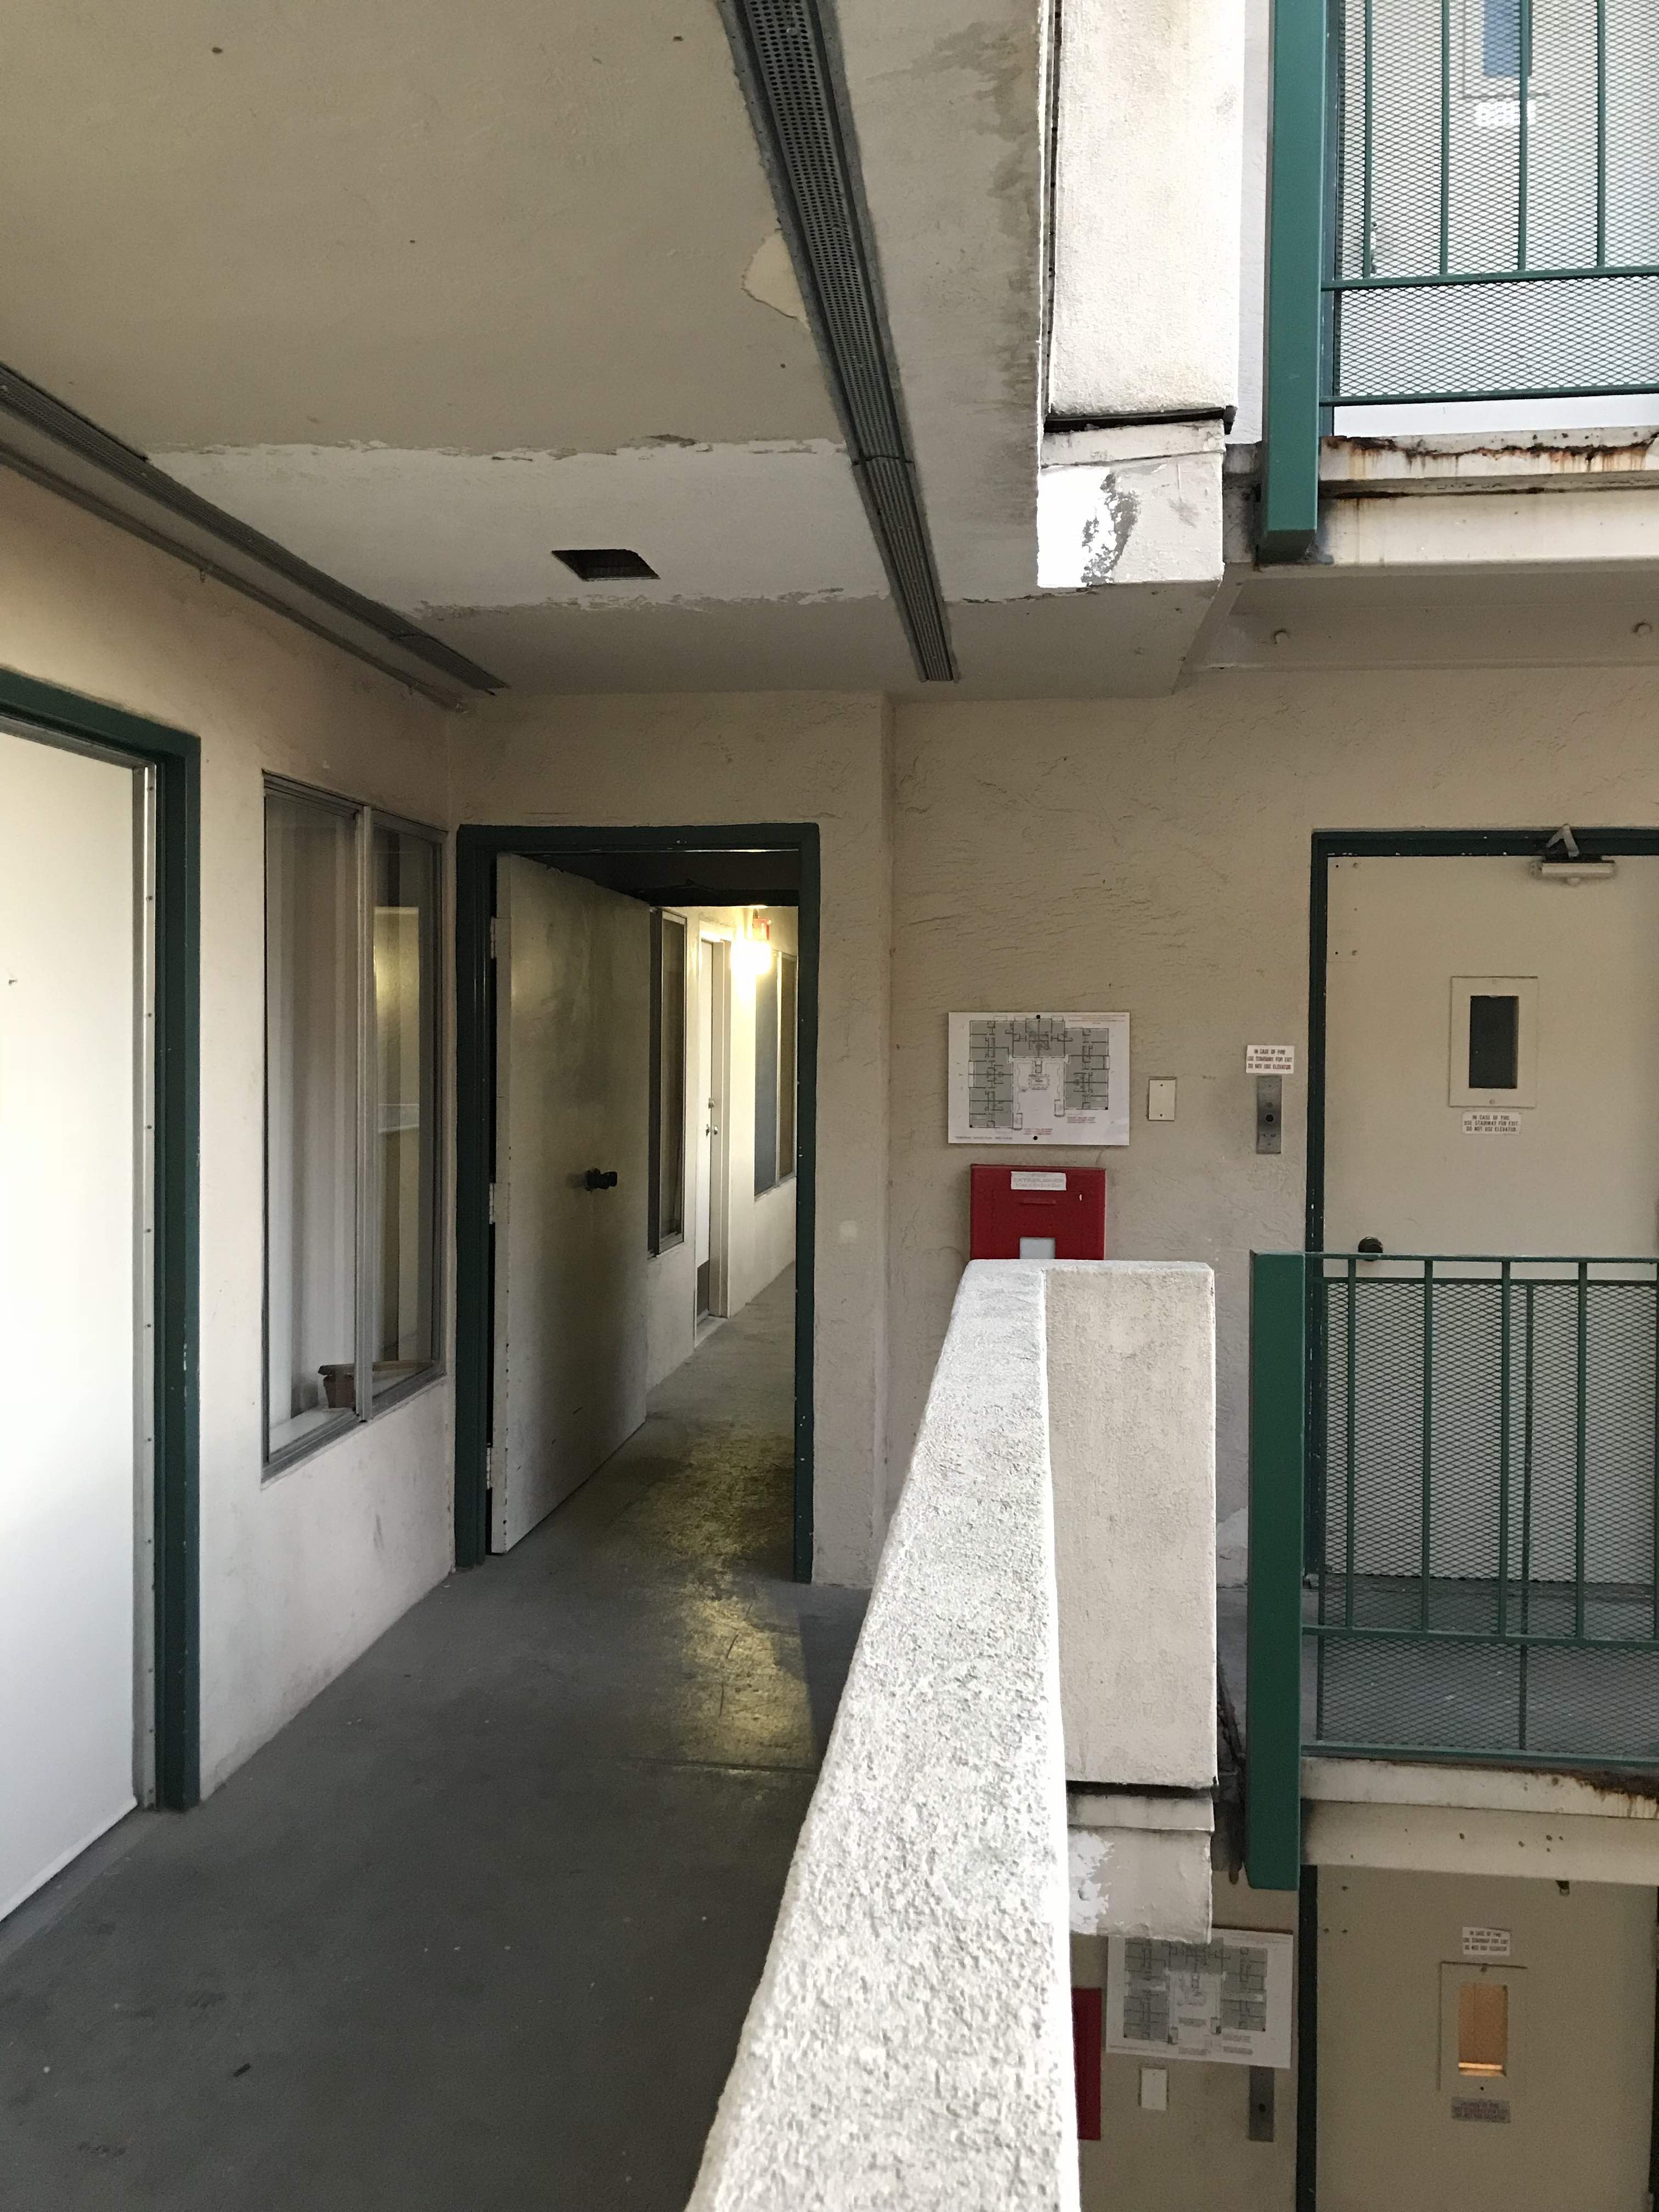
Original images of an apartment hallway

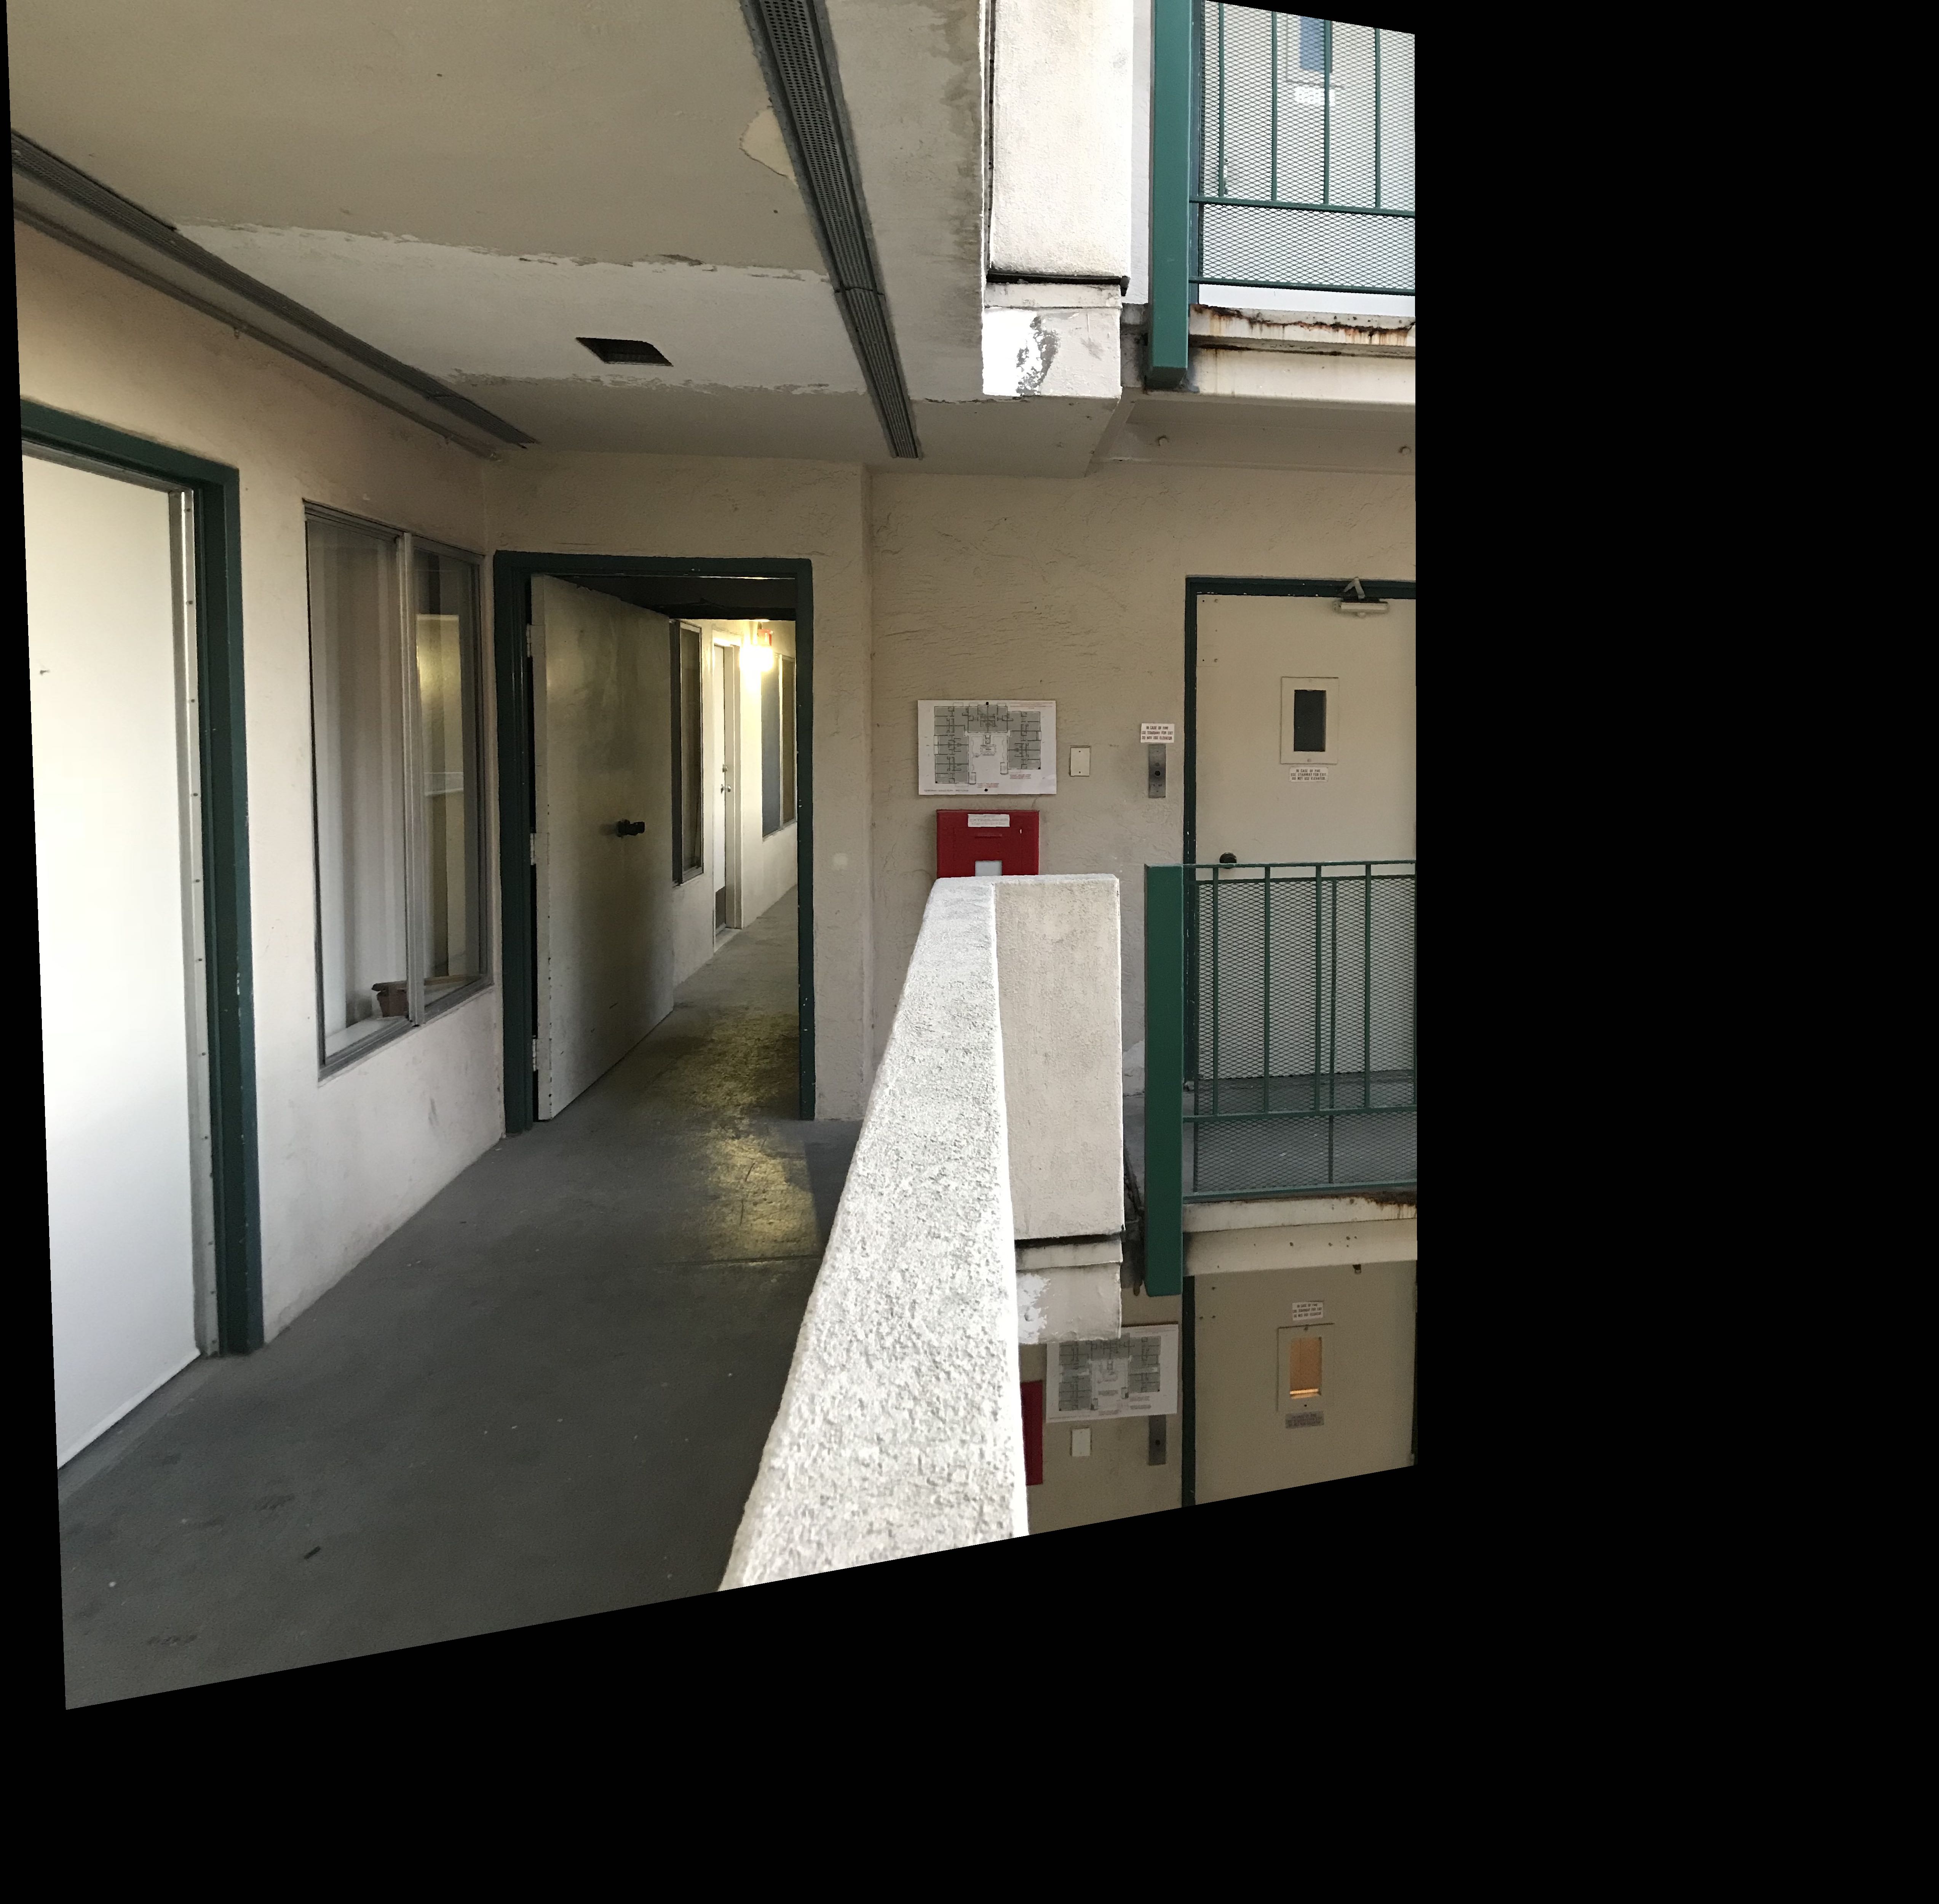
Warped left image
Final mosaic with linear blending
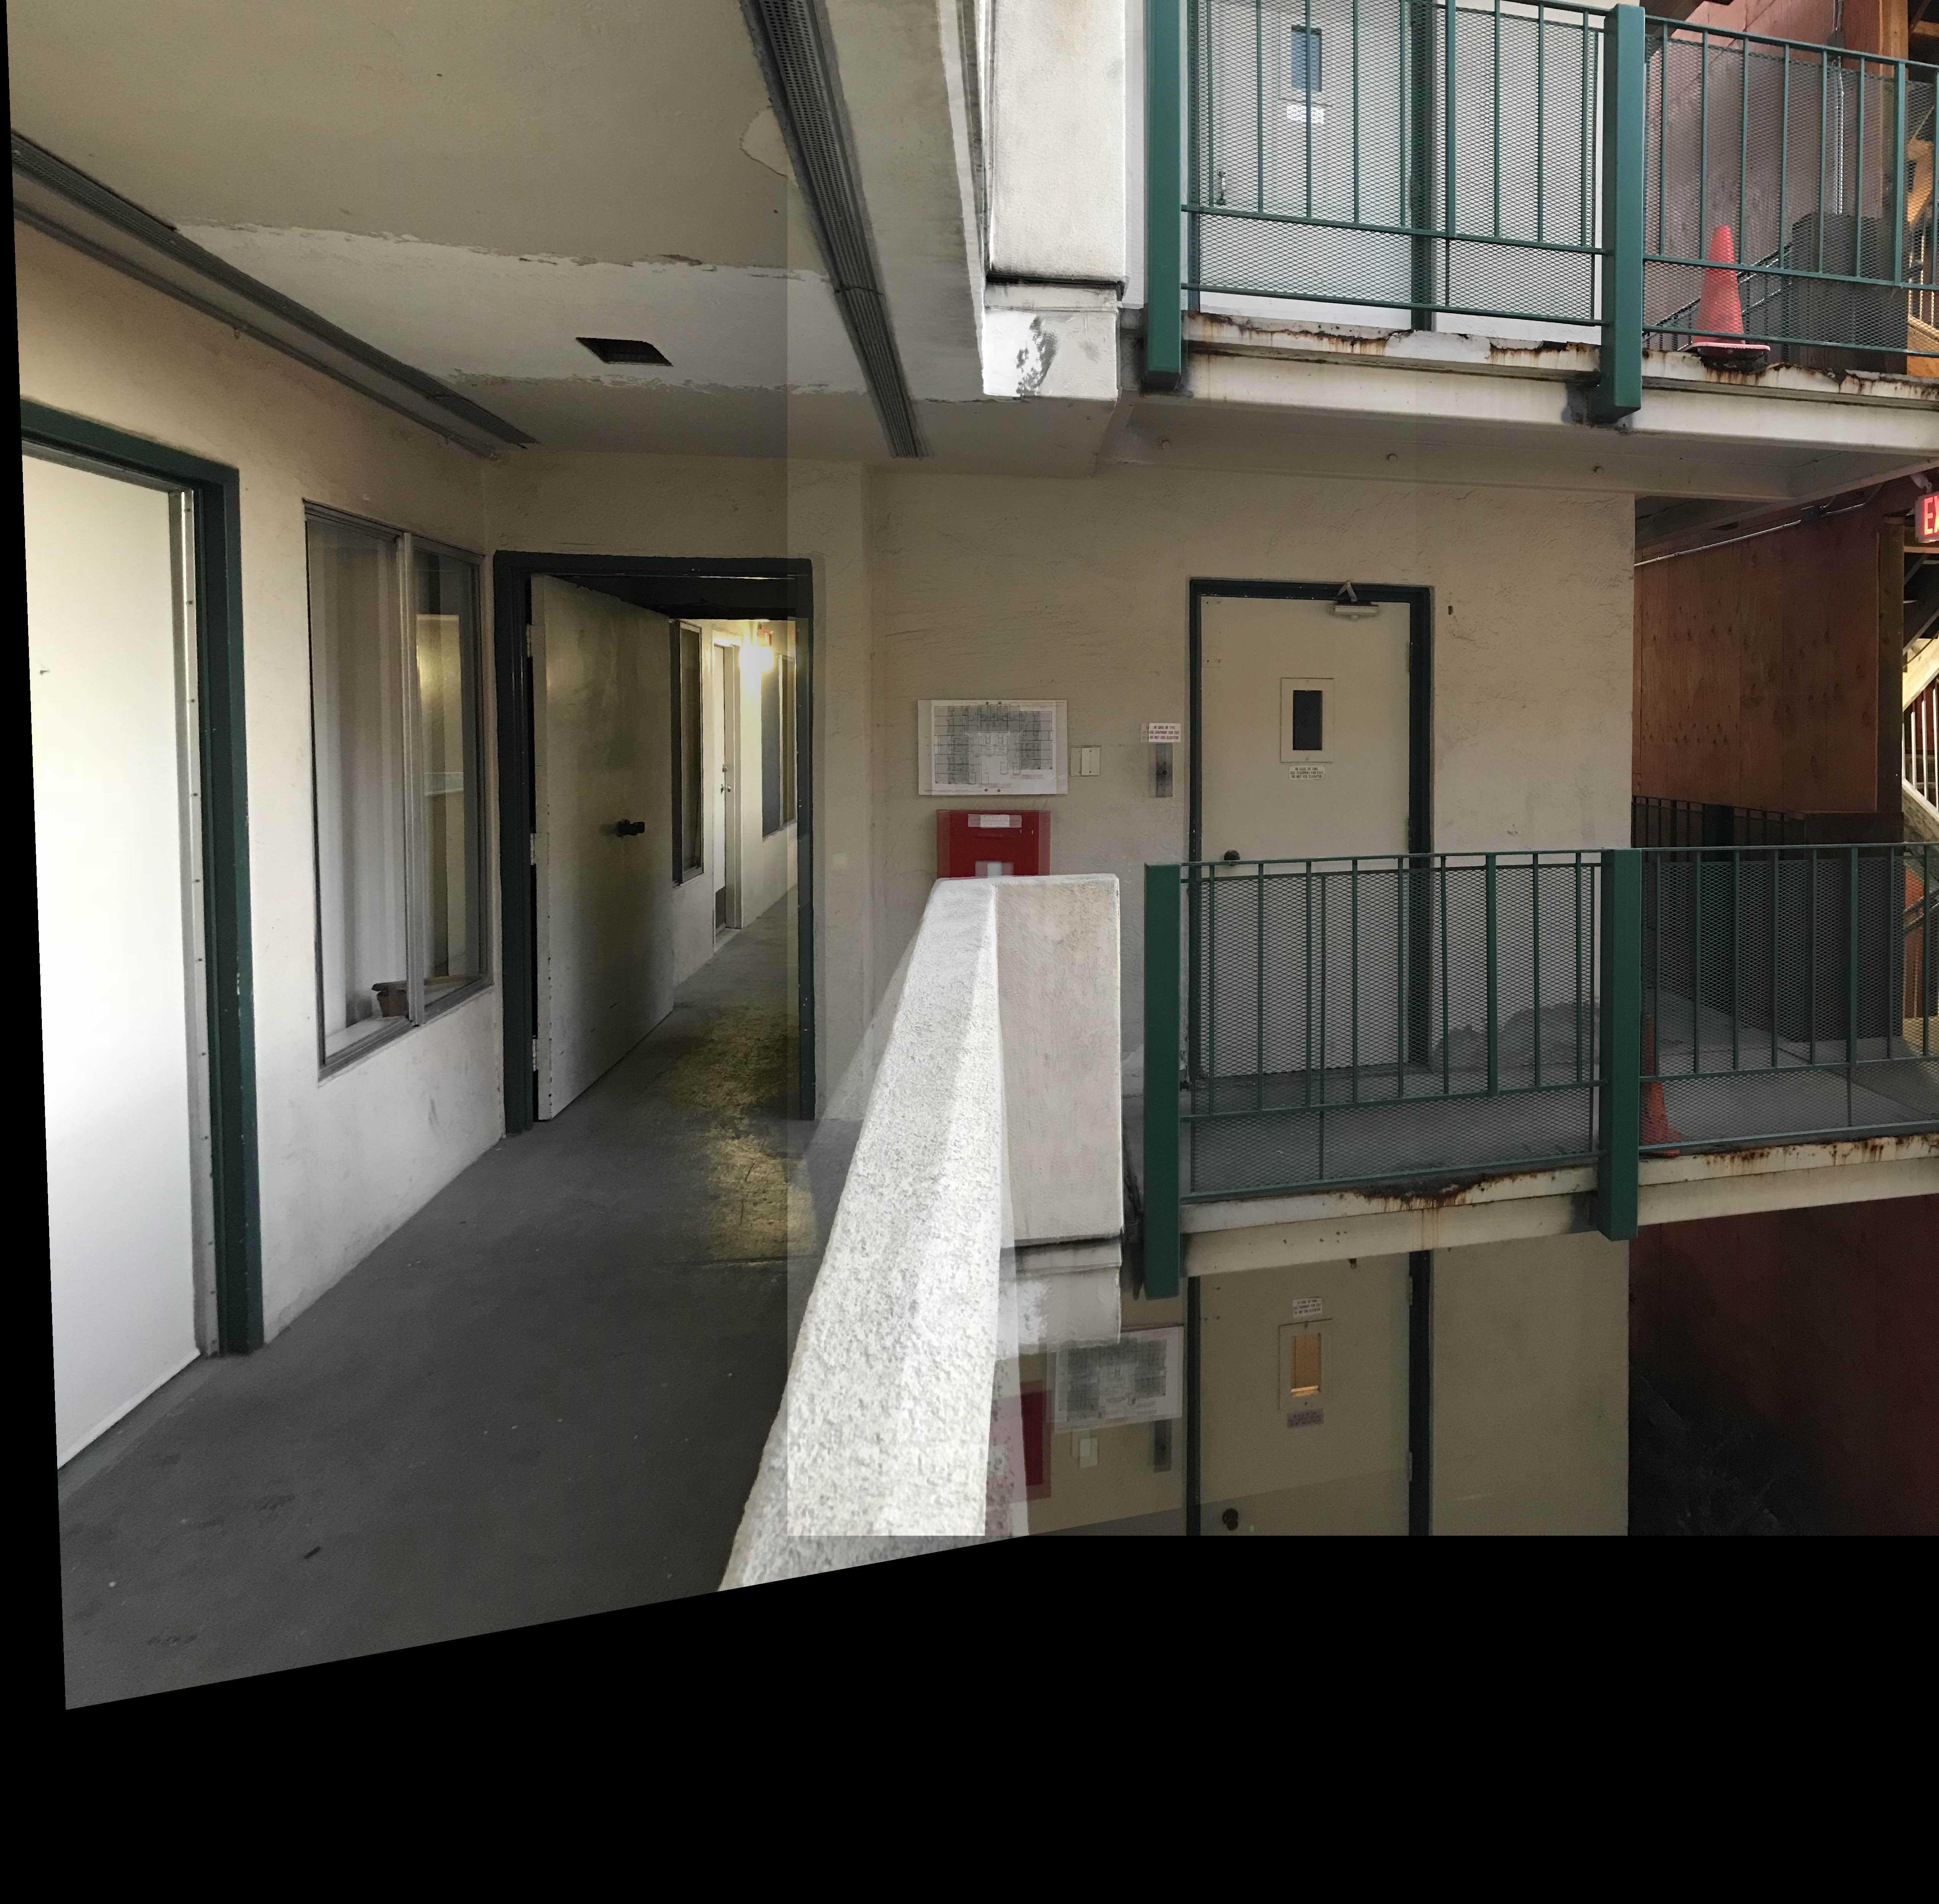
For the apartment hallway mosaic, because the details of the warped left image and right image do not perfectly align (ex. the cement railing is coming towards the viewer at different angles in the two photos), the resulting blended mosaic is not as cohesive as the other two examples
Through this project, I learned how powerful and useful homographies and projective geometry is and am excited to learn more about them!