
By: Alex Pan
In this project, we are exploring the different applications of image warping and the cool effects it can lead to. More specifically, we look at how we can post-process images to manipulate the viewing perspective.
In order to warp our images, we use what are called 'homographies': an isomorphism of projective spaces. Luckily, this complicated concept can be generalized into a set of parameters that lets us transform between a pair of images. The transformation can be written out as p' = Hp, where H (the homography) is a 3x3 matric with 8 degrees of freedom. One way to recover the homography is to create a set of (p', p) pairs of corresponding points that map what the warp should look like. If we have at least 4 pairs of point correspondences, then we can solve for the matrix H that will let us transform one image to another. Below, we will see this equation written out:
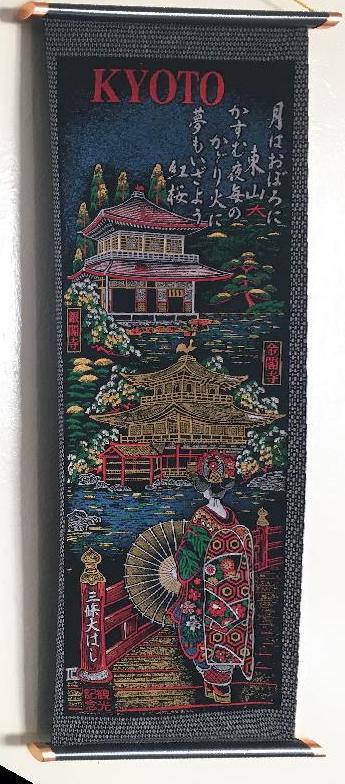
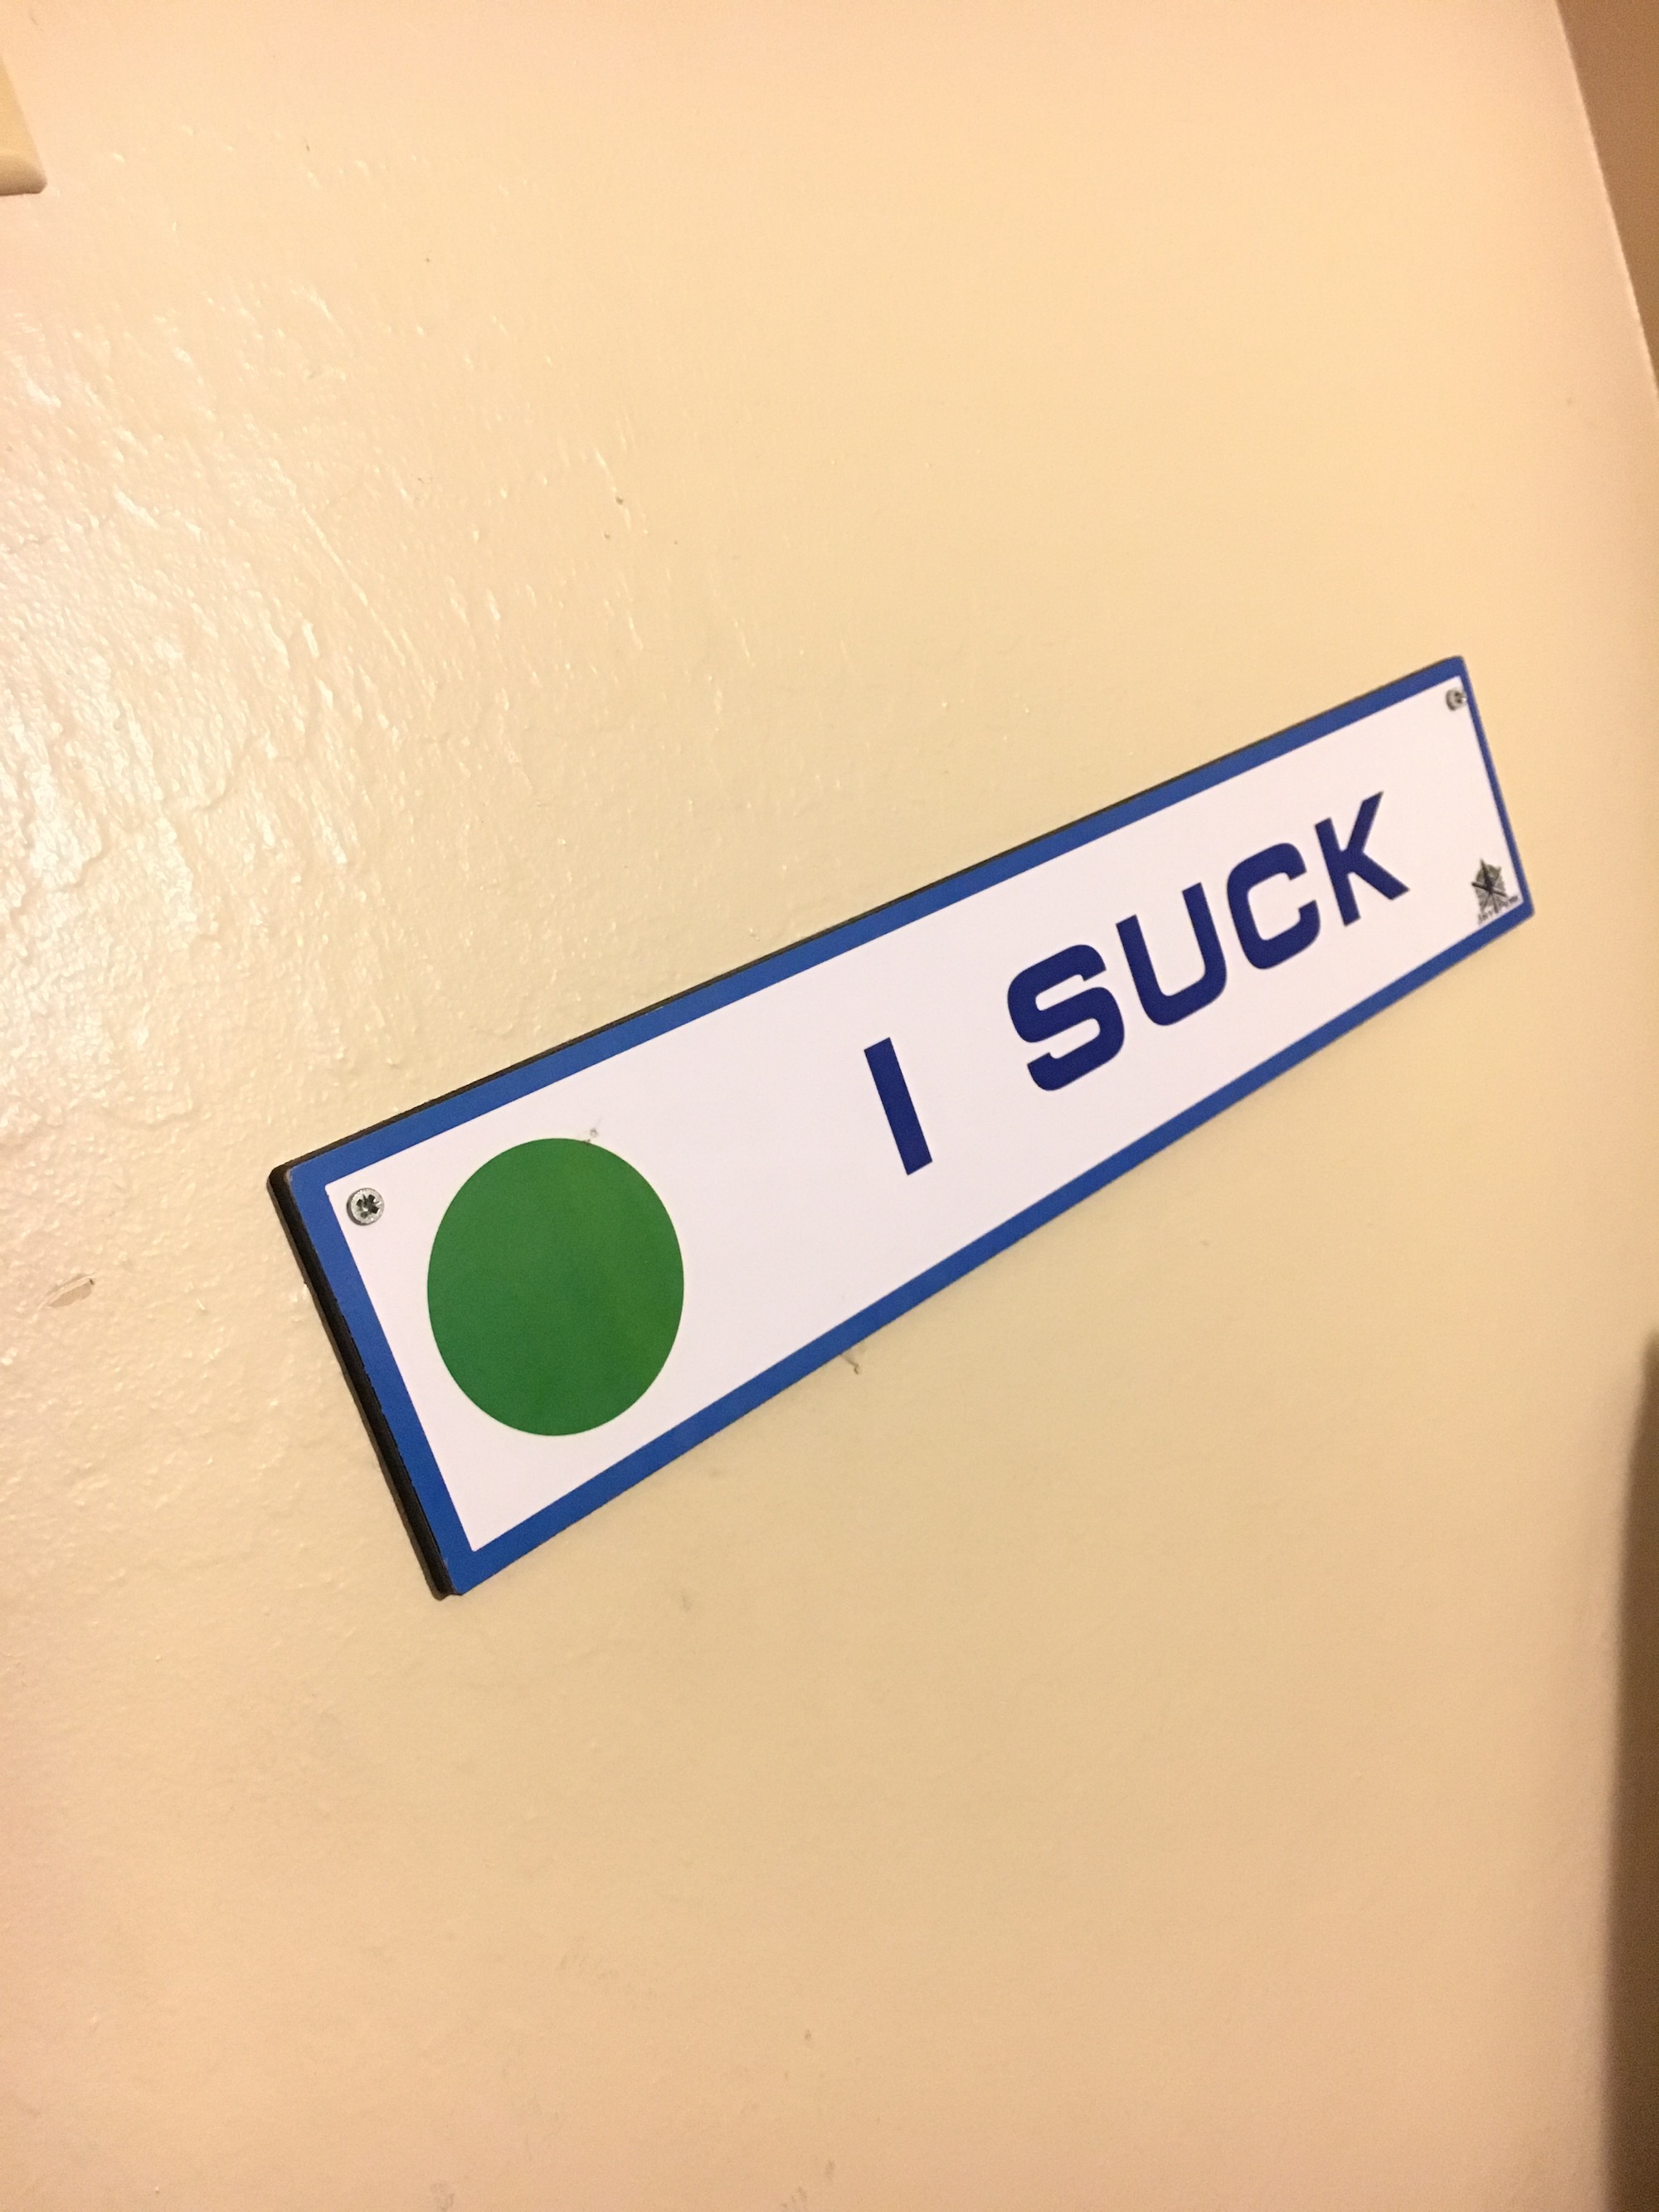
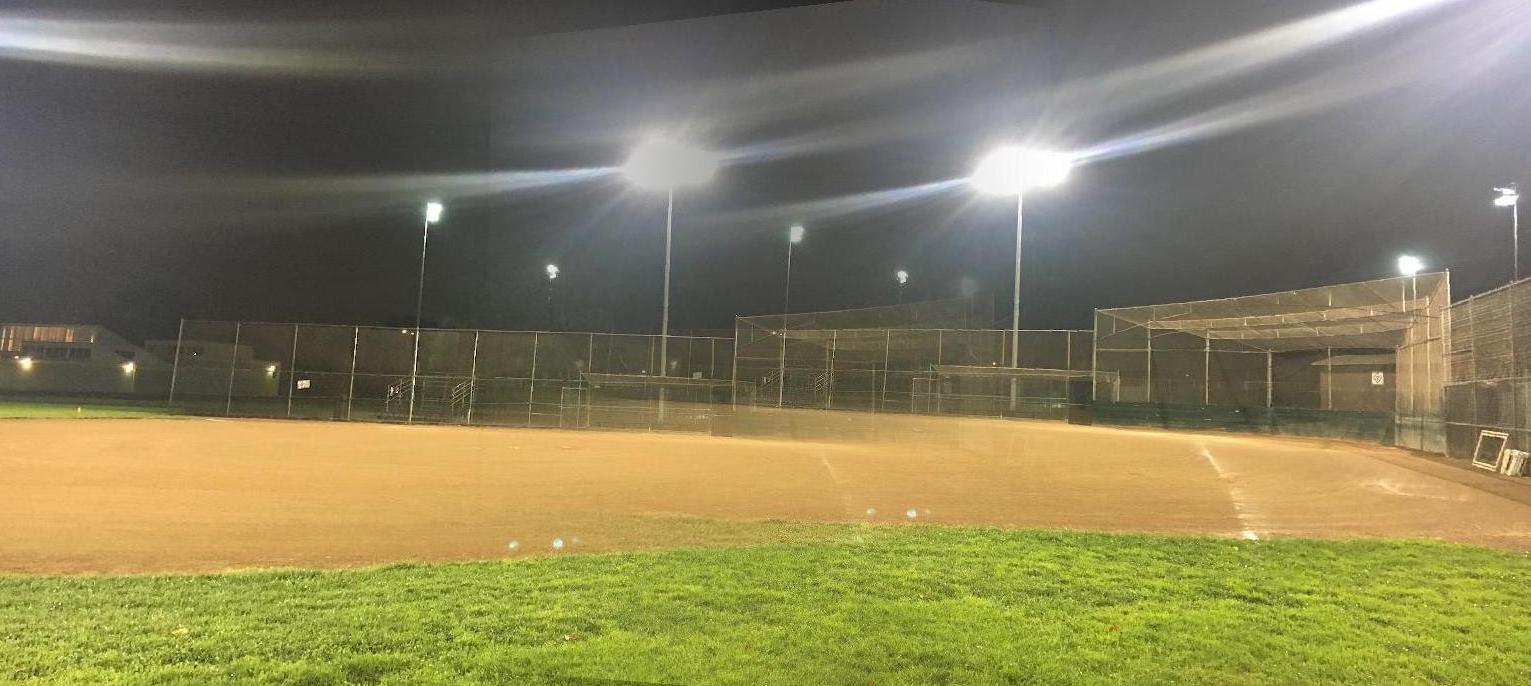
Given the homography, we can warp the image by appling the transformation matrix to each of the image's points. To show that our warping is working correctly, we use it to 'rectify' images. By this, we mean taking pictures and warping them so that the image subject is frontal-parallel. Here are a few examples of this:
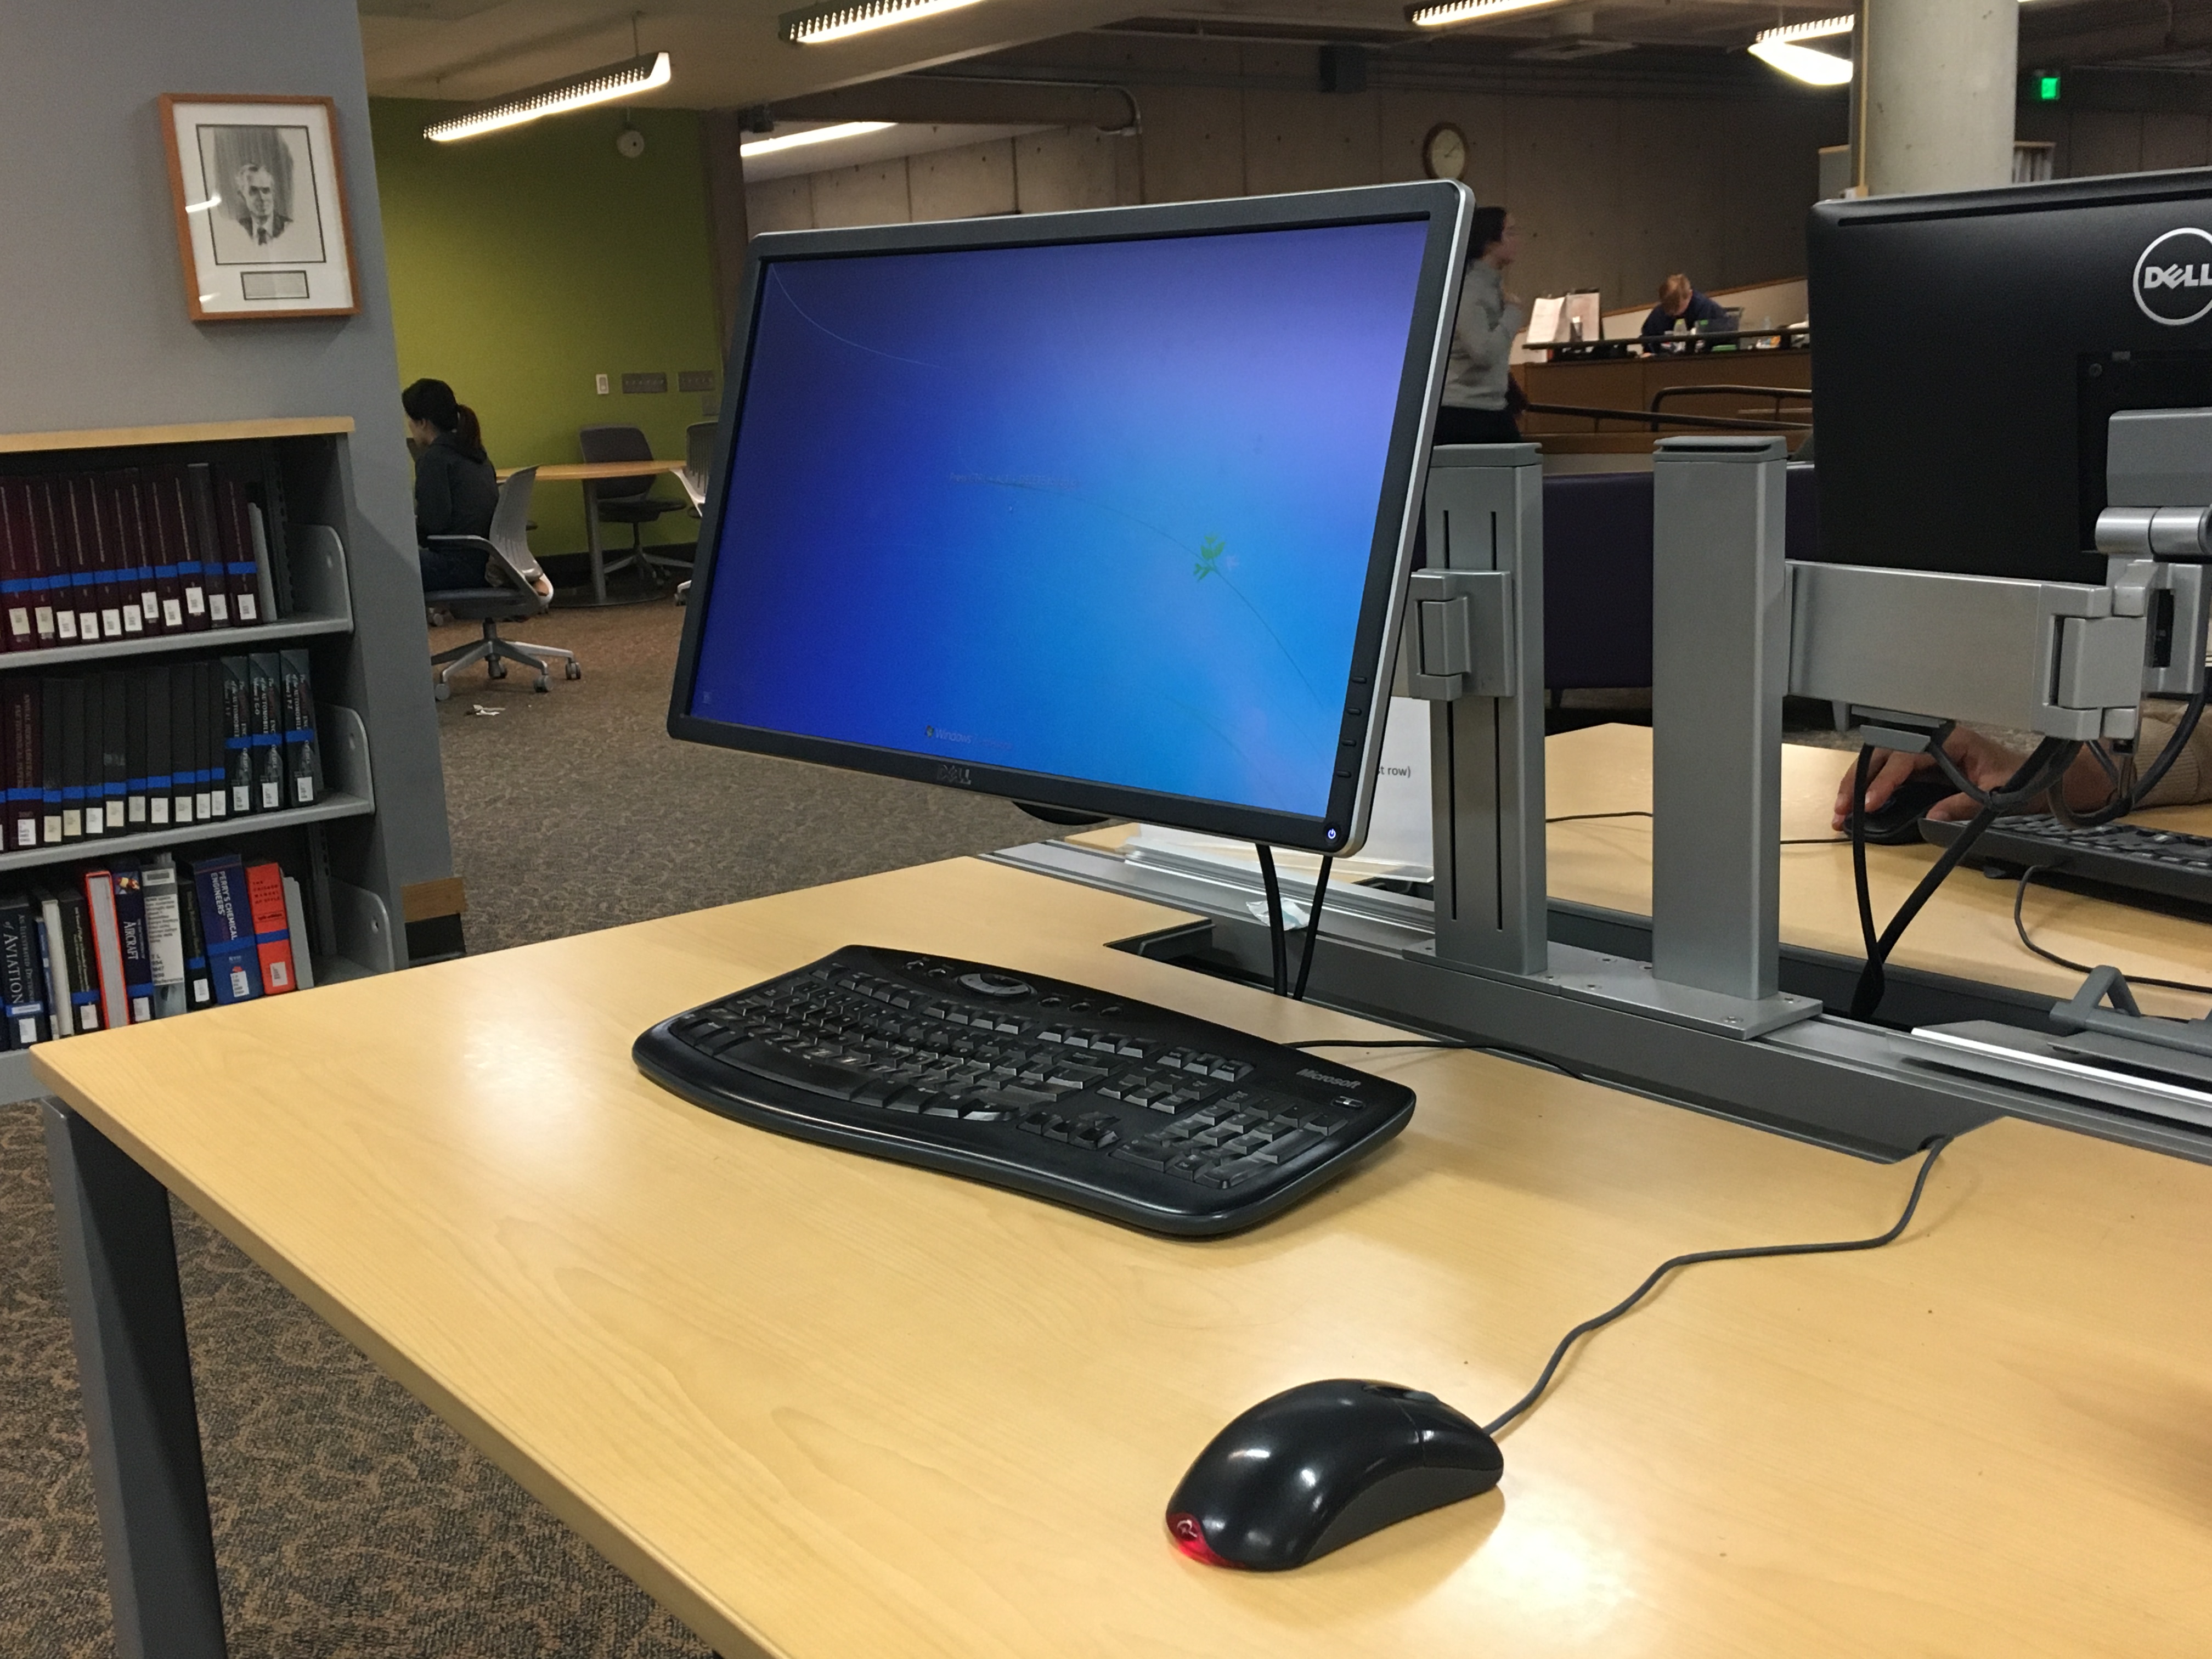
Original Image

Rectified Image
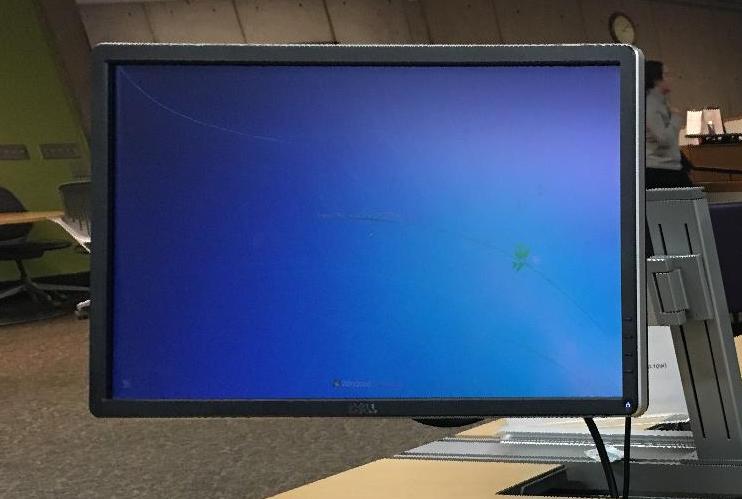
Rectified Image (Cropped)
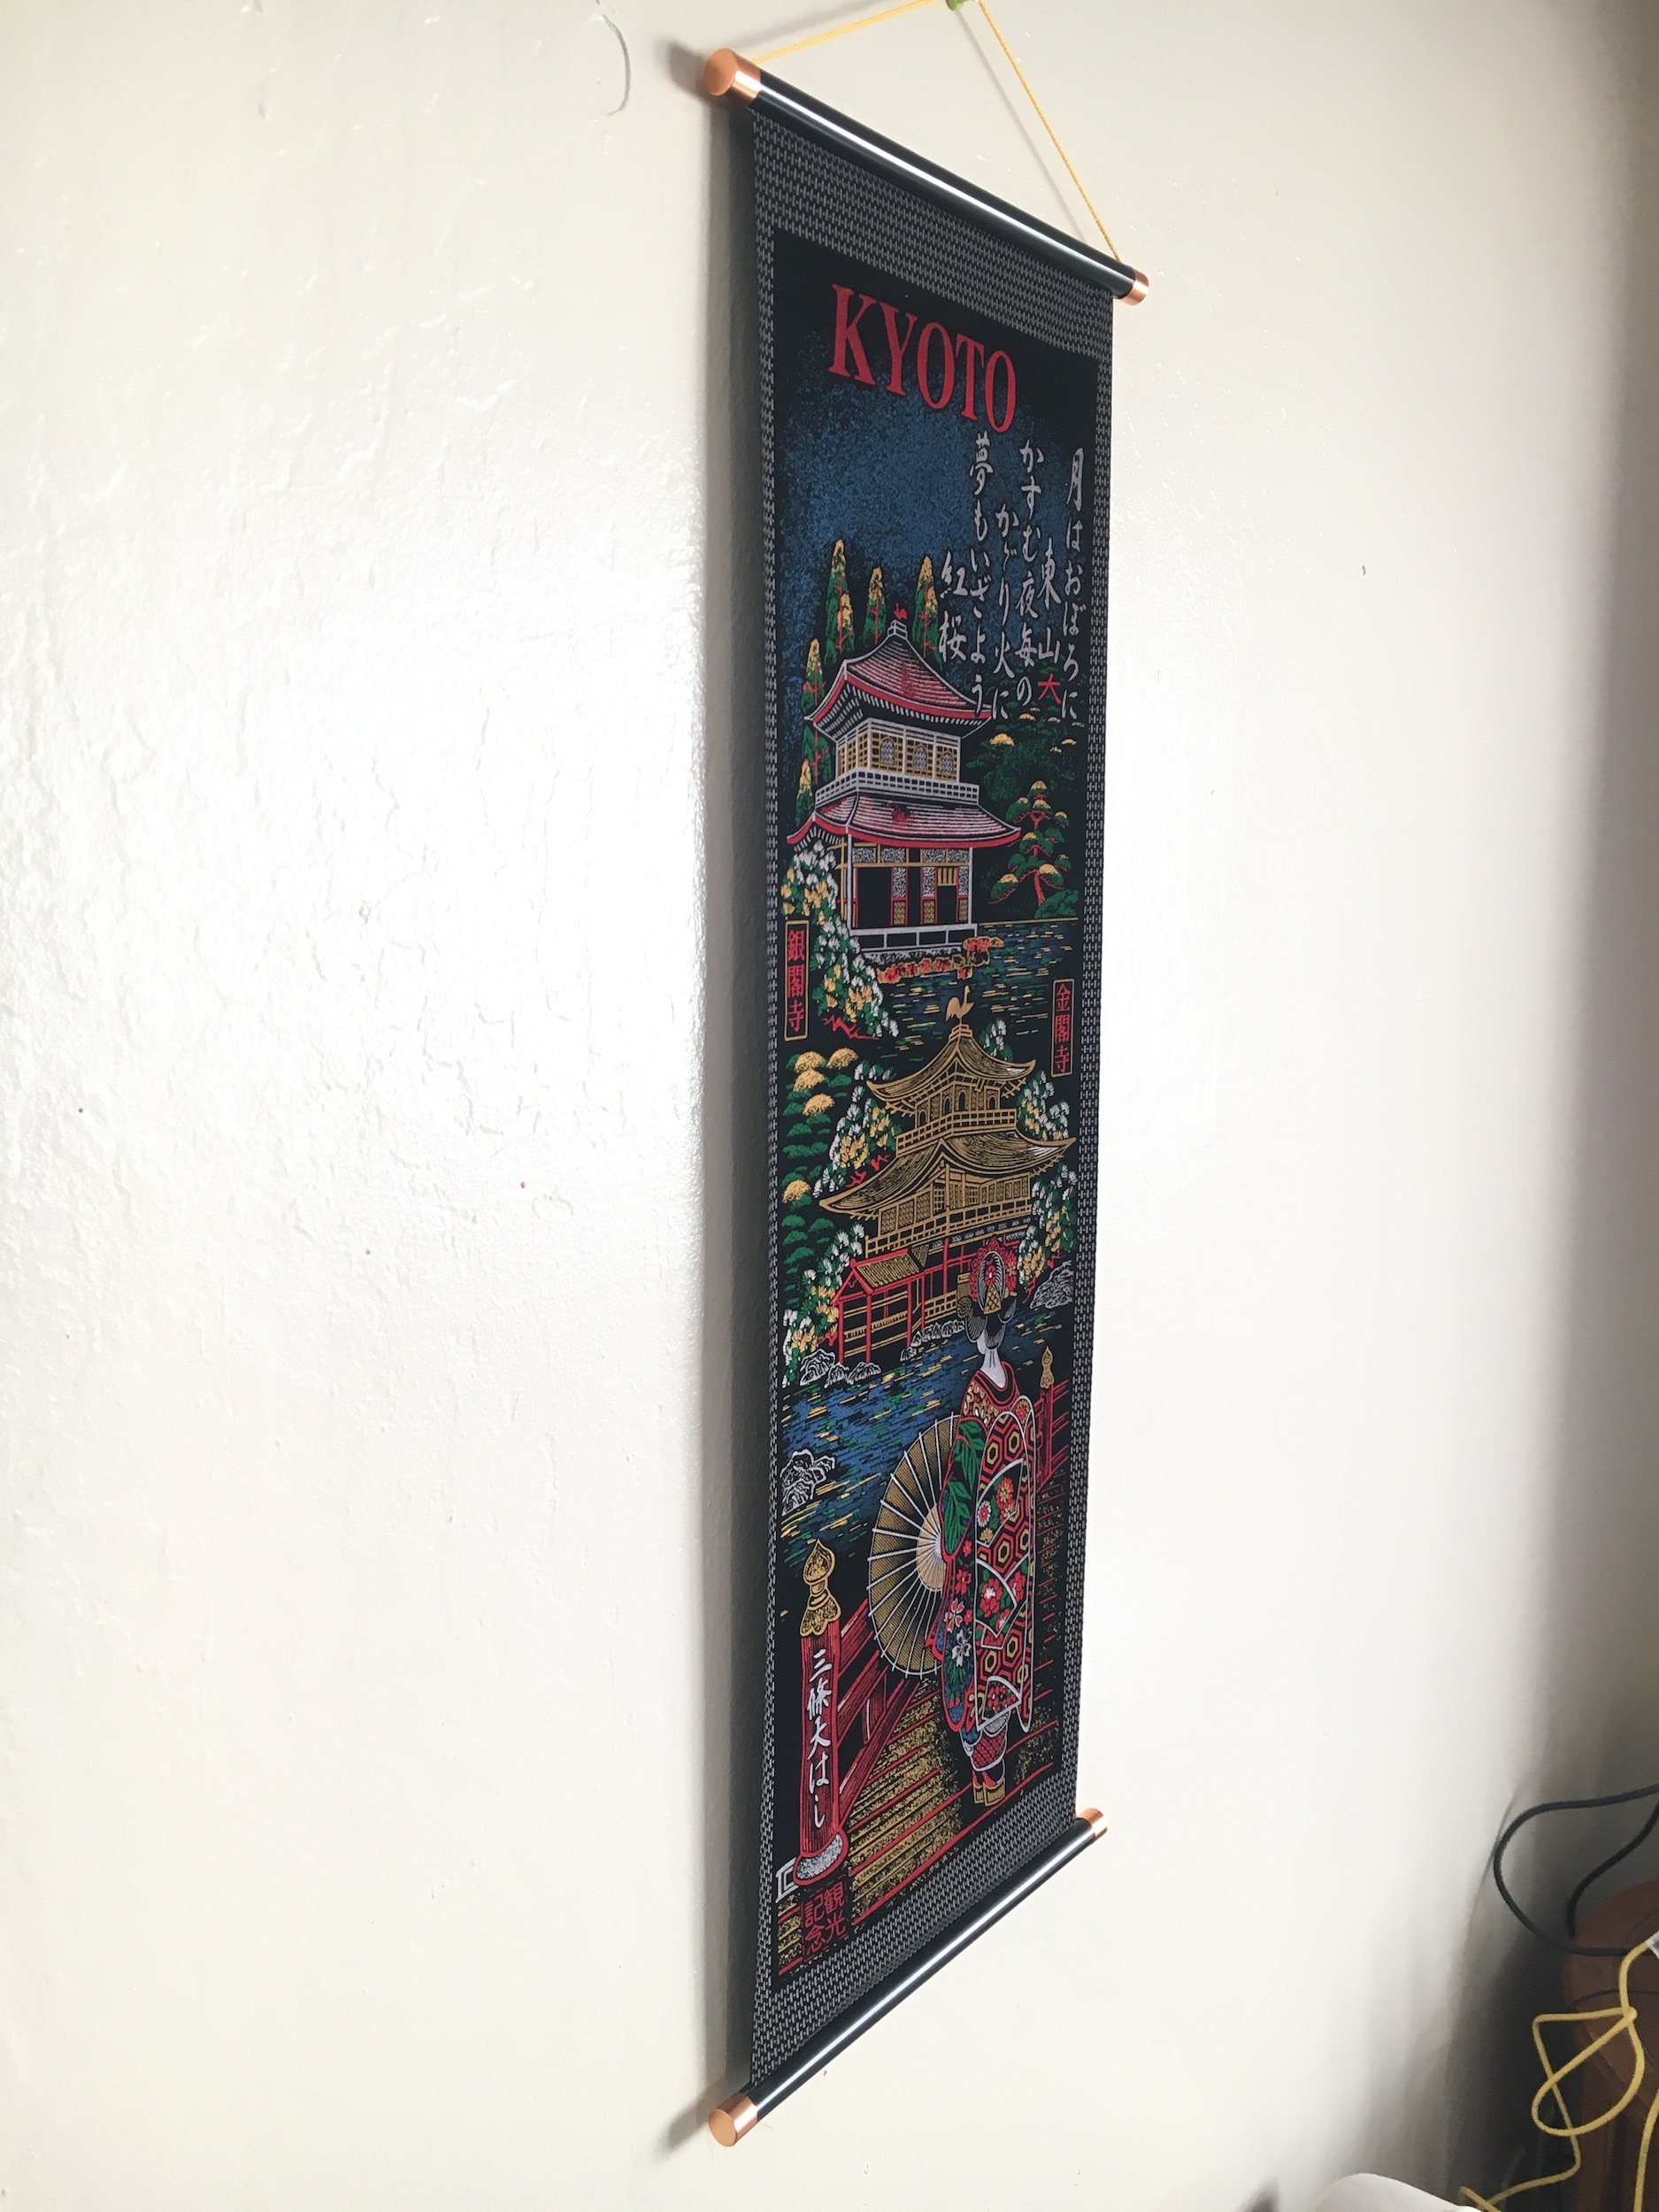
Original Image
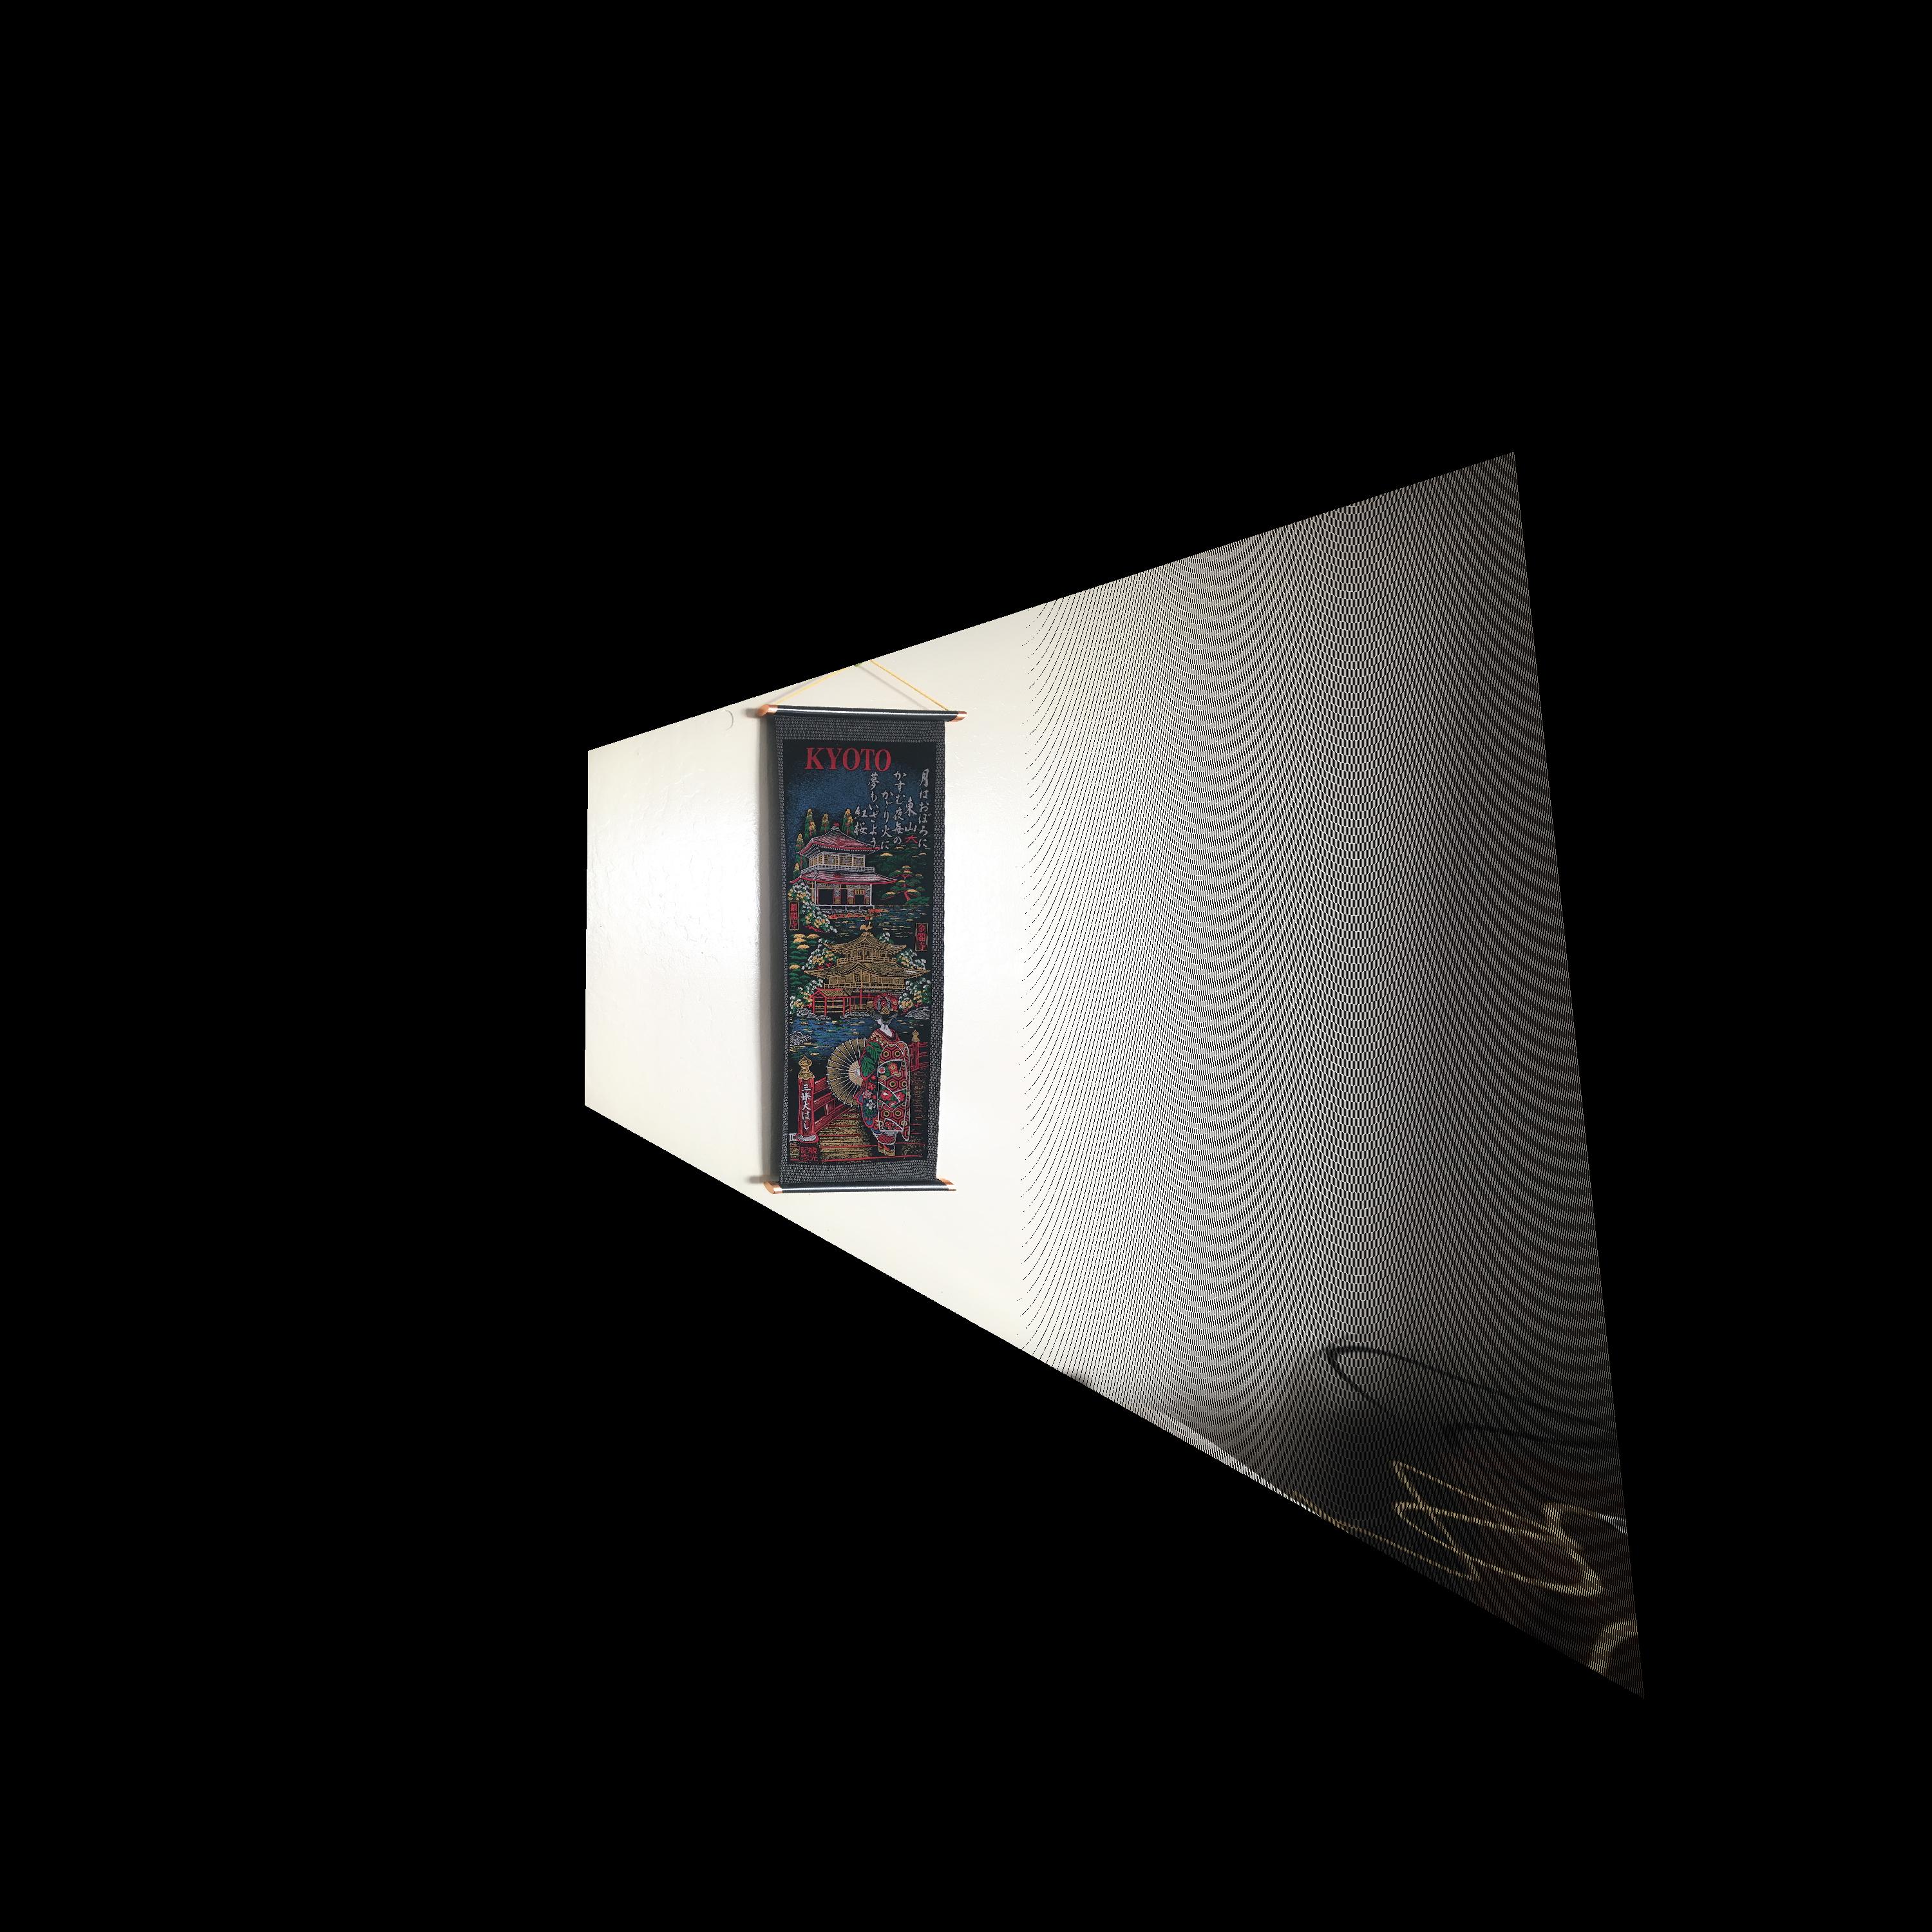
Rectified Image
Rectified Image (Cropped)
Original Image
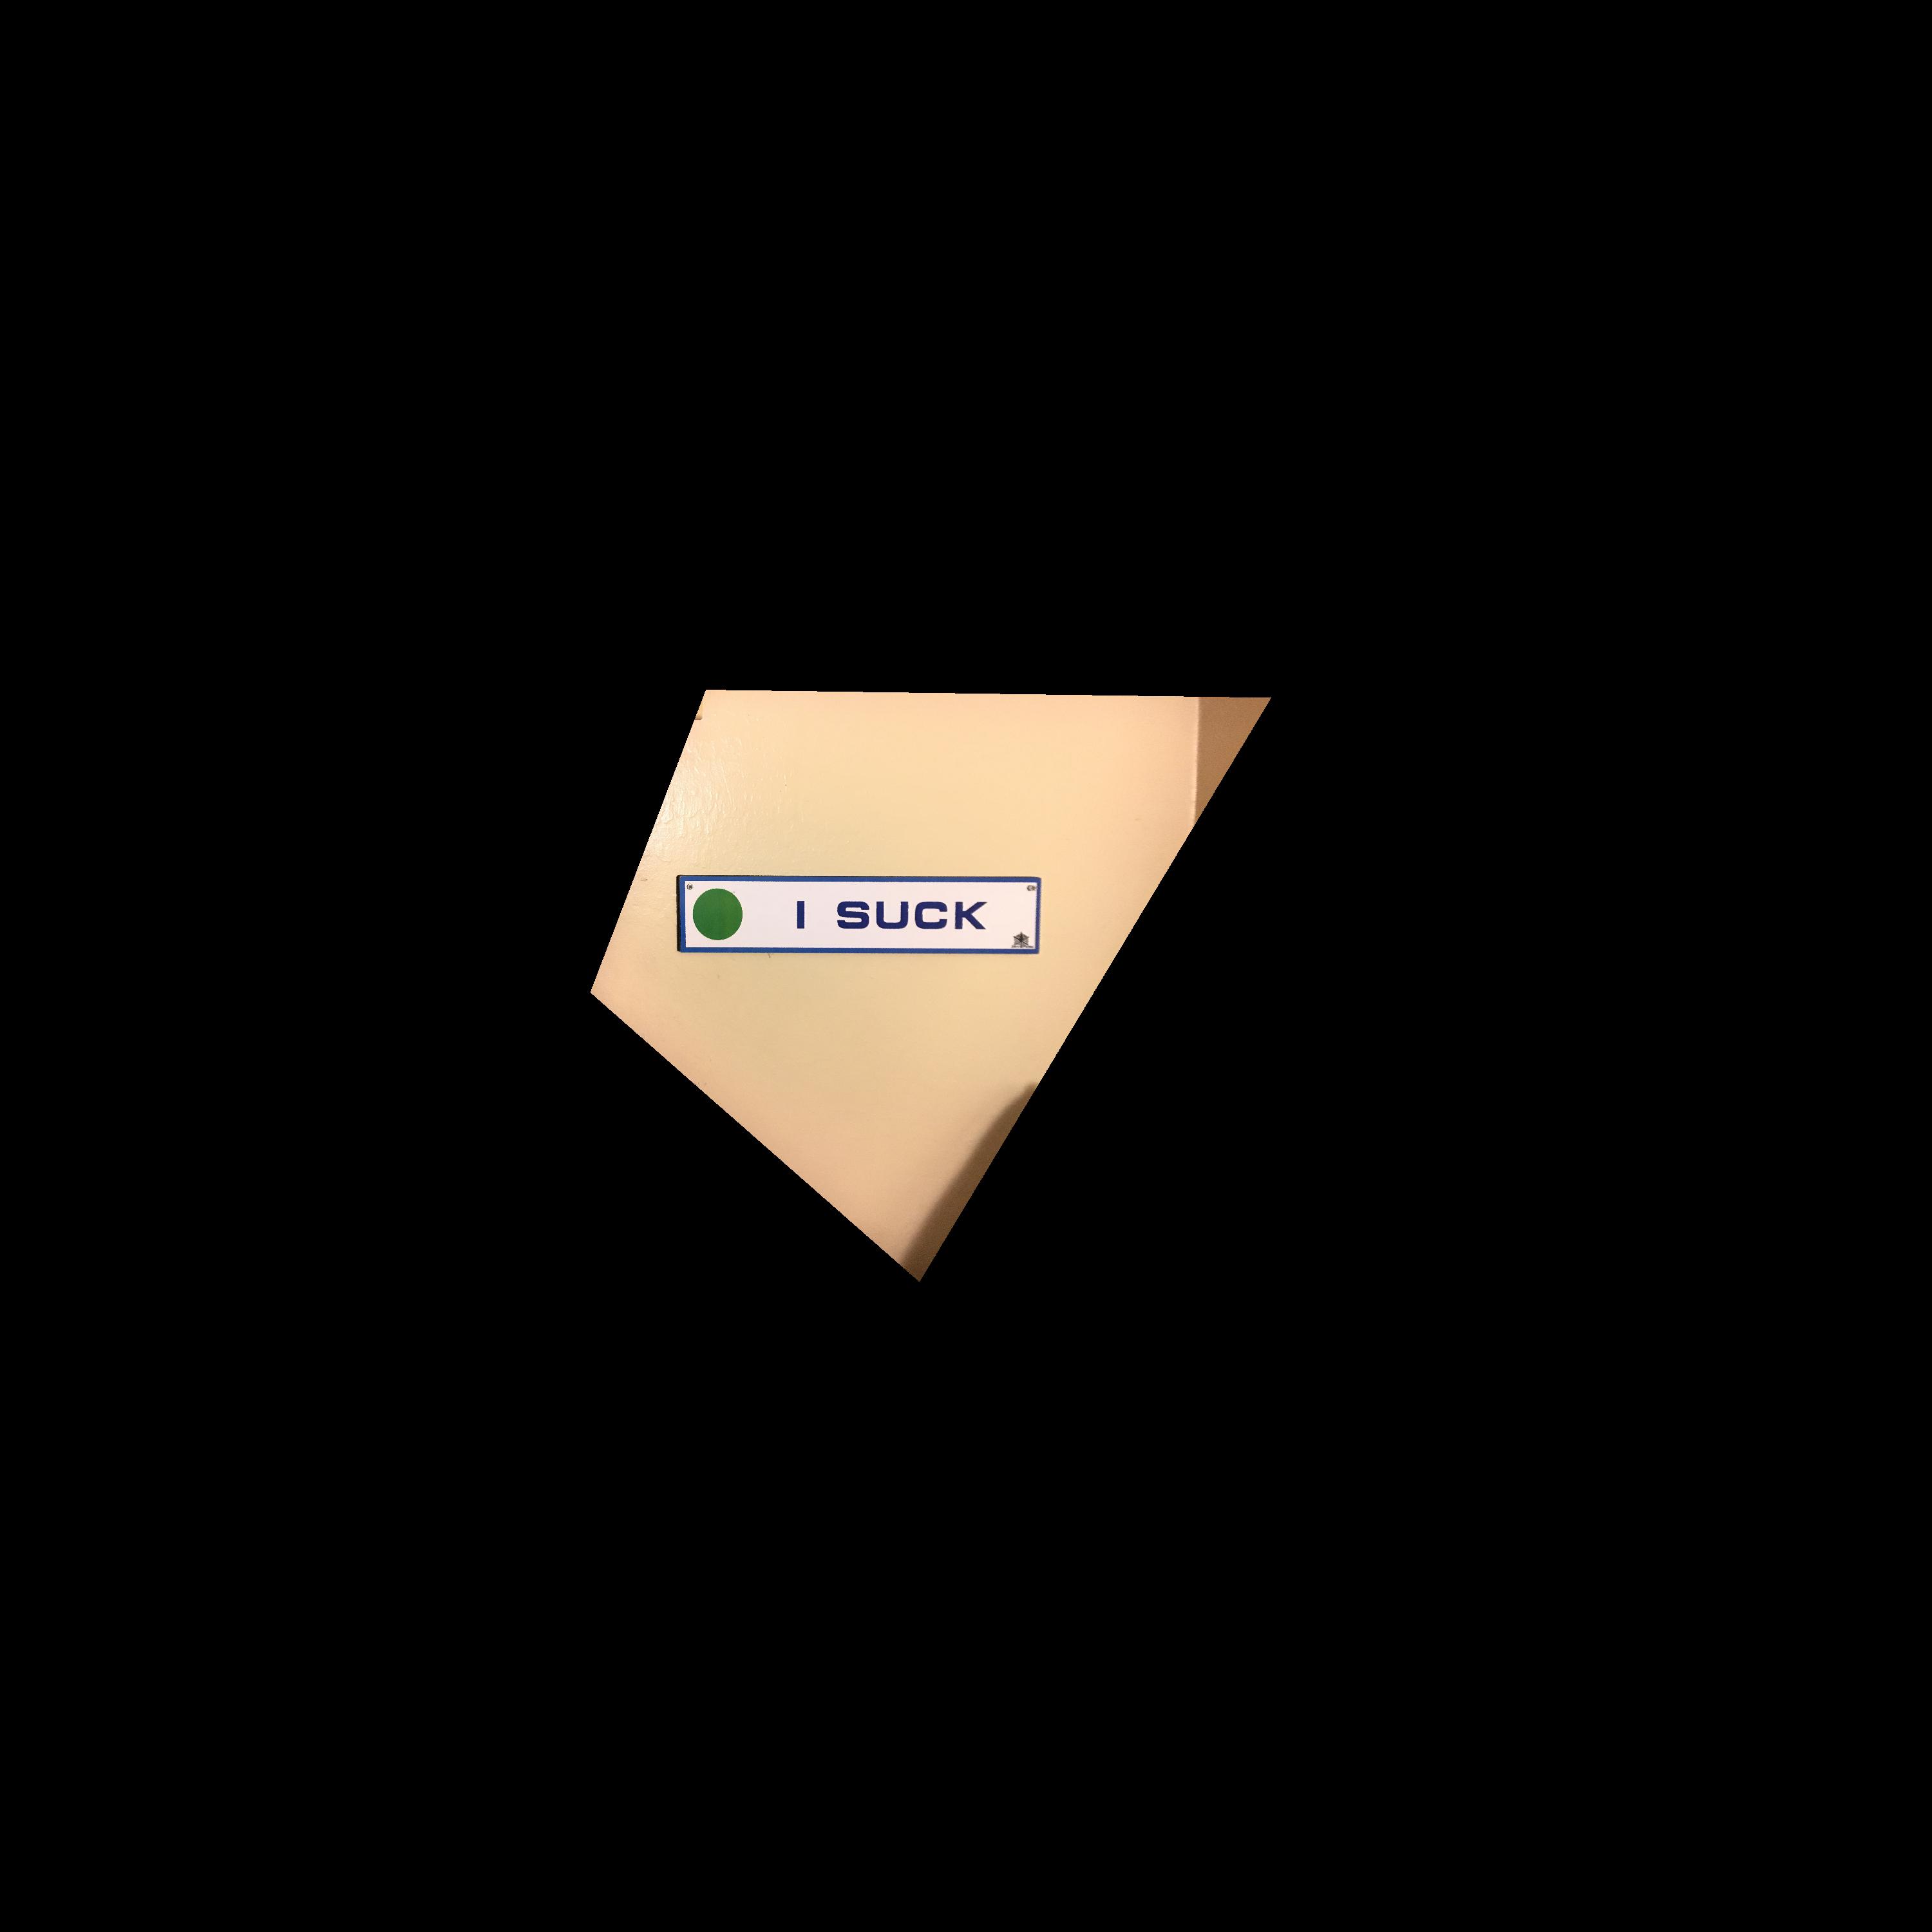
Rectified Image
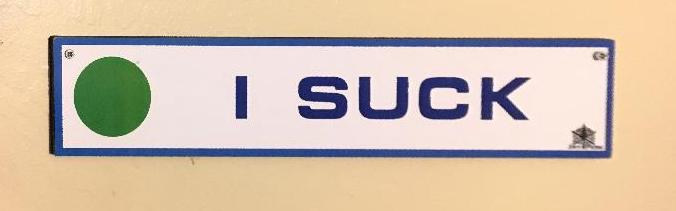
Rectified Image (Cropped)
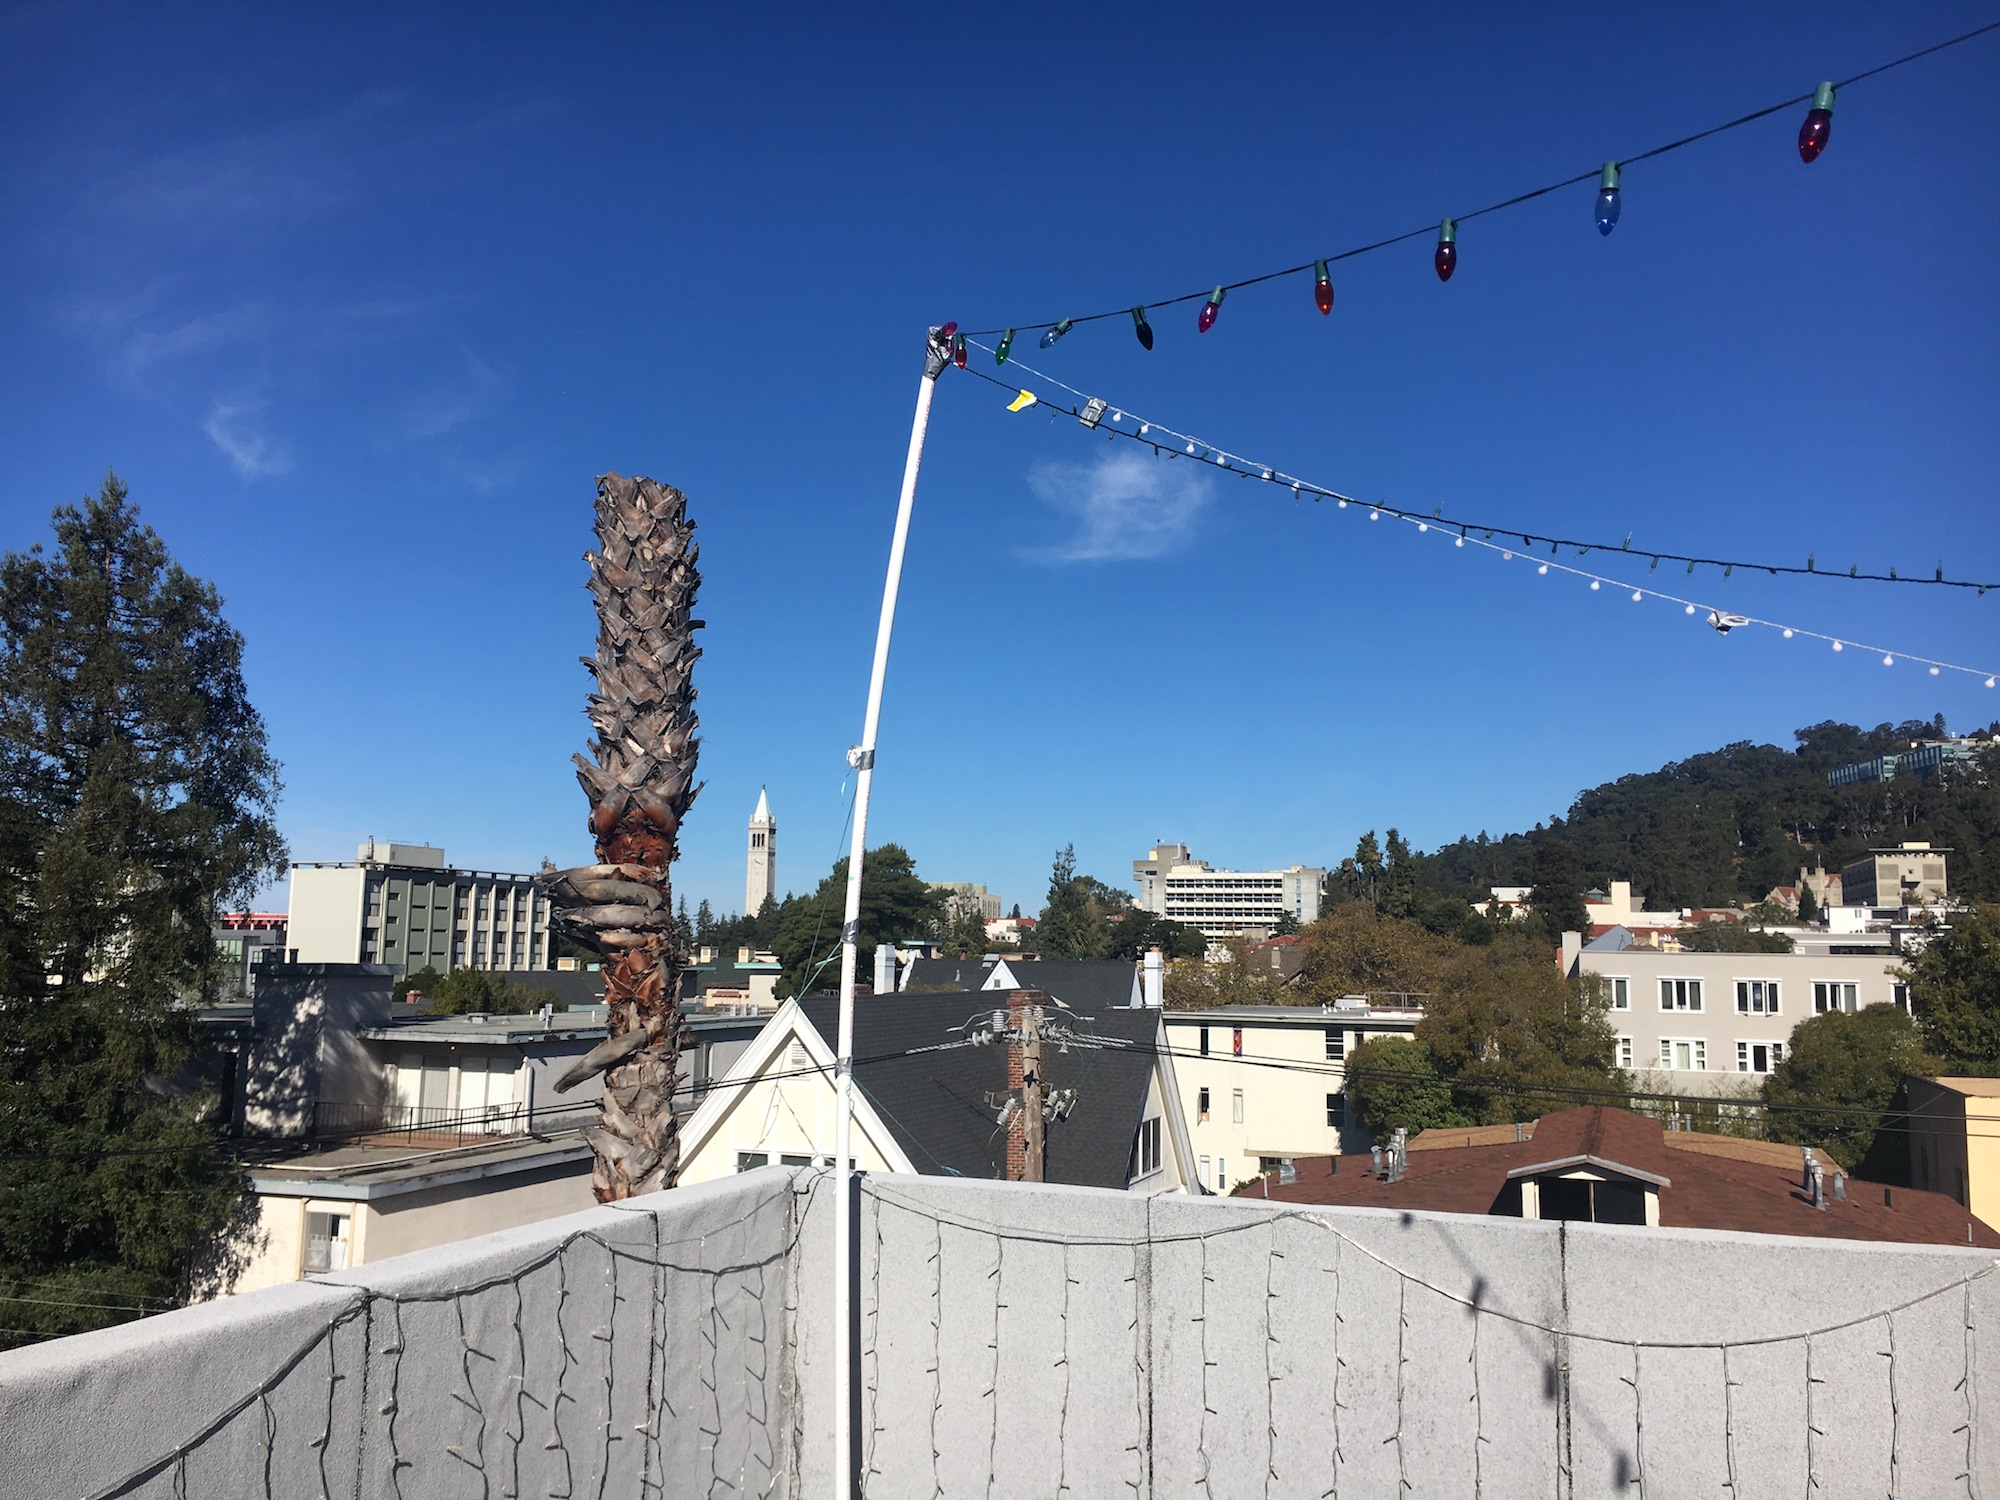
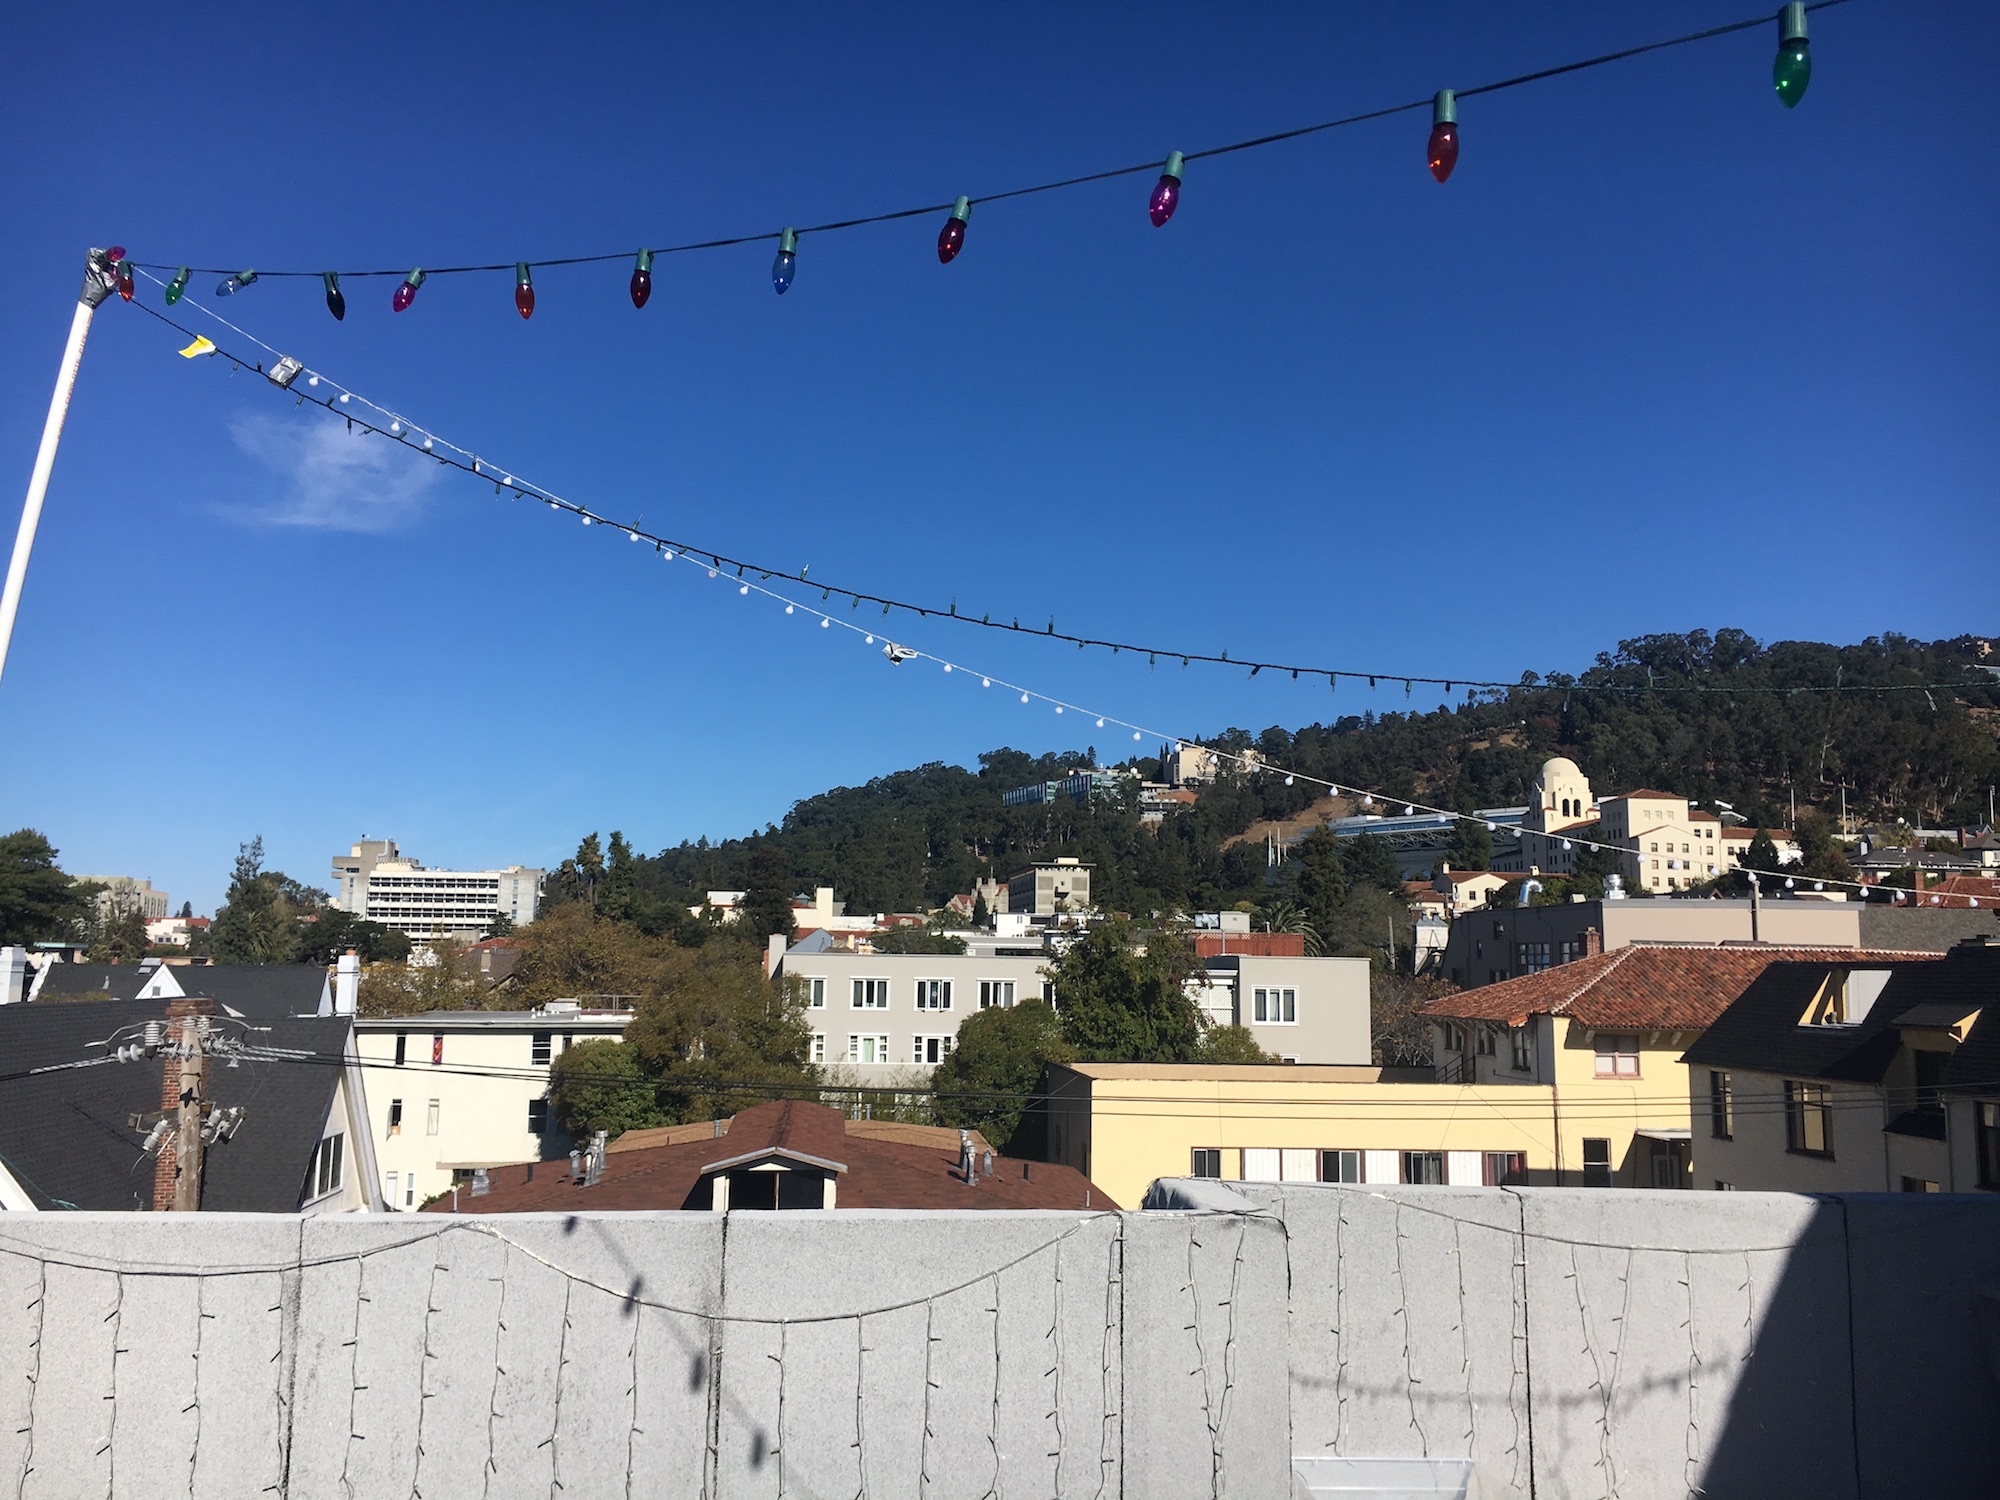
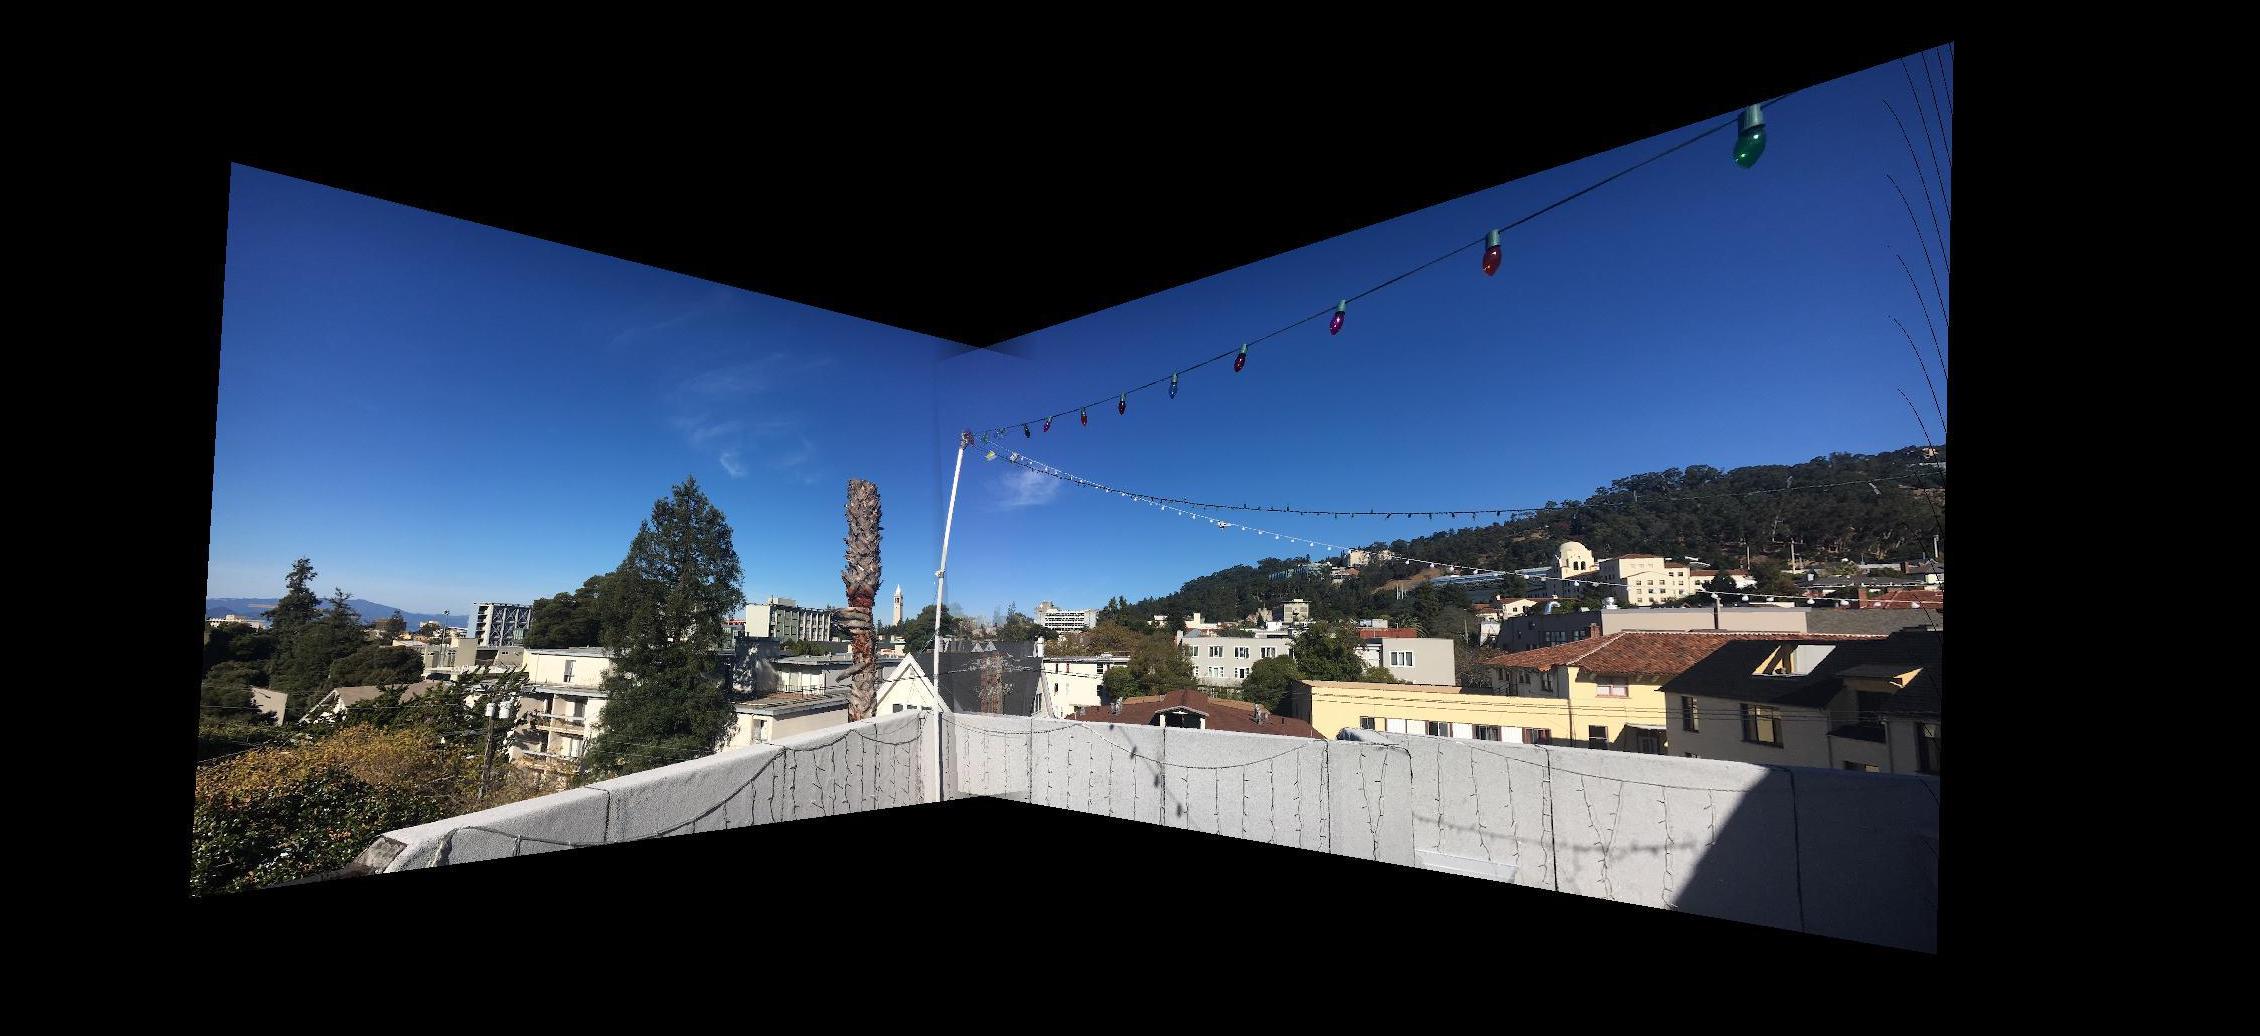
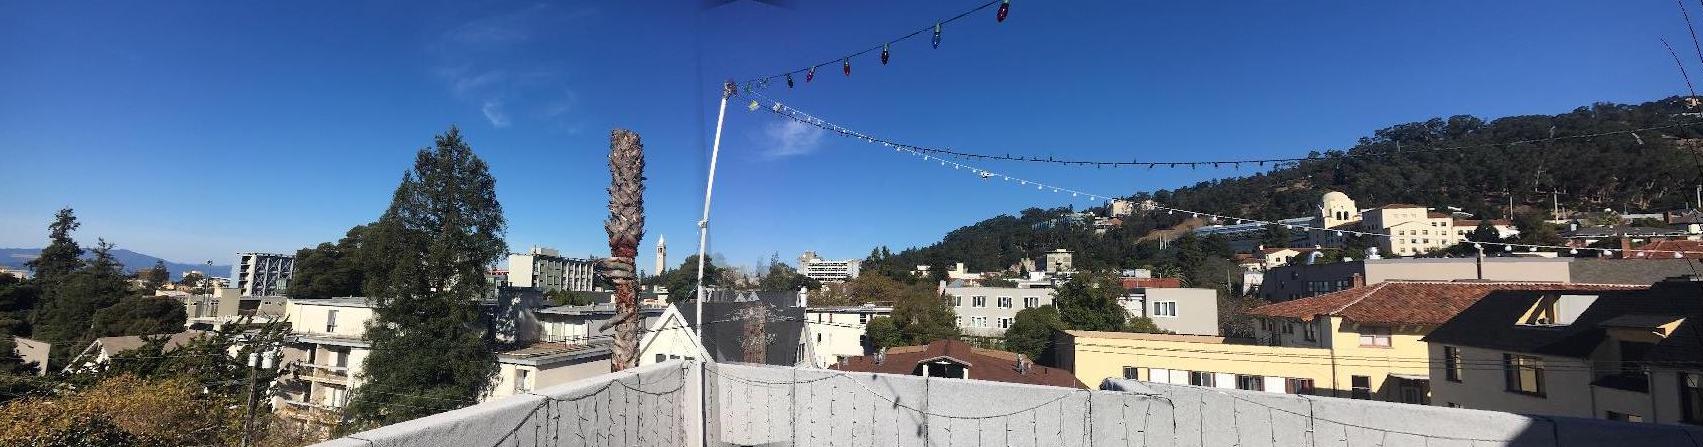
Now that we've successfully warped images to match whatever perspective we desire, we can create cool outputs like mosaics and panoramas. This consists of shooting multiple photos from the same point of view but with different view directions, followed by warping all of them to the center image's project plane. If we add all of these images up, we will be left with one cohesive image that spans a very large angle! To smooth out the transition between images, we use linear blending in the overlapping areas. We can't completely get rid of the artifacts between images with blending, but the output is still very smooth. There is also some amount of ghosting in the overlap areas, because correspondence points were picked by hand so the images don't line up exactly. Here are some result mosaics computed from pictures around and outside of the Berkeley campus!

Left
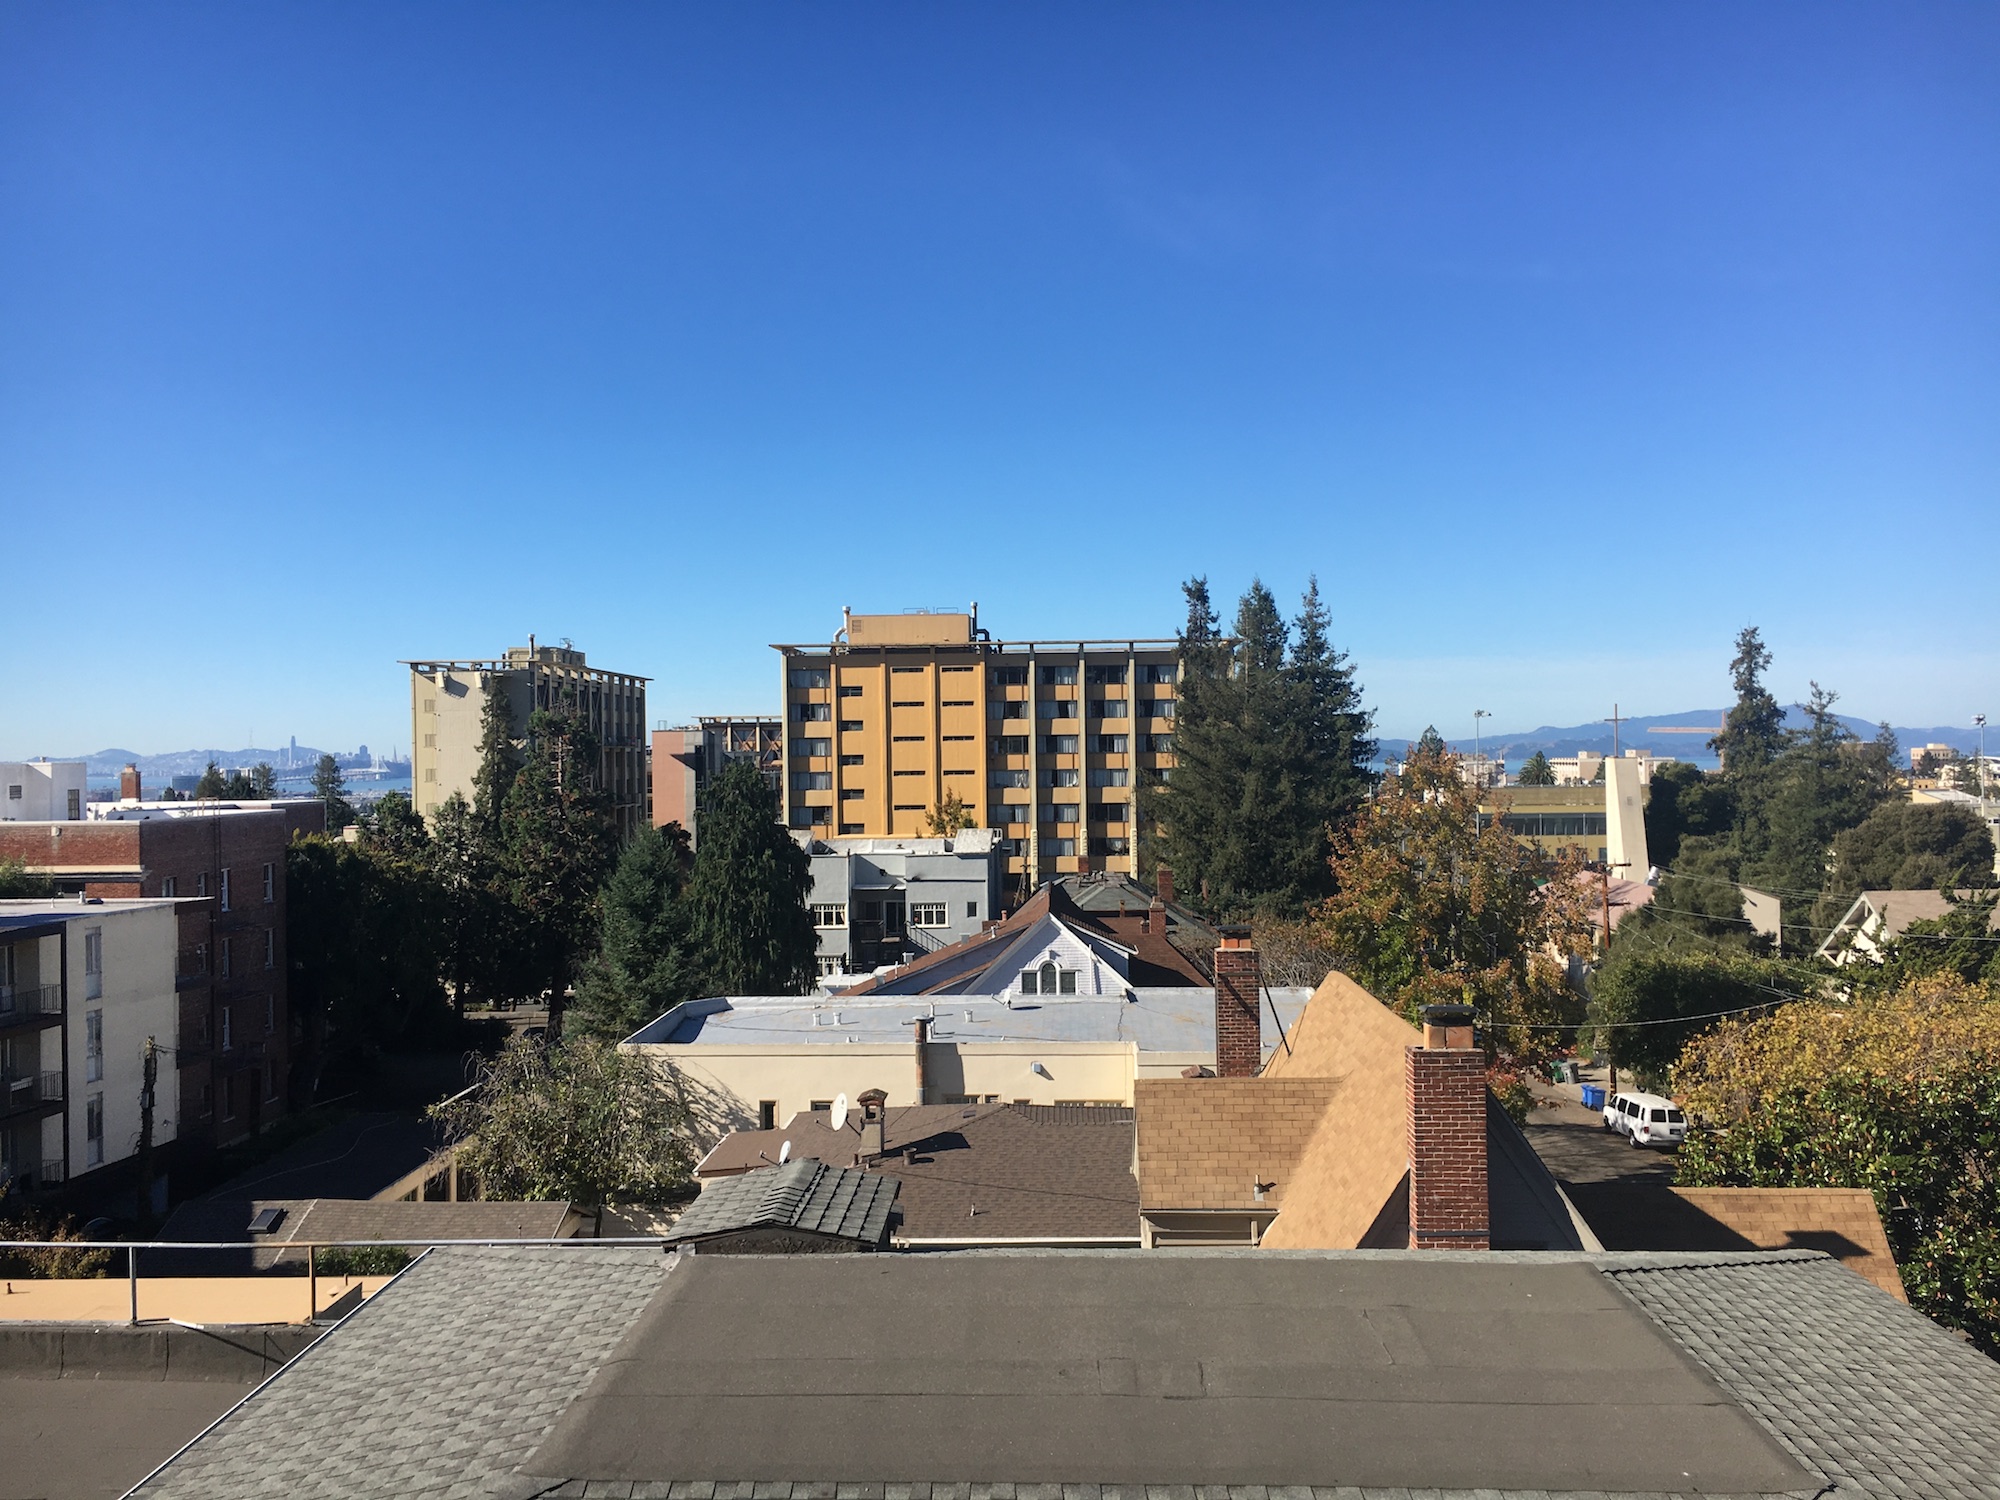
Center (Perspective)

Right
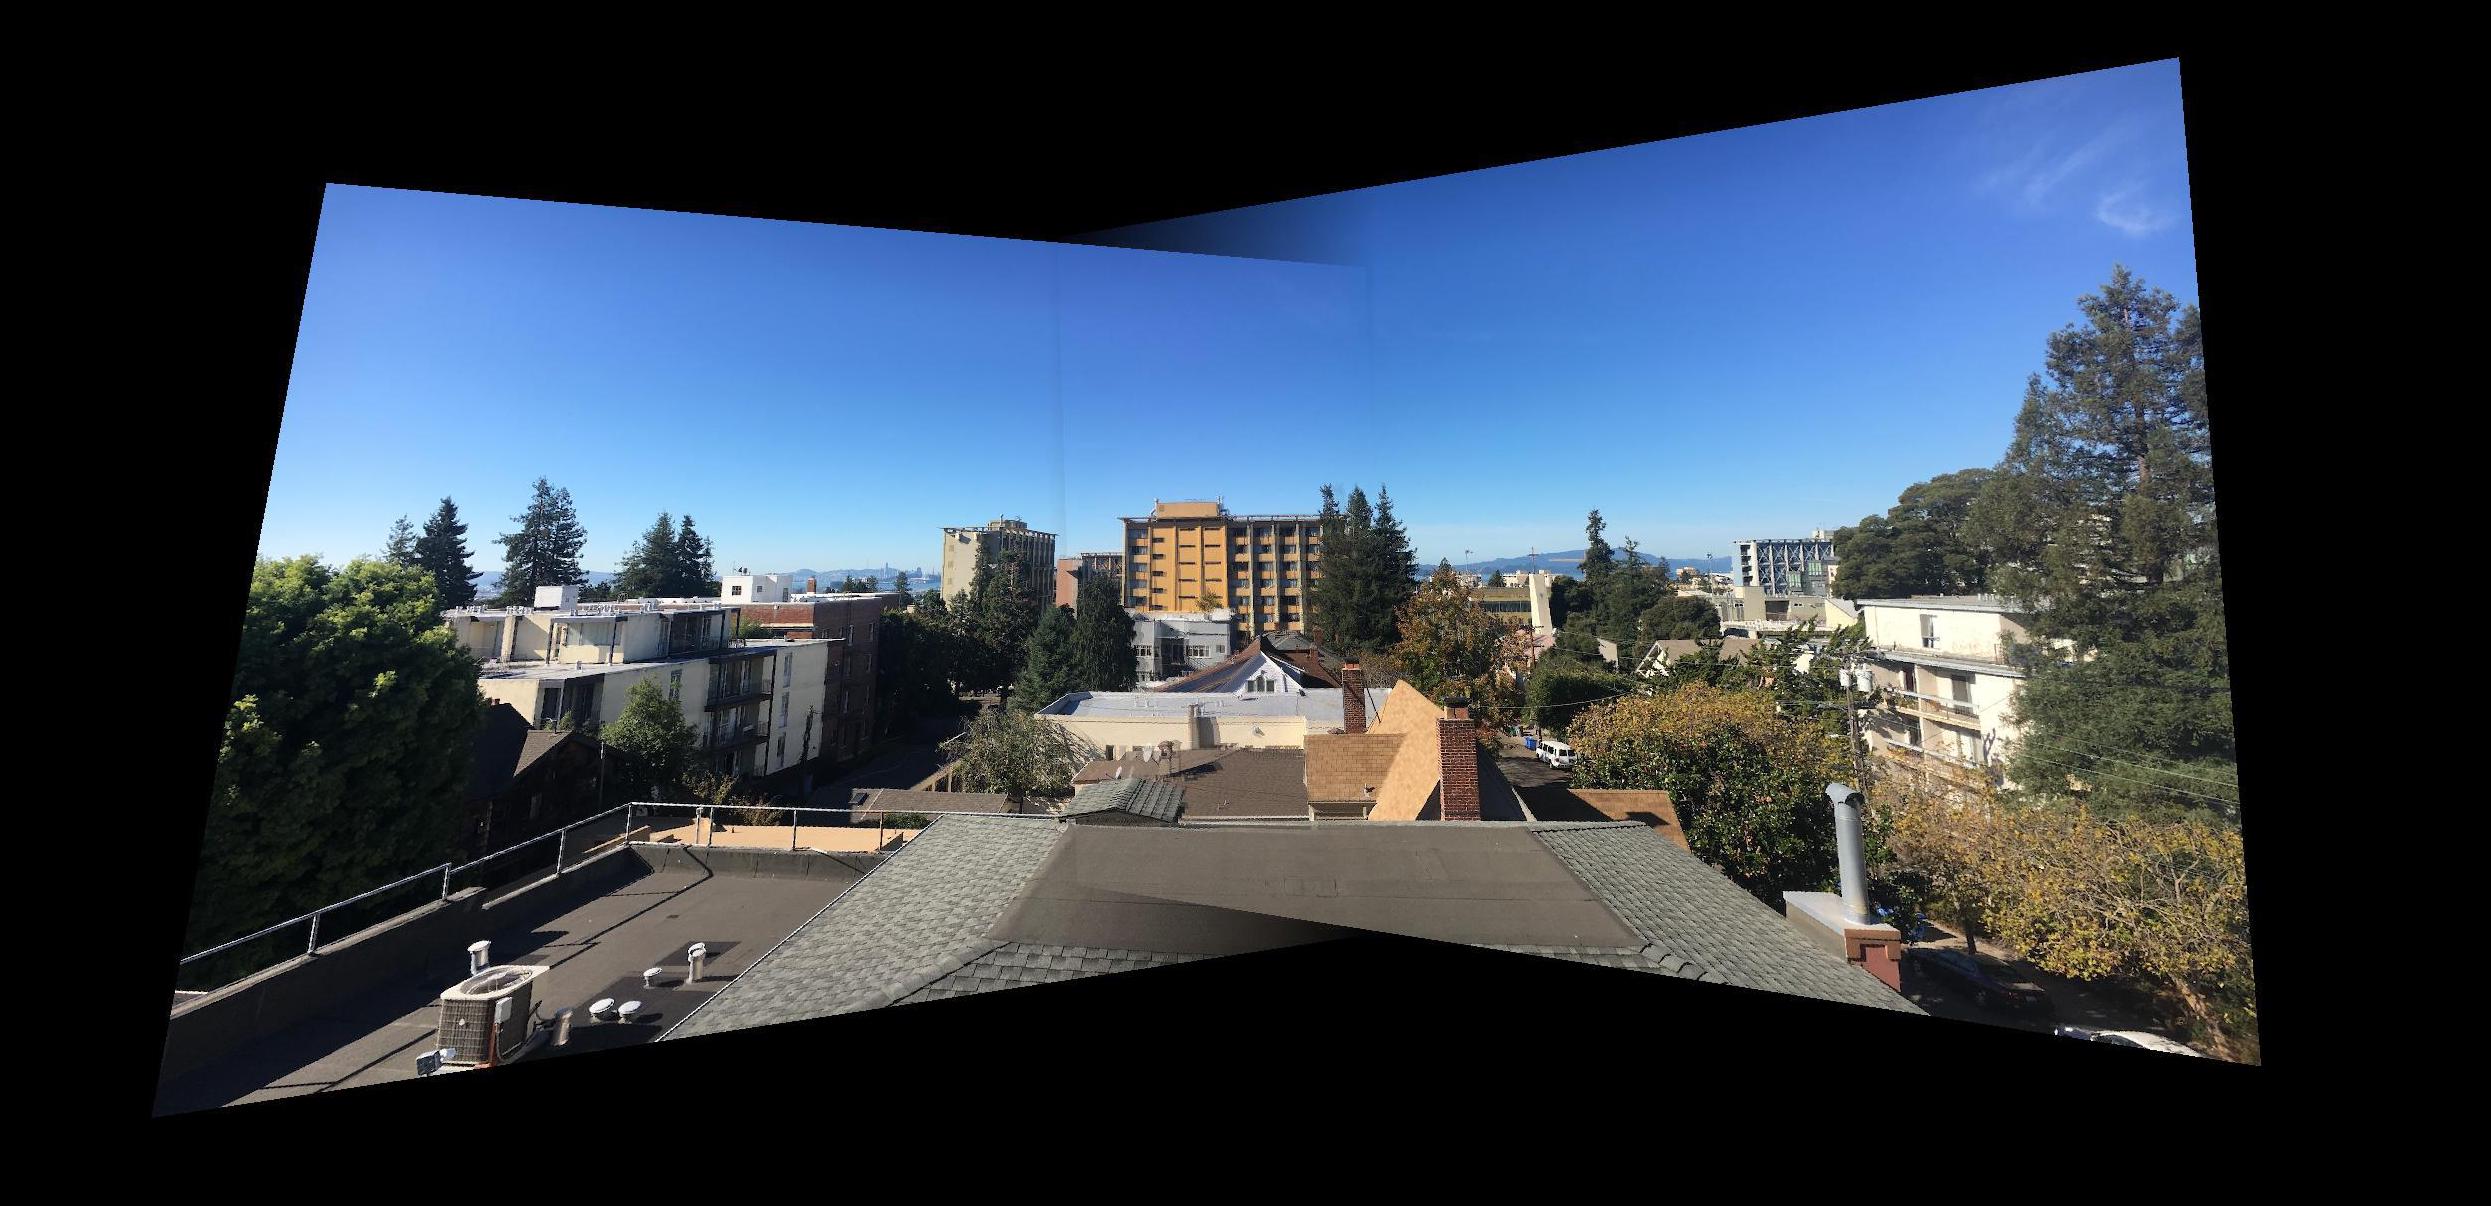
Full Mosaic
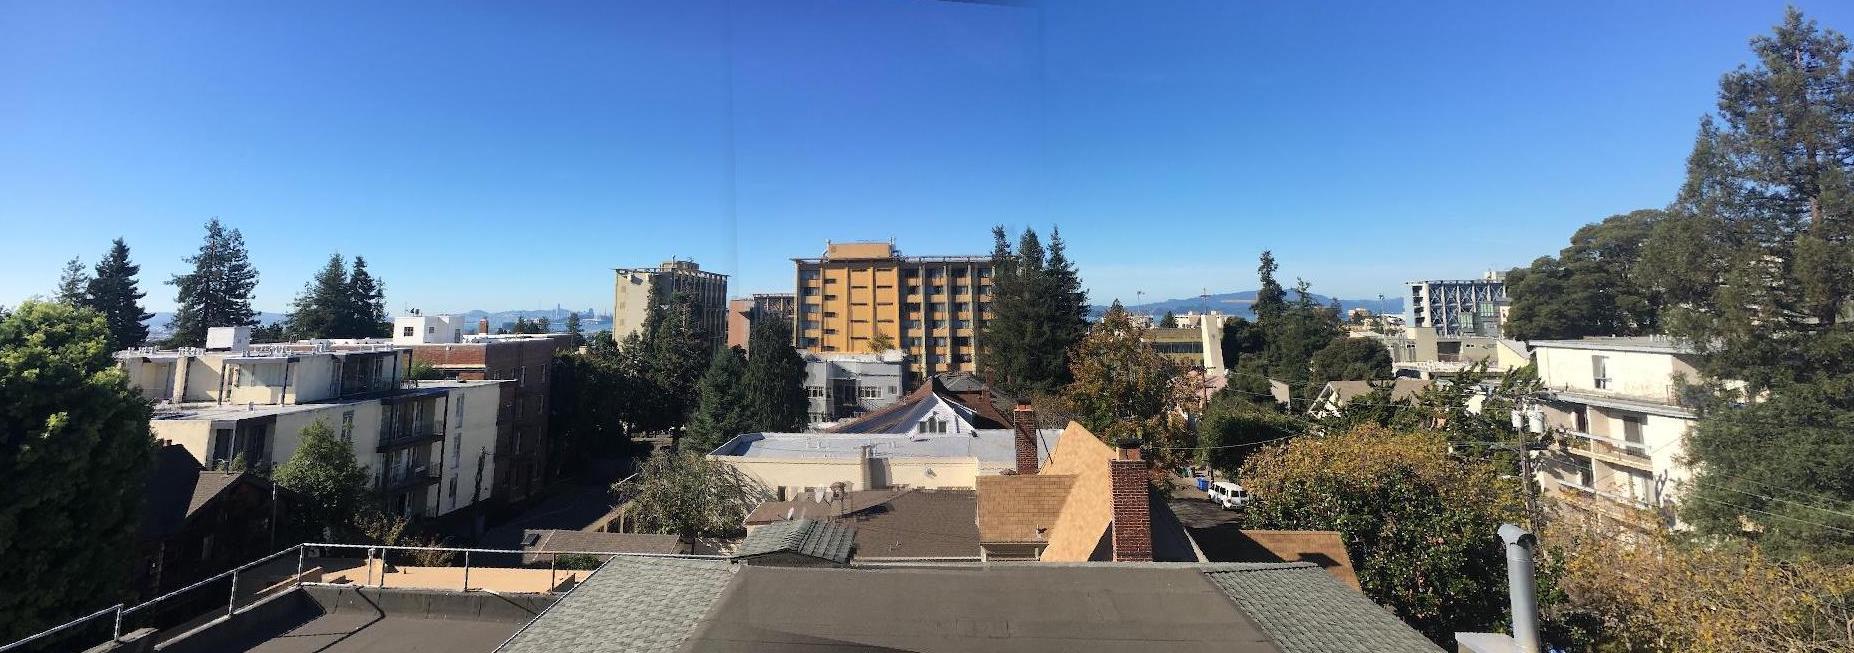
Mosaic (Cropped)
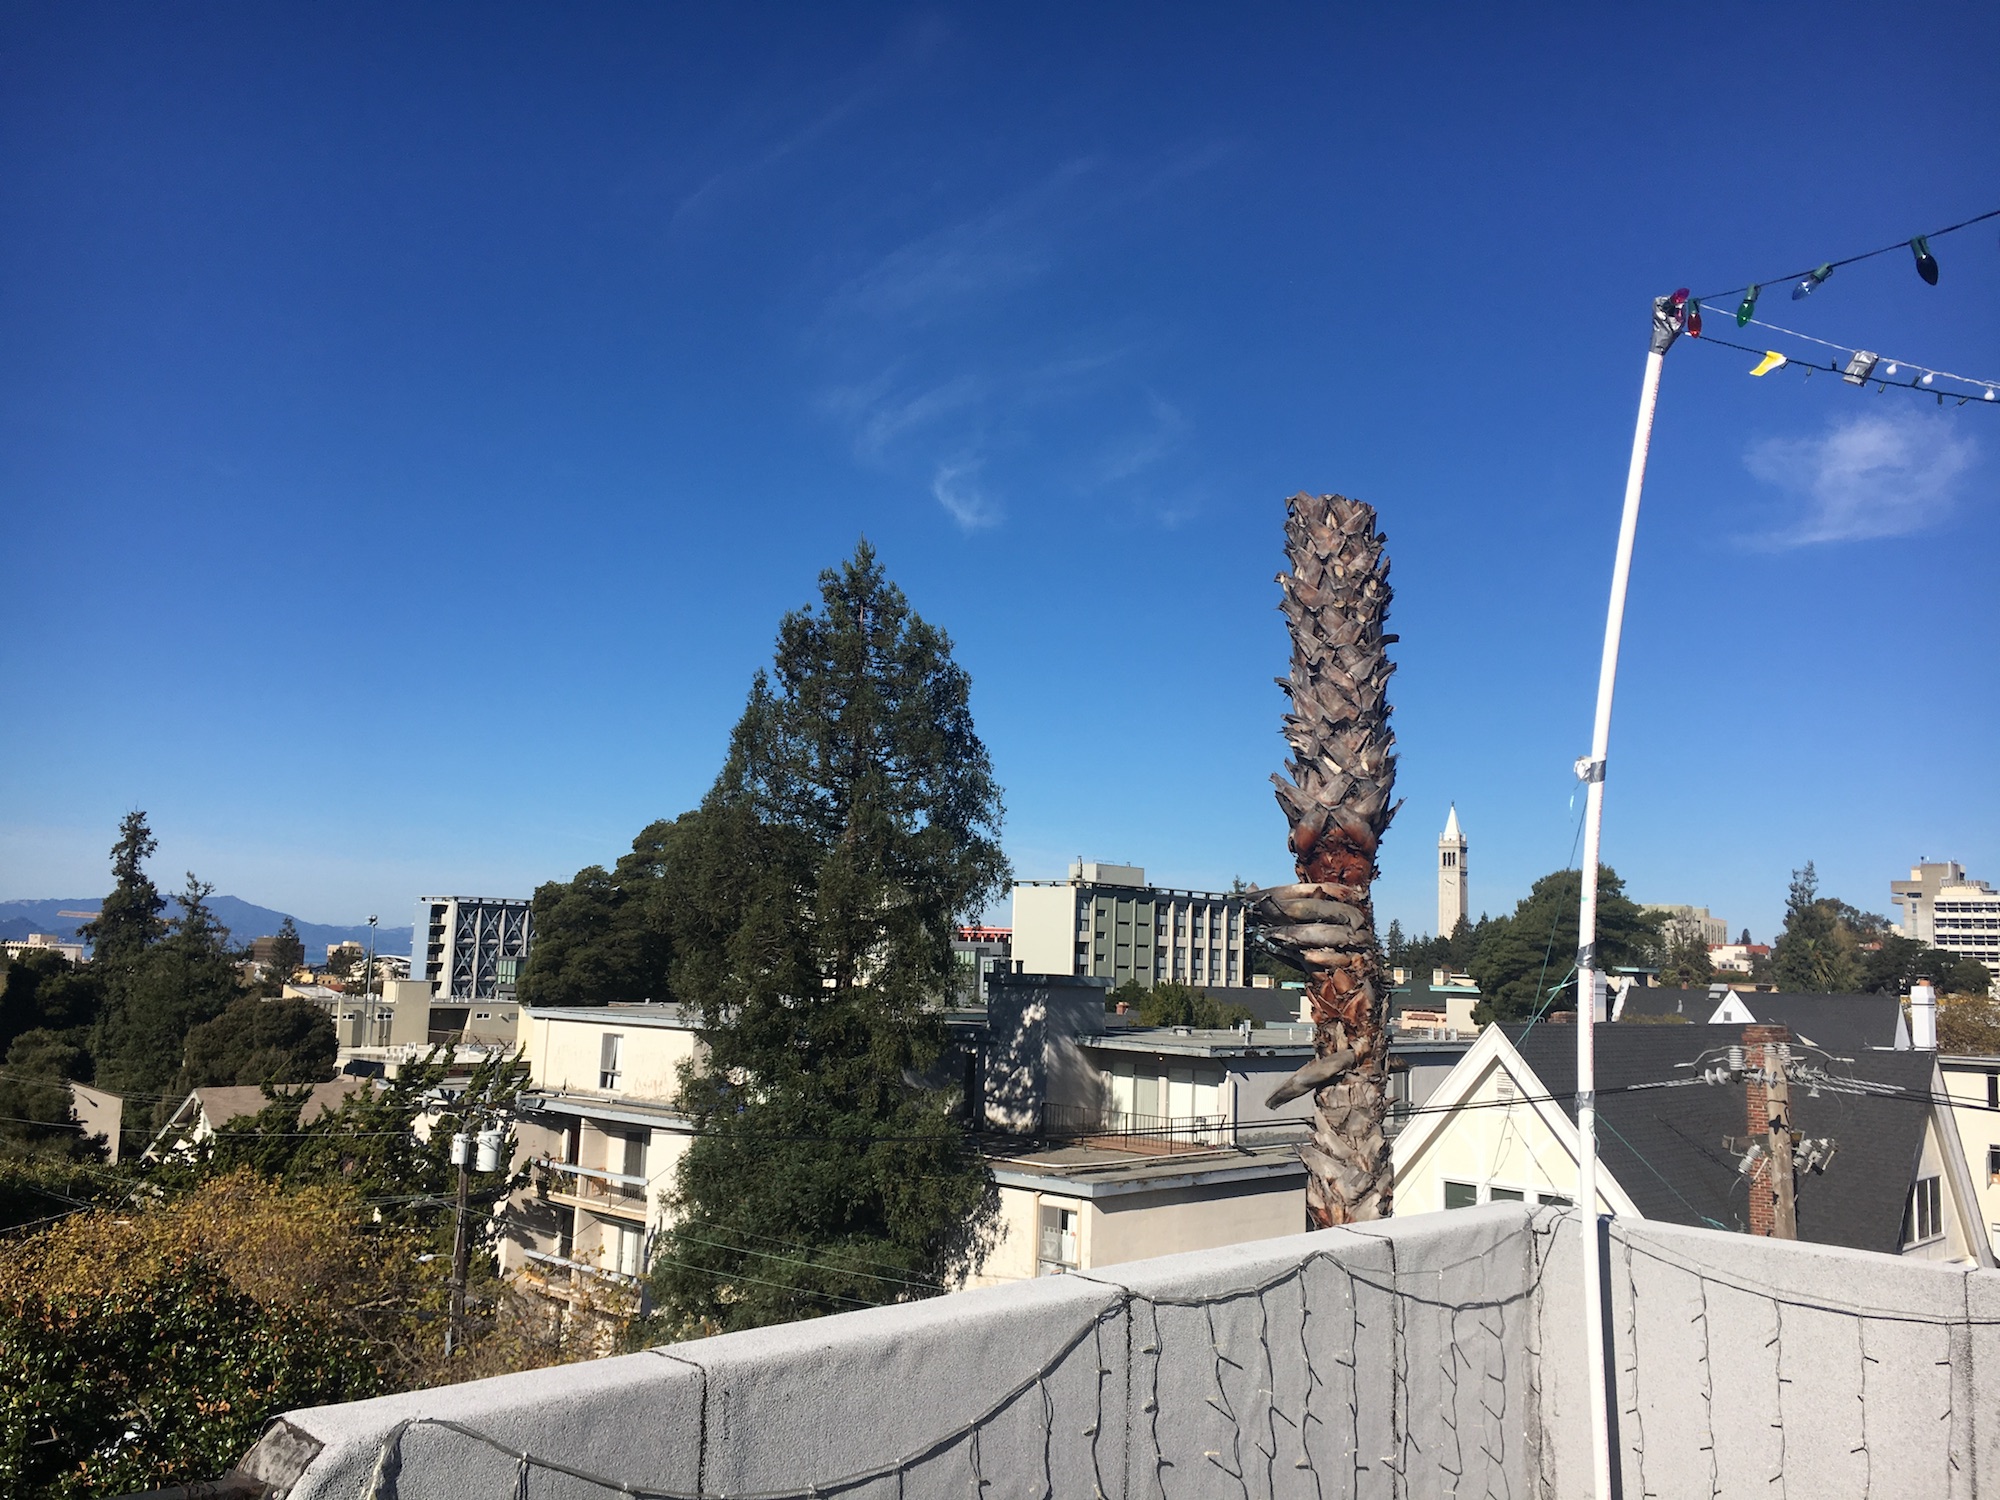
Left
Center (Perspective)
Right
Full Mosaic
Mosaic (Cropped)
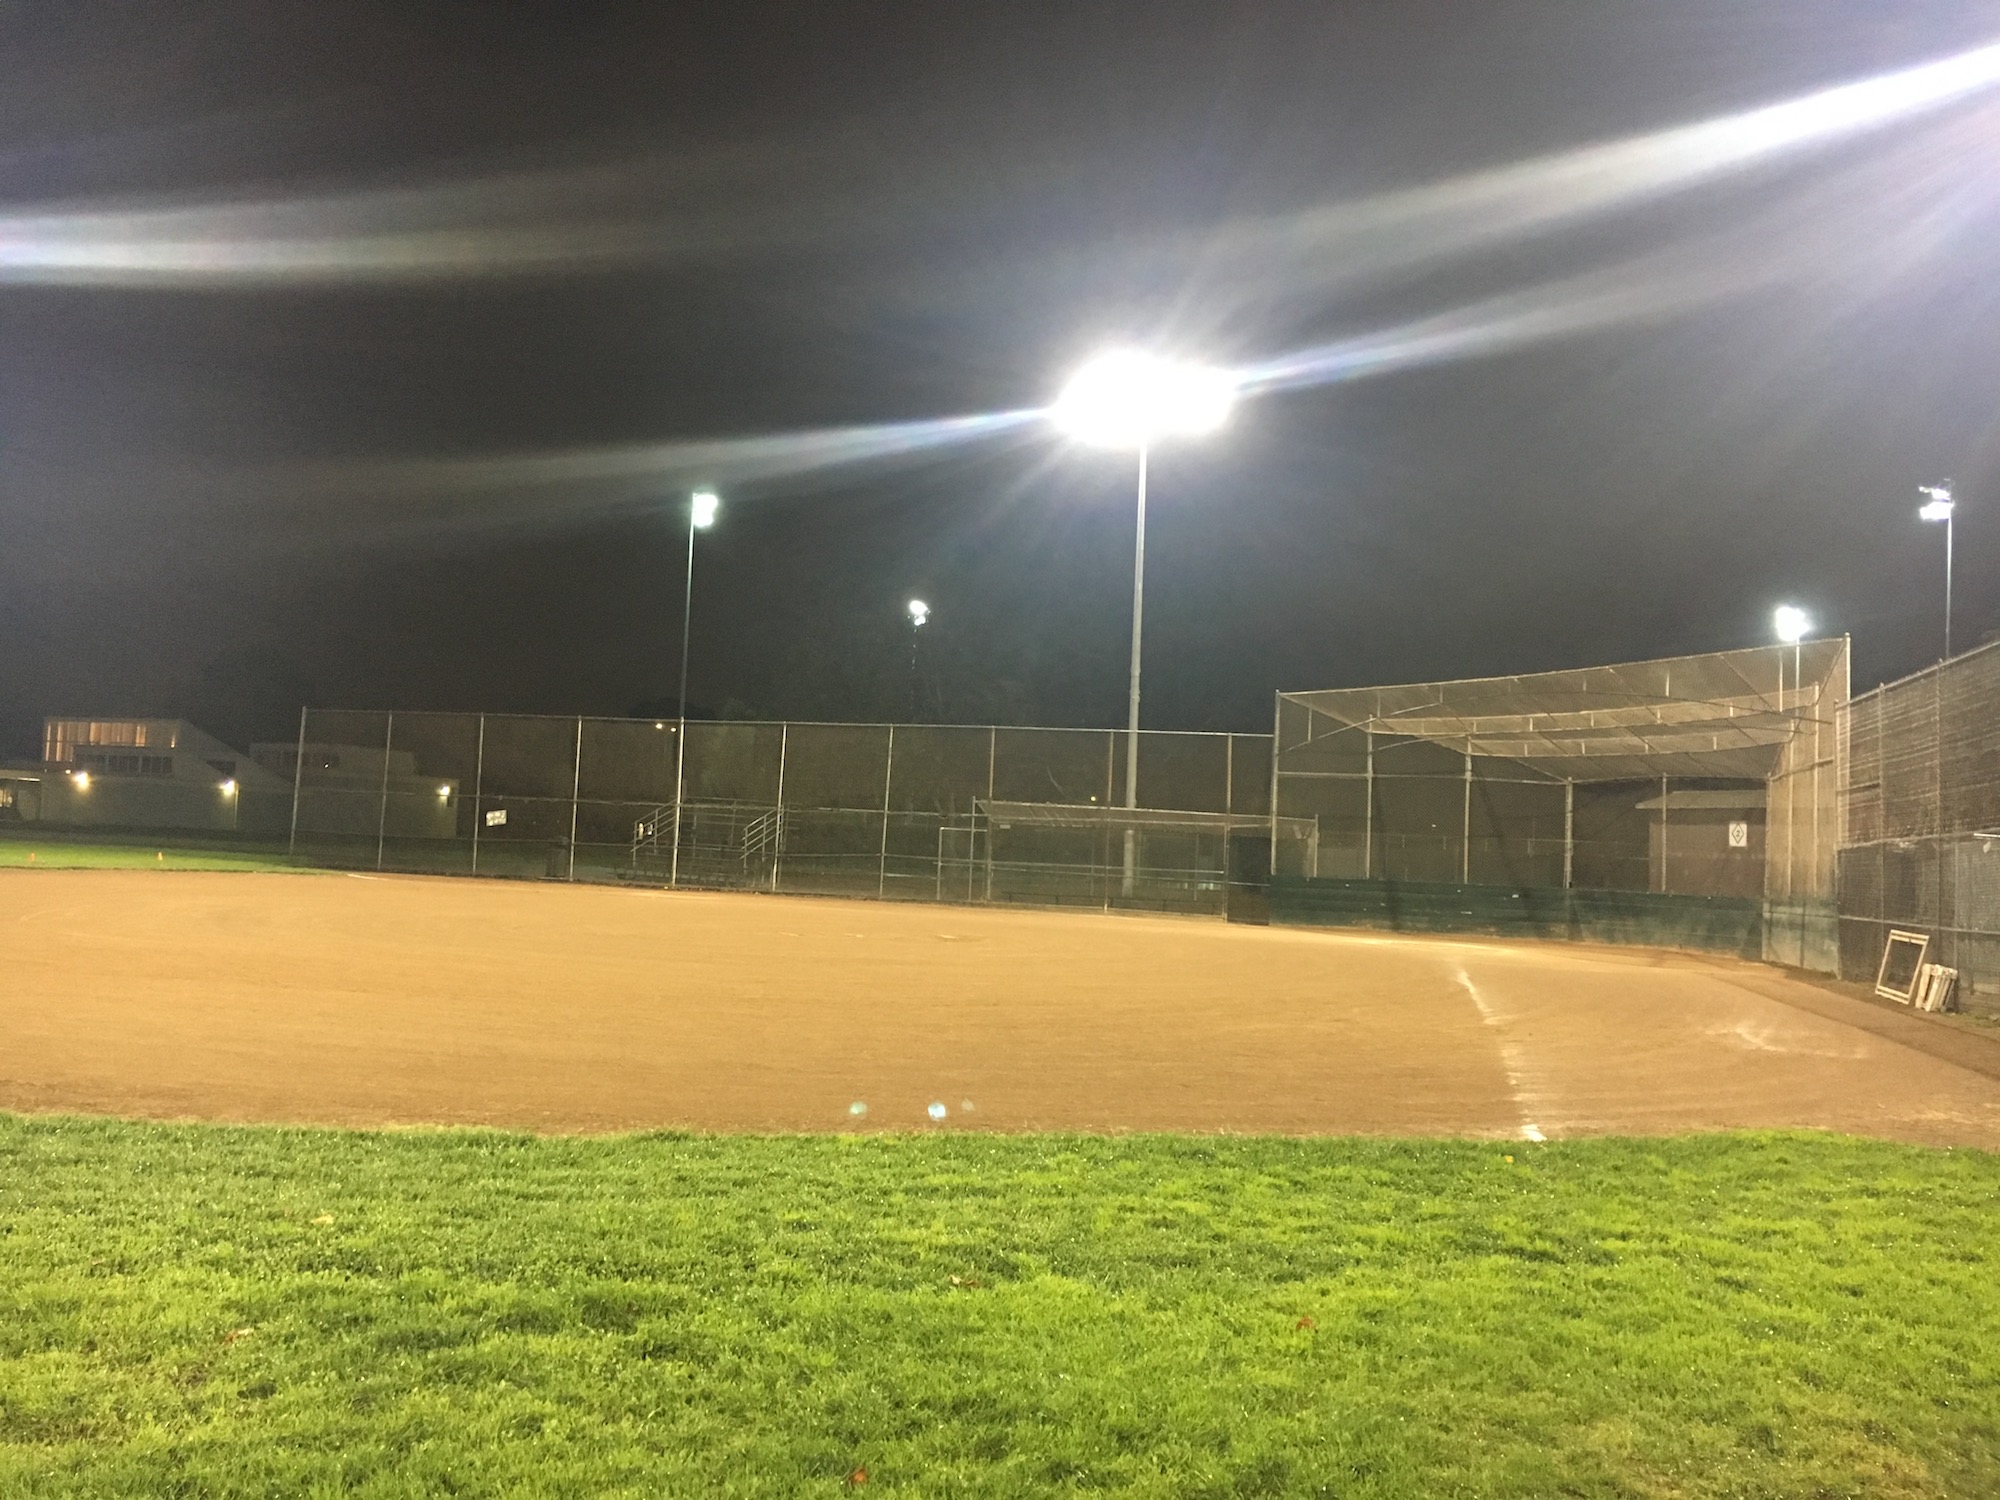
Left
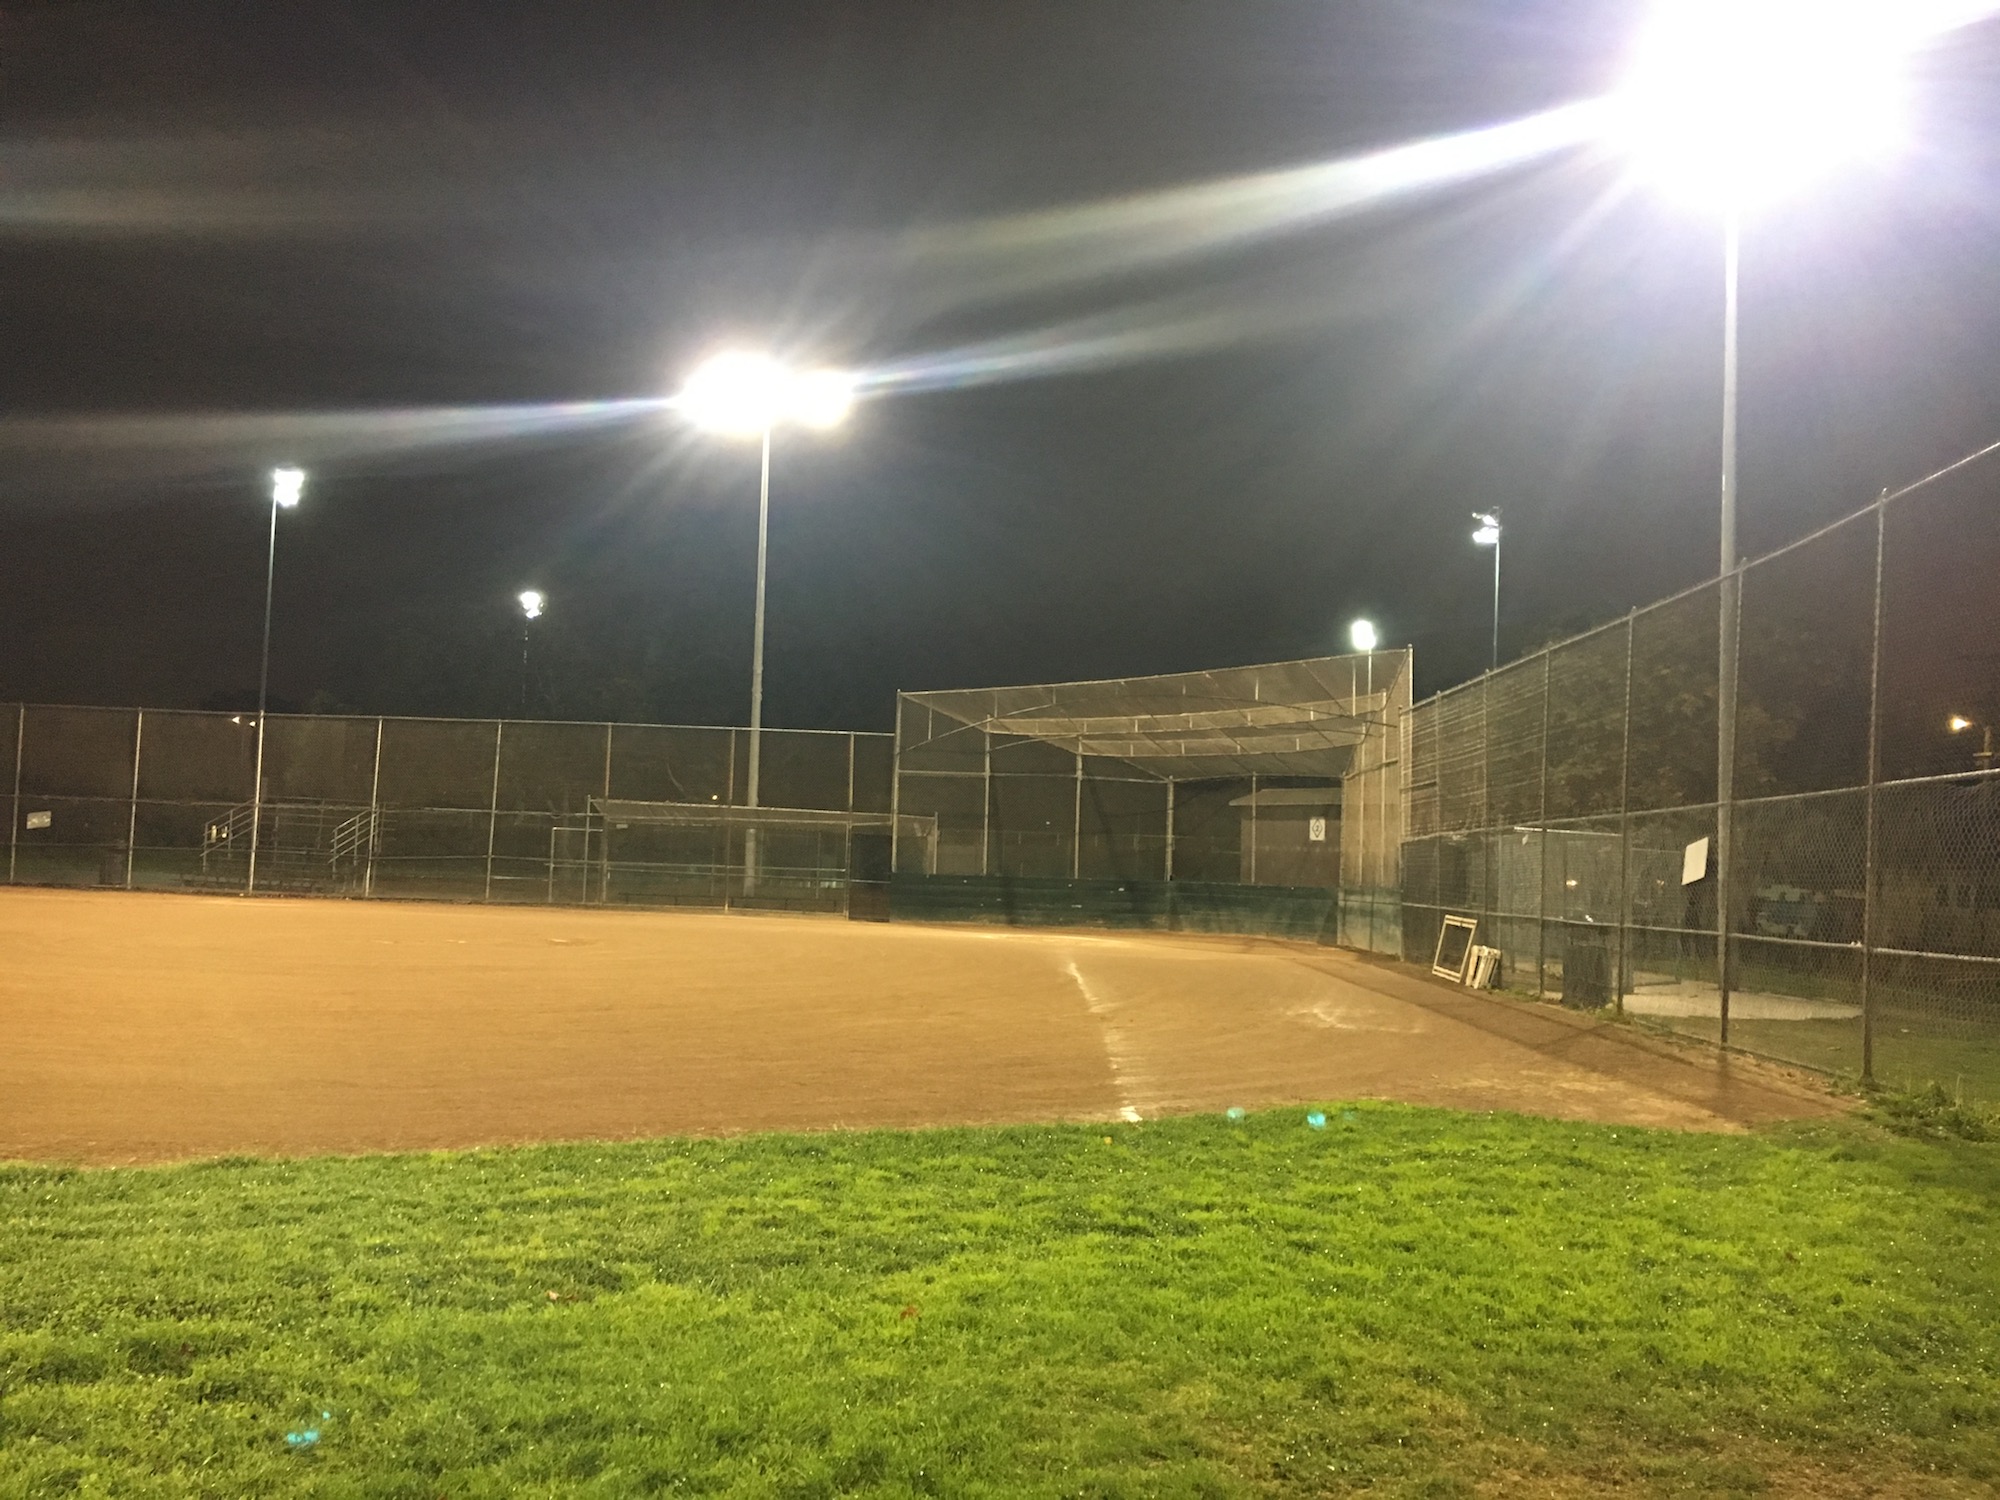
Center (Perspective)
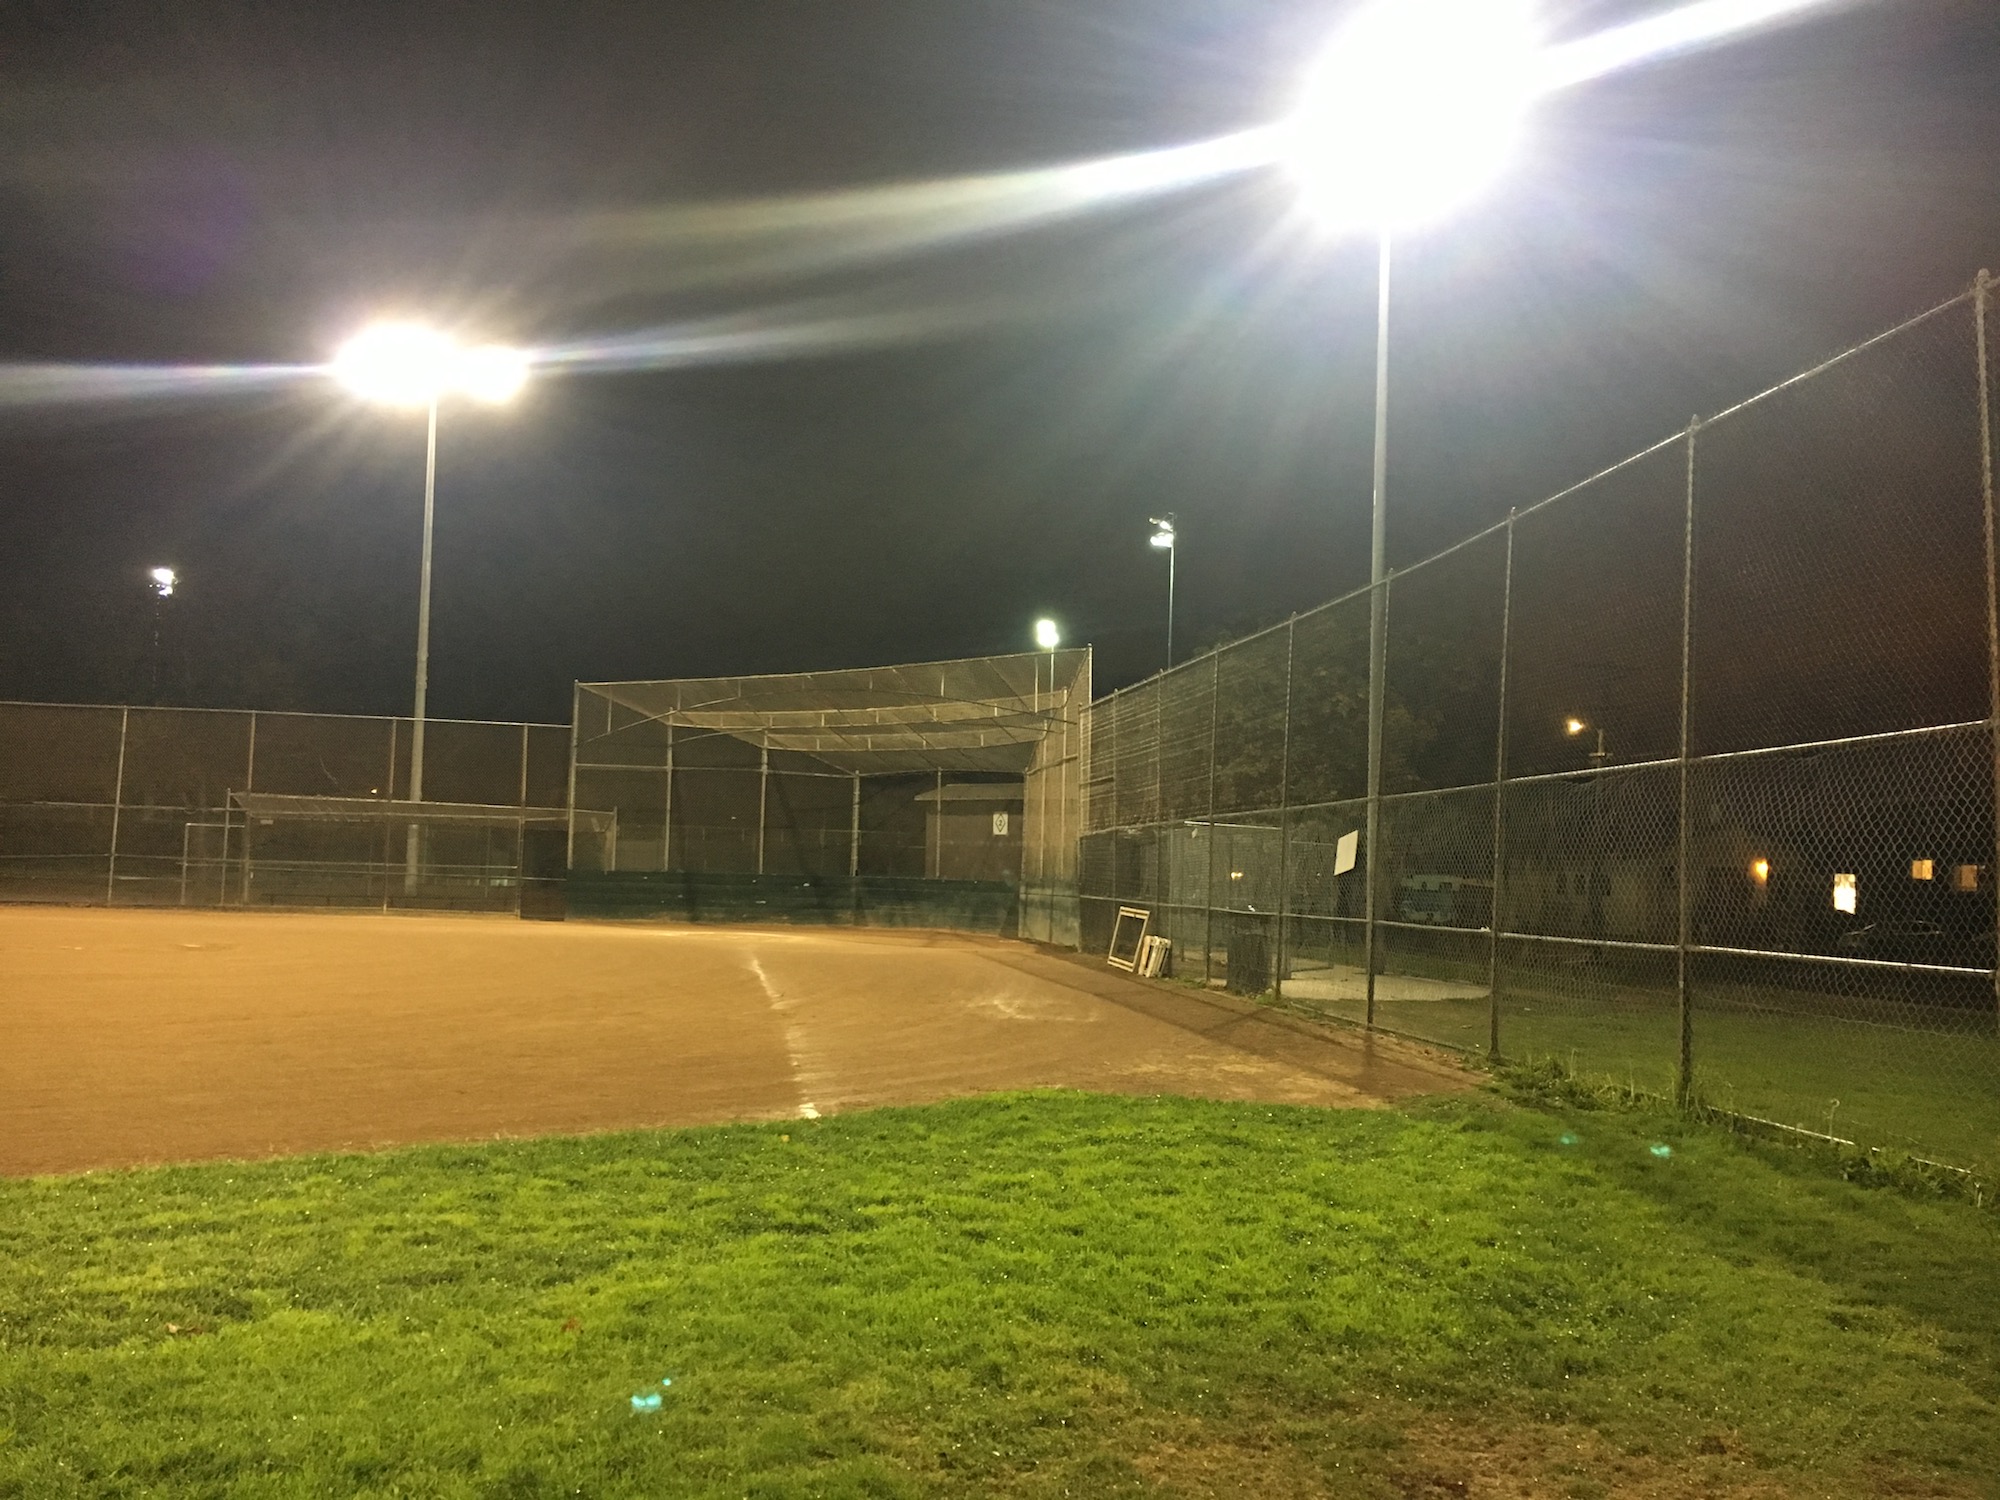
Right
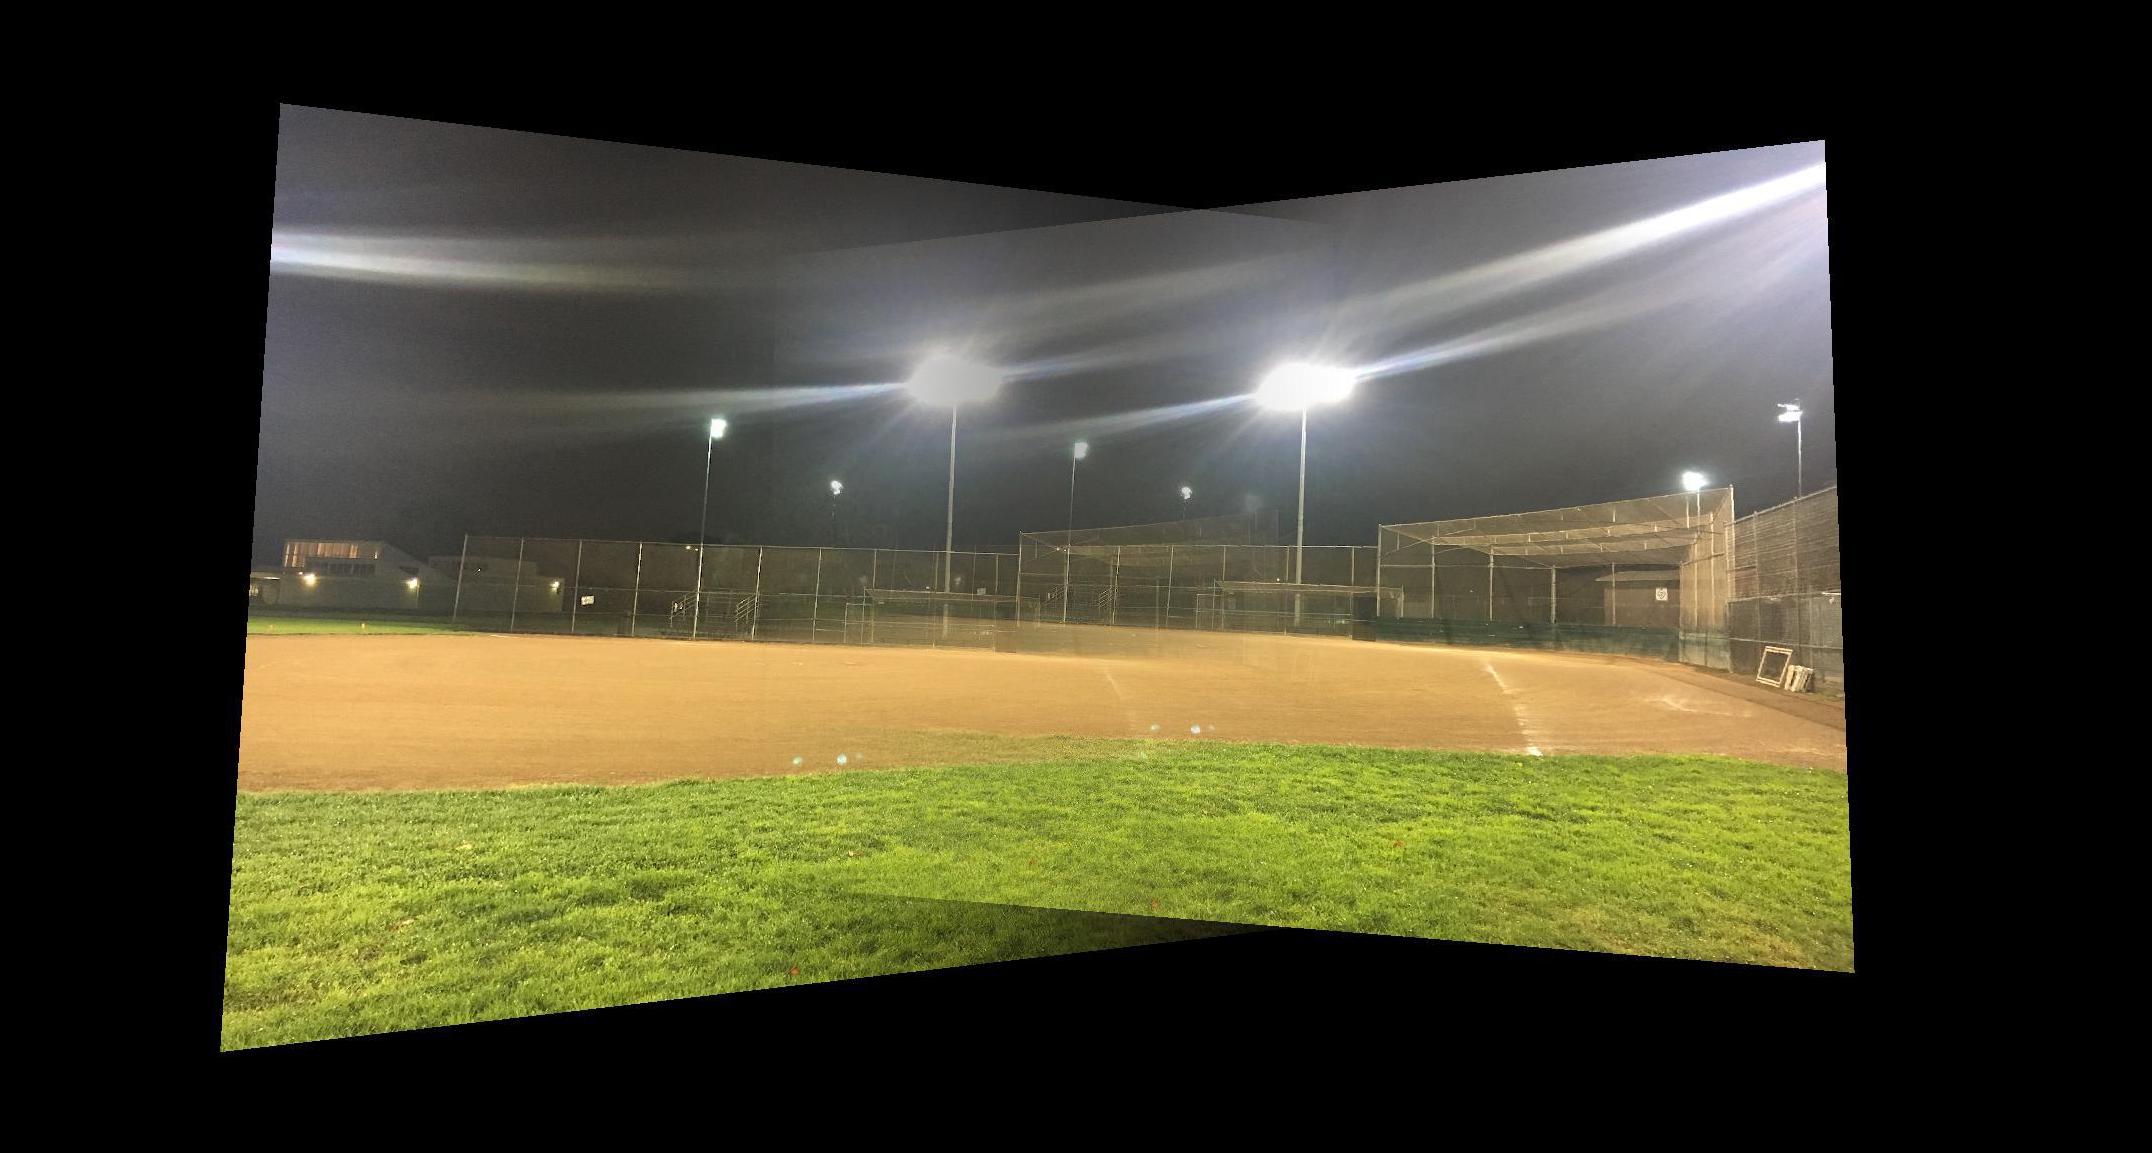
Full Mosaic
Mosaic (Cropped)
I really enjoyed this project, because I was able to implement a feature (panoramic images) that is actually implemented in a lot of real phones and cameras! The most important thing I learned about this project was the importance of precision in picking correspondence points. Doing it by hand is not very exact, and being just a little bit off can cause significant blur or ghosting in the output image.