Overview
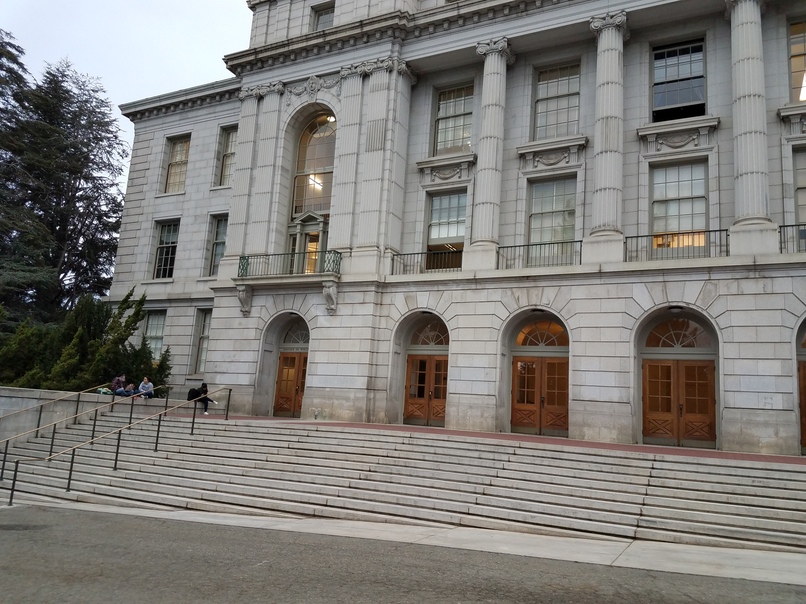
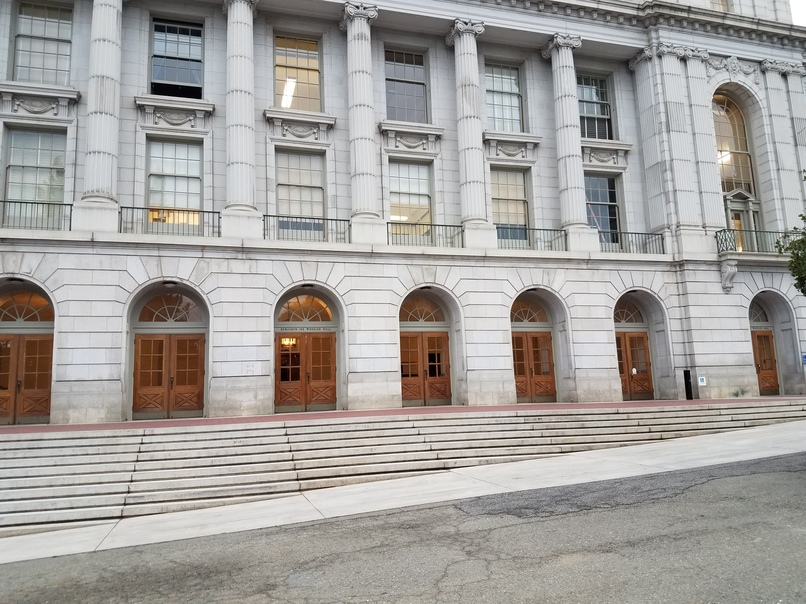
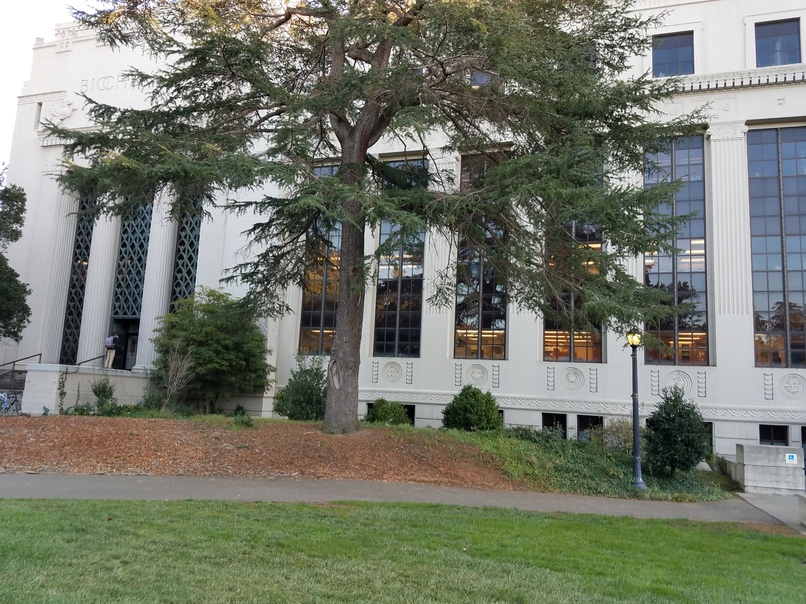
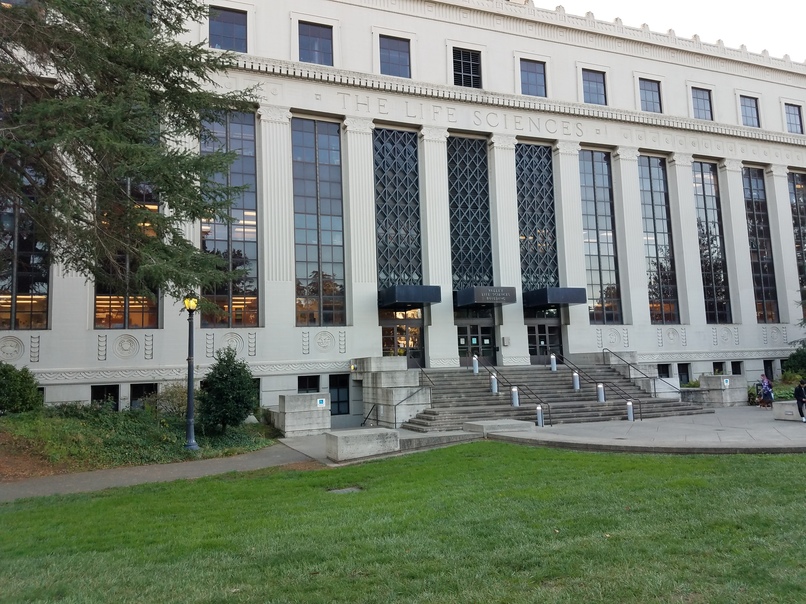
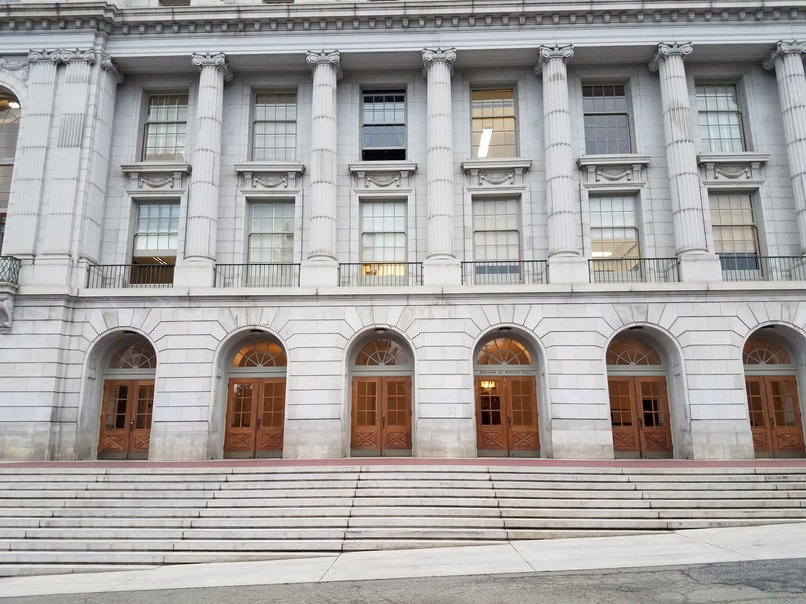
For this project, I took perspective photos of various buildings inside and outside Berkeley campus. I then warped the images taken at the same point for the same building and stitched them into a mosaic. I also took photos of objects and warped them so they are front parallel.
Recovering Homographies
The images I took for this project will be shown later in the warp image section. To recover homographies between pairs of images, I started by defining correspondence points for both images. Note that more than 4 correspondence points must be defined for each image to avoid noise and so that homography recovery can be more stable. Since having more than 4 correspondence points produces an overdetermined system, we must use least squares to solve for the homography.
Specifically, we have AH=b, where for each corresponding point pair (x, y) and (x', y') ...
A = [[x, y, 1, 0, 0, 0, -x * x', -y * x'] [0, 0, 0, x, y, 1, -x * y', -y * y']]
b = [x', y']
H = [a, b, c, d, e, f, g, h]
This means that if we have 3 sets of (p, p') corresponding points ...
A = [[x1, y1, 1, 0, 0, 0, -x1 * x1', -y1 * x1'] [0, 0, 0, x1, y1, 1, -x1 * y1', -y1 * y1'] [x2, y2, 1, 0, 0, 0, -x2 * x2', -y2 * x2'] [0, 0, 0, x2, y2, 1, -x2 * y2', -y2 * y2'] [x3, y3, 1, 0, 0, 0, -x3 * x3', -y3 * x3'] [0, 0, 0, x3, y3, 1, -x3 * y3', -y3 * y3']]
b = [x1', y1', x2', y2', x3', y3']
Solving this least squares system gives us the a-h values of the 3x3 matrix H. Since we know that i = 1, we can recover H using the least squares solution and reshaping it so that ...
H = [[a, b, c] [d, e, f] [g, h, 1]]
Warping the Images
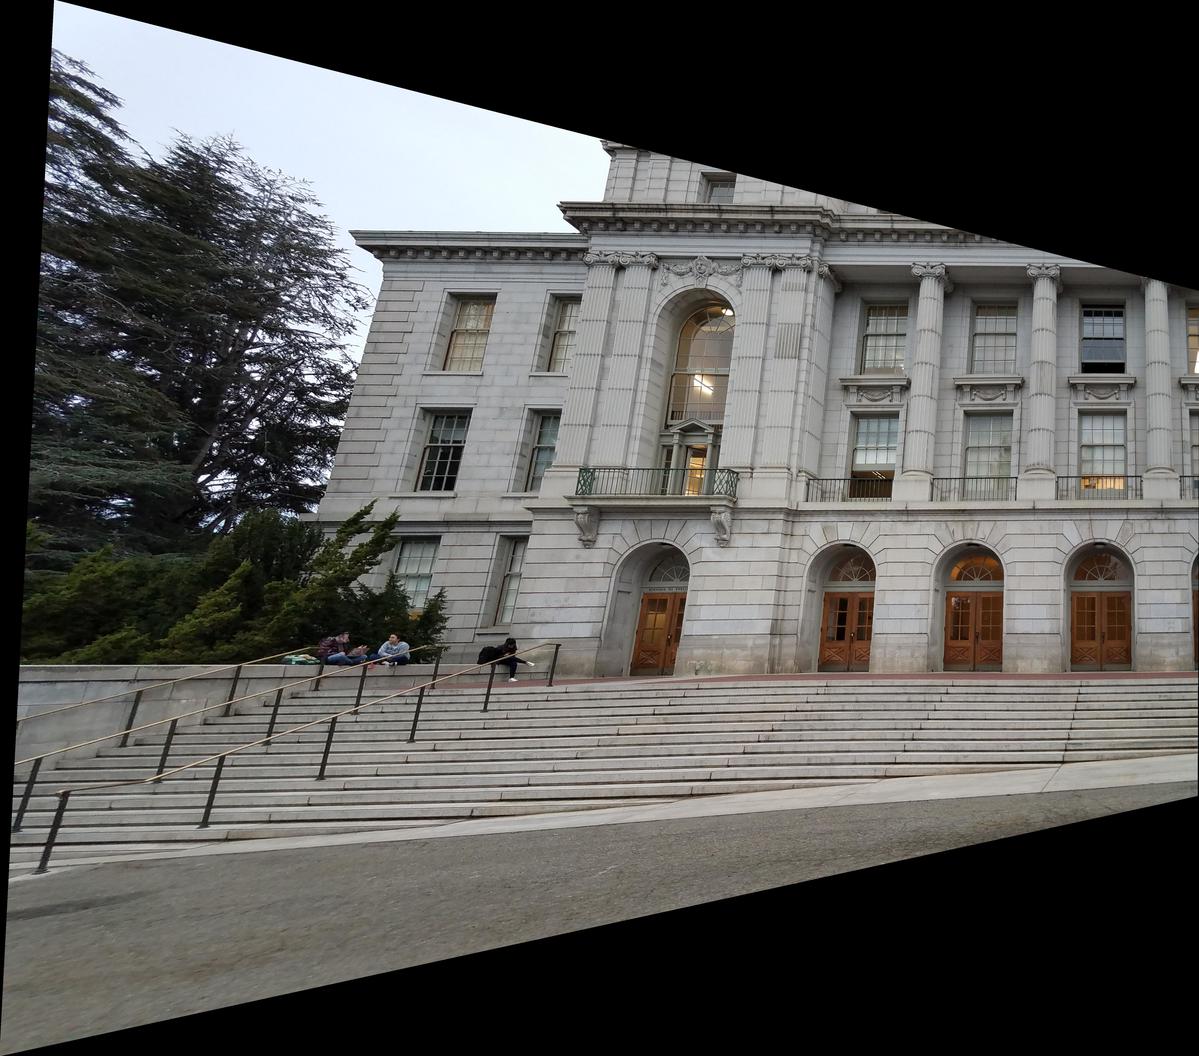
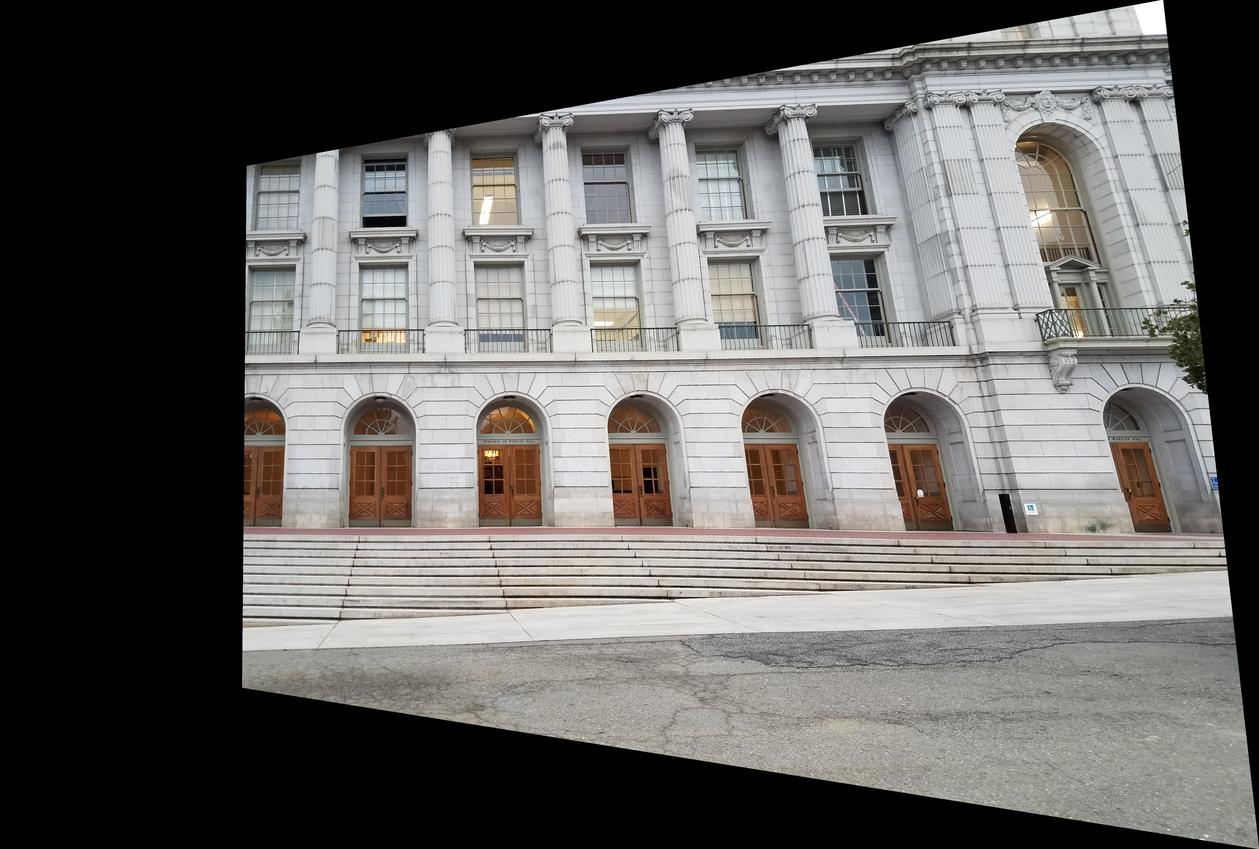
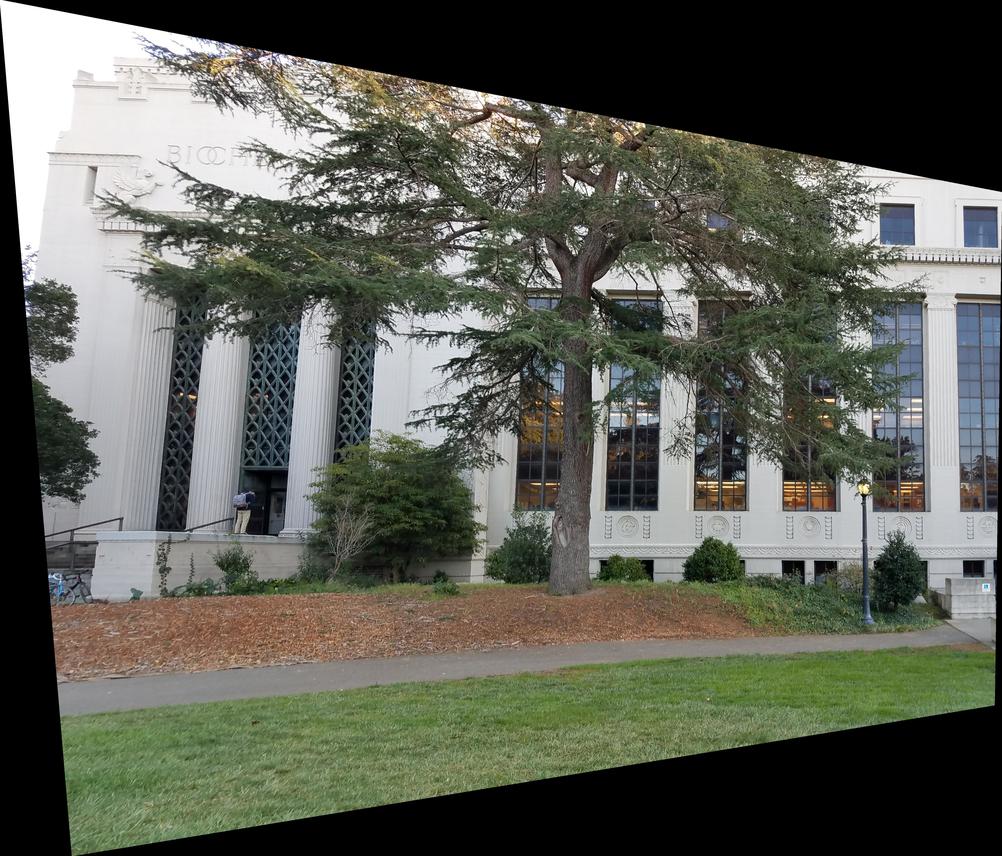
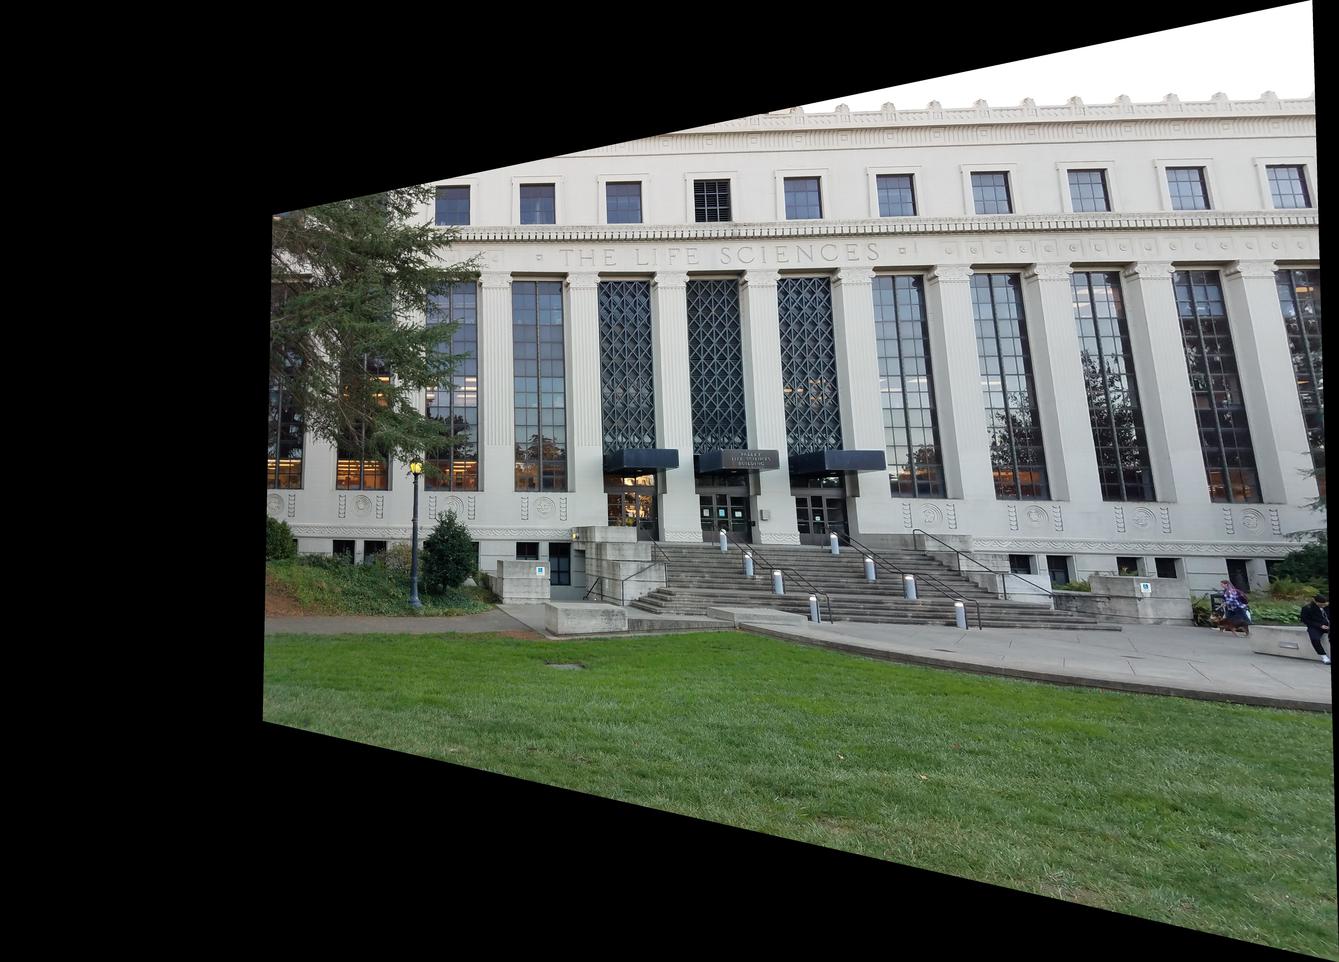
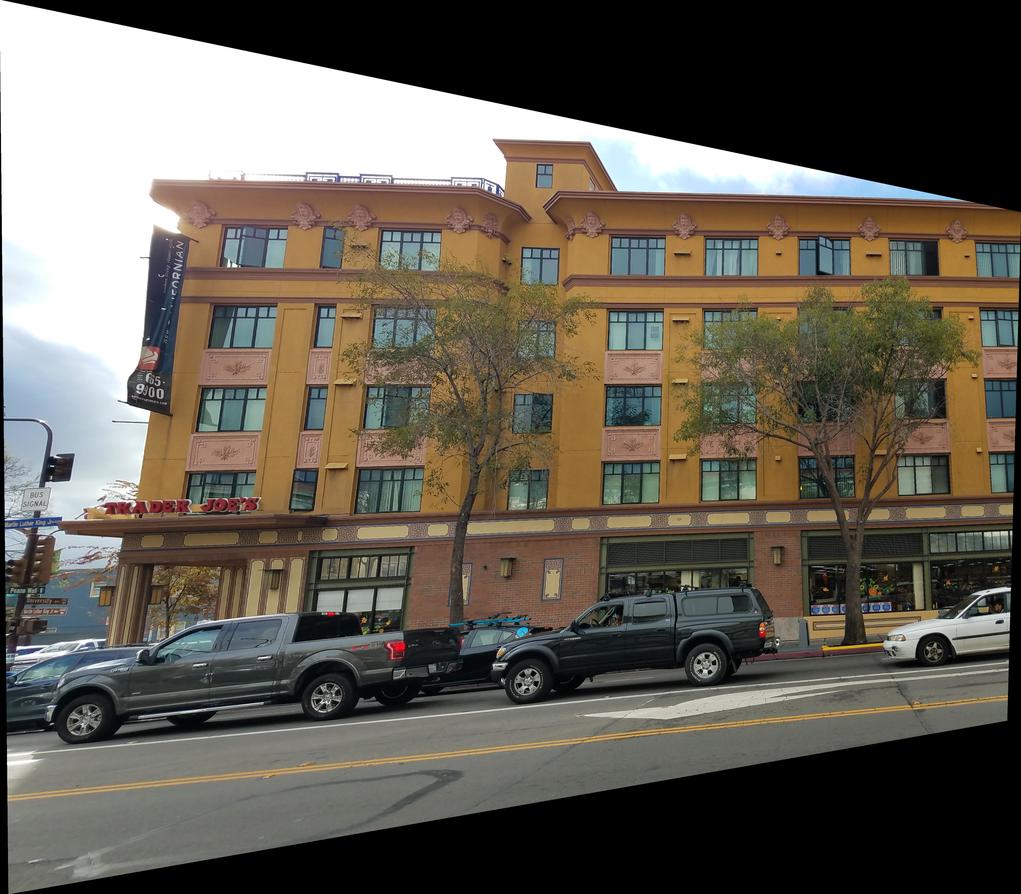
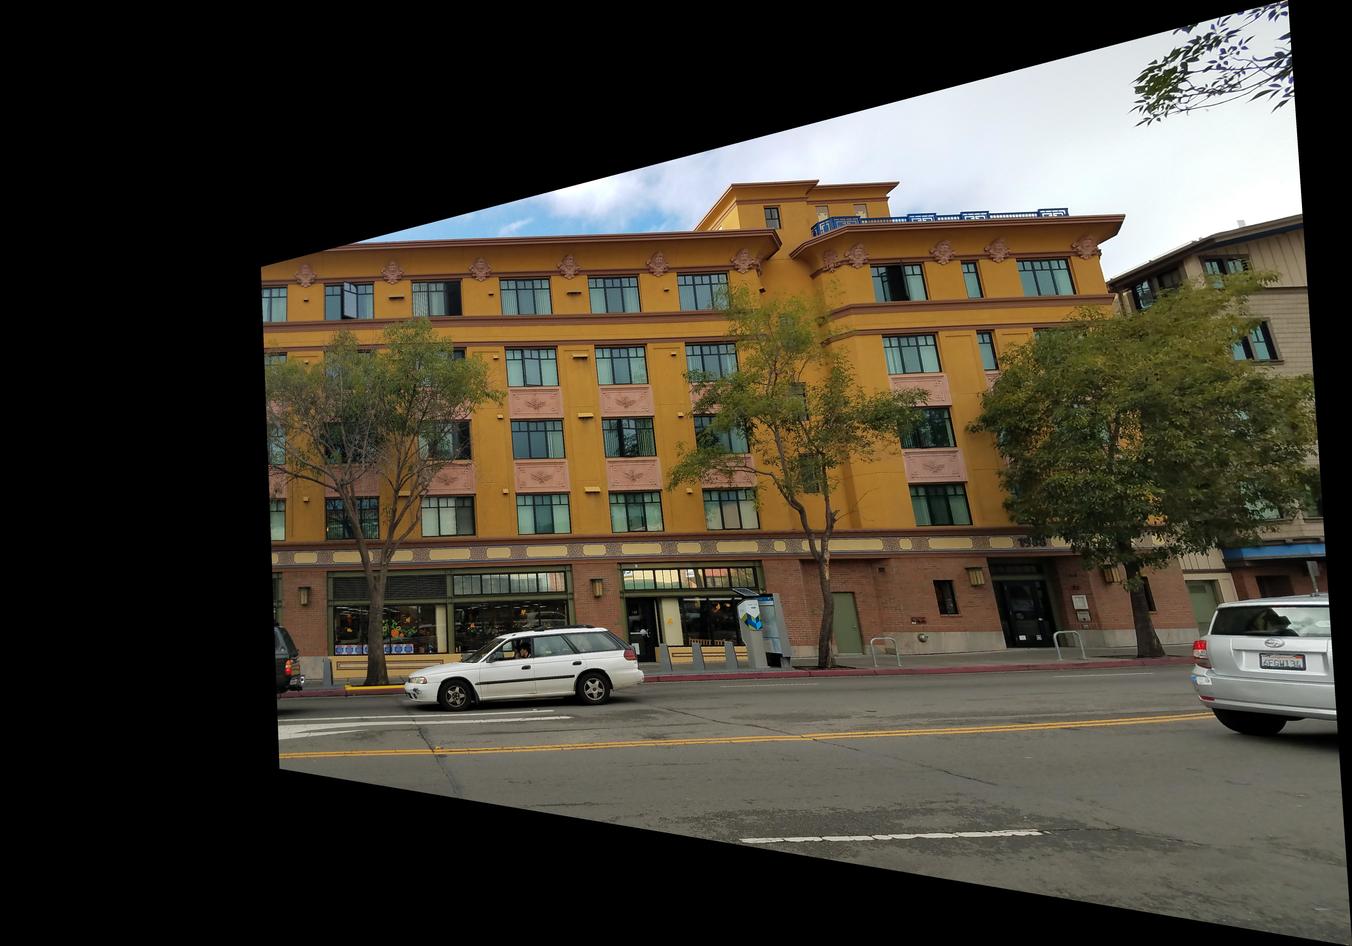
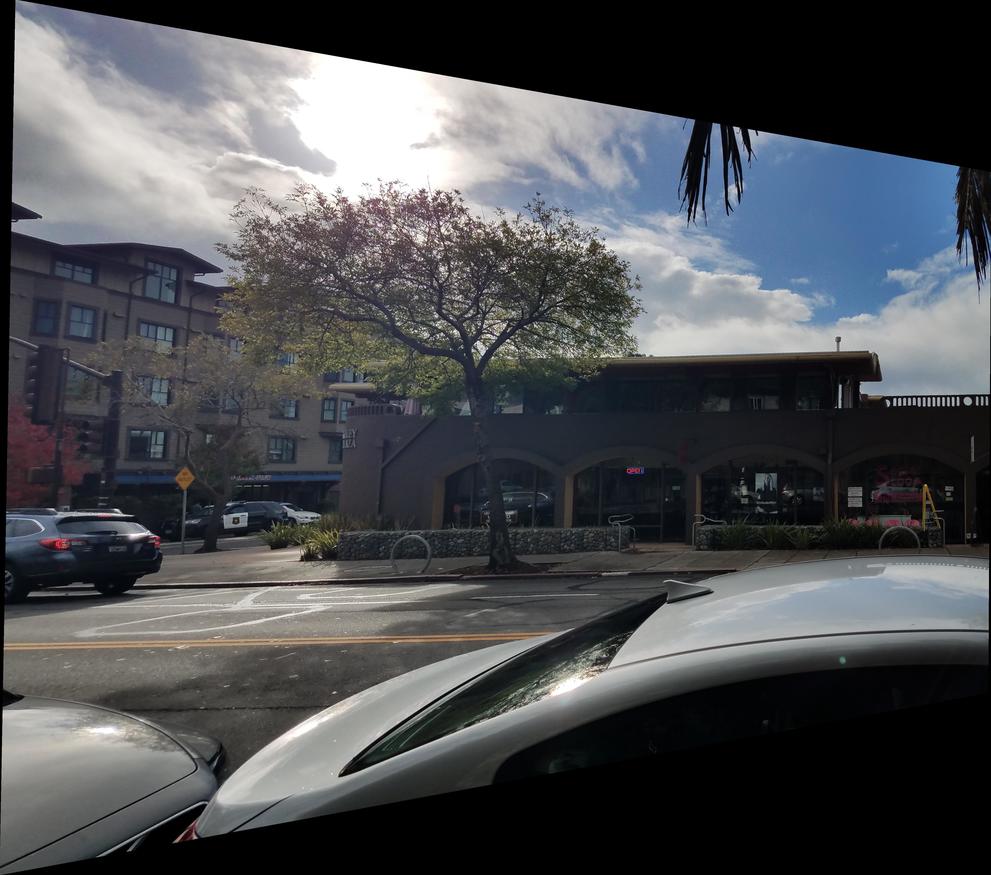
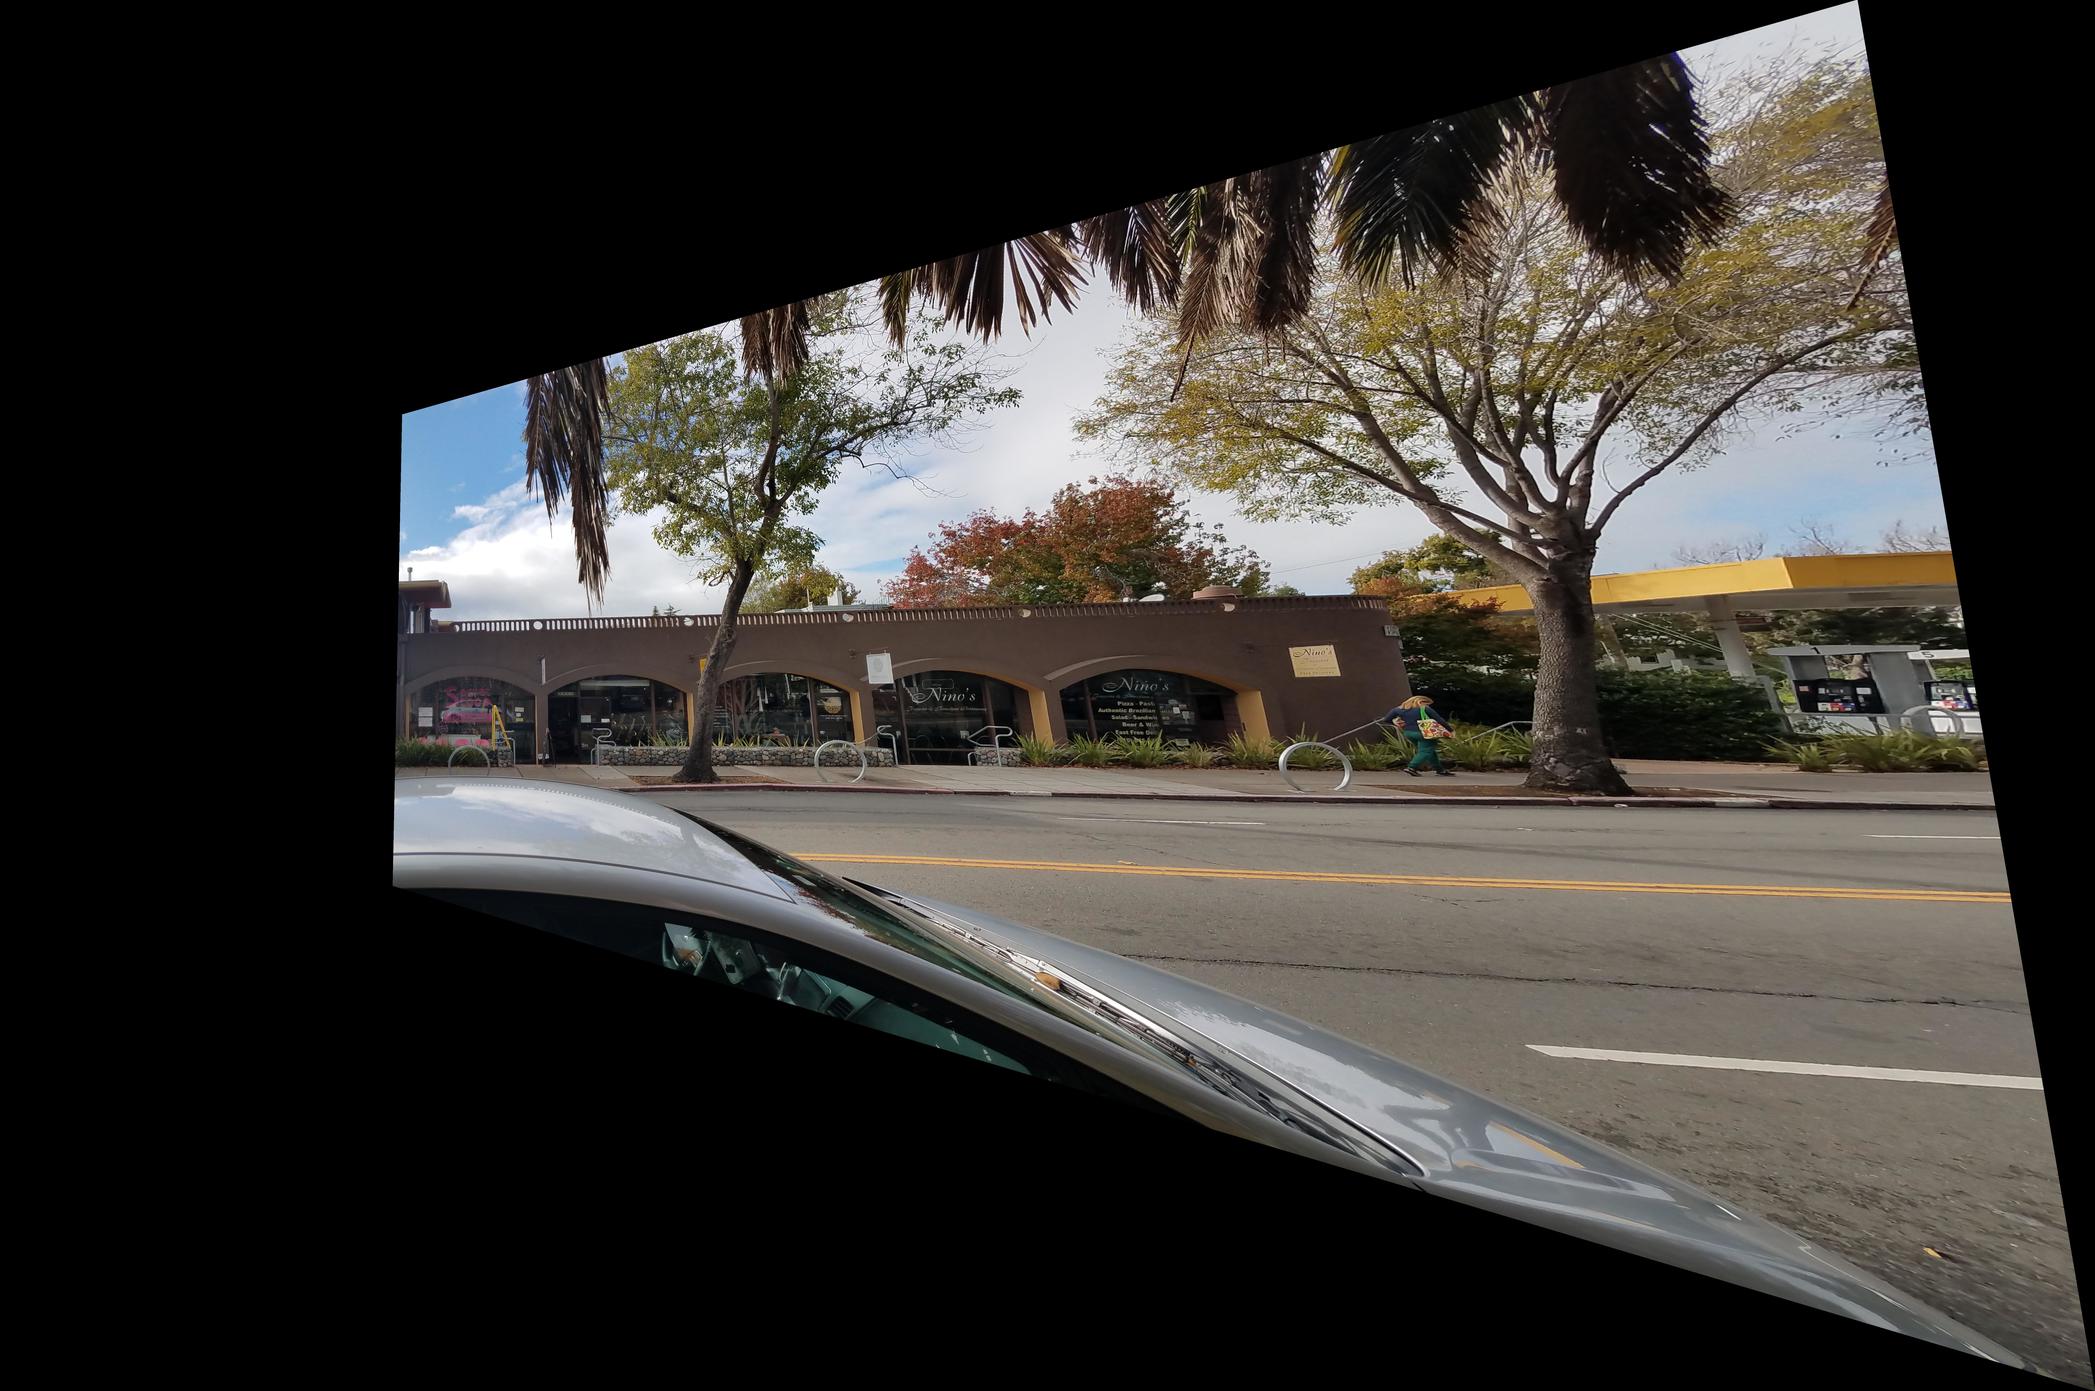
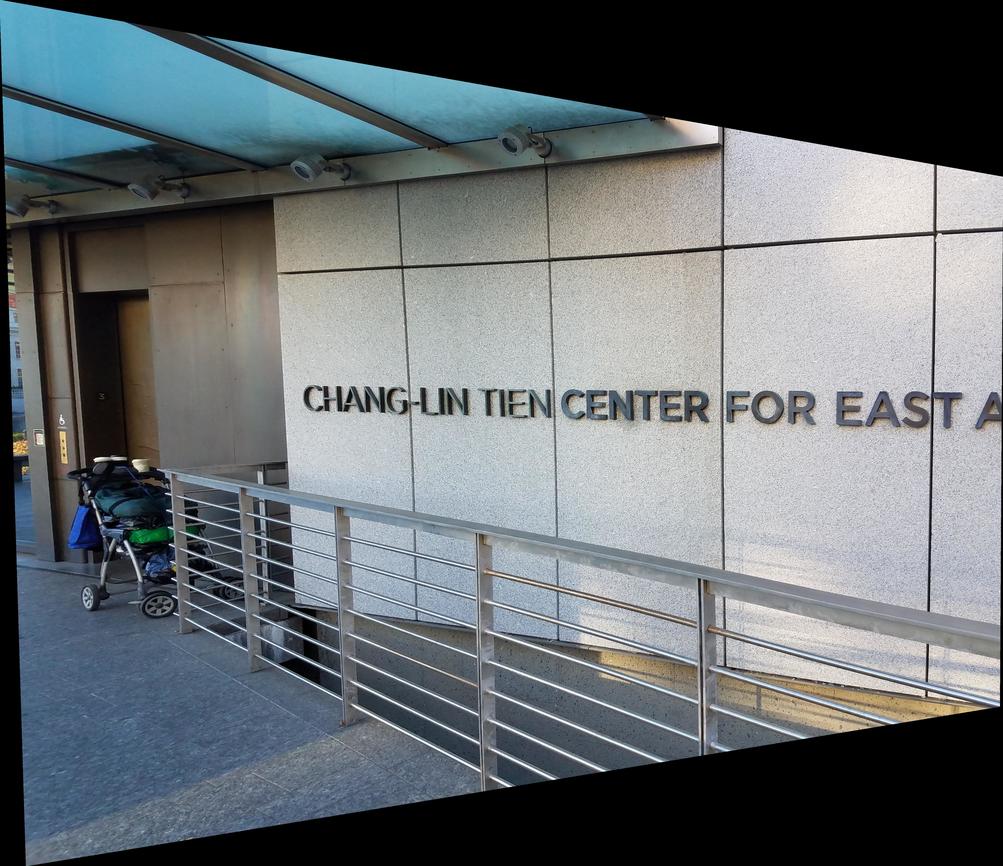
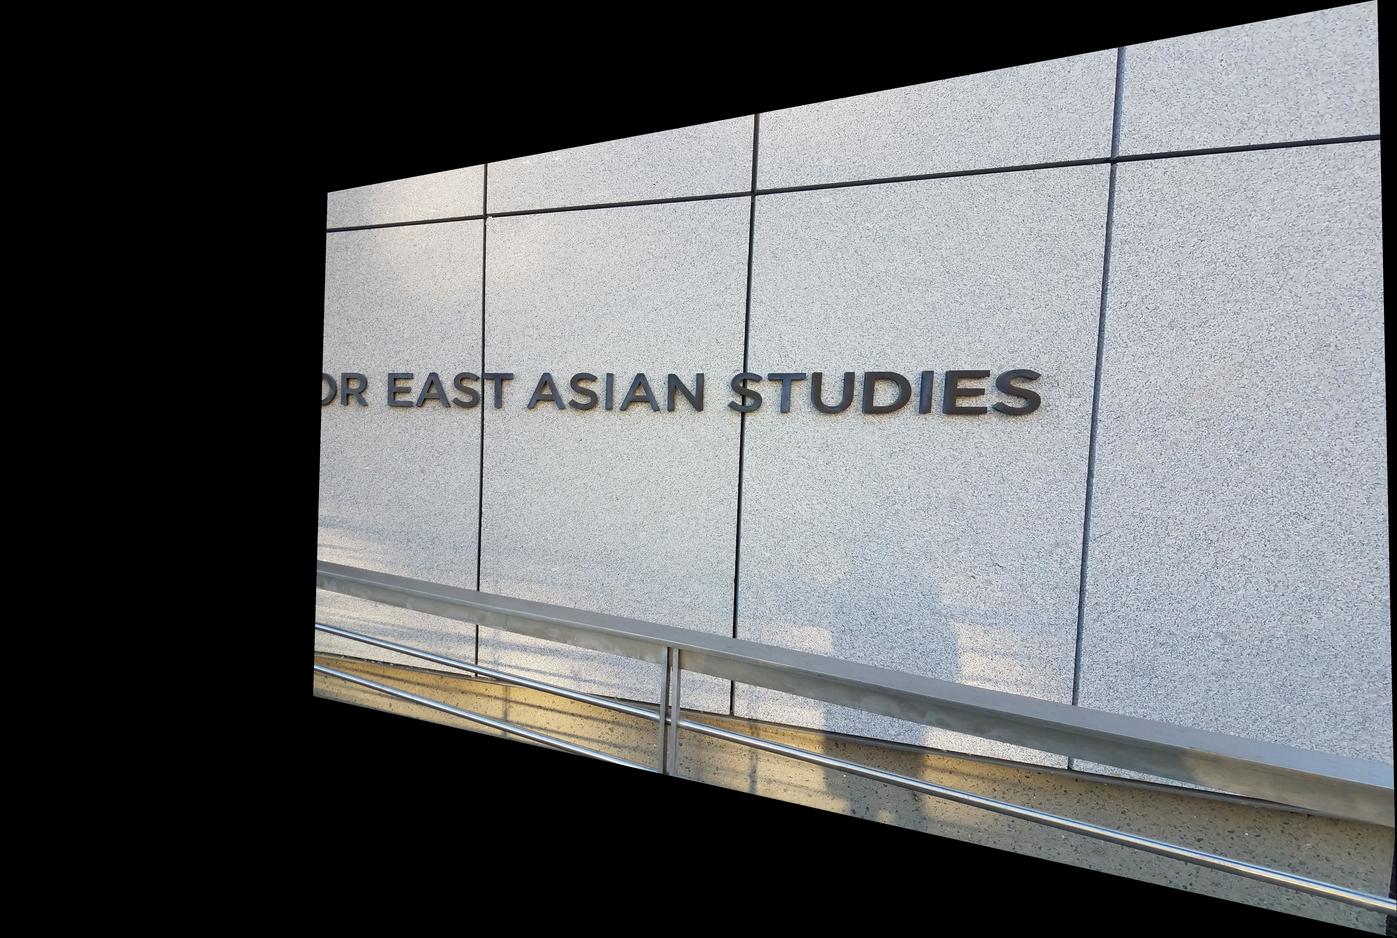
To warp images I first calculated a bounding box for the resulting warped image by applying H to the 4 corners of the original image. Then I warped the images using inverse transformations with H inverse to find, for each point in the warped image.
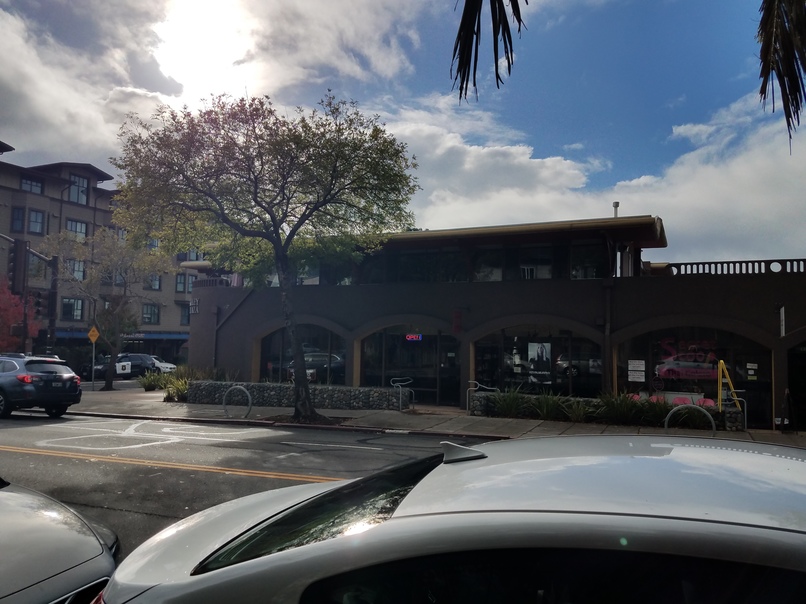
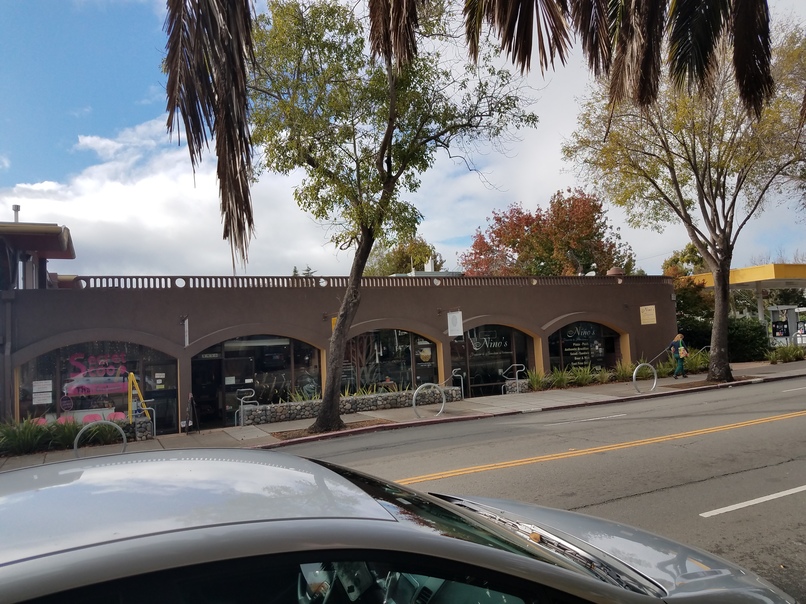
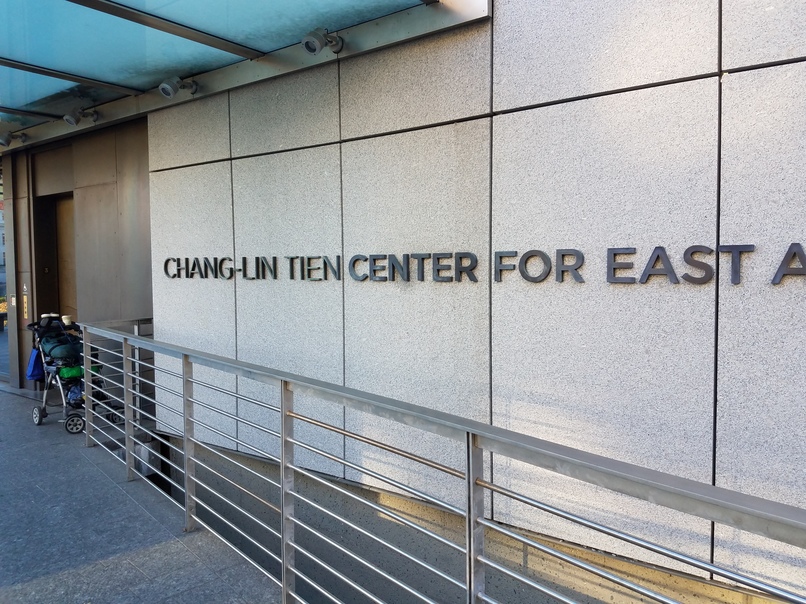
Note that it may be necessary to shift the bounding box if it contains negative coordinates. For this project, I warped the left image into the center image's projection and the right image into the center image's projection.
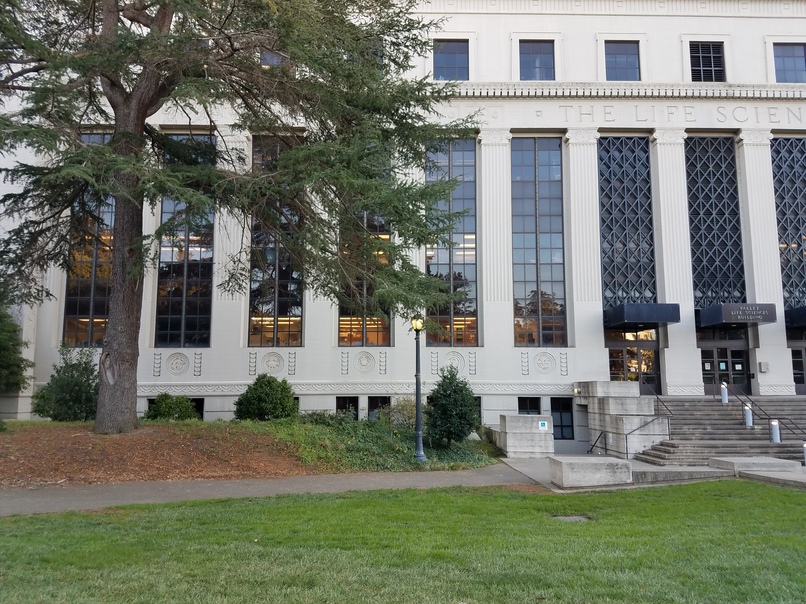
Images before and after warp:
|
|
|
|
|
|
|
|
|
|
|
|
|
|
|
|
|

|
|
|
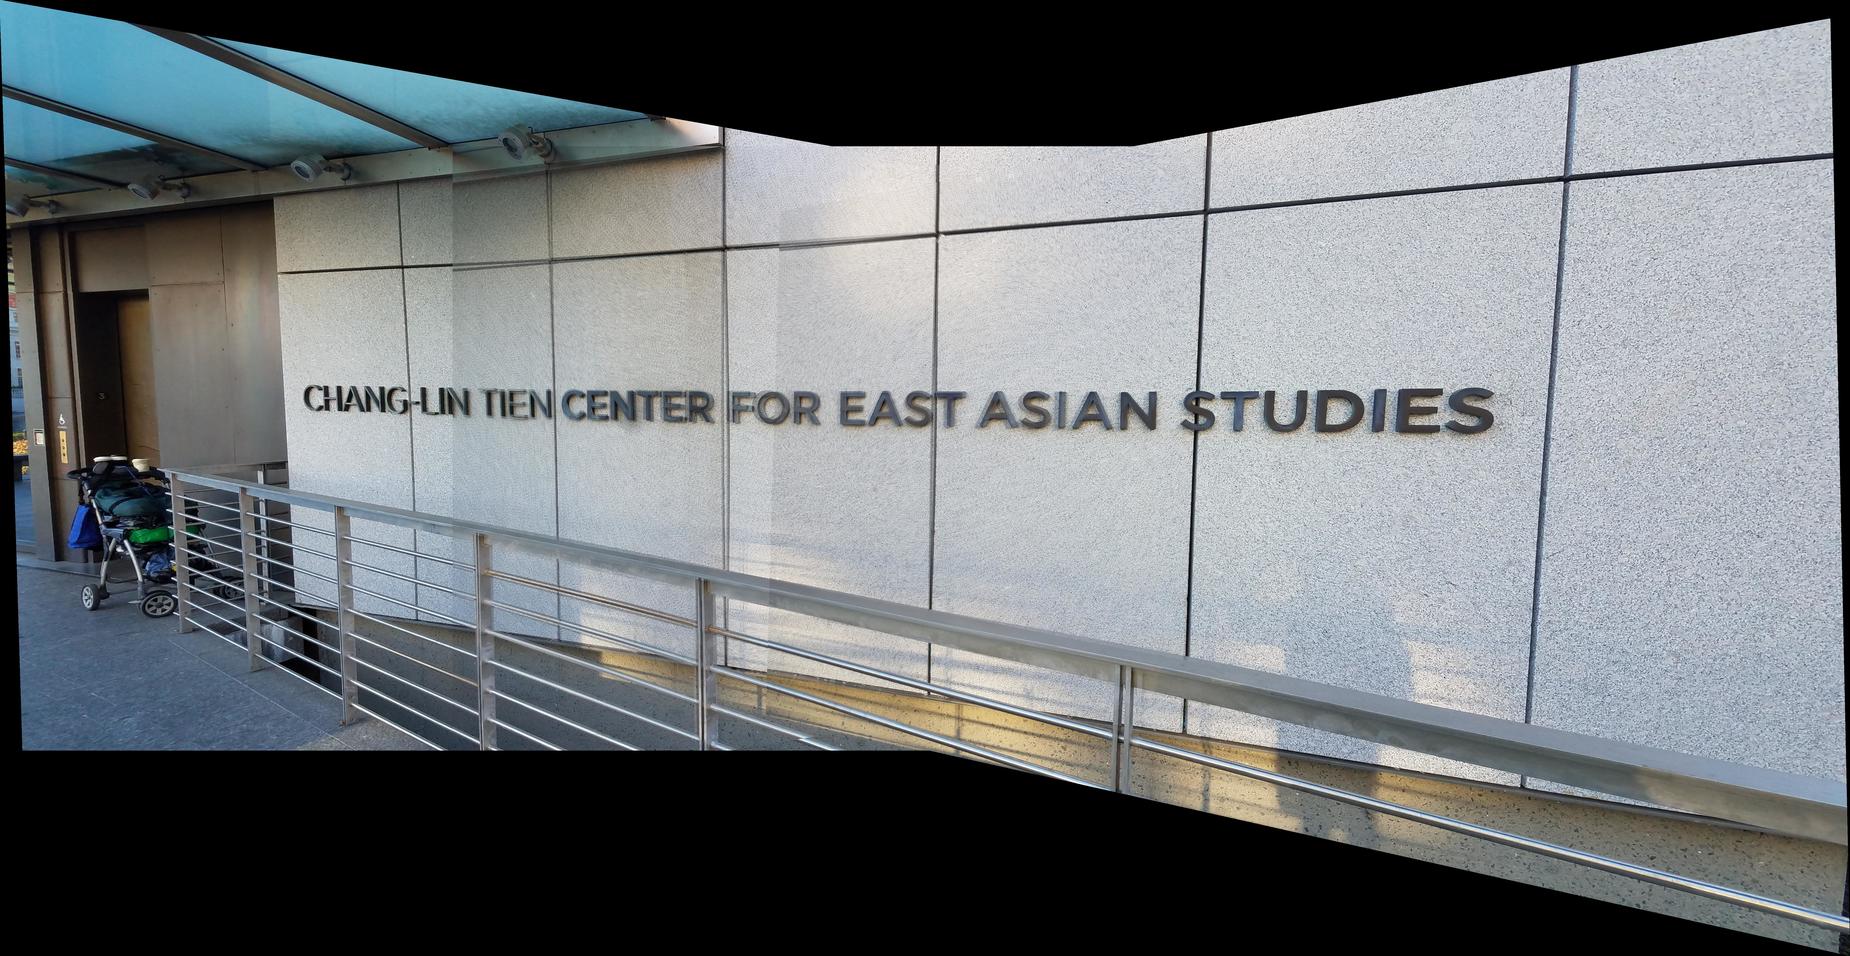
Image Rectification
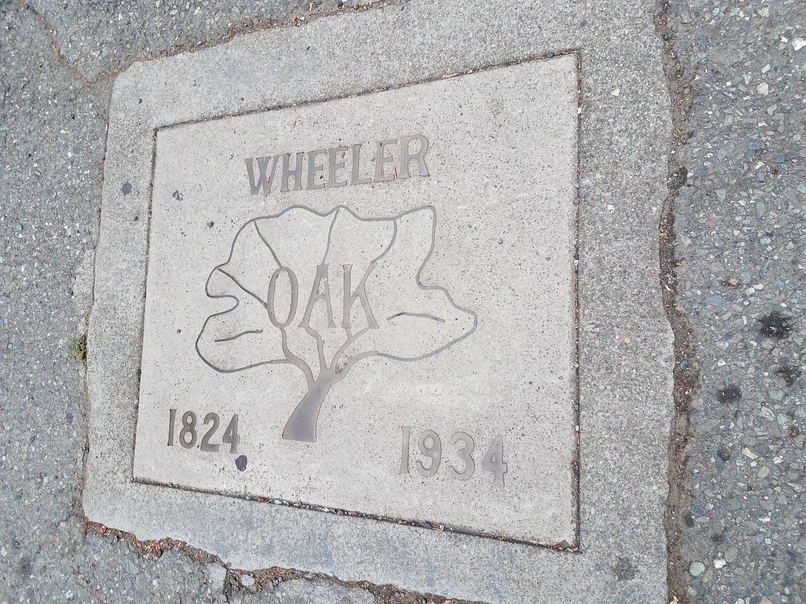
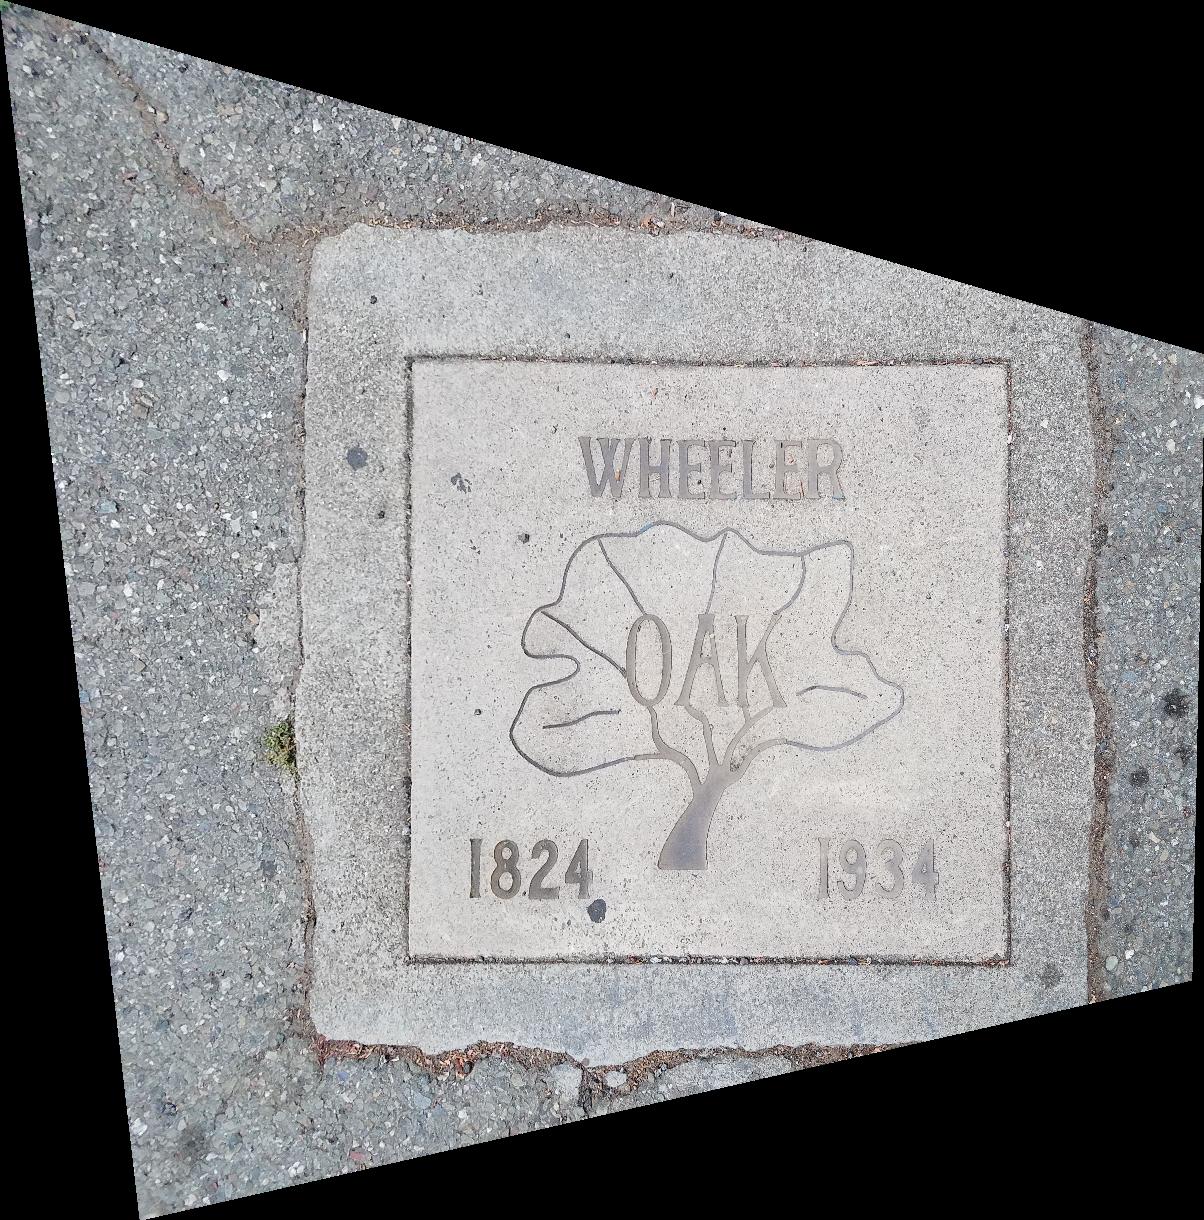
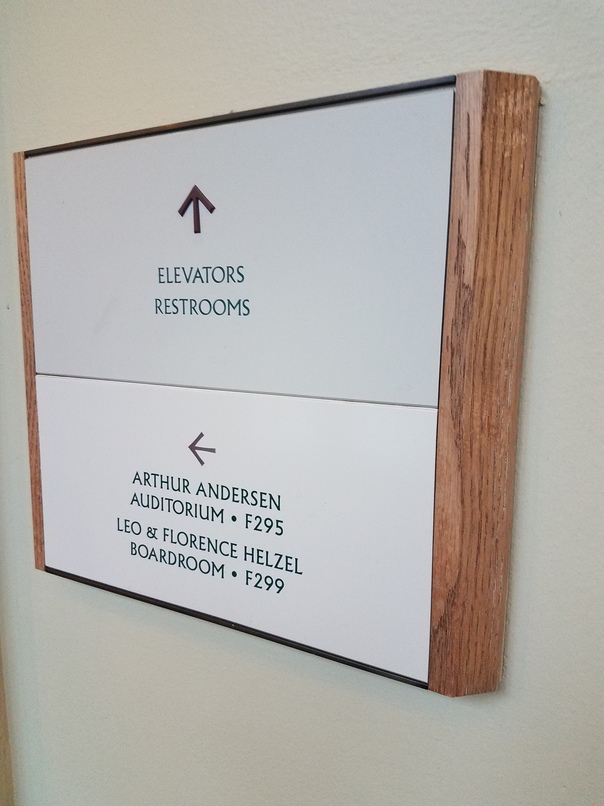
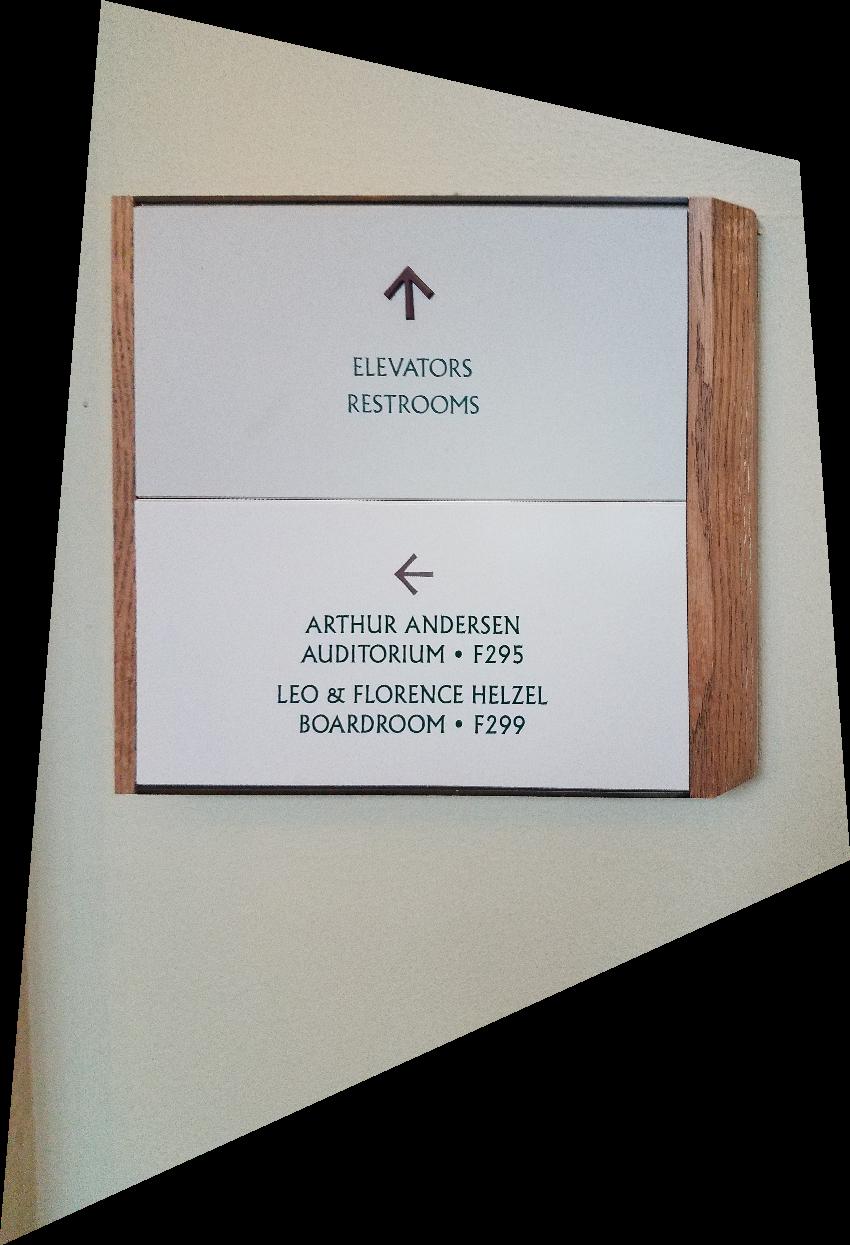
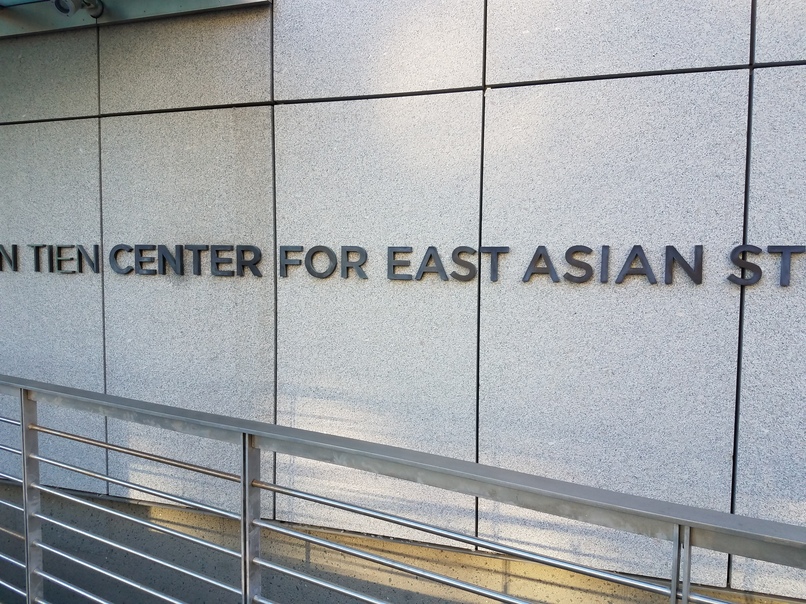
Rectifying an image can be done by defining 4 correspondence points on the image that make up the area we want to rectify. For the images below, the 4 correspondence points are the 4 corners of the signs. Then, we can define another set of 4 other correspondence points that form a square or a rectangle, then compute H and warp the area in the image into that rectangular shape.
Before and after rectifying an image:
|
|
|
|
Blend the images into a mosaic
For the project, I left the center image unwarped and warped the left and right images into its projection (as shown in the image warping section). To put these images together into a mosaic, I chose to add one warped image at a time. When constructing each mosaic, I first shift the images by adding rows/columns so that the predefined corresponding points line up. Then I create an empty mosaic image that is big enough to hold the results of combining both images. When blending the images, I used the simple feathering (weighted average) approach with an alpha value that is 1 at the center of the images being combined. This alpha falls off linearly until it hits 0 at the image edges.
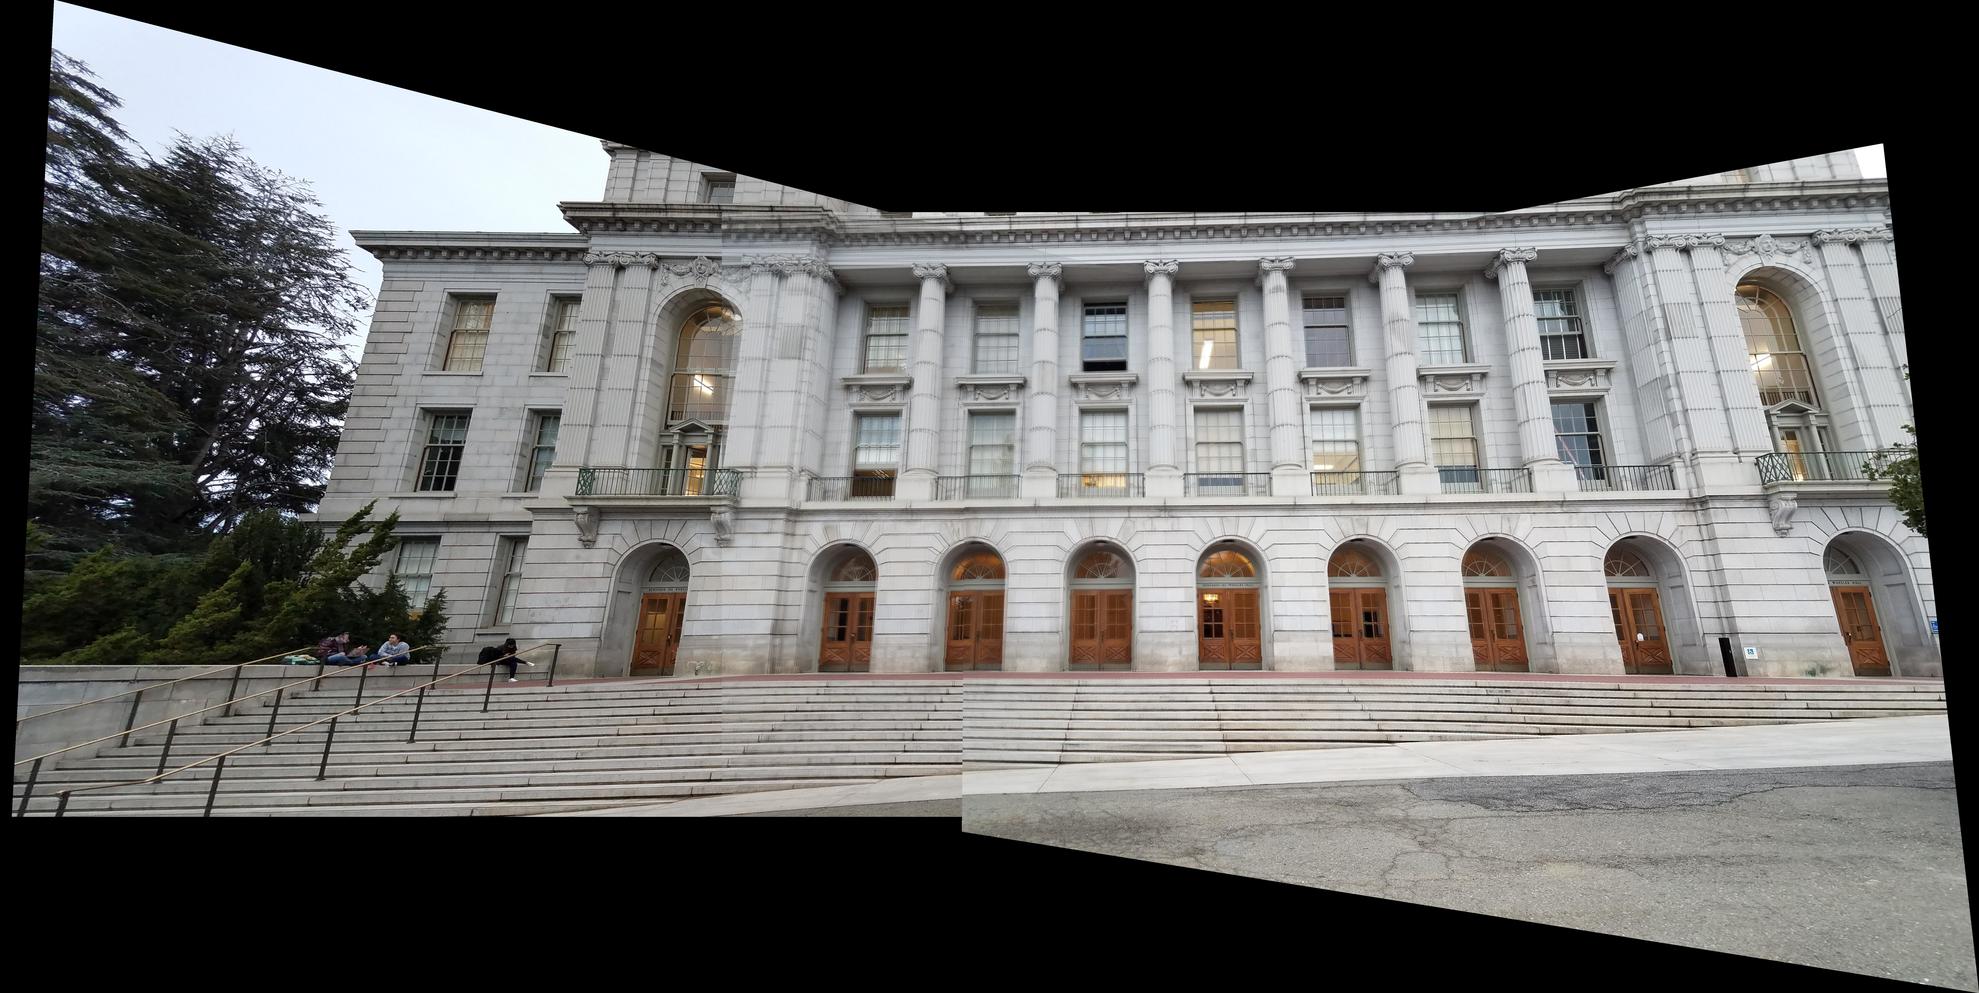
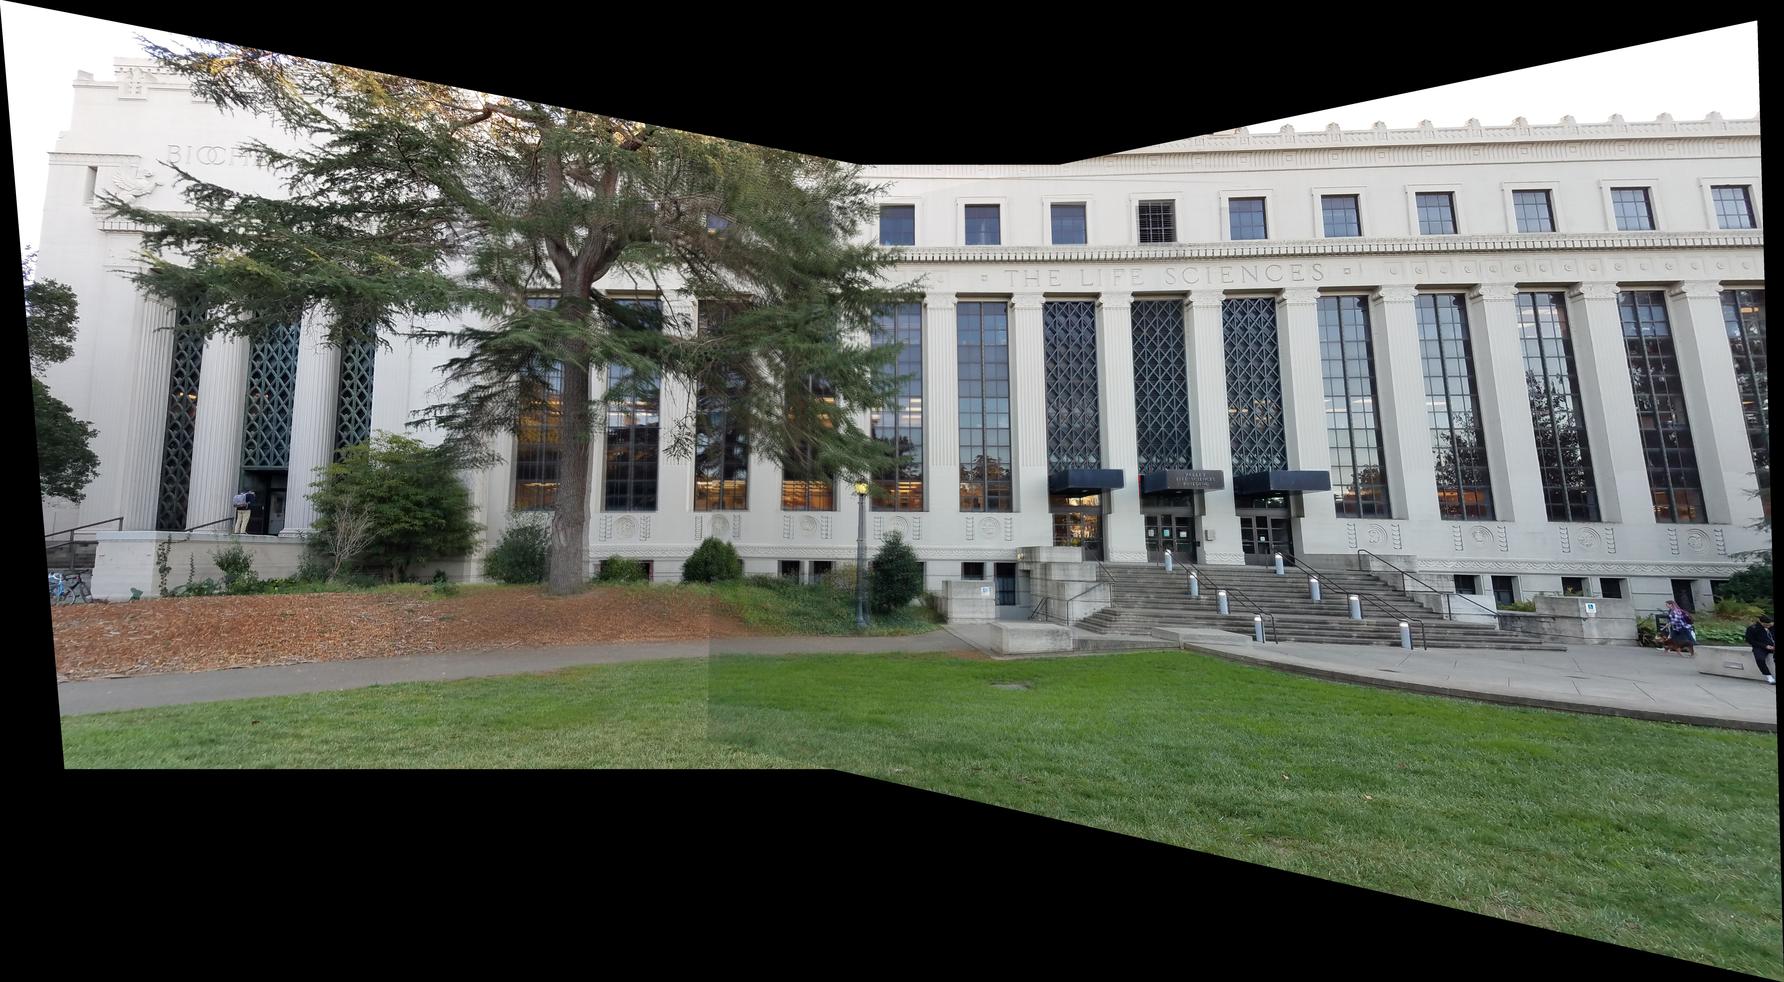
Mosaic results (Berkeley Campus):
|
|
|
|
|
|
|
|
|
|
|
|
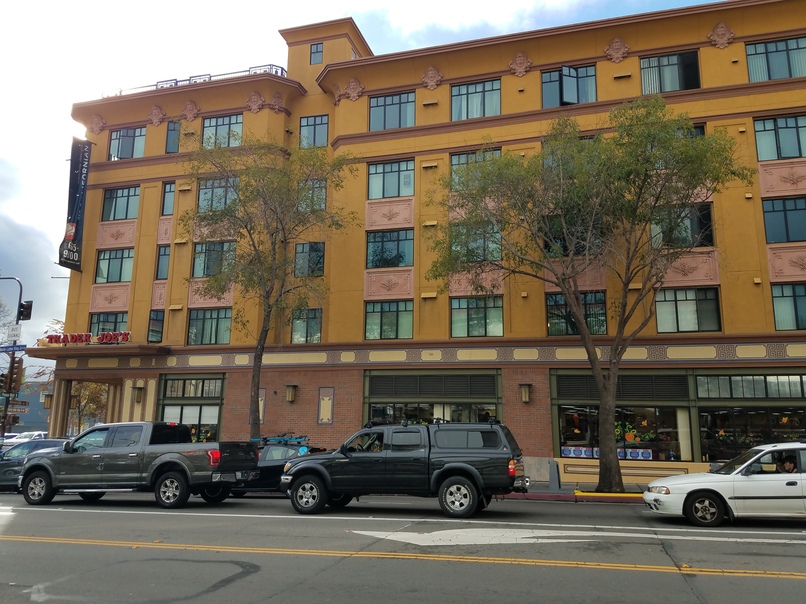
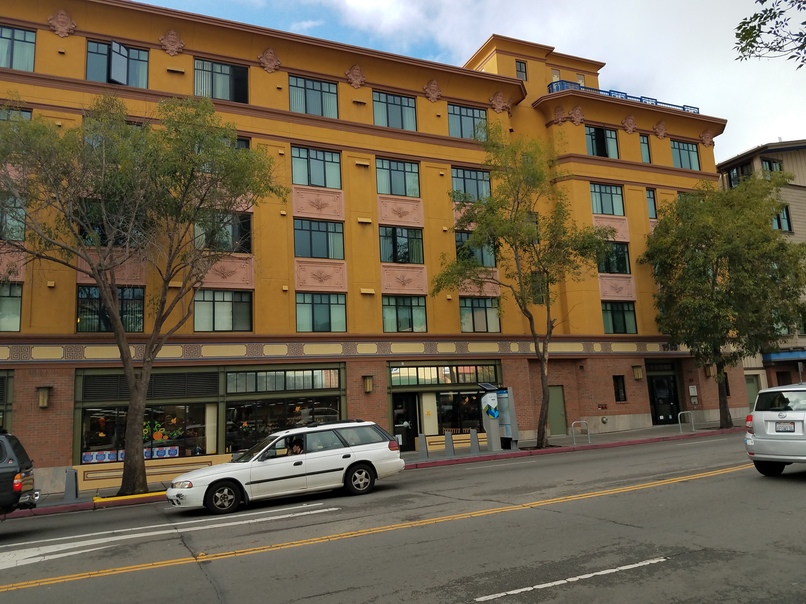
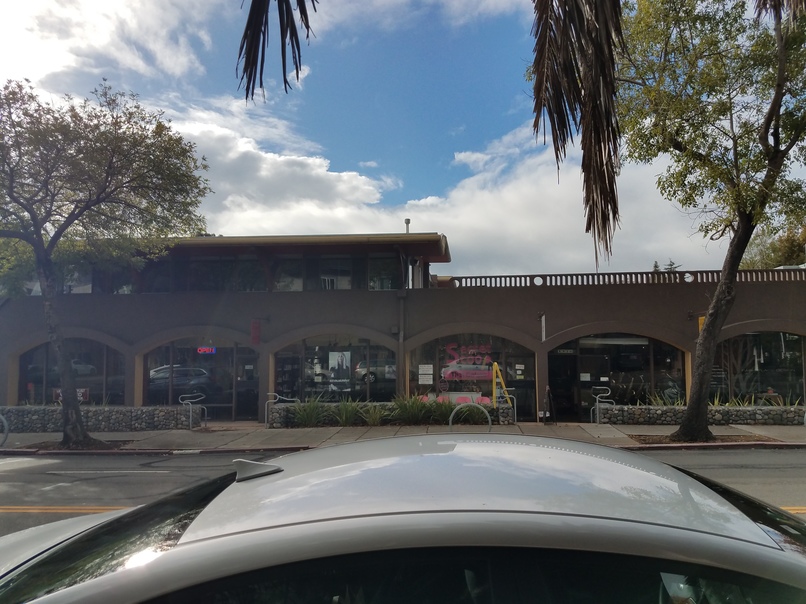
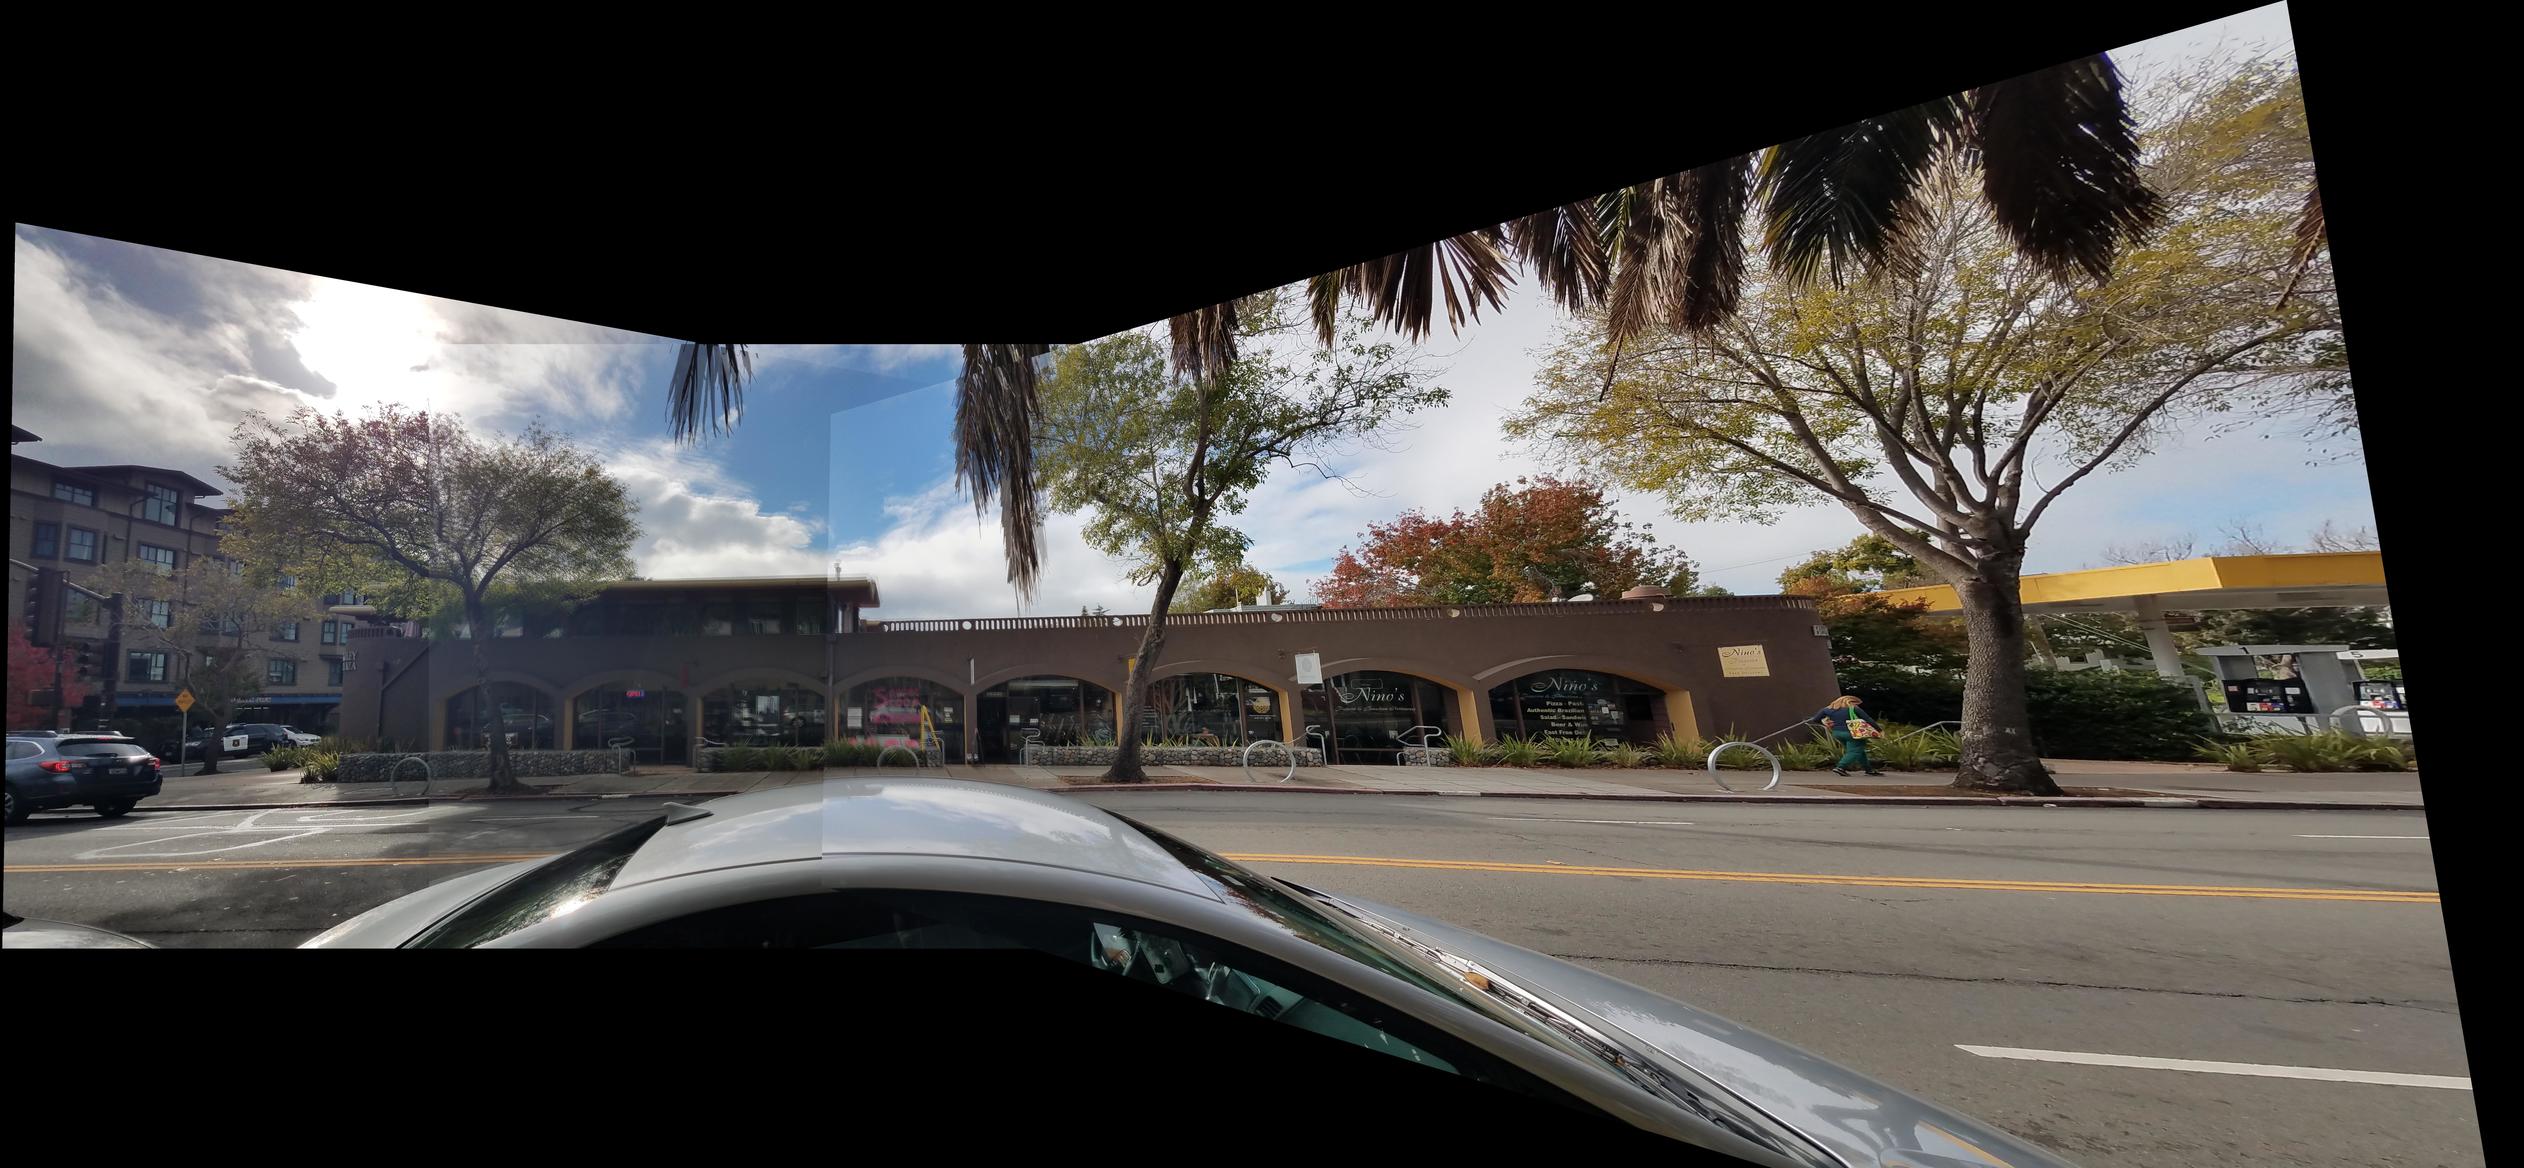
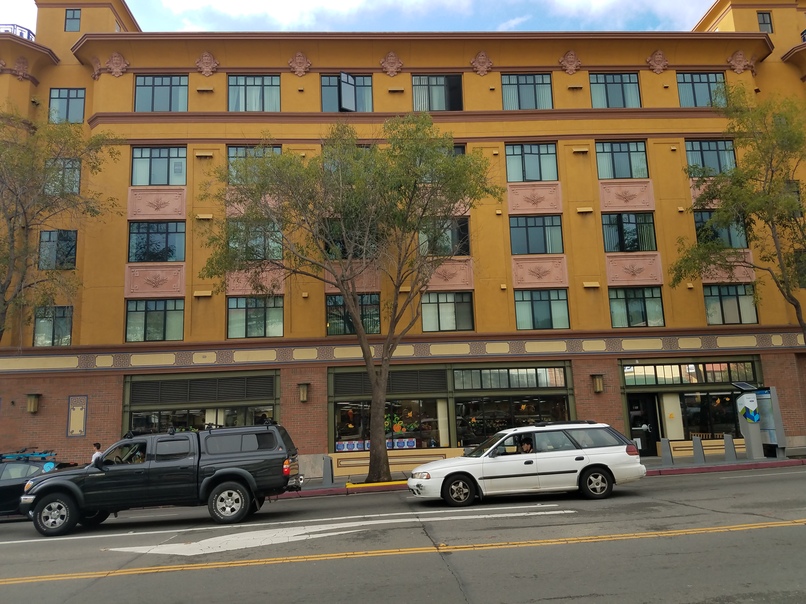
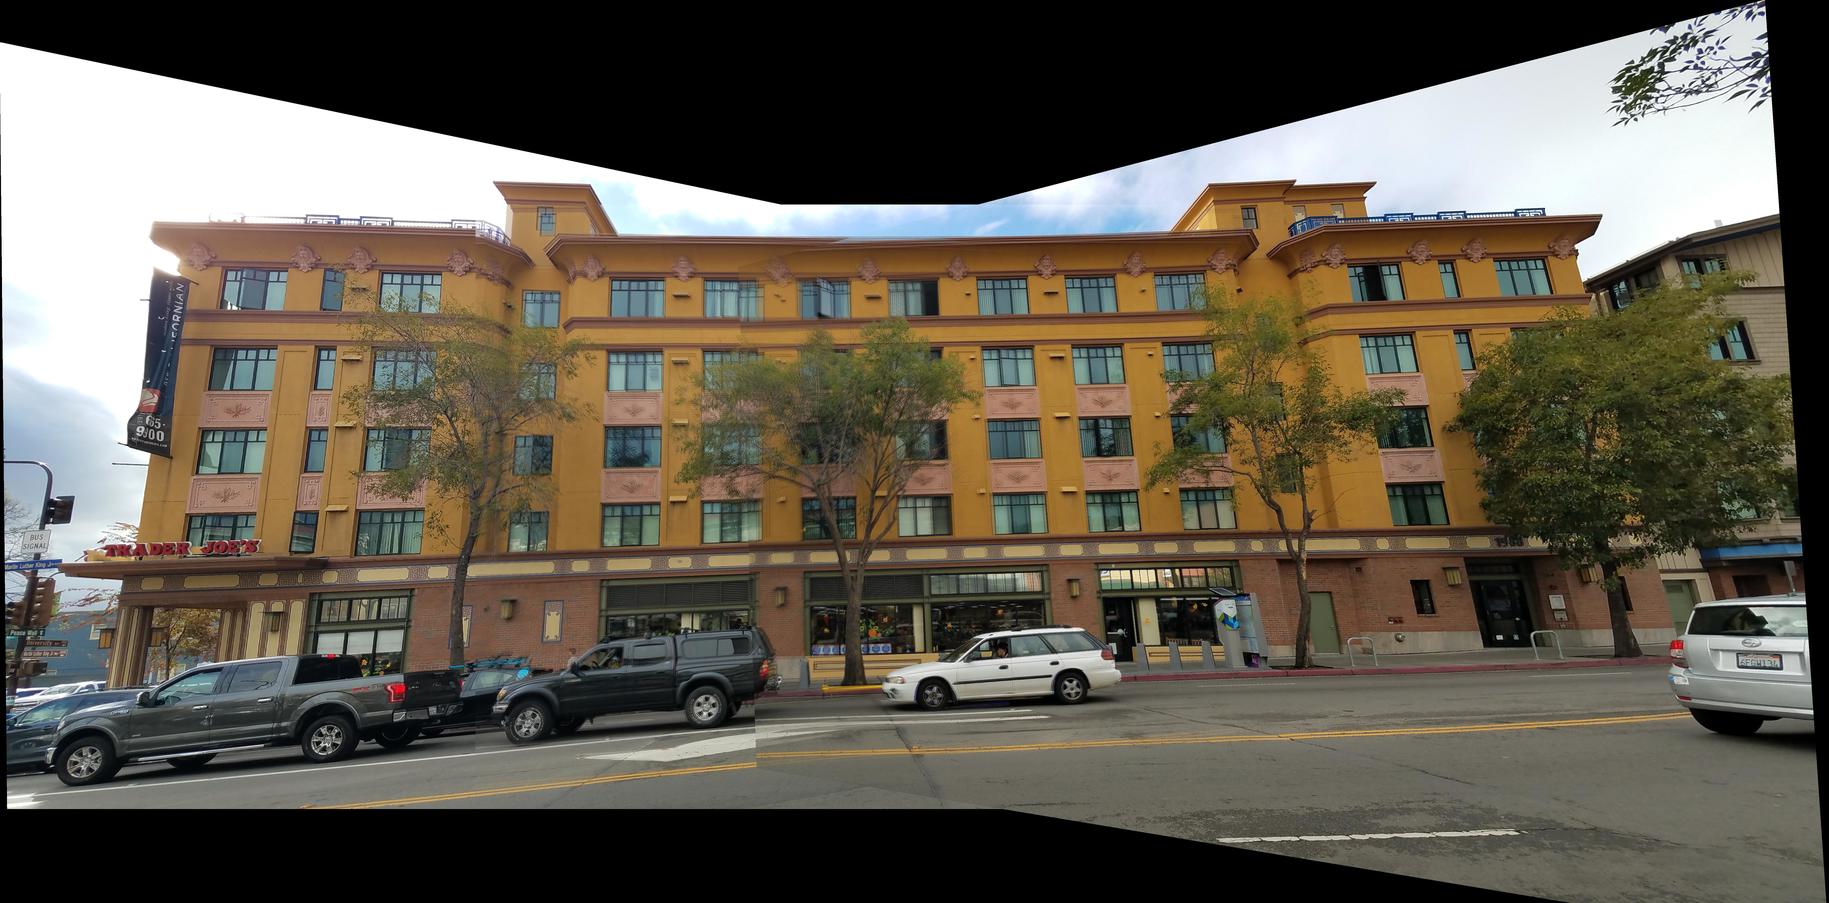
Mosaic results (Outside Berkeley Campus):
I did not have the time to go to San Francisco or places outside Berkeley this past week. The following mosaics are of Trader Joe's and Berkeley Plaza, which I think are relatively far from campus.
|
|
|
|
|
|
|
|
Note that minor artifacts, such as small feature mismatches and color differences are present. One possible cause of feature mismatches is small movements when taking the photos, since I did not have a camera with a tripod, and did the best I could to take these photos with my Samsung S7 phone. In addition, minor pixel offsets when manually defining corresponding points could have introduced small errors to the calculated homography. Color difference can be attributed to lighting differences between shots, which is particularly obvious for the Berkeley plaza mosaic.
What I learned
This project taught me how to recover homographies between two images using correspondence points. I also learned how to use those homographies to warp an image into the projection of another, how to rectify areas of an image, and how to piece warped images together into a mosaic. Overall I thought it was really cool to be able to warp and combine different perspective images of the same object into a mosaic.