 Original Laptop
The objective of this project was to understand the process of image warping, through the creation of image mosaics. We create the mosaic by first indicating the corresponding points in two separate photos of the same environment, from different angles. We then find the transformation matrix between these coordinates, and apply this to one of the images, created a warped image. Finally, we blend the two images together to craete our final image mosaic.
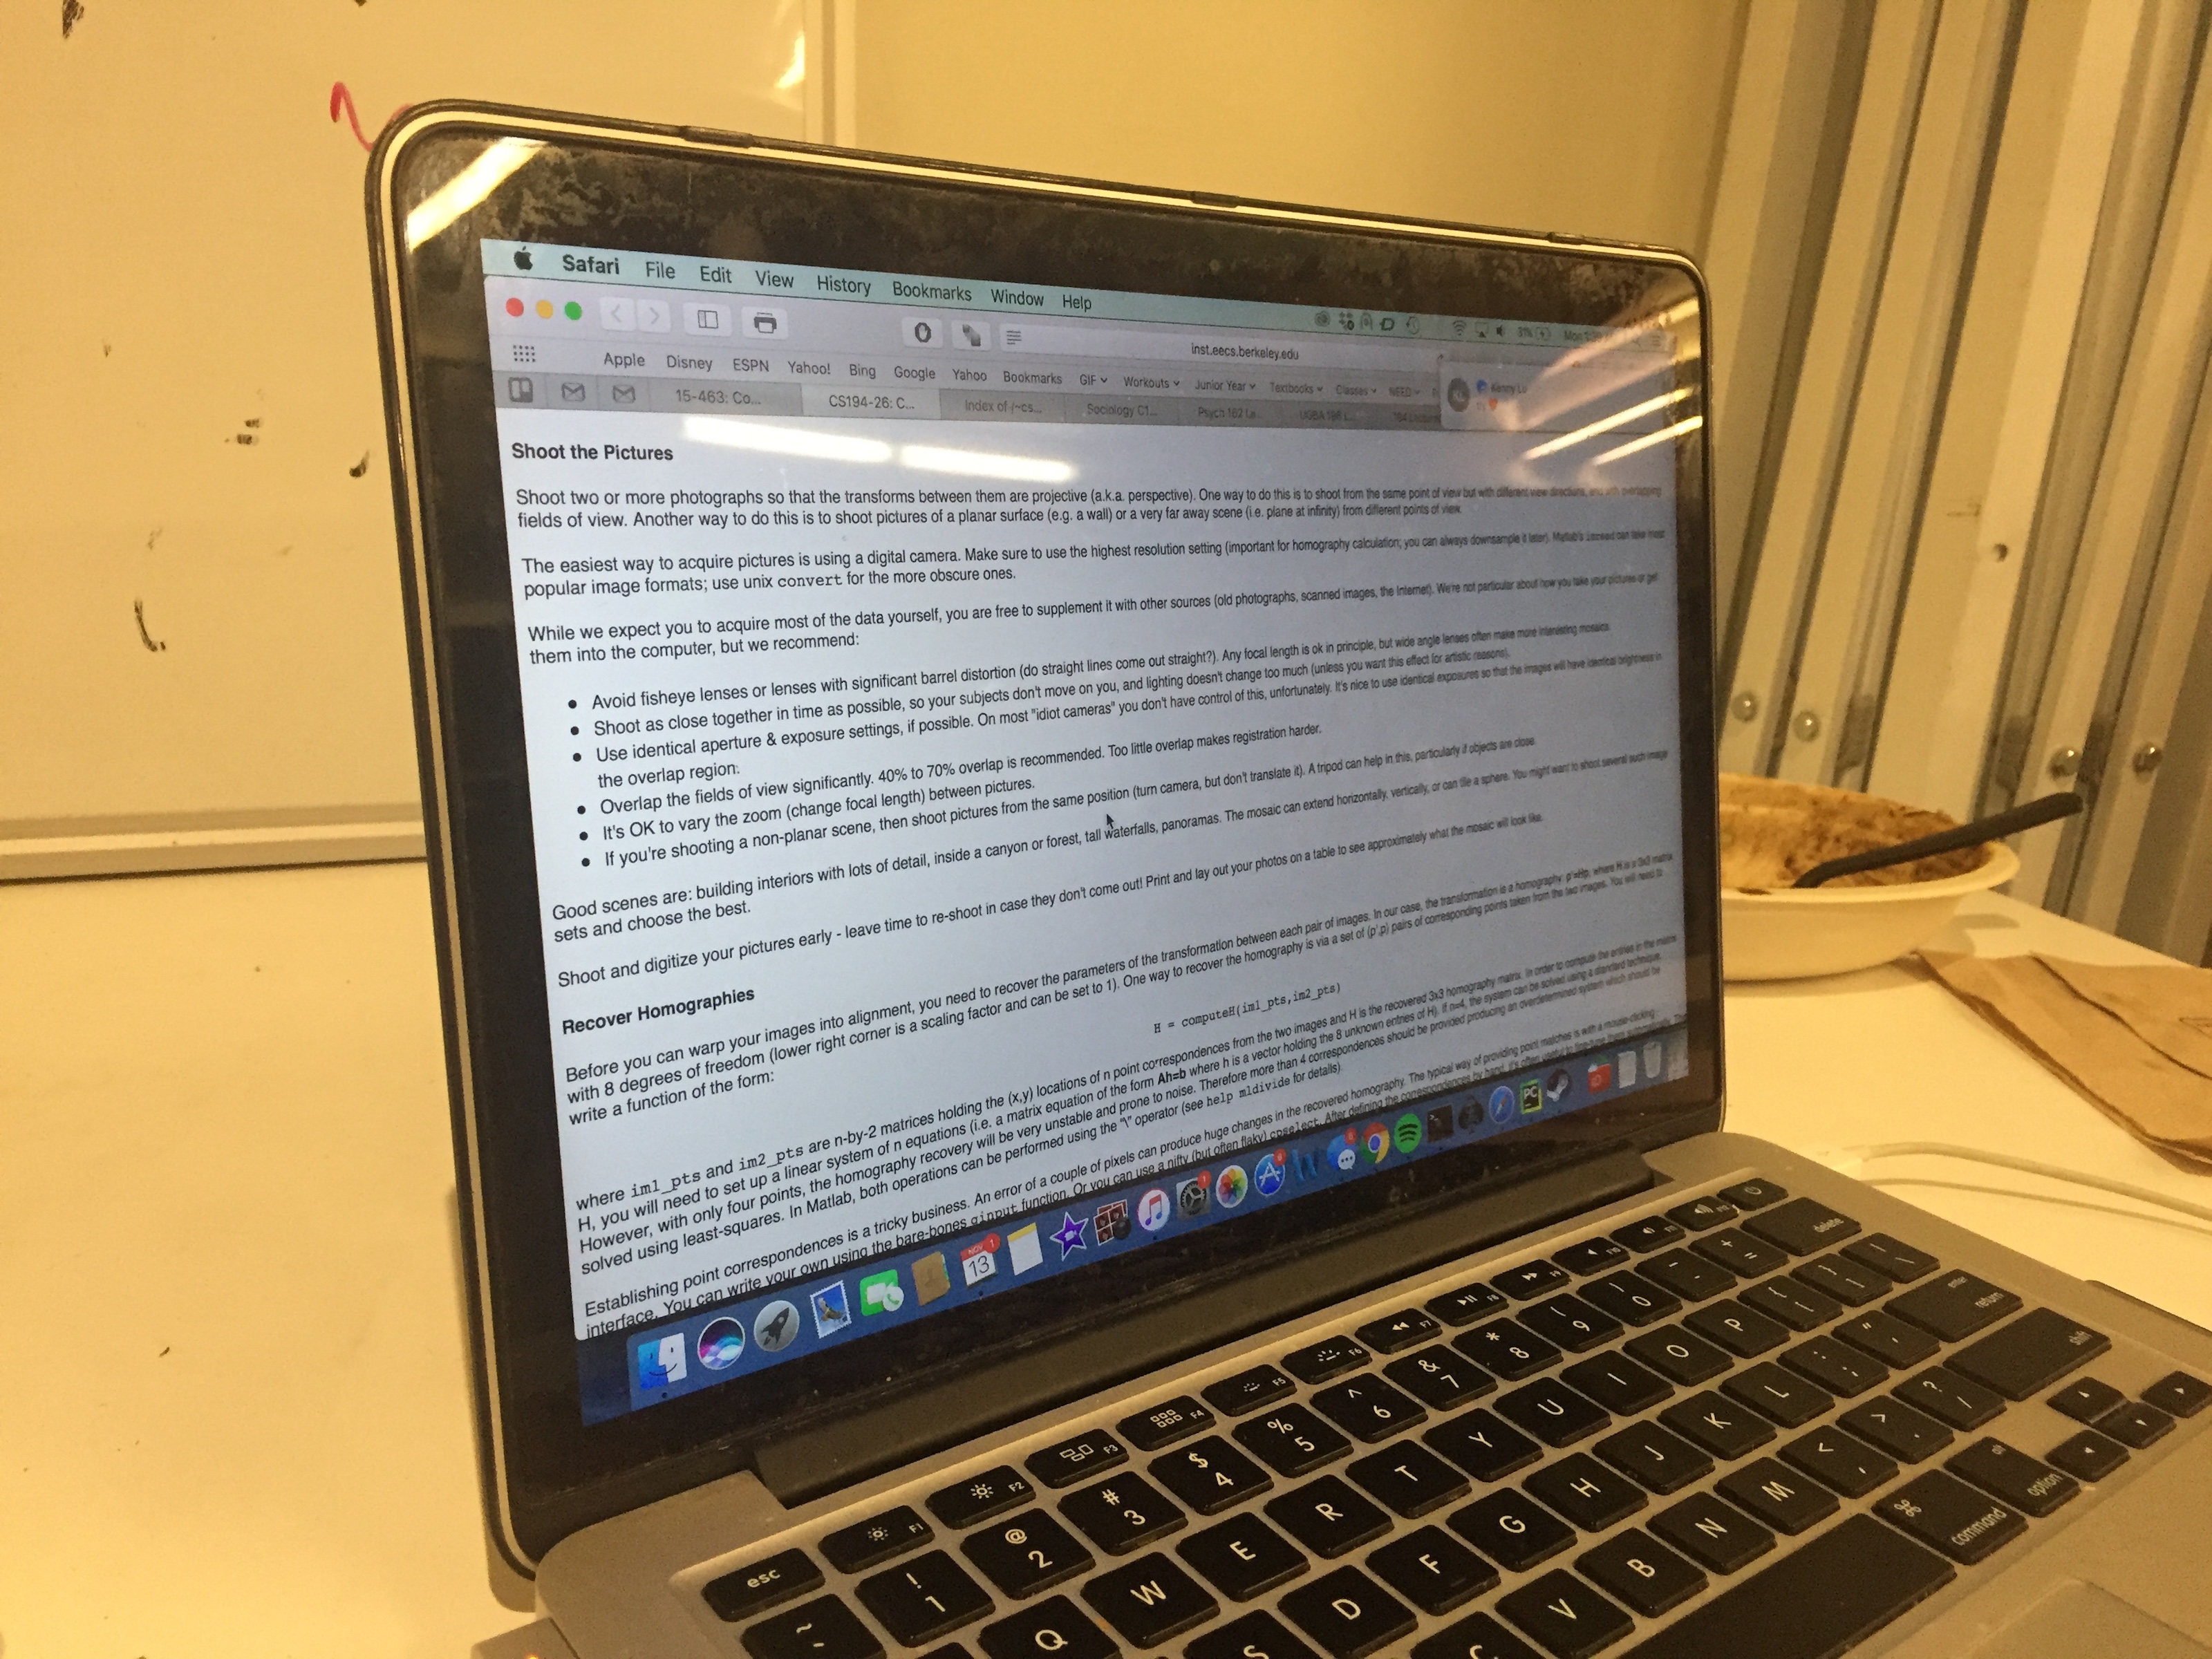
Before we move to the actual mosaicing, we would like to make sure that our warping function is working correctly. We test this by warping two photos with objects whose "actual" shapes are known. By taking these photos from an angle and using our warp function to rectify the image, we are able to confirm that our warping function works. Below are two examples of warping an image so that the object is frontal-parallel.
Original Laptop
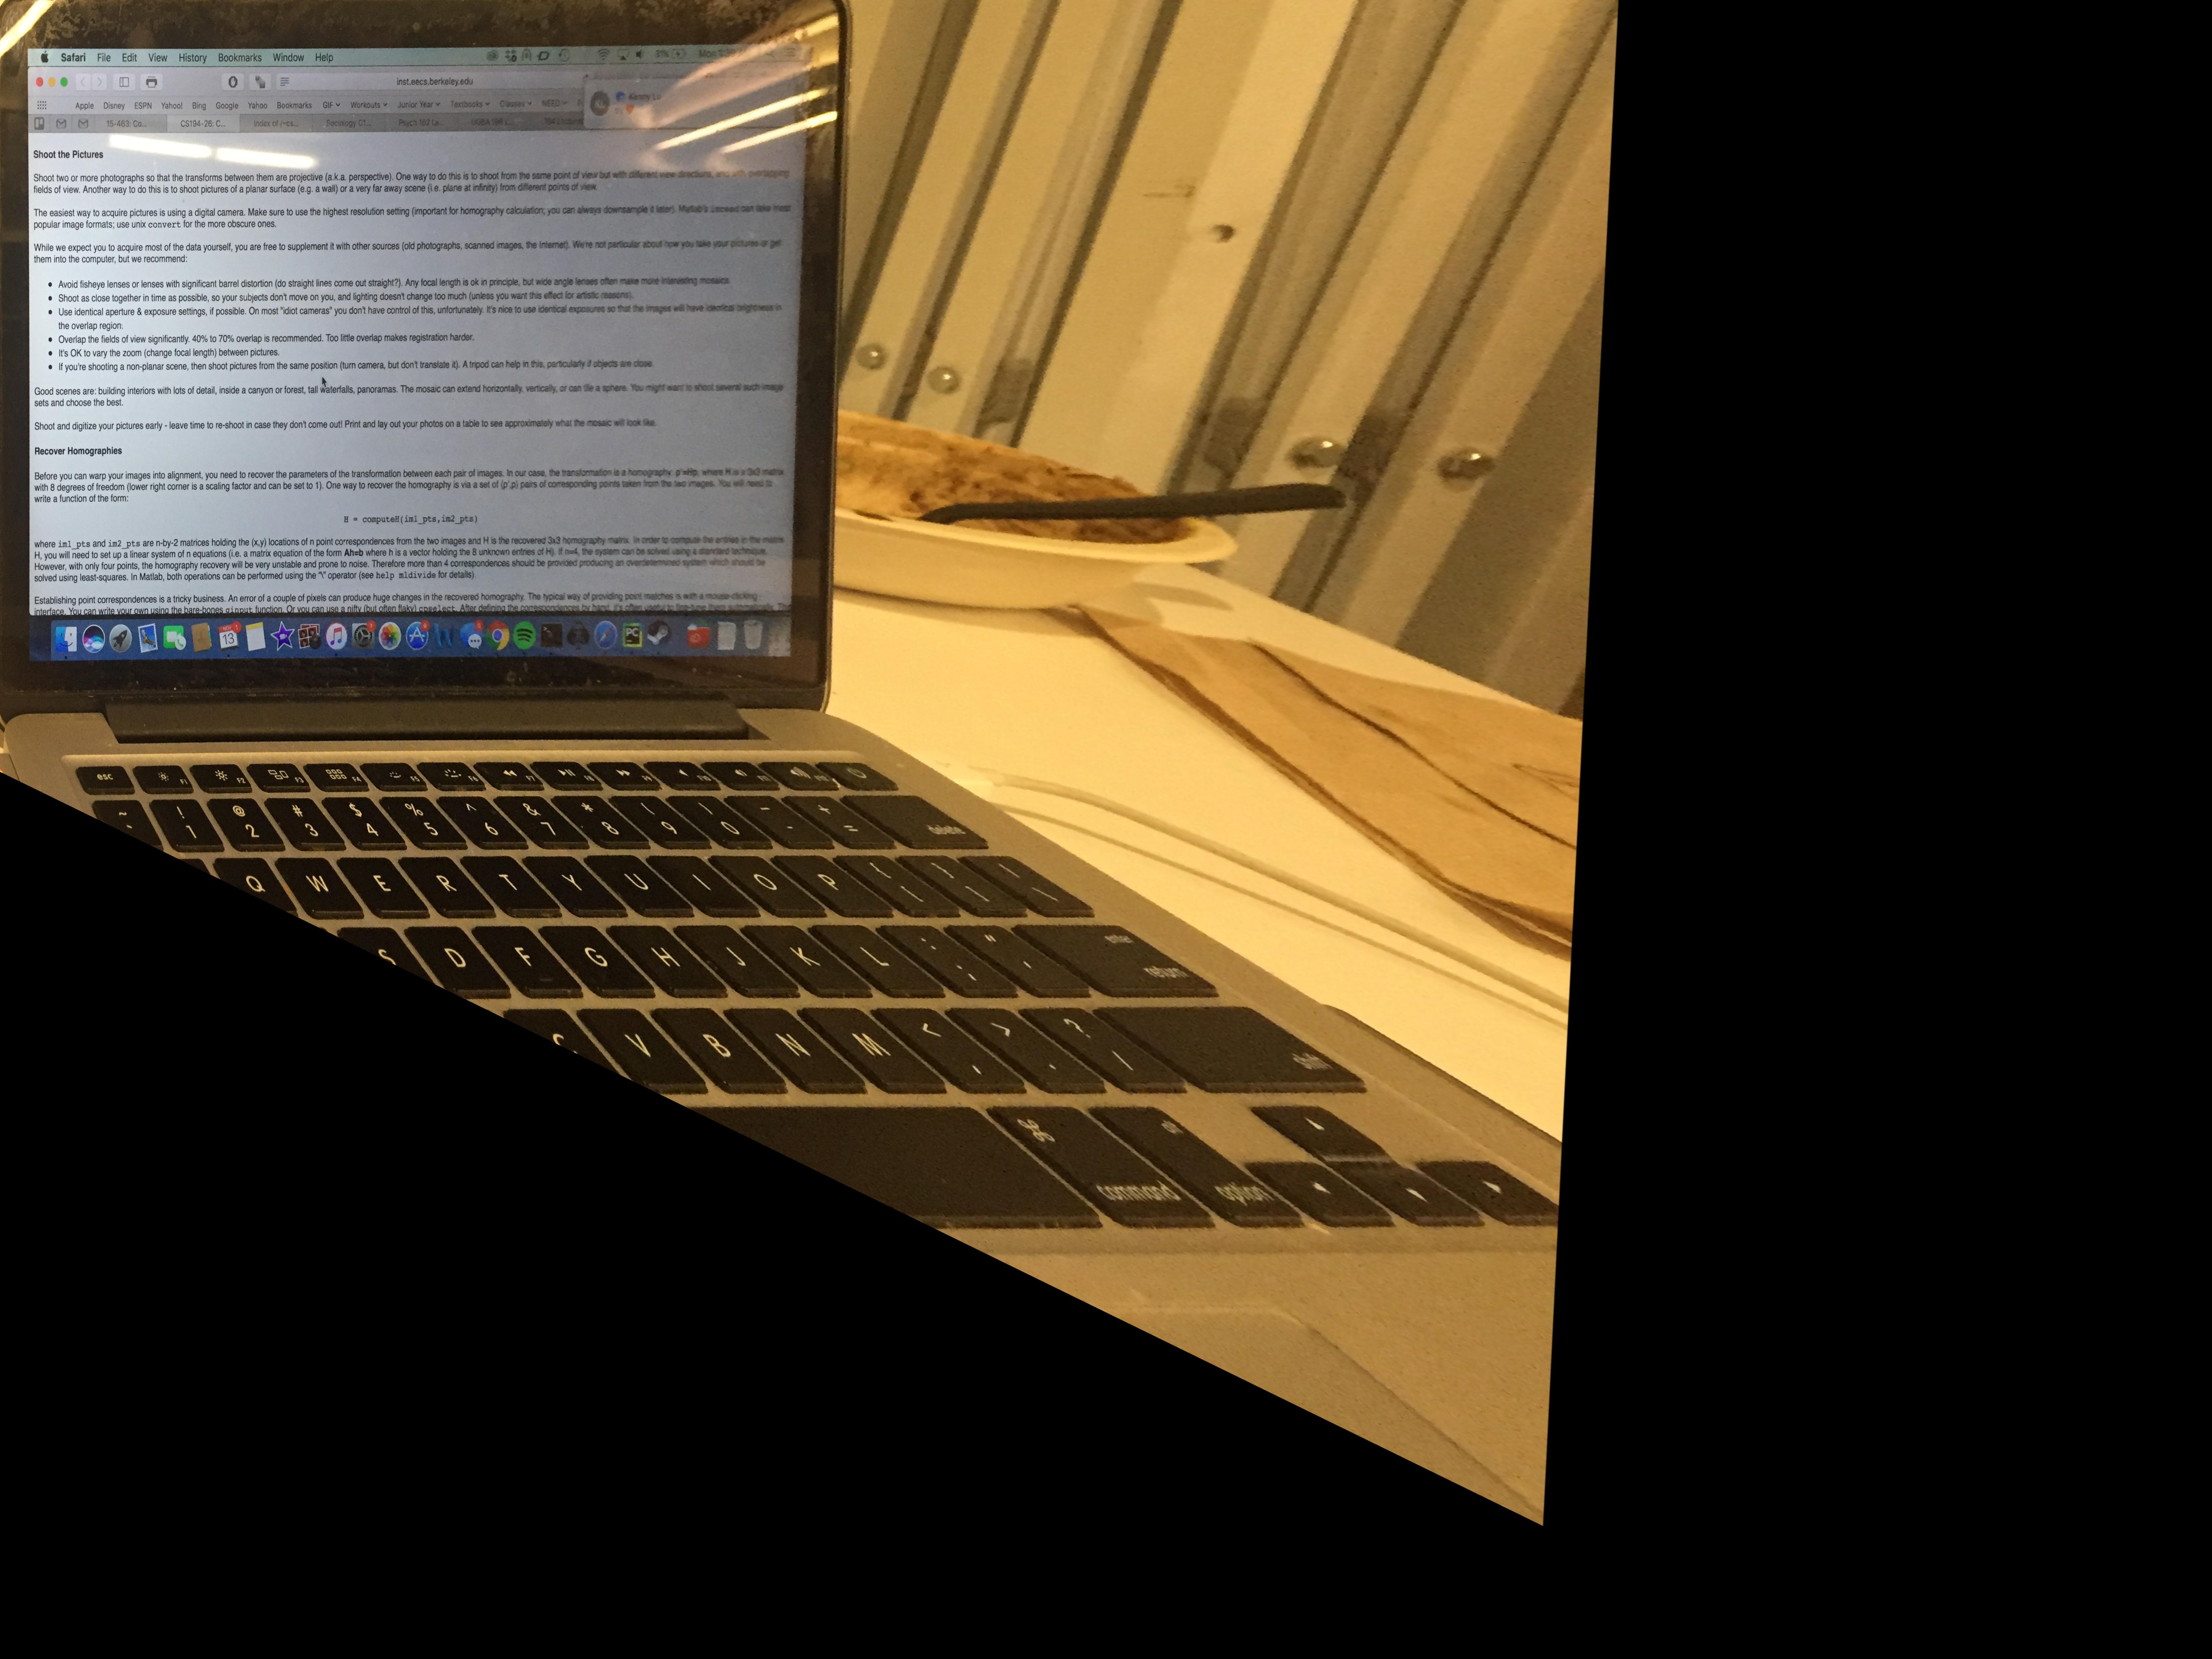 Rectified Laptop
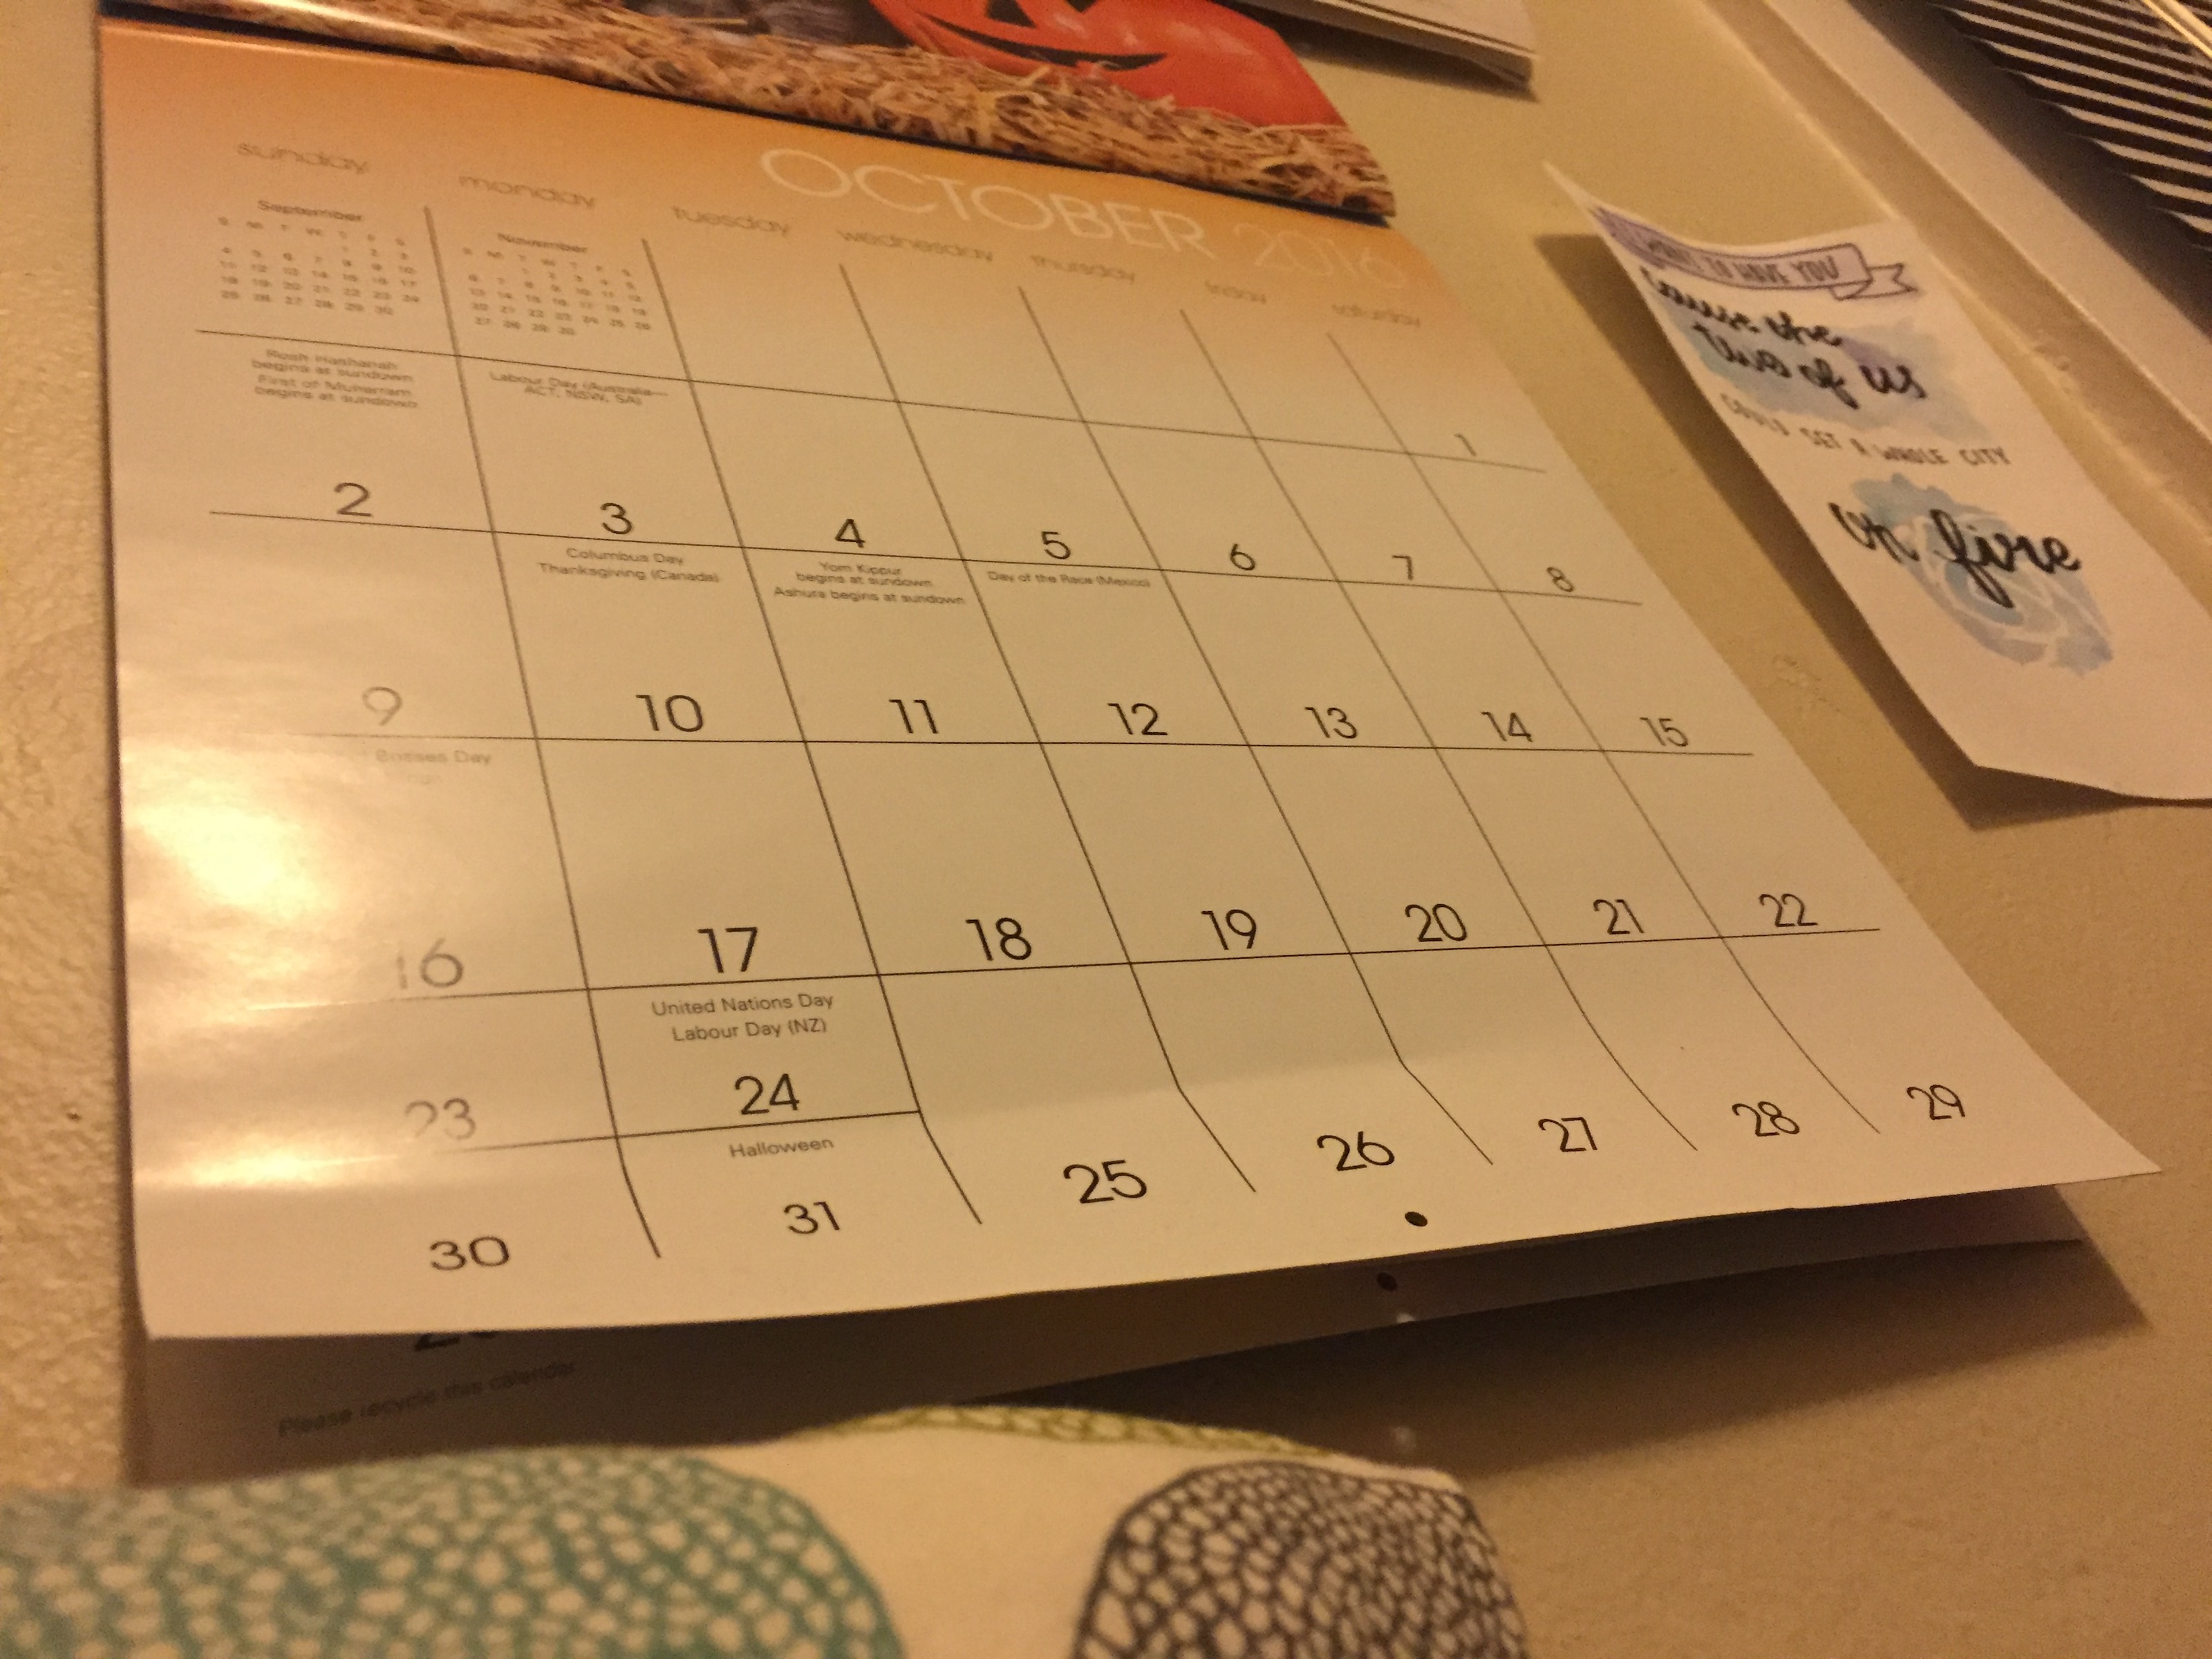 Original Calendar
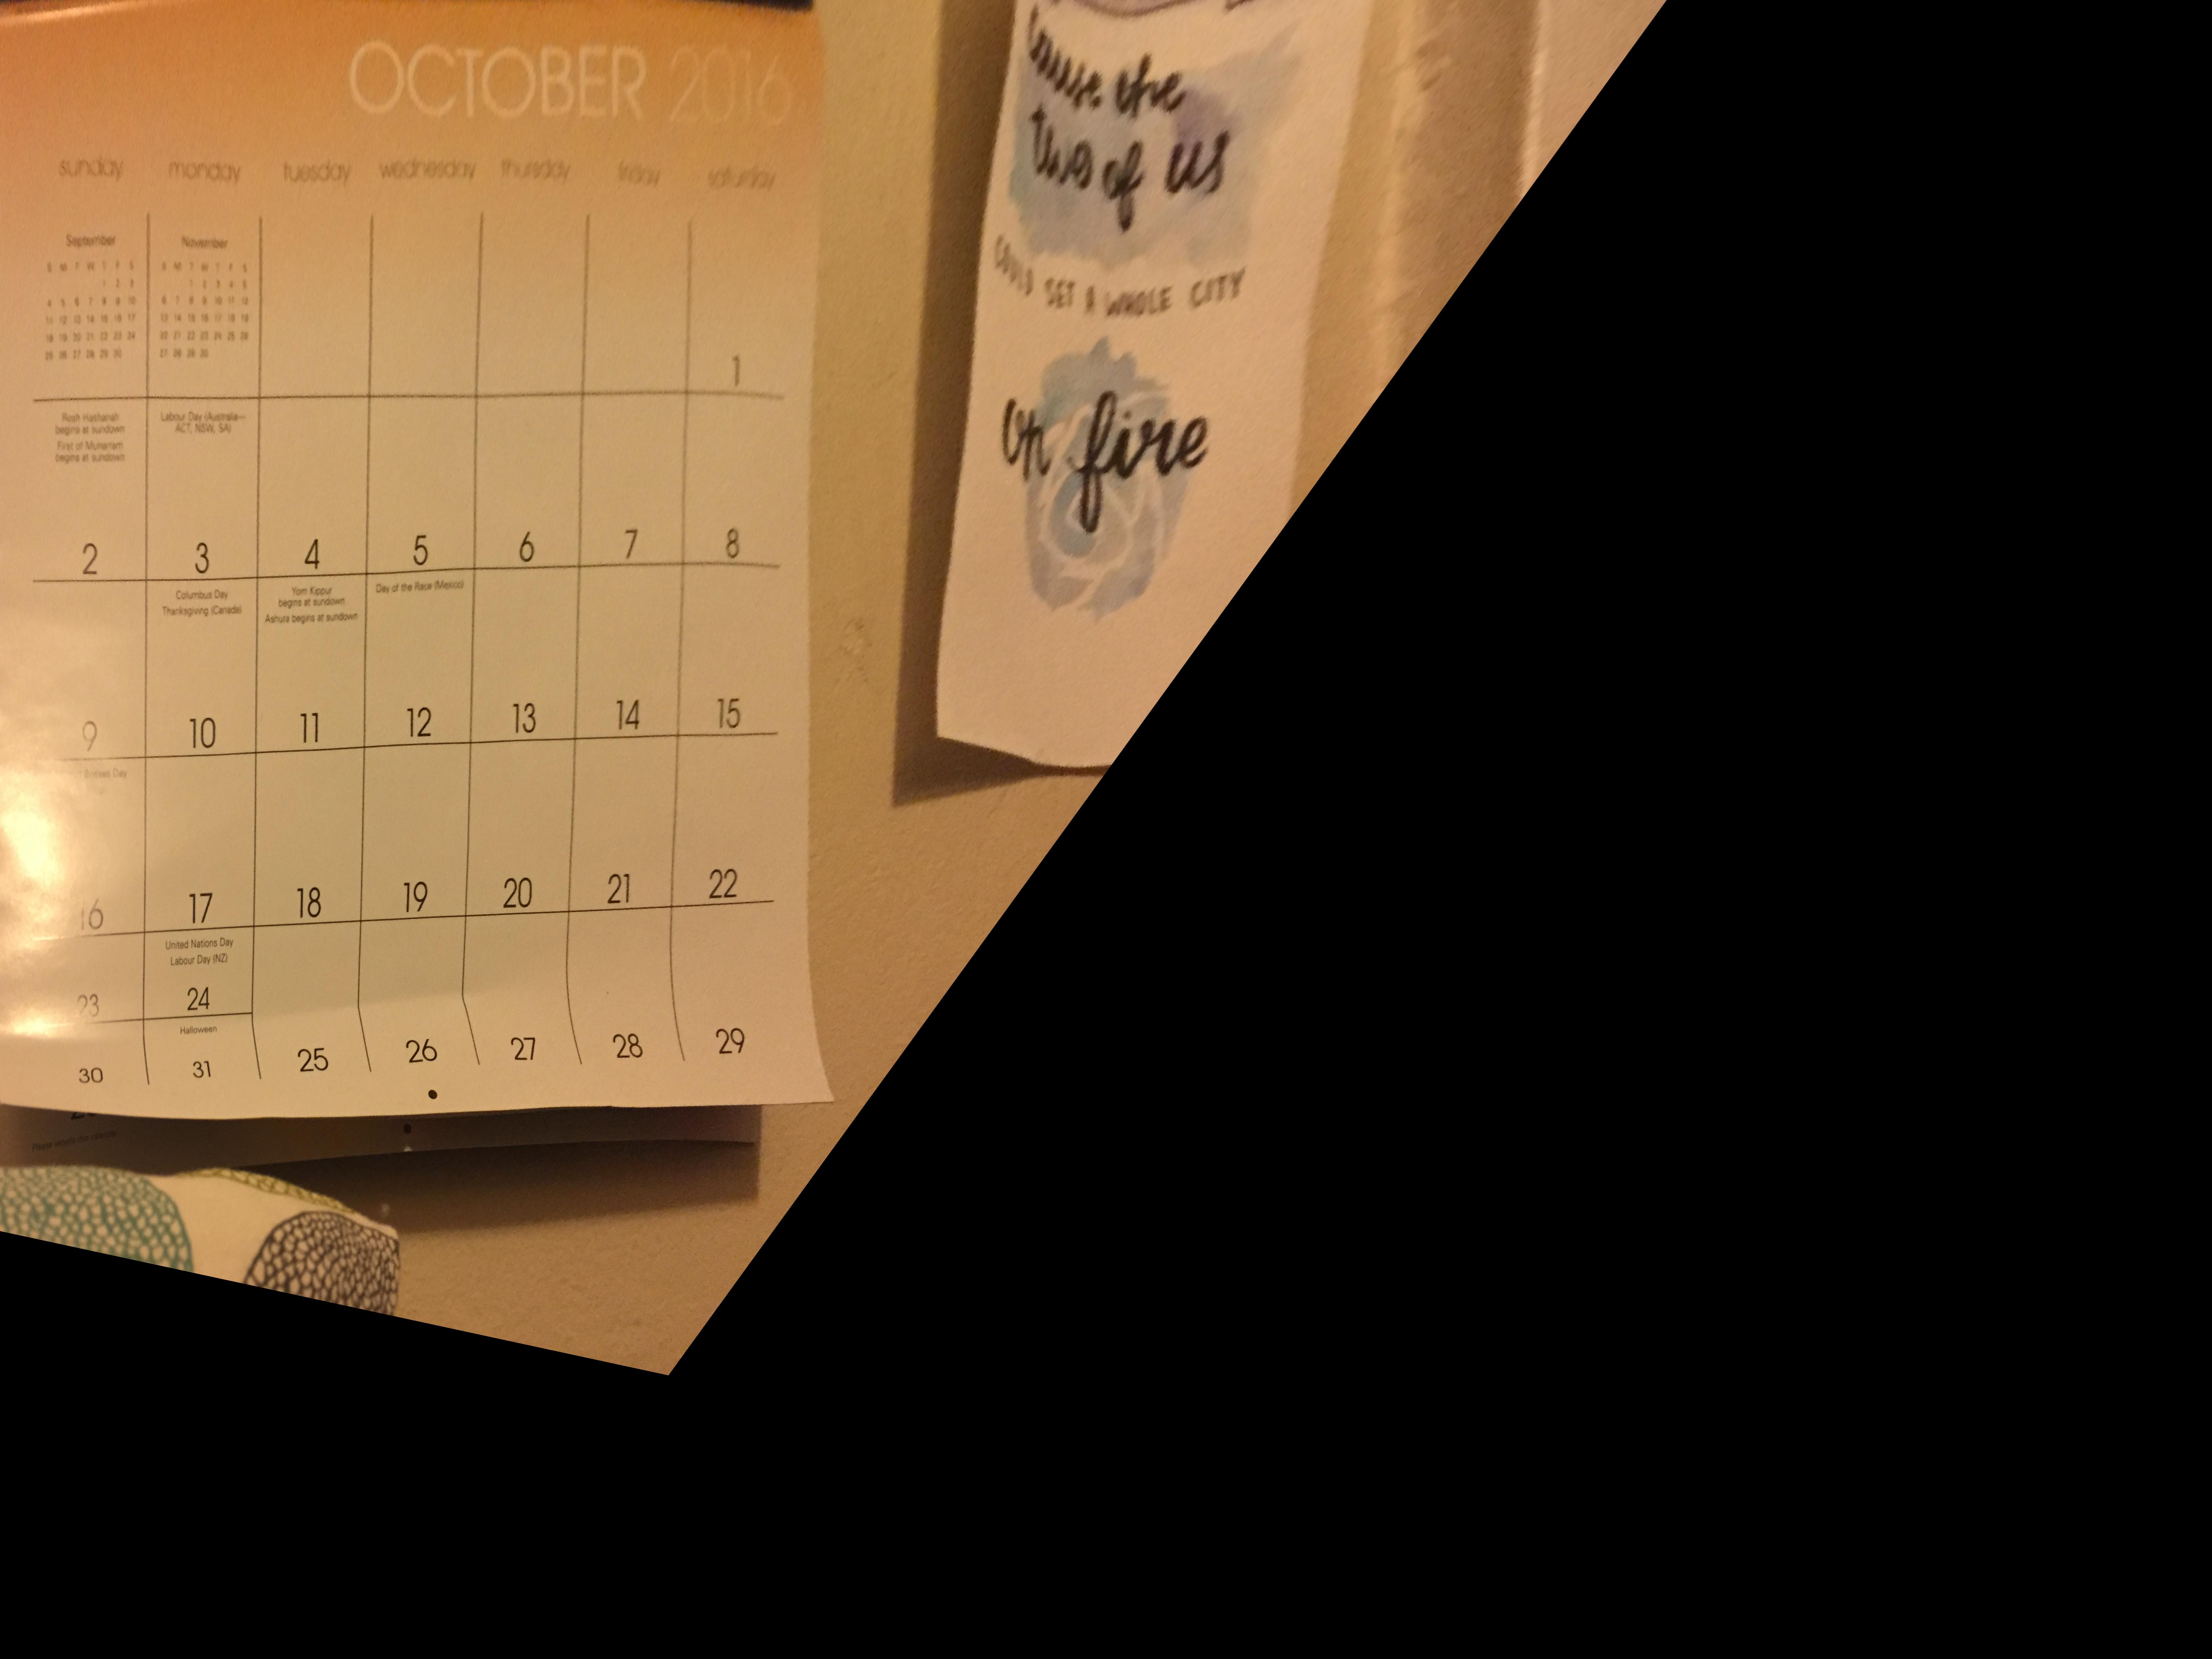 Rectified Calendar
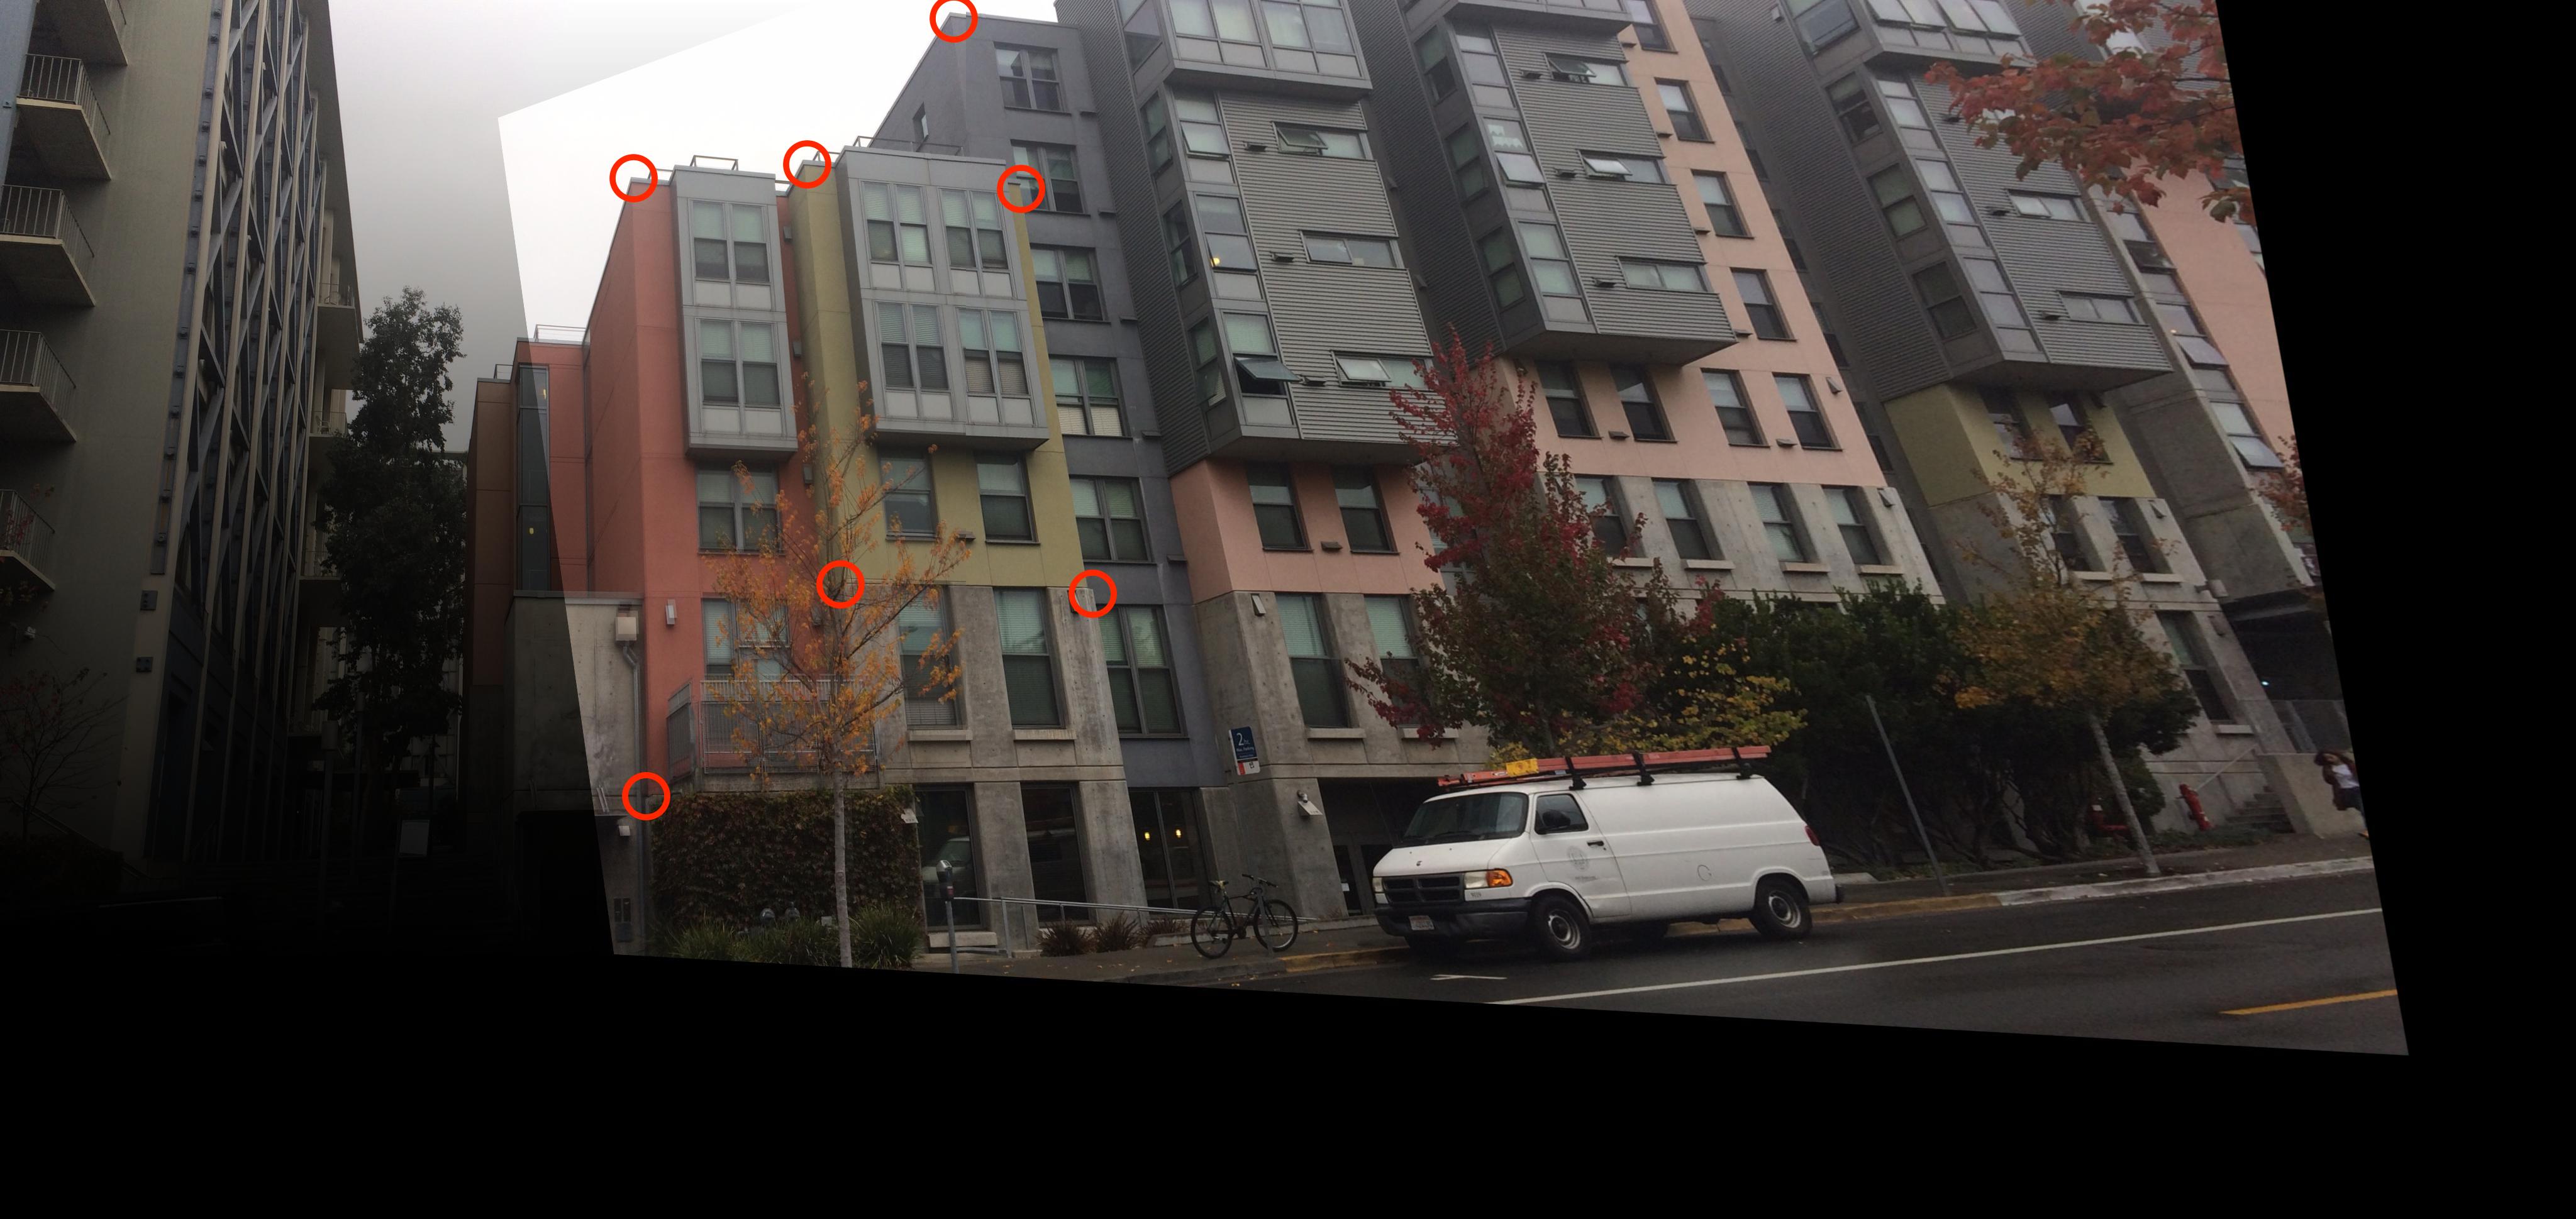
Now that we have our warping function, we can use this to warp one of the images we would like to stitch with our other photo. After we warp this photo, we blend the result to the original image by using alpha blending. With this strategy, we are able to change the ratio of each image's pixels being used in the final image, so that both images are a part of the final product. Below are a few results of some image mosaics. In each final photo, the points used for the warp transformation are indicated in red.
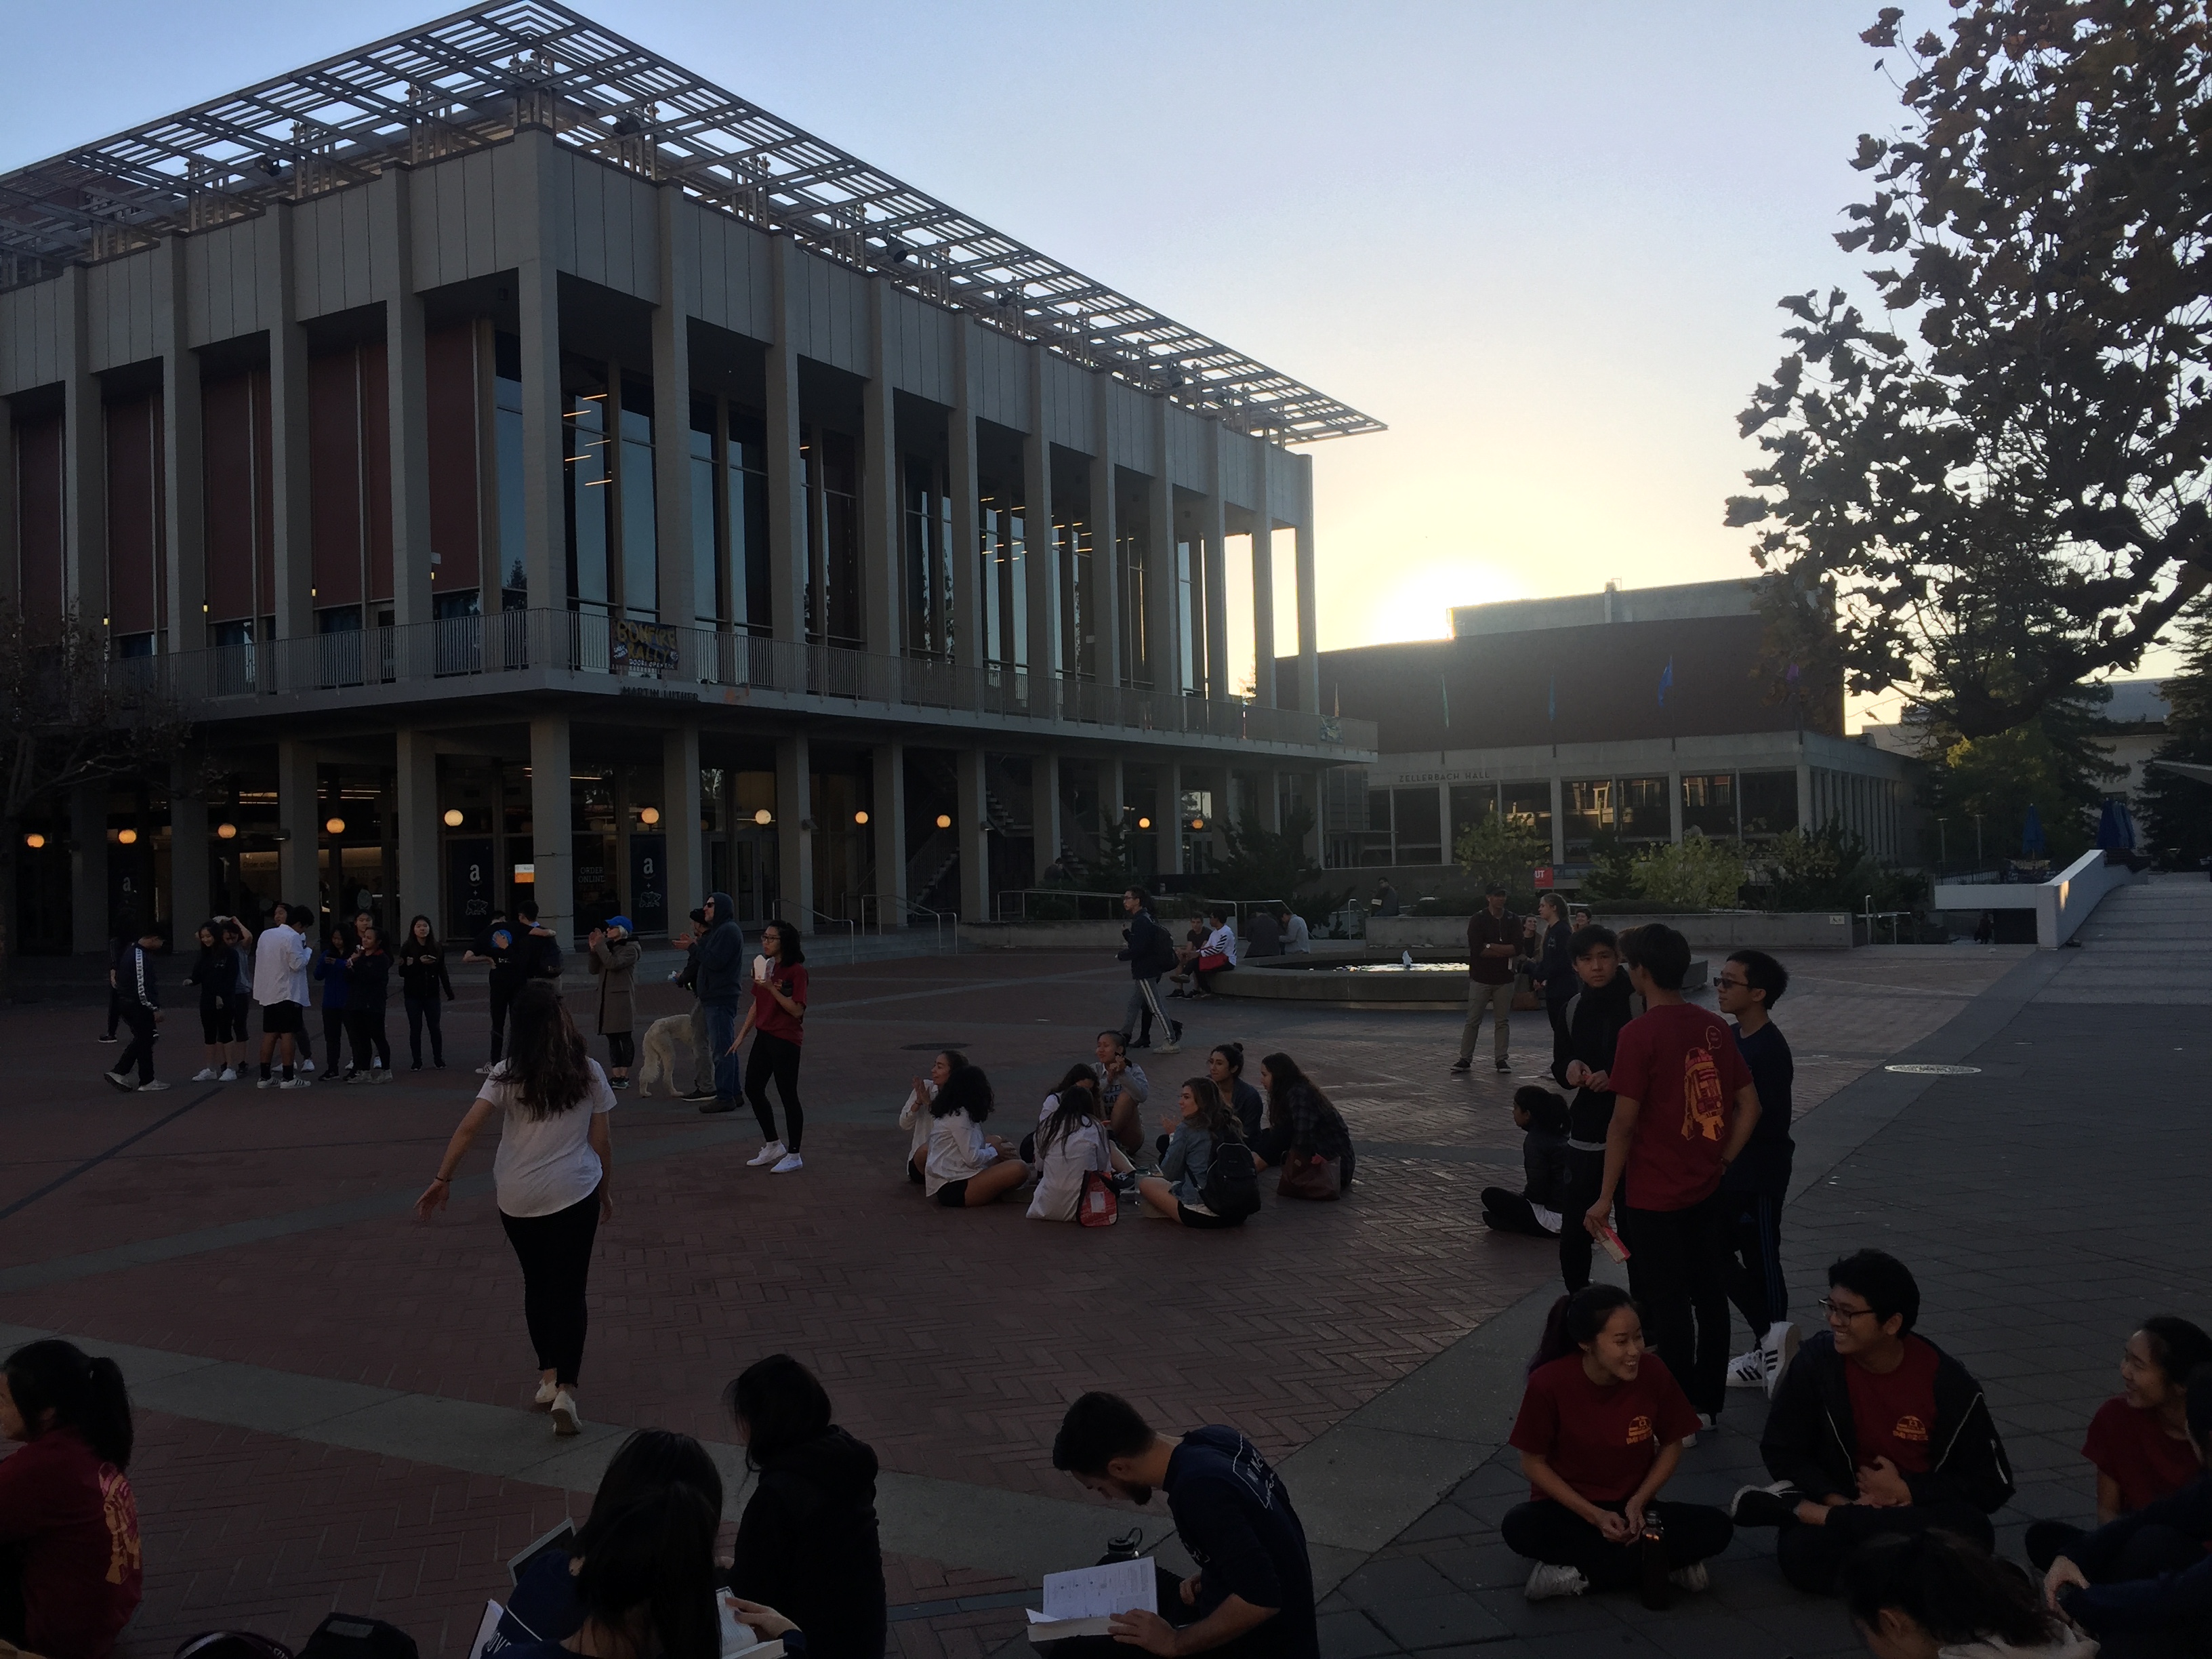 Upper Sproul 1
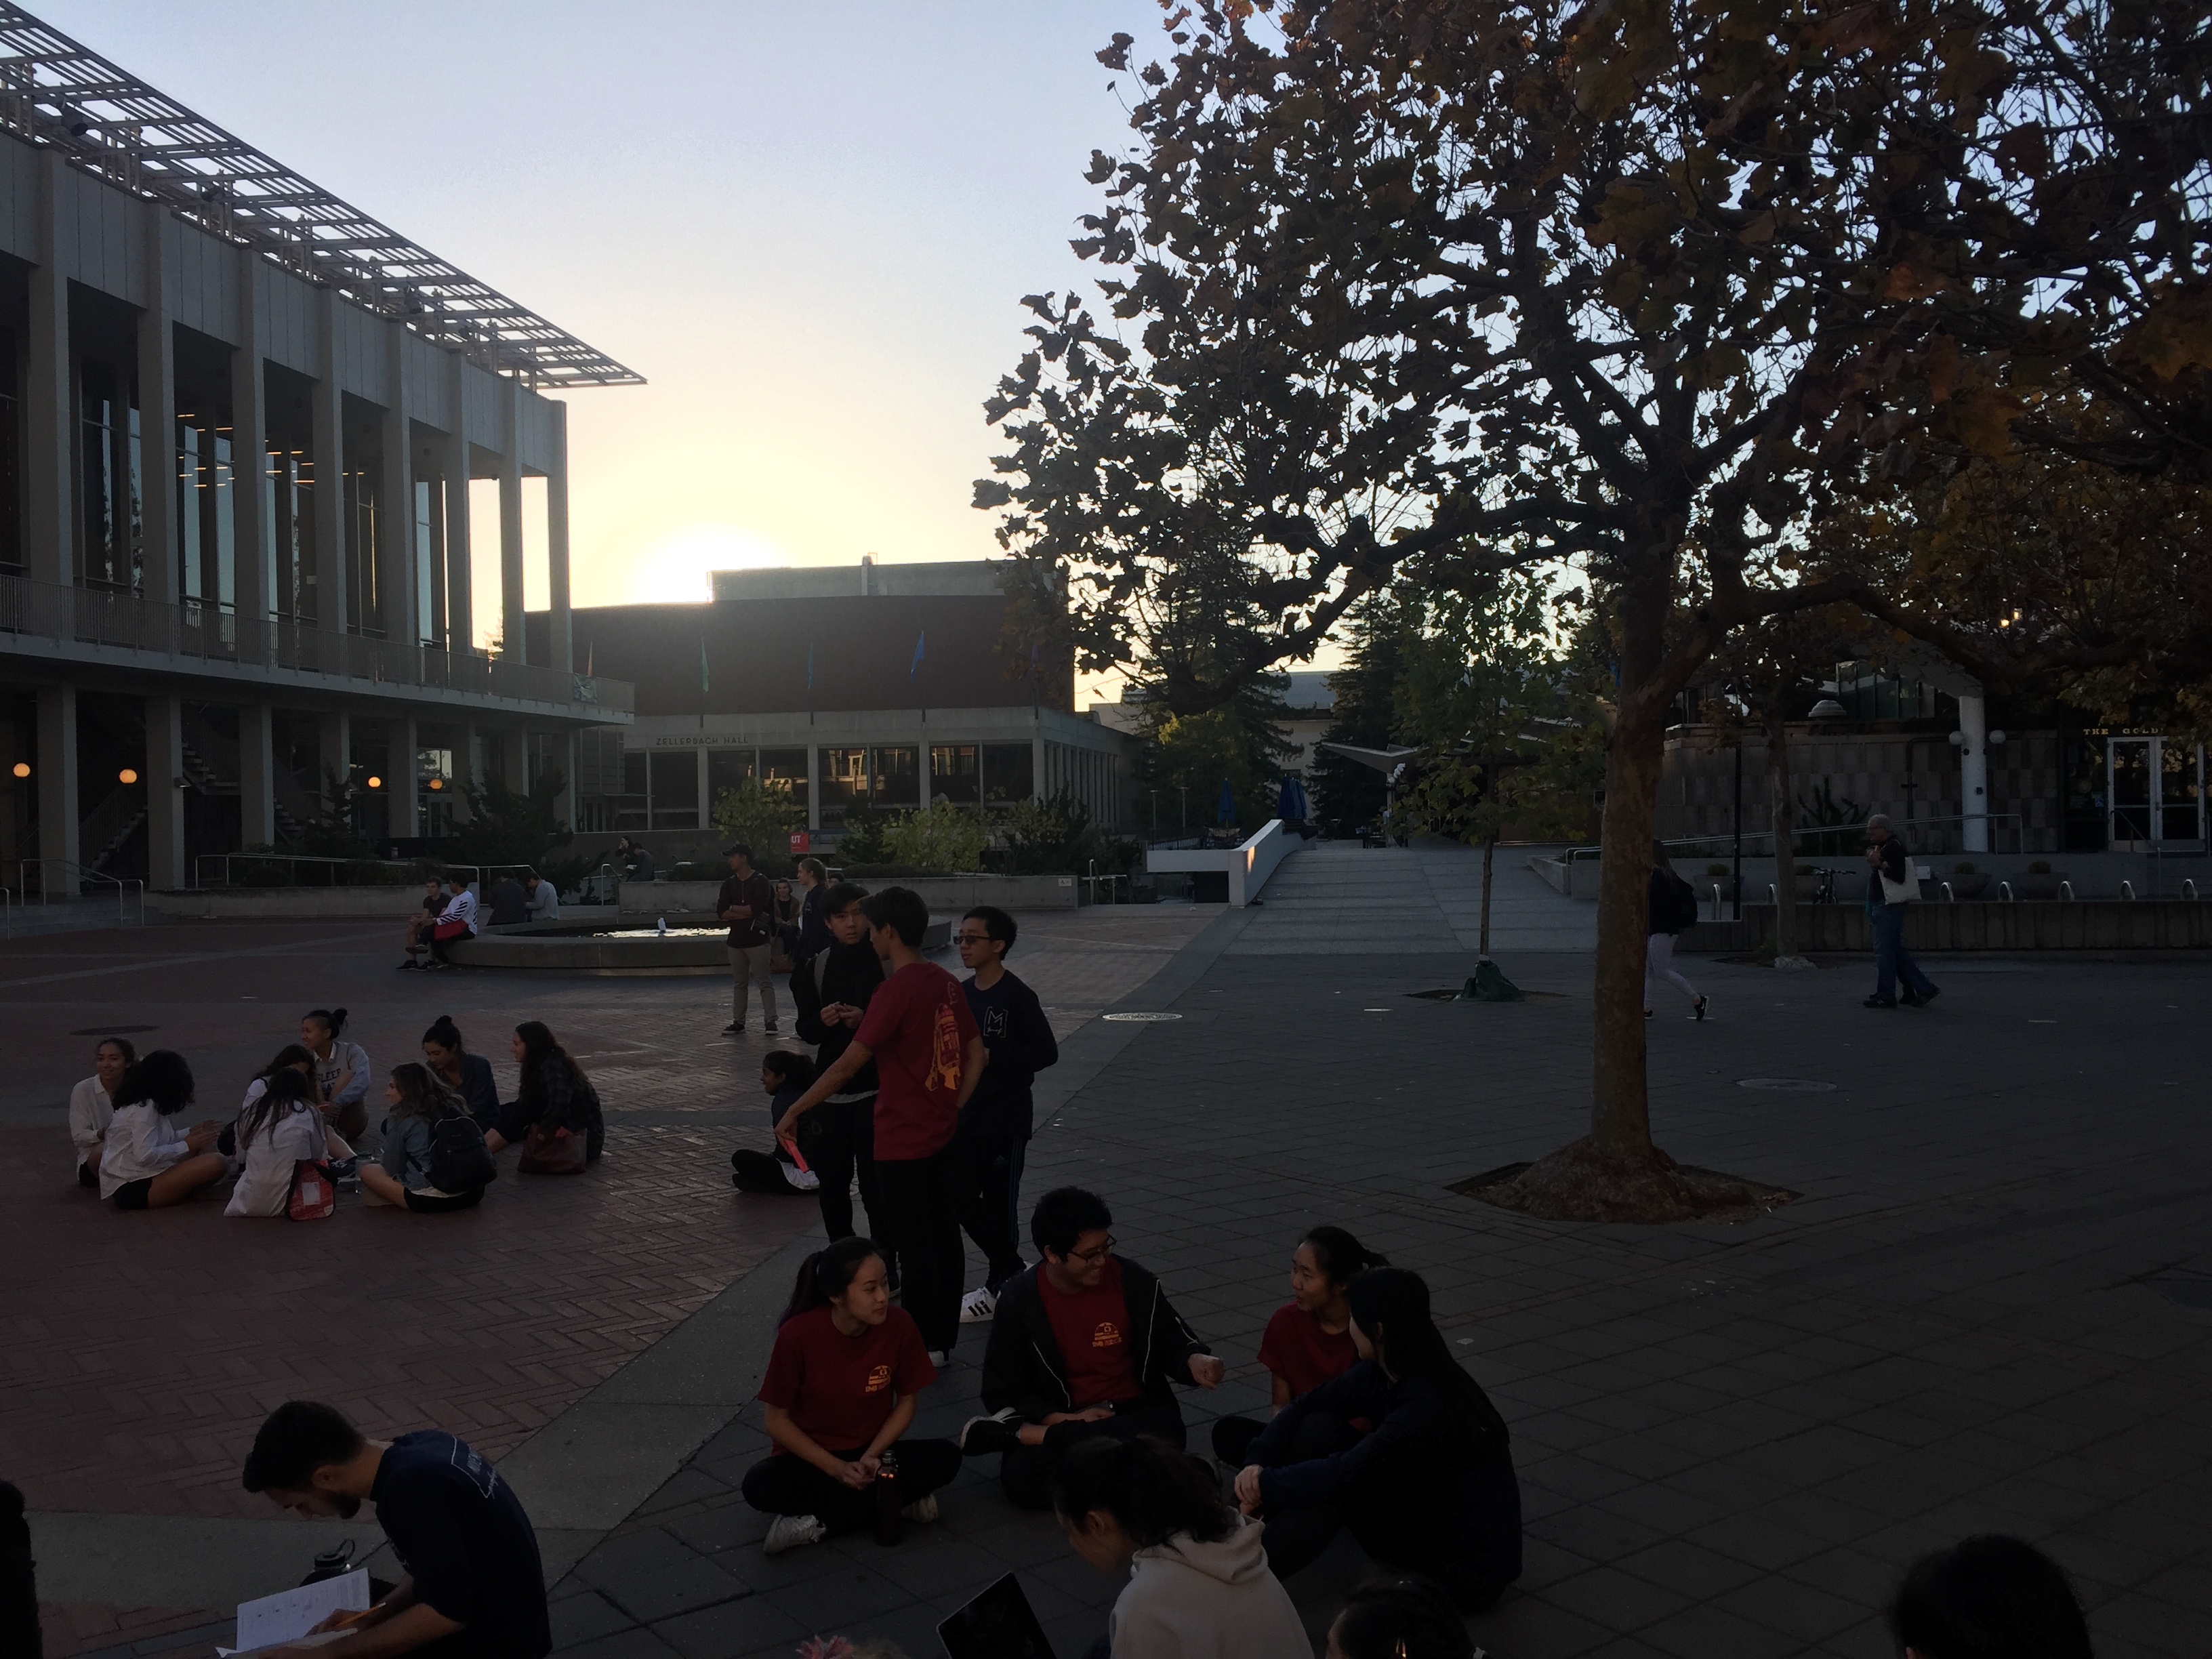 Upper Sproul 2
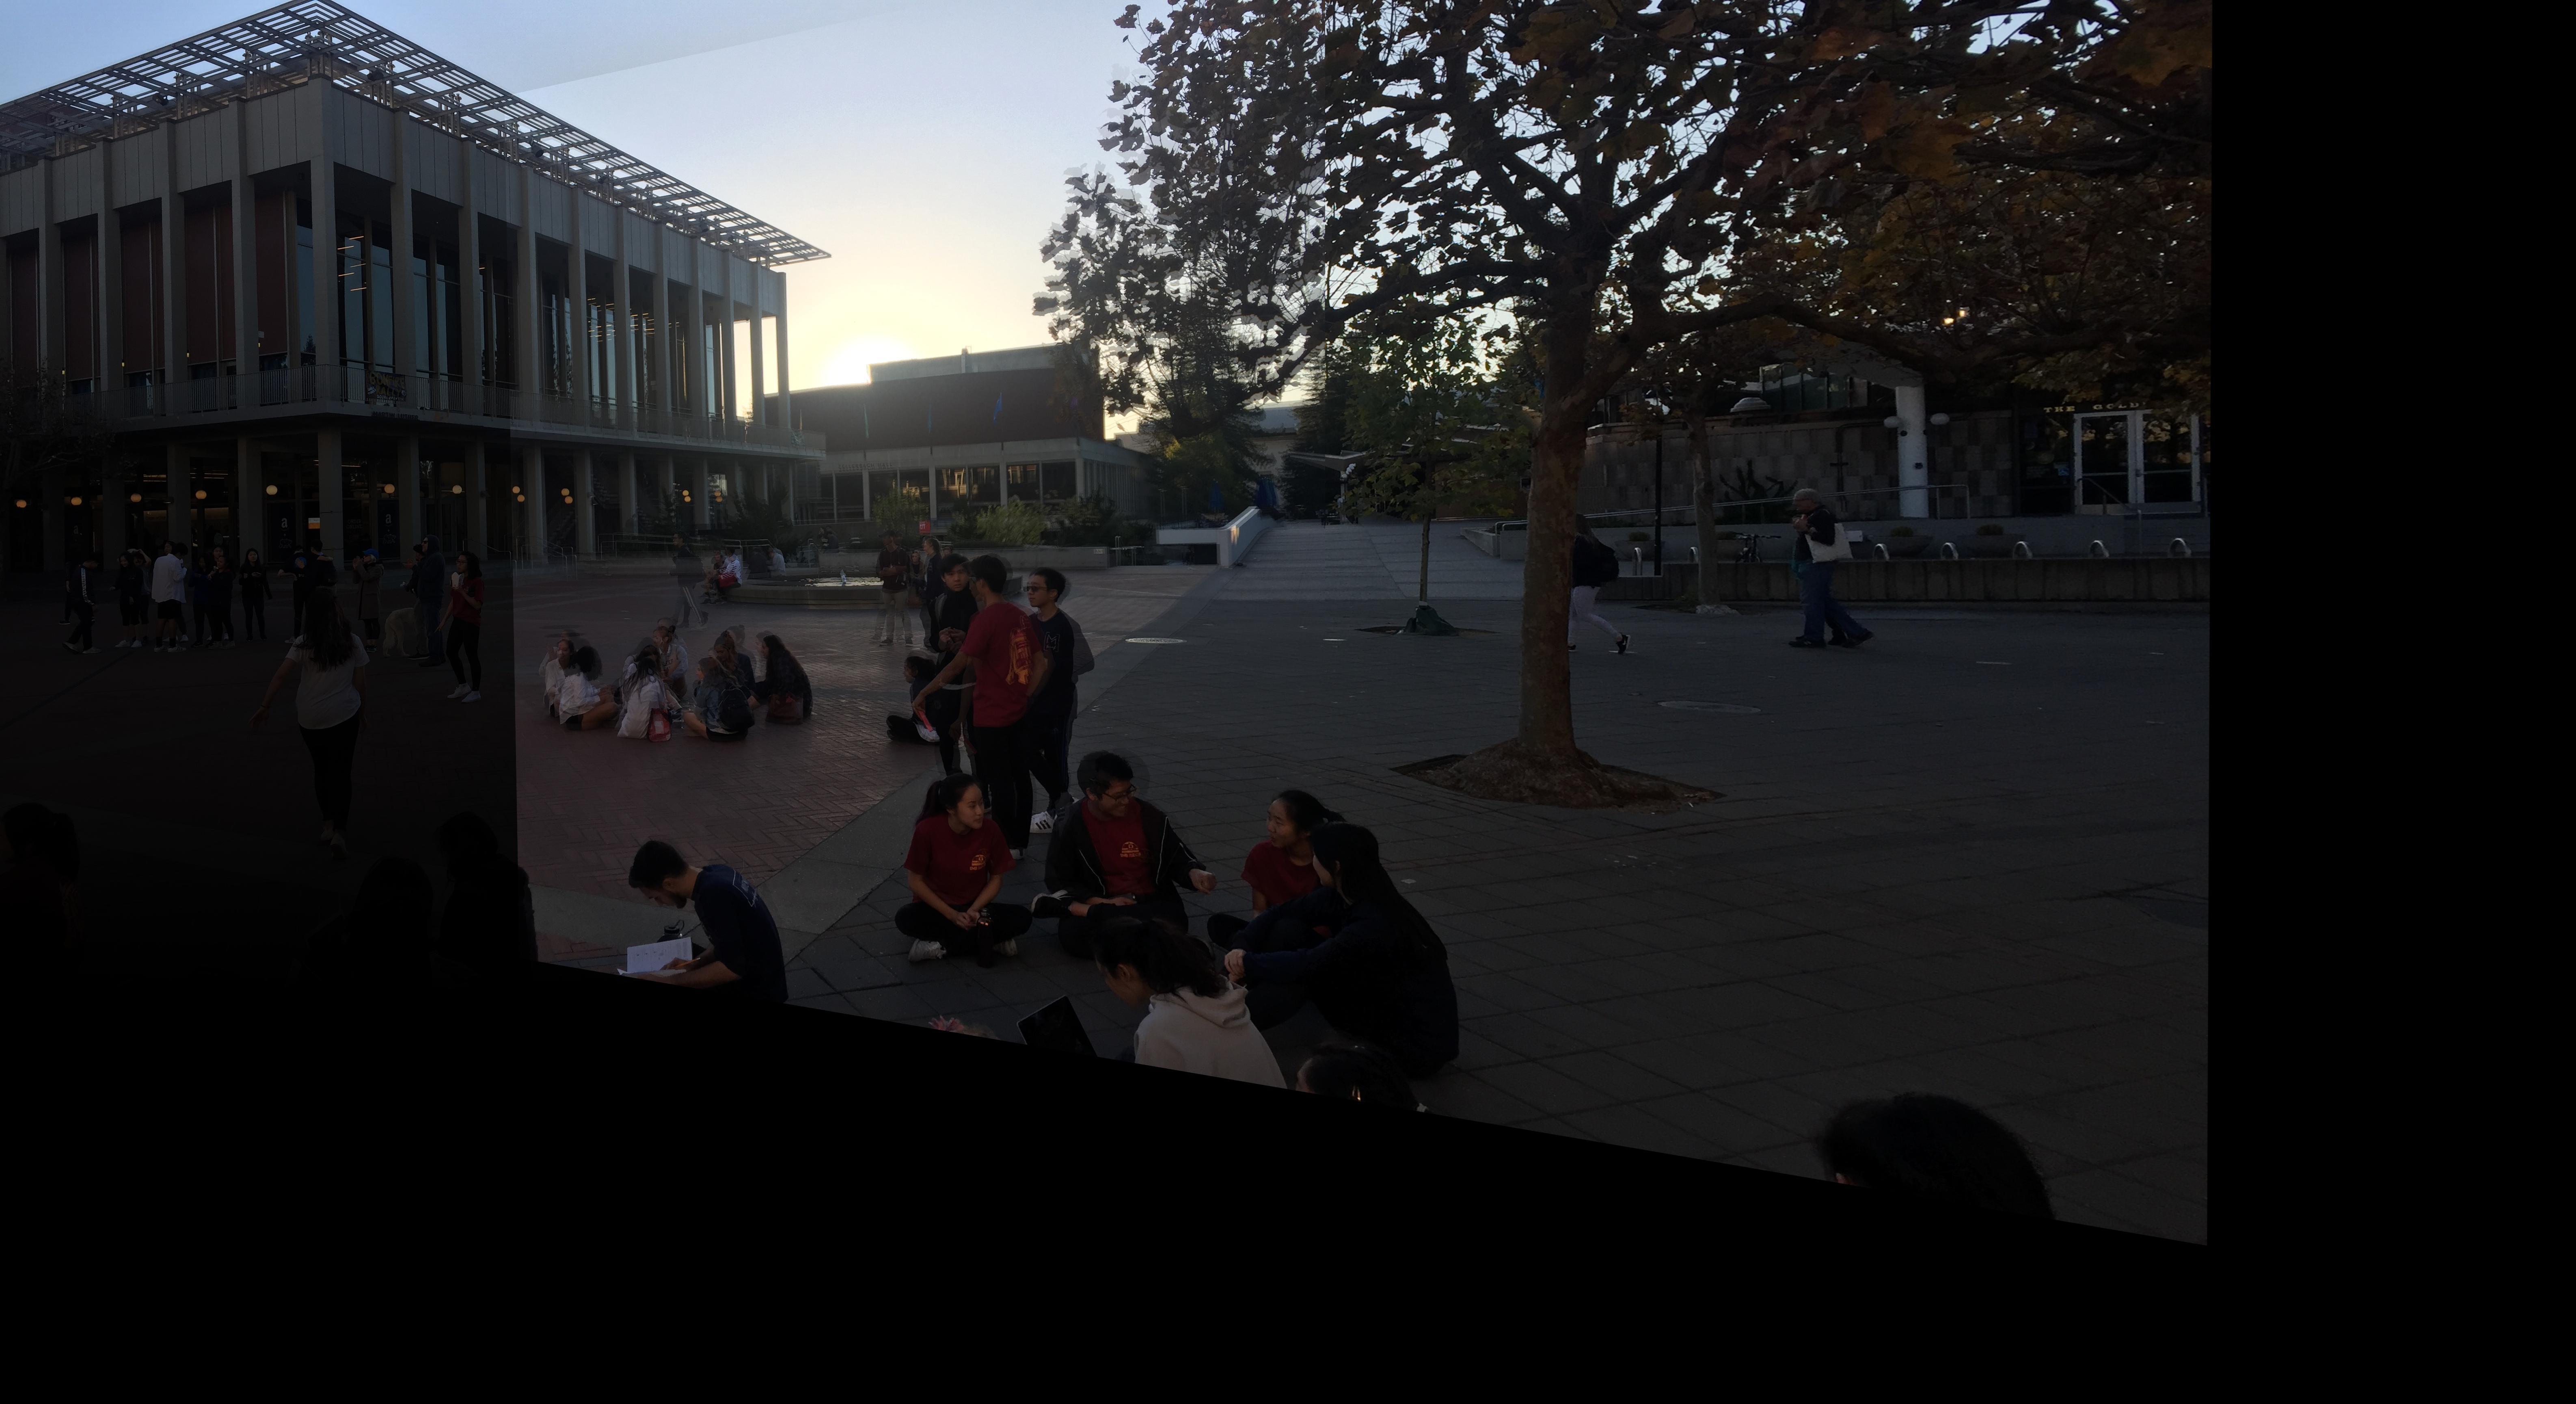
 Warped Image of Sproul 2
 Final Mosaic of Upper Sproul
 Final Mosaic of Upper Sproul (Points Marked)
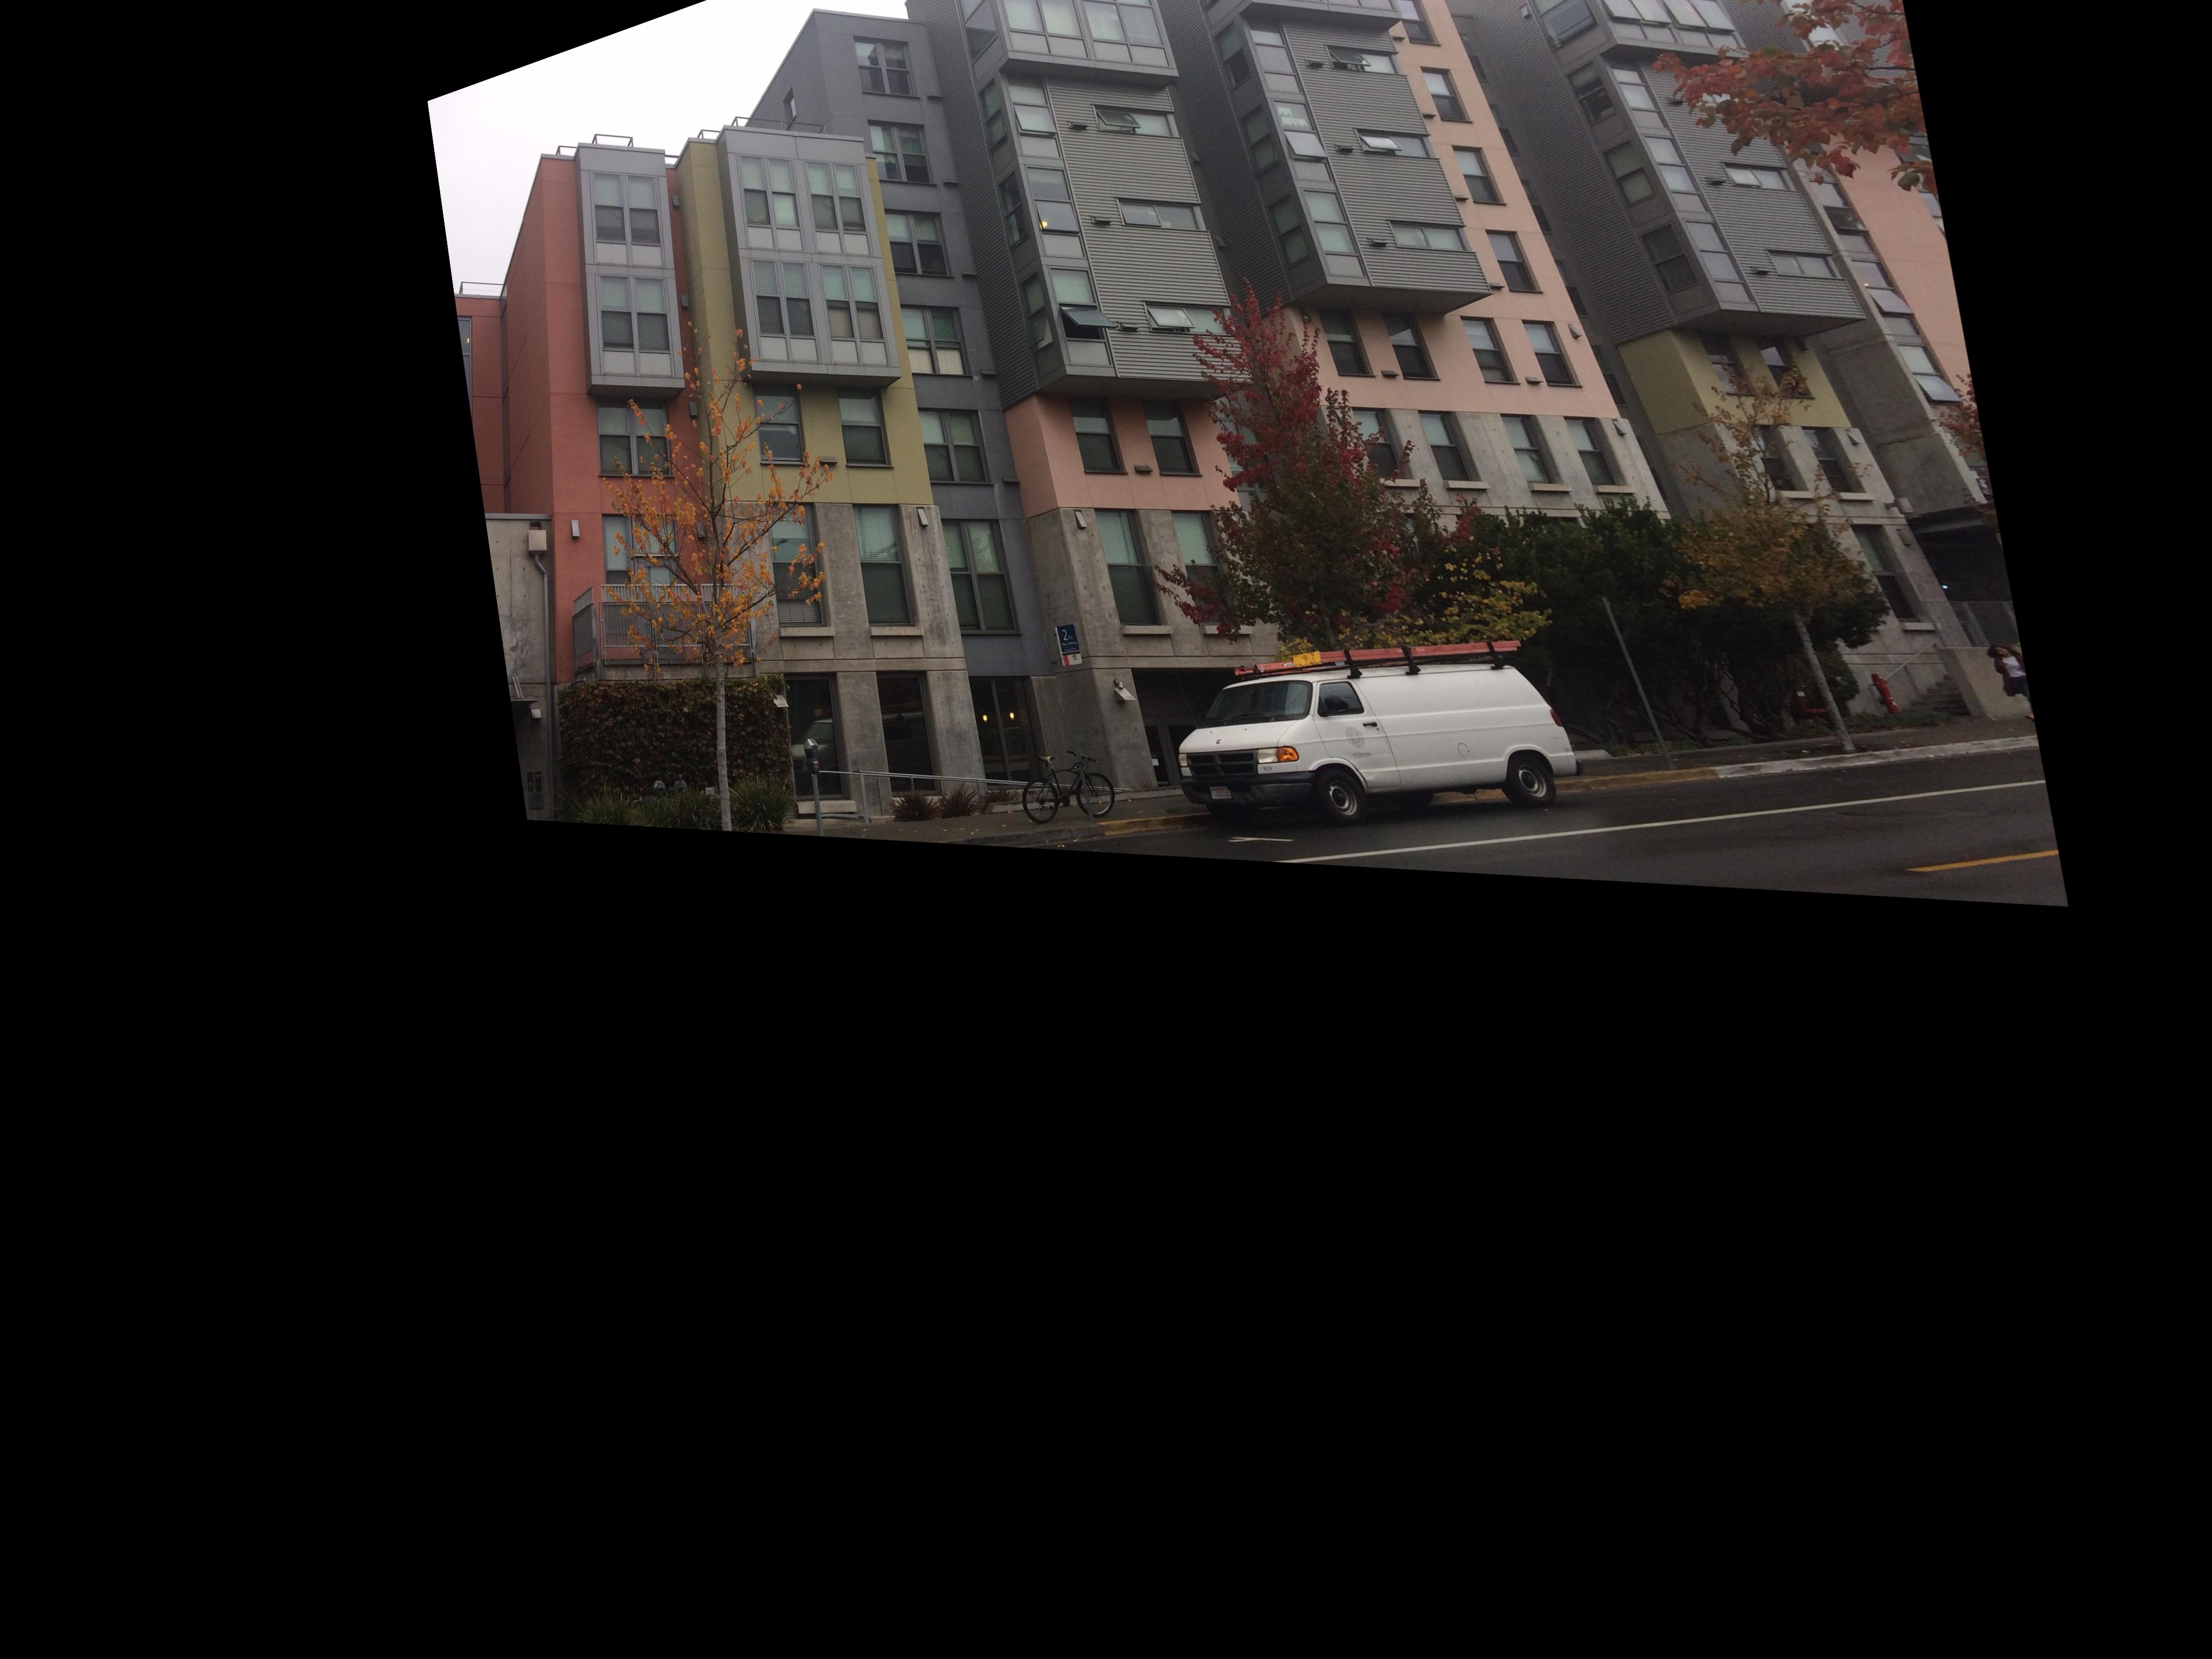
 Dorms 1
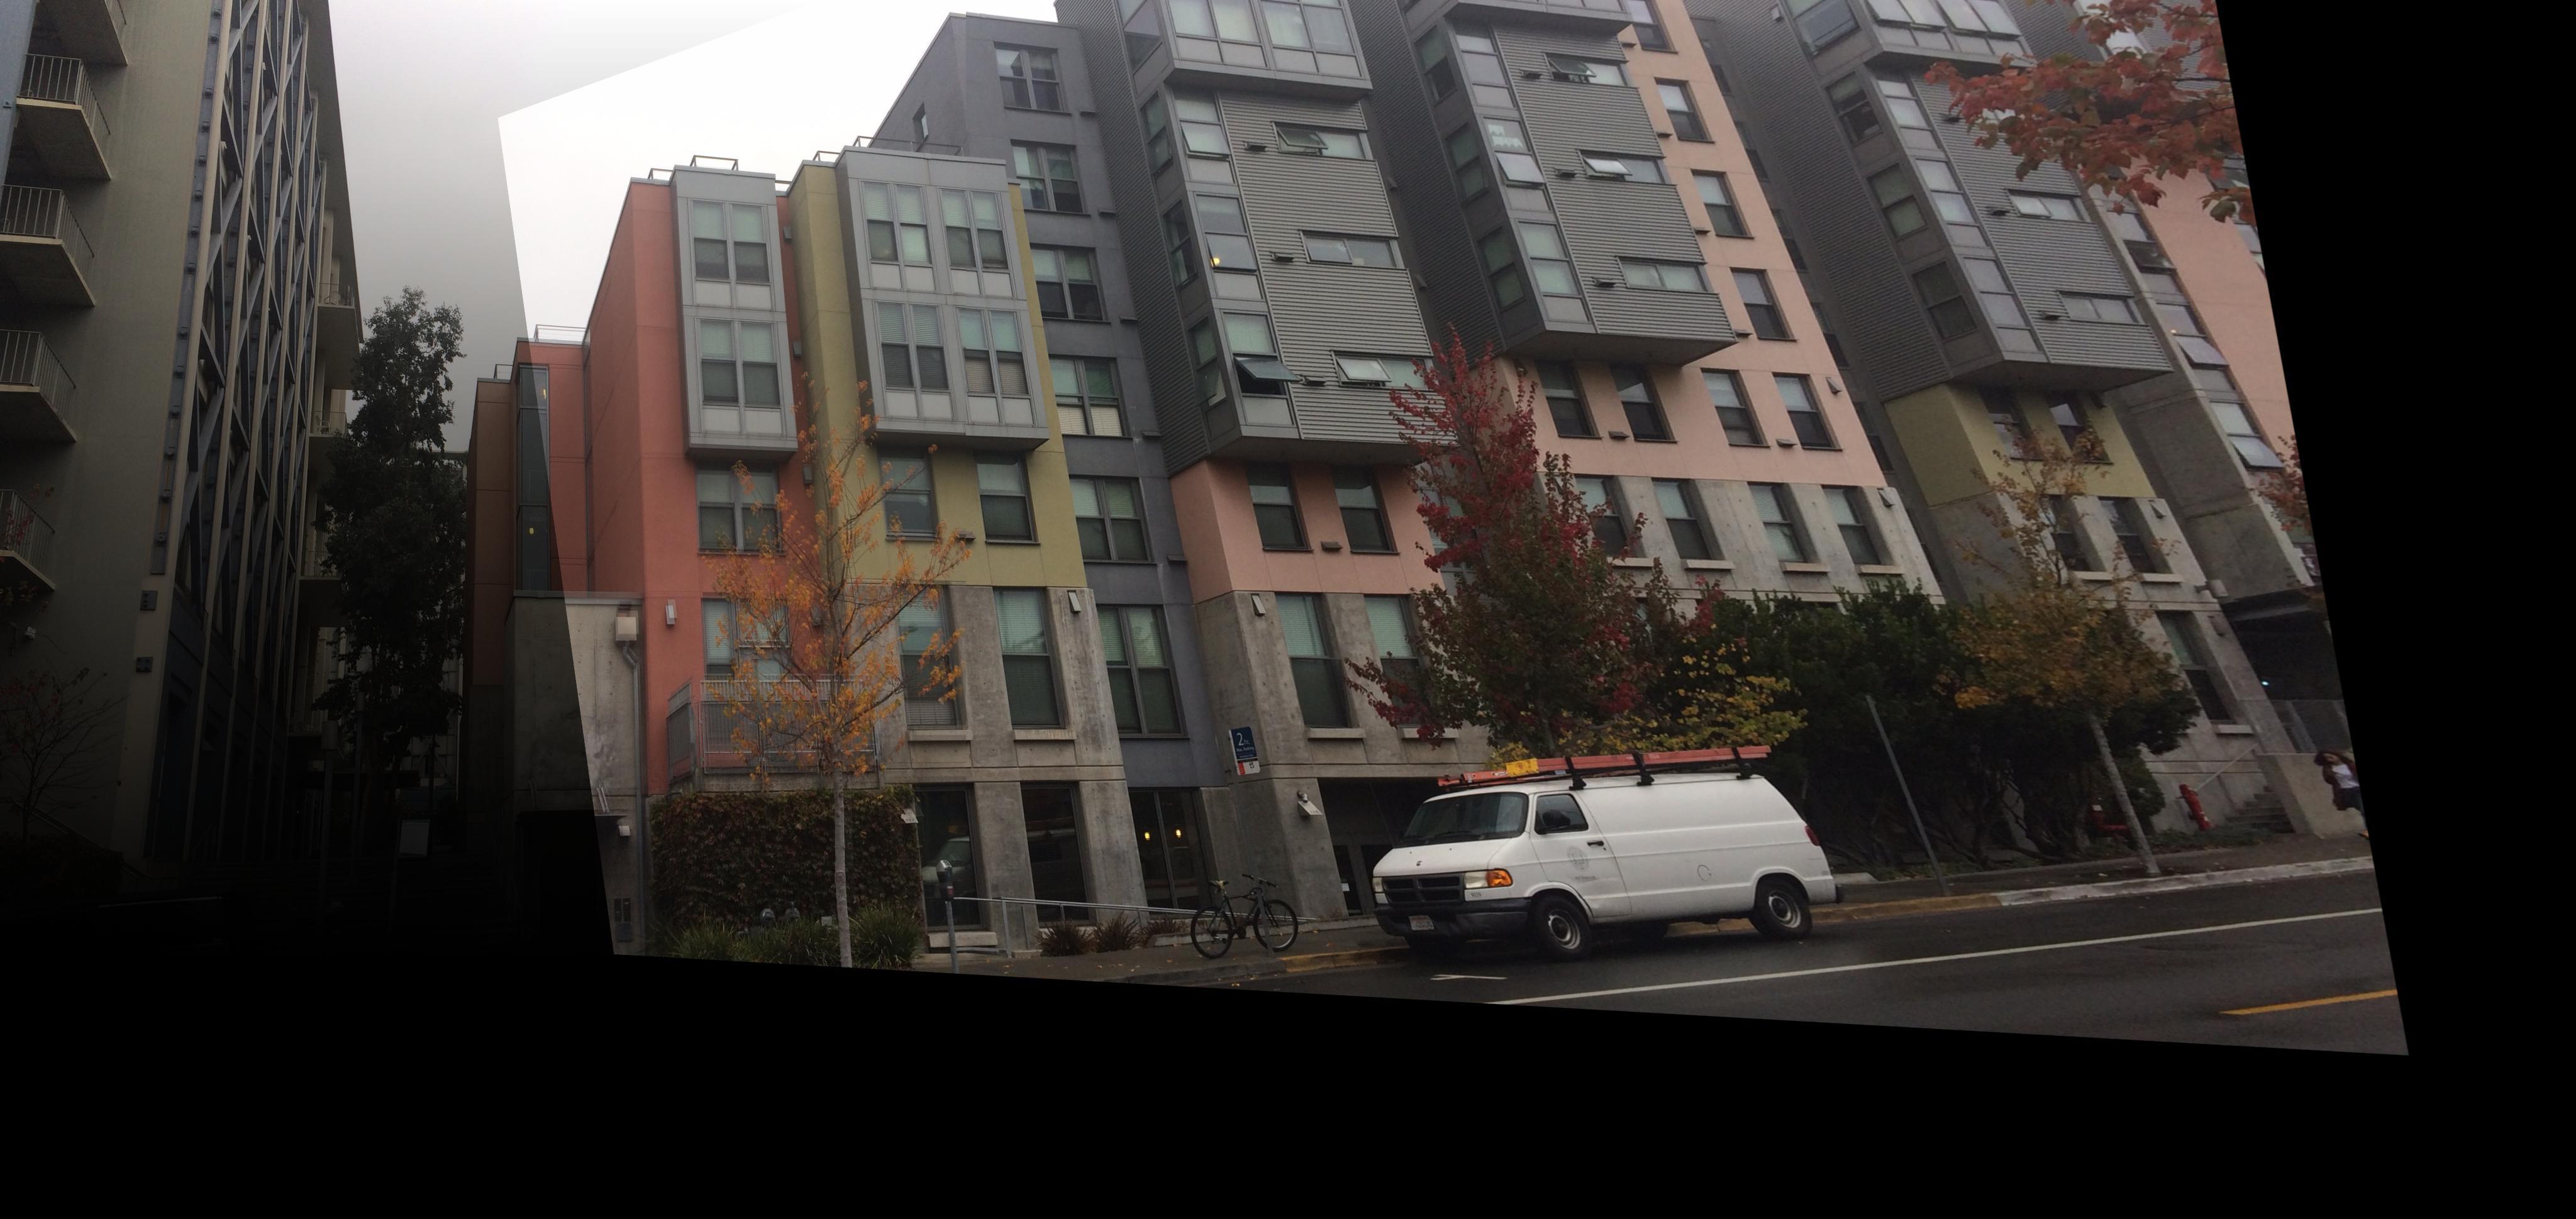
 Dorms 2
 Warped Image of Dorms 2
 Final Mosaic of Dorms
 Final Mosaic of Dorms (Points Marked)
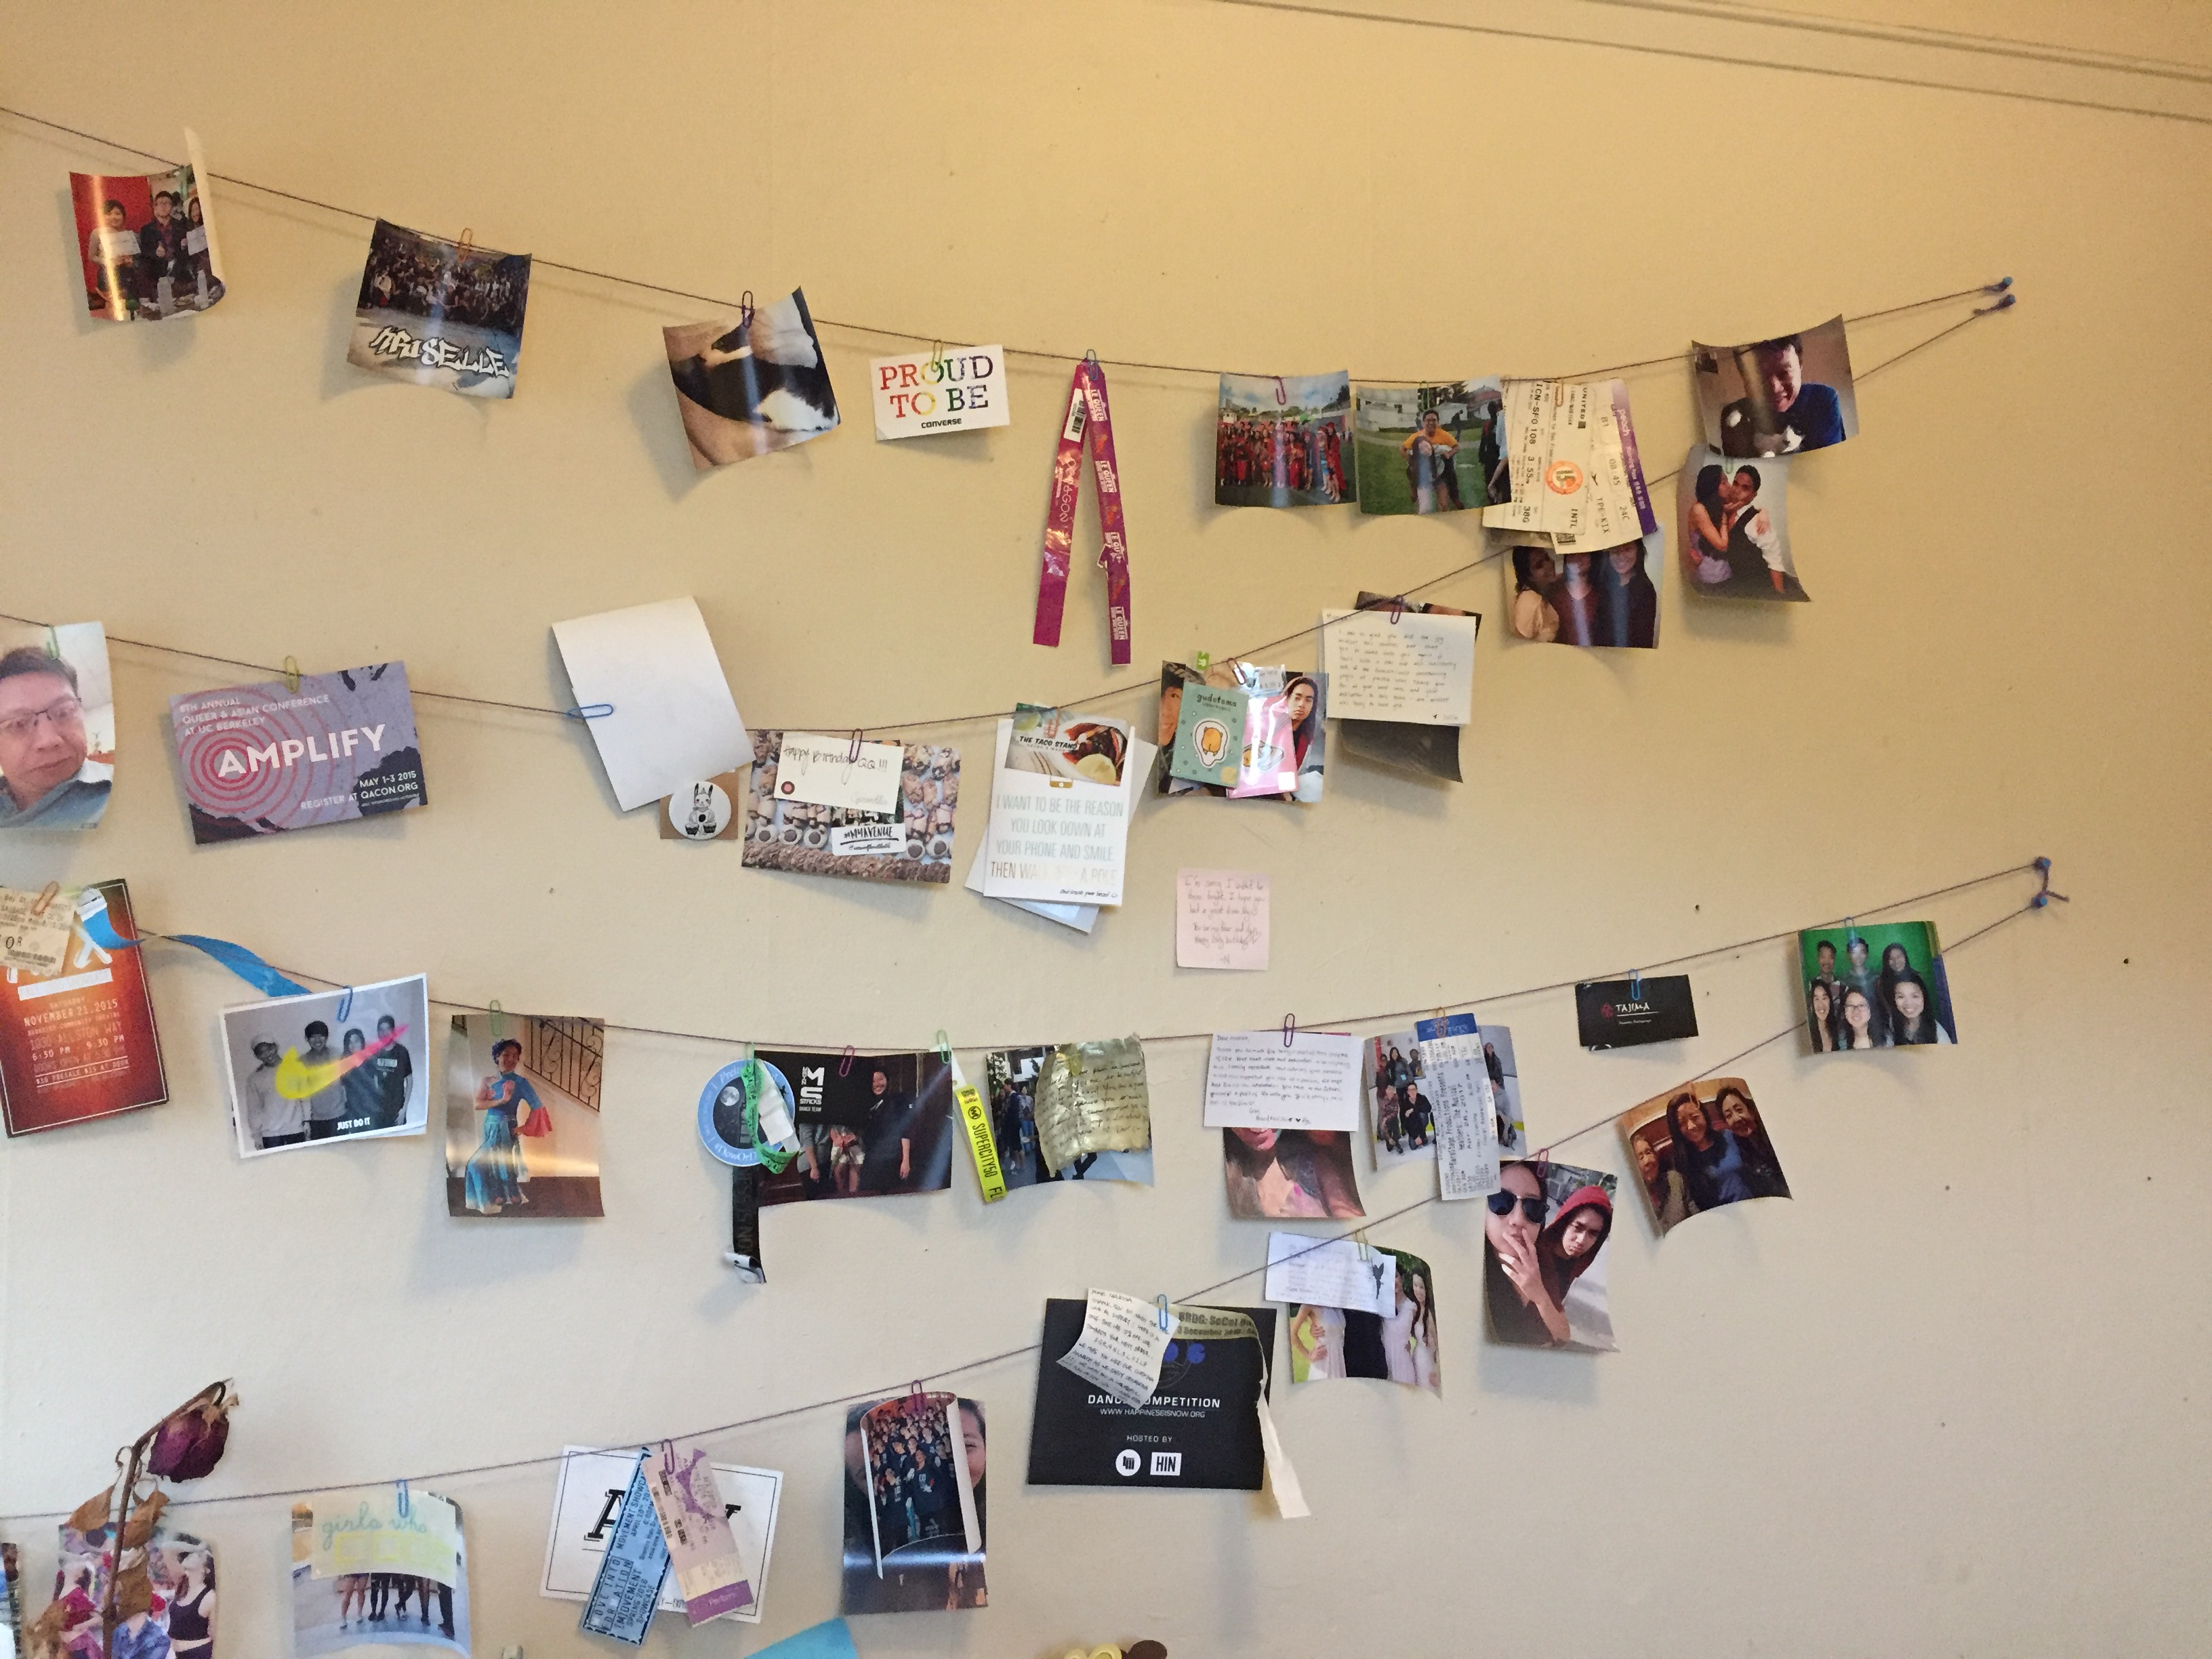
 Bedroom Wall 1
 Bedroom Wall 2
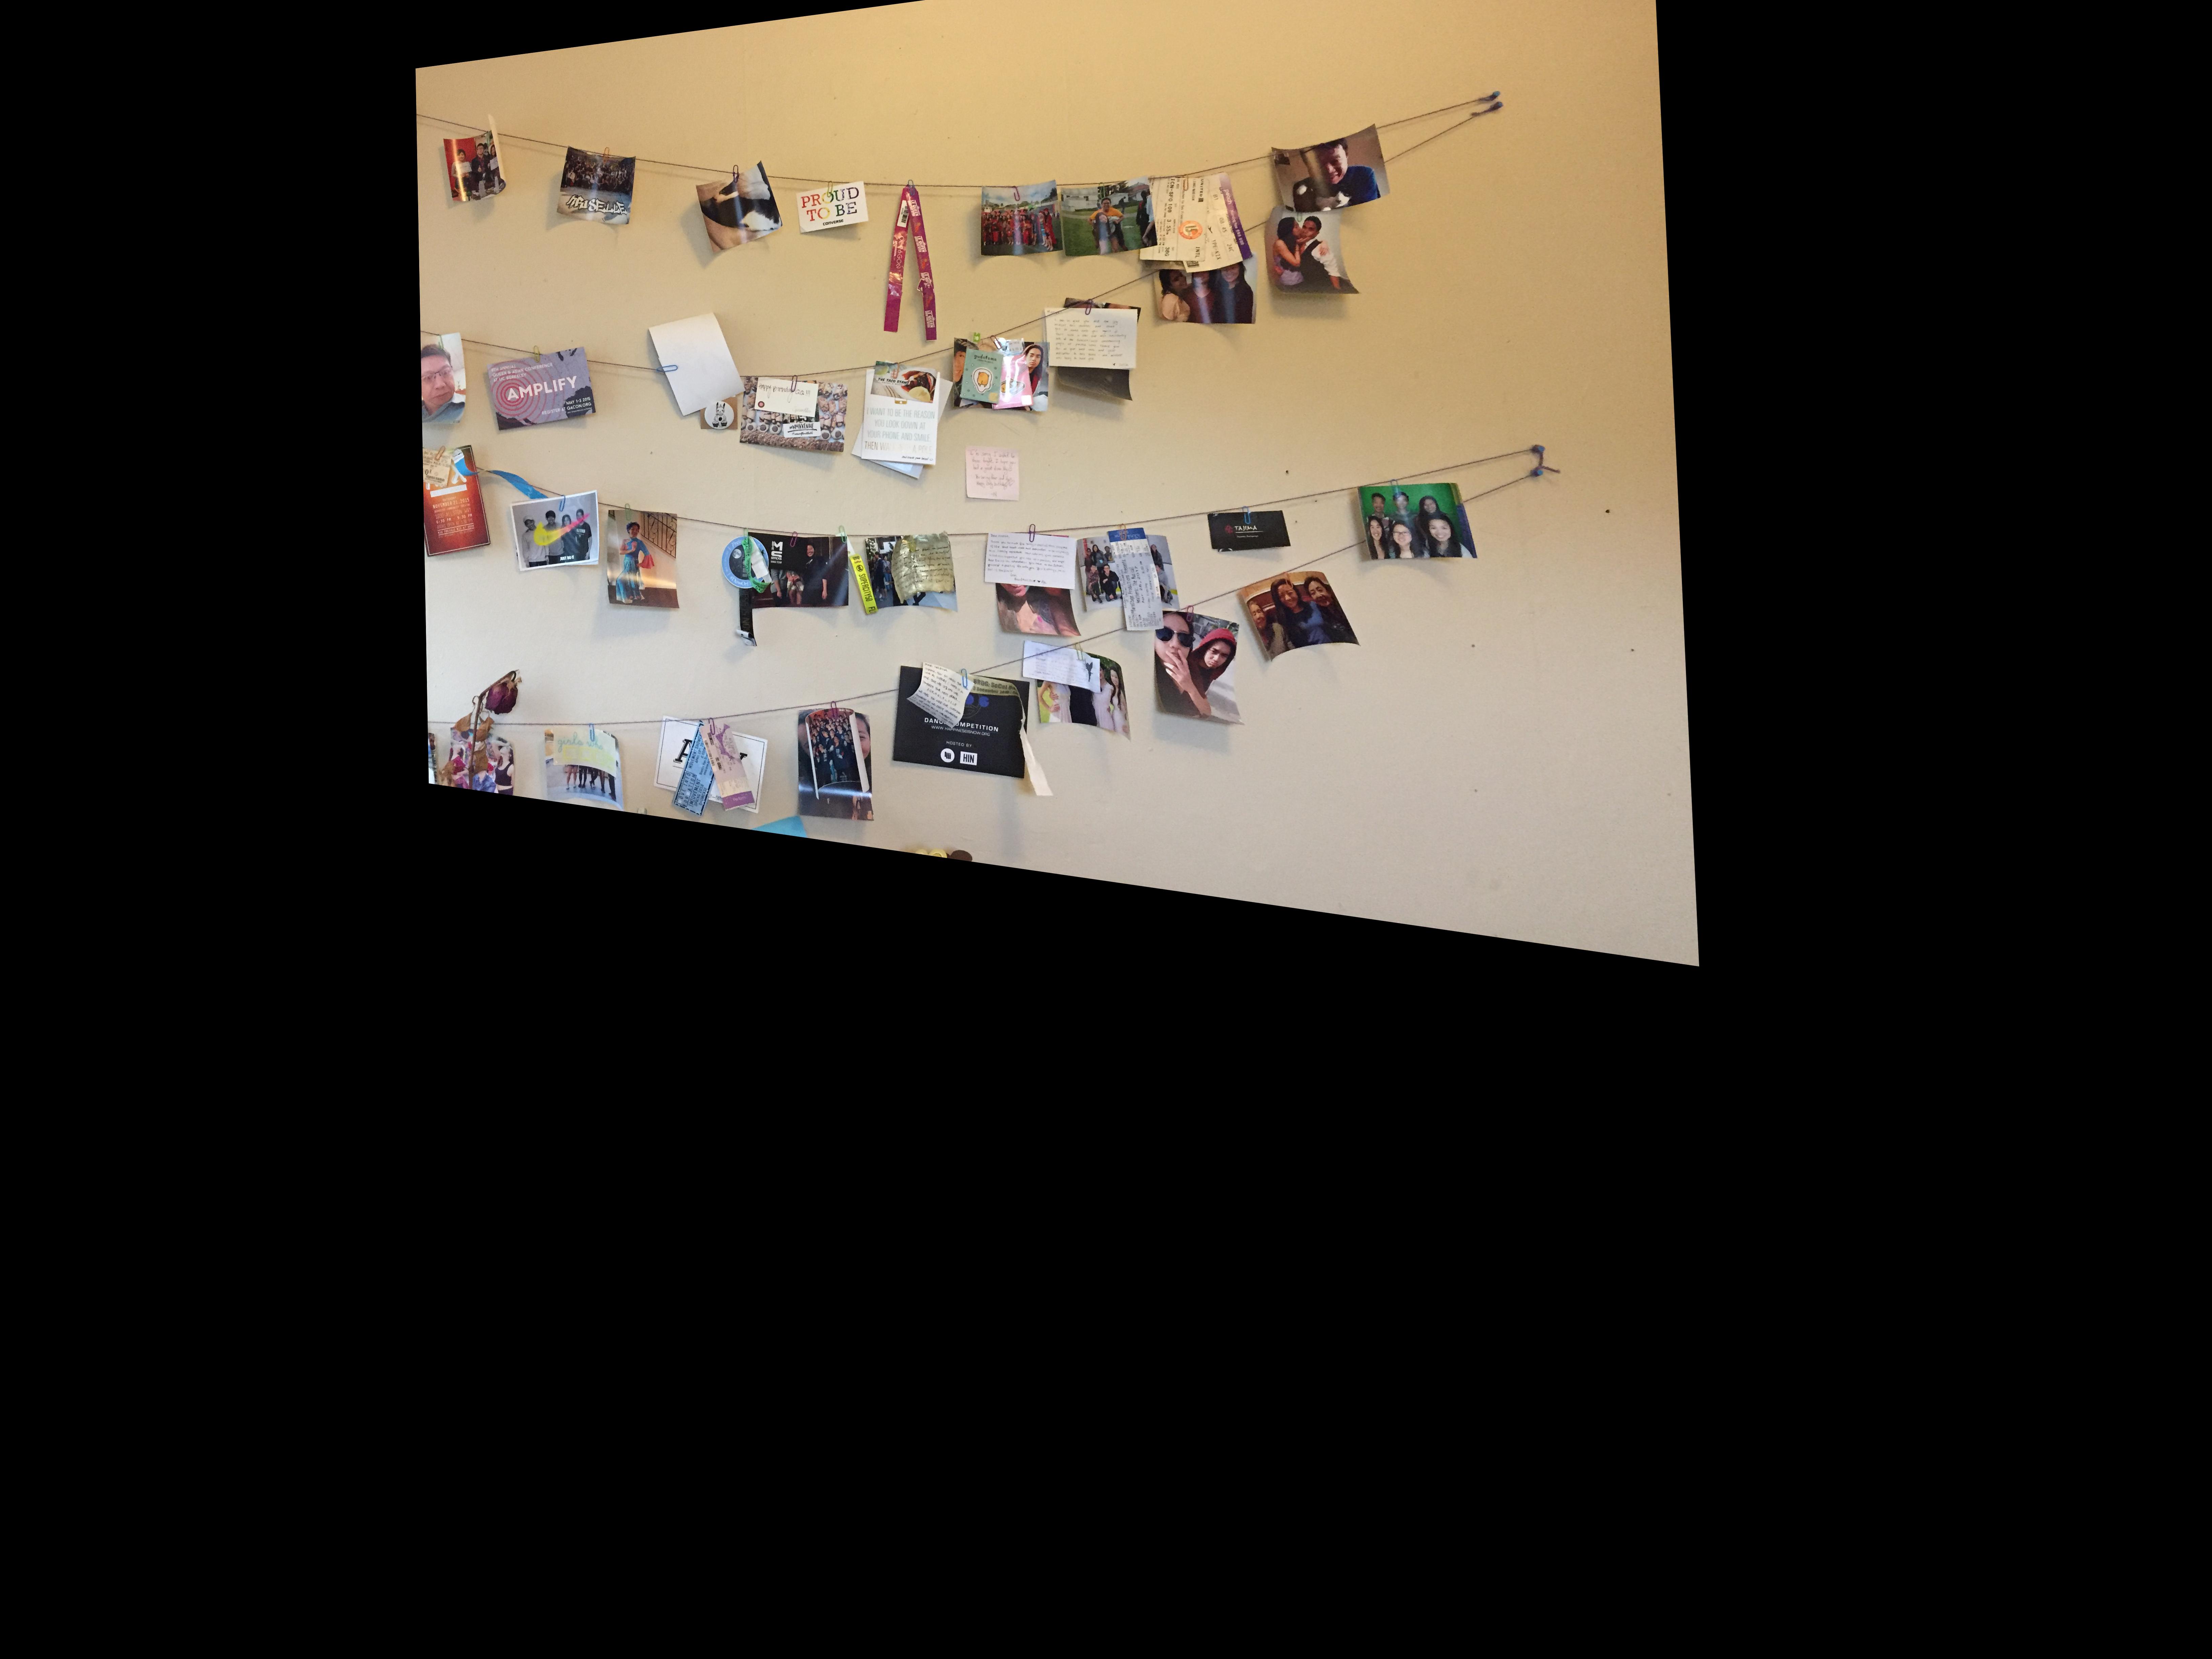 Warped Image of Wall 2
 Final Mosaic of Bedroom Wall
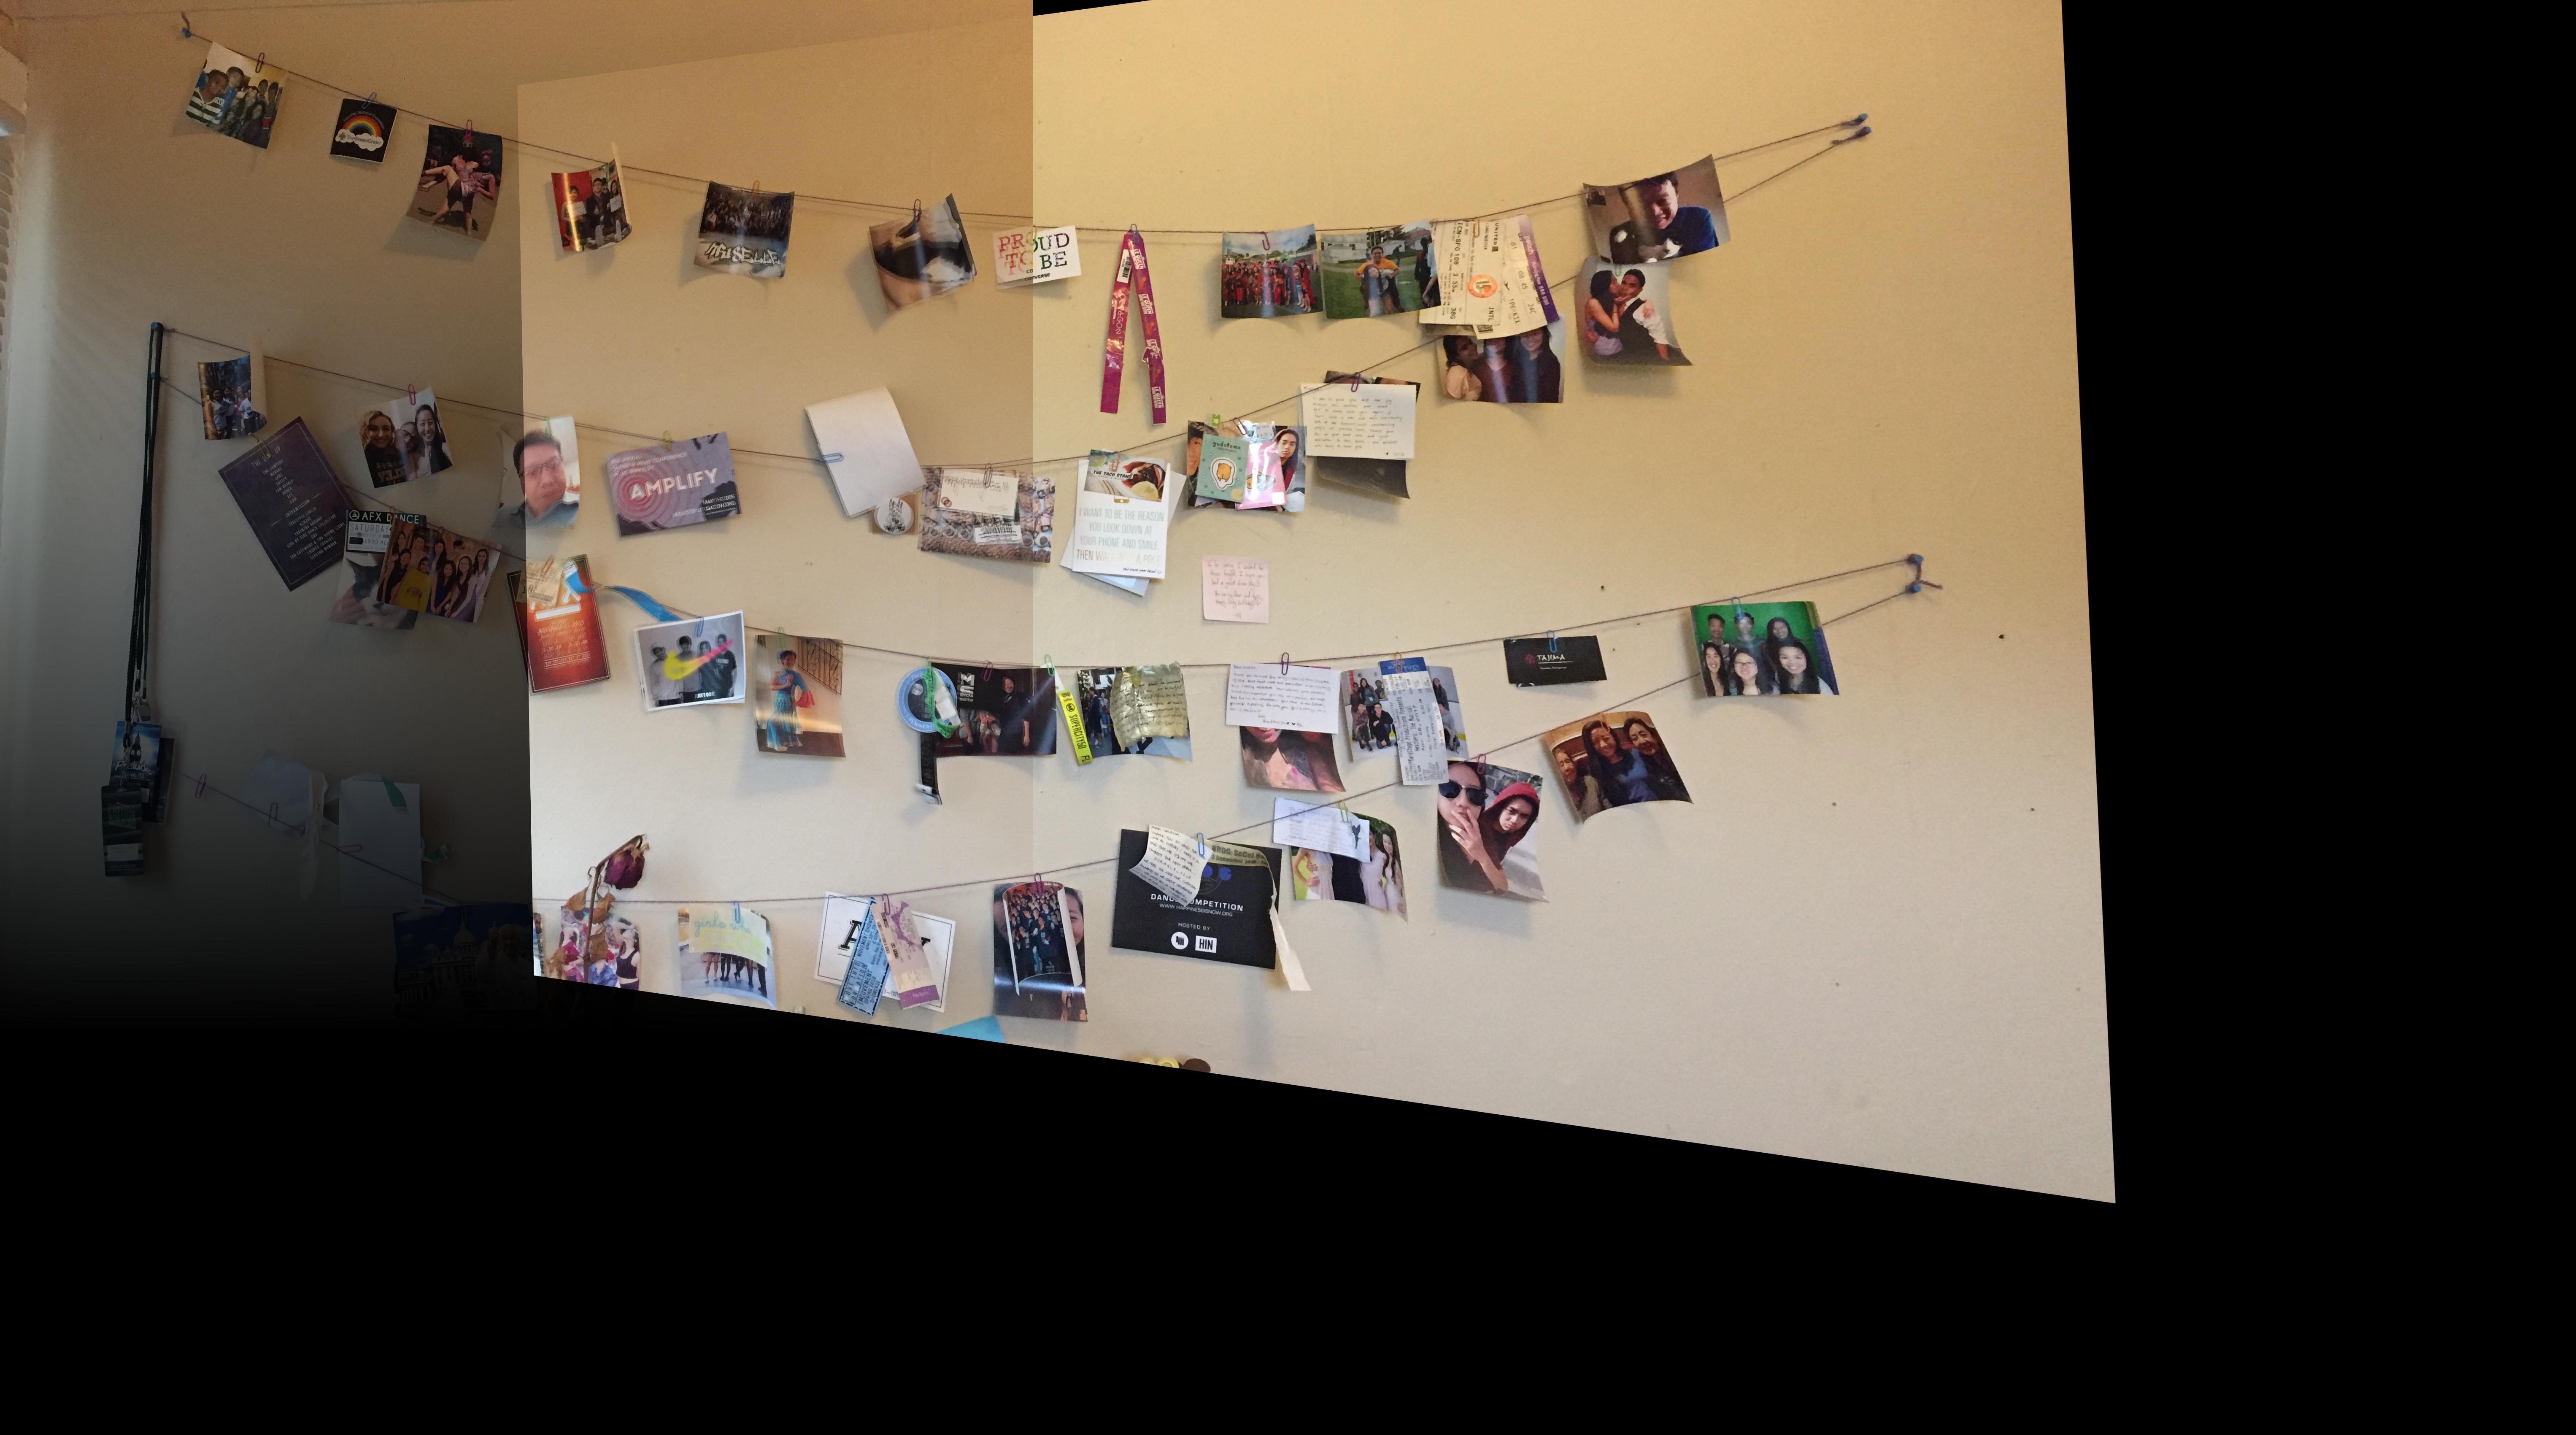
 Final Mosaic of Bedroom Wall (Points Marked)
The blending and stitching of the photos worked pretty well for these examples, as the overlap is only slightly blurry (see the tree on Upper Sproul for an example). An improvement that could be made is accounting for the warped image being cut off on the top of the image, which might be fixed by changing some arguments while using sk.transform.warp. However, with all things considered, I was very happy with the results. The coolest part of the project for me was playing with the number of corresponding points/where the points were placed to figure out what works best for warping the images.