Project 6 Part A: Image Warping and Mosaicing
Jonathan Chu
Background
In this project, I took two images in my room for rectification and three sets of three images outside which I then stitched together into one panorama. I used an inverse warp which would take a center image and compute the warp from the center image to the left or right image. Then, using that warp, I would interpolate the pixels that would go there. For rectification, the center image was the four points I used as a rectangular template.
Part 1: Rectification
Rectification is changing the perspective in an image to align with a template. For these examples, I took some photographs which include a planar surface but the image doesn't appear to be looking at the planar surface. I rectified them using a template of four points representing a plane to make it look as if the camera was looking at the specified planar surface.
Image of laptop
Image of laptop screen
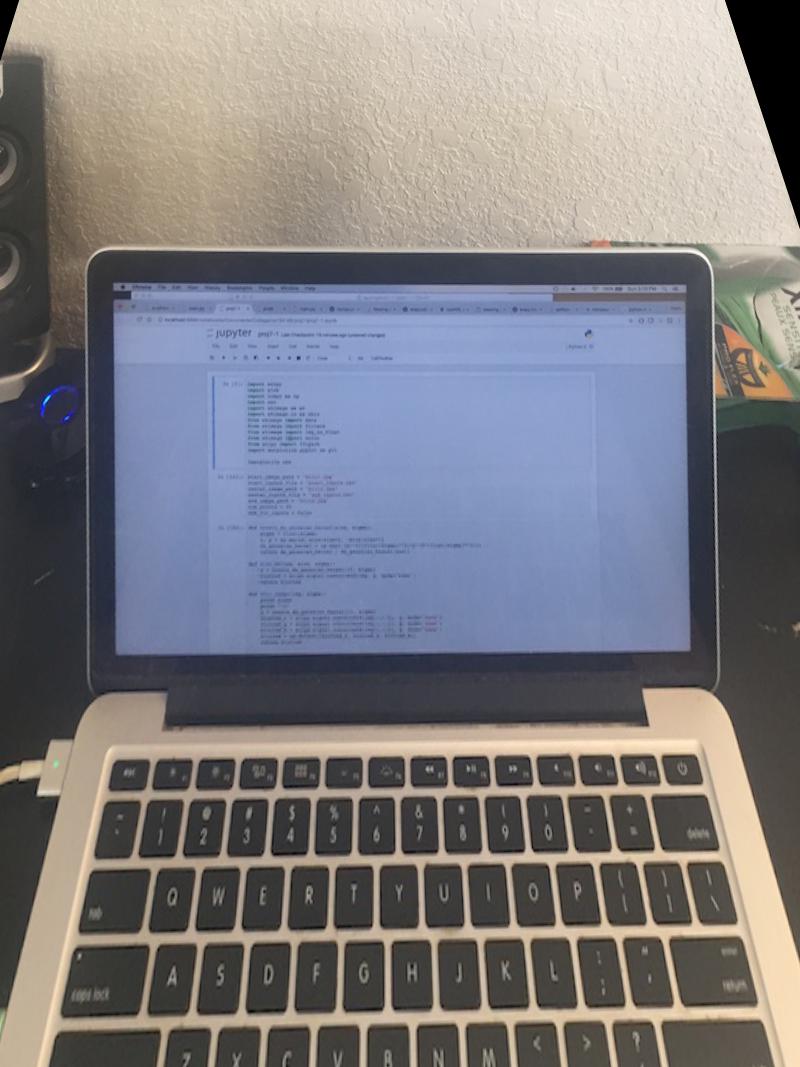
Image of mirror
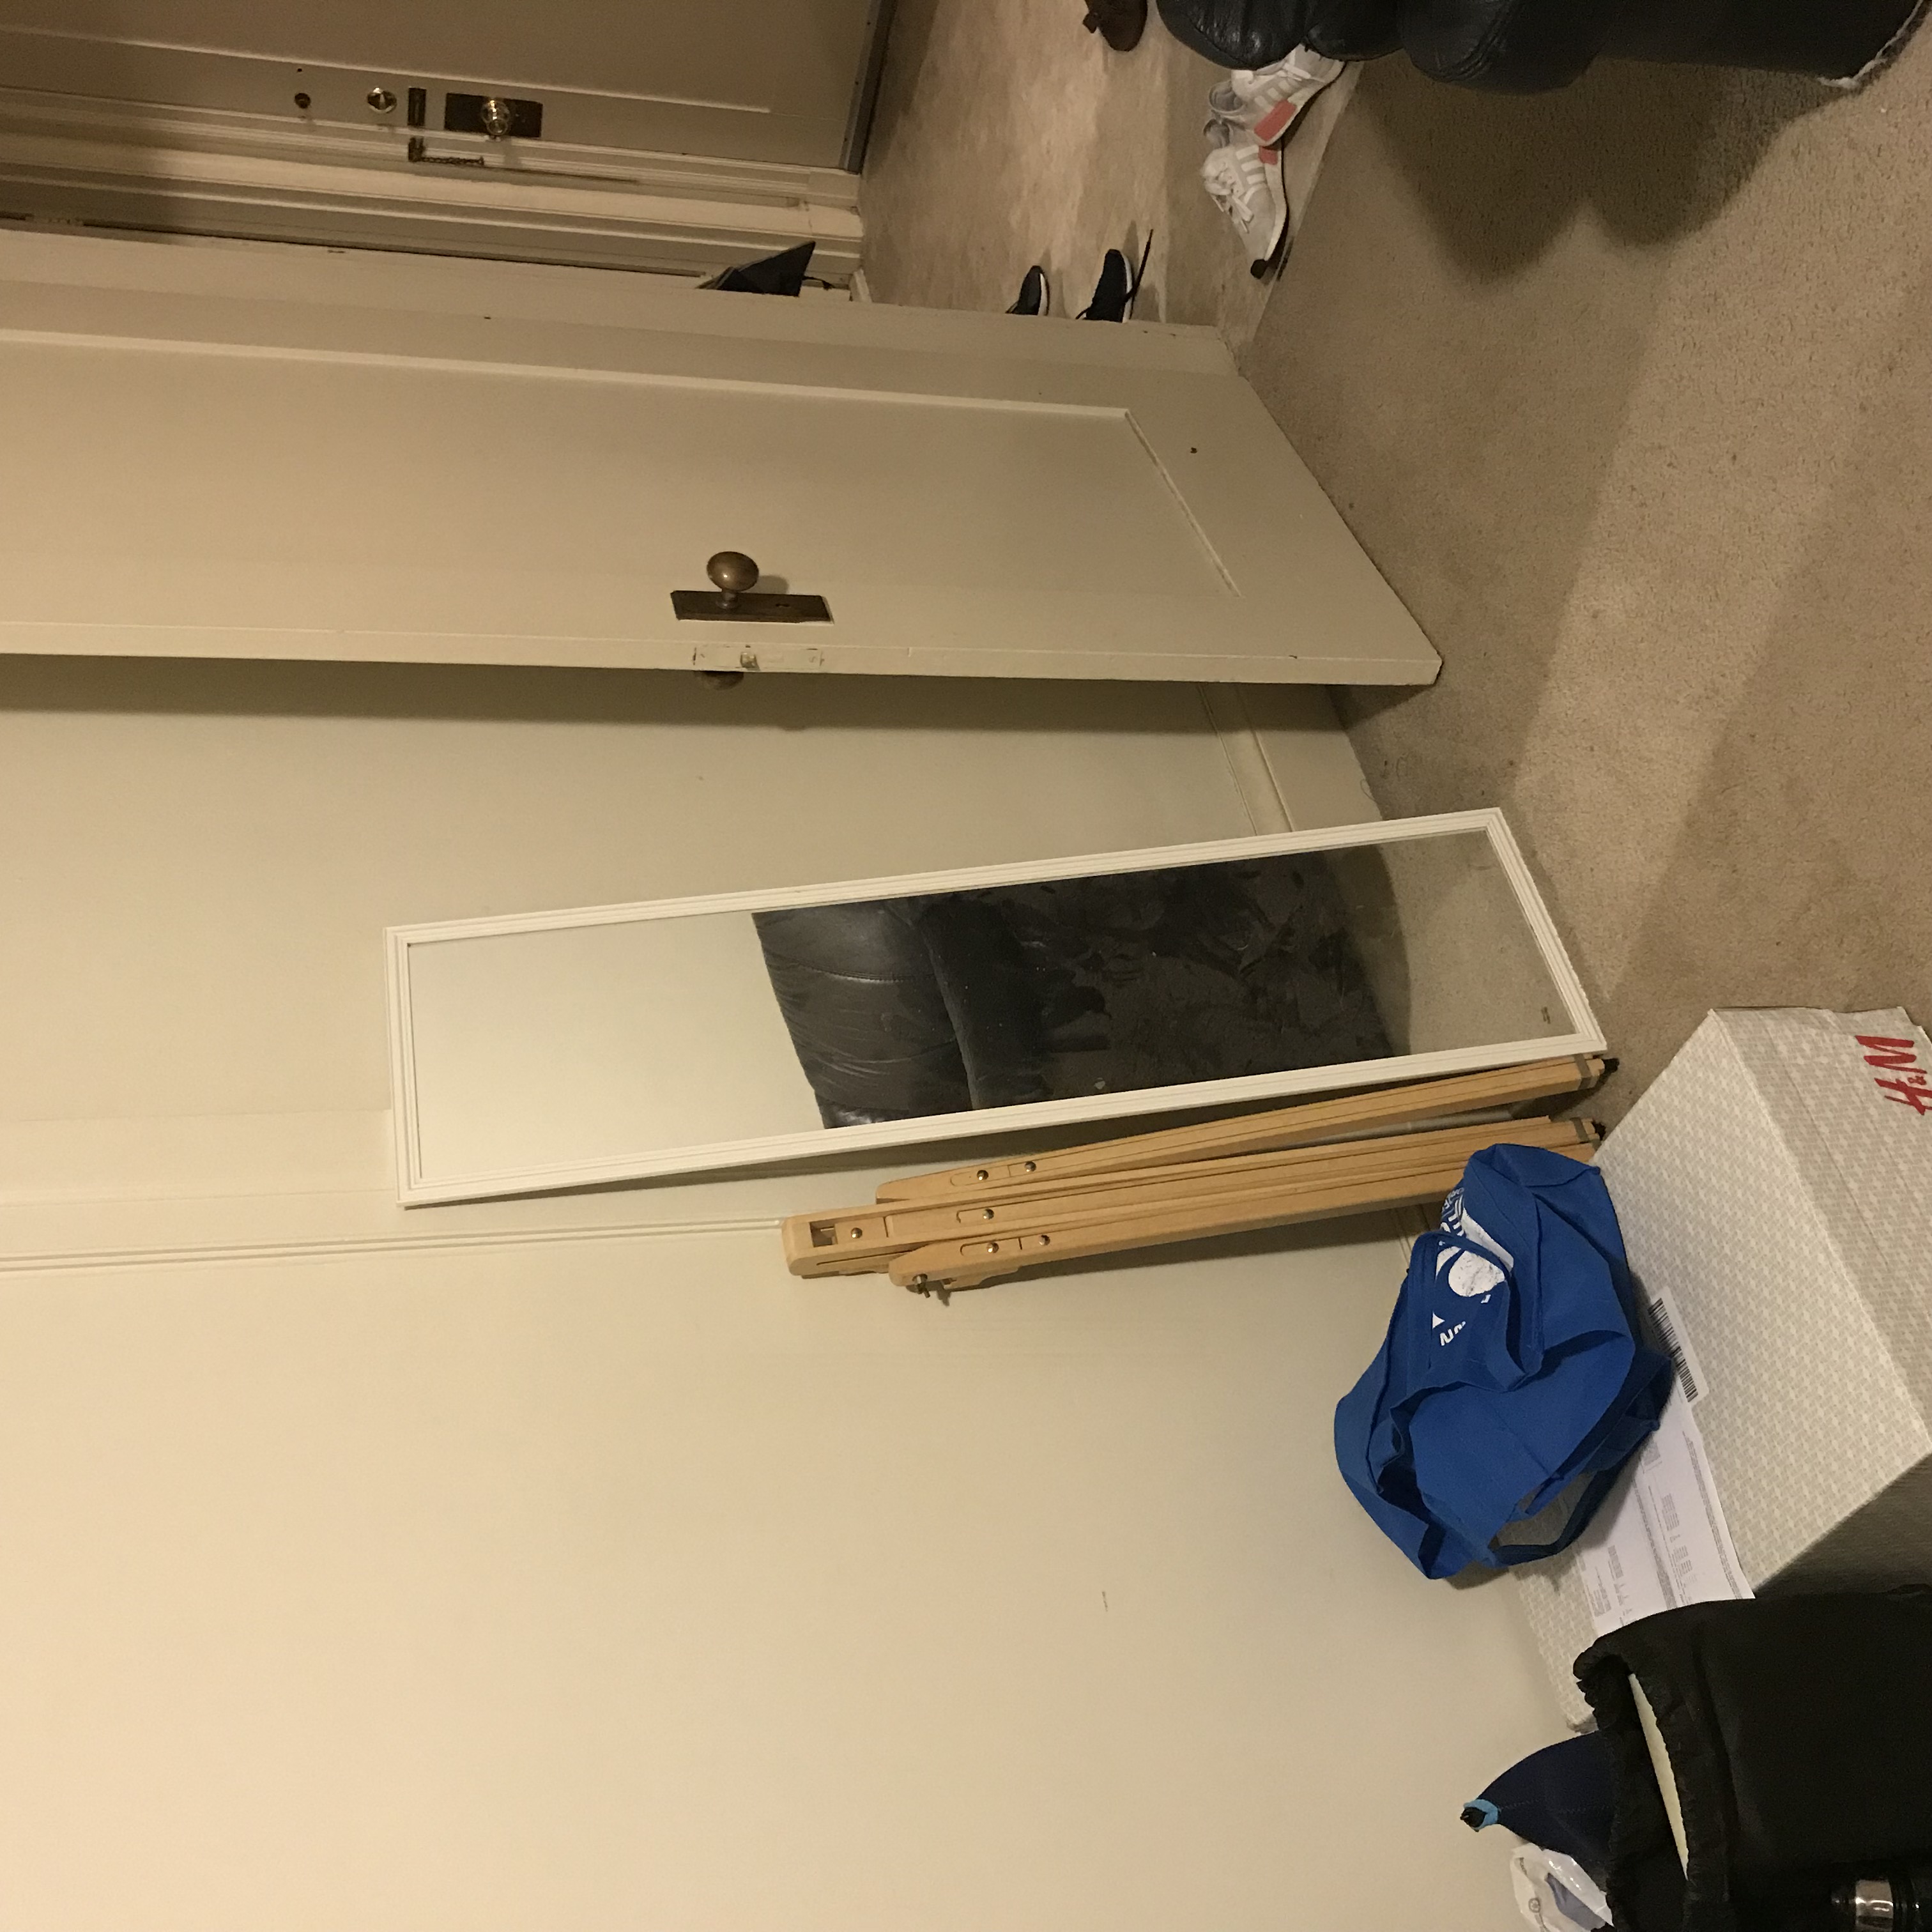
Image facing mirror

Part 2: Image Mosaics
In this part of the project, I took three images, and picked one to be in the center. Then I warped each left and right images towards the center and put them together into one mosaic. For warping, I did an inverse warp with interpolation just as we did in rectification and I did not warp the center image. I blended the warped images by finding the overlap between each warped image and center image and create linear mask decreasing from 1 to 0 in one image and 0 to 1 in the other image. I multiplied each column index of the resulting mosaic by this mask and summed each warped image's columns together.
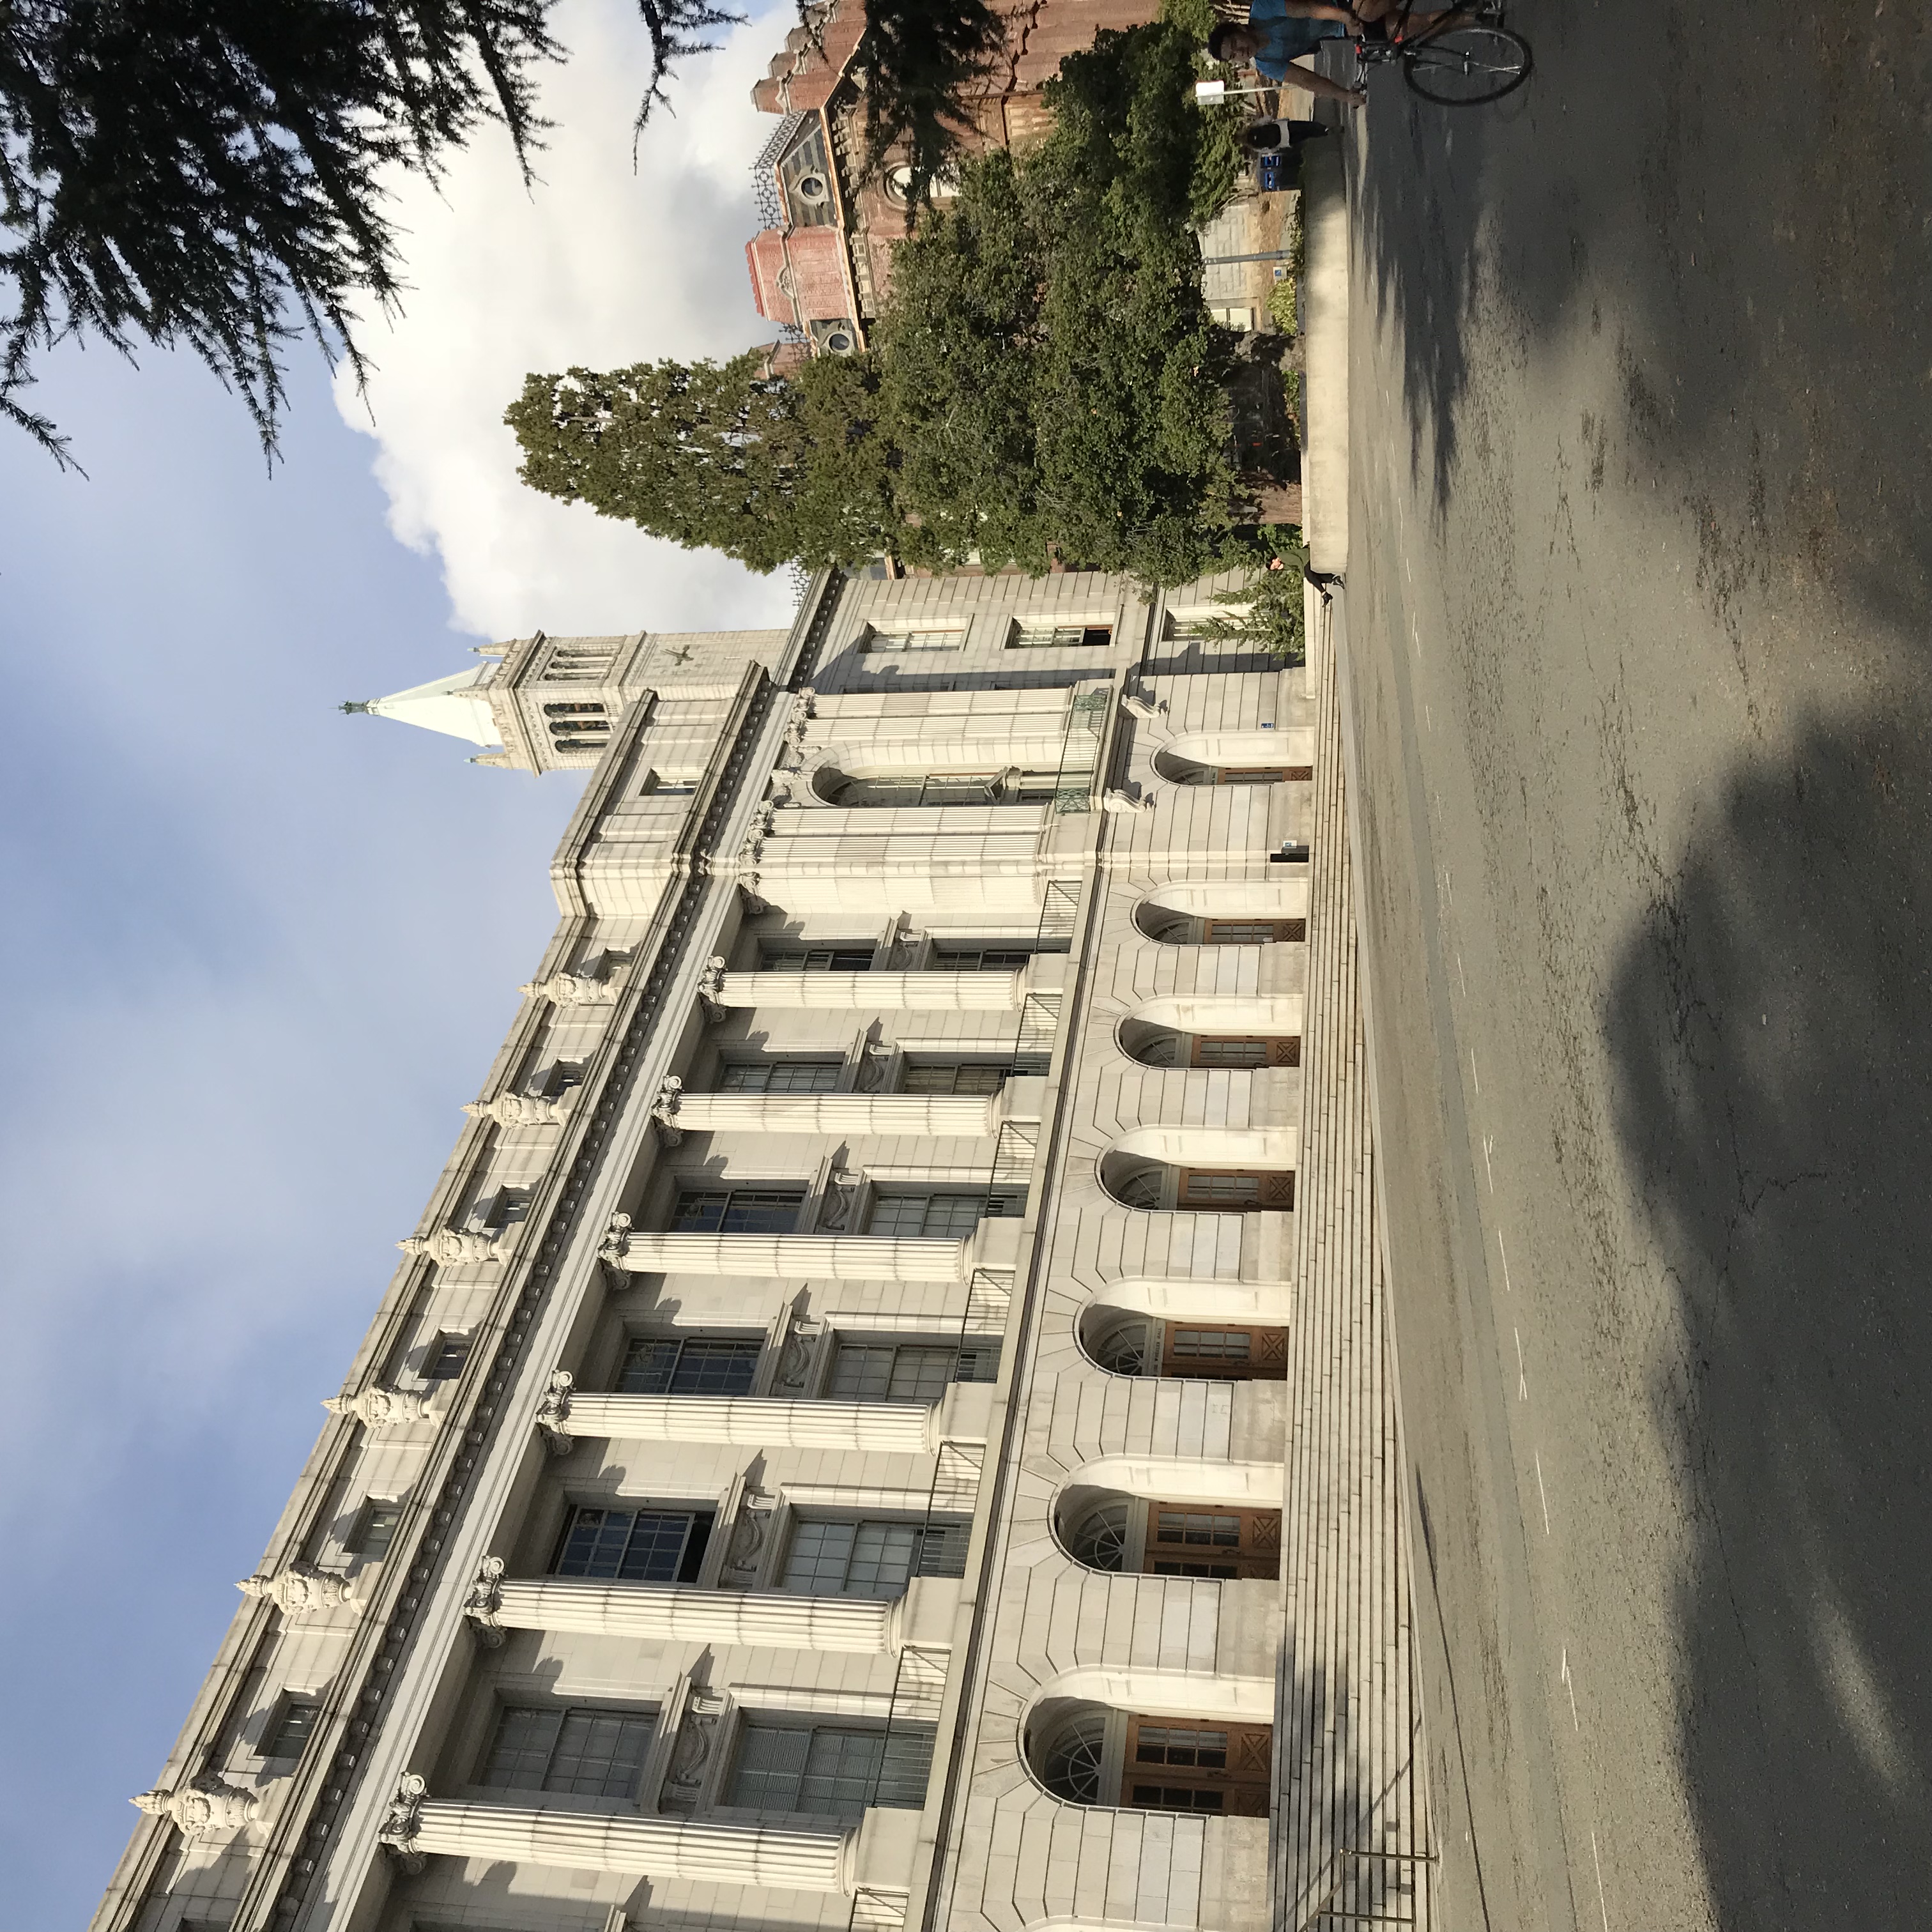
Wheeler Left
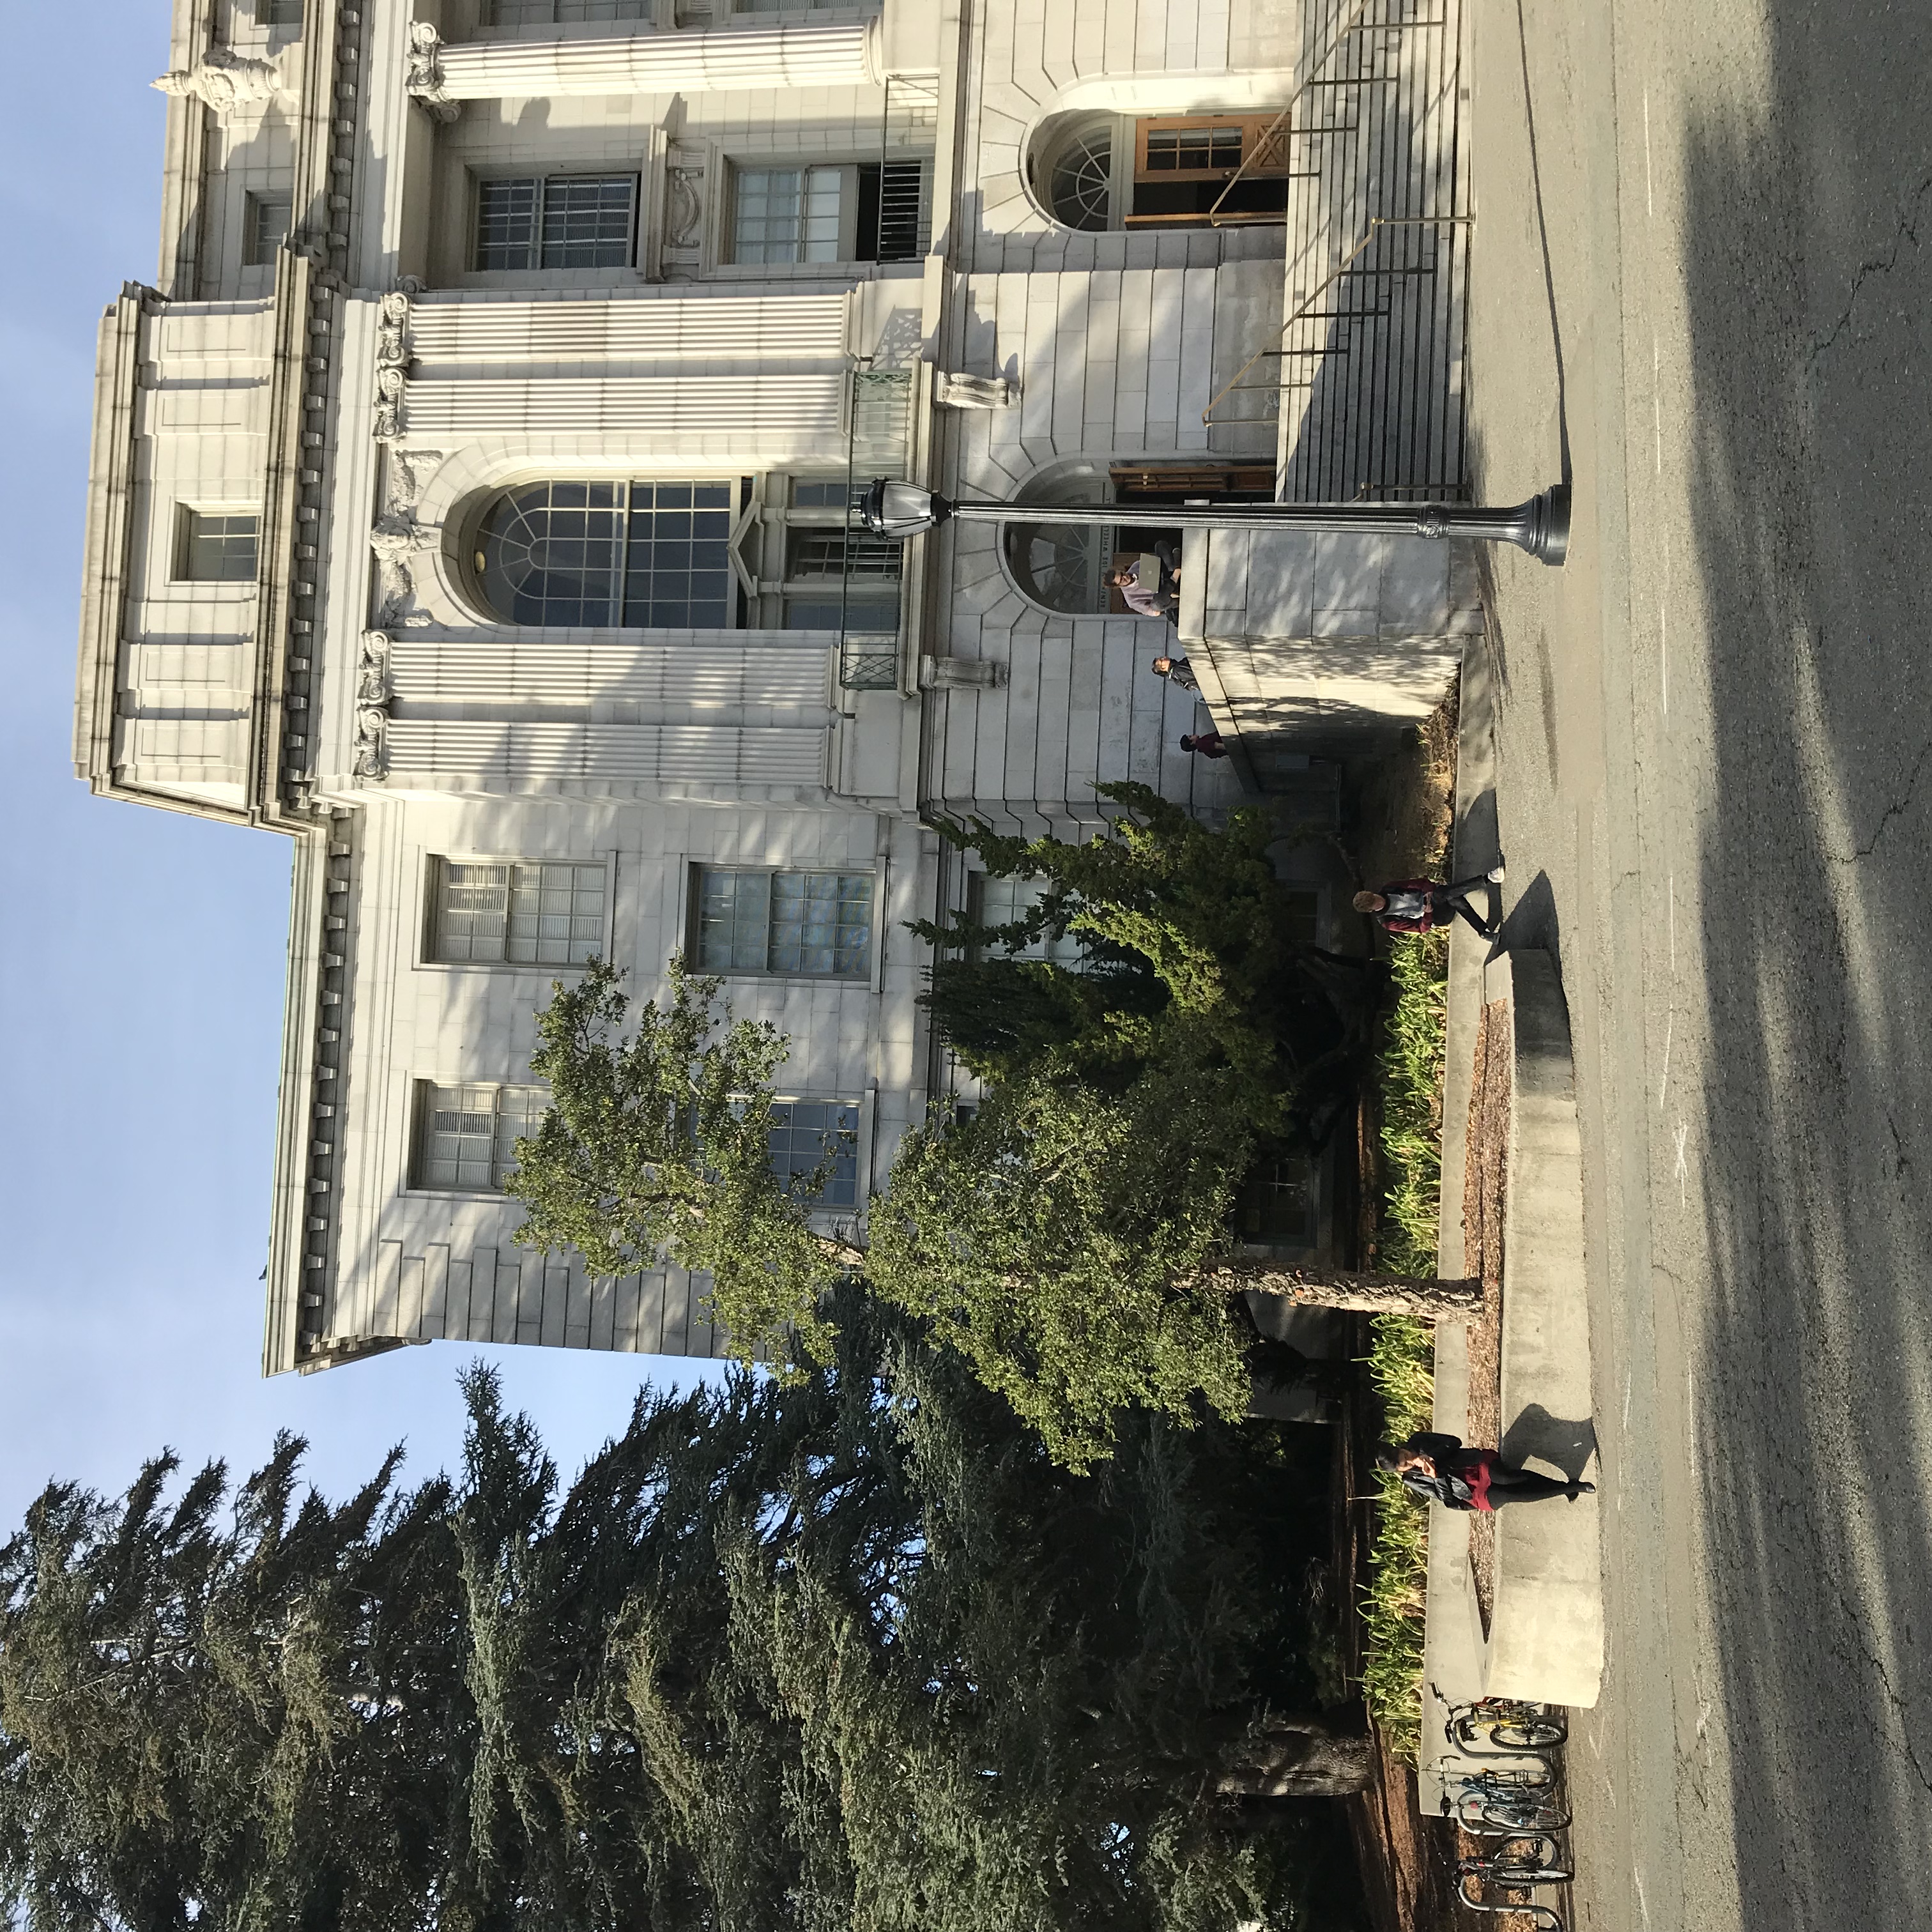
Wheeler Center
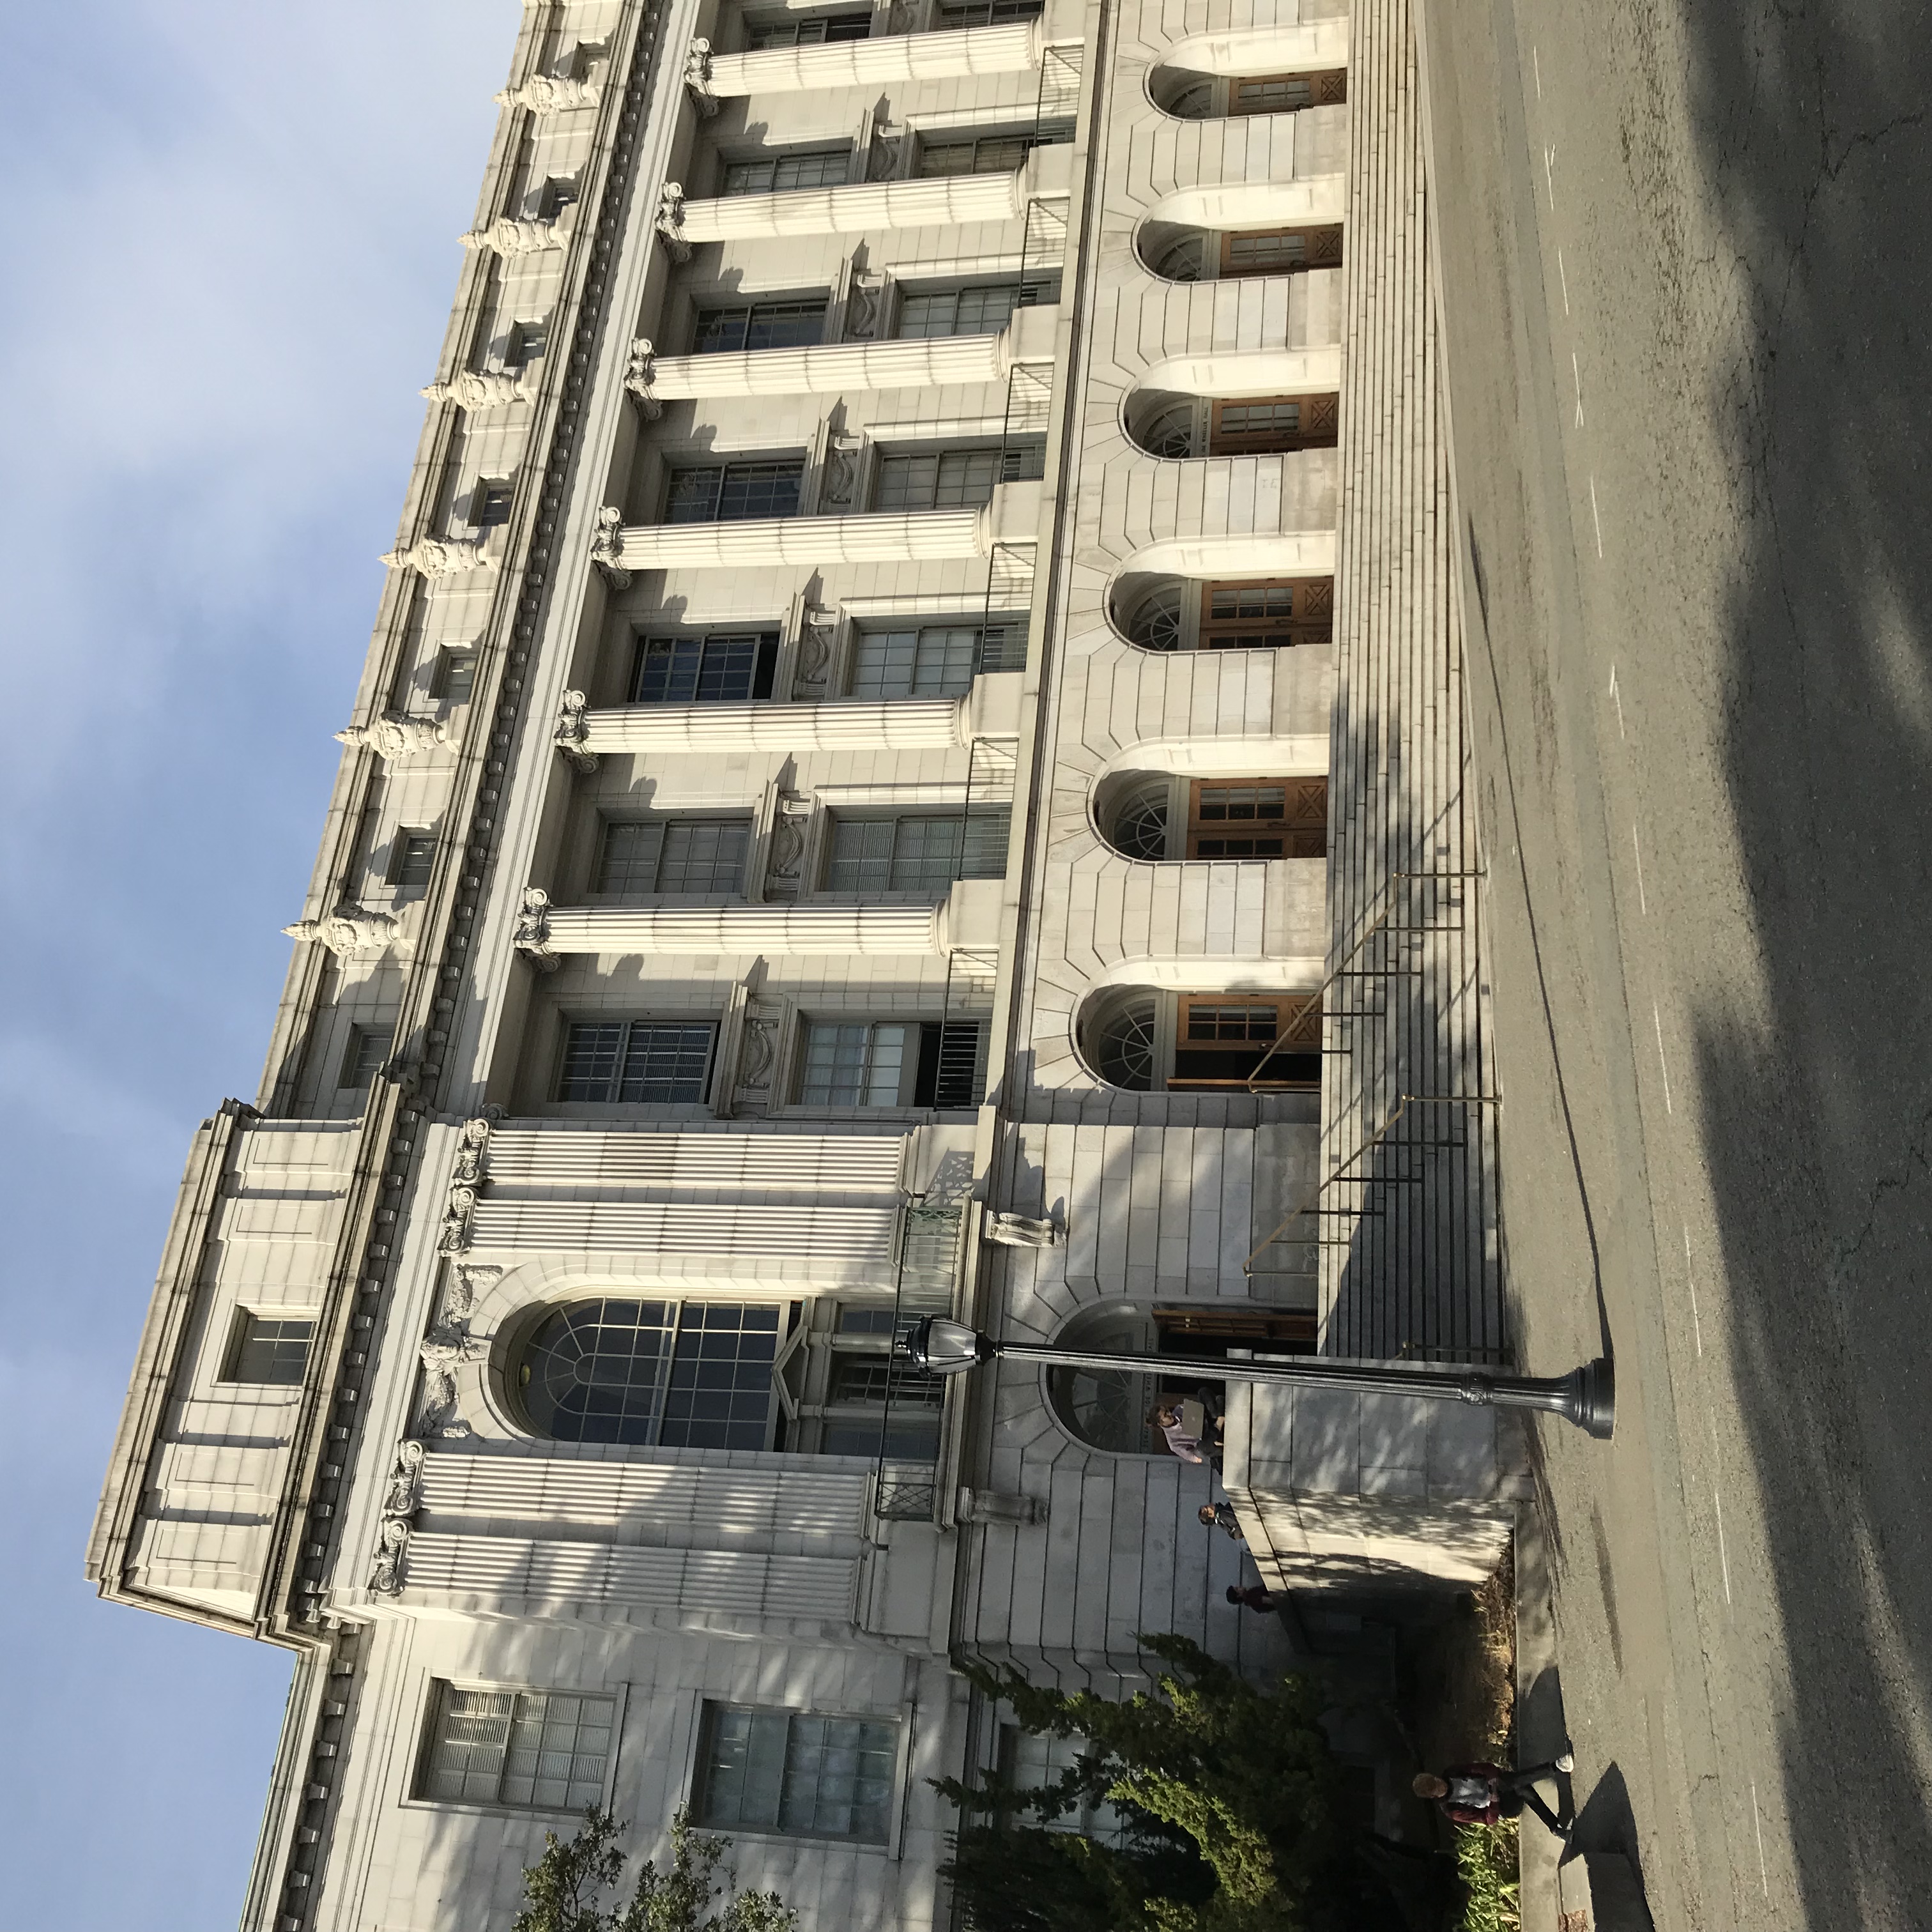
Wheeler Right
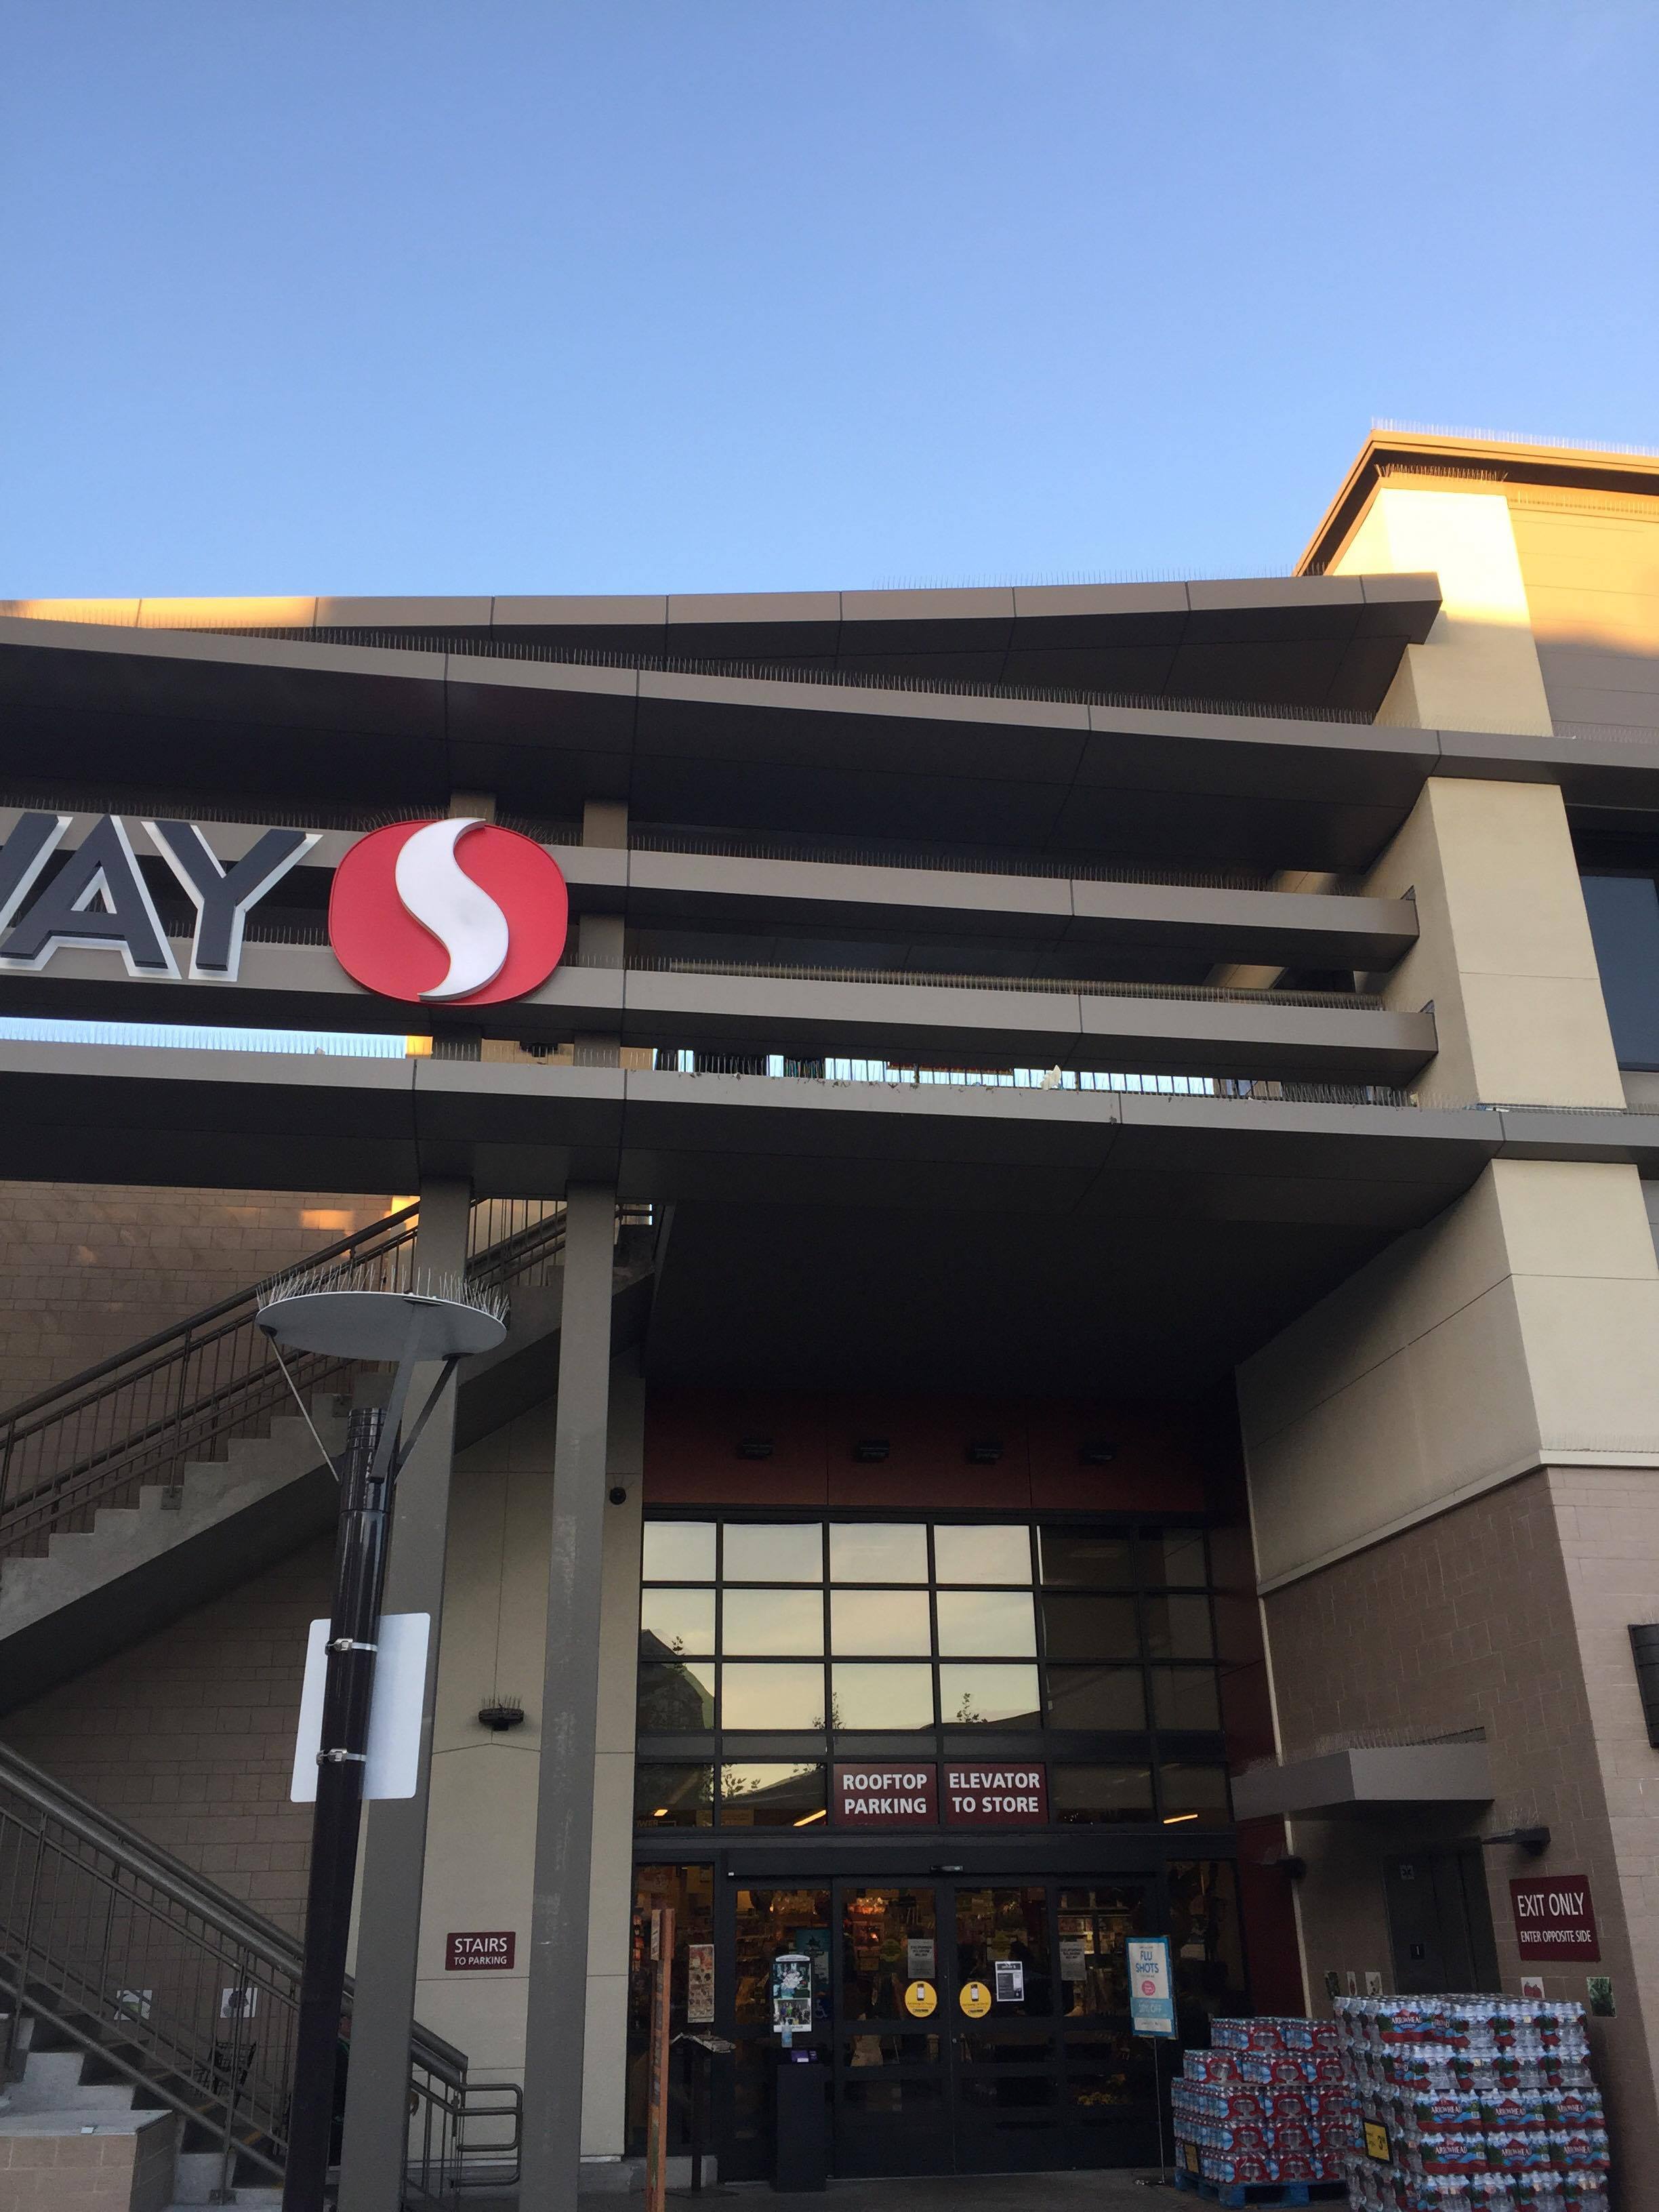
Safeway Left
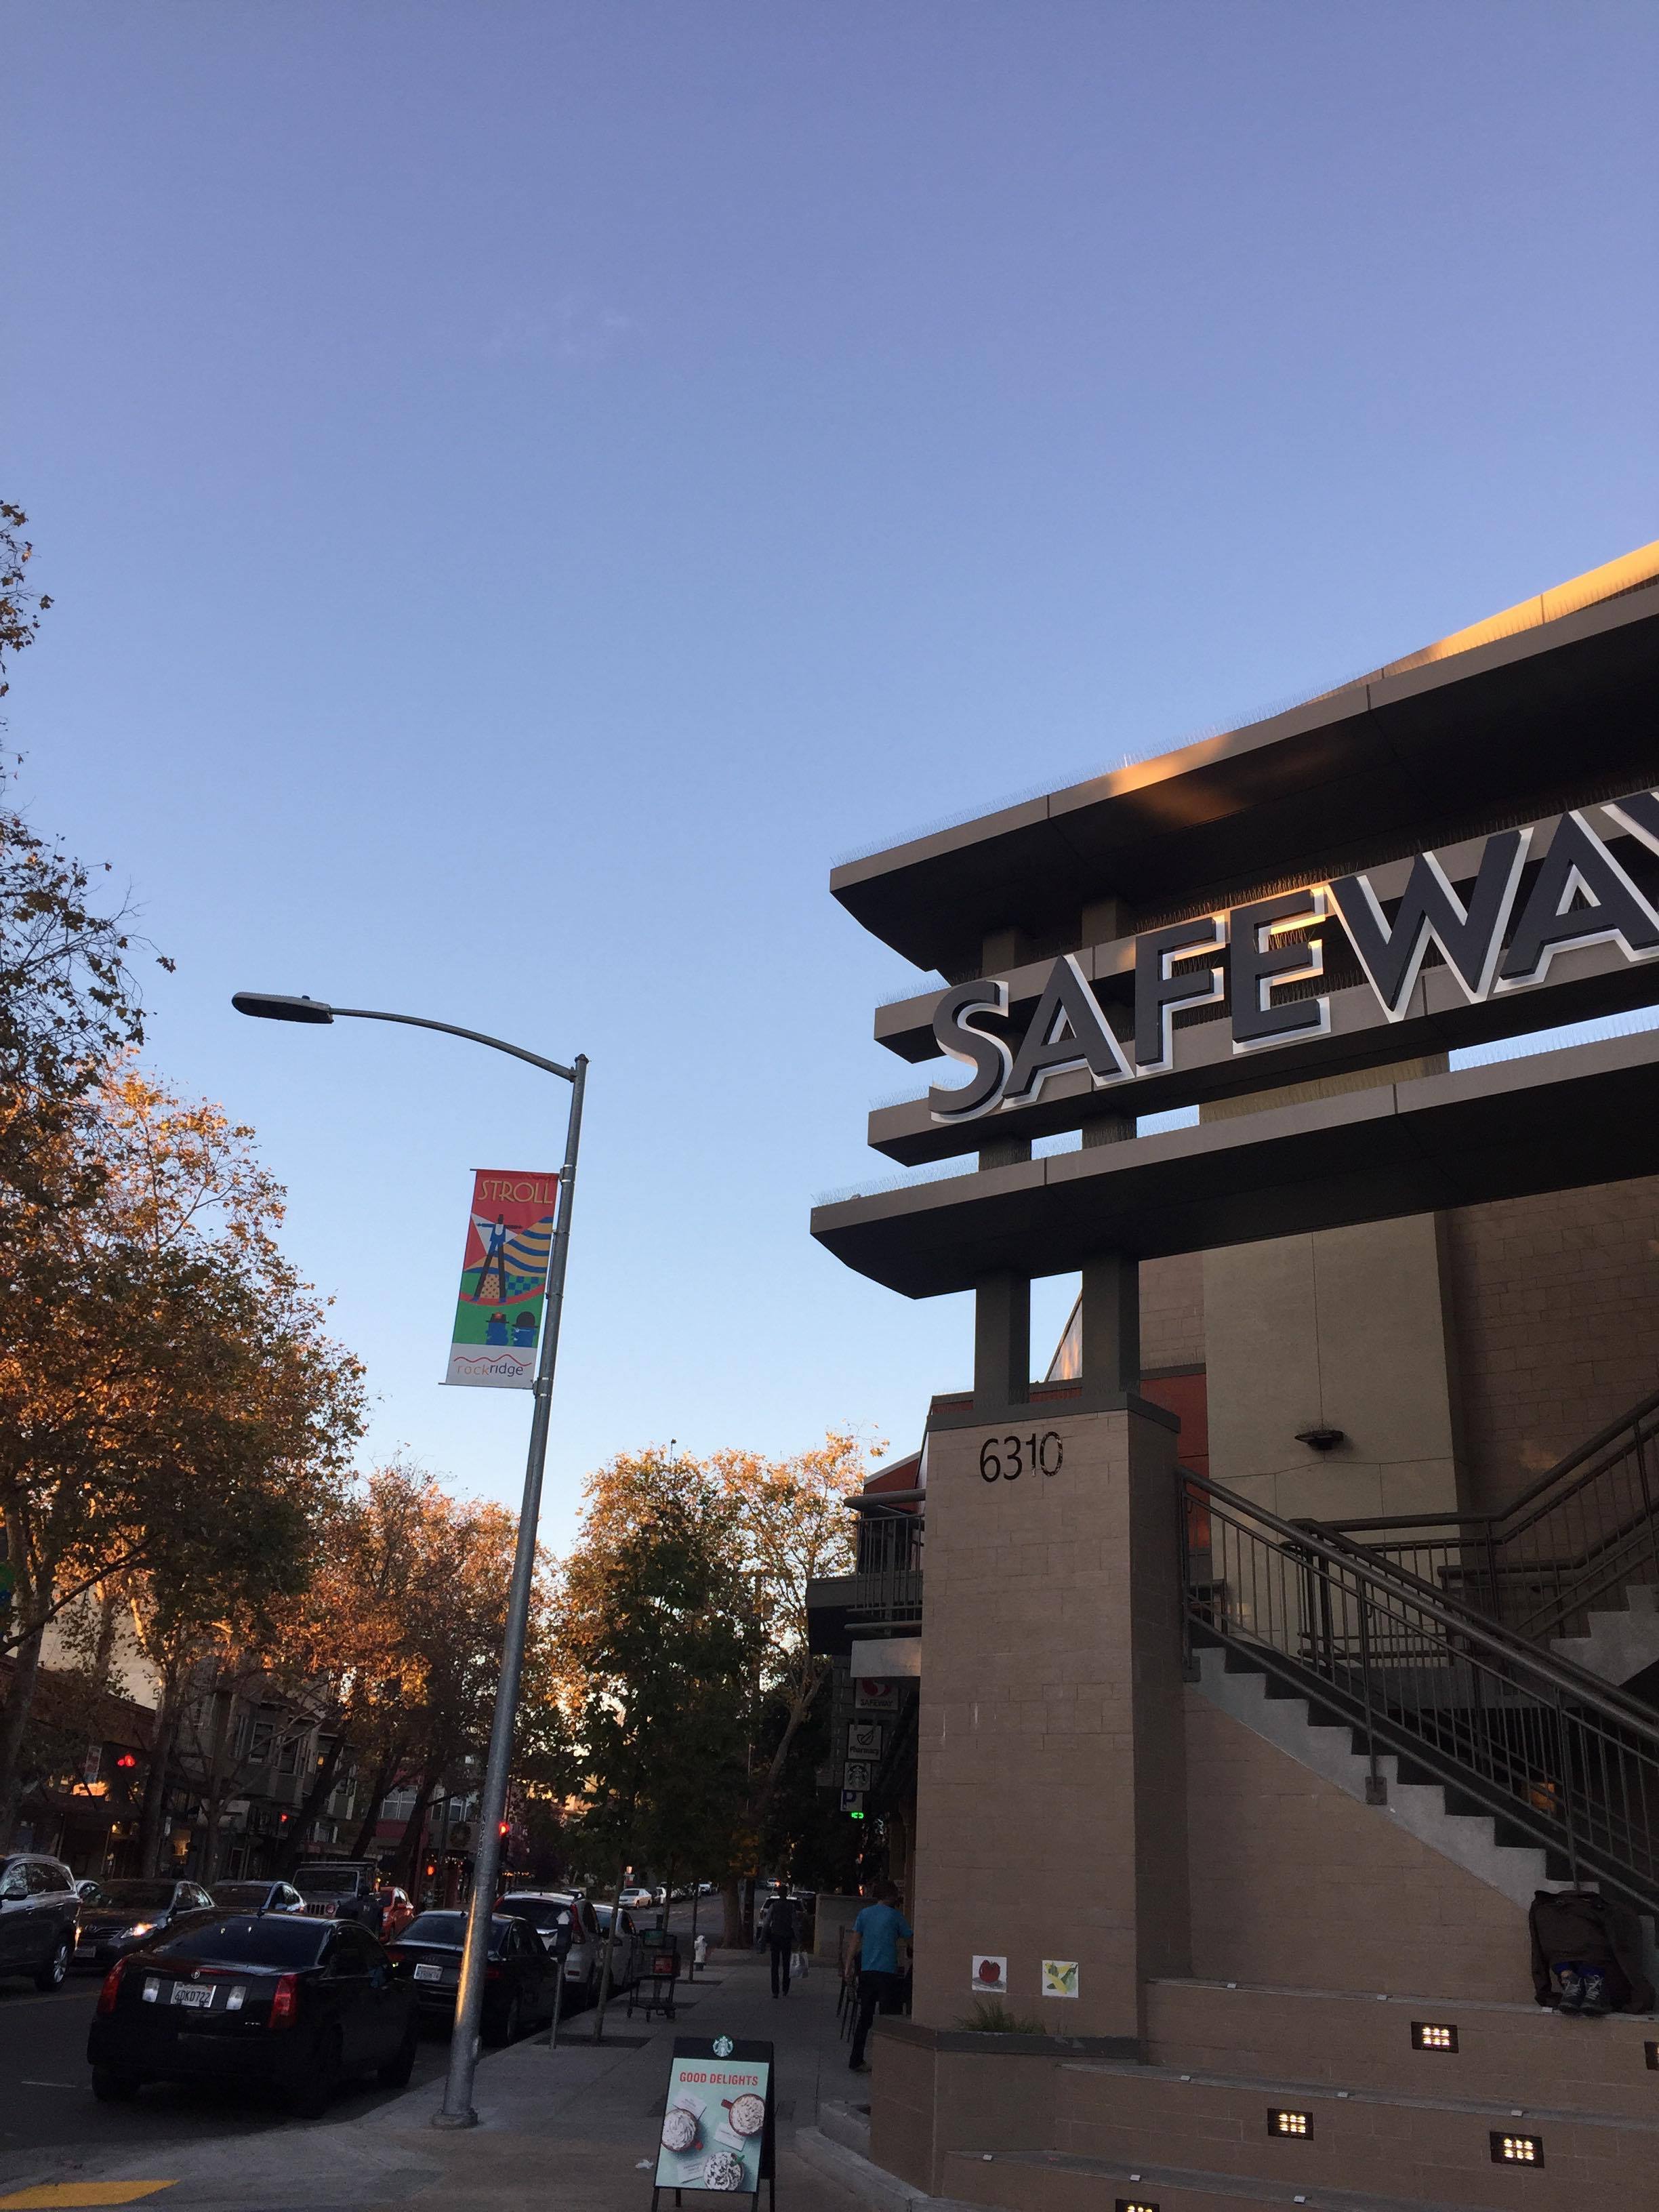
Safeway Center

Safeway Right
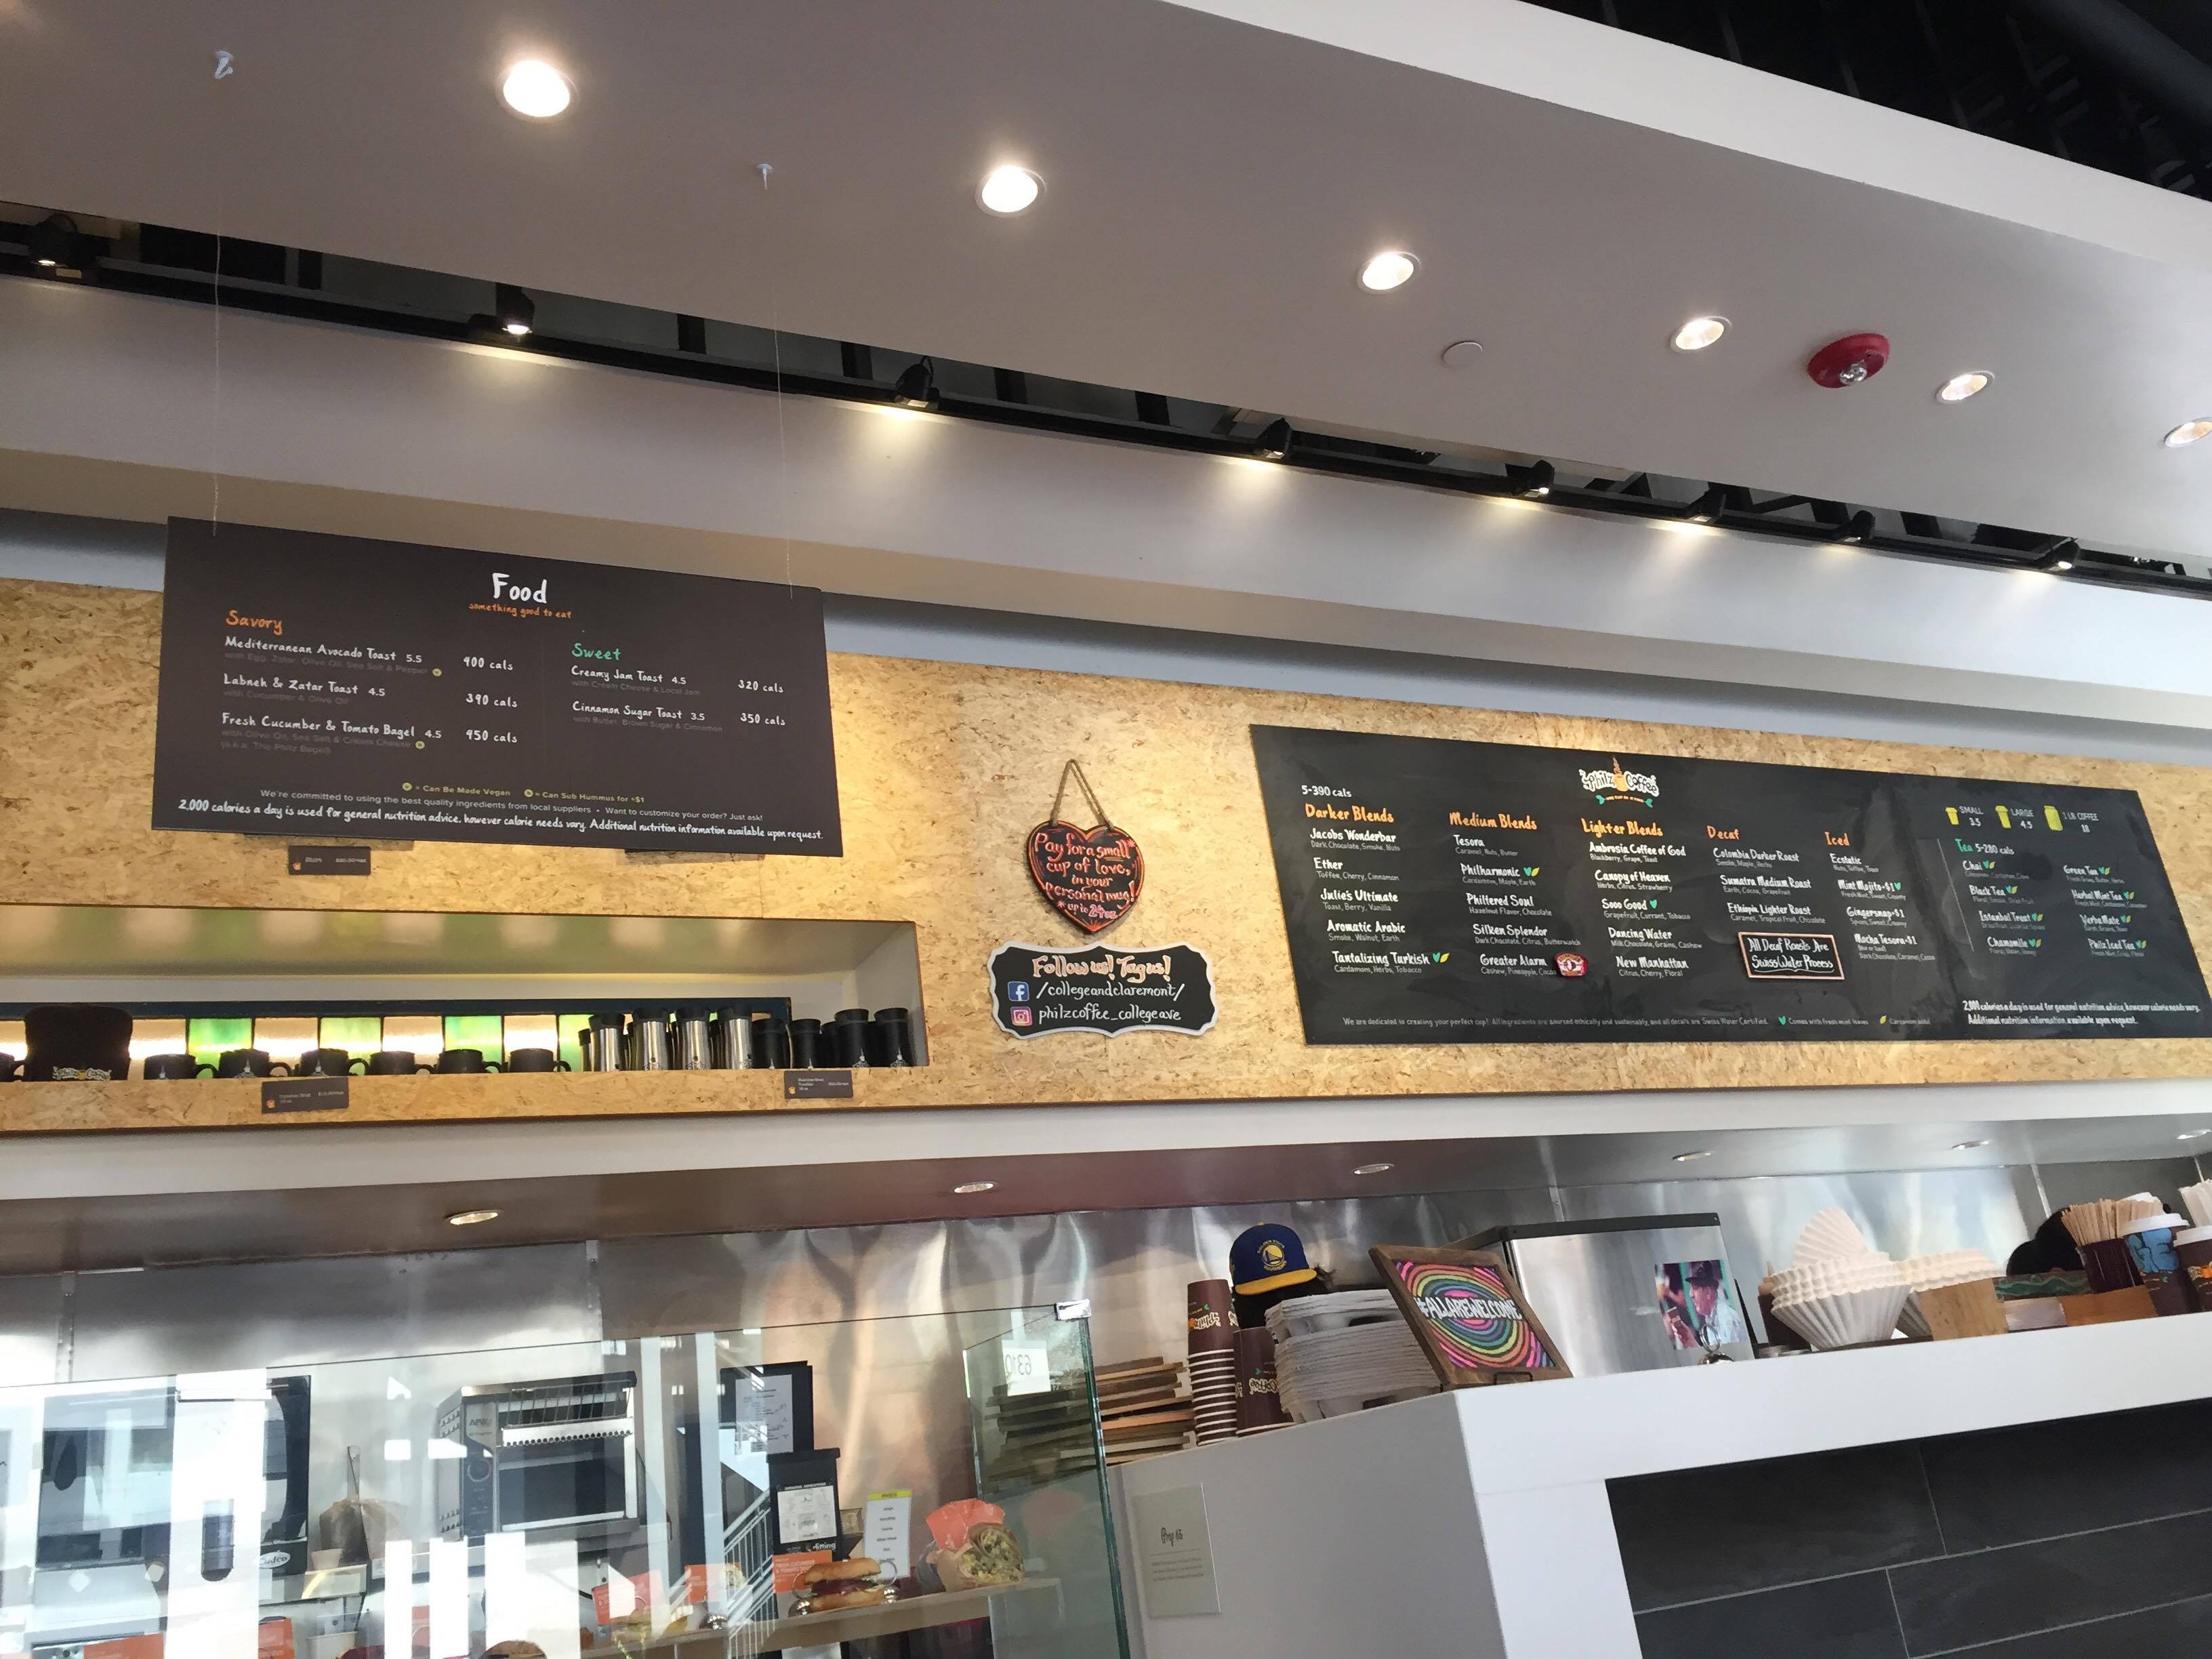
Philz Left
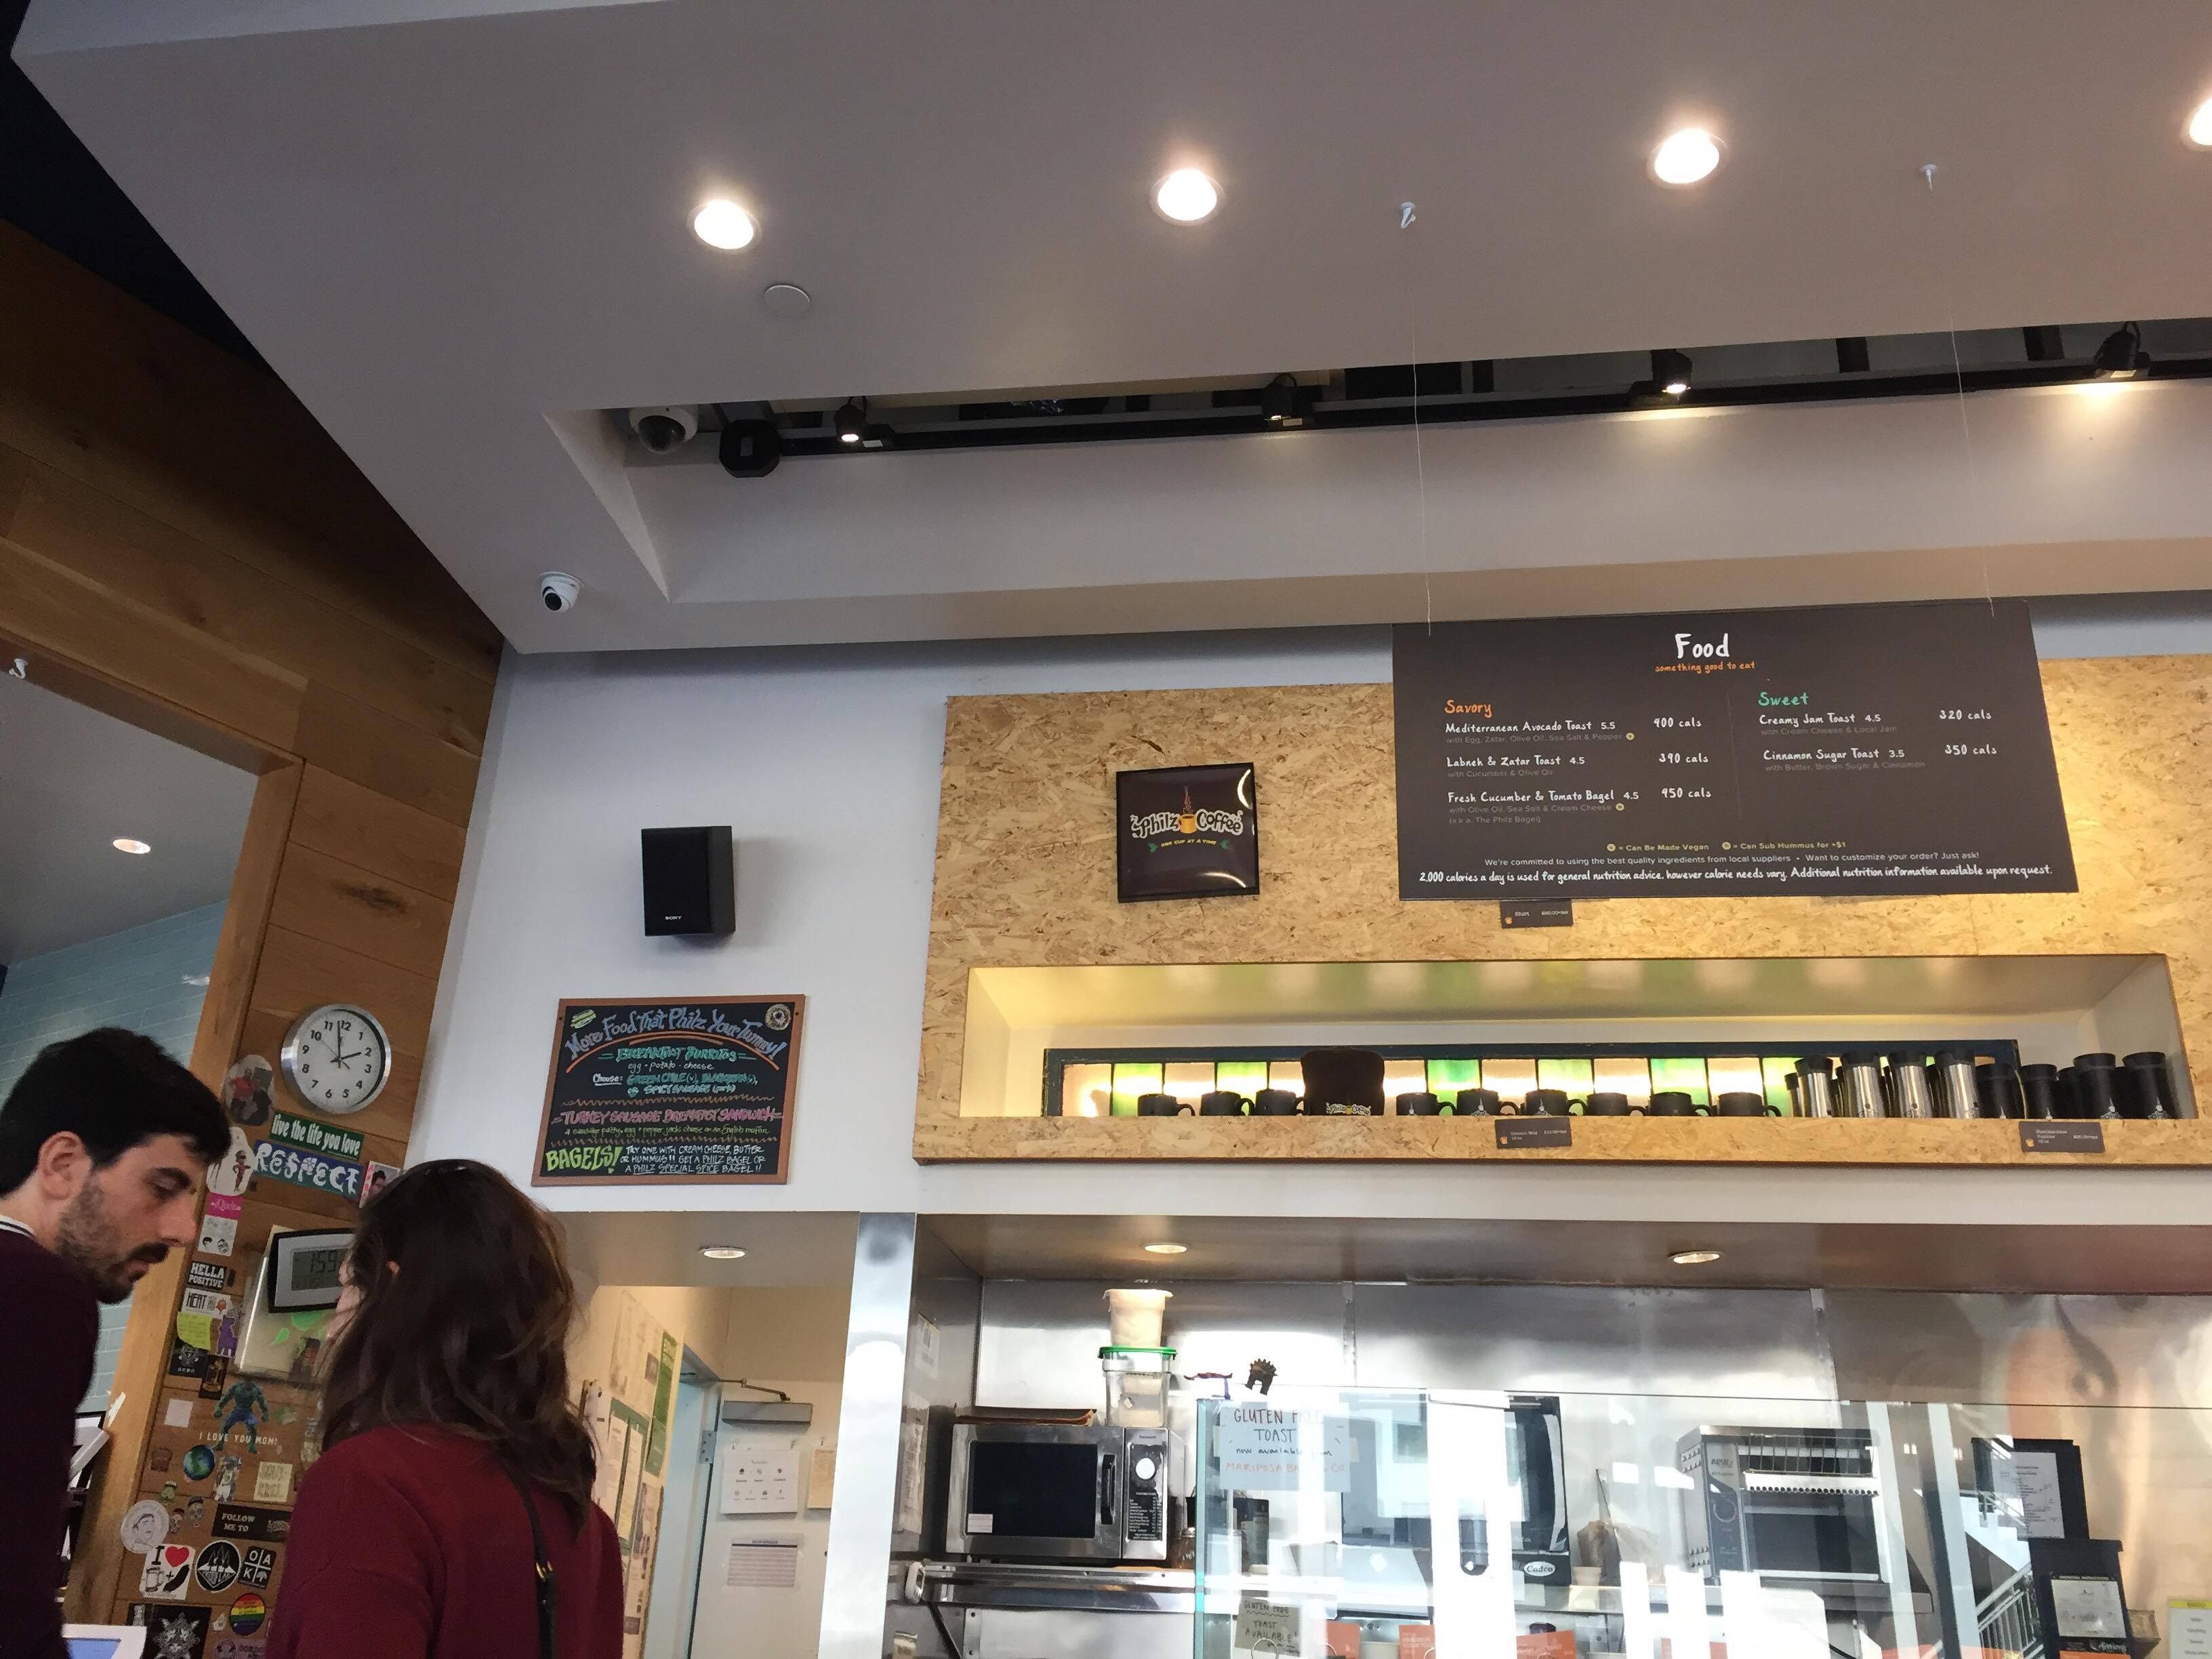
Philz Center
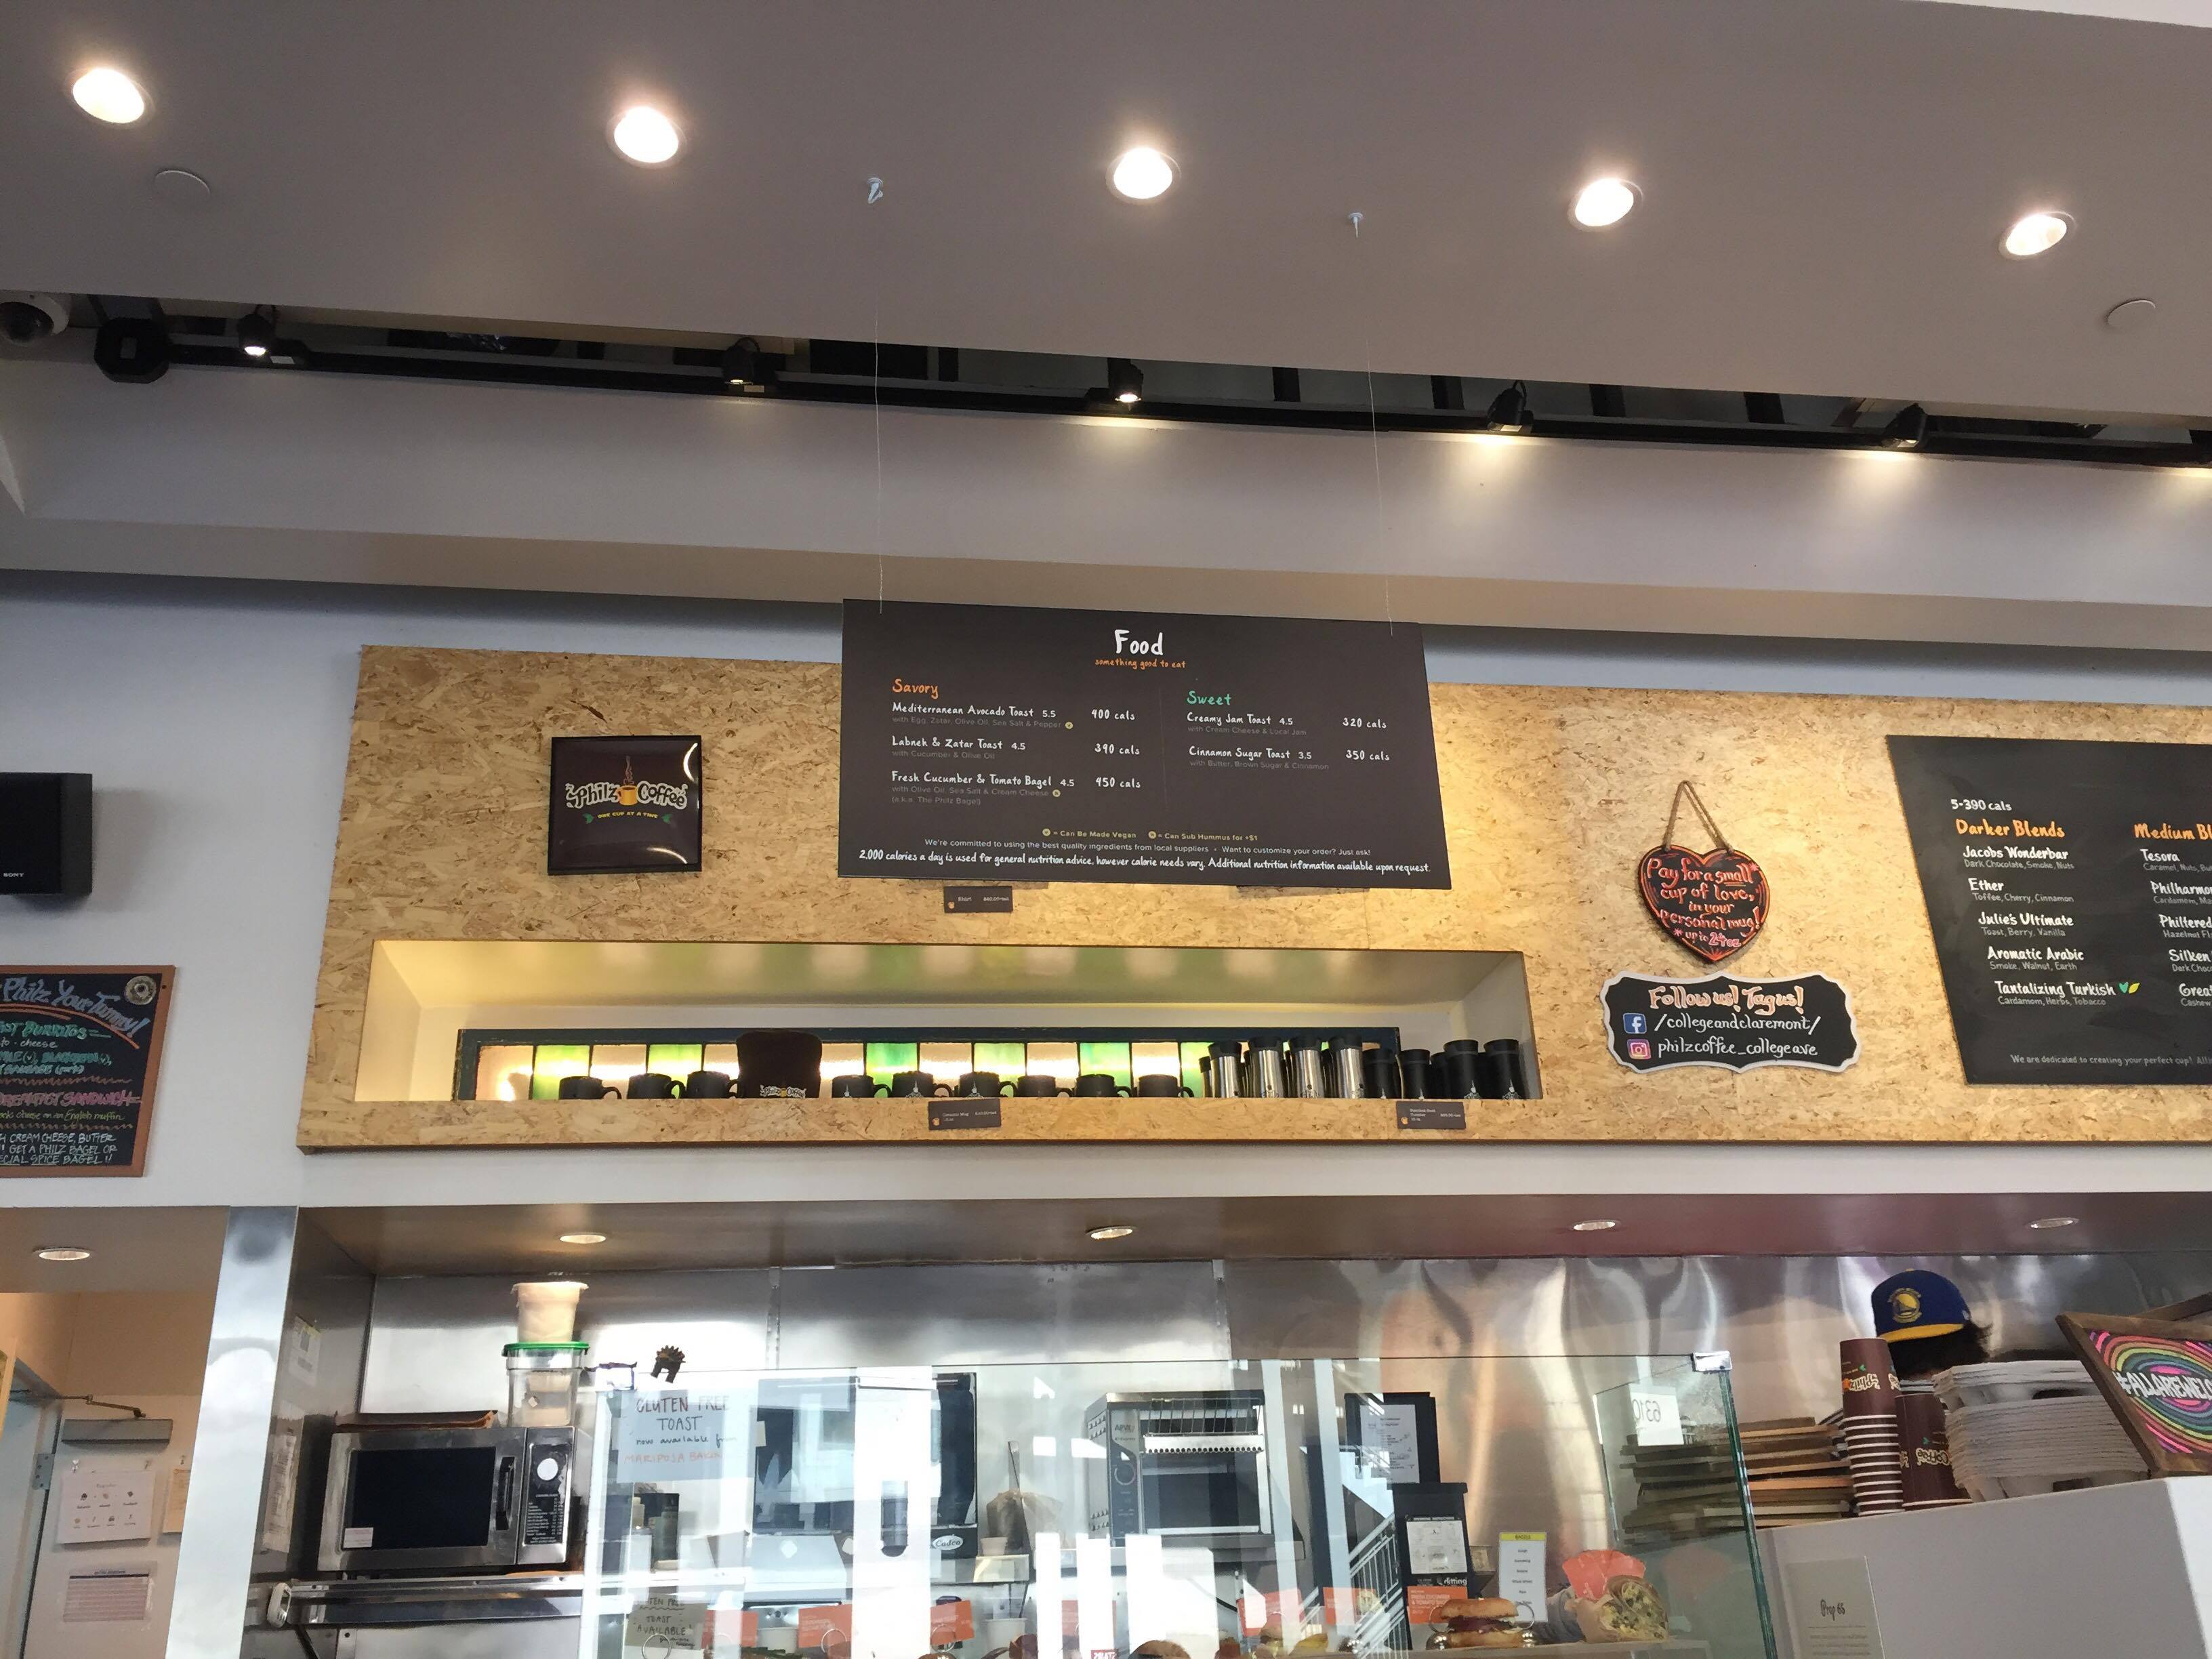
Philz Right
Summary
I learned in this project that there are a lot of cool applications for warping! I also learned what helped develop good and bad mosaics. I think my Safeway and Philz examples are not done as well because there is a lot of detail up close where as the Wheeler hall example has more detail farther away from the camera. I also think that if I were to improve upon this, I would try to select more points when building out the mosaic.