Image Warping and Mosaicing Part A
By Jason Xie
Abstract
Image warping and mosaicing involves a few key steps. 1. Take multiple perspectives of a view or location 2. Select points to get homographies between the images 3. Warp the images toward the middle perspective 4. Blend the warped images into a mosaic.
1. Take Photos
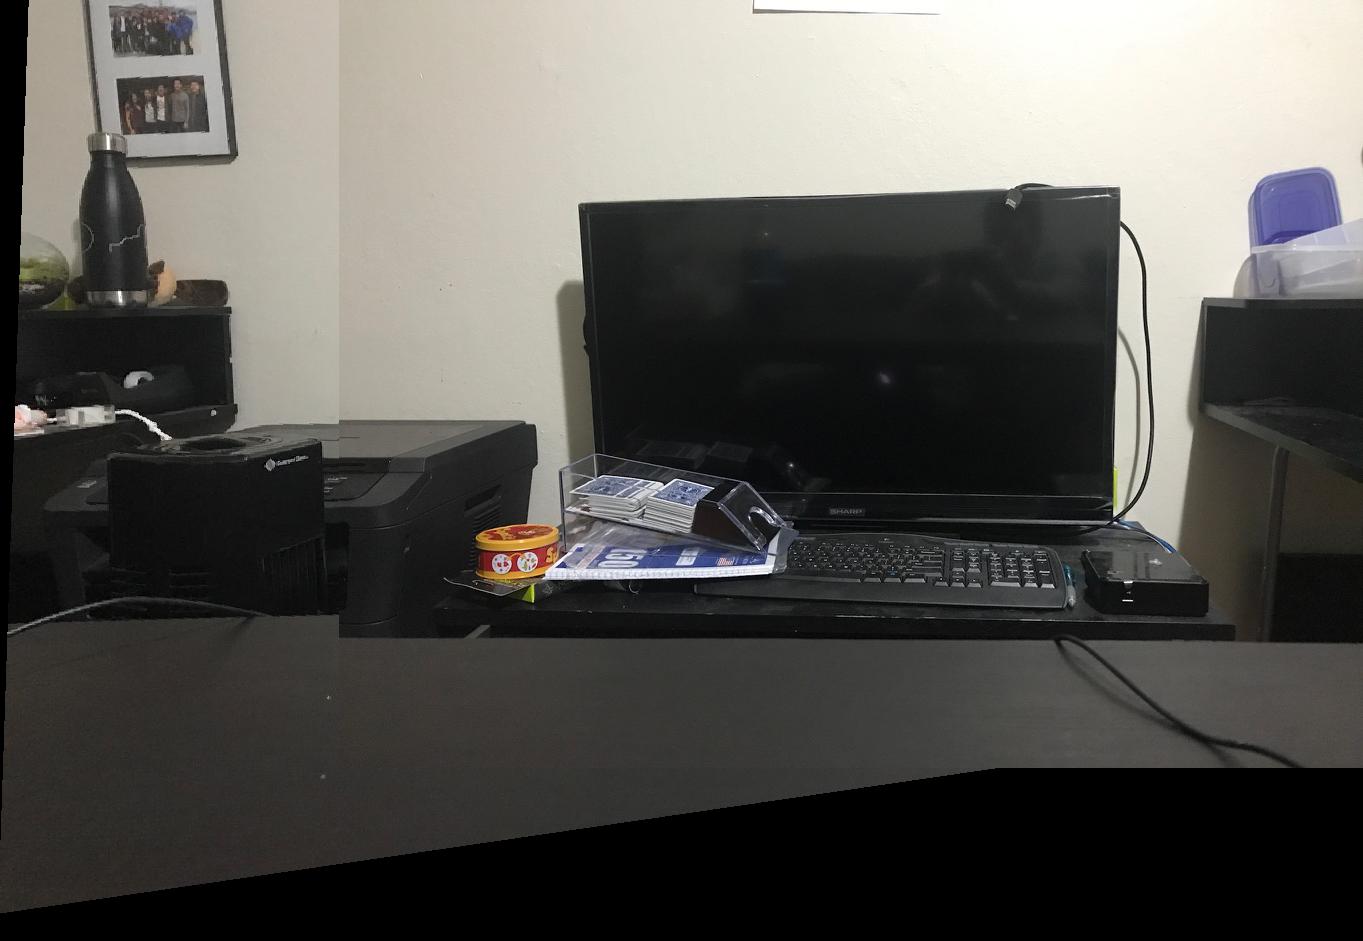
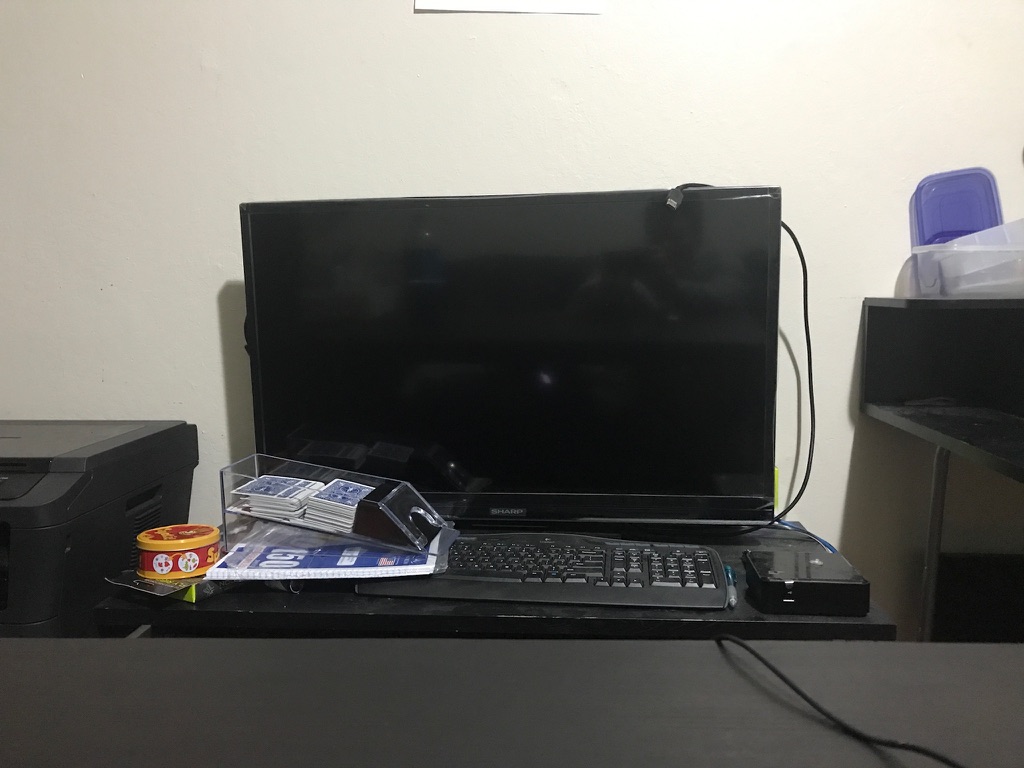
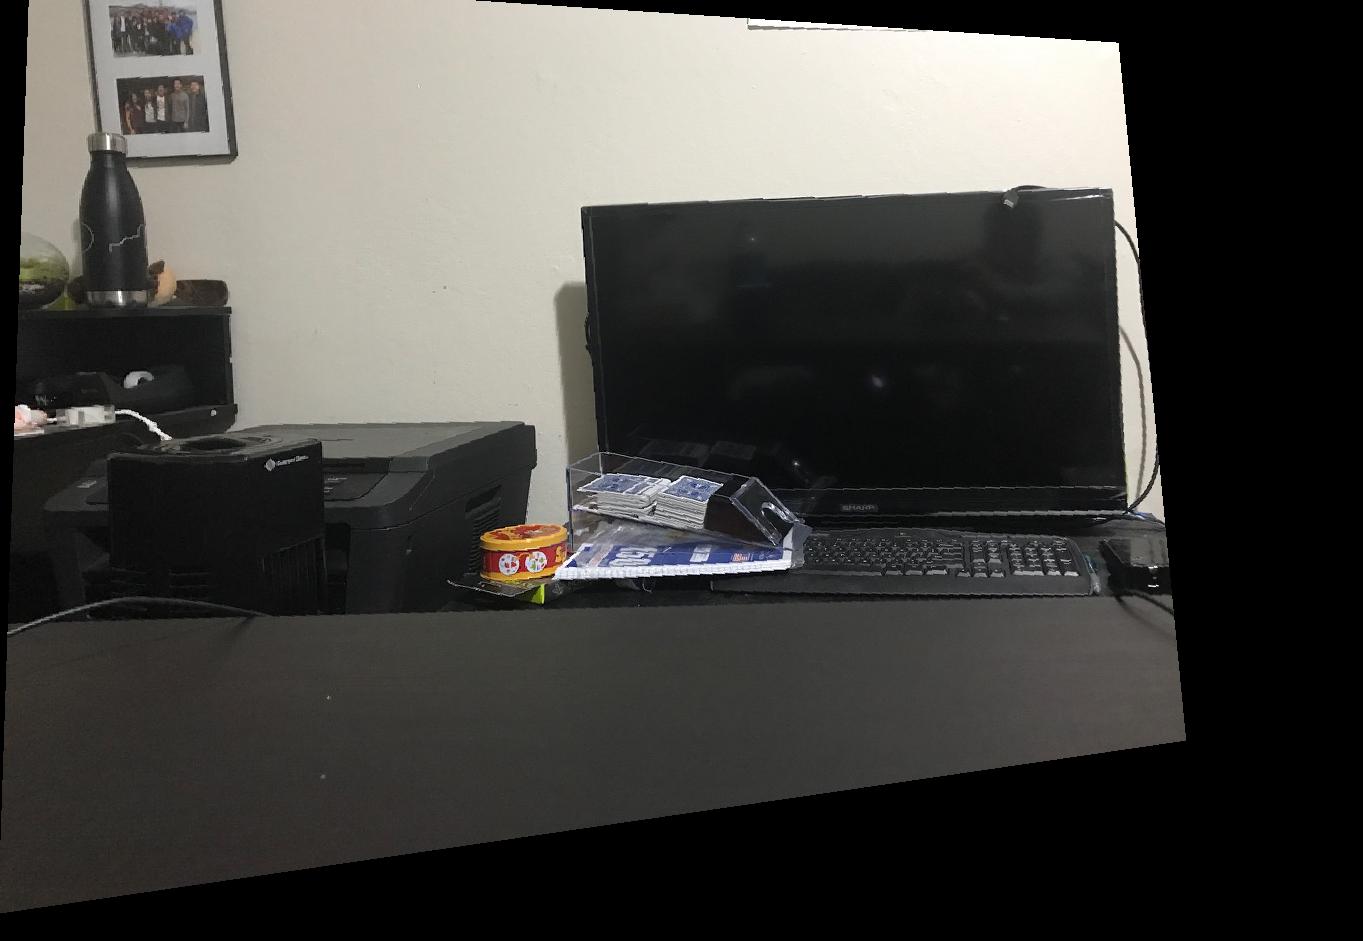
I took two photos of my living room with the TV at the center of one of the images. Here are the original images below:
Left of TV
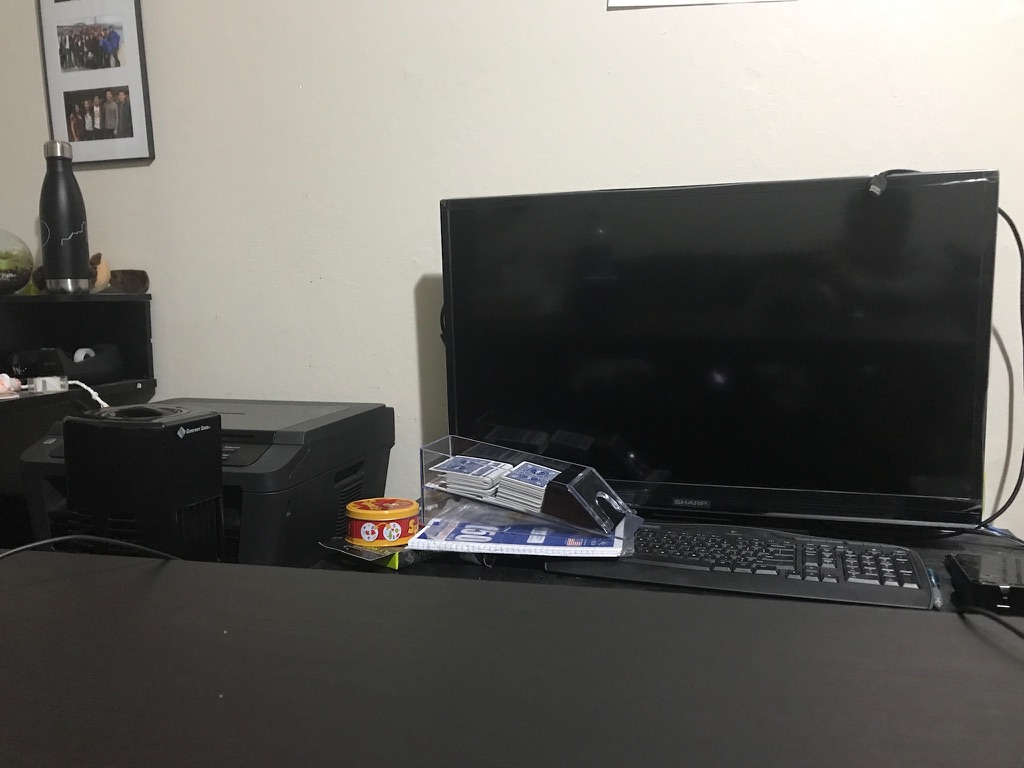
TV
2. Creating Homographies
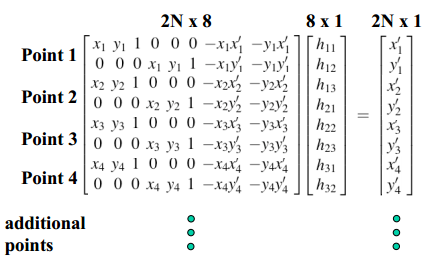
The next step of the project is select points to create a homography between the images. Intuitively what I am doing is trying to find some planar surface in the picture space between two images and solve for the matrix that relates the two. This makes the image look like I'm viewing the same space through a different angle. I used six points to set up the homography matrix and used least squares to solve it. The specific formula is given below:
Homography Matrix Calculation
3. Warping Images
Once the homography matrix is created, I first found out what the bounds for the new image should be. This was done by taking the boundaries of the image and seeing what they got projected to after multiplying by the homography matrix. Then, we can simply find pixel values for each pixel in the new image by multiplying by the inverse of the homography matrix and grabbing the original pixel values.
Original Left Image
Warped Left Image
Warping Experiments
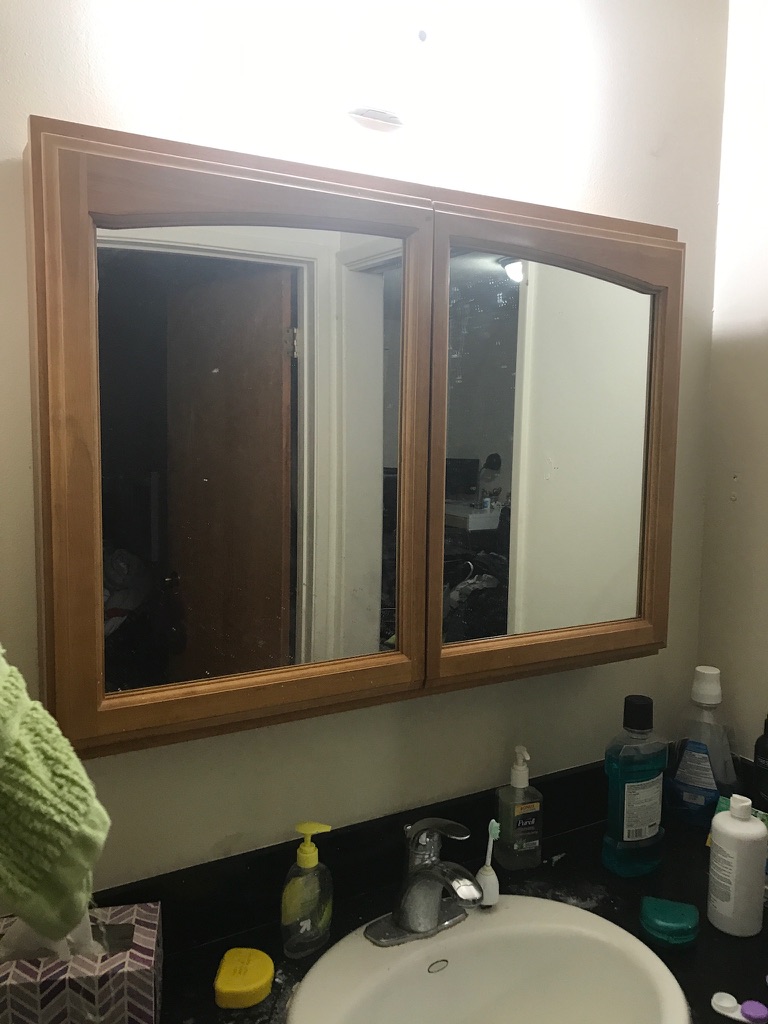
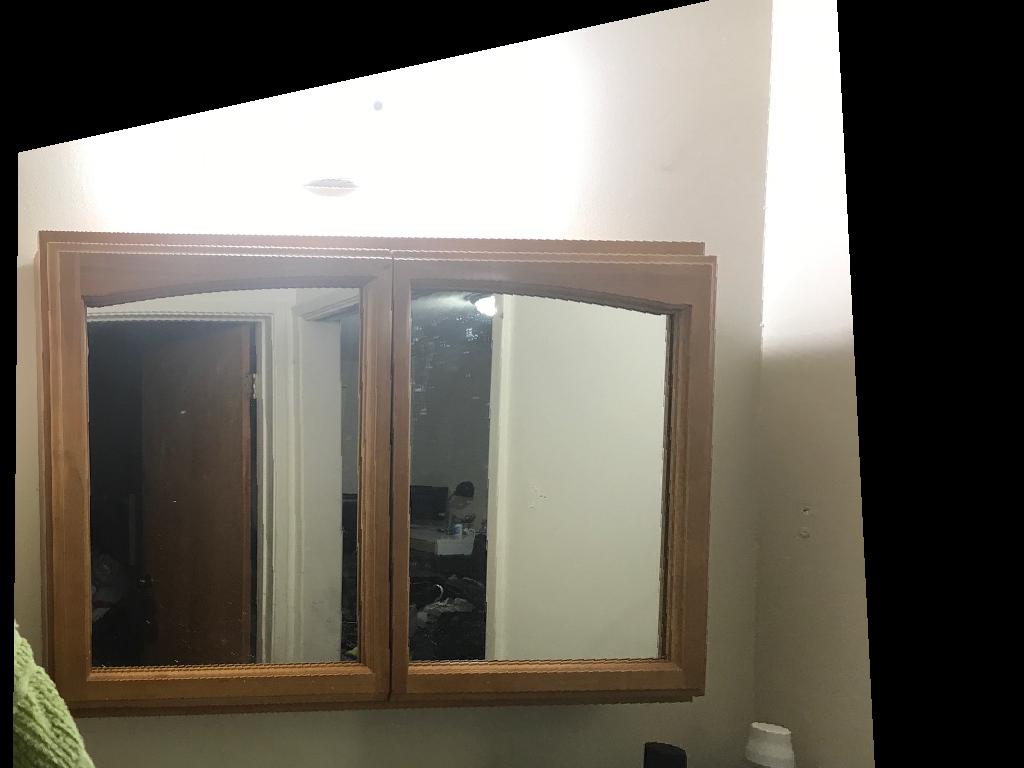
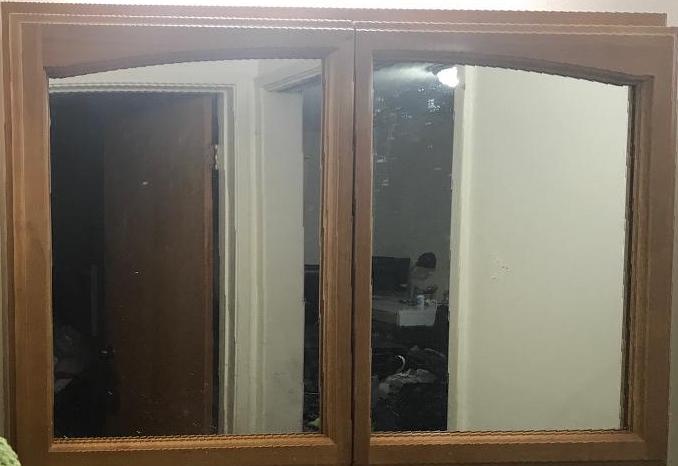
Another explanation of what this warping and homography is doing can be shown by what happens to this mirror picture when we change the homography. In this experiment, I took a picture of a mirror from the side, so that you cannot see that the camera in the mirror, and then morphed it so that it looks like the camera was directly in front of the mirror when it took the picture. This creates the "vampire-like" picture where it seems like we are looking directly at the mirror, but there is no reflection of the camera.
Original Mirror Image
Warped Mirror Image
Vampire Mirror Image
4. Composing Images
Lastly, we just have to remember the offset we used to warp the photo to and put the original image there to create the combined mosaic of the two photos.
Final Mosaic