Project 6.1: Image Warping & Mosaics
by Anaga Rajan
Homography
In this project, in order to stitch two scenes together, I had to first create a homography, H, that could map points from one image to the other. I generally chose points on a parallelogram in my source image, and mapped it to the the corresponding parallelogram in the target image. This typically created an effective transformation.
I then set up a system of equations and tried to solve for my 8 unknowns in H while also accounting for my scaling factor w, in terms of point values I already knew.
Rectification
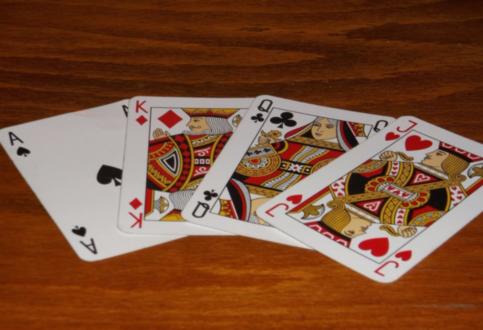
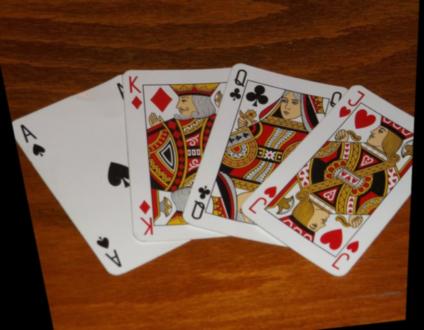
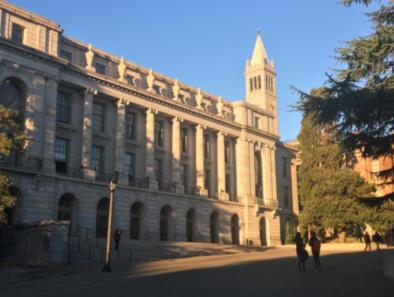
In order to test whether my homography transformation was function correctly, I found some images with skewed perspectives and tried to turn the image so that it is front facing.
My first example shows a hand of cards that is on a table, but rectifies it so that it is "flipped up". The second image is of doe library that is taken from the left side, but rectifies it so that it is as if the perspective is right in front of the library
.jpg)
.jpg)
Mosaics
Using the warp functions that I used for rectification, I chose 2-3 images and transformed one into the shape of the other. I then used weighted blending to reduce the intensity of the seams. For every stitching i set one image as left and the other as right. I increased the pixel intensity of the left image from 1 to 0, linearly from left to right across the blended image. I then added this with the gradient in the opposite direction of the right image.
This blending was not perfect, but it still reduced the intensity of the seams. Moreover, my mobile camera automatically adjusting the lighting of the images I took, even if they were only a few seconds apart, therefore causing some discrepancies in colors that couldn't completely be corrected for with my weighted blending
.jpg)
.jpg)
.jpg)
.jpg)
.jpg)
.jpg)
.jpg)
.jpg)
.jpg)
Summary
This project was cool because with as few as 4 points, I was able to change the perspective of a photo. Moreover, with relatively little manual effort I was able to stitch together multiple images and create a panoramic view. One of the images I took (the second mosaic), was from my recent vacation to London. The room I was in was very beautiful and I had wished I had a panoramic feature while I was there, but I was now able to stitch together two close-by images I took to create a panoramic myself.