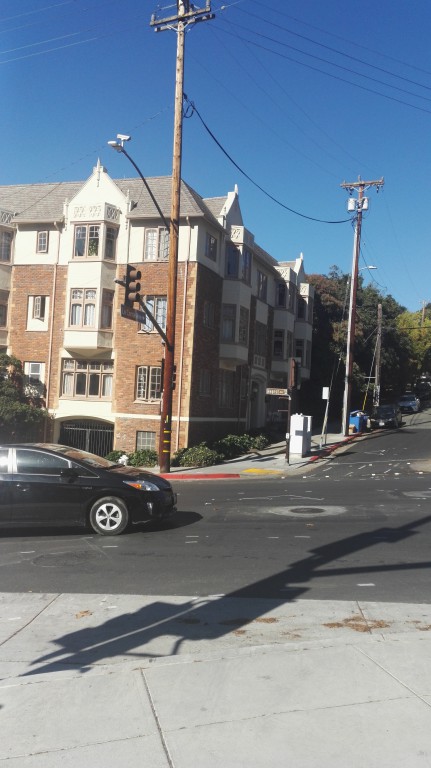
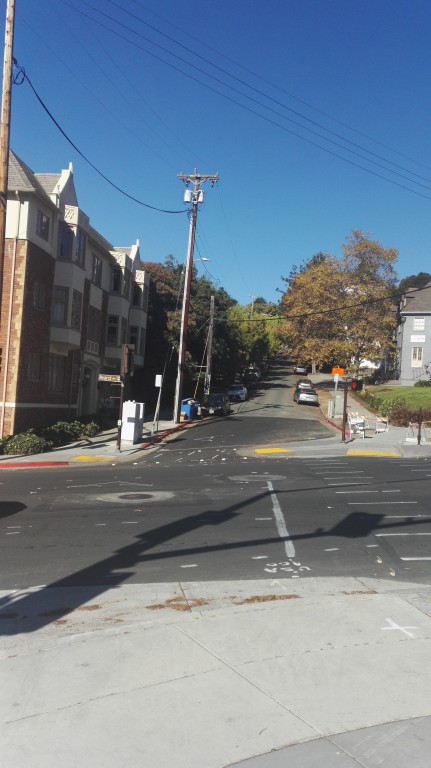
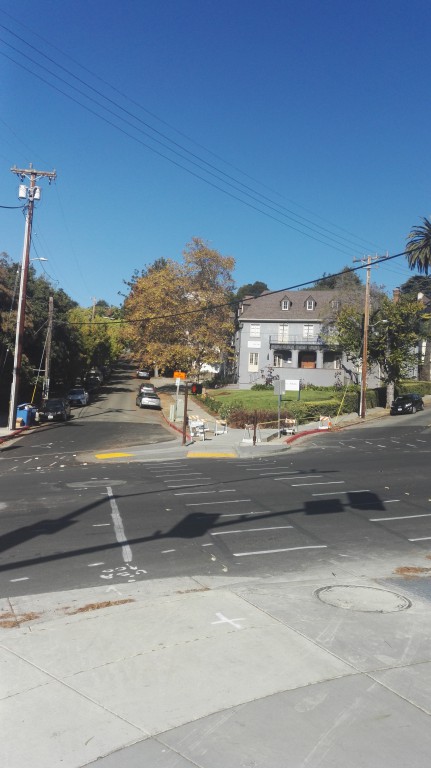
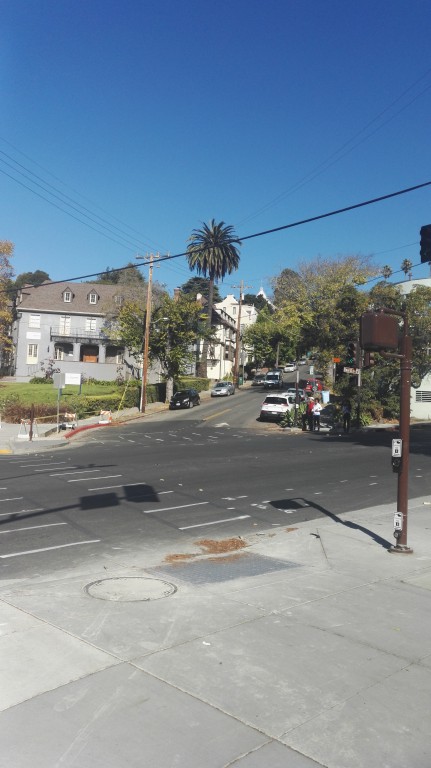
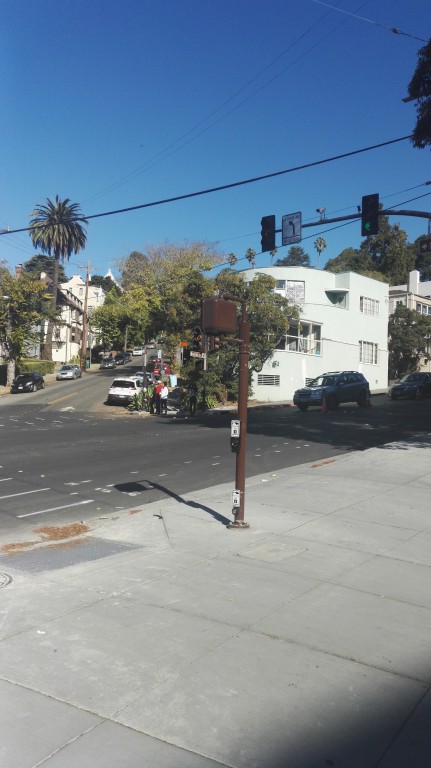
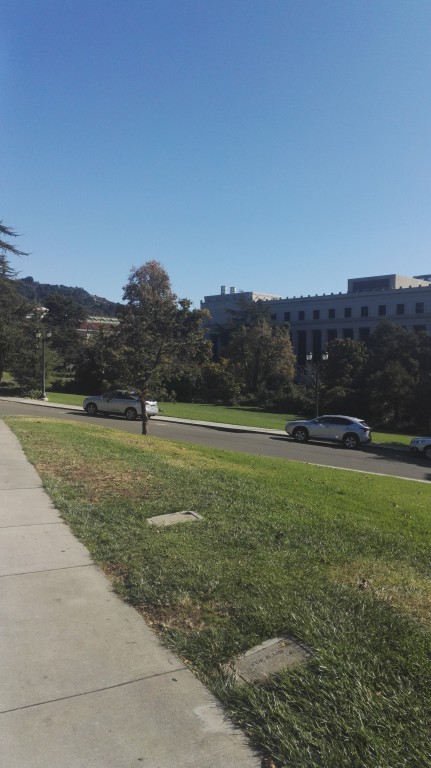
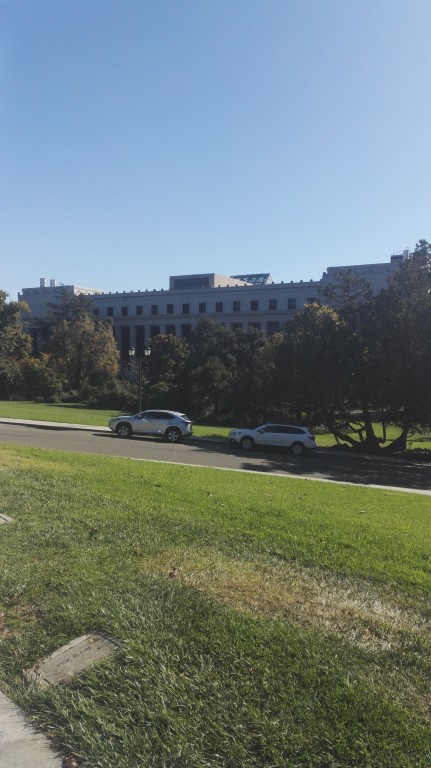
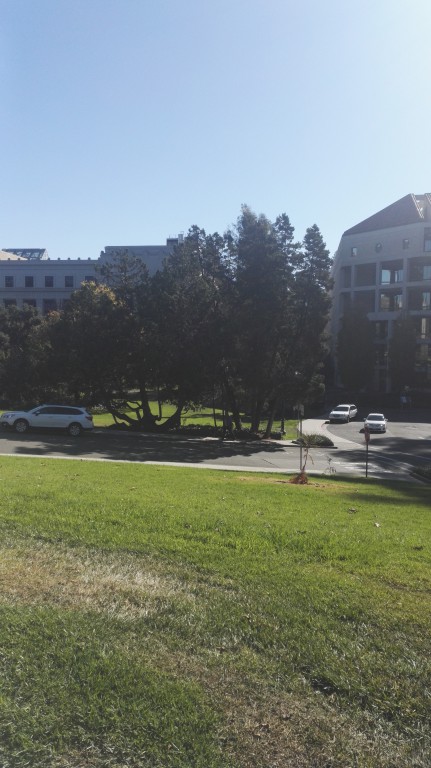
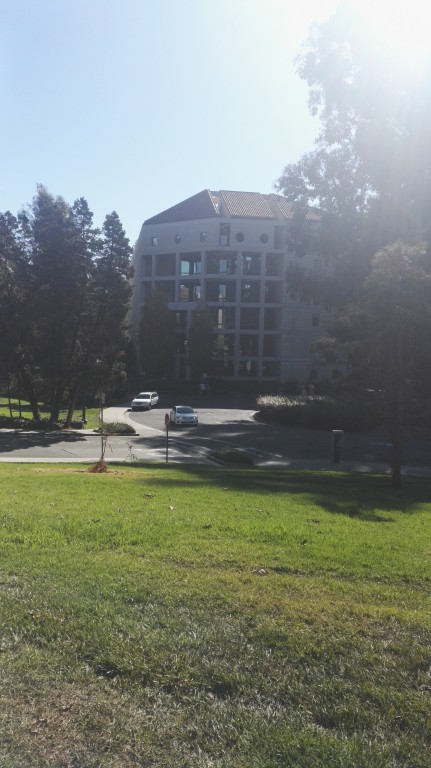
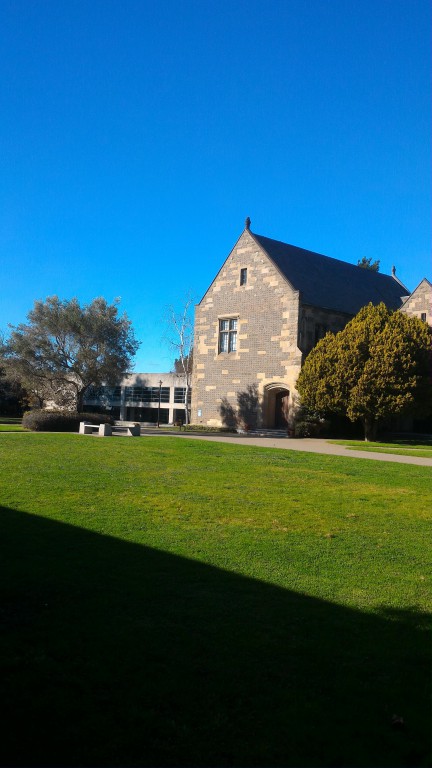
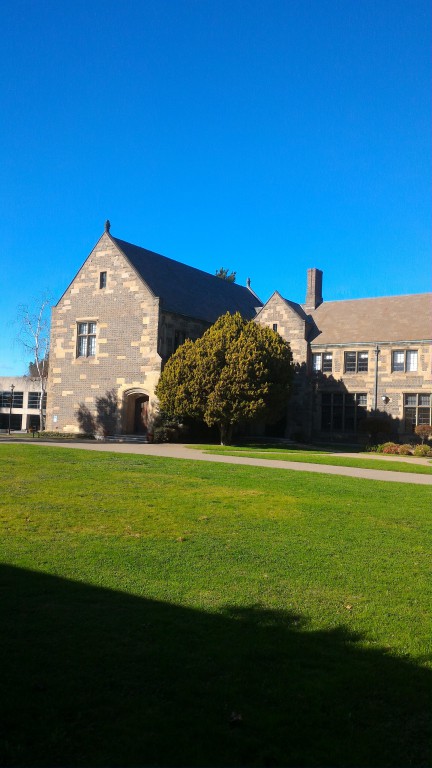
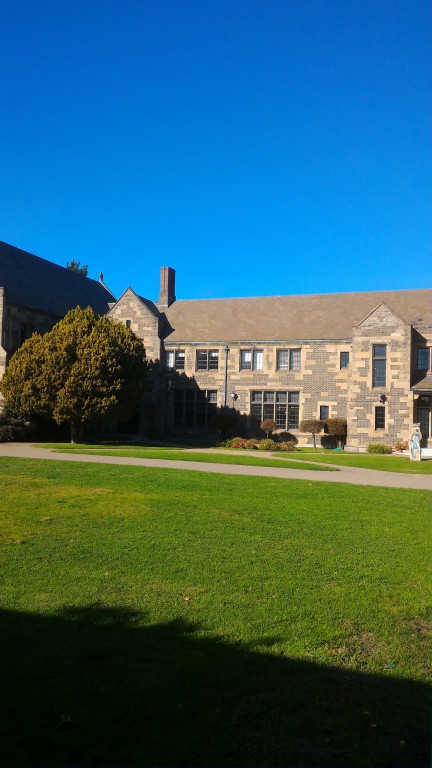
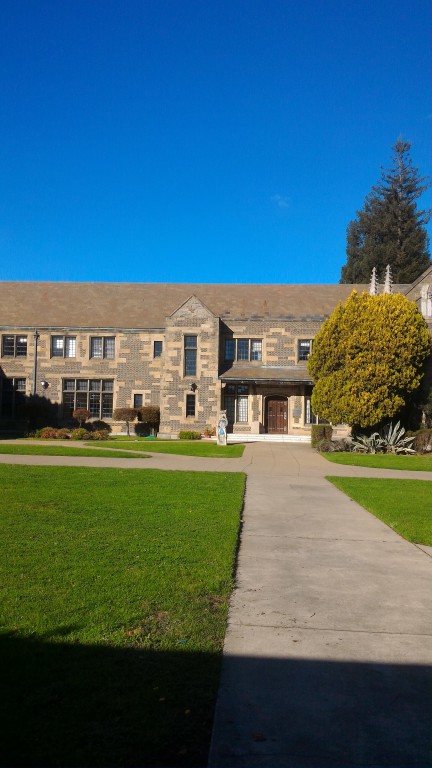
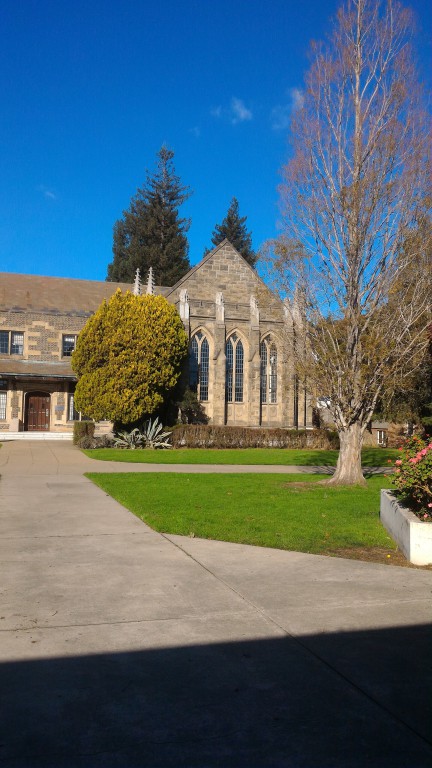
Photos
Photos are taken by phone. For mosaics, five photos with different perpectives were taken, but the camera stayed at the same position so that the mosaic can be worked out in simple homograhpies.
|
|
|
|
|
|
|
|
|

|
|
|
|
|
|
Recovering homographies
Instead of complicated physical calculation, since we know the images are approximately under projective transformation (camera position unchanged). We only have to find th unknown projective transformation with 8 dof. This can be done by choosing corresponding features points (at least 4 to solve the eqn) between images and solving by least squares. The more informative calculation is as follows. Note the equation above is the projective transformation, and the bottom equation is the least square formulation.
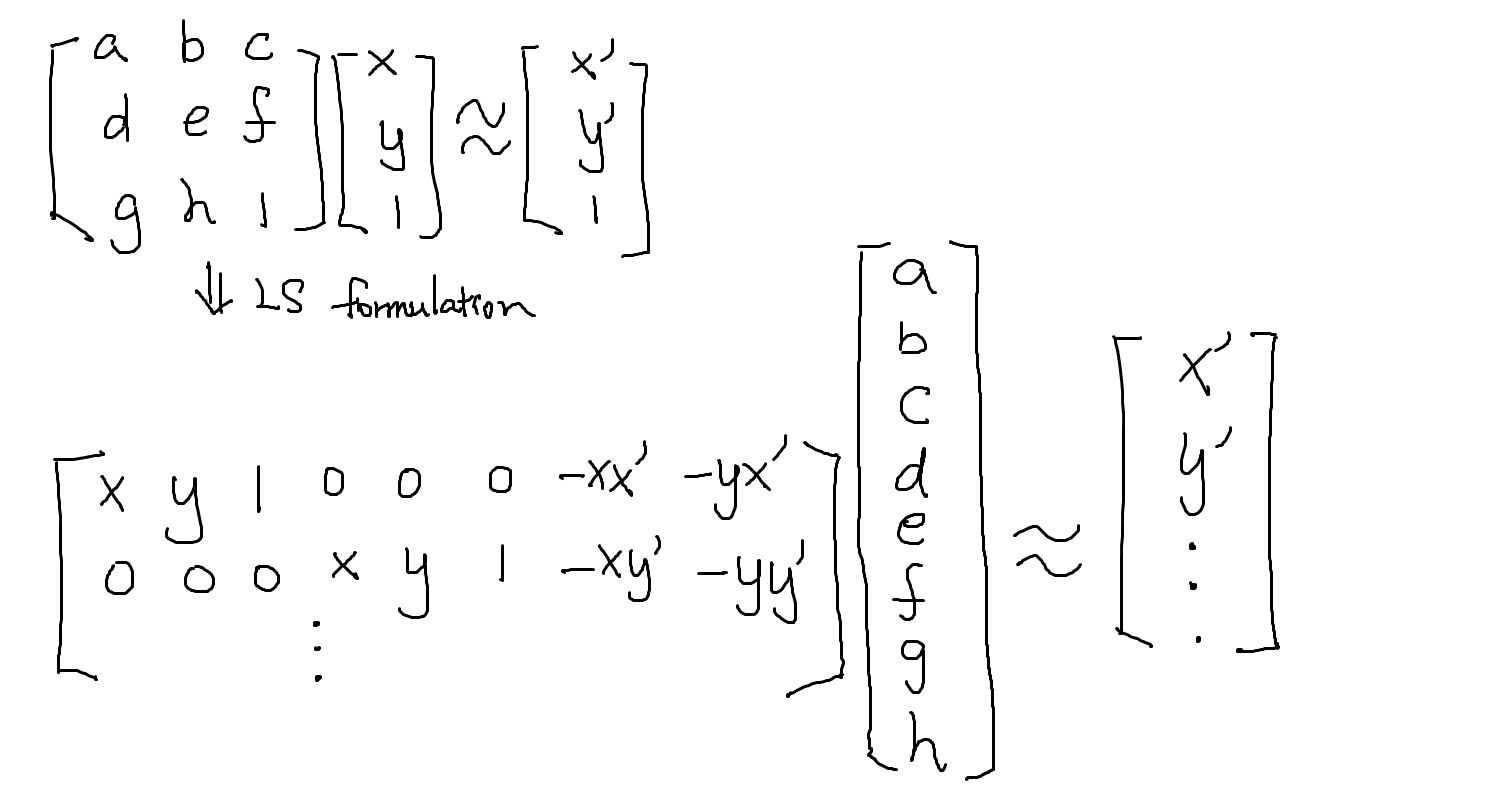
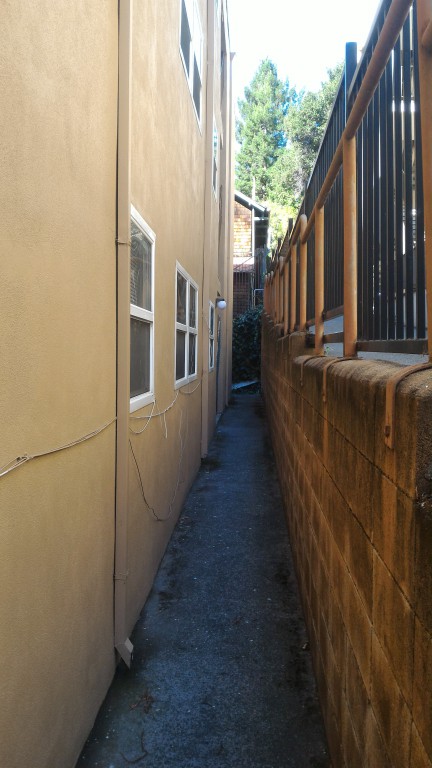
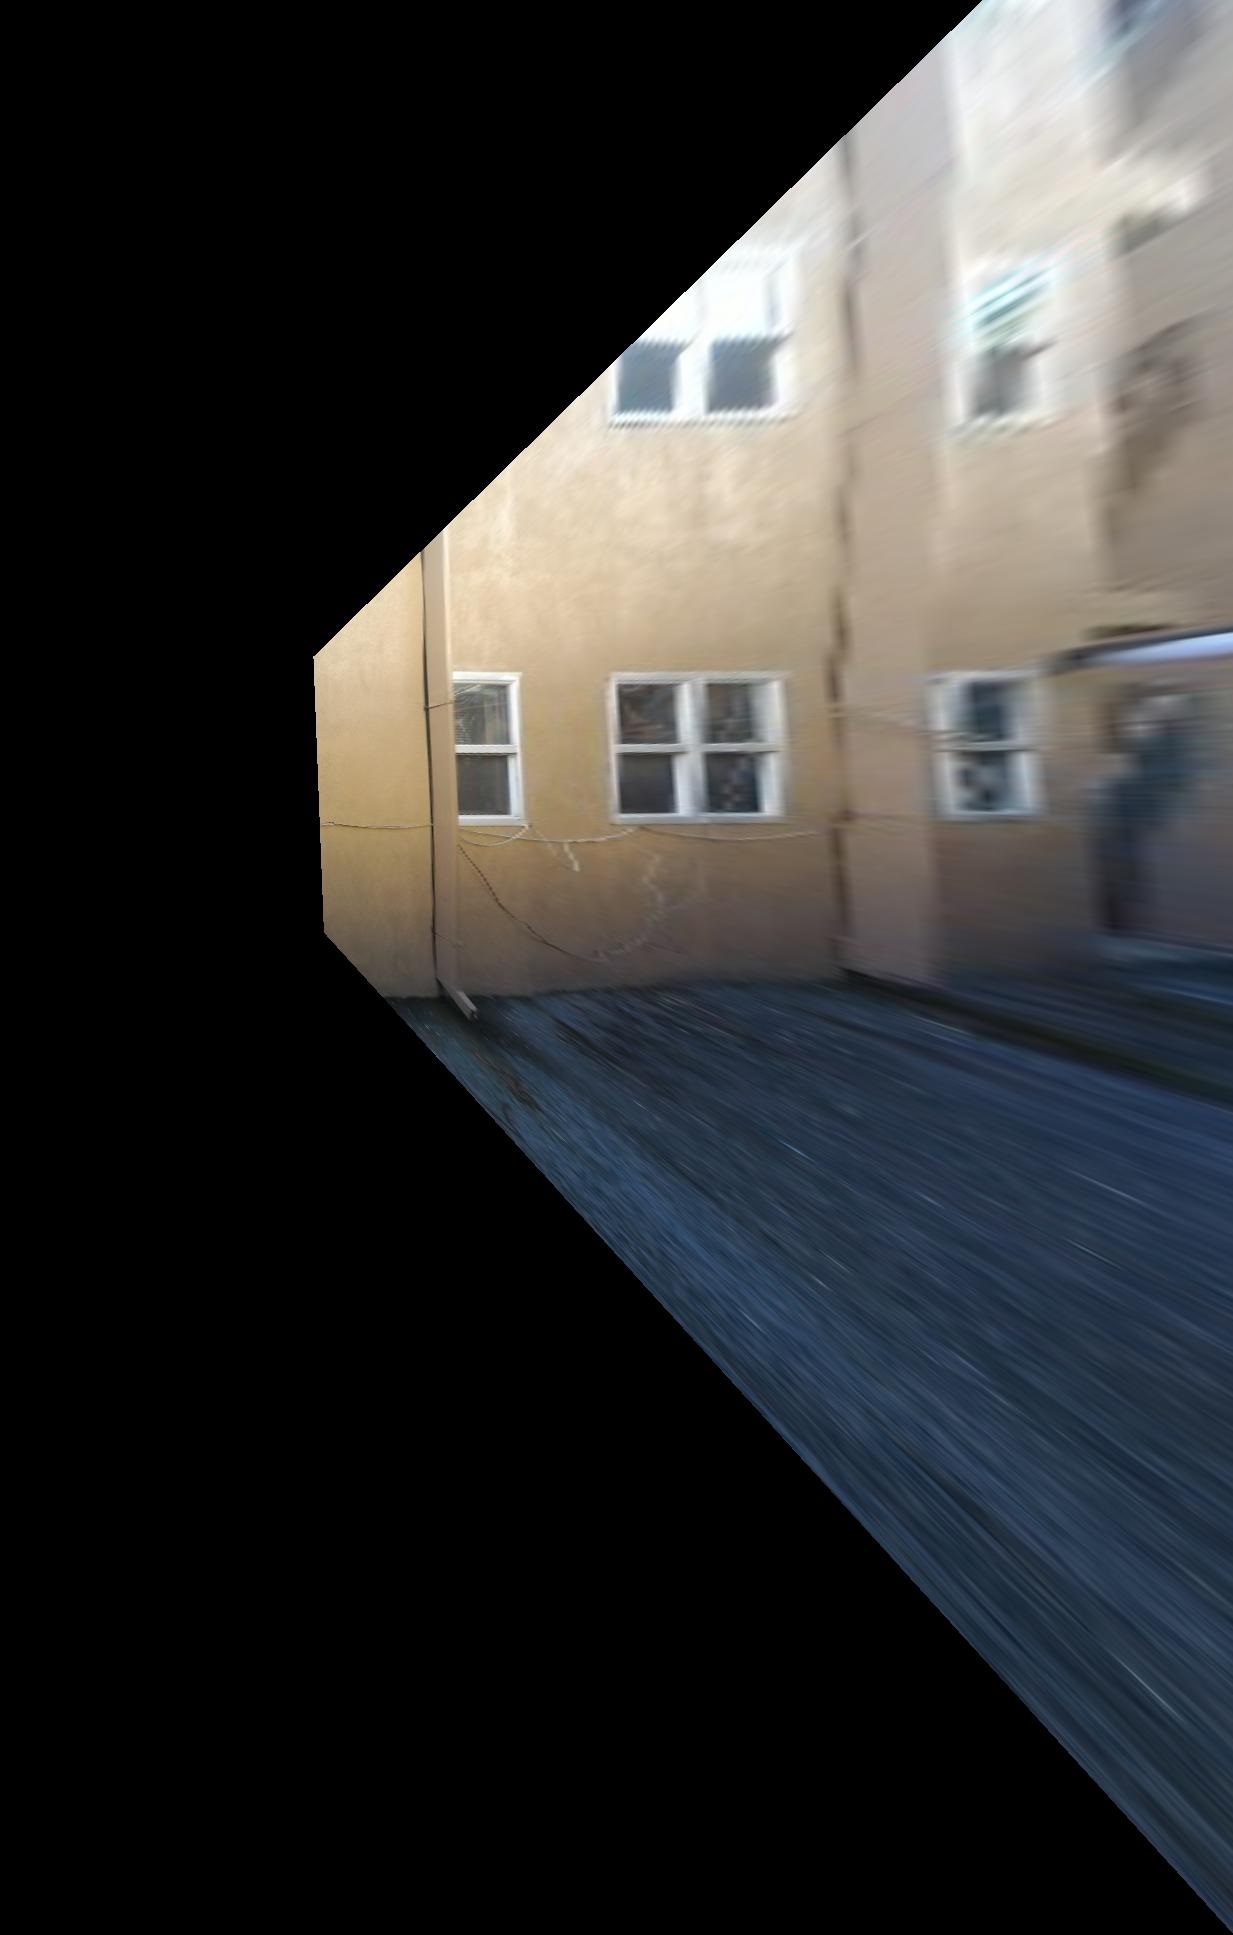
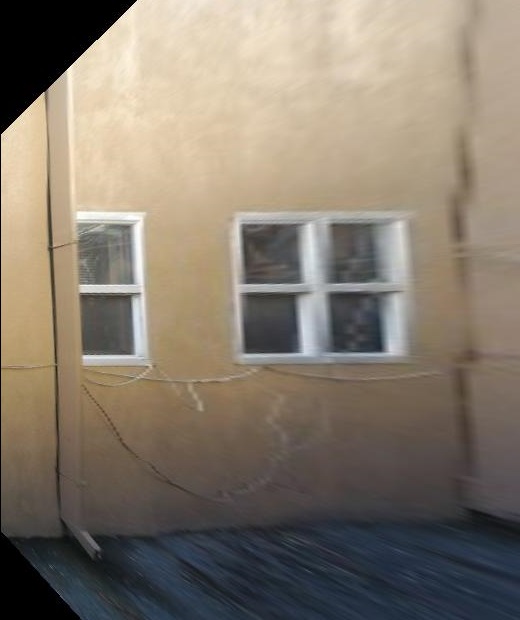
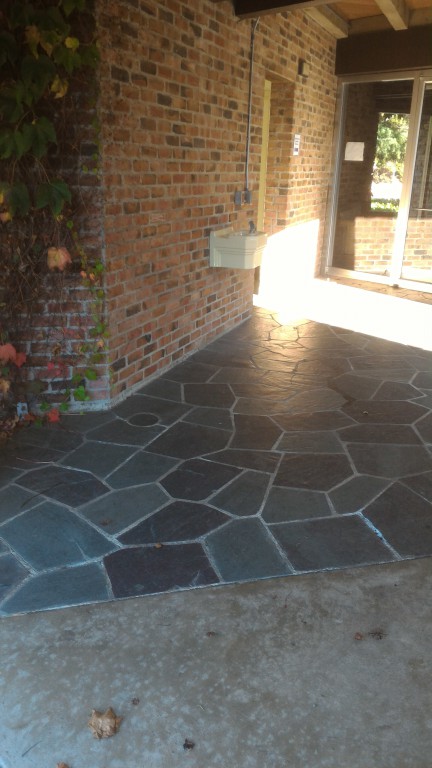
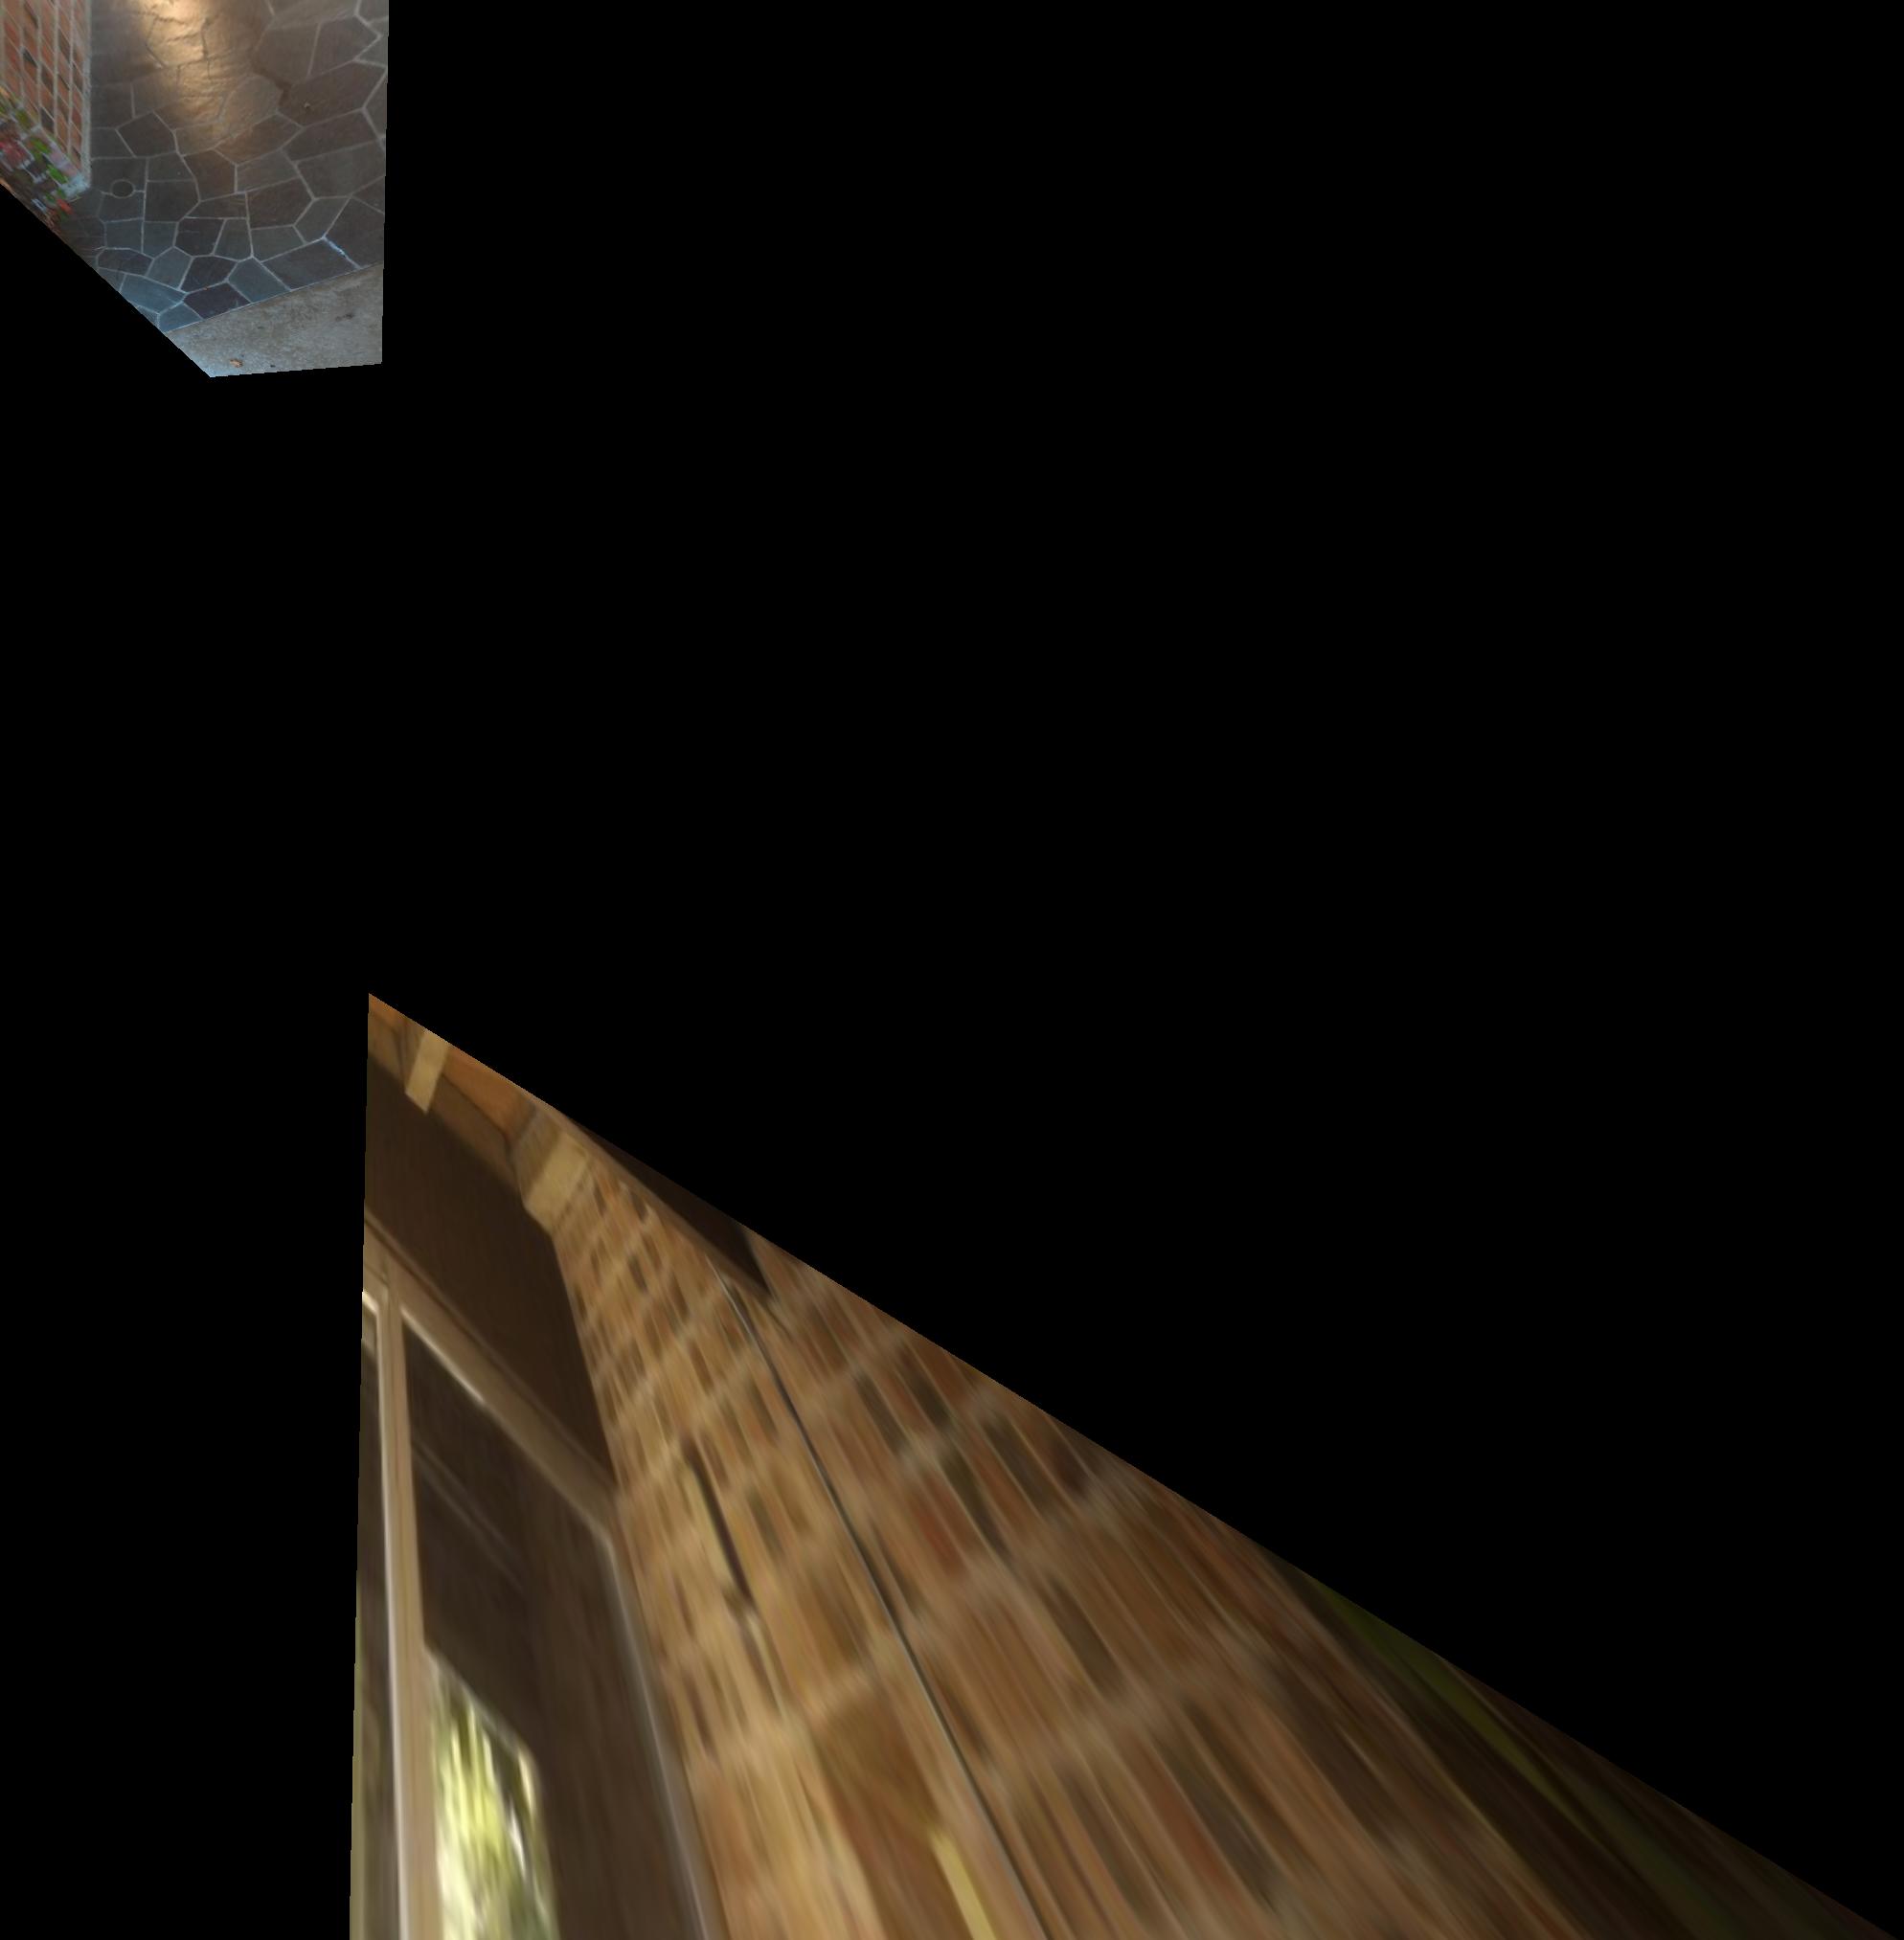
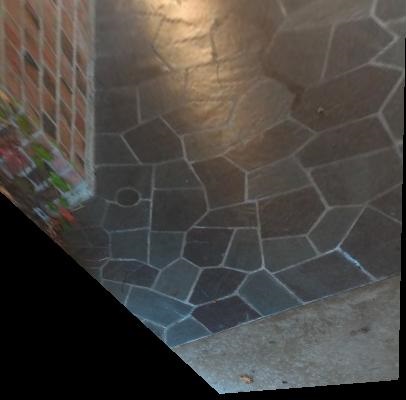
Image rectification
To rectify an image, a specific planar object is warped into a frontal-parallel plane. For the first example, a window is rectified, and in the second example the stone floor is rectified. Note that since the projective transforms creates a huge change to the perspective, the scenes outside of the selected object will be distorted badly, so the cropped version is provided. We can see that the selected objects were pretty well transformed into a frontal-parallel plane.
|
|
|
|
|
|
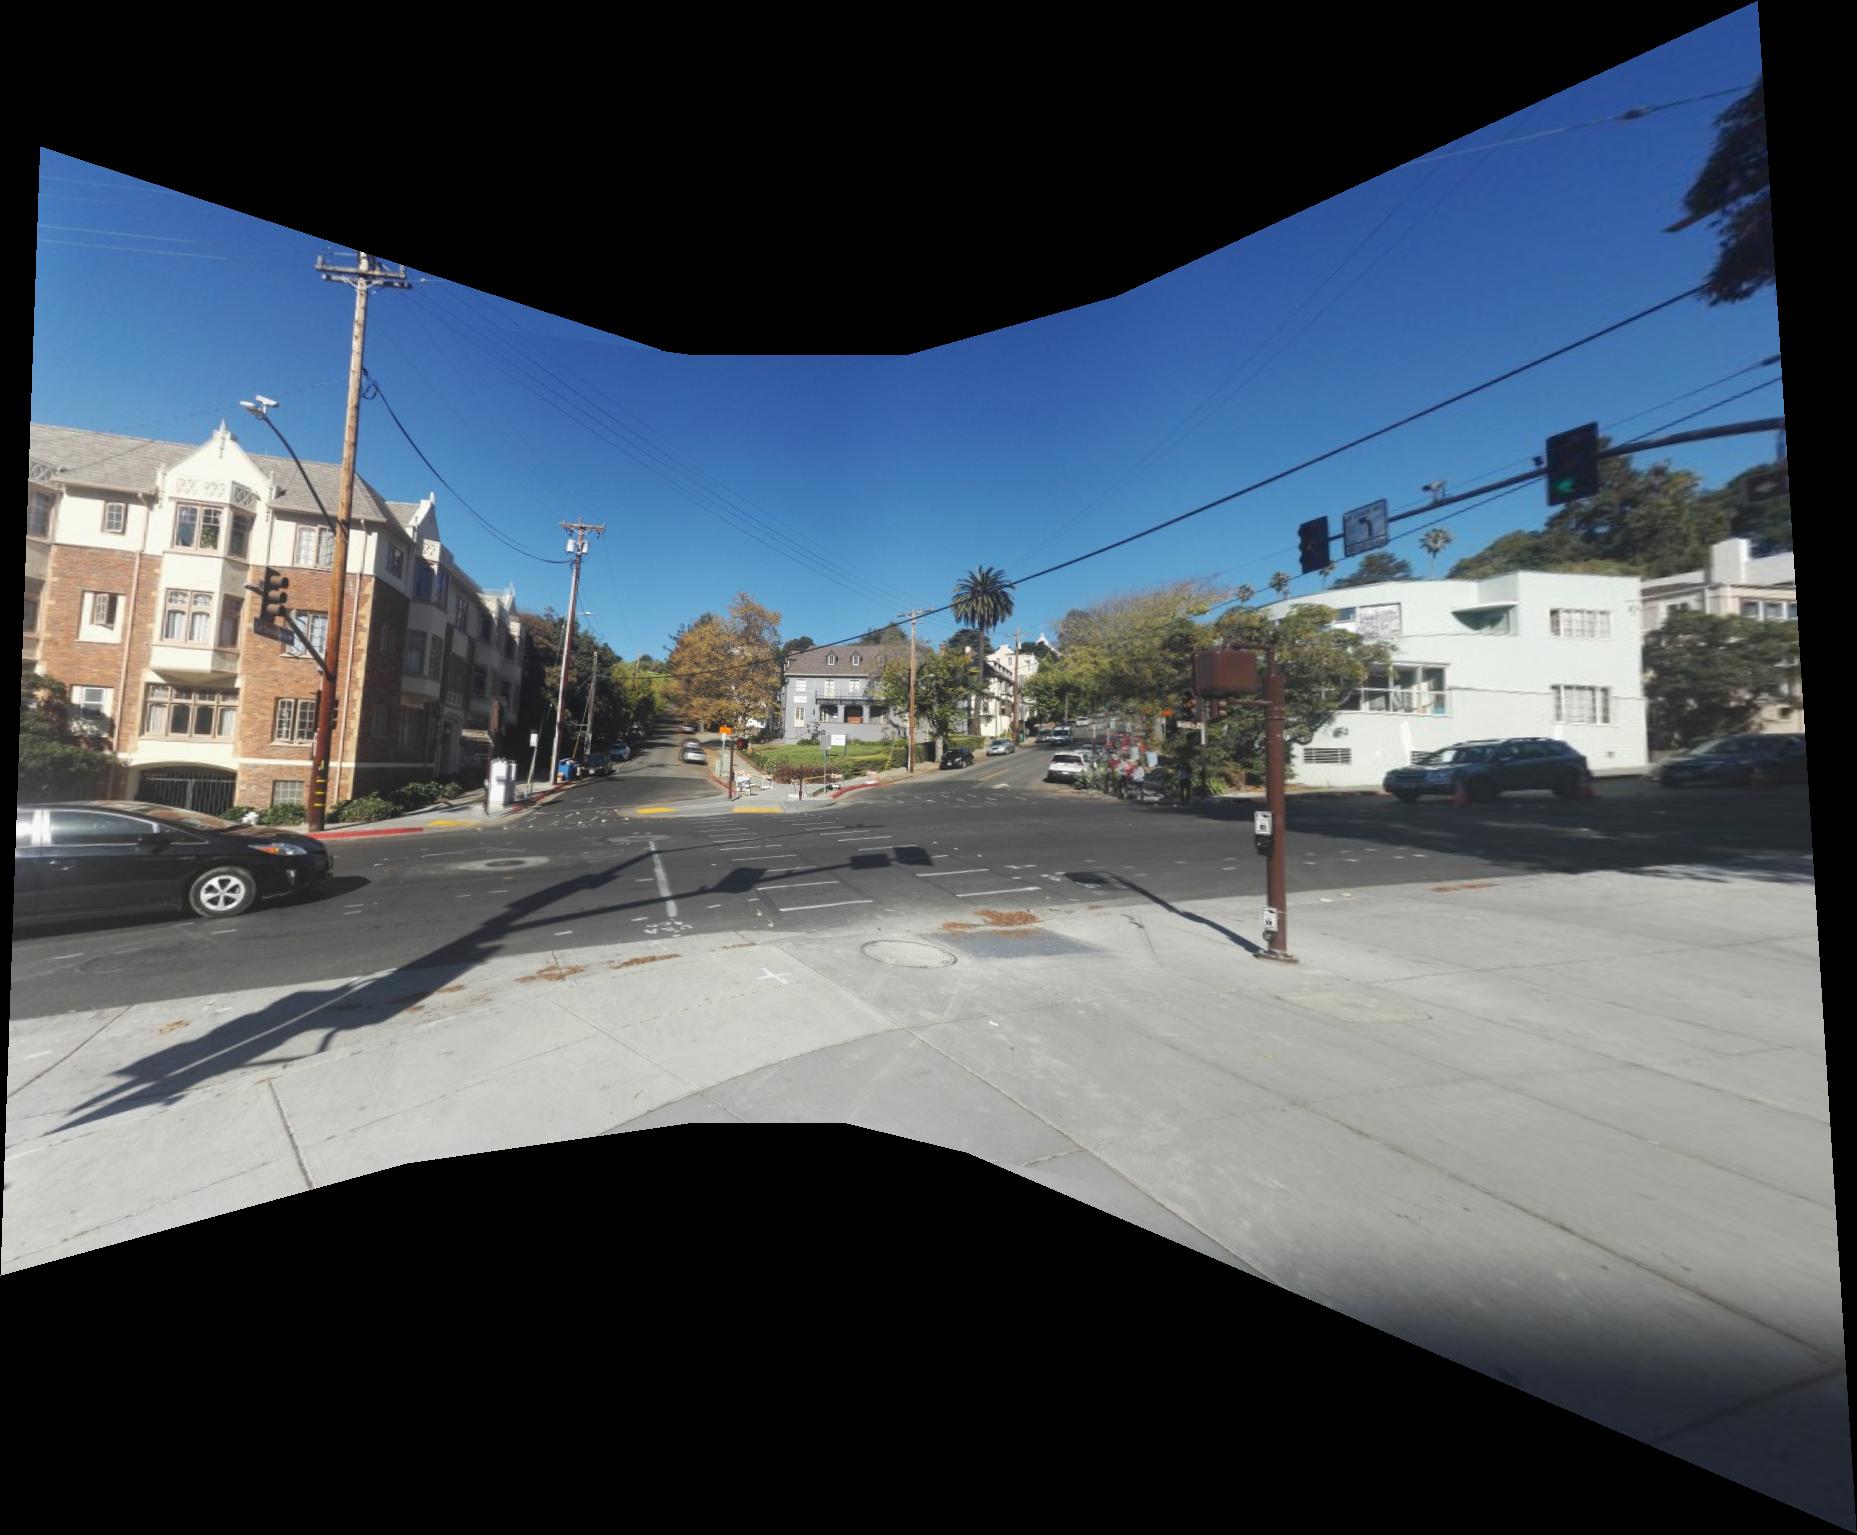
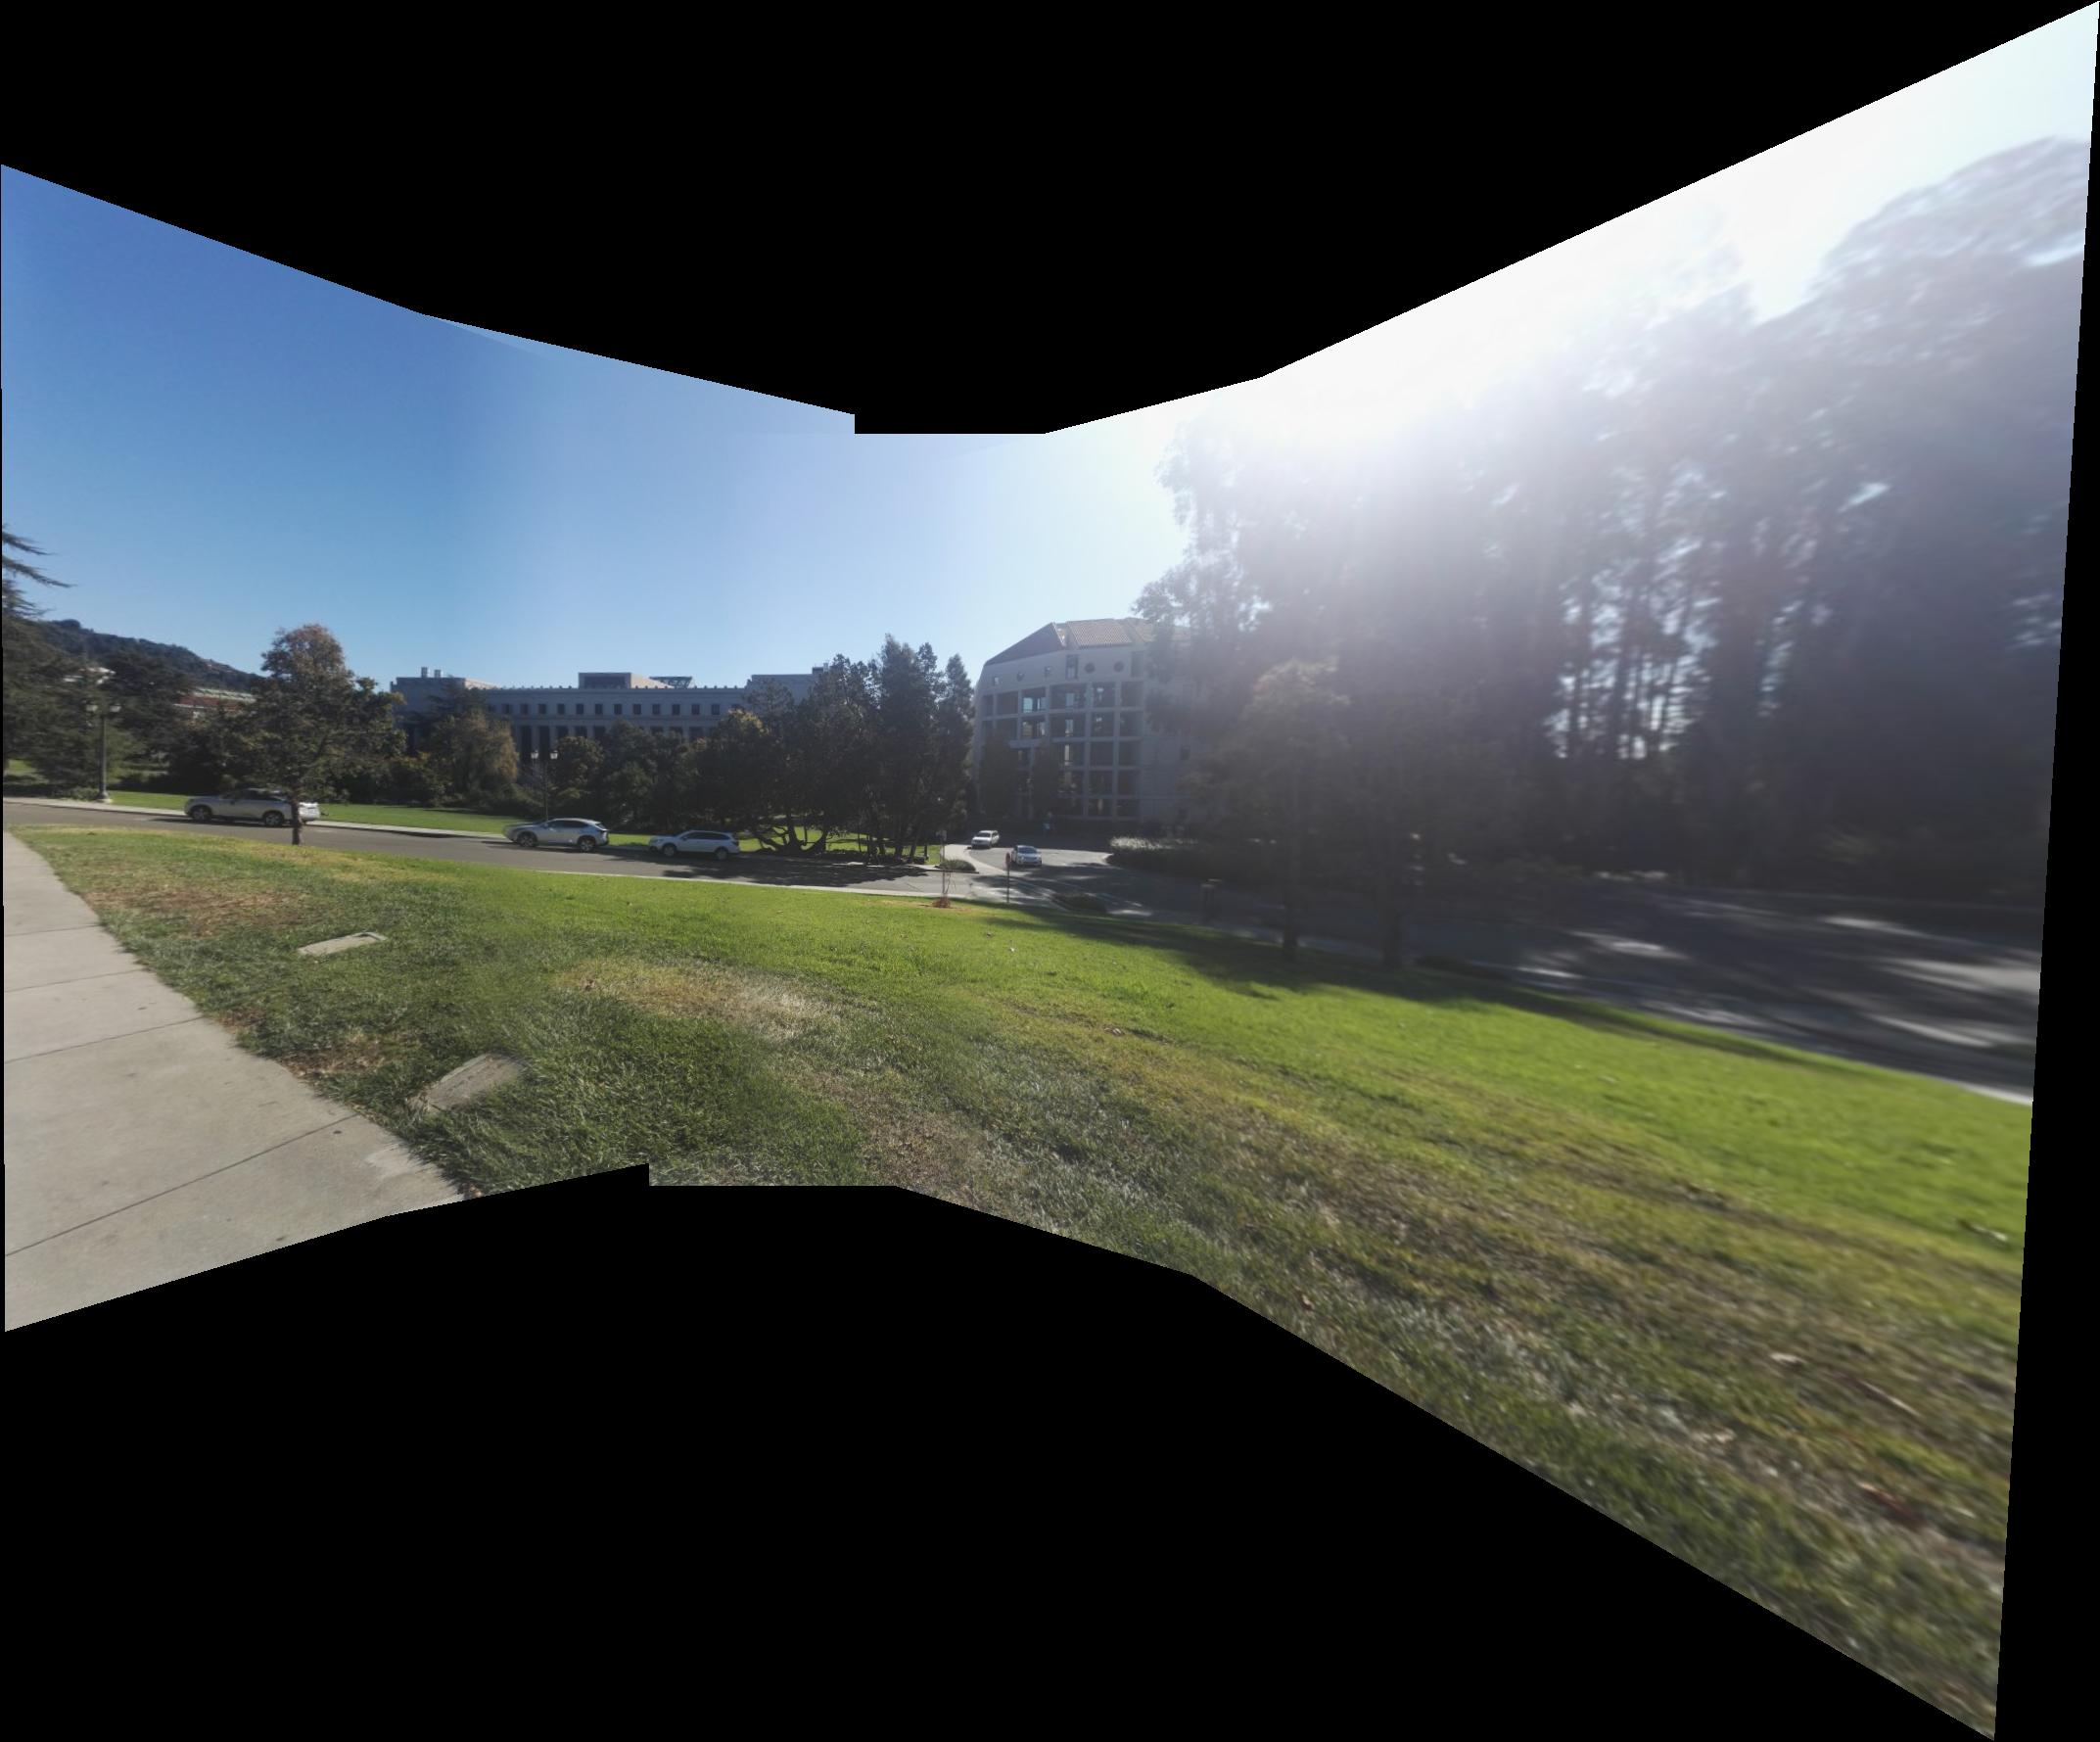
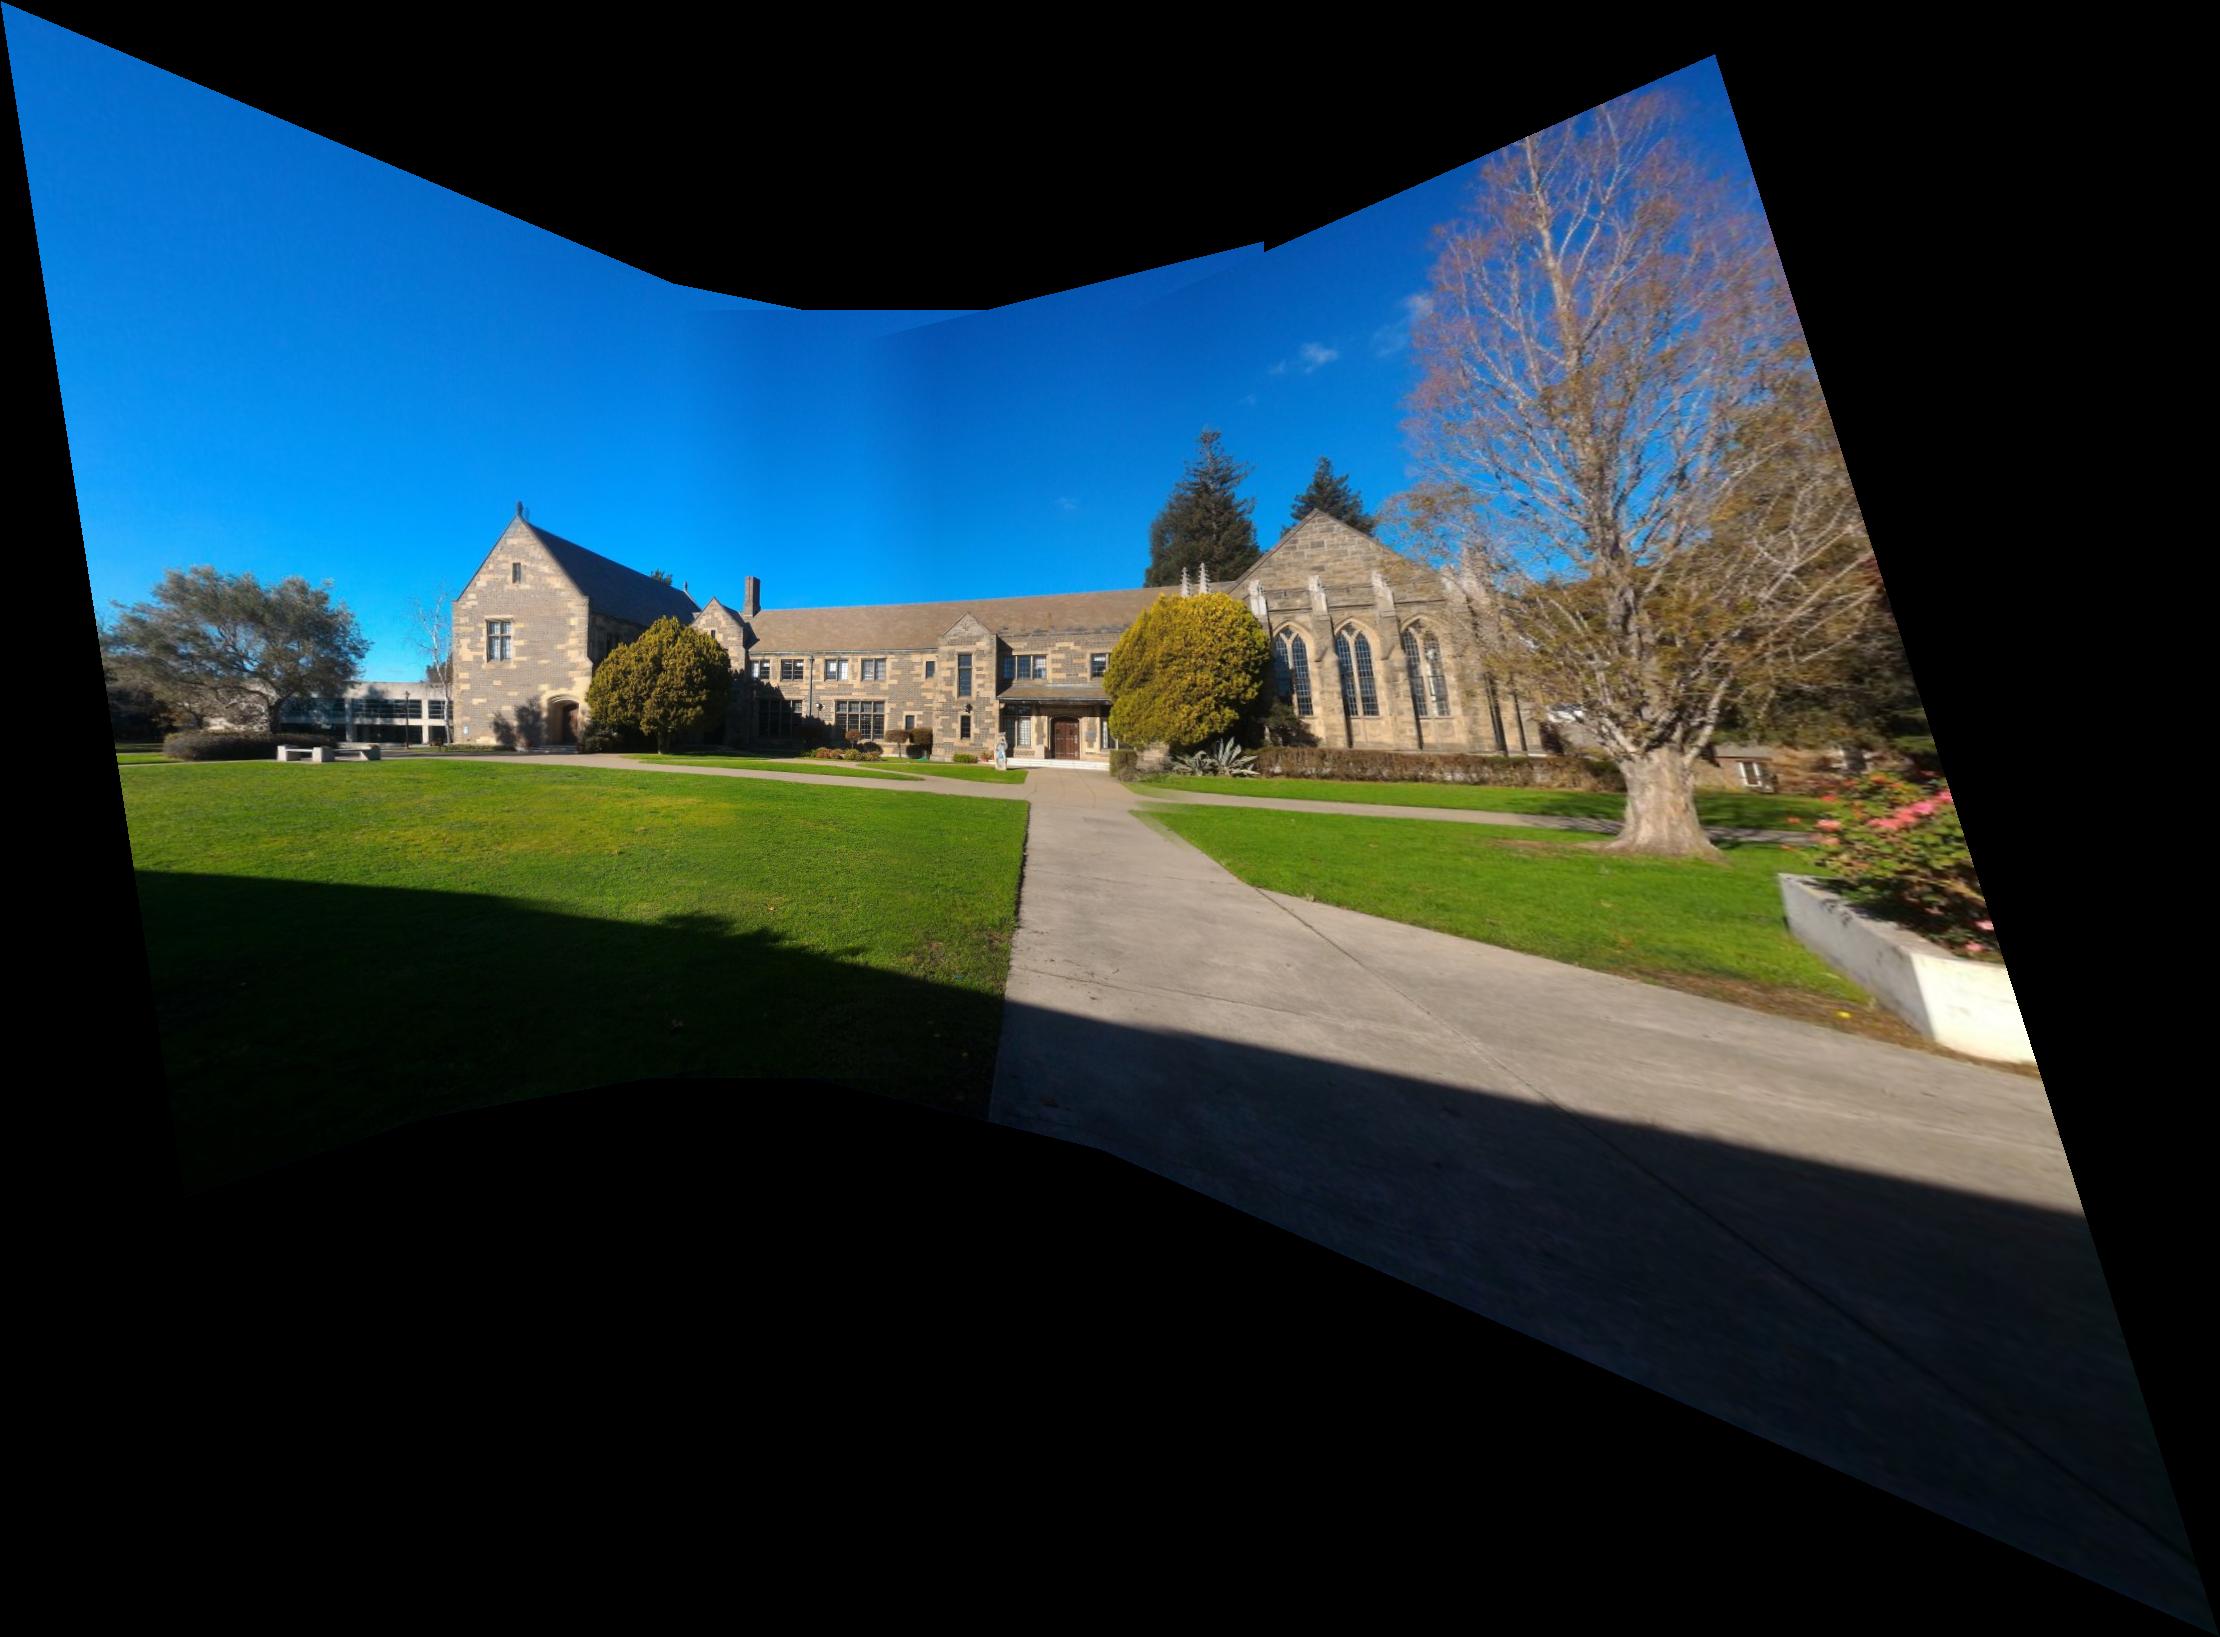
Mosaics
To generate a mosaic, all the images are projective transformed to the same perspective of the third image then warped. The transformation recovery method is identical to image rectifications. To warp images, a background is first generated by finding the boundaries of each projective transforms, and then each images are warped onto the background. Note to prevent artifacts, linear blending is used for each images, where the middle third of the overlap between images is linearly blended in horizontal directions. Masks were used to make sure any region that was not overlapped was not taken into the blending process, which prevented ghosting at the overlap boundaries. Below are the results. Although there are some artifacts if looked closely, but in general it worked pretty good.
Things learned
It turns out to be more complicated to do linear blending with irregular boundaries than I originally thought, and it took me for a while to figure it out. It definitely feels great to get the final thing look good, and it is impressive that given the constrait to fix the cameras position, we can make such intersting mosaics with simple linear transformations. Also, the image rectifications looked pretty cool. For the window one, it was pretty impressive to actually see stairs at the right of the rectified image.