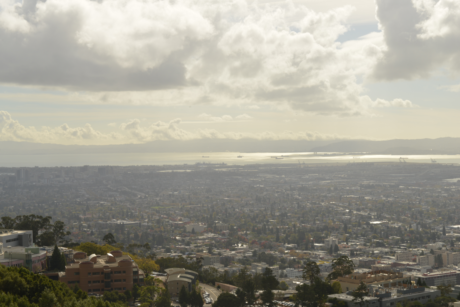
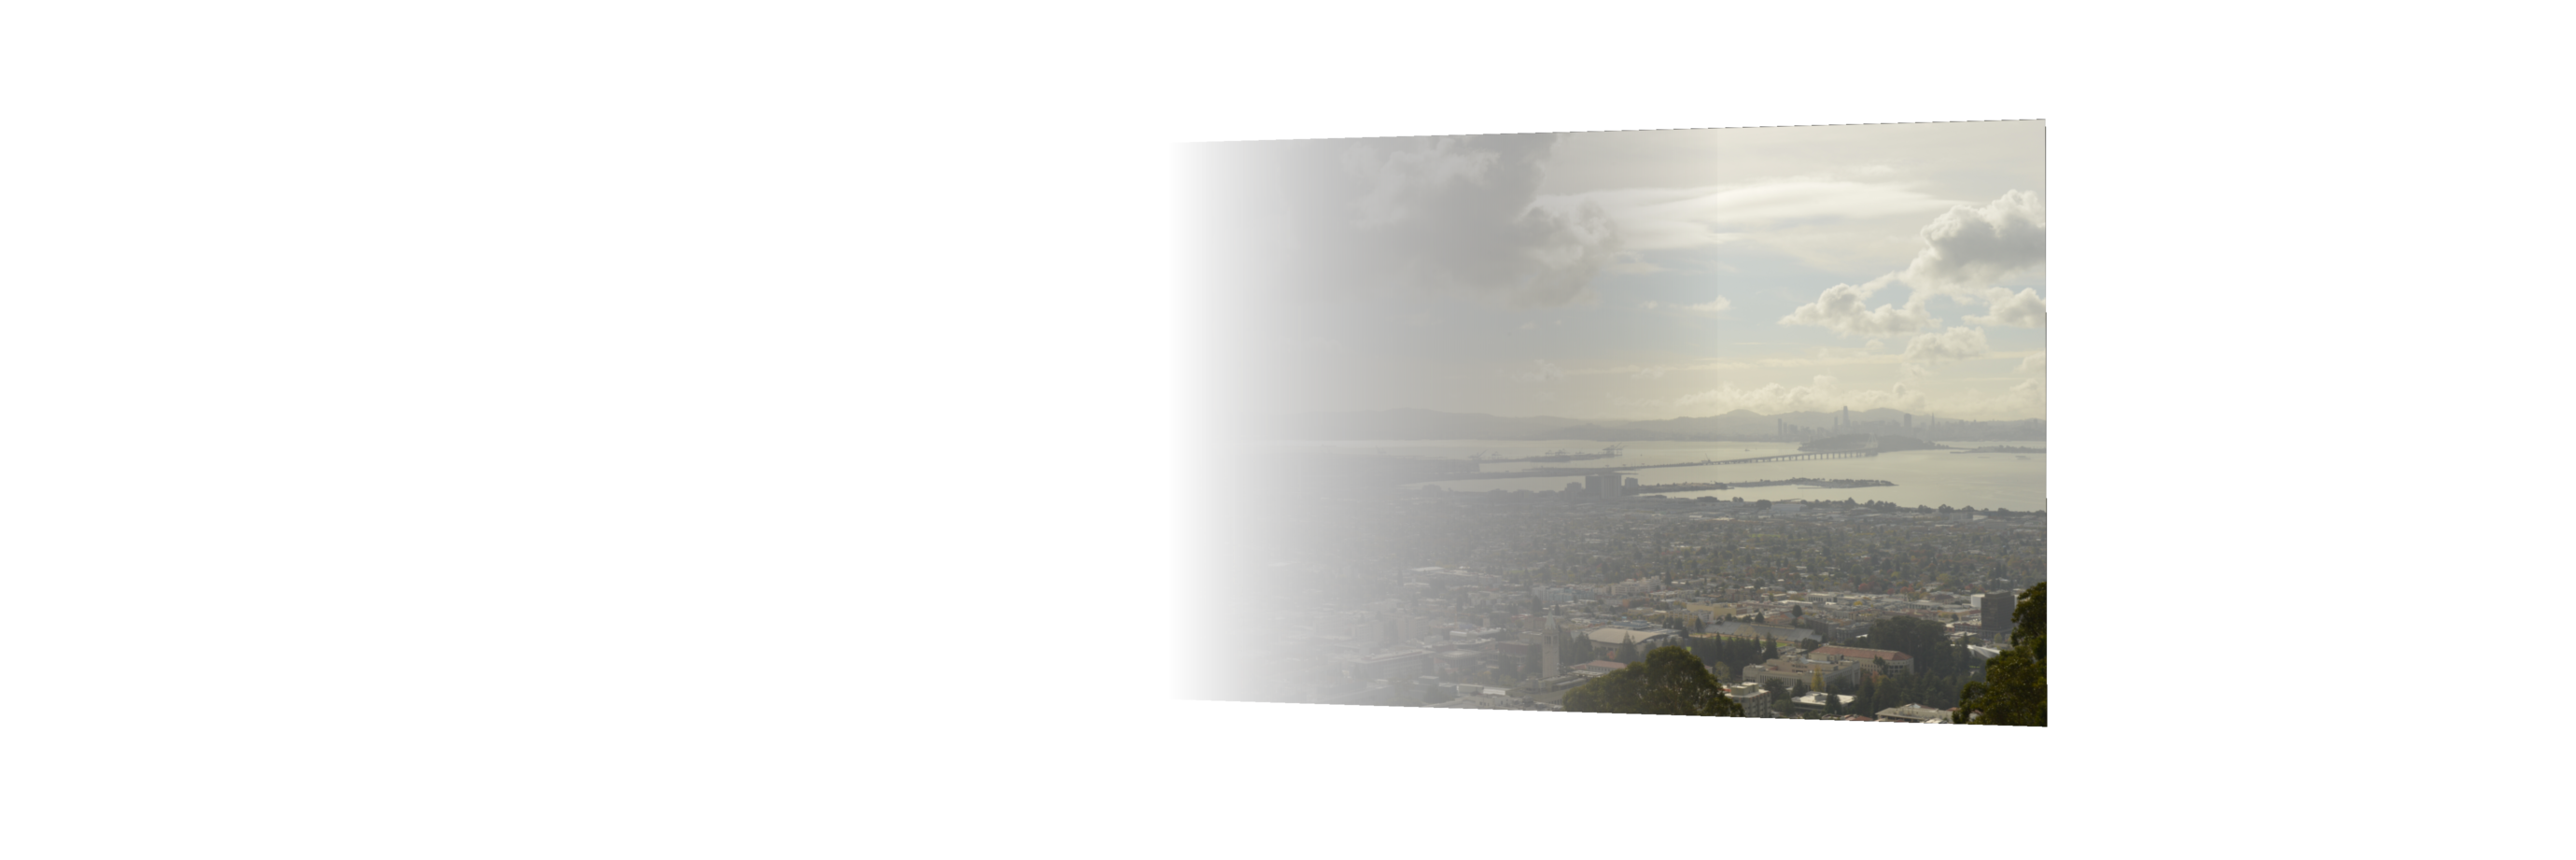
San Fransisco from Lawrence Labs
I took 3 sets of images for mosaic stitching and 2 pictures from online to practice image rectification.
San Fransisco from Lawrence Labs
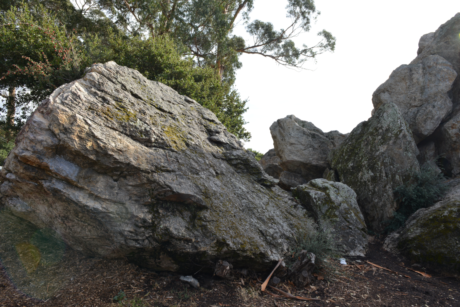
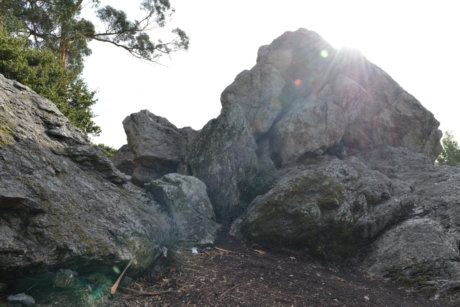
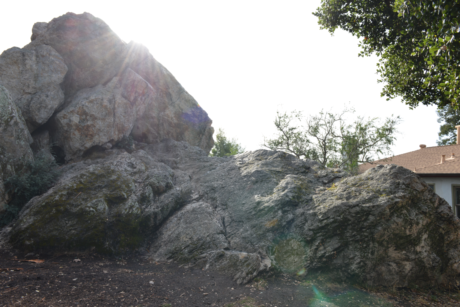
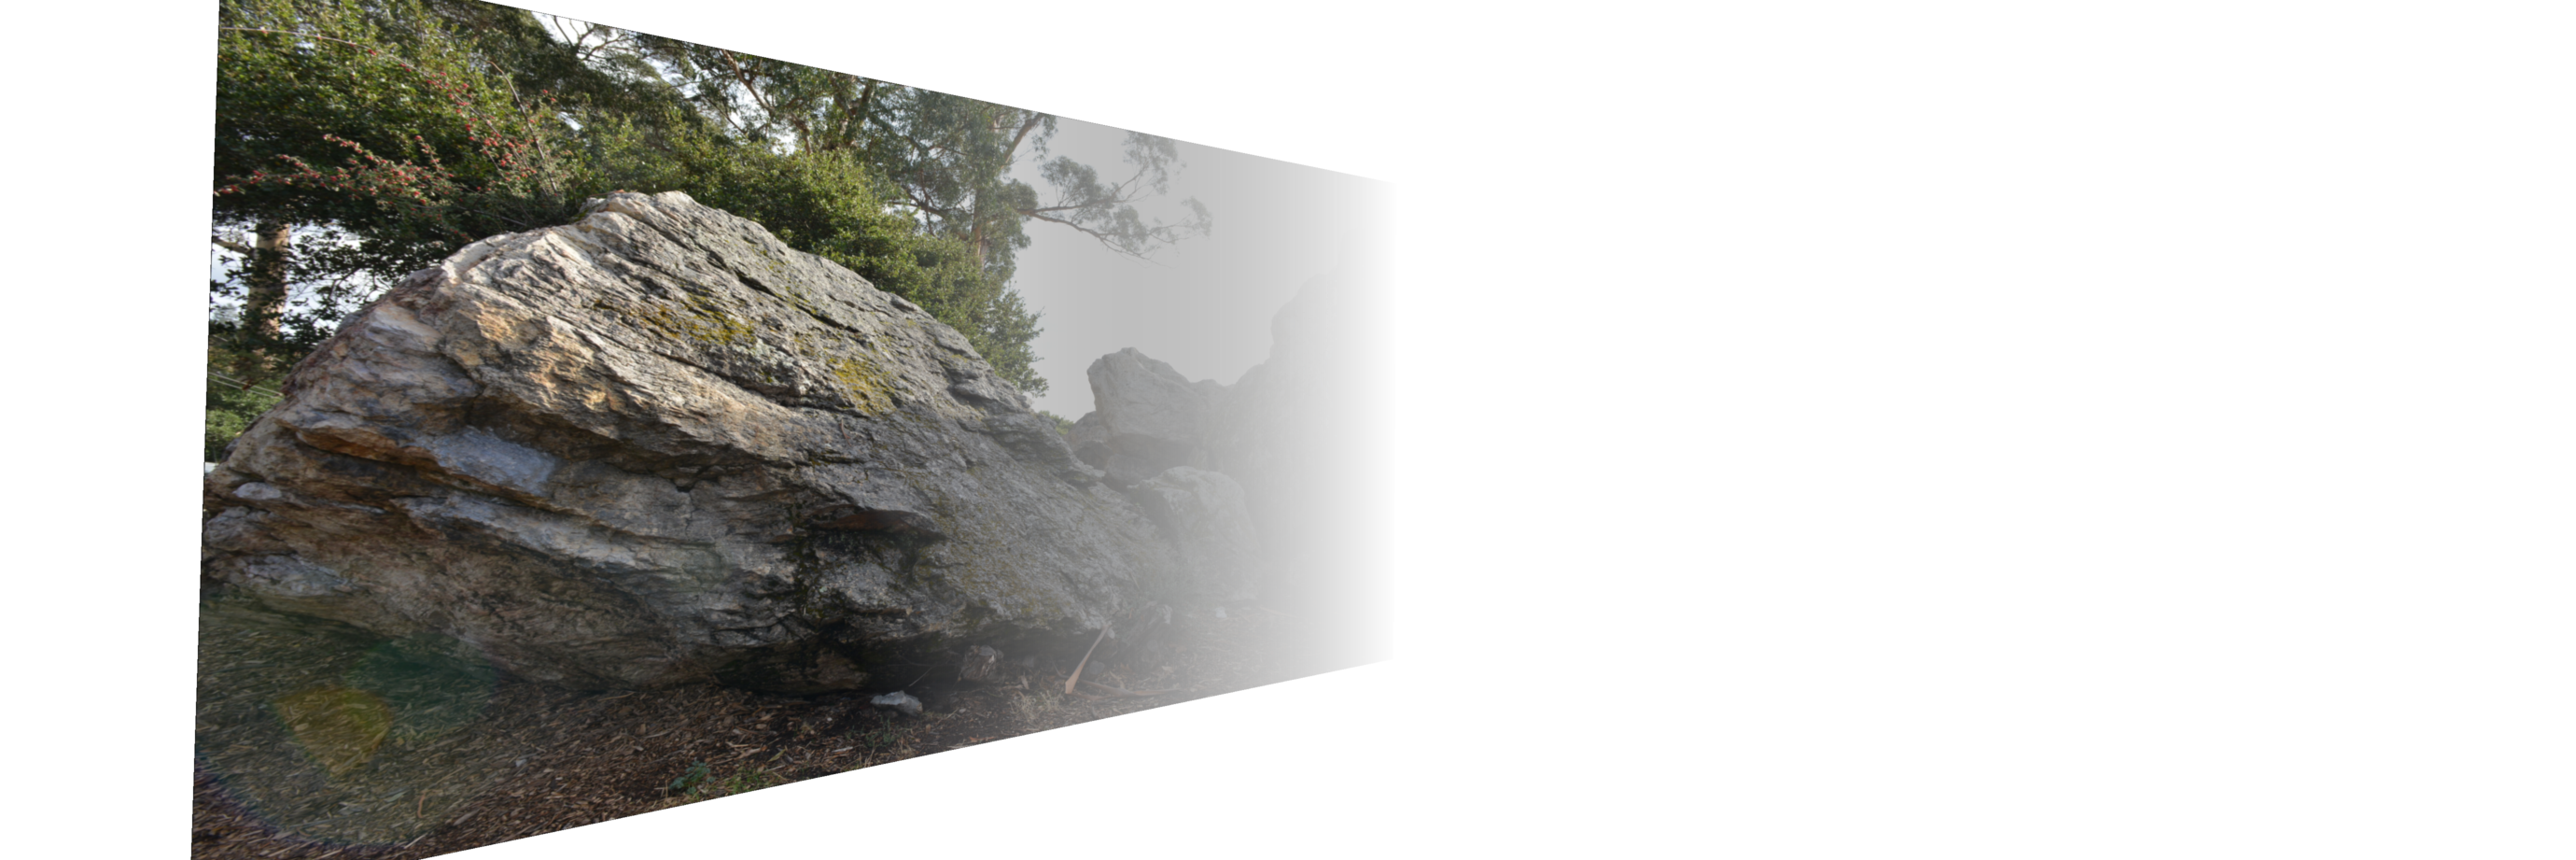
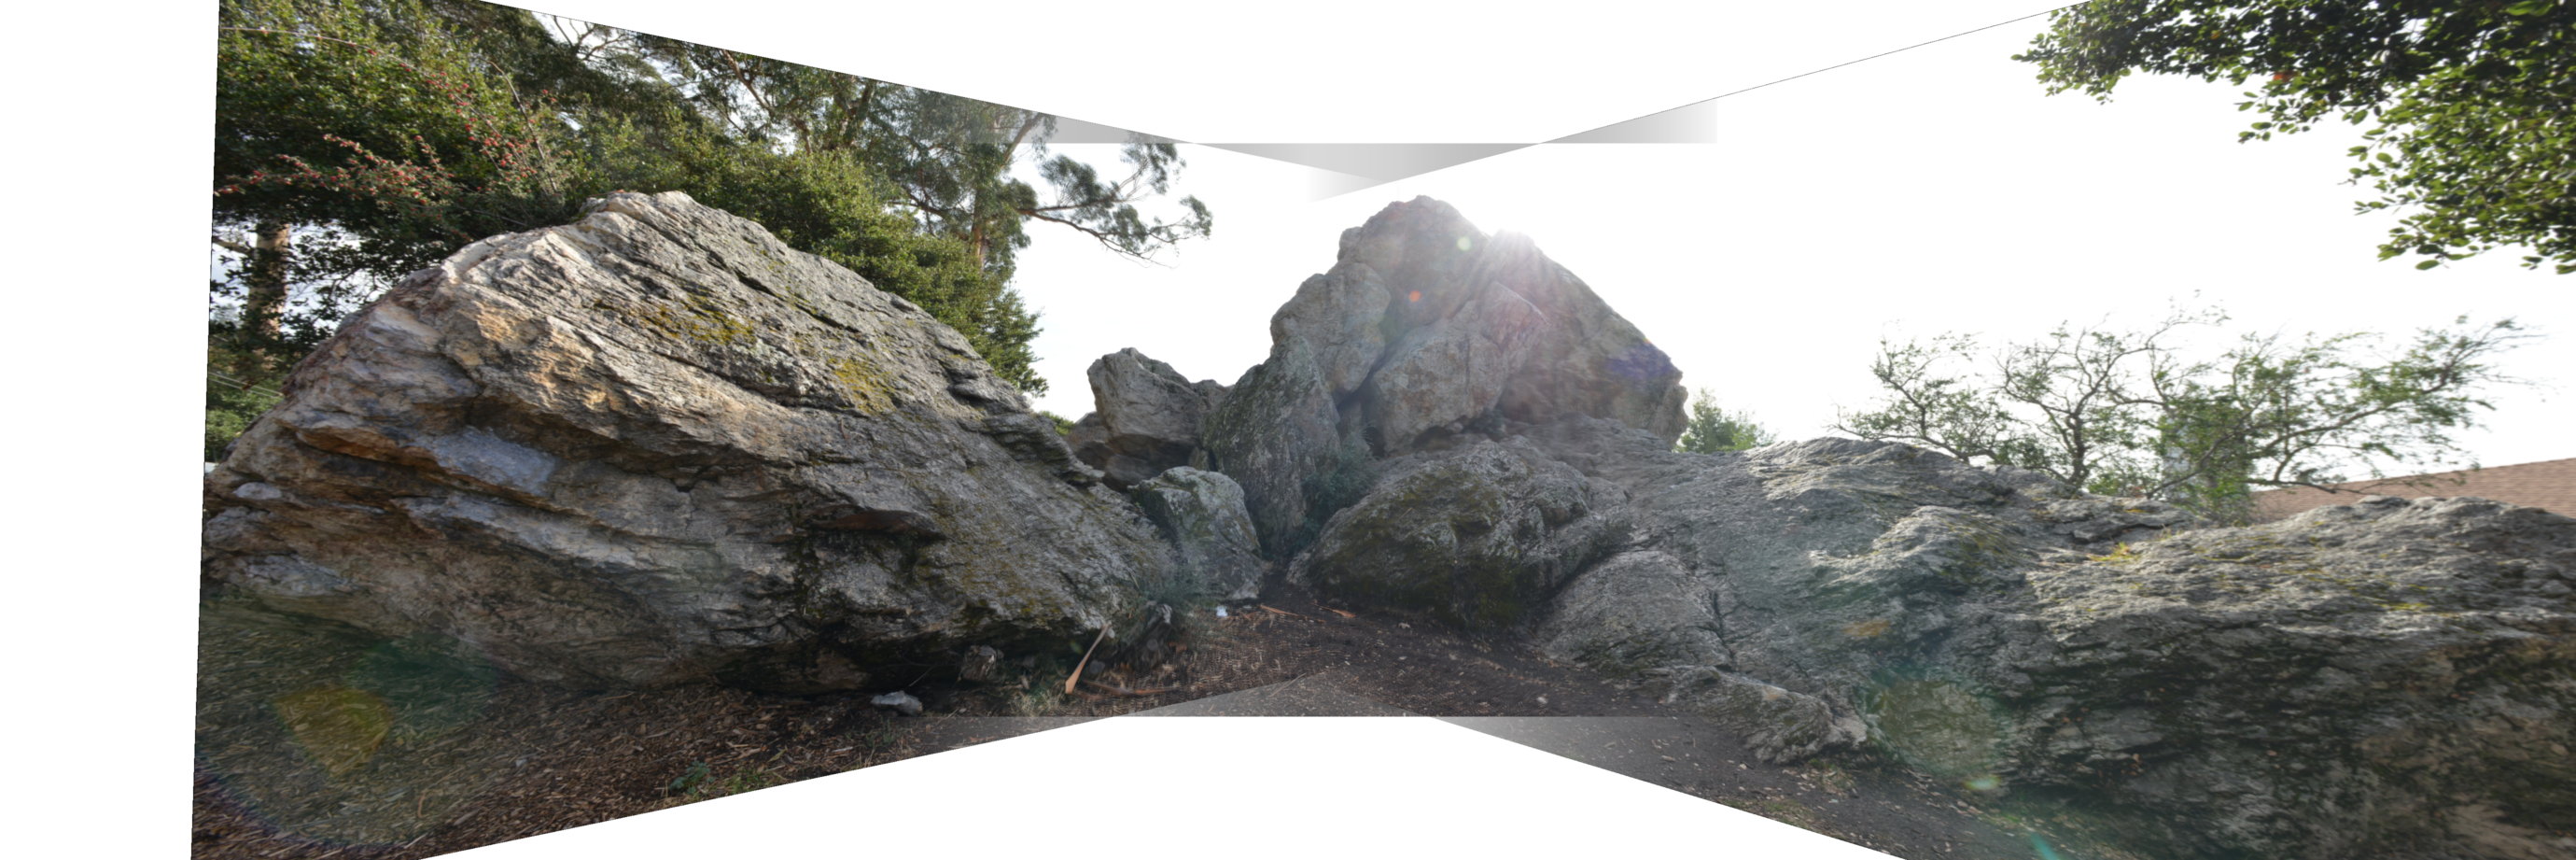
Indian Rock
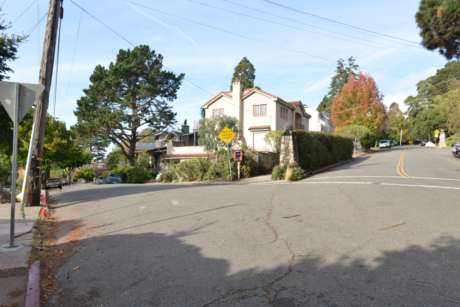
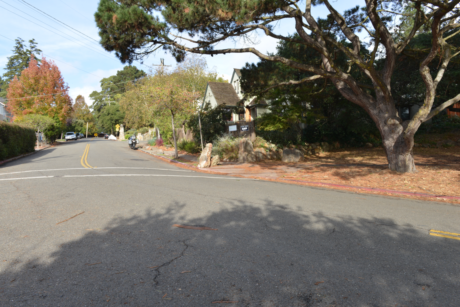
Northside Street

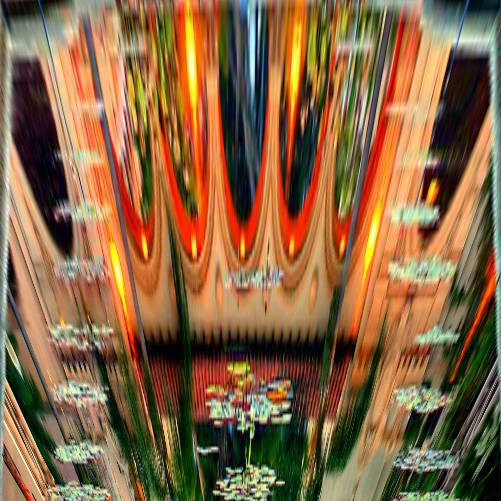
Balboa Park, Macbook

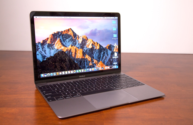
Homographies were recovered using ginput and manually selecting 10-16 points on each set of images to create correspondence. The warp matrix H was calculated as mentioned in class. In this section, I attempted to rectify two images to confirm that my homography recovery and image warping are correct. Below we see rectified frontal views of both Balboa Park and a Macbook.
Rectified Balboa Park, Rectified Macbook
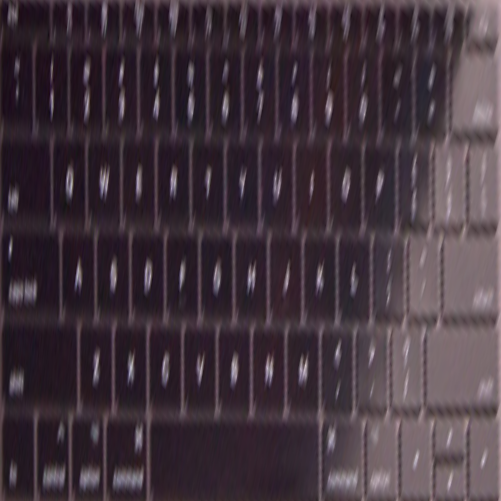
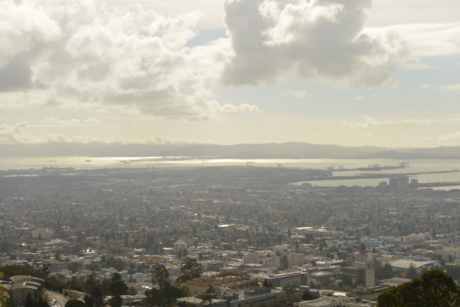
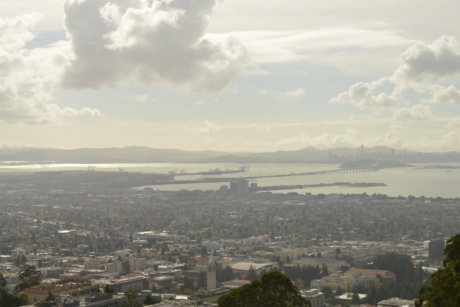
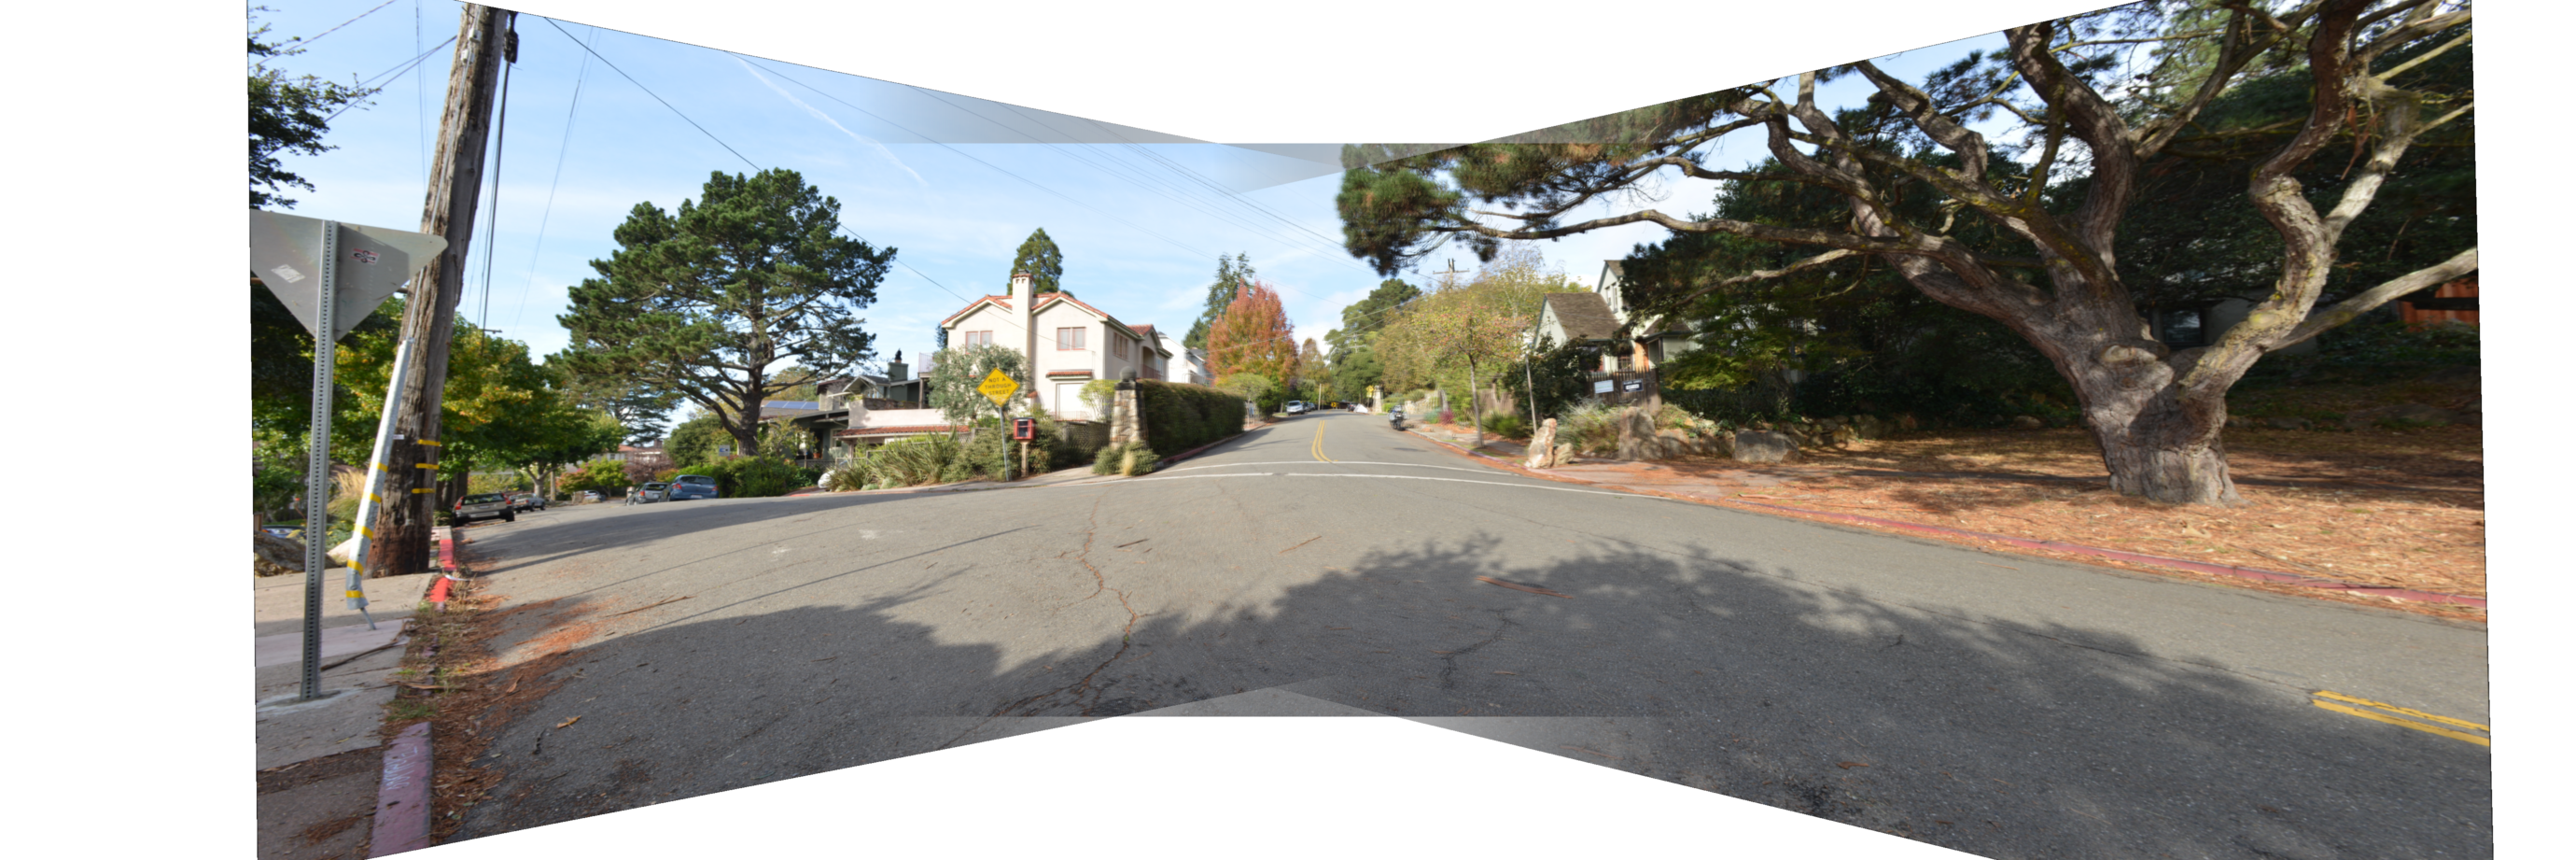
Since our homography recovery and image warping are correct, the last step is to combine our images into a mosaic. After correspondence is defined, this is done iteratively using by projecting each image onto the middle image as the base. Then, we use an alpha mask to linearly blend the overlapping areas to produce a smooth transition. The results for the rock and street mosaic are more extreme, as the focal length was a lot shorter. This contributed to greater warping and distortion across the mosaic. The mosaic of San Fransisco from Lawrence Labs turned out pretty nicely, as the focal distance was much longer.
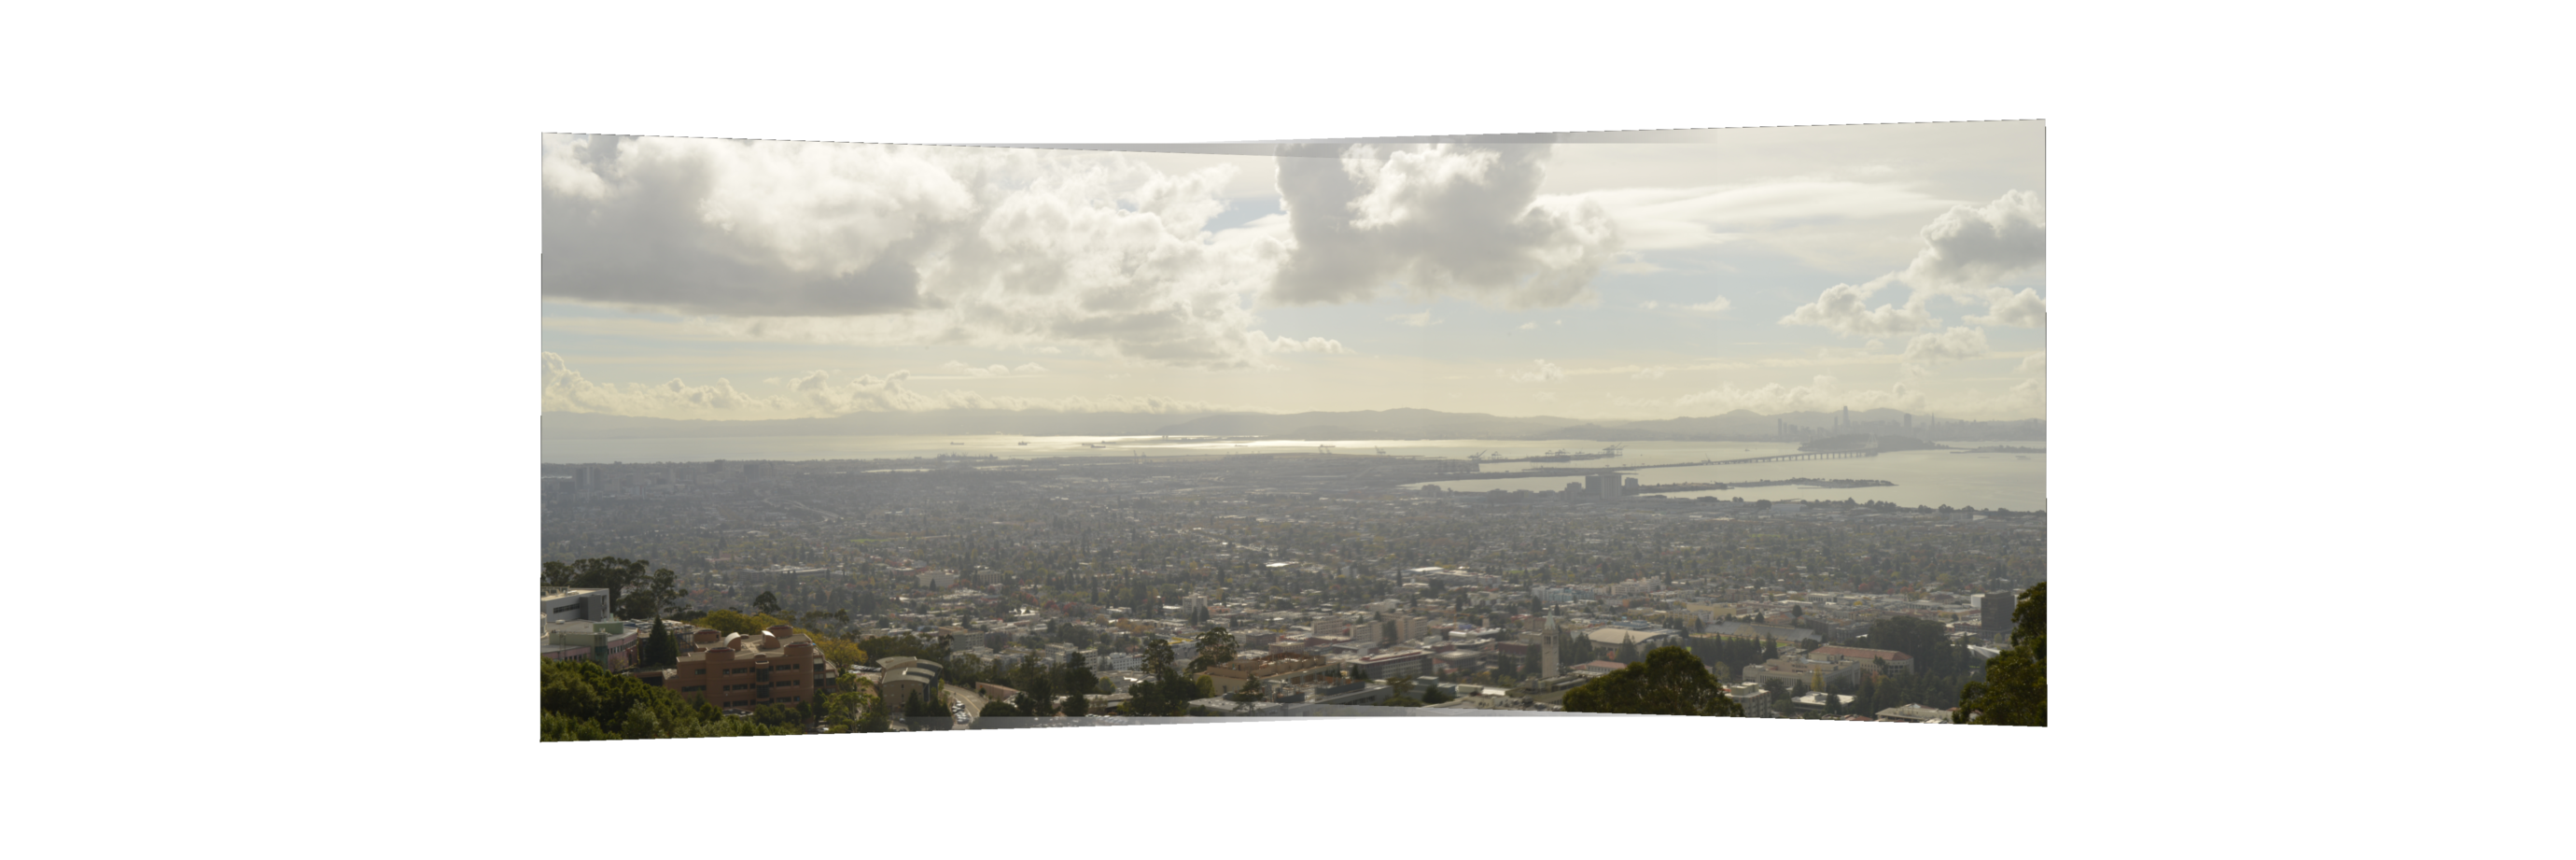
San Fransisco from Lawrence Labs
Left, right images warped onto the middle image with linear blending
Resulting Mosaic
Indian Rock
Left, right images warped onto the middle image with linear blending
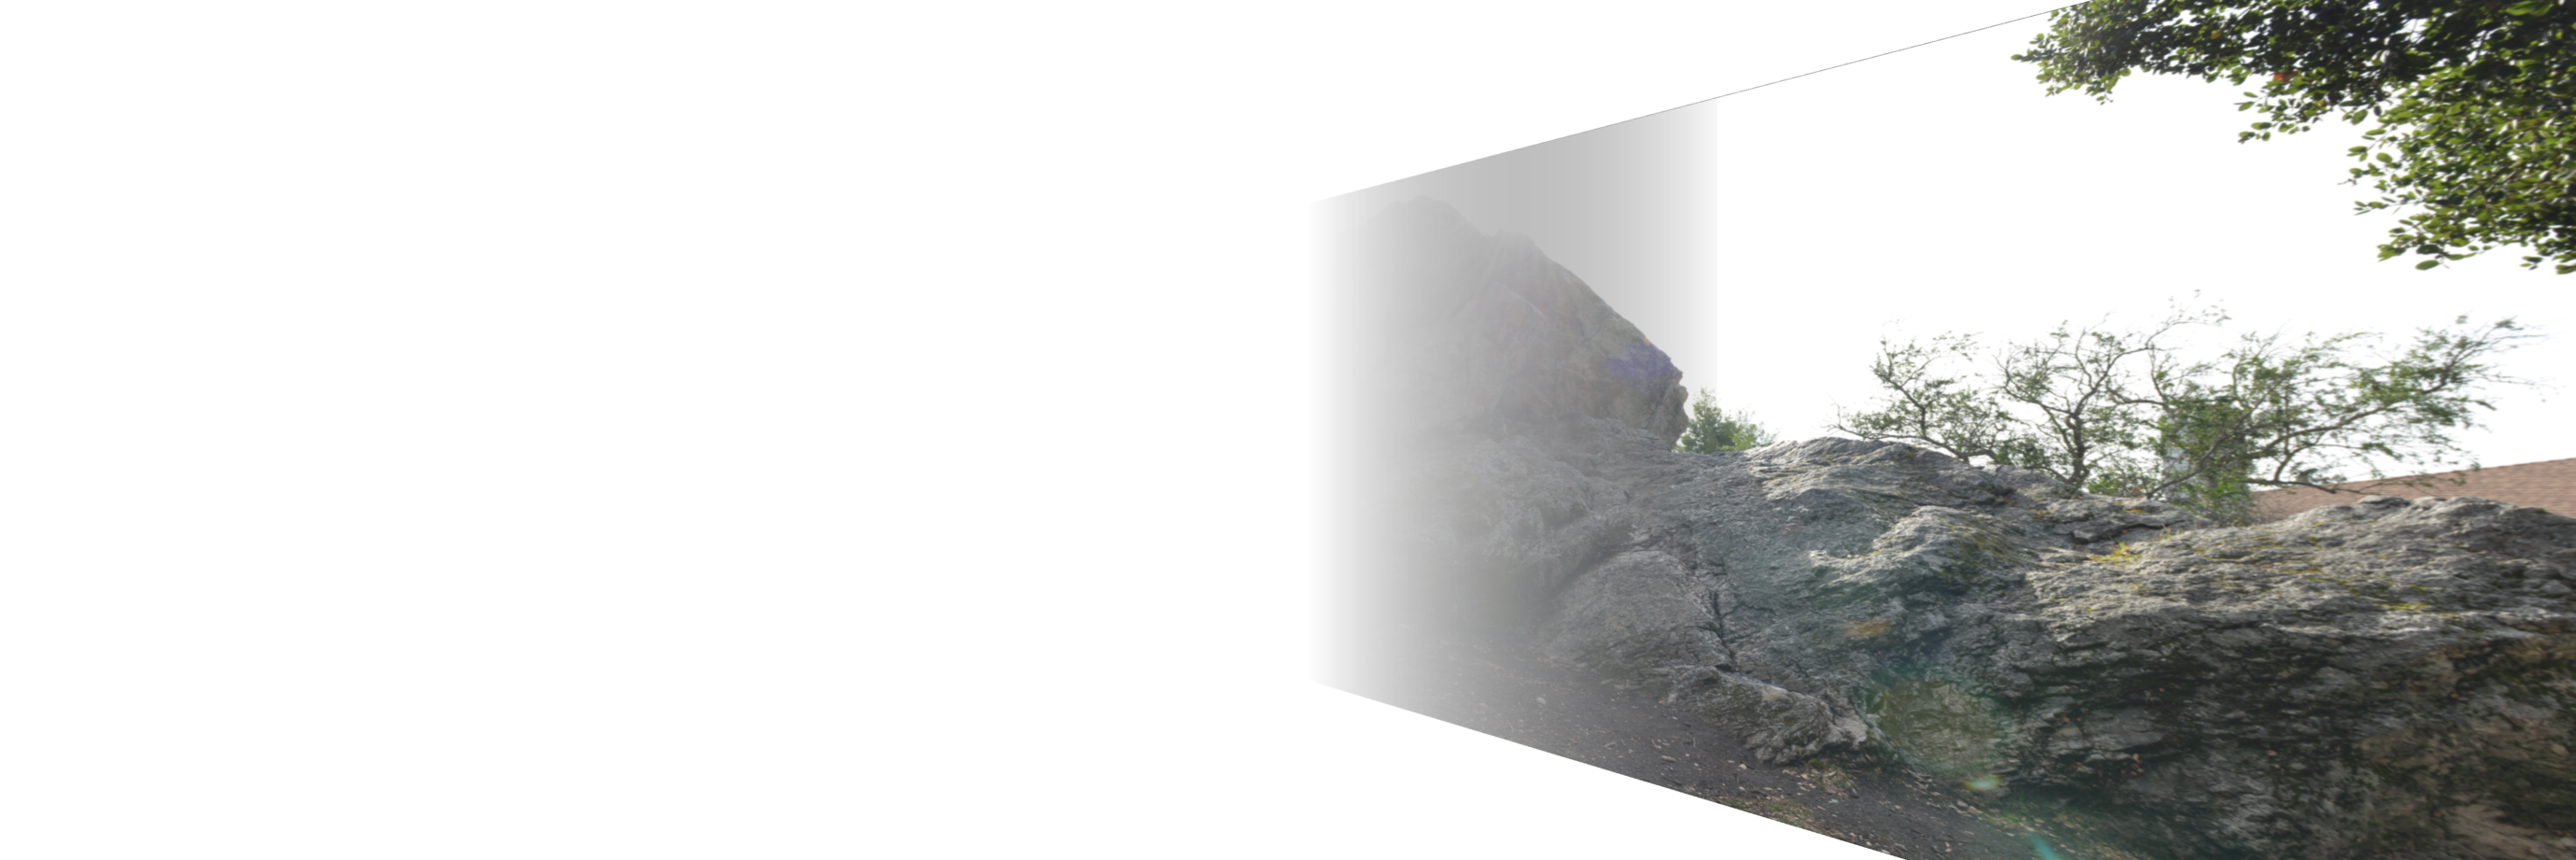
Resulting Mosaic
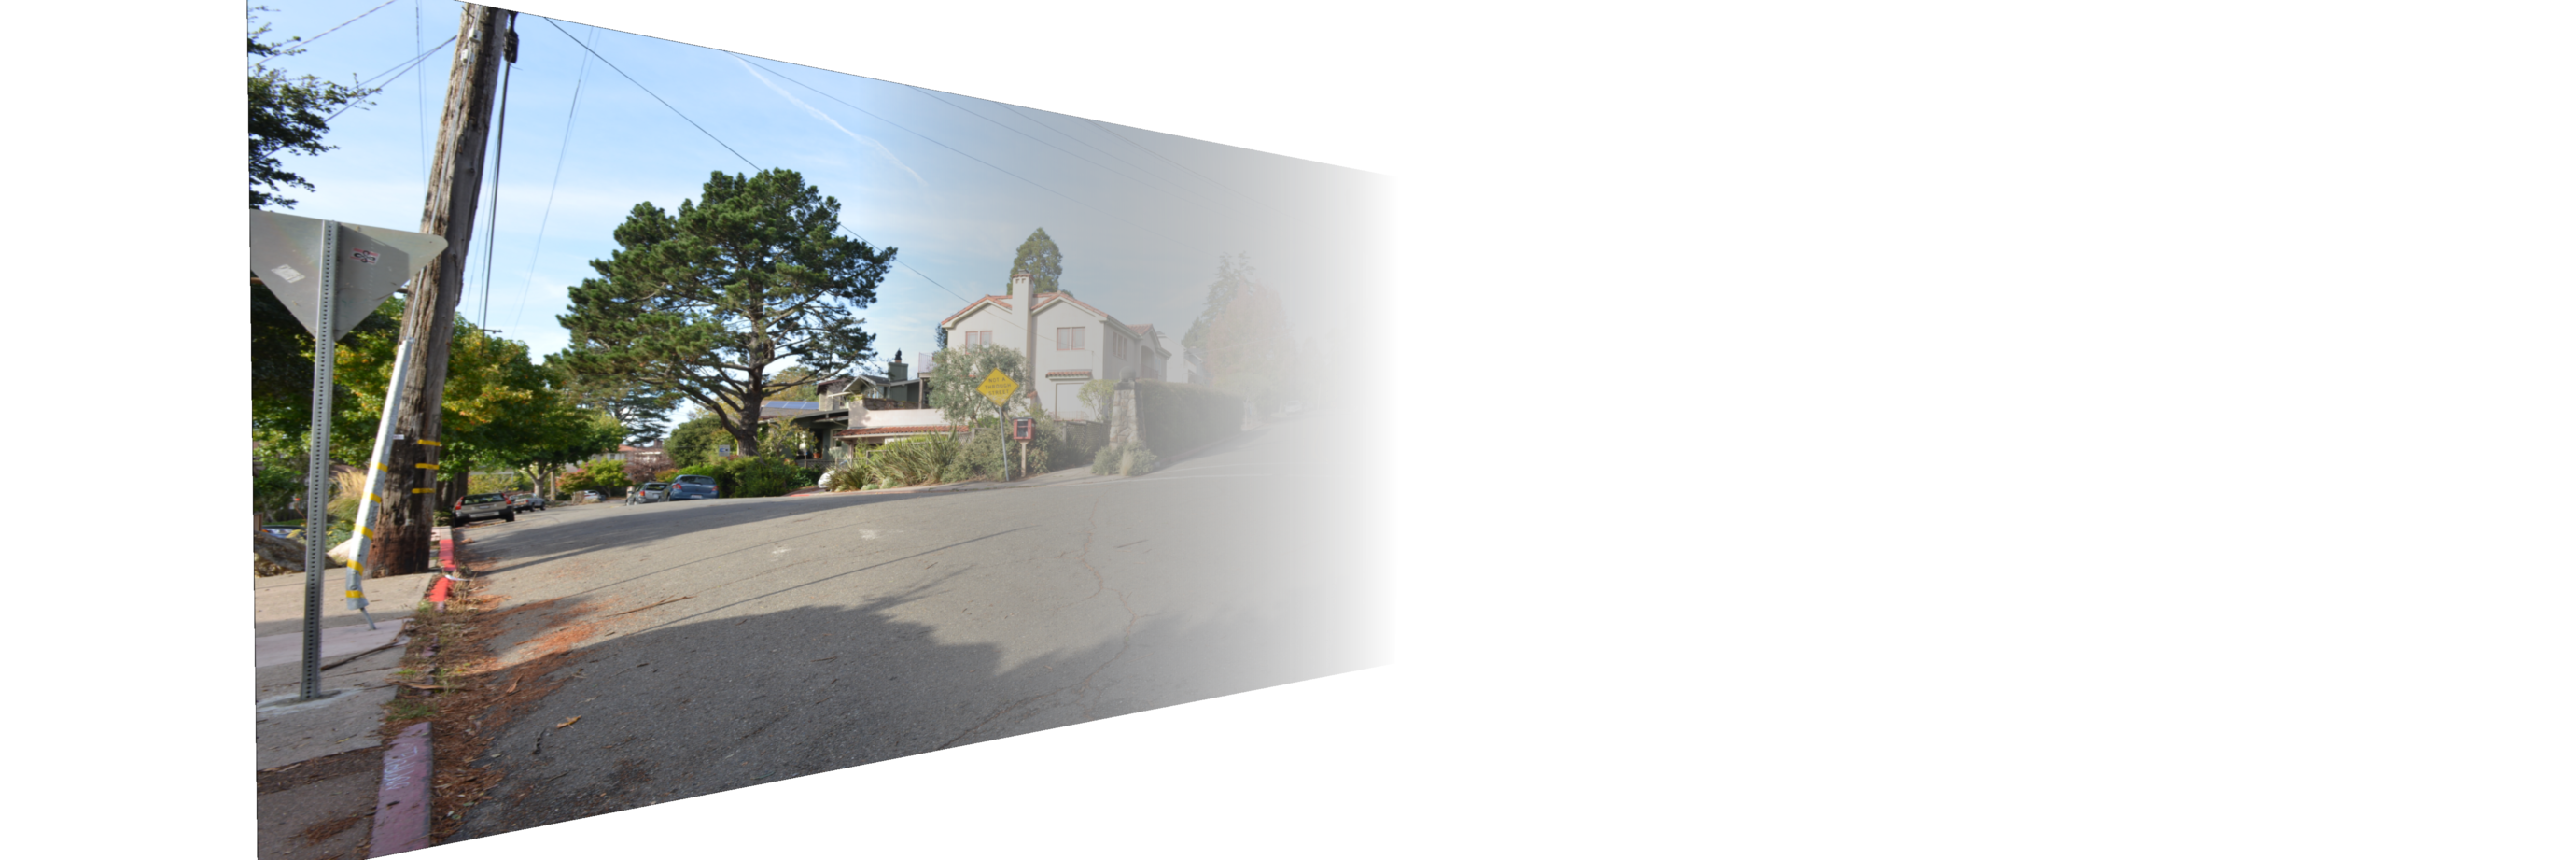
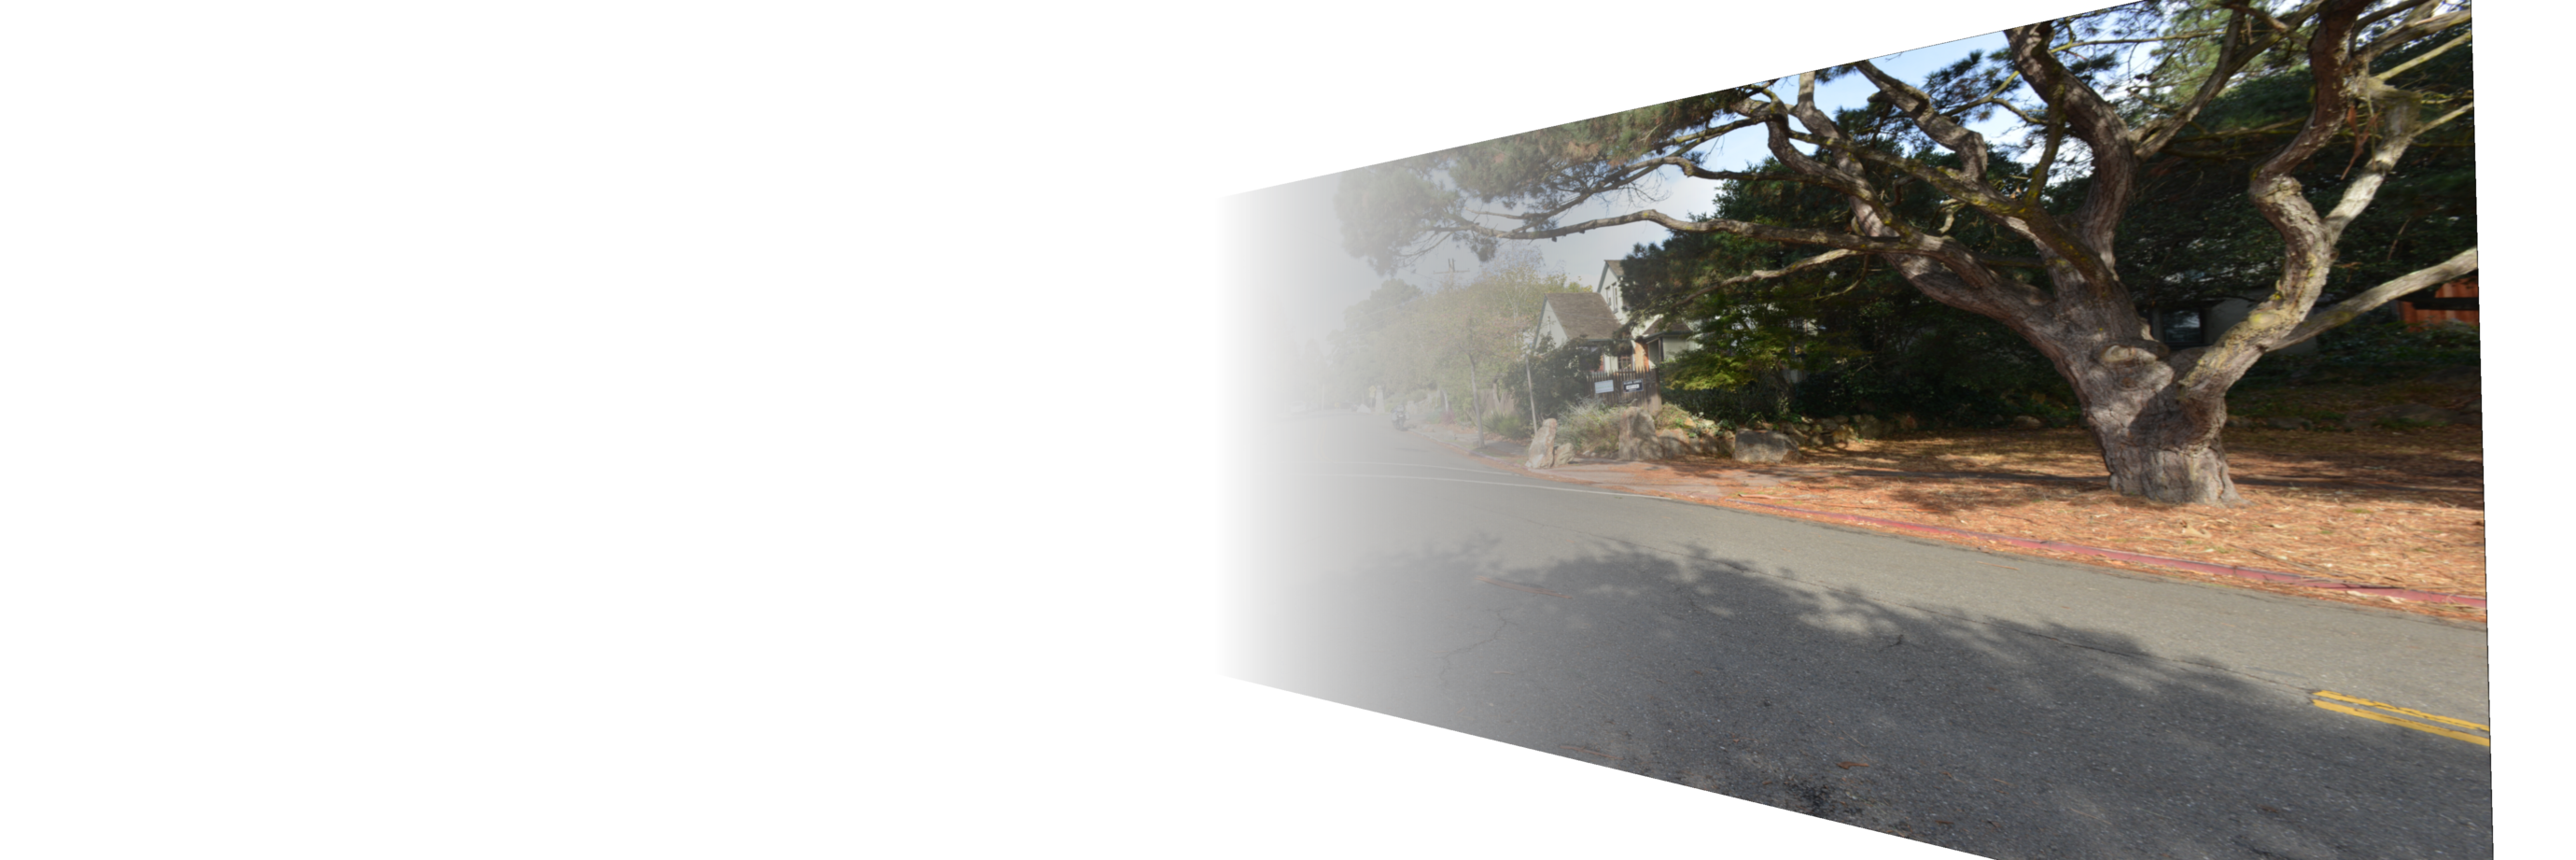
Northside Street
Left, right images warped onto the middle image with linear blending
Resulting Mosaic
A little math goes a long way! I didn't know the concept behind the panoramic software in our phones was that straightforward. This is a great application of linear algebra and demonstrates how useful it can be.