This is the first part of a project involving stitching together photographs to create larger composite images. In this part, we capture source photographs, define correspondences between them, warp them to the same shape, and composite them.
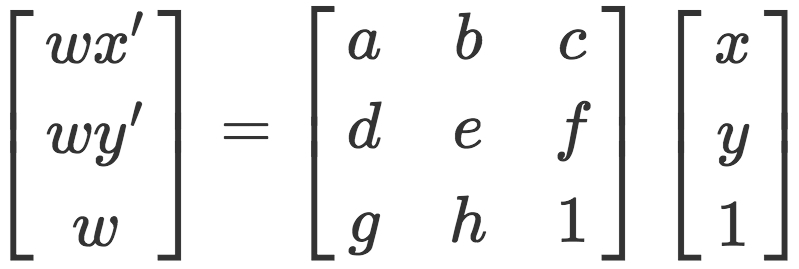
For creating image mosaics, we first capture multiple images: either by shooting them from the same point, or by capturing a planar surface from different poitns of view. We then want to be able to transform one image into another, or both into a common perspective. This transformation is a homography defined by the relationship
This can be rearranged into the equations
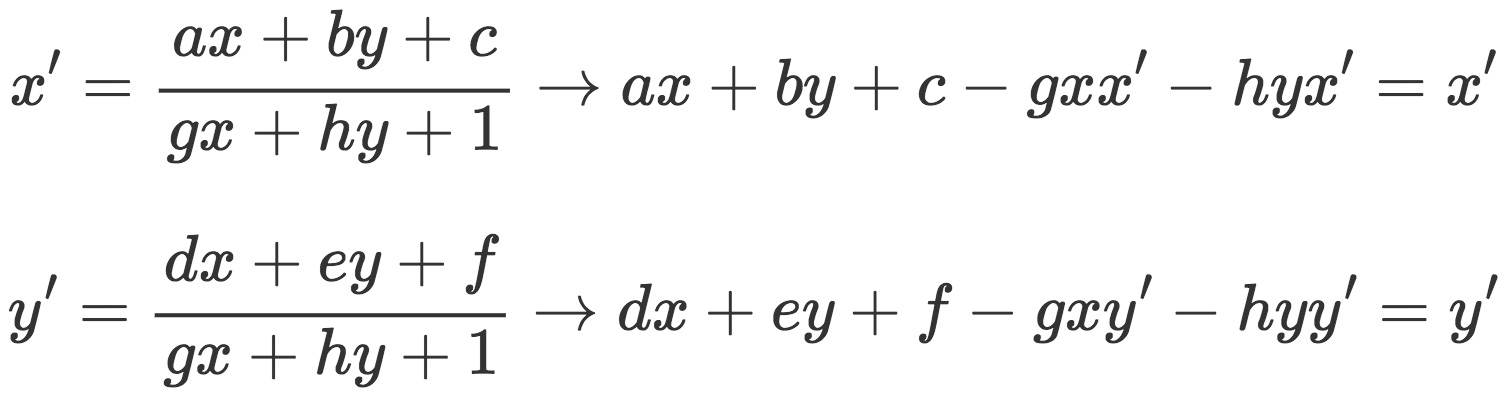
Which are reformulated as a linear system.
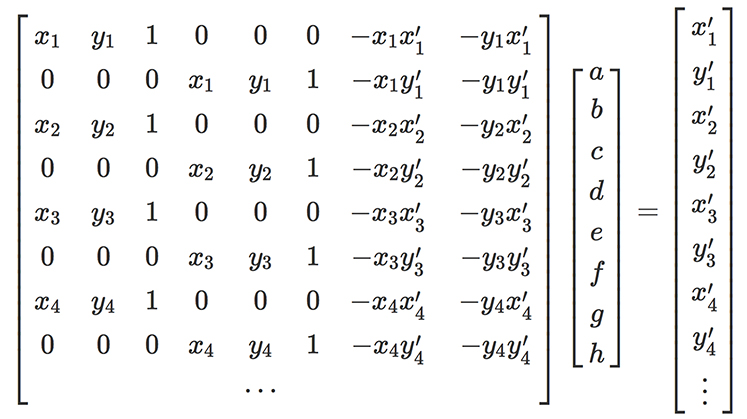
Each x/y pair represents a point in the first image, and the corresponding x'/y' pair is the same point in the second image. This system is precisely determined given 4 pairs of points. However, to make the matching more robust, I used more points and solved the system using least squares.
For image shifting, I utilized the position values stated in the file metadata. Once I had all of these shifts, I applied different alpha (scaling) values that focused the image on nearby objects, faraway objects, and everything in between. This effect is illustrated in the following images, showing the varying depths at which I was able to refocus.
The first test of my algorithm was image rectification, which warps images in order to make specified surface planes to be frontal-parallel. Since there is only one image in this situation, the corresponding points were manually defined to be rectangular. In this manner, the original image was warped into the specified rectangular shape.
For image mosaicing, I took photos from one point at different angles. I chose common points between the two images, defined one image to be the reference, and warped the second image to match the first one. The first result for each mosaic shows the results of naively stacking the two images together. This doesn't work too well because it doesn't account for changes in exposure, color balance, and other variations that can occur between the two photos. The second result shows the results of linear blending, which applies a weighted average to overlapping pixels depending on their coordinates. This makes the overlapping regions transition more smoothly between differing colors in the two source images.
 Power bank left angle
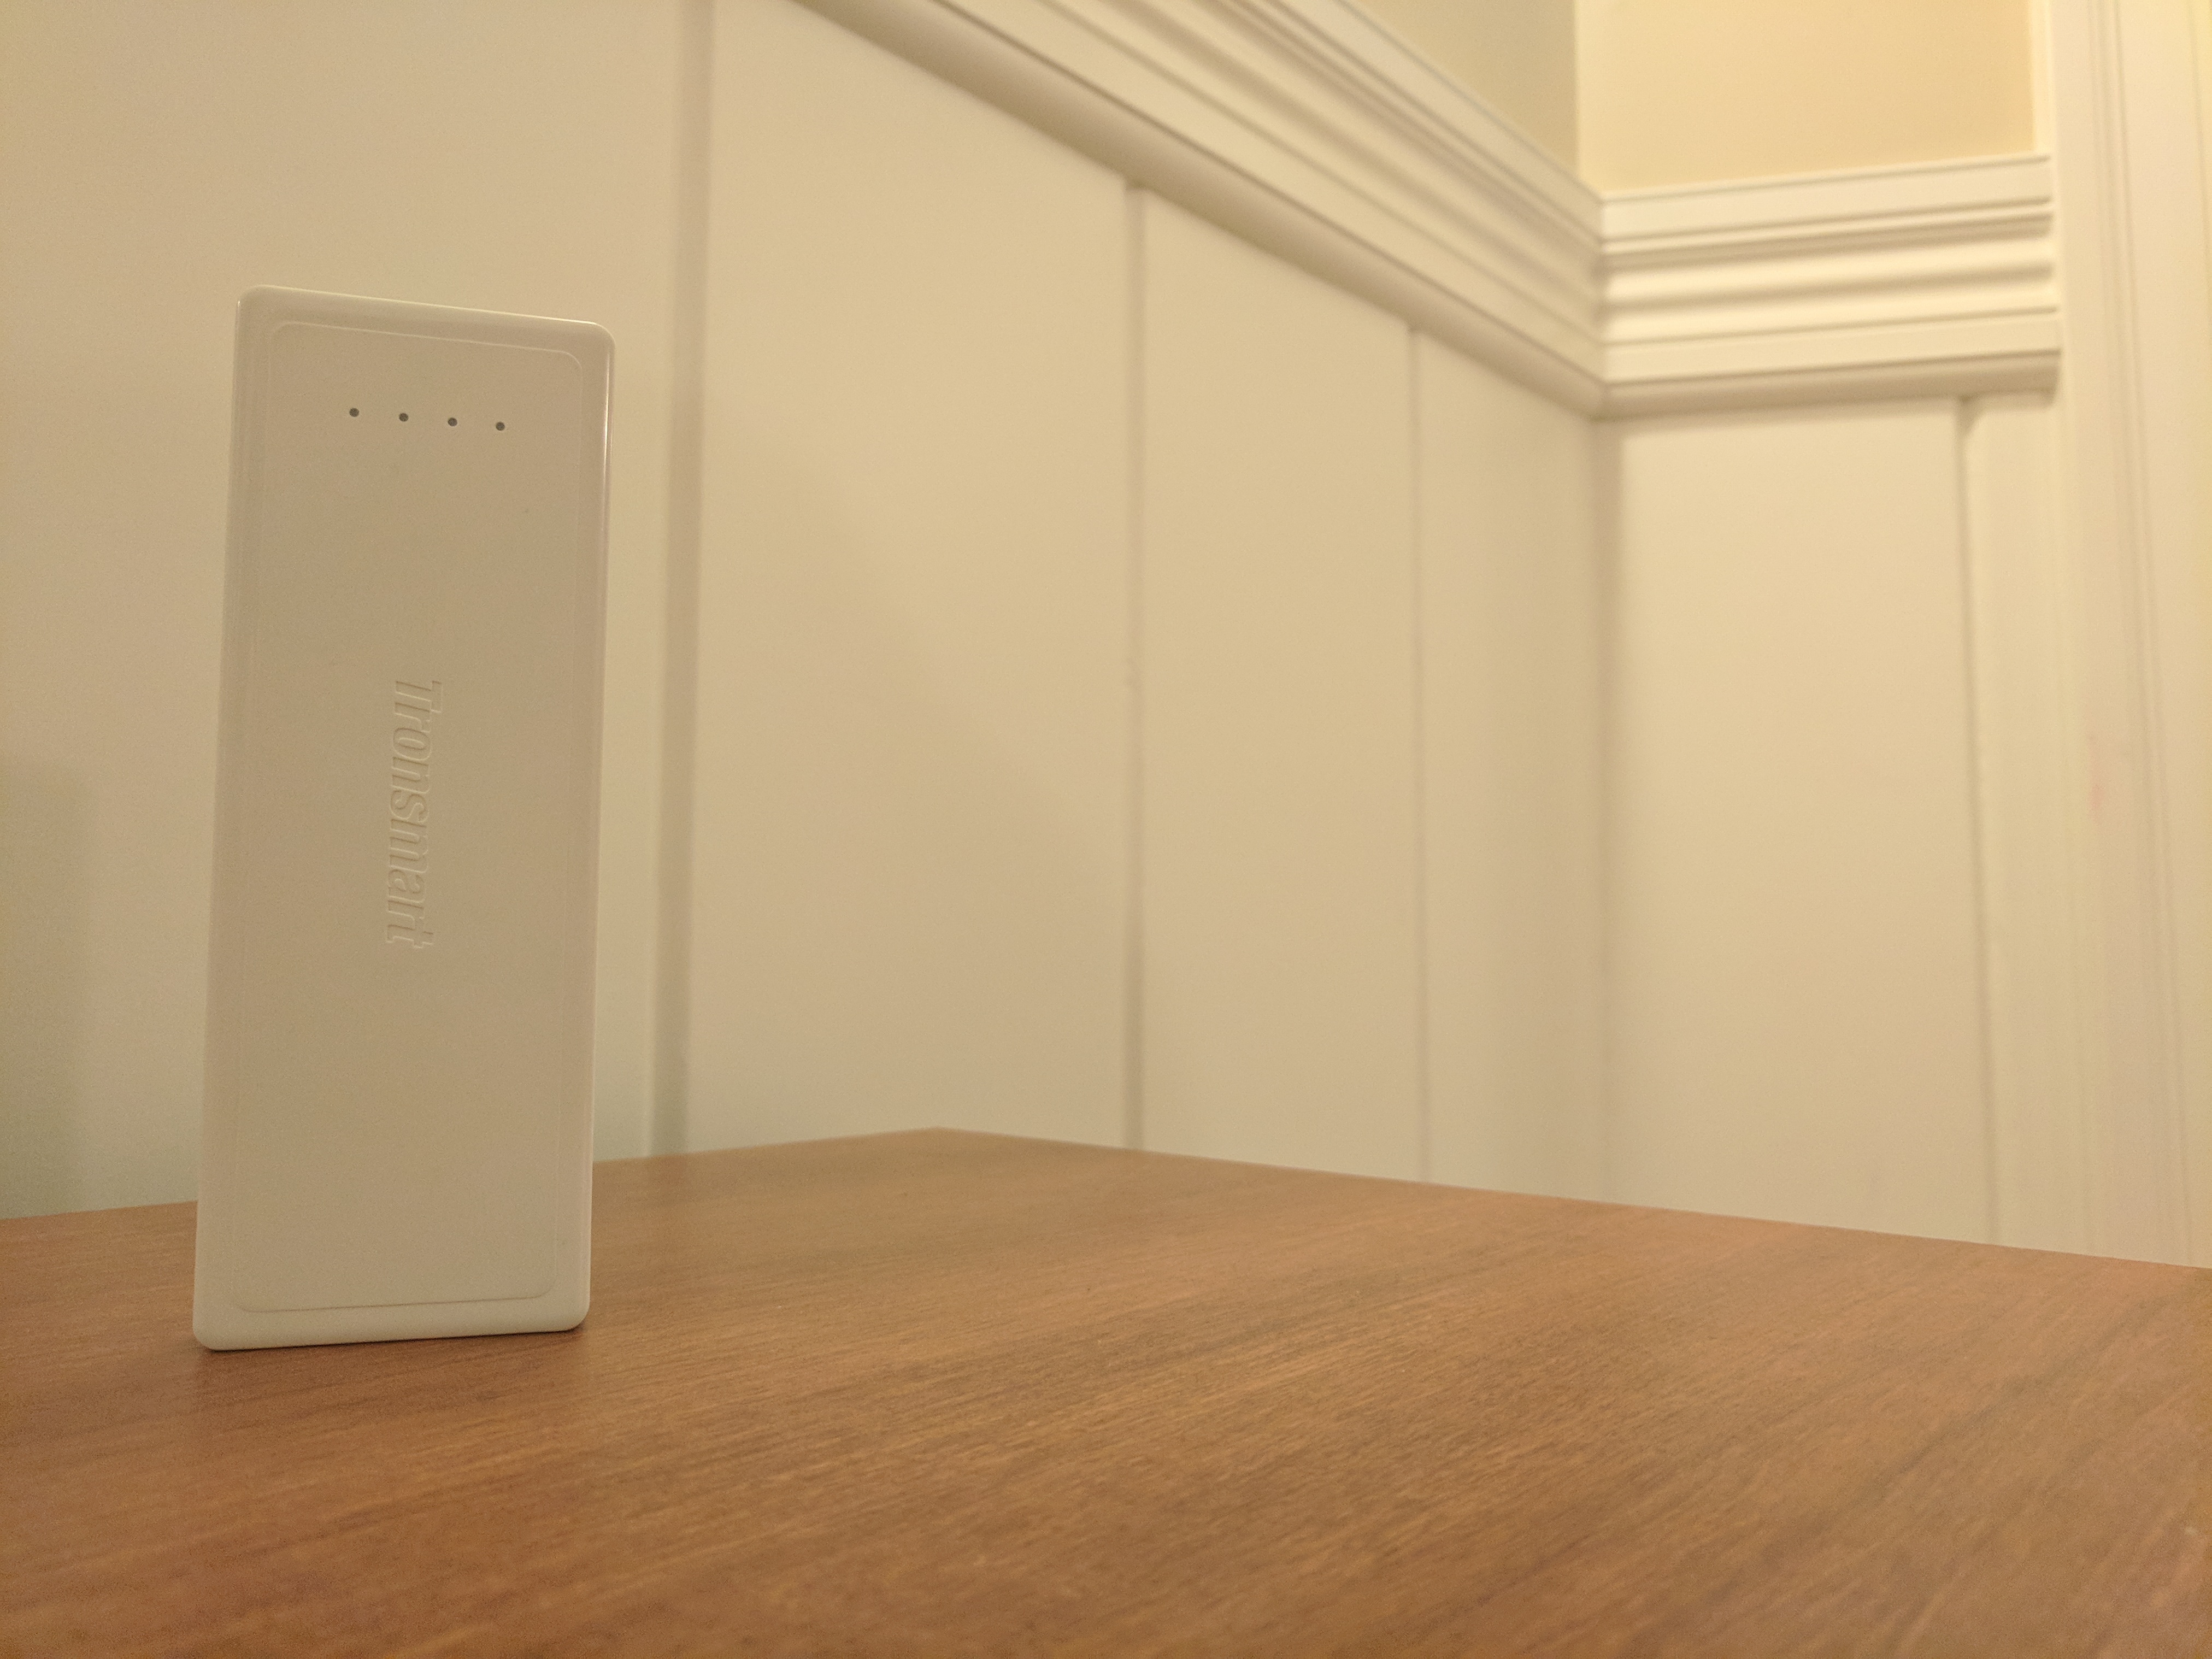 Power bank right angle
 Power bank right angle transformed
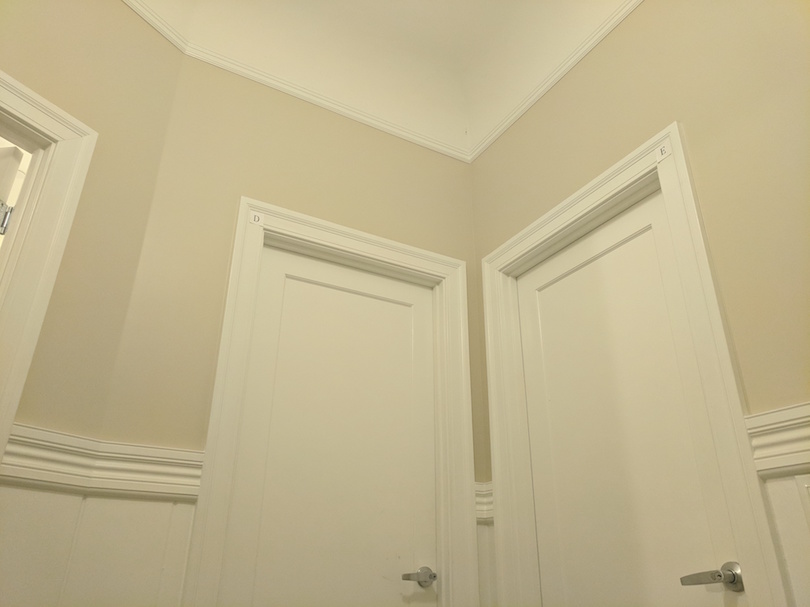 Doors left angle
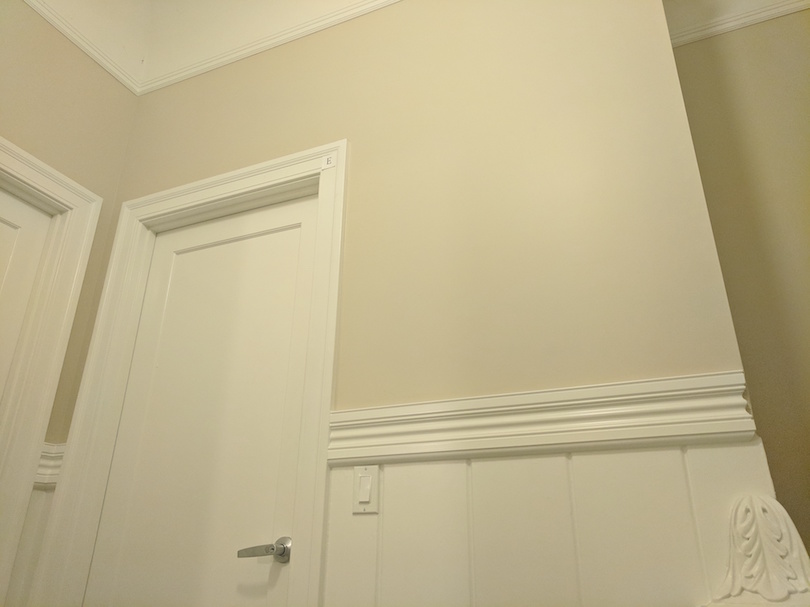 Doors right angle
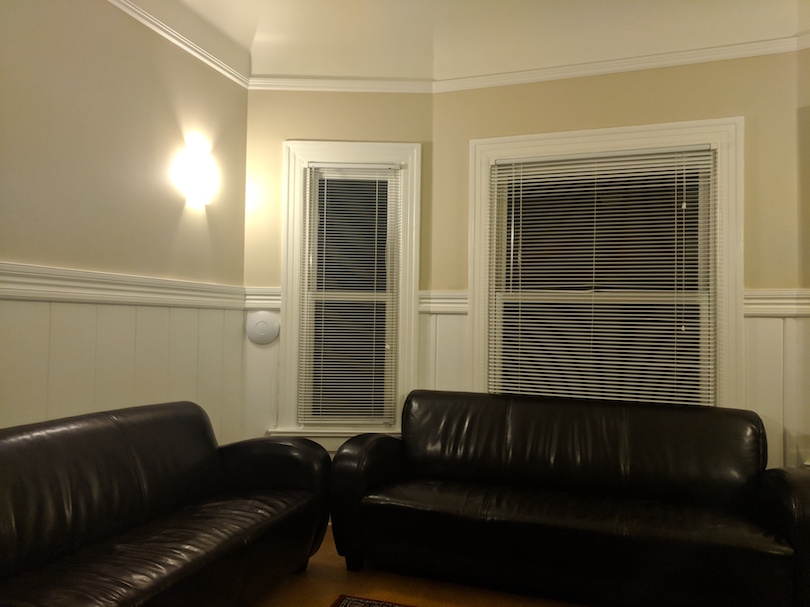 Living room left angle
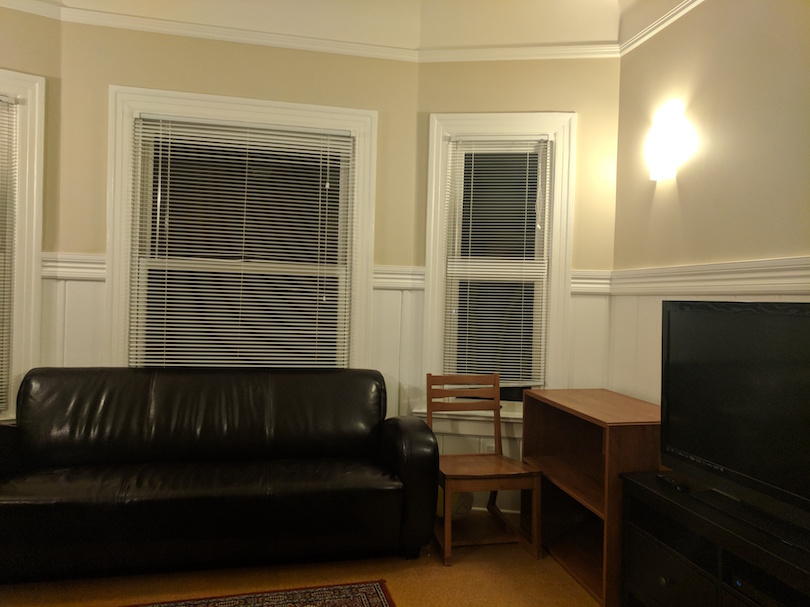 Living rooms right angle
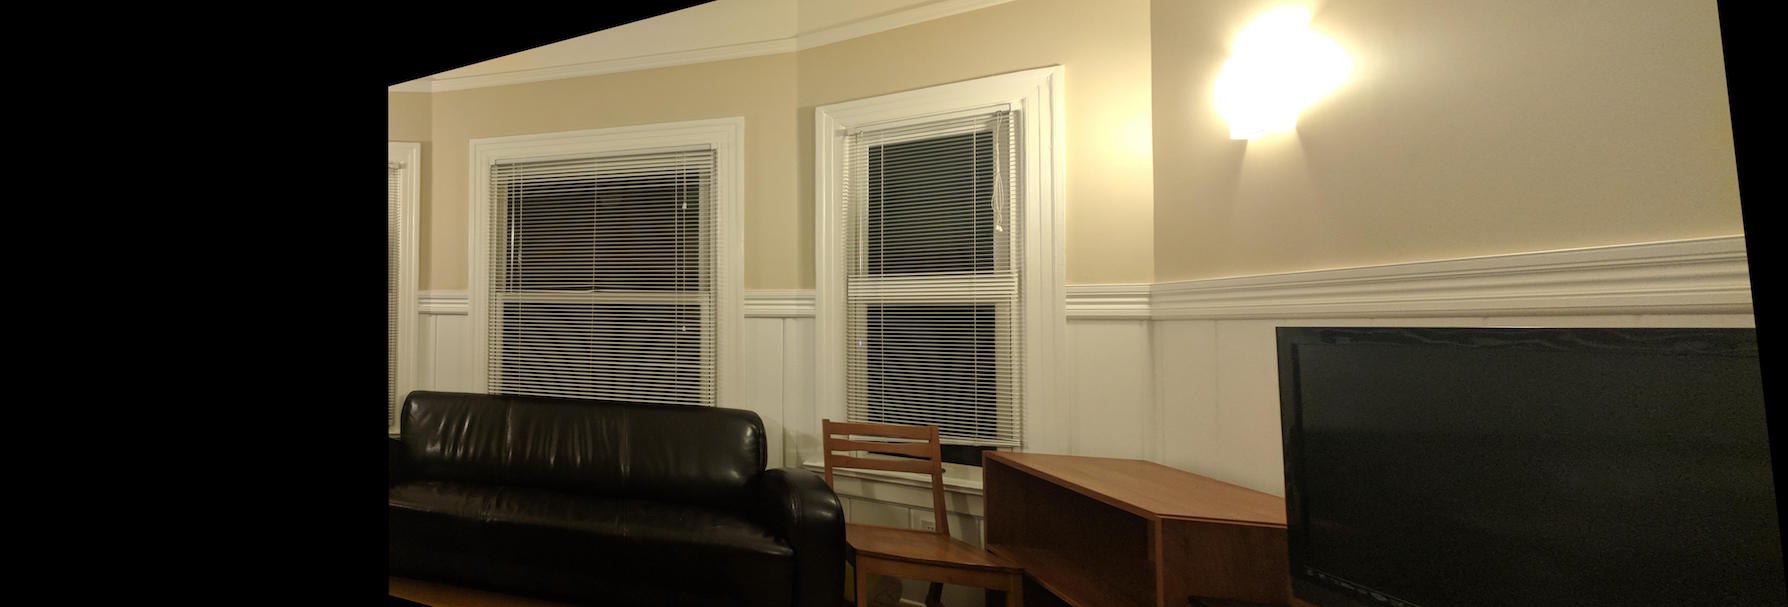 Living room right angle transformed
From this project, I learned that making panoramas with multiple images is definitely possible, but it involves keeping track of many minute details about linear algebra and image blending. I also learned that I really enjoy computational photography, and I'm looking forward to the next part of this project!
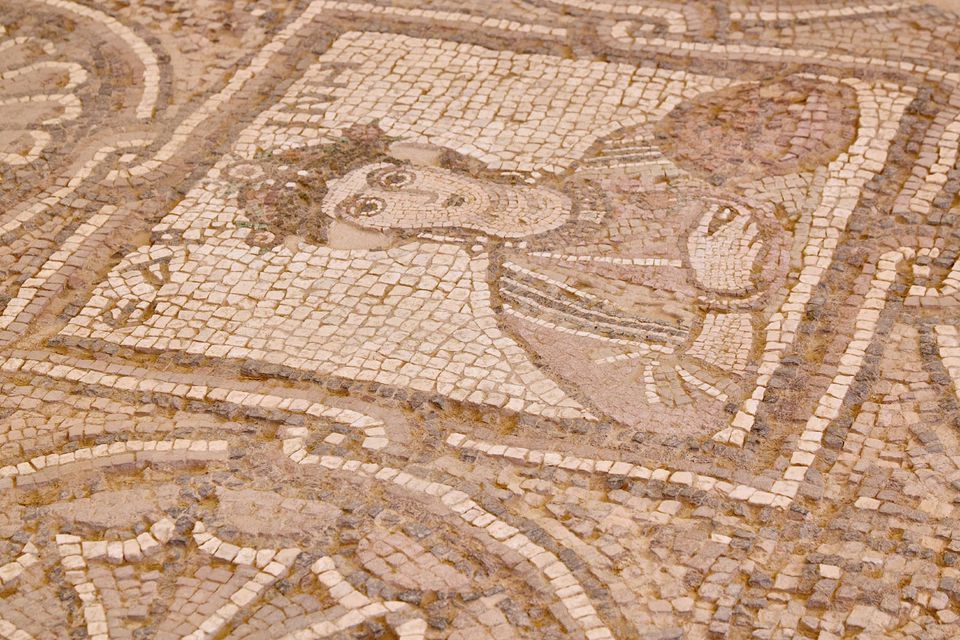 Original
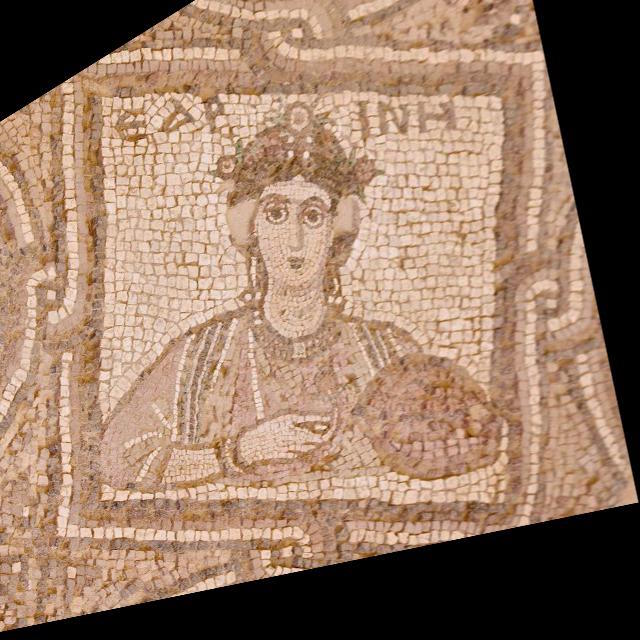 Rectified
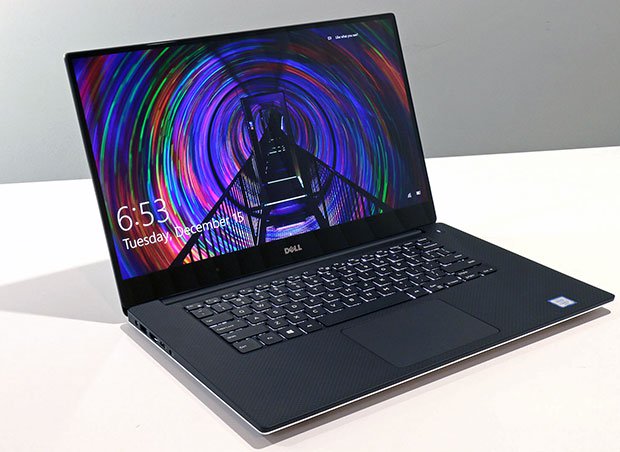 Original
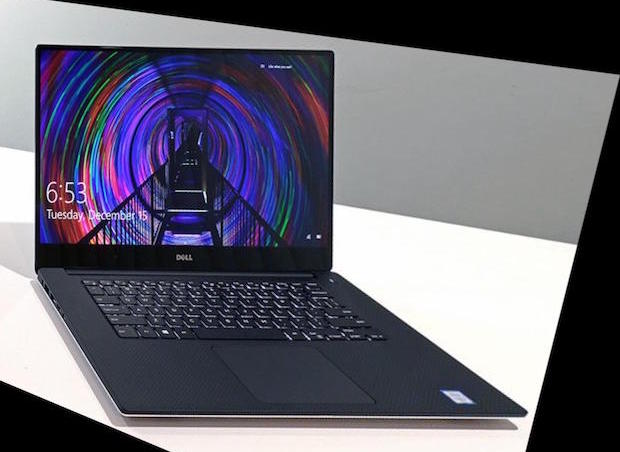 Screen rectified
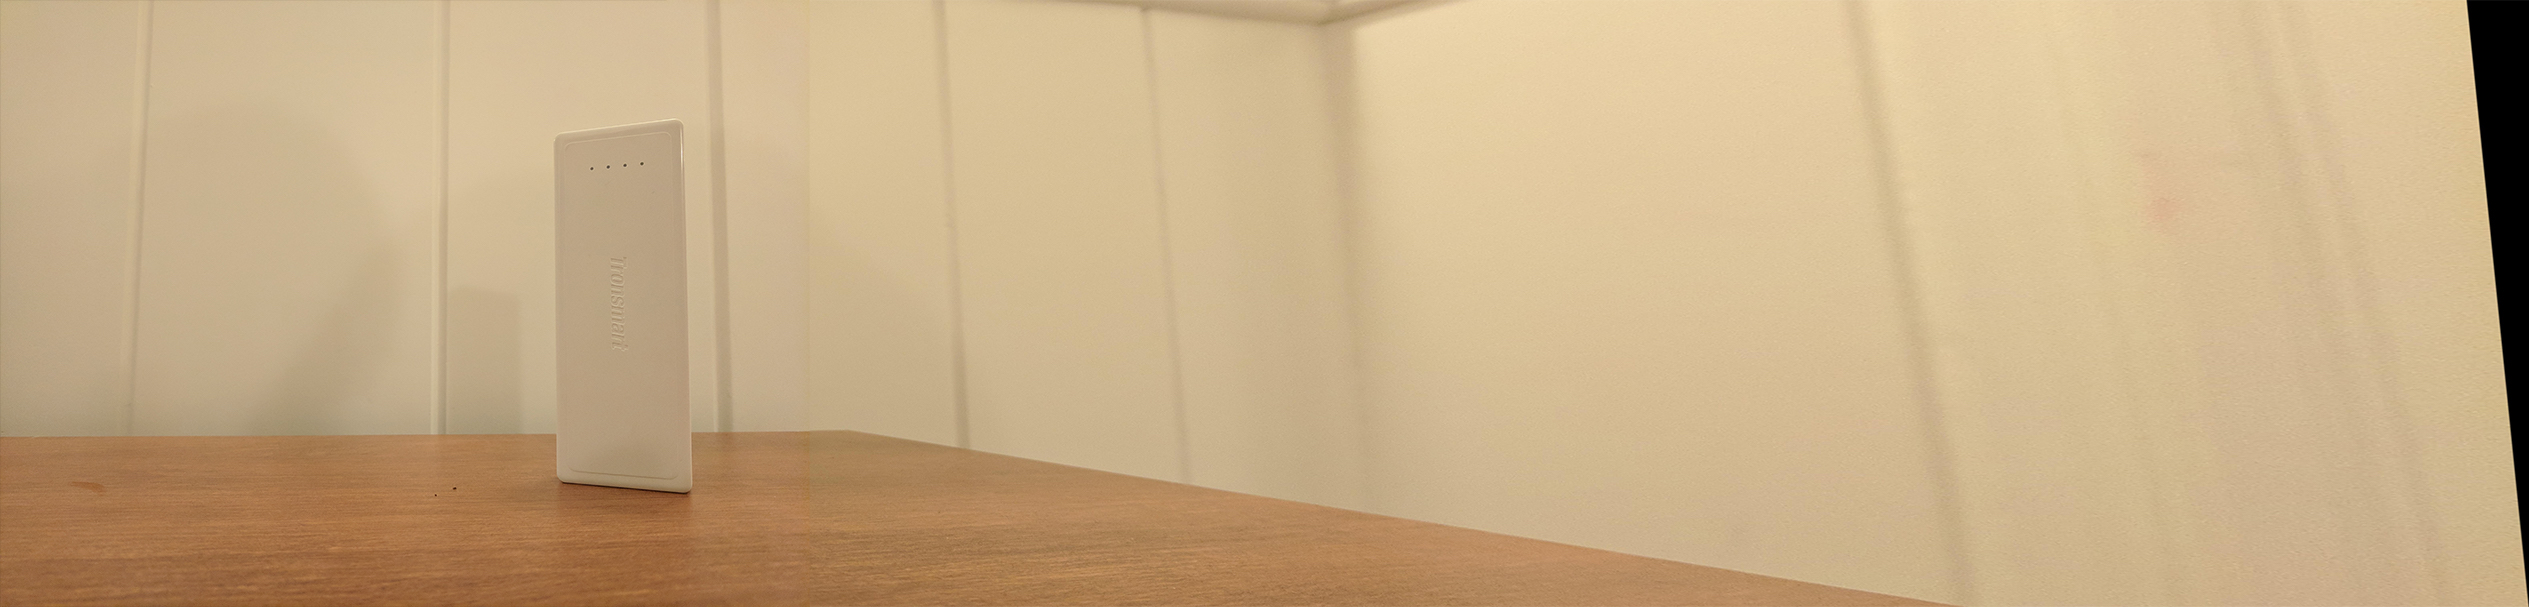 Mosaic naively stacked
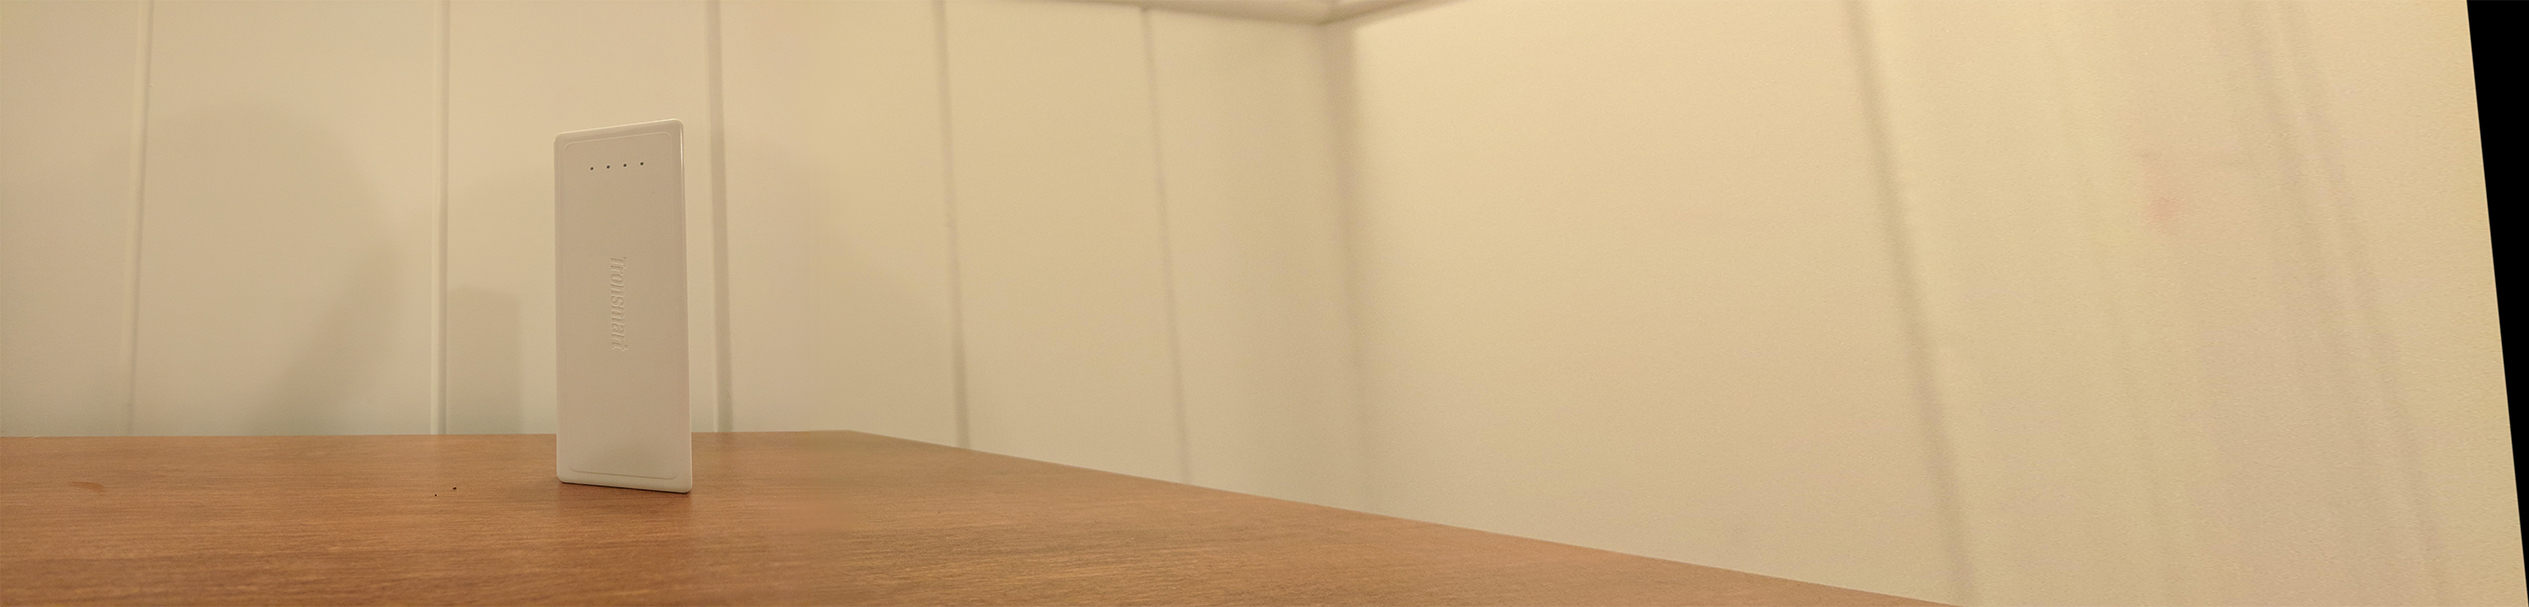 Mosaic linearly blended
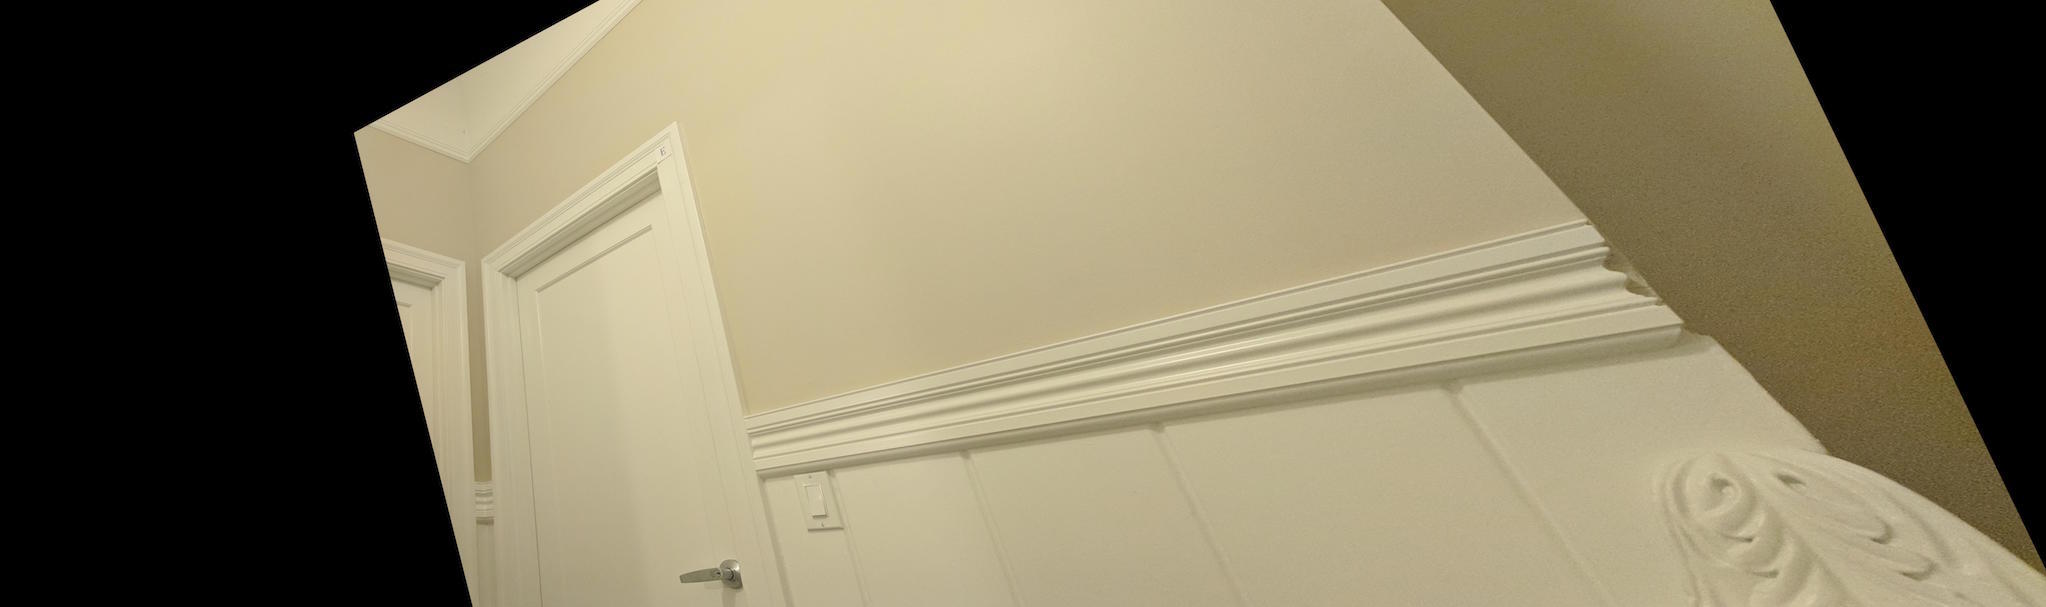 Doors right angle transformed
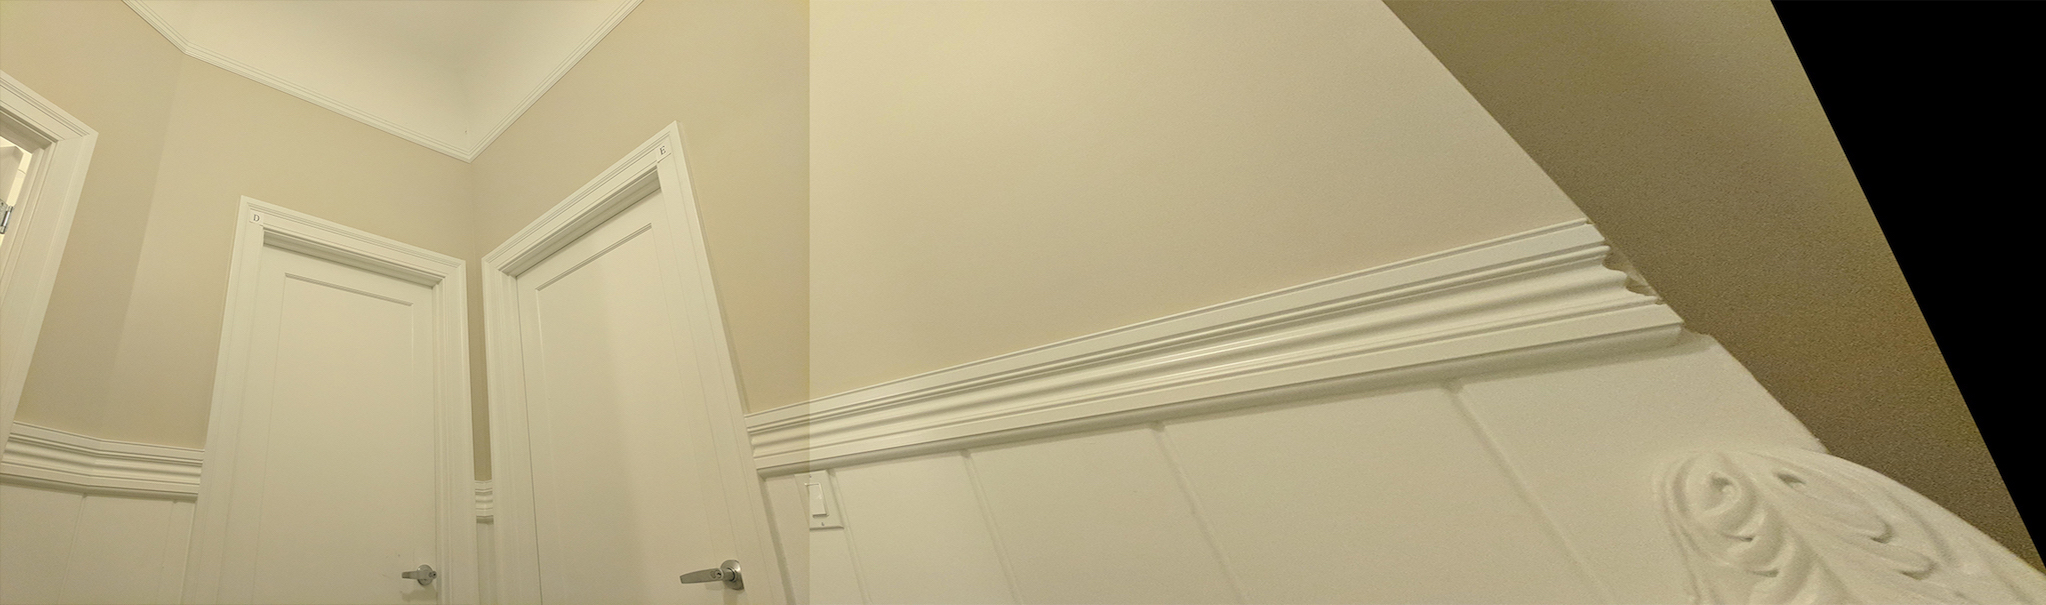 Mosaic naively stacked
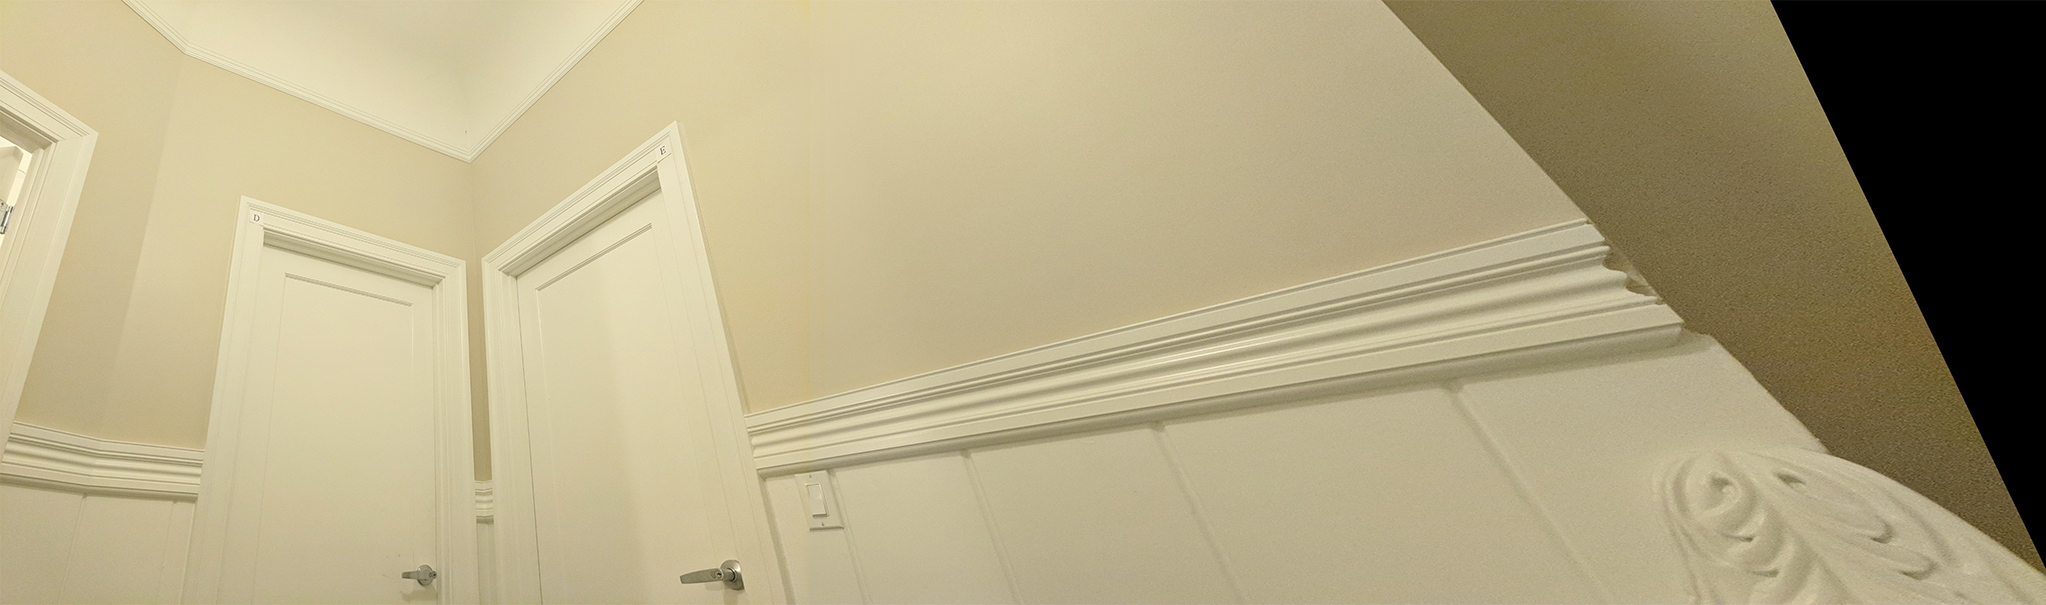 Mosaic linearly blended
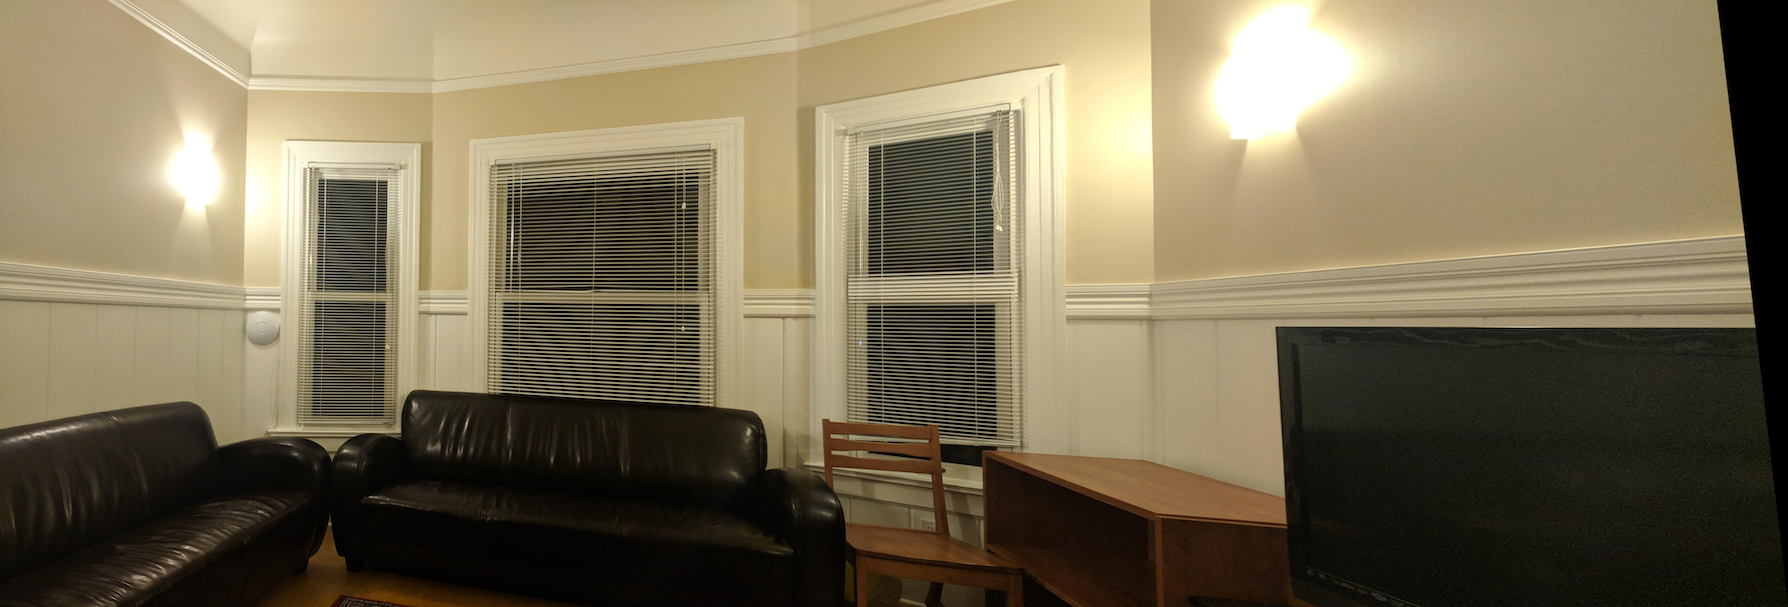 Mosaic naively stacked
 Mosaic linearly blended