When creating image mosaics or panoramas, a simple translation is not enough to align images because they are warped by a perspective transformation, tantamount to tilting the imaging plane in image space. In this part of the project, we aim to recover the transformation between successive images in the mosaic; this transformation is known as a homography.
Procedure
For each of my panoramas, I used 4 images side by side and warped all images to the perspective of the 3rd image from the left. To do this, we first compute a perspective transformation from each image to the perspective of the 3rd image; we then warp each image and an image mask accordingly to fit that perspective. Finally, we use weighted average blending with the appropriate image masks to combine the constituent images. All images were captured using a Sony Alpha-7 DSLR camera.
Detailed example: Rooftop 1
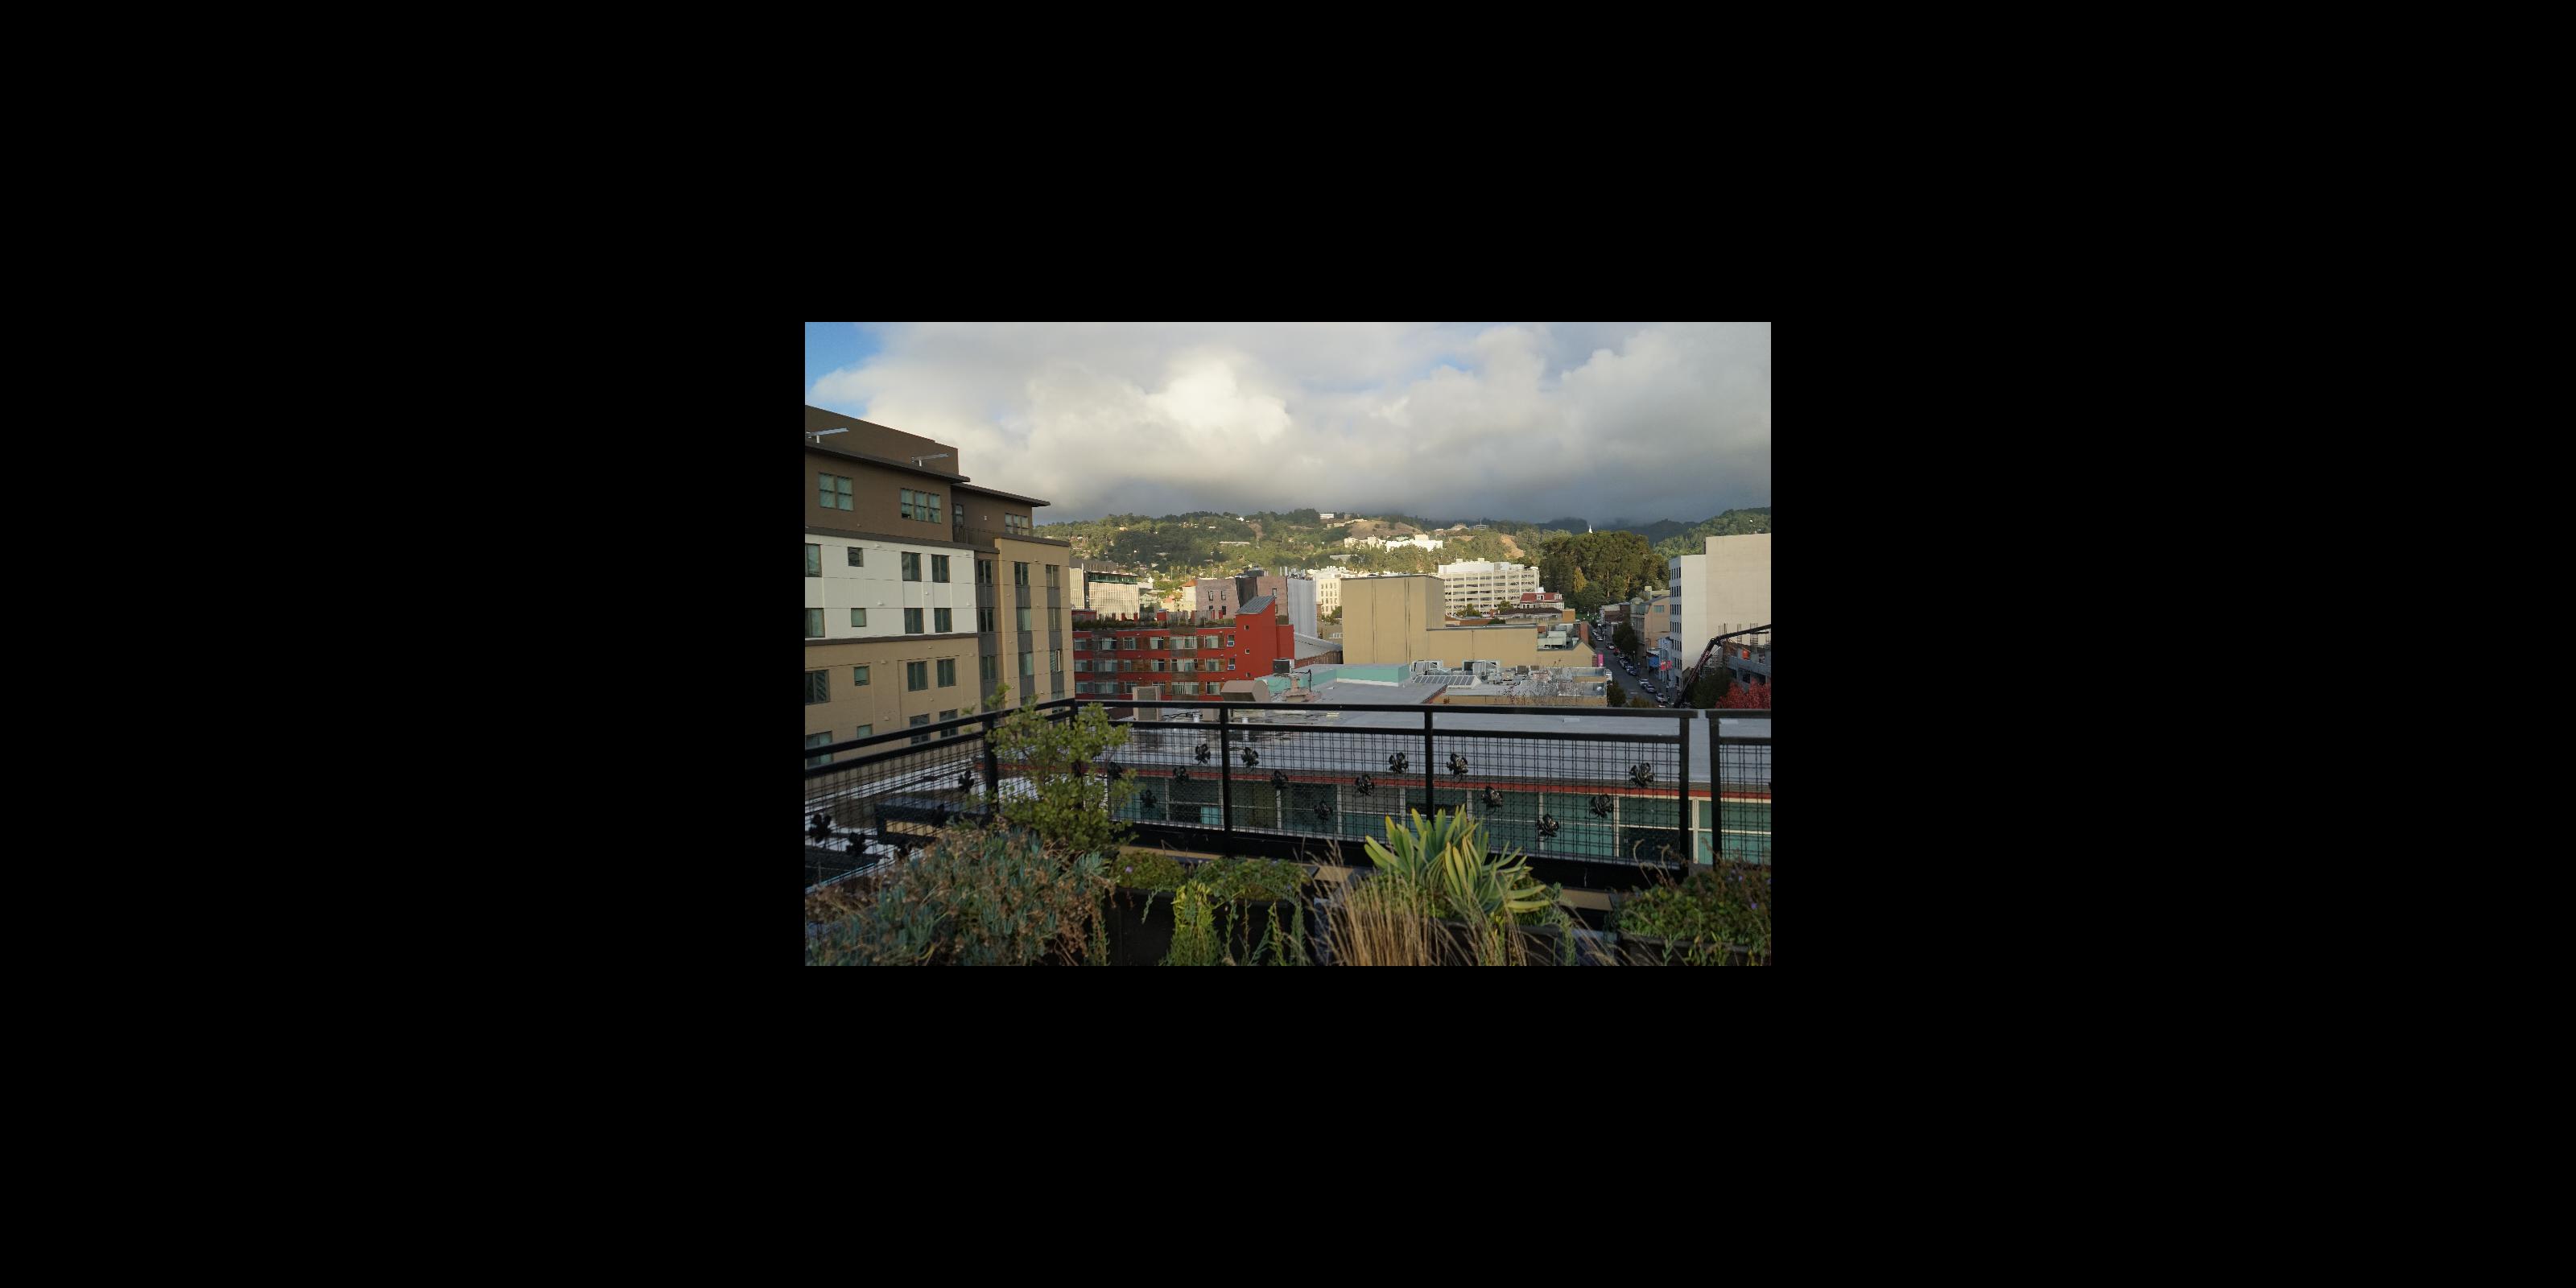
I did this panorama from the roof of my apartment building. First, to allow the warping to move images side to side, I needed to guess a zero-padding level (in this case, about 1000 left/right and 400 top/bottom).
One of the zero-padded images.
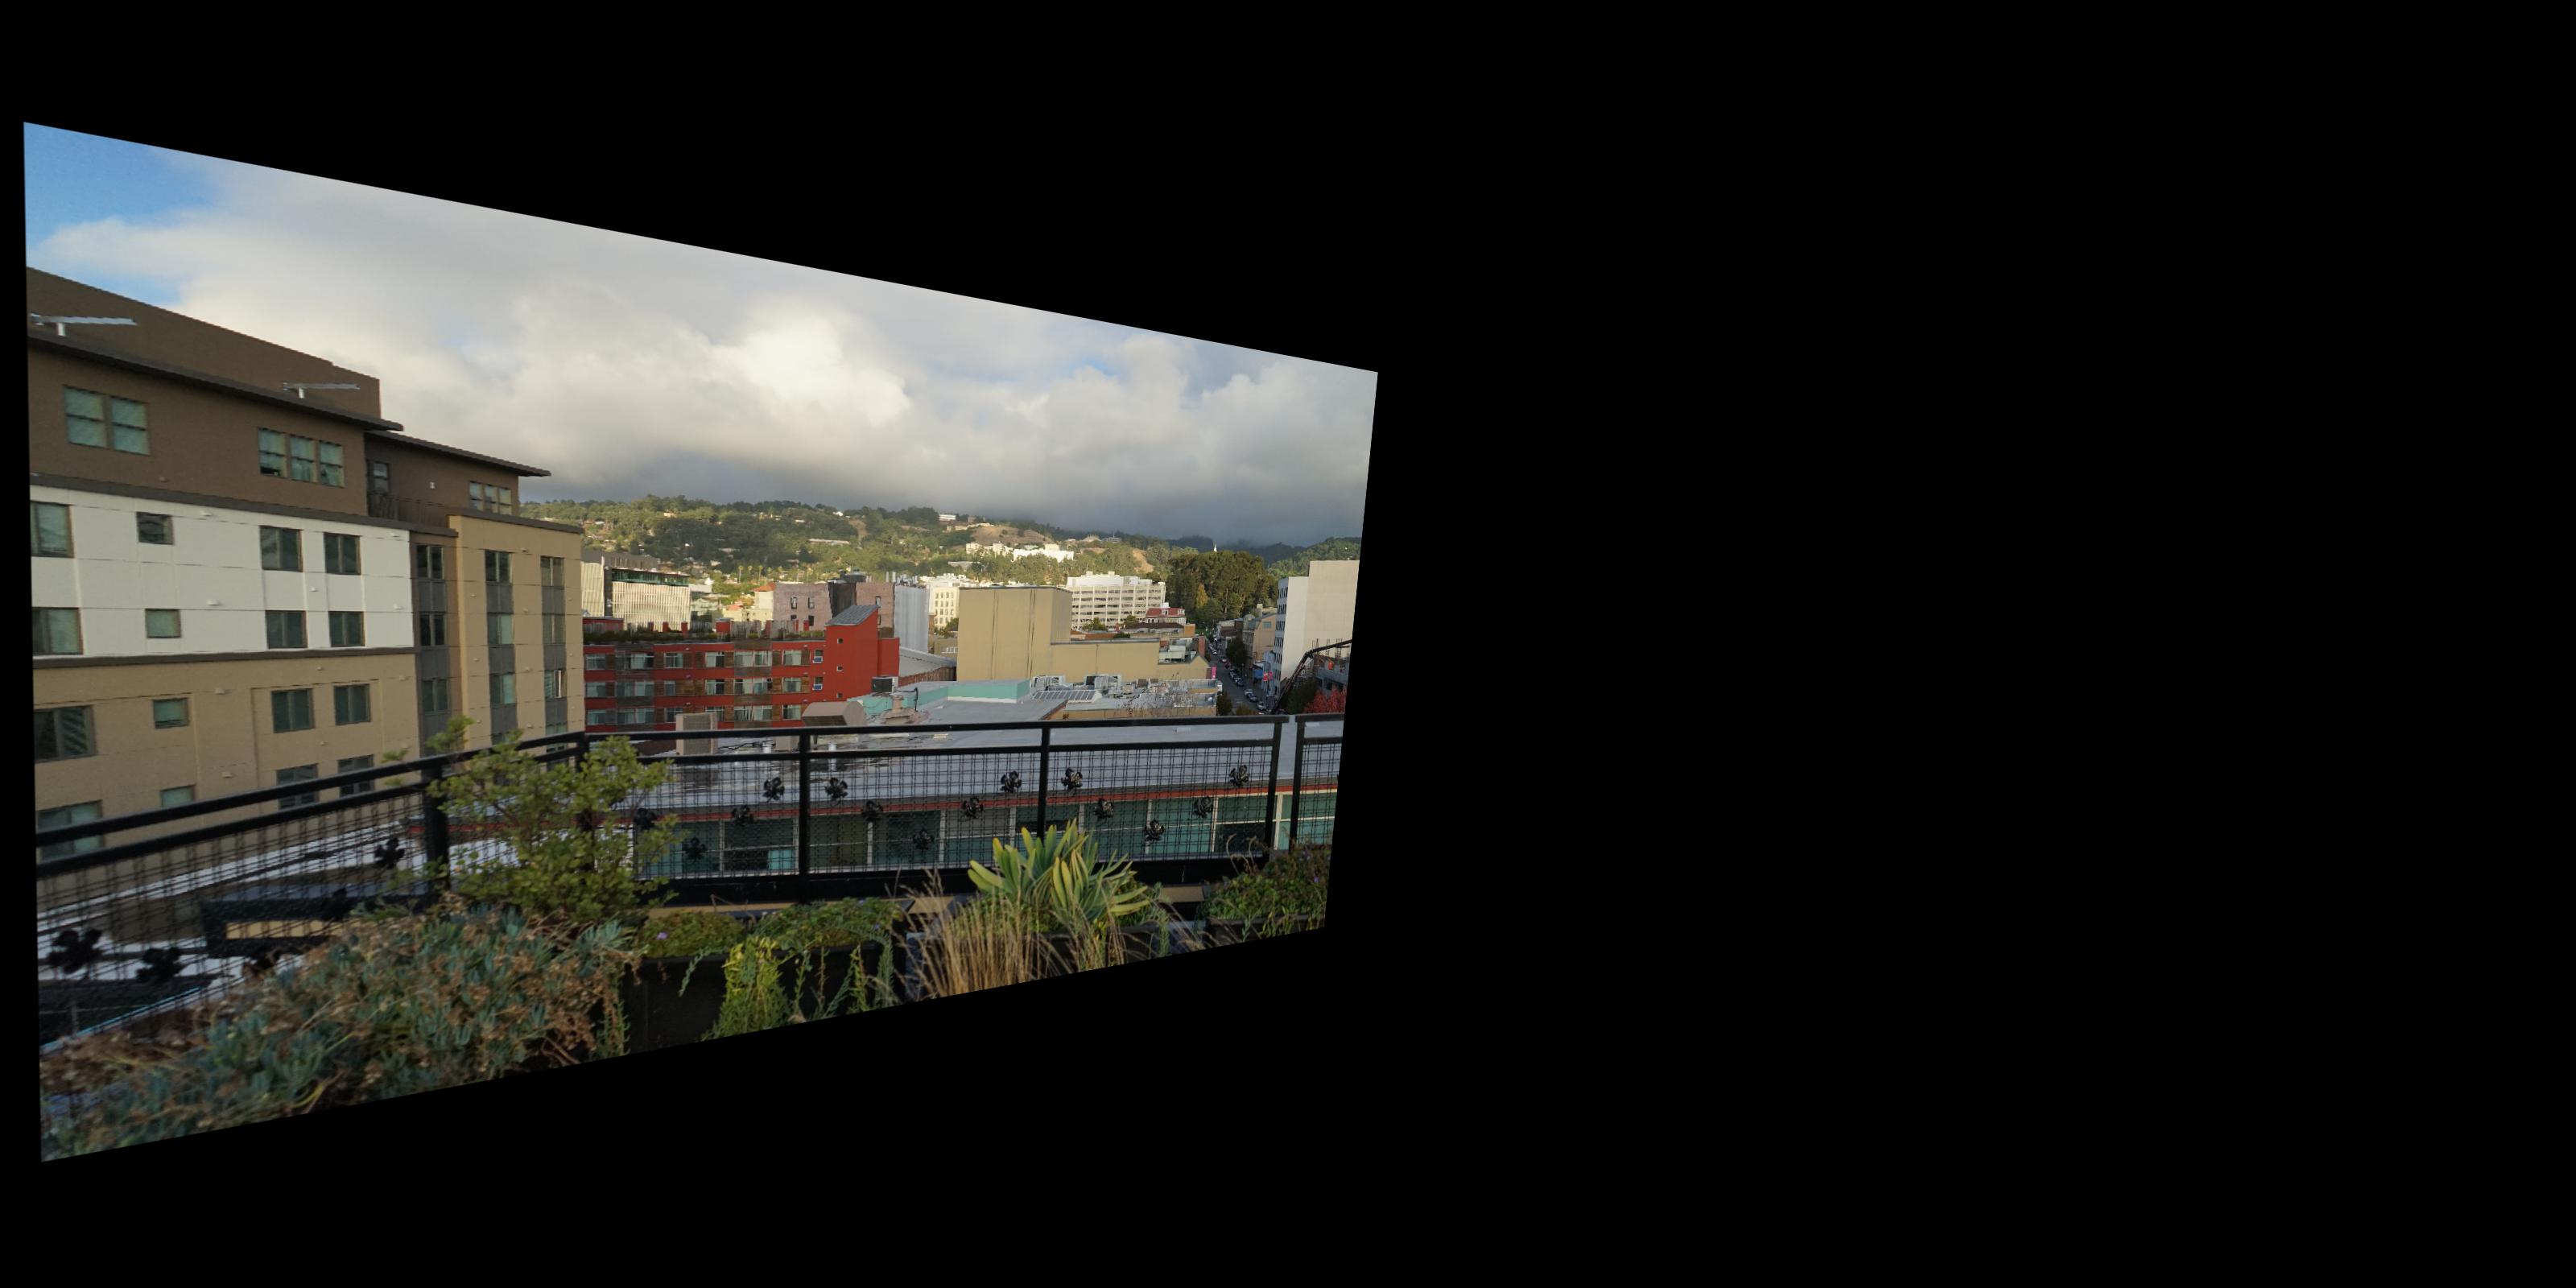
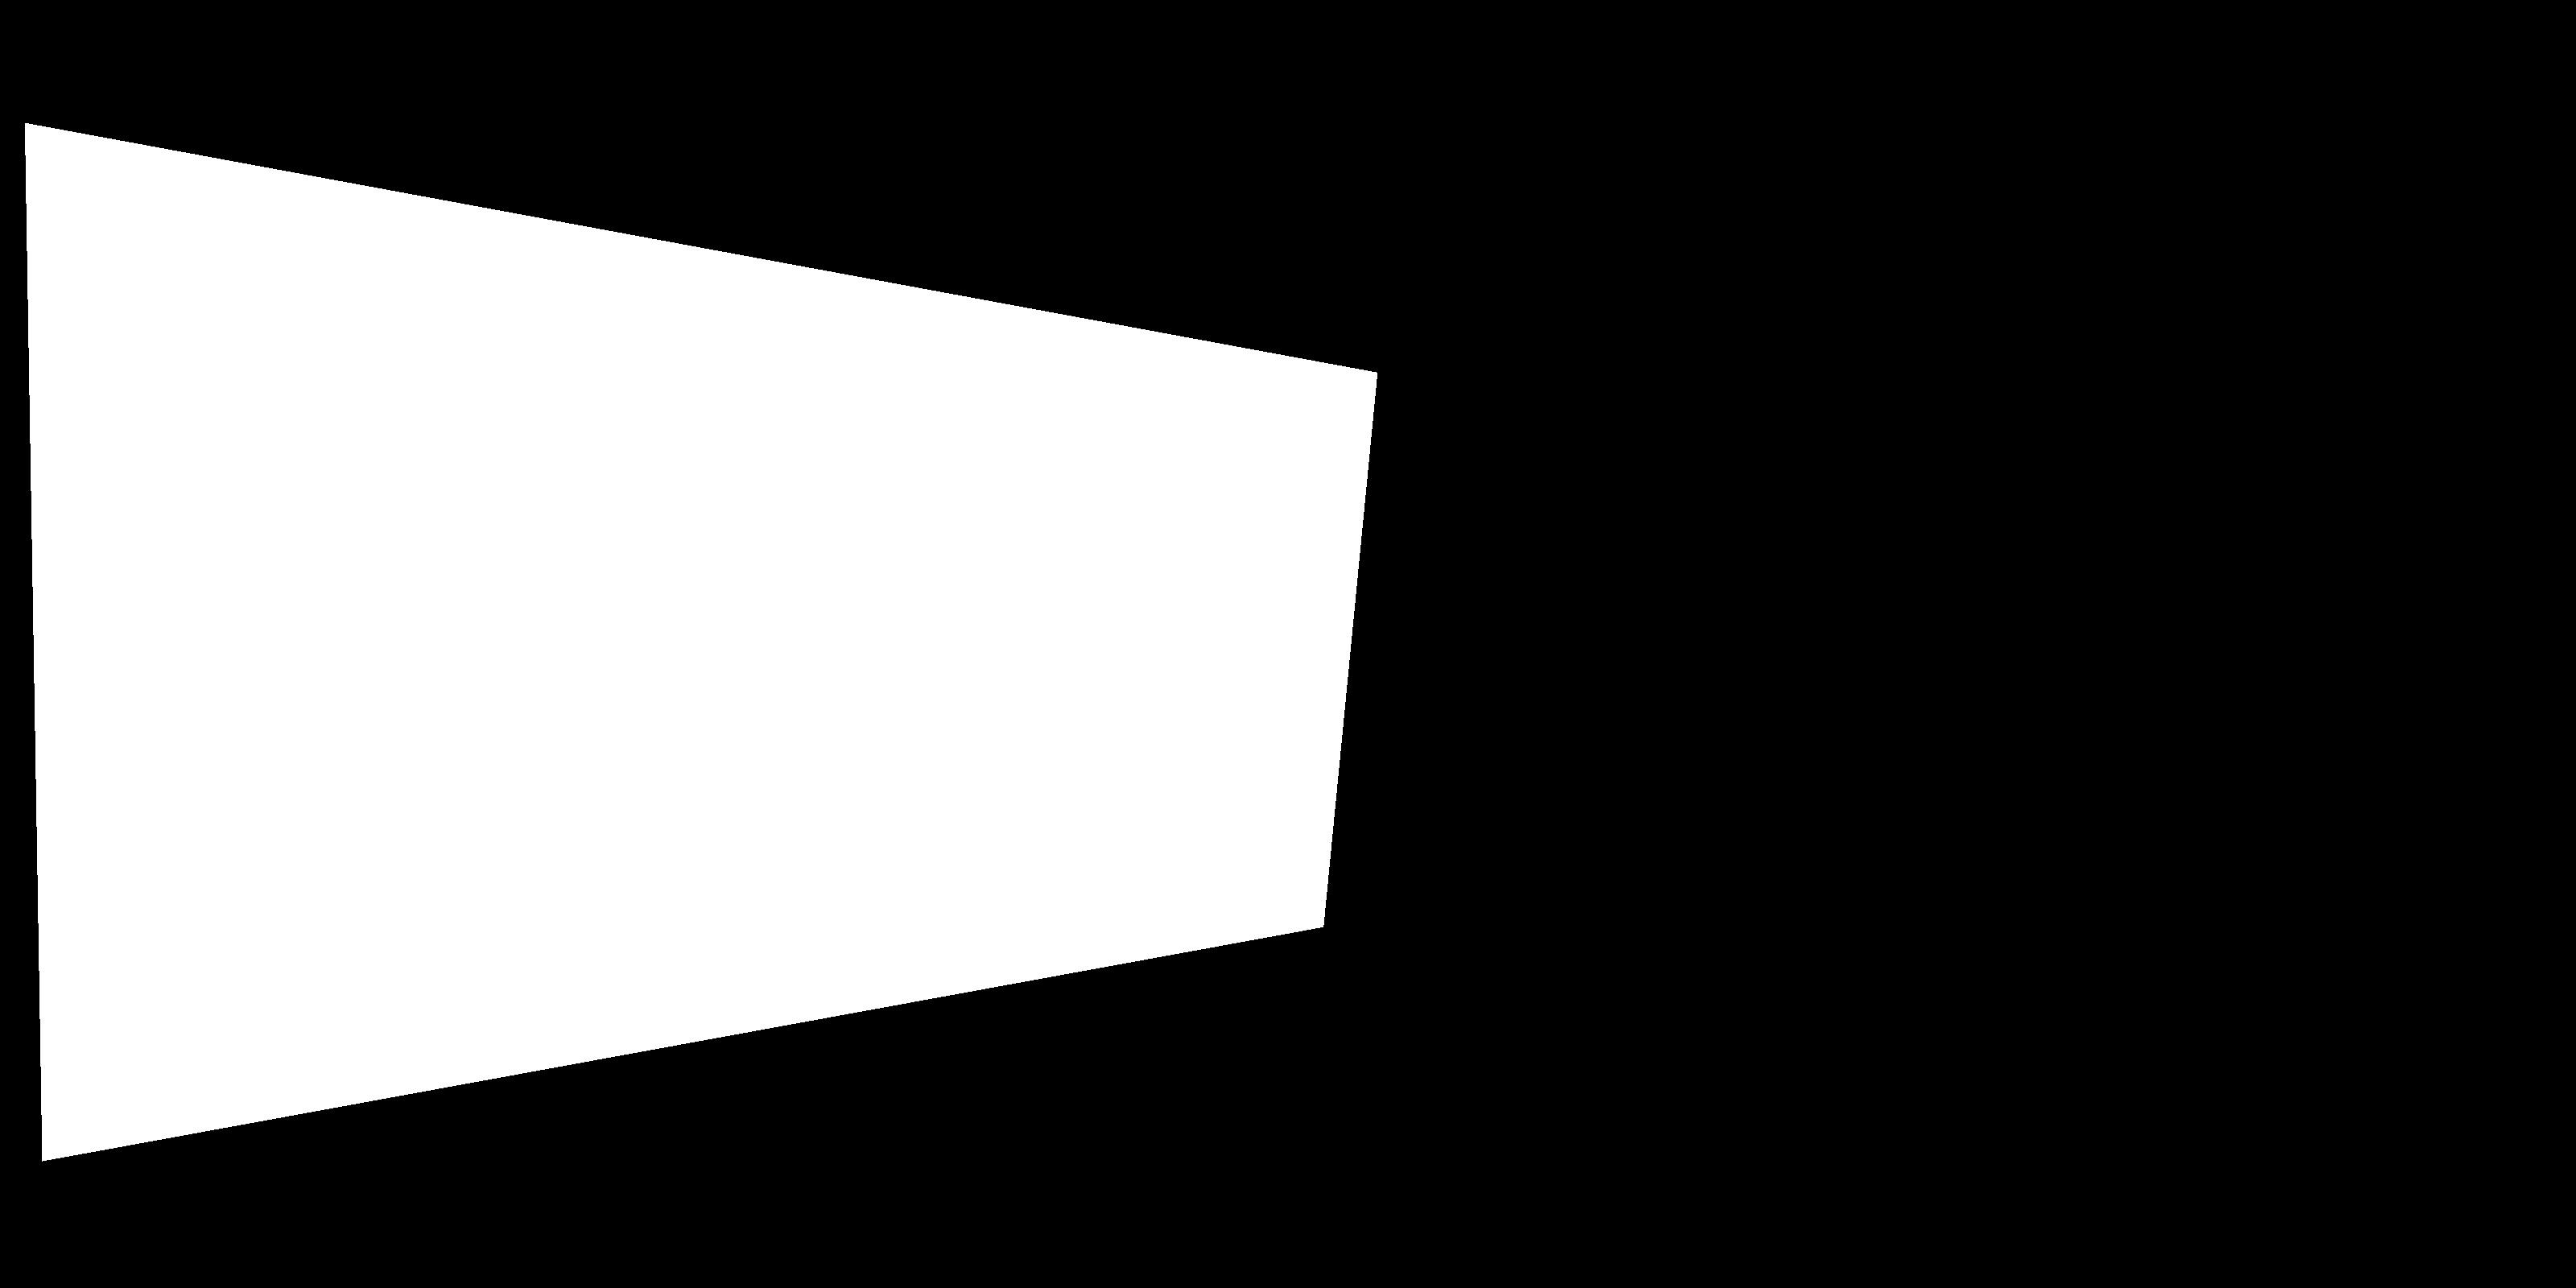
I generate a mask of this shape (all 1s where the image is, 0 on the zero-padding.) I compute a homography to the center image, and warp the image and the mask.
Warped image.Warped mask.
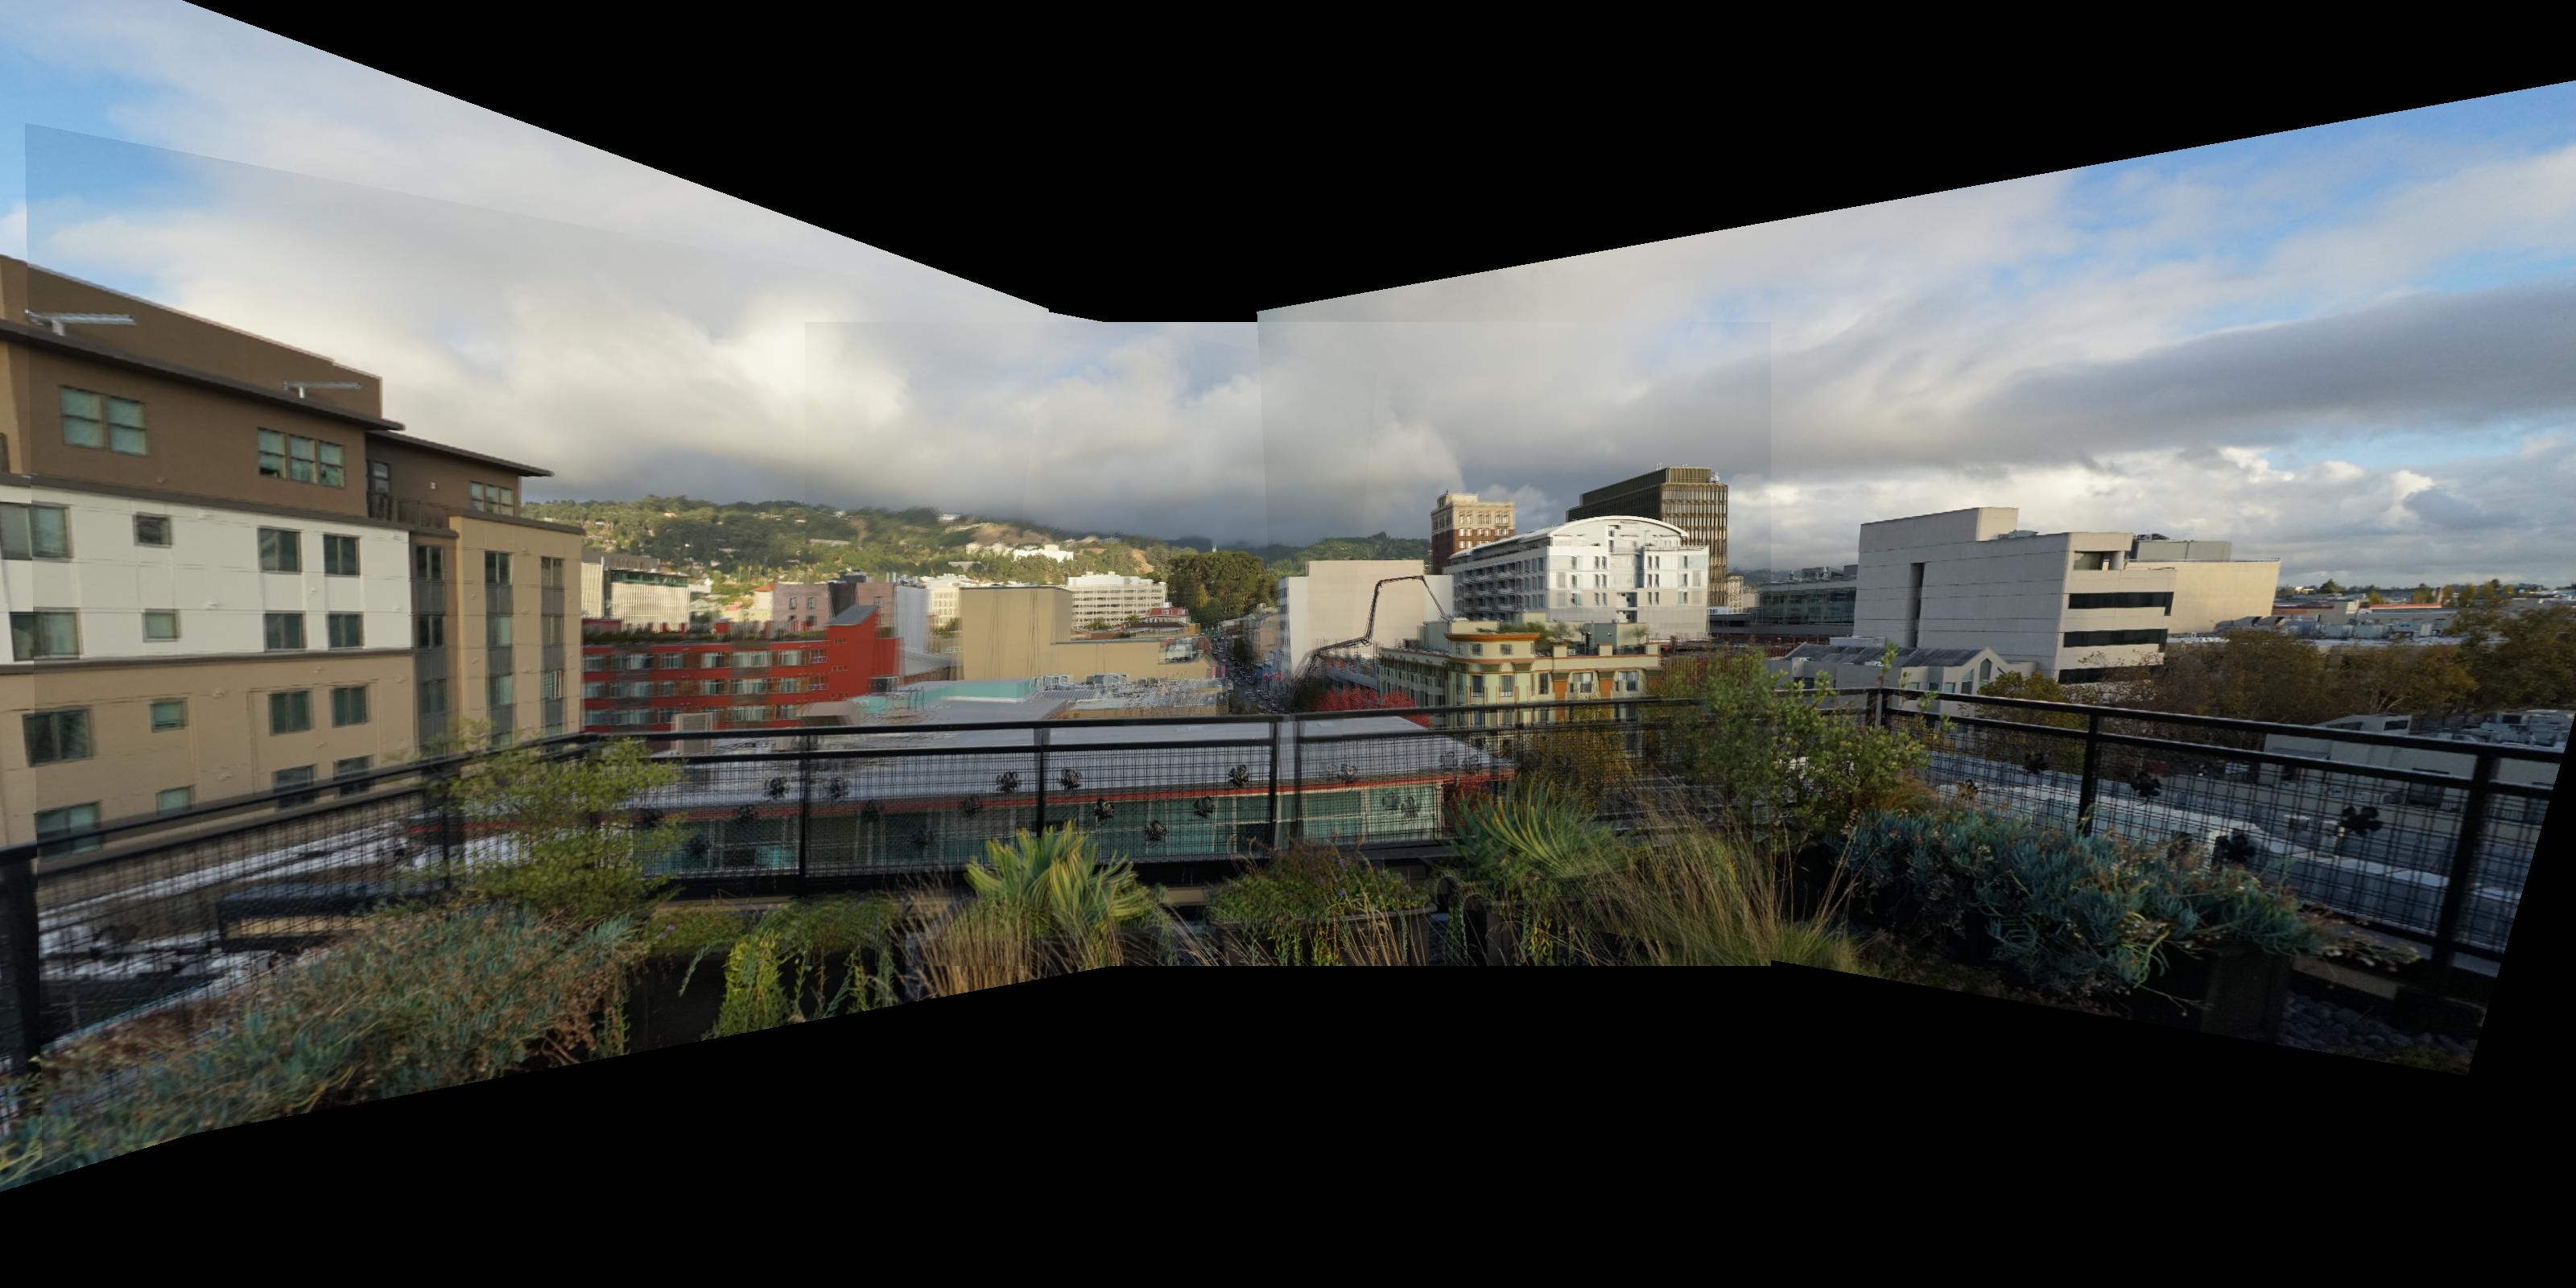
Finally, I combine the images together using the masks. To do this, I compute the sum of all the masks, invert all the non-zero values (so any place where 2 images overlaps gets the value 0.5, 3 images gets 1/3, etc.) I then multiply this mask with the image masks to get intersection masks, and sum the images with these final intersection masks.
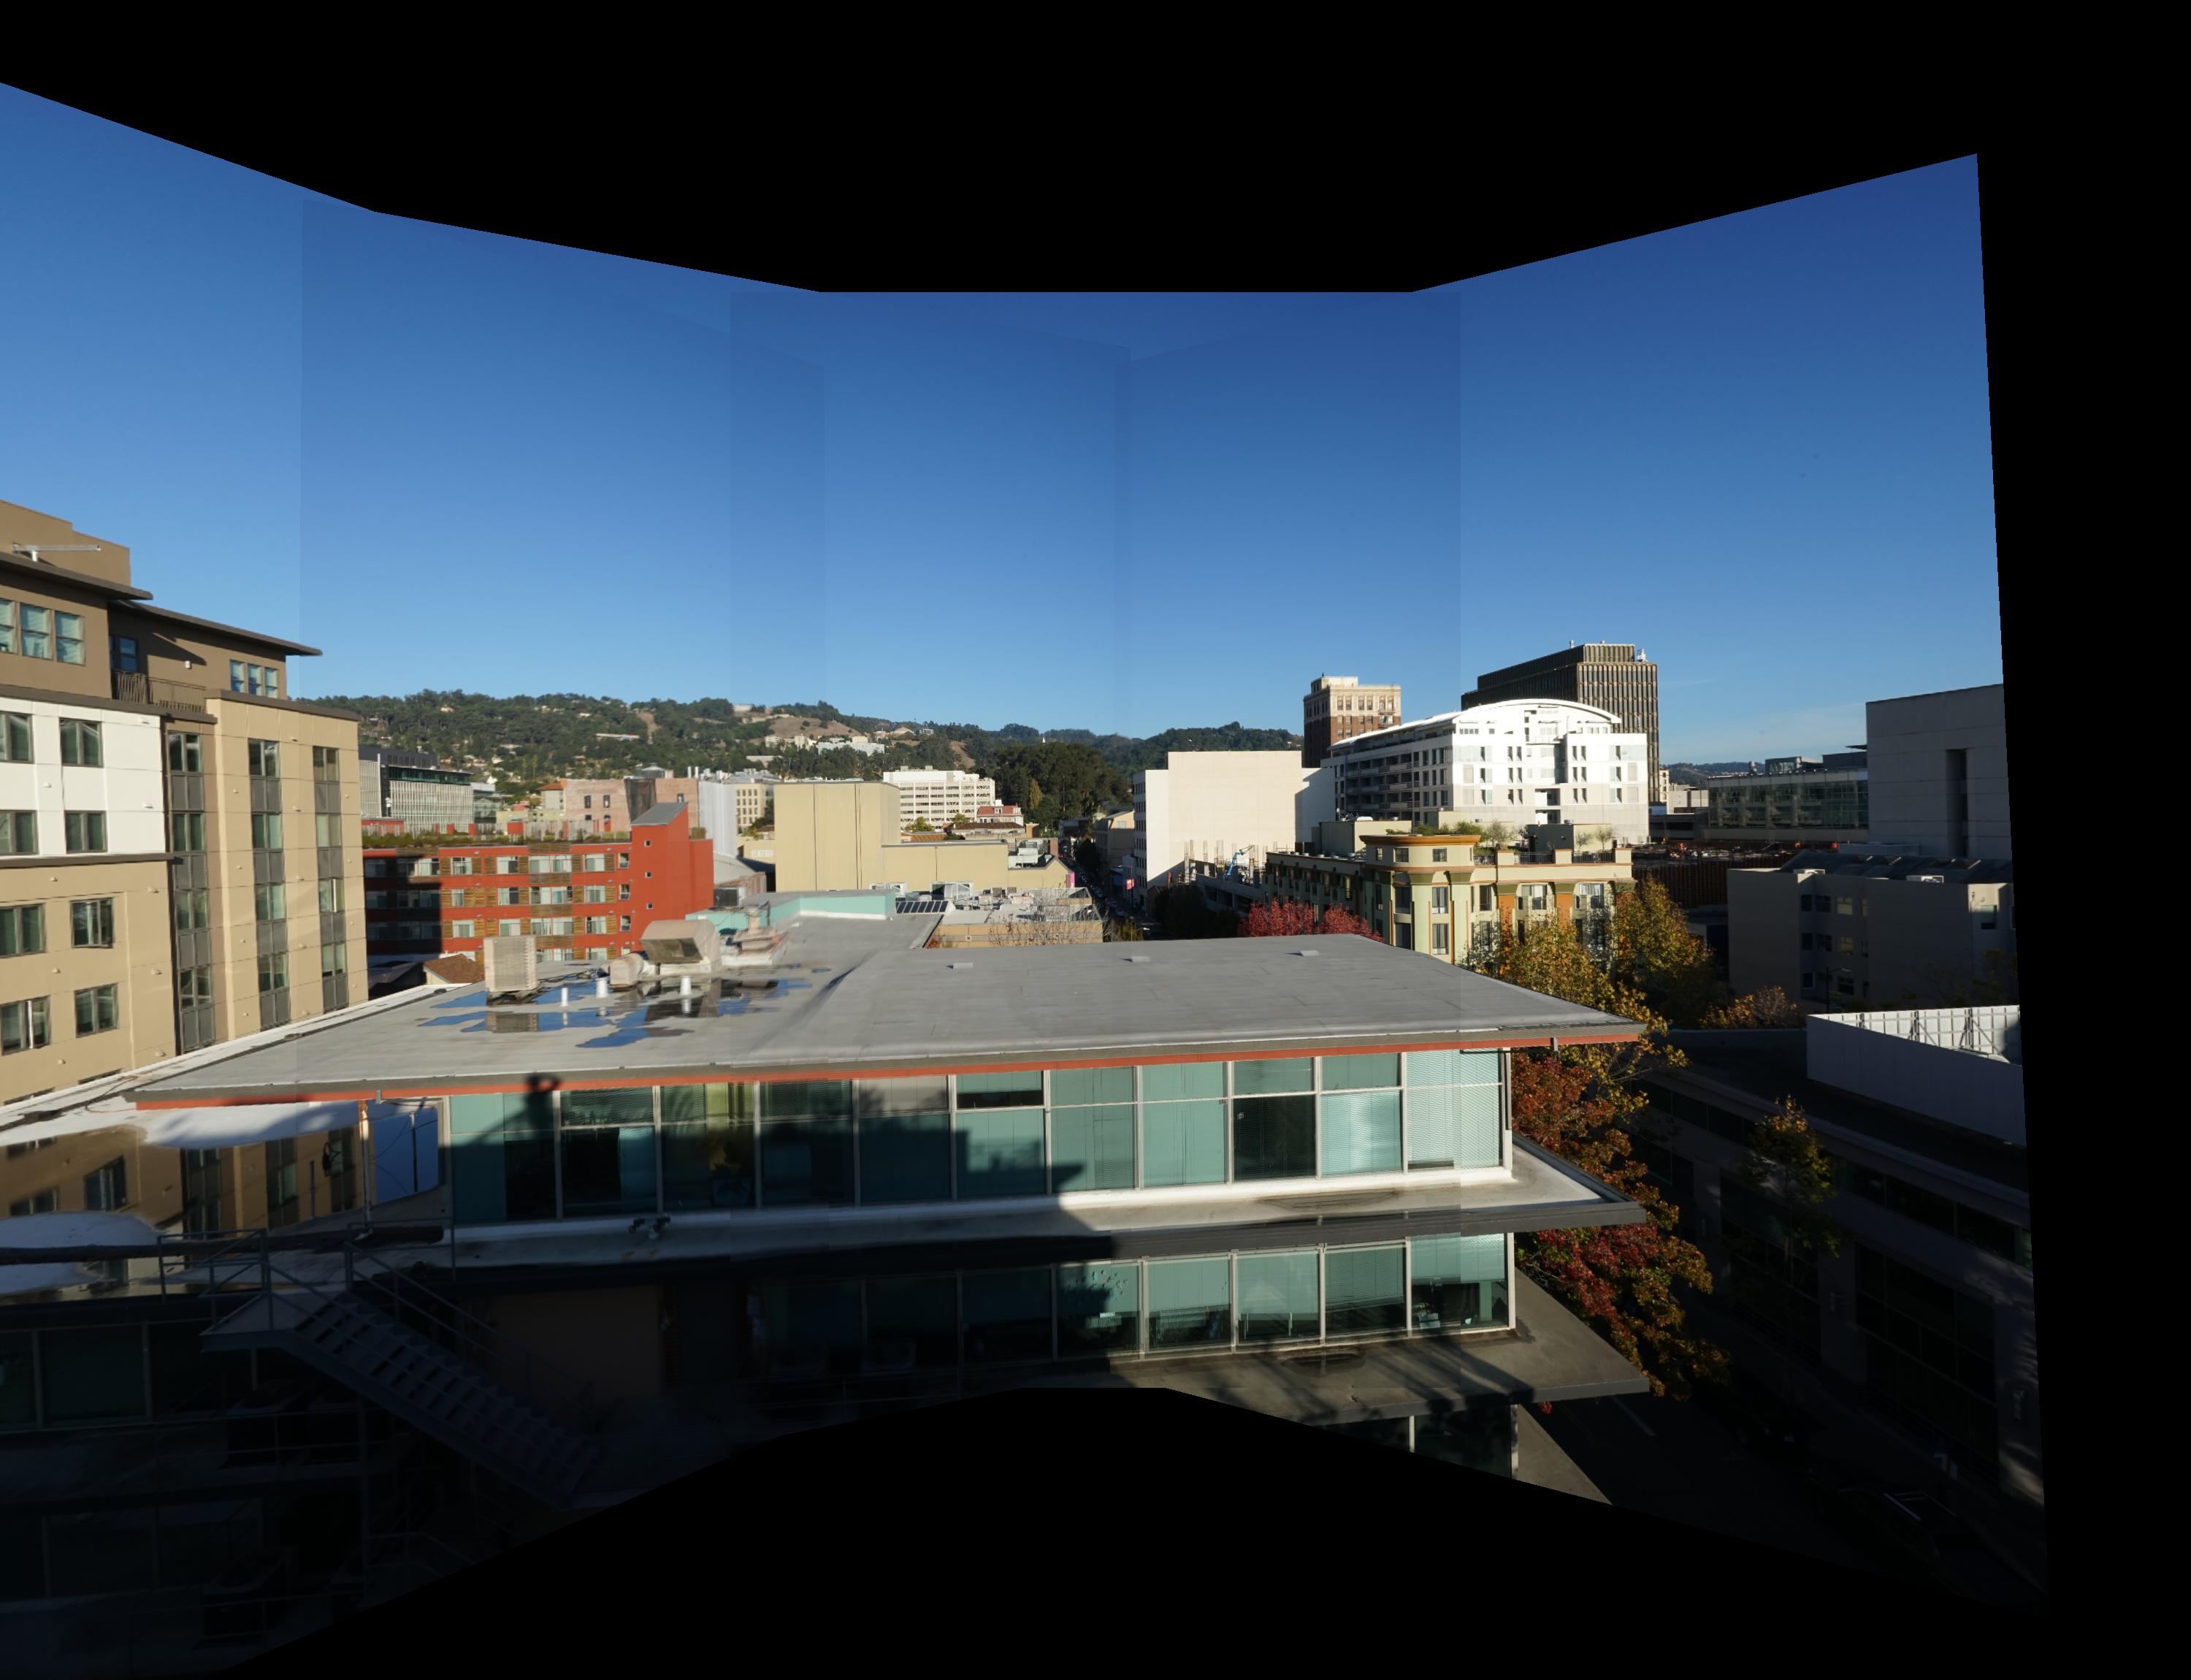
Final panorama. There is a little bit of alignment error, but overall this turned out well. Some of the leftmost image is cut off on the left side due to the image's dimensions ballooning in size after the transformation.
More examples: West Circle
I tried another panorama at West Circle. This one was not as easy to find good correspondences for; the rooftop panorama had a lot of corners and other features that made correspondence labeling easy. Nevertheless, results were similar in quality.
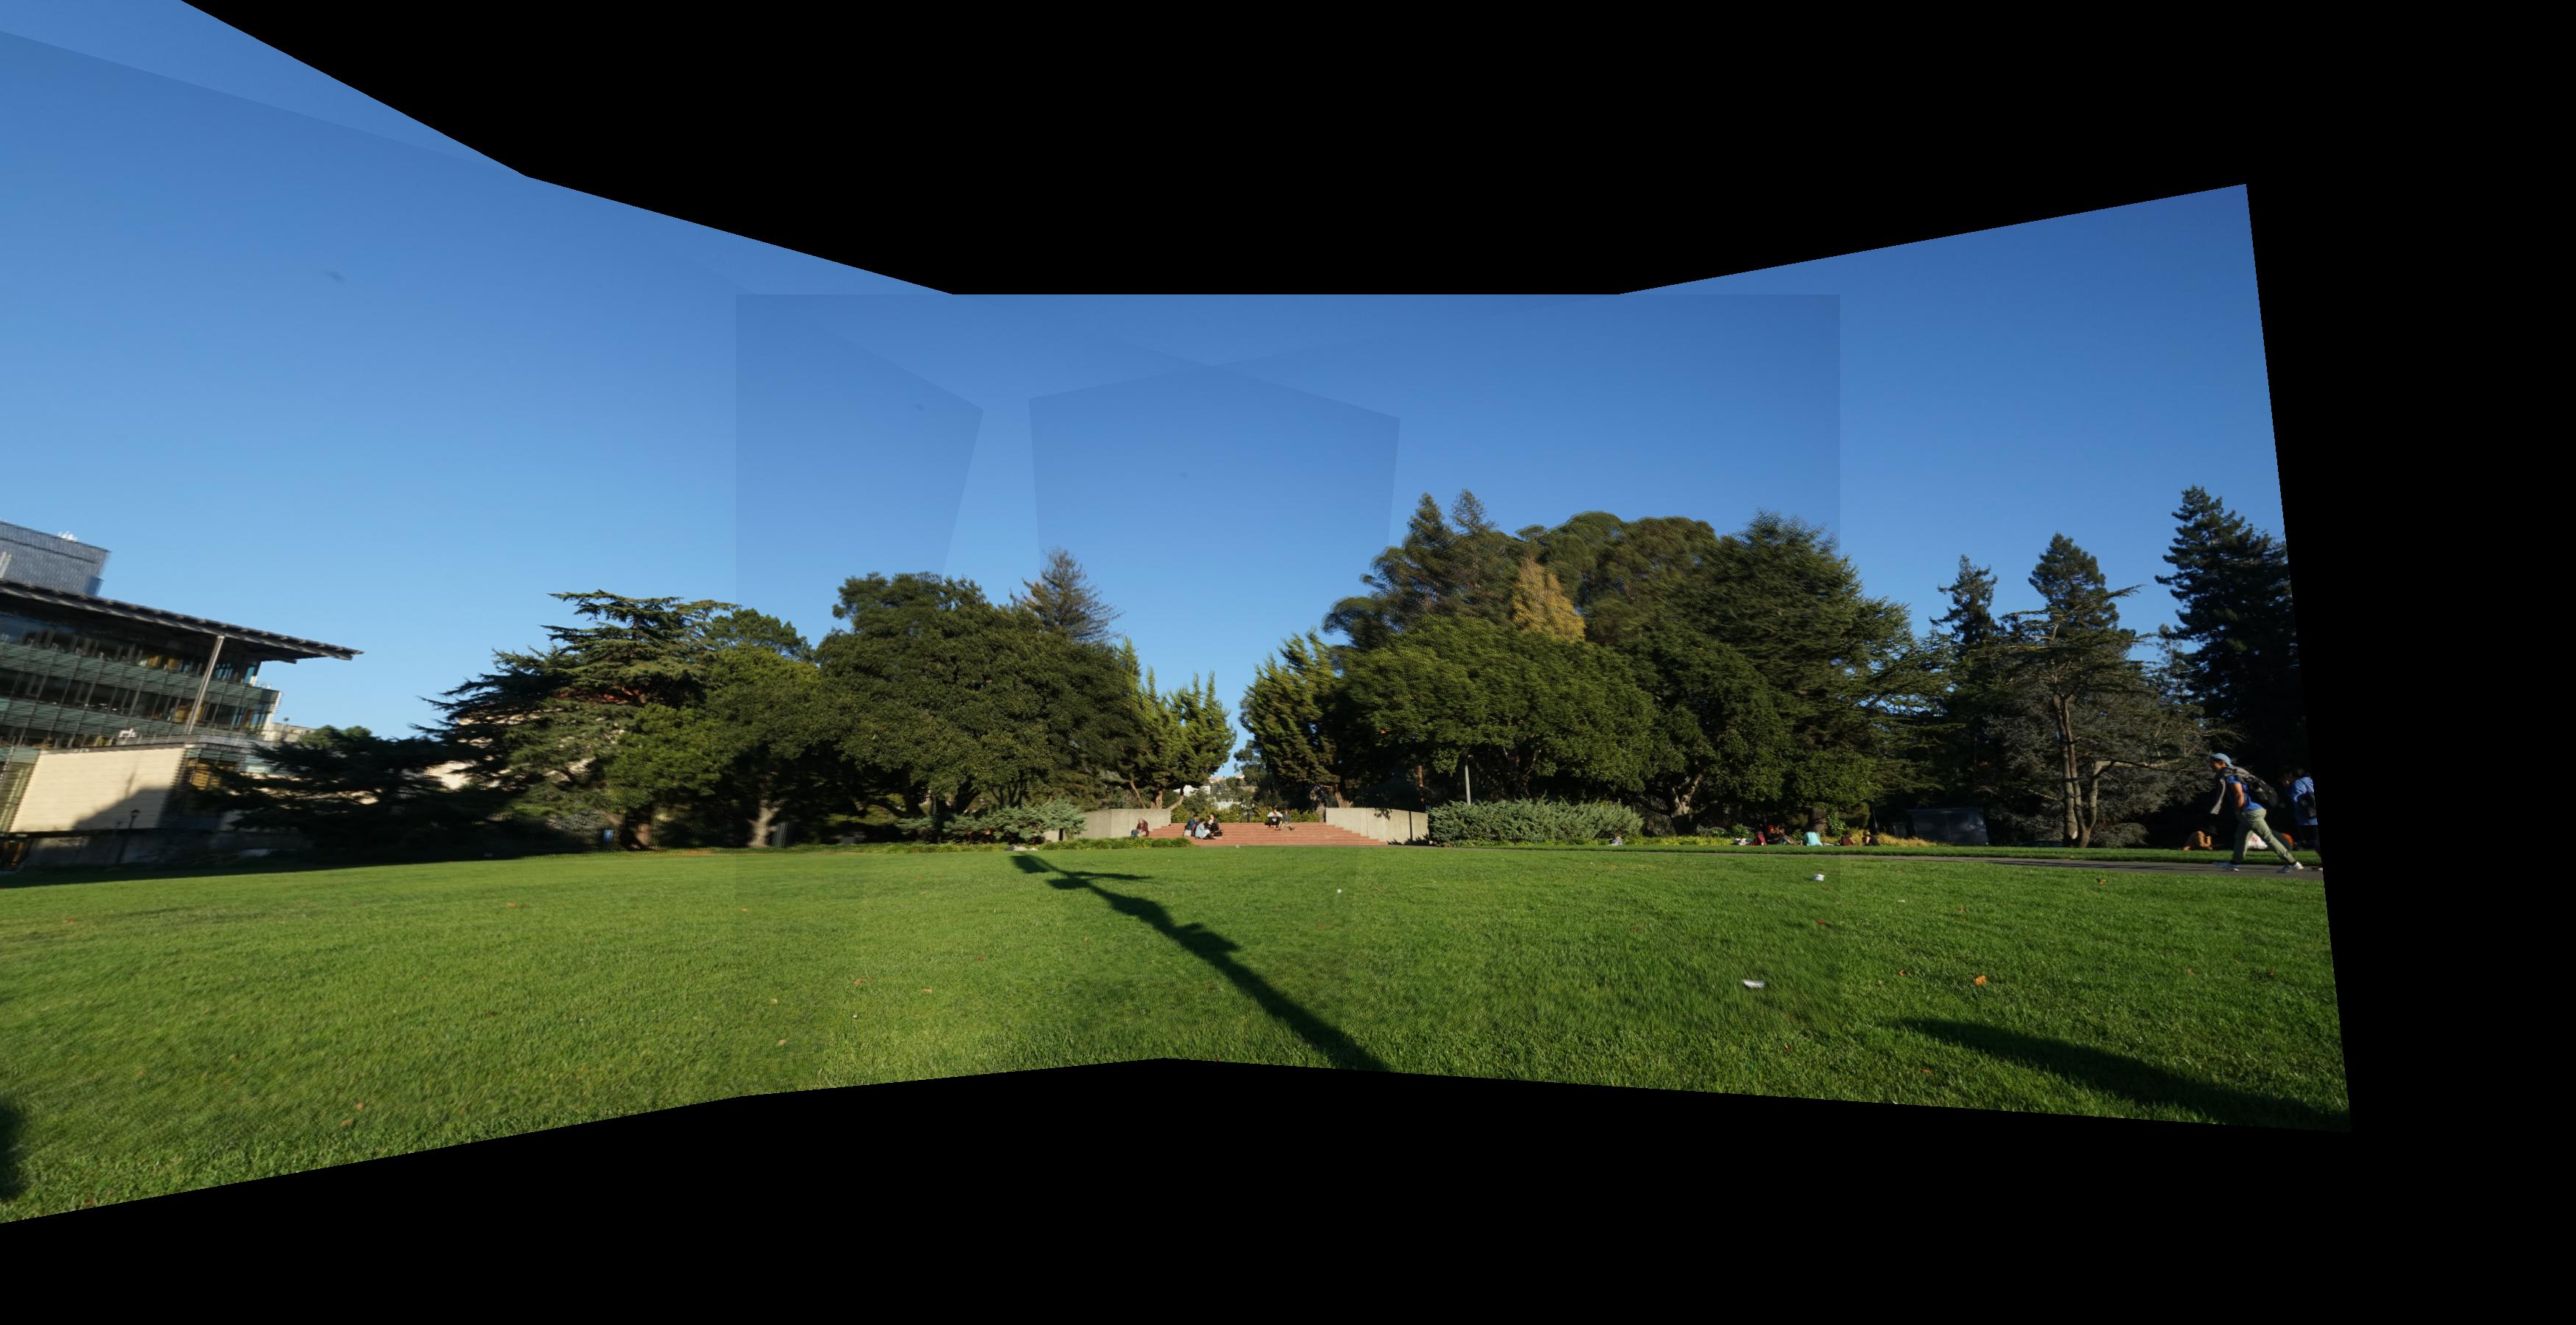
Final panorama. I took the images fast enough that the people didn't move much between shots.
Final example: Revisiting the rooftop picture
For my last panorama, I decided to revisit the rooftop picture with a couple of adjustments. First, I realized that I had automatic white balance and some dynamic range features active on my camera, which made it tricky to get images of equal brightness. I turned these off for this second panorama. Additionally, I decided to try taking the images in portrait instead of landscape orientation. This actually provided a few benefits:
The images aligned way better than the previous ones. I suspect this had to do with having more overlap area (larger vertical dimension).
Much more of the images actually fit into the frame without me needing to add obnoxious amounts of zero-padding.
Lastly, I improved these images by being much more cautious with rotating the camera, making sure I had no translation going on. I also moved my viewpoint forward to remove the railings from the images; I think relying on them for correspondences was magnifying the translation errors, because they were closer to the camera.
Final panorama. First attempt at rooftop, for comparison.