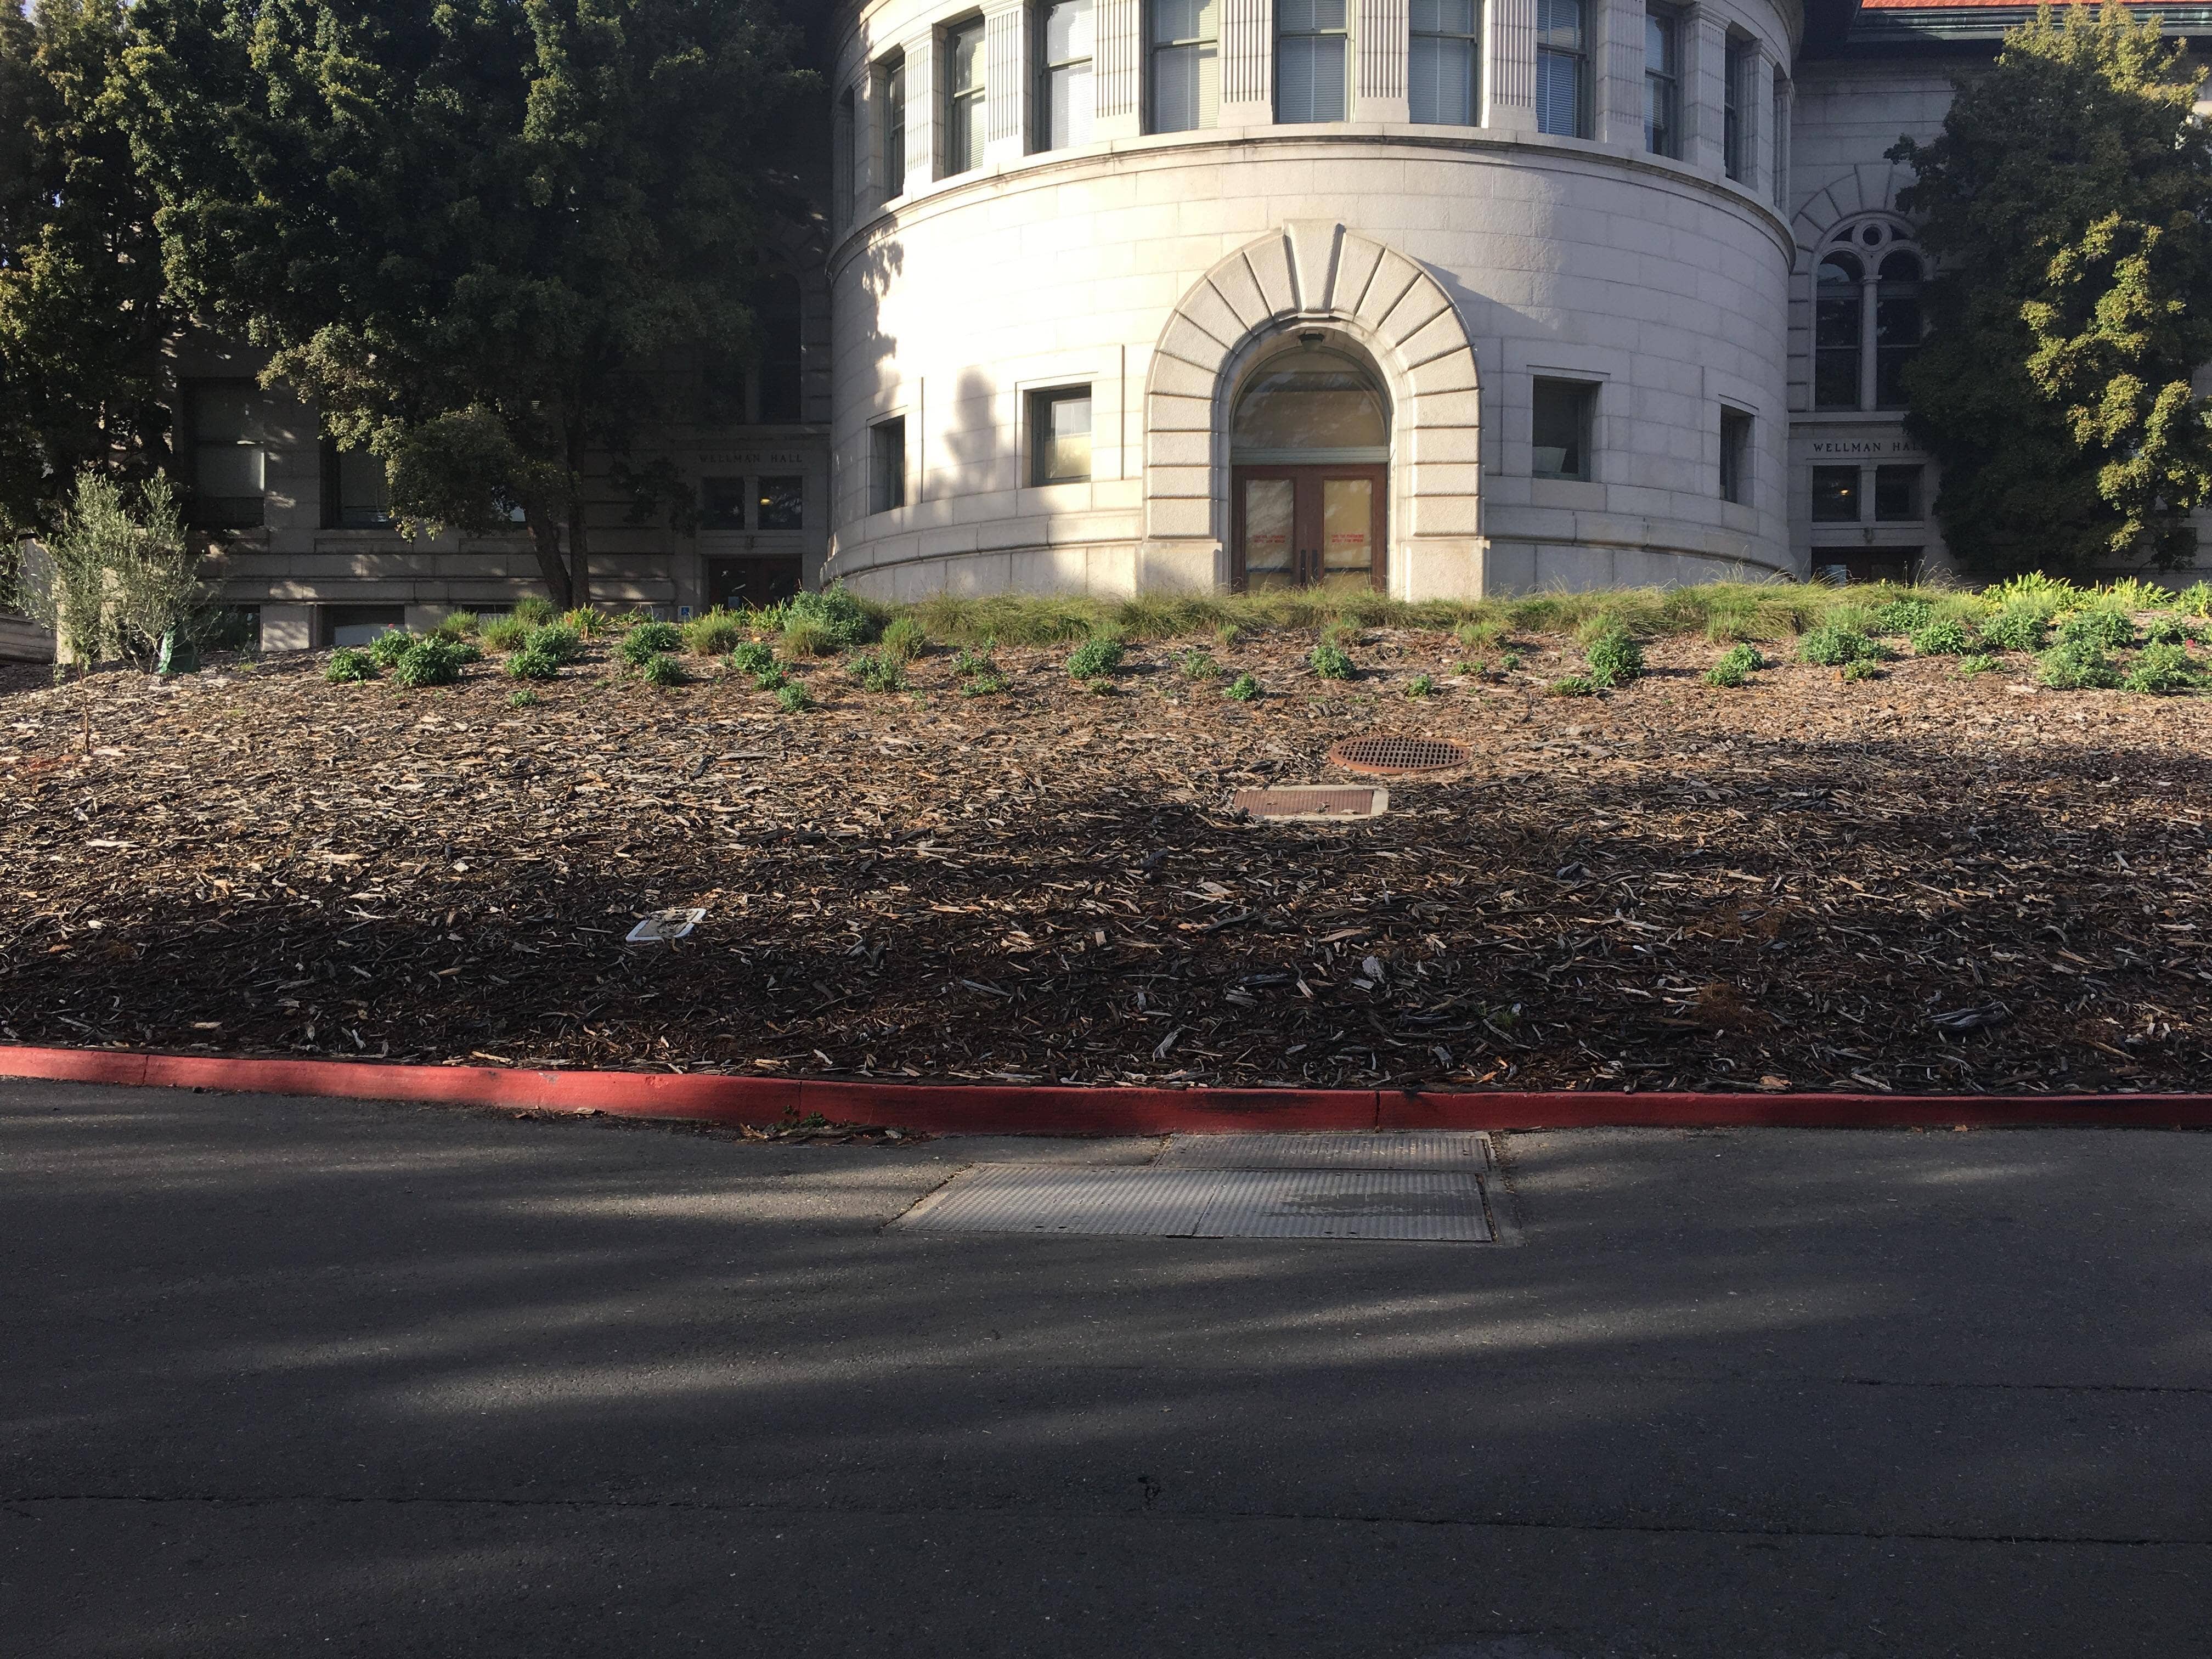
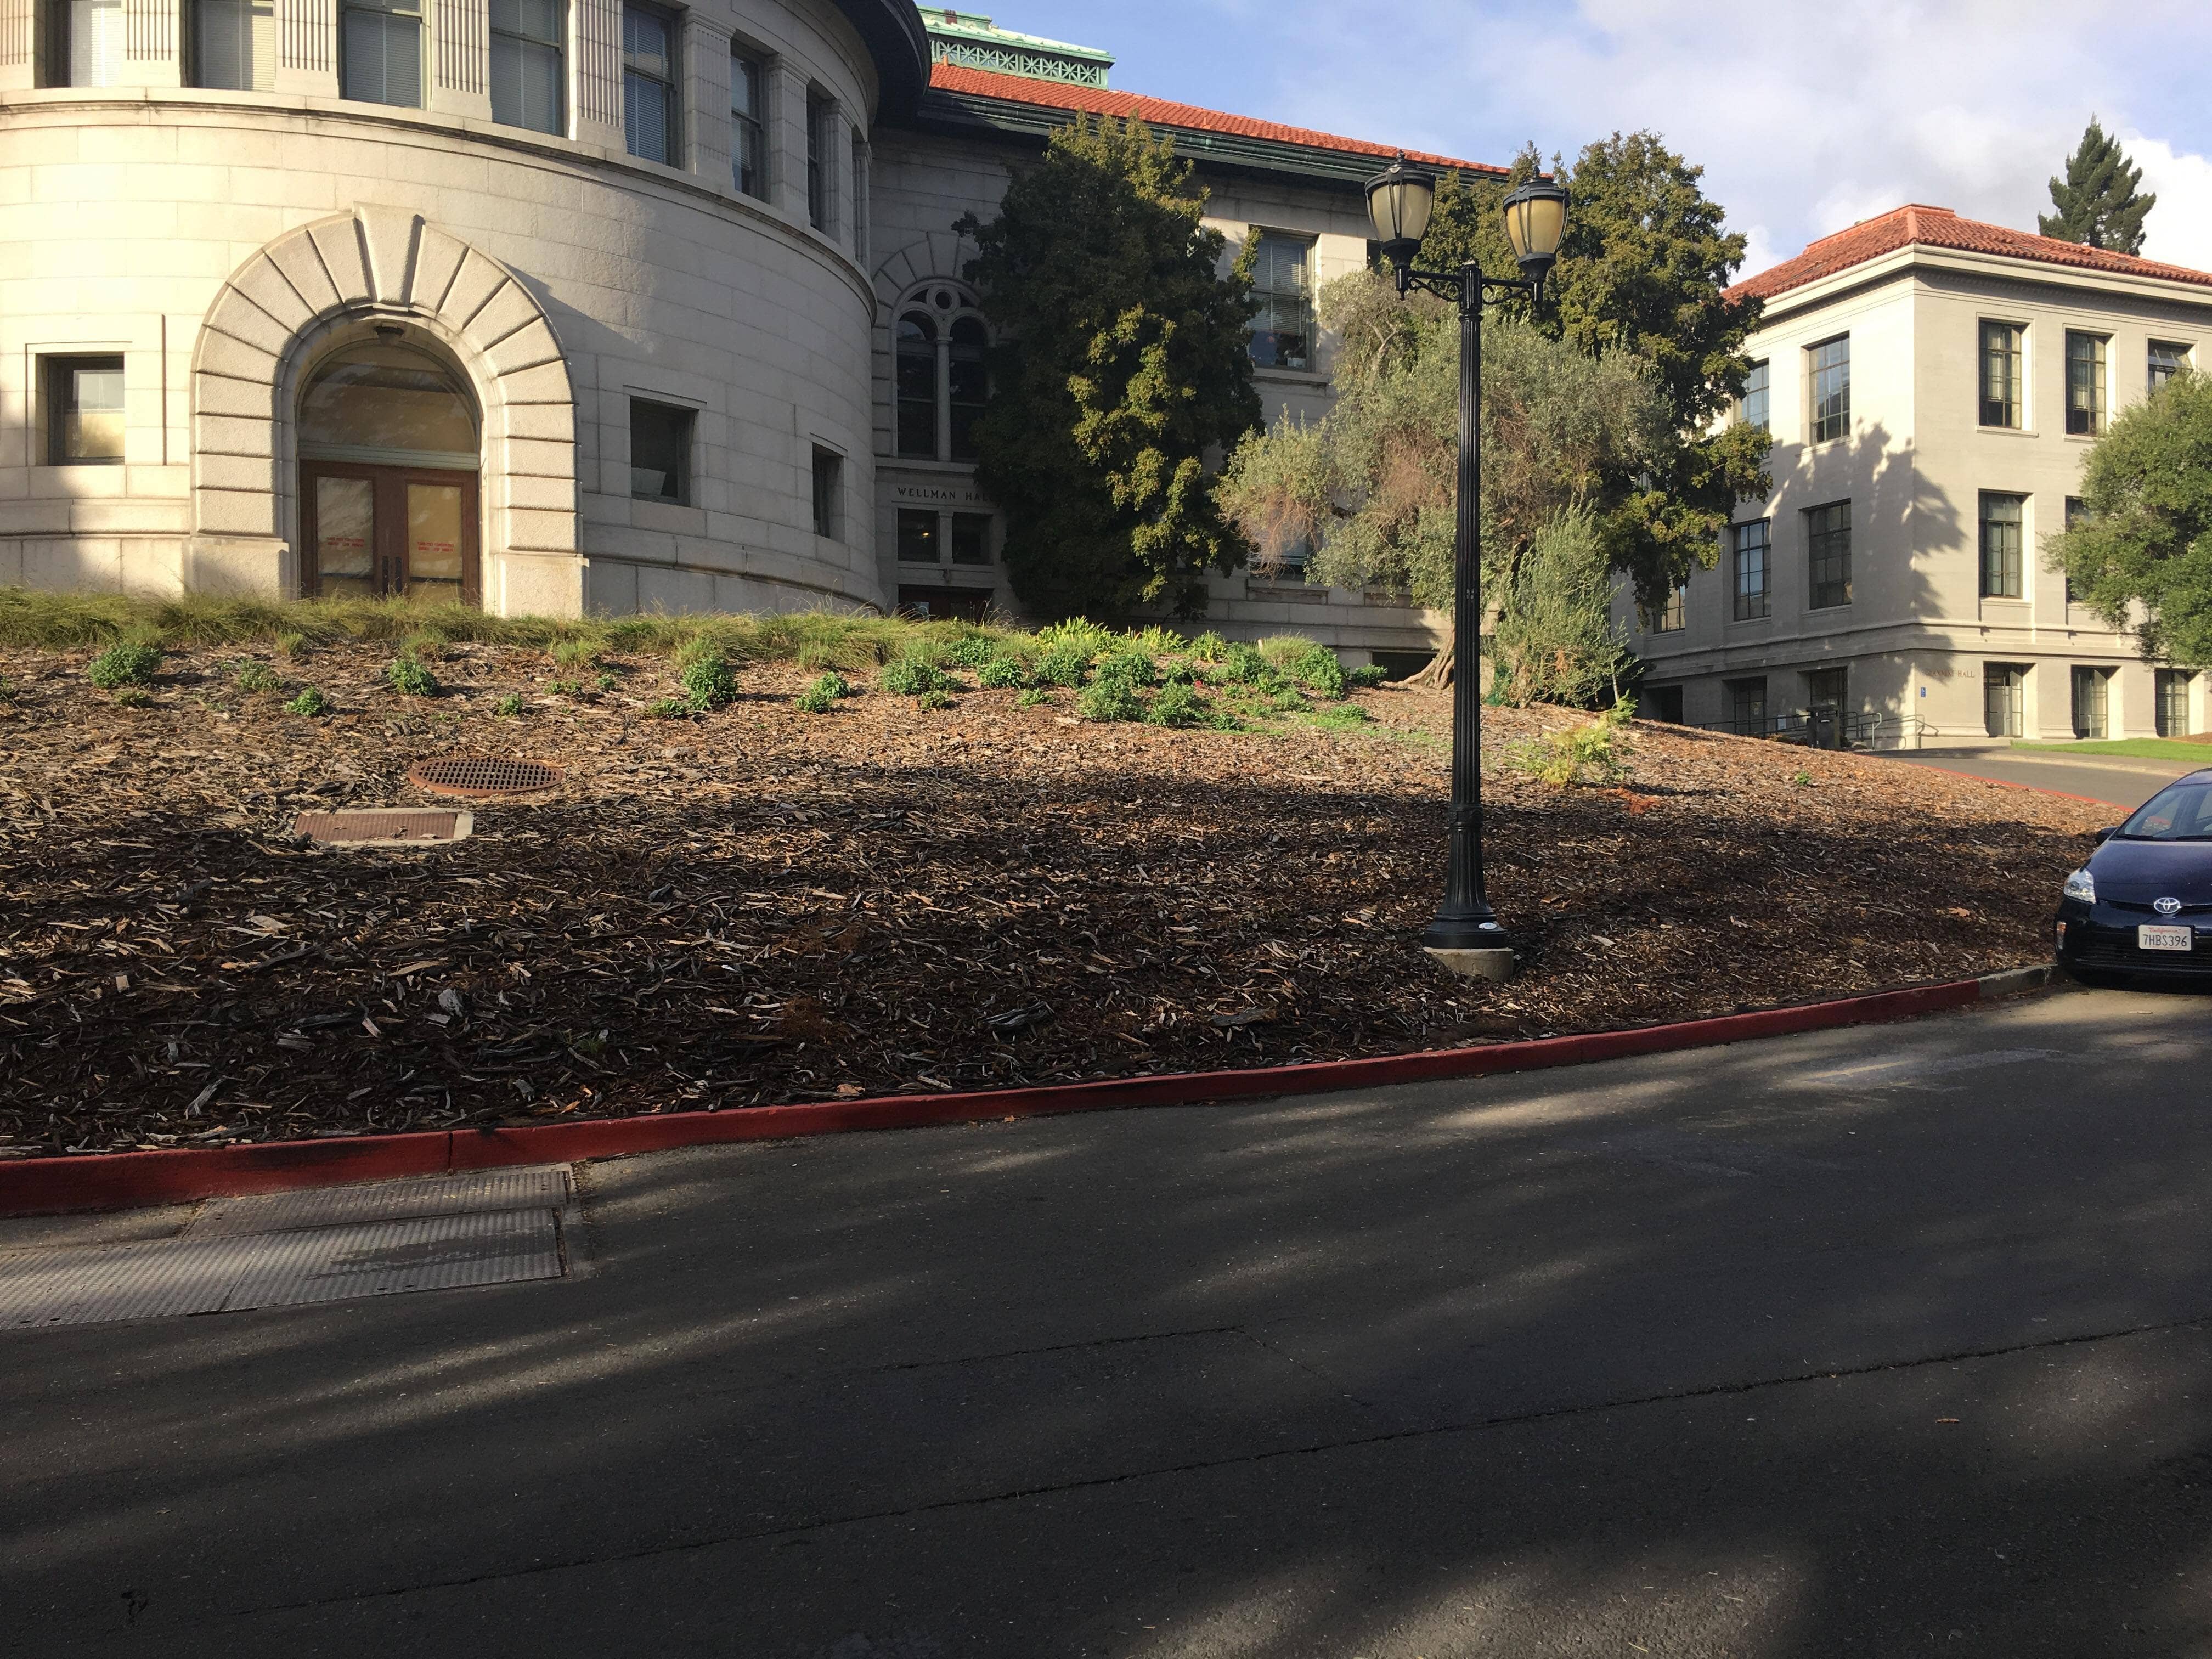
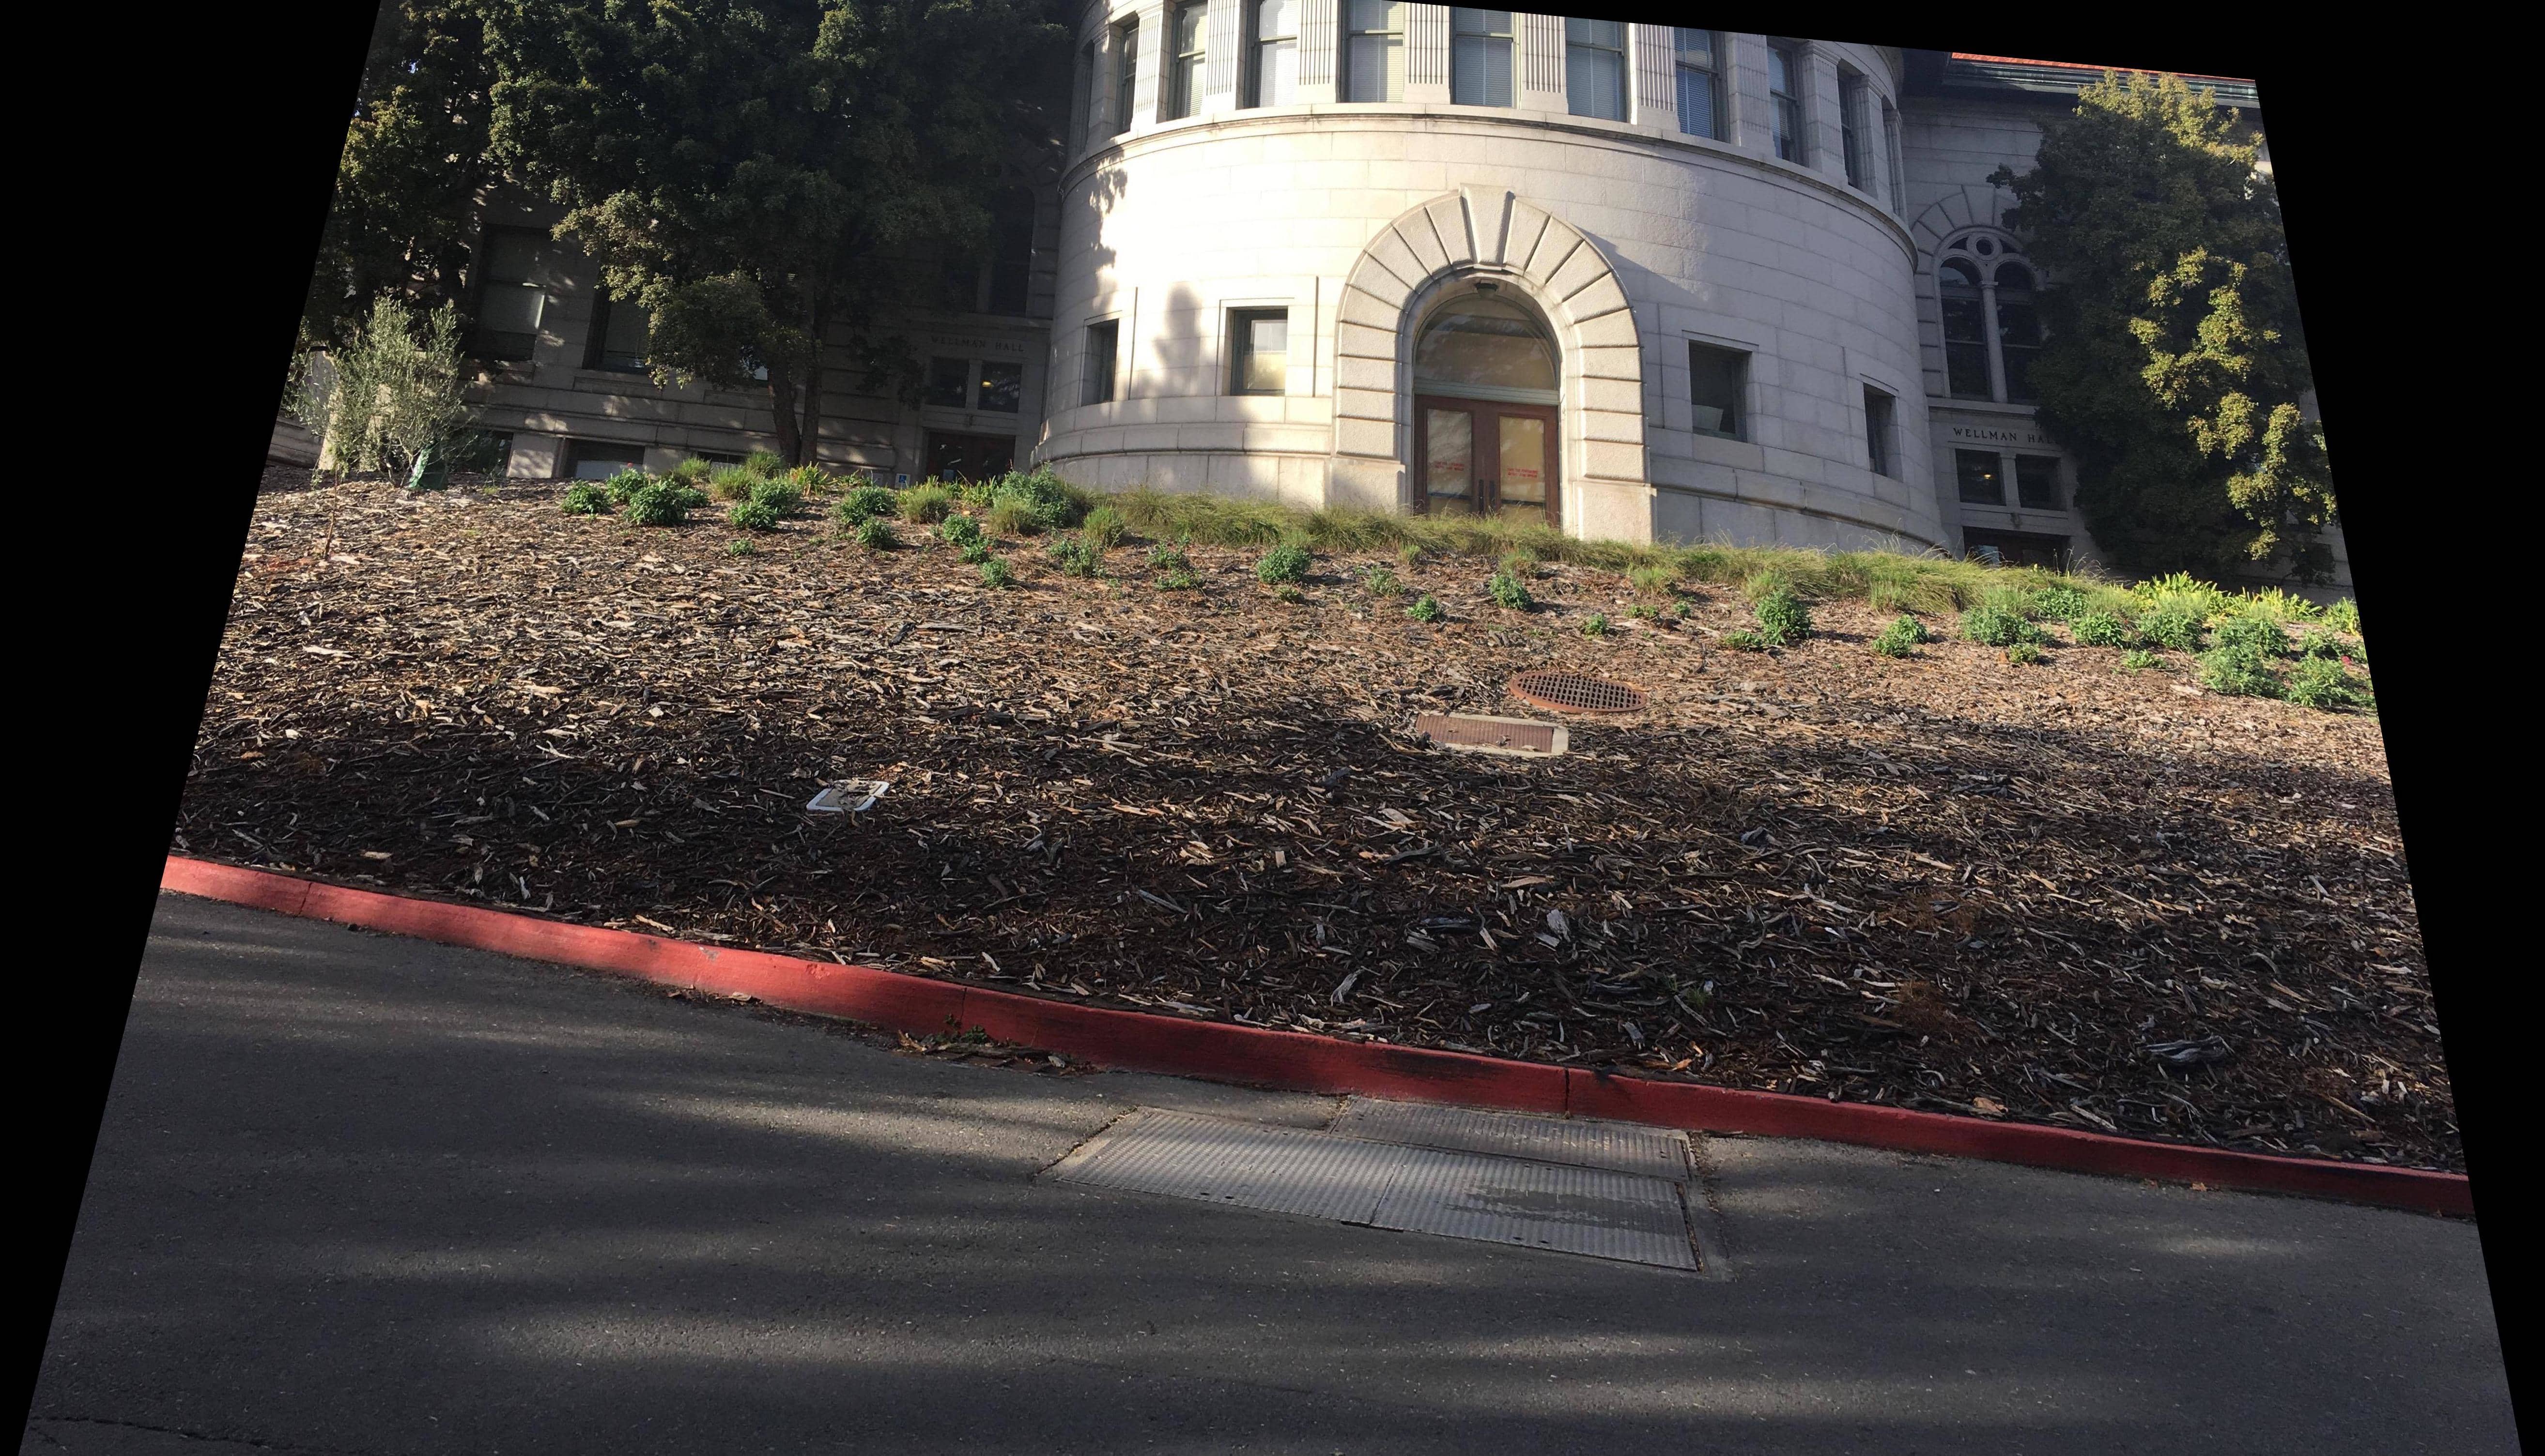
Image Warping and Mosaicing

Nerissa Lin CS194-26-adv

Overview

Sometimes its really hard to caputre everything we want to in a single shot - In this project we take multiple photos taken at one point and stich them together to form a panorama. Through using some blending techniques we can form a rather smooth image that resembles a larger shot of the whole scene.


Image Rectification


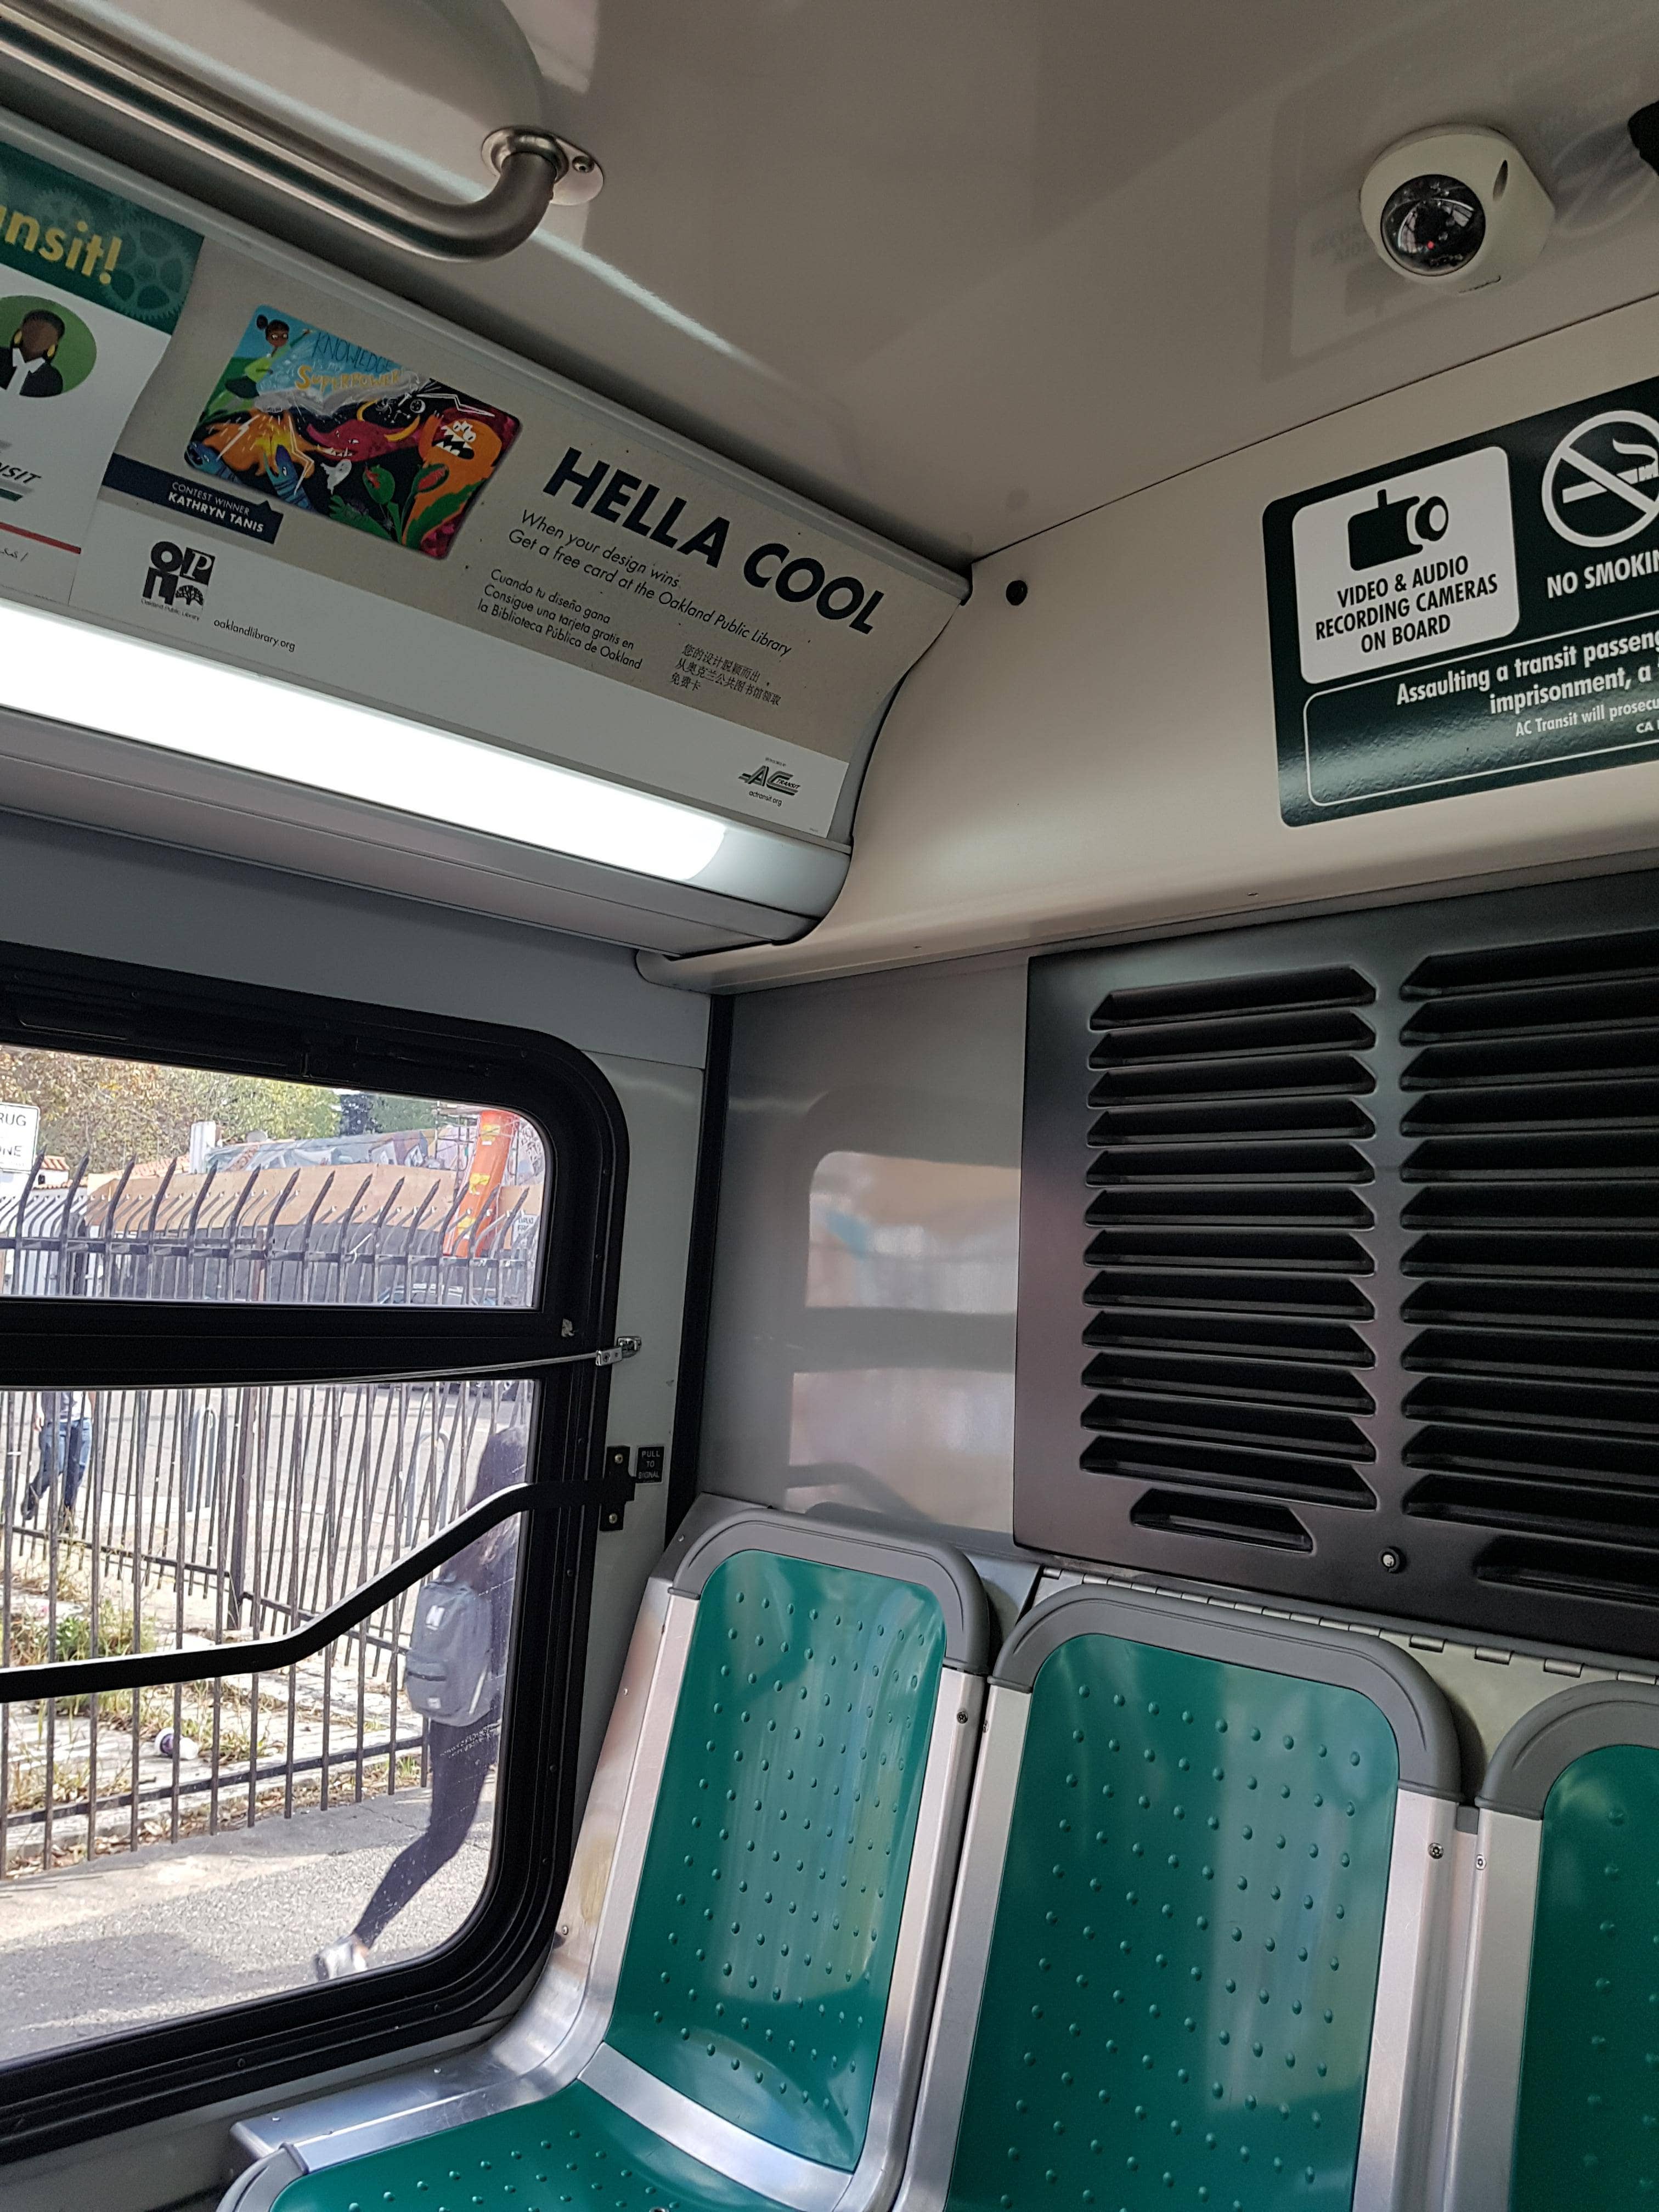
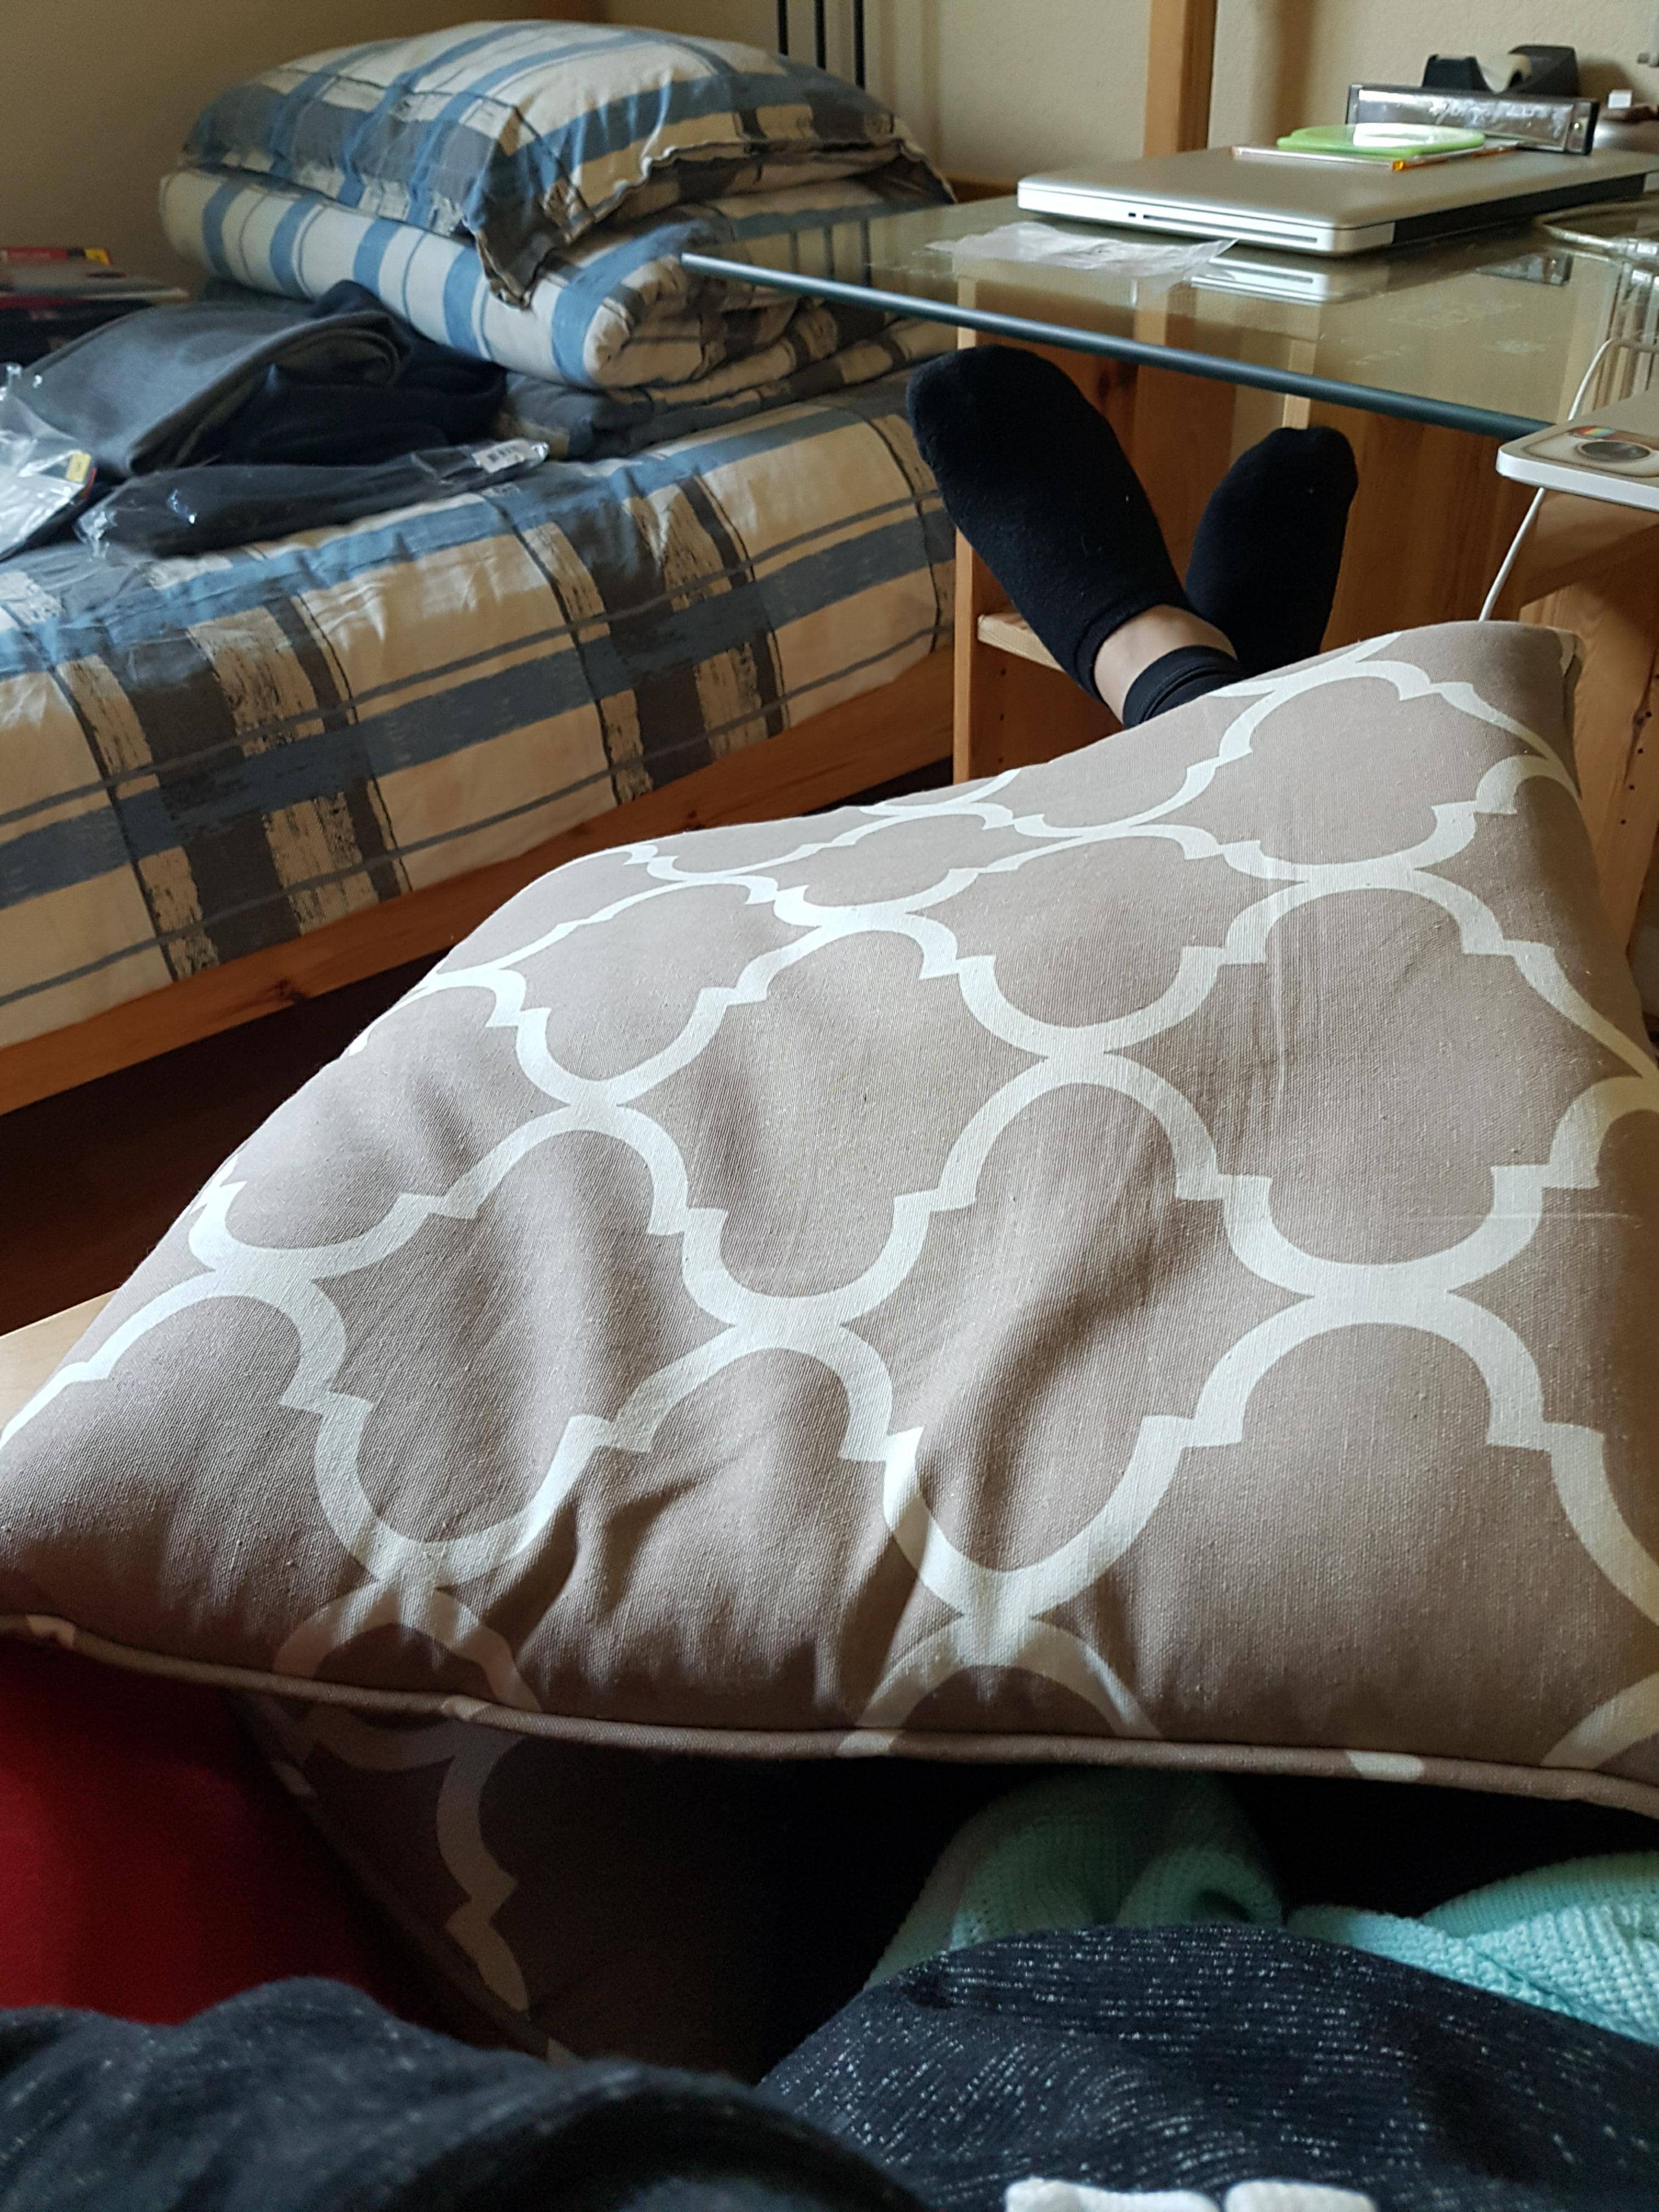
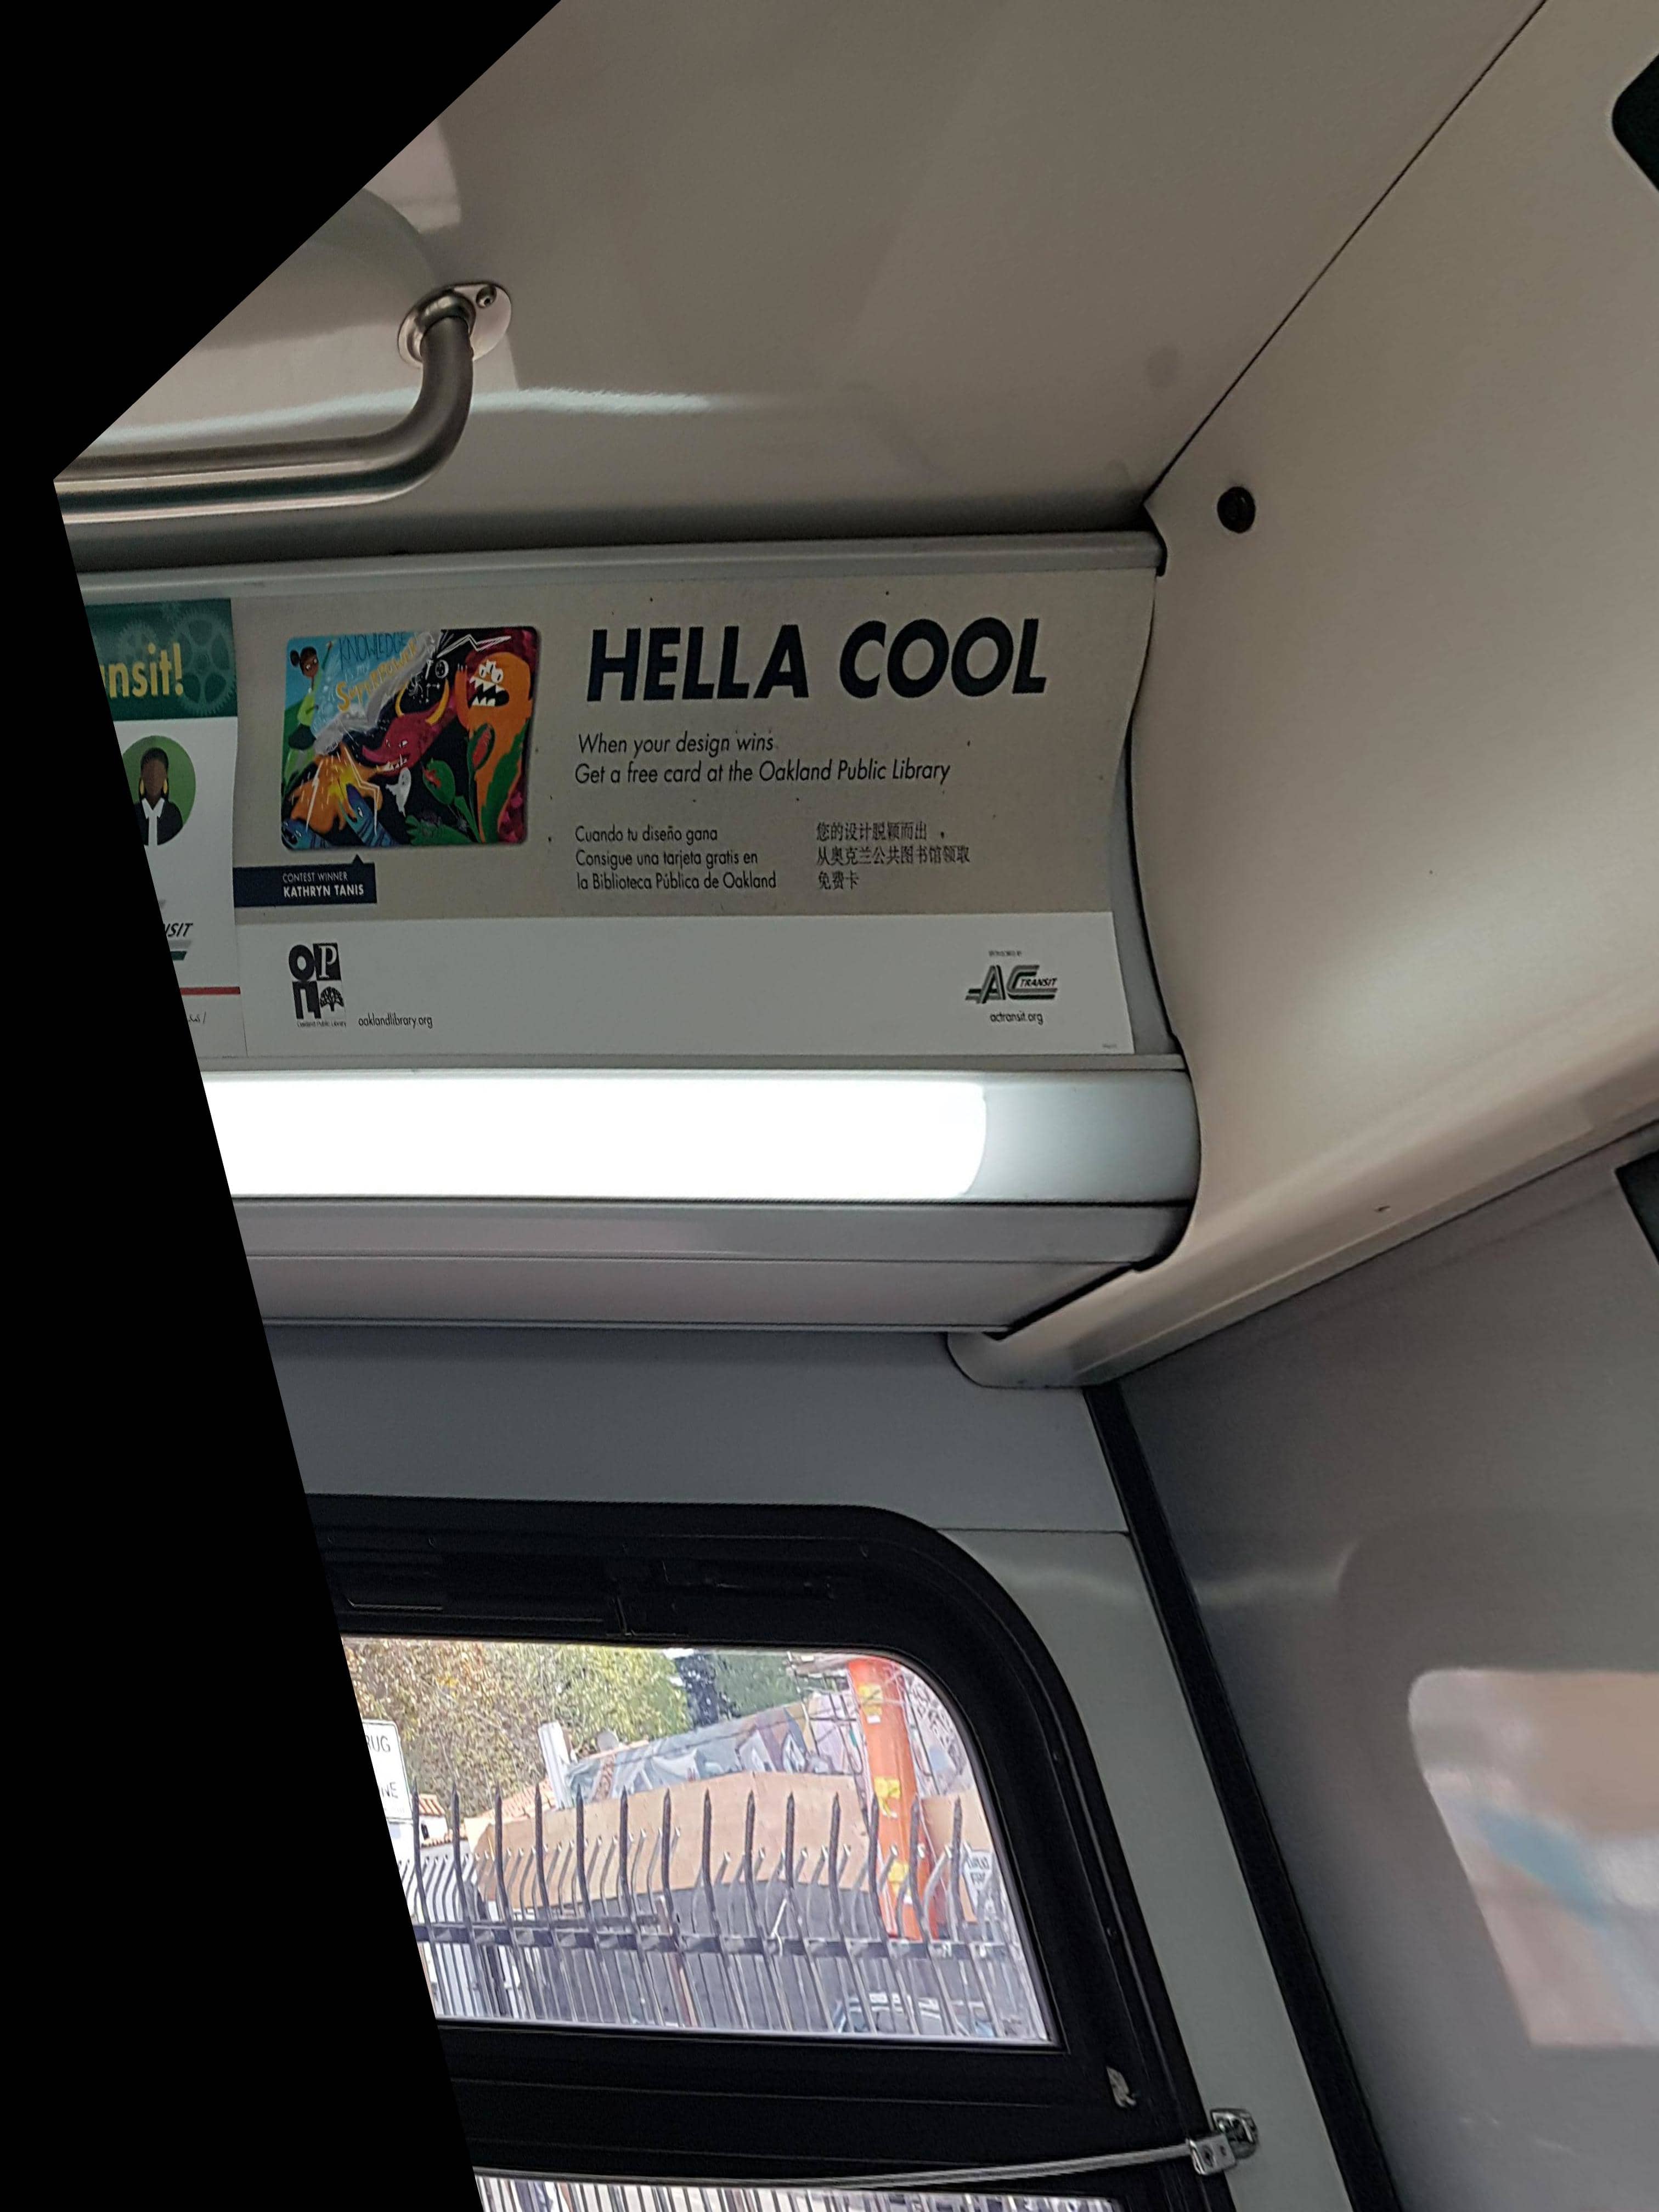
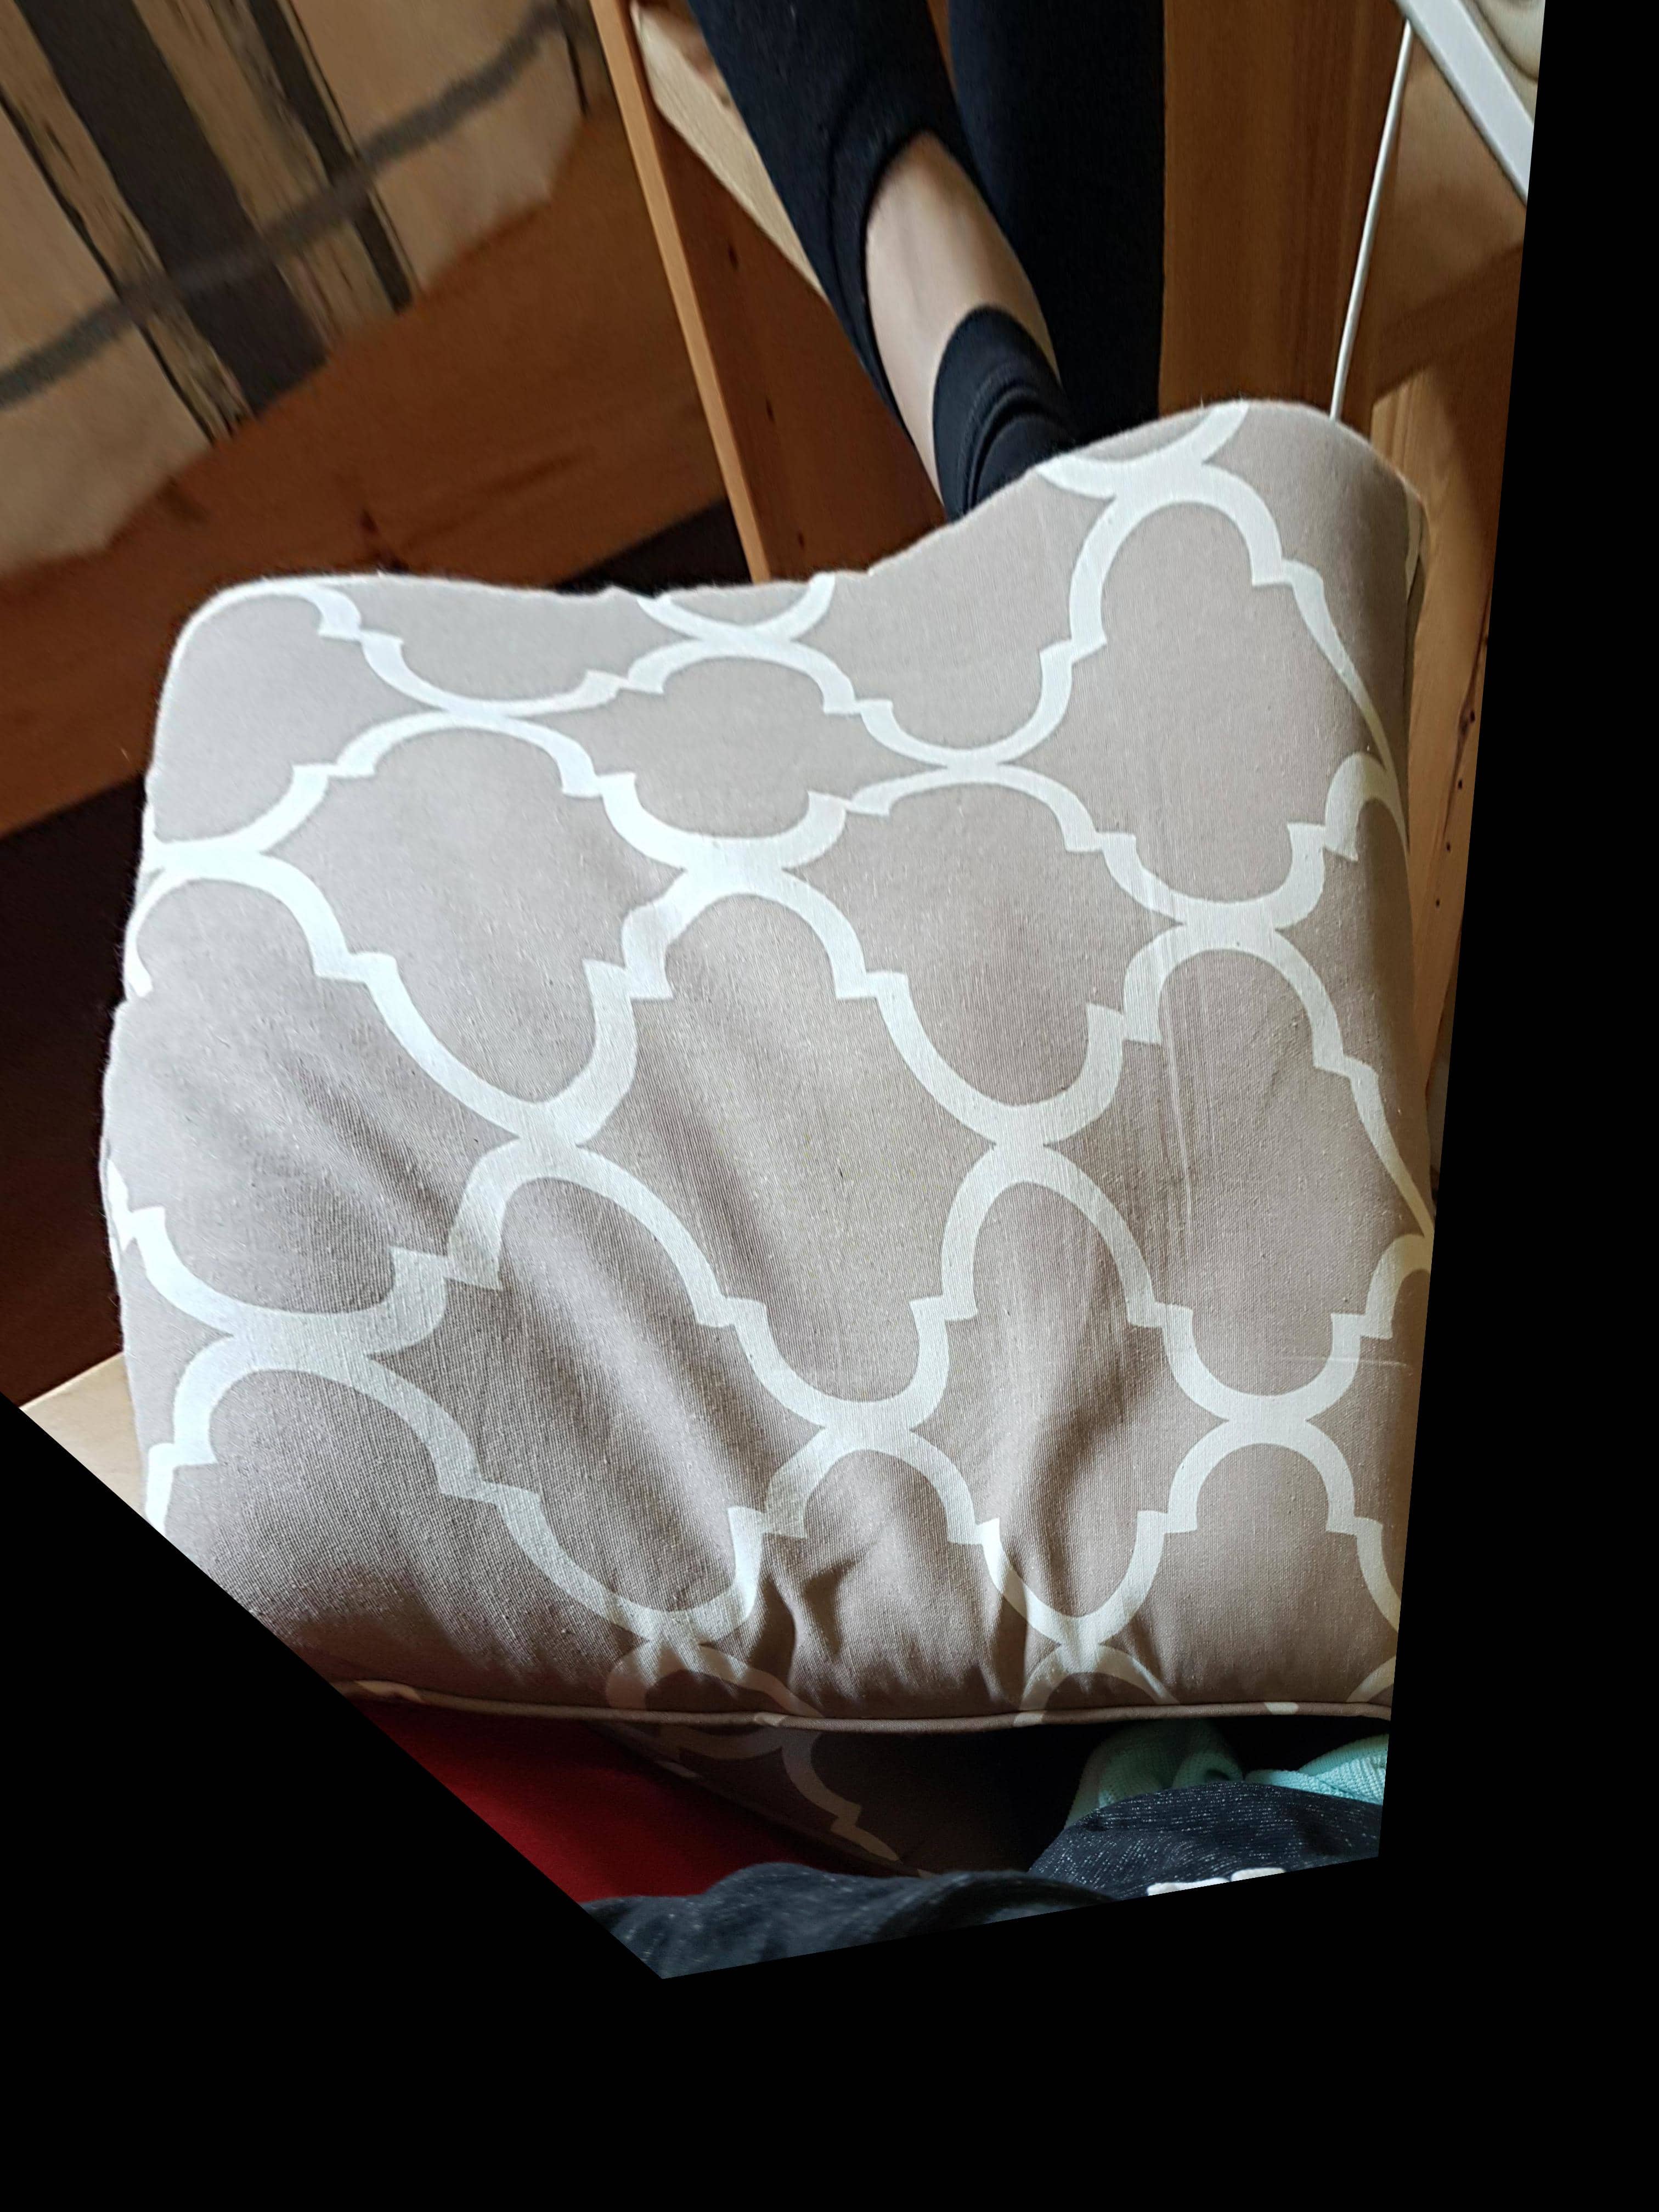
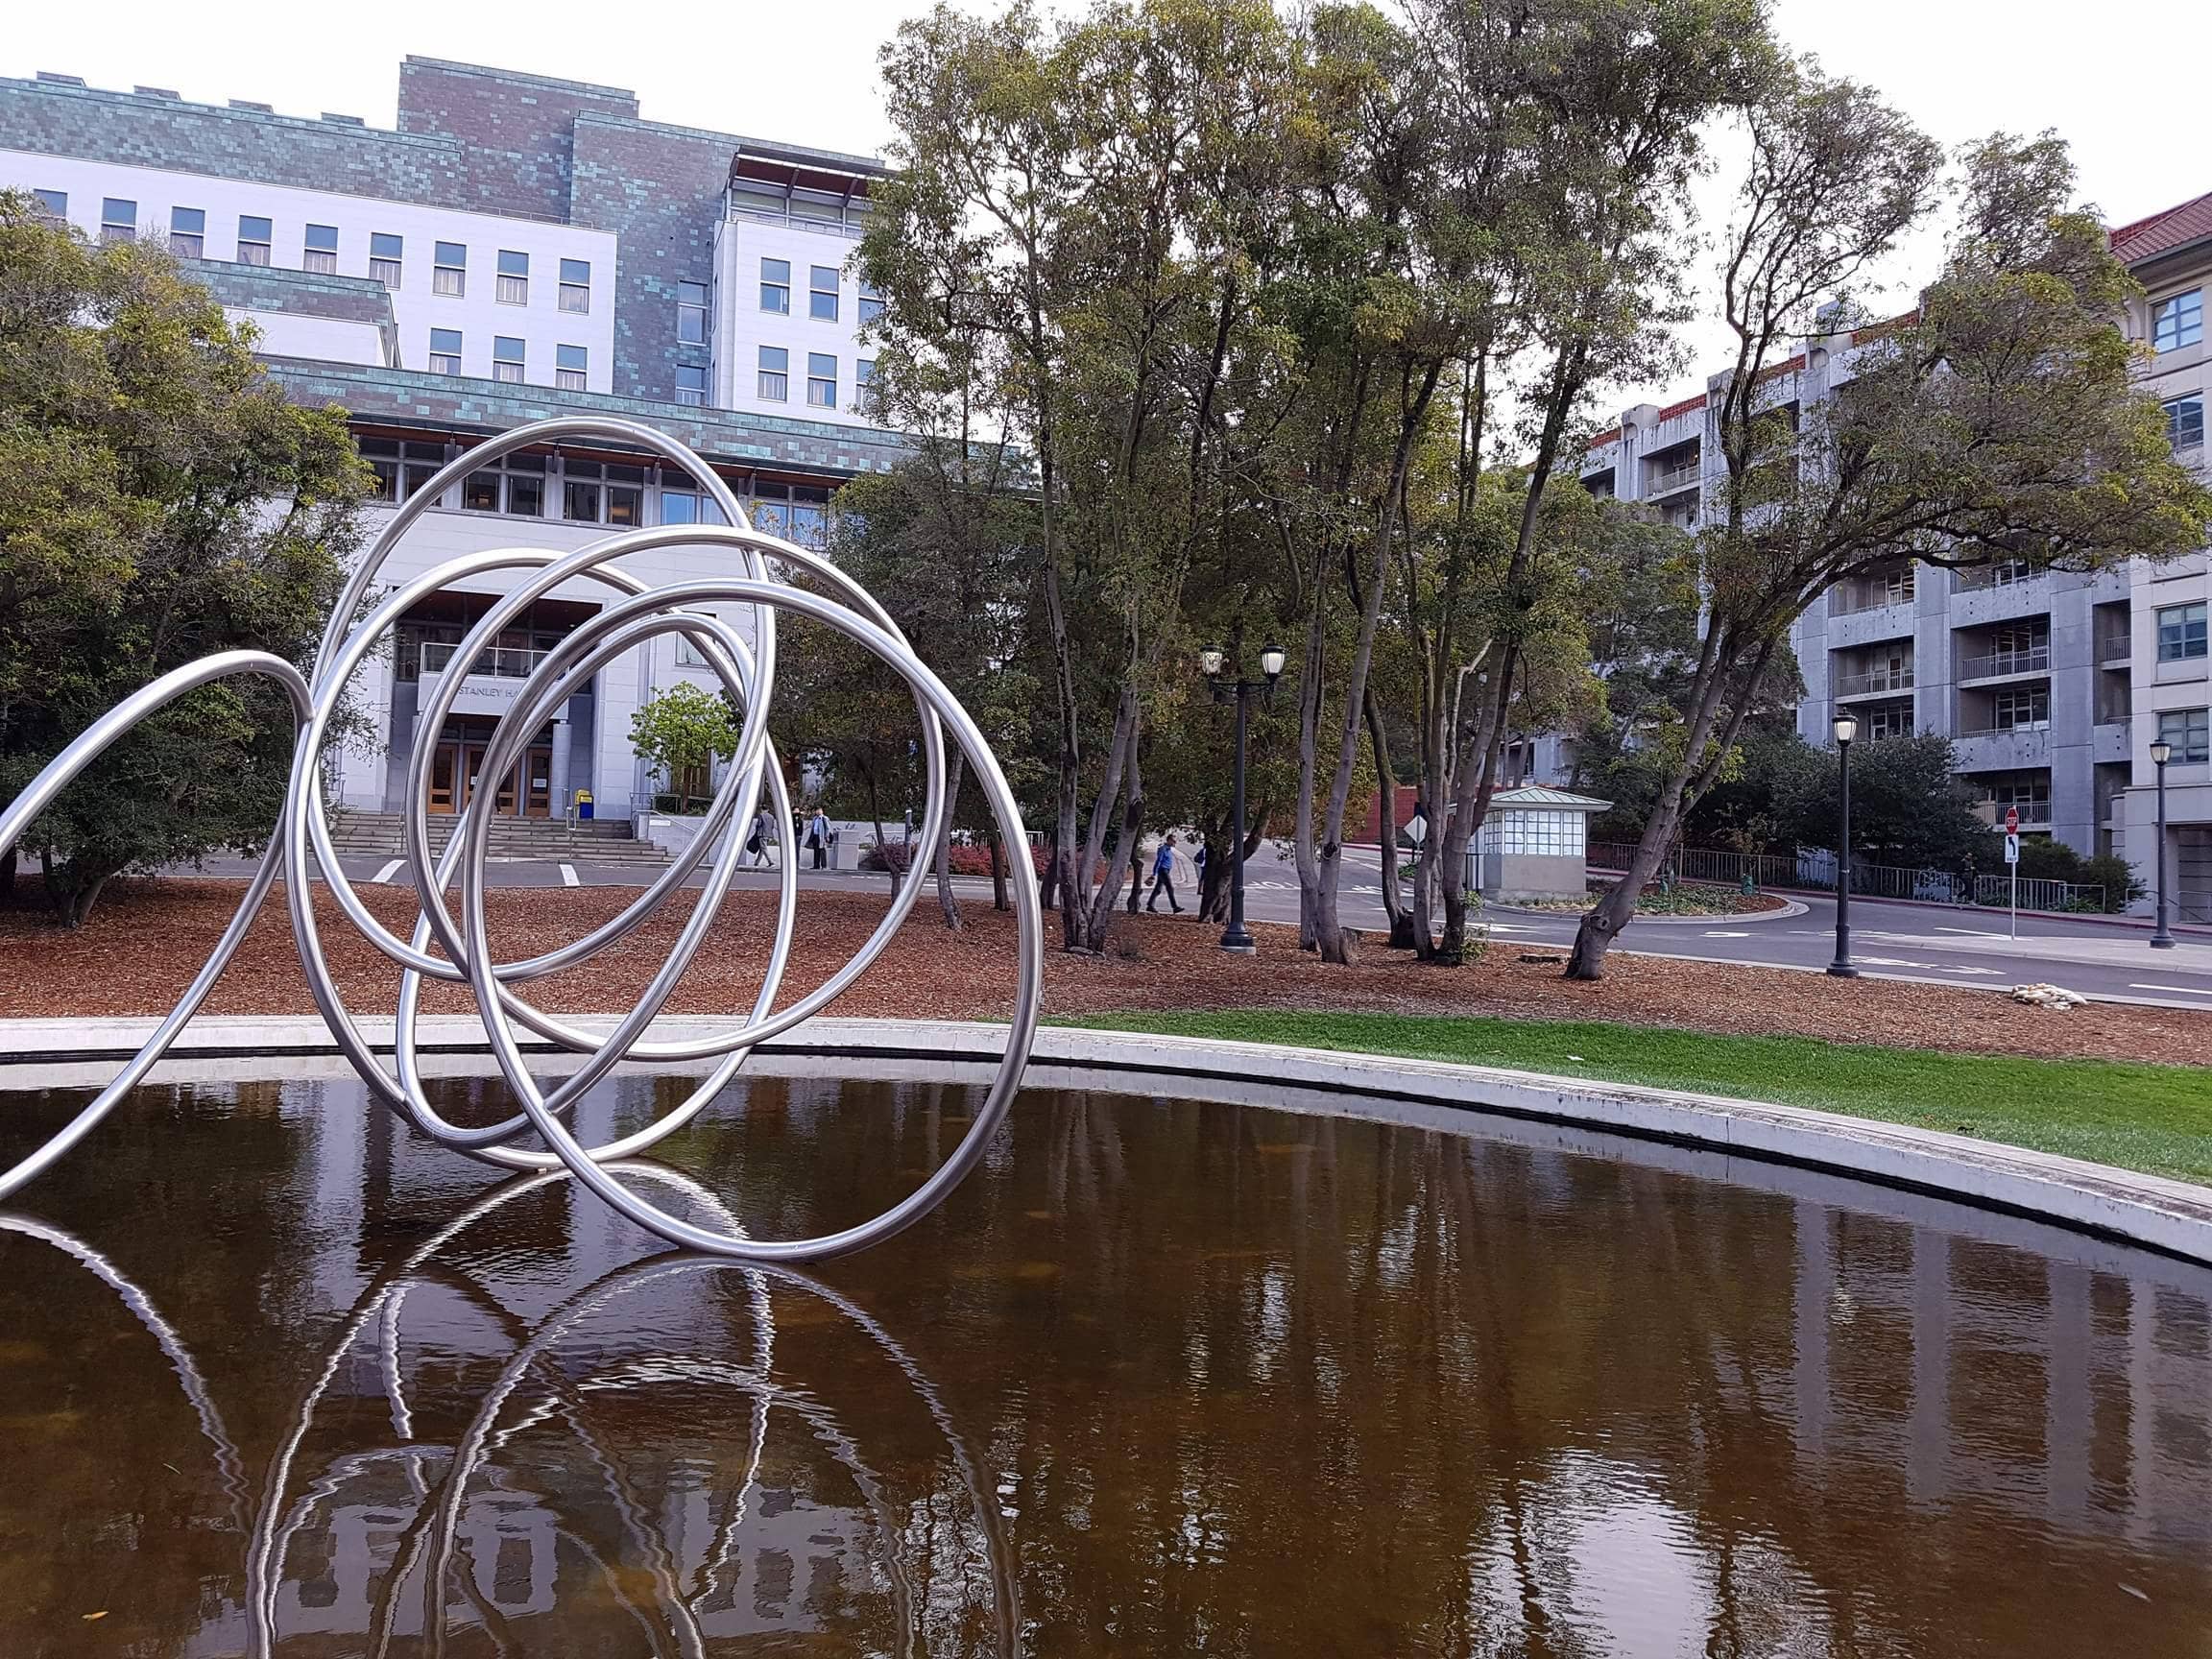
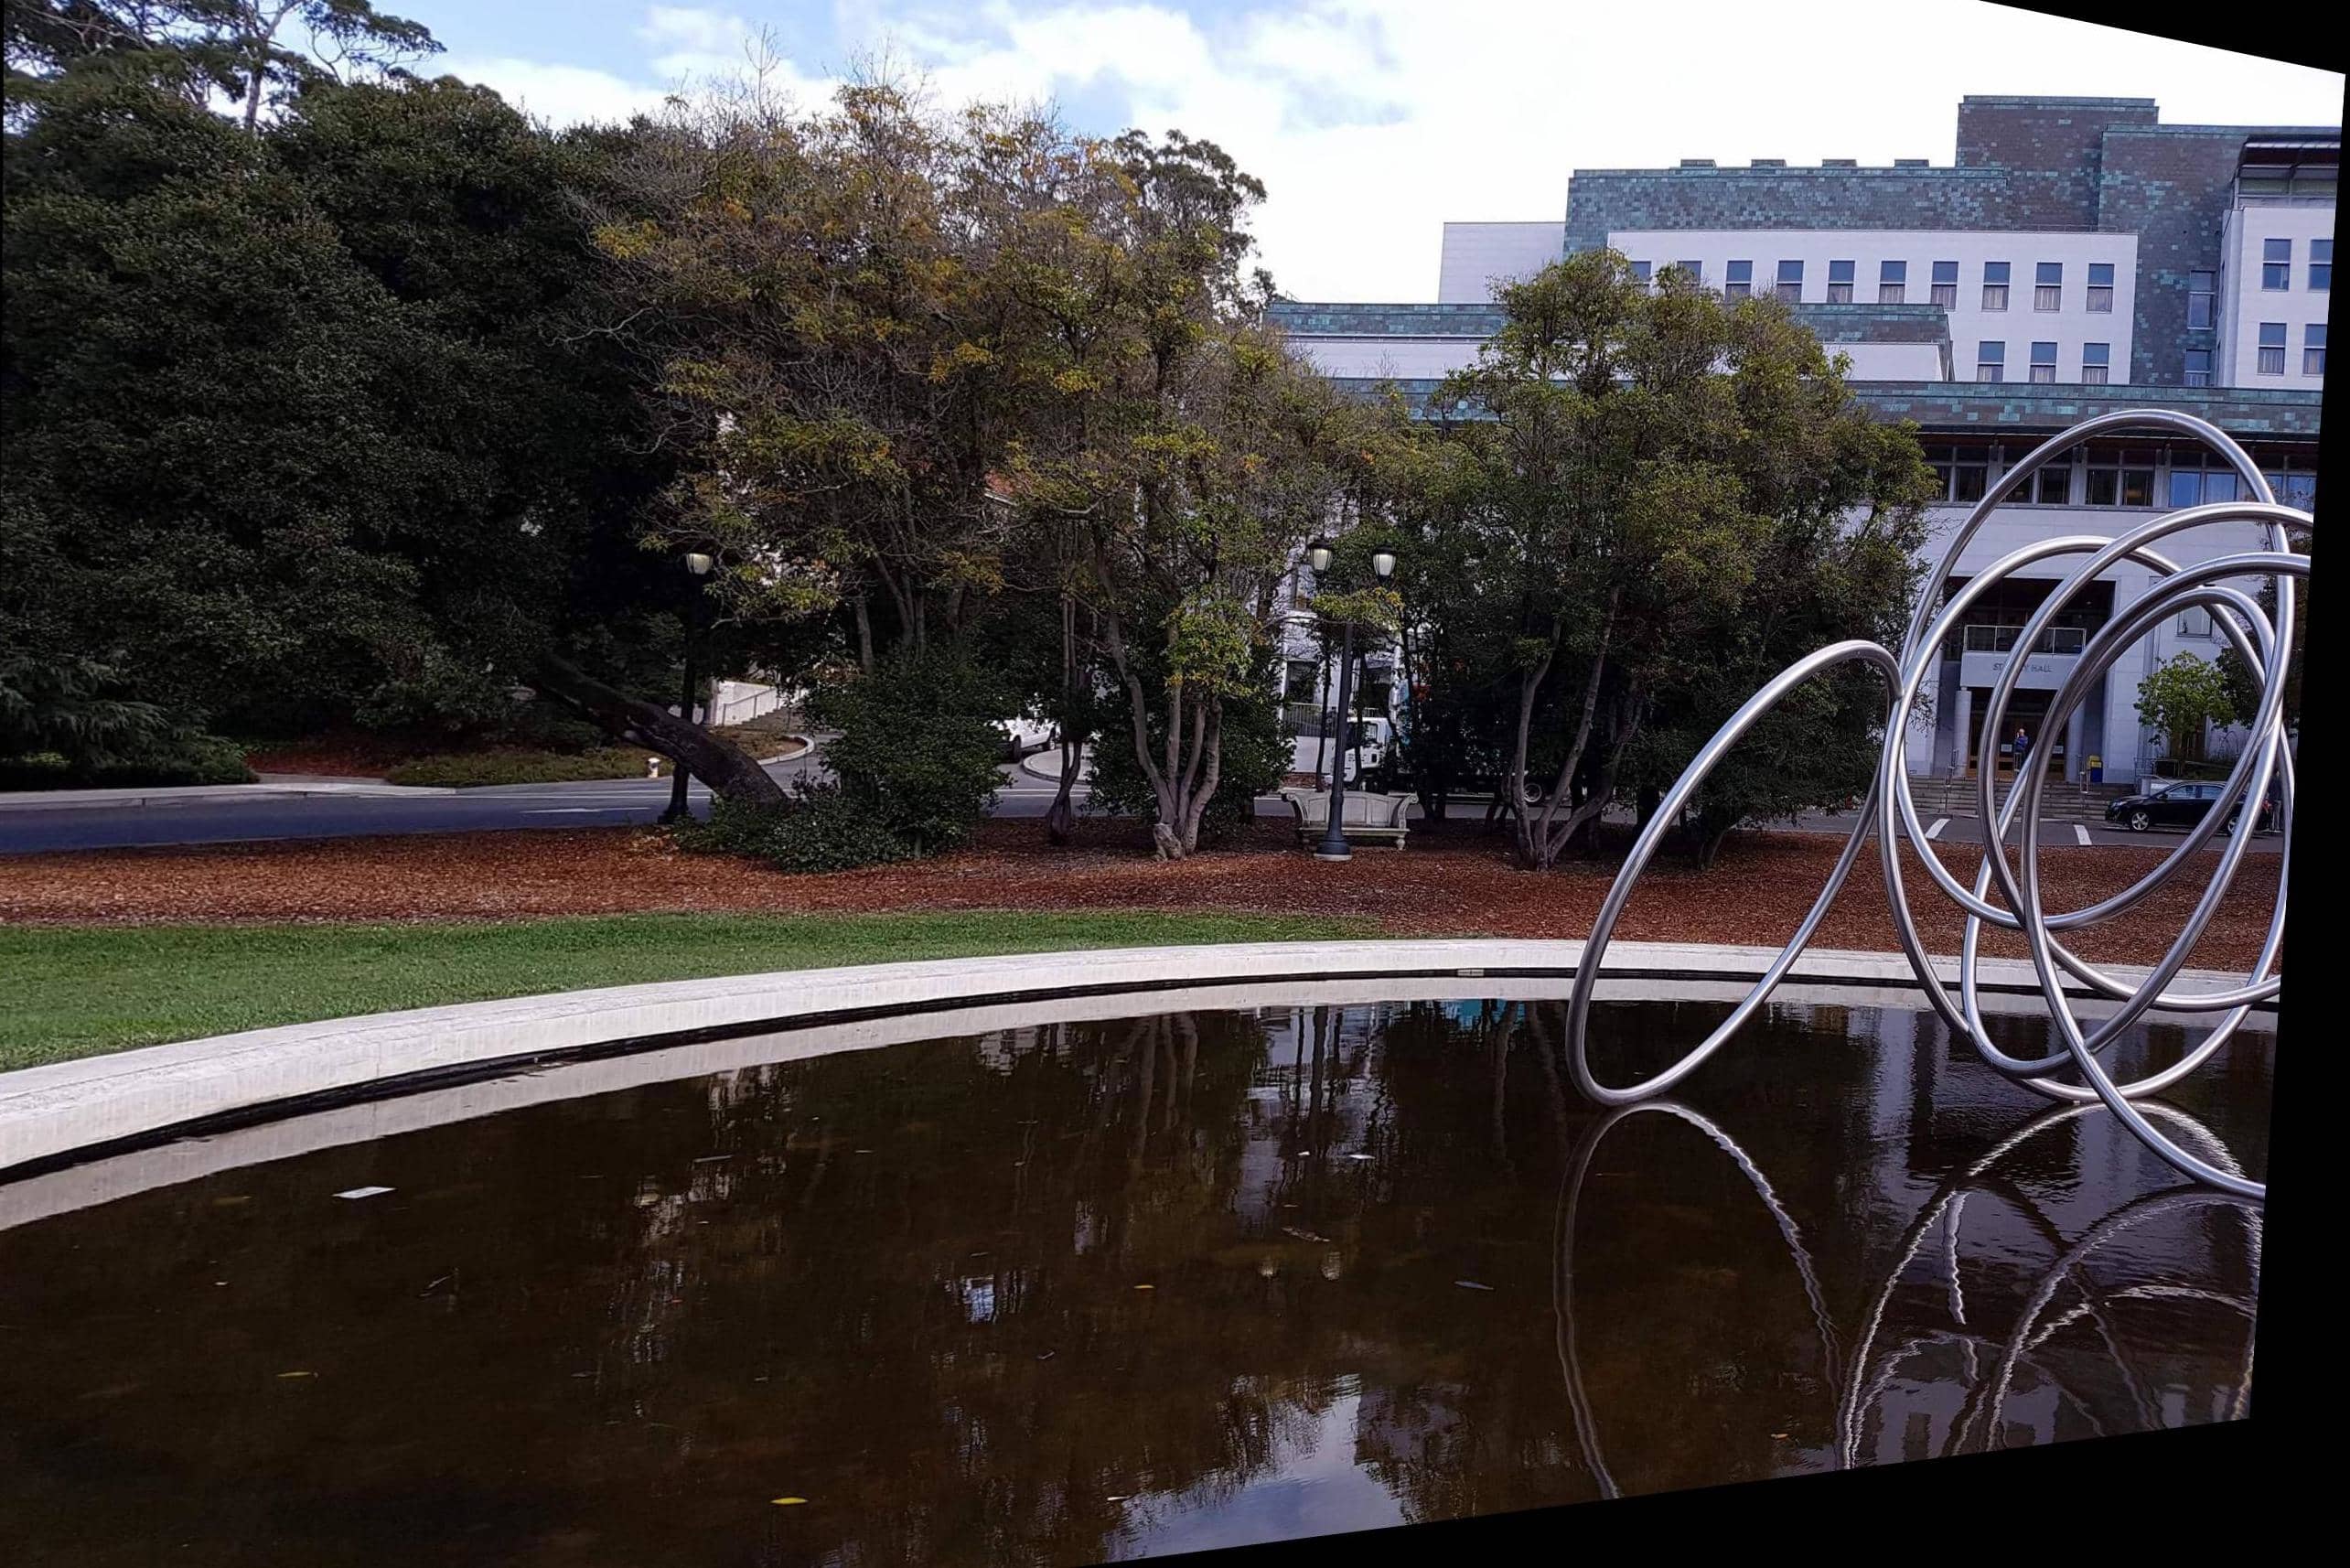
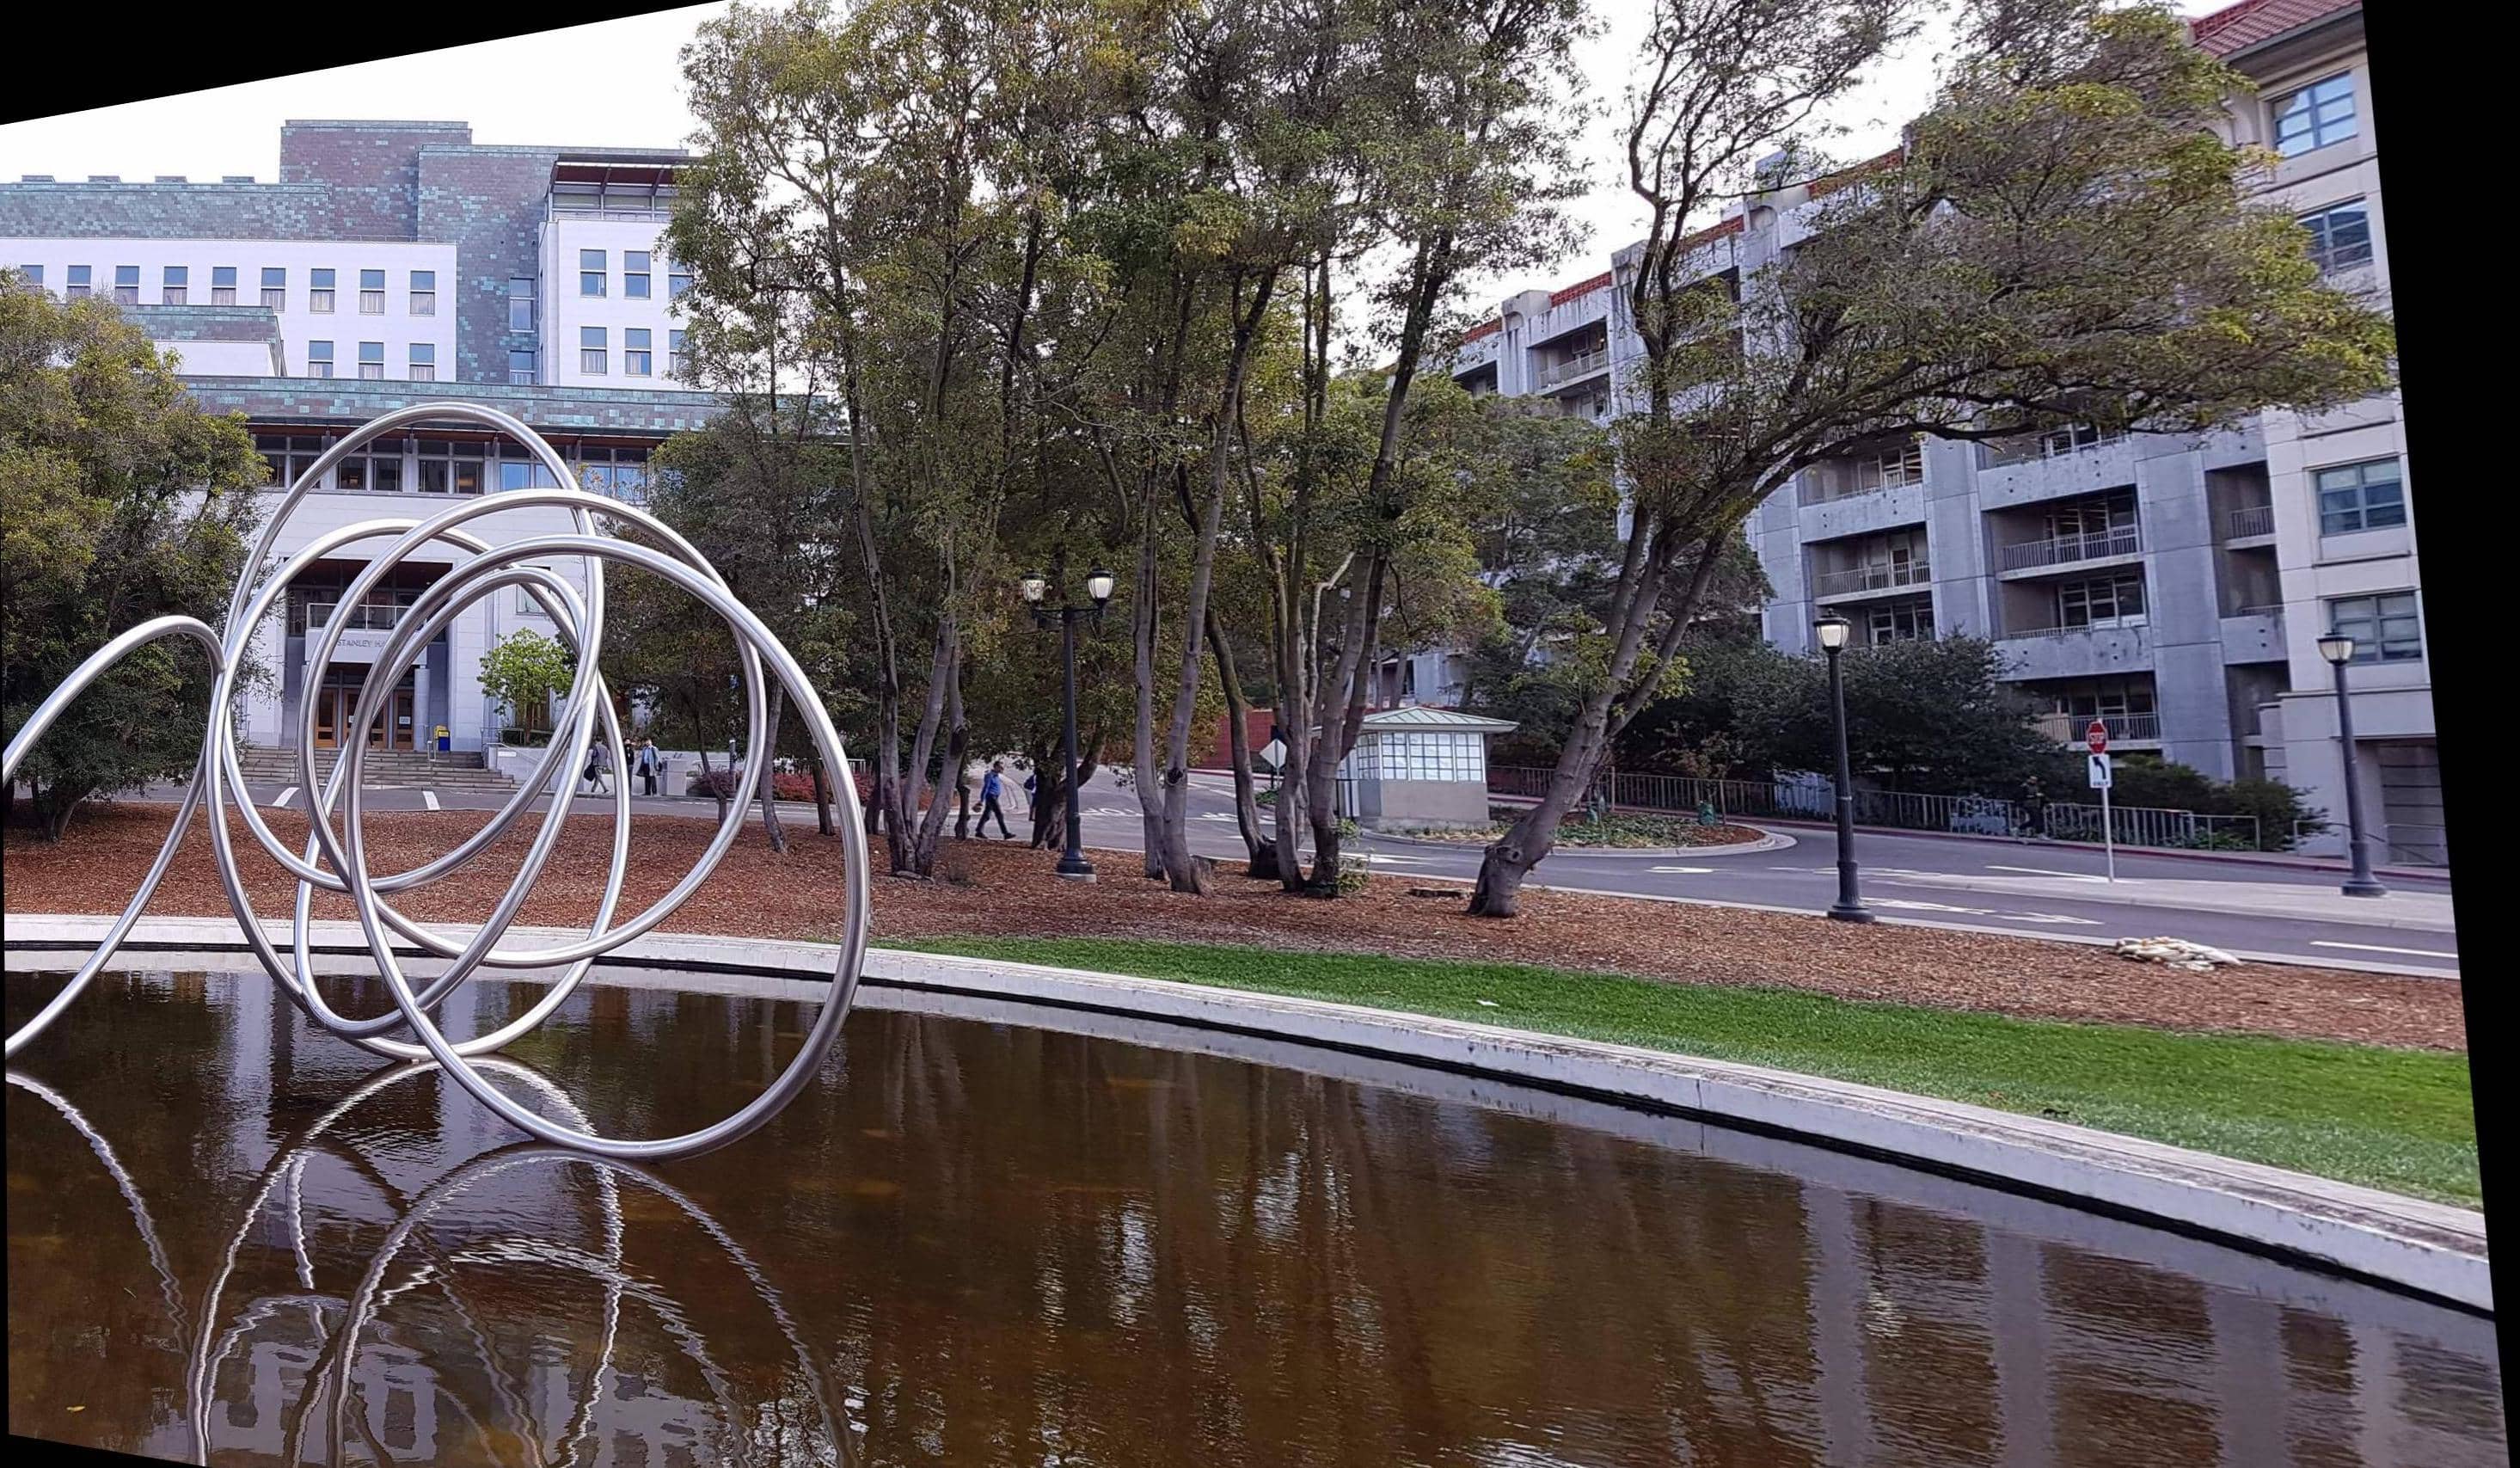
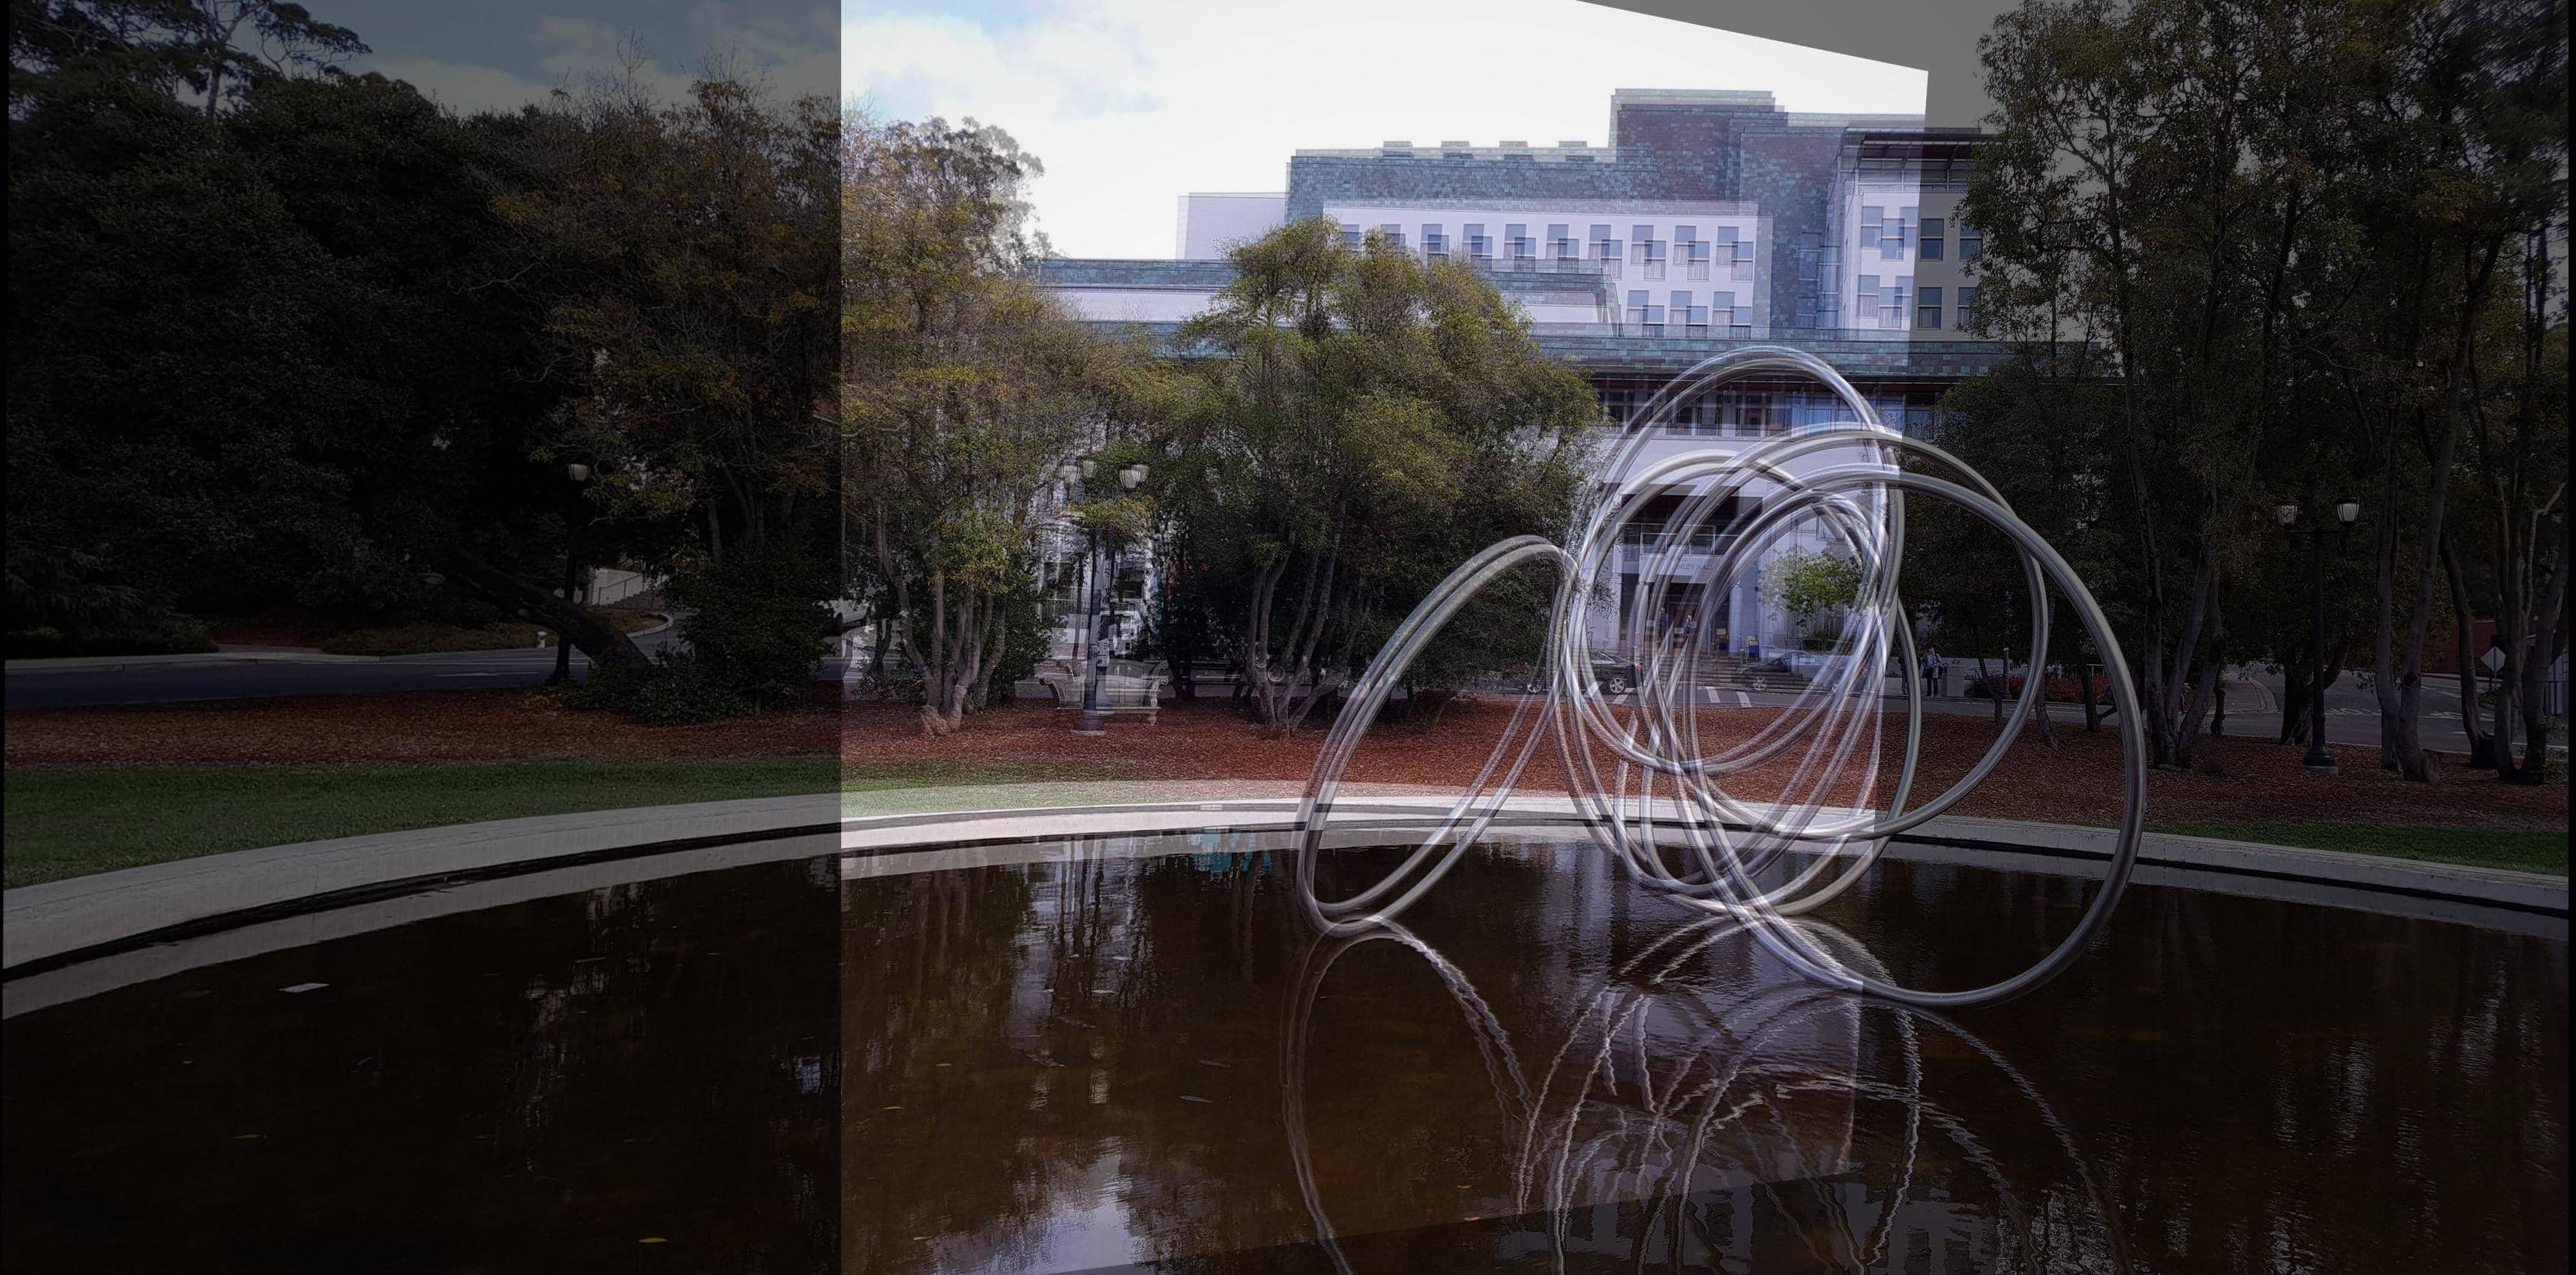
Using what we learned in class we can show that images can be rectified - above are two shots where the object of interest is not quite frontal planar. We can then use our understanding of homographies to transform the image to be "facing the camera" and thus get a cool result. We map our points of interest, 4 is sufficient, to the corners of a box. By calculating the corresponding homography we can transform the entire image and get something that looks like the above. The area we care about is nicely rectified though my foot is twisted into an unrecognizable thing.


Mosaics


Campus Building


This photo has a lot of artifacts from the merging process and motivates us to look for a better blending technique than just averaging over the parts where the images overlap


Hearst Mining Circle


After point selection and warping the images now look like this and seem a lot closer to our final product

Below, the first image is with regular averaging of the points if there are 2 values available. We get a ton of blurring and nasty artifacts. Below that we try to blend with respect to distance from centers - this produces a much better result but its also quite unforgiving towards some of the differences as we can still see jarring areas of discontinutity. We try to reduce this with a gentler alpha in the final picture below.

Final Mosaic image!


For each photo we stich the images together step by step through taking each adjacent pair and defining their corresponding points. upon doing so and transforming, we then can start blending the images together with a function taht determines an alpha as per the points distance from the center of its image. As this proceeds, the image is then formed, with gentle blending at the edges.


Banff, Canada


I really appreciated that in this project, I was able to go back and dig up old photos from when I went camping with my family. I was then able to grab sceneries like this one above where I couldnt capture the whole shot but can now mimic it with the mosaicing technique. Learning this was super cool and also leads to me better understanding software like silverlight that I played around with when I was much much younger.