In this project, we got to play around with image warping and mosaicing. In this part we got to play with cool concepts such as homography mapping between two images, warping one image into the shape of another based on key feature detections, and actually blending and stiching images together.
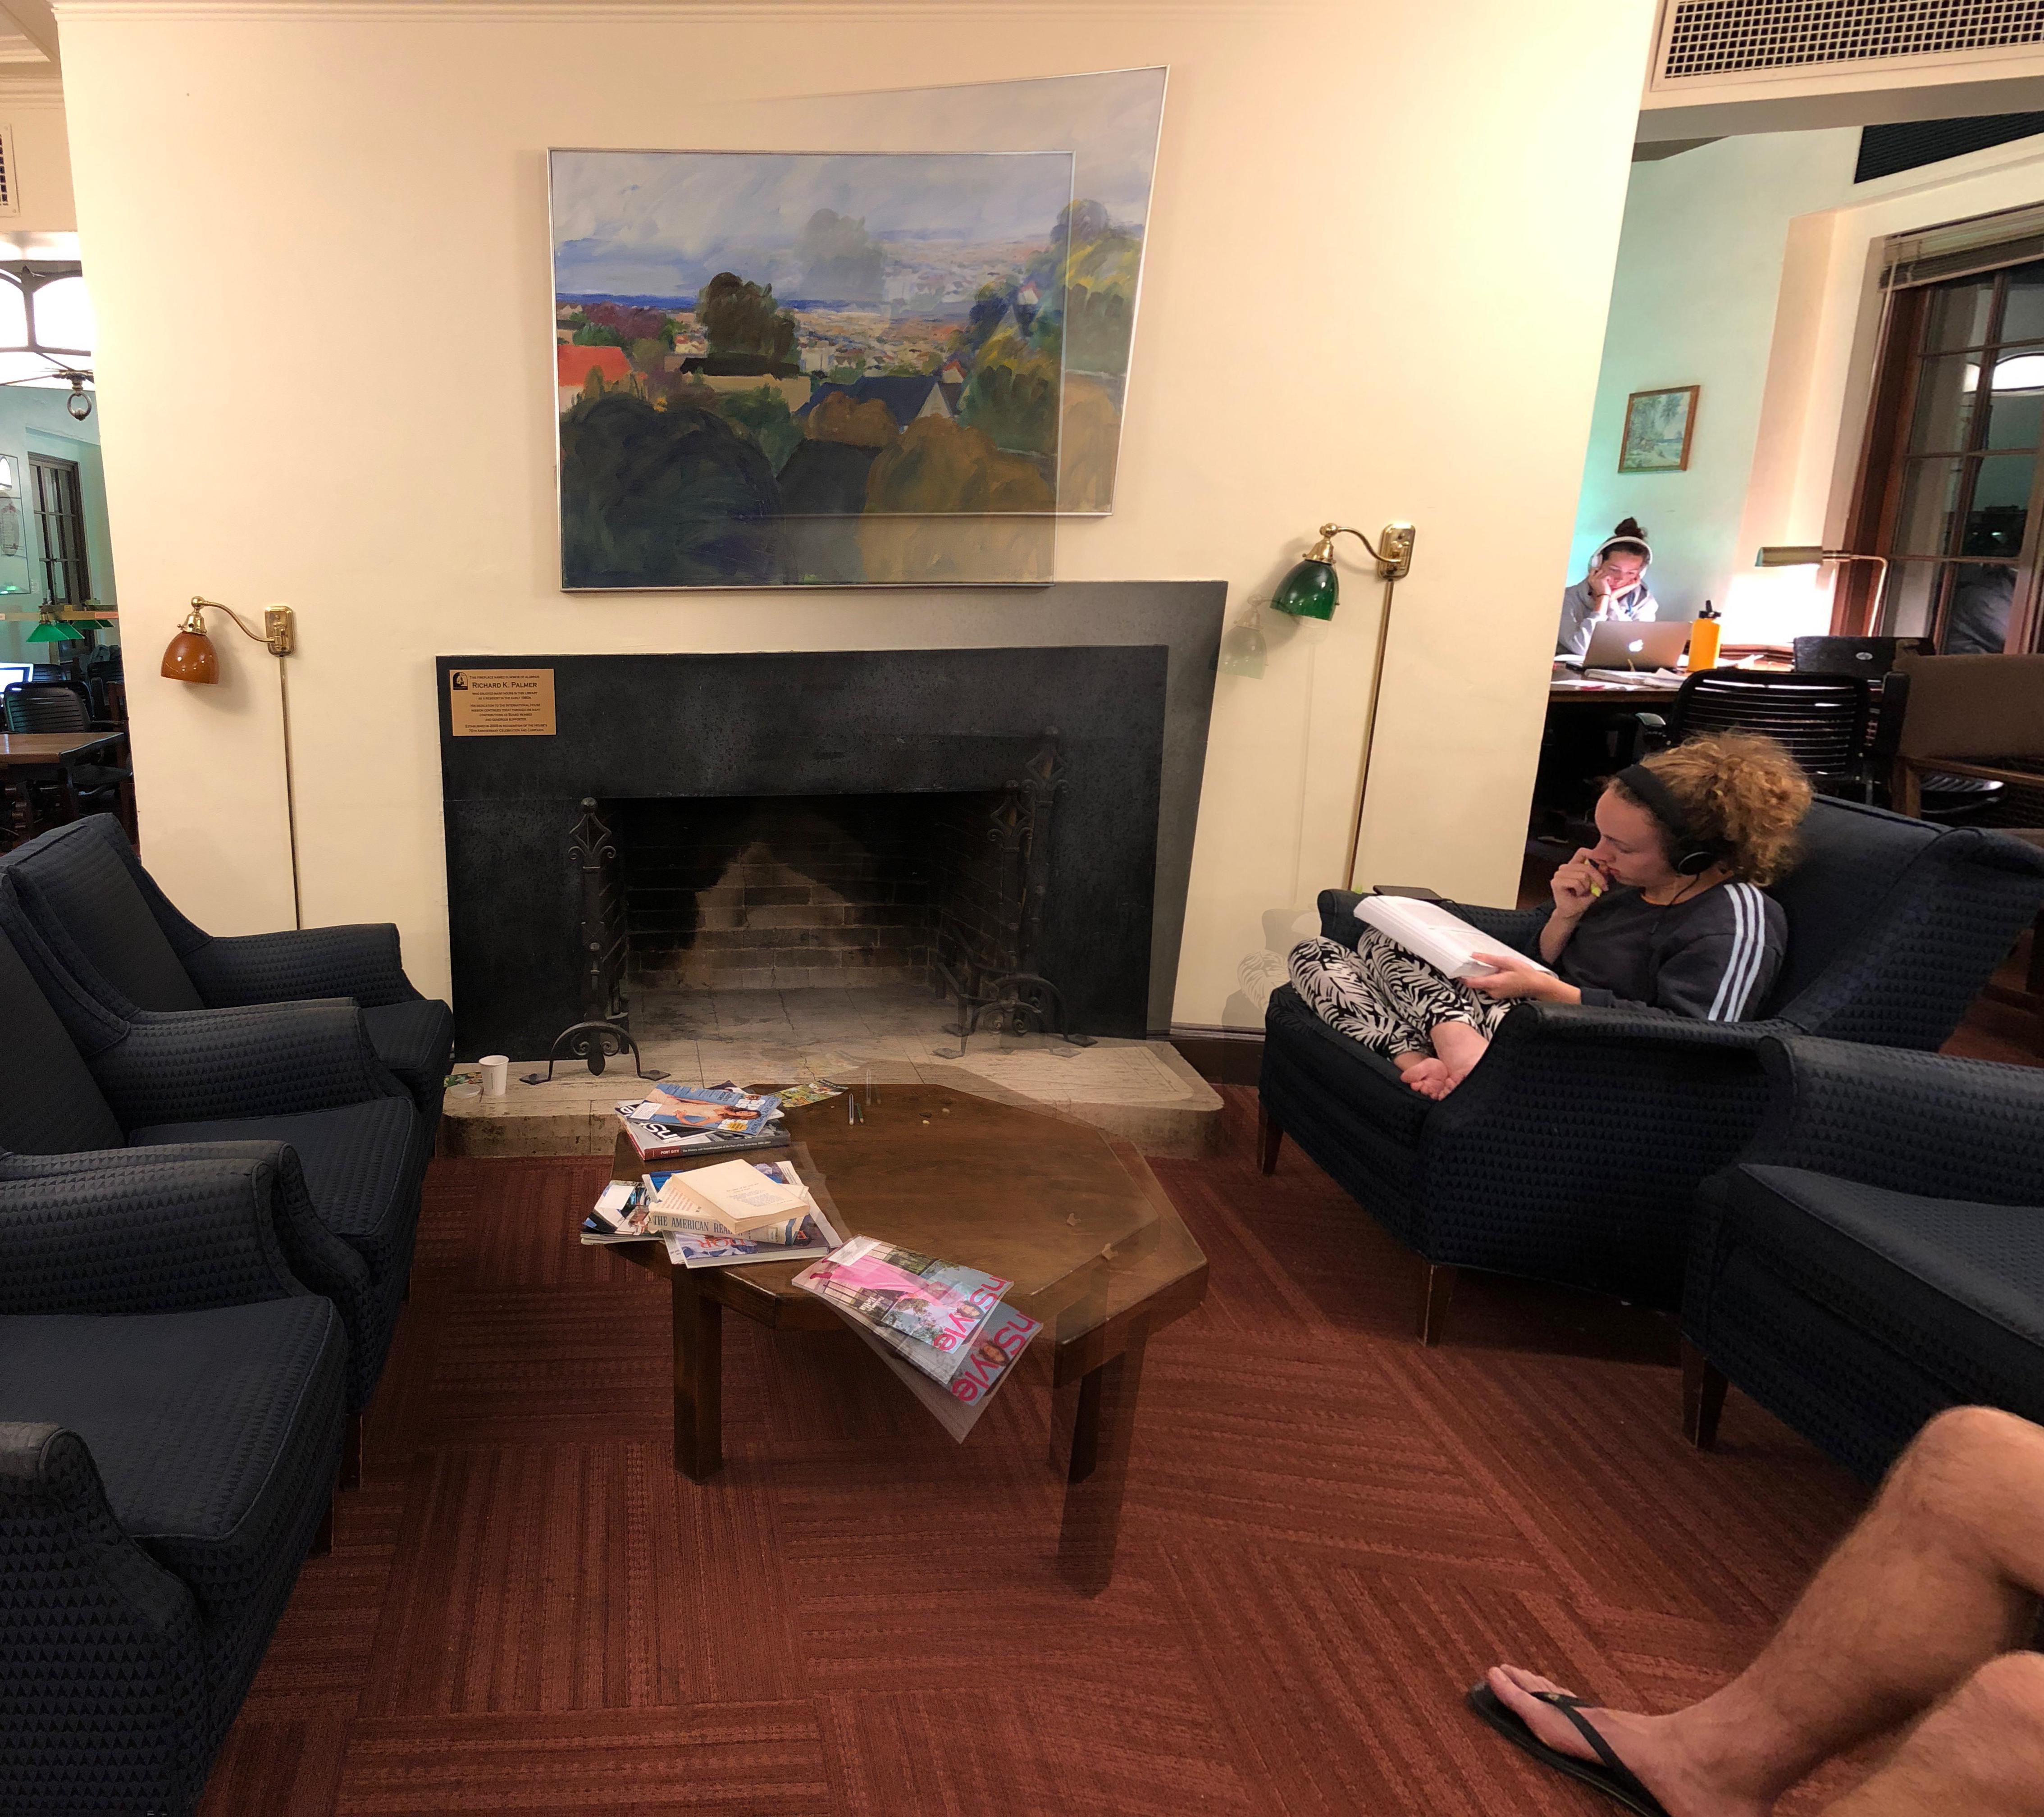
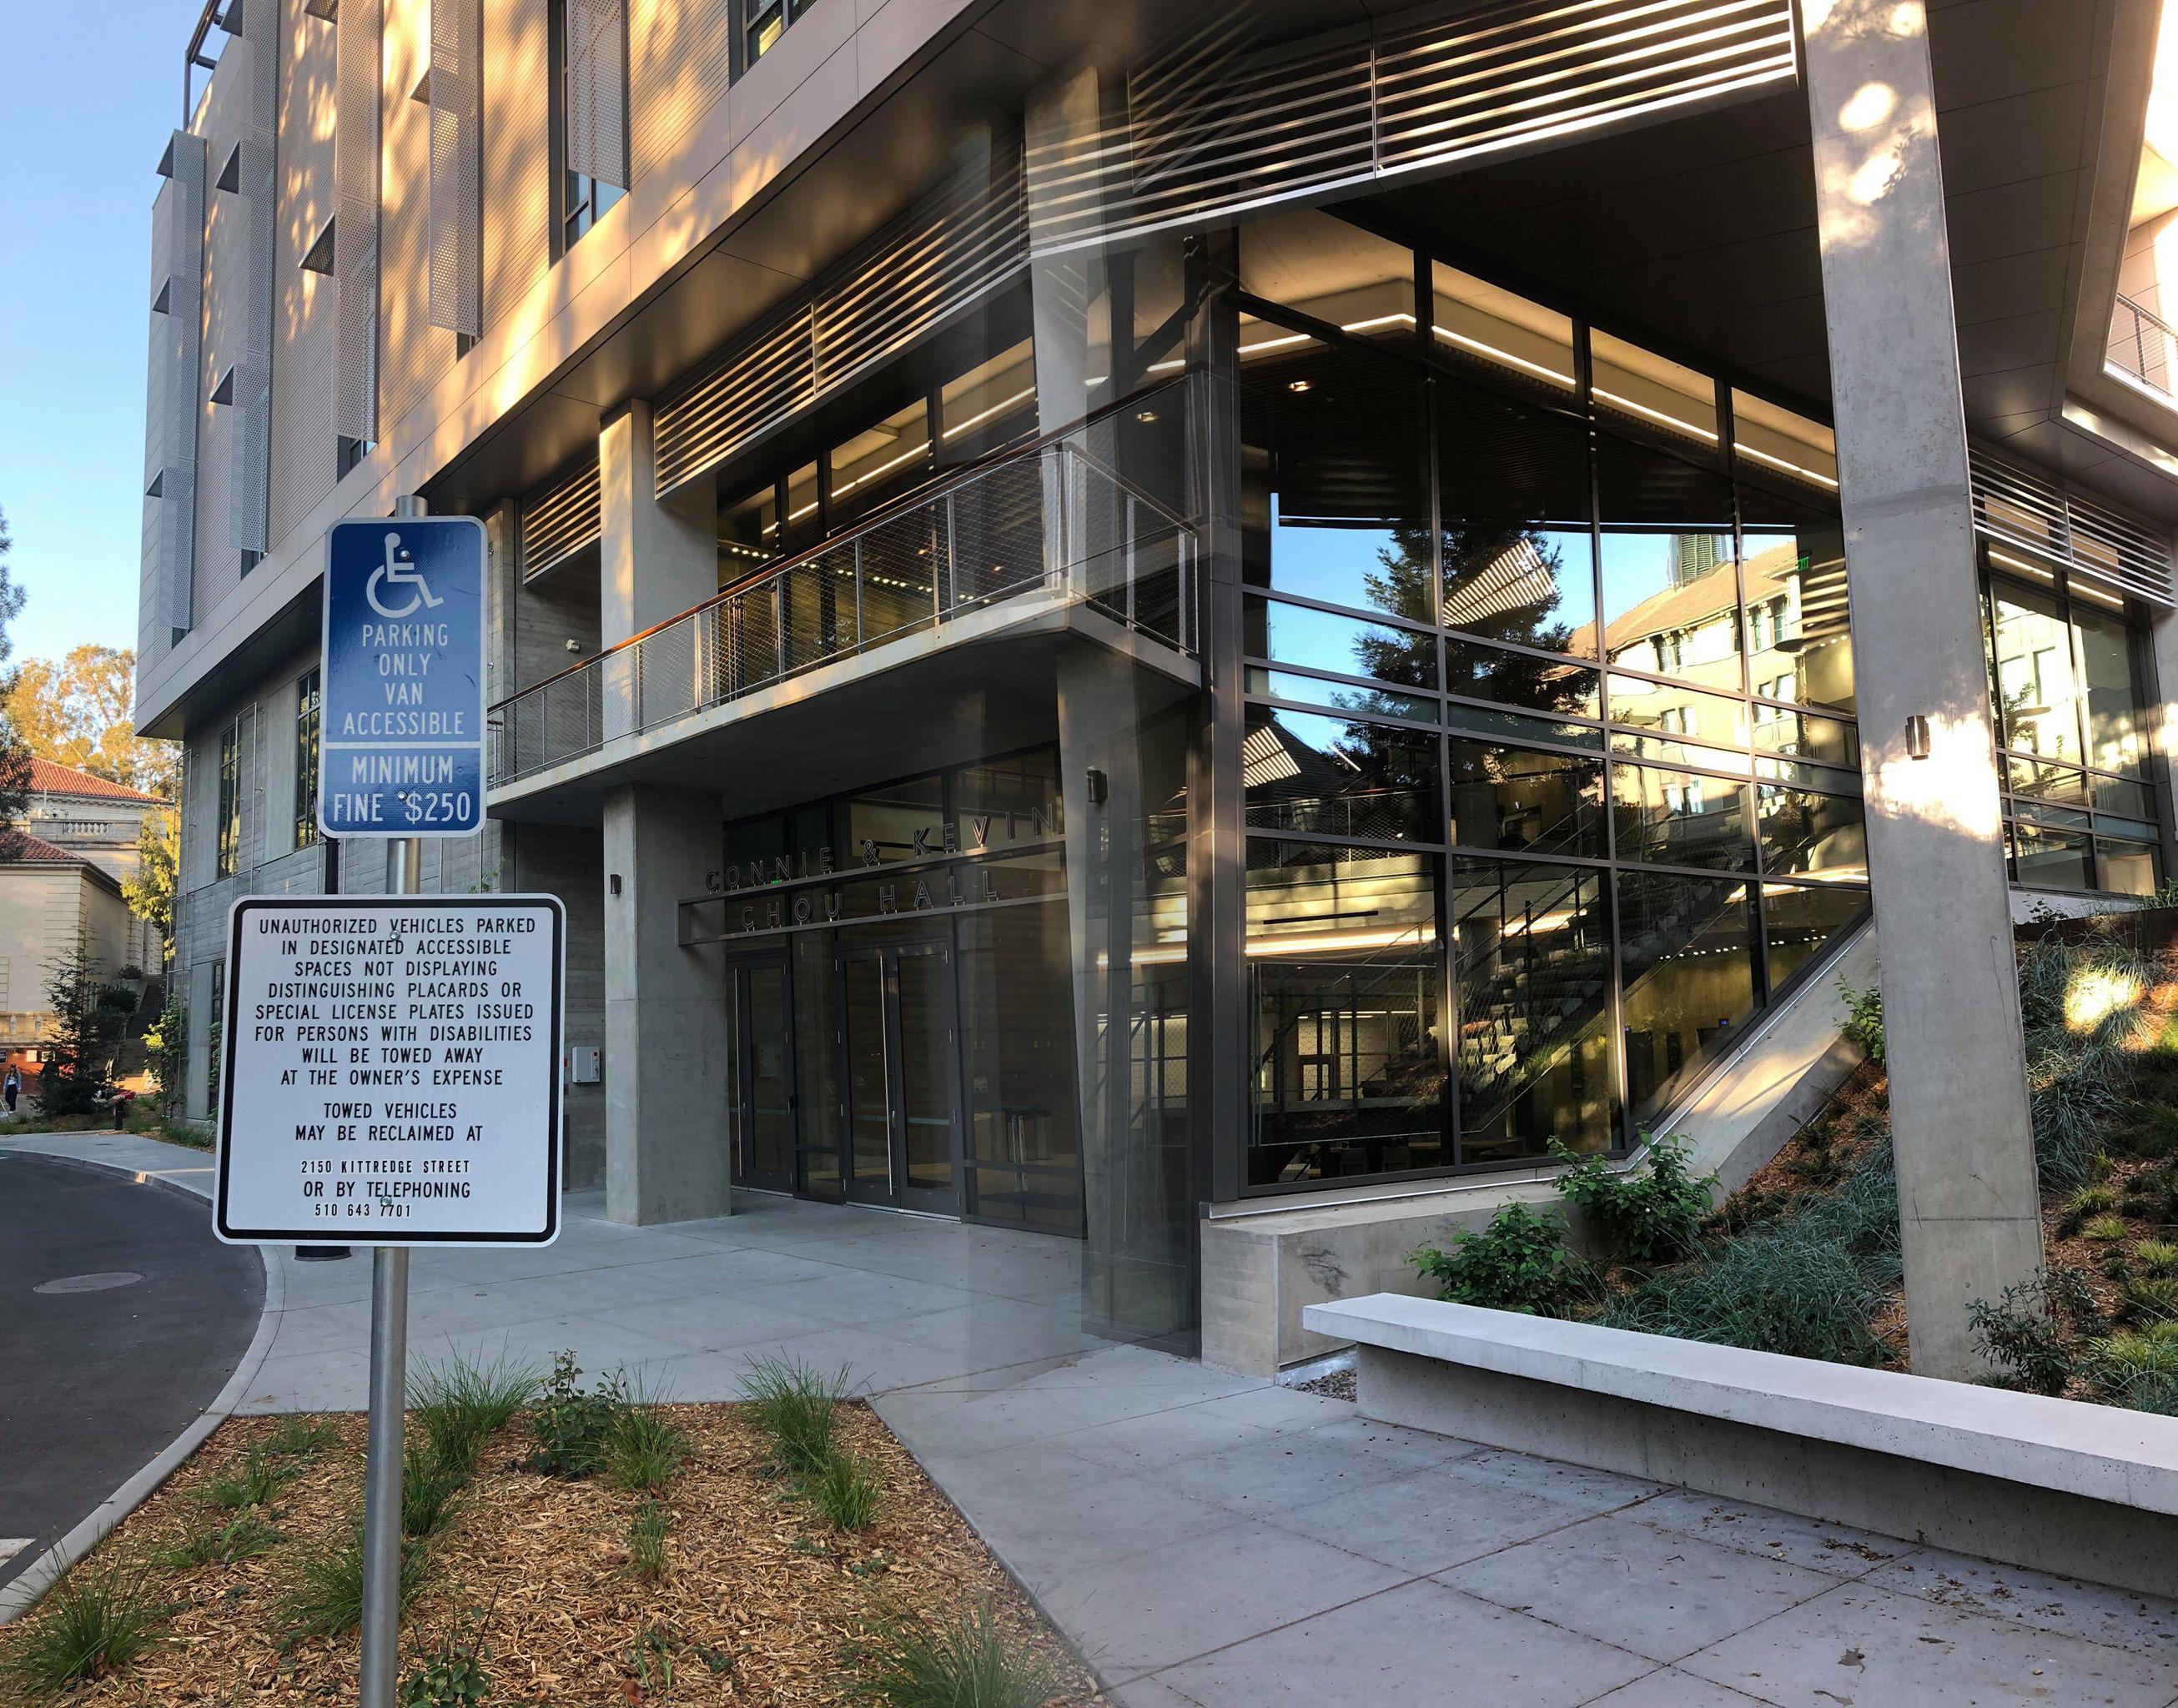
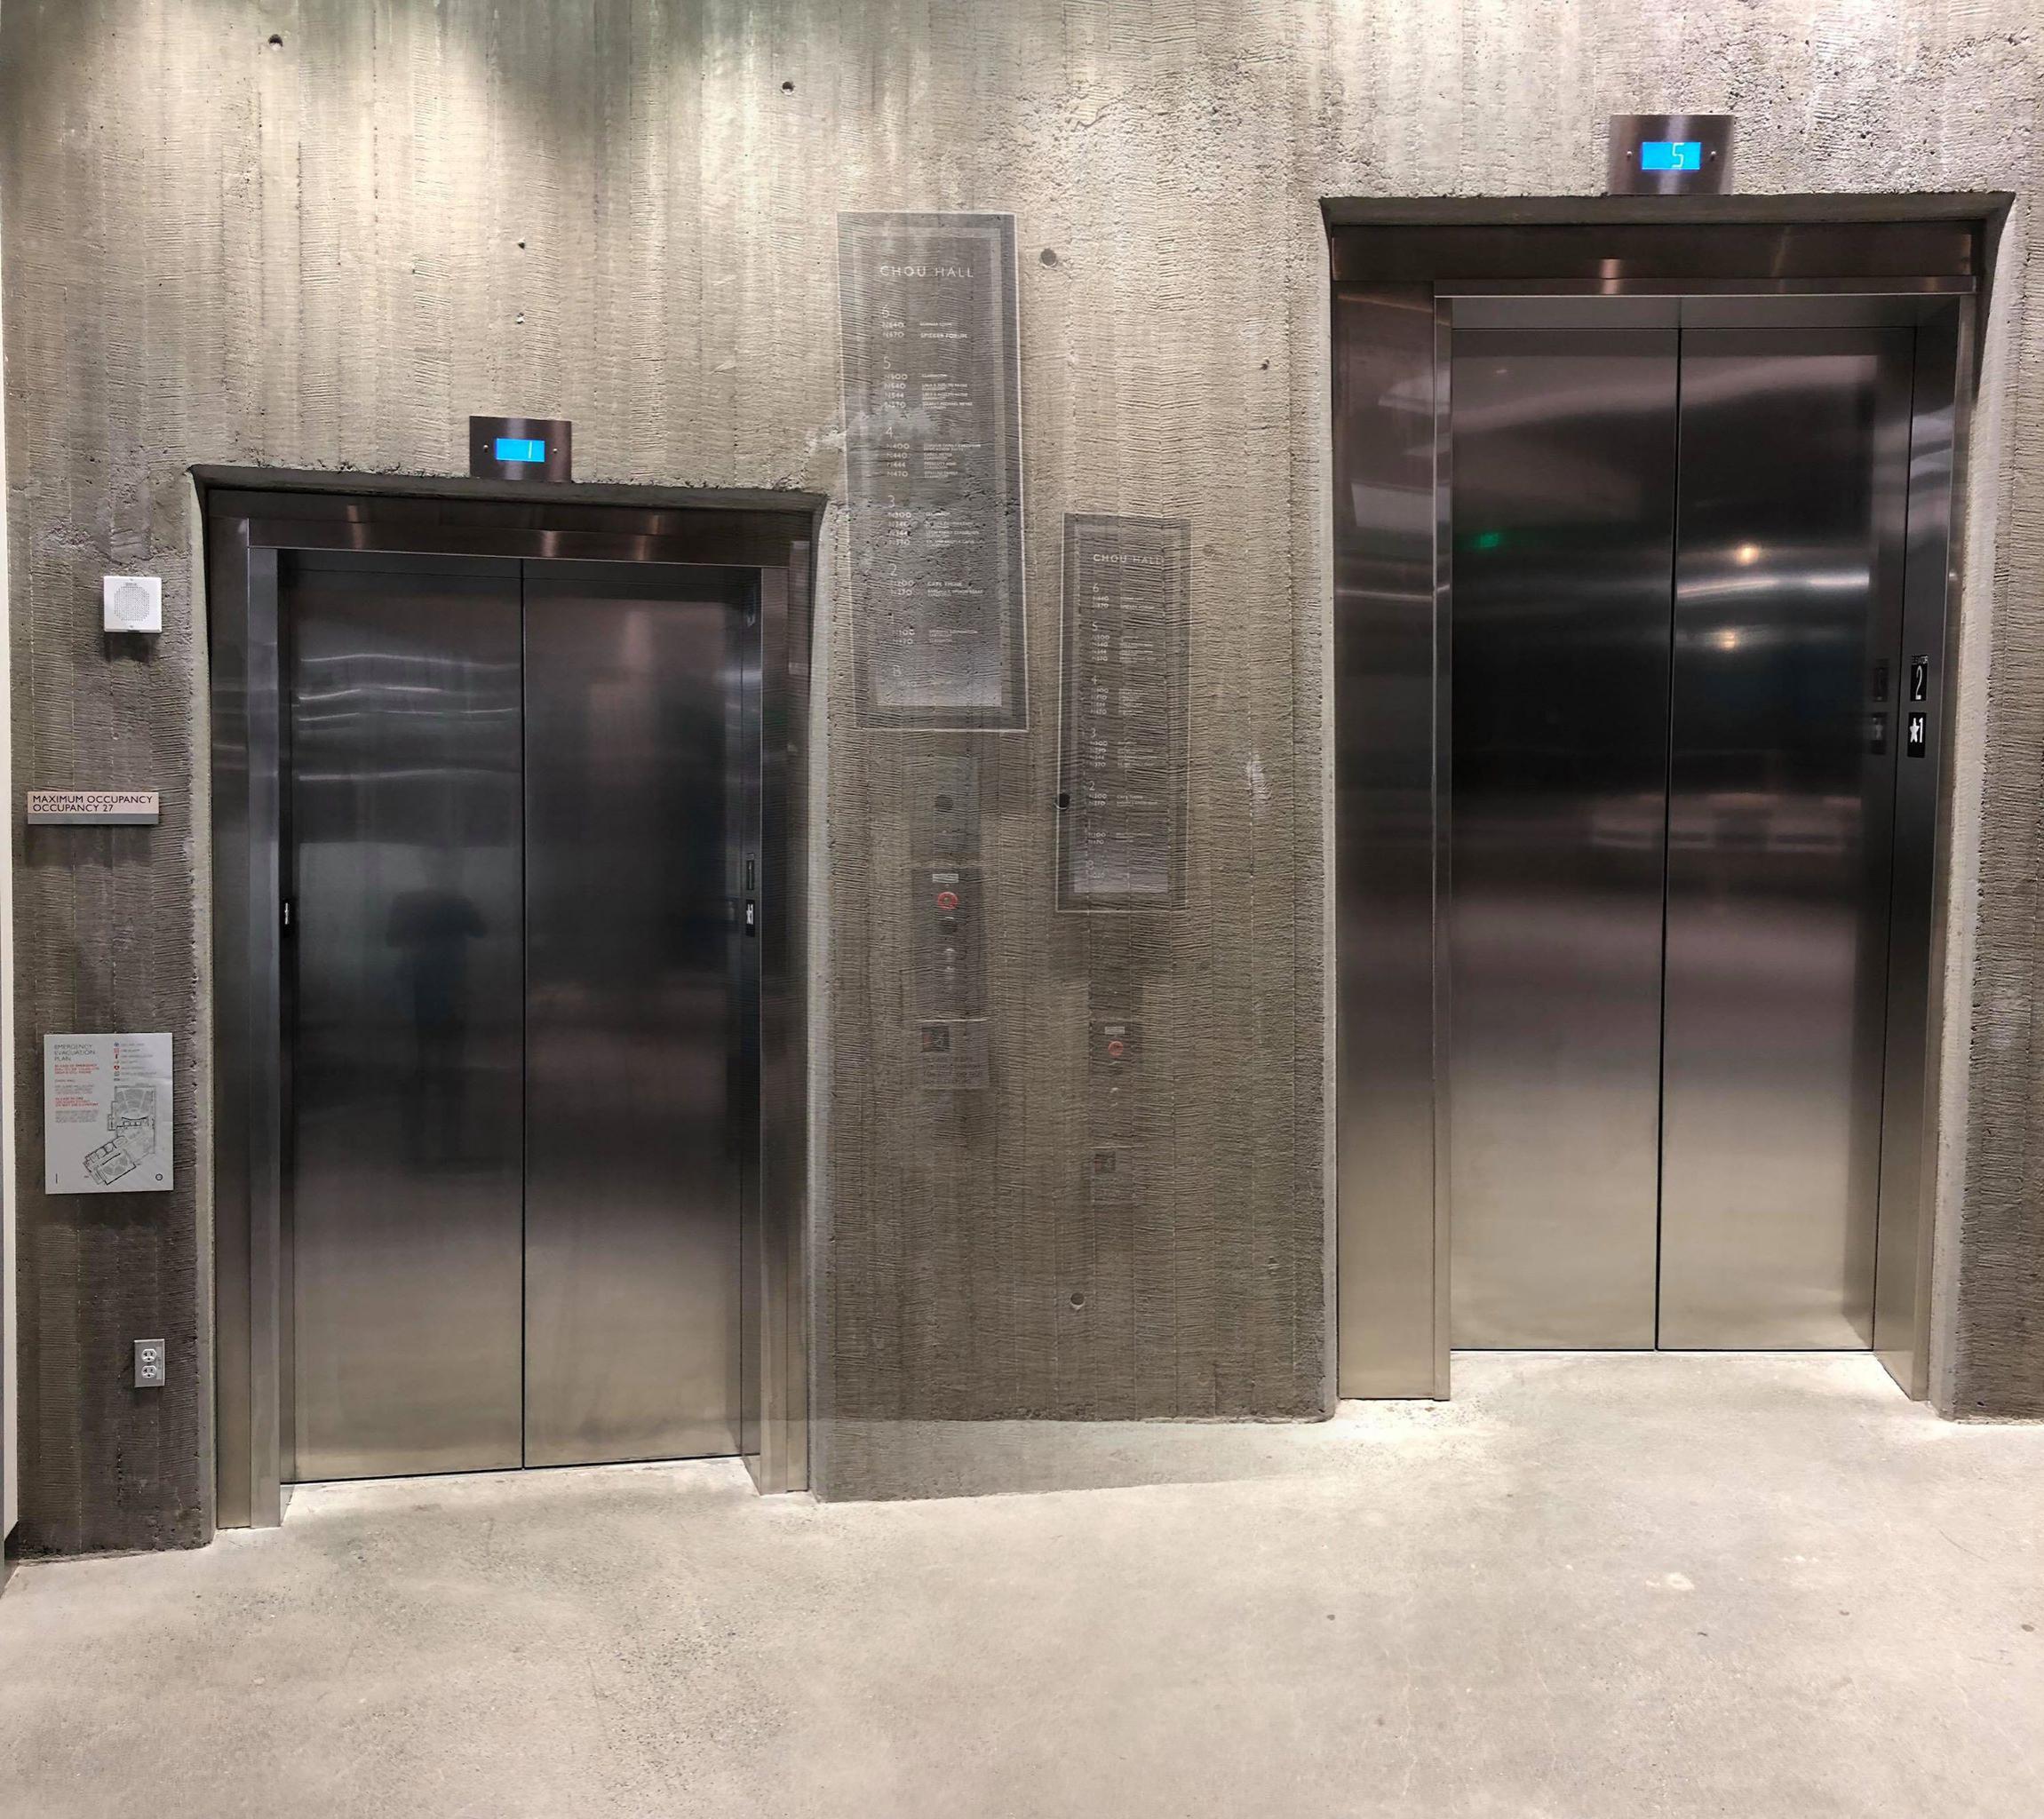
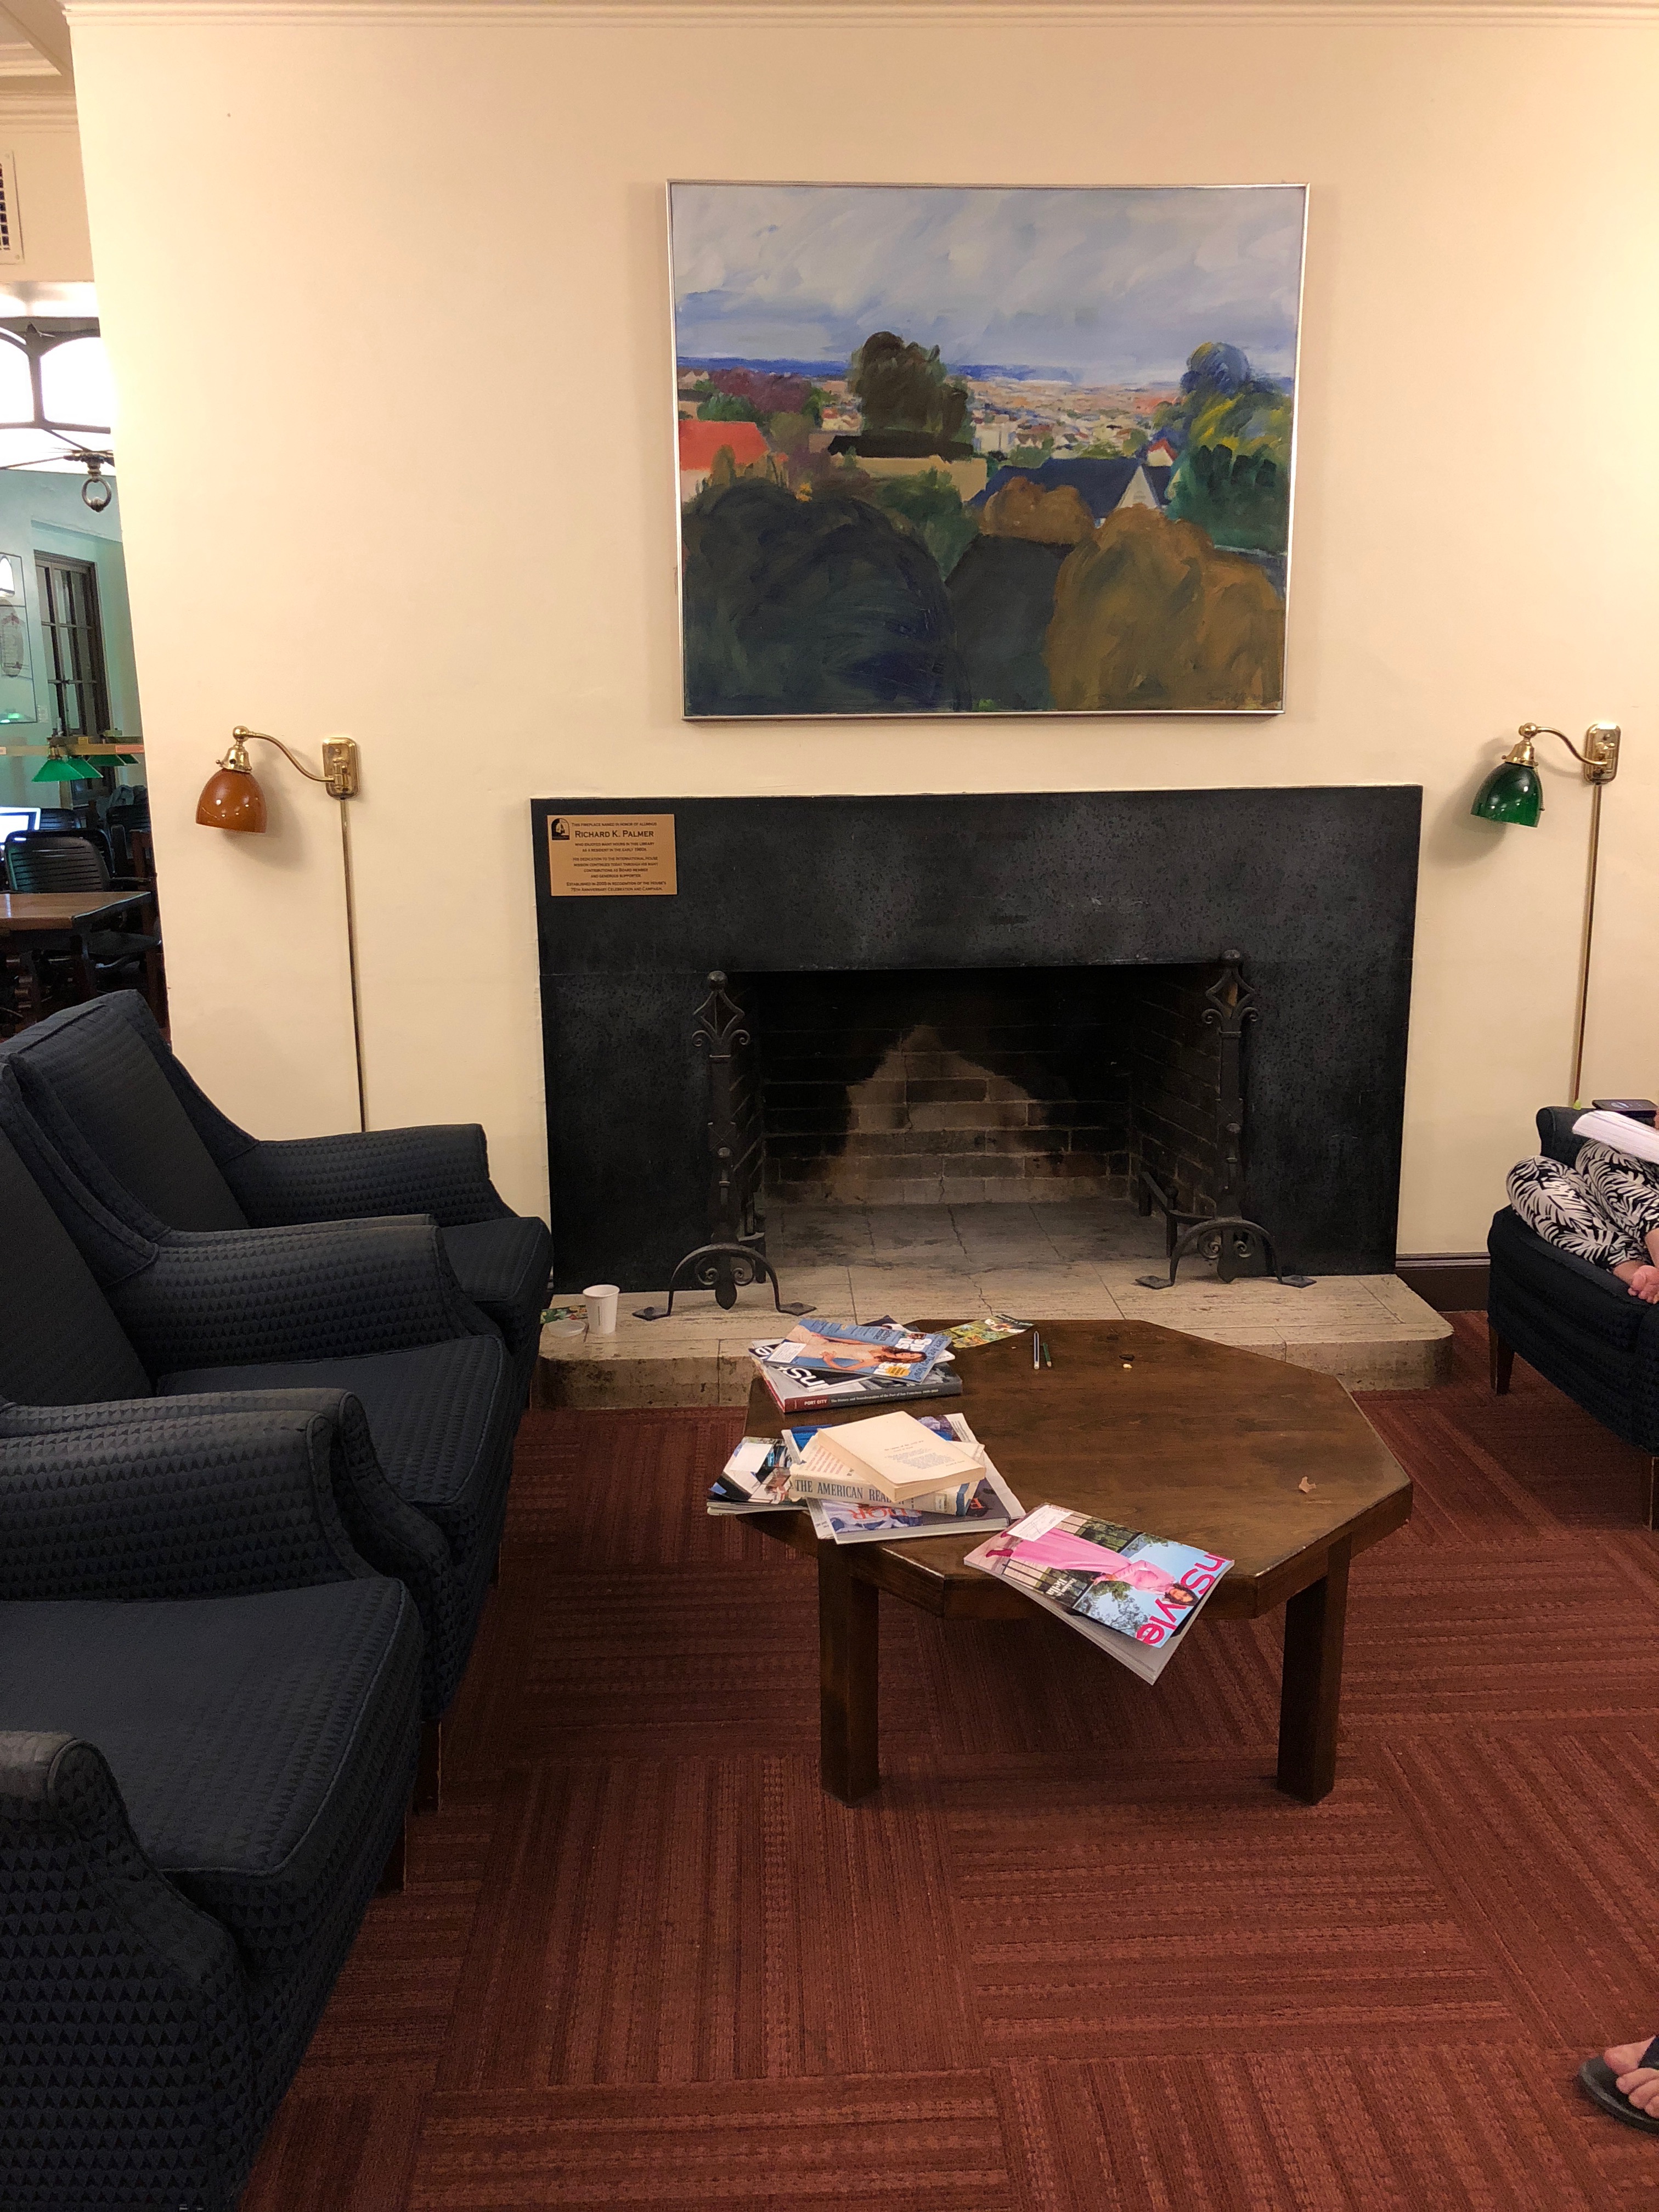
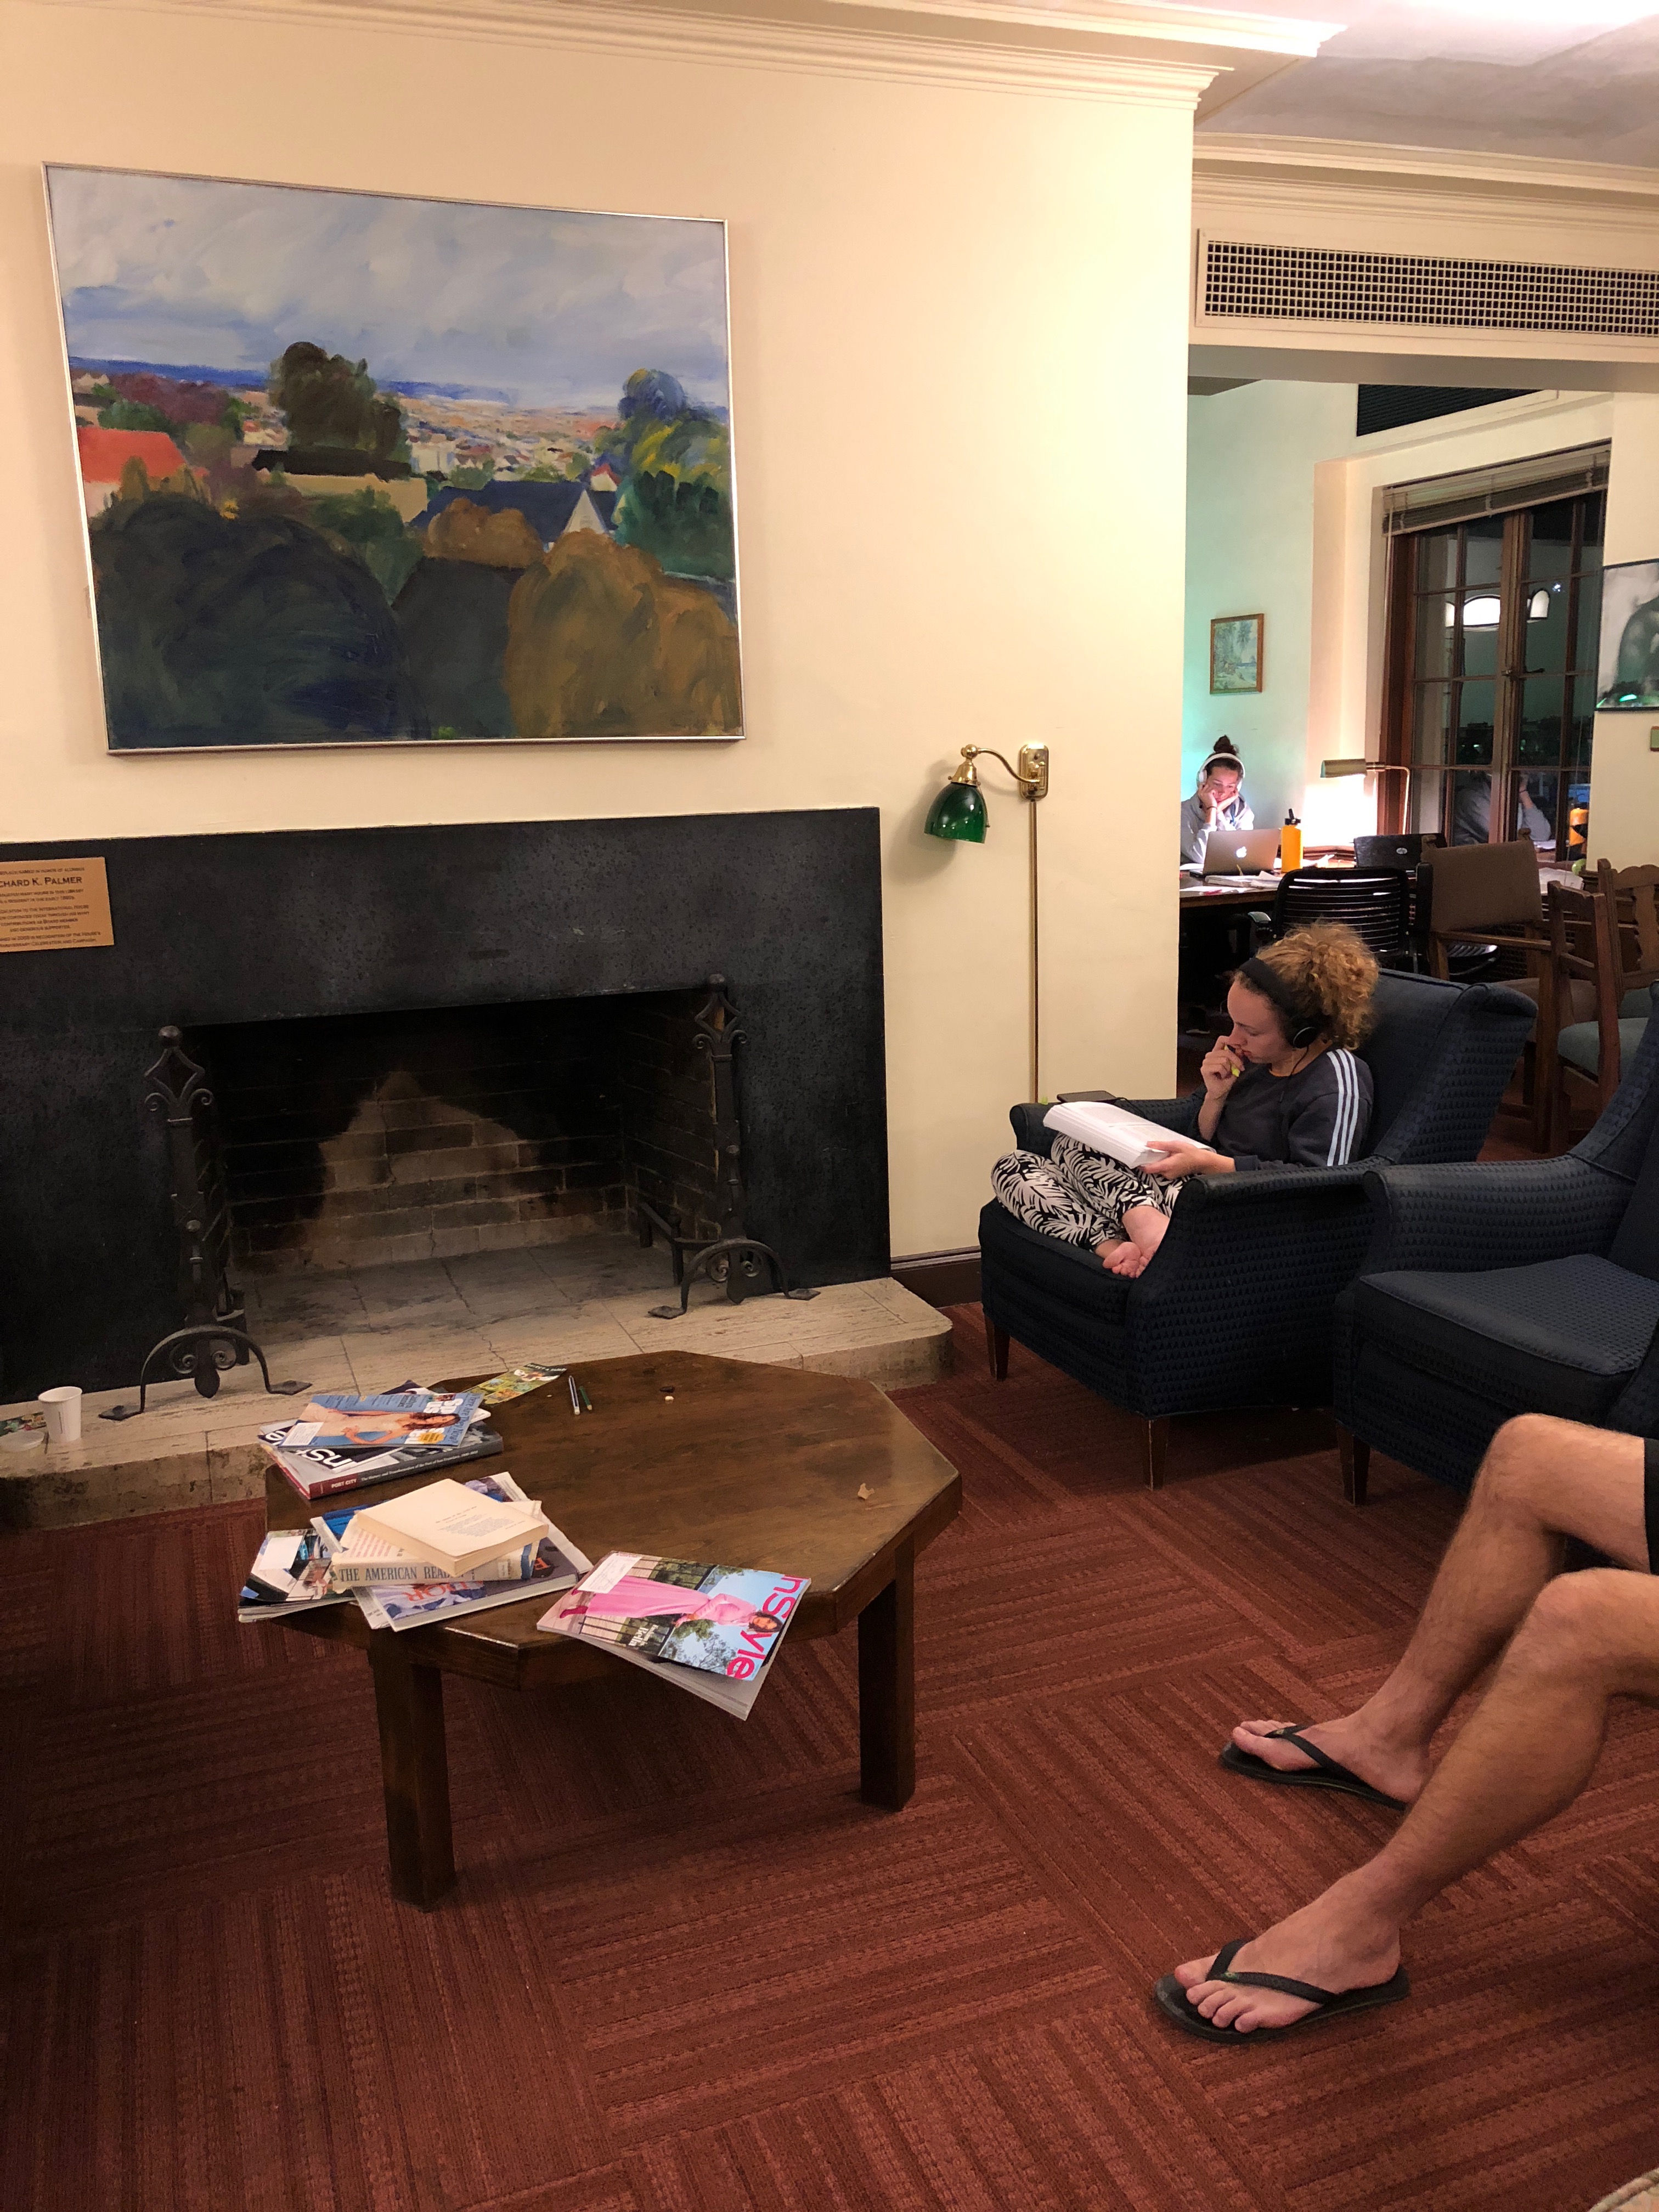
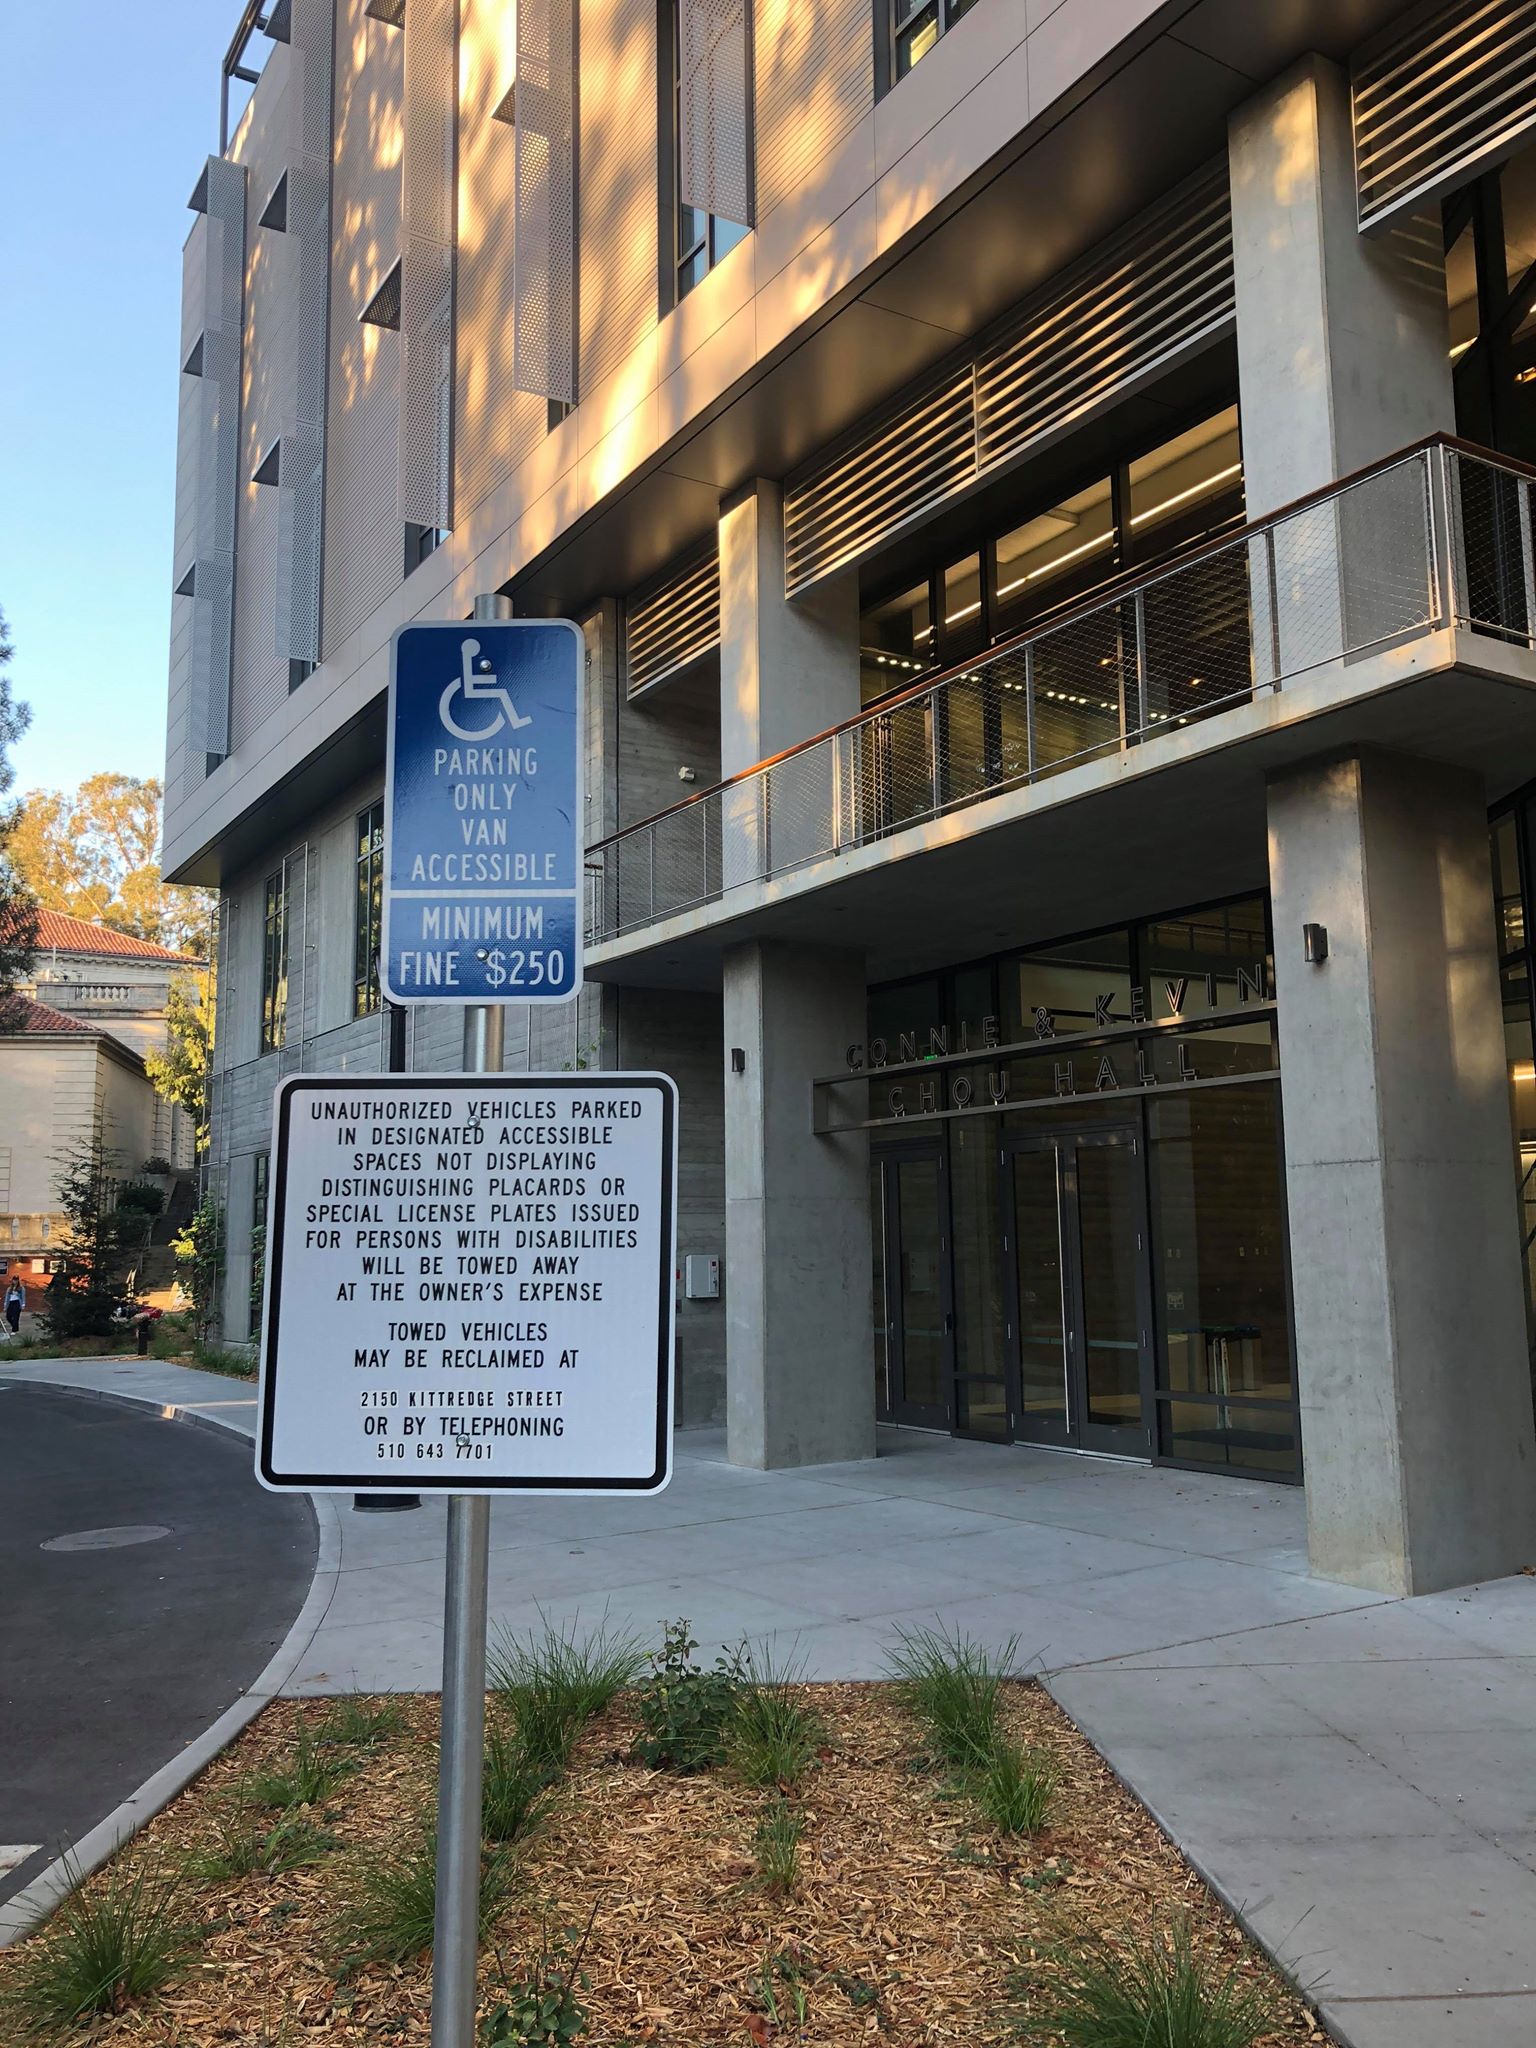
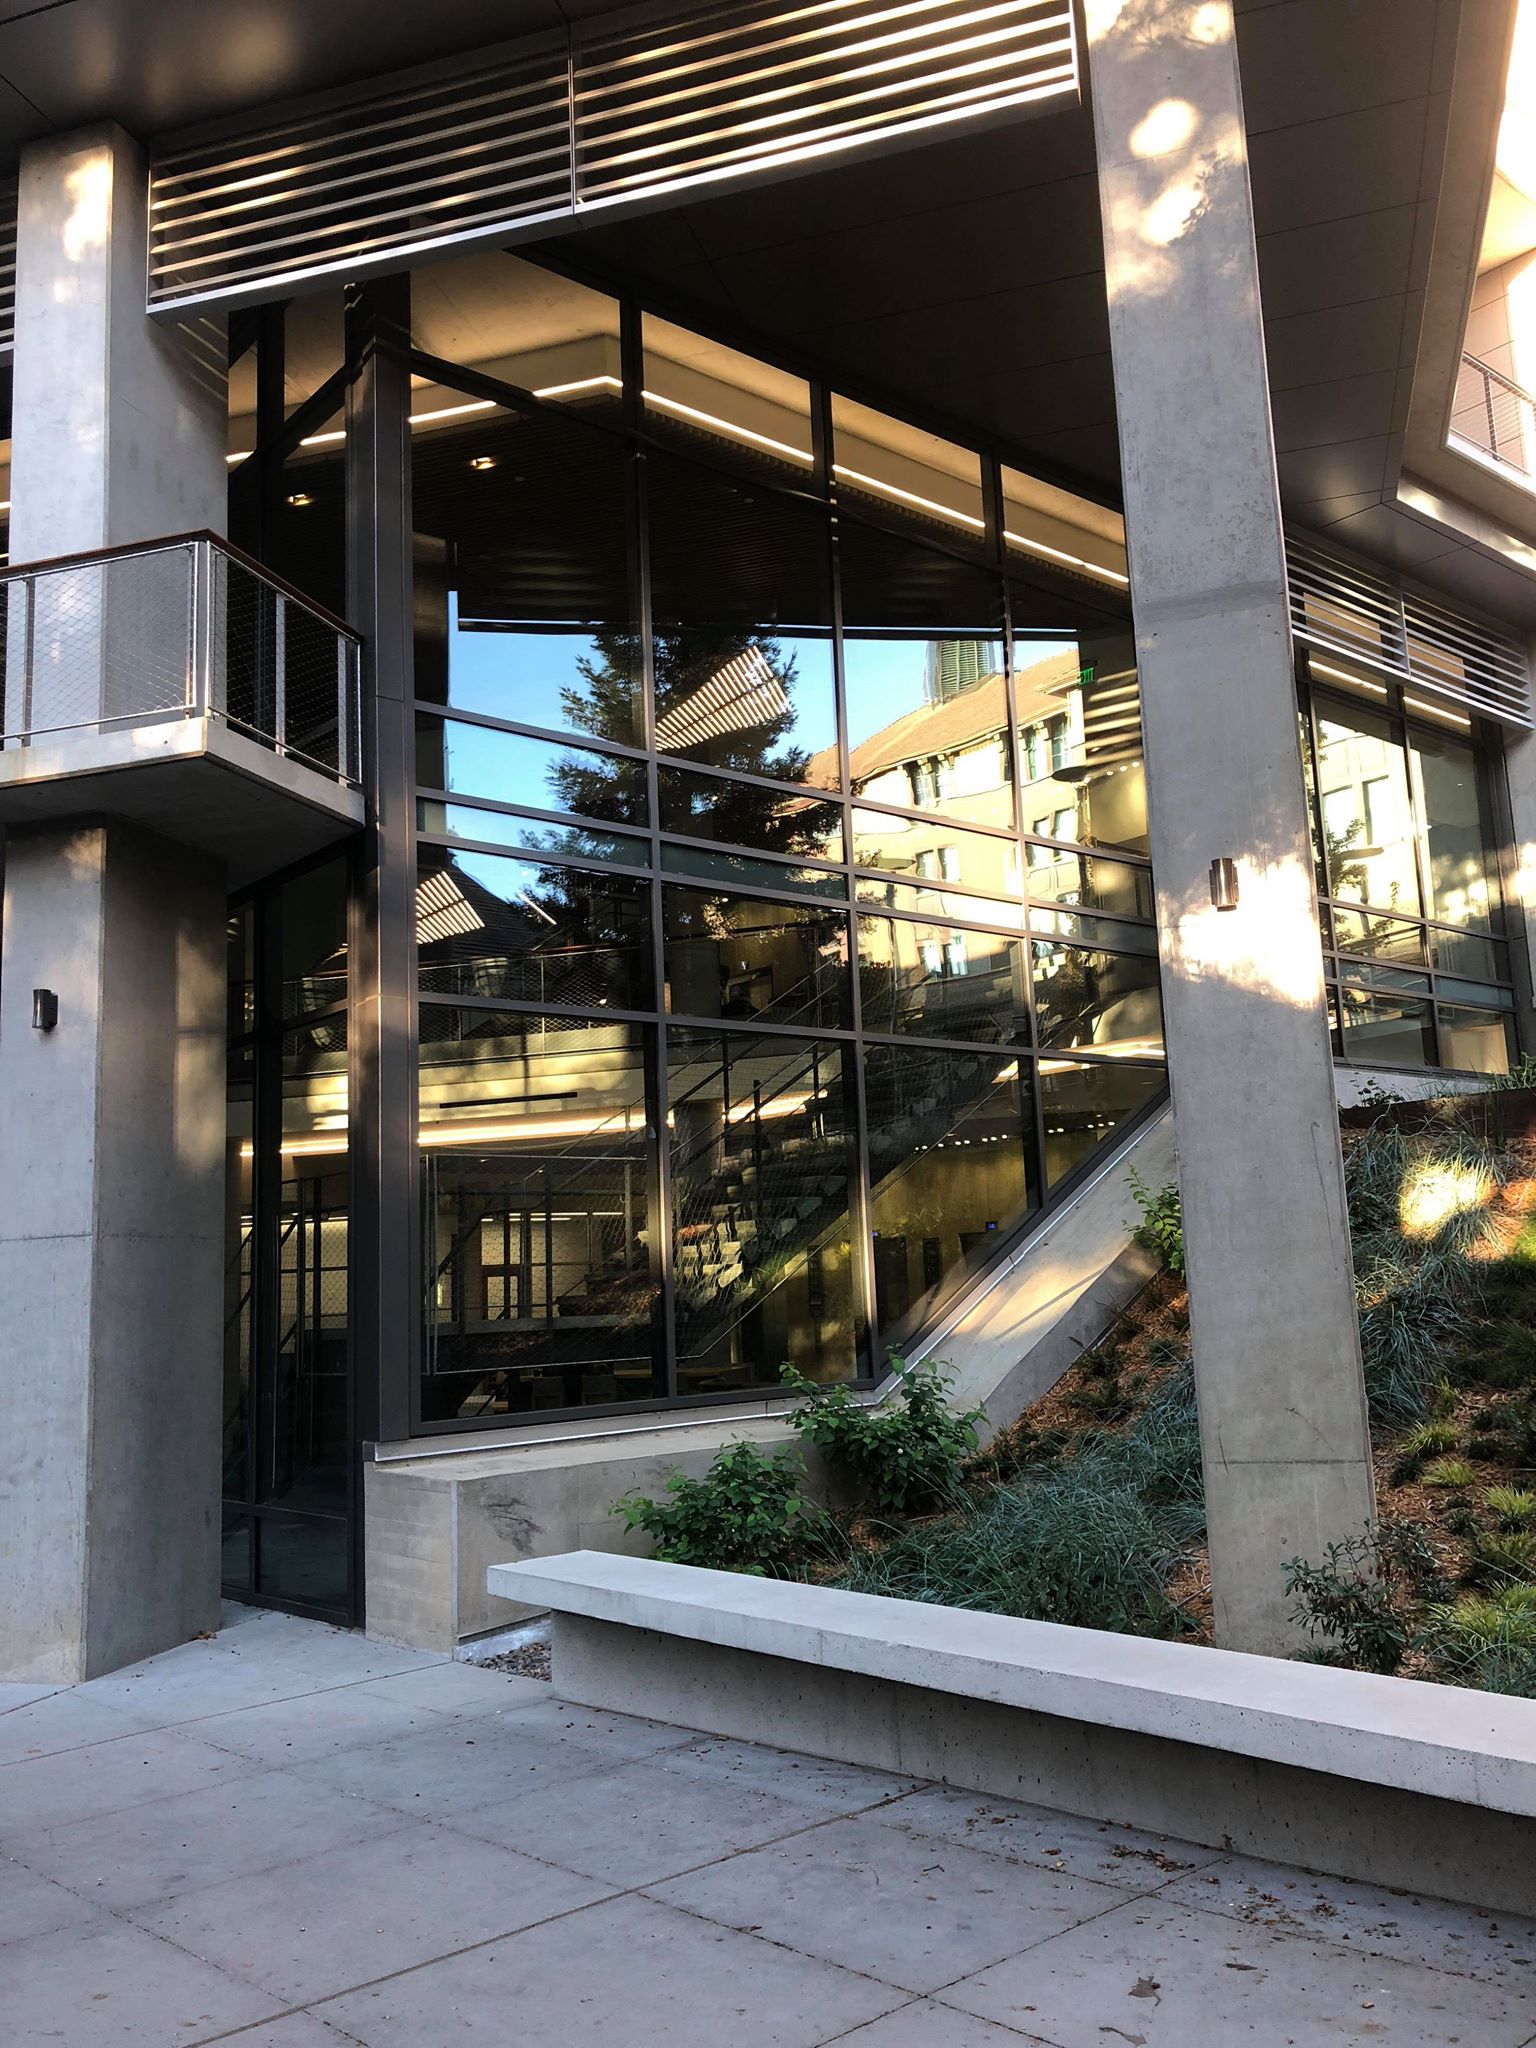
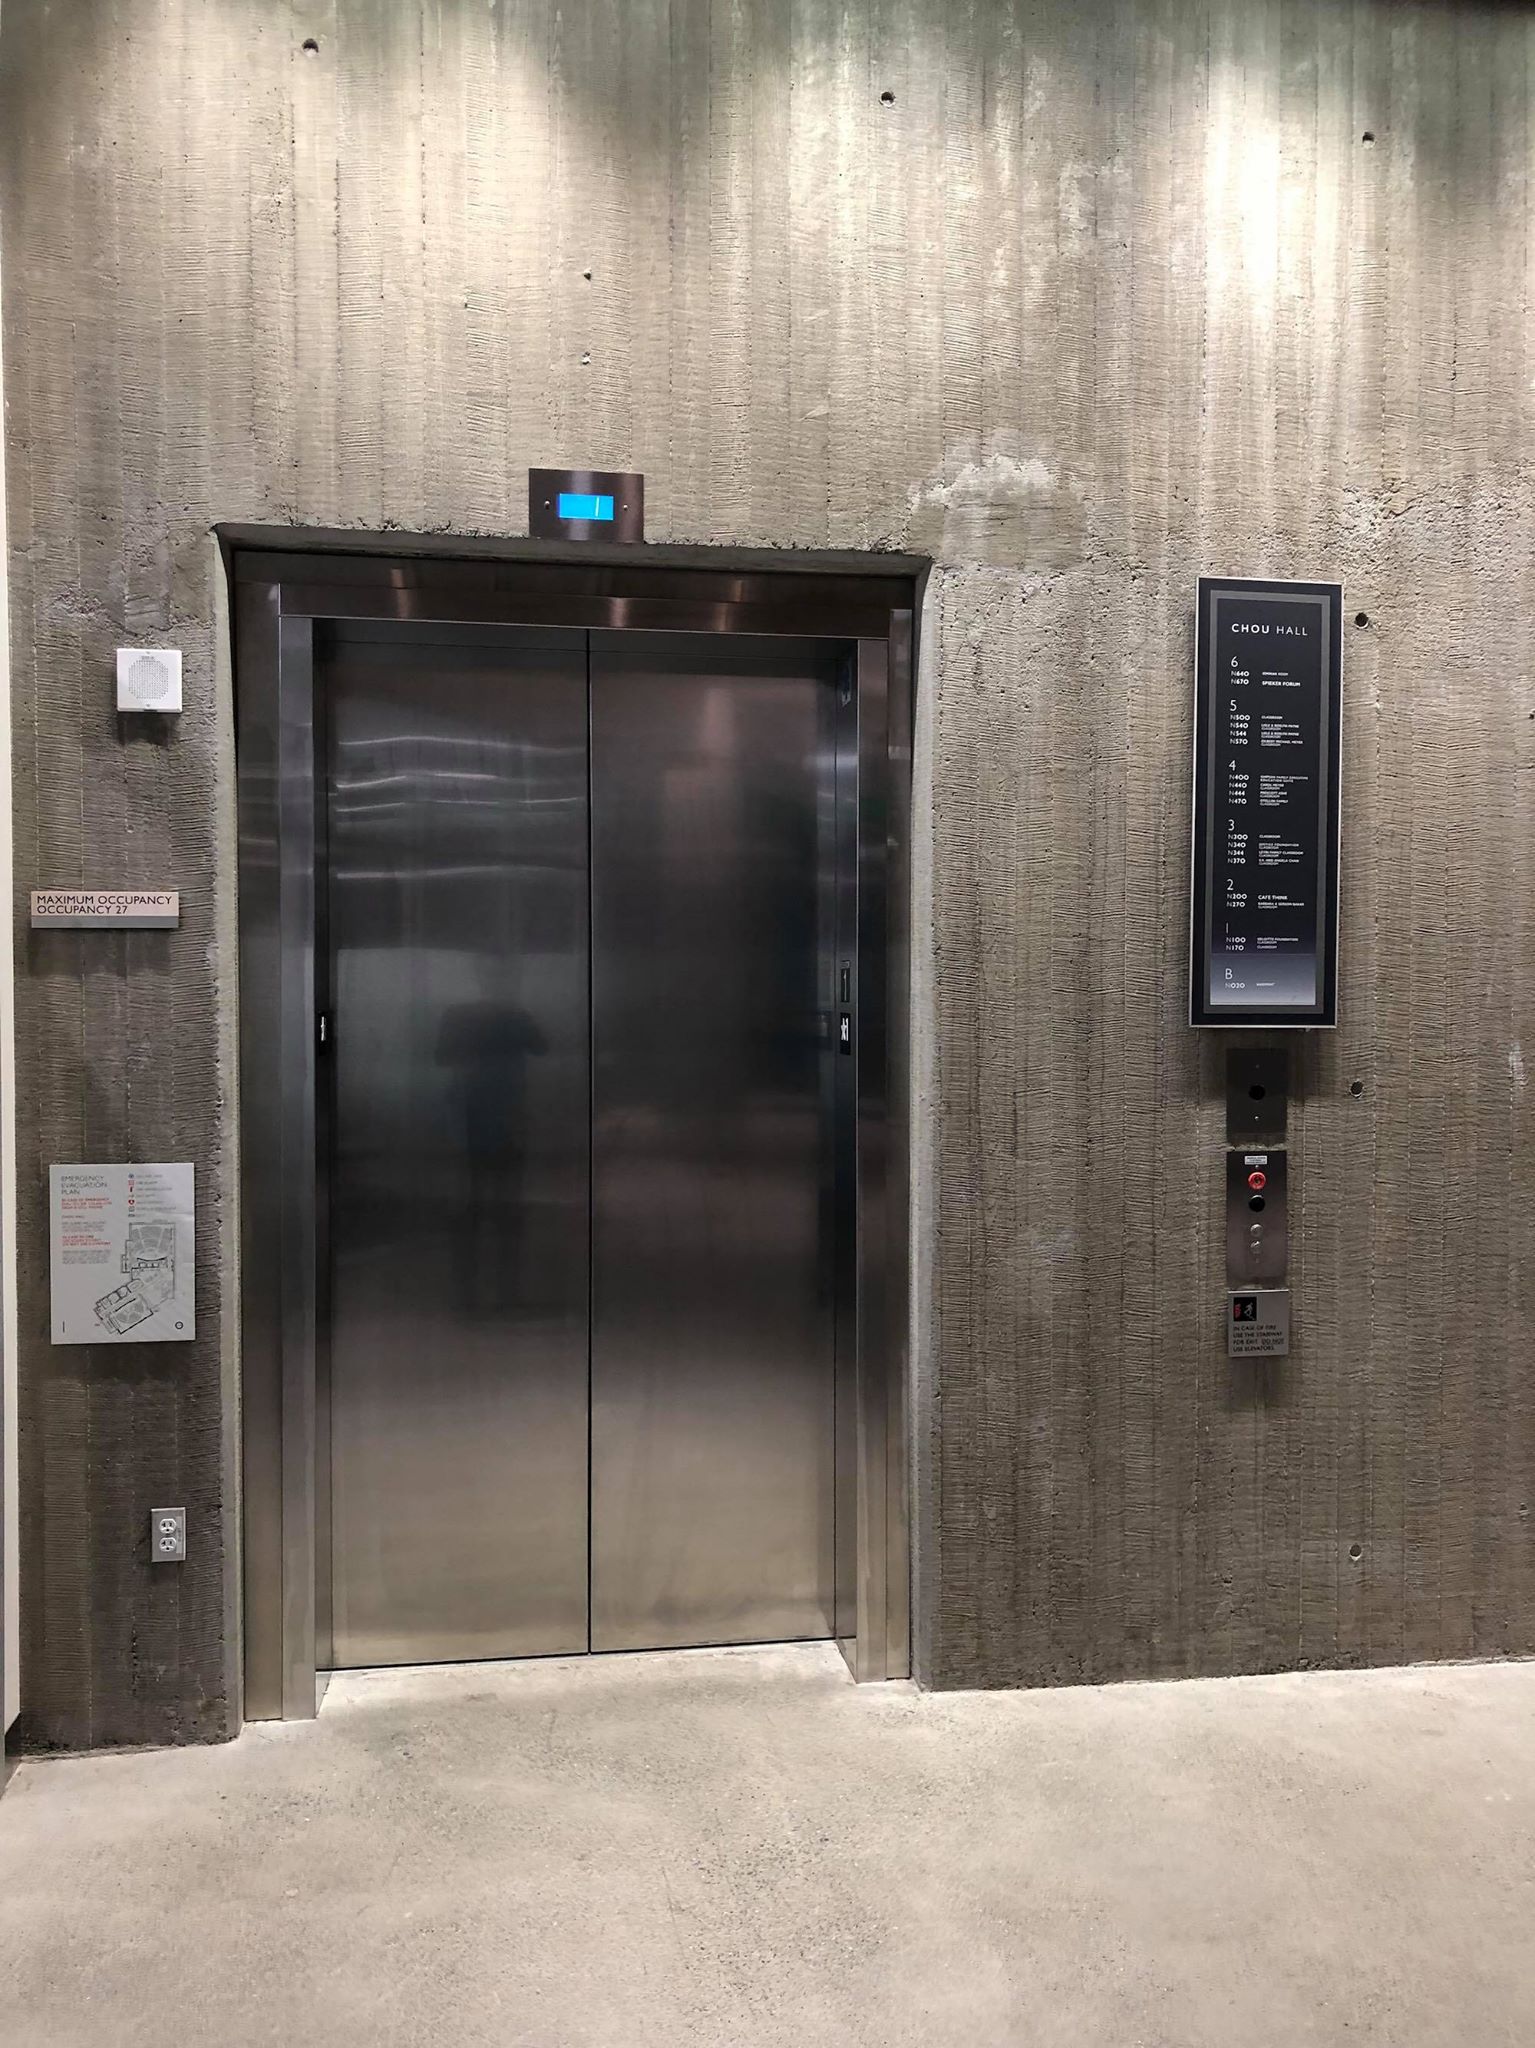
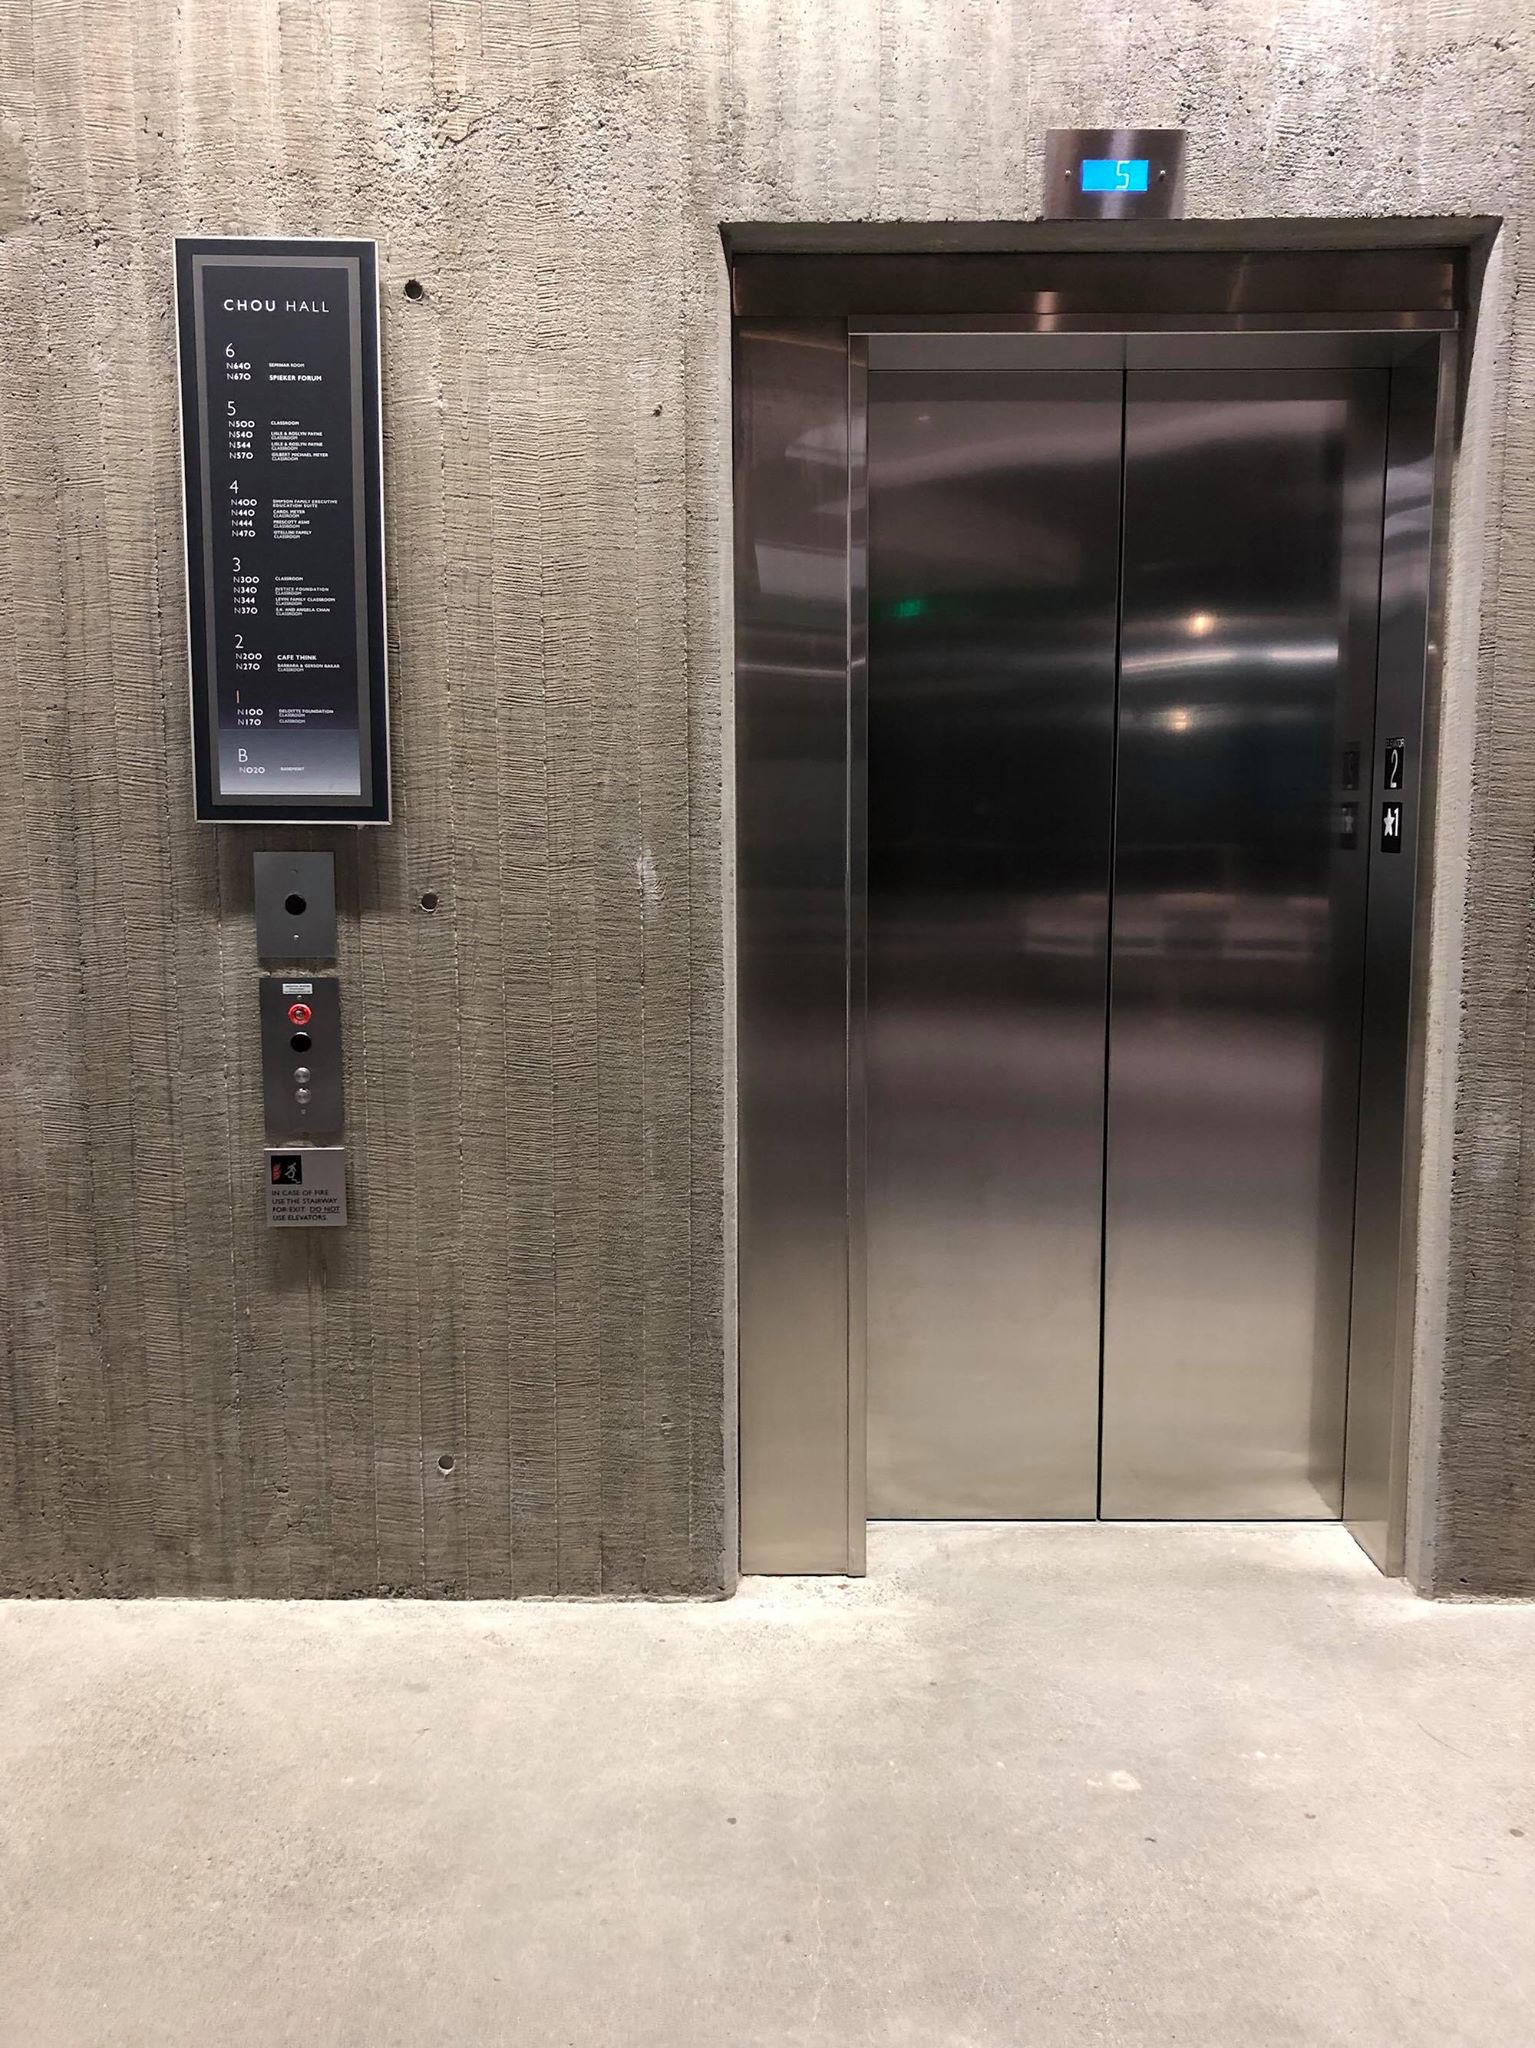
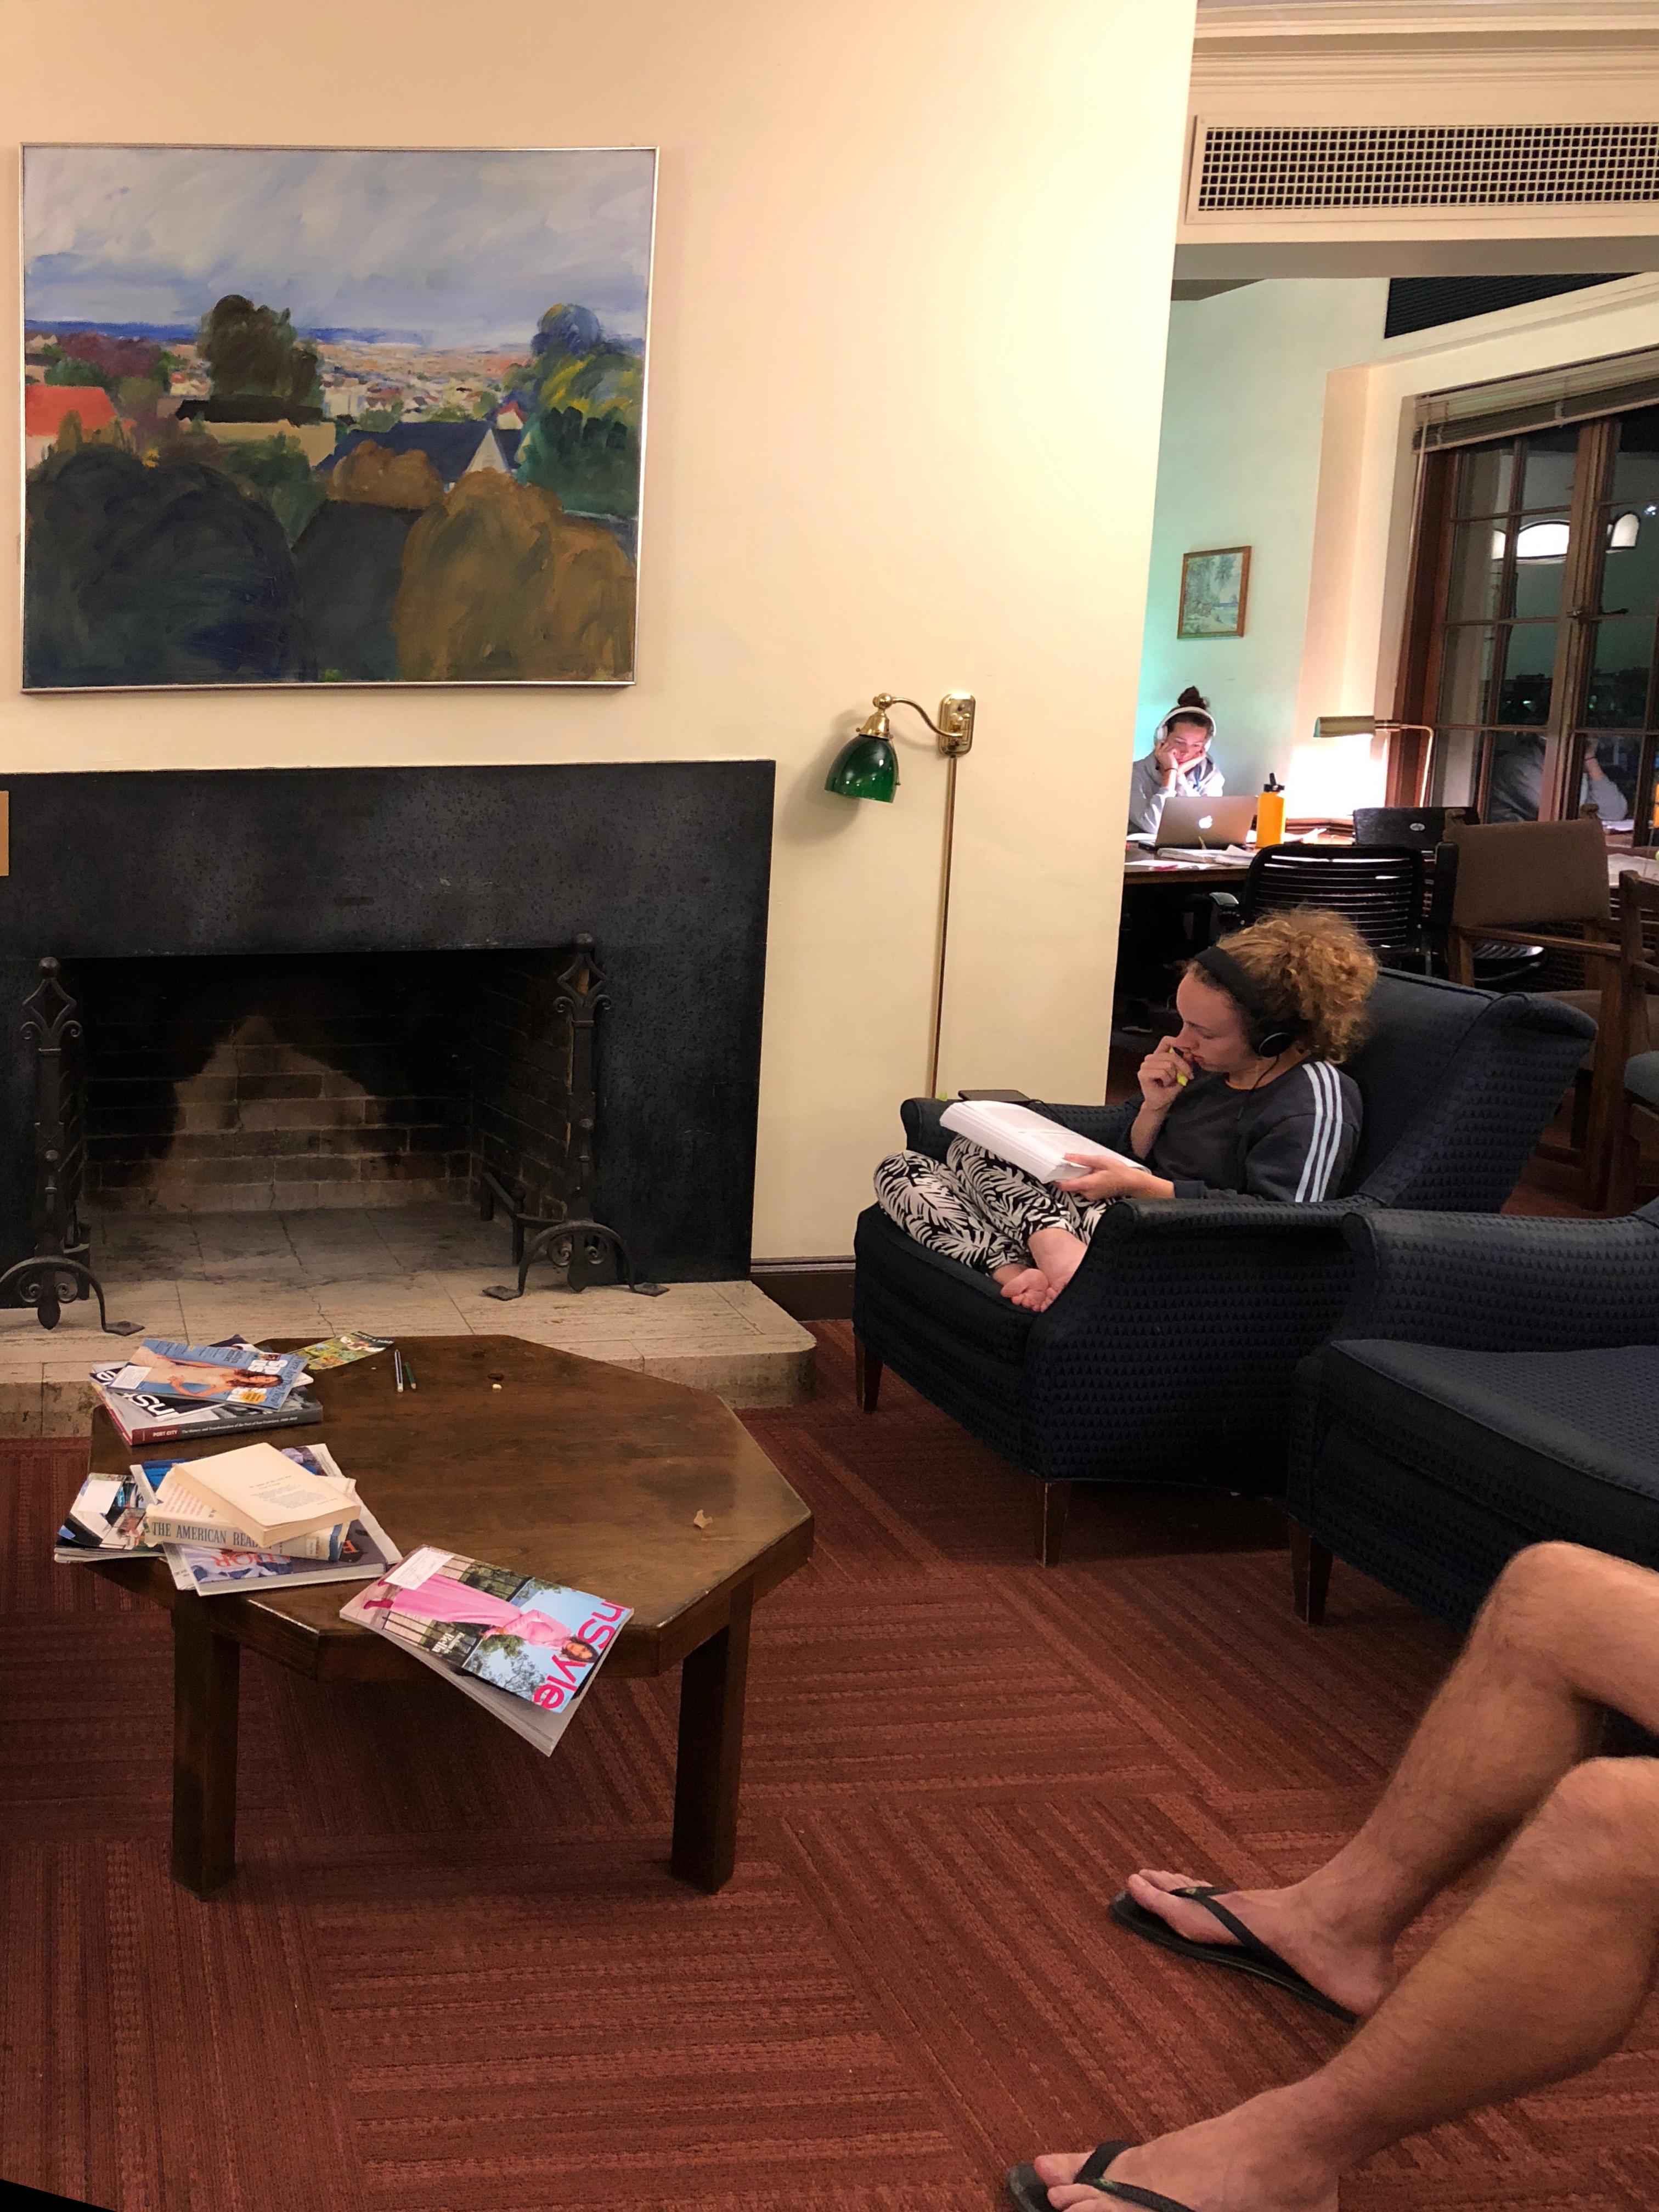
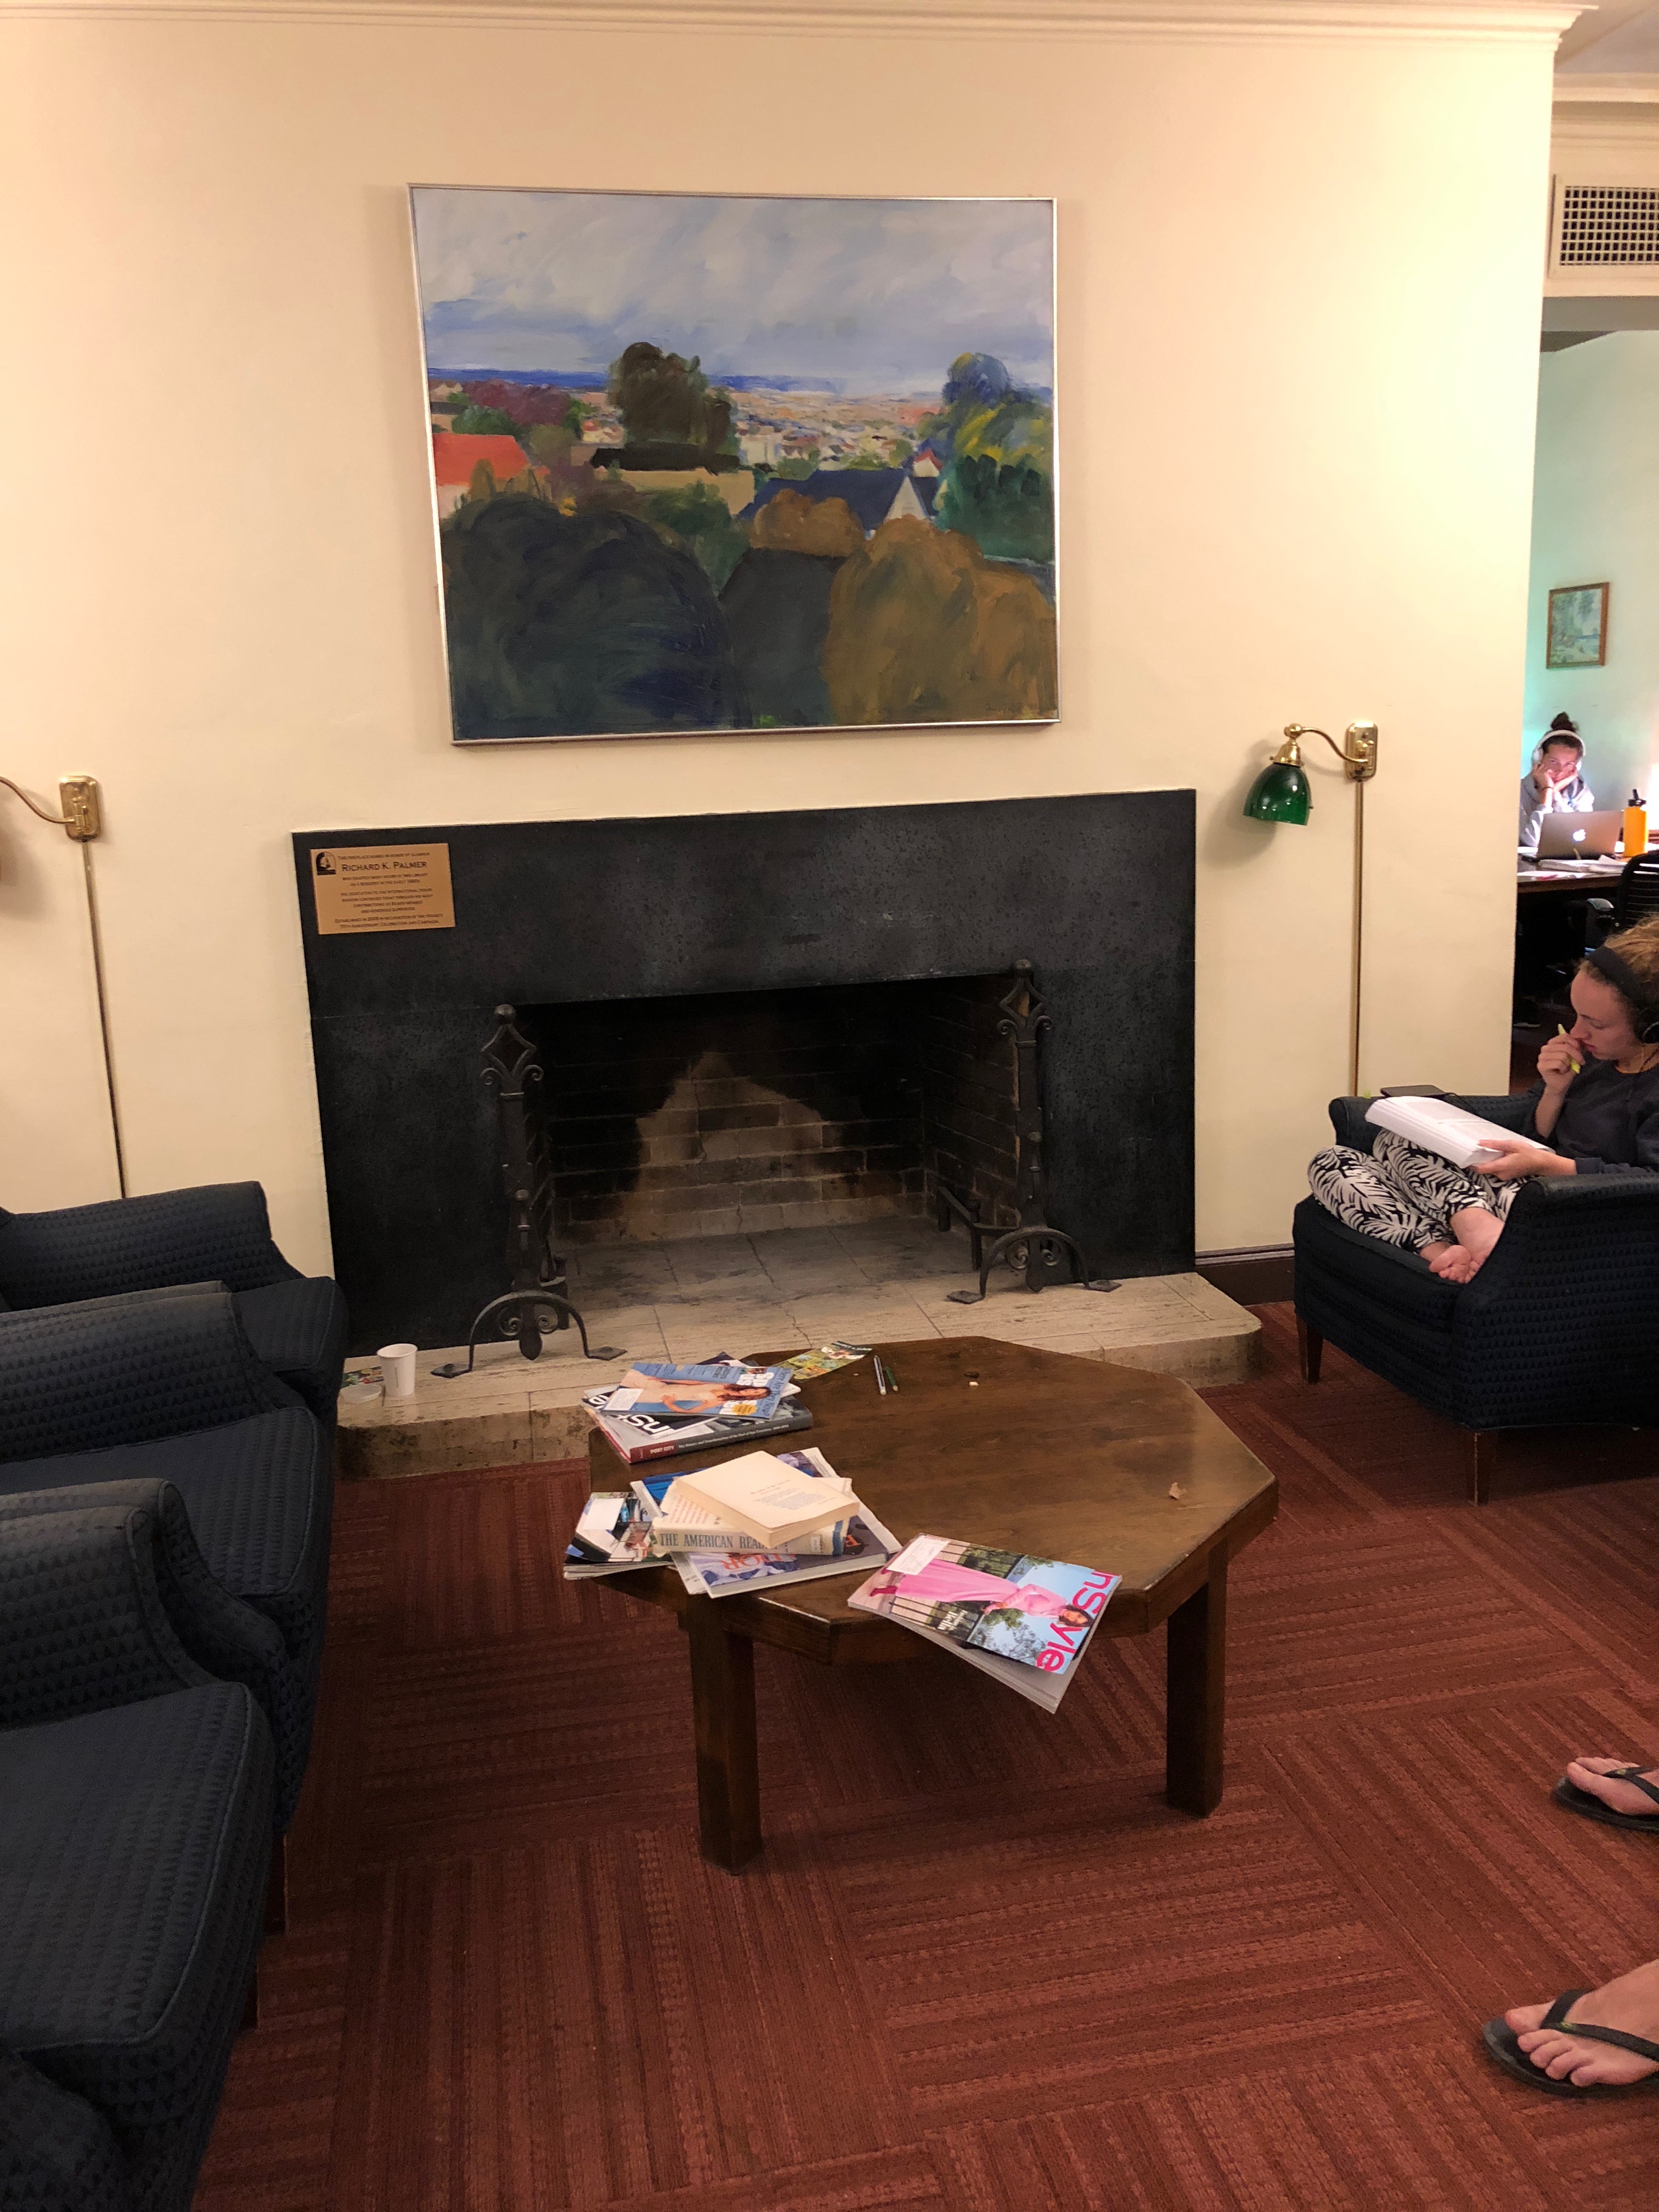
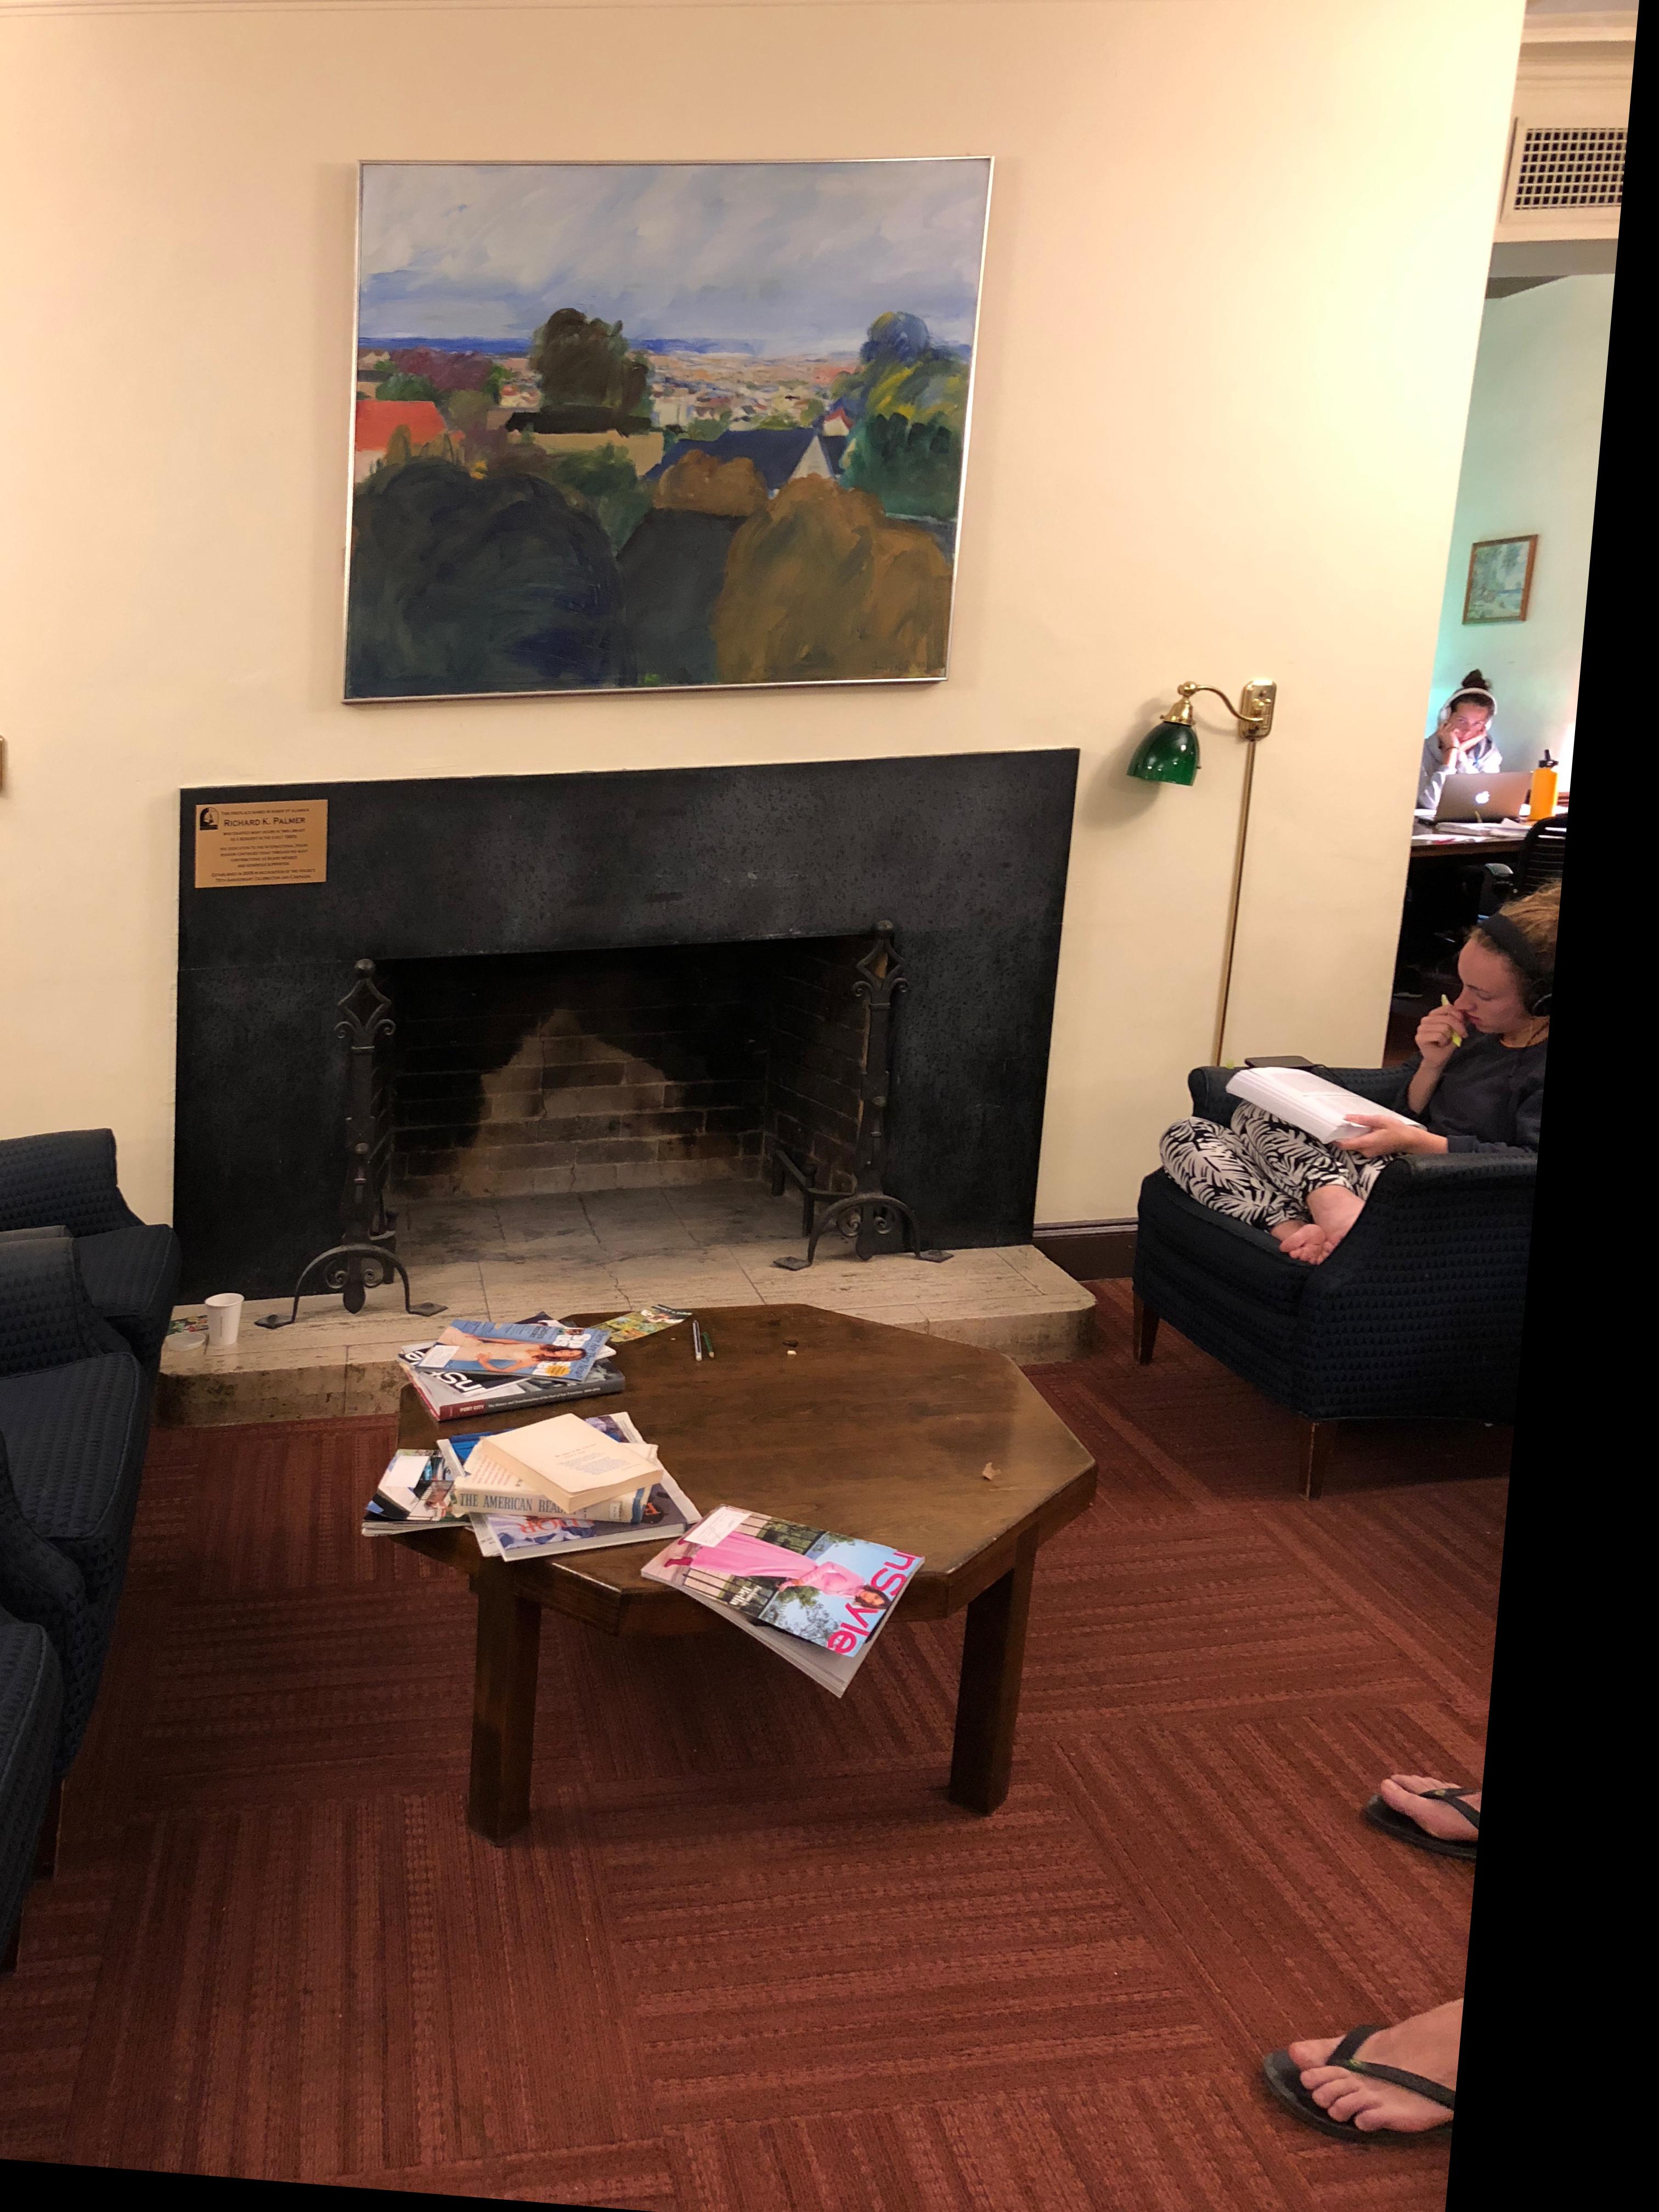
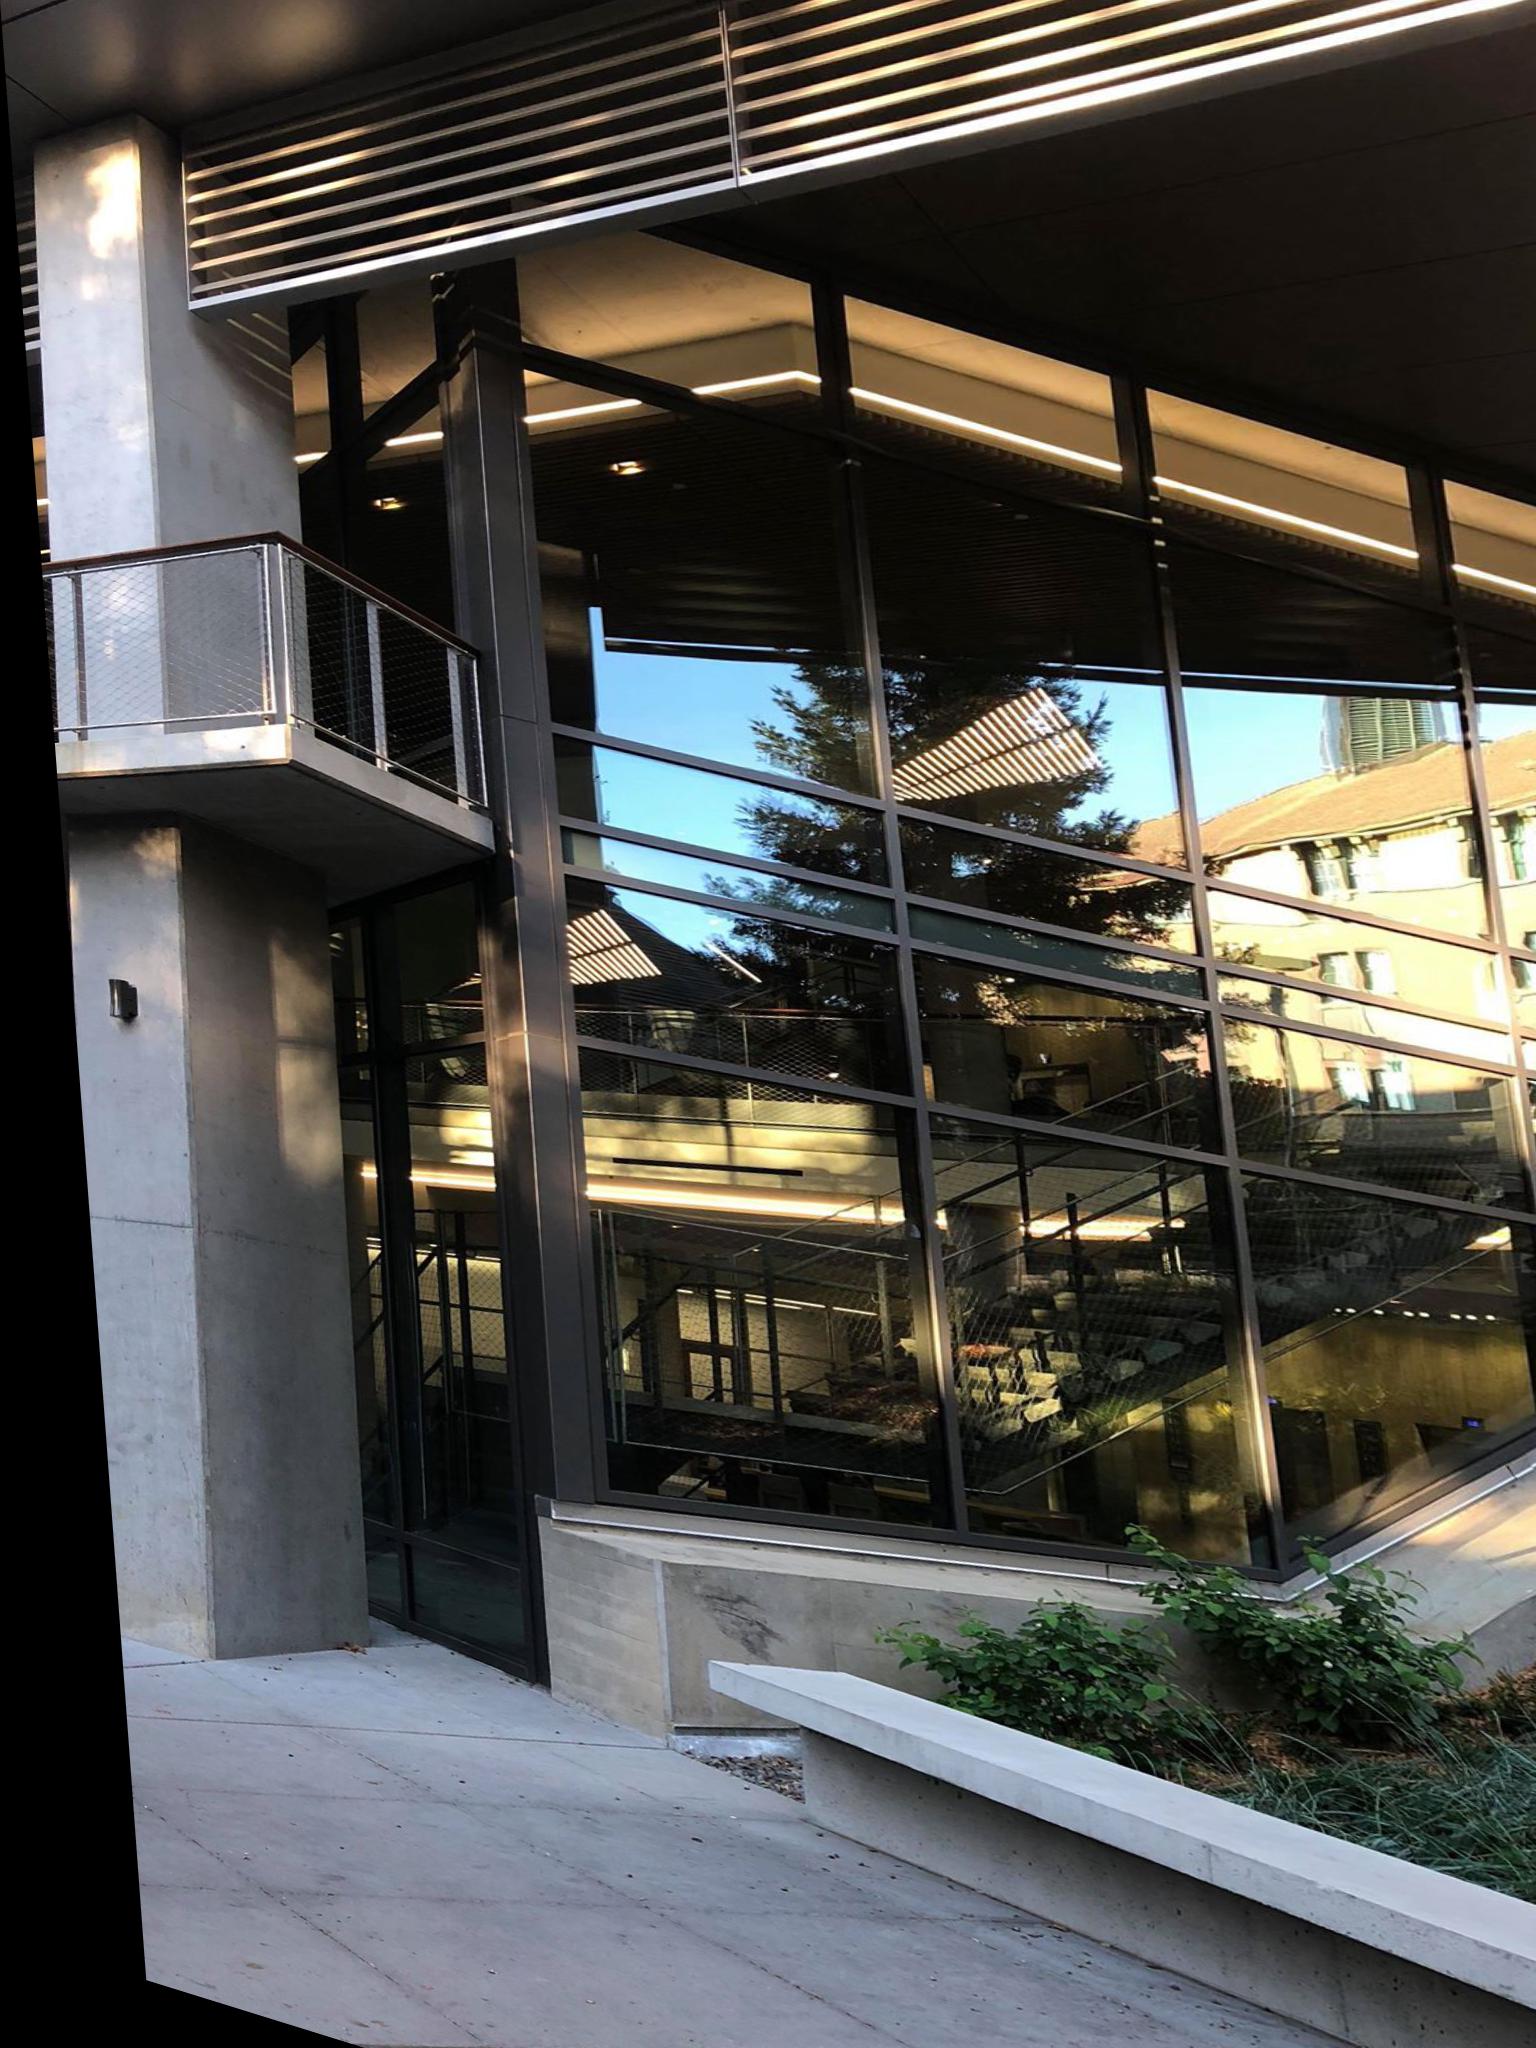
Below are all the pictures I used to create my different mosaics. These includes photos from a classy library, outside the esteemed Haas Business School, and elevators found inside a random UC Berkeley building. The set of images that worked best for me were the images I happened to capture at the classy library.
Next we recover the homographies between two images. A homography is an 8 paraemter matrix that basically transforms an image to the geometry of another image. In order to solve for our homography, we need four seperate points from both images to recover the 8 missing values. Using the mathematics on piazza, we developed a robust equation to solve for the missing values for our homography. Please see the image and the steps below. The below equation is for only one point correspondence, we need a total of 8 rows for all four input points.
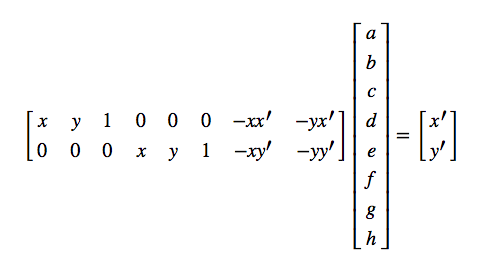
1. Create the left matrix using the input (x,y) values and the target (x', y') values.
2. Create the right matrix using the the target (x', y') values.
3. Depending on whether or not the left matrix is invertible, either use lin_alg.solve (if invertible) or lig_alg.lstsq (if not invertible) to recover the h vector.
4. Append the value 1 to the h vector, and then reshape it to be a 3x3 matrix!
Next we warp the images using inverse warping. The algorithm steps are below.
1. Calculate the warped images new top left corner points by applying the homography matrix to the original corner points.
2. Modify our homography matrix based on the new top left corner, and invert it.
3. Finally, use the inverted homography matrix to warp the photo.
Below are the original image and the warps I conducted. The first two warp/image rectification centers the painting from the classy library, the other warp/image rectification from haas centers the left most column.
Finally, I blended the images to create the different mosaiscs. The steps I used to create them are below.
1. Compute the homography matrix mapping image 2 feature points to image 1's feature points.
2. Warp image 2 to fit the geometry of image 1. Update image 2 to be this warped image.
3. Blend the aspects of image 1 and image 2 that overlap with each other. This changes depending on the images taken, but usually you blend the left half of image 1 and the right half of image 2.
4. Create the final stiched image that encompasses aspects of the first image, the blended middle image, and aspects of the second image.
Below is the moasics created for three diferent scenes. One is the classy library, two is outside the Haas School of Business, and three is the elevator found in a random UC Berkeley building.