Image Warping and Mosaicing
cs194-26-aea
For this project, we built a system that warps images using projective transforms. In the process, we find the underlying homographies in images which
then allows us to align and stitch together images into natural looking images, allowing us to make panoramas and the like.
The basic unit of the project was the optimization problem used to find the projective transform between two perspectives. Basically, we can take a number
of points and solve an optimization problem to find the values of a projective transform matrix $H$.
The projective transform matrix is defined as so:
$$ H = \begin{bmatrix} a&b&c\\d&e&f\\g&h&1\\ \end{bmatrix}$$
such that points between images can be corresponded like this:
$$
\begin{bmatrix}
wx' \\
wy' \\
w
\end{bmatrix}
= \begin{bmatrix} a&b&c\\d&e&f\\g&h&1\\ \end{bmatrix}
\begin{bmatrix}
x \\
y \\
1
\end{bmatrix}
$$
Although we don't have the $w$ coordinate for the desire transformation, we can substitute
$$ w = gx + hy + 1 $$ for the first two equations of the matrix and get the desired result.
Because we have eight variables, we only need 8 equations to fully determine the system. We can
get these 8 equations by simply identifying 4 correspondence points in two different projections. Then
we can solve for the variables by solving a linear system. However, choosing these points can subject the
homography to noise in the selection process. Instead of solving a linear system with 8 equations,
we can overdetermine the system by selecting more points and then use
linear least squares to find
the projective transform that minimizes the error between all points in the selected images.
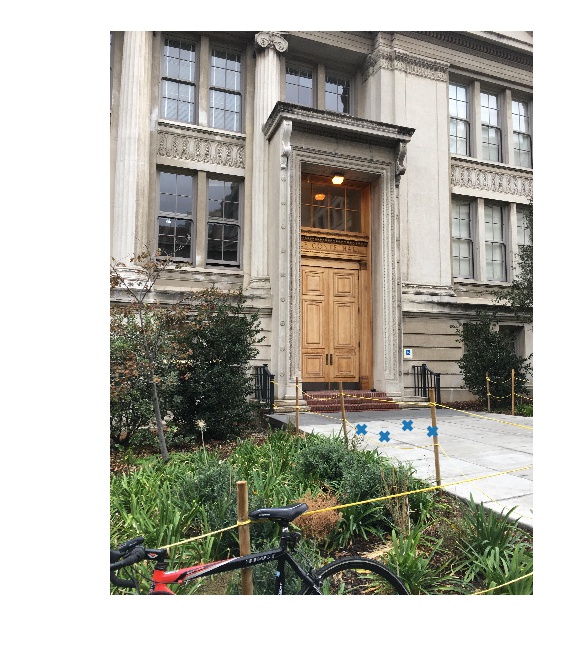
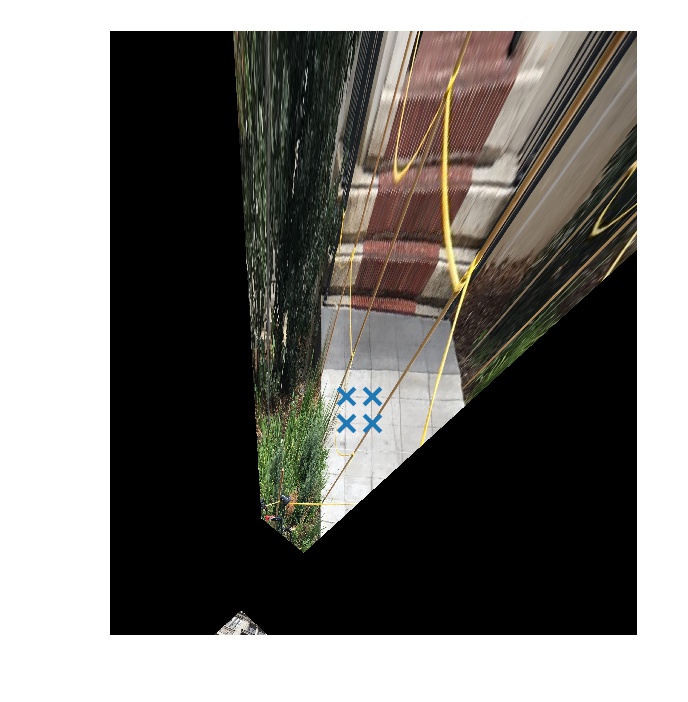
Point Selection Tool
Like in
Project 4, I made a point selection tool that made it easy to pick the
comparison points for each image. However, after a close analysis I realized that the point selection tool
wouldn't choose points at the granularity that I needed for this project. To solve this problem, I added a
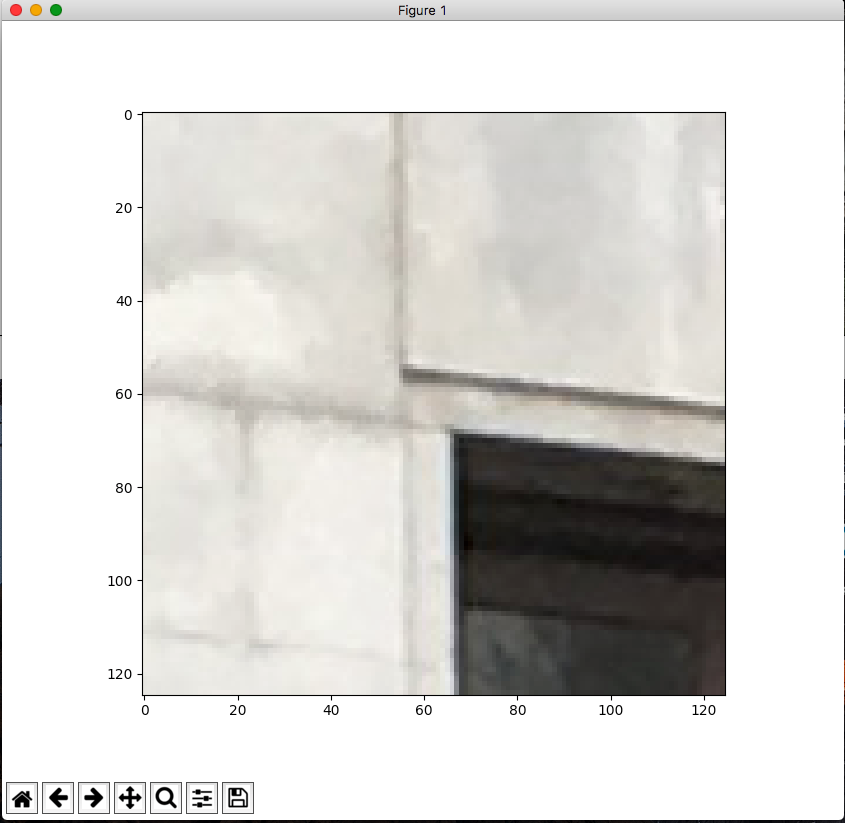
second step in the point selection process where I would confirm each point by showing a 125x125 pixel
window of the same point previously selected to allow the user to confirm the correspondence points.
The point selection tool first step: coarsely choosing the correspondence points.
The point selection tool second step: finely choosing the correspondence points in the neighborhood
of the coarsely selected point.
Warping Images
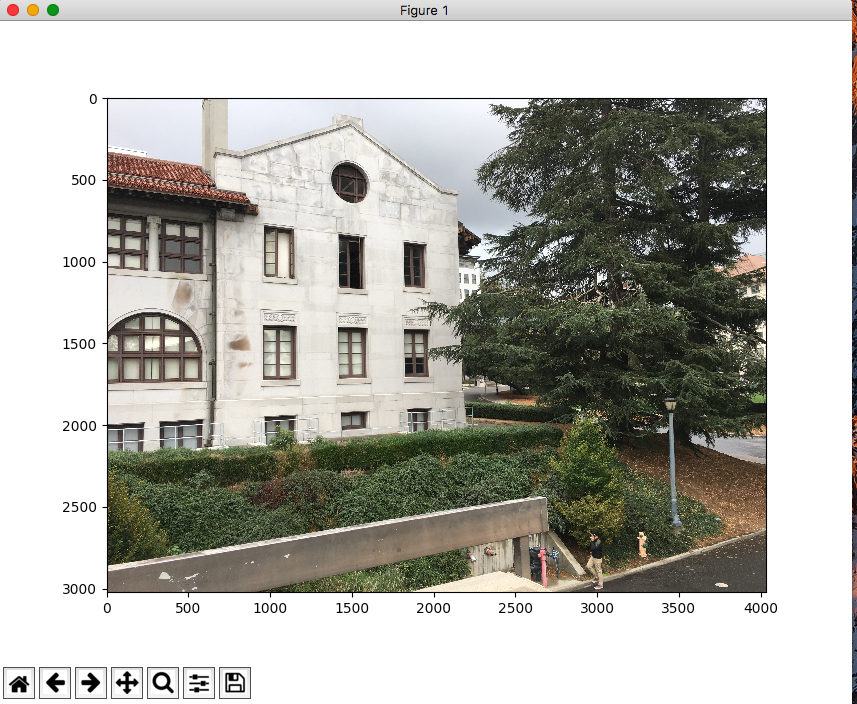
The base images used for this part.
Once we compute the Homography between two images, we needed to warp either one of
the images into the plane of the other, or warp into an intermediate plane between the two.
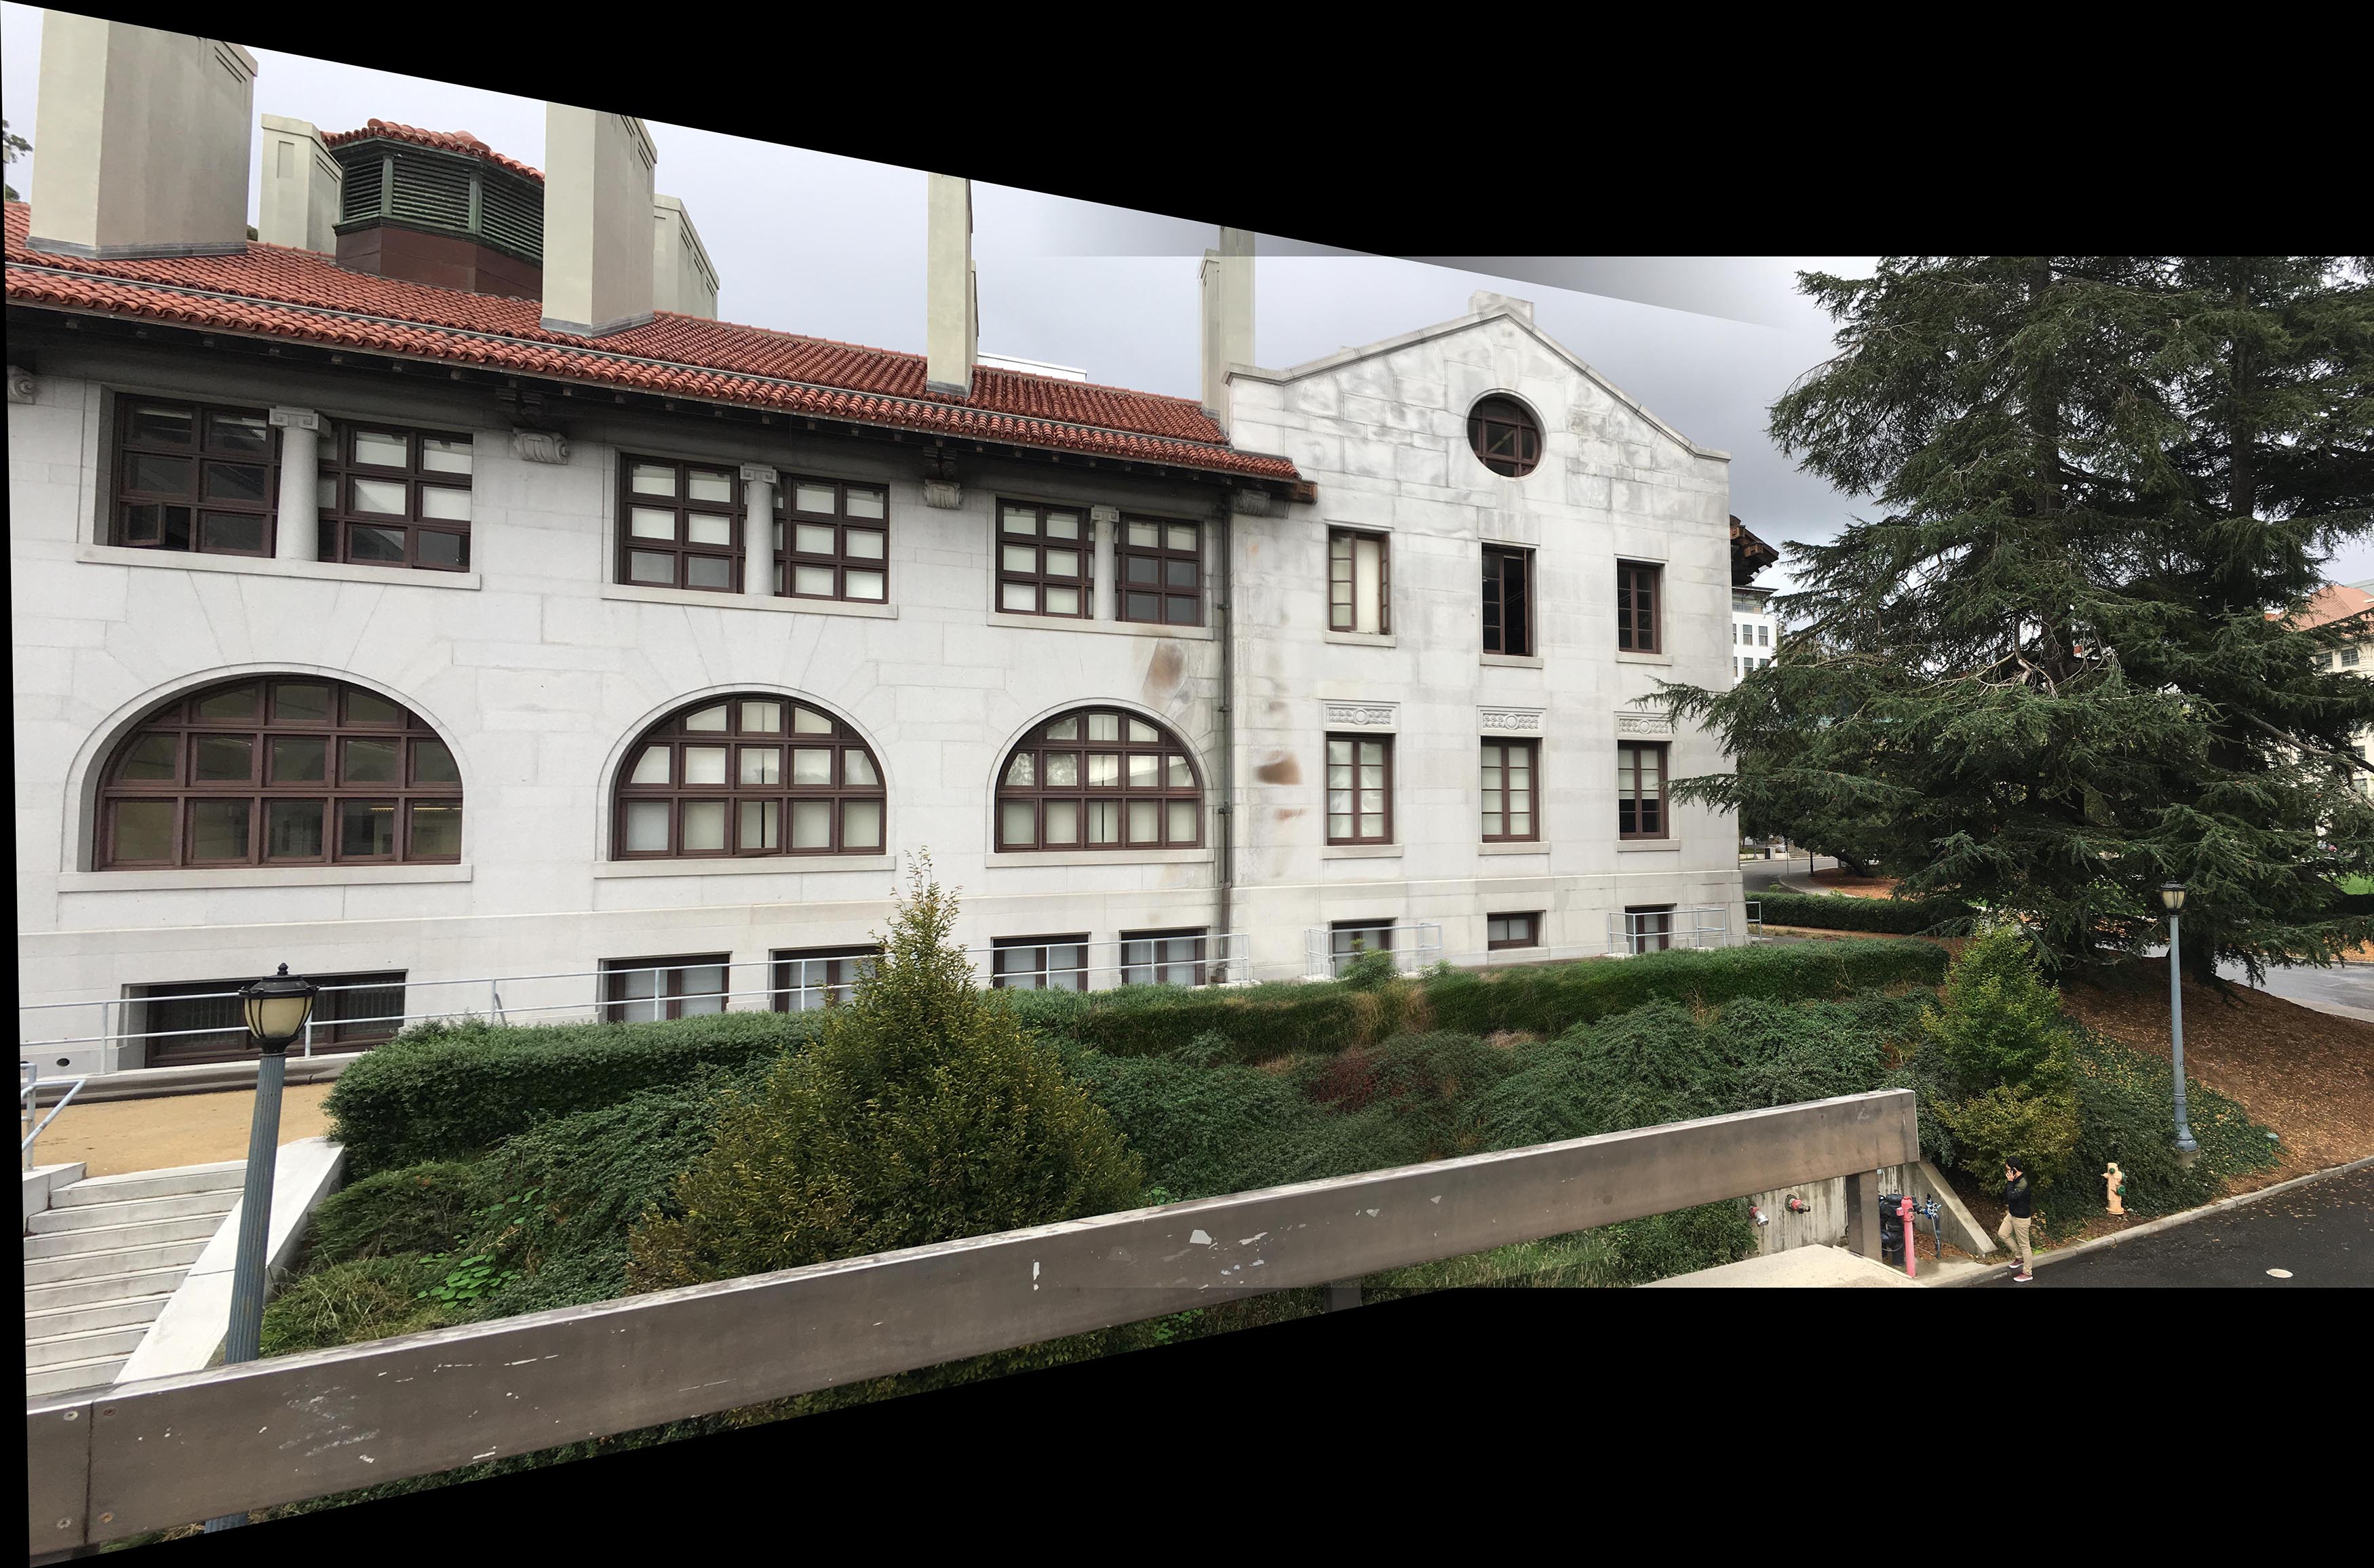
Warping the left image into the right image plane
Warping the right image into the left image plane
Rectified Images
This process can be used to actually rectify images -- force the shape of objects in the image to
match a planar shape.
The original image w/ homography points
The rectified image w/ homography points
The rectified image w/o homography points
Mosaics
With these techniques in place, we can go further and combine multiple images together to create "mosaics".
Basically we combine multiple images, align and project the images by calculating the projective transform
from one image to a reference homography, then combine them all together.
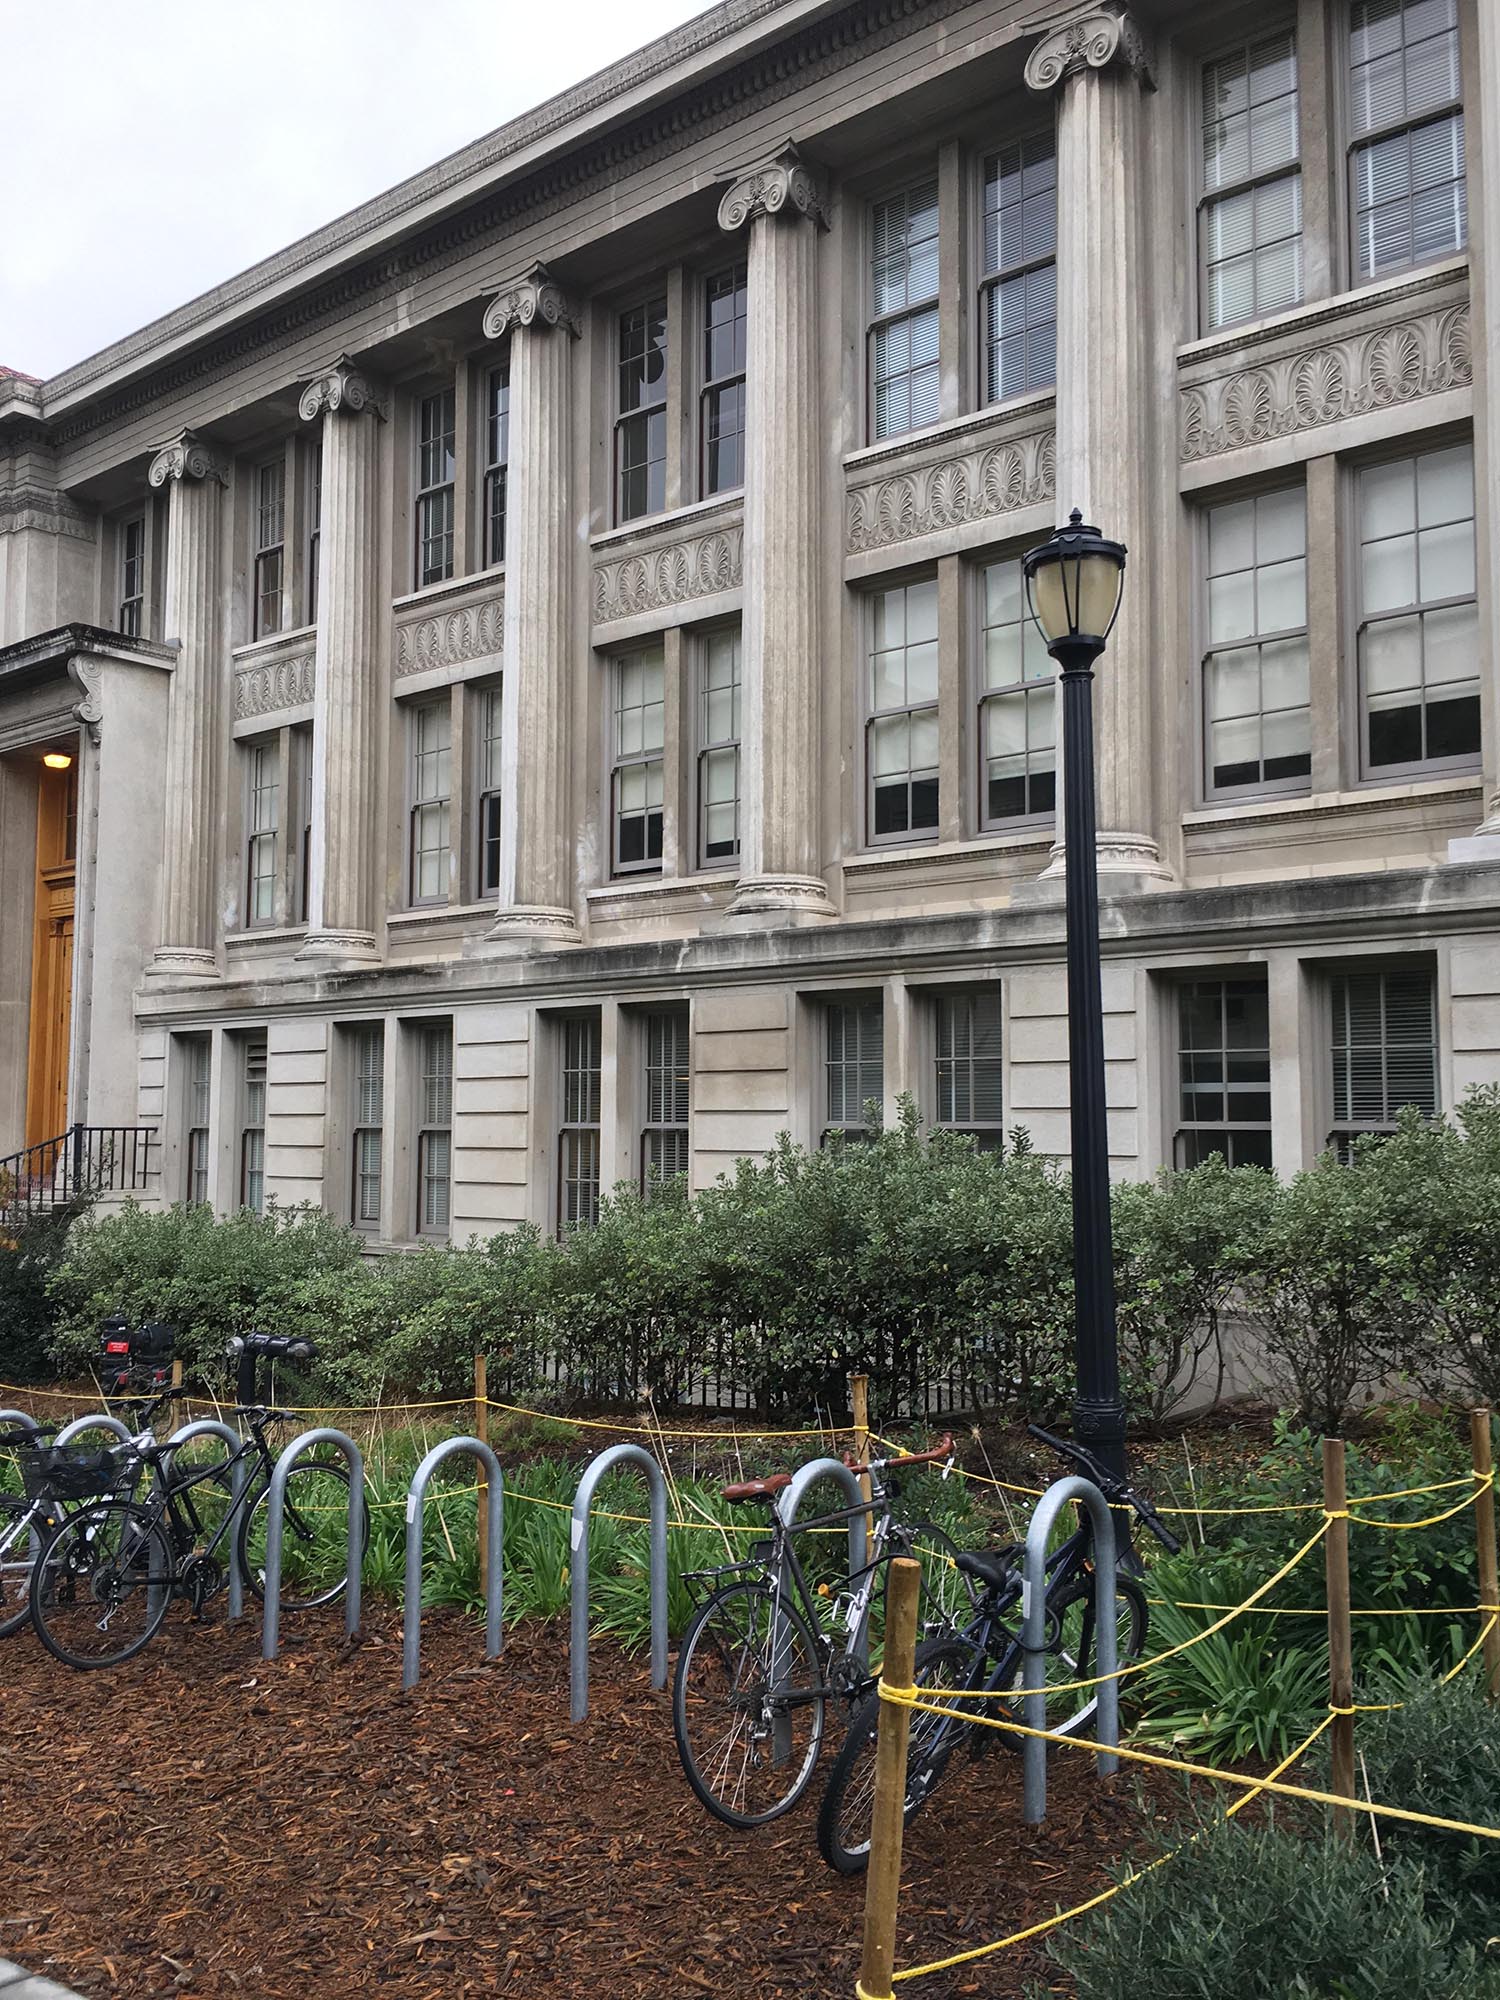
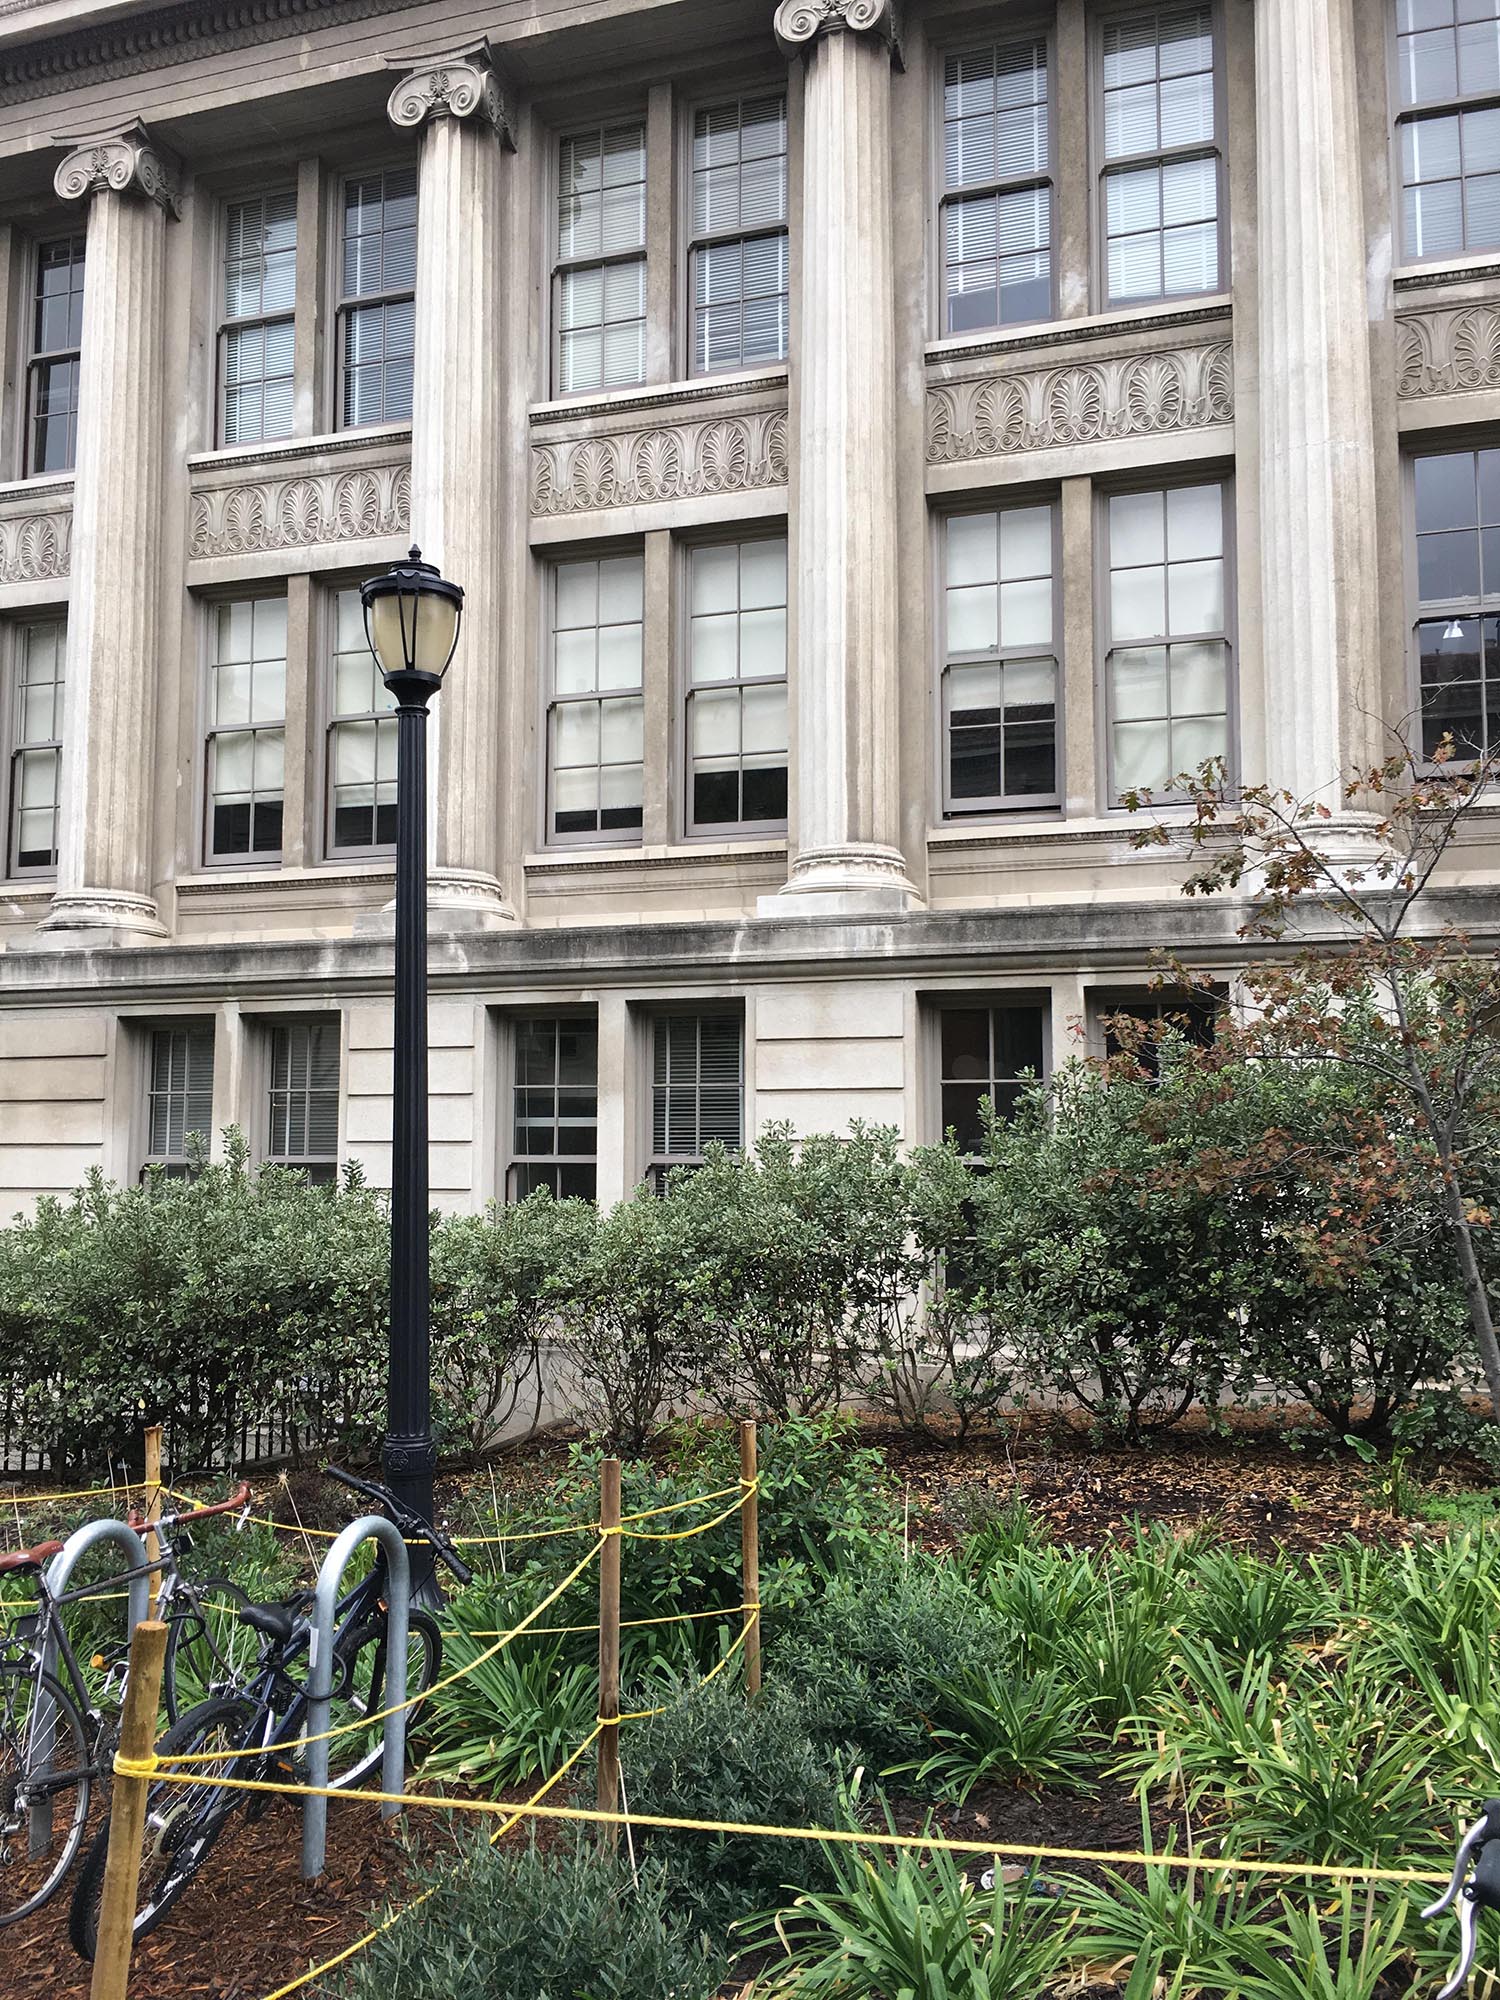
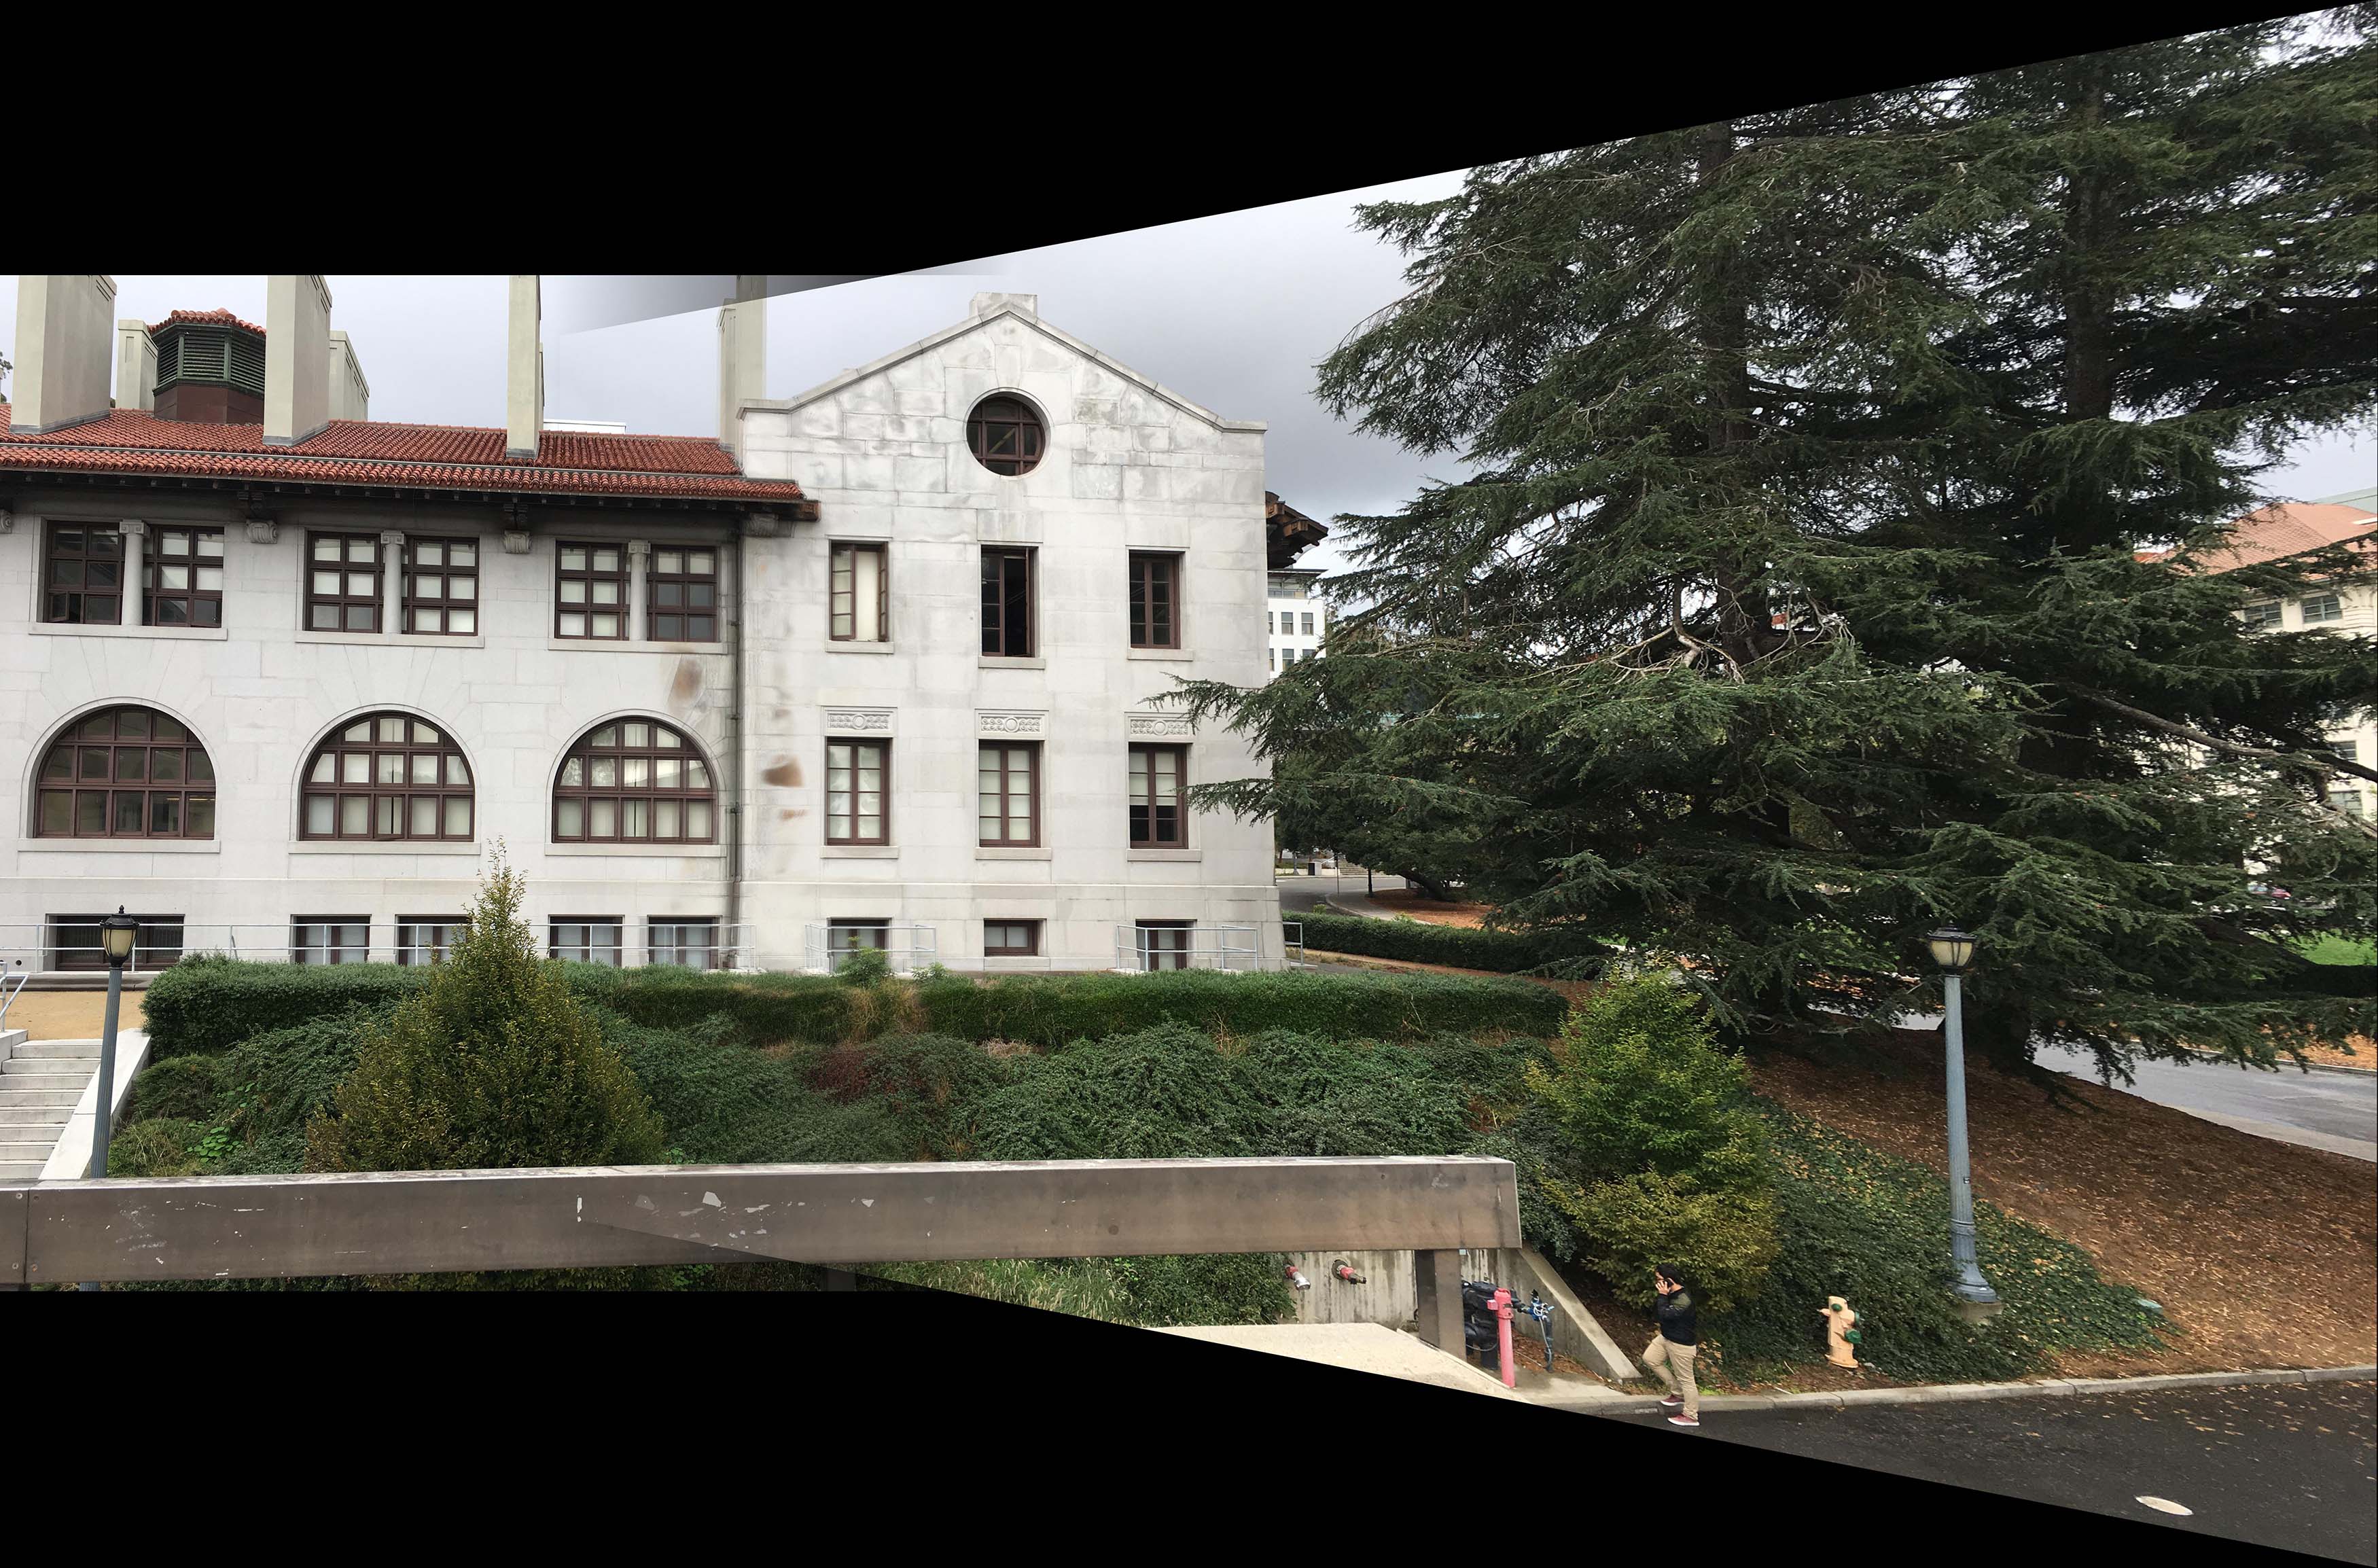
Mosaic at Hearst Mining Circle.
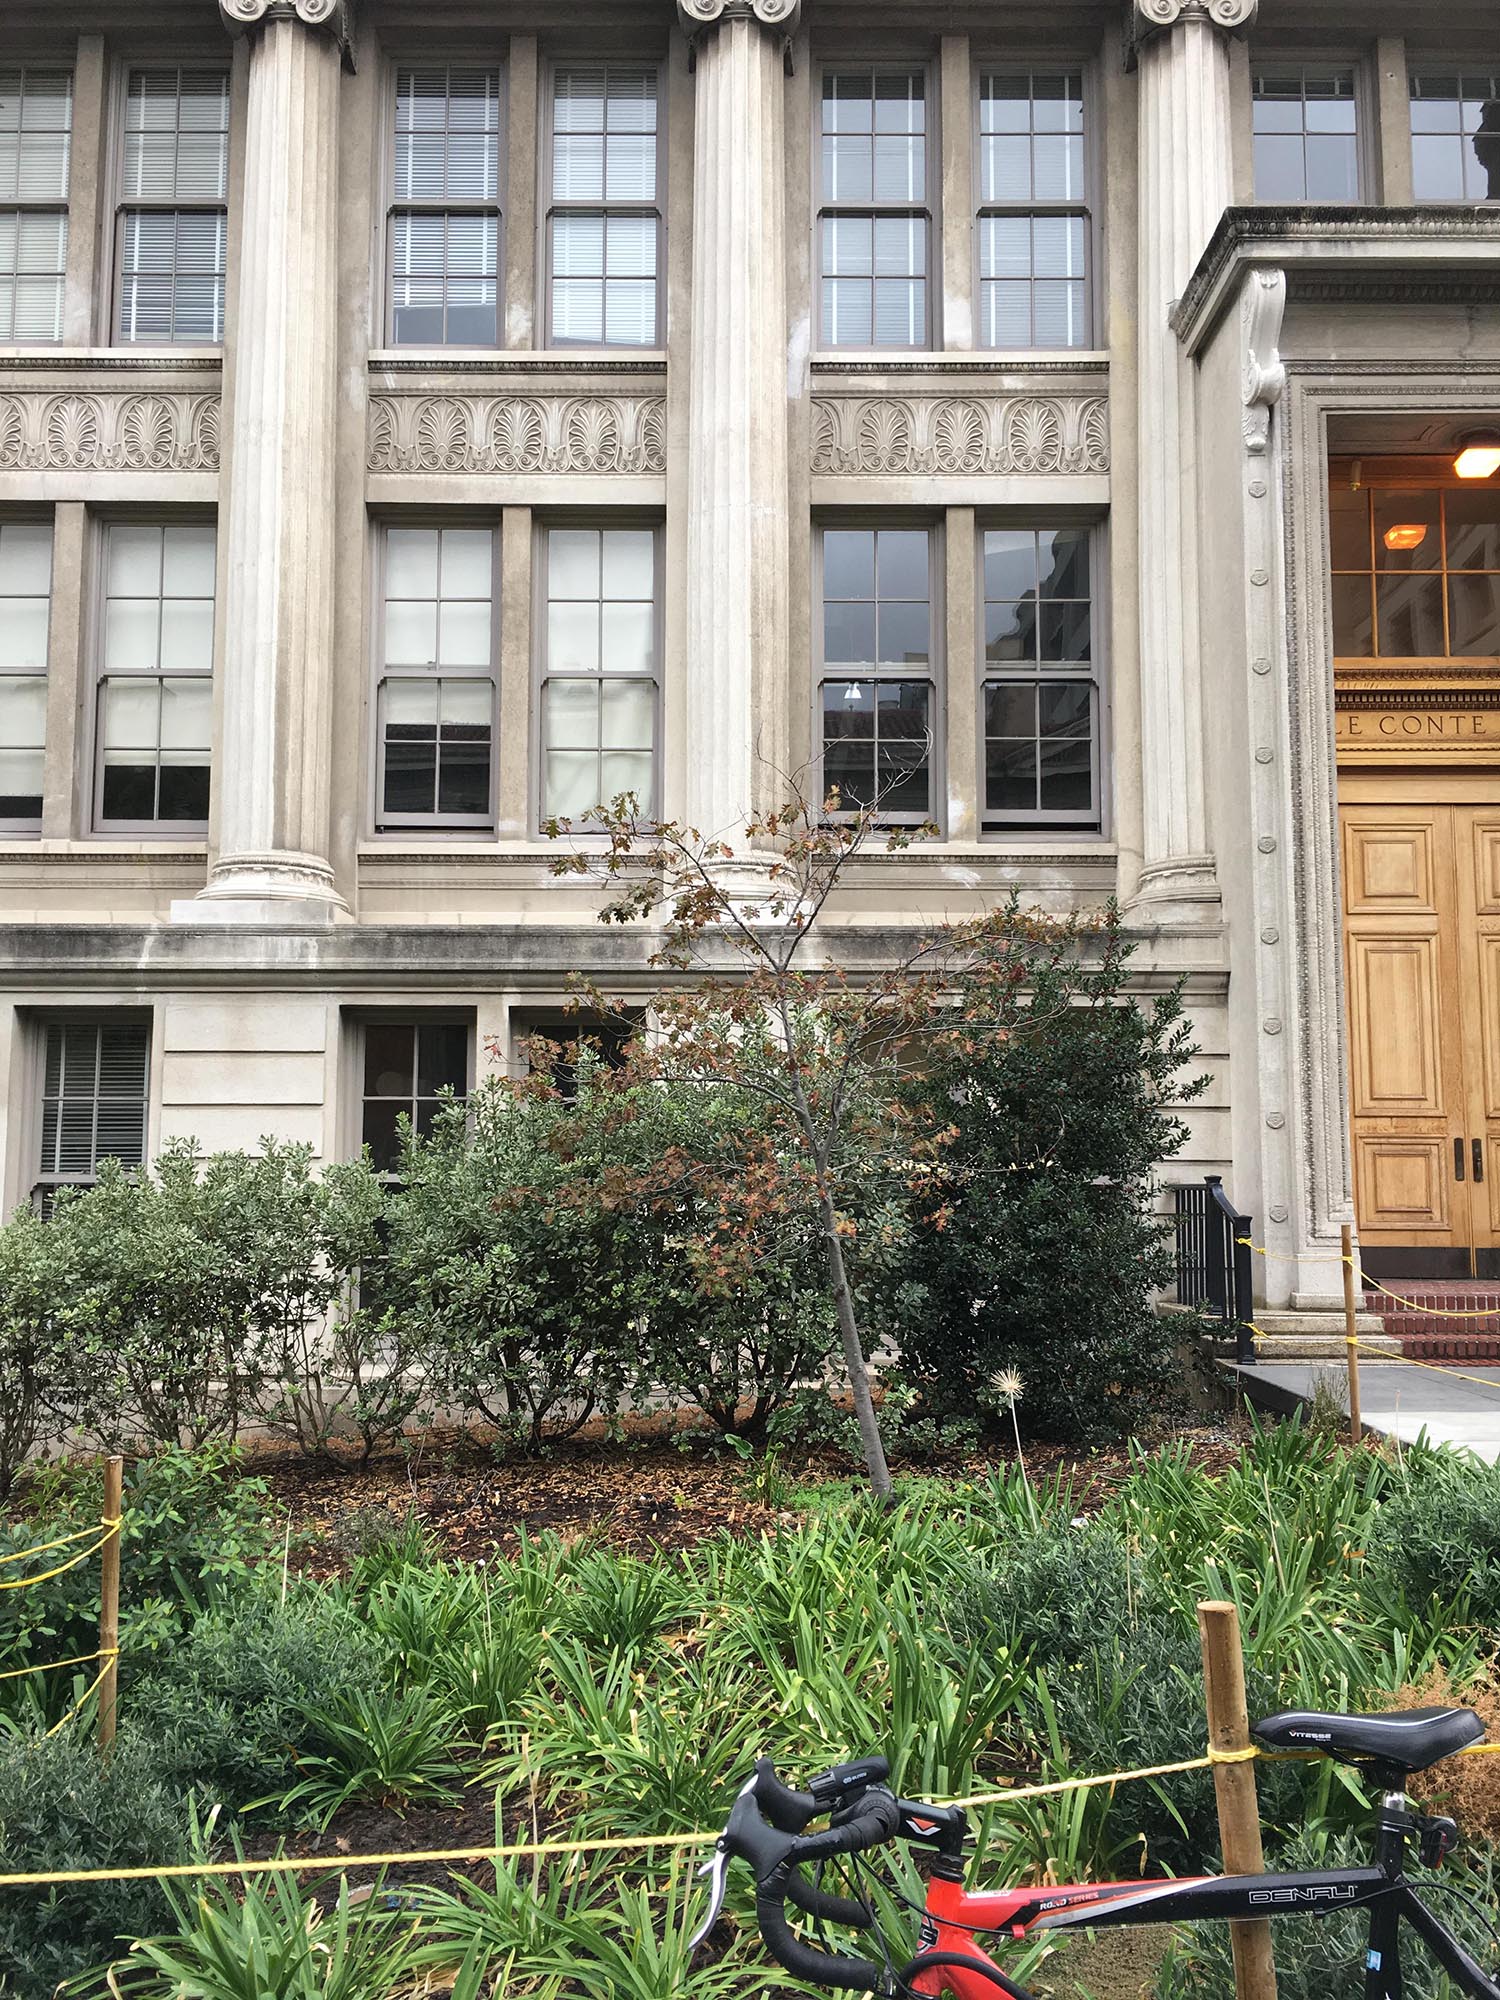
Mosaic at Leconte.
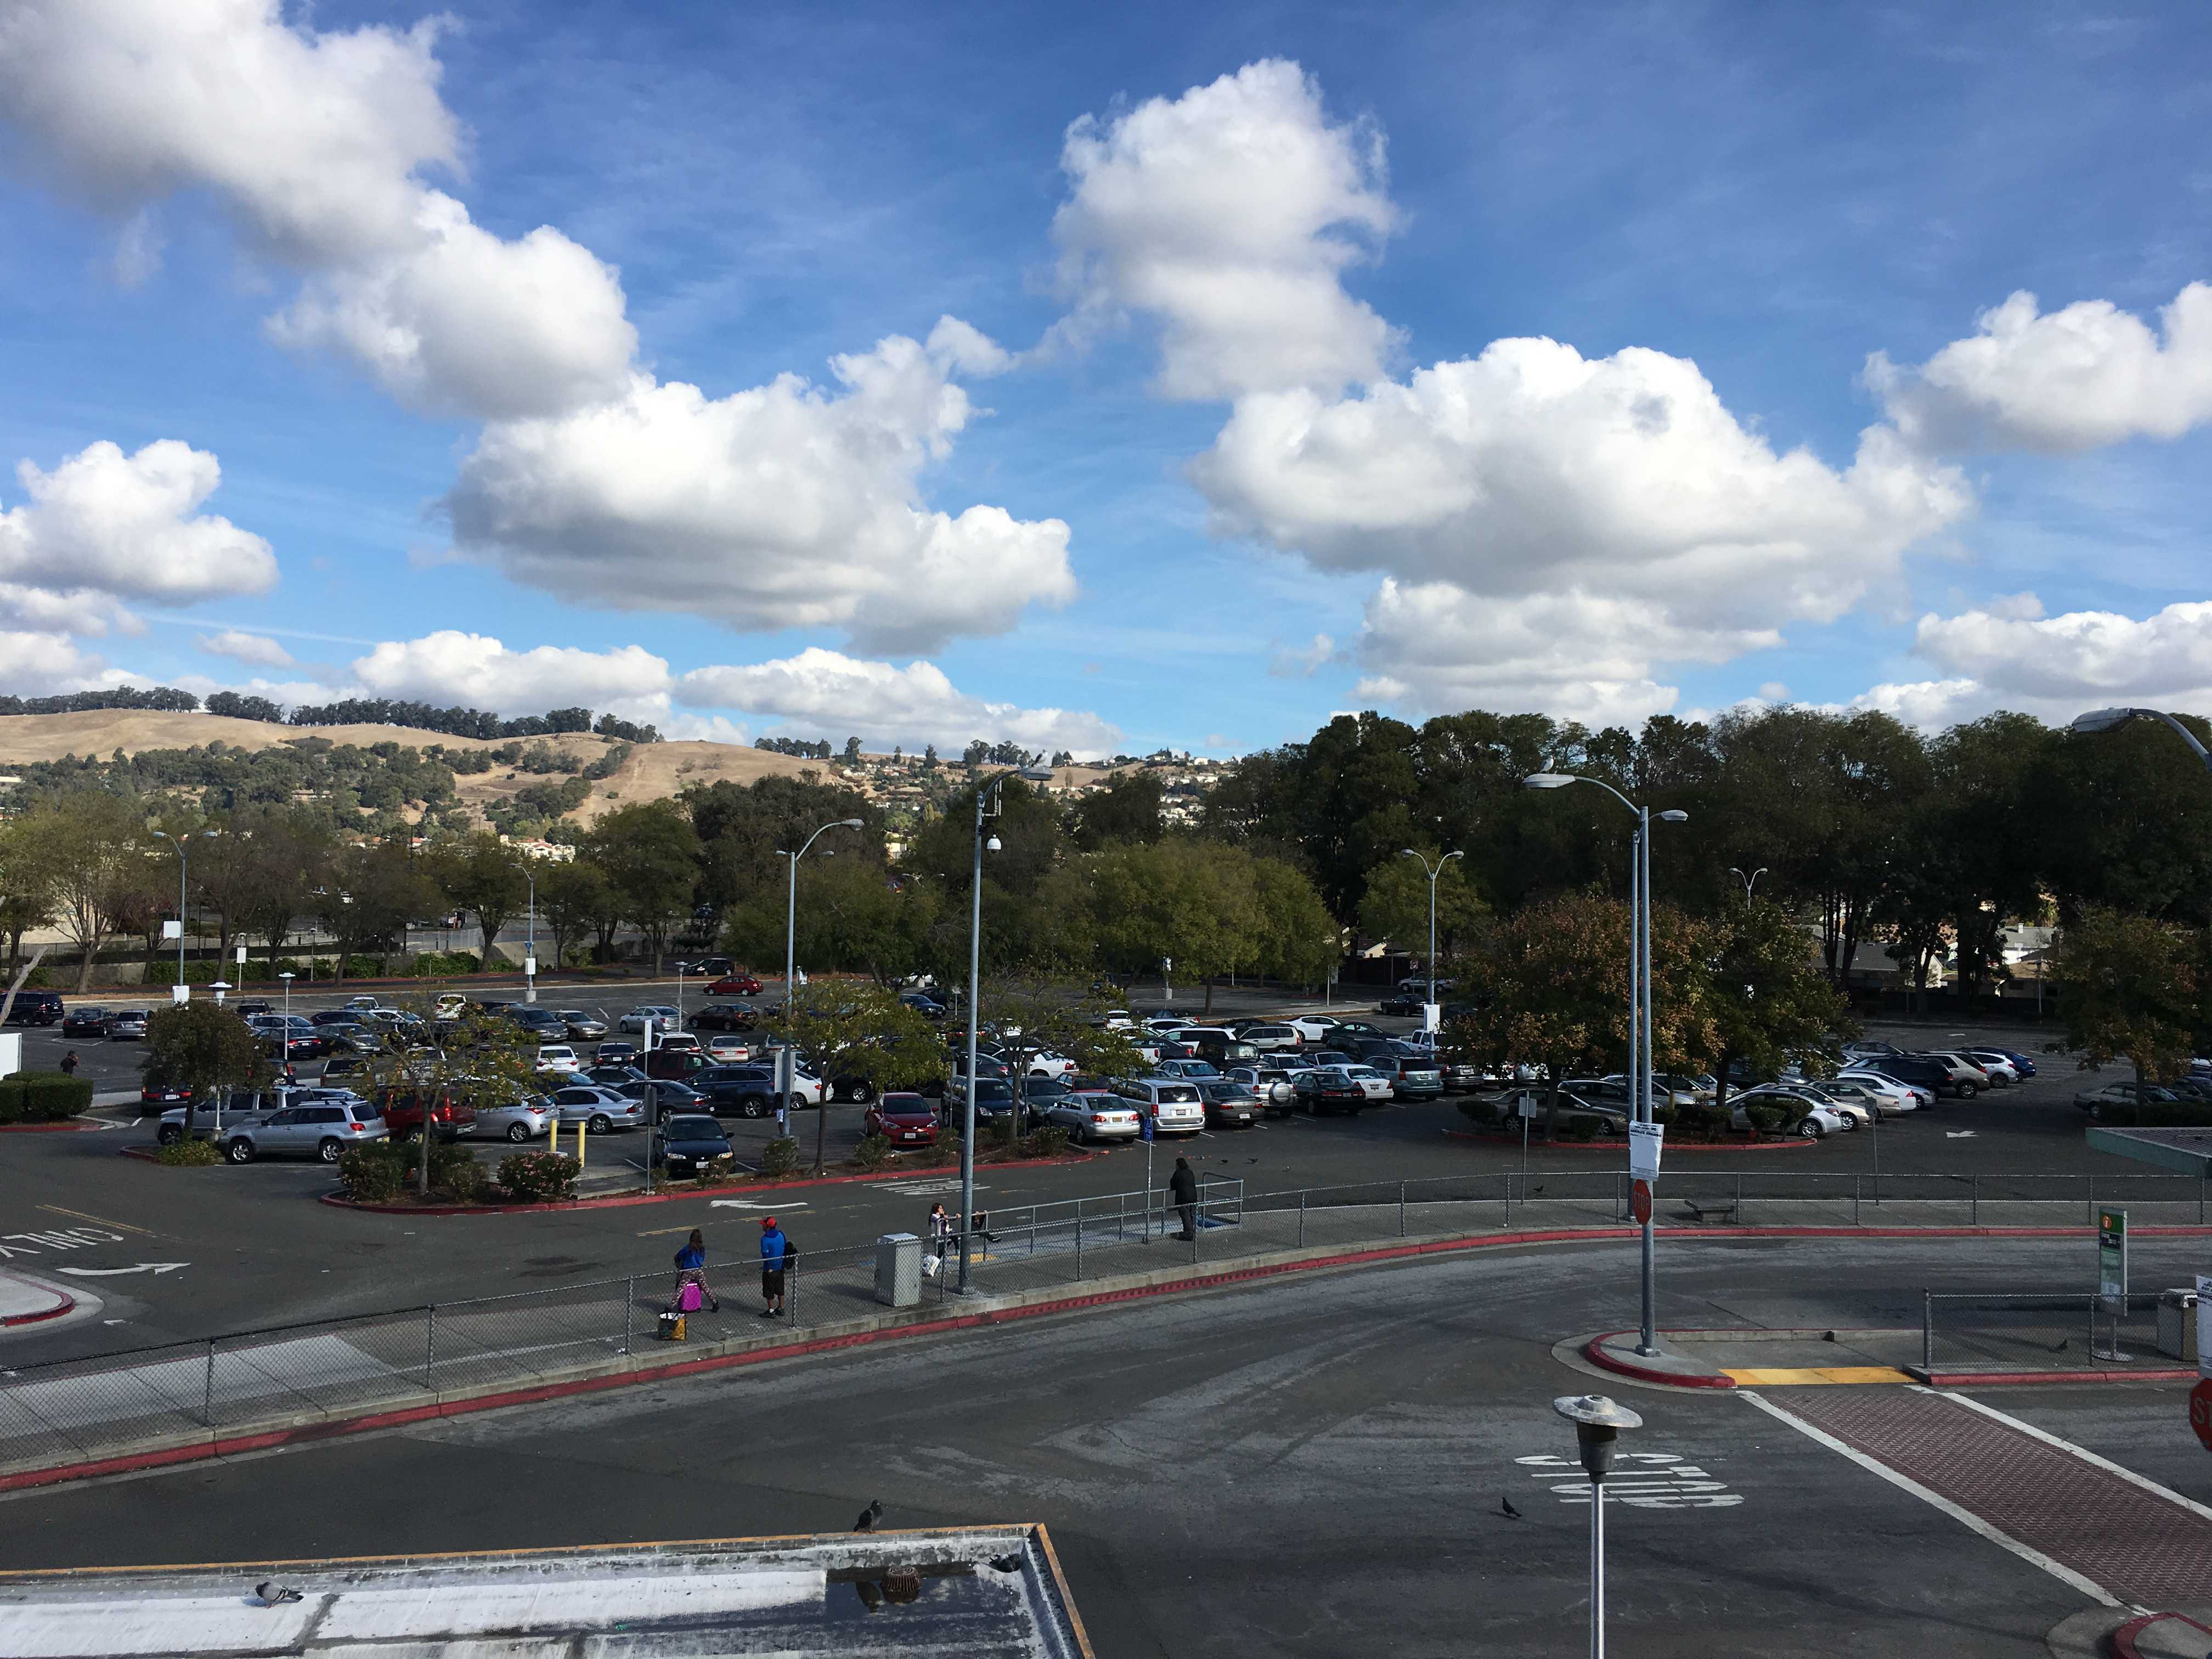
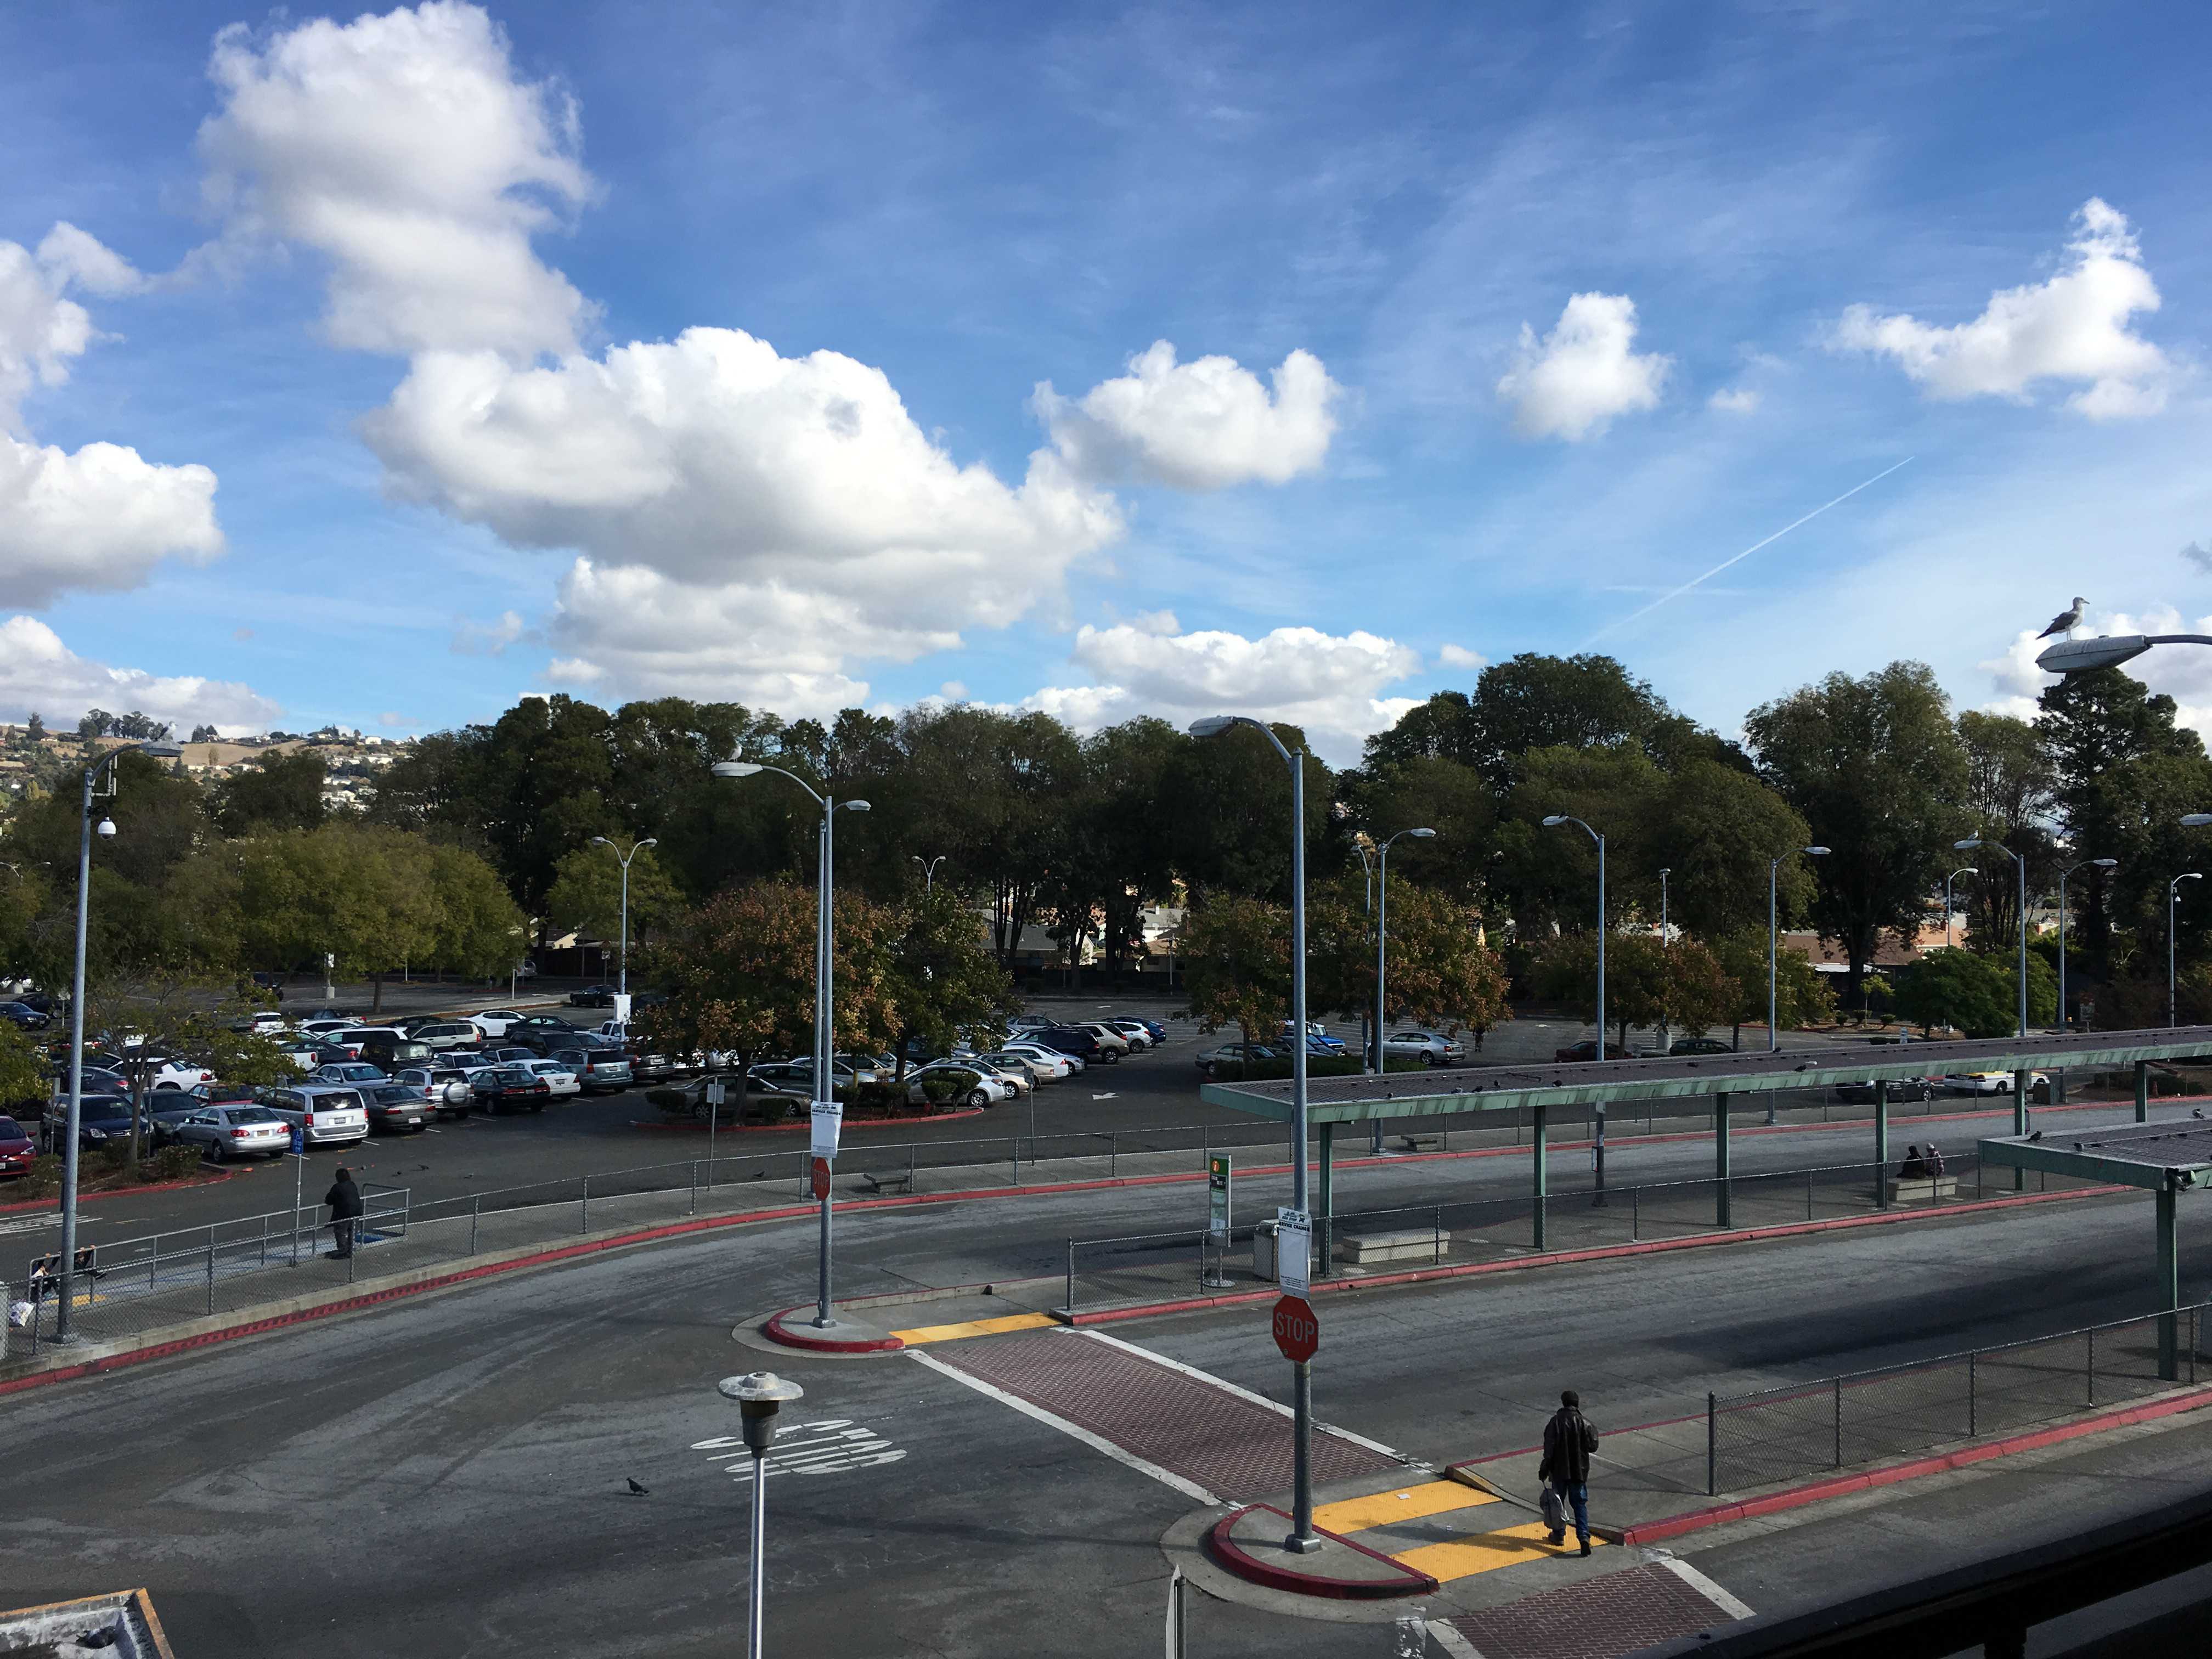
Mosaic at the Bayfair Bart station
Coolest Thing I've Learned
Definitely the coolest thing I've learned is the homography calculation process. Homographies seem like
very powerful tools in the field of image processing and we've only brushed the surface with relatively
simple transformations. Also, distance has a huge effect on the results produced by the algorithm. The three different mosaics
have three different transformations. This is especially apparent in the last image which has good alignment within the street of the image,
however the clouds are not aligned in the slightest. This effect on perspective occasionally lead to strange failure cases that I
can only explain by the least squares method attempting to capture the effects of changes in perspective when transforming the photos.
A rule of thumb that I came up with for alignment was to choose alignment points that were roughly the same distance from the camera. However,
some resulting effects were unavoidable at least with the rather simple techniques that I used. With better blending, I'm sure these issues would be less apparent