Introduction
In this project, I worked on creating image mosaics by registering, projective warping, resampling, and compositing images together. This process included a couple of steps all of which are outlined in detail below including capturing and digitizing the images, recovering homographies, warping images together, and finally blending the images into a single mosaic.
Digitizing Images
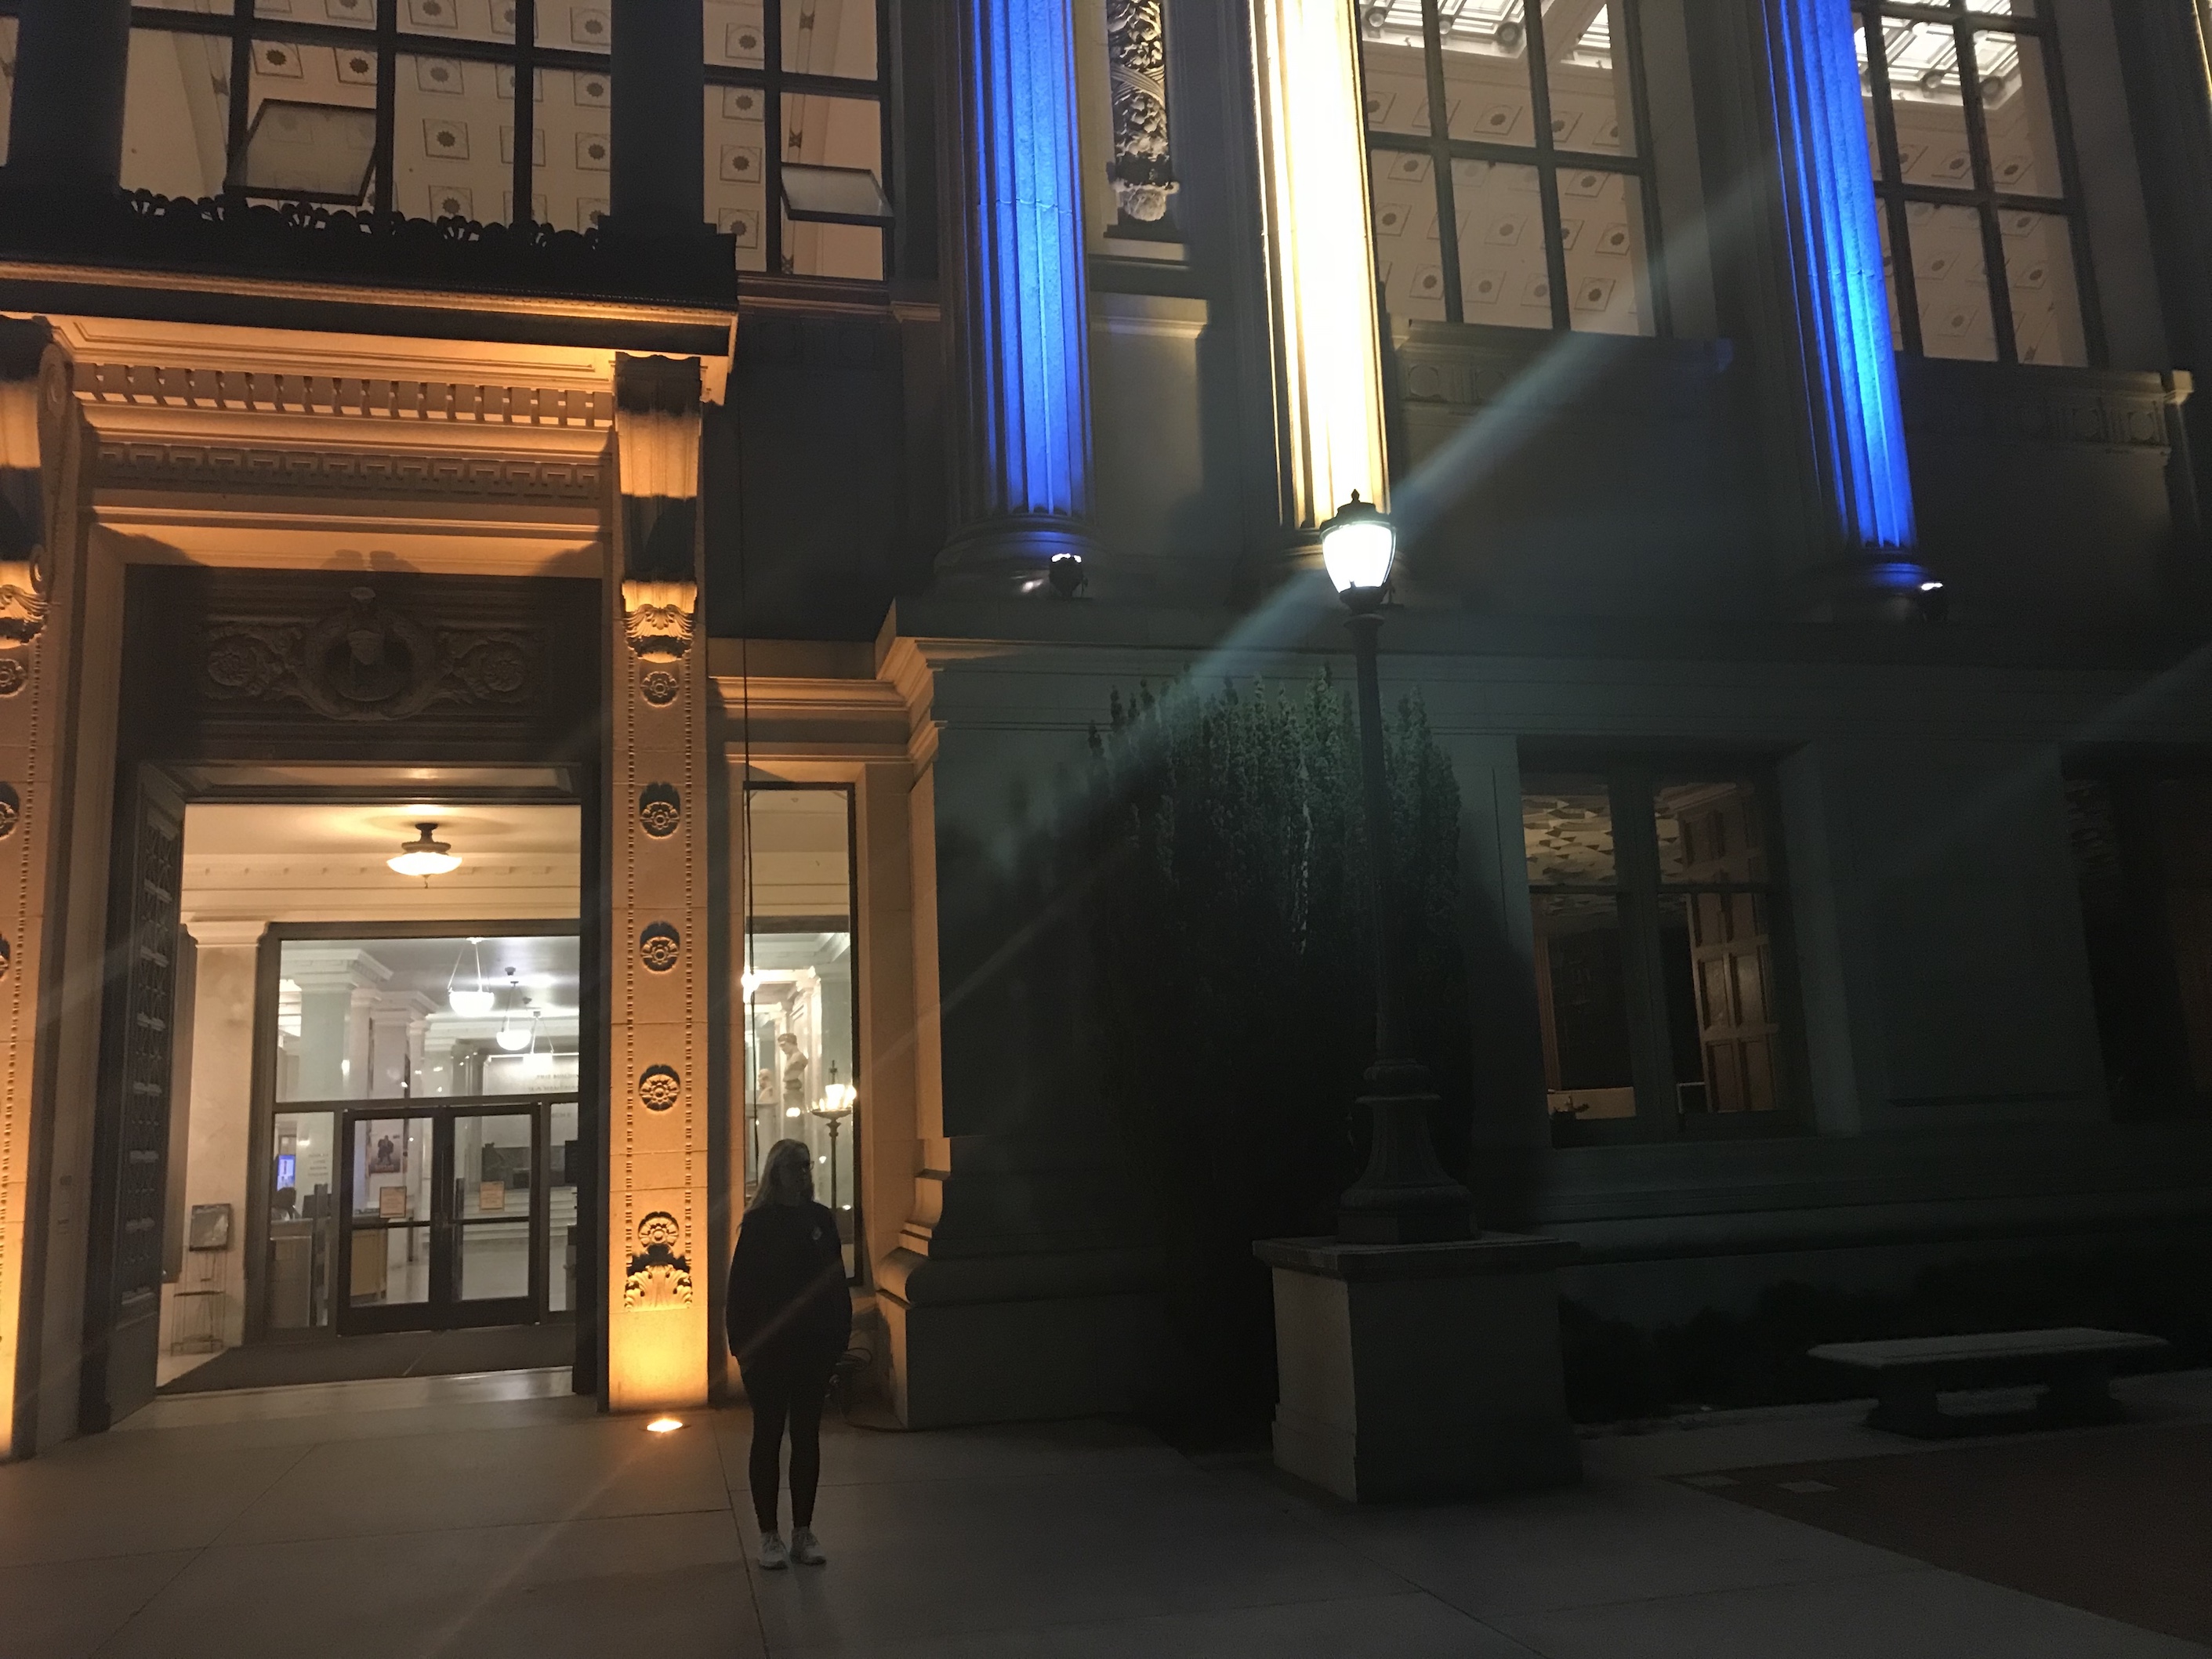
The first part of this project was to capture images. When taking these photos, one of the key considerations was to keep the center of projection identical for sequences of images. I had the opportunity to Hike in Yosemite and decided to take advantage of that and capture series of images for this project. I did not have a digital camera with me while on the trip, the the images I captured at Yosemite were taken on an iPhone7 camera. I did my best to remain still and maintain the camera position as a took photos facing different parts of the scene. I then also decide to try and capture some images during nighttime to see if the effects of the mosaic vary with different lighting conditions, so I captured some images of my roommate on campus at night.
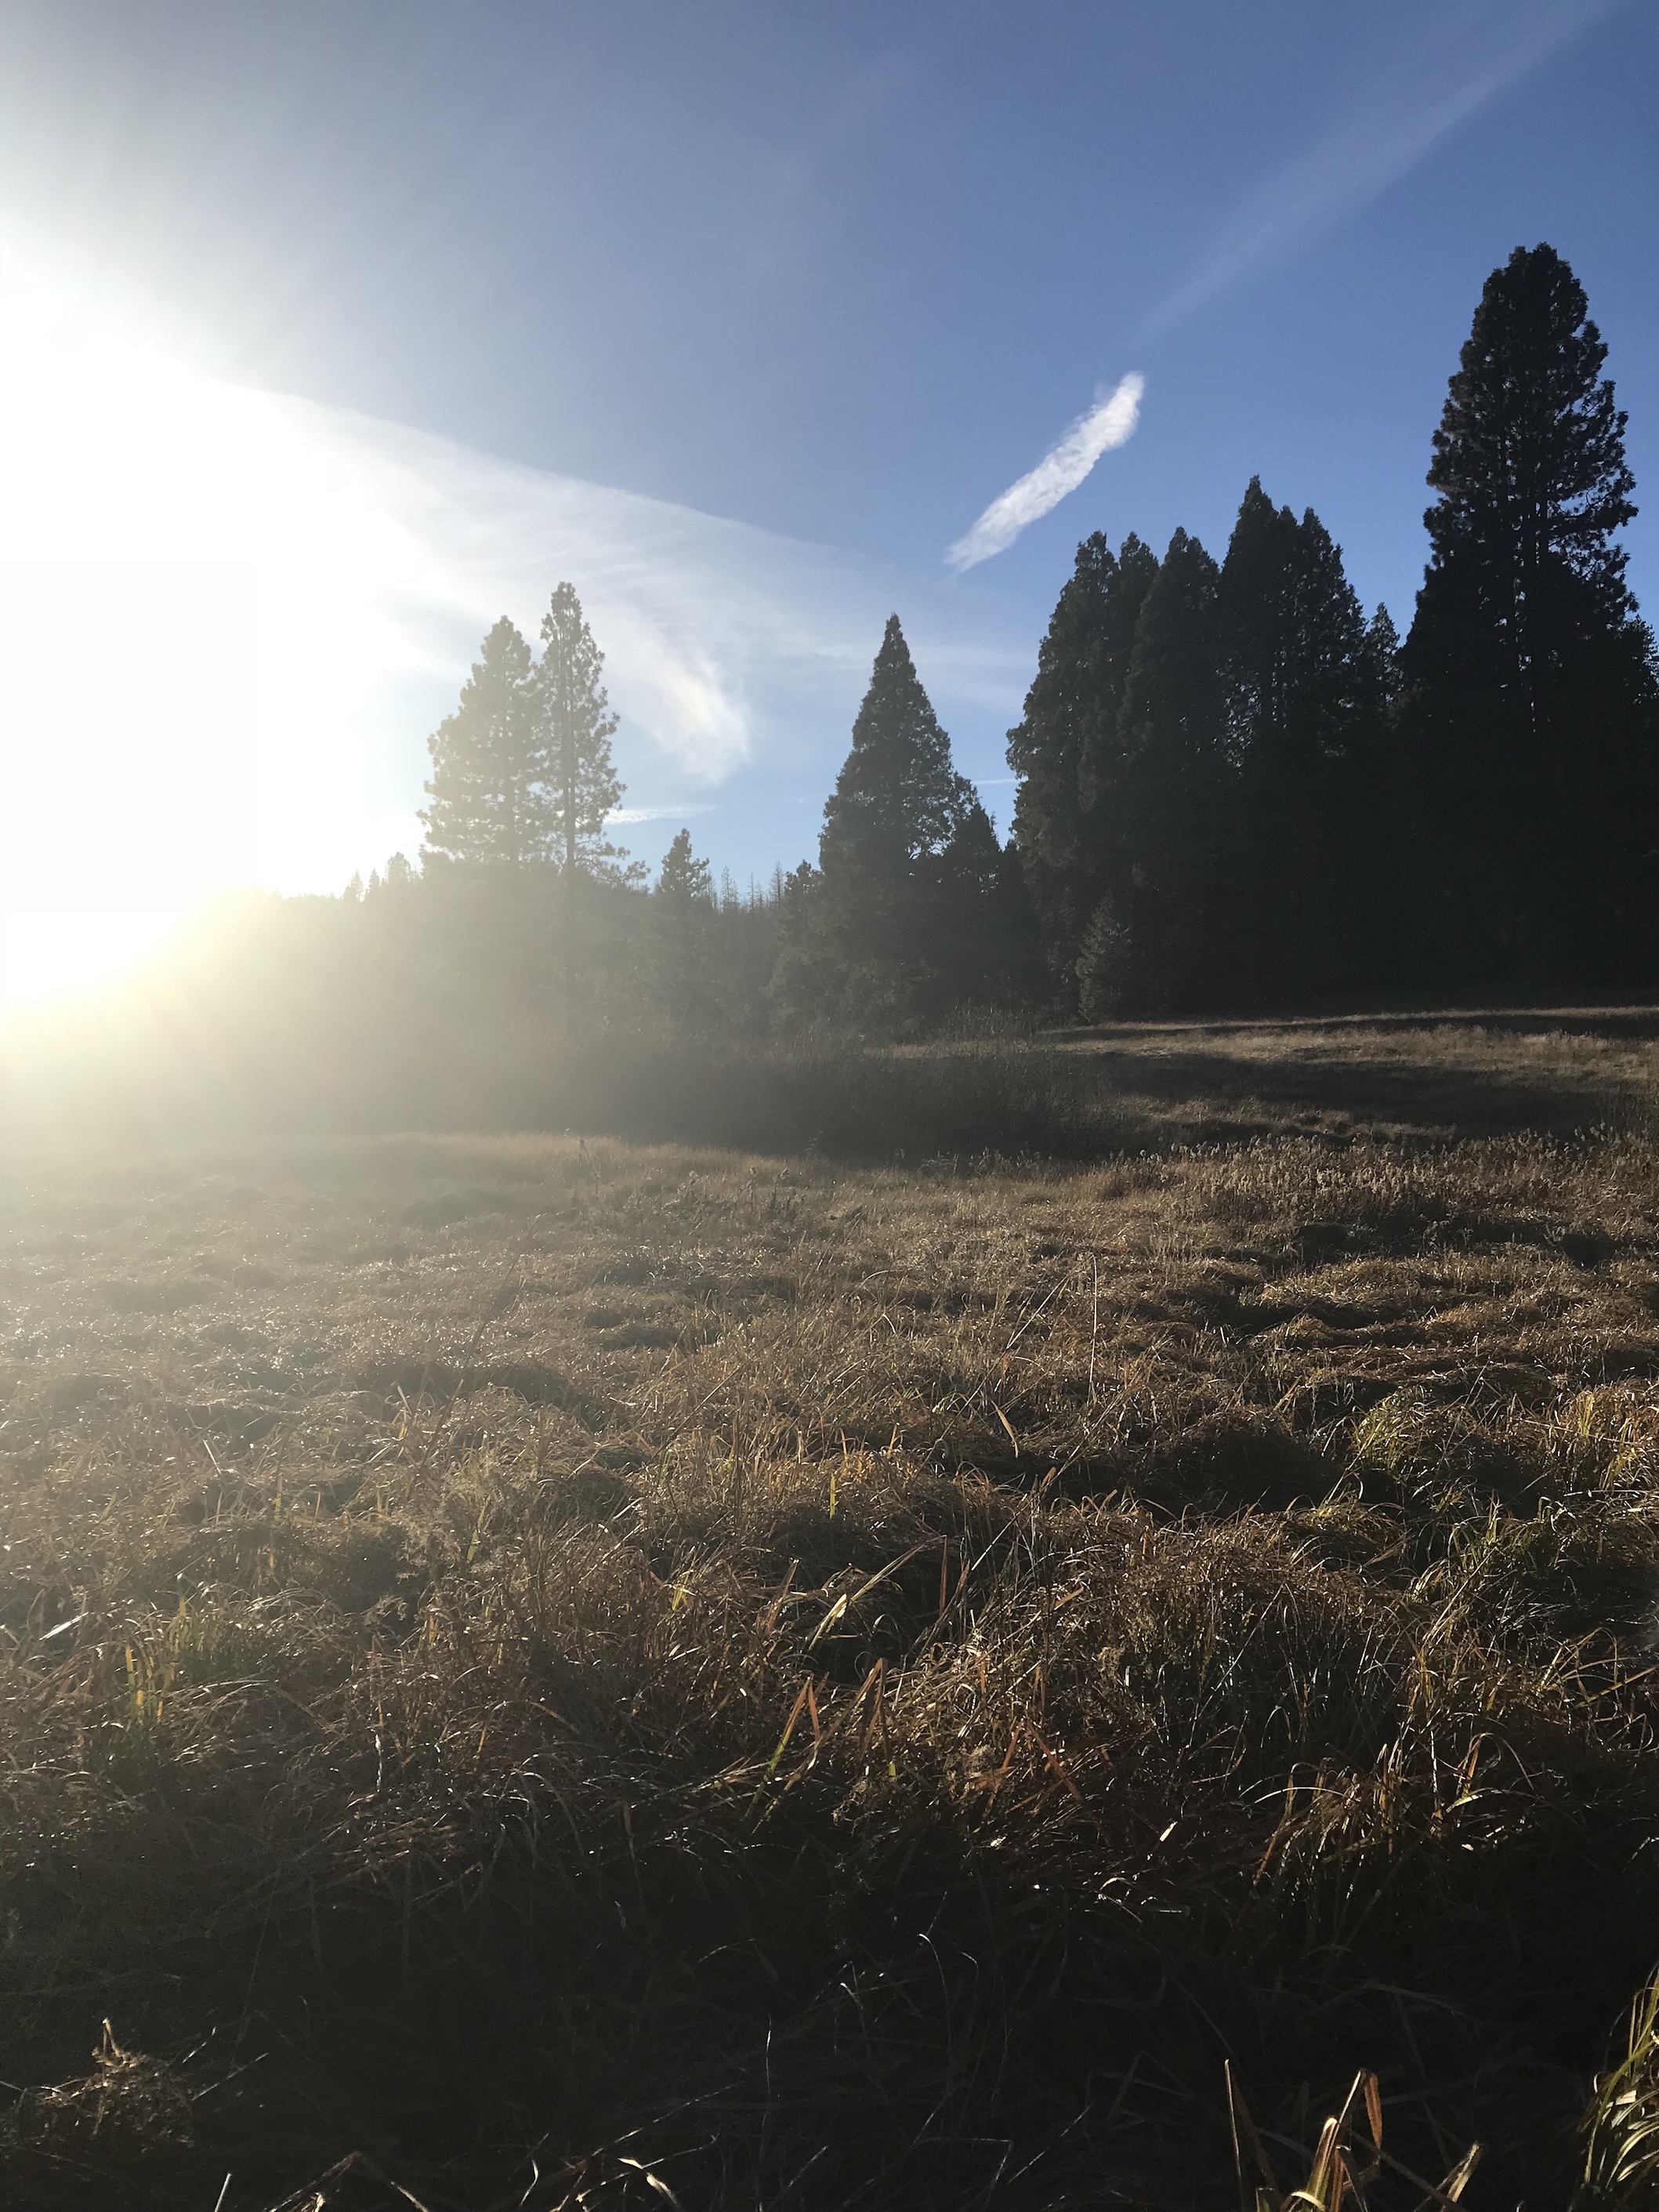
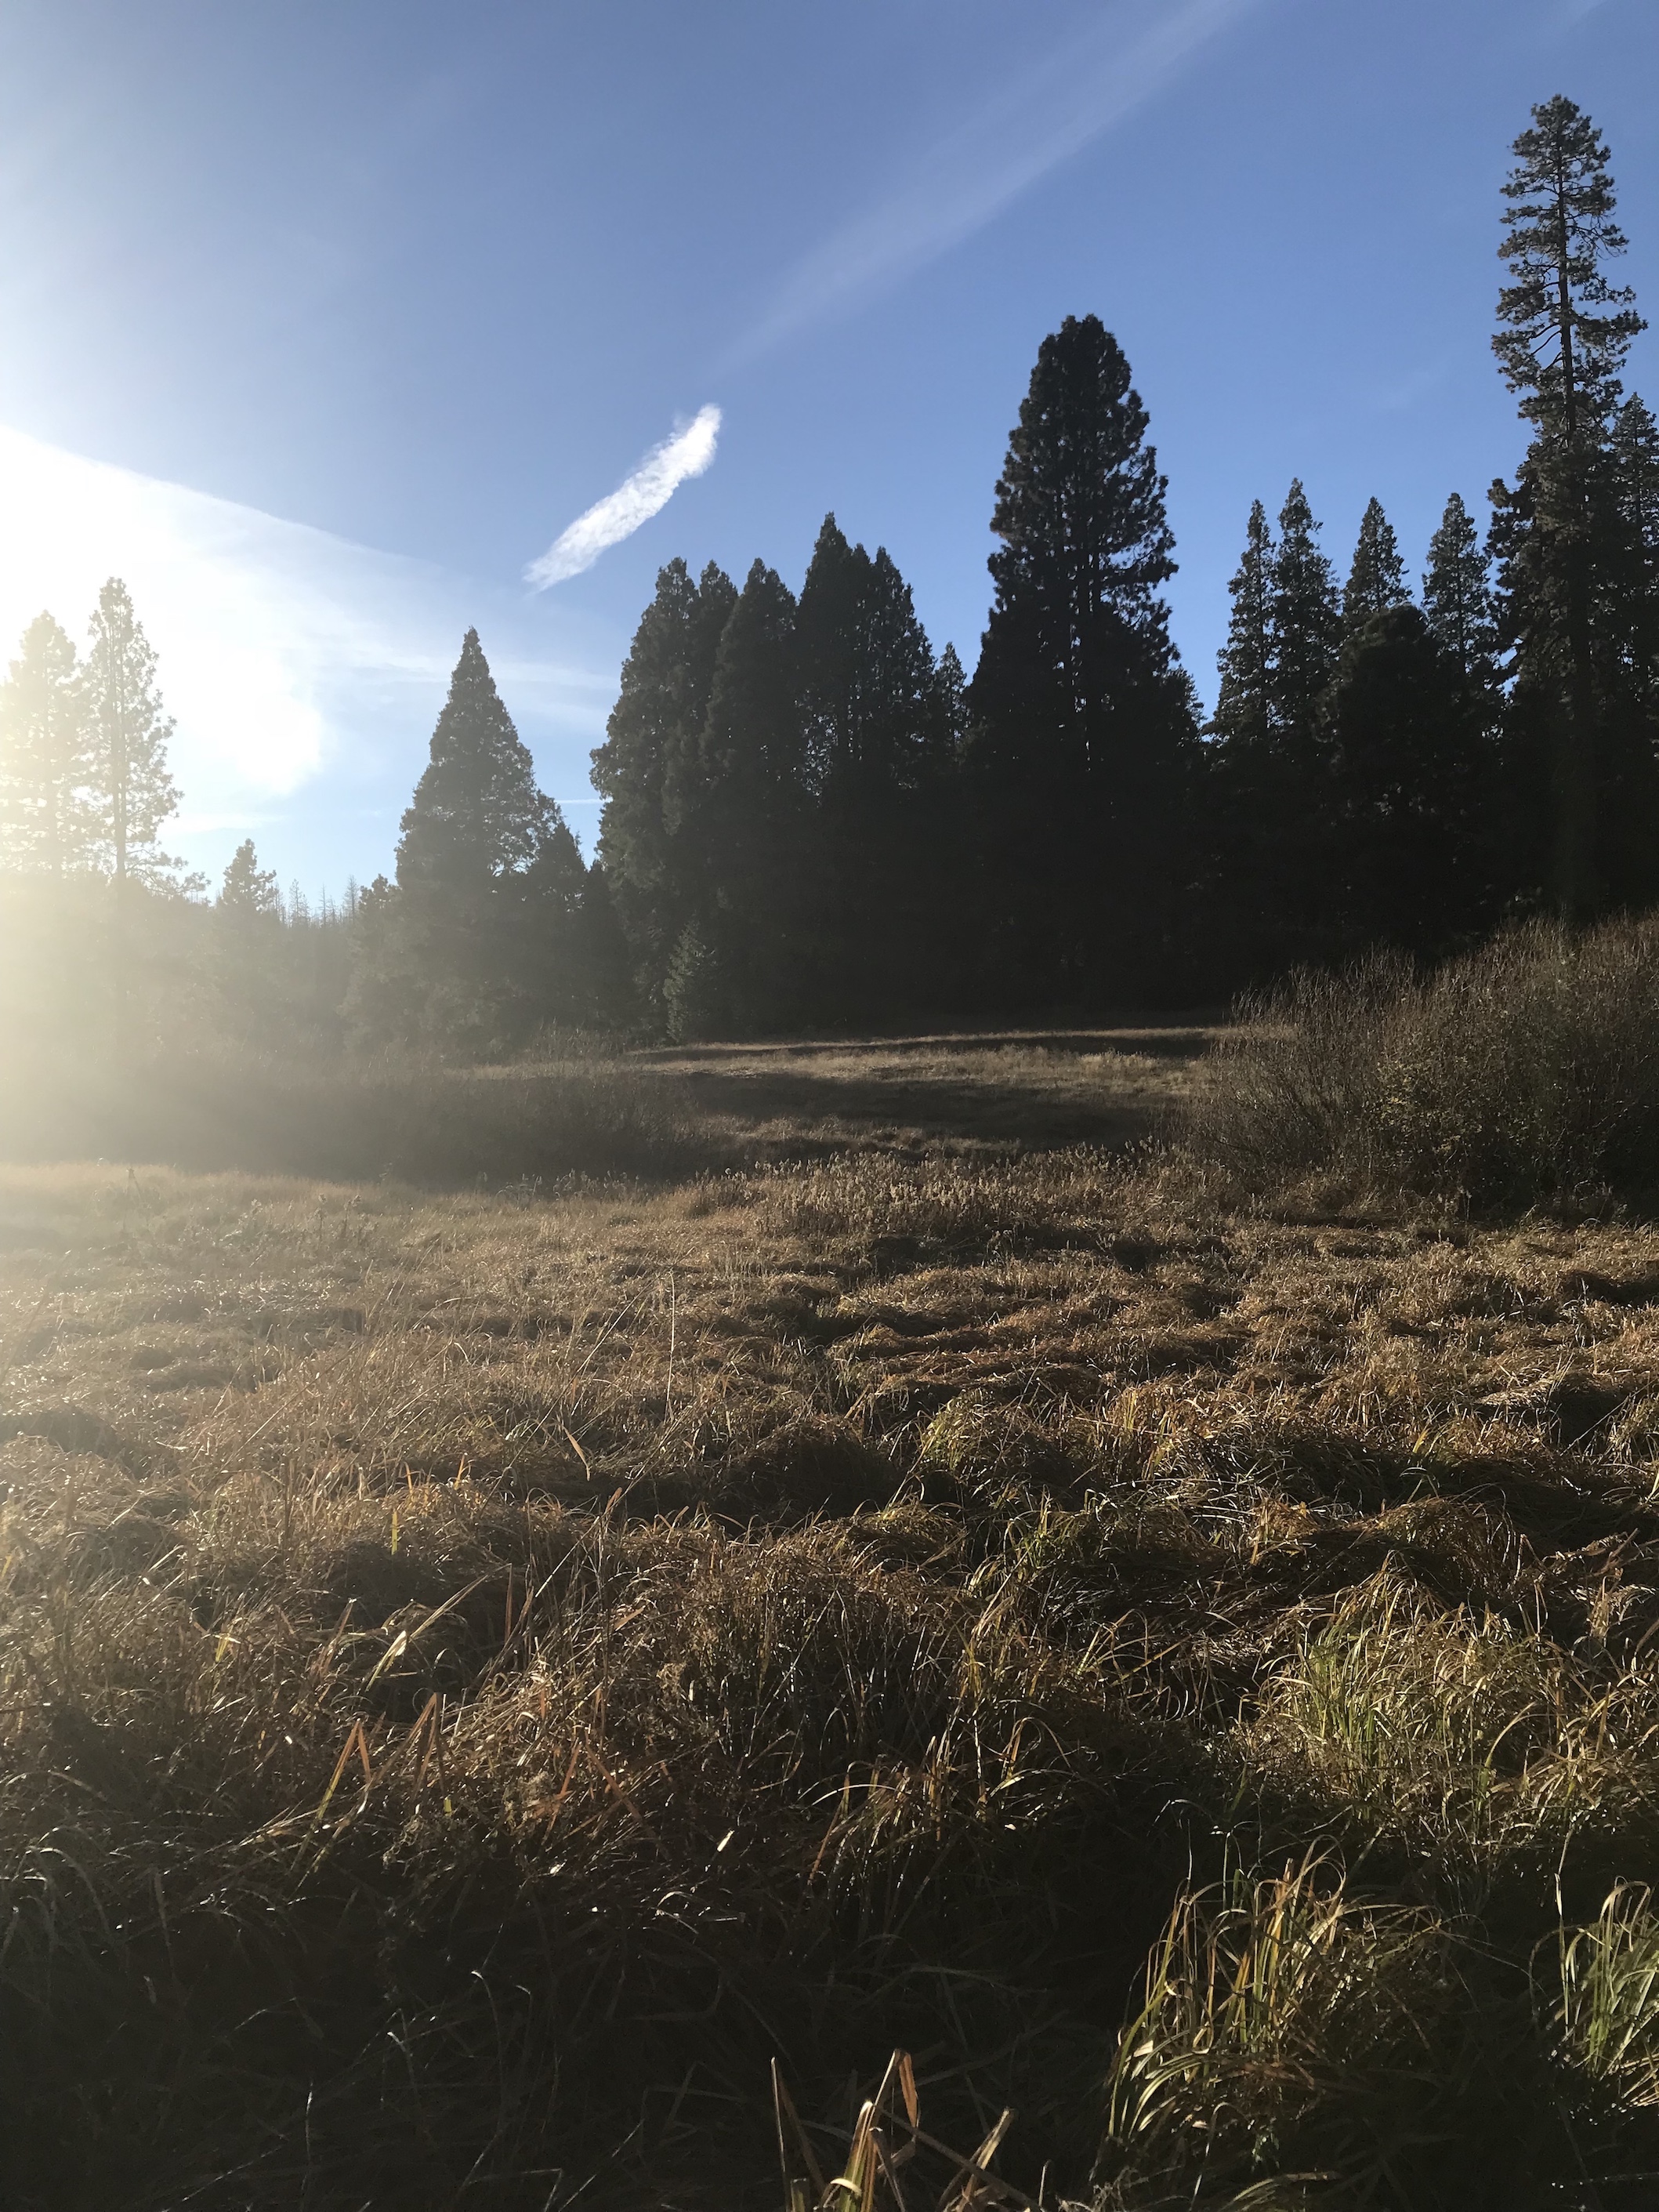
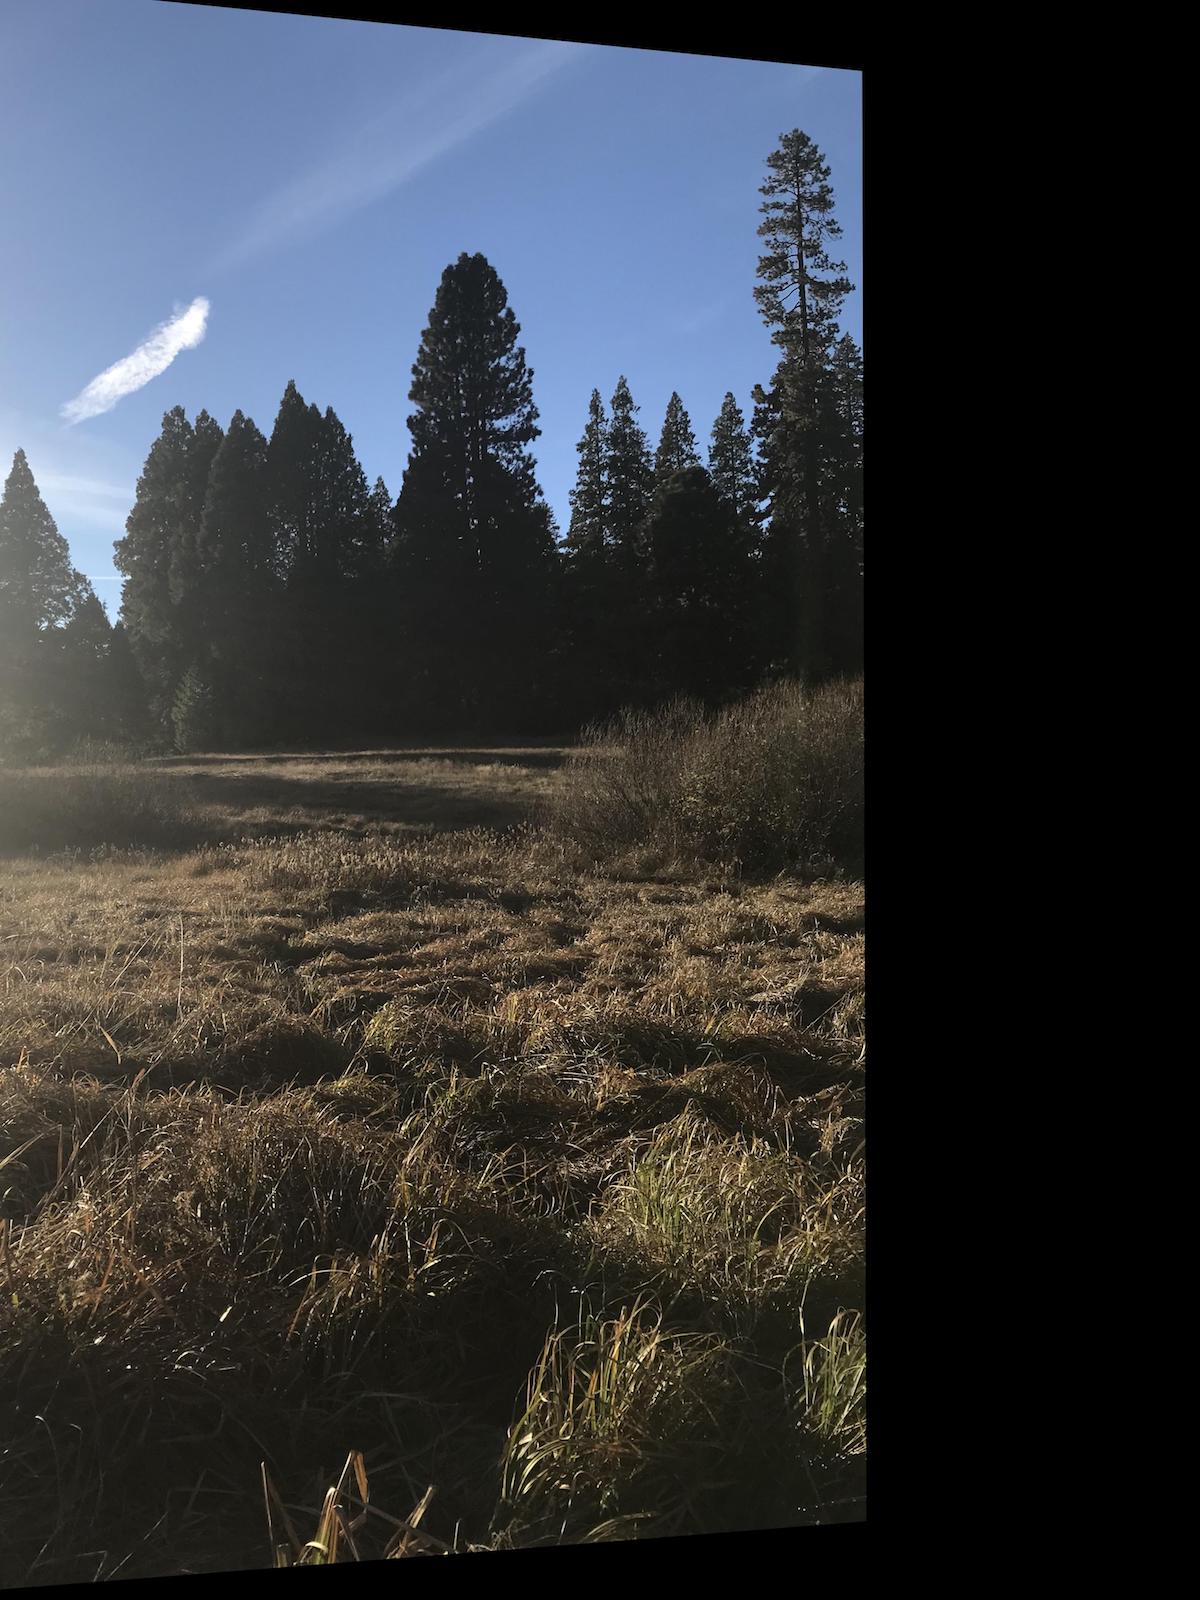
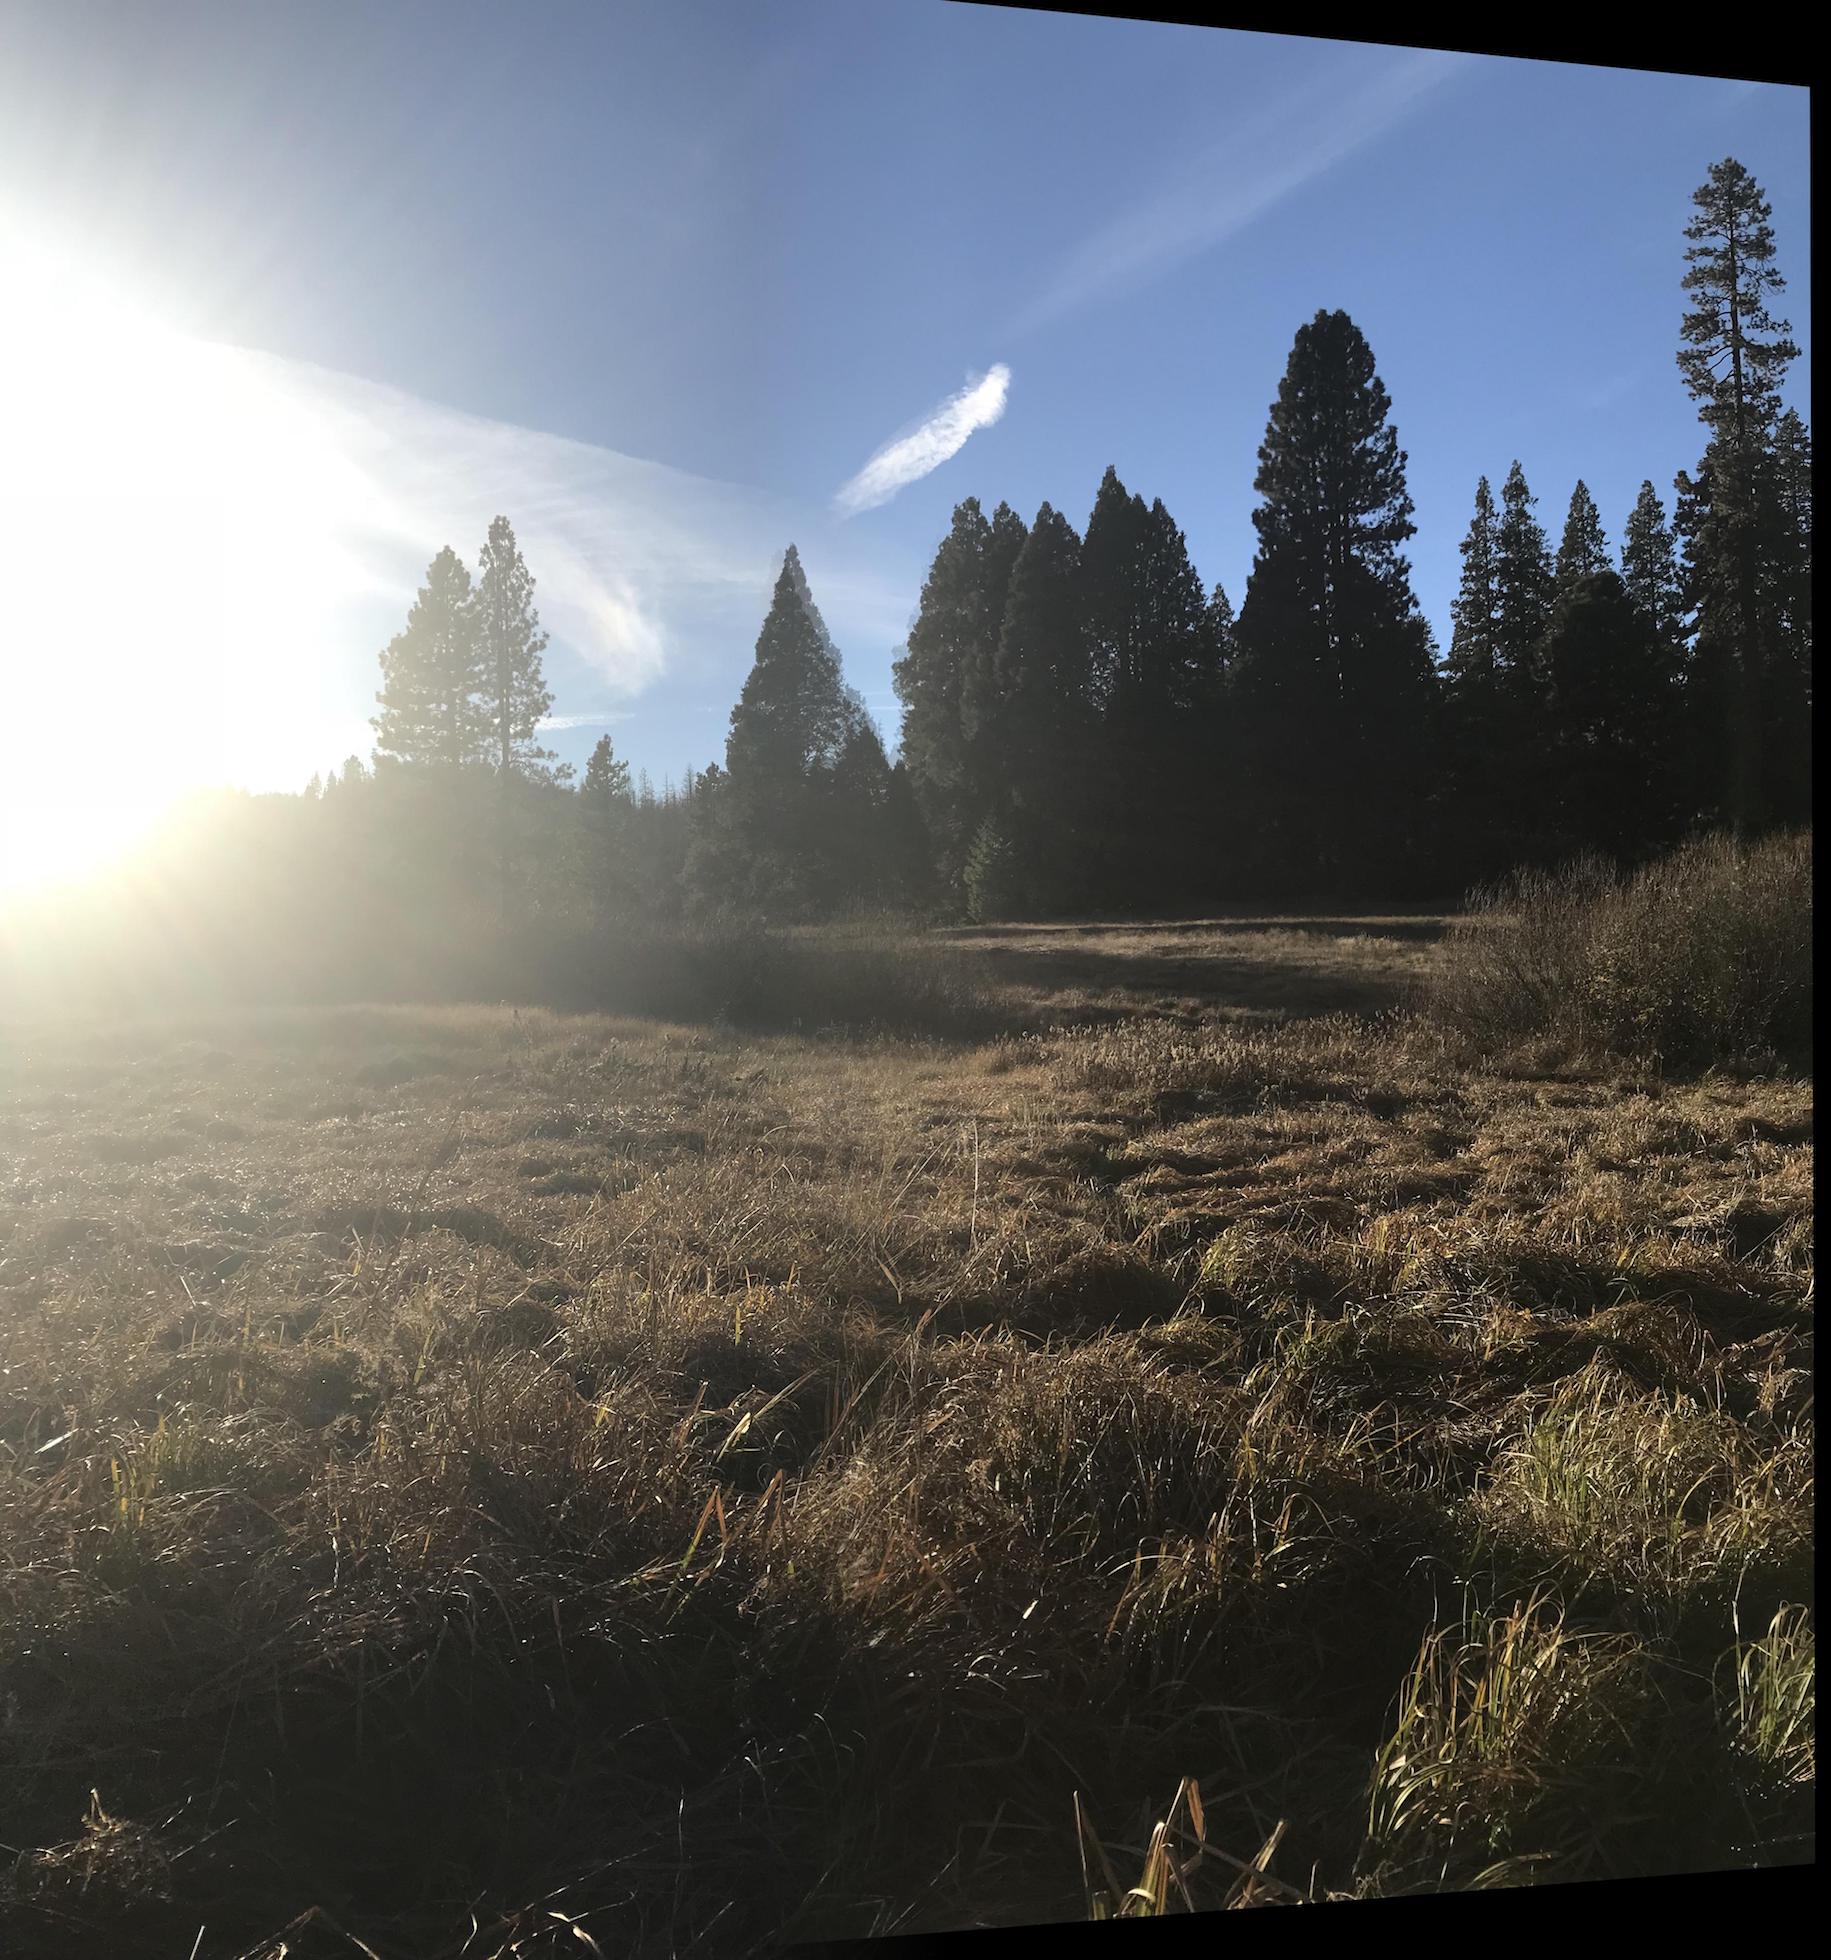
Yellow Meadows
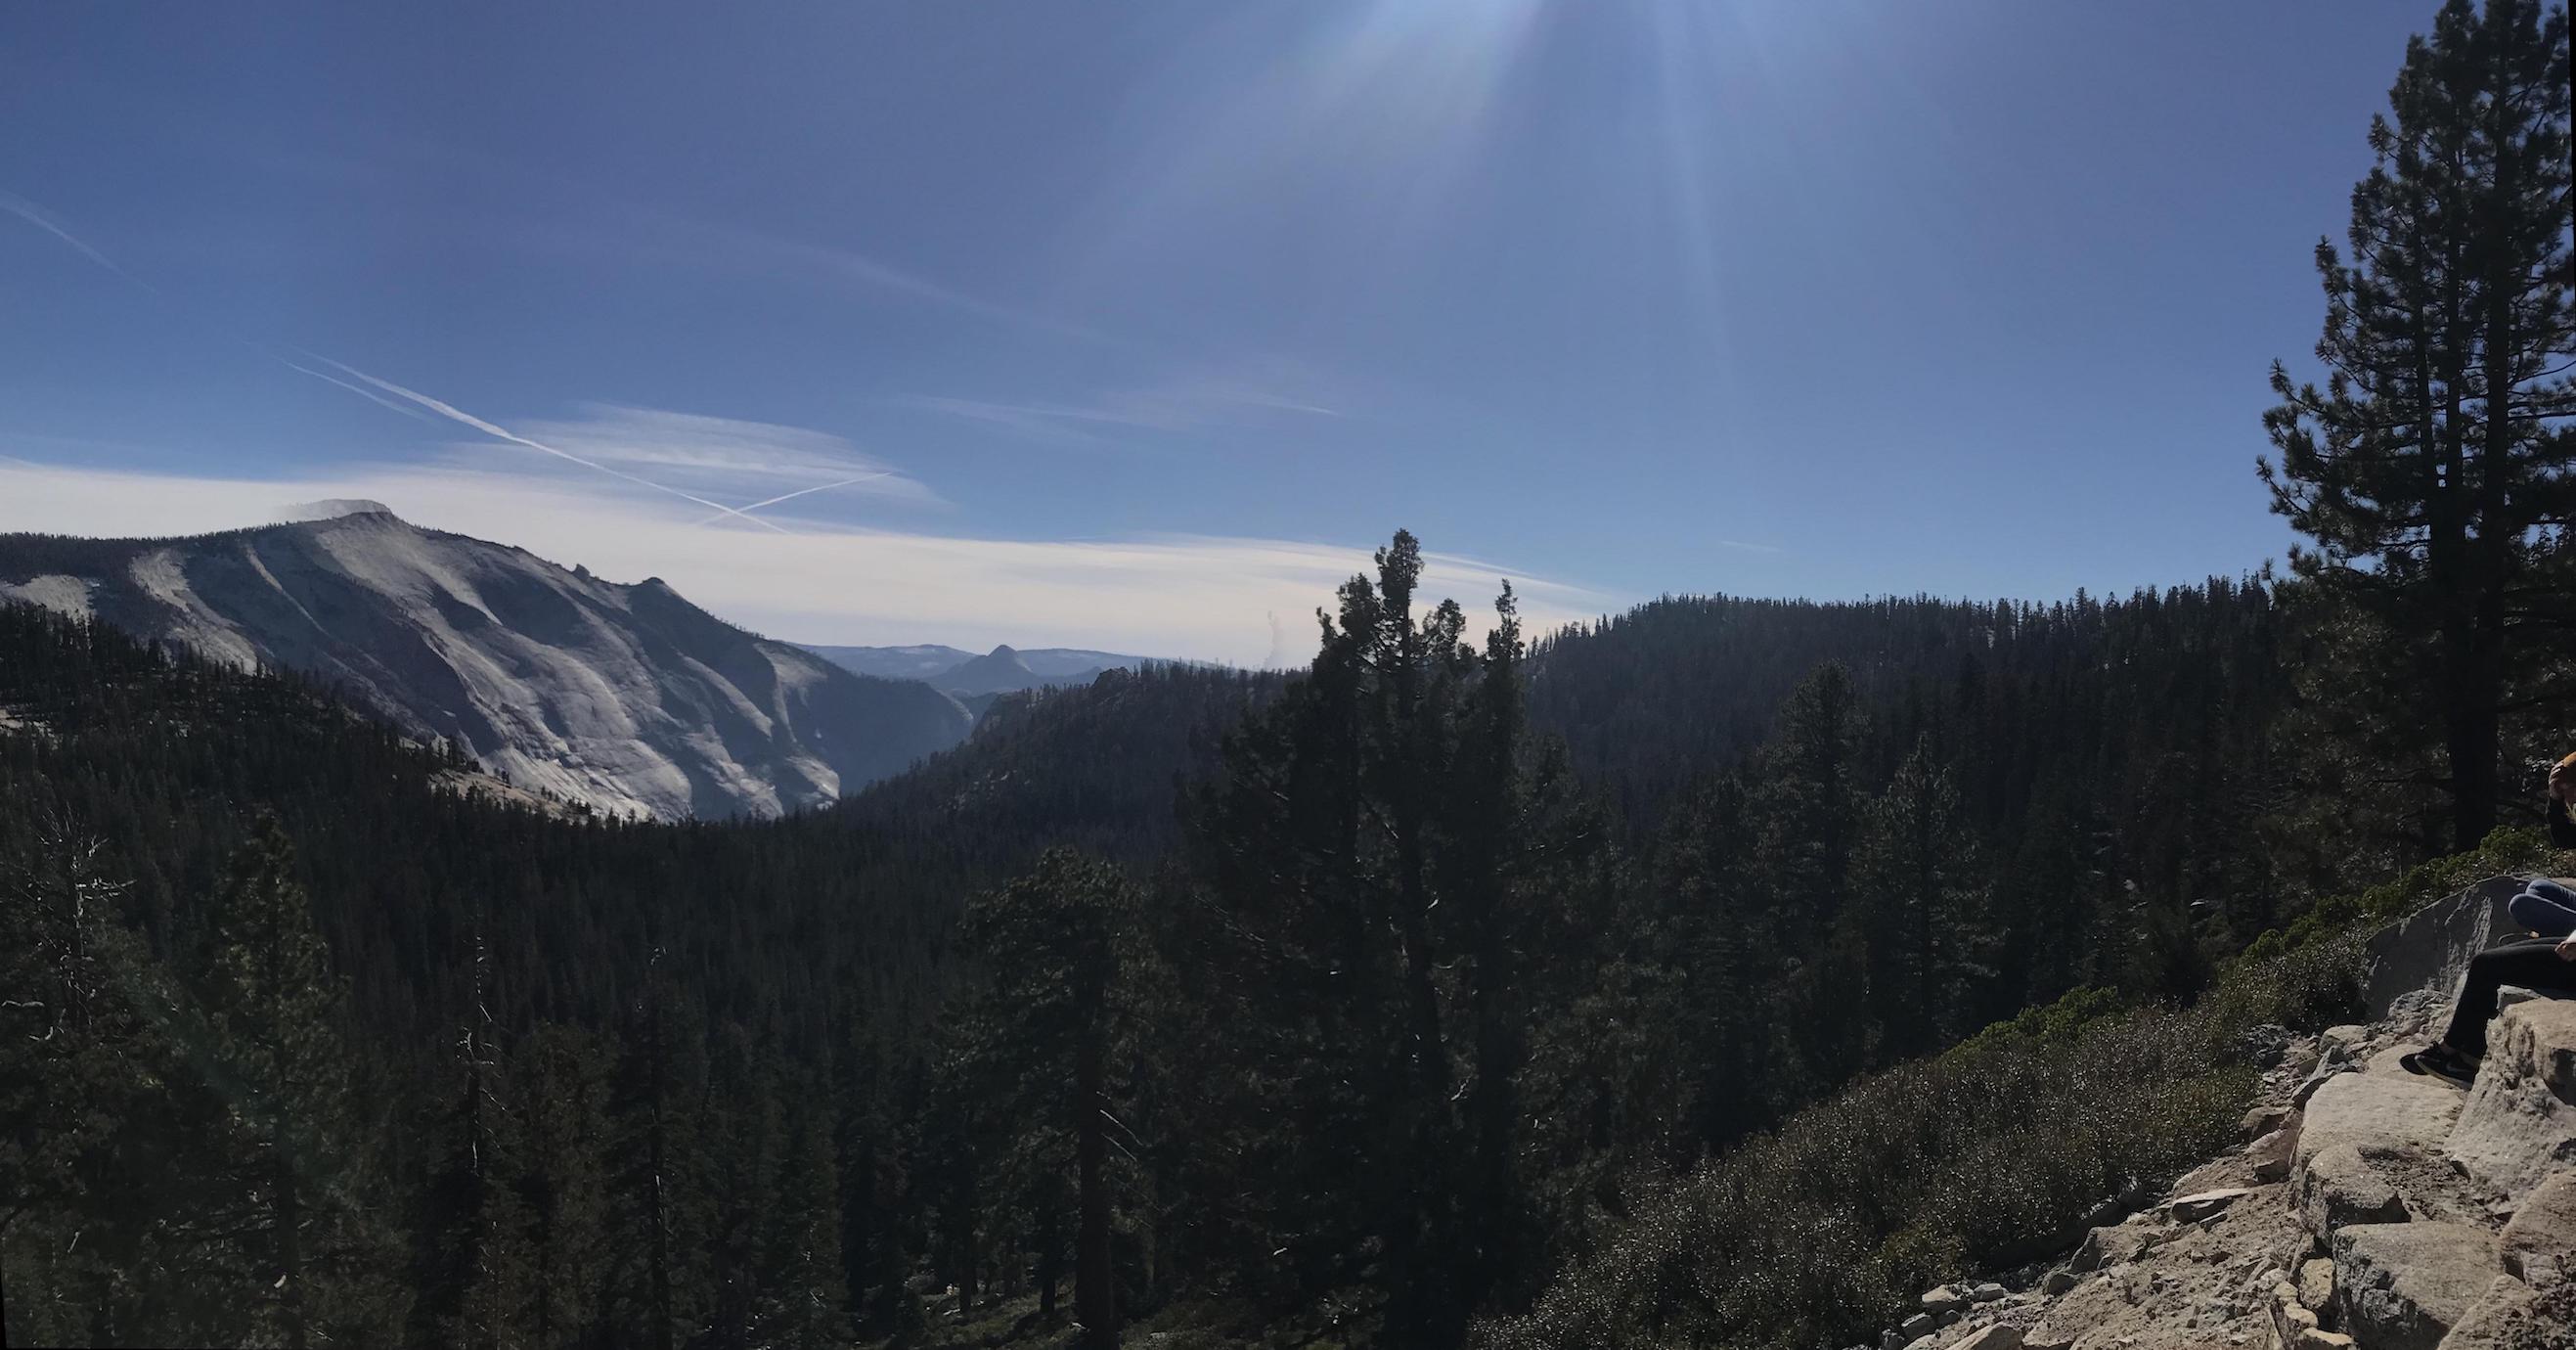
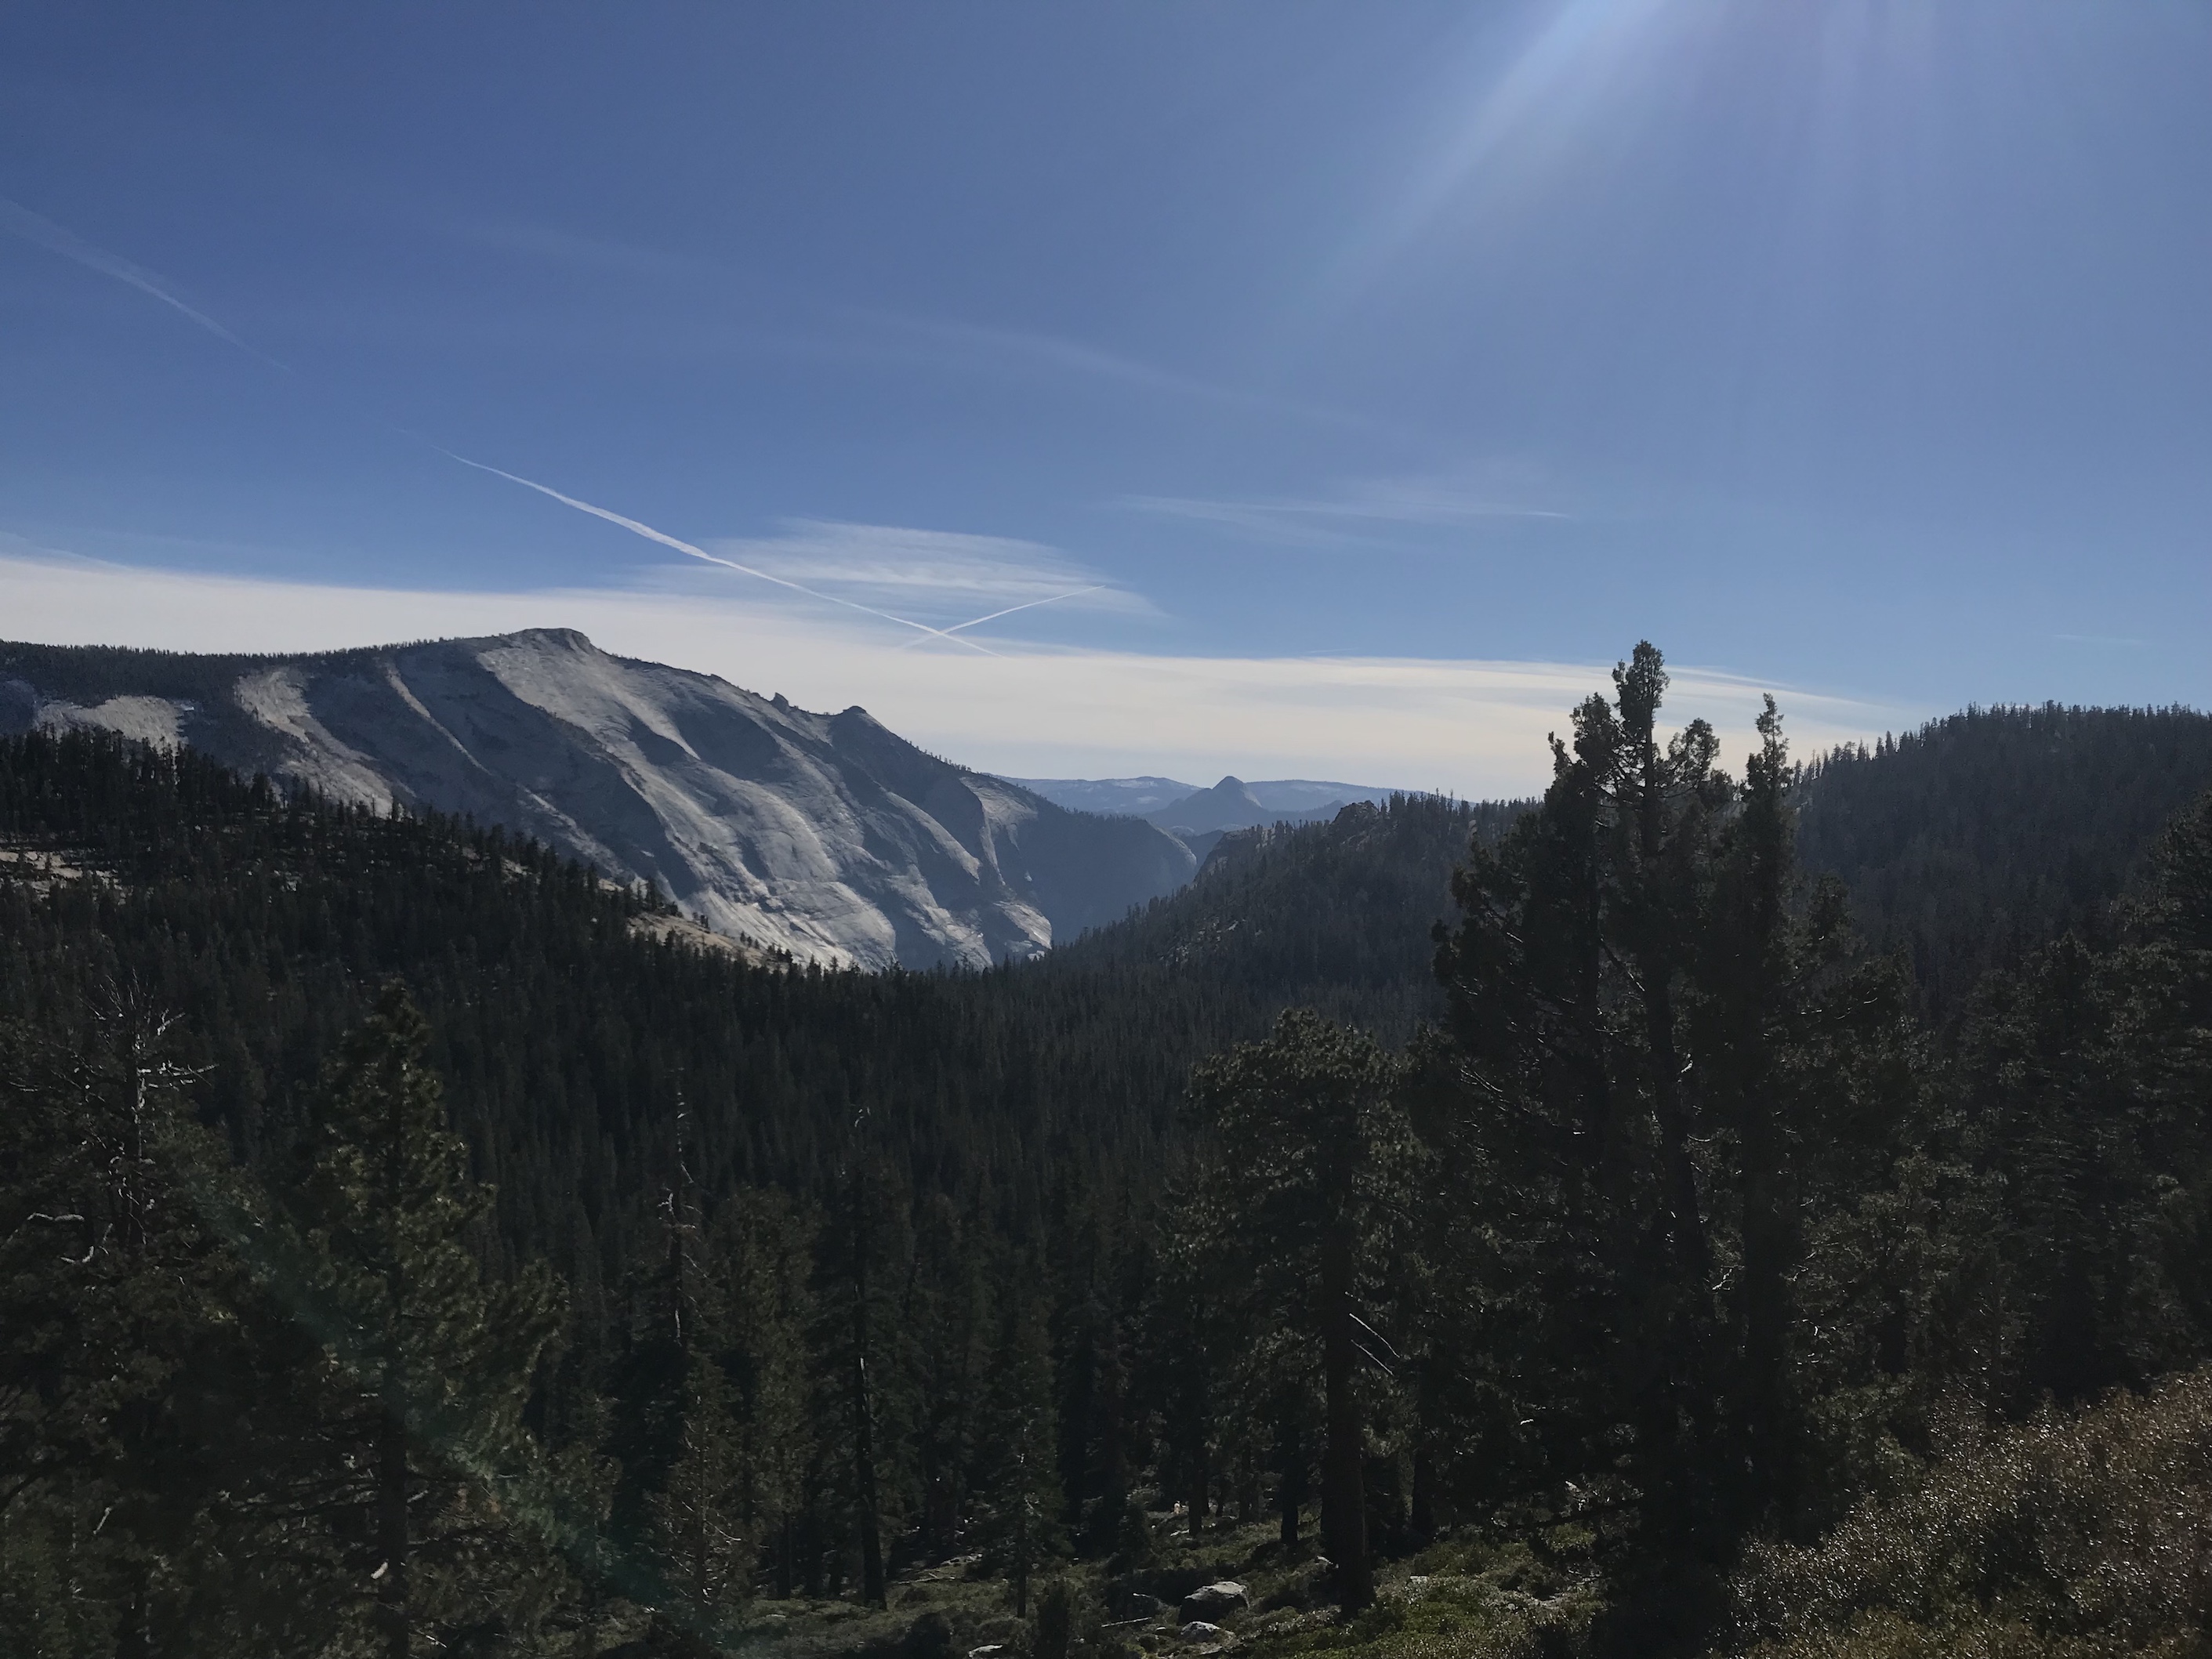
Yosemite Forrest
Blue and Gold Lights
Finding Homographies
Now that I had my images captured, I turned to creating projective transformations between the images. These transformations are called homographies and they have 8 degrees of freedom which allow us to transform one image into the plane of another image. In order to solve the homographies, I set up a function,

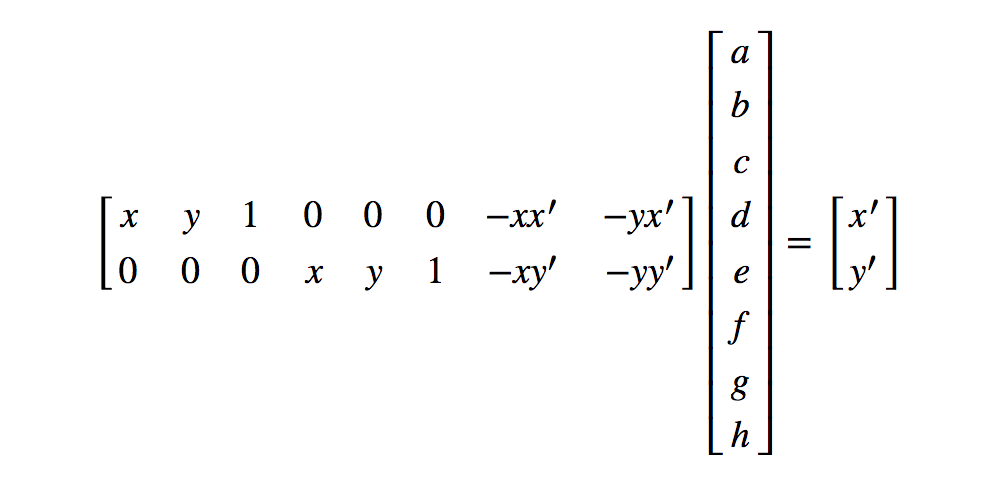
Image Warping and Rectification
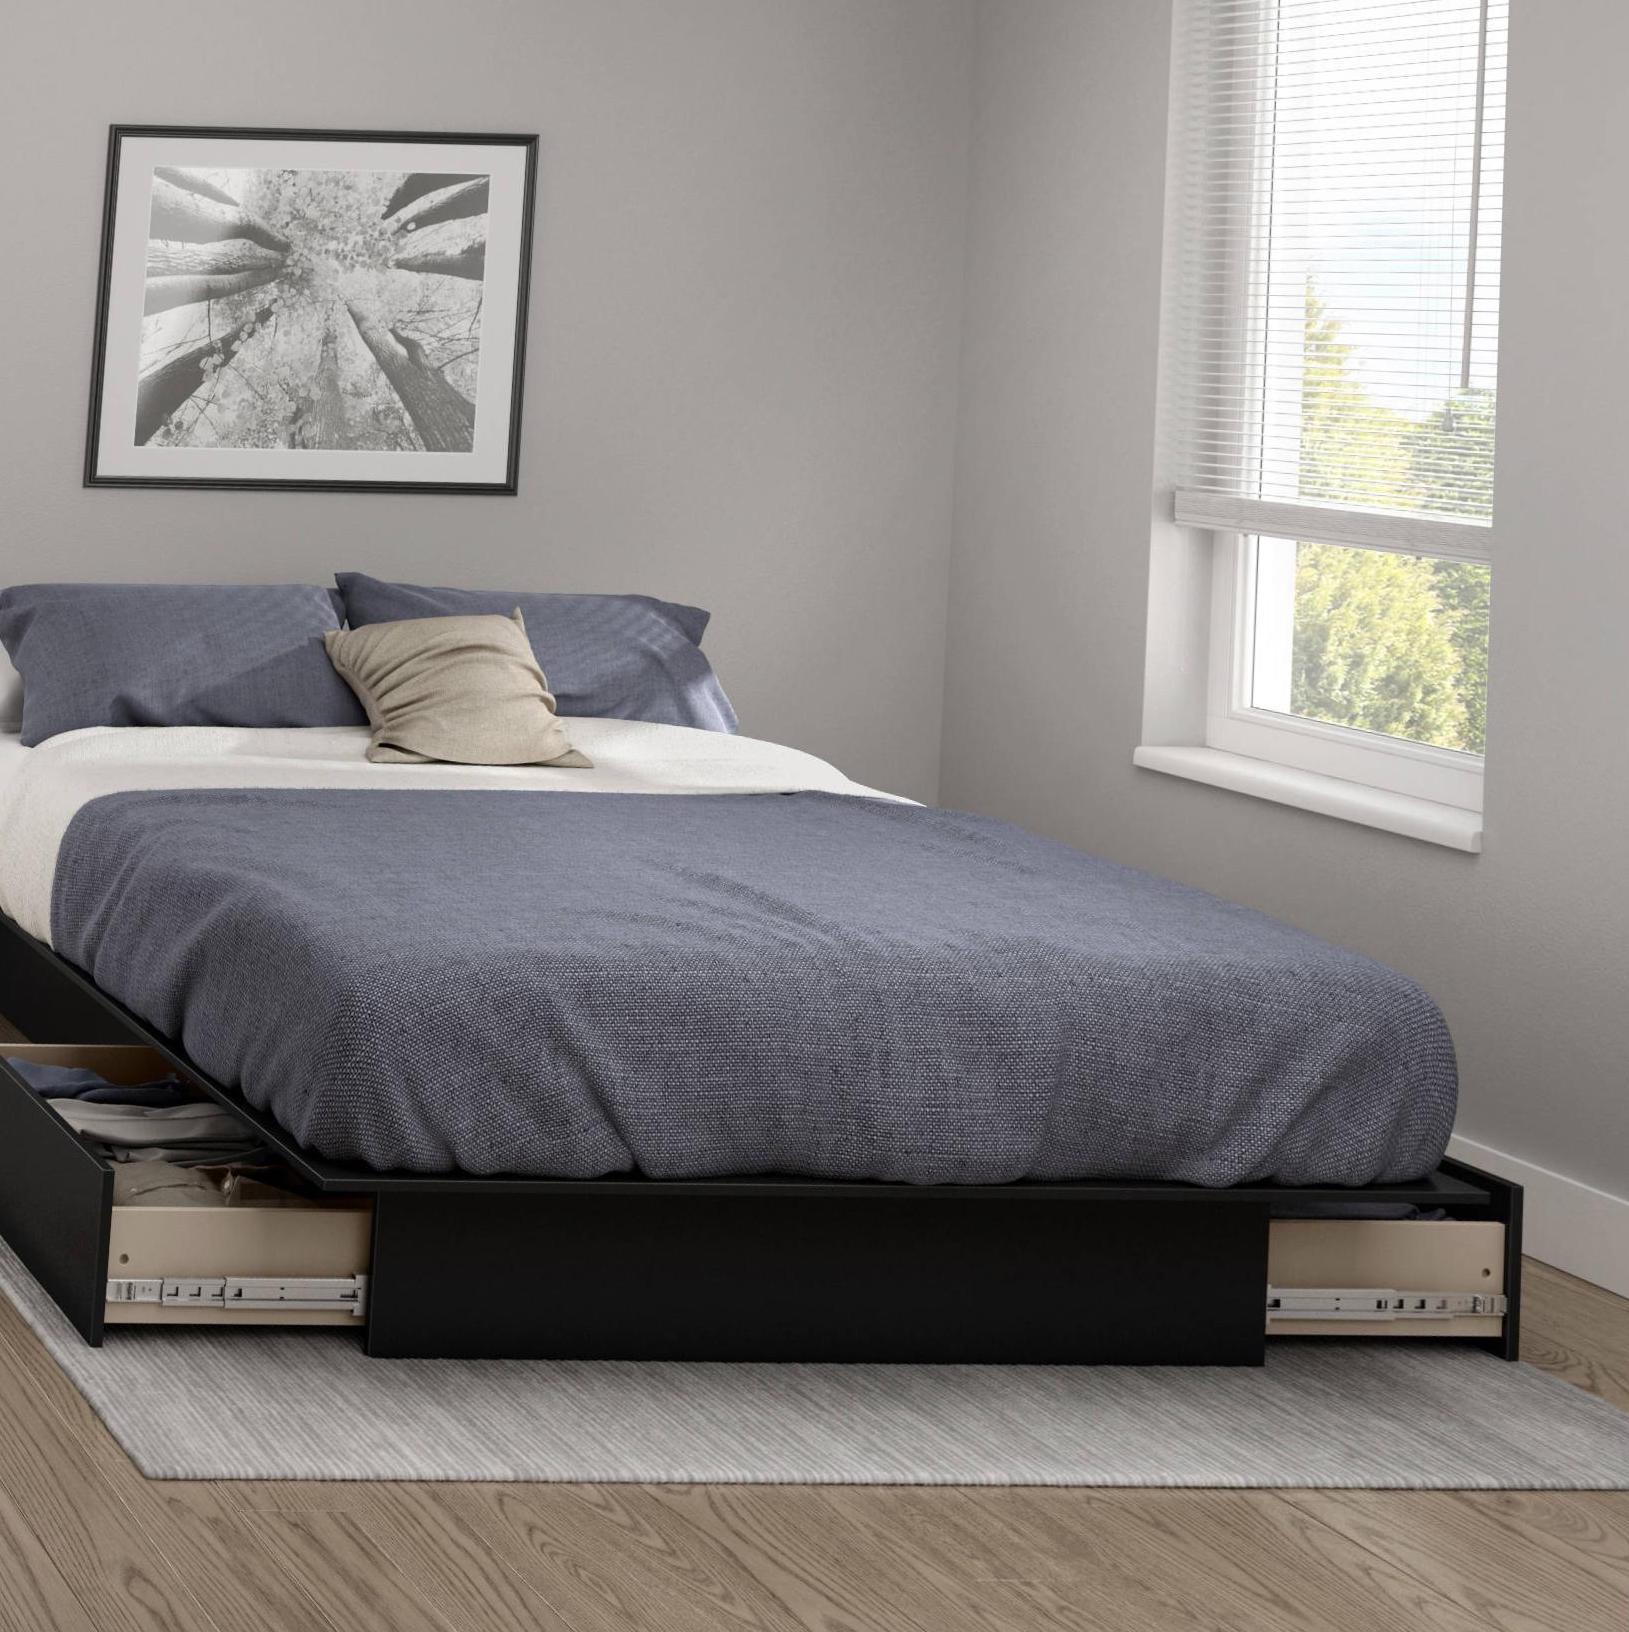
Once the homographies are created, it's time to warp and rectify them. I started by taking a few sample images with some planar surfaces, and warping them so that the plane is frontal-parallel.
For example, I warped this image of a room to the rectangular image frame in the center:

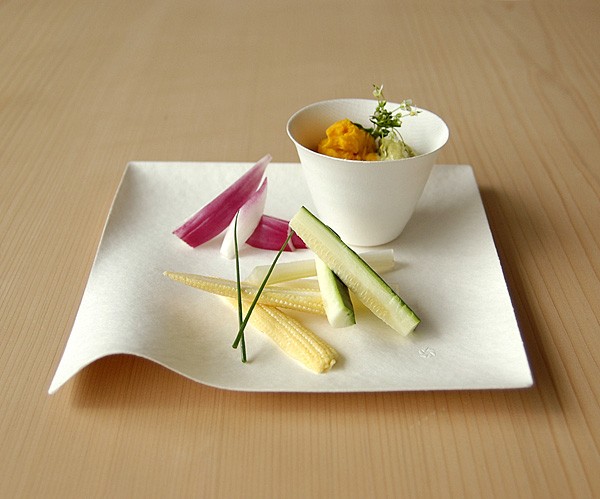
I then tried wraping this plate of food in a bunch of different directions:

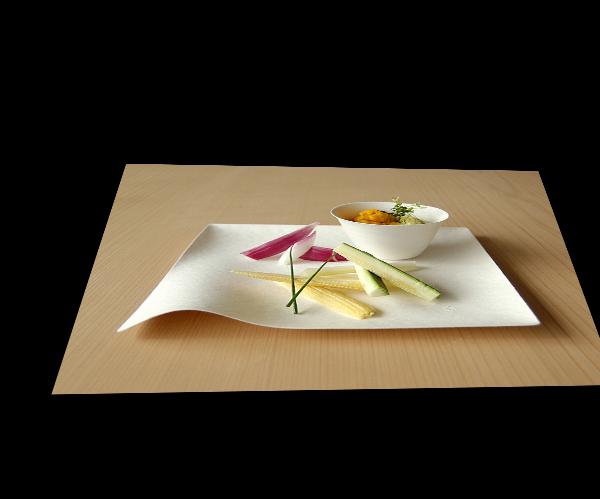
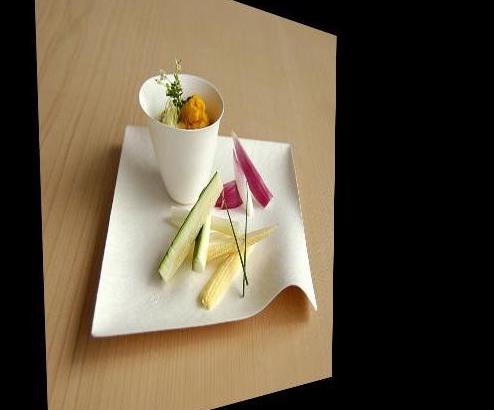
With image rectification complete, it was time to move on to the final part, mosaics!
Making Mosaics
Once I finalized my warping algorithm, I began working on creating mosaics of two or more images. I created mosaics by warping two images at once and then warping the resulting image with the next image. I warped the left and right images of the photos I captures onto the plane of the central image in the photos. I experimented with different types of blending. The best results were obtained by creating linear blending over a central region where the two images are combined. I achieved this by creating a horizontal mask (utilizing some of my project 3 code!), spiting the image into distinct color channel and computing a weighted average across the mask's area. My results are illustrated in detail below:
Yellow Meadows
Using these initial images:
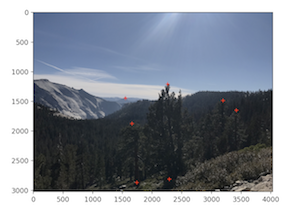
I warped the right image into the left image's plane. I found that using more than four correspondence points (between 7 and 11) yielded better blends overall. For this specific set of images, the points of correspondence and the warped image in a new plane are illustrated here:

.
With the images in the same plane it was time to put them together:
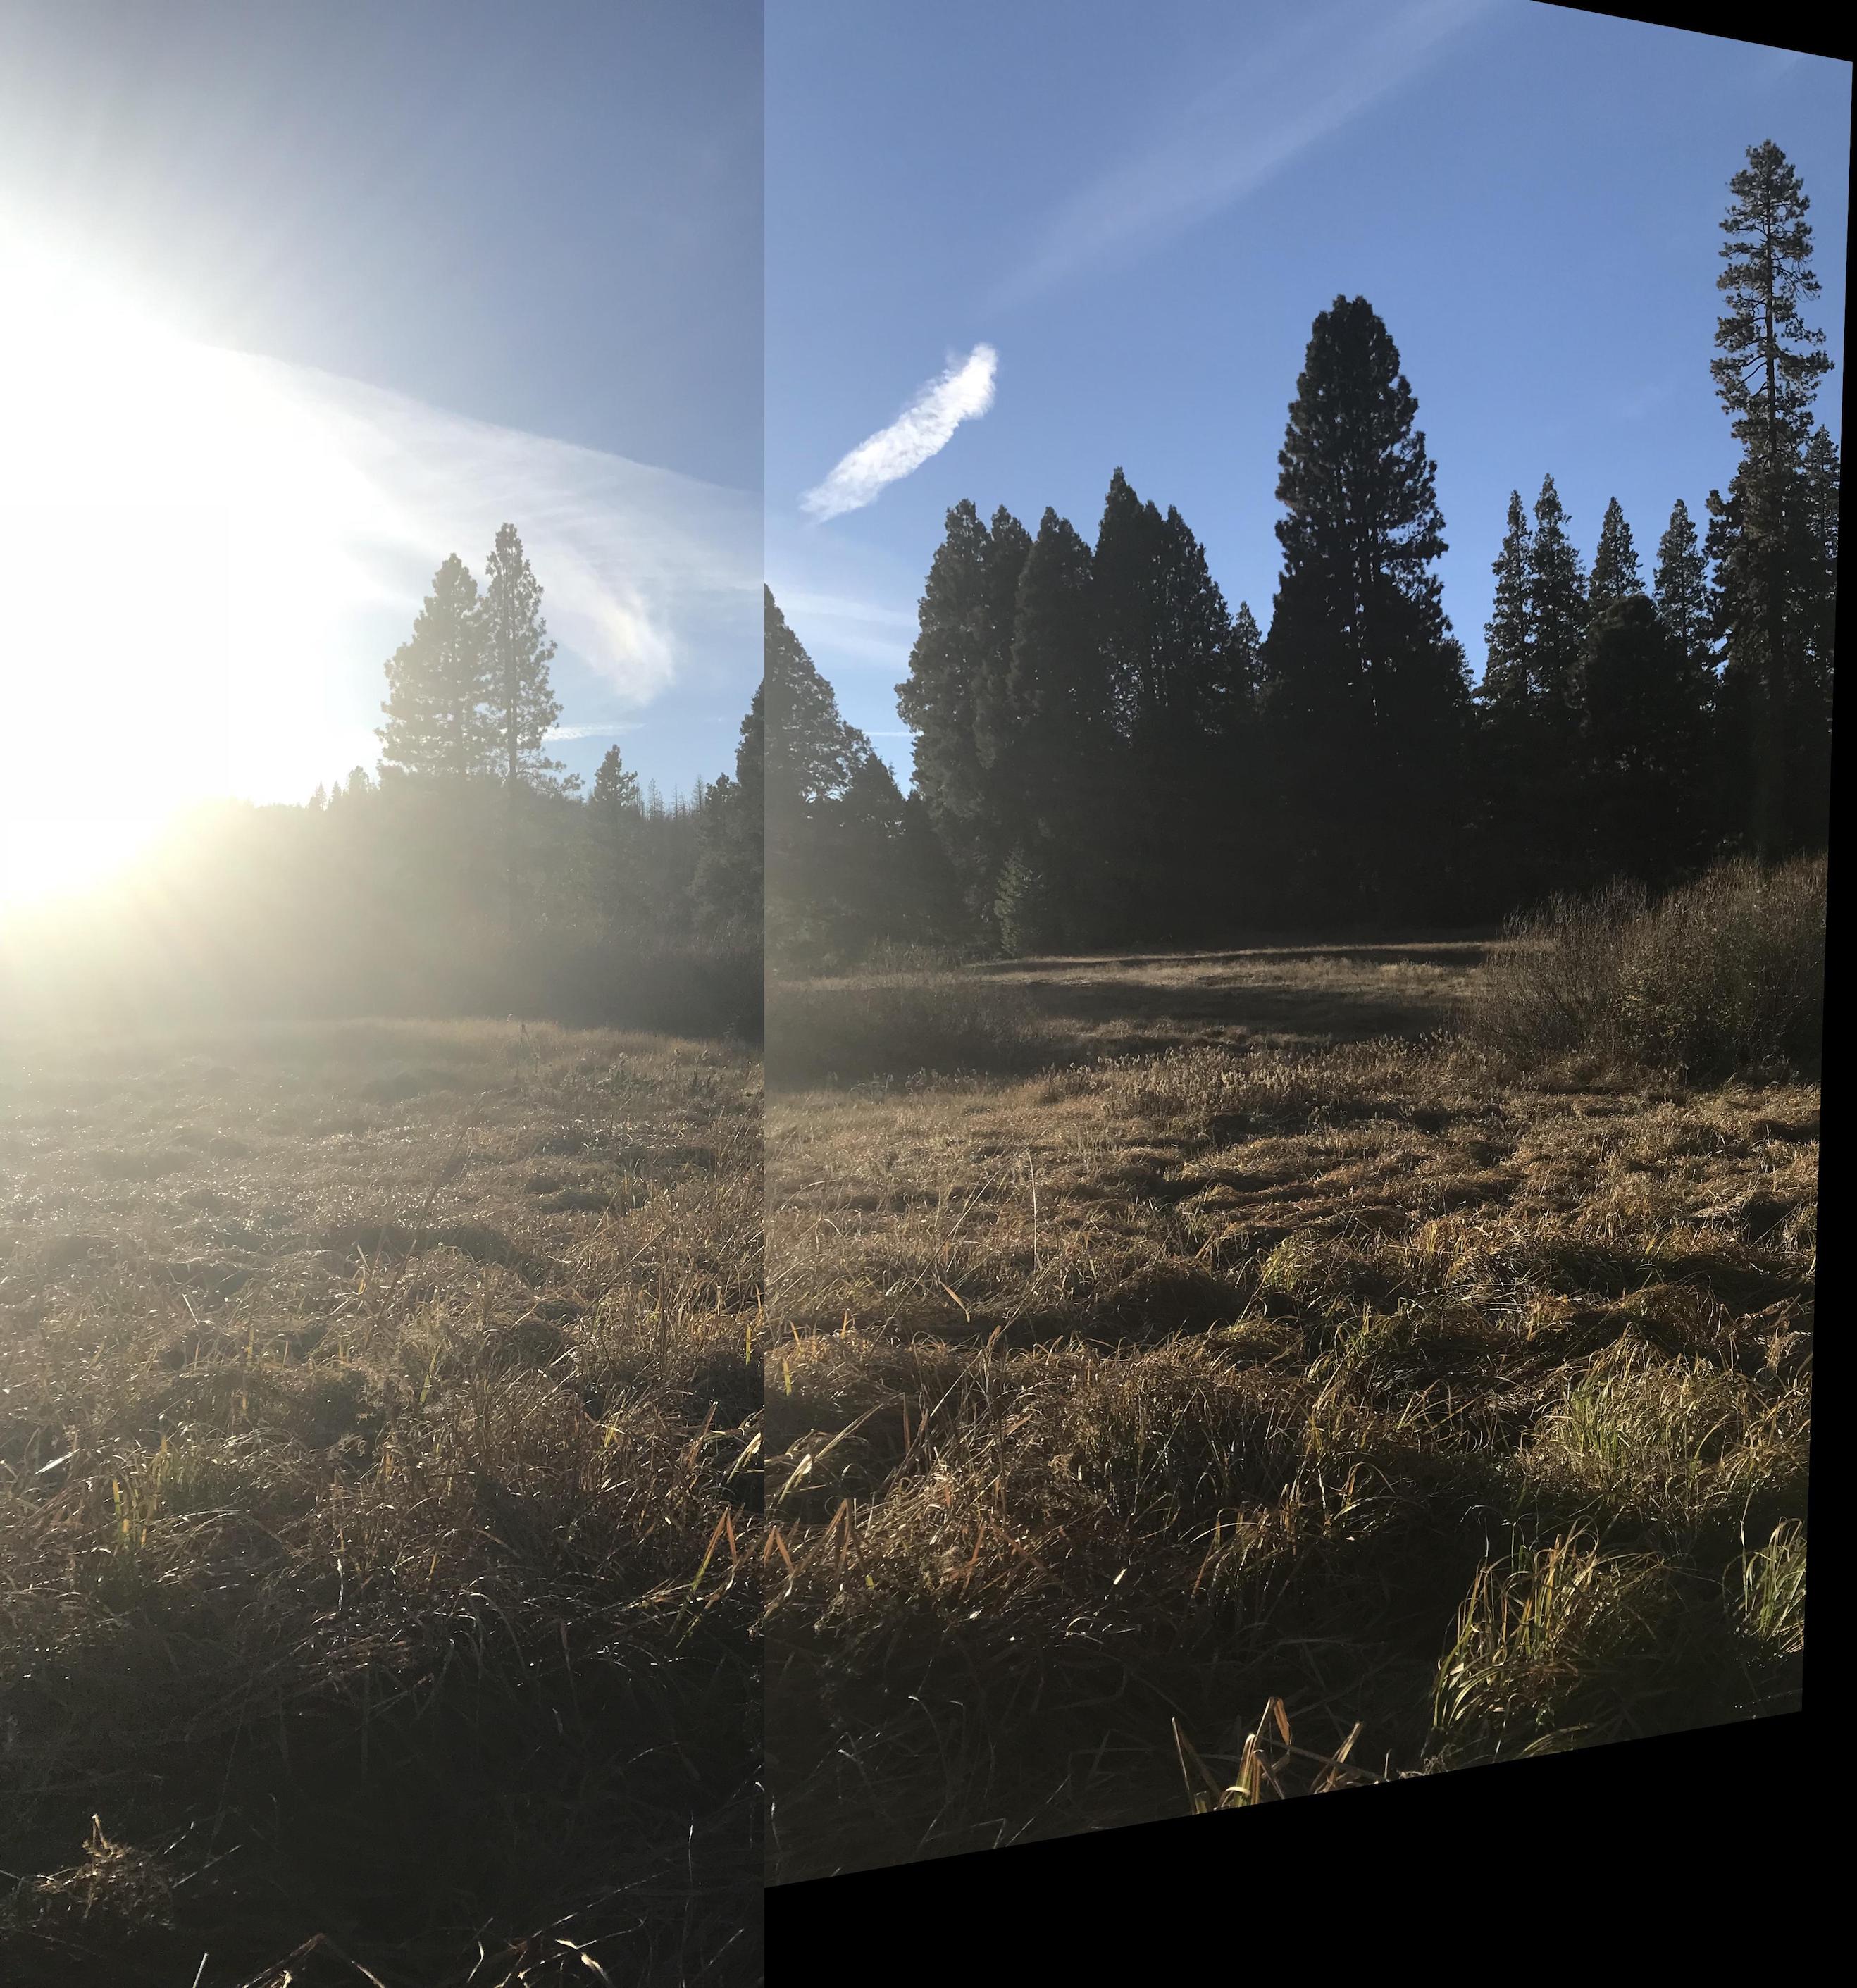
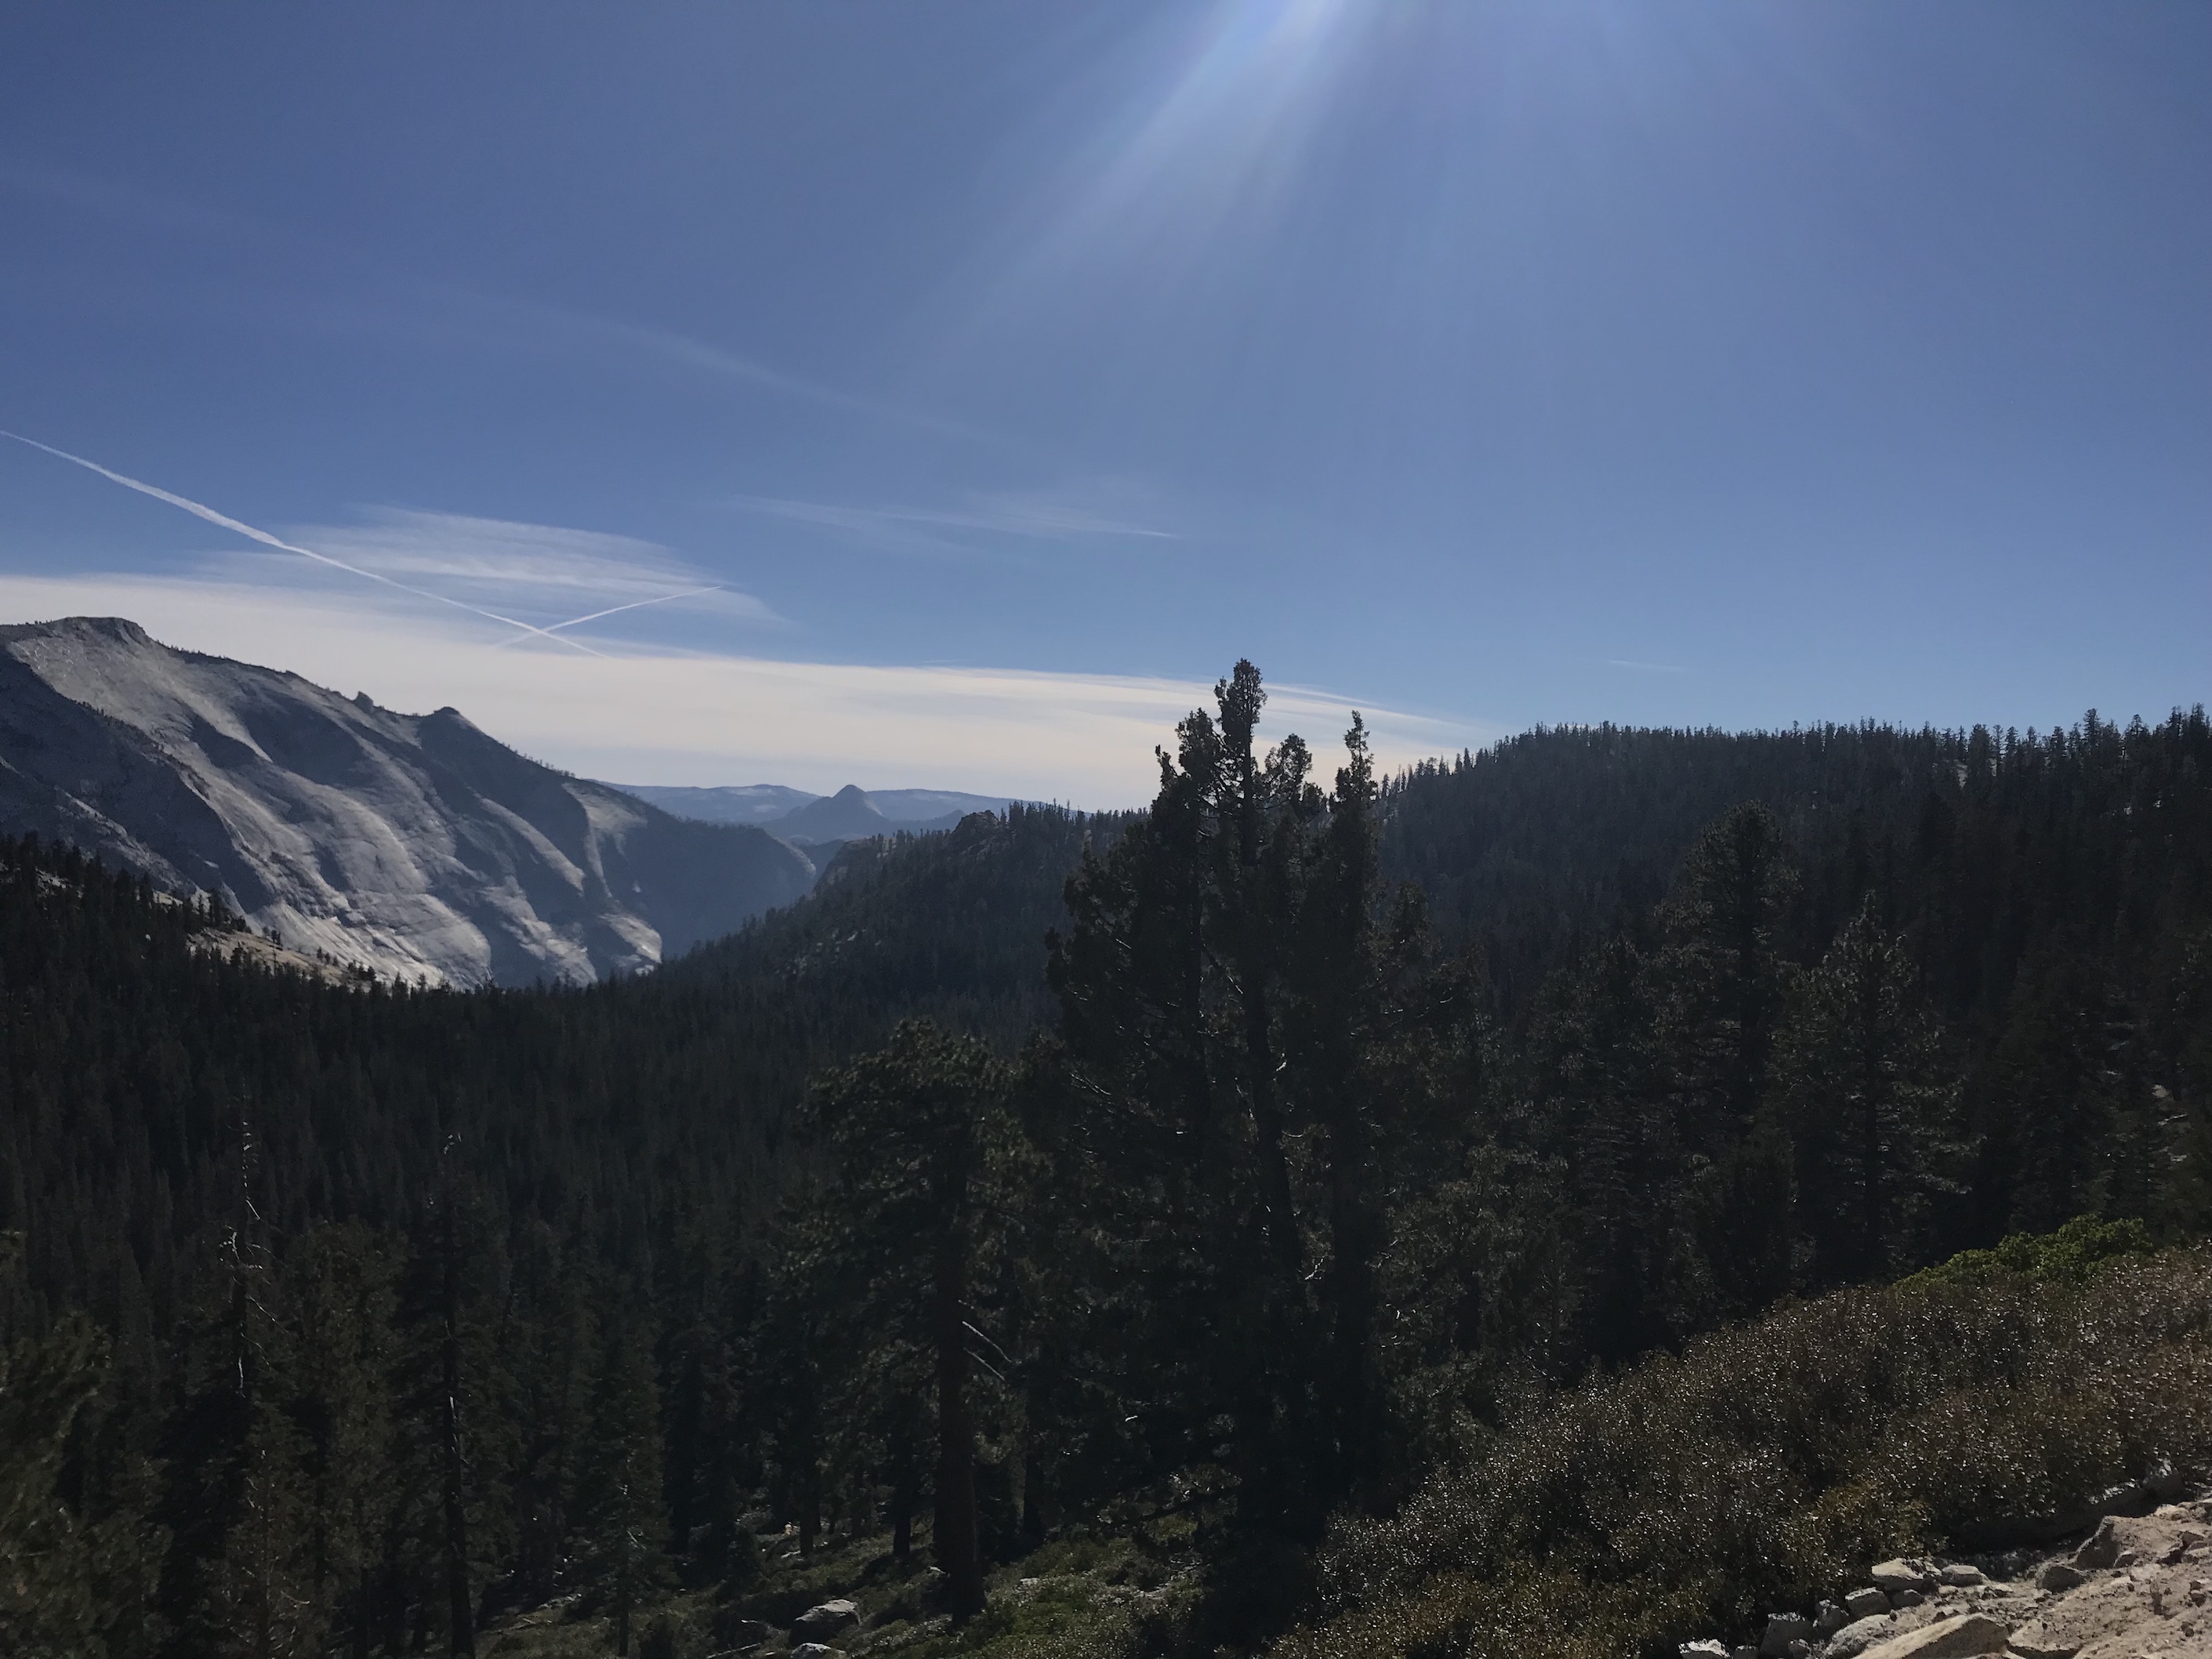
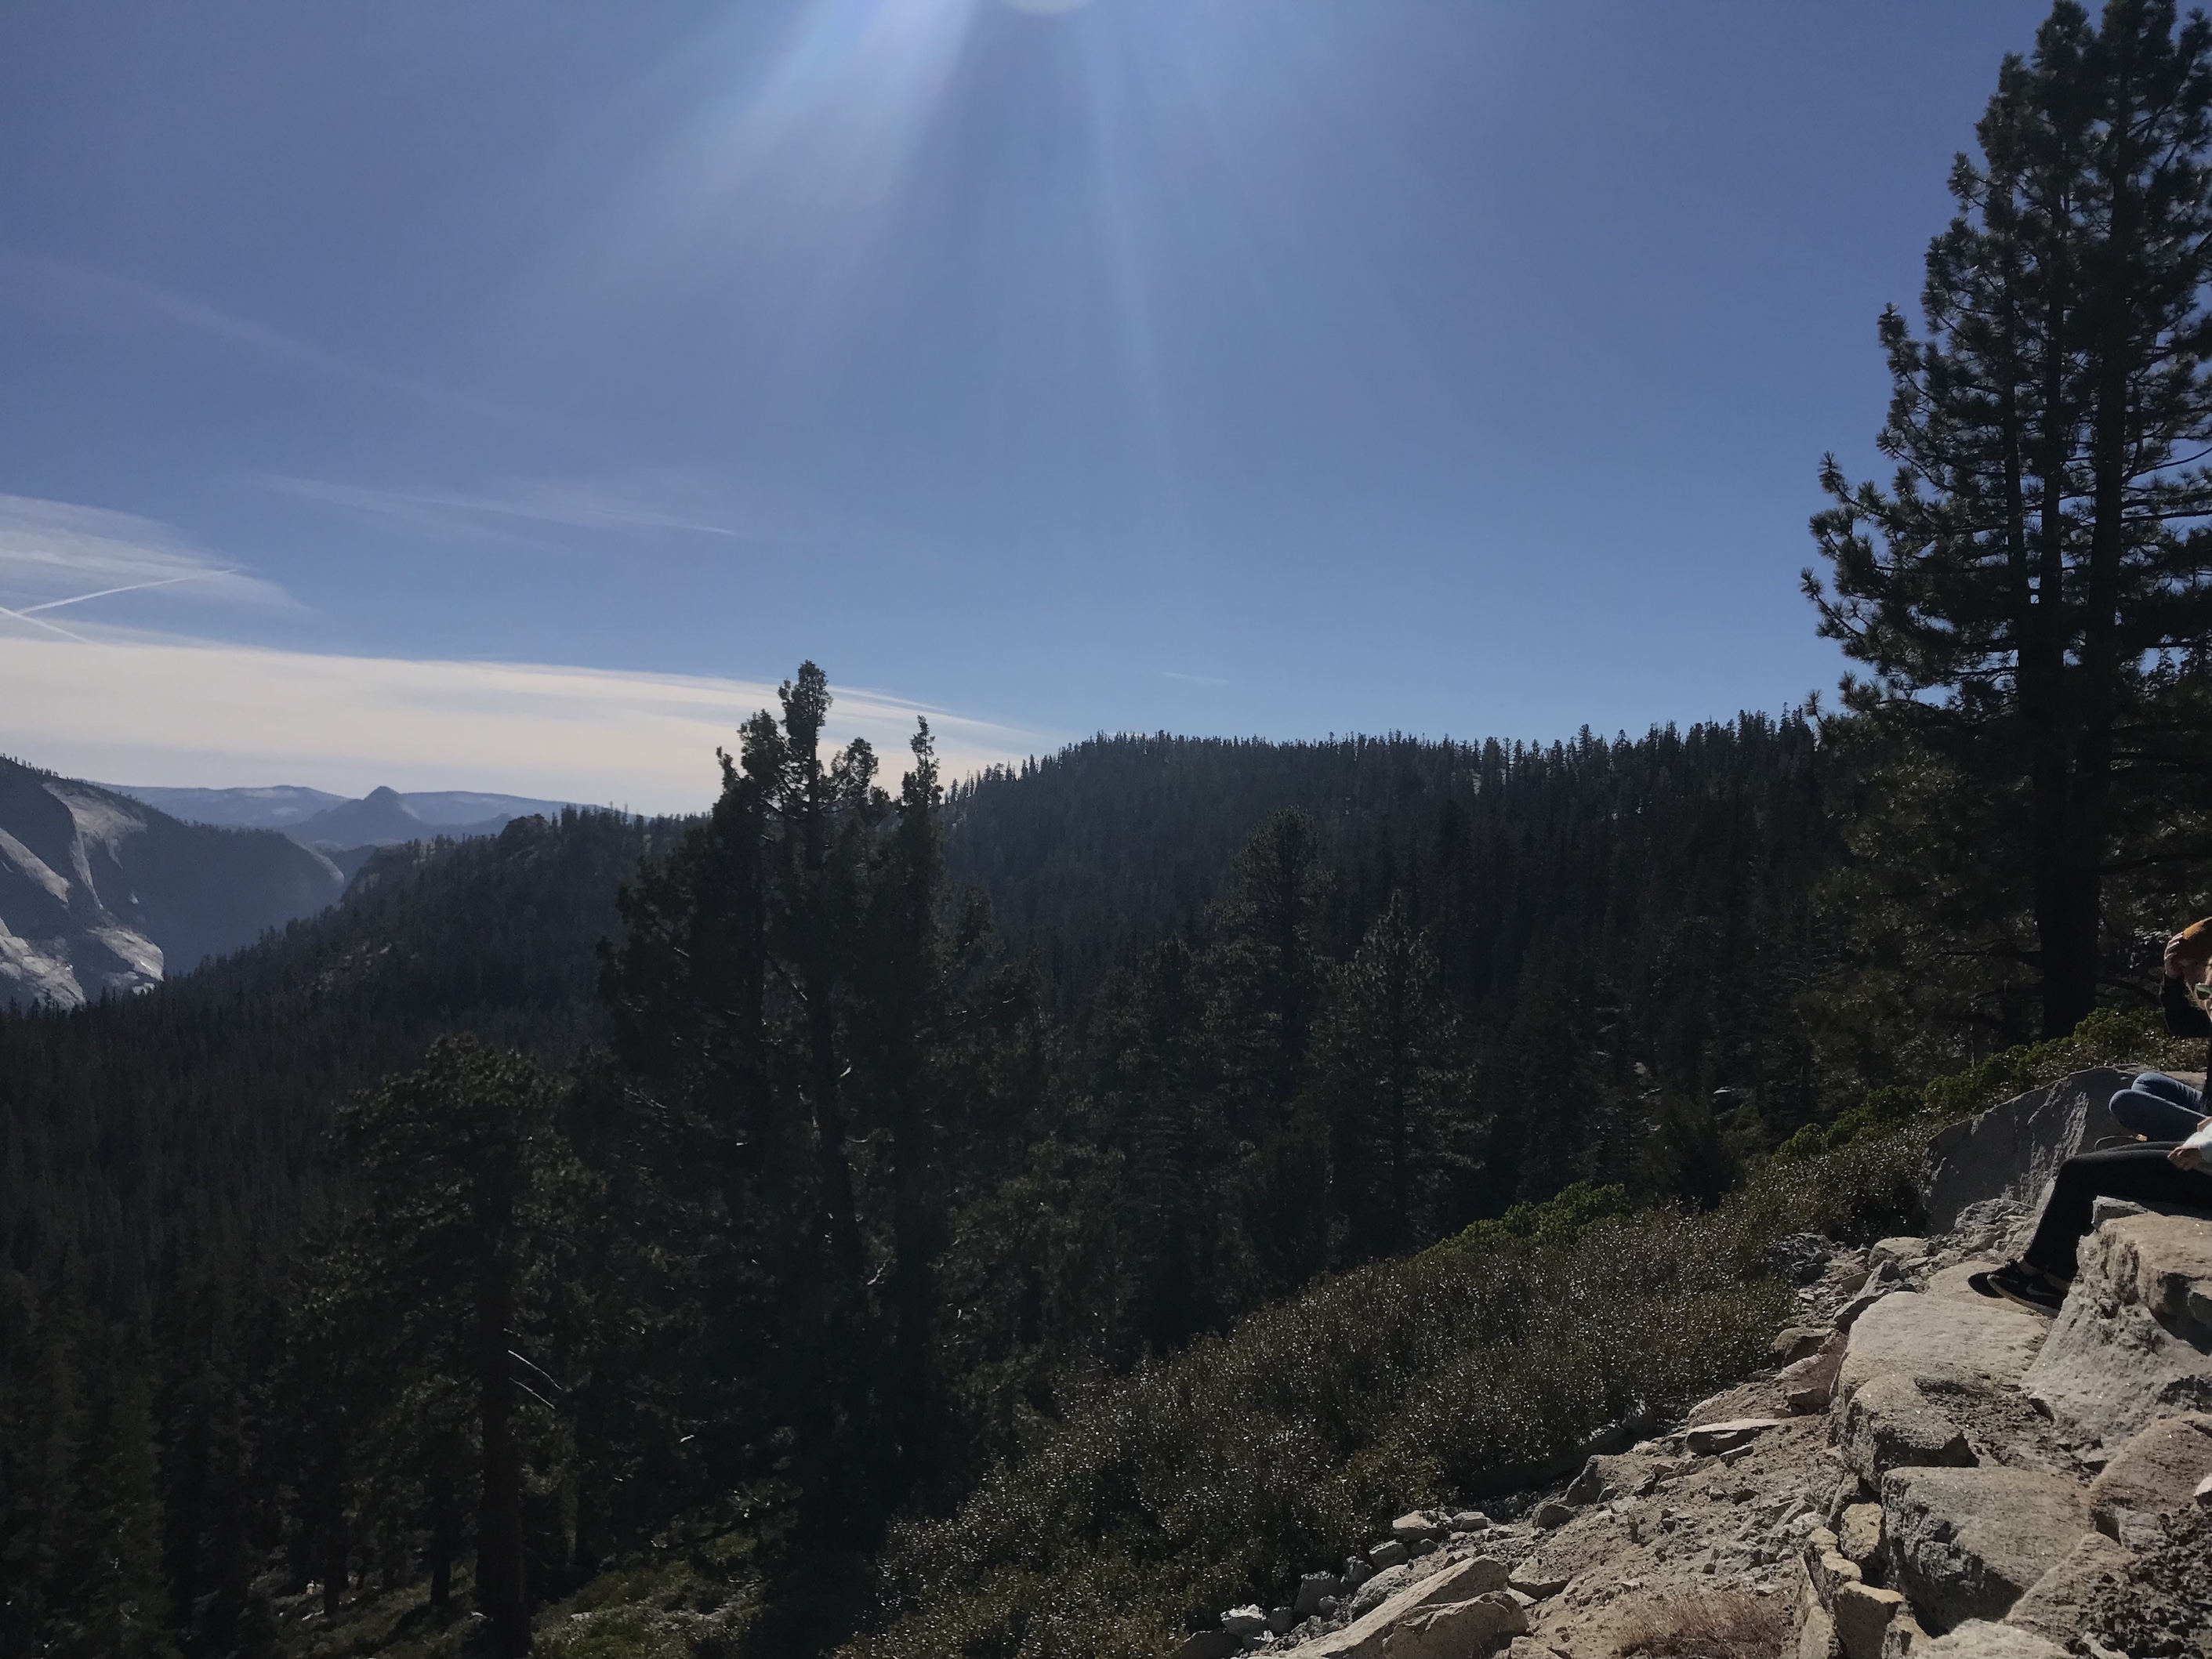
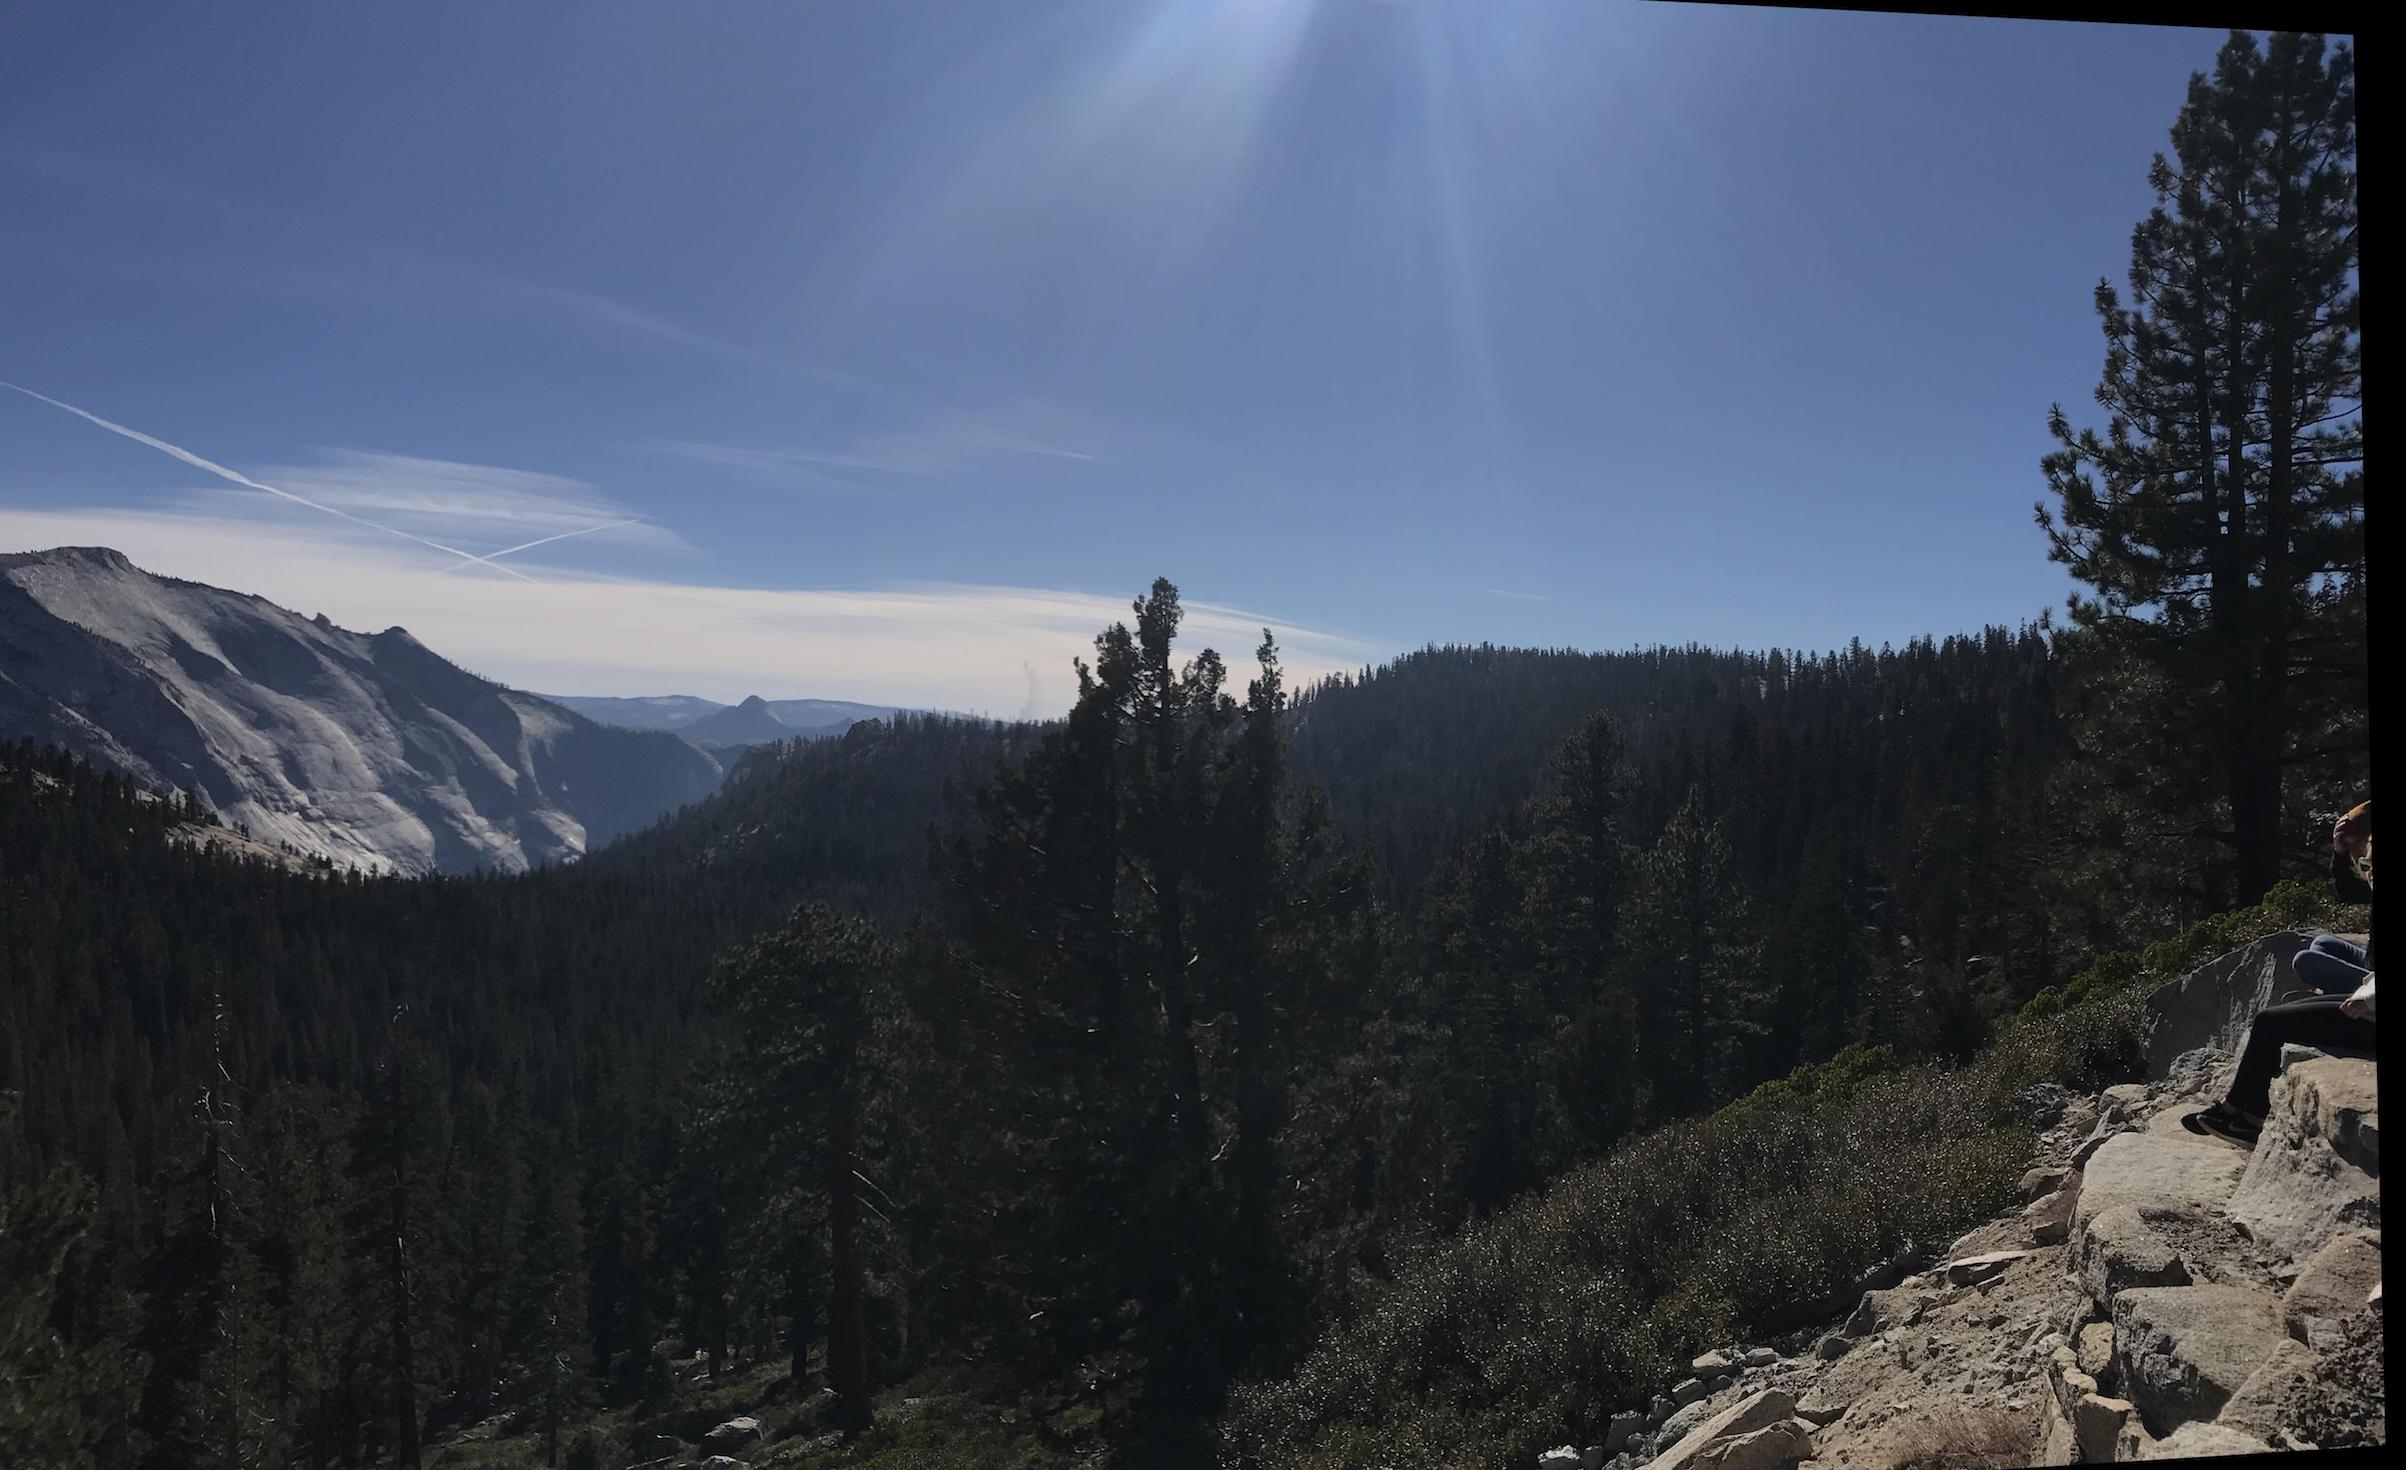
Yosemite Forrest
Using these initial images:
I first warped the right image into the middle image's plane. I then also warped left into that resulting image's plane. This way both left and right image were projected onto the middle image's plane.

.

.
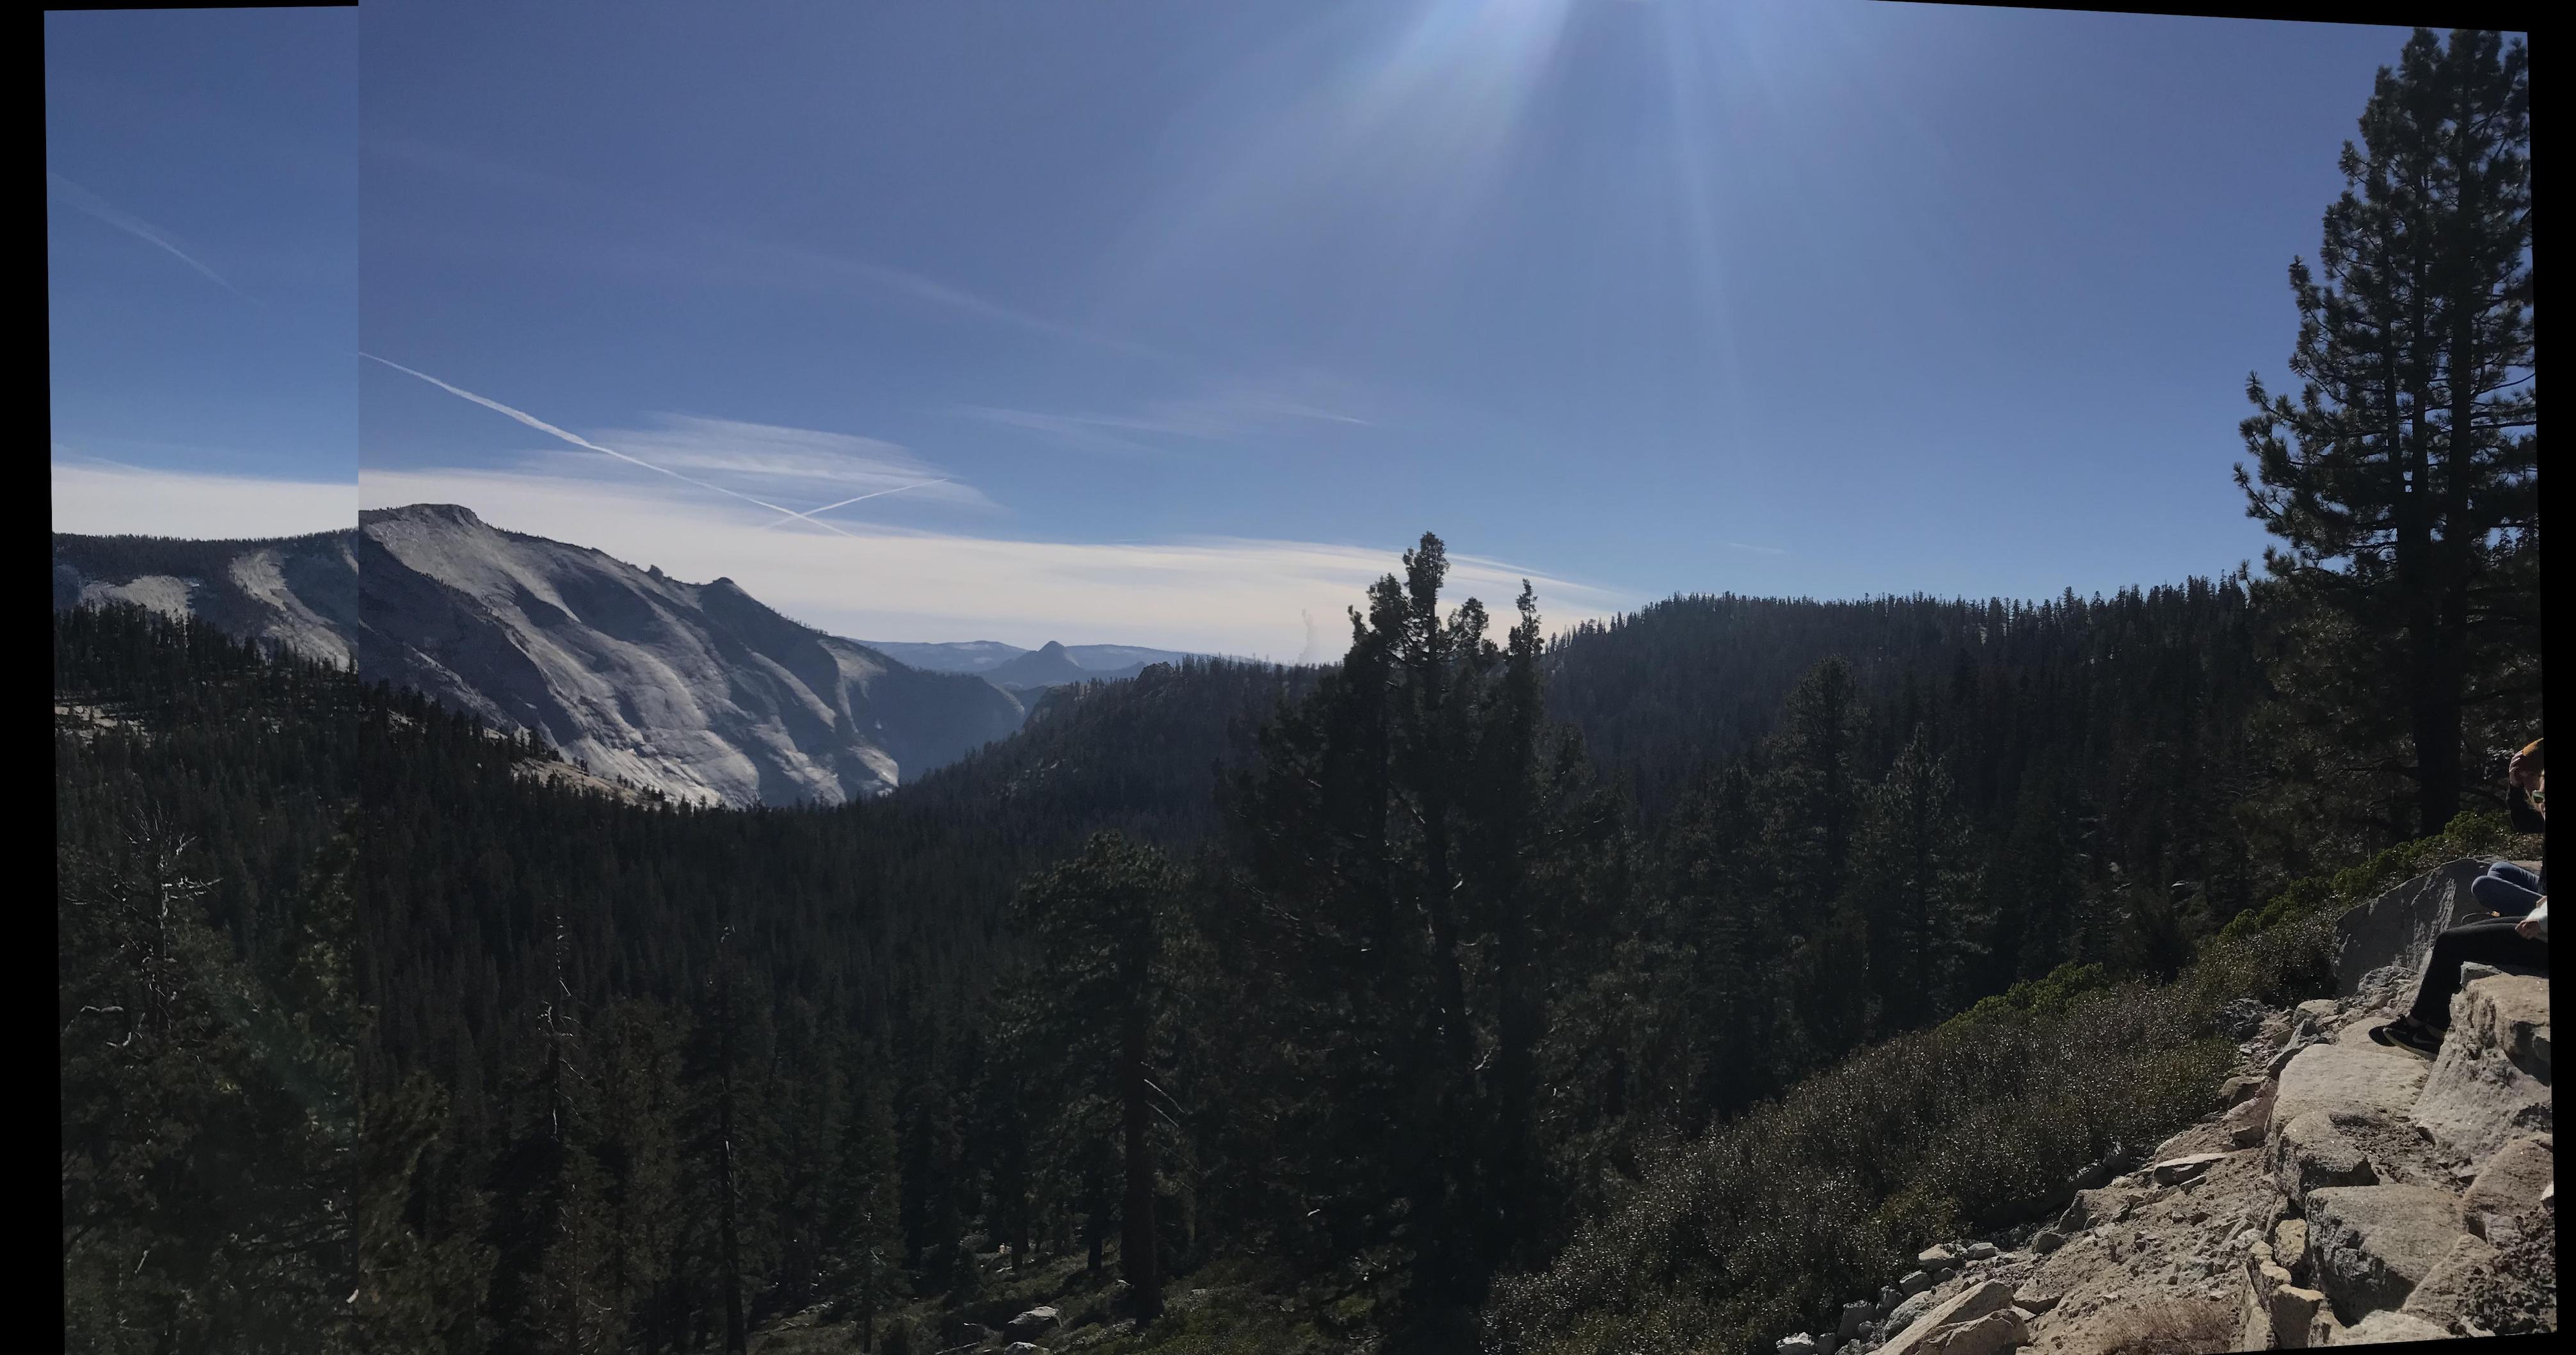
Second mosaic no blend
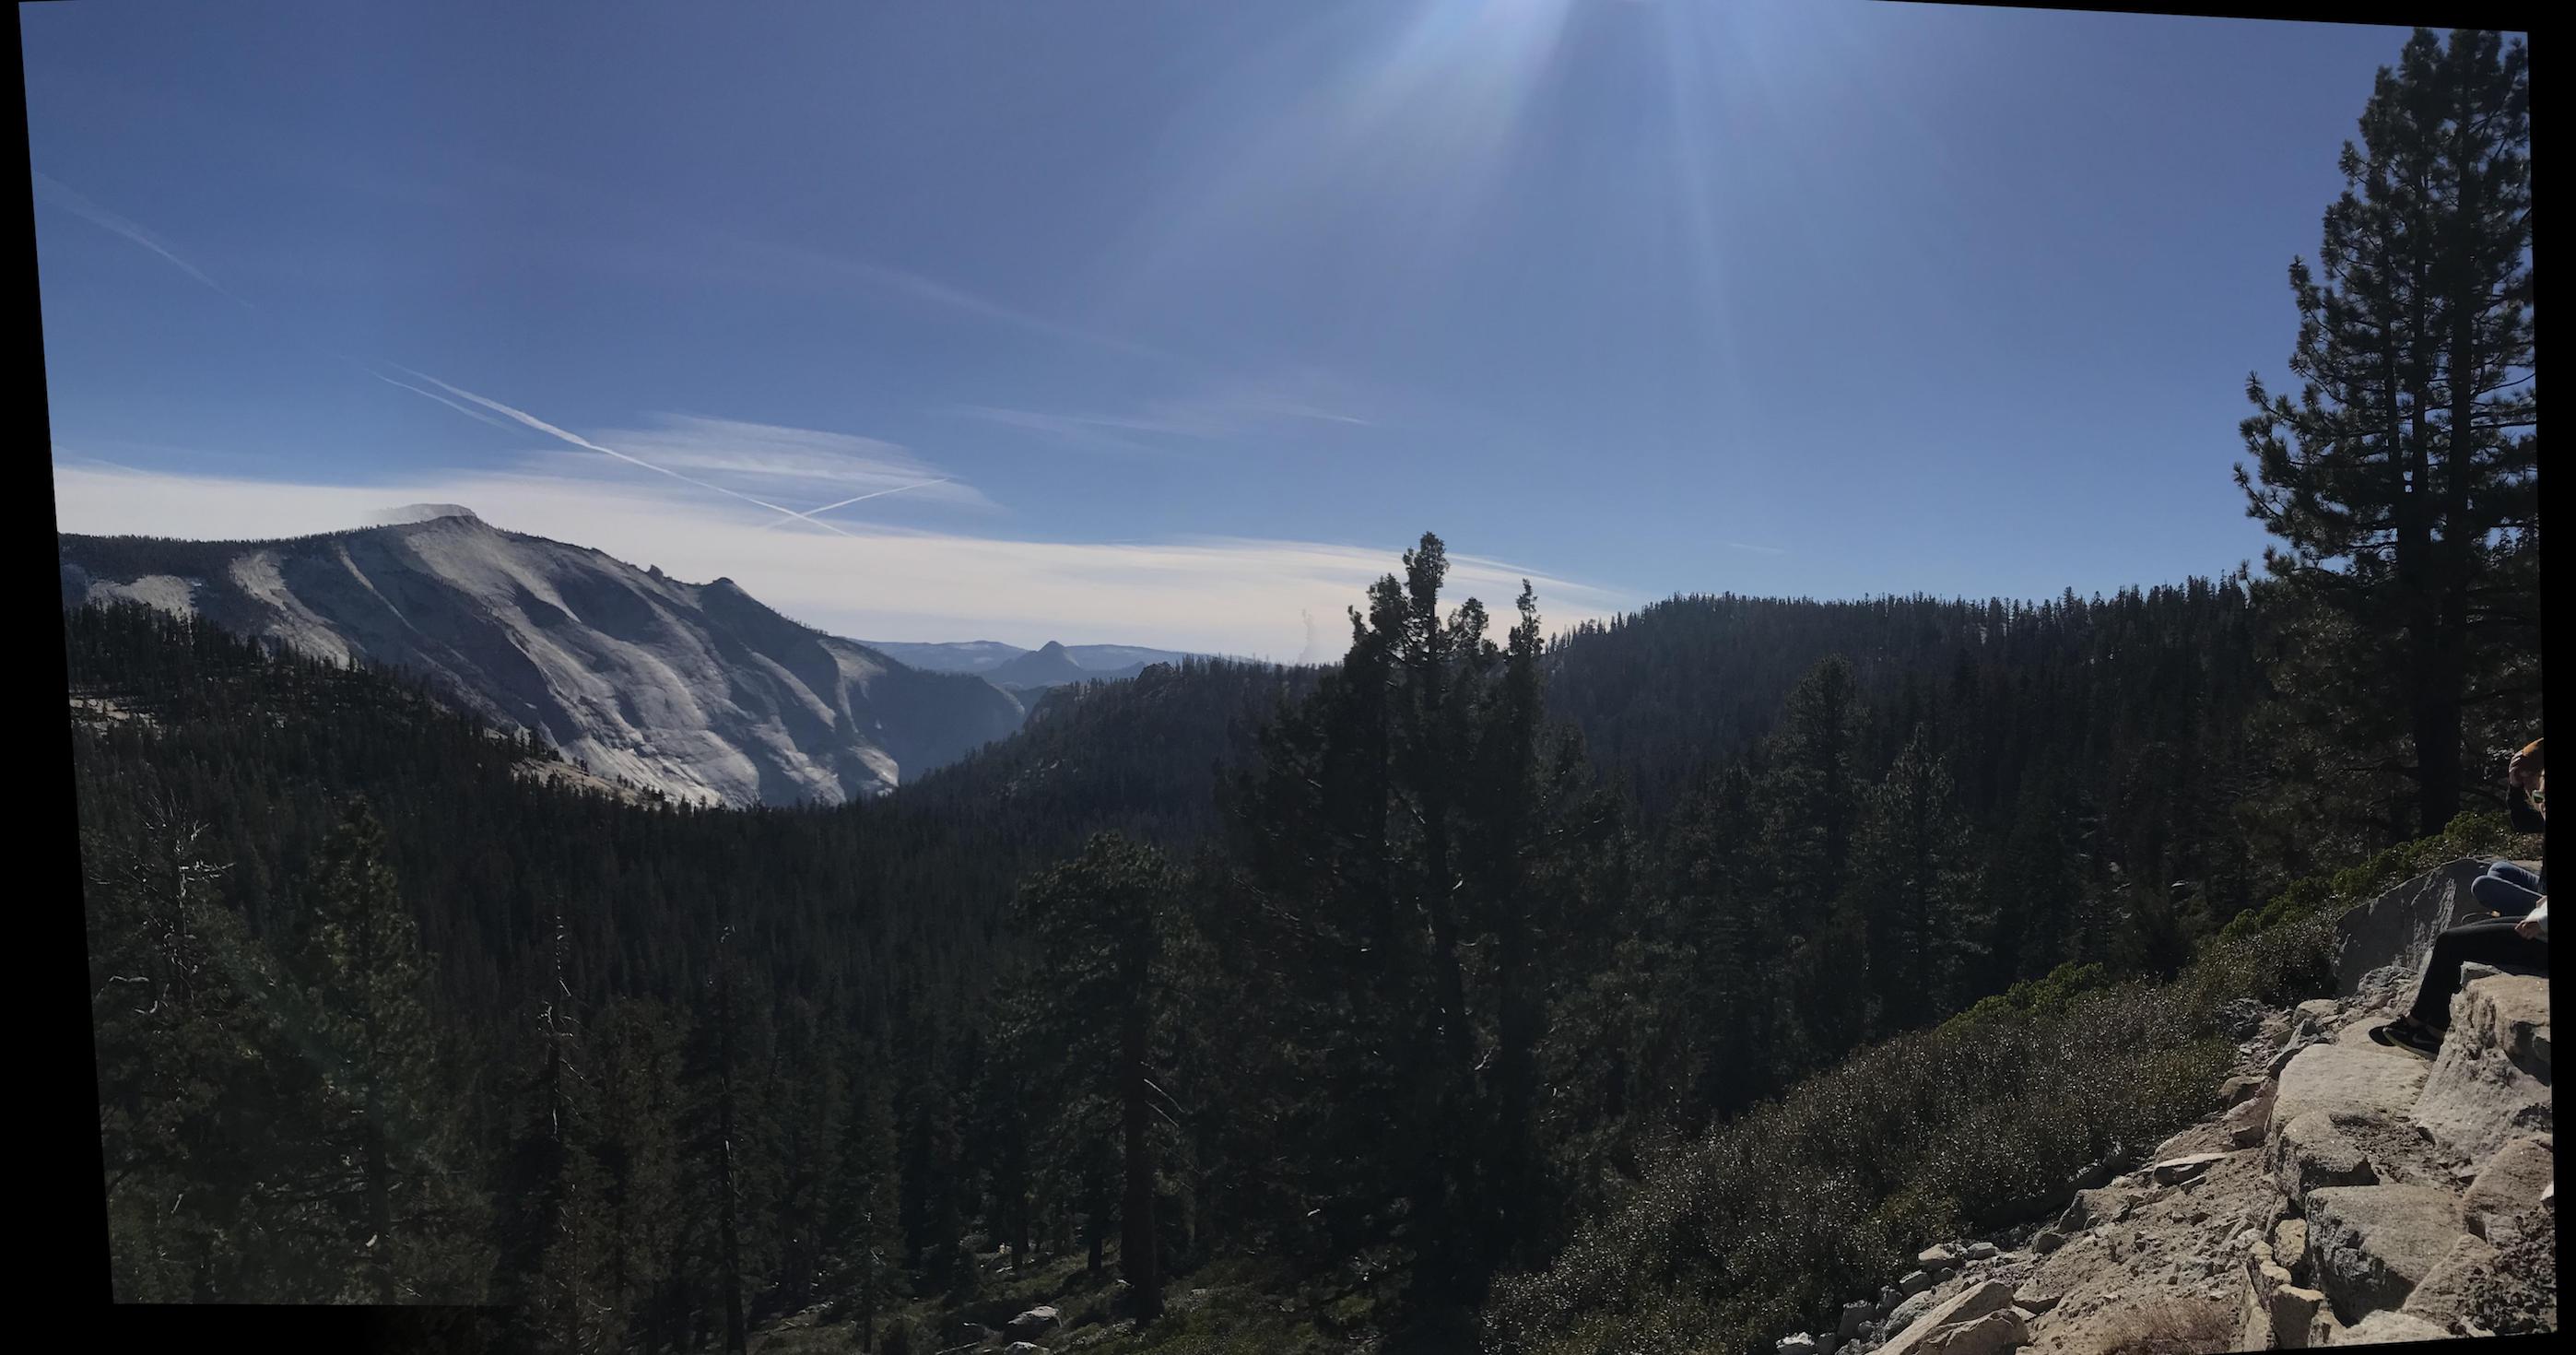
Final result with all images blended together
There is a small imperfection in this one at the top of the mountain on the left side that I couldn't get to go away no matter what points of correspondence I used. This results is the most minimal ghosting effect I could achieve but I think it could be further minimized by playing around more with more feature points or window size for blending.
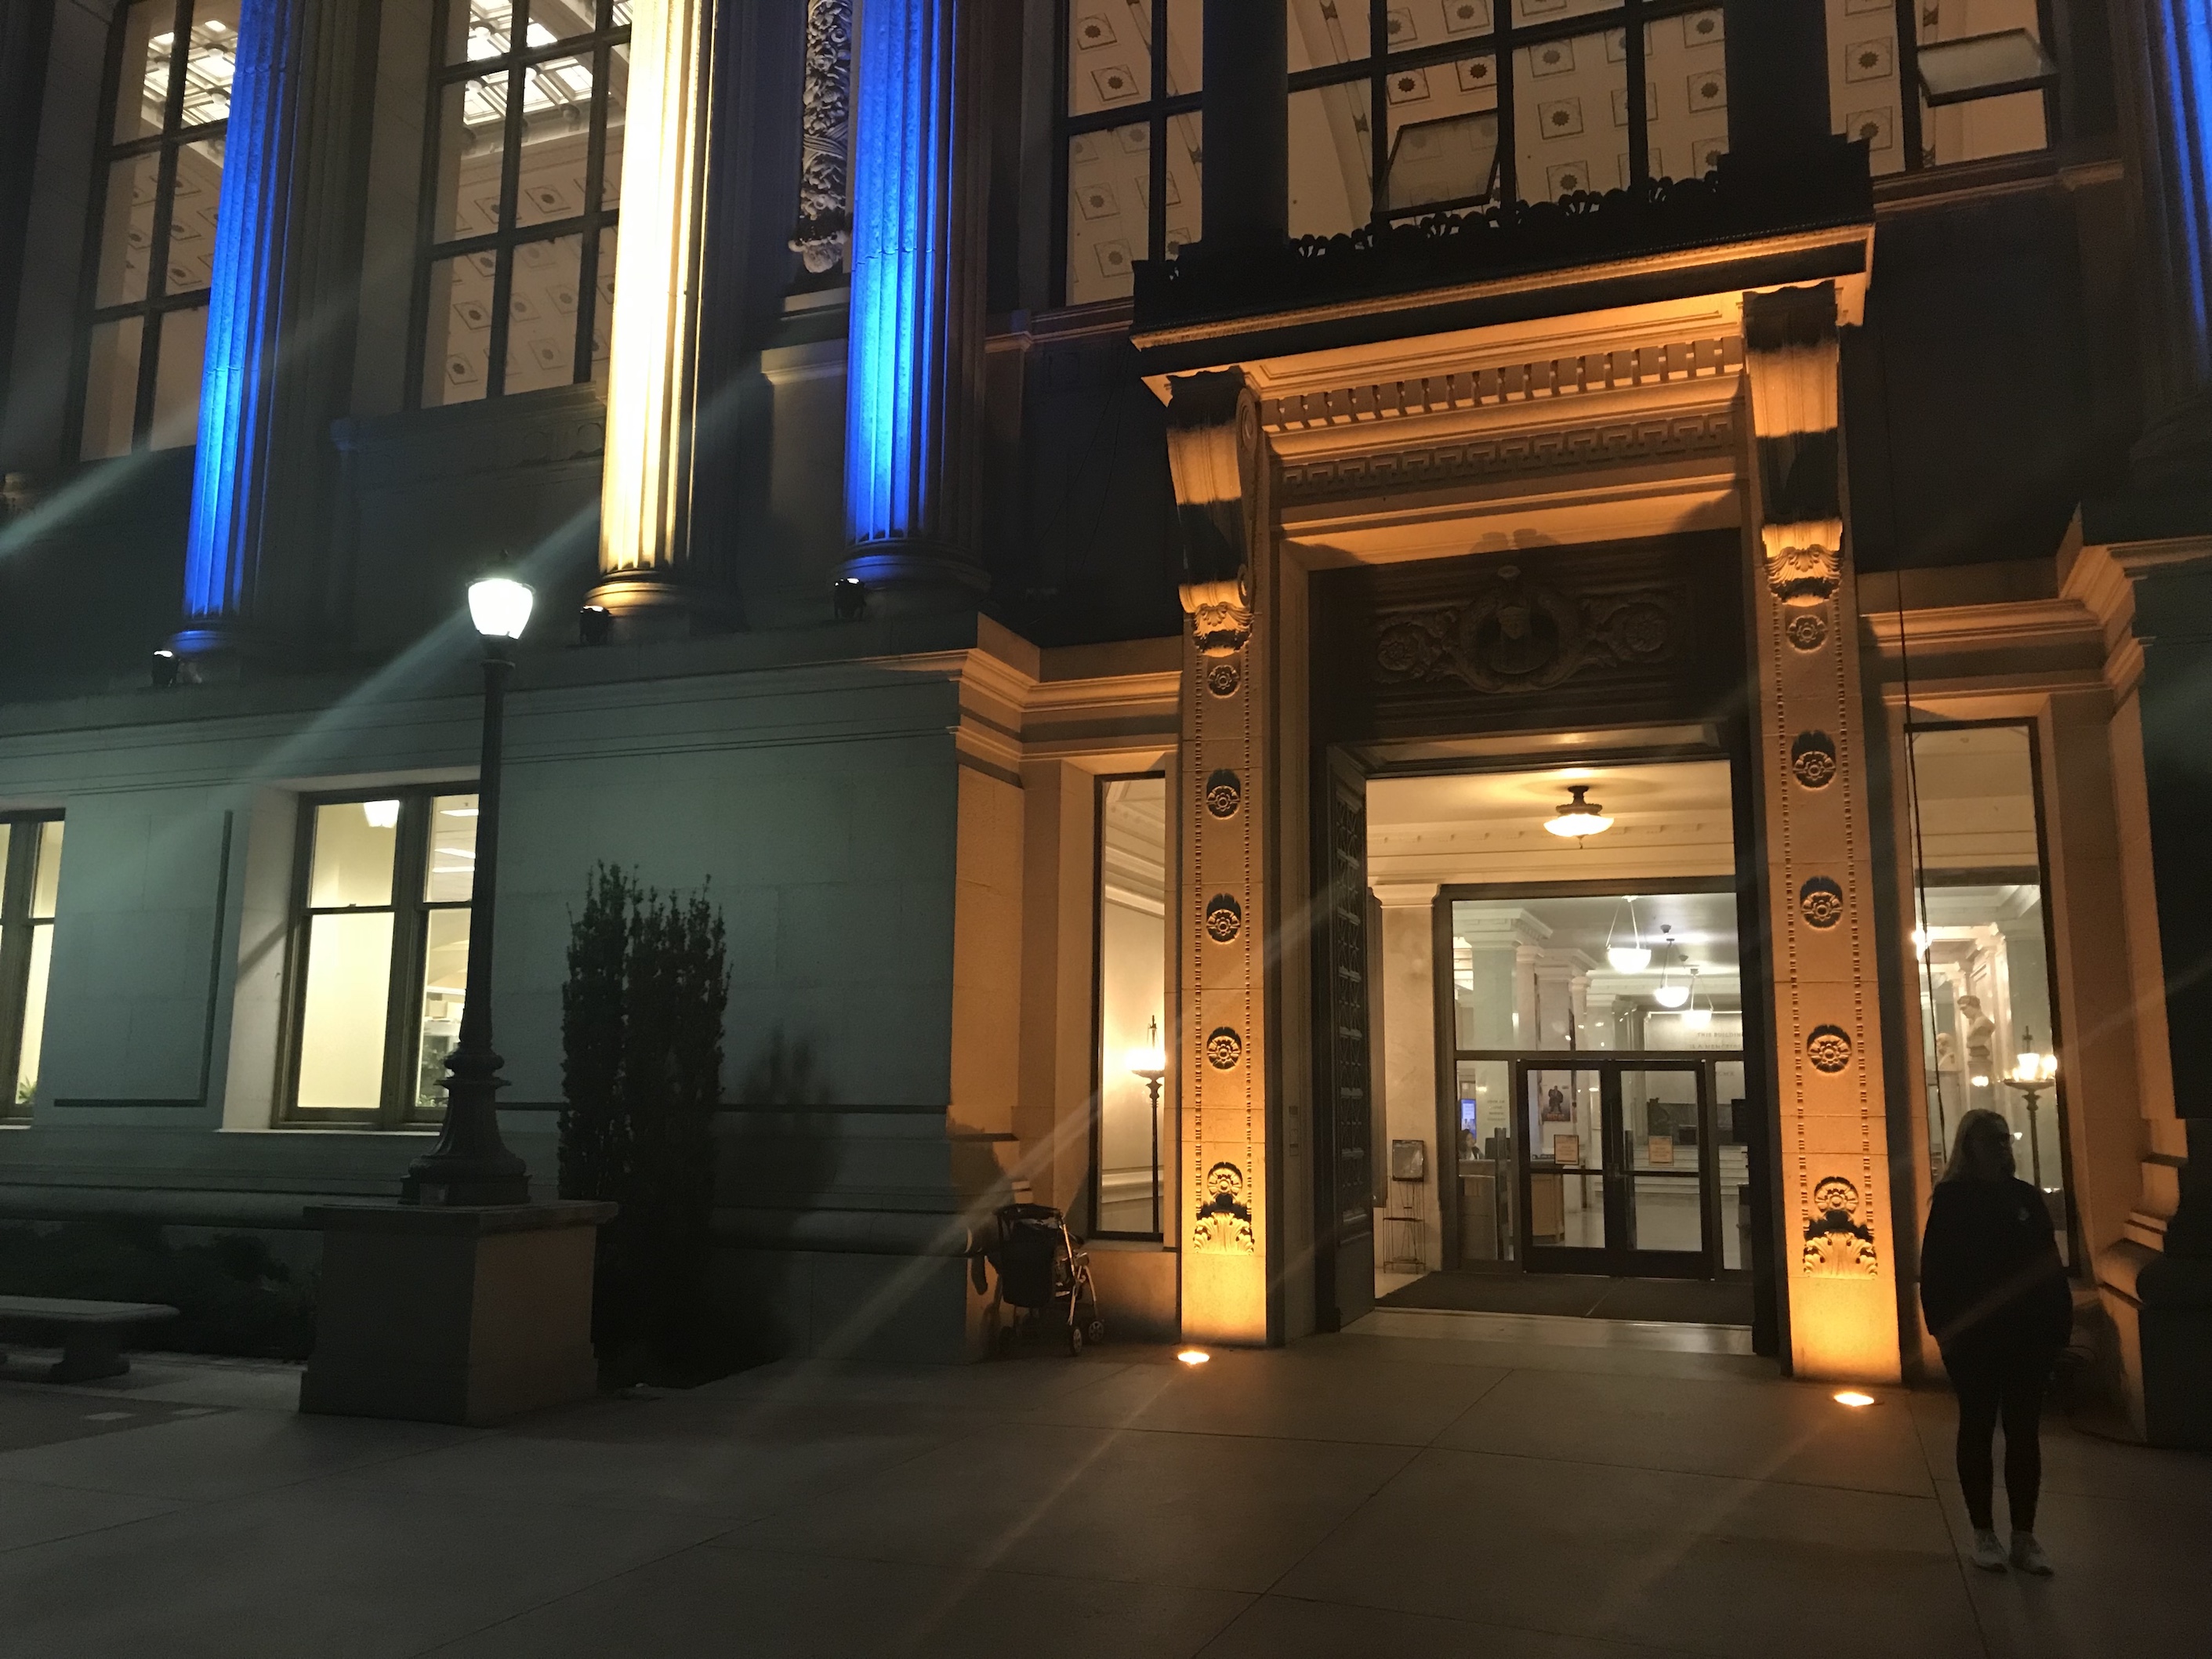
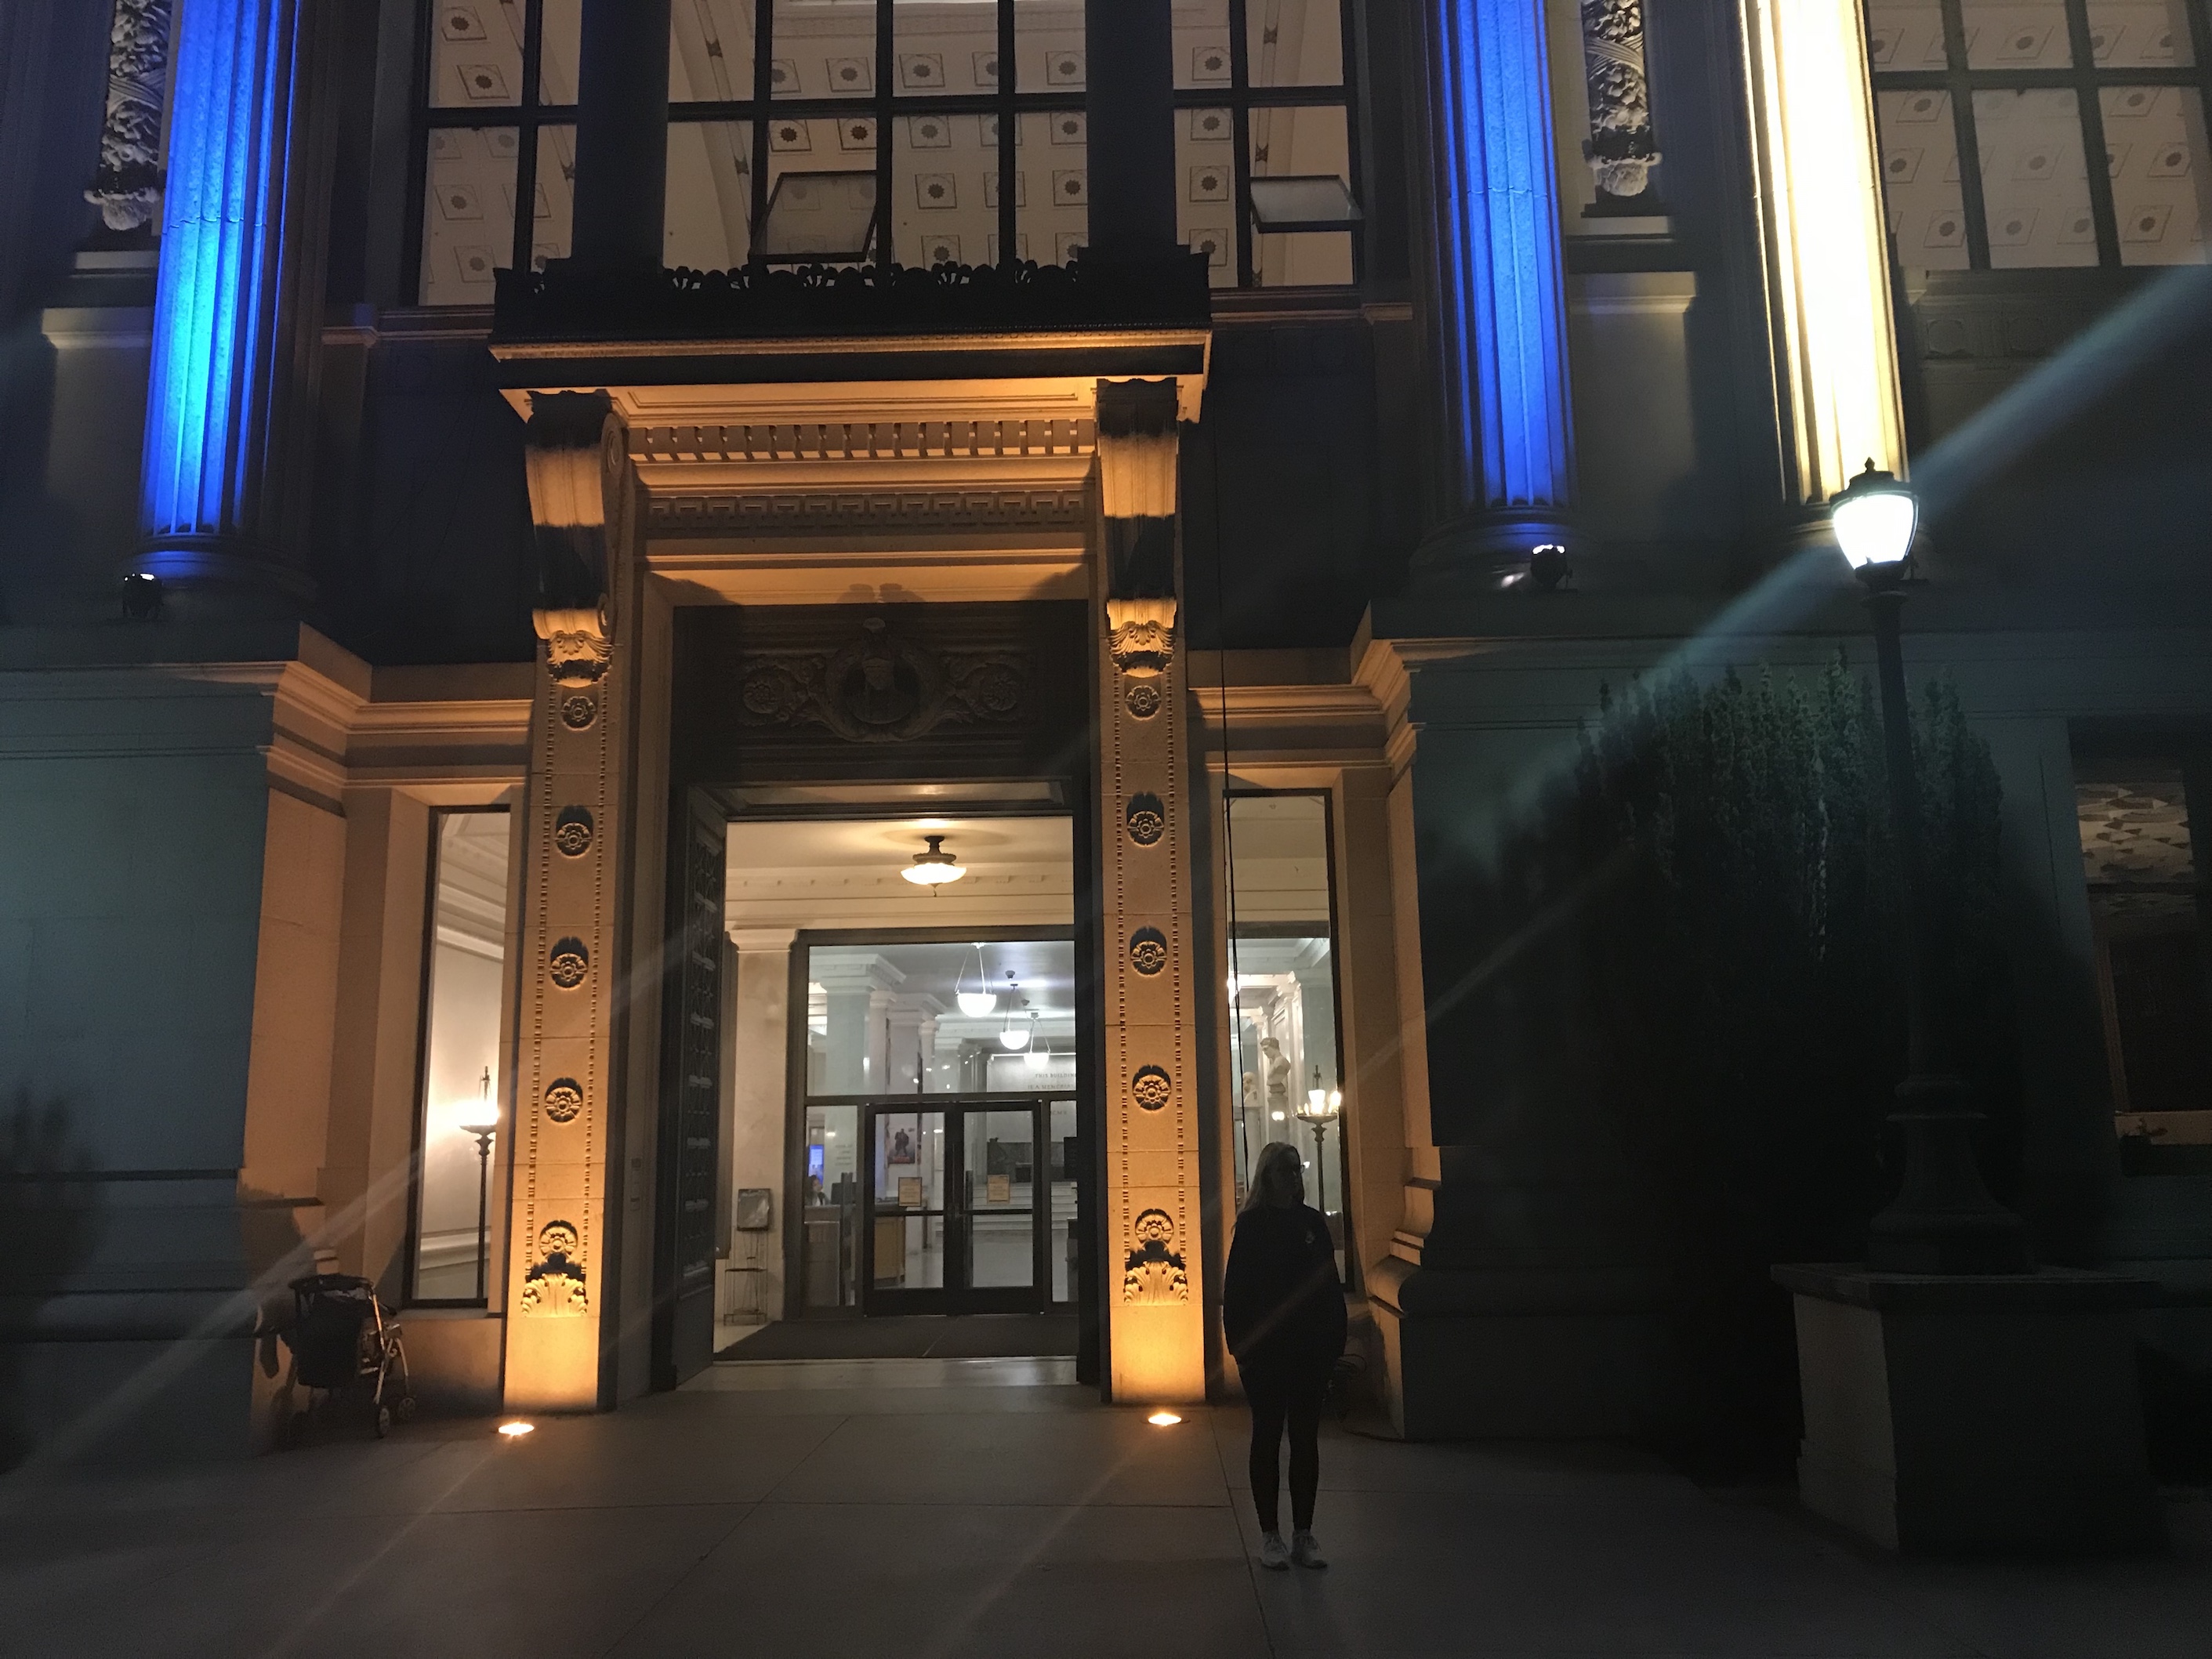
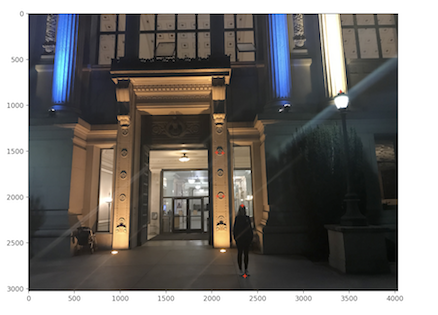
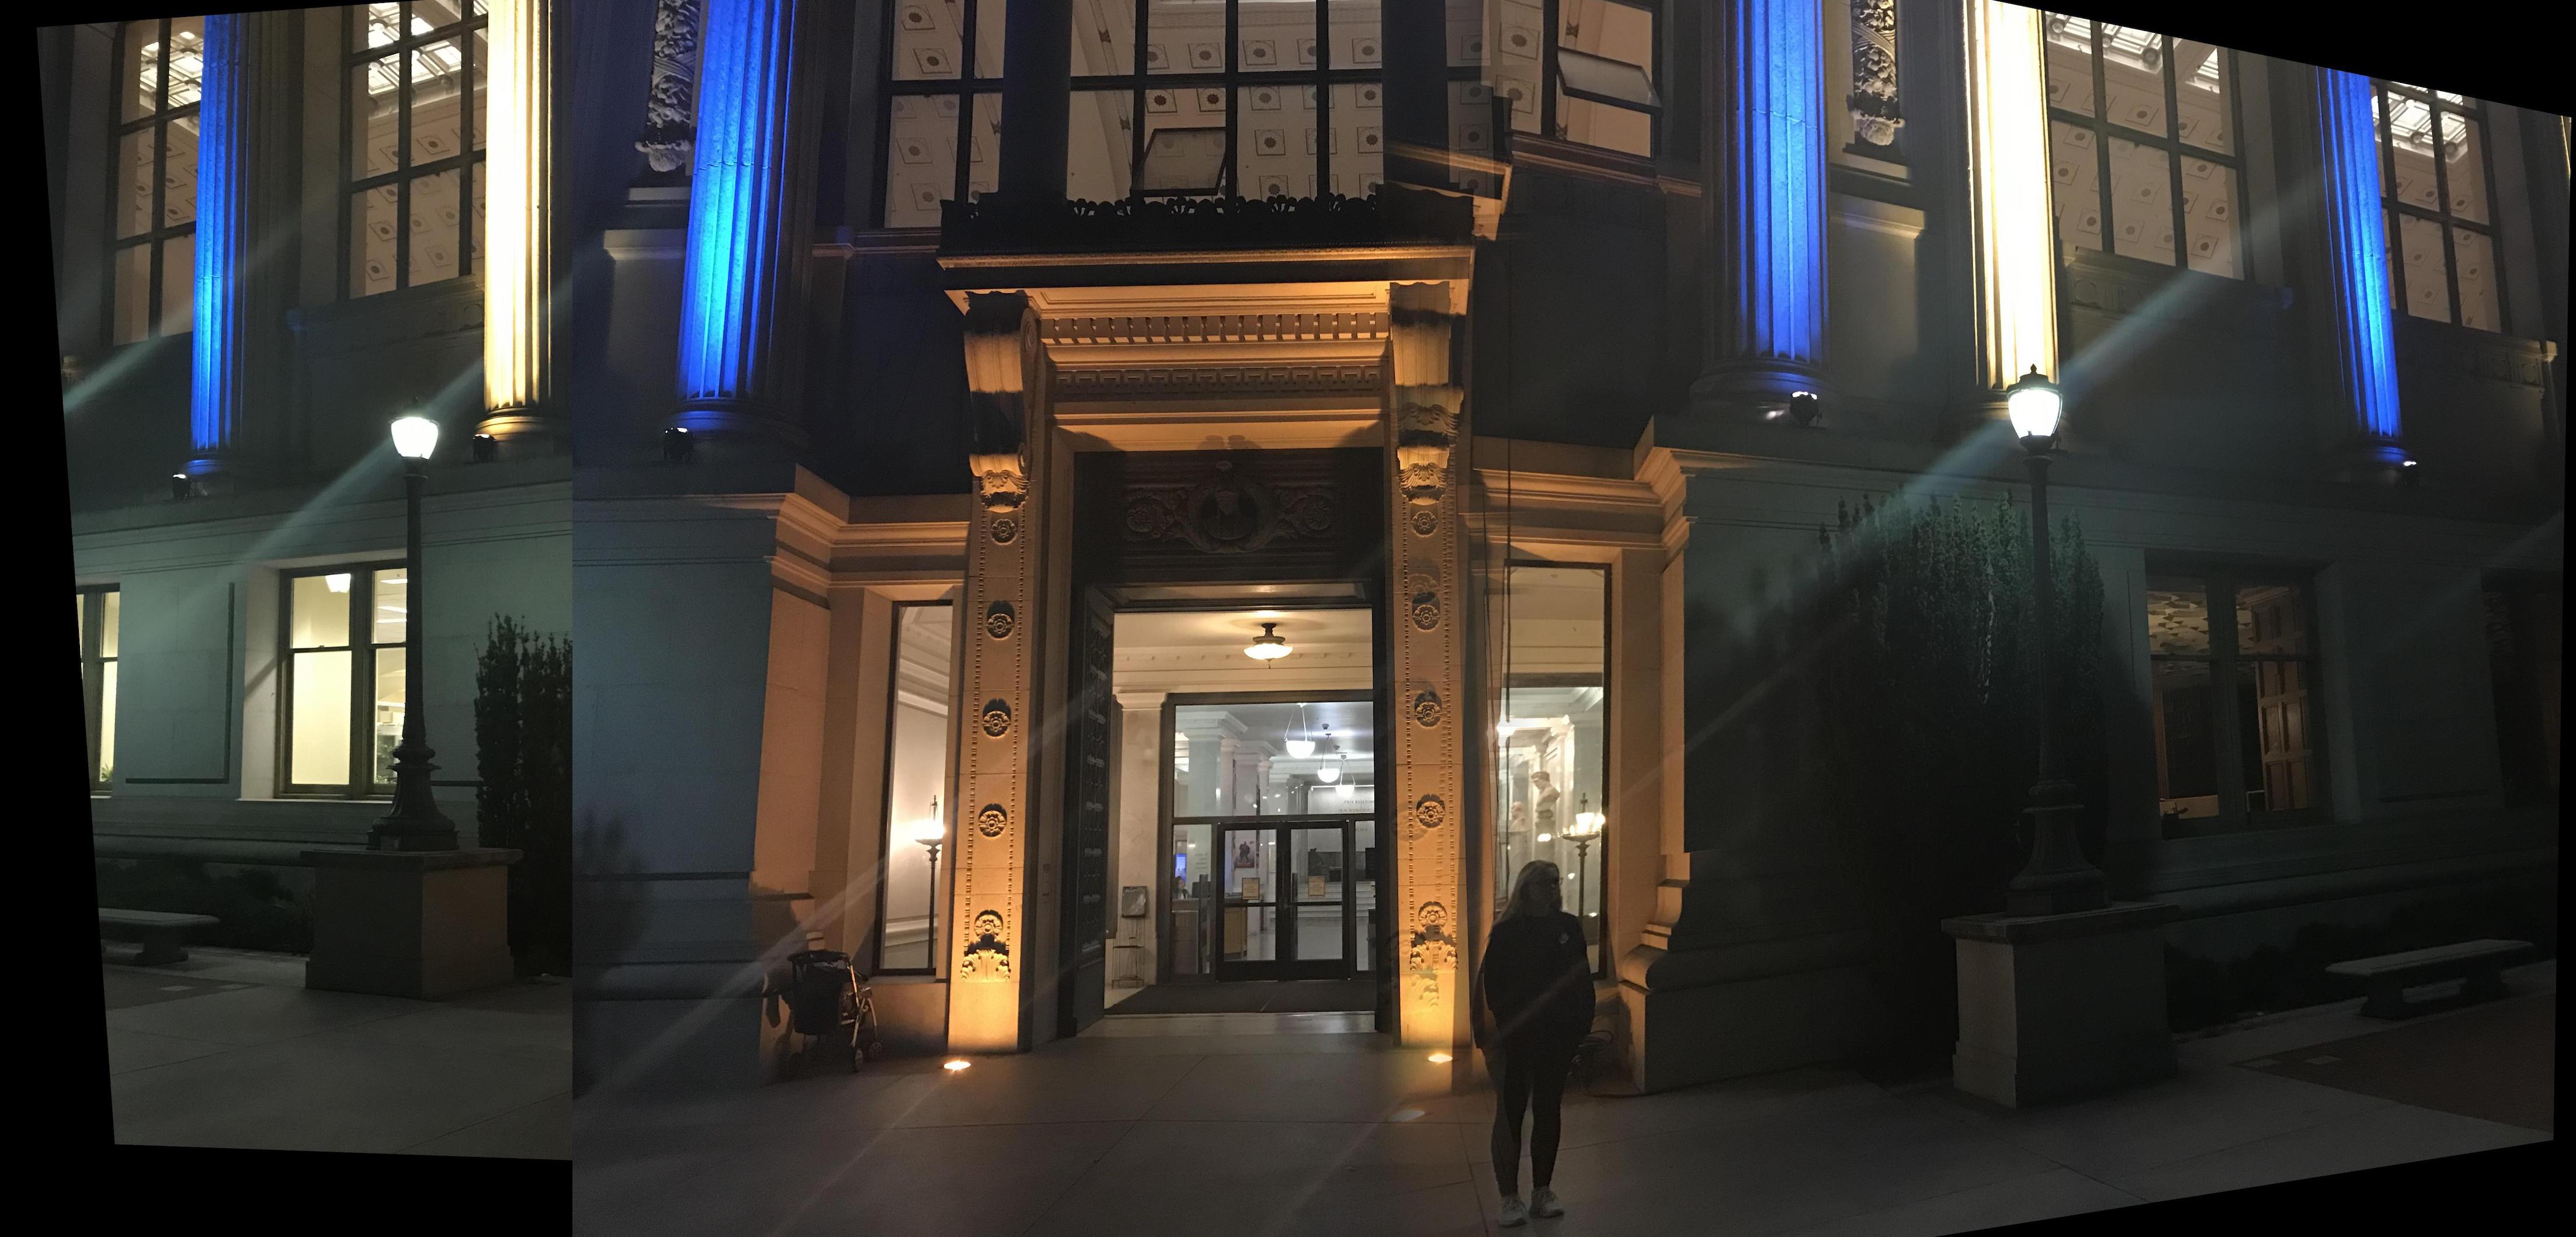
Blue and Gold Lights
Using these initial images:
I first warped the right image into the middle image's plane. I then also warped left into that resulting image's plane. This way both left and right image were projected onto the middle image's plane.

.
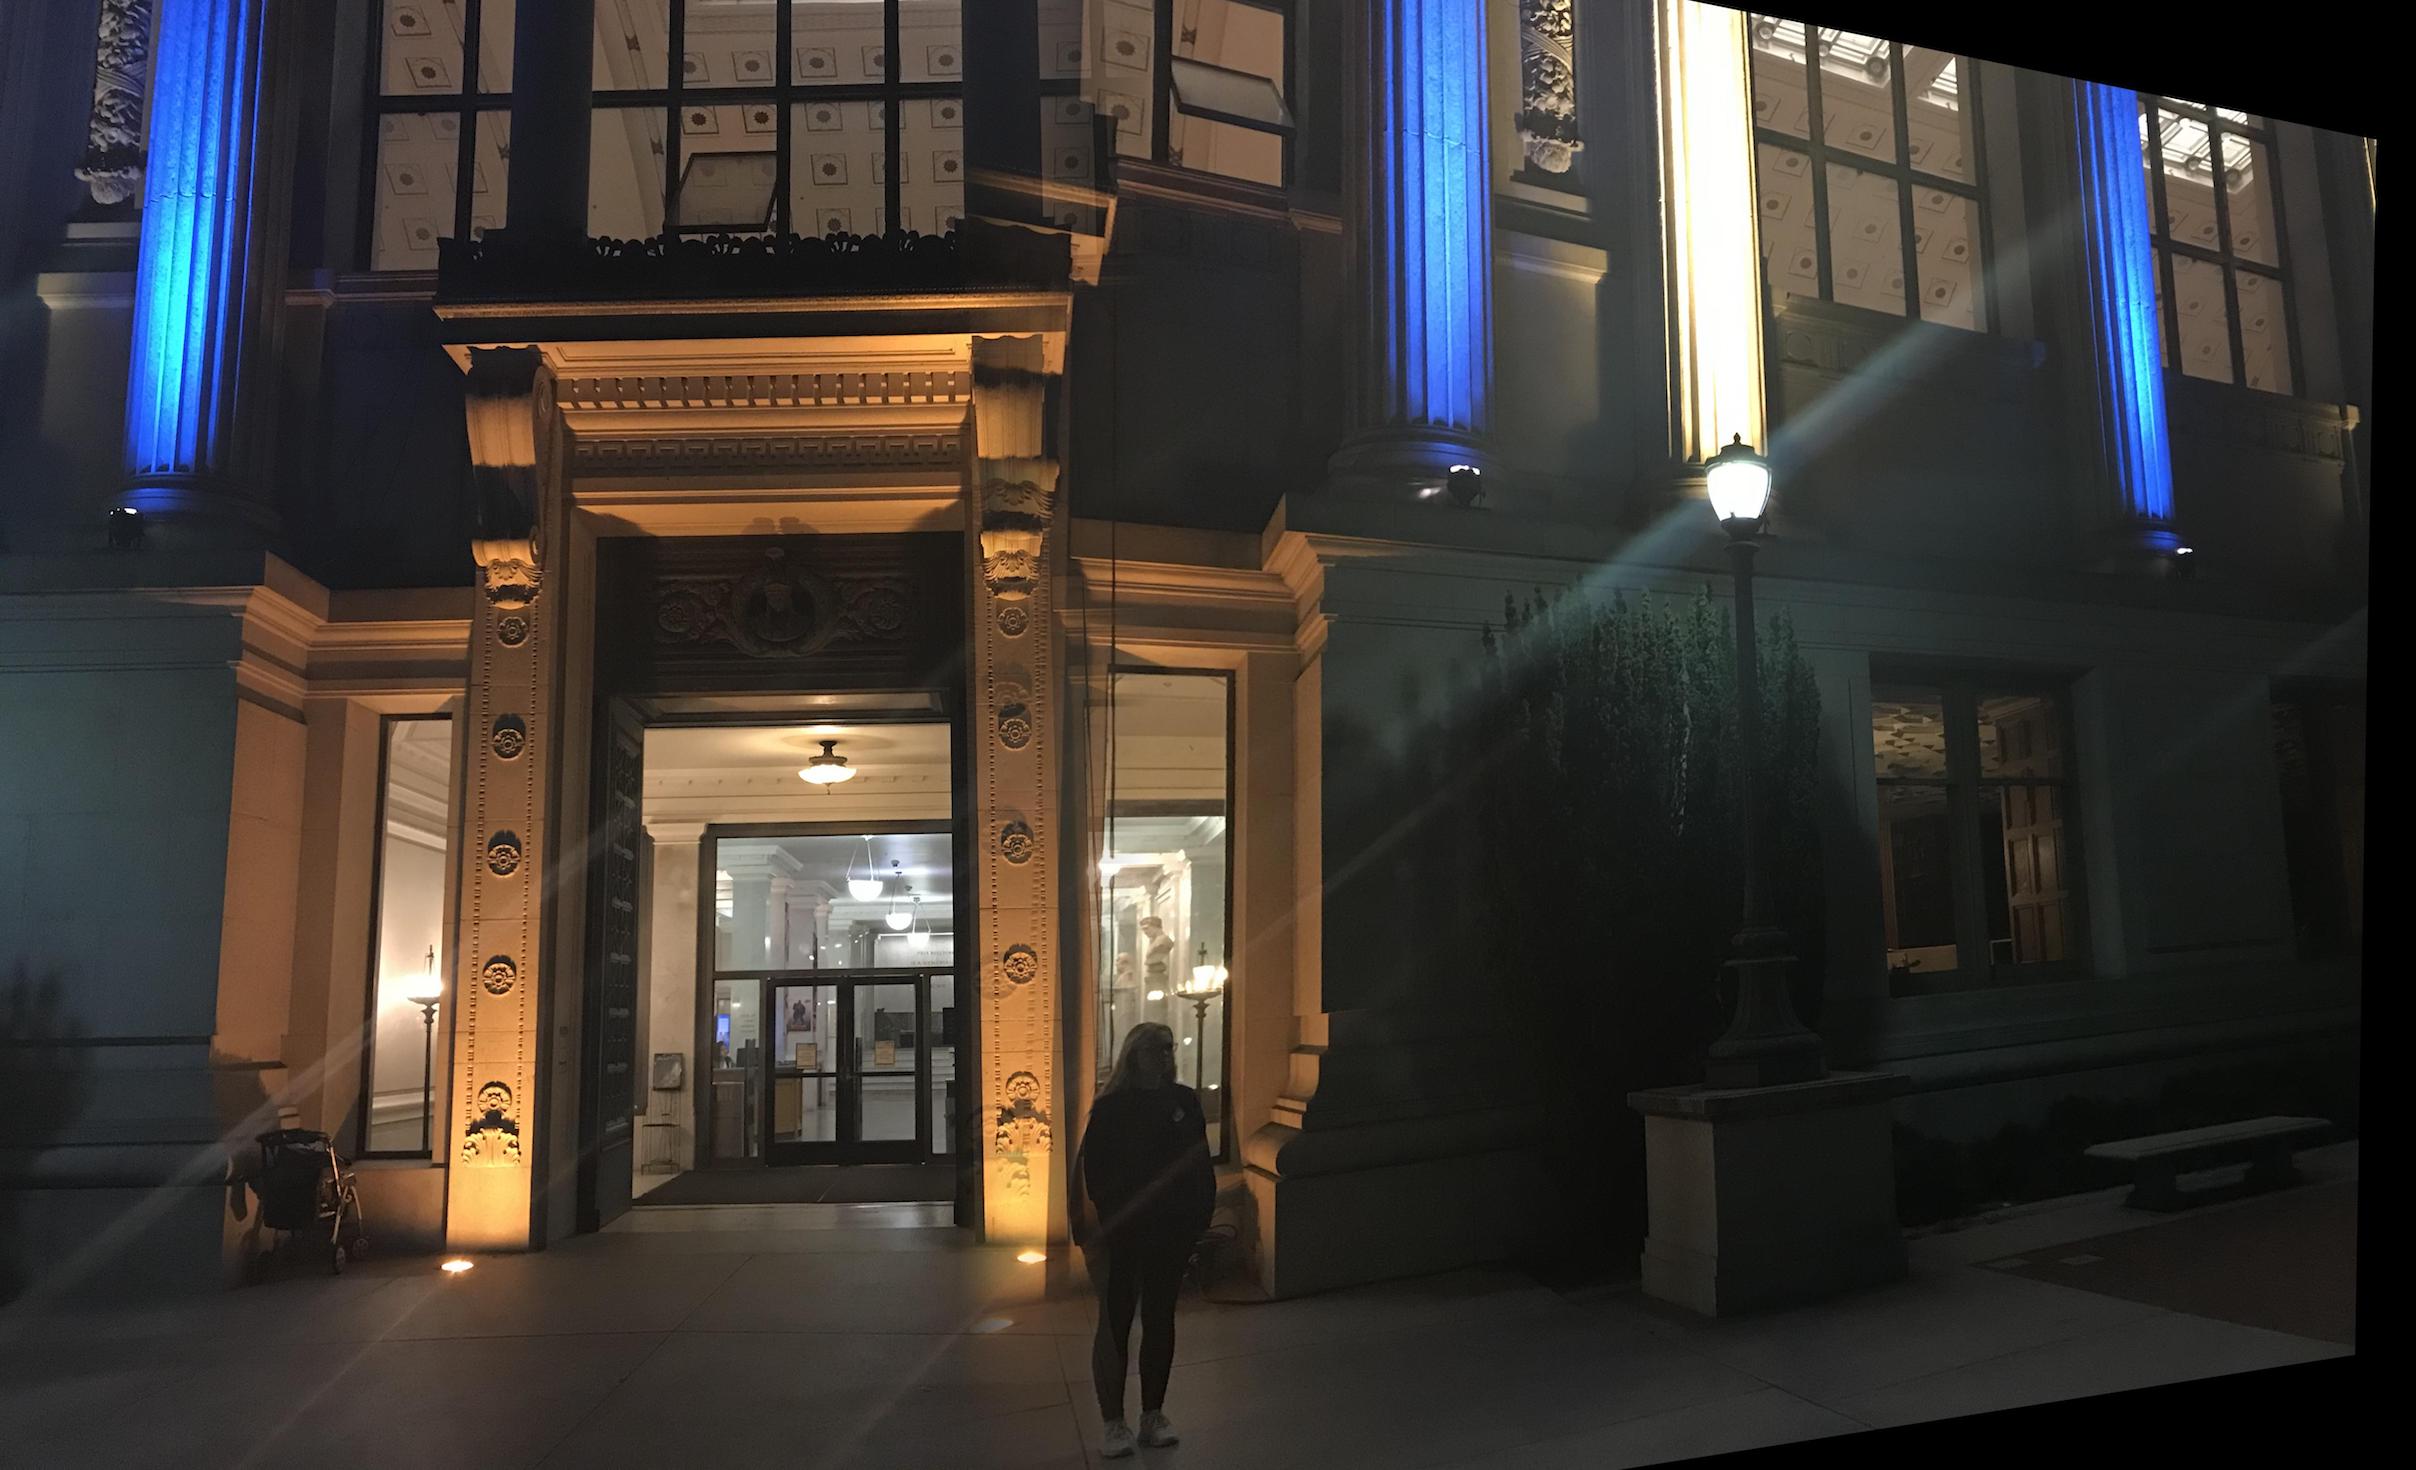
First mosaic with linear blending
Second mosaic no blend
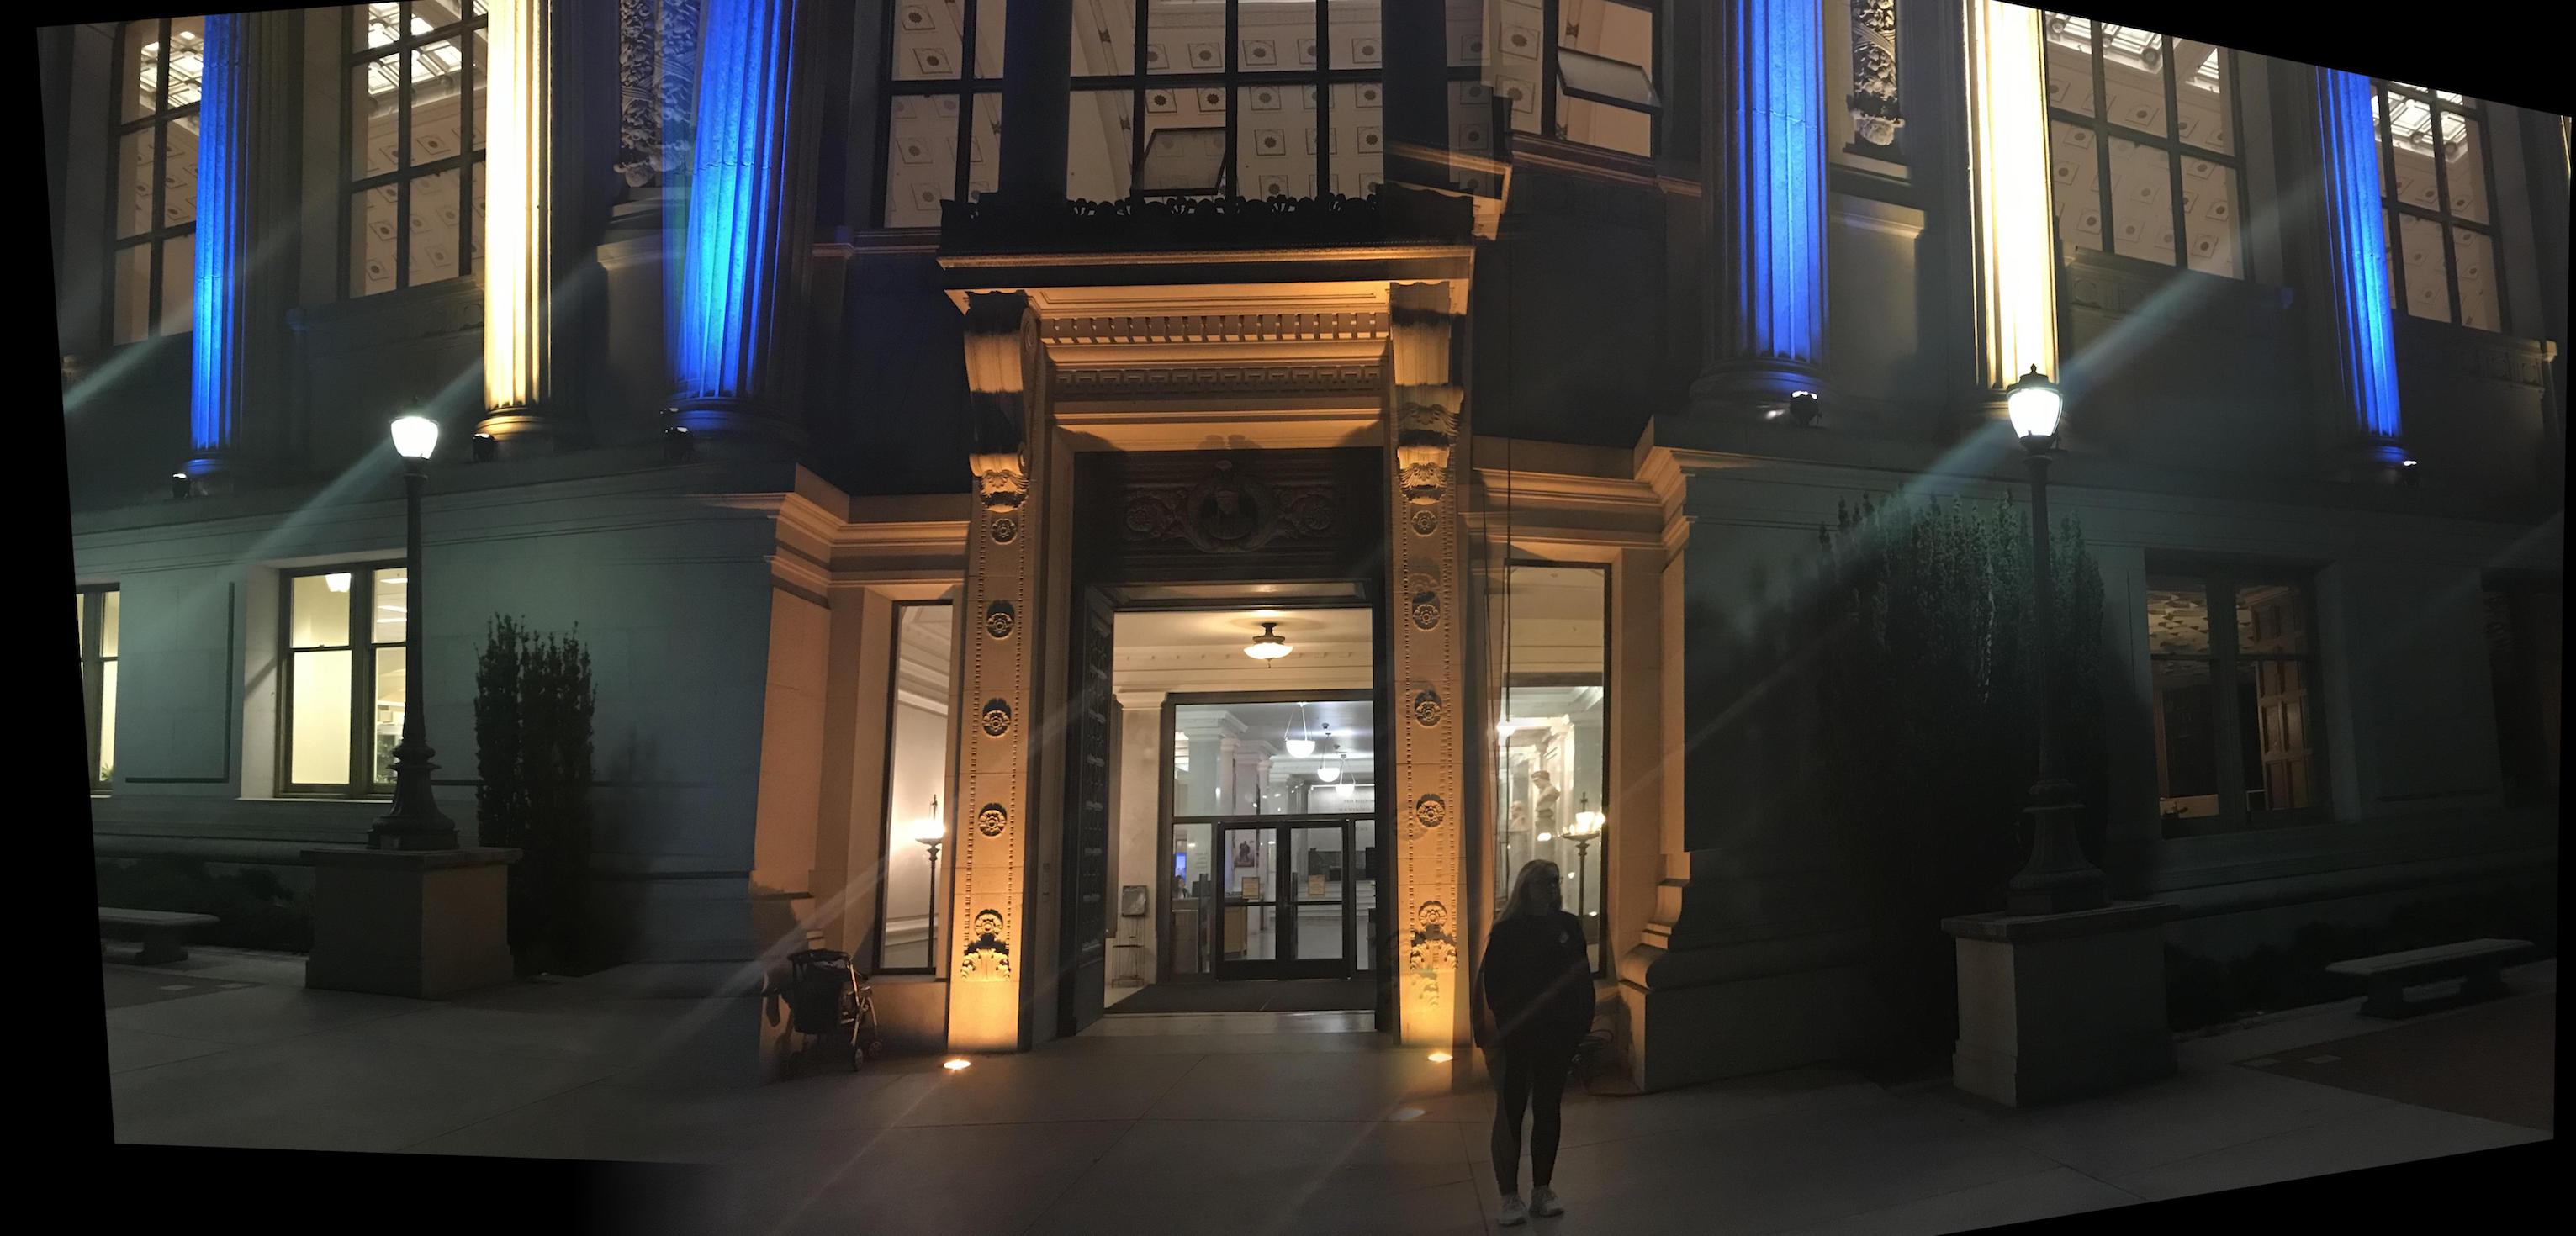
Final result with all images blended together
There is a little bit of ghosting in this set of images as well that I think could be improved by trying different pixel sizes for the blending window.
Final Thoughts