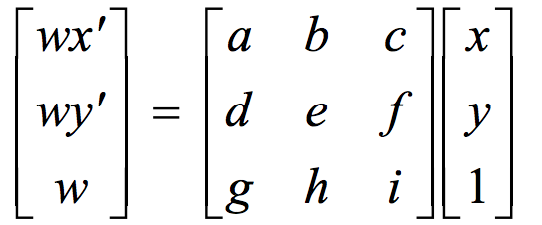
Homography Transformation
This projects is about changing persepctive through use of homogrpahies. Throughout this project, I manipulated the perspective of various pictures to create new angles and shift views on pictures.
What is a homography? A homography is pretty much a transformation into a projective space. In other words, it is a transformation that maps lines, but does not necessarily perserve parrallelism. While parallellism may not be preserved, lines that were straight before the transformation will be straight after the transformation. So, a homography will result in the rotation or "projection" of an image onto an other space, which is what allows for these different perspectives. To get a new image, the homography matrix should be calculated.
Homography Transformation
In this formula, x, y refers to the points of the original image and x', y' refer to the points of the transformed image. However, w and the other constants are unknown. We do, however, have an equation for w that can be resolved by multiplying the matrix through.

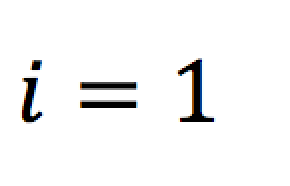
Also, i = 1 because it serves a scale factor.
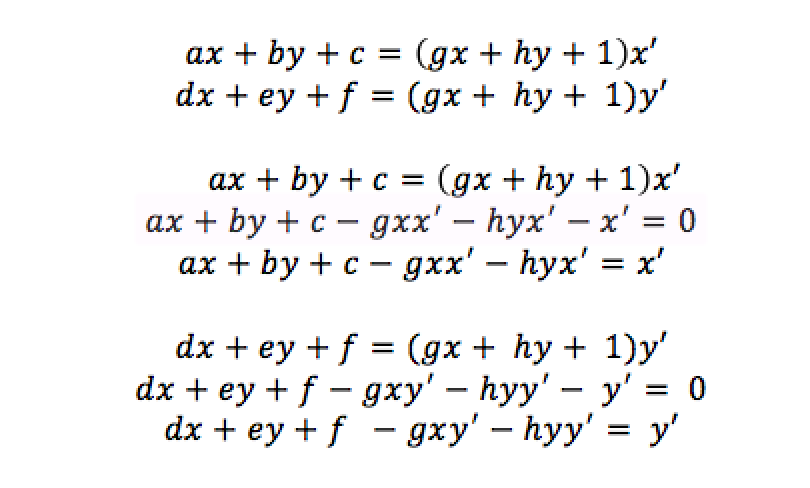
By expanding the equations out, we get these final equations.
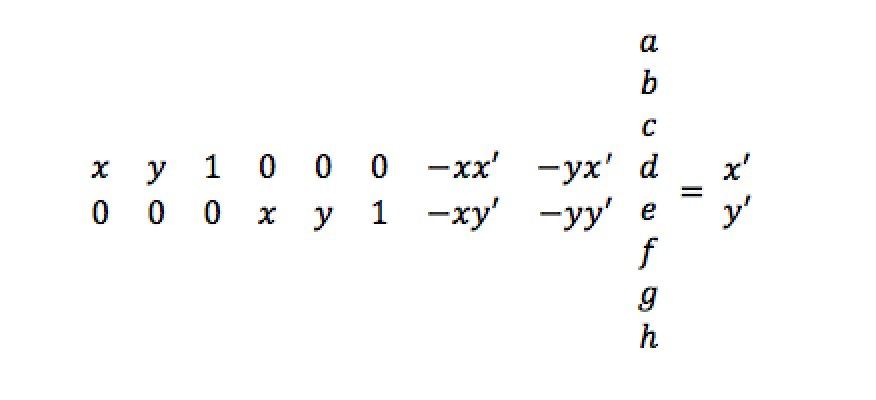
Thus, we can construct the following matrix.
Now, the constants for the transformation have been found and a warp can be created from one persepctive to another. Correspondance points are pinpointed on both images to create the homography transformation. More than 4 correspondences need to be calculated though to get the homography matrix.
If we do forward warping--multiply the homography matrix directly with points (x,y)--the final image has several gaps. This occurs because not every transformation to each (x', y') has been calculated. Therefore, inverse warping should occur: the homography matrix inverse is taken and multiplied by (x', y') to retrieve x and y.
By performing the inverse warping procedure from above to calculate the homogrpahy, images can be rectified. In other words, images that may seem slightly obscured, can be made present in a way that they directly meet the viewer's eyes. Pretty much correspondance points on both images are placed on the image. Correspondence points can be for instance the corners of the box. We next get a black canvas. We put points where we want the corners of the box to be on the black canvas. After that, we will get our warped image with the new points warped to their new destination.
Original Image
Correspondence Points on Original Image
New Correspondance Points
Warped Image
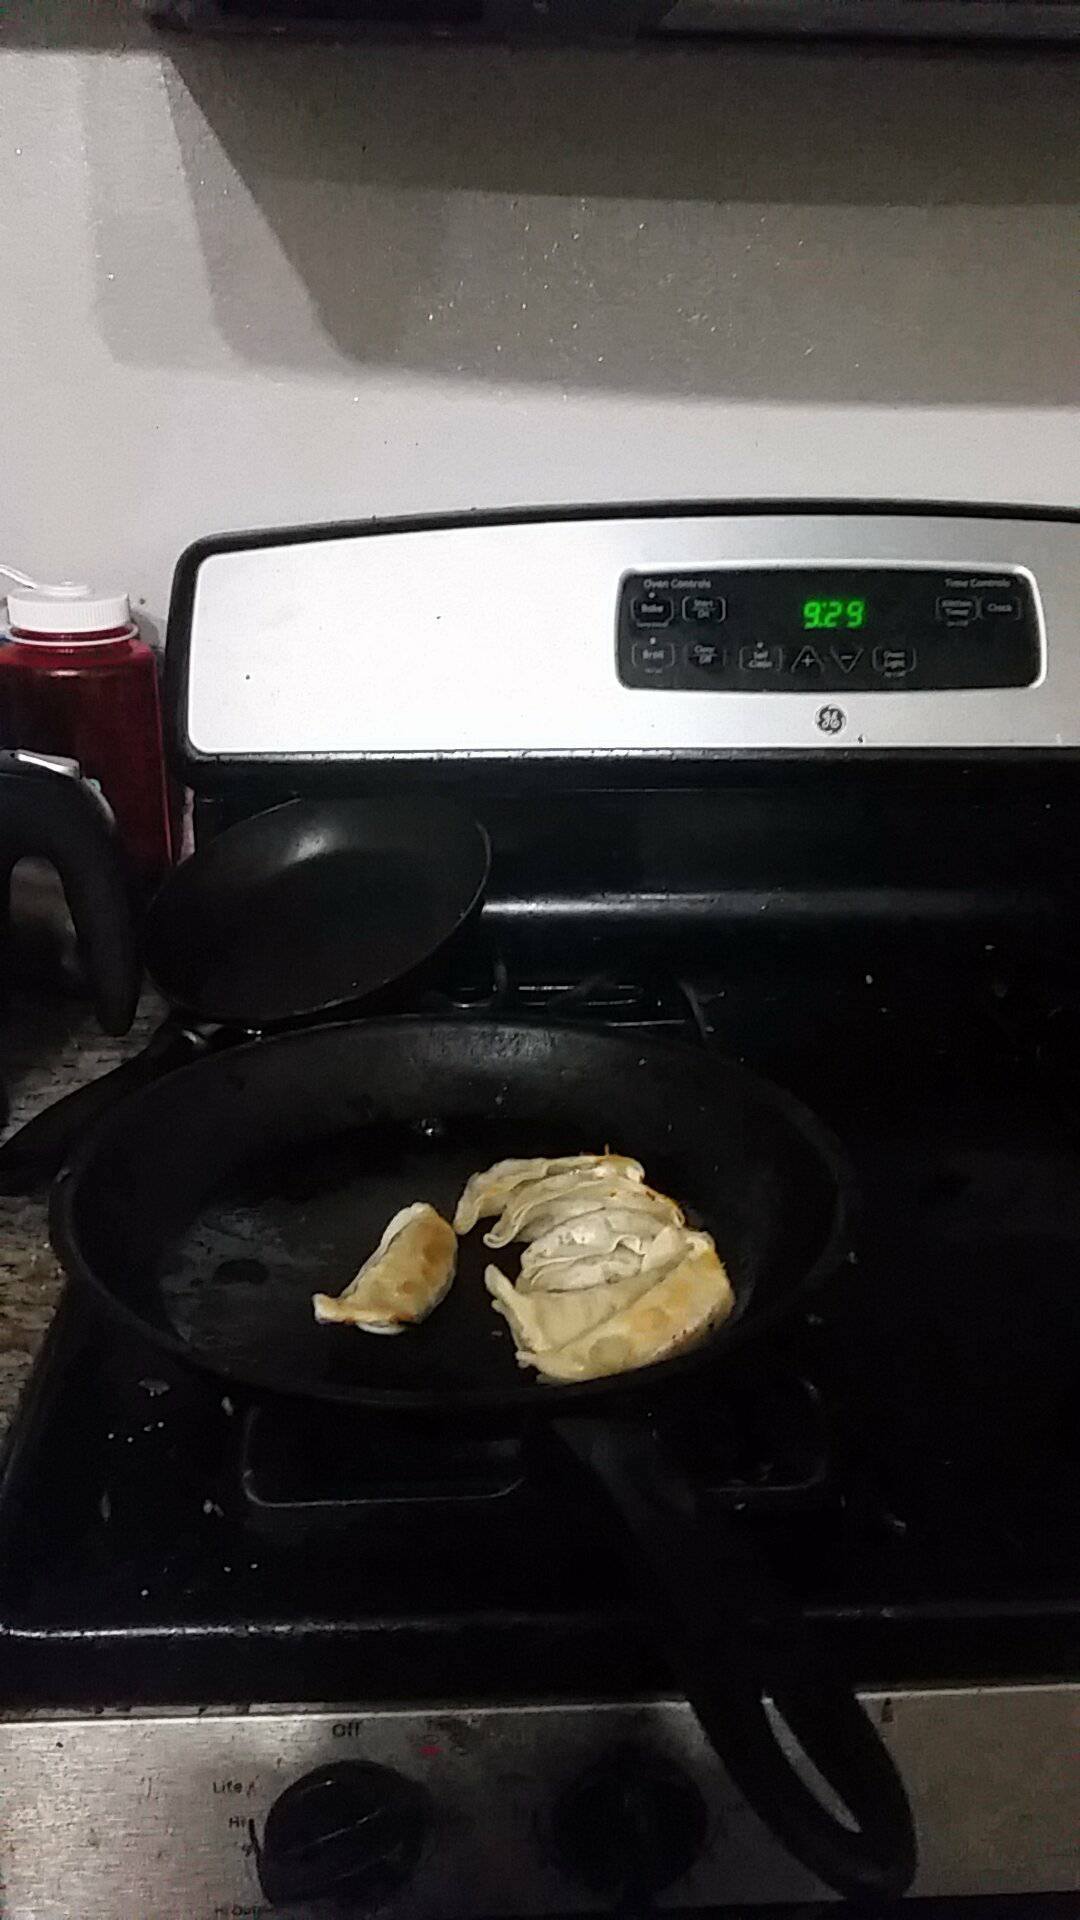
What am I cooking?
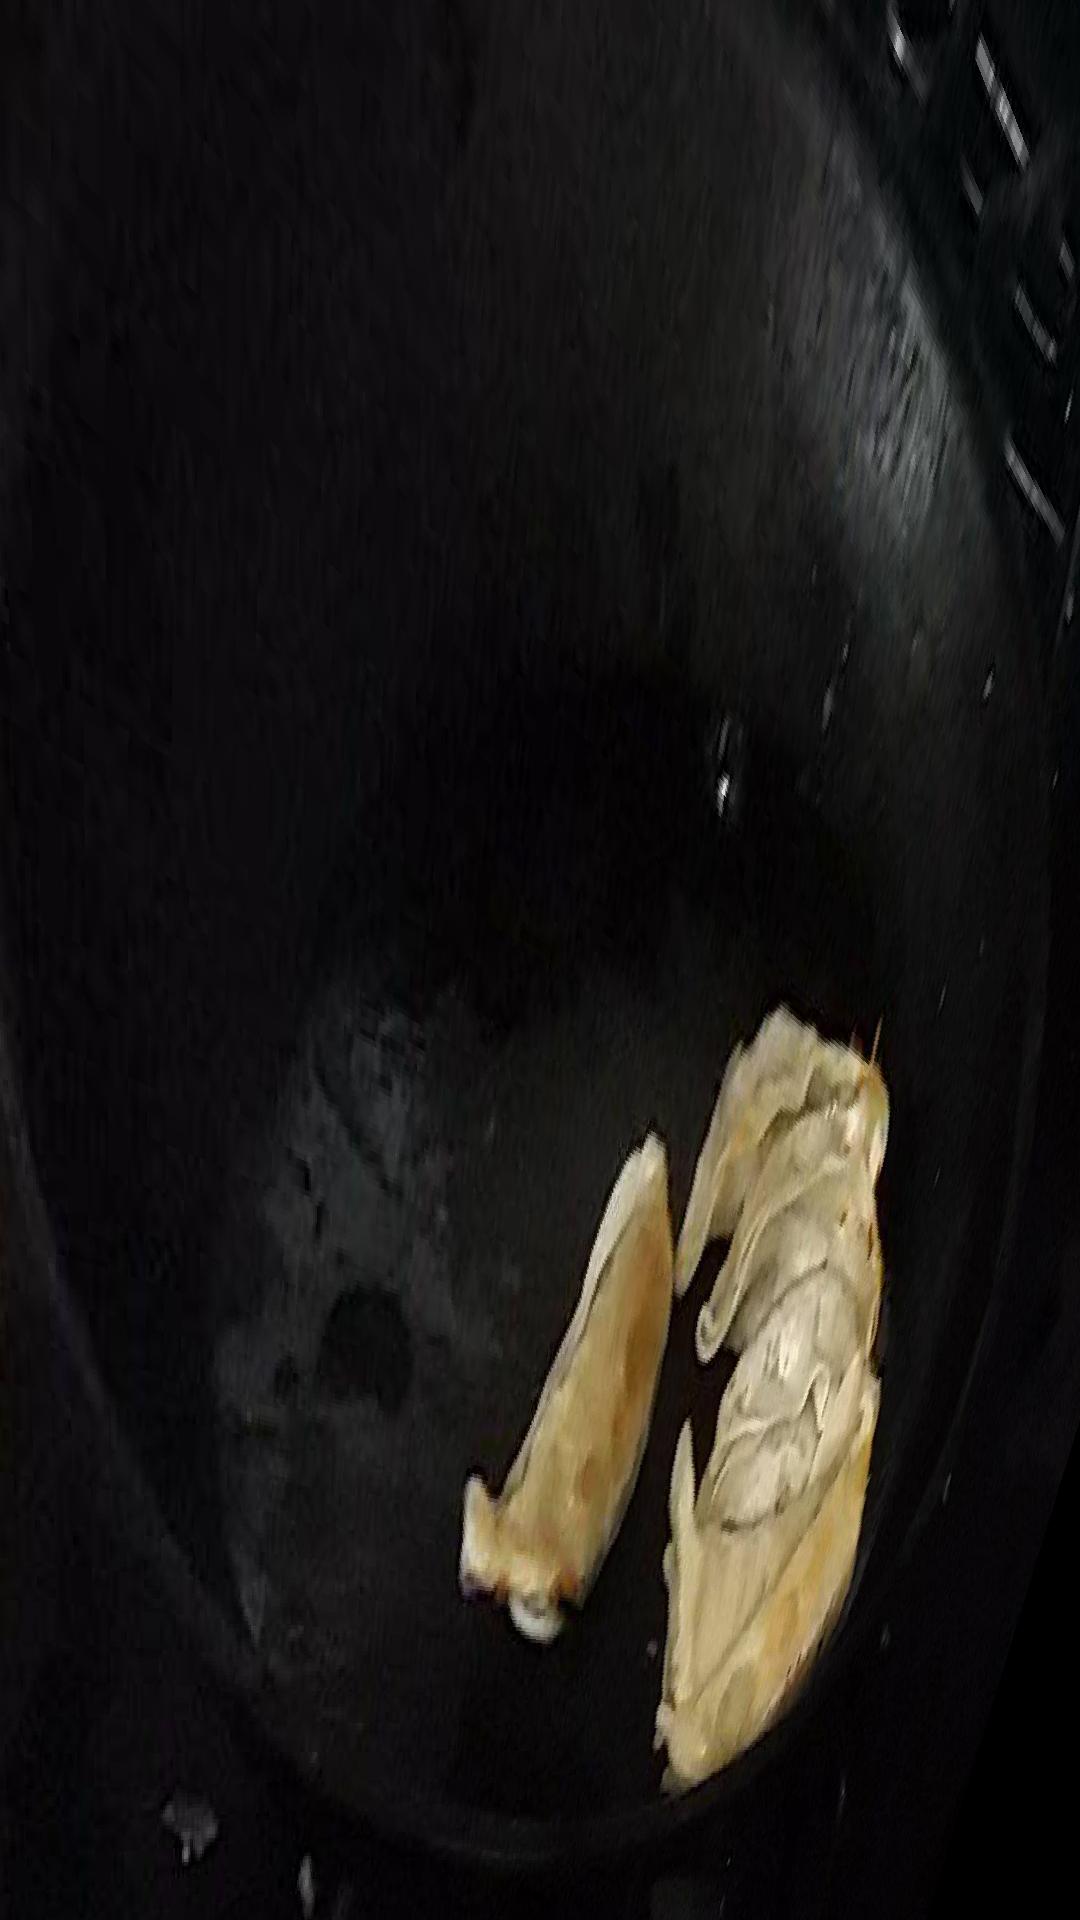
Dumplings!
Now that we can create image mosaics by creating correspondences and shifting persepctives! The two images were blended together using pyramid blending techniques.

Left Side of Wall
Warped Left Side
Right Side of Wall

Warped Right Side

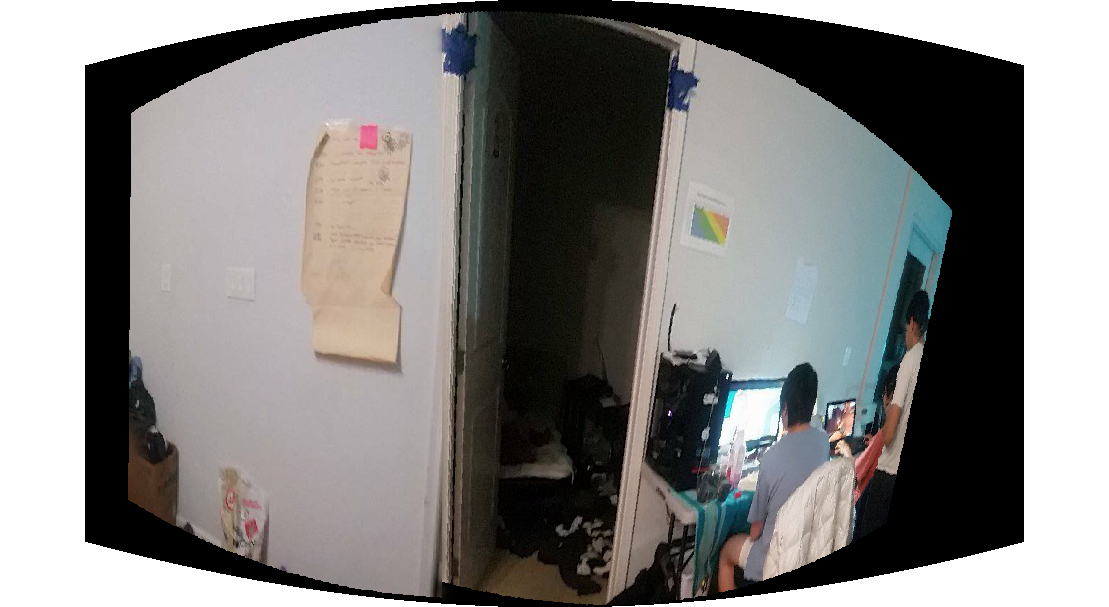
The Result
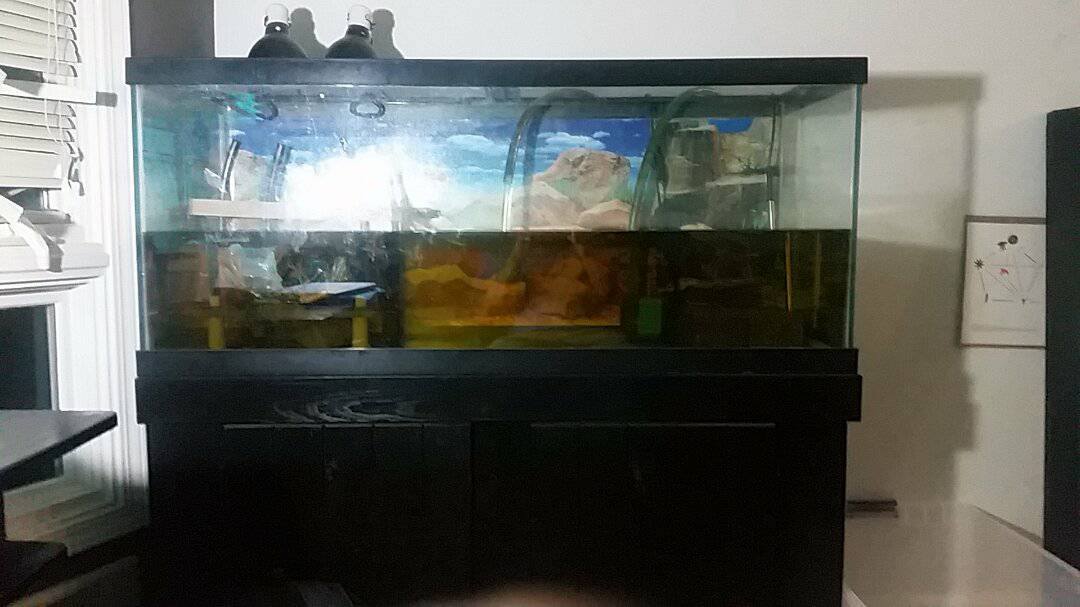
Left Side of Fish Tank
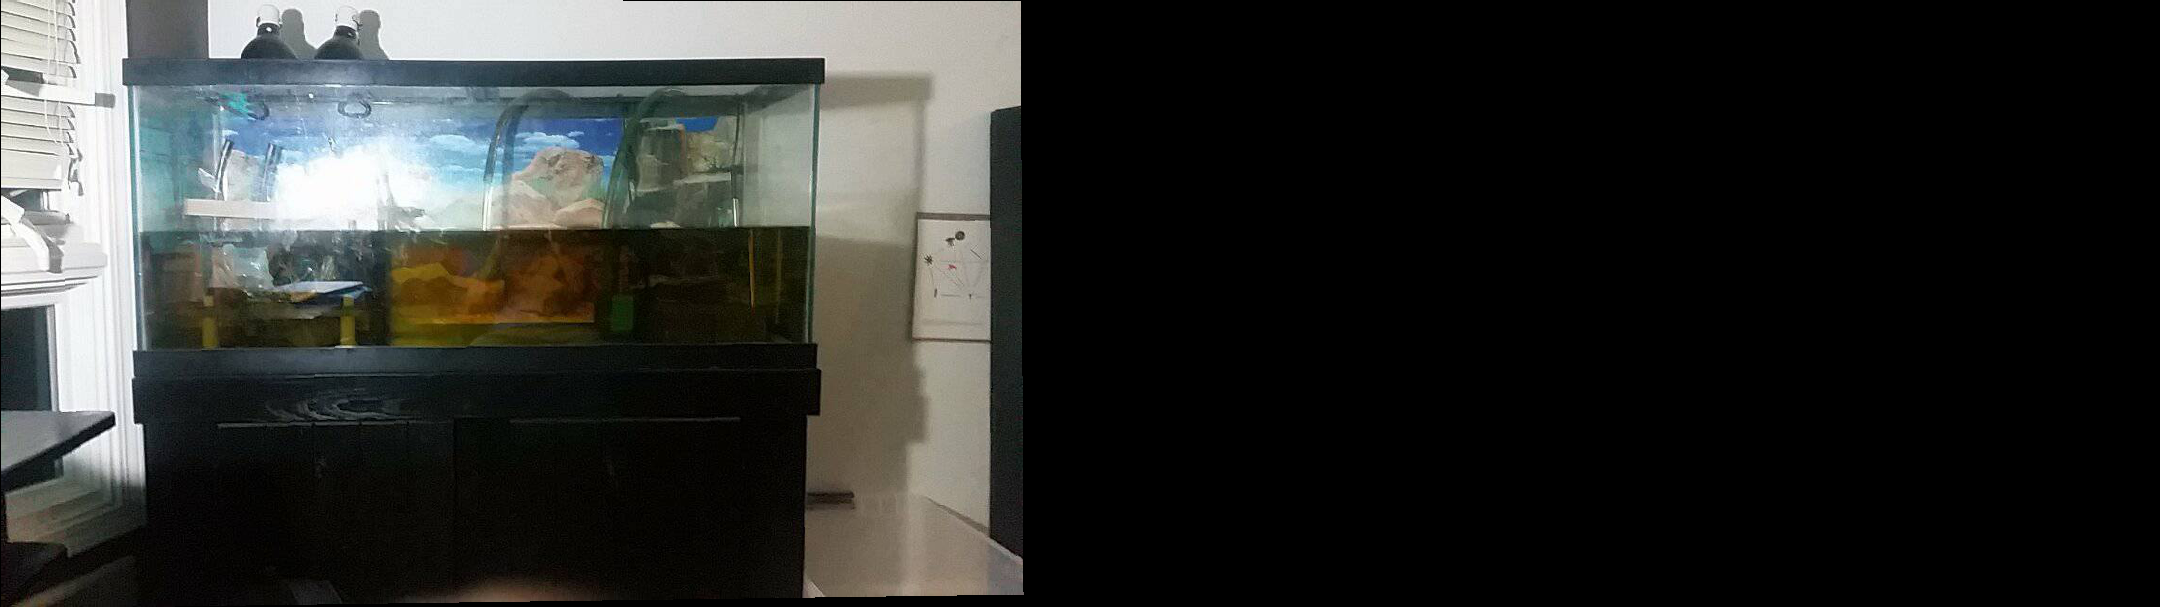
Warped Left Side
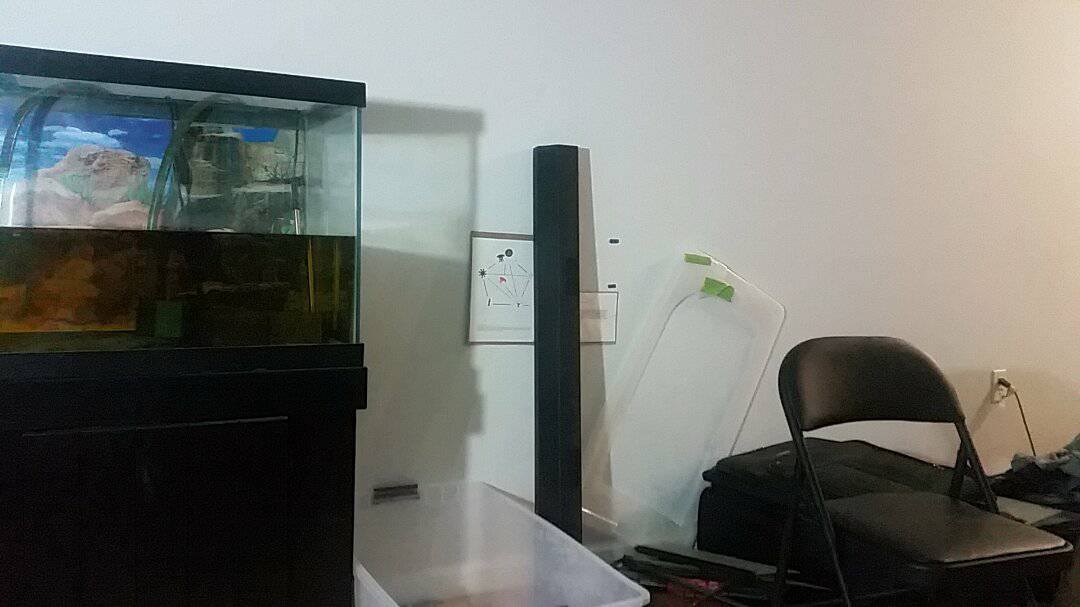
Right Side of Fish Tank
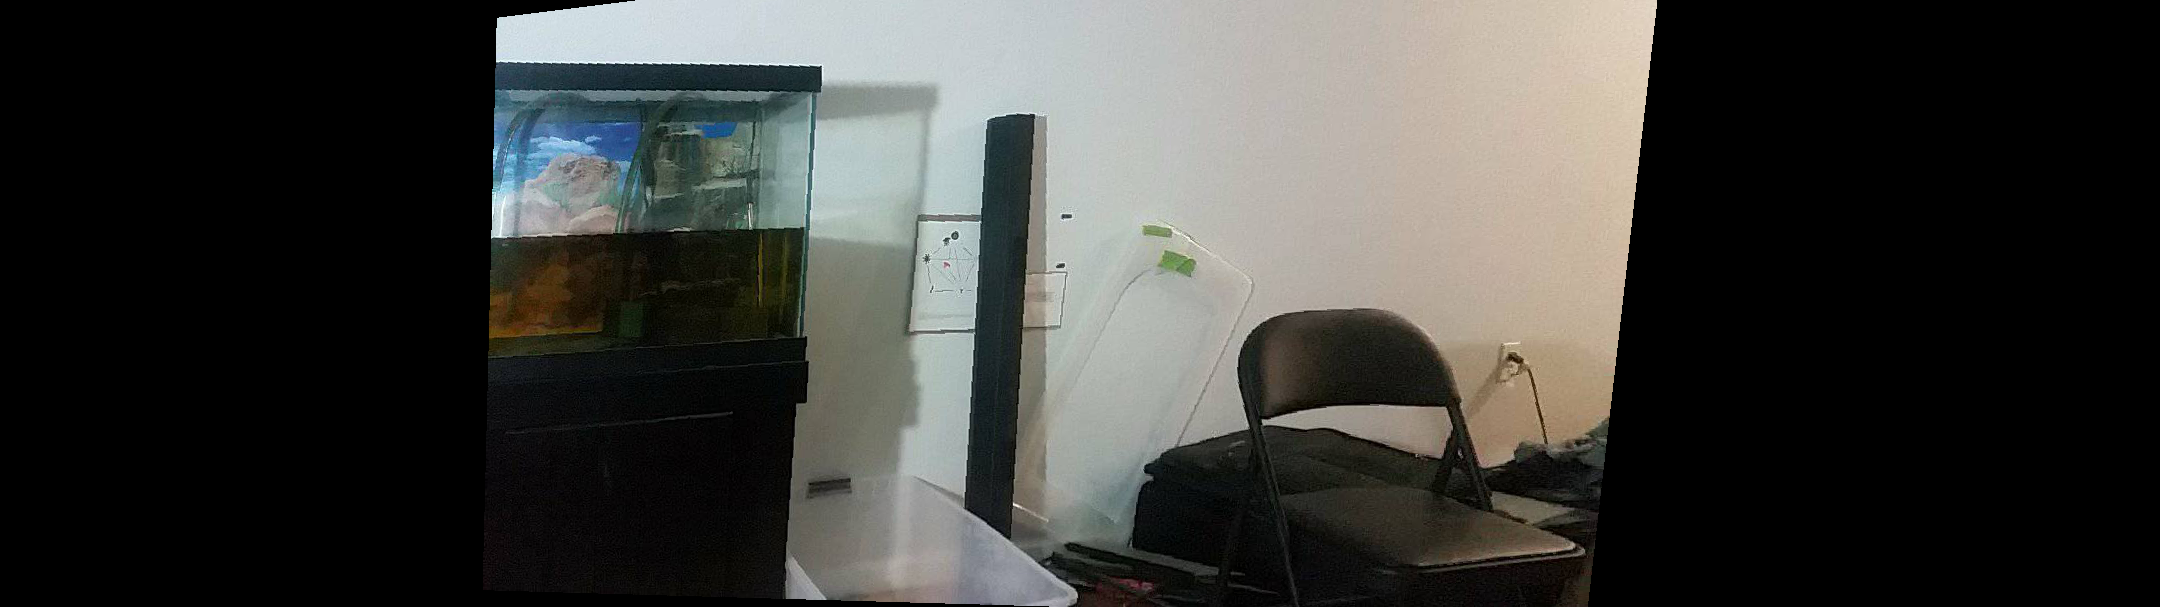
Warped Right Side
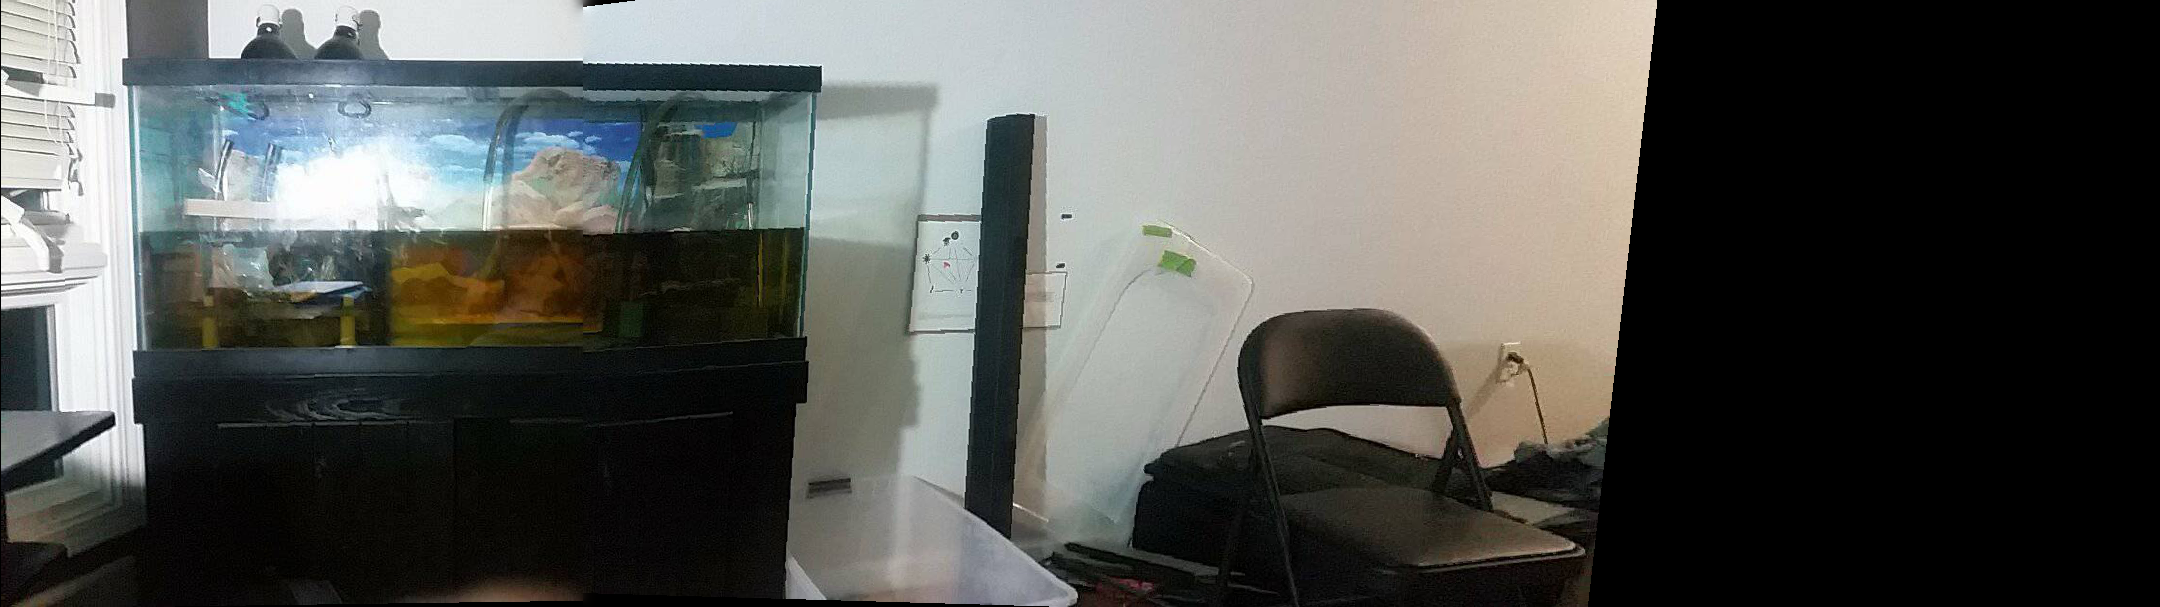
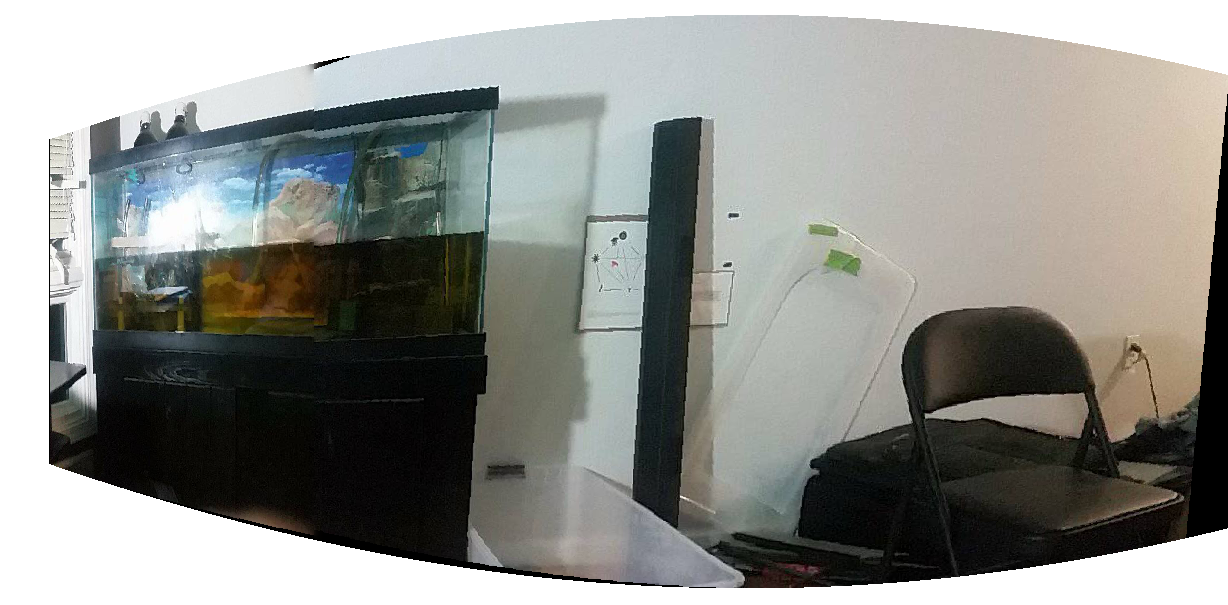
The Result
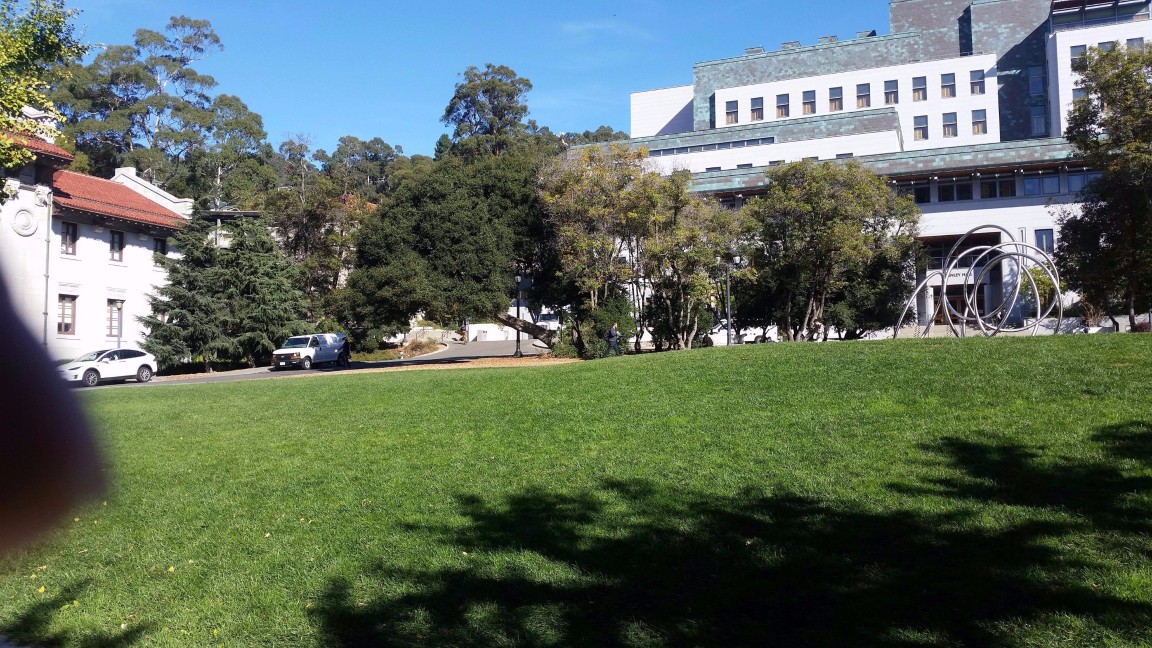
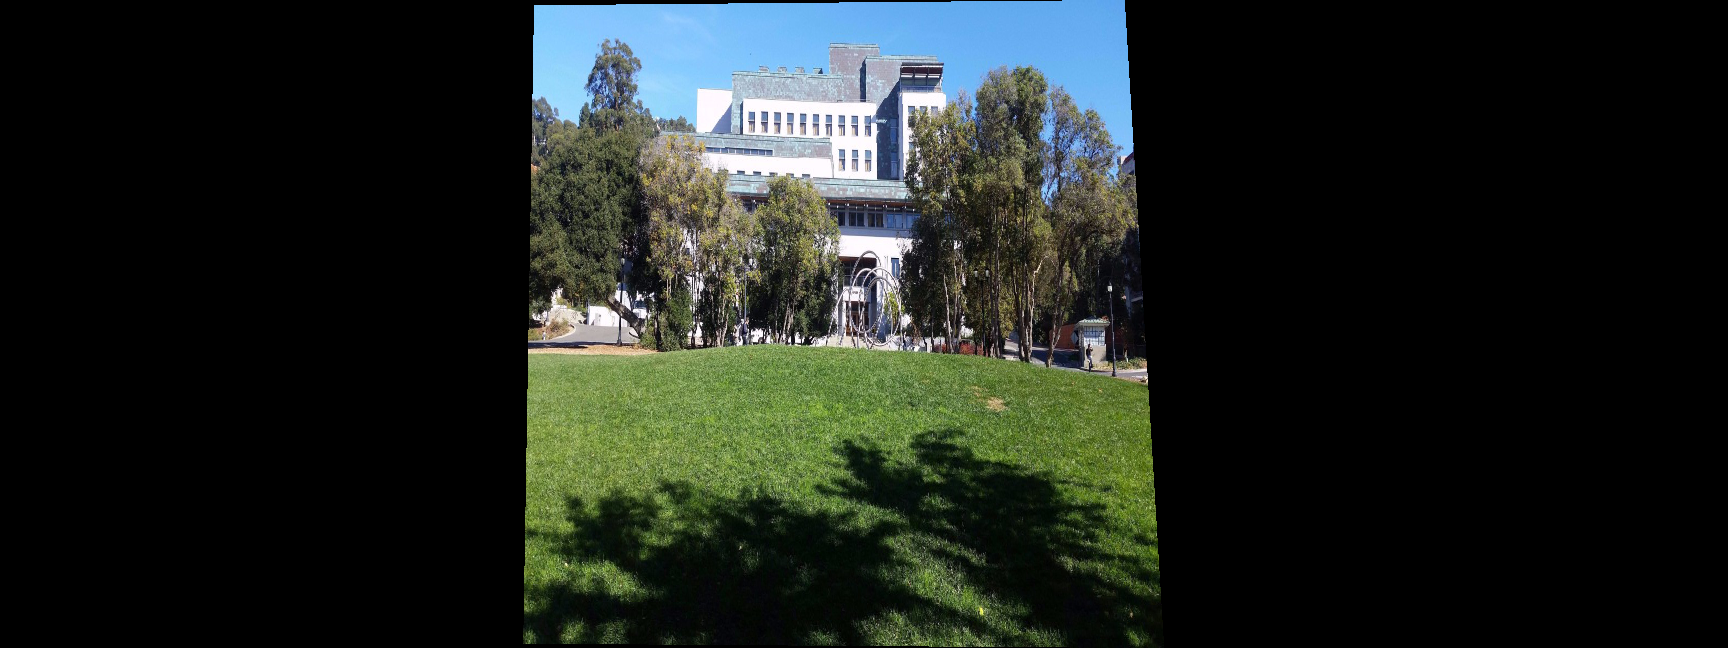
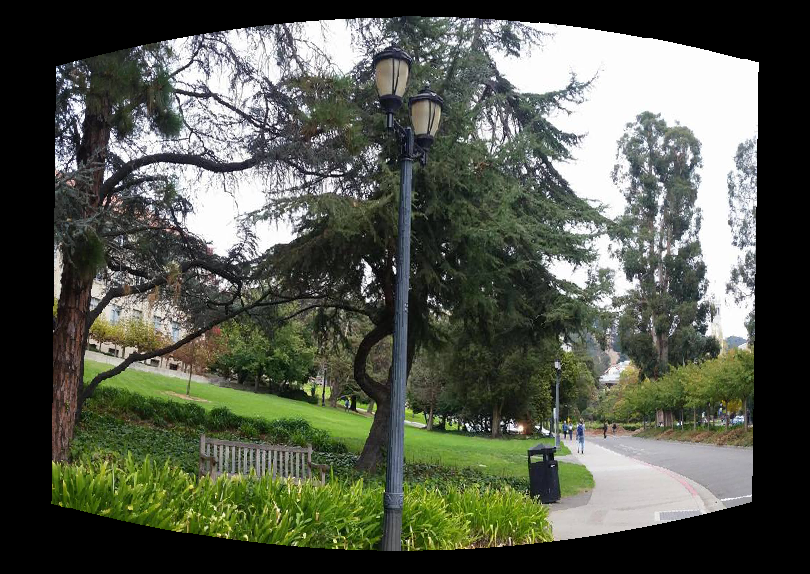
Left Side of Mining Circle
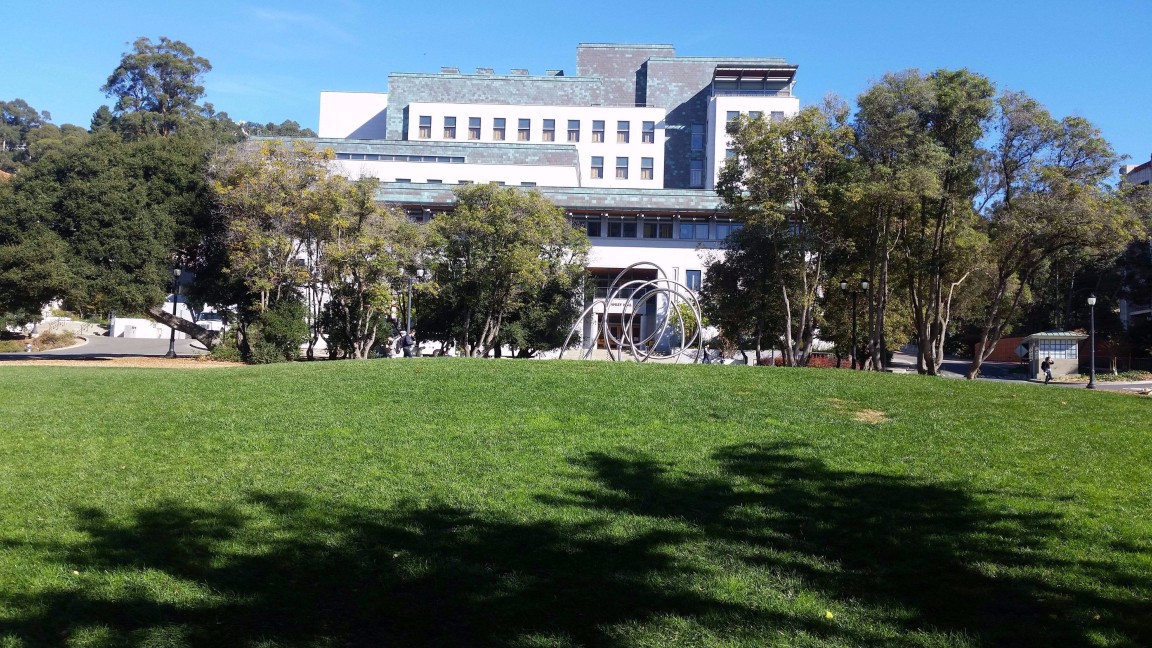
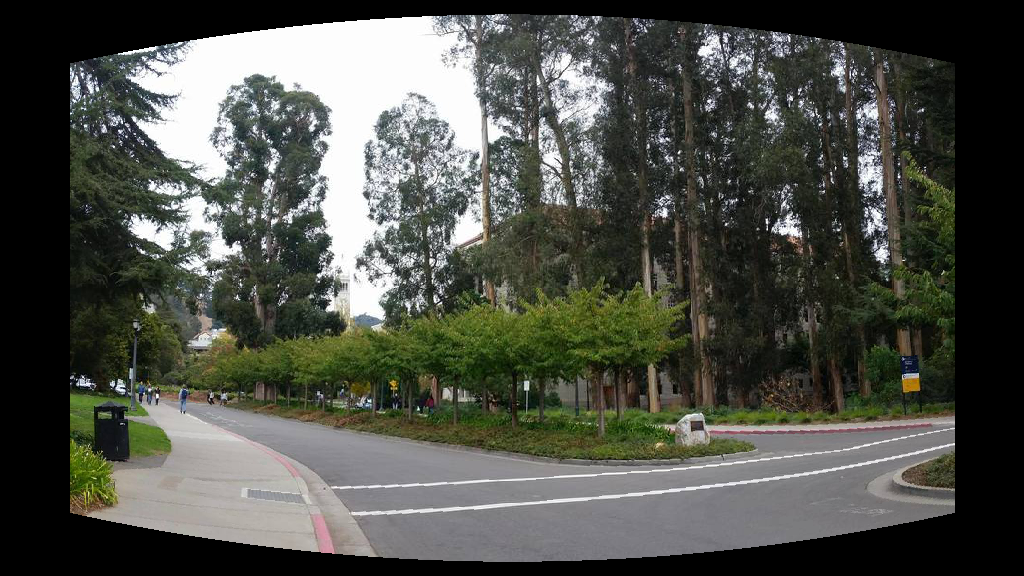
Middle of Mining Circle
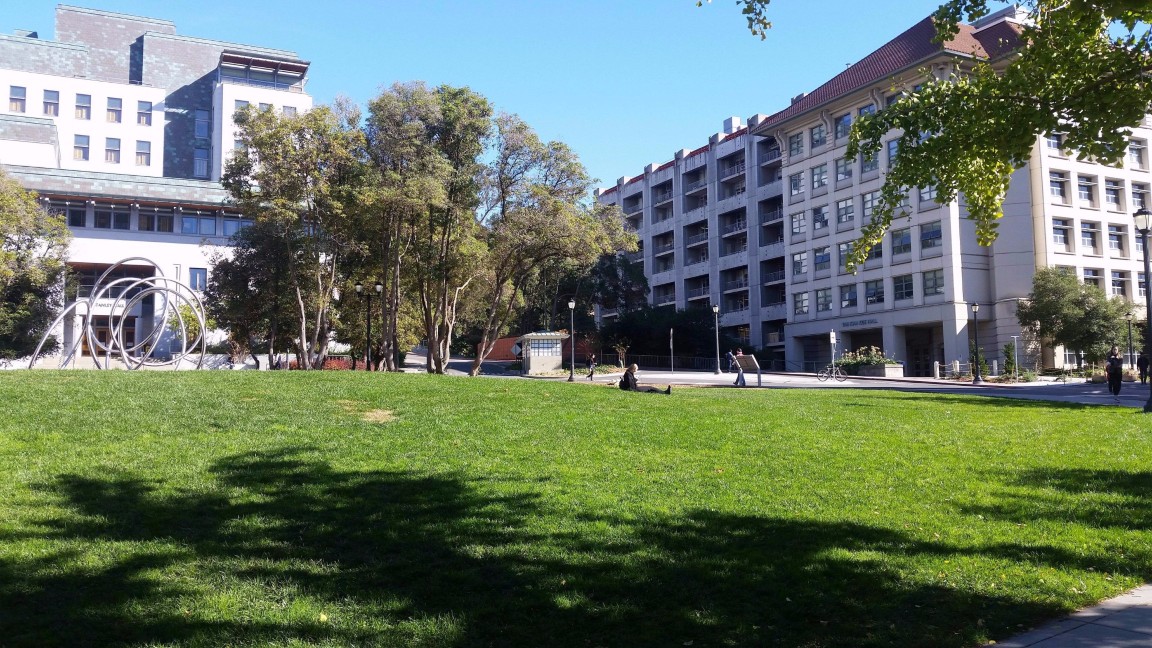
Right Side of Mining Circle

Left Side Warped
Middle Warped
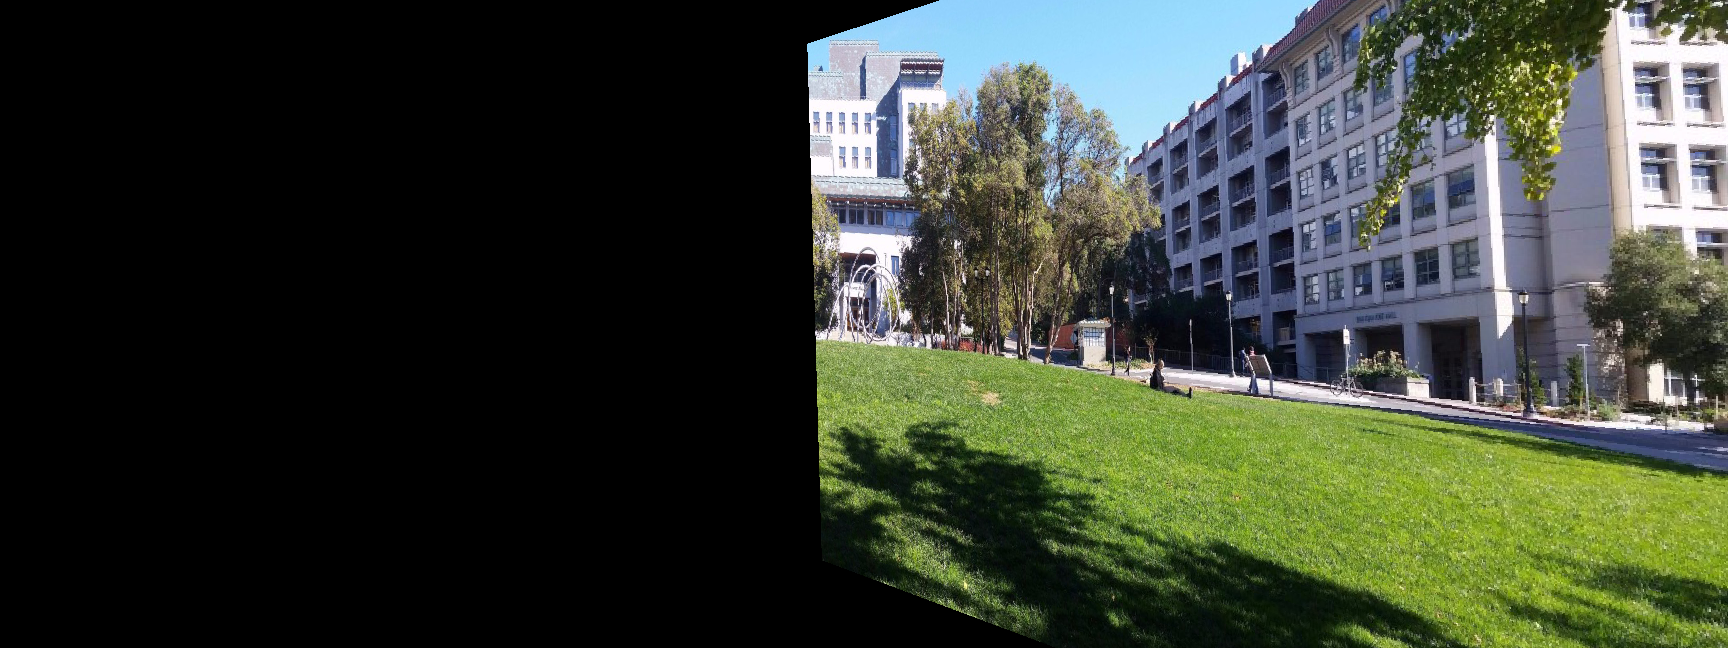
Right Side Warped
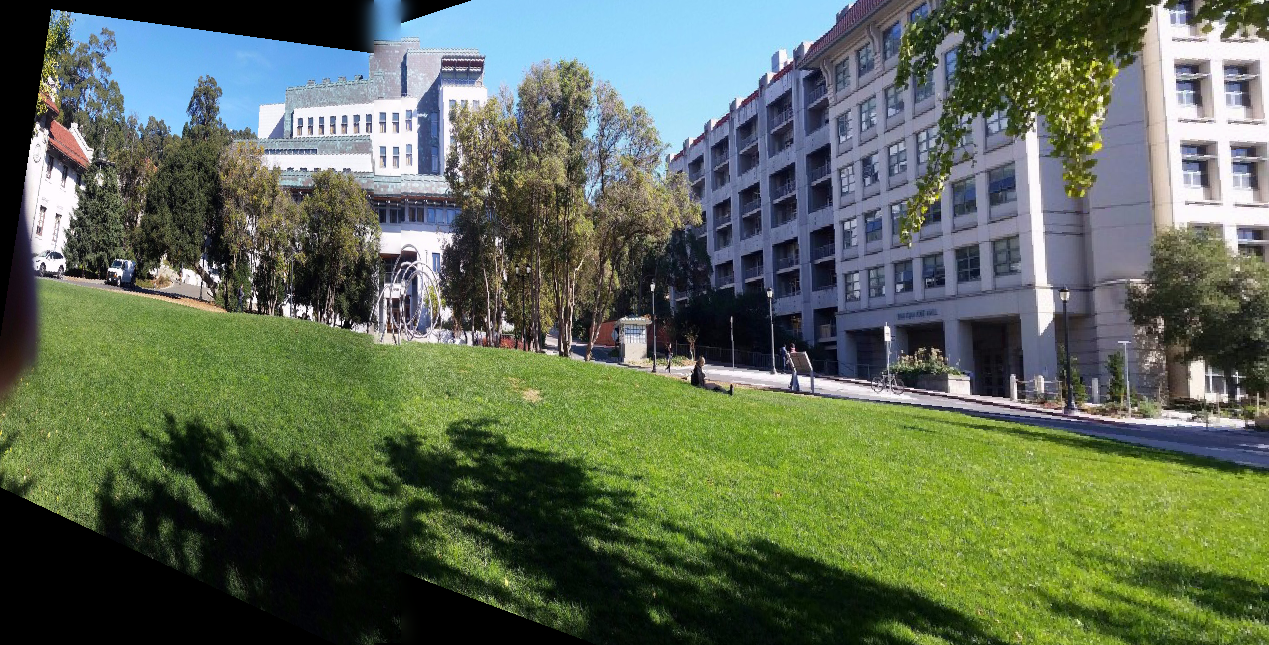
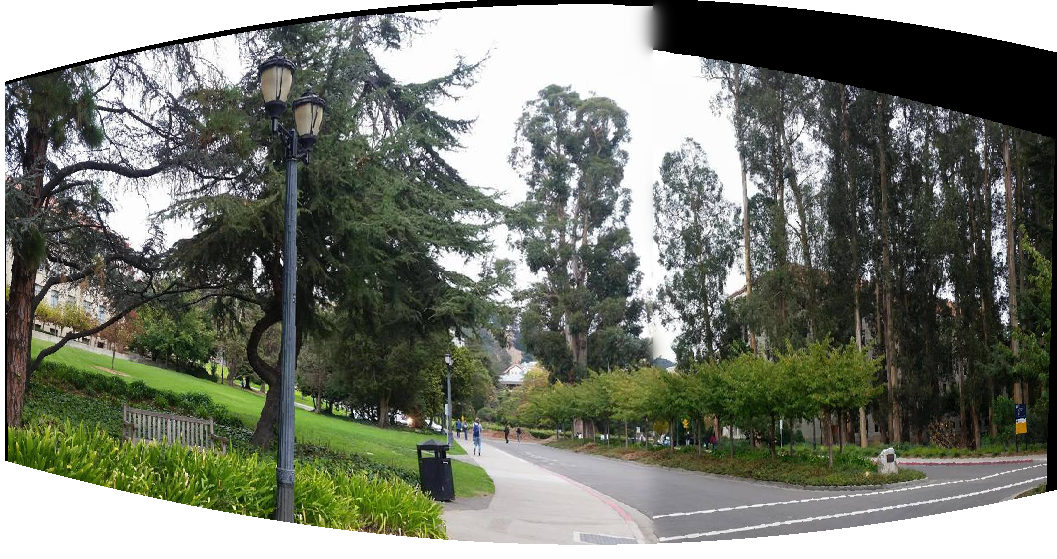
The Result

Me

Empty Billboard
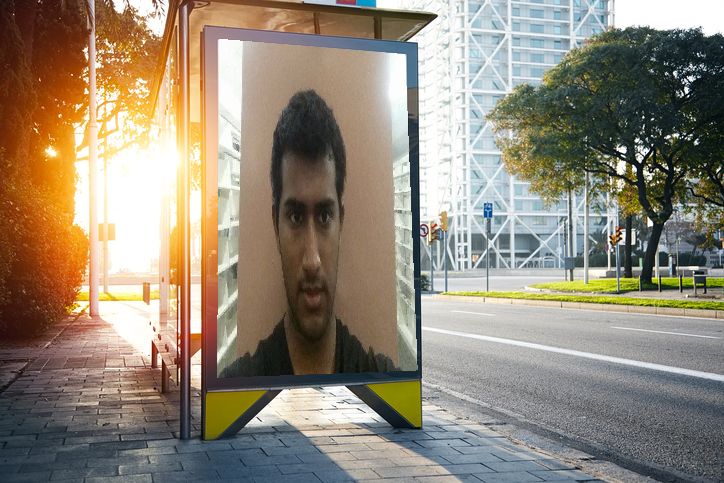
Me on Billboard
Homographies and mixed gradient blending were used to create this result.

Oski
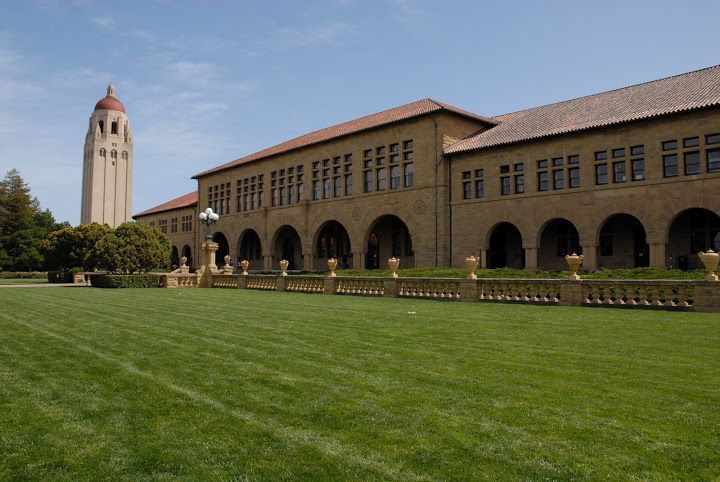
Stanford
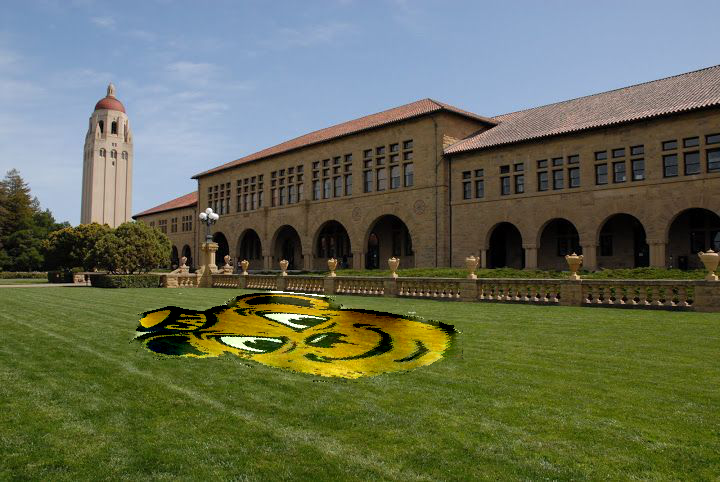
Result
Remember the wall image I constructed a mosaic of earlier. We can use cylindrical projections to create a different panormaic style. Instead of a homography matrix, simple inverse calculations can be made to find which cylindrical coordinates map to the original image pixels. The focal length used was 700.
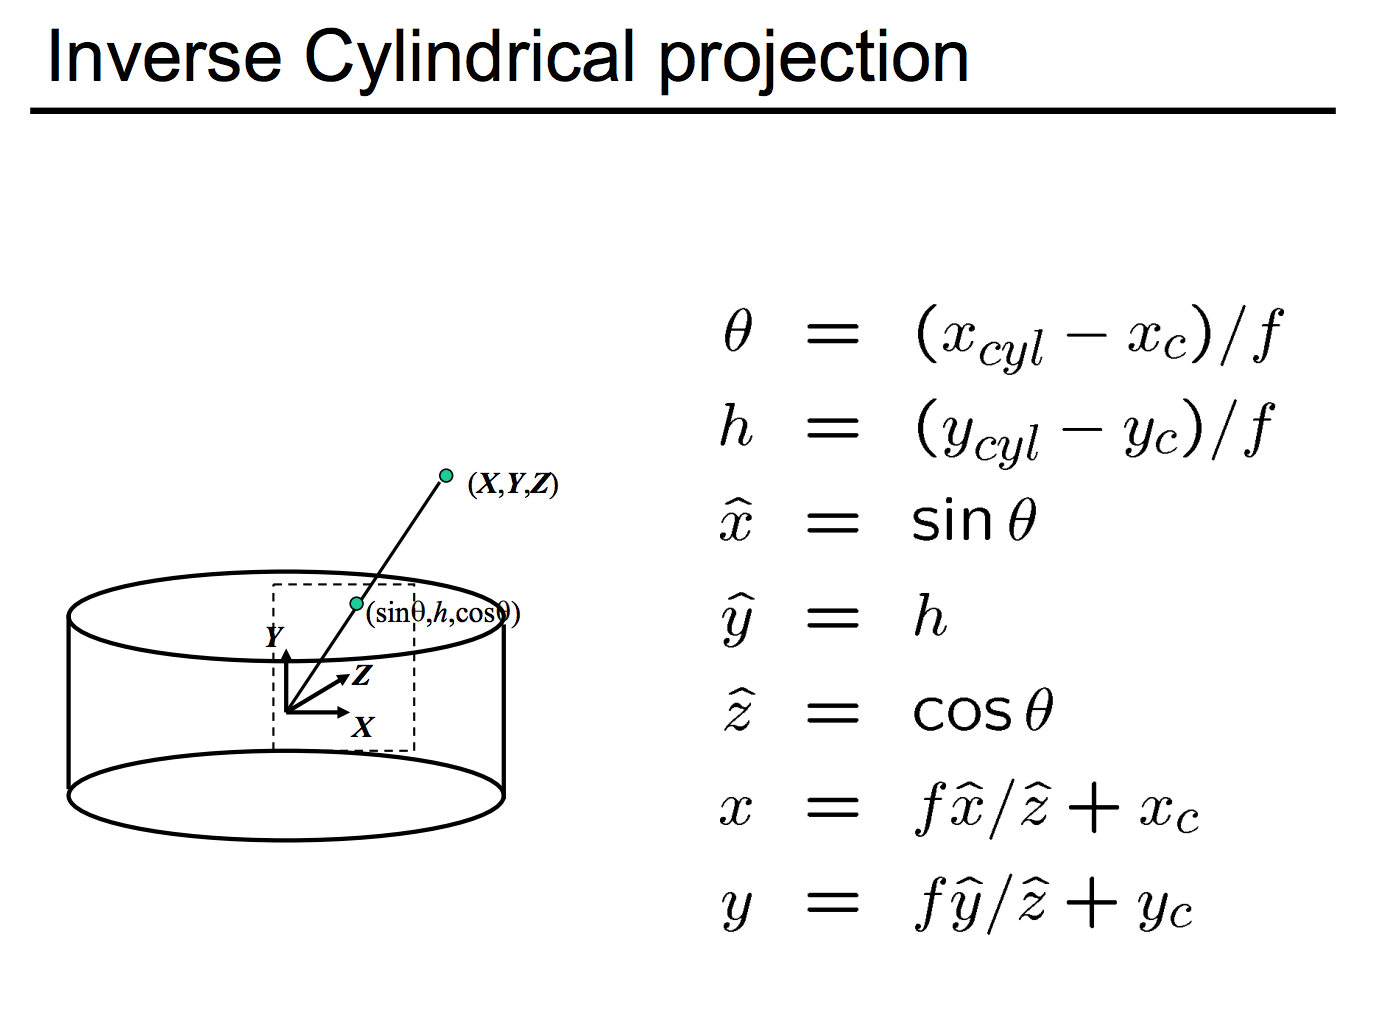
Equations Used to Perform Inverse Mapping
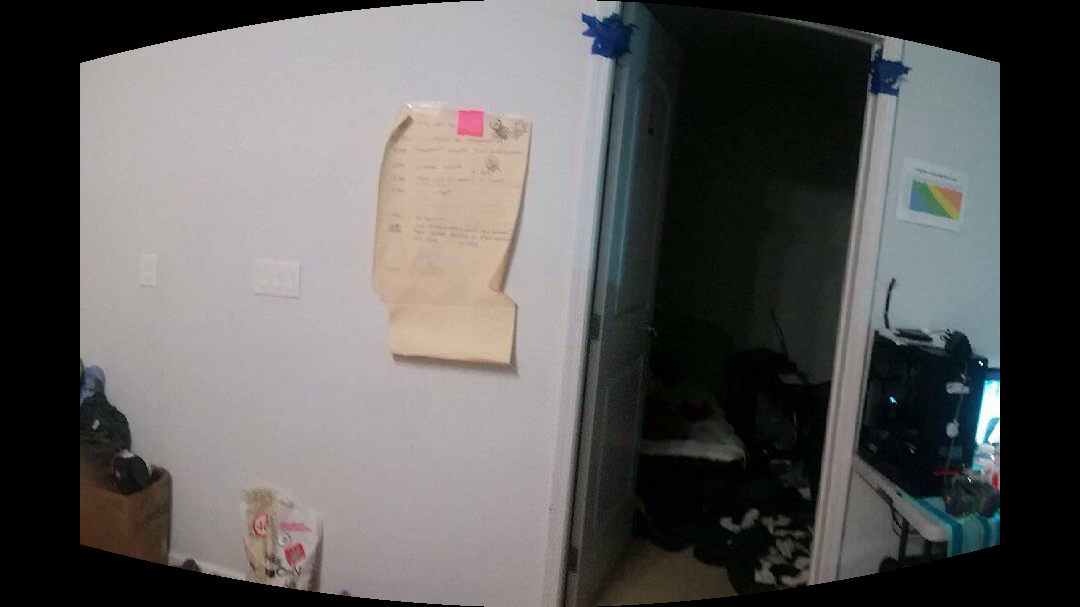
Left Wall Cylindrically Warped

Right Wall Cylindrically Warped
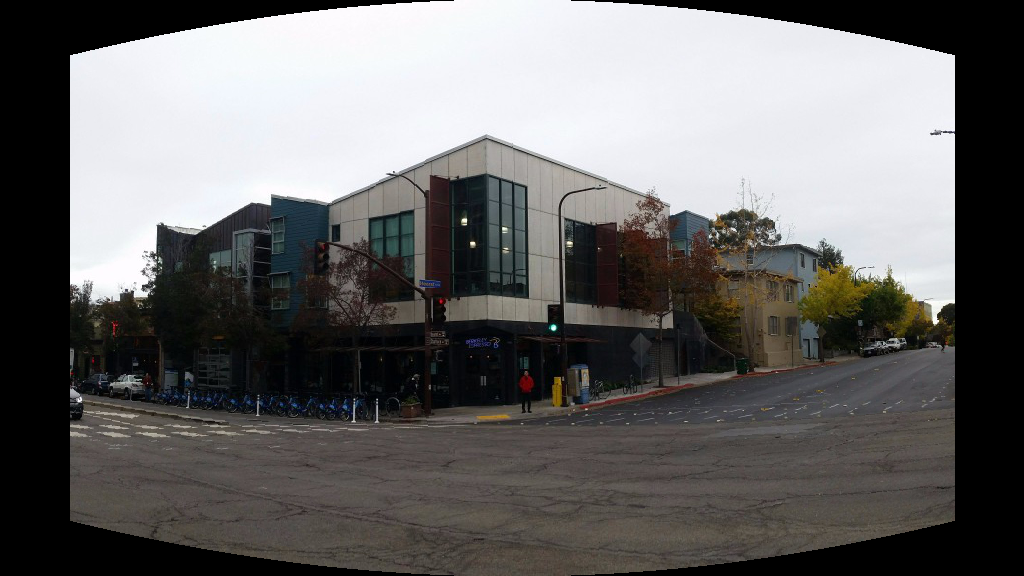
Result
Left Cylindrically Warped
Middle Cylindrically Warped
Right Cylindrically Warped
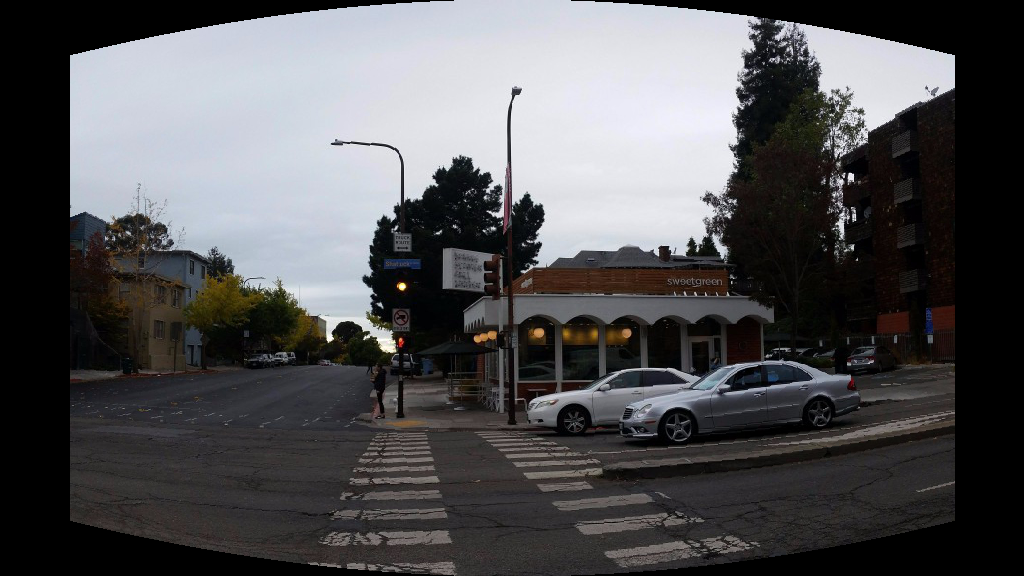
Result
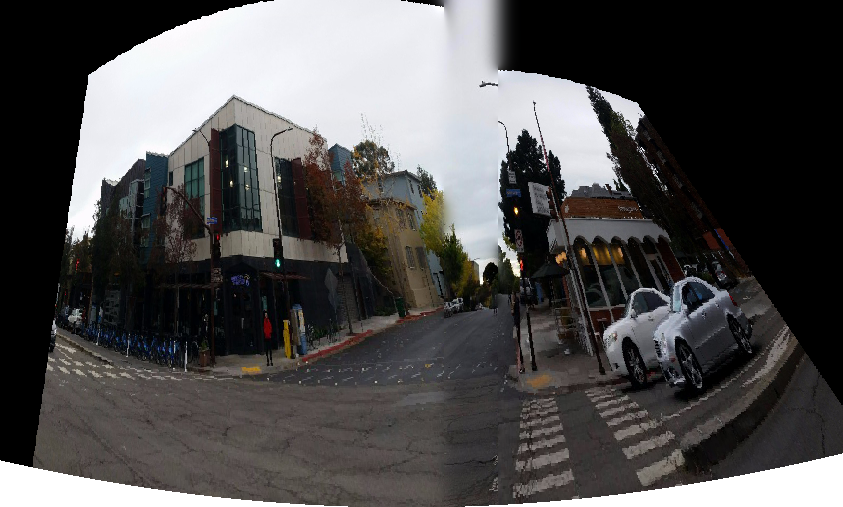
This time I used a spherical projection to create another mosaic. To be honest, I think it looks quite similar to the cylindrical projection. Focal length used was 700 as well. Simply, you can take your original panorama and invert into the spherical projection. .
Equations Used to Perform Inverse Mapping
Left Wall Spherically Warped
Right Wall Spherically Warped

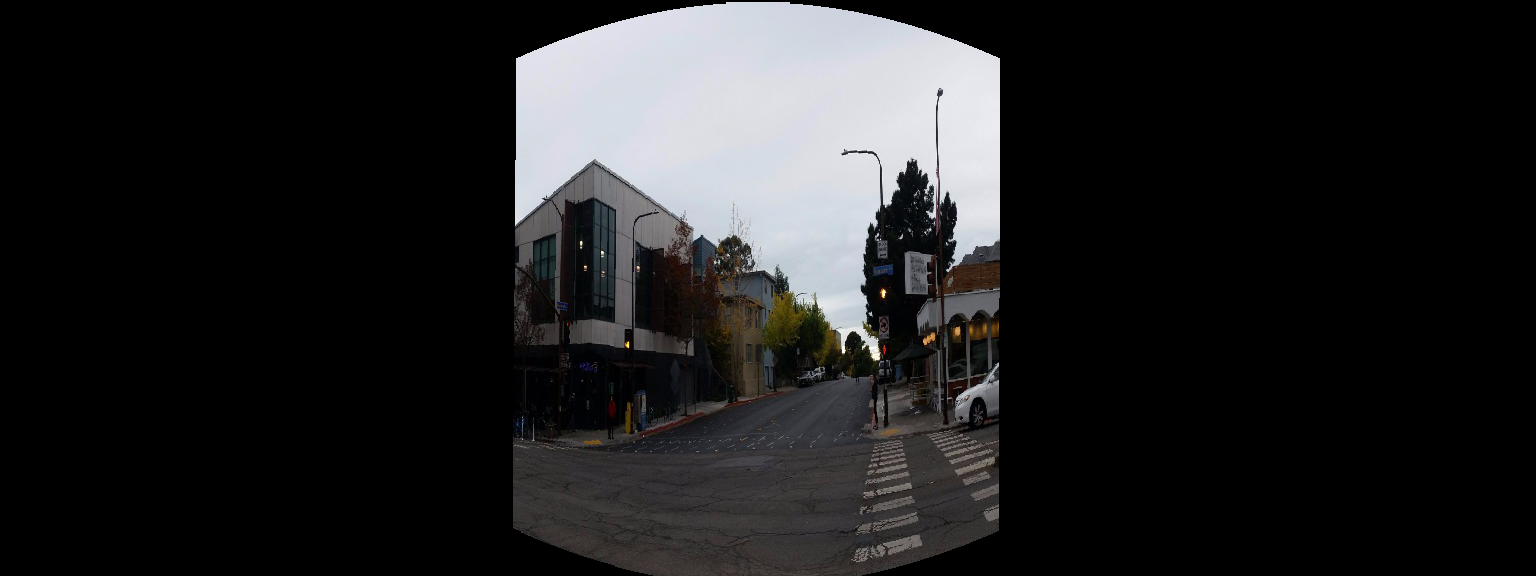
Result
Left Image Spherically Warped
Right Image Spherically Warped
Result
Result