Part 1 : Image rectification + warp the images
Before you can warp your images into alignment, you need to recover the parameters of the transformation between each pair of images. In our case, the transformation is a homography: p’=Hp, where H is a 3x3 matrix with 8 degrees of freedom (lower right corner is a scaling factor and can be set to 1). One way to recover the homography is via a set of (p’,p) pairs of corresponding points taken from the two images.
where im1_pts and im2_pts are n-by-2 matrices holding the (x,y) locations of n point correspondences from the two images and H is the recovered 3x3 homography matrix. In order to compute the entries in the matrix H, you will need to set up a linear system of n equations (i.e. a matrix equation of the form Ah=b where h is a vector holding the 8 unknown entries of H).
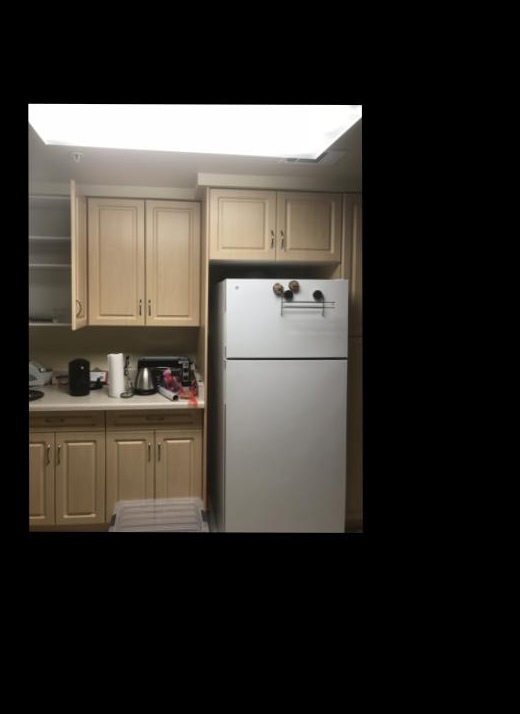
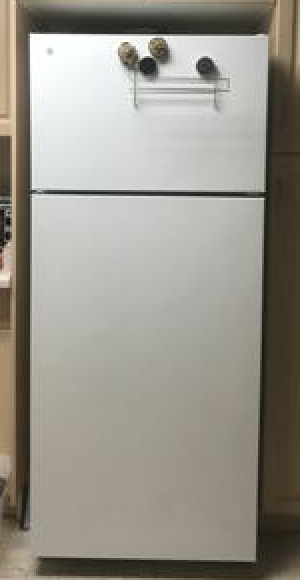
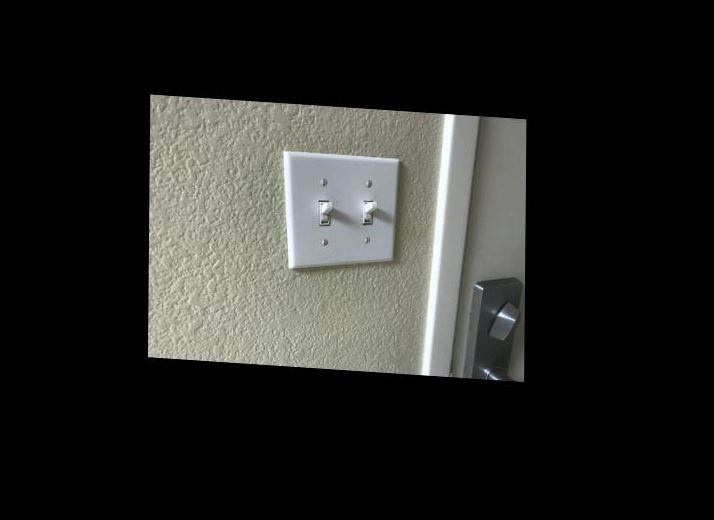
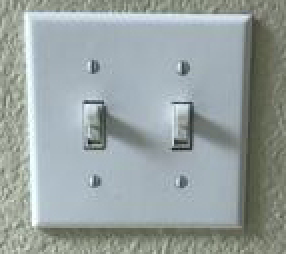
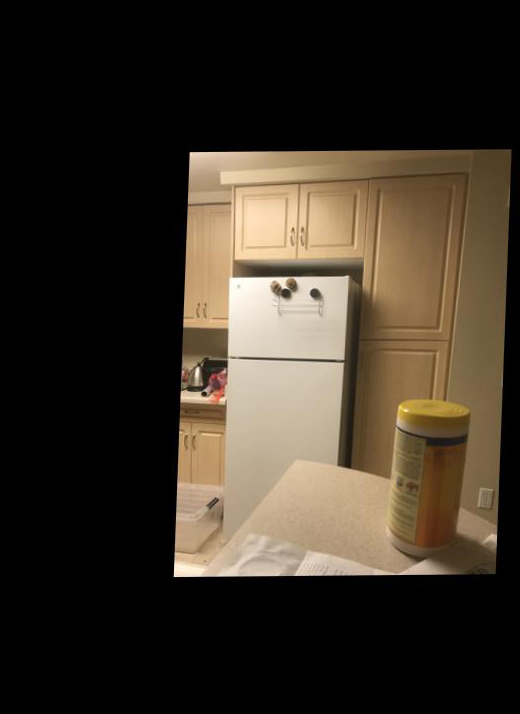
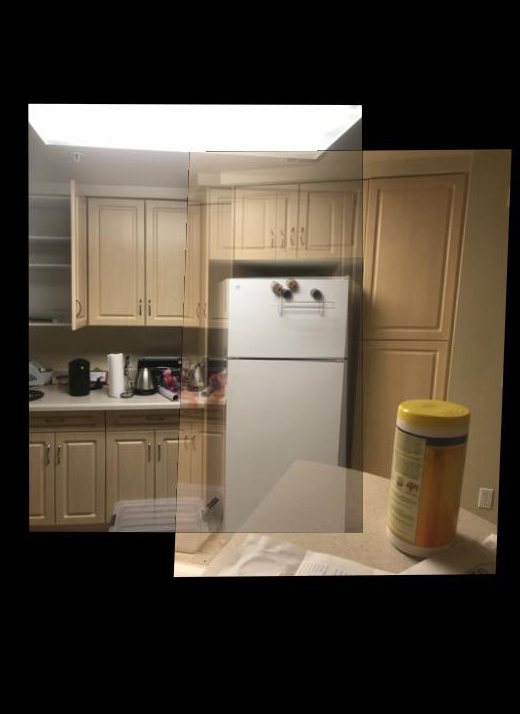
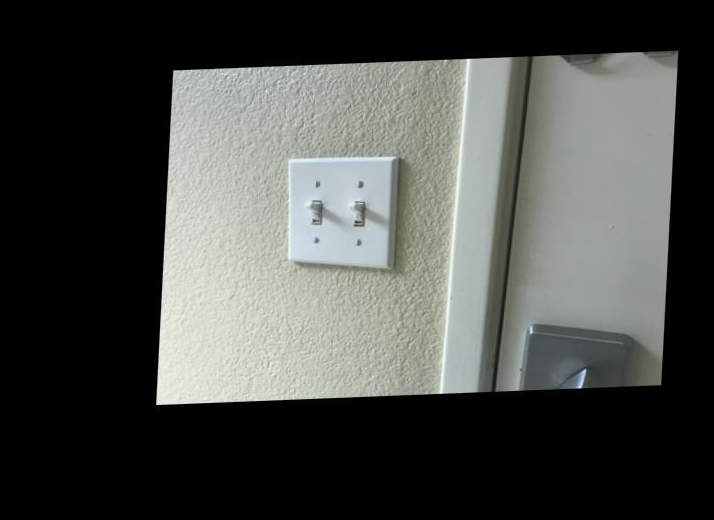
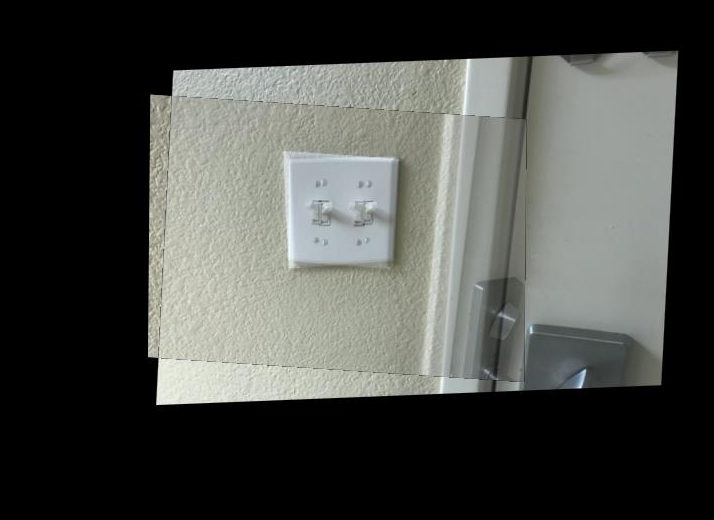
Image Rectification
Part 2 : Blend the images into a mosaic
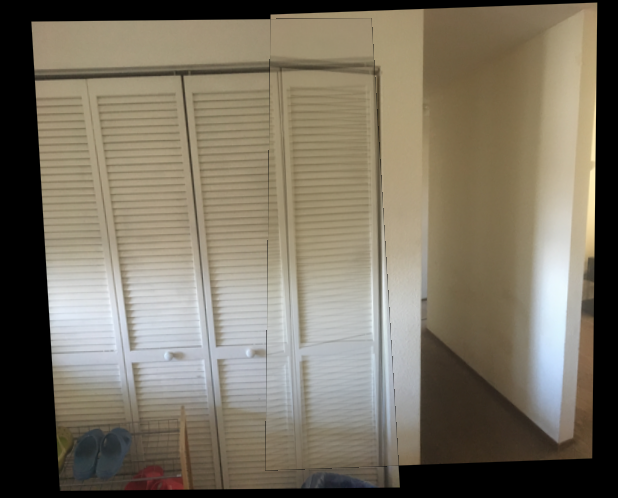
Warp the images so they're registered and create an image mosaic. Instead of having one picture overwrite the other, which would lead to strong edge artifacts, use weighted averaging.
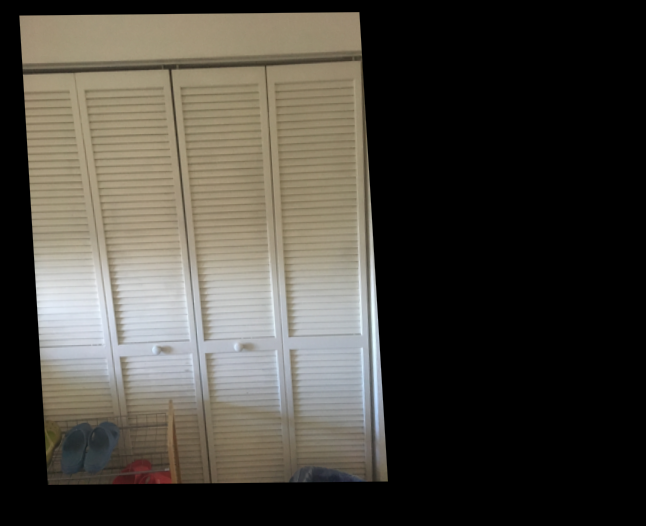
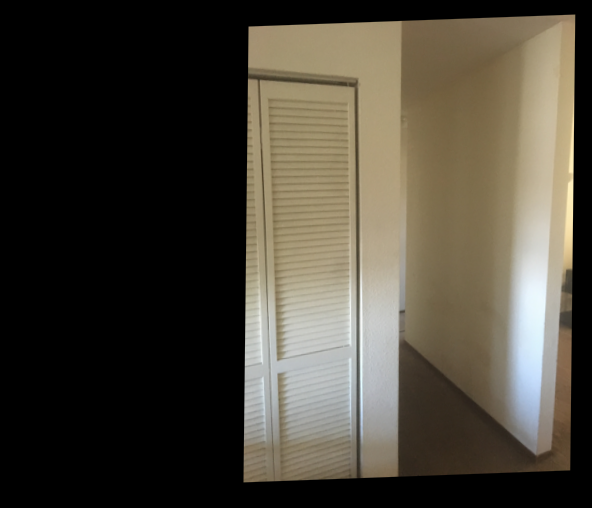
first example
second example
third example
Part3 : Summary
From different dataset, there are errors happening sometimes. For the yellow truck, the output looks a sudden jump at the very edges of the aperture.This occurs when adjacent lenslet images slightly overlap in the rectified camera image, which means views from opposite sides of the microscope aperture add together on the sensor.