Recover Homographies
To do image rectification we must first calculate the transformation matrix also known as the homography matrix. This is an 3X3 matrix with 8 degrees of freedom. The last entry is just a scaling factor one. We provide user input for 4 points on one sample image and then 4 points on the other image, that are supposed to correspond to the same approximate square in the previous image. For frontal view rectification we treat our second set of points as (20,20), (110,20), (110,110), (20,110) - a pefect square. We then solve a system of equations with least squares to compute the values of the h matrix.
Image Rectification
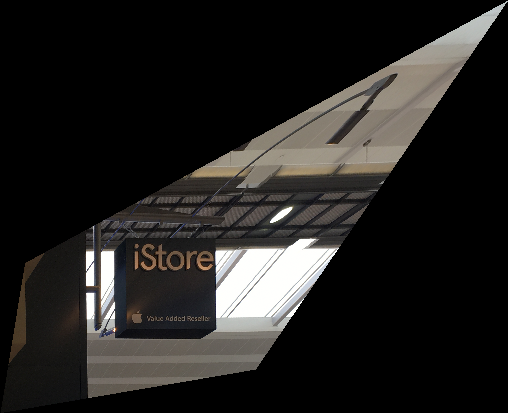
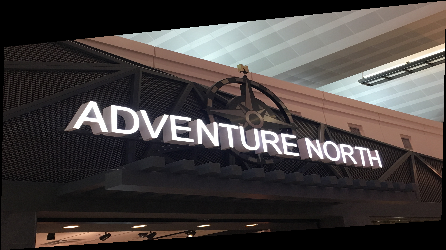
In image recitification we are warping images primarily taken from the side shot, so that they can be seen from a frontal view. To do this we take the image we want to warp and inverse map each pixel to the proper space in a new image. This is done by taking a coordinate on the new image and doing a dot product of this with the homography matrix. The coordinate values that result from this correpond to pixels in our previous image which will now be placed in a new slot in our resulting image. As you can see the sign for the i store warps very well onto a flat frontal plane, while the compass warps onto a frontal plane, but does not do as well because it is not as square of a symbol to work with initially.

|
|

|
|
Image Mosaics
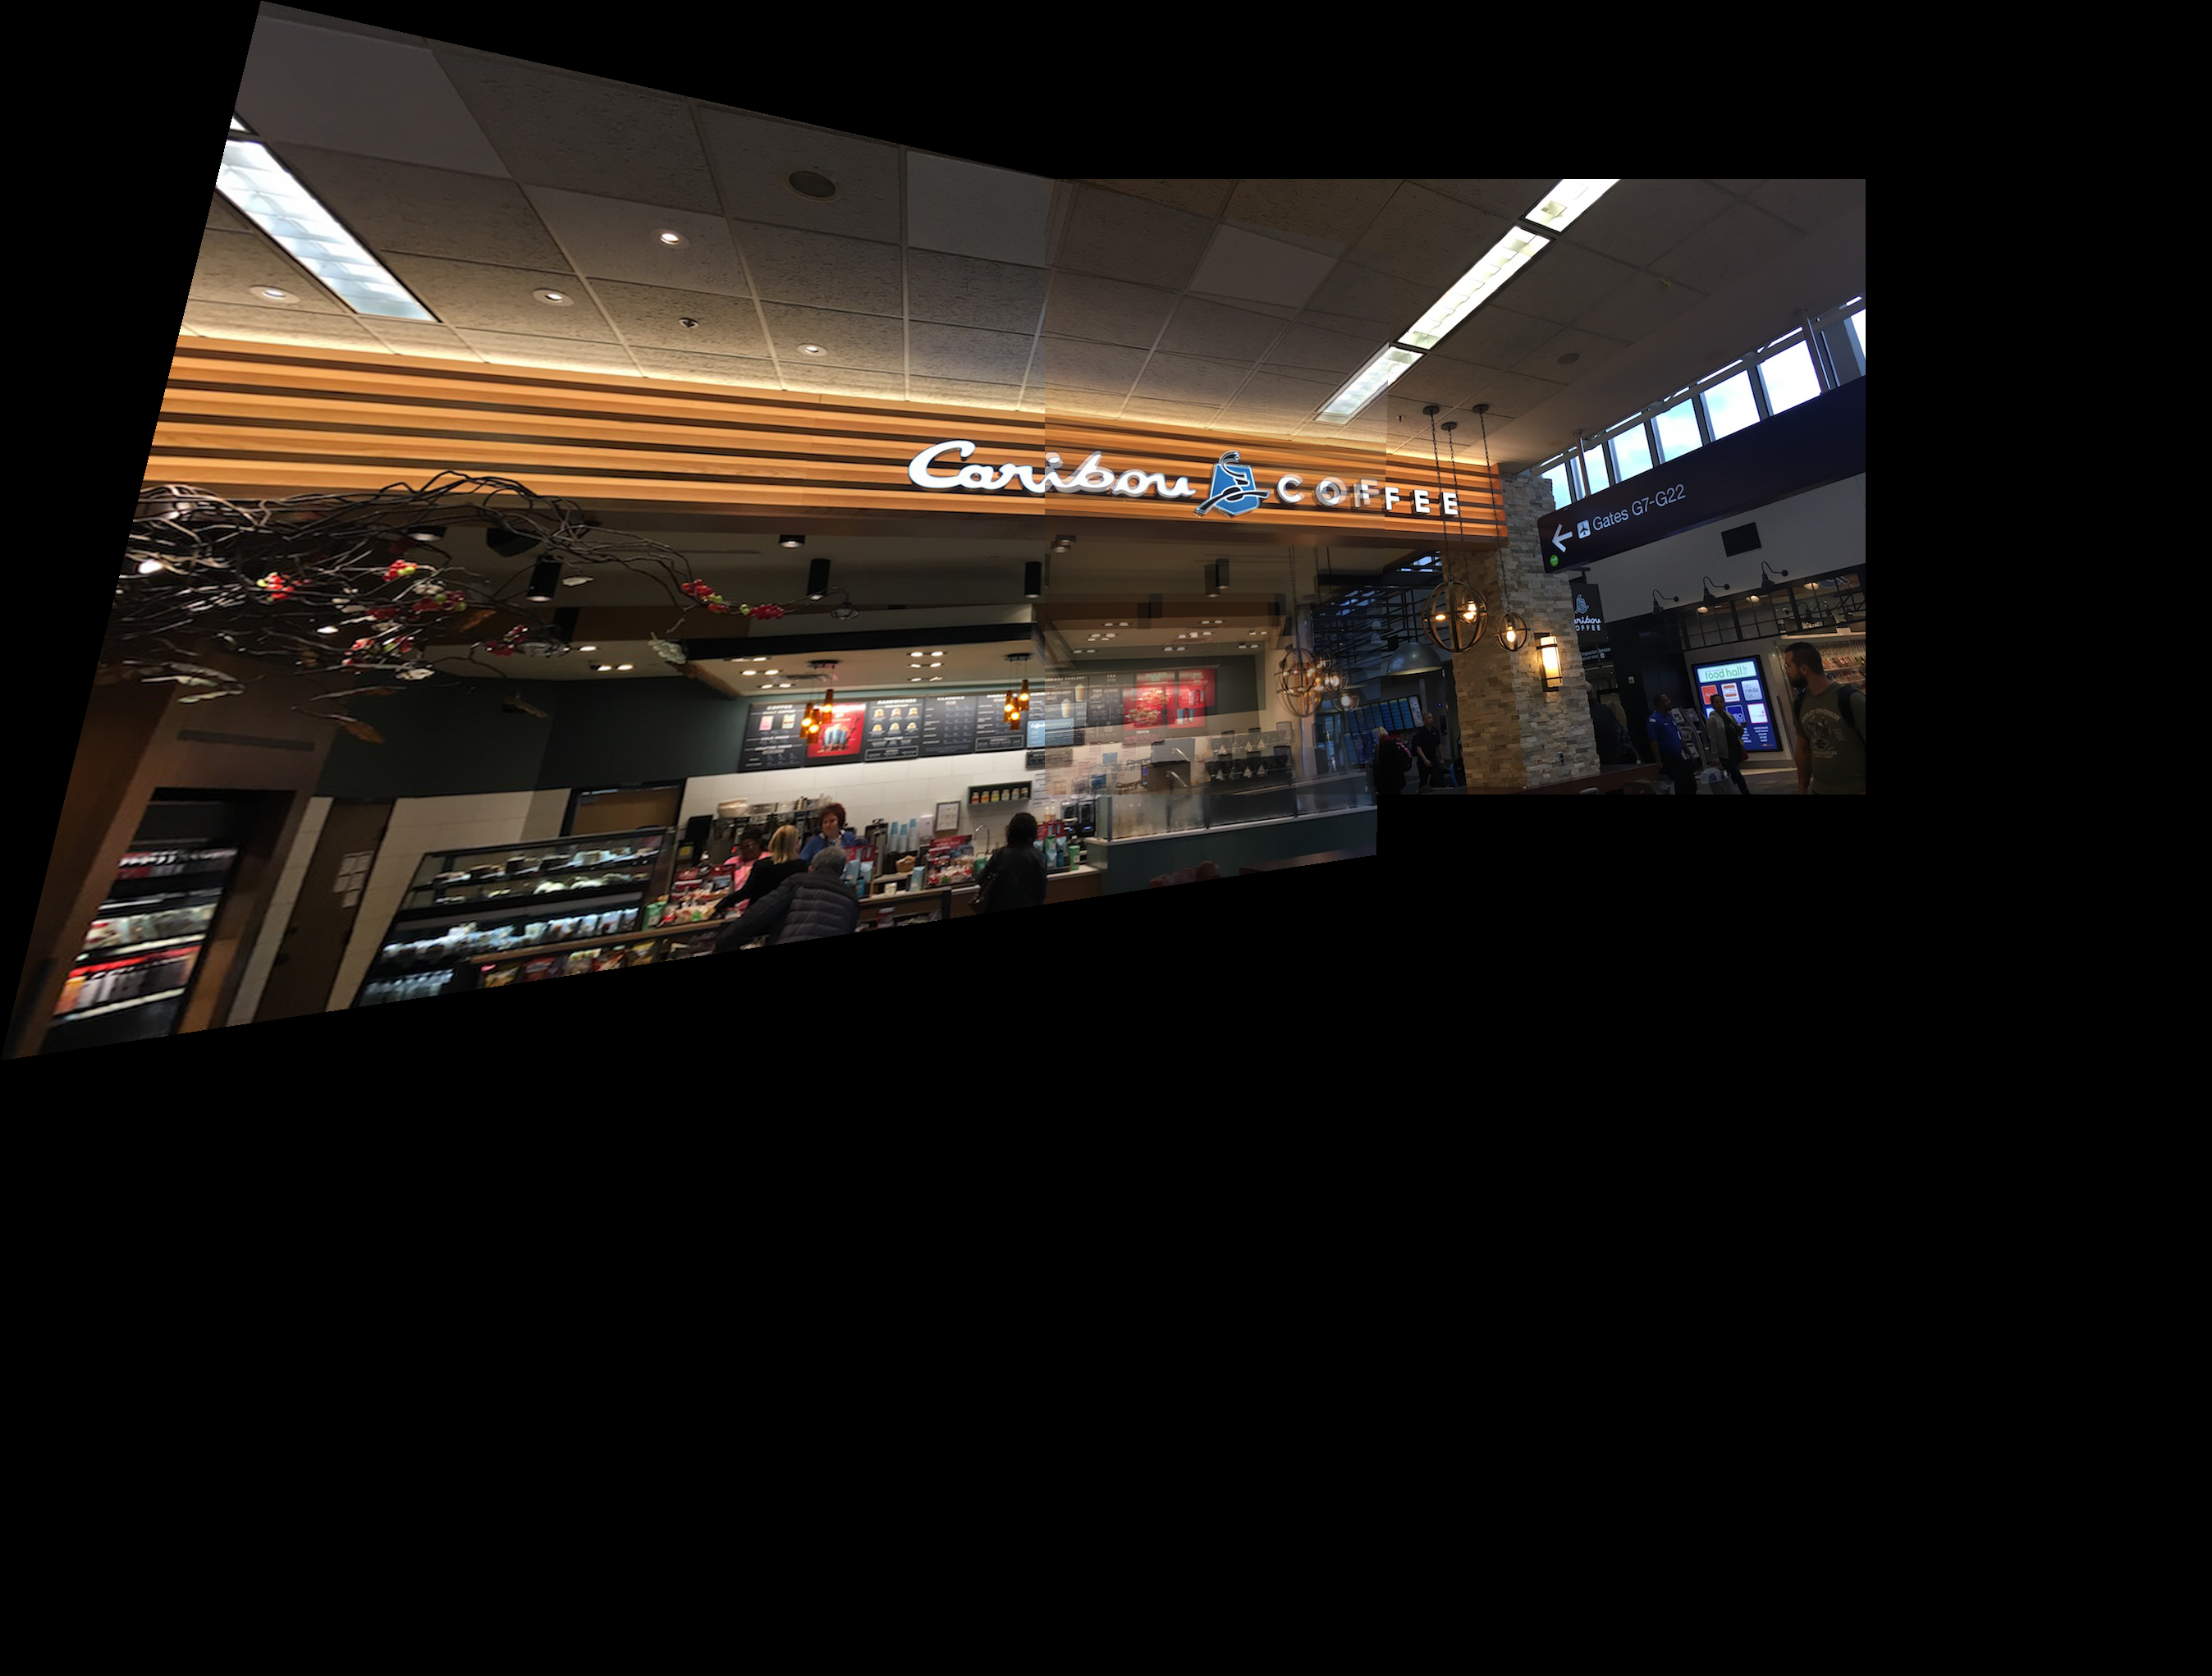
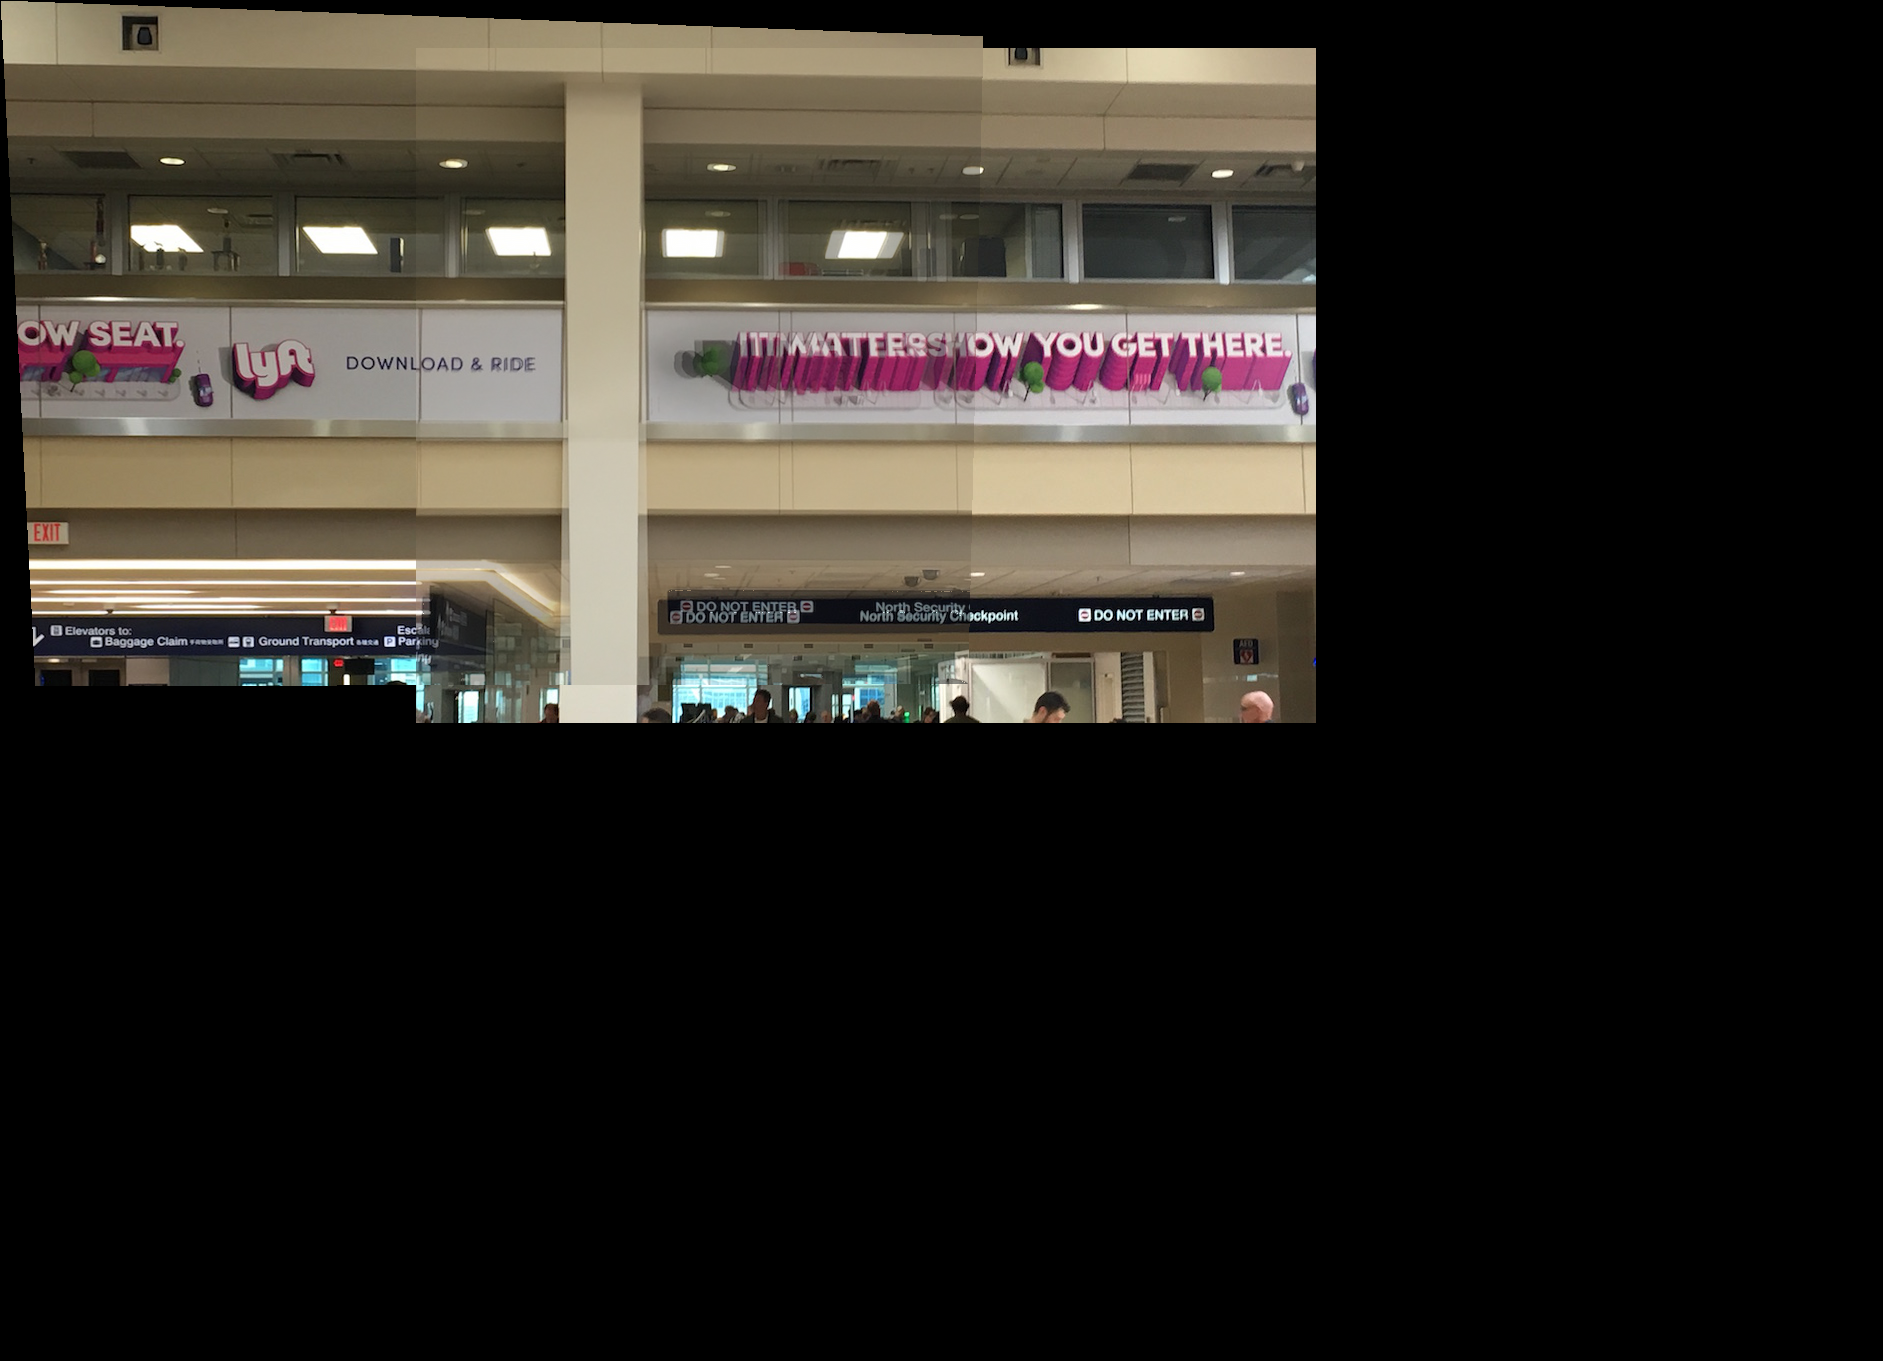
I created an image mosaic by warping a first image to a second image trying to choose my points as a square object that is visible in both images. Then I created a mask for this warped image and the second unchanged image. This was done so that I could see what parts of these images overlap. For the overlapping part I implemented averaging blending, so I multiplied the pixel values of each image by 0.5 and added them together. Then I placed the non-overlaping pixels of both images into the proper place on my new image, again using my mask by seeing what section of each picture don't overlap. This in the end creates a mosaic, panoramic like image. As you can see the caribou coffee and lyft label mosaics worked farily well because they are relatively simple pictures with a decent amount of natural squares in them. The natural squares allowed me to create a clean seem with my warp, and the realtive lack of noise in the image made the mosaic cleaner. The flight board picture had to much noise so the resulting mosaic is hazy. In addition to this the reference square objects for this image are relatively far away making the seem less clean.

|

|
|
|

|

|

|
|

|

|
|
Summary
I learned that one can use linear algebra techniques to artifically alter the view of a picture, and effectively splice multiple images together into a panorama. Note all pictures were taken in Minneapolis–Saint Paul International Airport because I was traveling for interviews.