CS194-26: Image Manipulation and Computational Photography, Fall 2017
Project 6: Image Warping and Mosaicing
Sudeep Dasari (cs194-26-aae)
Part A
Overview
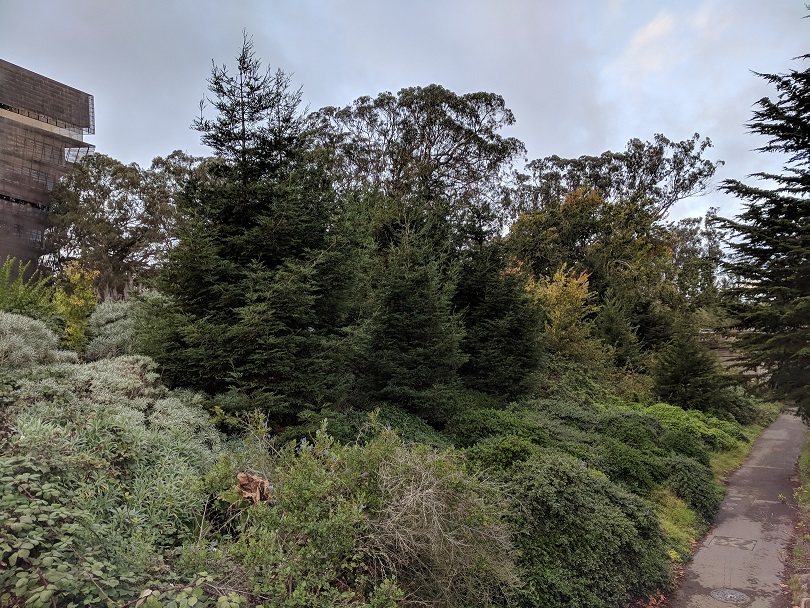
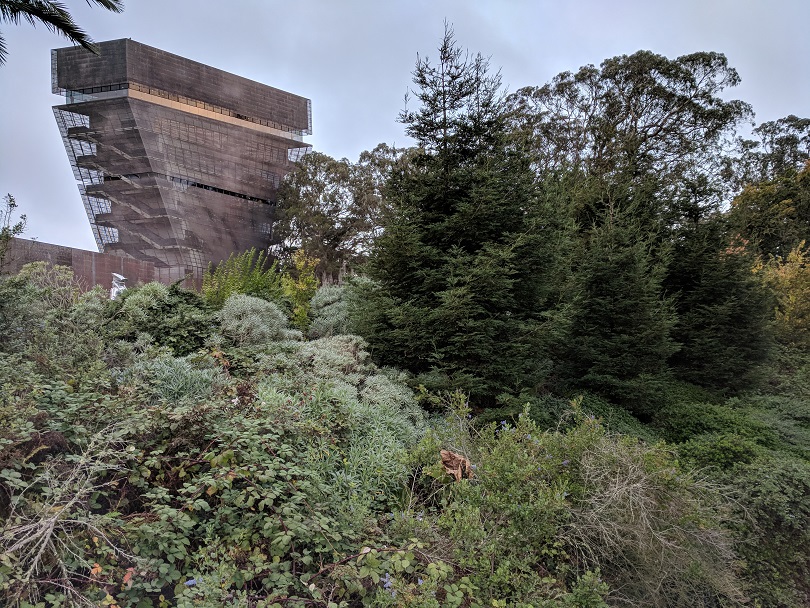
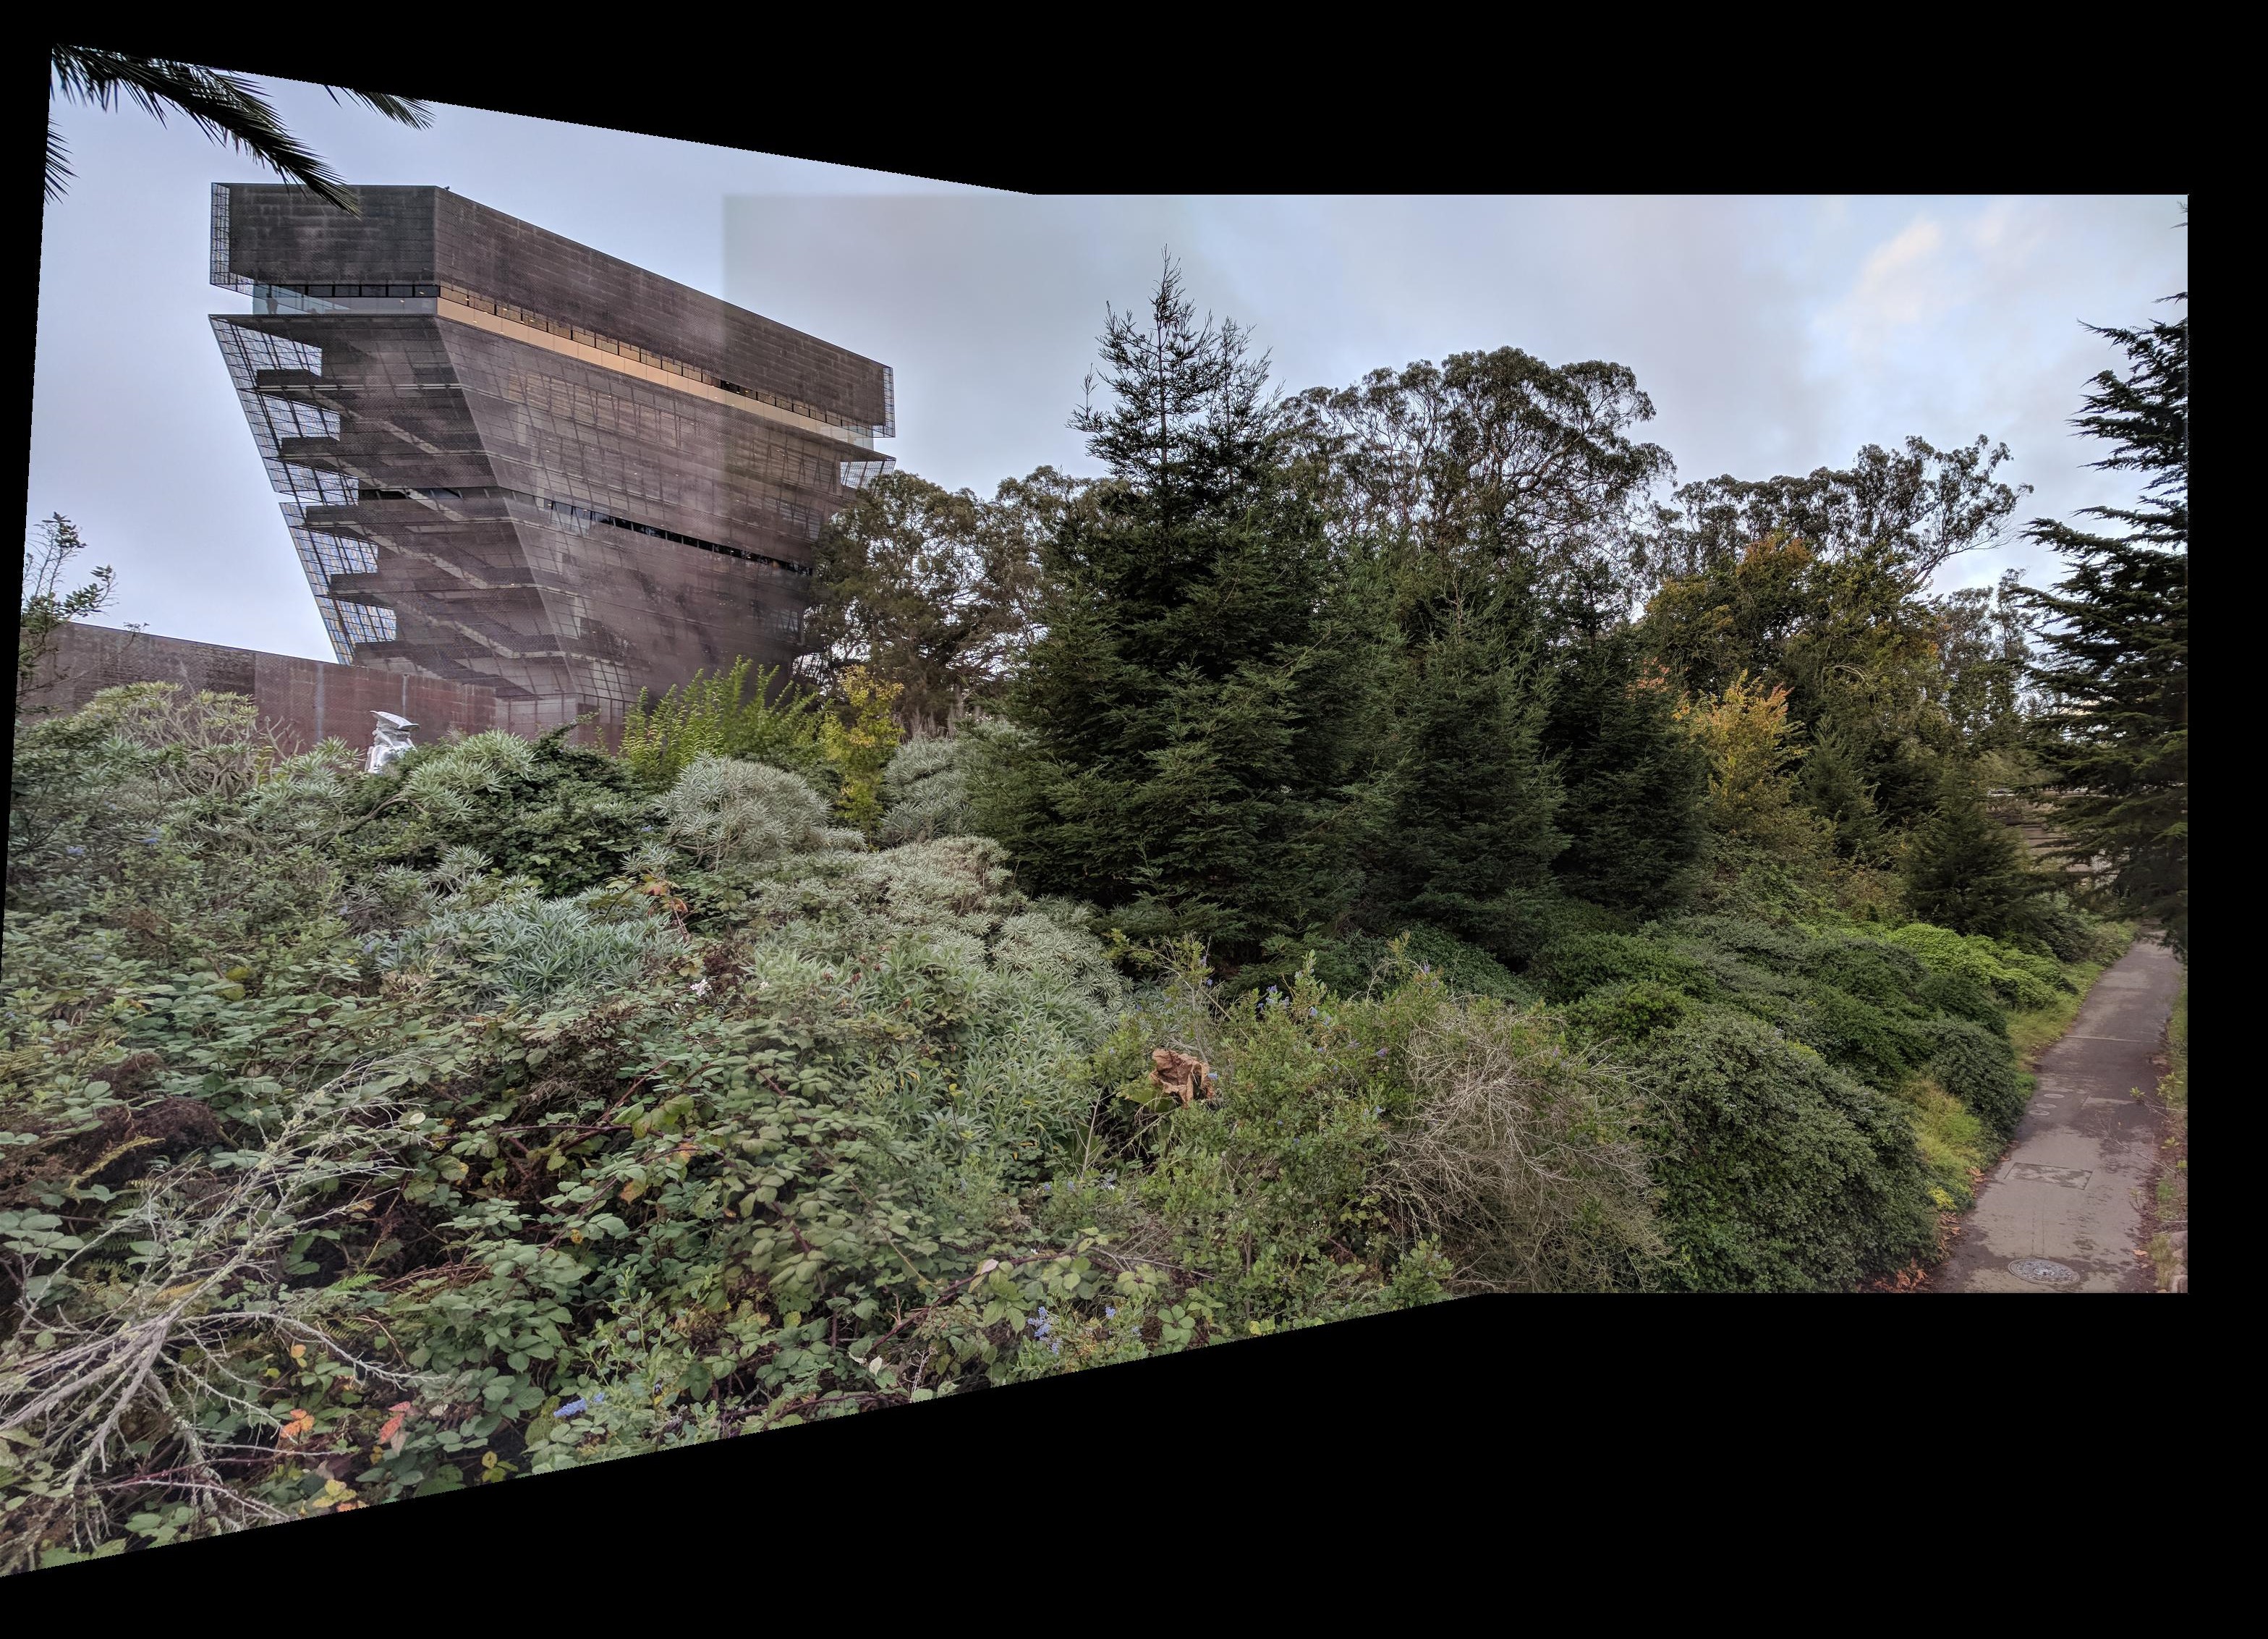
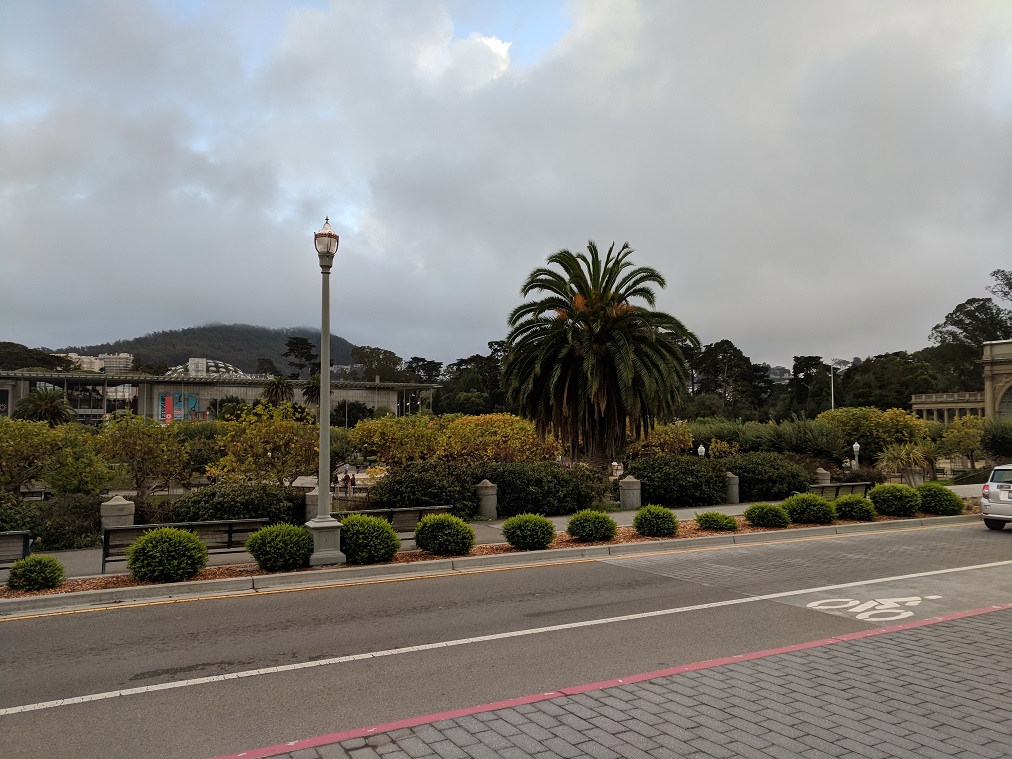
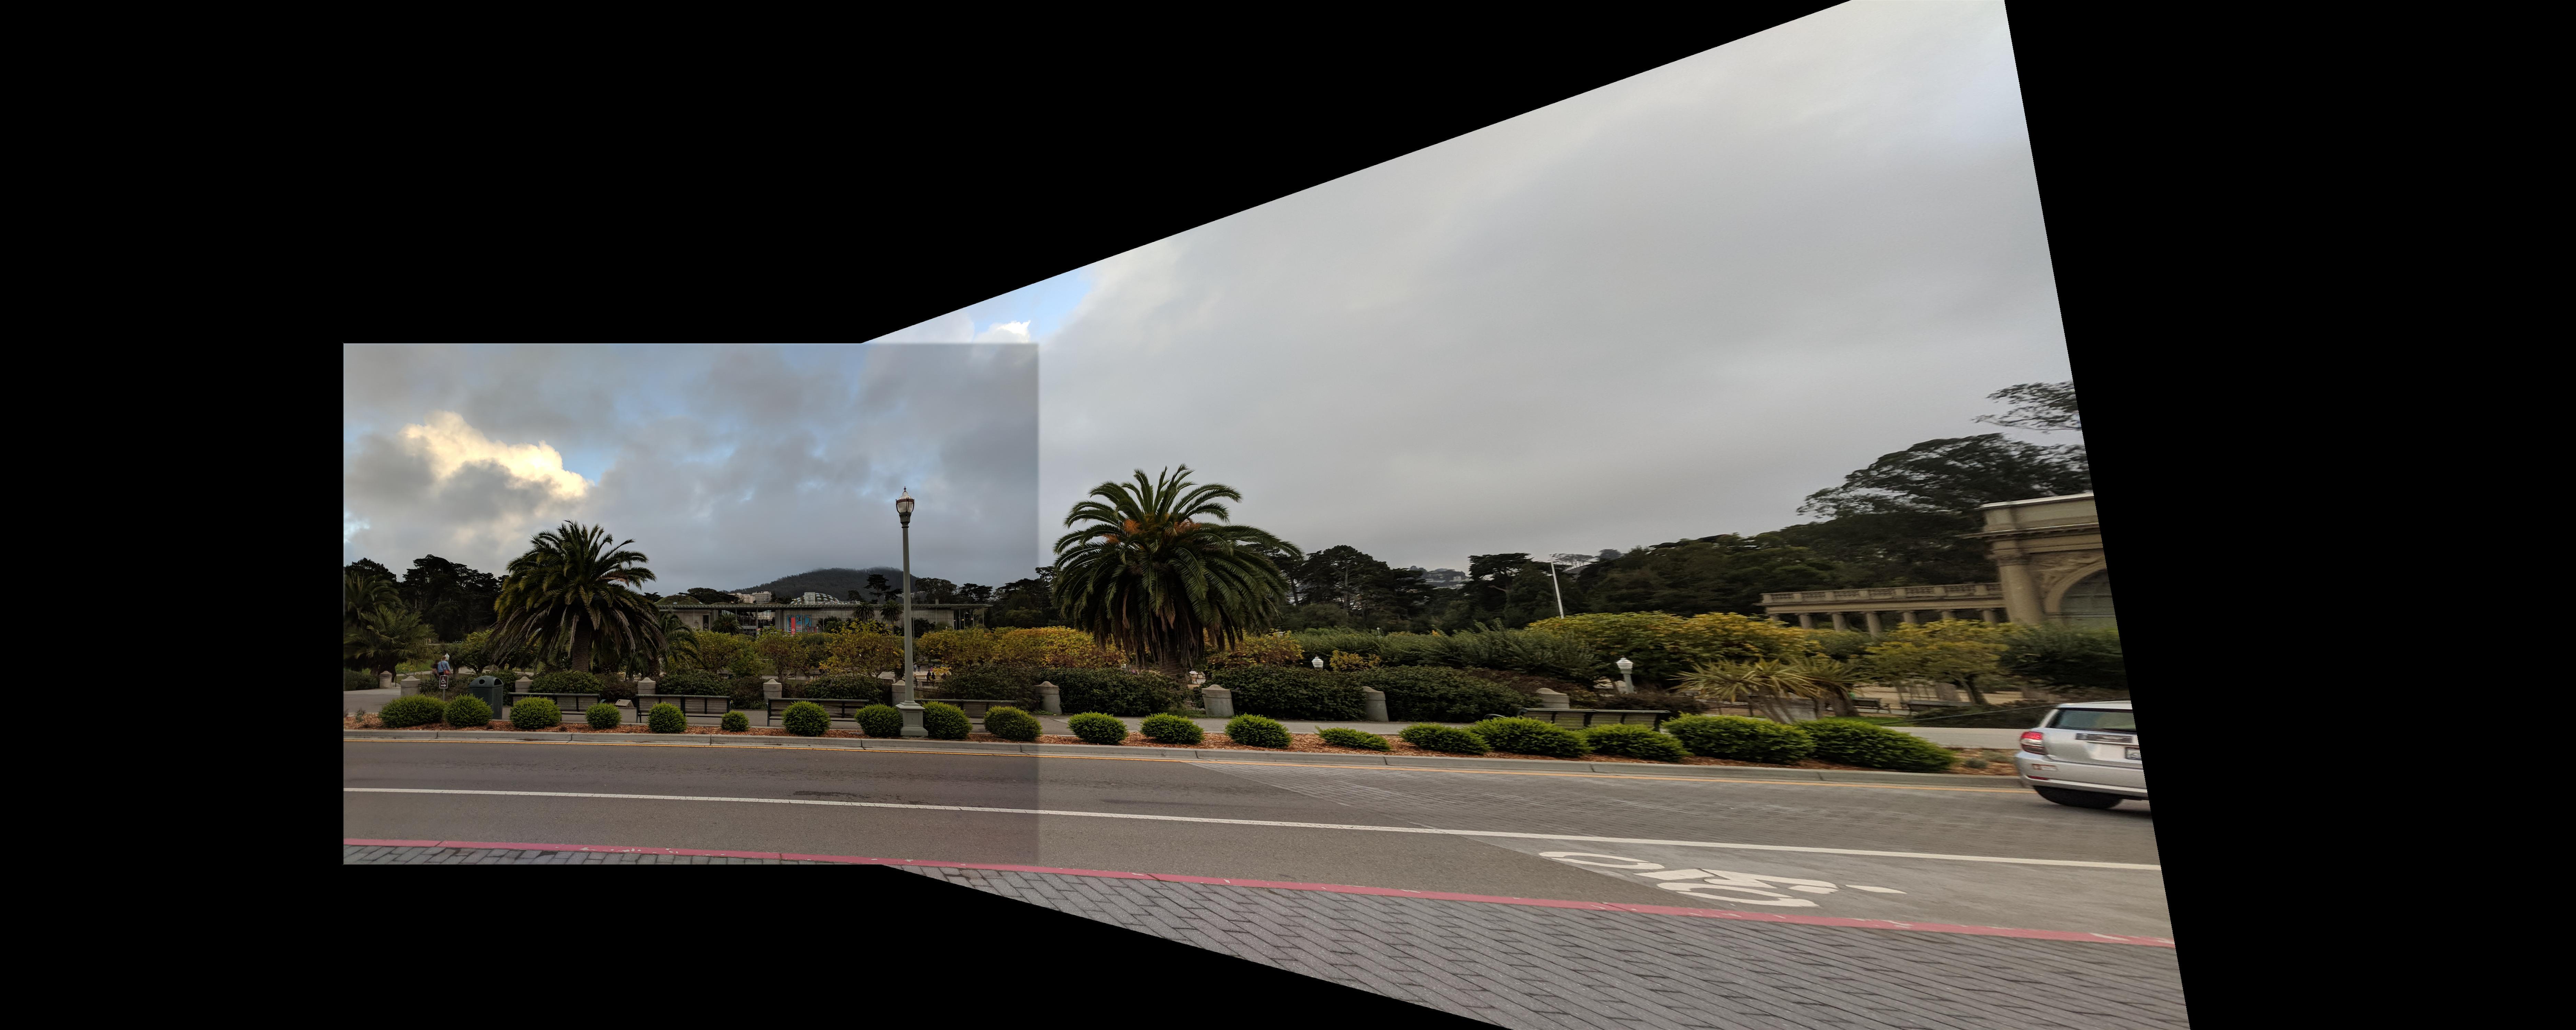
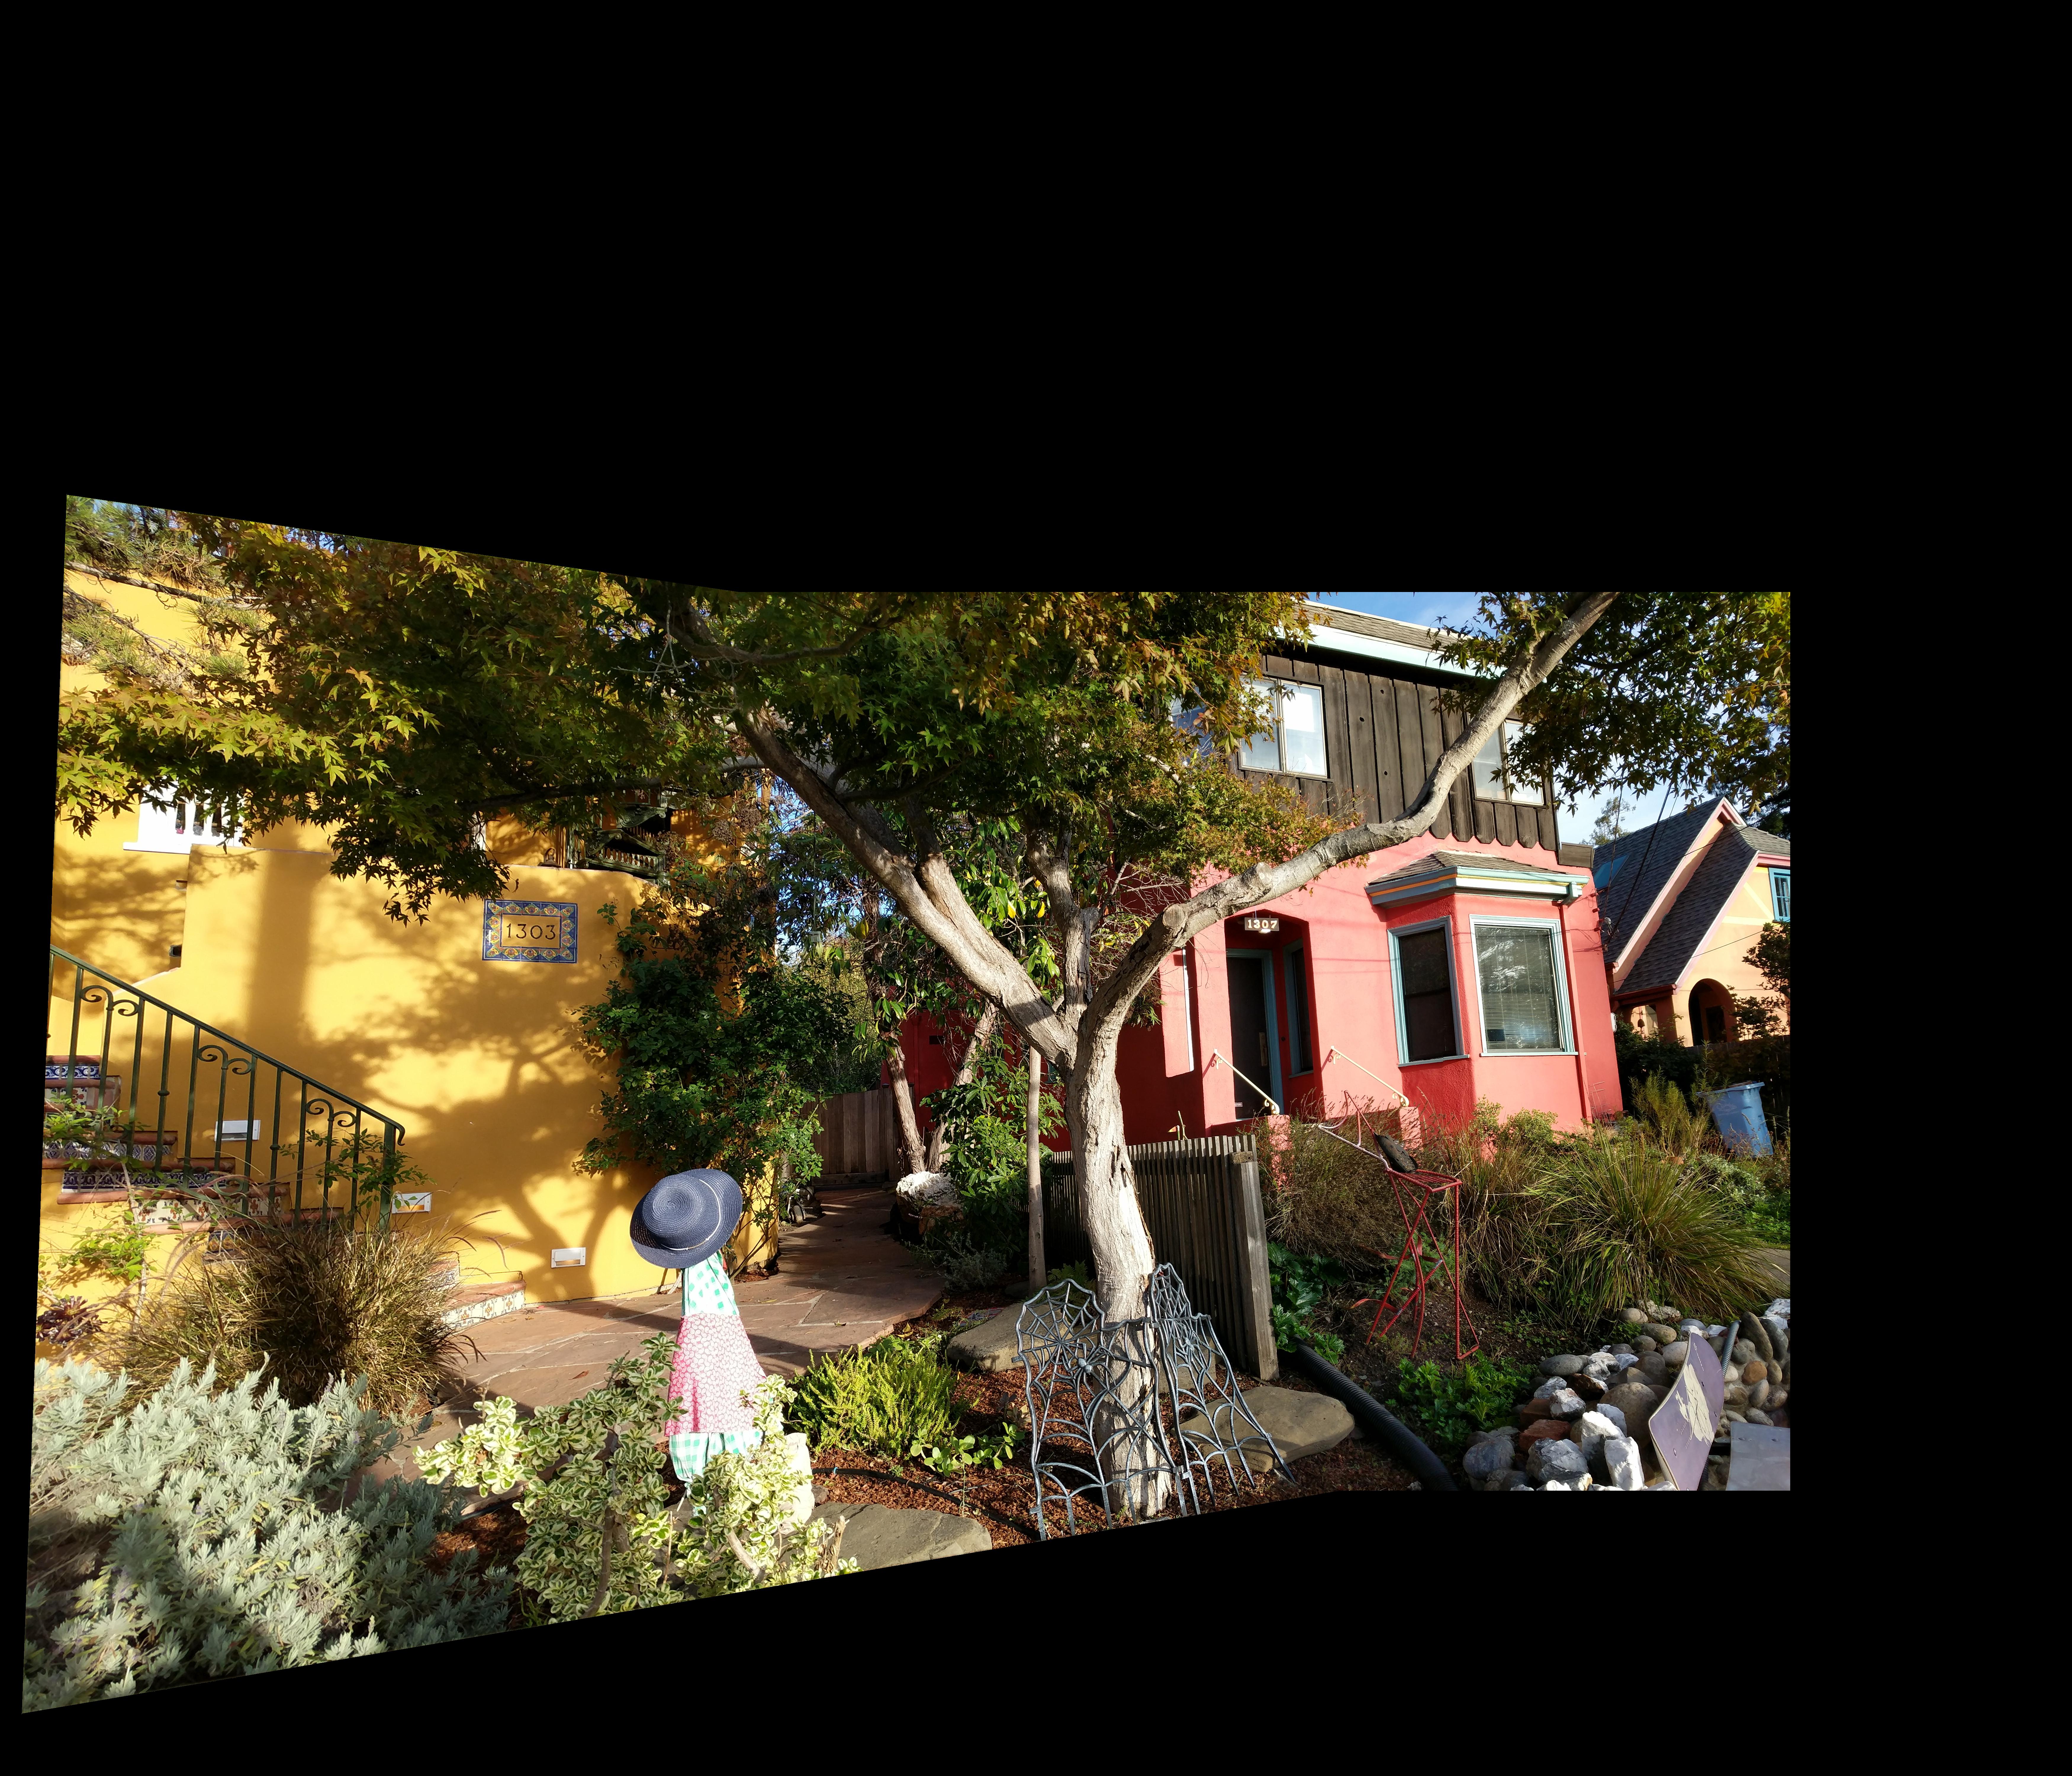
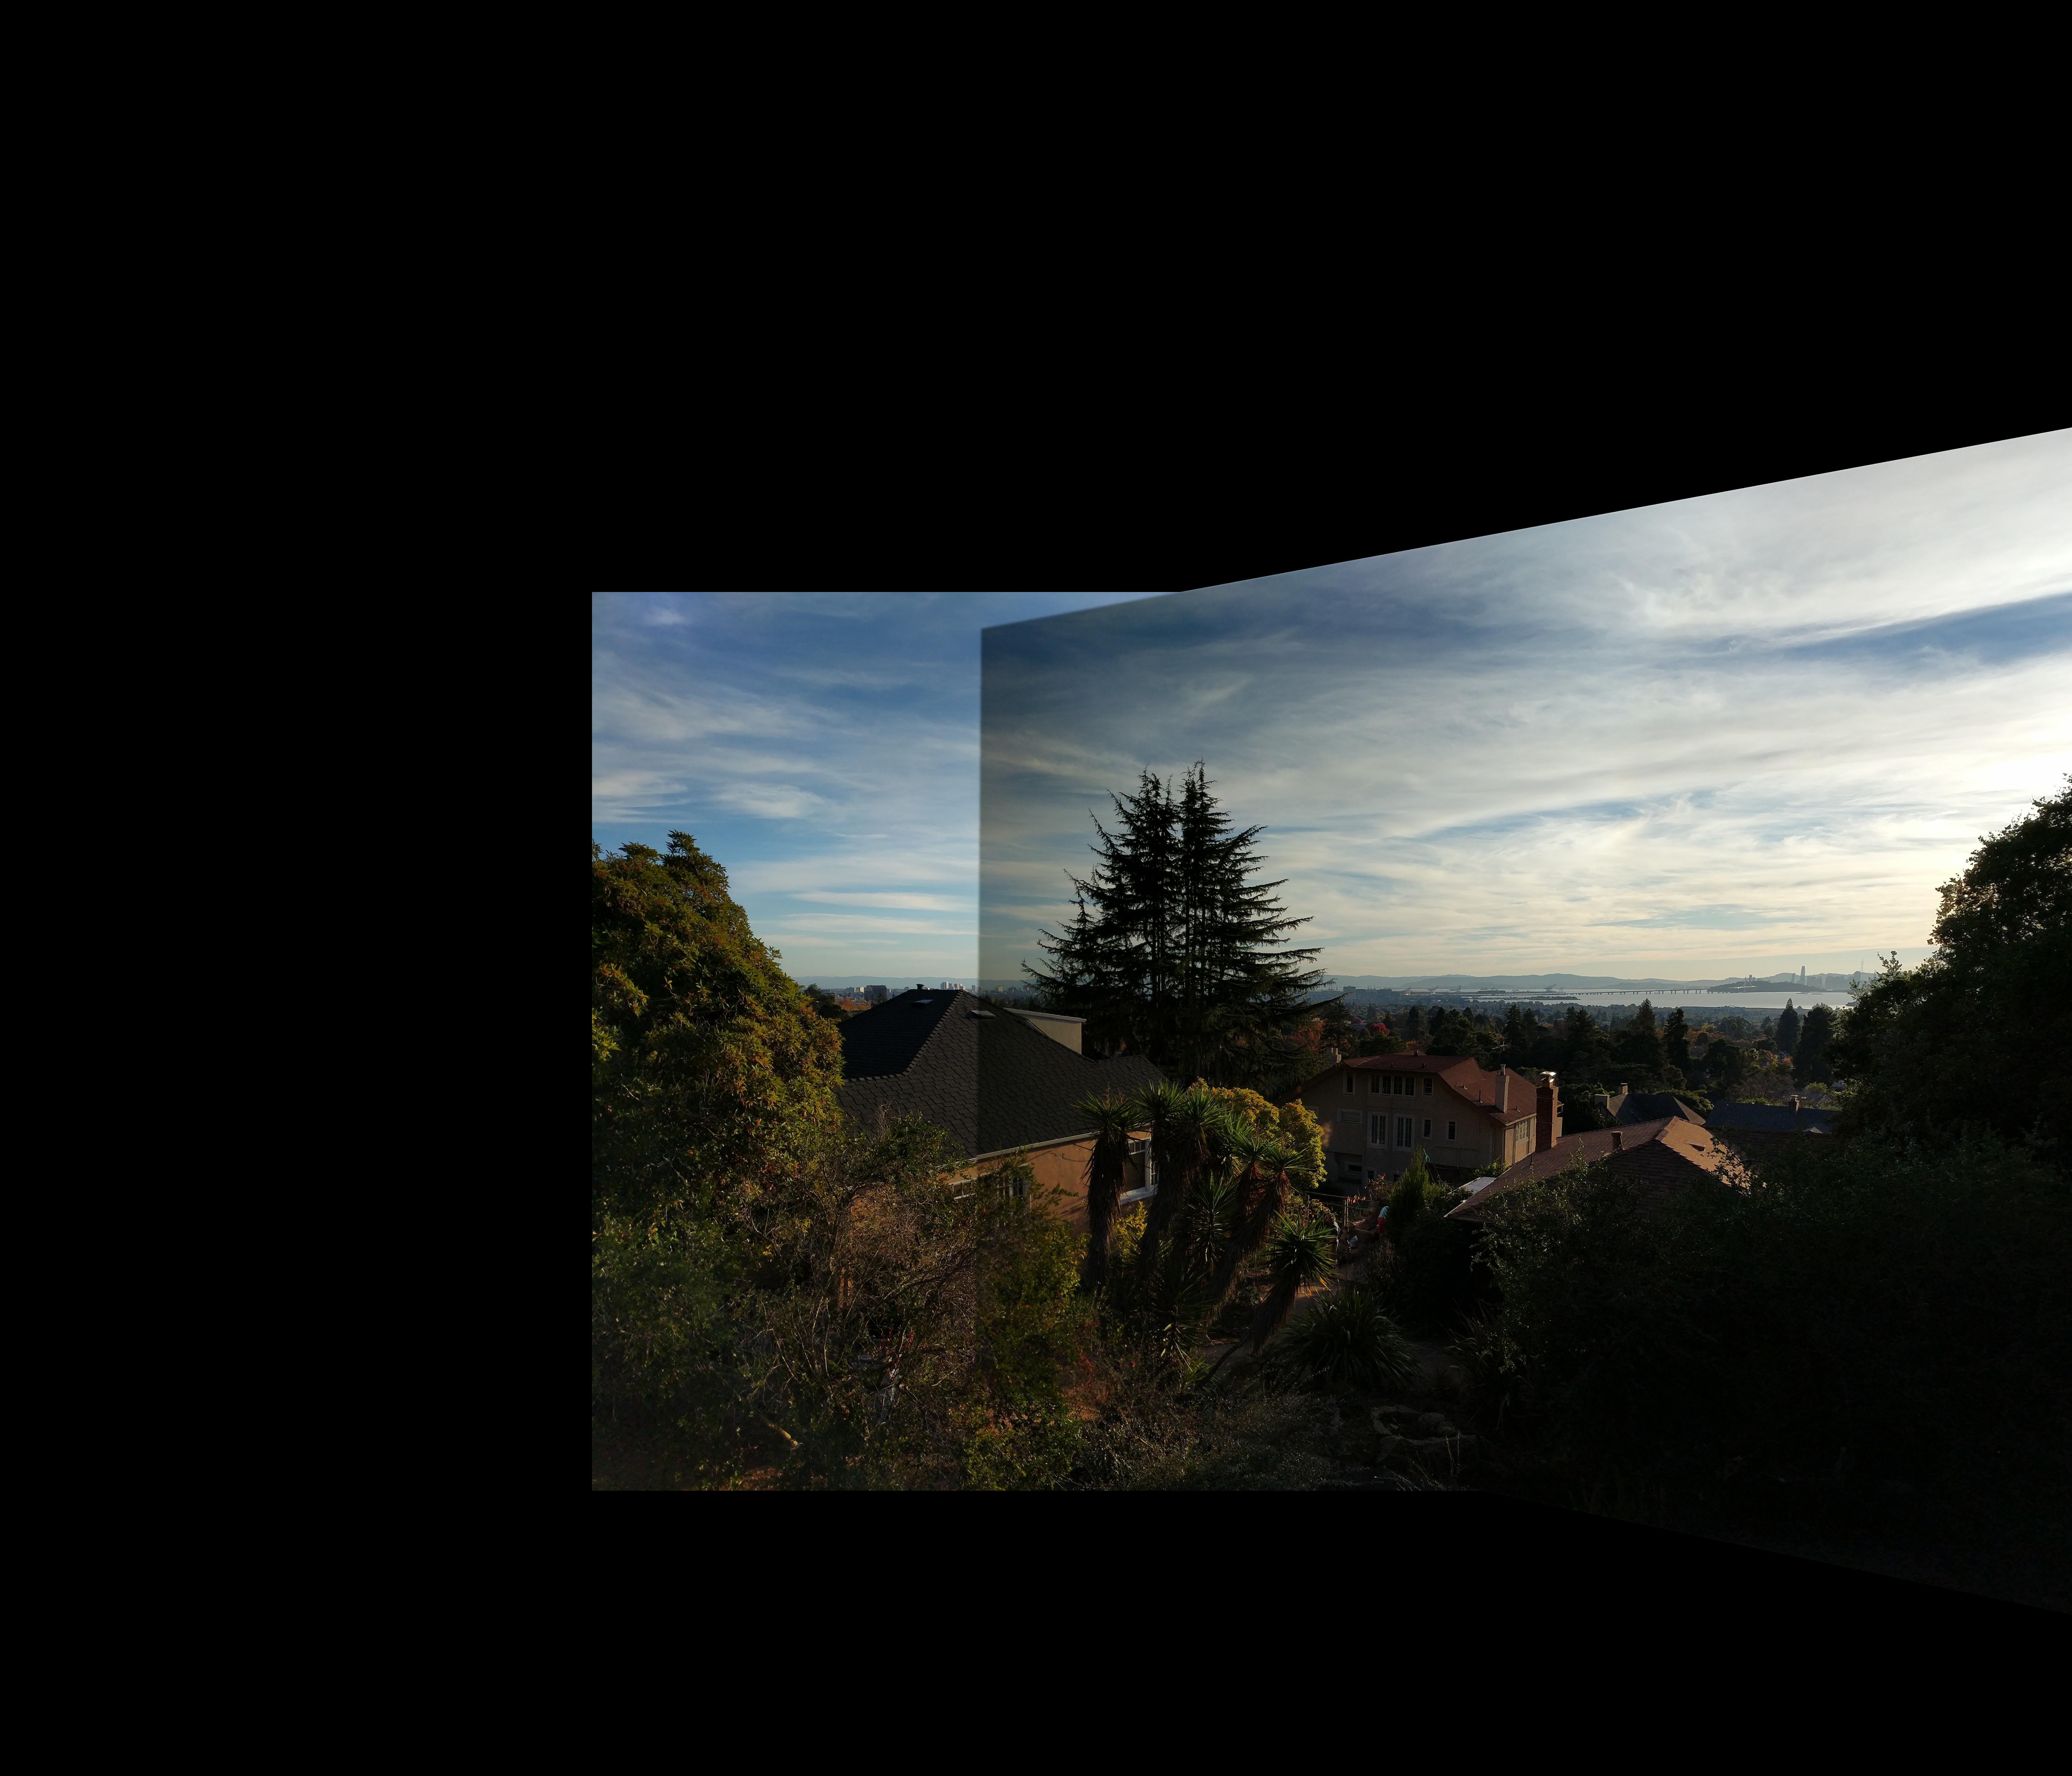
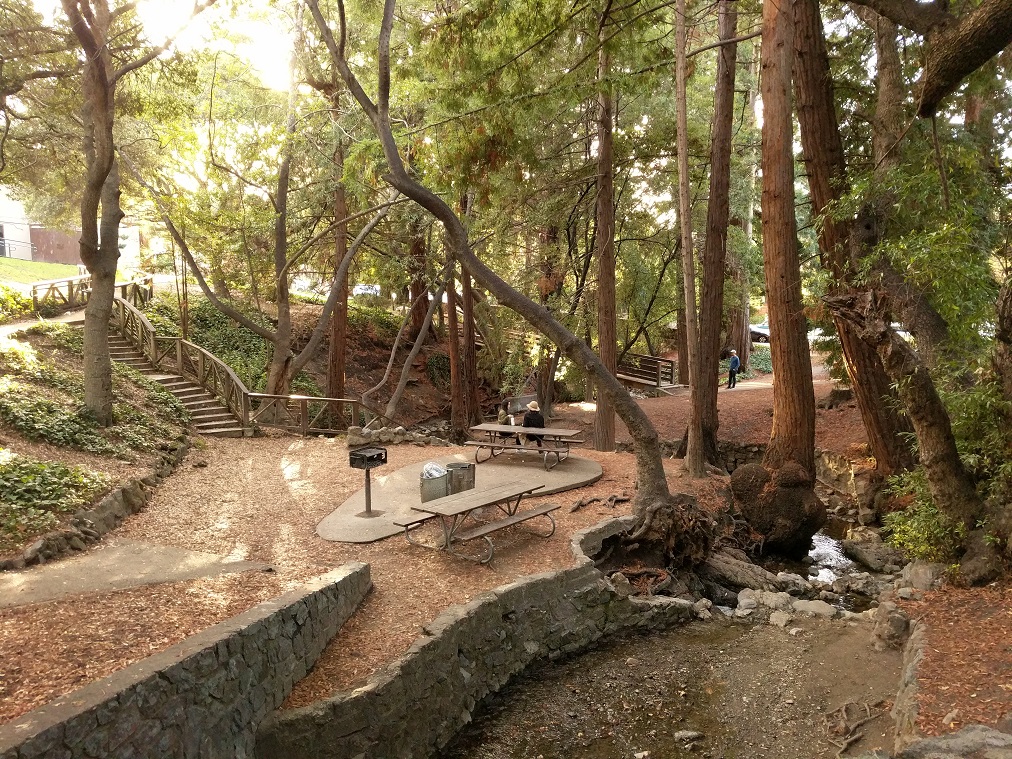
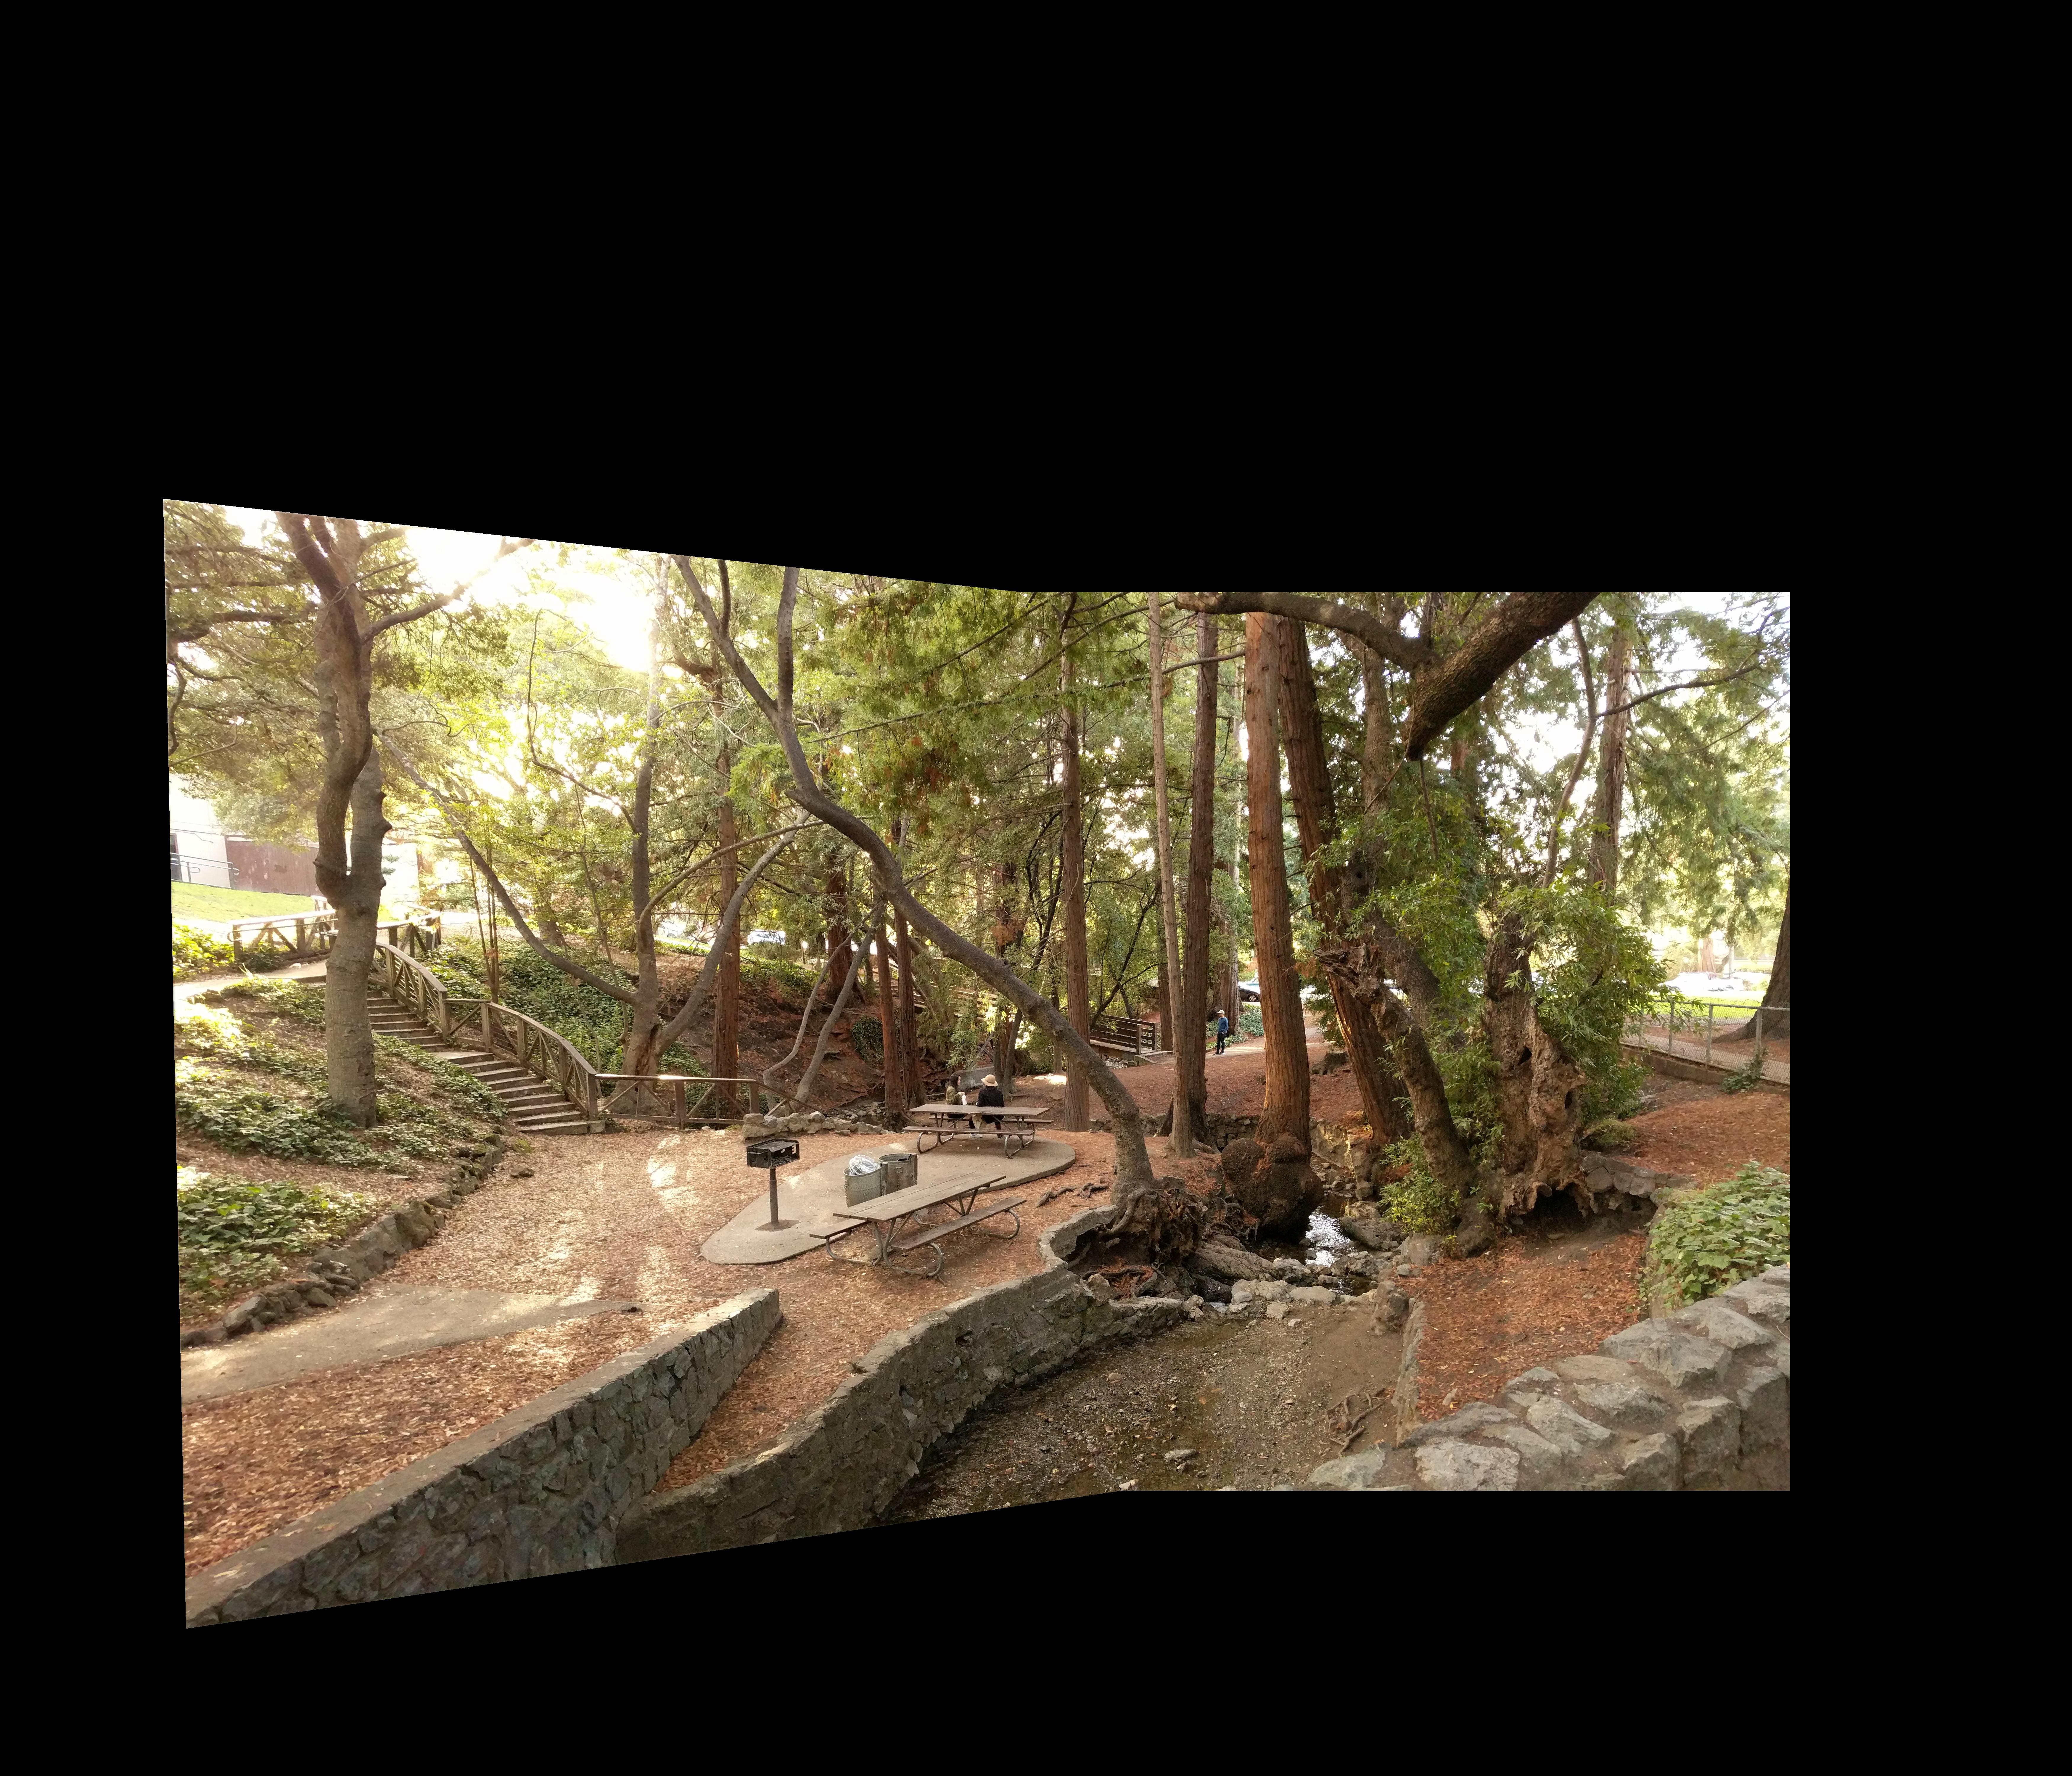
The the first half of this project's main goal is to explore image mosaicing by warping images taken from different points of view into the same coordinate space. After taking digital images keypoints are manually annotated by the user, a homography is computed, and then used to transform the images (using a projective warp) into the same coordinate frame. Finally, the transformed images are composited to create the final result.
Computing Homographies
Computing the homography is a two-step process: first the user finds and marks the same keypoint in each image, and then a projective transformation between the two sets of points is computed. Given a pair of points (x, y) and (x’, y’) the following equations can be written:
x’ = ax + bx + c – gxx’ – hyx’
y’ = dx + ey + f – gxy’ – hyy’
For n points, the solution to the system of 2n equations can be approximated using least squares regression.
Image Rectification
The computed homographies can be used for a cool application: rectifying images! In this example a picture of tiled flooring is taken from a slanted viewpoint, so the tile no longer looks square. A homography between the original image space and a top down view of the square tile is computed, and the image is warped into those coordinates. From this viewpoint the square shape of the tiles is clearly visible!
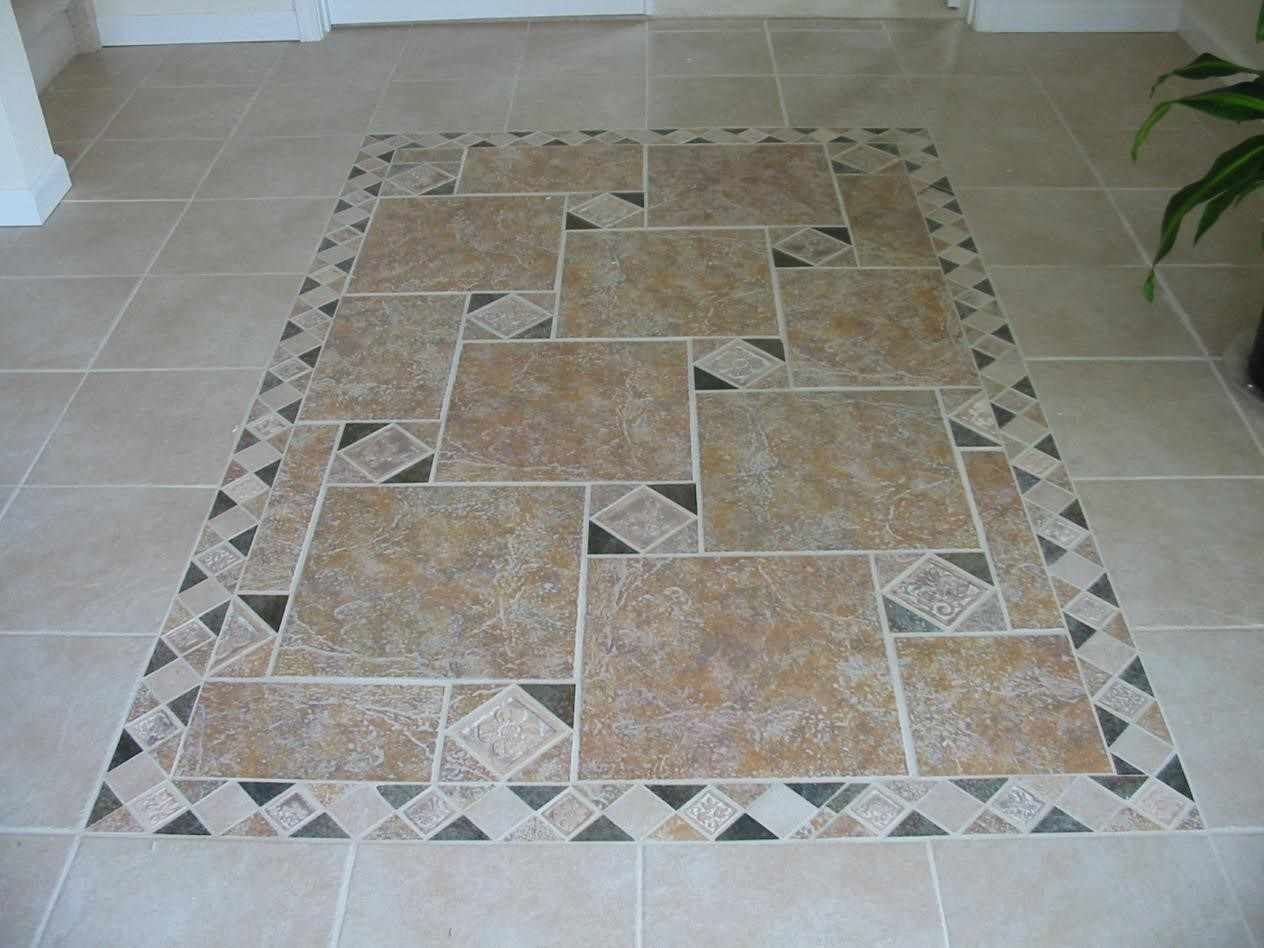 Original Tiles Source
|
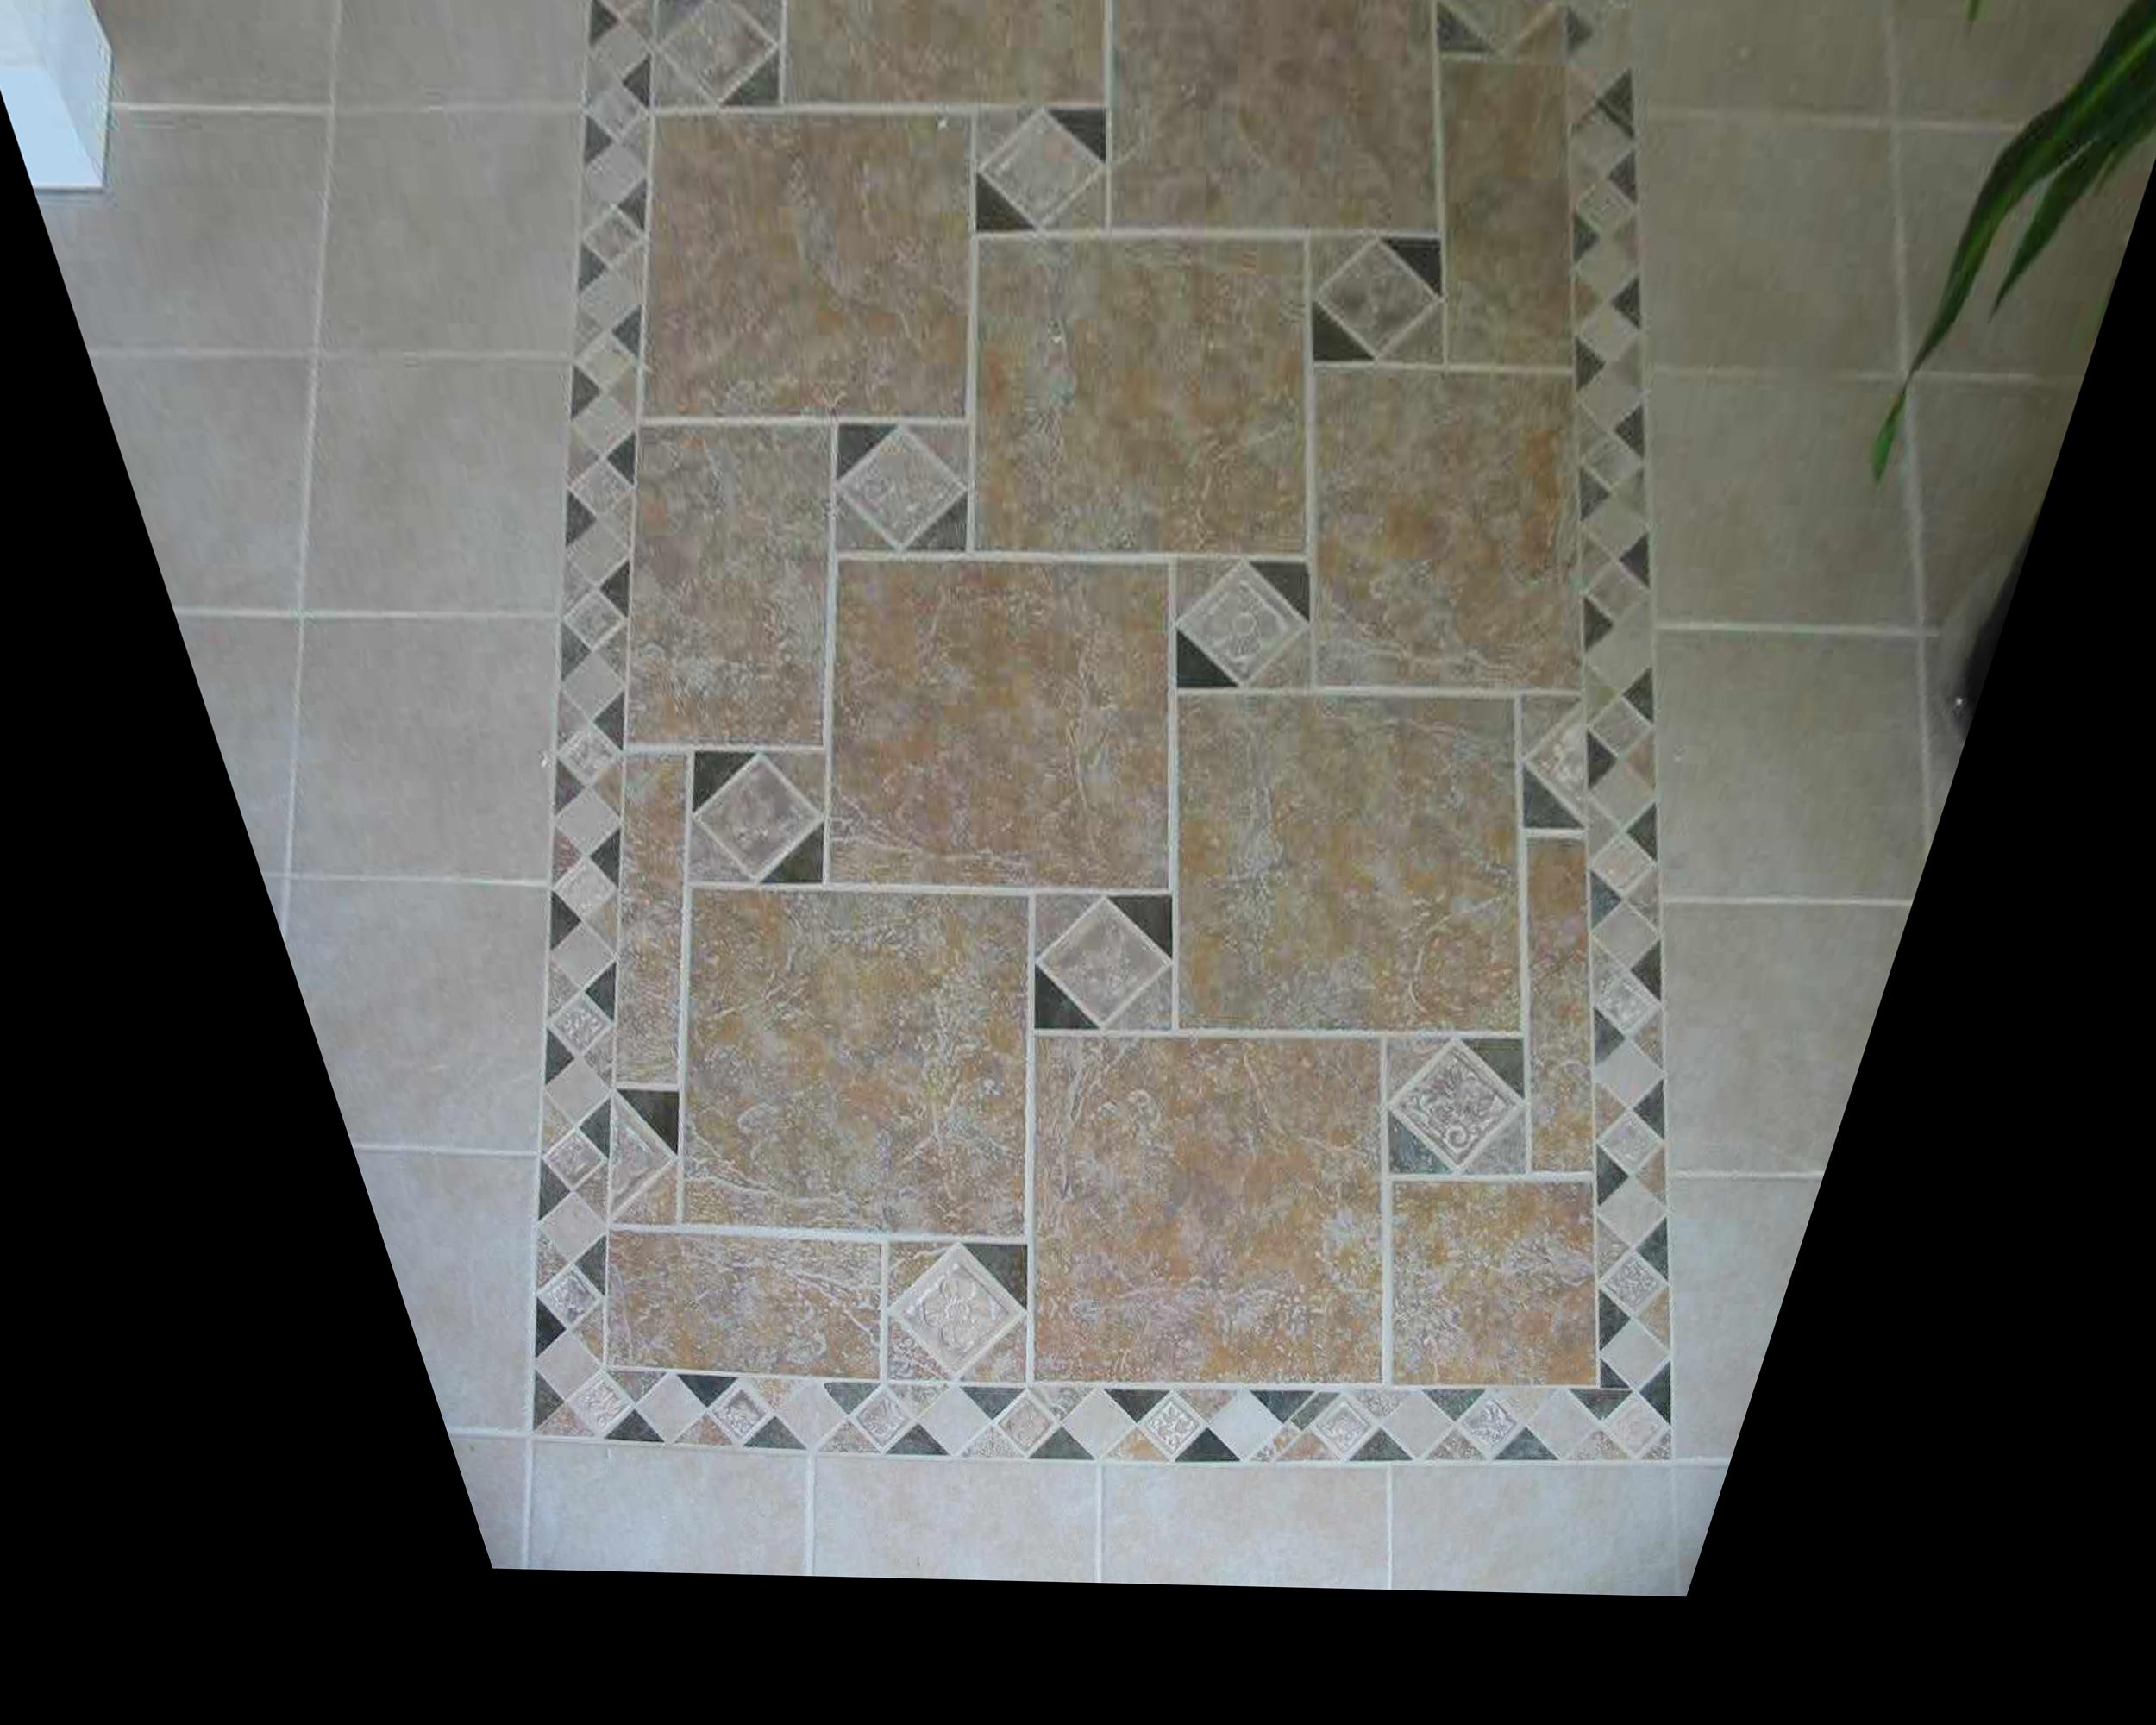 Rectified Image
|
Part B
Overview
The second half of the project seeks to automate the painful process of manually annotating keypoints in images. Keypoints are now automatically detected in images using the Harris corner detector. The image points are first spatially filtered and then matched using a simple feature descriptor. These matched pairs are then used to compute a homography. Since small changes in keypoints can make huge differences in computed homographies, RANSAC is employed to compute the 'best' homography. Images are then warped and then blended with a 2-layer Laplacian pyramid to create the final result.
Part 1: Harris Corner Extraction
The first step in the automatic image warping process is to extract keypoints with the Harris corner detector. Here is an image with extracted keypoints overlaid in red.
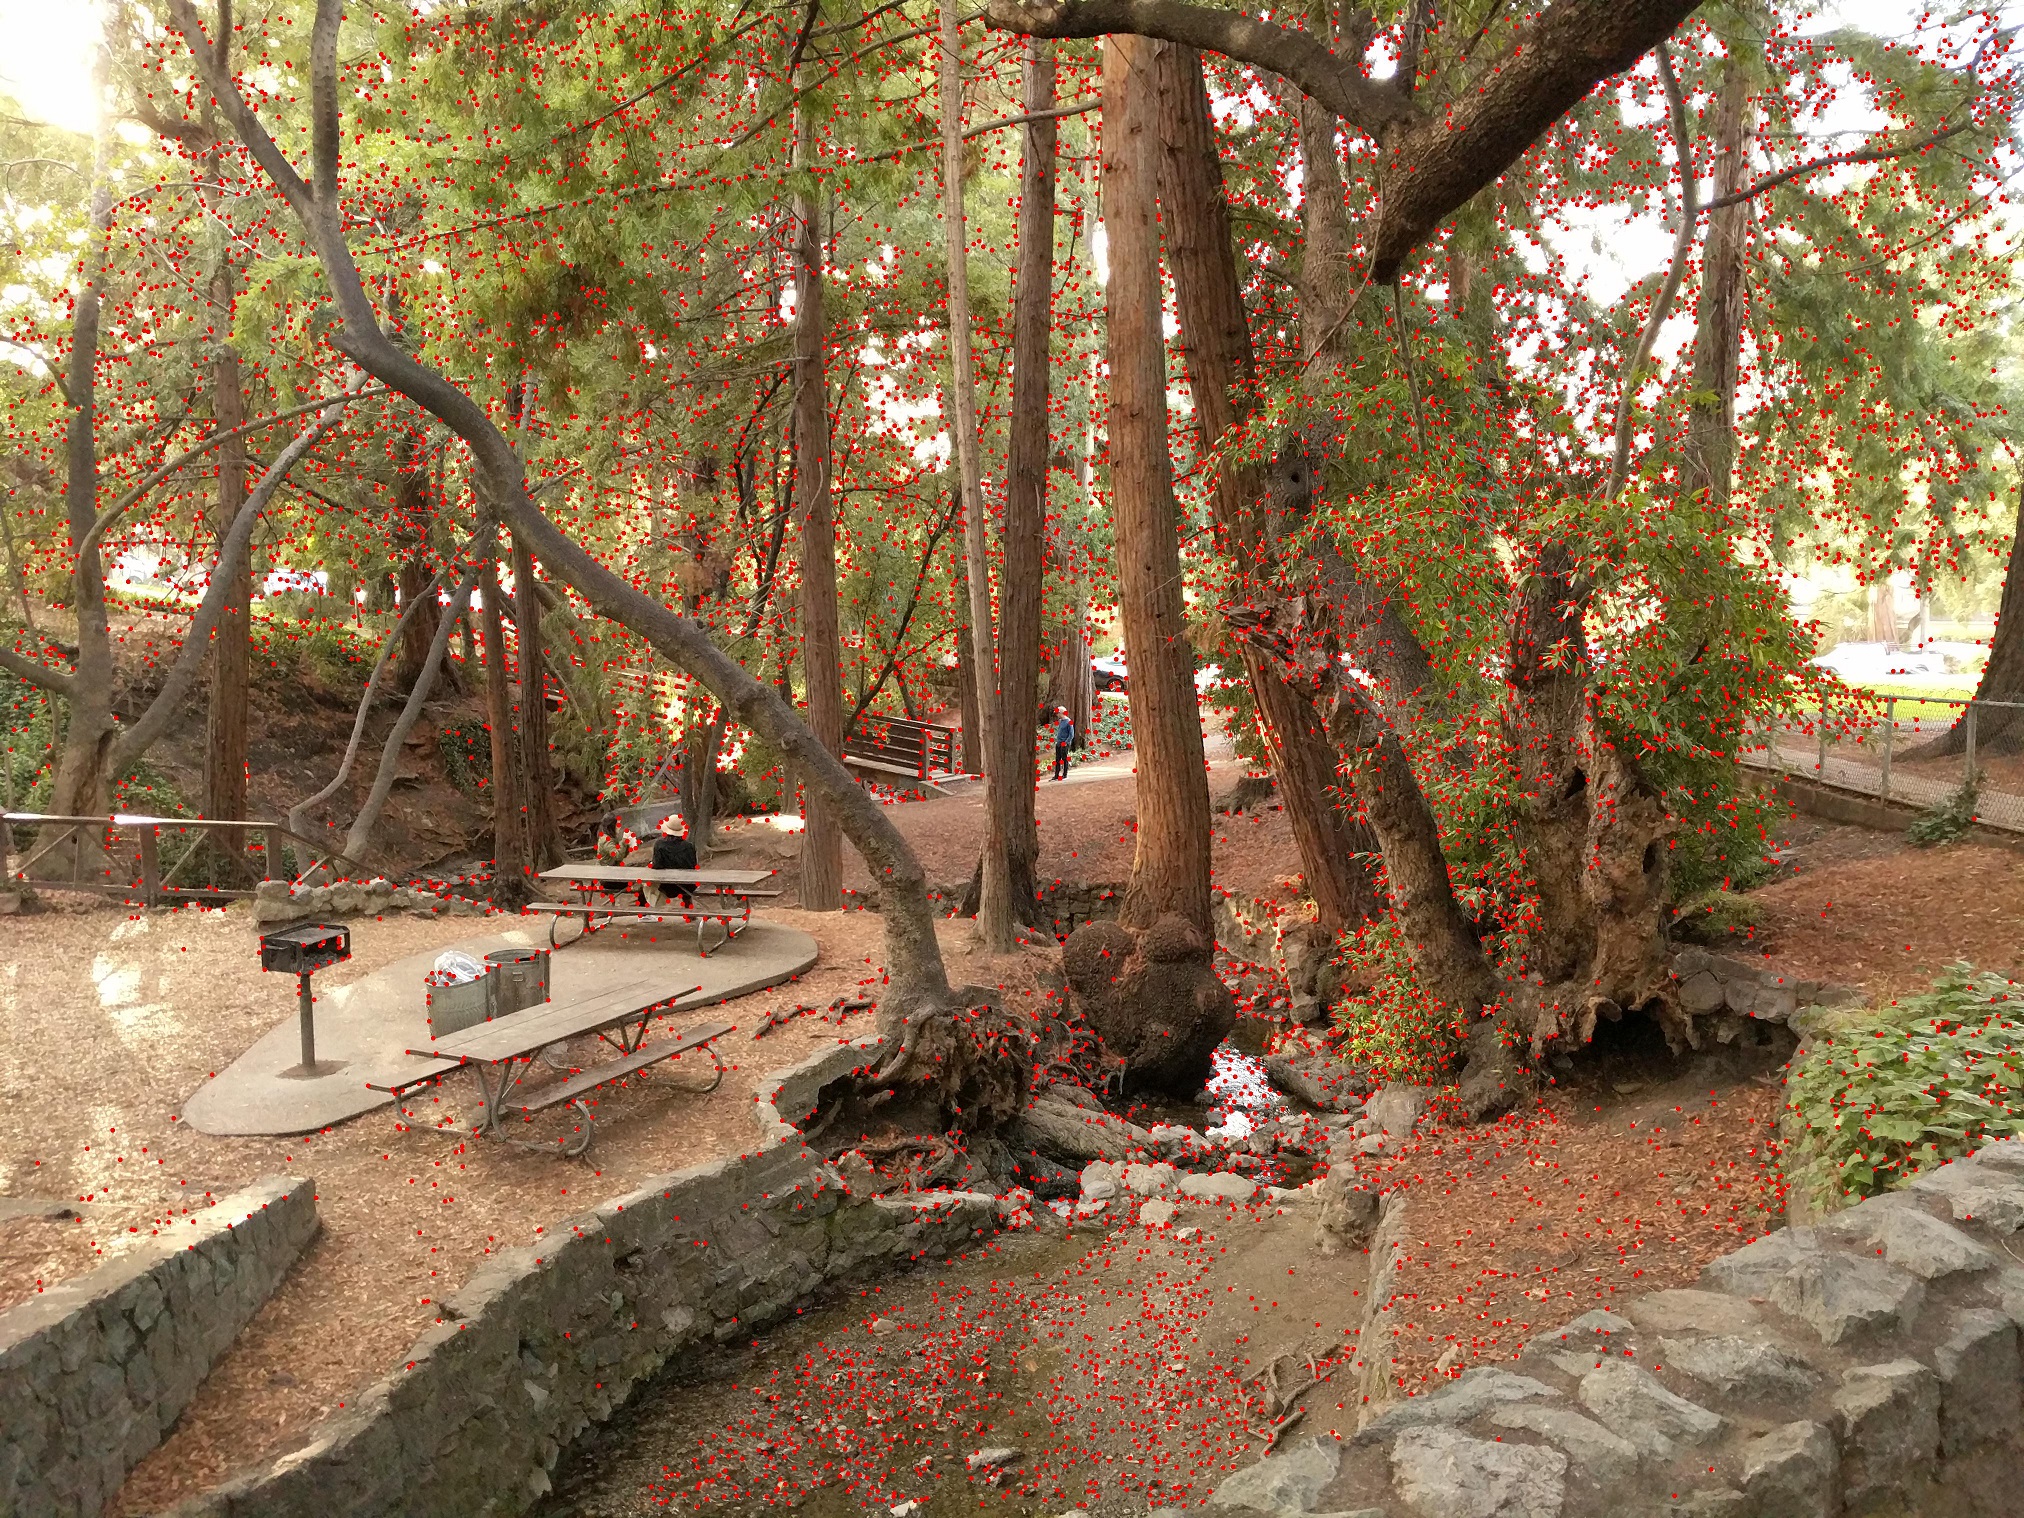 Harris Points Overlaid
|
Part 2: Adaptive Non-Maximal Suppression
A lot of keypoints are detected in part 1. Some of these points are of dubious quality and many of the points are clustered tightly together. Ideally, the extracted points would be meaningful and spread across the image. In order to realize this it is necessary to now spatially filter the points. Each point is scored by the smallest distance between it and another point whose Harris strength is a constant factor (in my case 0.9) times the original point's Harris strength. The 2000 points with the largest scores are outputted. Below is an image with spatially filtered points. Note how the points are spread across the image and relatively distinctive.
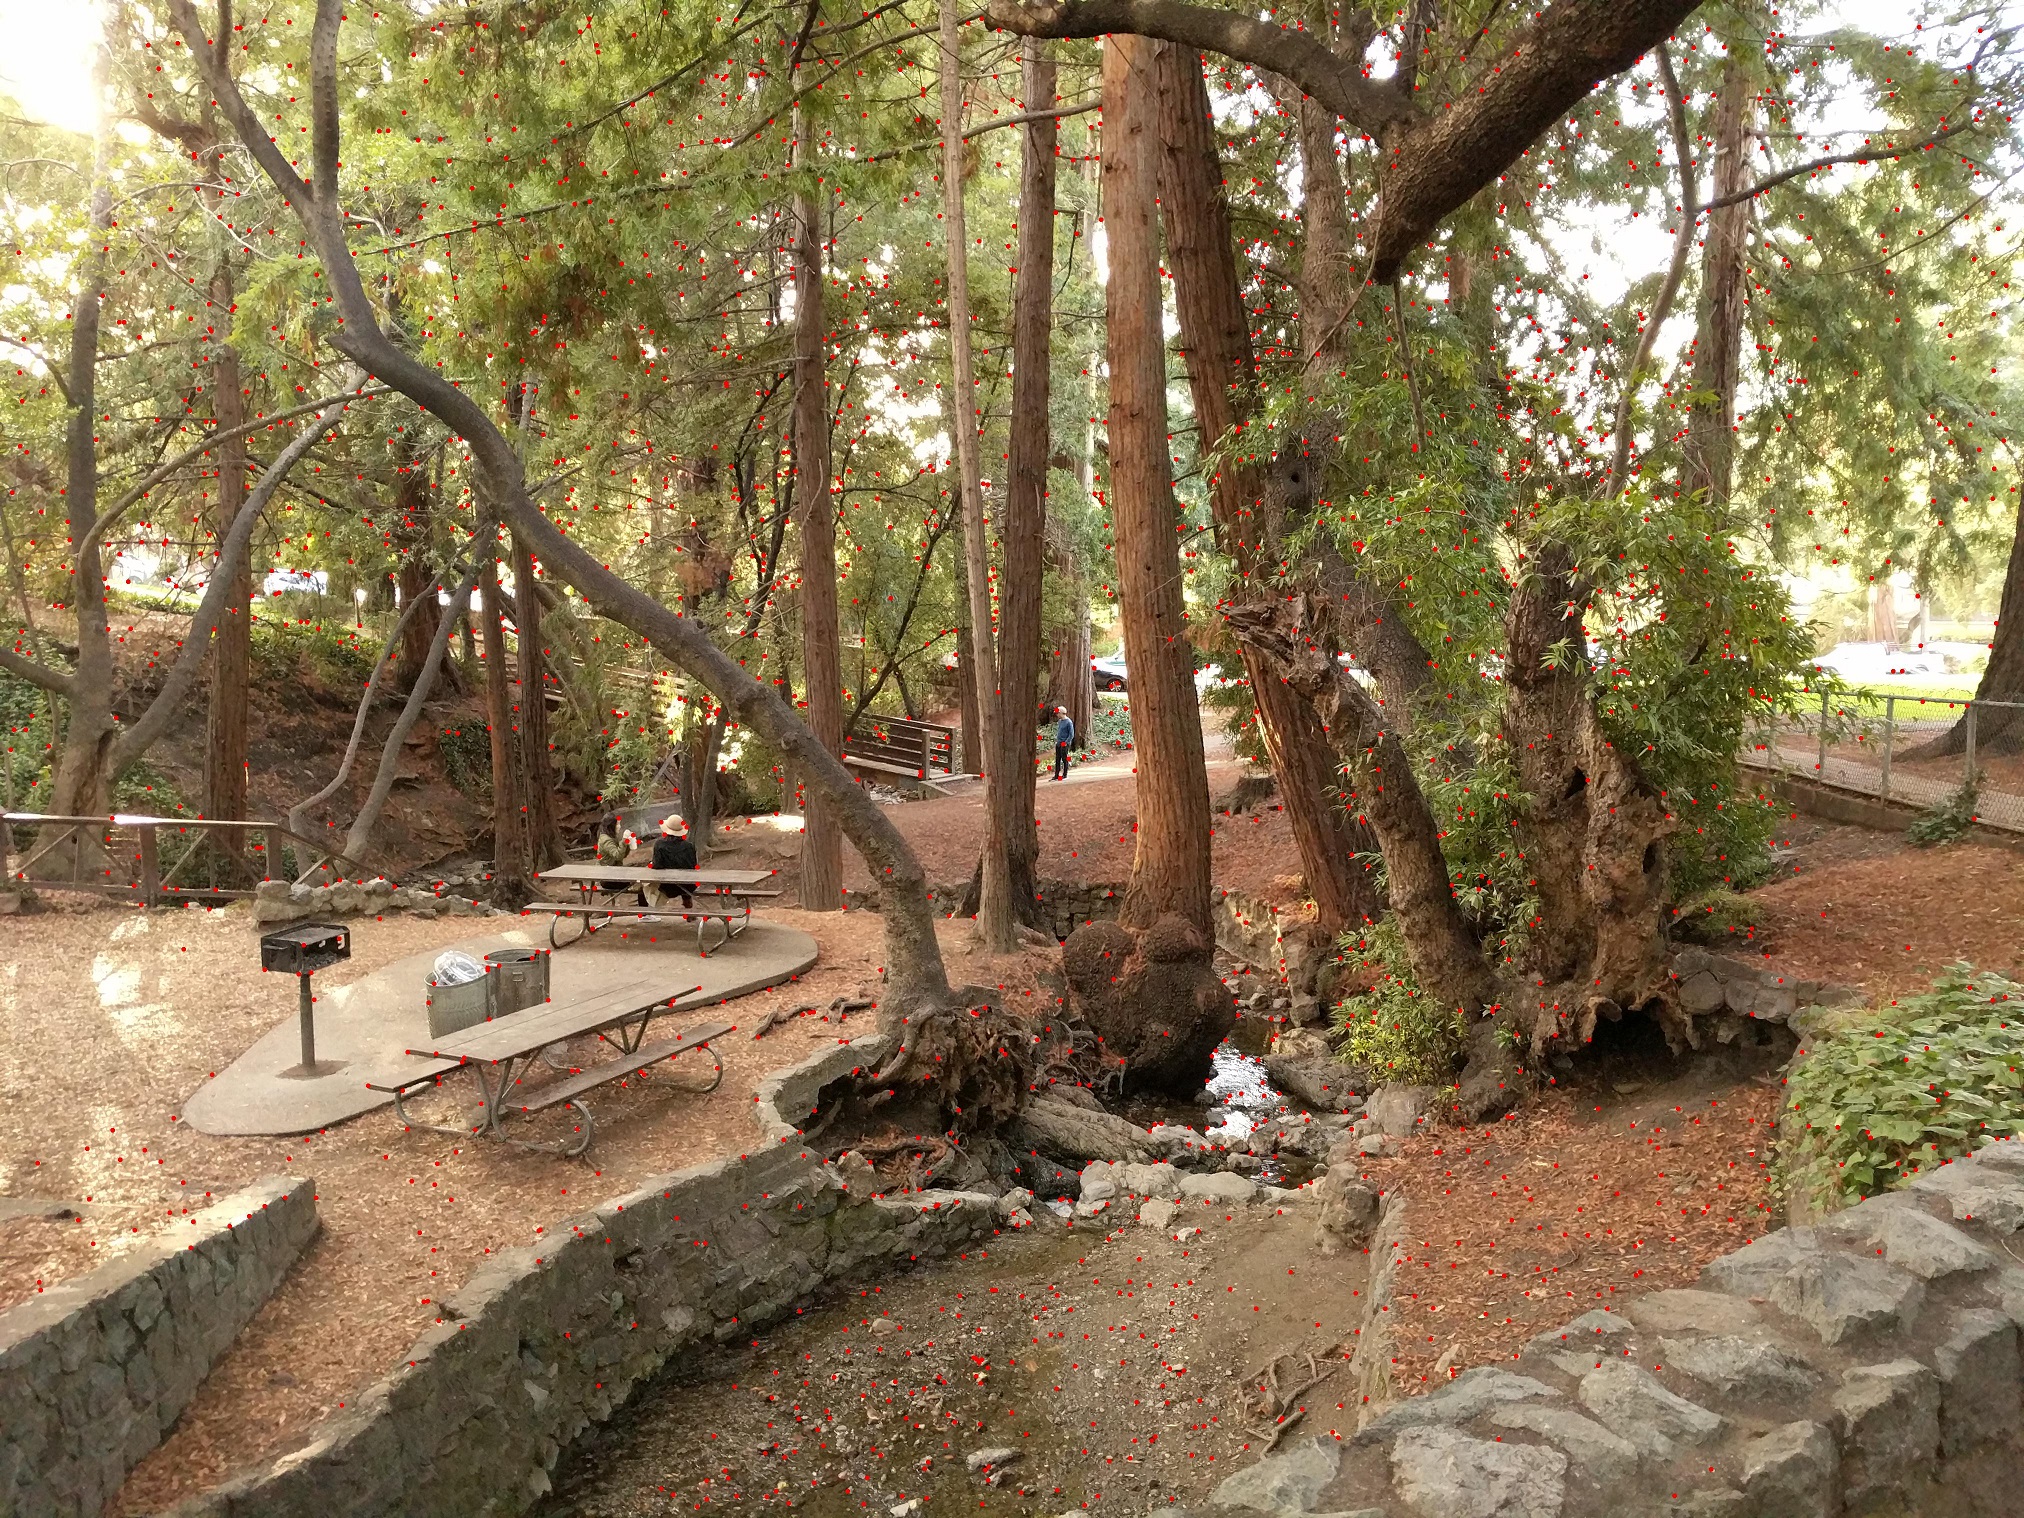 Top 2000 Suppressed Points
|
Part 3: Descriptor Extraction and Matching
Now that keypoints are found in each image a descriptors are extracted for each point. These descriptors are used to match keypoints between two images. To compute a keypoint's descriptor a 40x40 square centered on the keypoint is extracted, blurred and downsampled to 8x8, and then reshaped into a length 64 vector. The vector is then bias and gain normalized.
Each keypoint in an image is then matched to the set of keypoints in the other image. The SSD between the keypoint and every keypoint in the other image is computed. If lowest SSD match has a SSD less than a constant factor (in my case 0.65) times the SSD of the second best match, it is accepted and the keypoints in the two images are matched. Otherwise, the keypoint will be discarded as having no matches in the other image.
Part 4: RANSAC
Now that matches are found the final step is to compute a possible homography. Since least squares homography matching is quite sensitive and the matches often times have errors, it is necessary to compute homography estimates in a more robust way. The RANSAC algorithm is used for this. Four matches are sampled at random and an exact homography is computed. For each of the other matches the point in the first image is warped using the homography and if the distance between the match's second image point is less than one pixel from the warped point it is counted as an inlier. The homography with the most inliers is returned as final homography.

