Getting Started
The package is written in Python 3 and requires a recent version of numpy and scikit-image. Invoke the main.py file to run each tool.
main.py contains four sub-utilities: one for inputting correspondence points, one for warping to a target geometry, one for generating mosaics by composing two images with different geometries, and one automosaic for the program to determine how to compose each of those steps.
usage: main.py [-h] {input,warp,mosaic} ...

Image warping and mosaicing

positional arguments:
  {input,warp,mosaic}
    input              Input data points
    warp               Warp shape to geometry
    mosaic             Generate mosaics
    automosaic         Automosaic

optional arguments:
  -h, --help           show this help message and exit
Photography
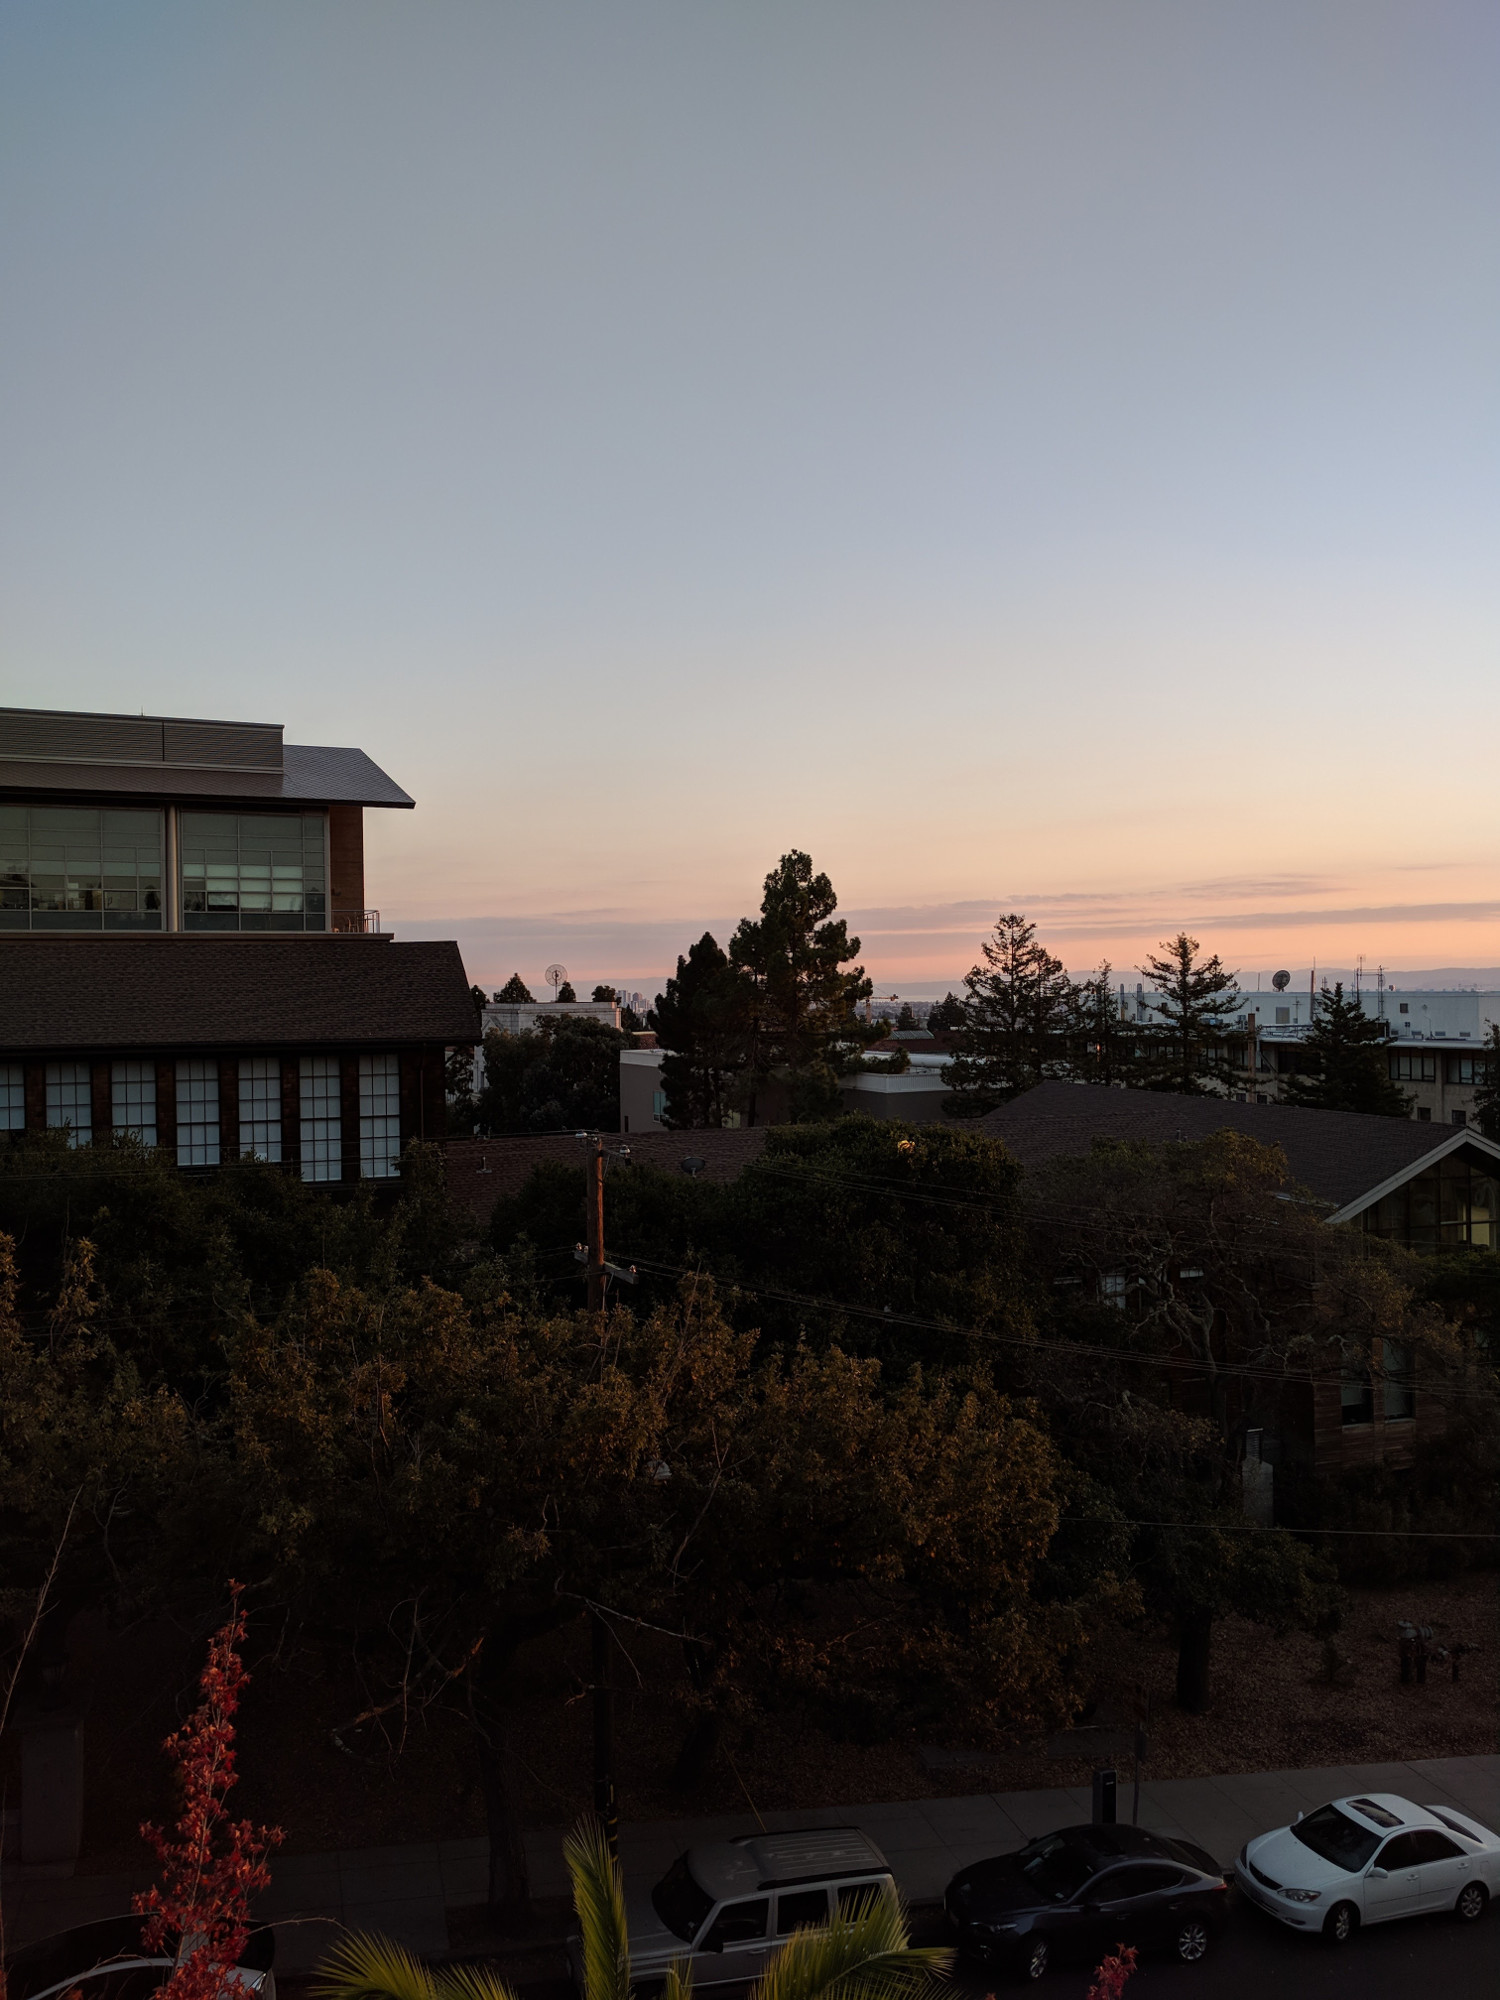
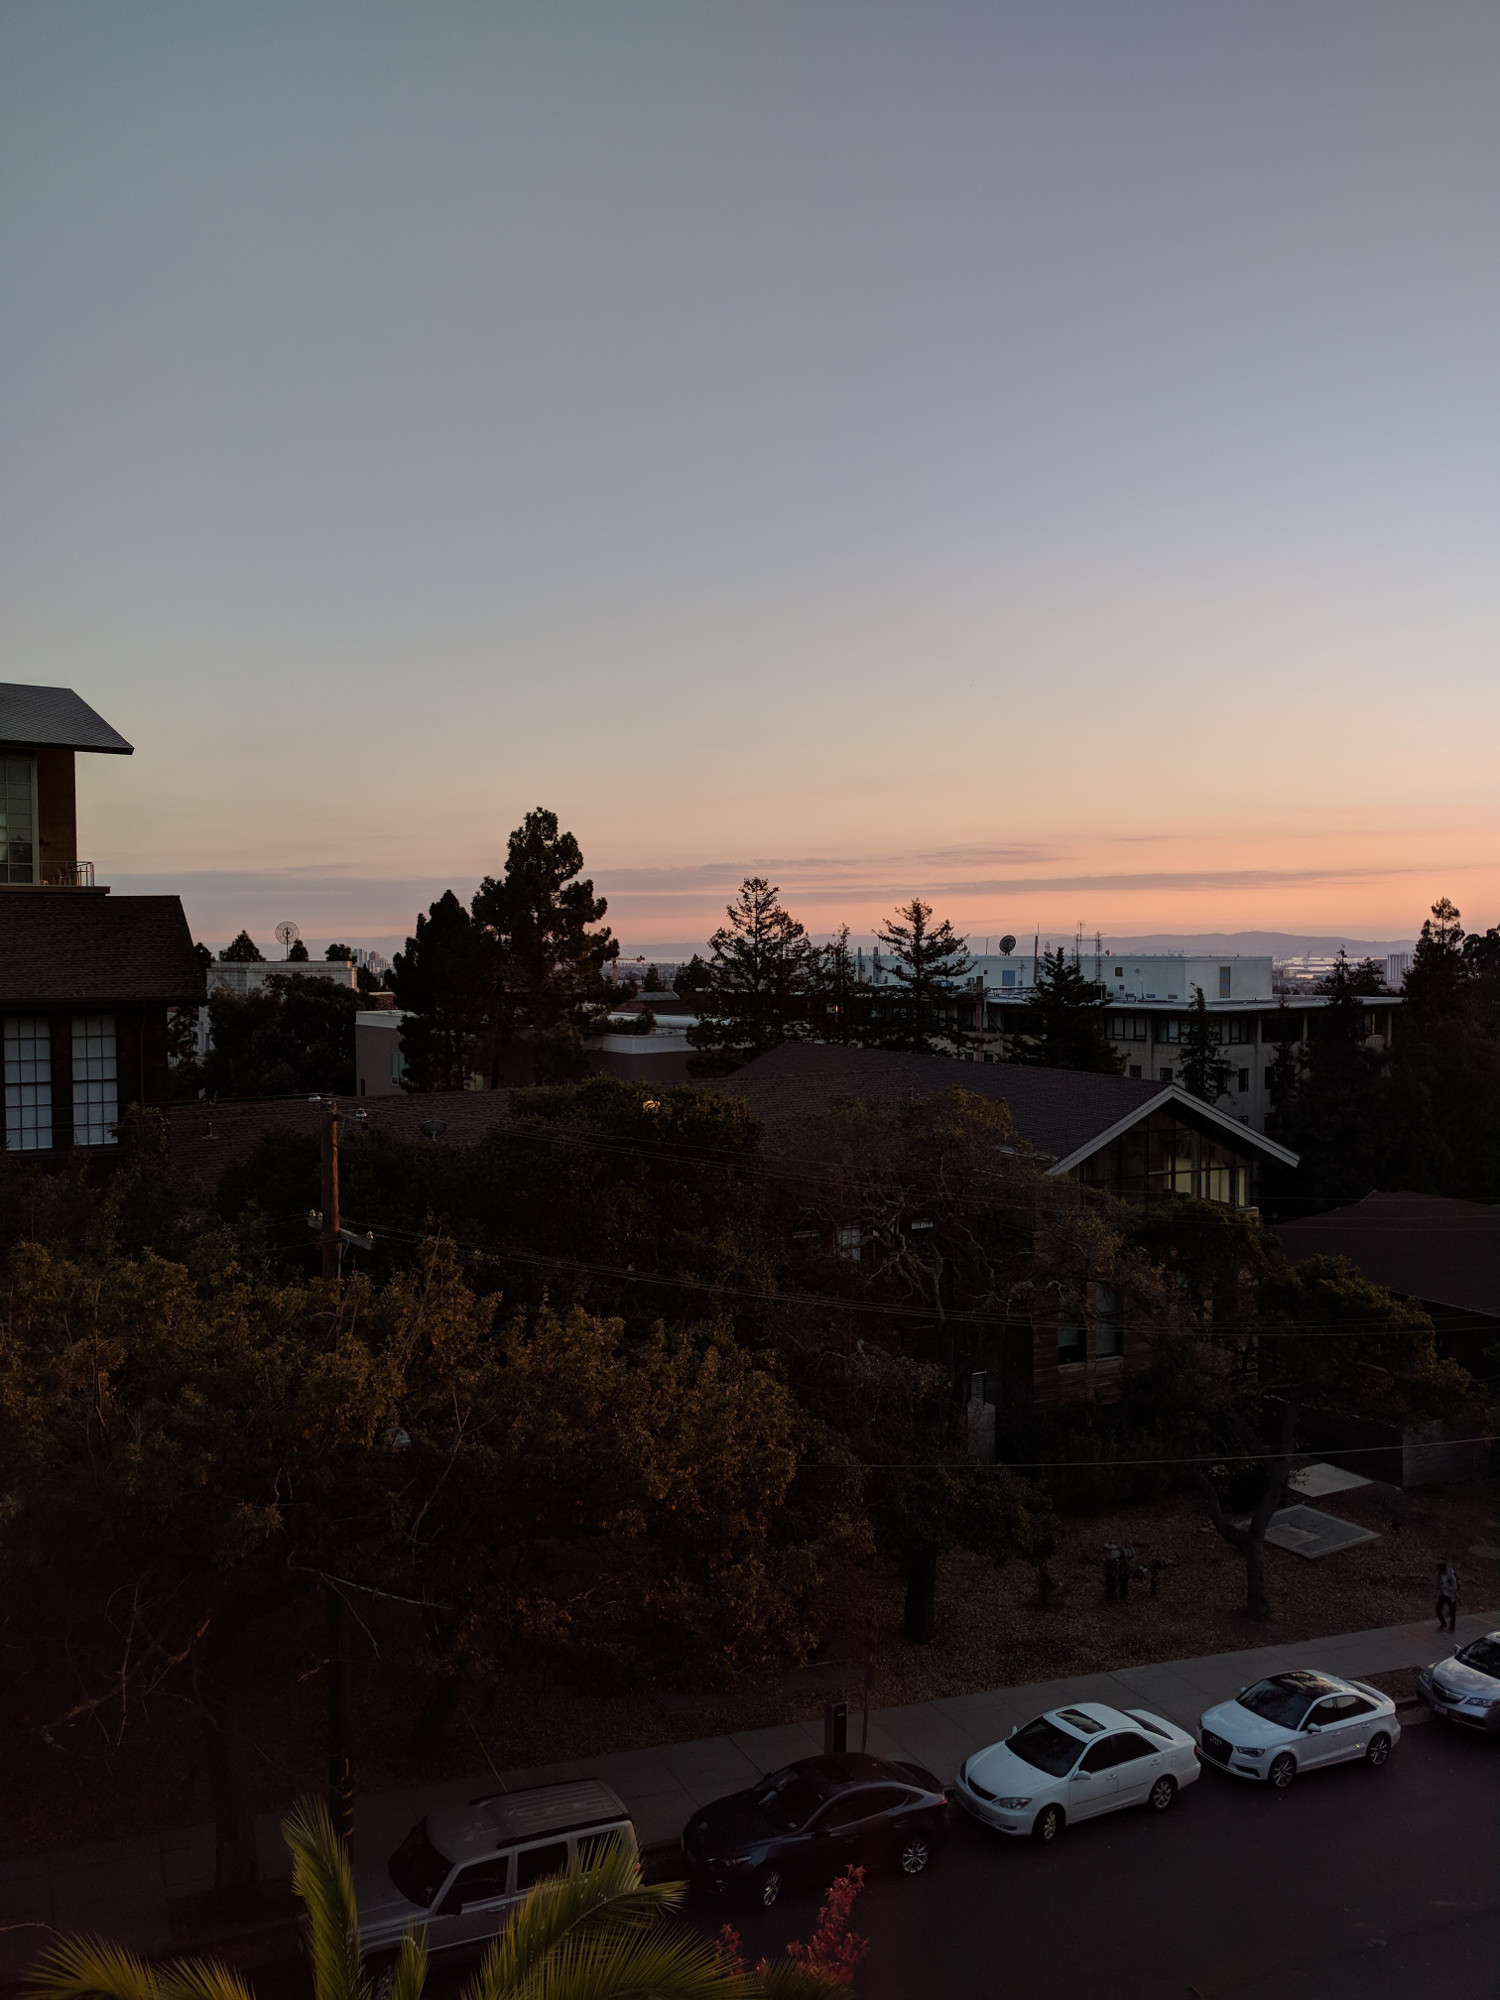
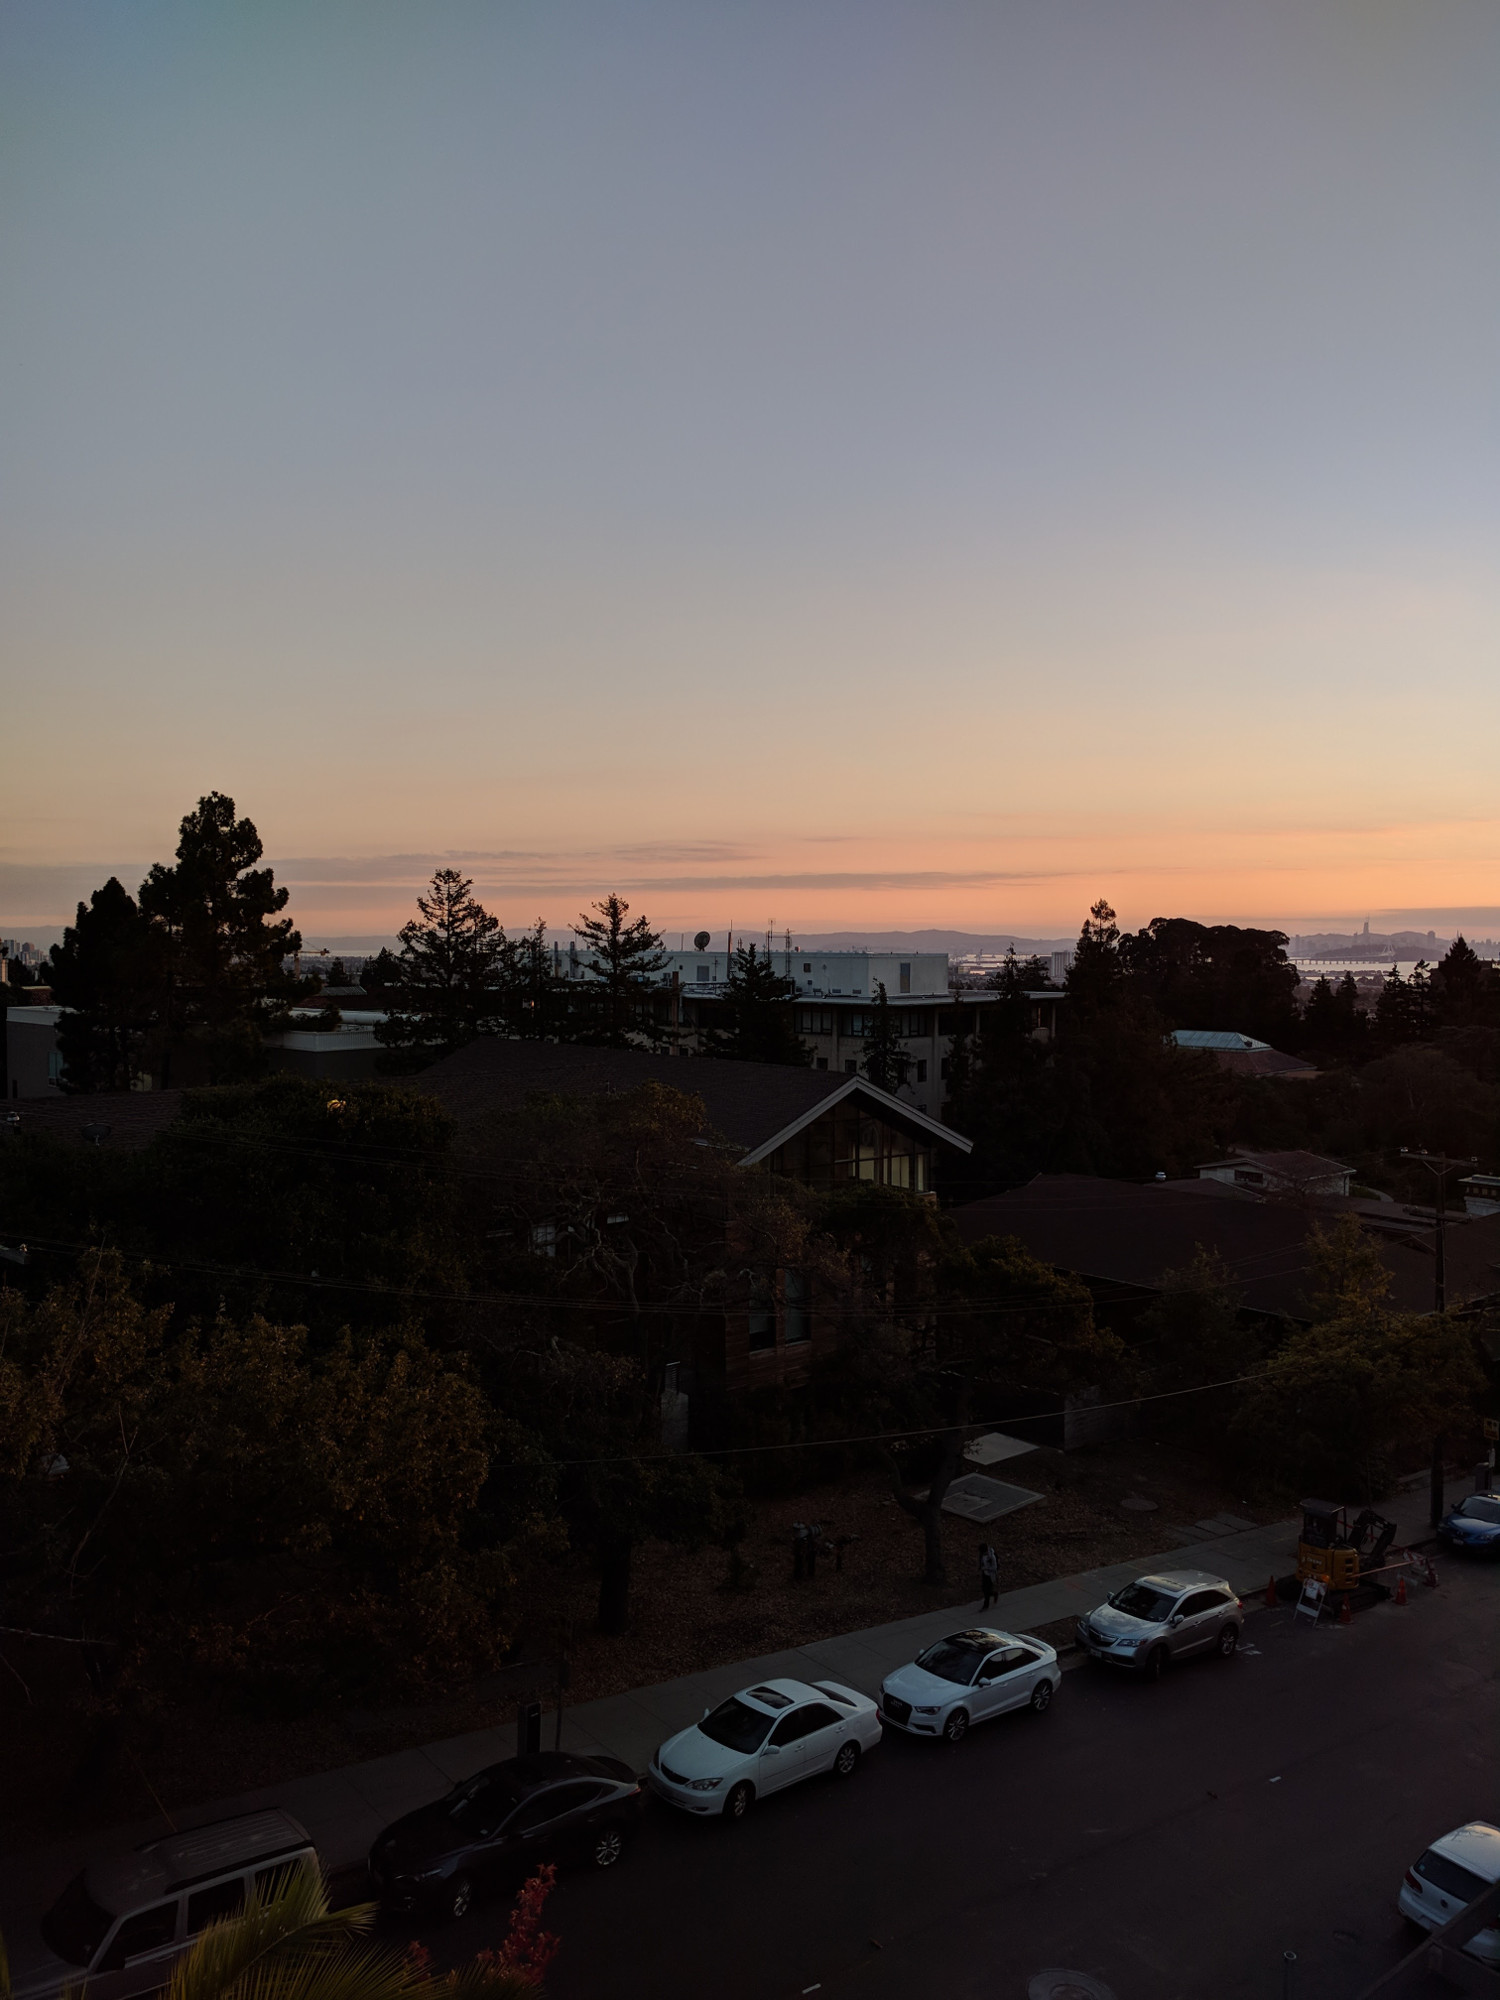
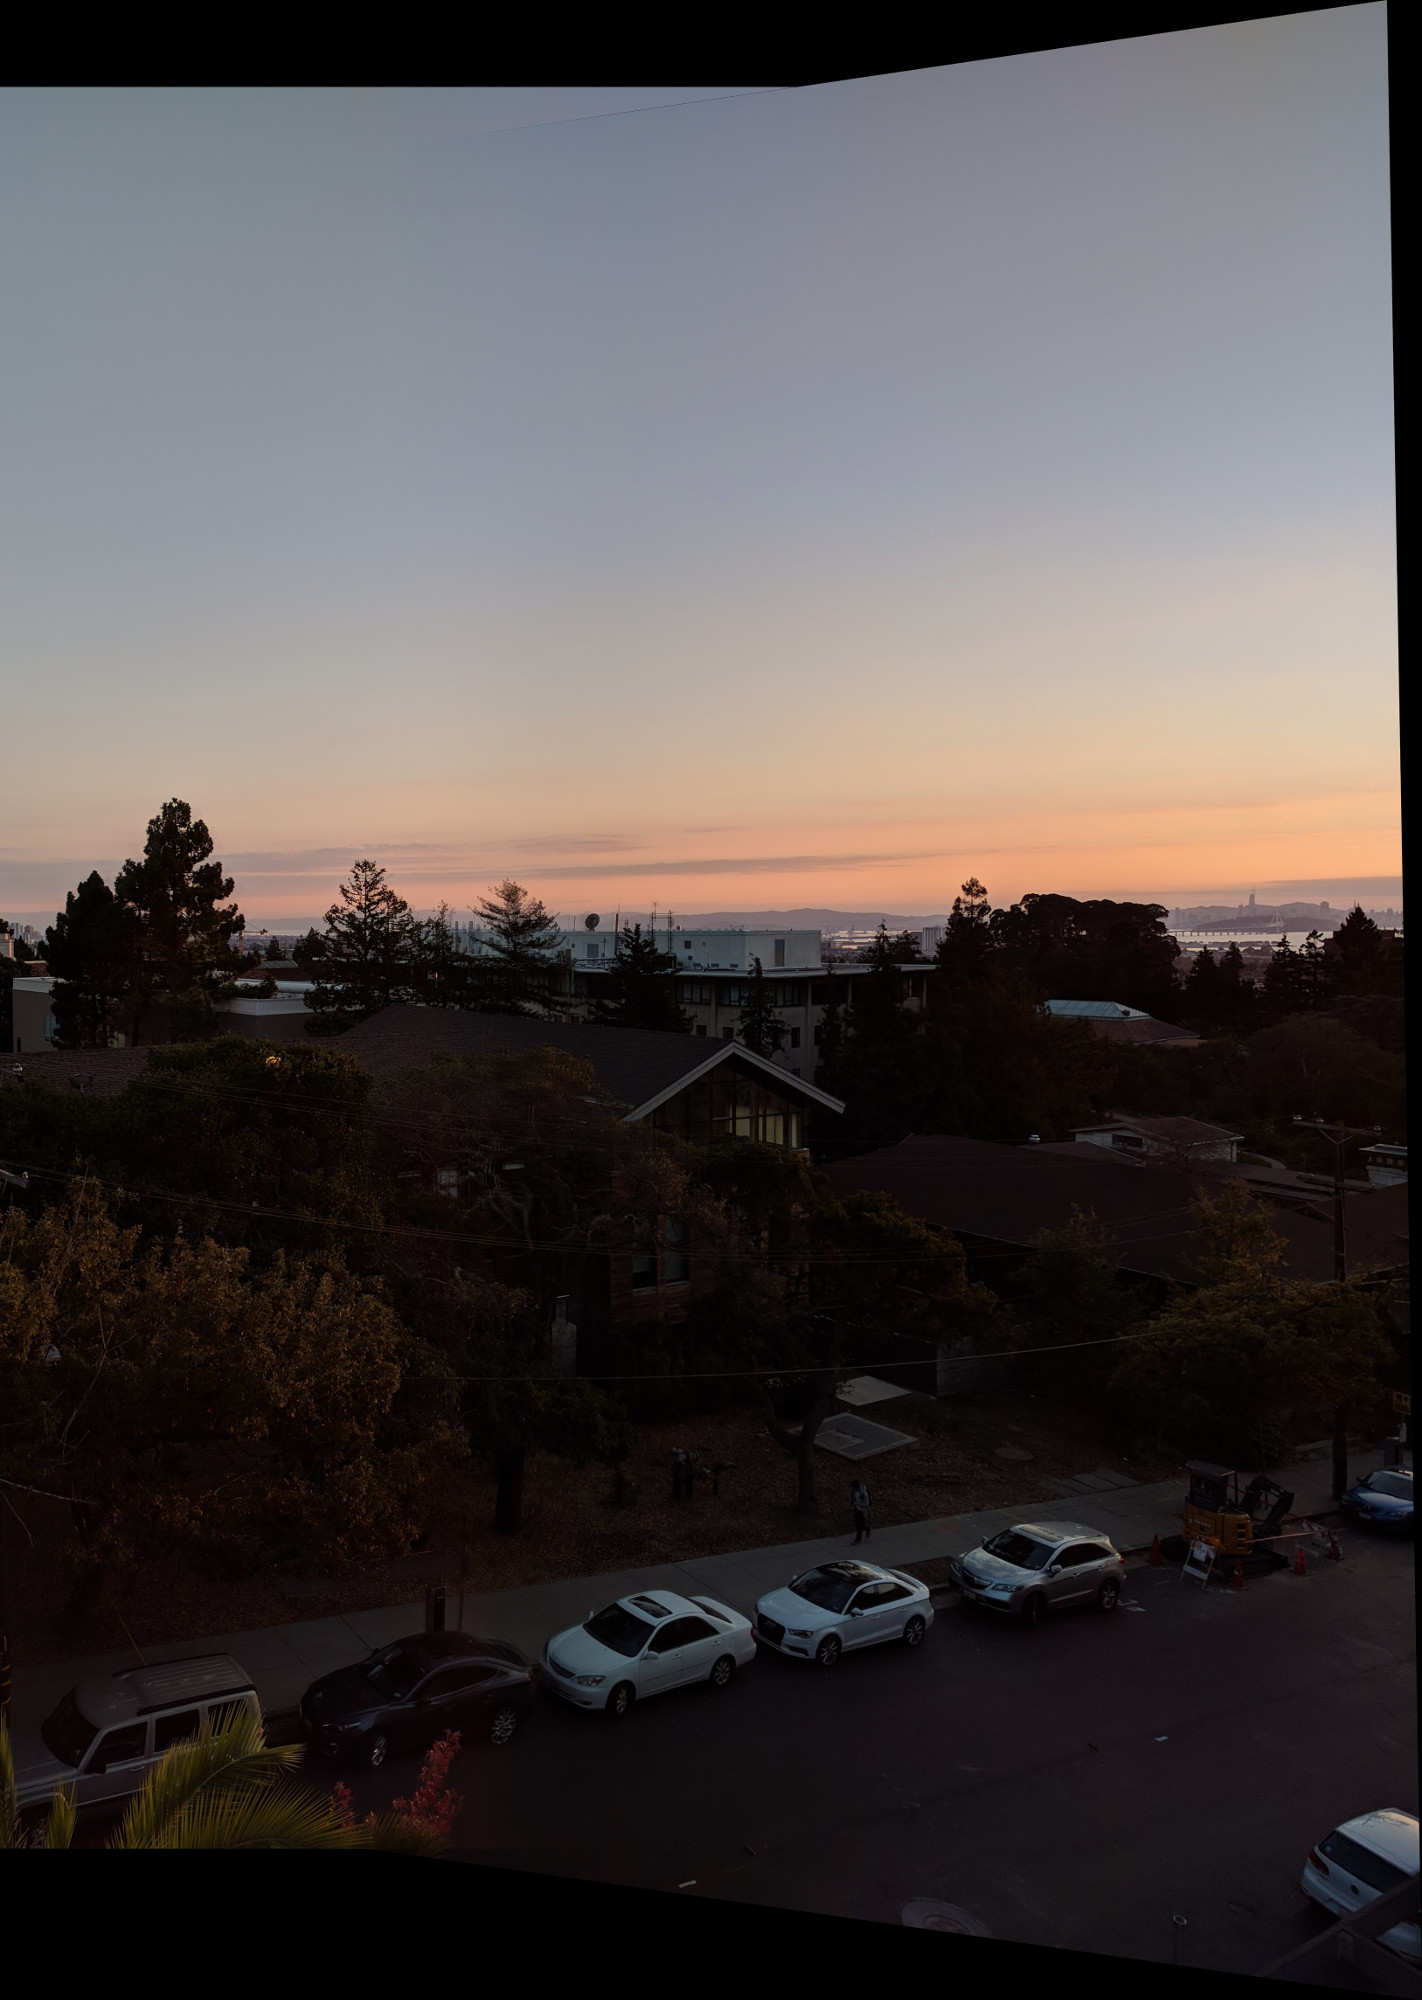
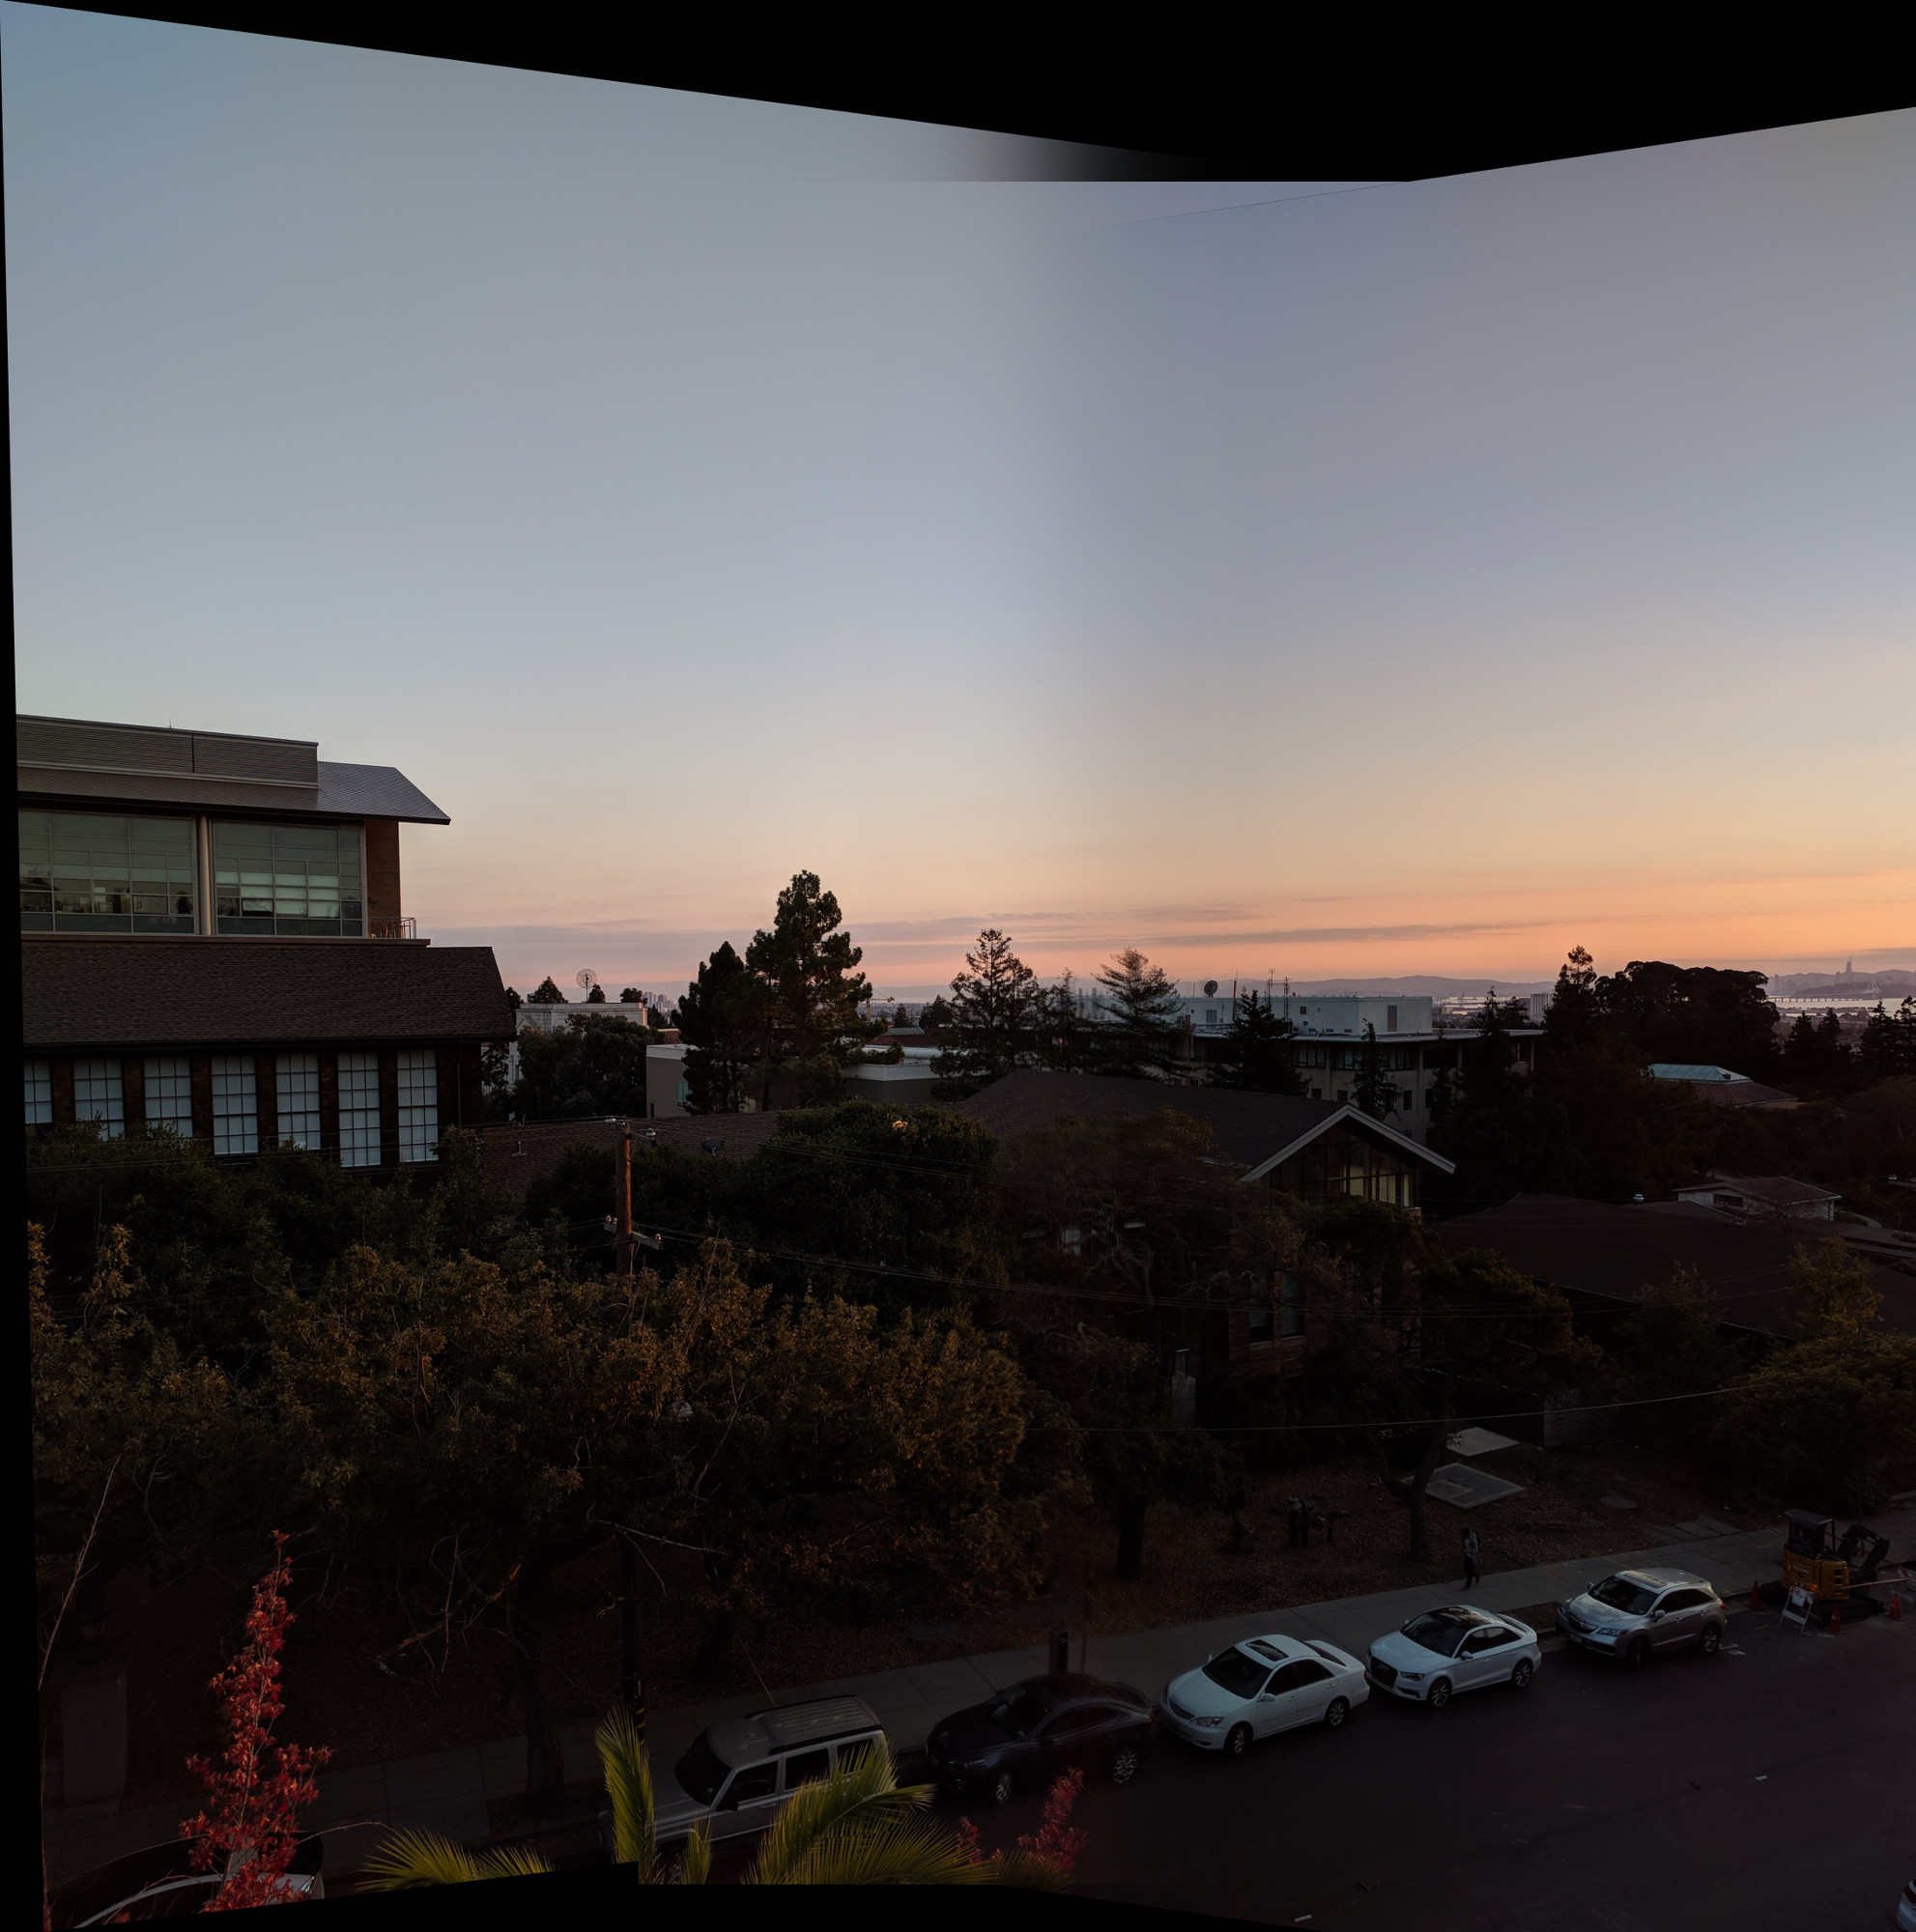
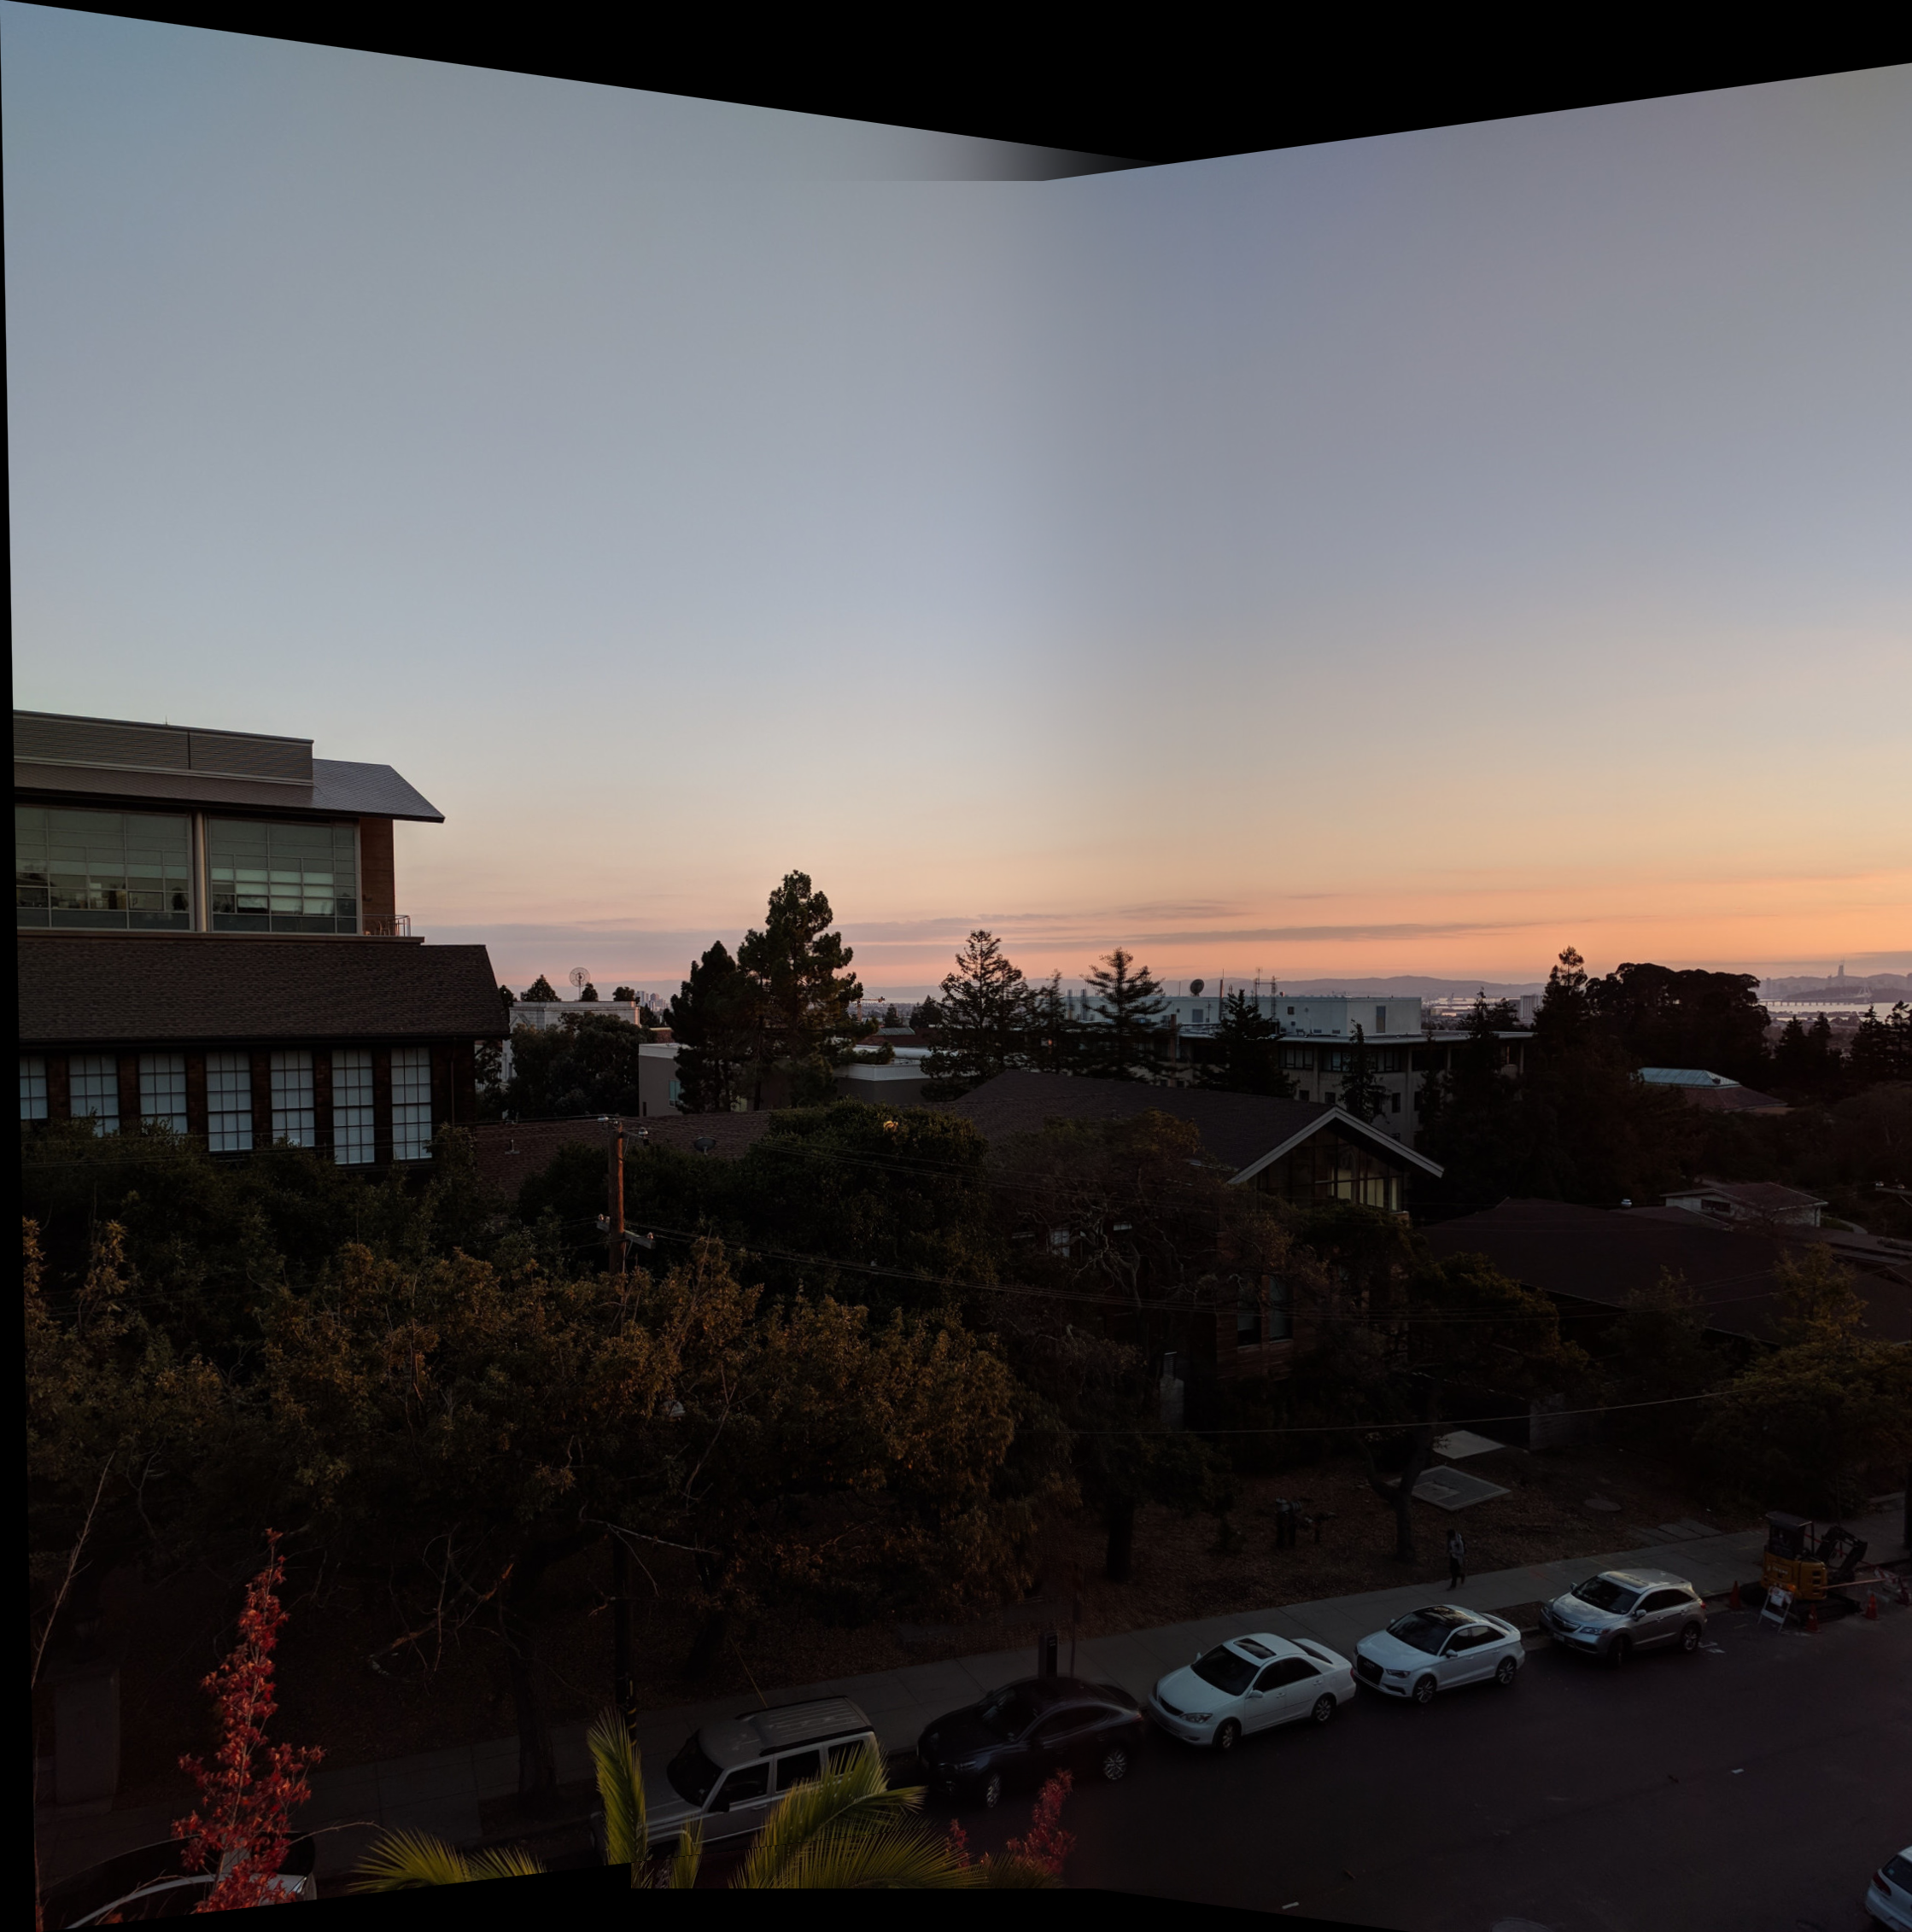
Our photos come from several sources. We first took a few photos of the Bay Area as viewed from Soda Hall.
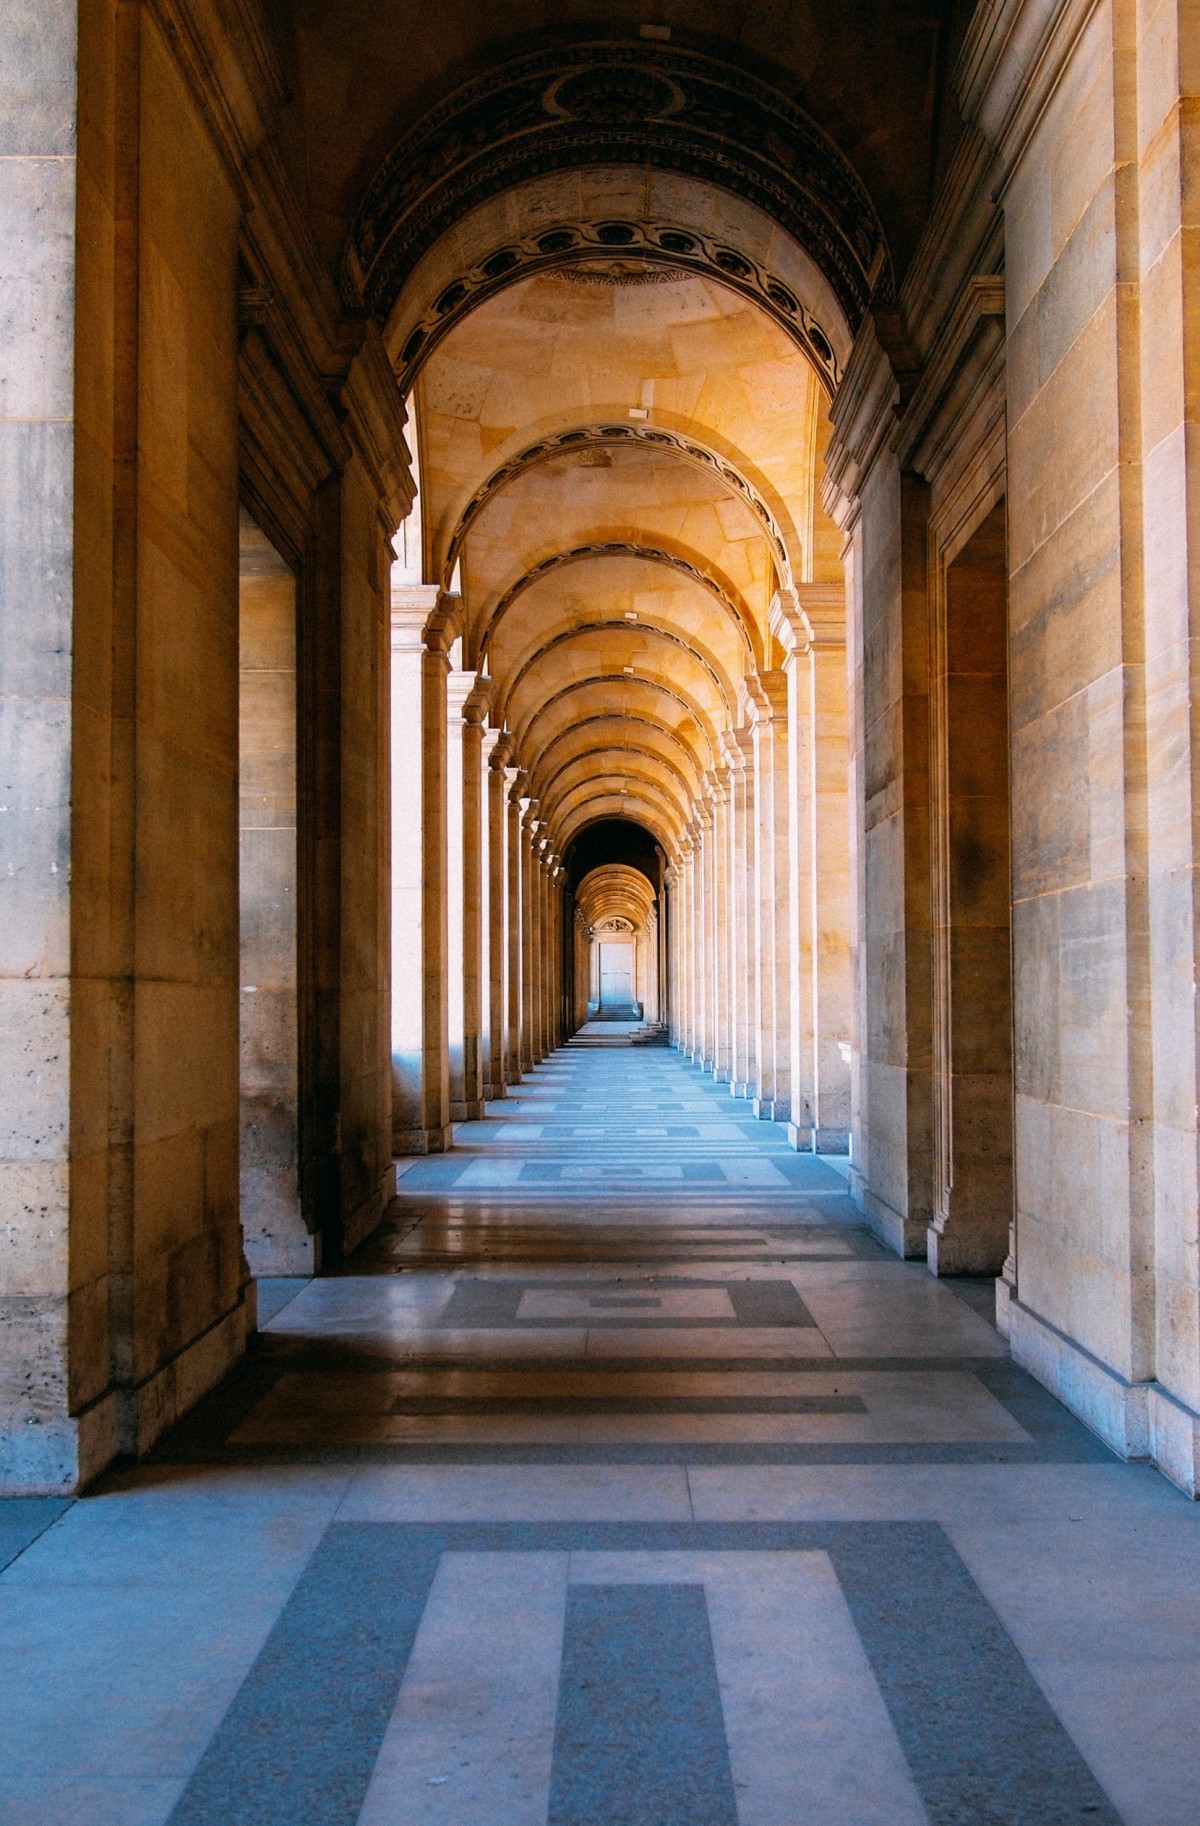
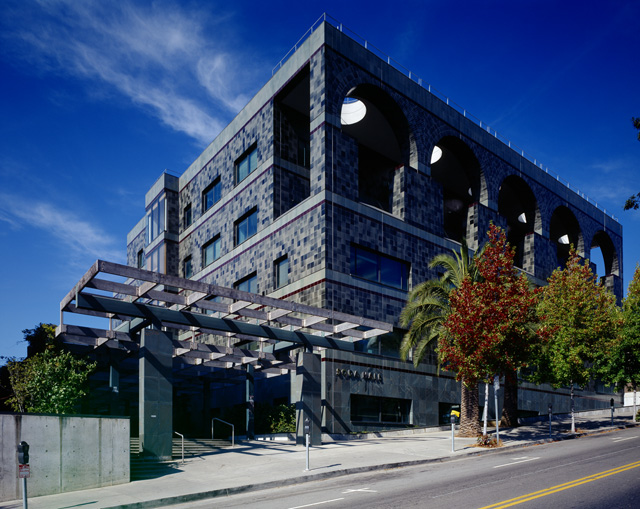
A few online sources were used. The left image is in public domain, while the right image of Soda Hall is © 2003 by Alan Nyiri, courtesy of the Atkinson Photographic Archive. These images were used to demonstrate two different applications of rectification.
In addition, a few other demonstration examples were pulled from Google Photo Spheres and machine-stitched panoramas we had taken previously. These exhibit a smaller rotation than the freshly-captured image, so the projective transformation needed to solve the problem is not as dramatic as in the Bay Area photo.
Rectification
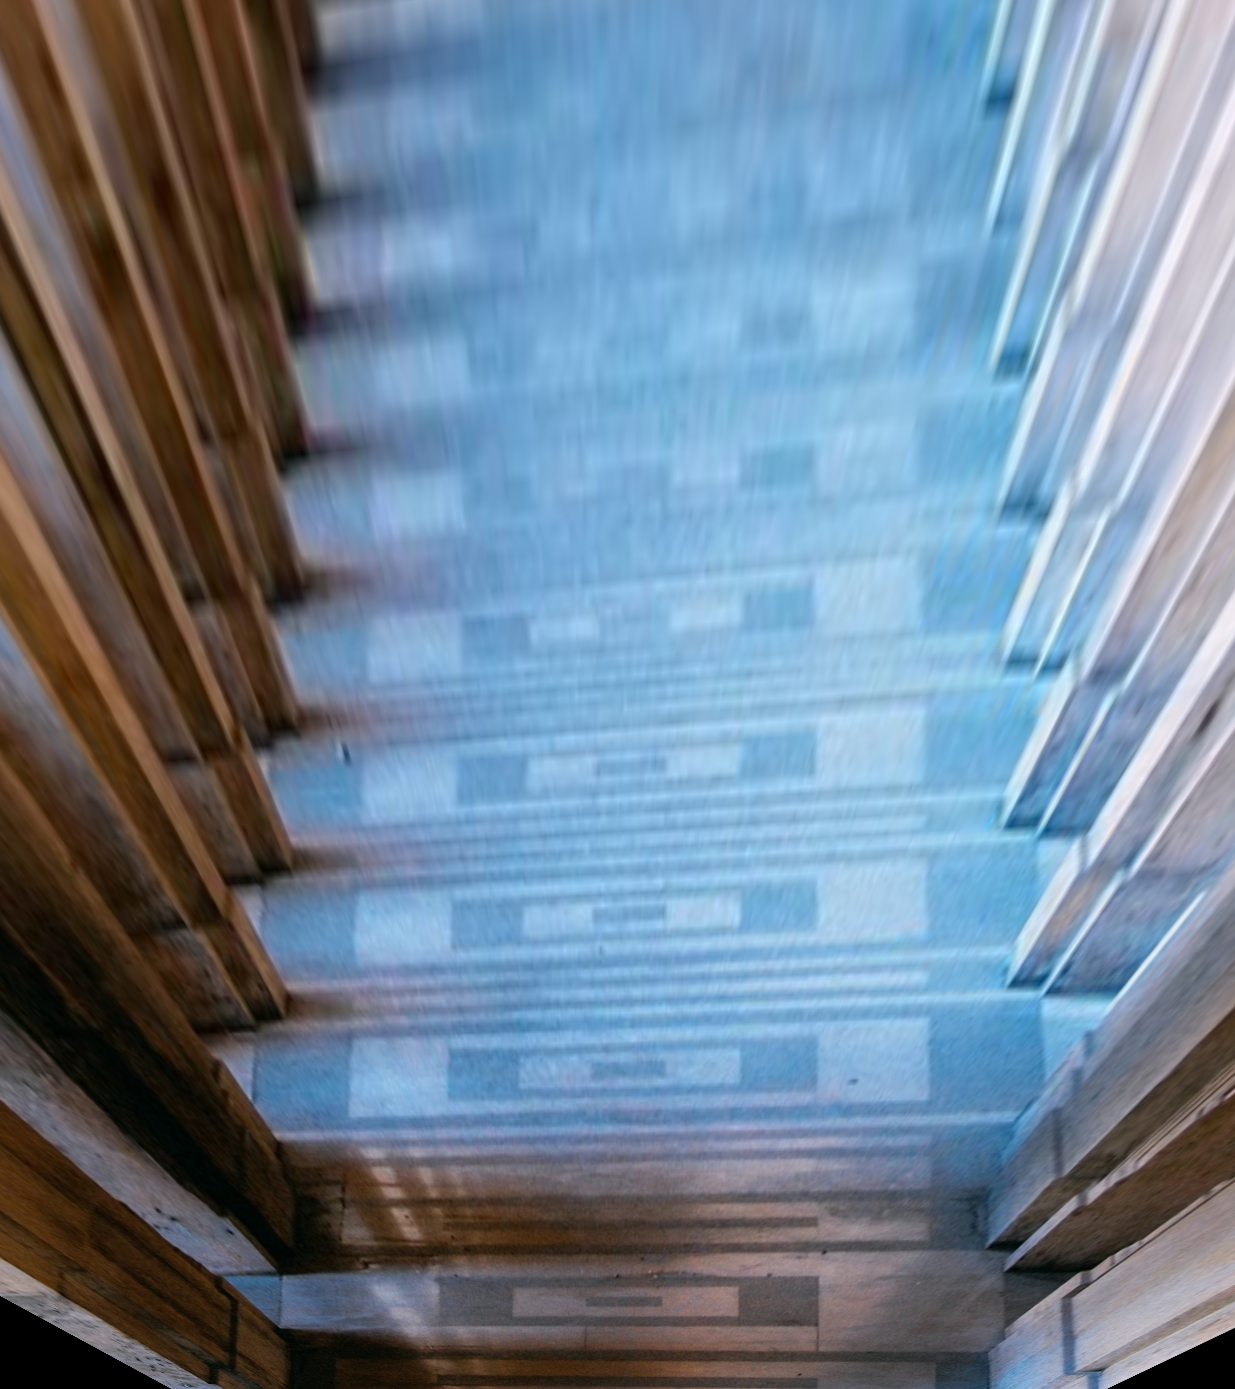
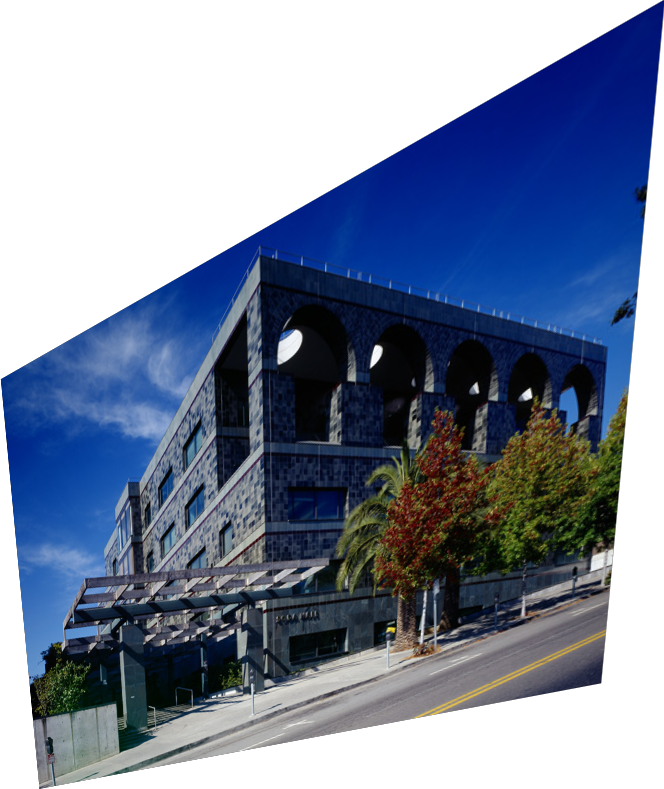
We can rectify images and create interesting frontal-parallel or ground-parallel views of images without using novel data. For these examples, we used online photography.
To solve this problem, we recovered the homography by computing the projective transformation matrix, H, between the two sets of desired points. The first set of points were selected from landmarks in the image corresponding to the part of the image we wanted to rectify. The second set of target coordinates were chosen based on the desired output view. We then used these correspondences to setup an overdetermined system of linear equations and solved using least squares to find the parameters for the homography. This homography then allowed us to compute the transformation on the entire image.
Mosaics
Using the same approach, we can also create digital mosaics and panoramas by stitching together pairs of images. Each image contributes to the field-of-view of the final result.
The panorama is composed step-by-step to make it easier to input correspondence points. The intermediary result with two images is shown first, then the final result with all three images.
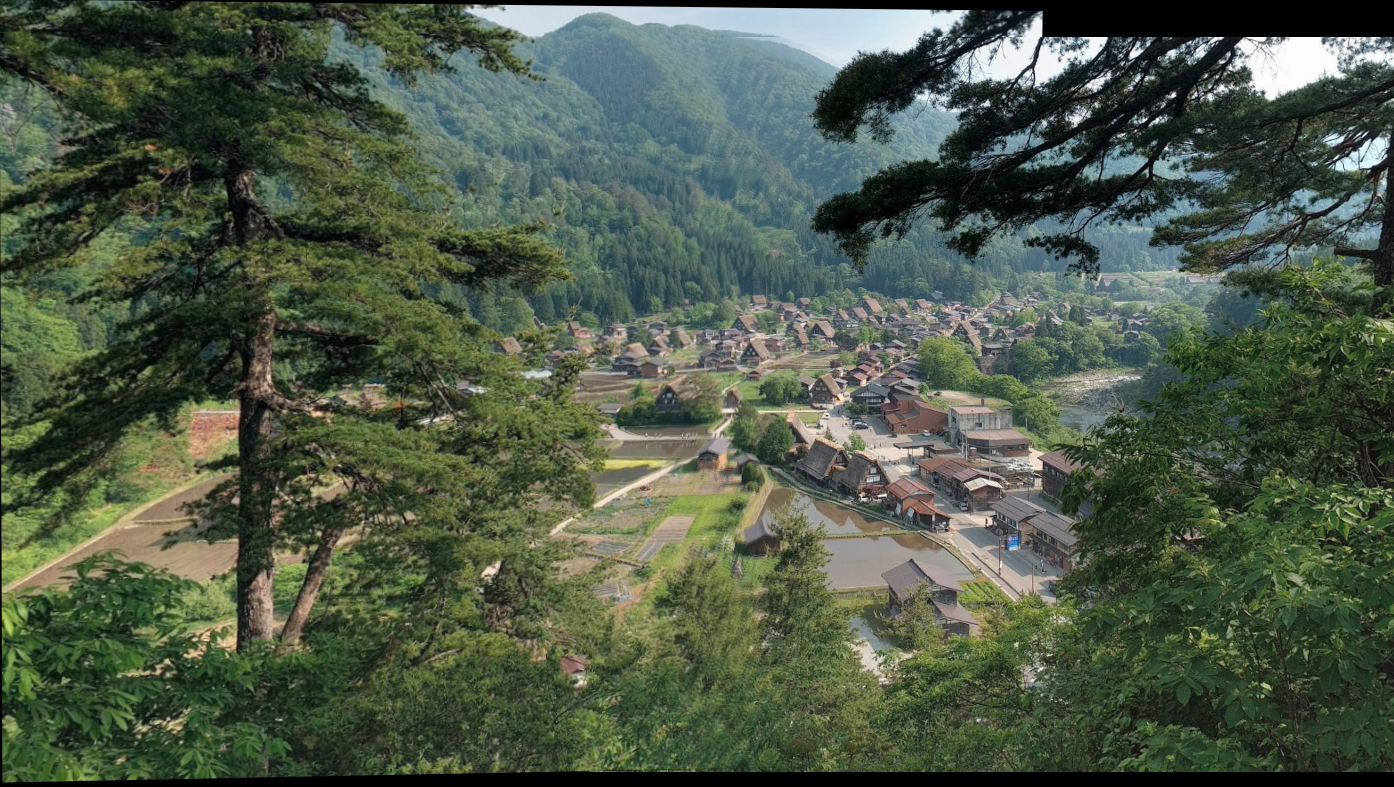
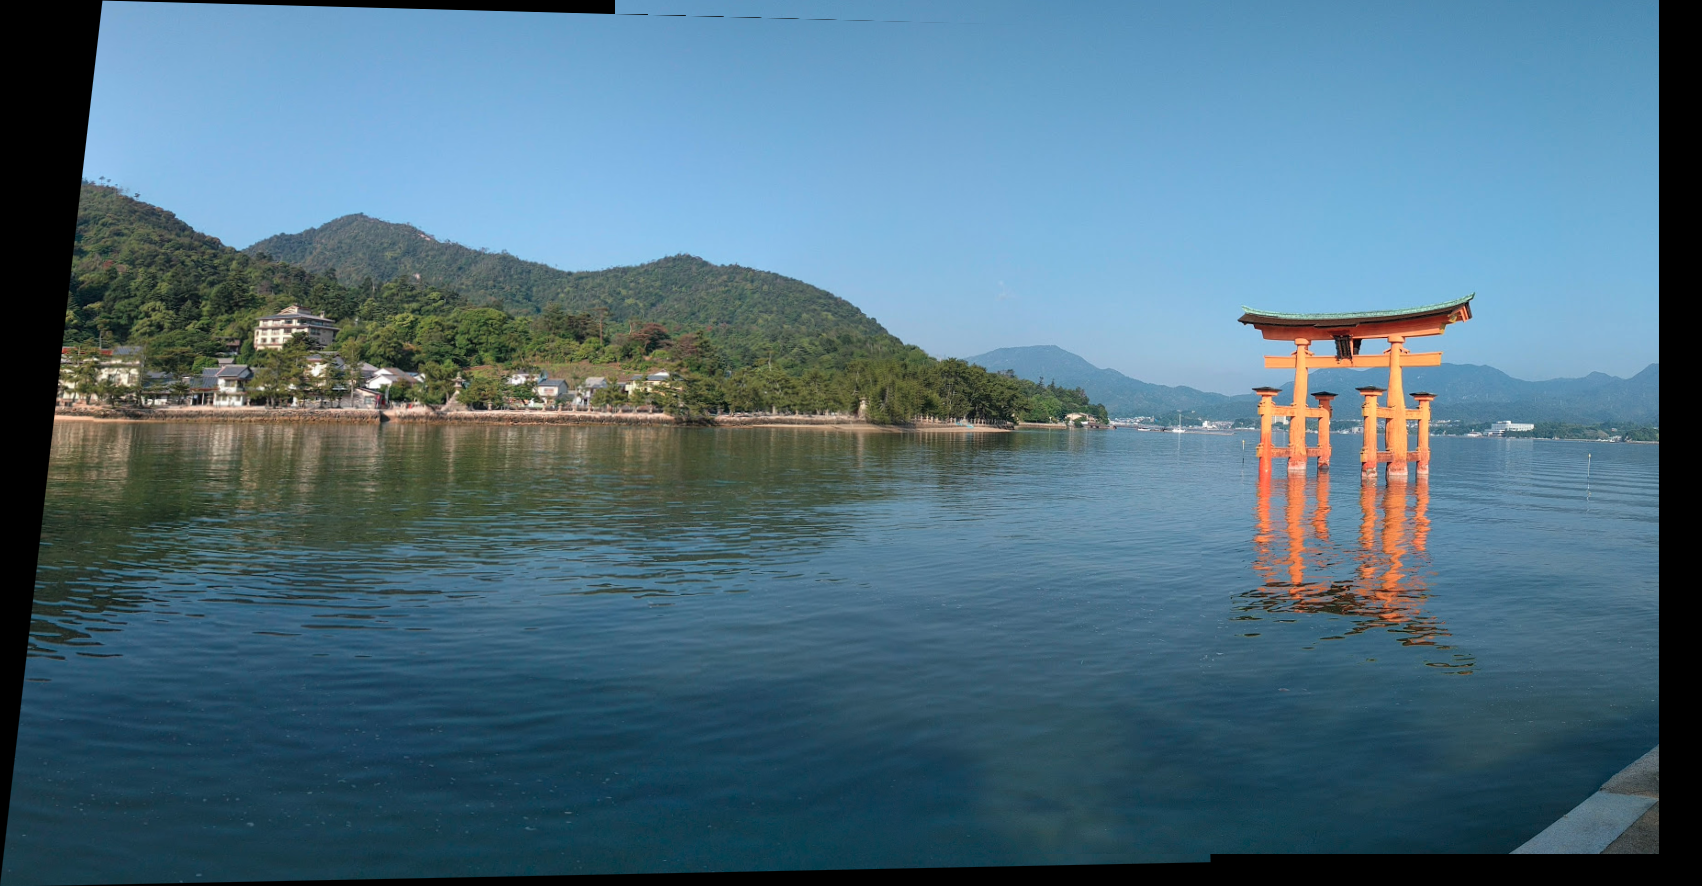
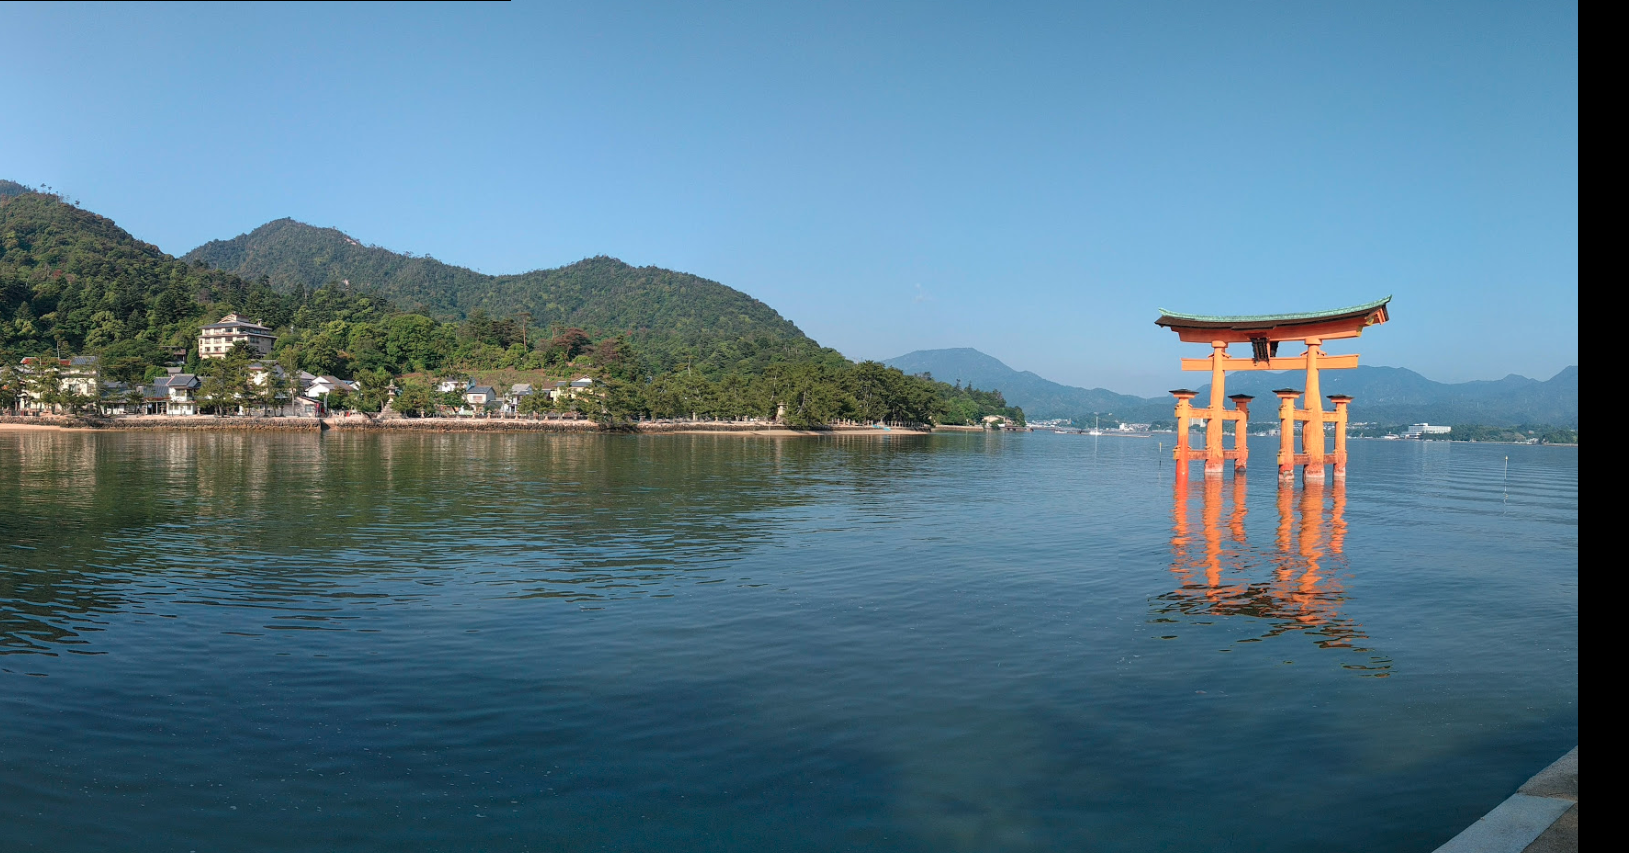
We also tested the mosaic procedure on a few other sample images as well. Here are two results using cropped portions of 360-degree photospheres taken earlier this year. Because the source images are fairly zoomed in, the homography does not need to compensate as much for the projection.
Automosaics
Mosaics can be generated fairly reliably using the above method, but it takes quite a bit of effort to define correspondences. We'd like to develop a program which can automatically determine matching features.
Our program begins by identifying corner features using Harris corners. The raw result, however, yields too many corner points. By thresholding the response corners to only include the strongest subset of corners, and then applying Adaptive Non-Maximal Suppression to find the strongest points in the crowd, we're able to reduce the number of corner points to help identify strong features in the image.
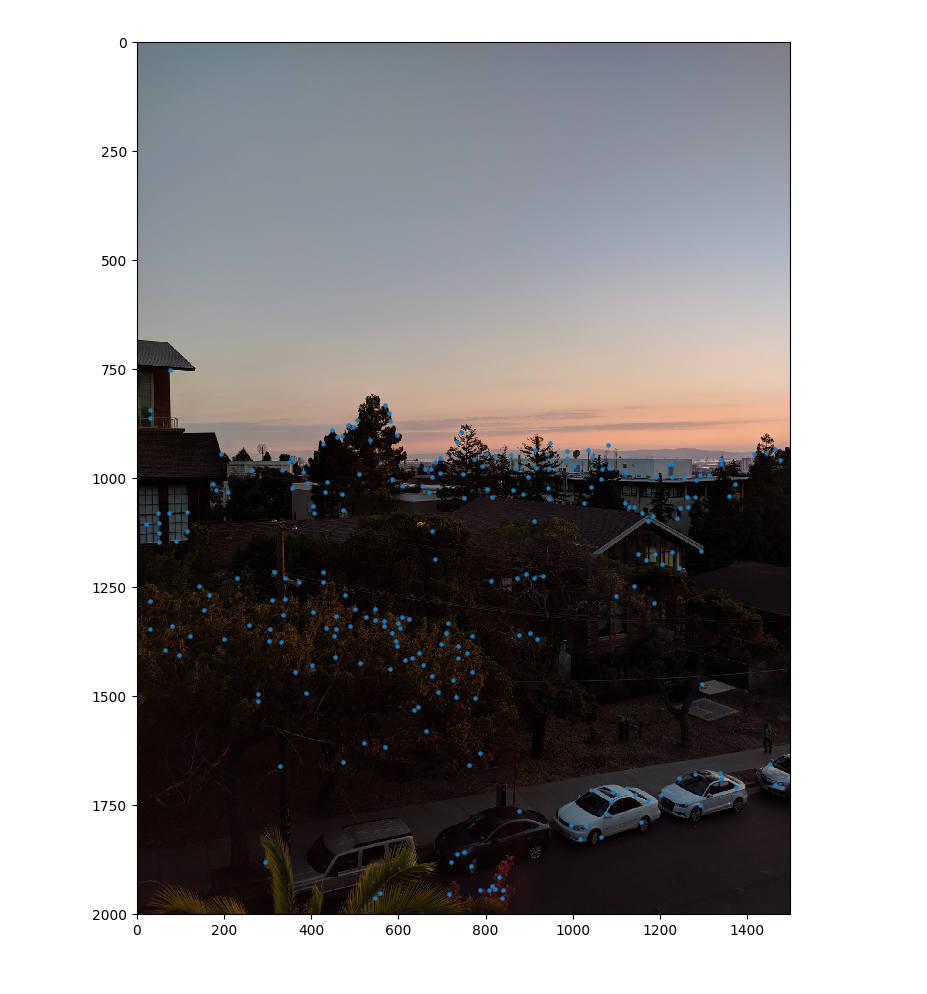
Then, for each point, we extracted individual feature descriptors to help capture the shape and quality of each corner. Each descriptor is an 8x8 patch representing a 40x40 corner in the original image.
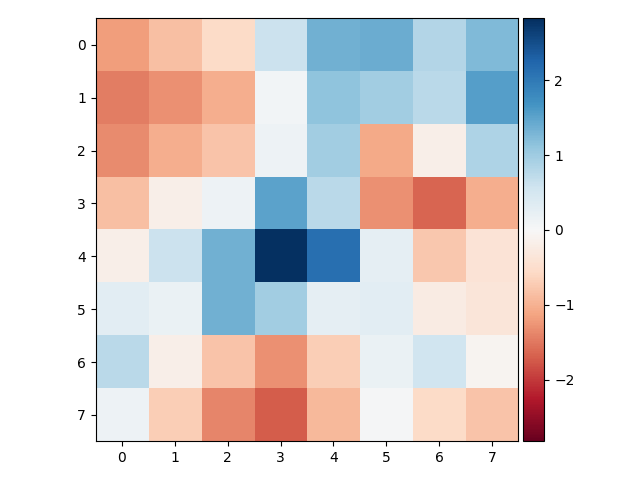
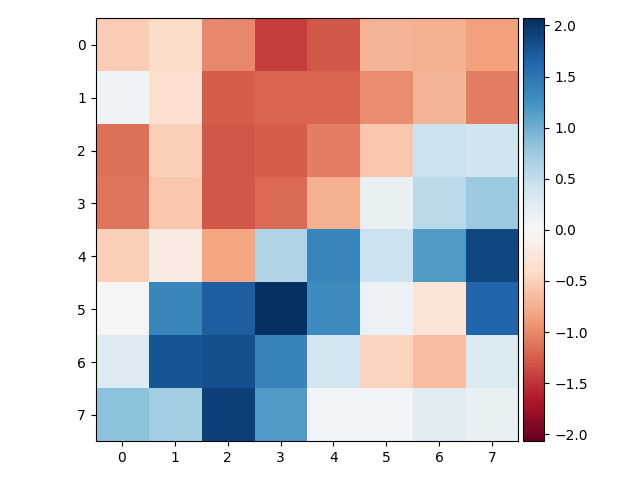
We can then devise a similarity metric (Sum of Squared Differences) to compute the similarity between each feature descriptor in our input images and find the matching points.

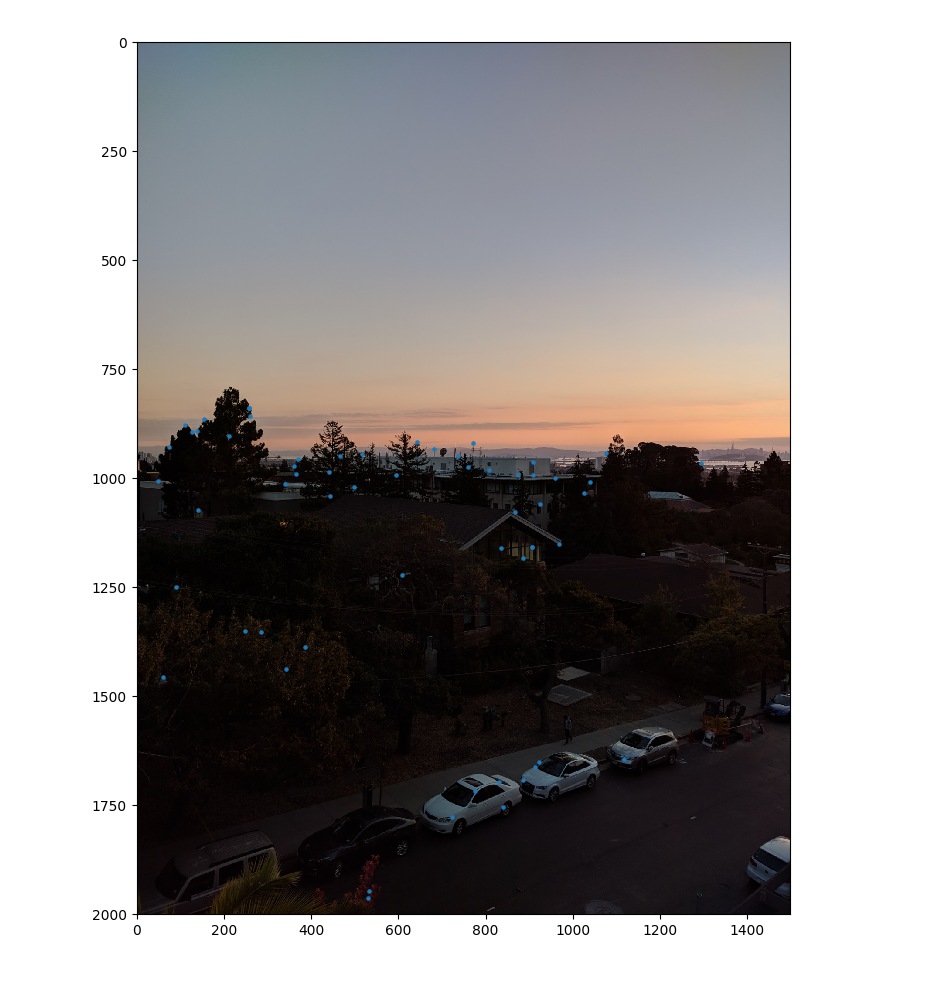
Below, the hand-defined mosaic is shown to the left while the automosaic is on the right.
We also tested the mosaic procedure on a few other sample images as well. The results don't match exactly because the images were recaptured a second time in the automosaic example, but it serves the purpose of demonstrating the effect. The Photo Sphere, "Hinamizawa", utilizes projective effects which the automosaic recovers and stitches together correctly. Because the source images are fairly zoomed in, the homography does not need to compensate as much for the projection in either case.

The system is so successful that it even finds the correct translation in the panorama of Miyajima because each crop of the image was taken without any added projective effects, only panning.
Summary
Aside from learning about projective transformations, the most useful part of this project has been the experience of working with NumPy and SciKit-Image. All of the projects in CS 194-26 have really helped me become intimately familiar with NumPy, both in terms of thinking in terms of array operations as well as vectorizing code. It's very rewarding to see the mosaics come together, and the image rectification effect can be very dramatic as well, giving us the ability to step into photographs. I never realized just how much data is stored in an image, and the rectification process makes that especially apparent.
In addition, it's impressive how we can attempt to model high-level cognition by breaking down a problem as an engineering task and then solving each of those tasks in sequence.