Part A Overview
In part one of this project, we create panoramic photos by manually registering corresponding points in images, recovering the homography between the sets of points, warping and resampling the images, and blending them to create a smooth stitch between the images.
Shooting the Photos
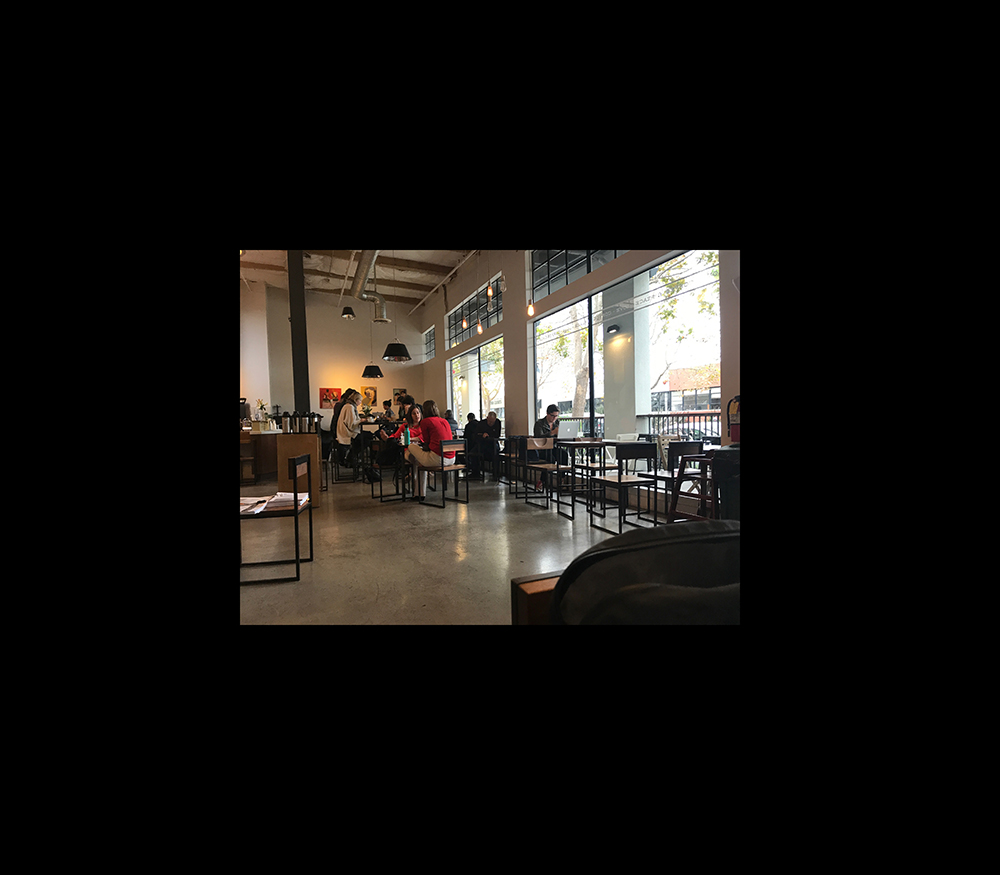
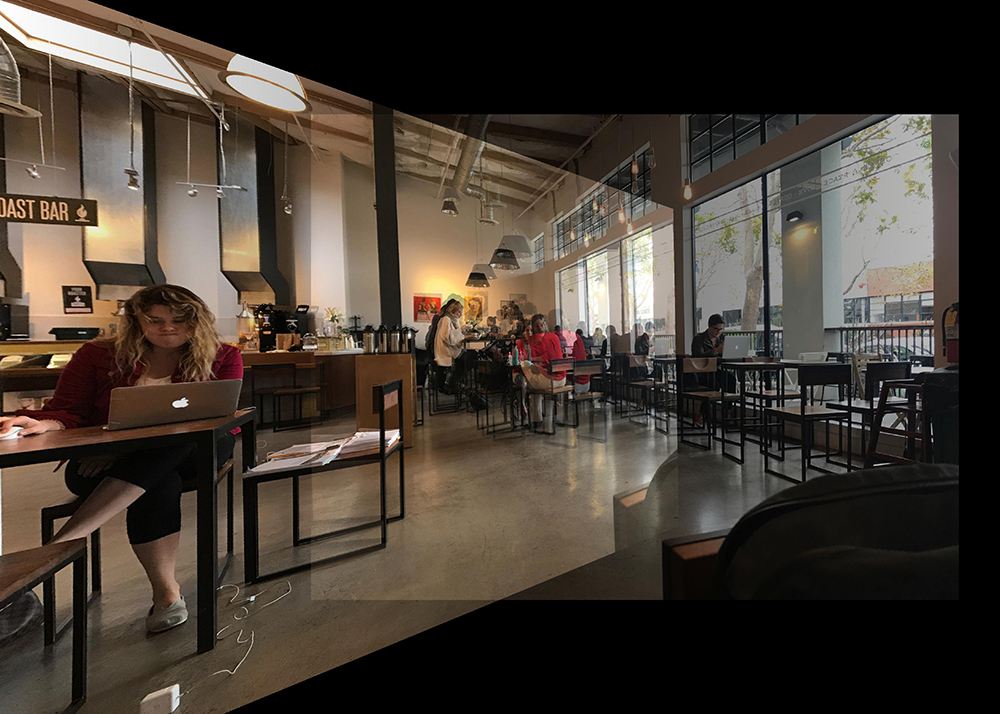
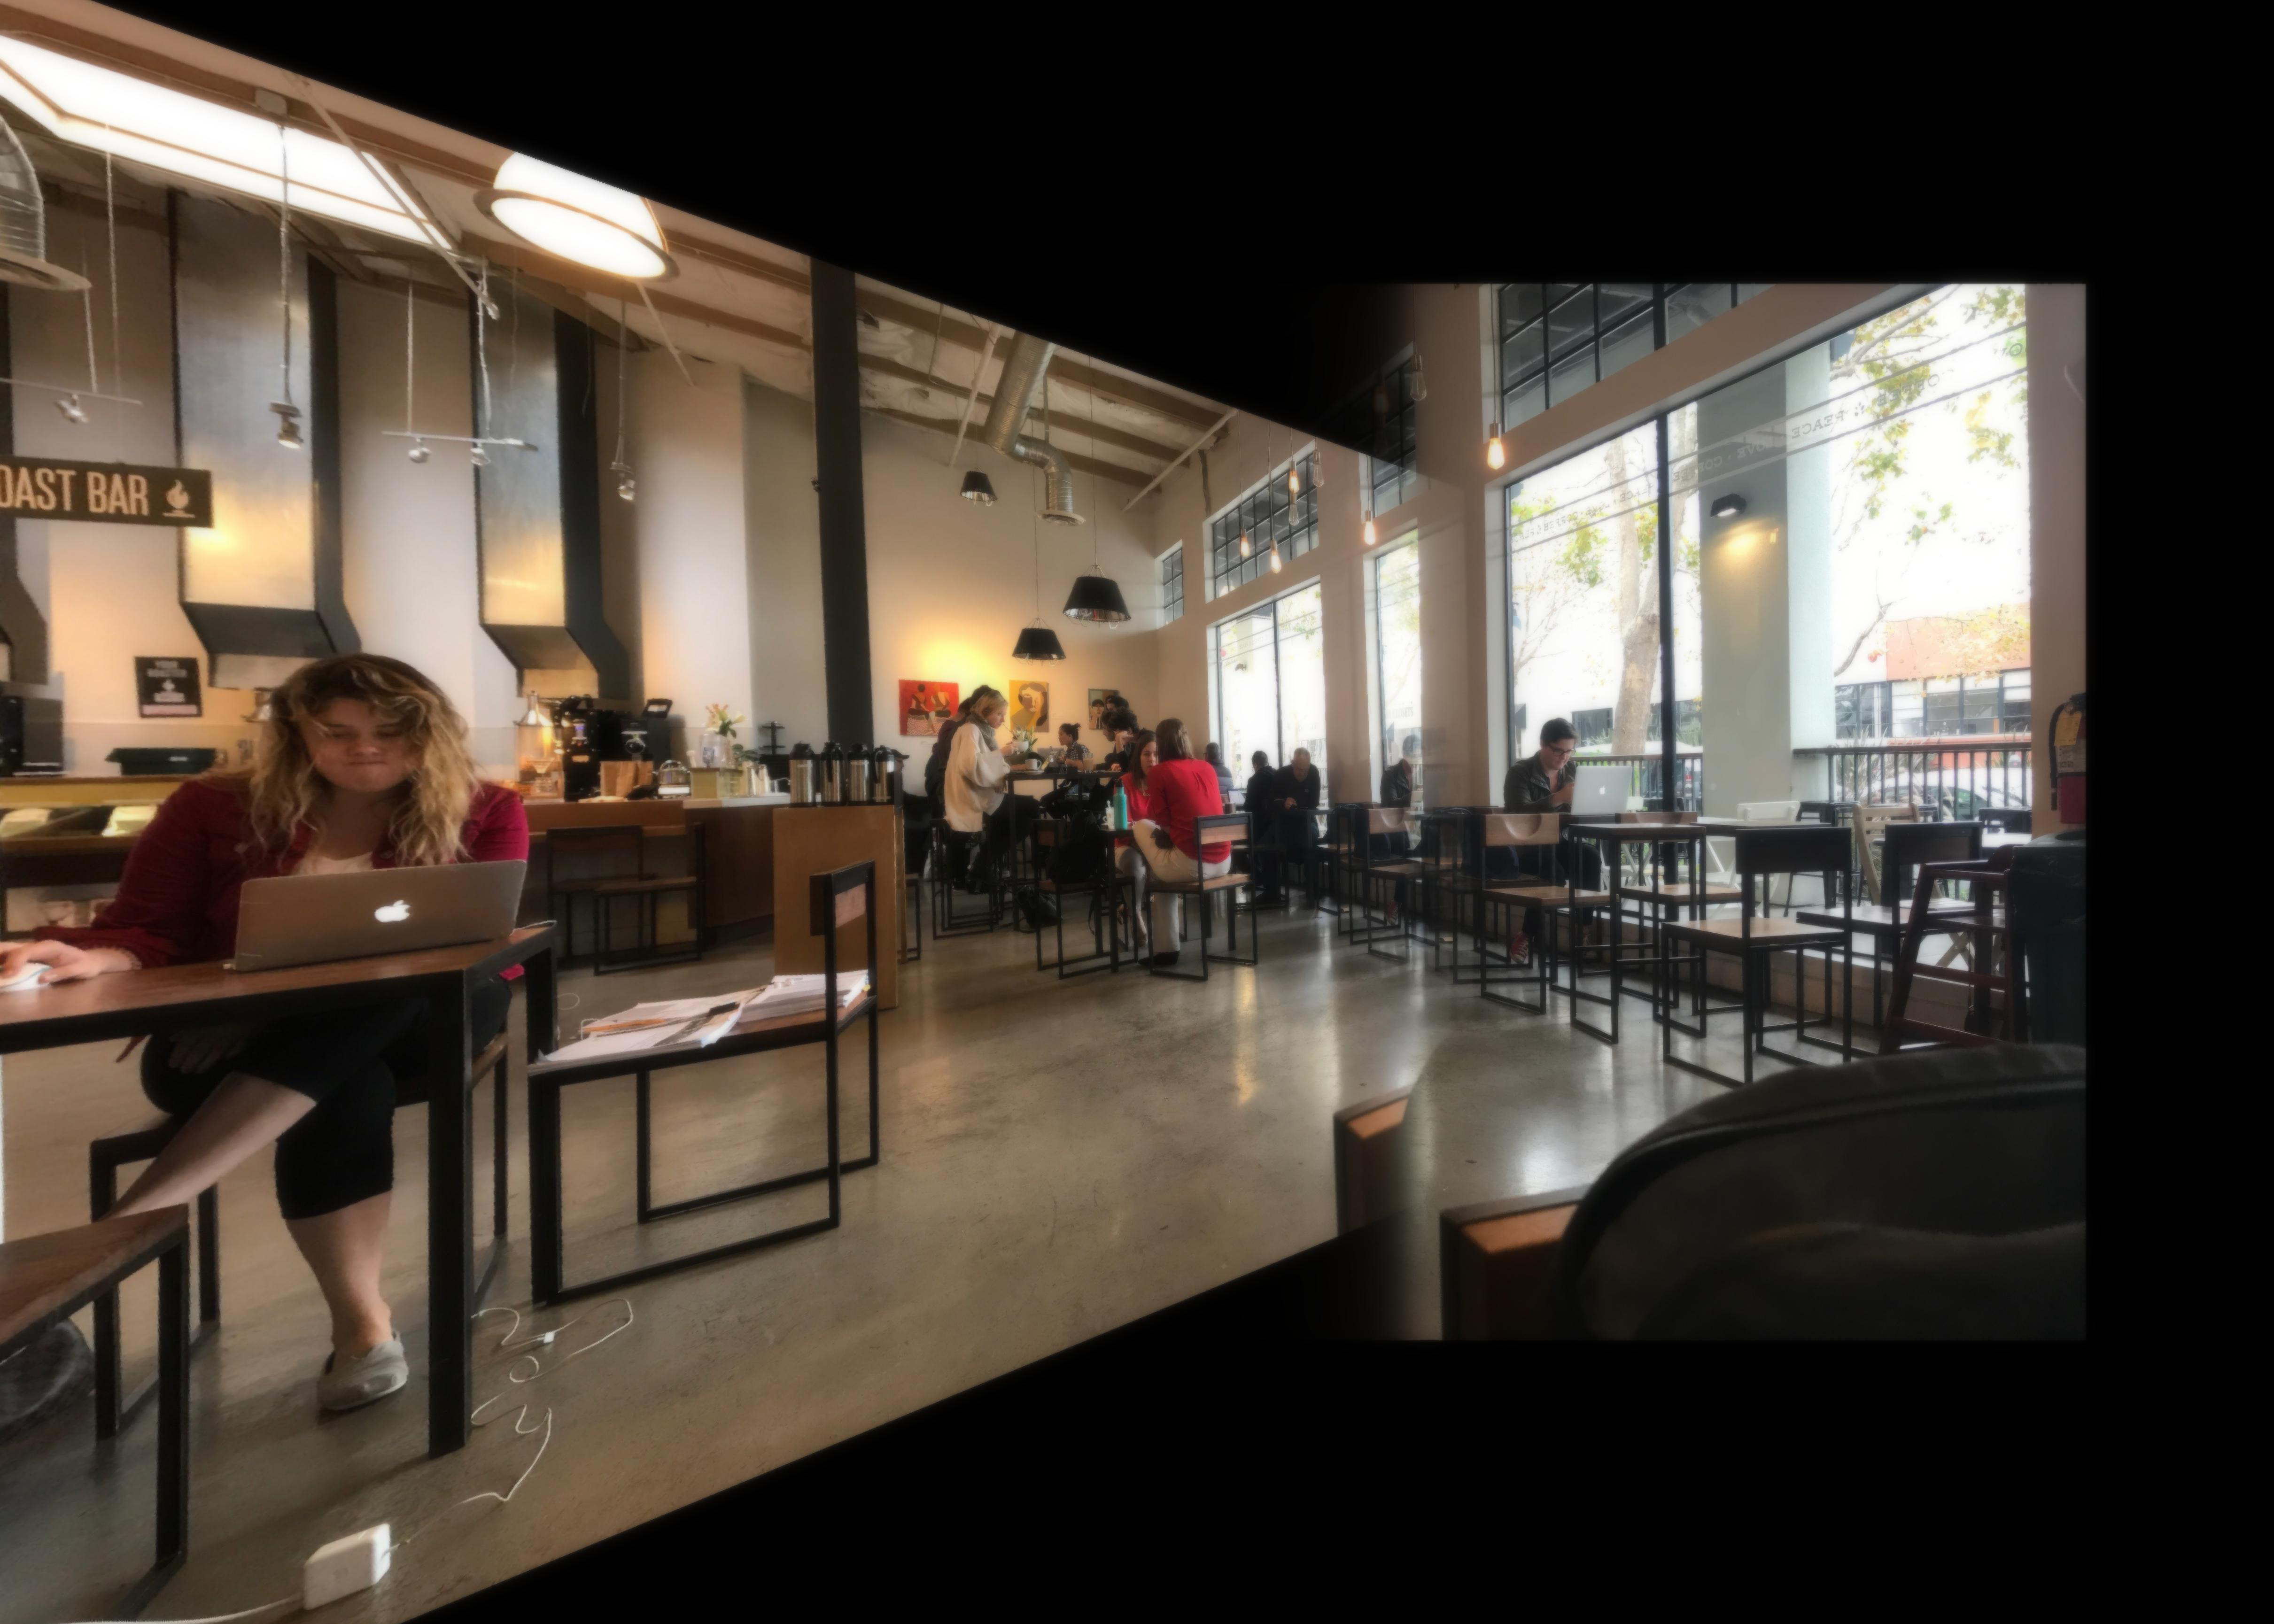
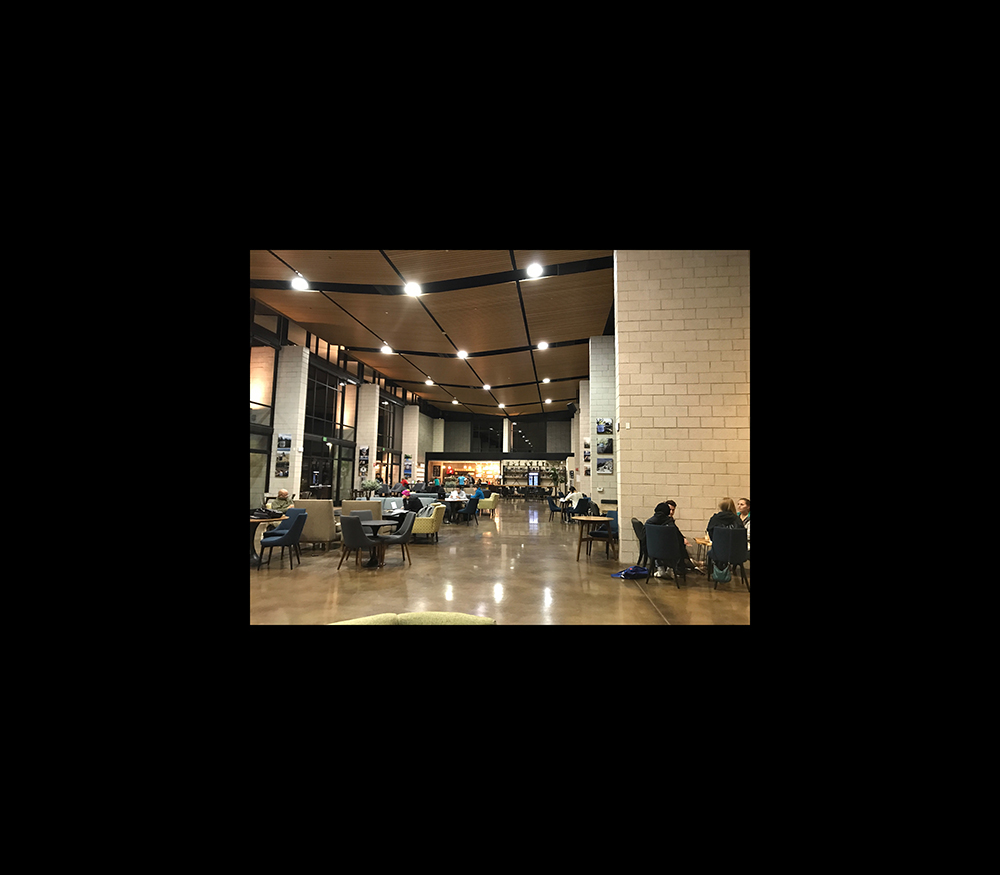
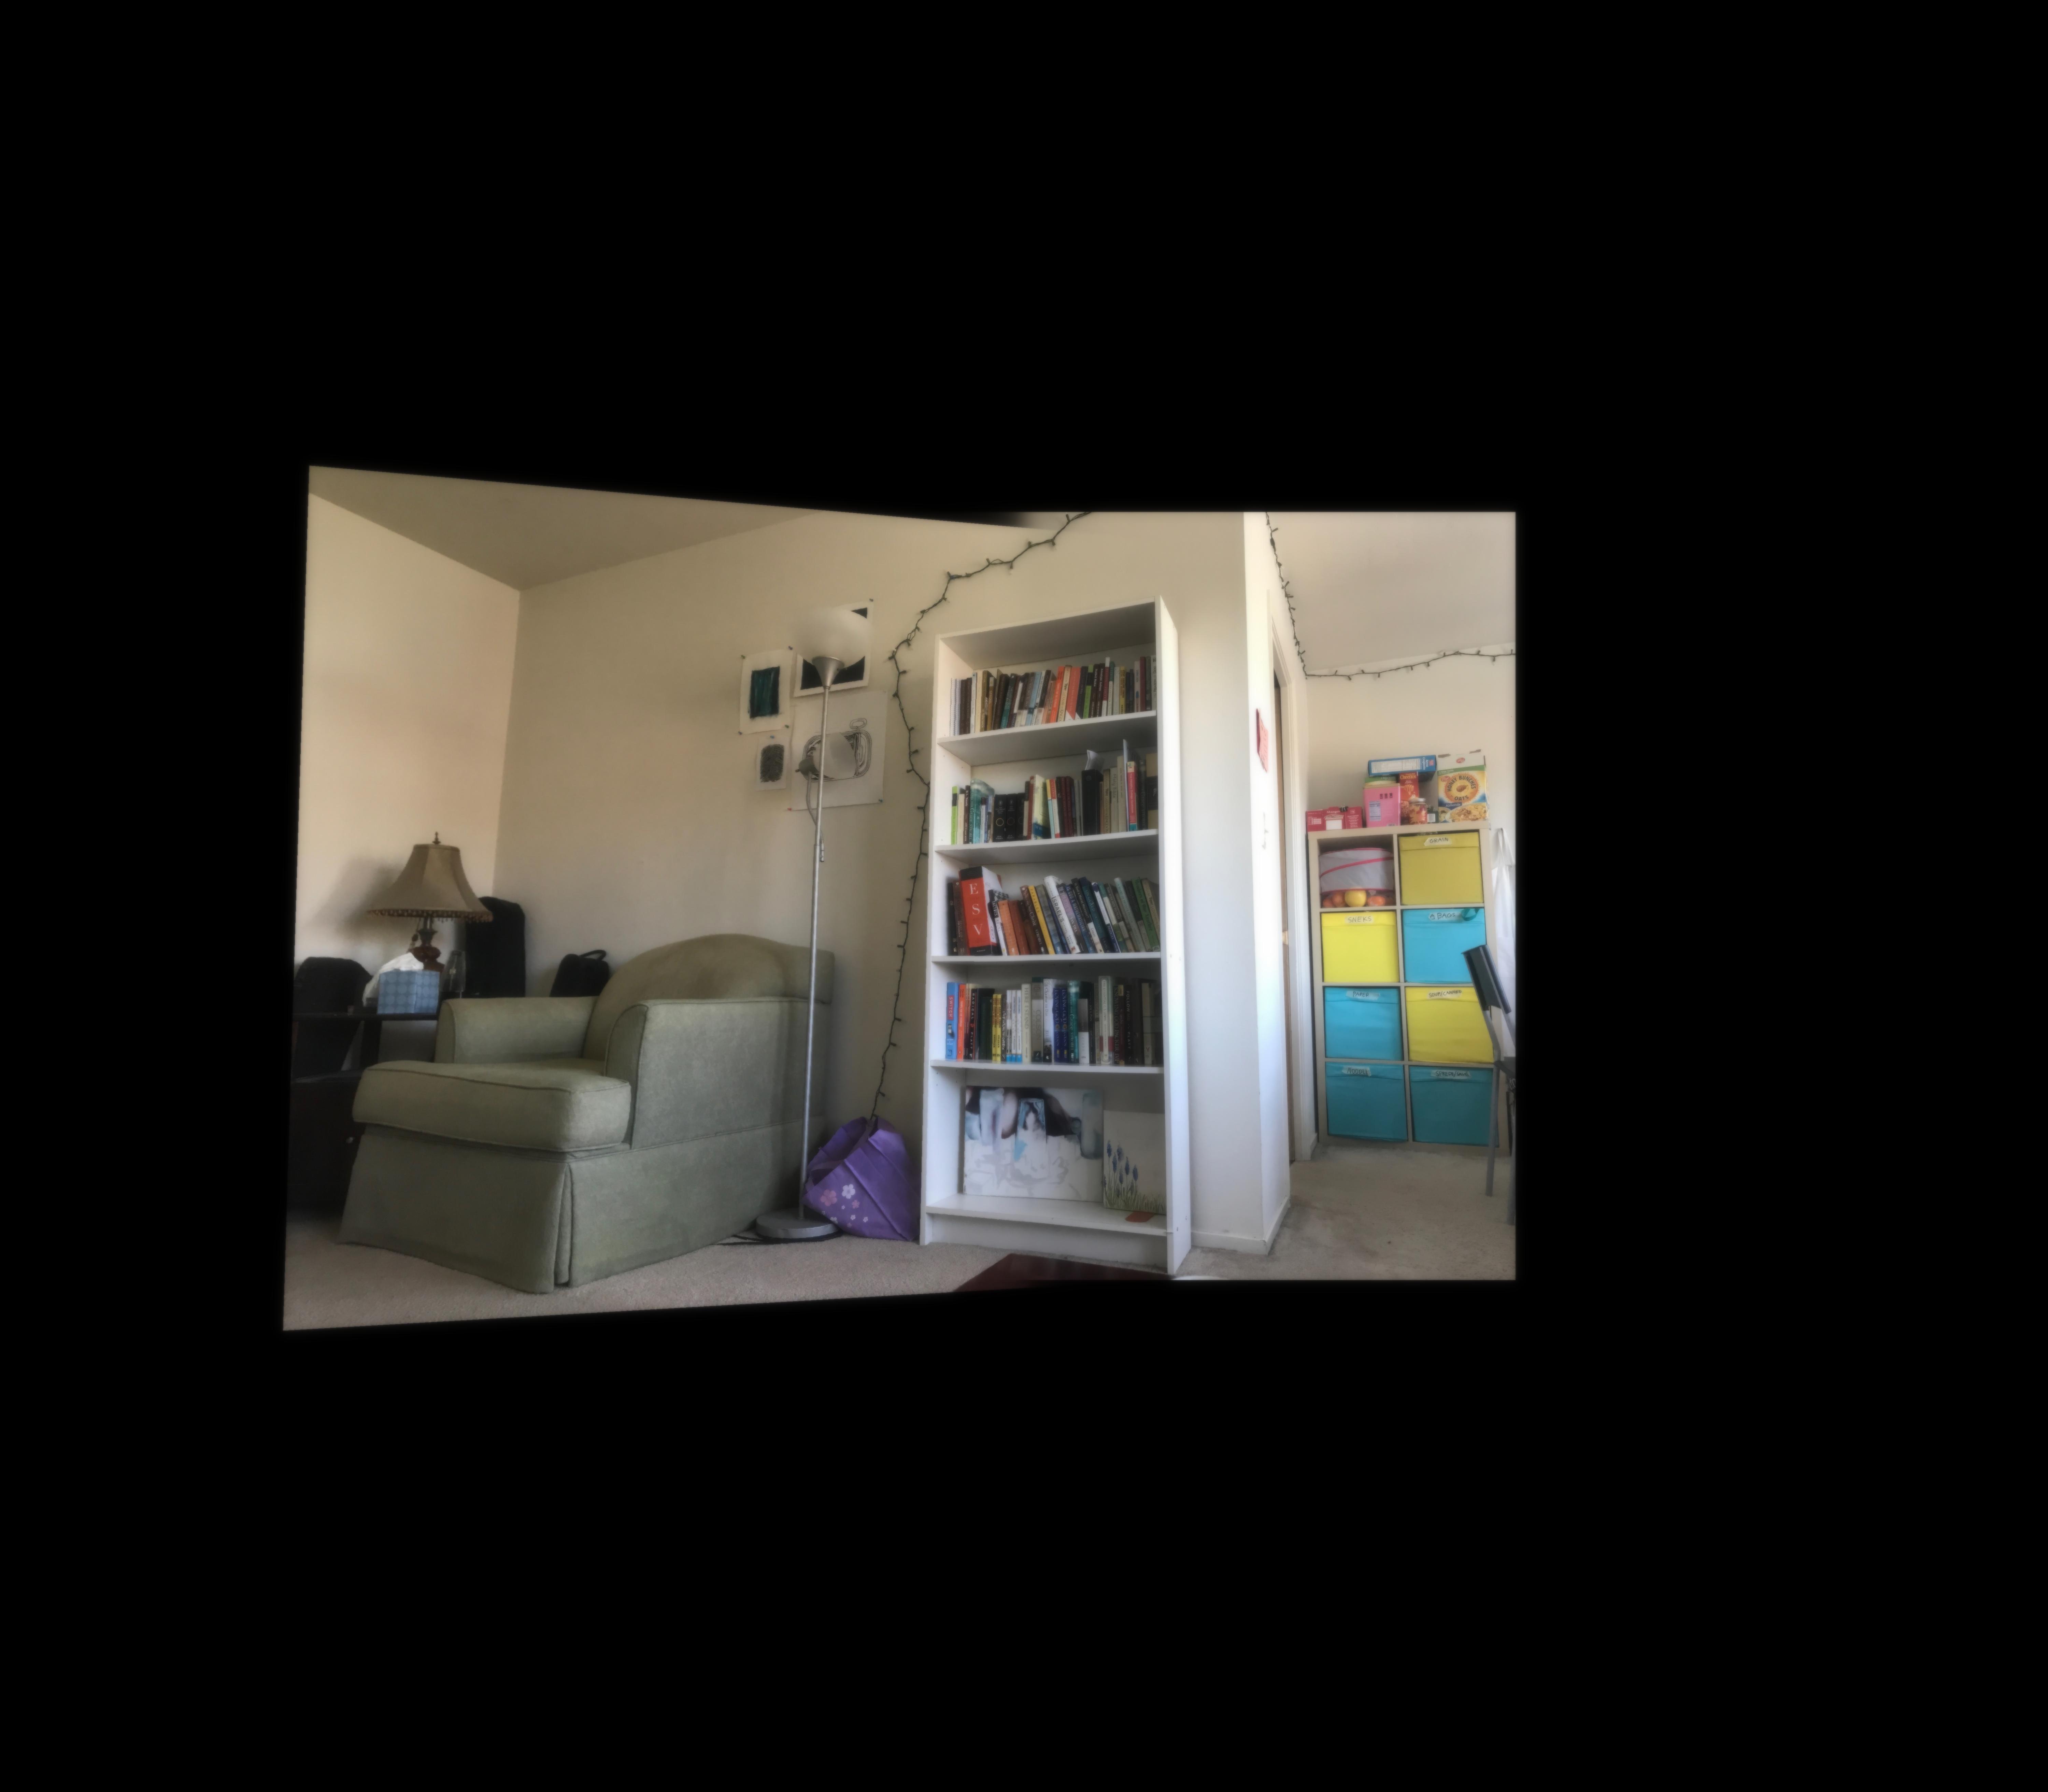
I shot these photos of my apartment and a cafe on my iPhone by shooting them from the same point of view but with different view directions, making sure that the images overlapped in at least 40% of the field of view. I found that it was best to capture interiors because the corners where the walls meet and the geometry of the furniture inside helps to select points that align well between multiple images.
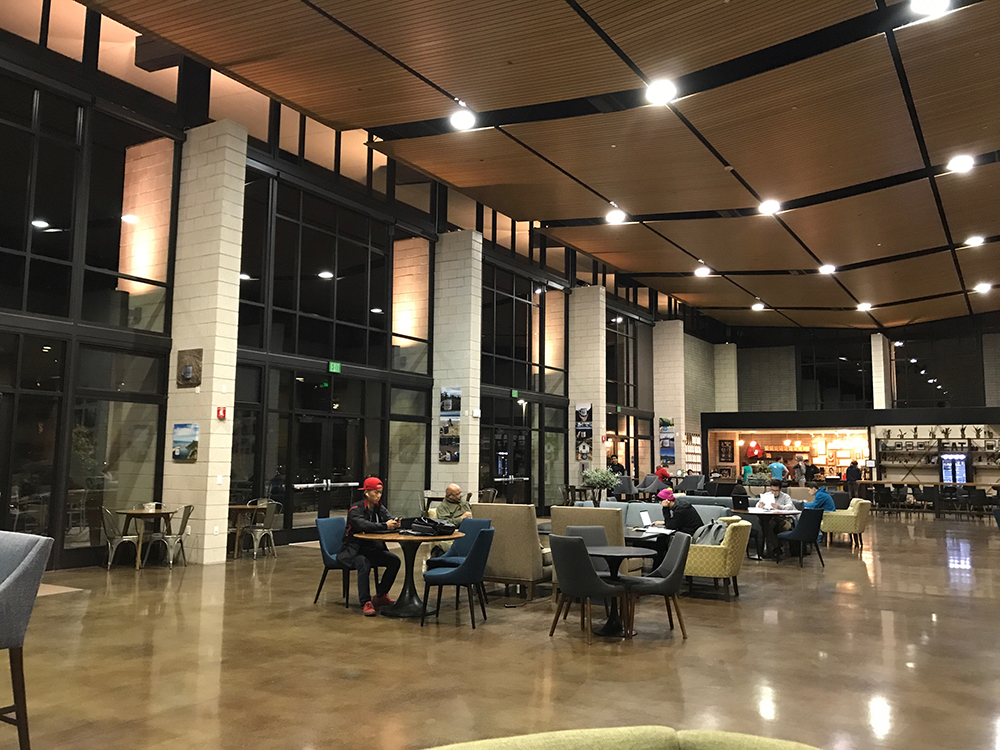
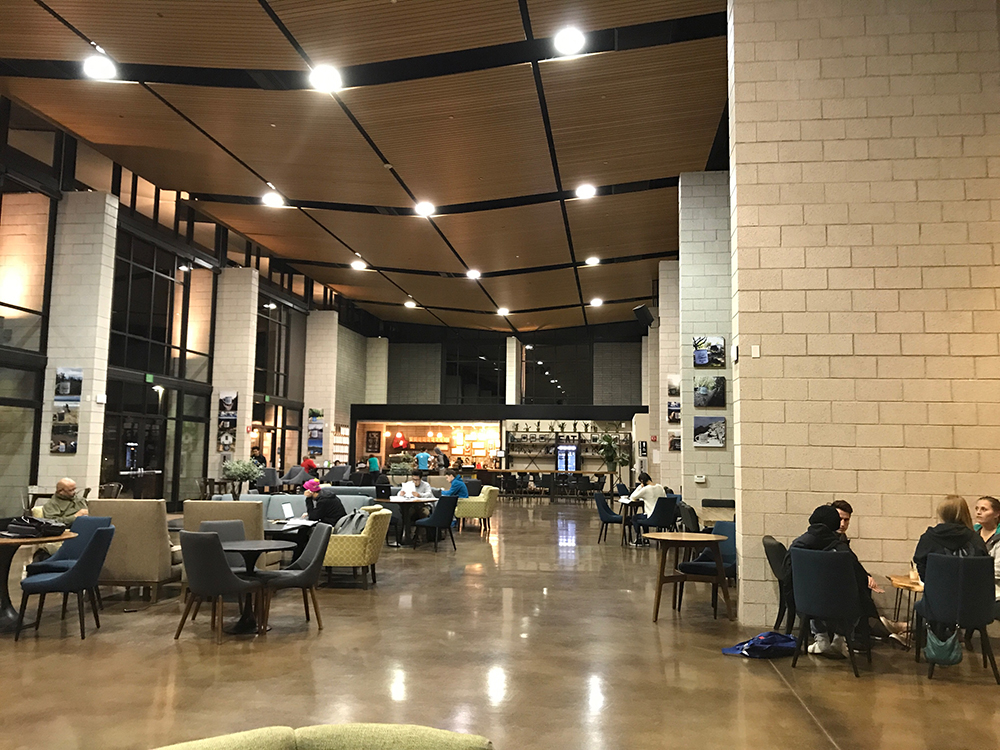
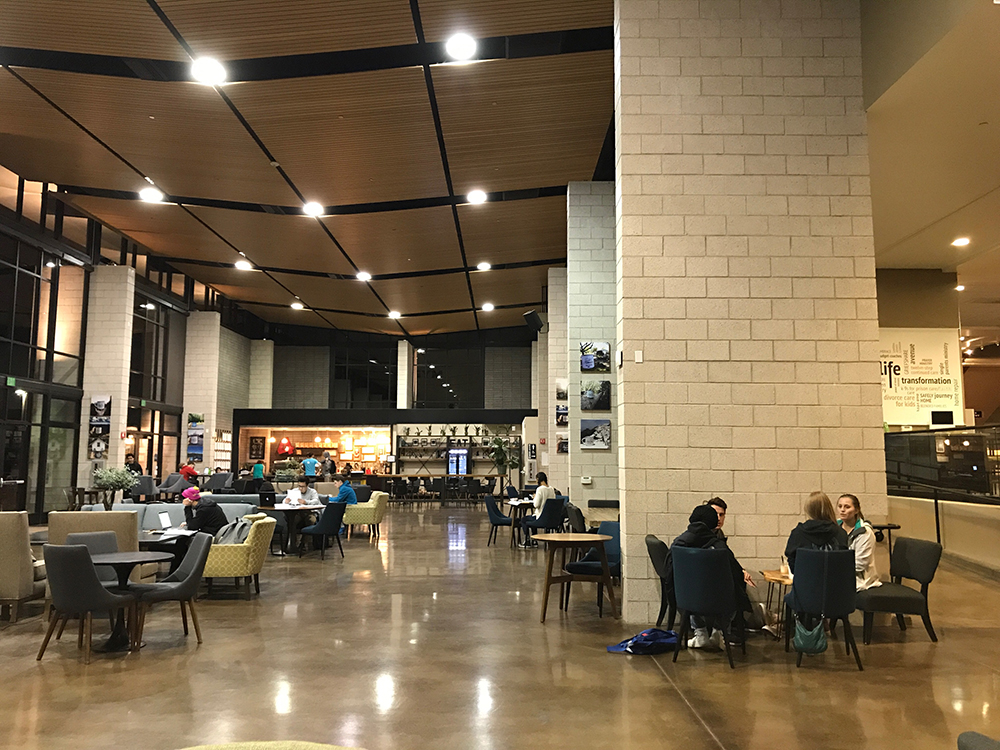
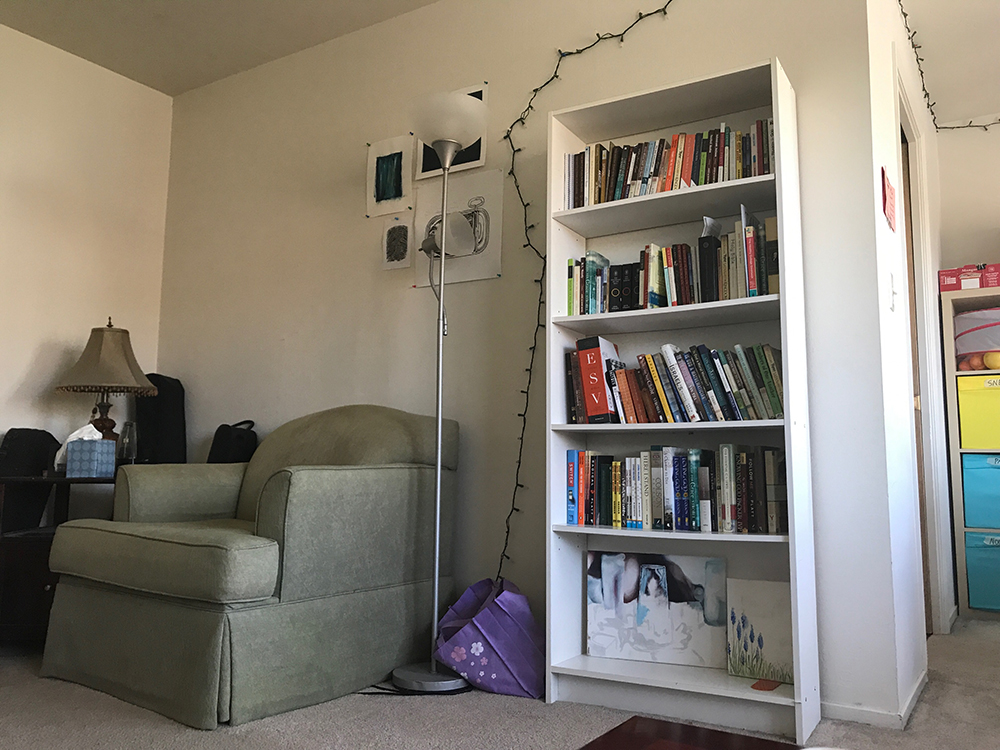
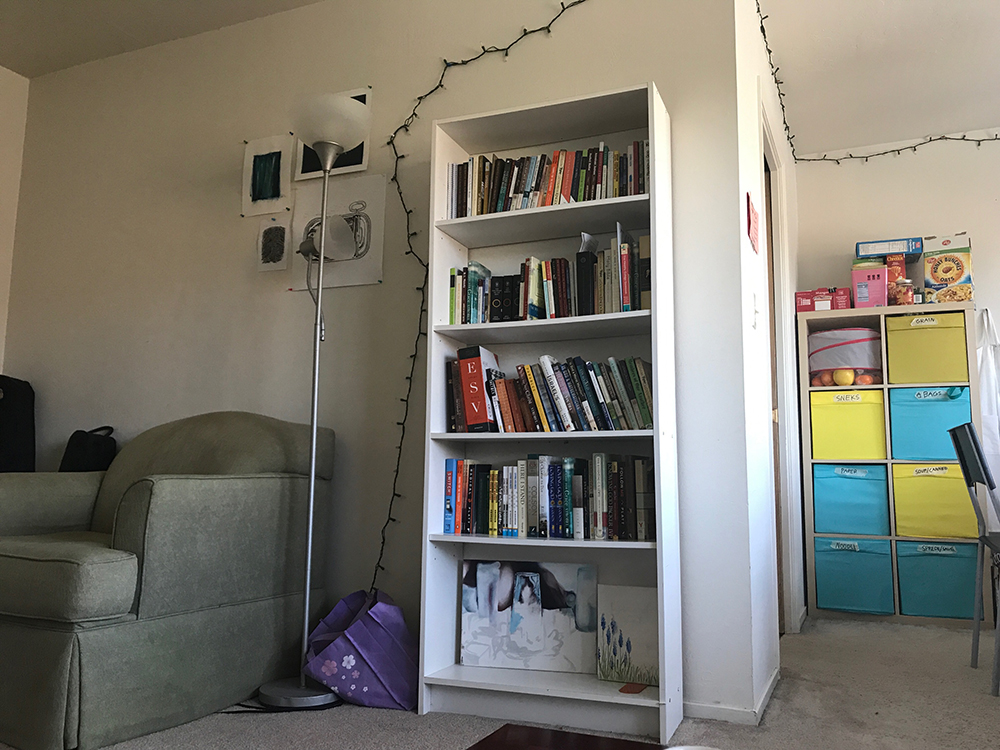
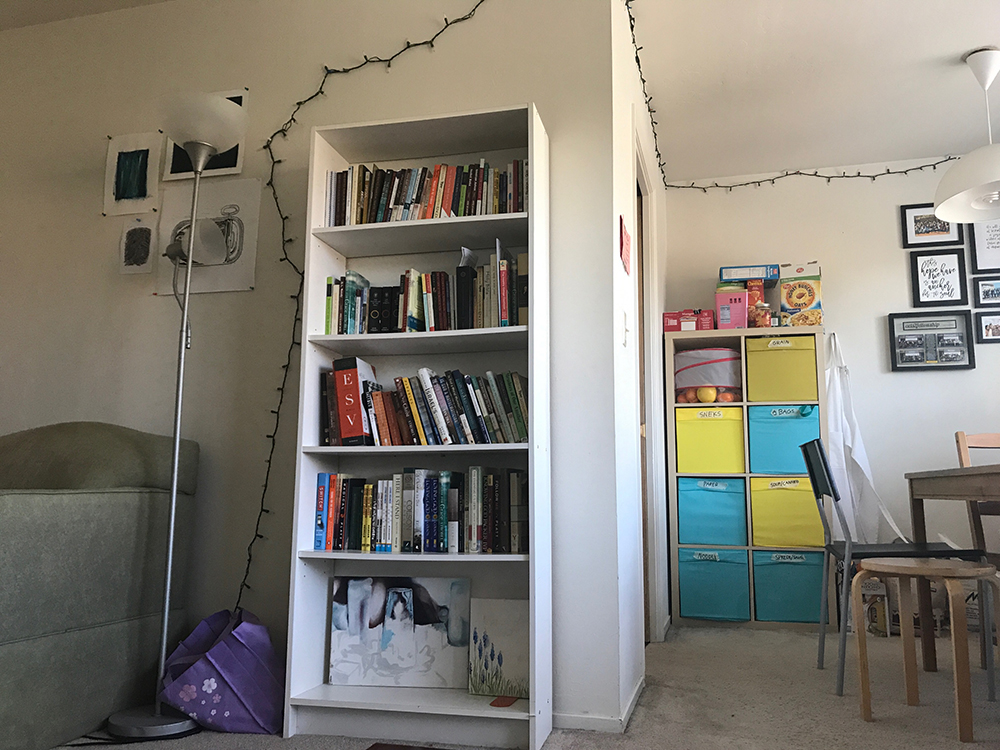
Image Rectification
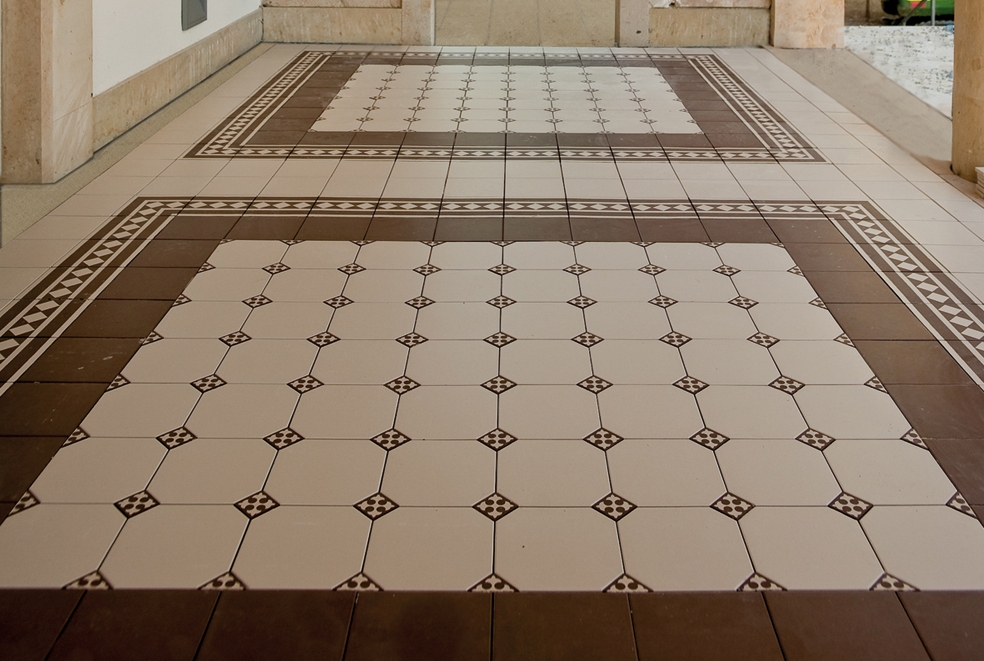
I took sample images from the internet of planar surfaces and warped them so that the plane is frontal-parallel. Here, I manually select 4 points on the image and then I explicitly specify the points where I want to project them.
To do this, we need to compute the transformation matrix from the desired location of the 4 points (we need at least 4 points because there are 8 degrees of freedom) back to the original 4 points, the homography matrix between the images. so we know where to sample pixels from in the rectified image. After defining the points, we can solve for the variables h11 to h32:
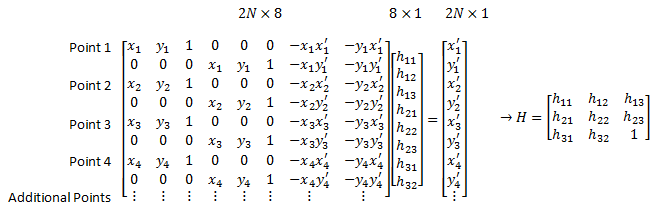
The above image is simply a rearrangement of the linear equation Ax = b where A is the transformation matrix, x is the pixel coordinate in the new image, and b is the pixel coordinate in the old image (to be warped). After solving for h11 to h32, the values can be rearranged into a 3x3 transformation matrix after appending 1 to the array. Finally, for each pixel we can multiply the coordinates by the homography matrix to recover where where should sample the pixel value from.
Original Image
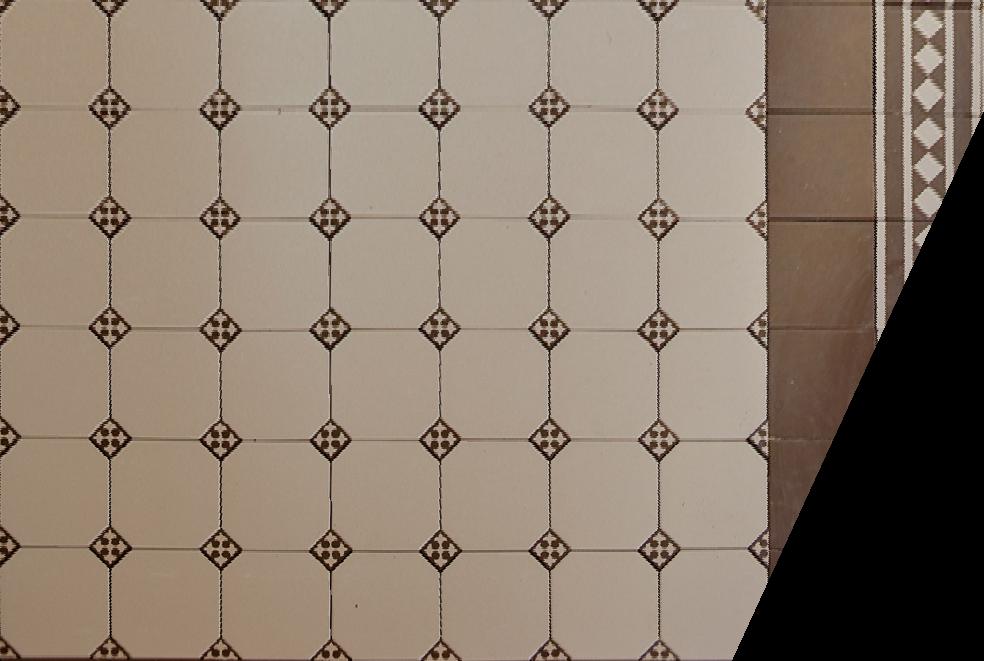
Rectified Image
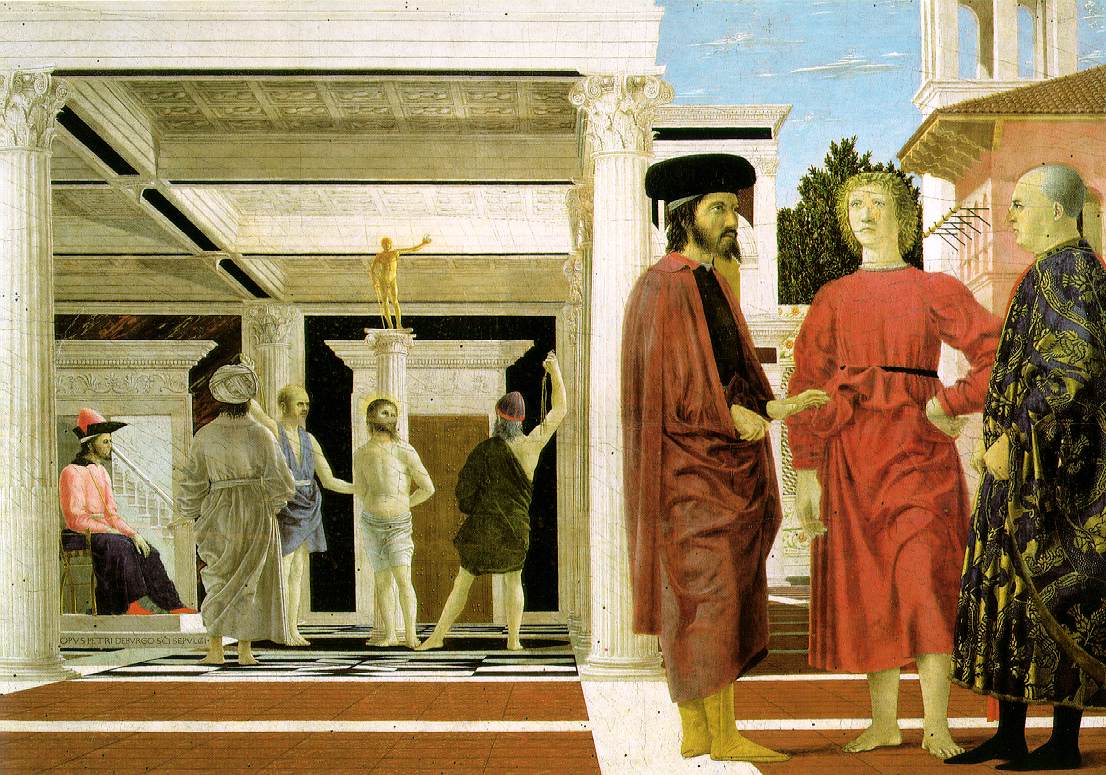
Flagellation of Christ
Rectified Floor
Rectified Ceiling
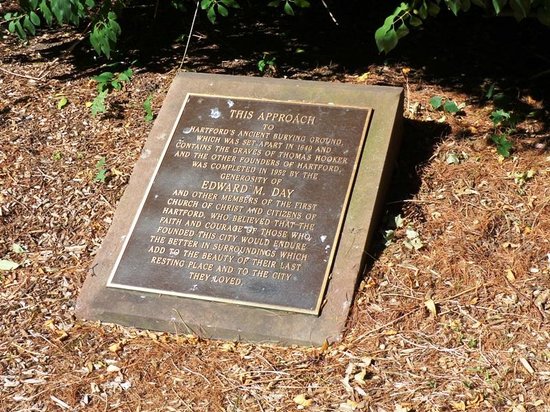
Original Memorial
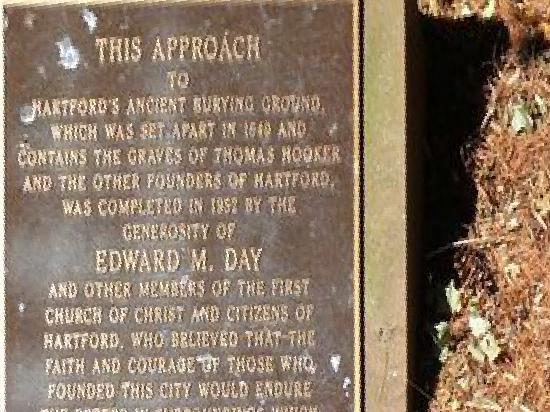
Rectified
Image Mosaics
Example 1: Artis
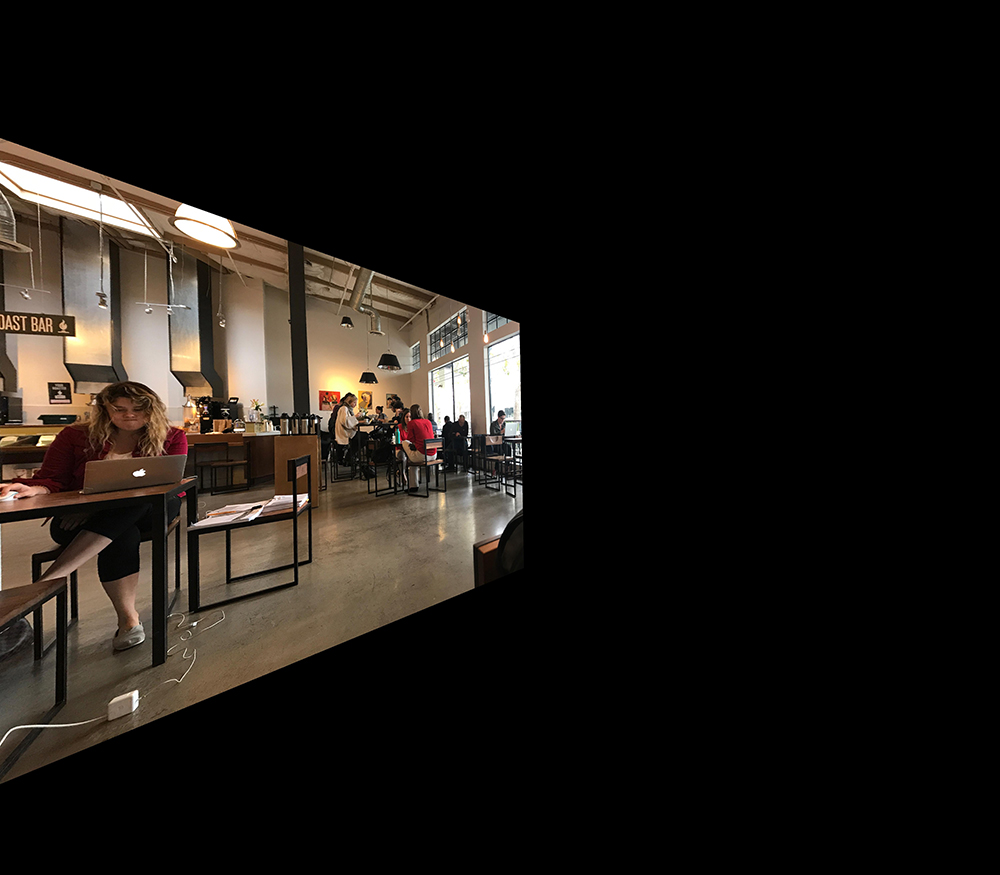
Image 1 Warped
Projective Plane
Linear Blending
Laplacian Stacks
Example 2: Cafe 4!
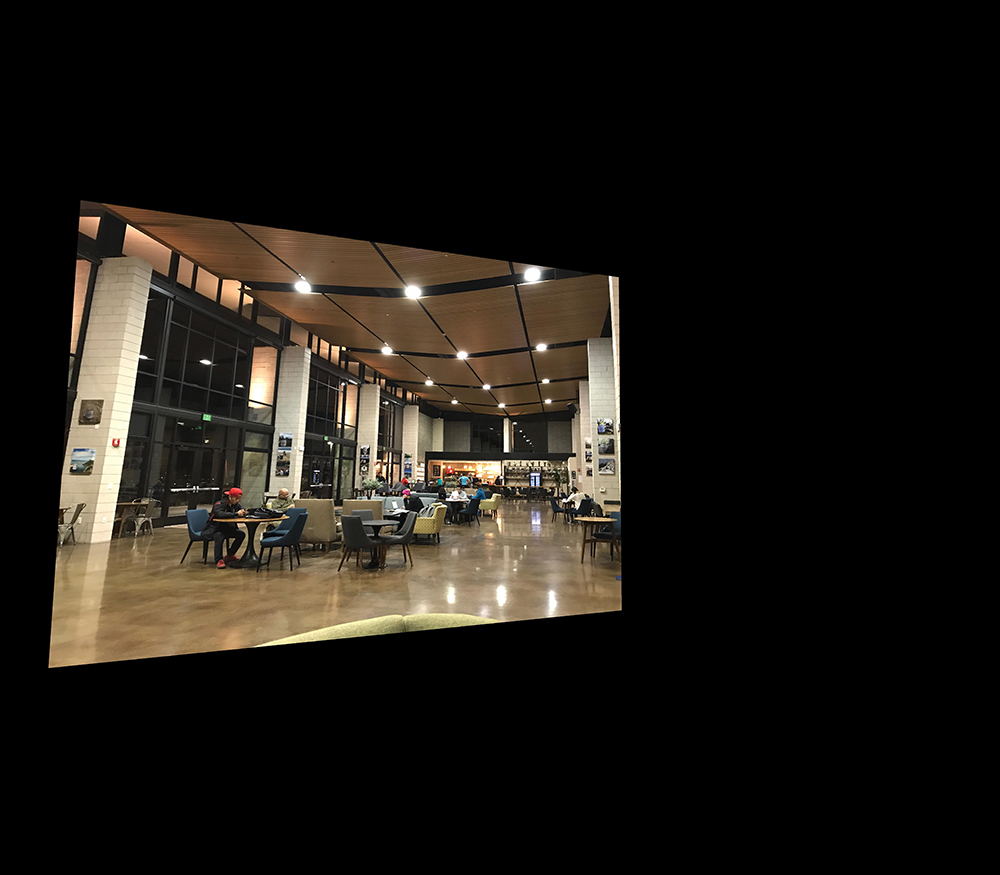
Image 1 Warped
Projective Plane
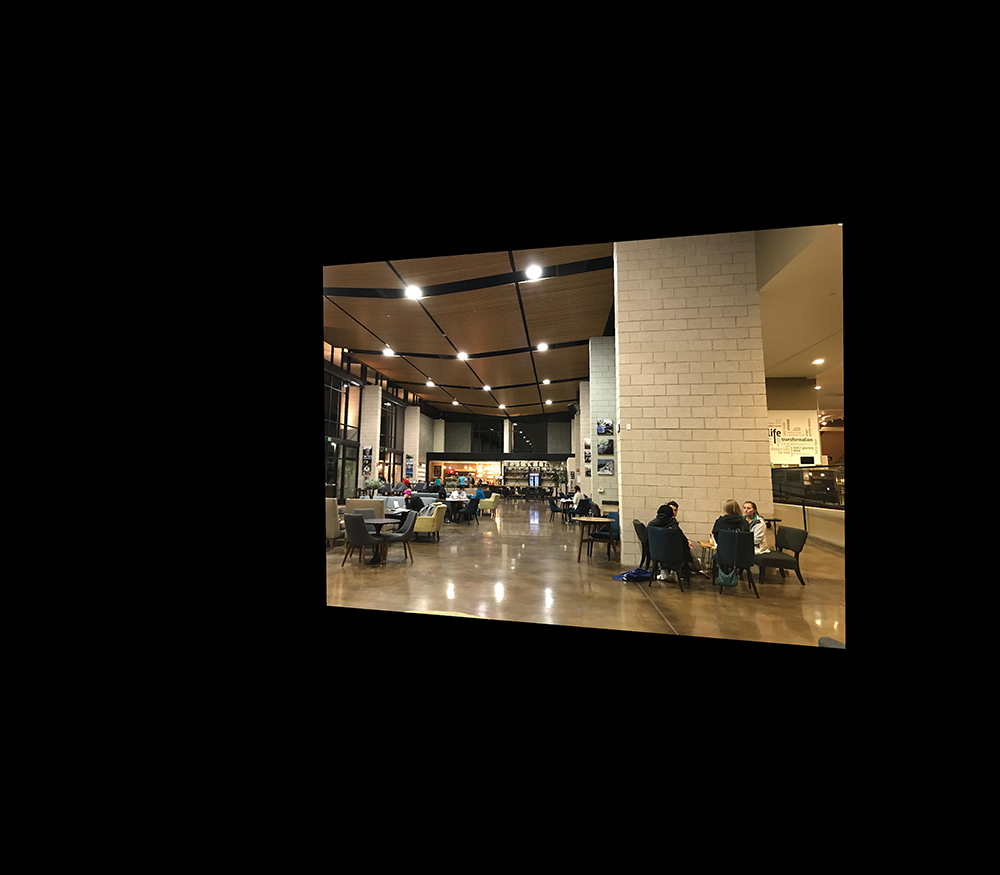
Image 3 Warped
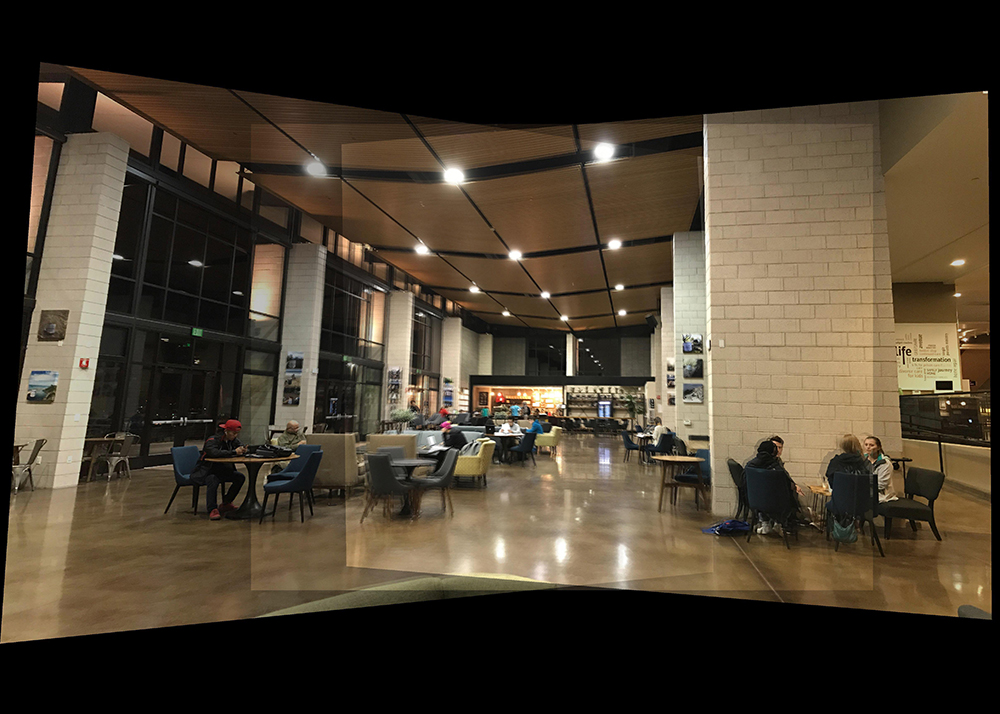
Linear Blending
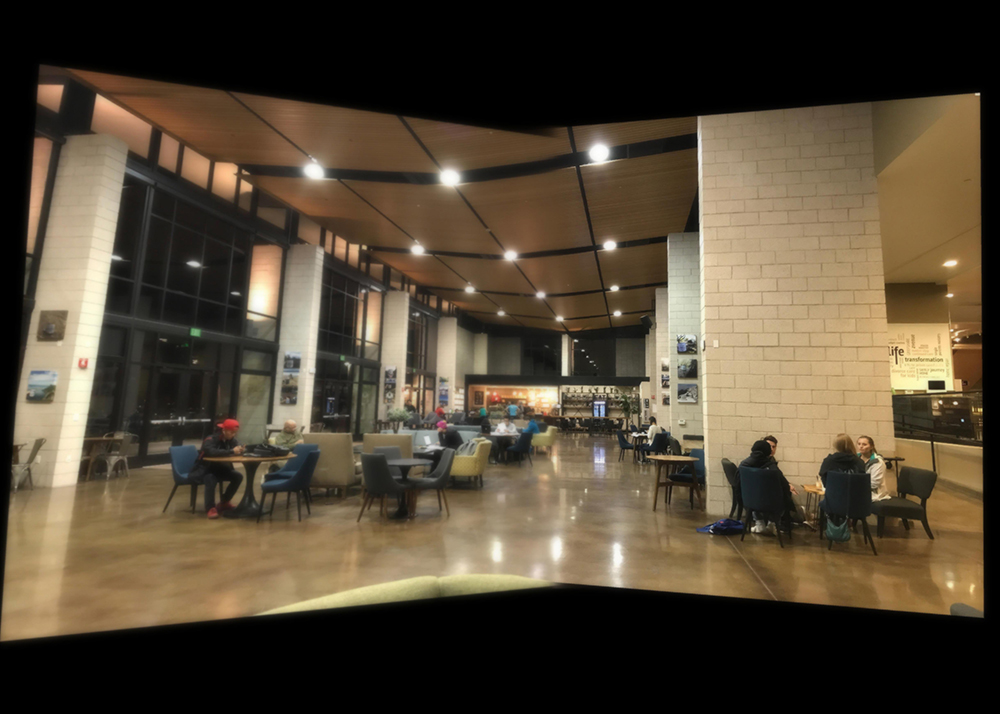
Laplacian Stacks
Example 3: My Apartment
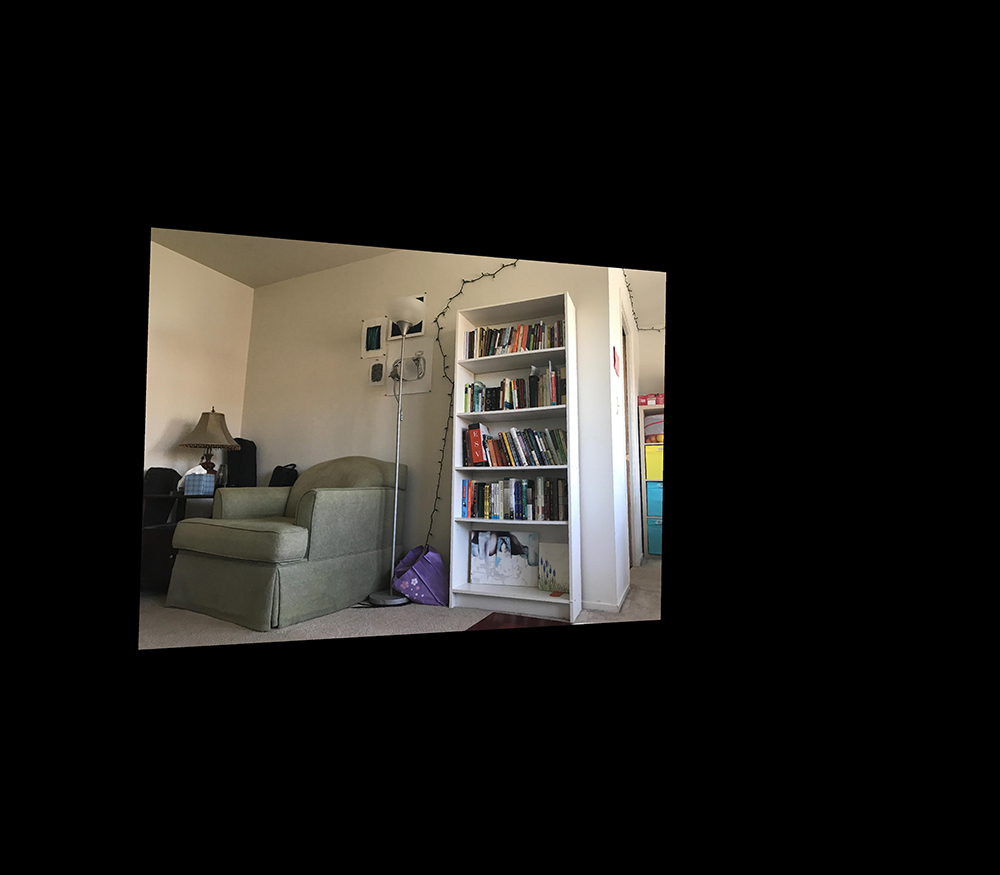
Image 1 Warped
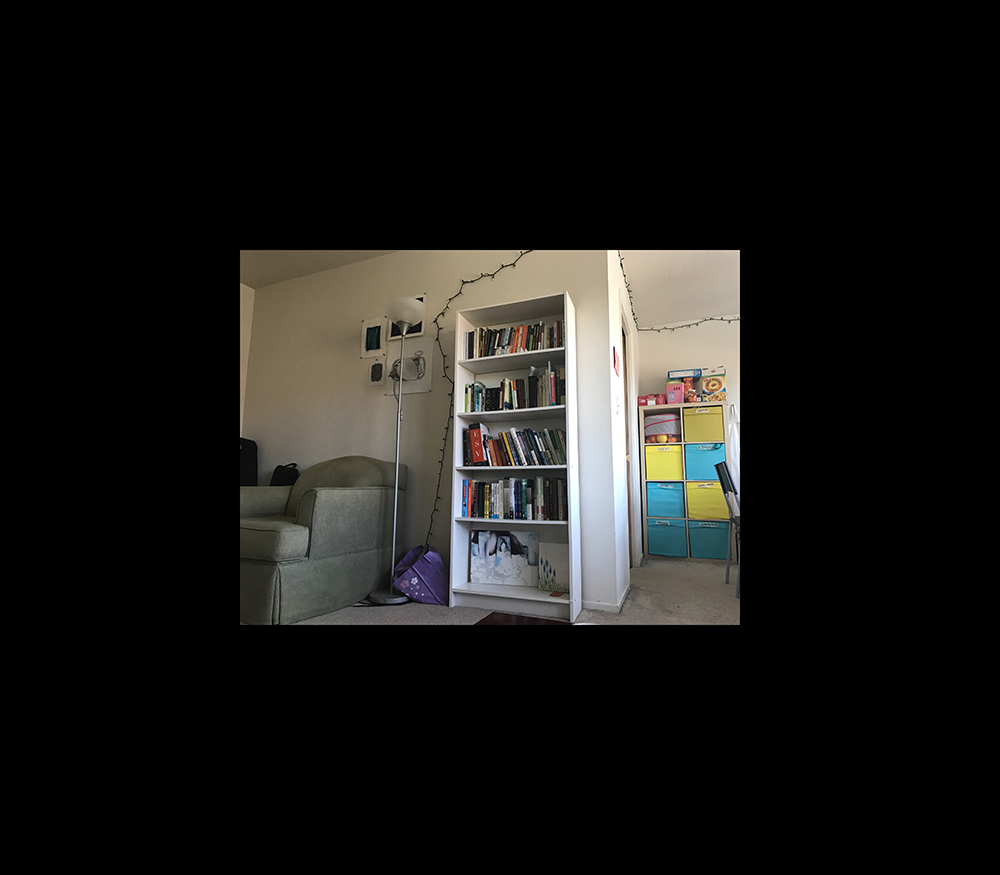
Projective Plane
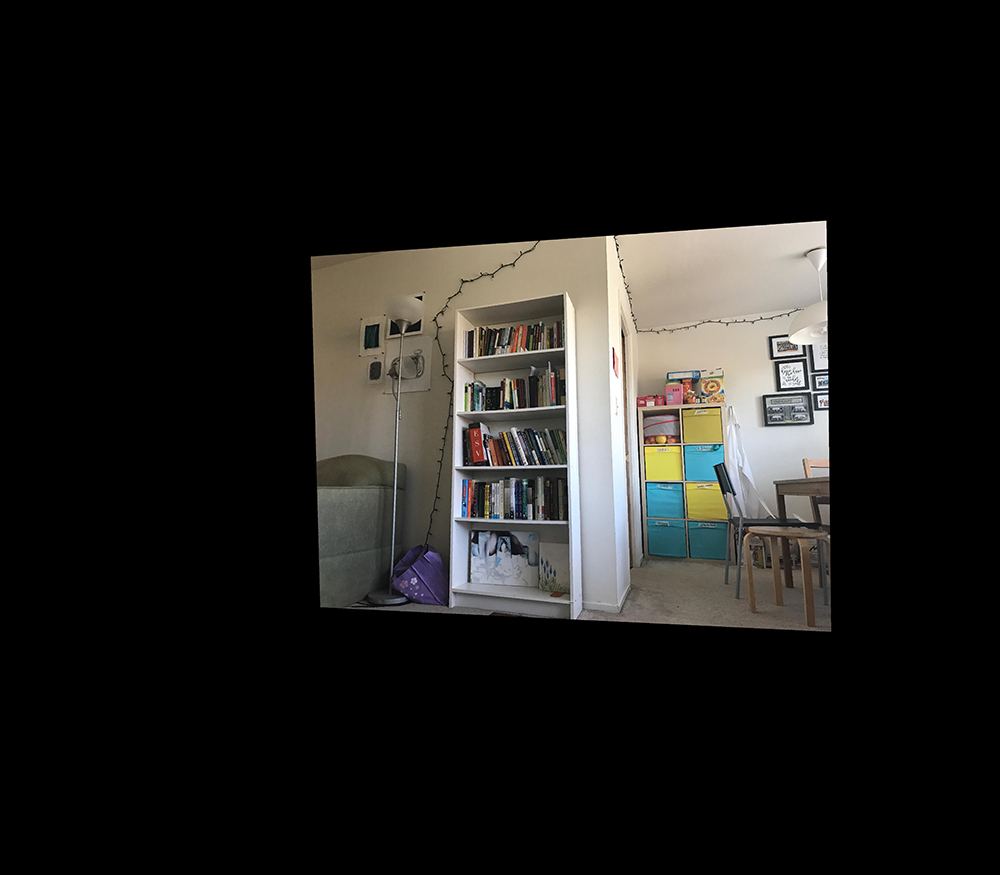
Image 3 Warped
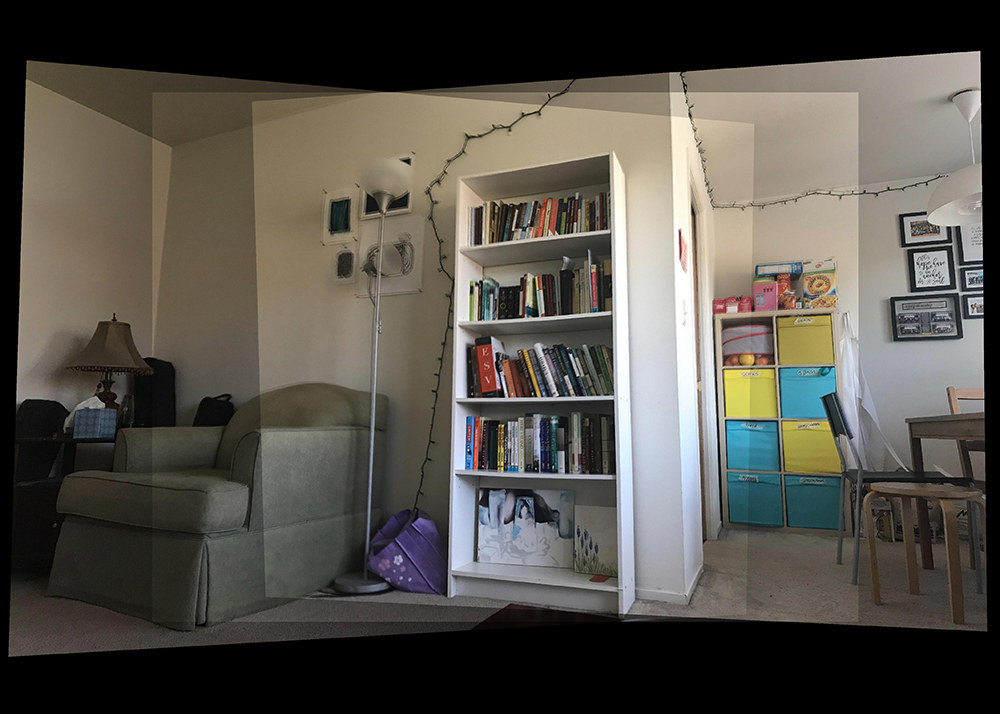
Linear Blending

Laplacian Stacks
Summary
I had no idea panoramas could be made in this way or that linear algebra was so powerful. It was nice to see how to apply the various things we learned in this class like homography/transformation matrices and laplacian stacks to produce cool visual results. It’s also amazing to think that our phones have optimized this enough to produce panoramas instantaneously.
Part B Overview
In the second part of the project, the goal is to automatically stitch images into a mosaic, eliminating the need to manually select corresponding points. The code for finding the homography between the points, warping the images, and blending them is the same as from part A.
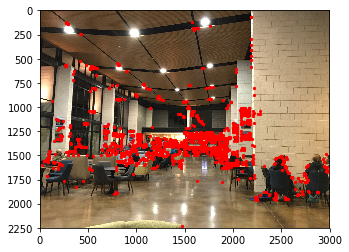
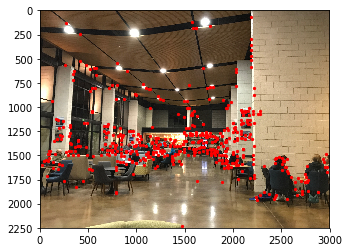
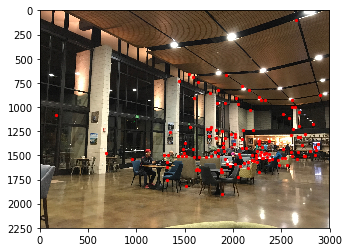
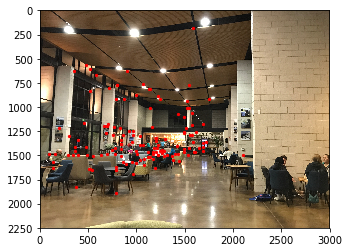
Harris Corners
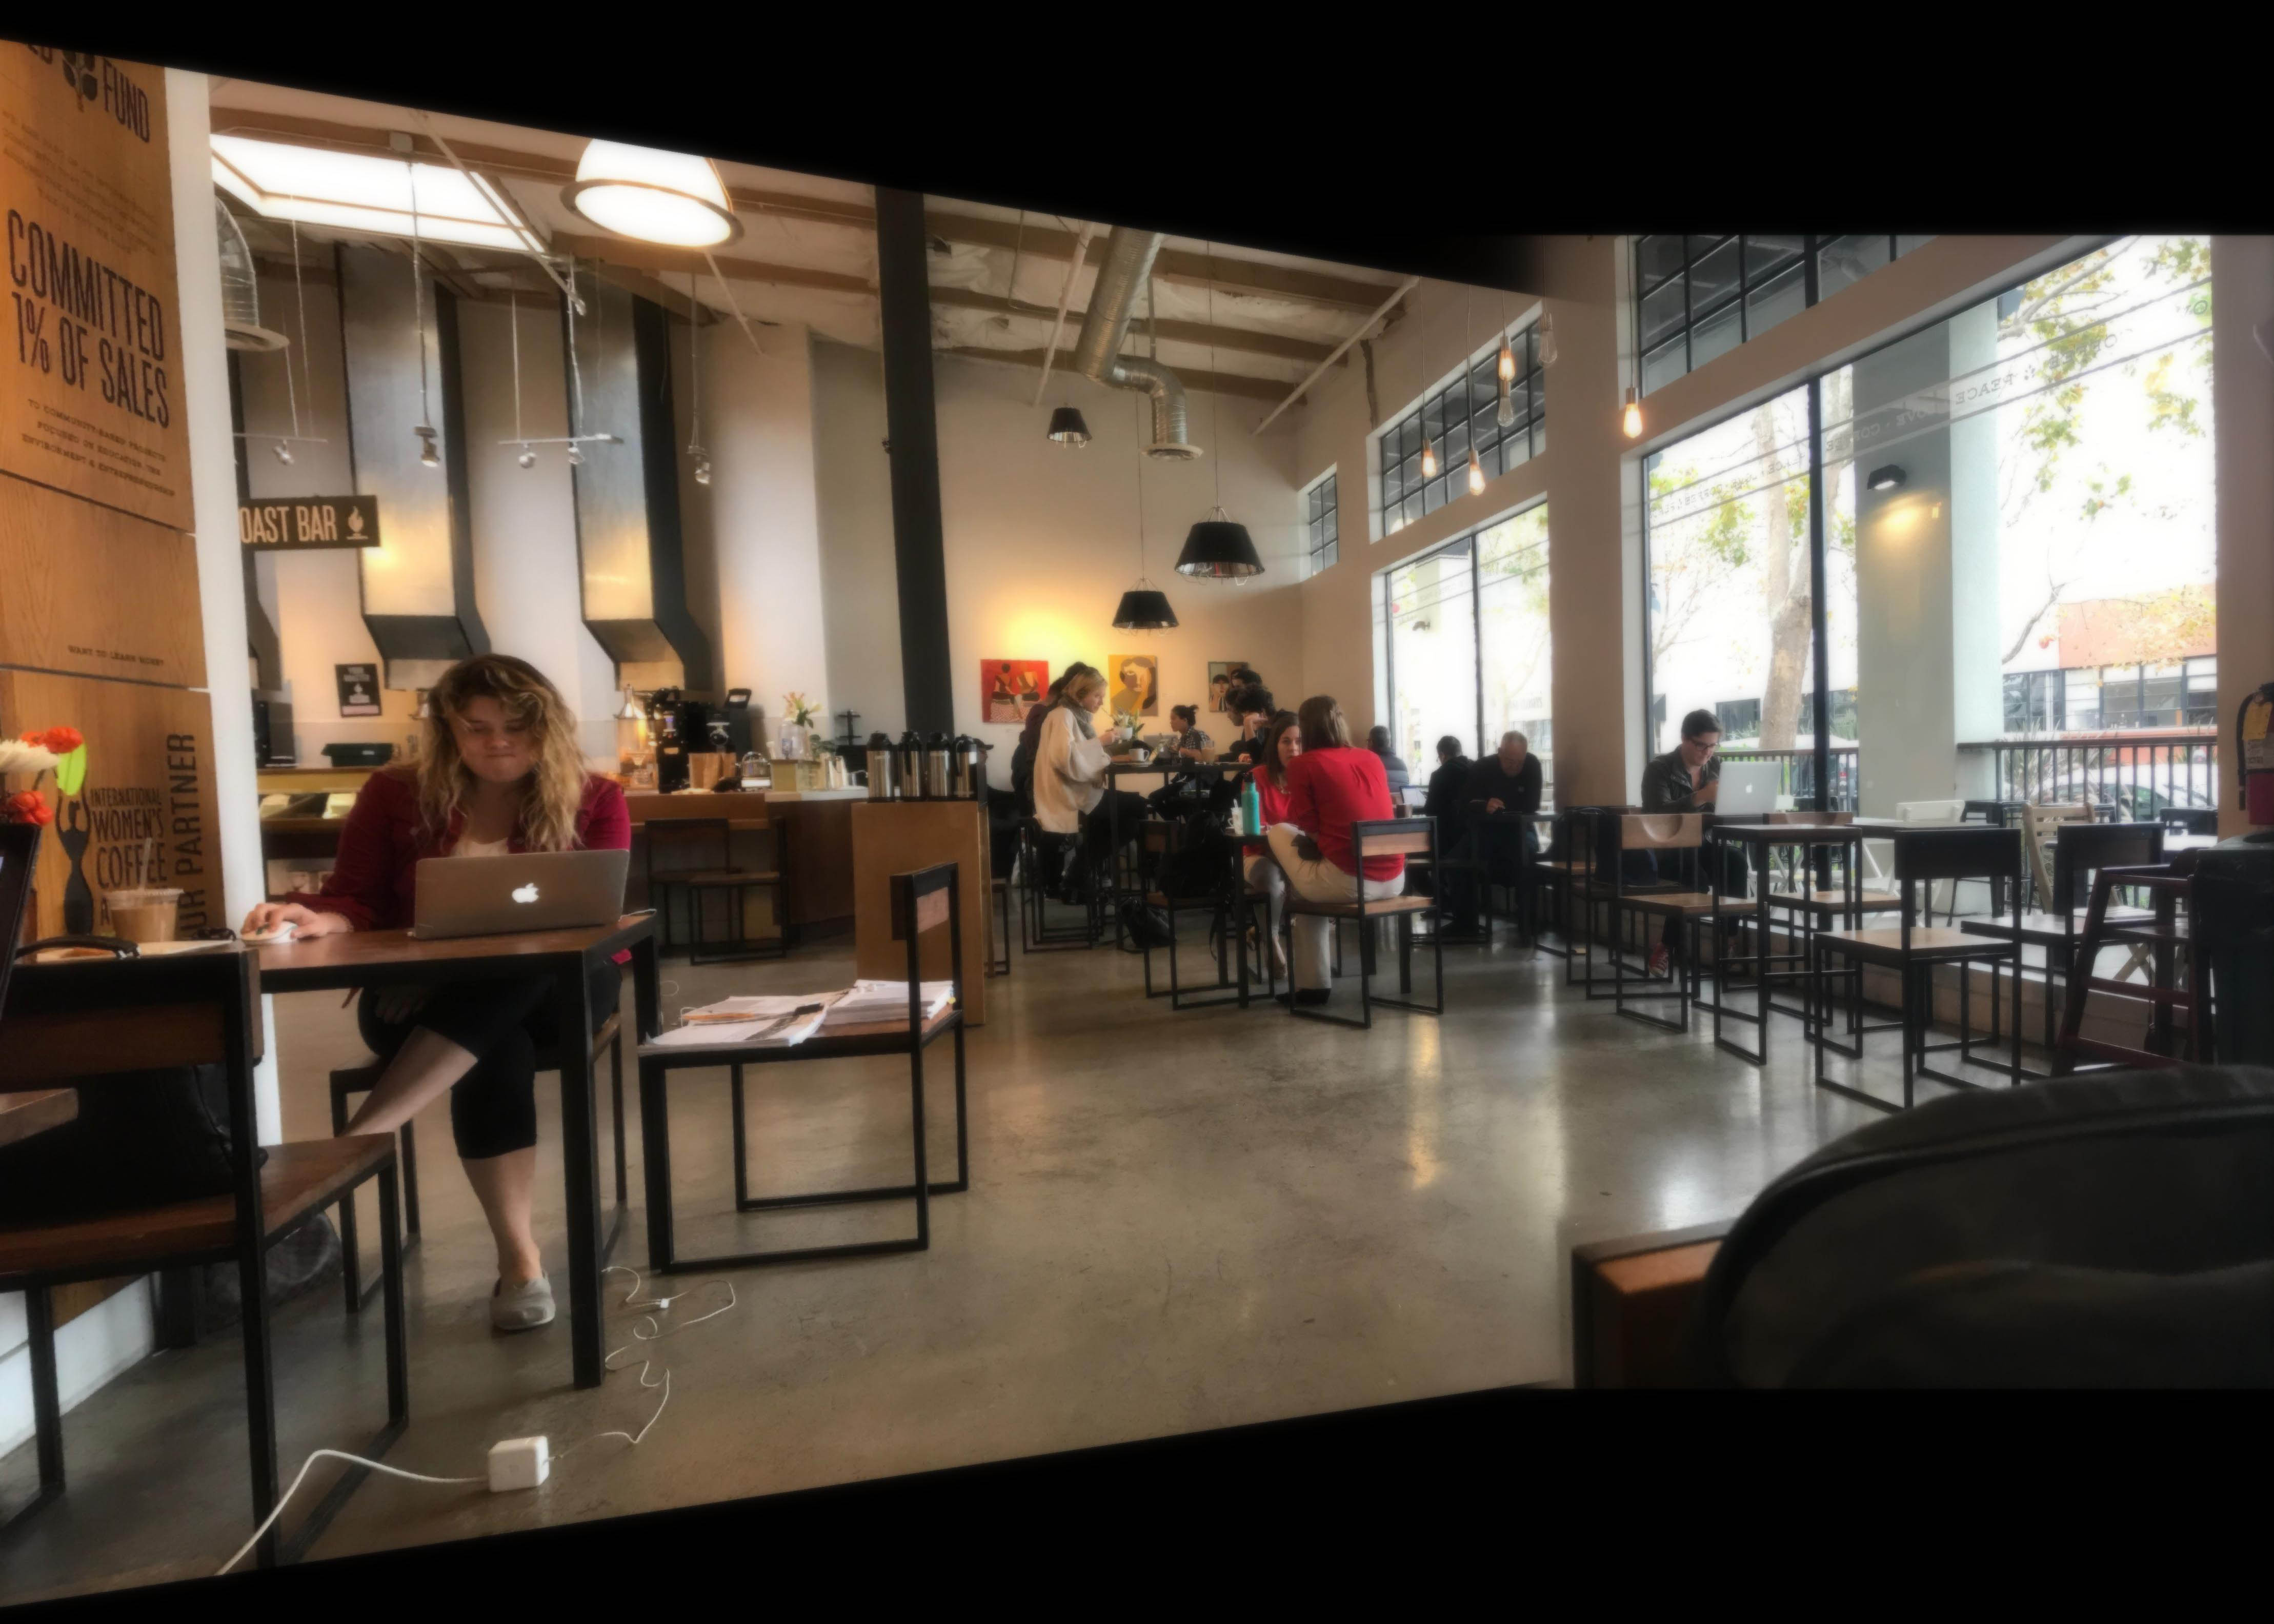
I shot these photos of my apartment and a cafe on my iPhone by shooting them from the same point of view but with different view directions, making sure that the images overlapped in at least 40% of the field of view. I found that it was best to capture interiors because the corners where the walls meet and the geometry of the furniture inside helps to select points that align well between multiple images.
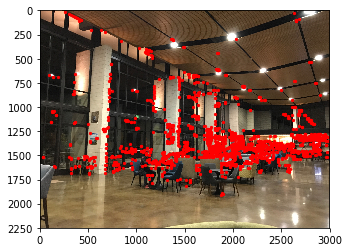
Left Image
Right Image
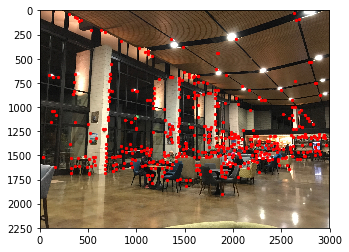
Adaptive Non-Maximal Suppression
Because Harris Corners returns a lot of points, we use adaptive non-maximal suppression to reduce the number of points and choose them to be well distributed over the image. For each corner point, we find the distance to the closest significantly stronger neighboring corner. Then we order each point descending based on this radius distance and choose the top 500 corners (since these would be the most distributed points). After suppression, here’s what images look like:
Left Image
Right Image
Feature Extraction
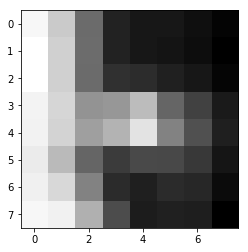
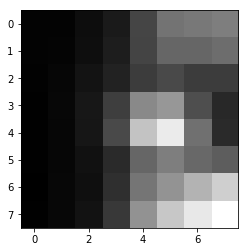
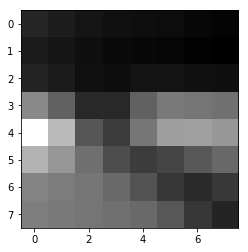
First I apply a Gaussian filter to the image to blur it. Then, around each of the 500 points, I determine a 40x40 window and sample that as a “feature.” I downsample the 40x40 size to 8x8 represented as a 64 dim vector and normalize each patch (first subtract it’s mean and then divide by the patch’s standard deviation). An example patch:
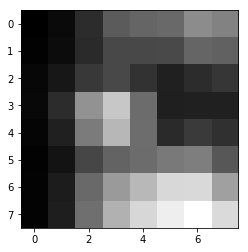
Example feature
Example feature
Example feature
Example feature
Feature Matching
The starter code includes a function dist2, which I use to calculate the difference between the patches of the first image with every patch in the second image. For each feature, we look at the descriptors with the two lowest SSD values—these are the 2 nearest neighbors to a given feature. Then, we compute 1-NN/2-NN (Lowe) and only keep the feature if this ratio is less than 0.4, meaning we only keep the features where the first nearest neighbor feature is “significantly better” than its second nearest neighbor. Finally, I keep the 1-NN for all the remaining features so now the feature and it’s 1-NN is a pair of corresponding points between the first and second image.
Left Image
Left Image
RANSAC
TEven after feature matching, some of the correspondences aren’t correct, so we use RANSAC to compute points that are inliers and generate a homography matrix. I randomly choose 4 pairs of corresponding points and compute the homography between them. Then, compute the distance between the feature points defined on image 2 and the result of applying the homography to the features defined on image 1. I define the inliers to be results that are within 3px of the image 2 feature points and count the number inliers. I repeat this loop 10000 times and keep track of the randomly sampled points that produce the most inlier points. I compute the final homography matrix on these points.
Pair 1 - Left

Pair 1 - Right

Pair 2 - Left

Pair 2 - Right

Pair 3 - Left

Pair 3 - Right

Pair 4 - Left
Pair 4 - Right
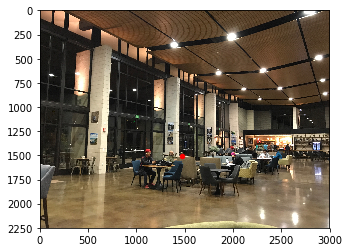
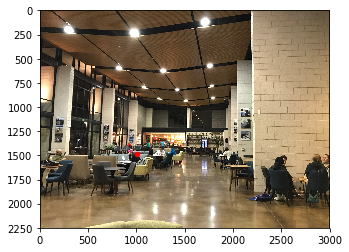
Creating Mosaics
TI generate mosaics using the homography found through the automatic process, warp the images with the process from part a, and stitch the images together with multiresolution blending.
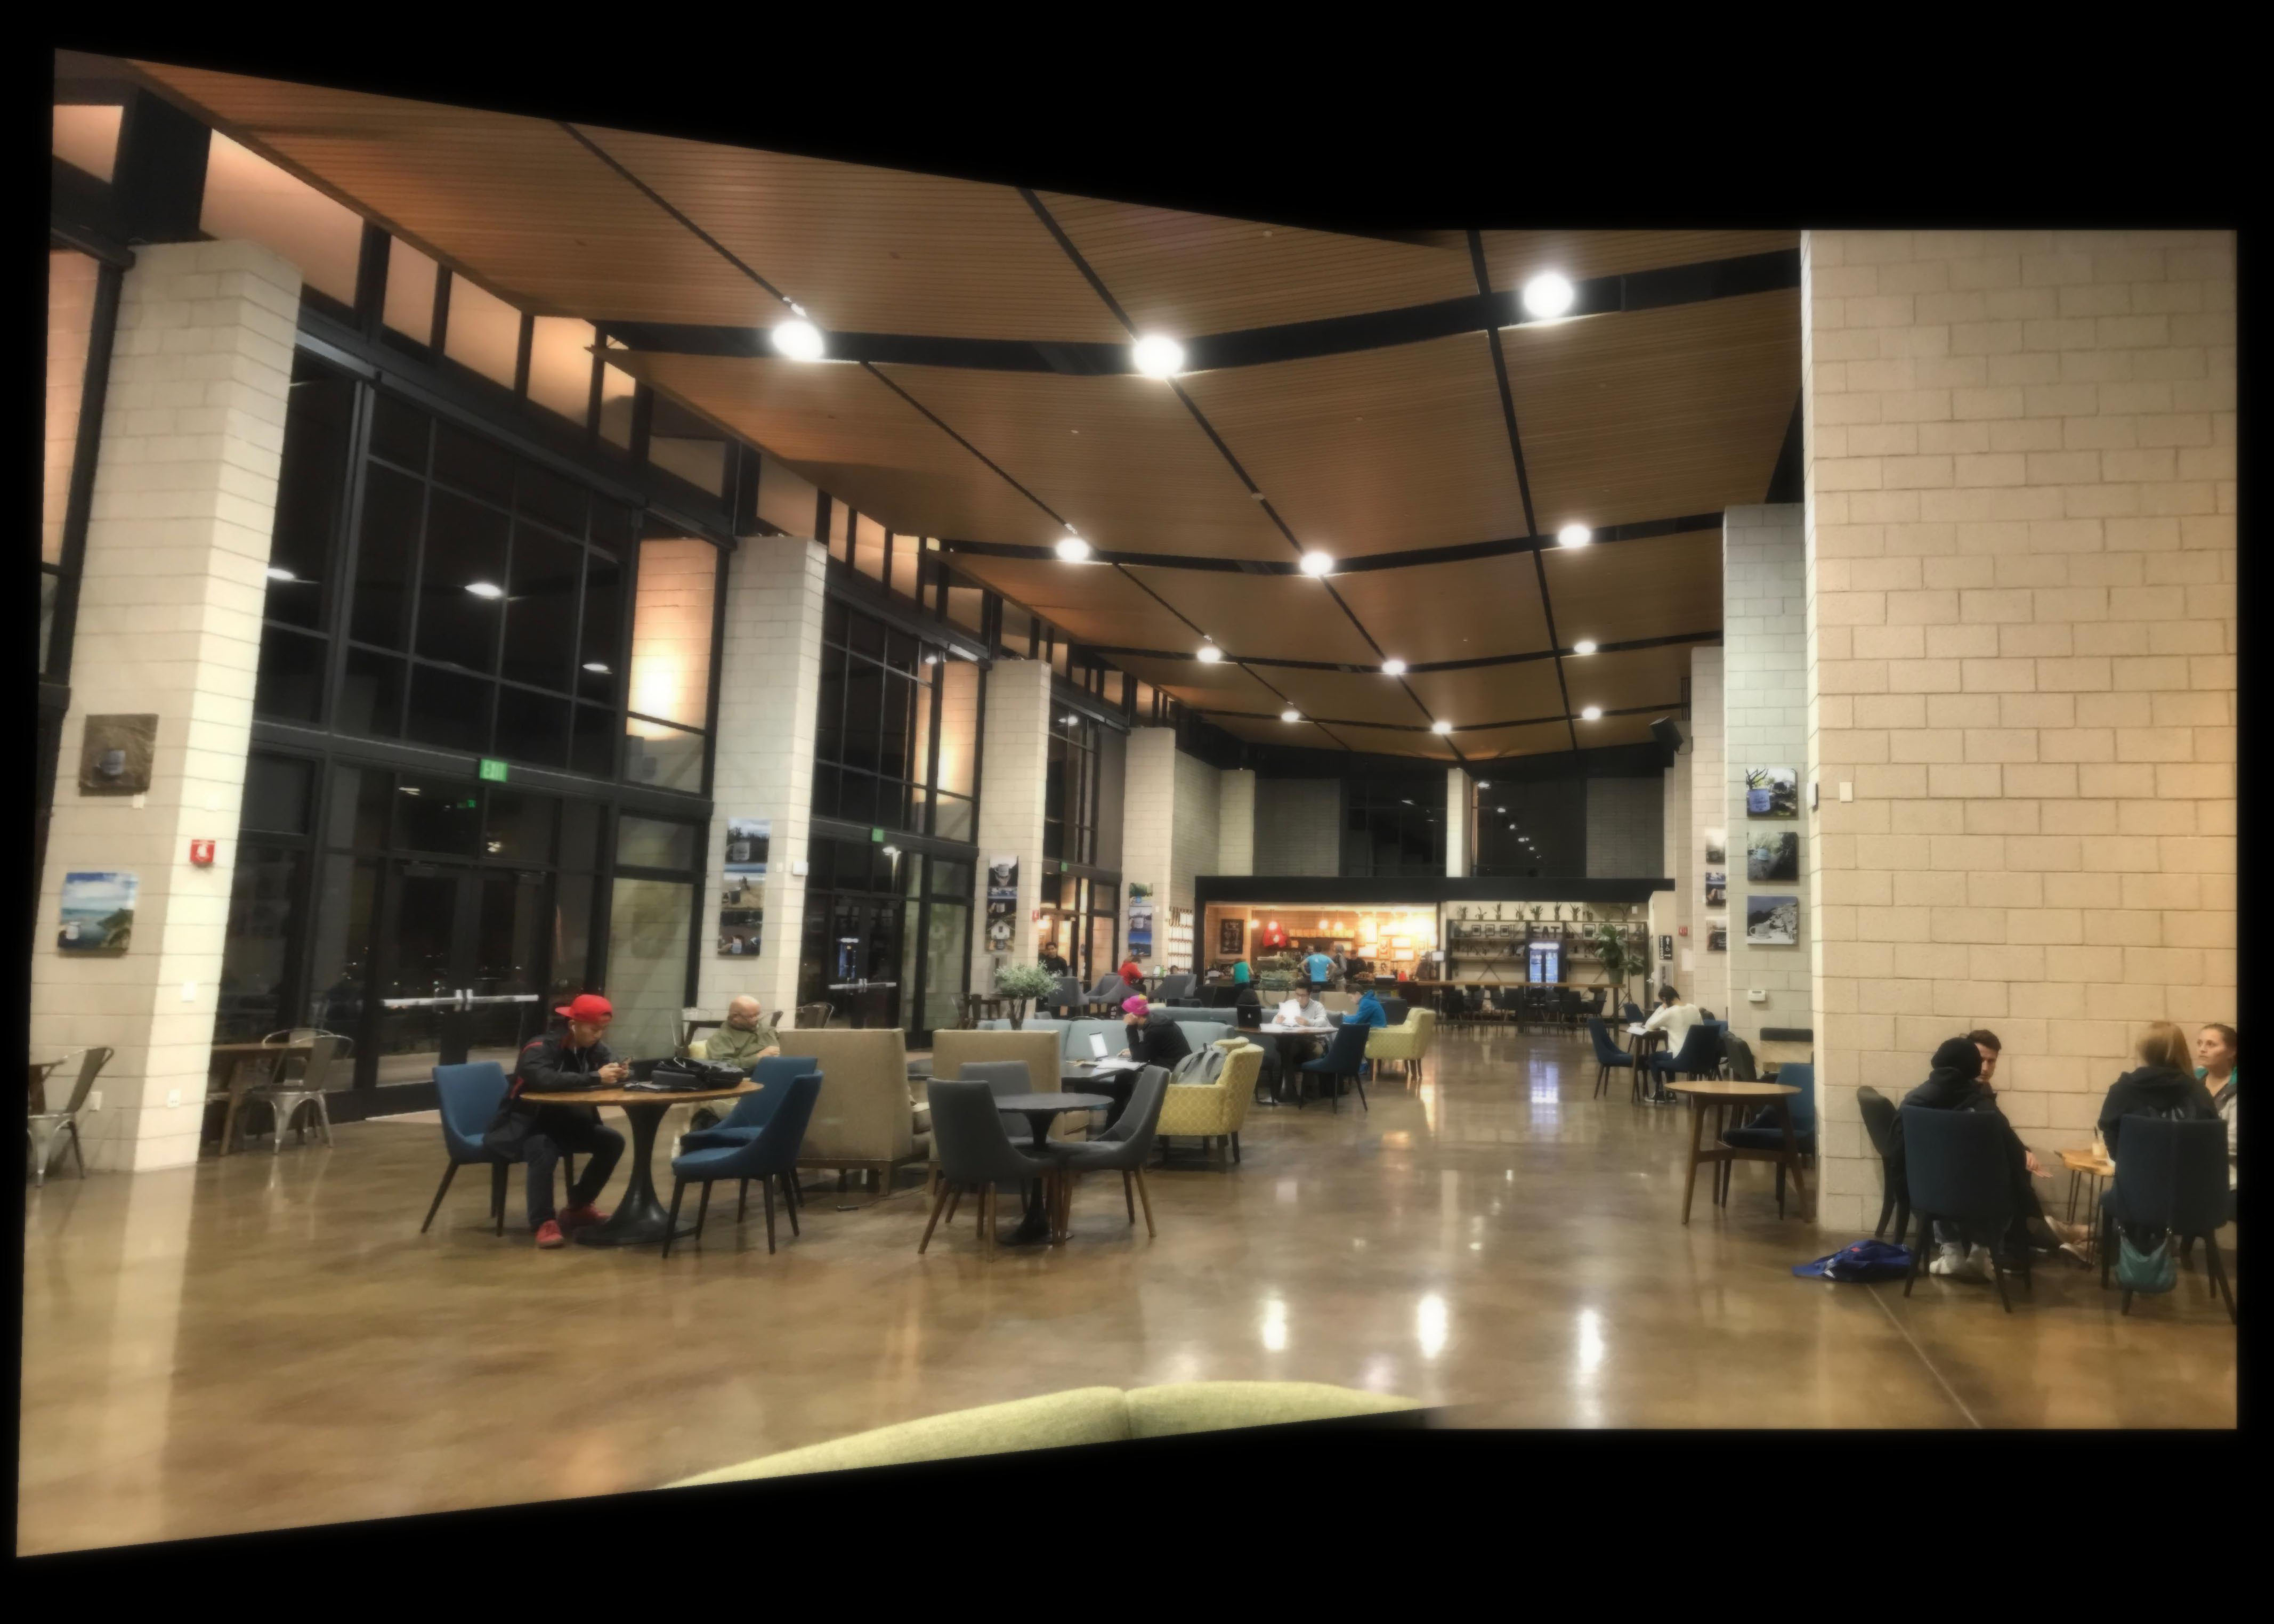
Auto

Manual

Auto
Manual
Auto
Manual
What I Learned
It’s really crazy how simple math like 1-NN/2-NN and SSD can refine the hundreds of points returned by Harris Corners into the best matching features of two images. One of the trickiest aspects of this project though was the fact that the manually selected points came in (x, y) pairs whereas the points defined through corner detection were in (y, x). I ended up having a lot of complications and debugging because of this.