[Auto]stitching Photo Mosaics
CS 194-26 Project 6 · Madeline Wu
Part 1-1: Calculating Homographies
Approach
The following equation represents the project mapping between two points, that share the same center of projection. We use the homography matrix, H, to warp points, p, to the transformed set of points, p'.
|
How do recover the homography matrix, given two images A and B? If we look closer at the homography matrix, we notice that the value of i is actually 1. That leaves us with 8 unknowns for the other values in the matrix. Therefore, we can set up a different system of 8 equations to solve for those variables, which requires 4 (x, y) points. We can solve for the homography matrix as follows:
|
Note: we can actually utilize the data from more than 4 points. This results in additional equations, which causes the matrix to be over-determined, but that's okay. We can use the least squares solver to estimate the best values for the 8 unknowns, regardless of how many equations we have.
Results
I was able to successfully generate the homography matrix between two images. It's hard to produce tangible results of this part in isolation. However, the impact of this step being implemented successfully can definitely be seen in the parts to come.
Part 1-2: Image Rectification
Approach
Image rectification involves a kind of image transformation. Popular photo editing mobile apps have actually recently integrated image rectification as one of their editing tools (e.g. vsco, Instagram). It takes a photo, taken at a certain perspective or angle, and warps the image so that it appears to have been taken from a different perspective.
In order to rectify an image, we use the homography matrix that we compute for the two images. Then we inverse warp image A to image B using the inverse of the homography matrix.
I found it most useful to transform images that had a clear rectangular subject. Image A would be this rectangular subject in a different perspective, and image B would be the result of rectifying the subject to the perspective we would see if we were viewing it straight on.
Results
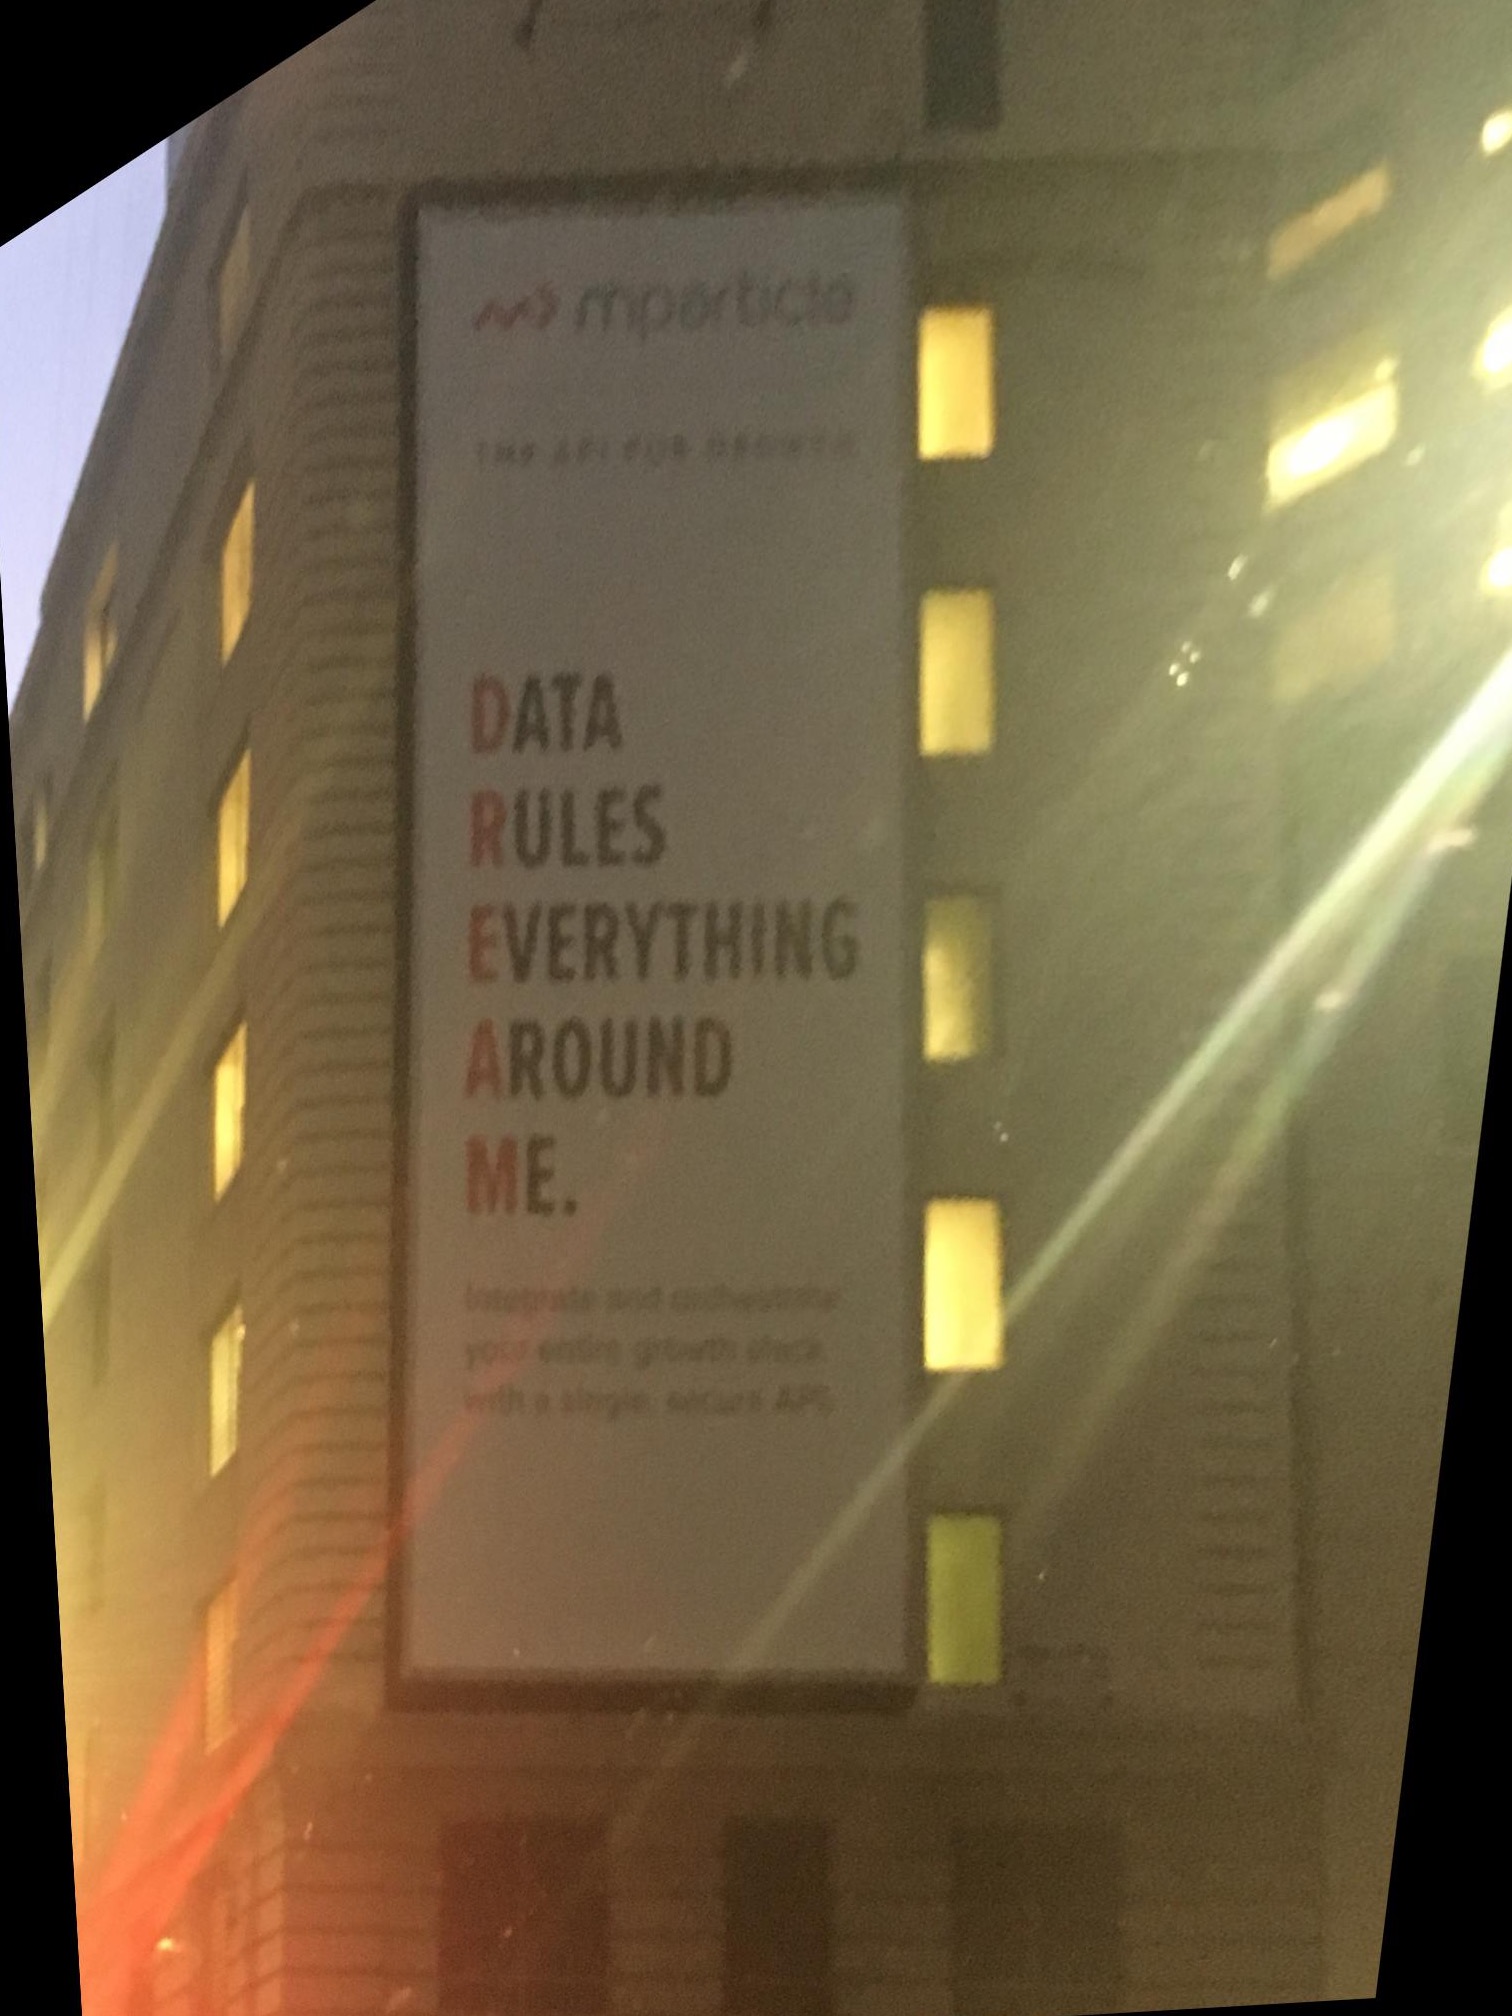
Data Rules Everything Around Me
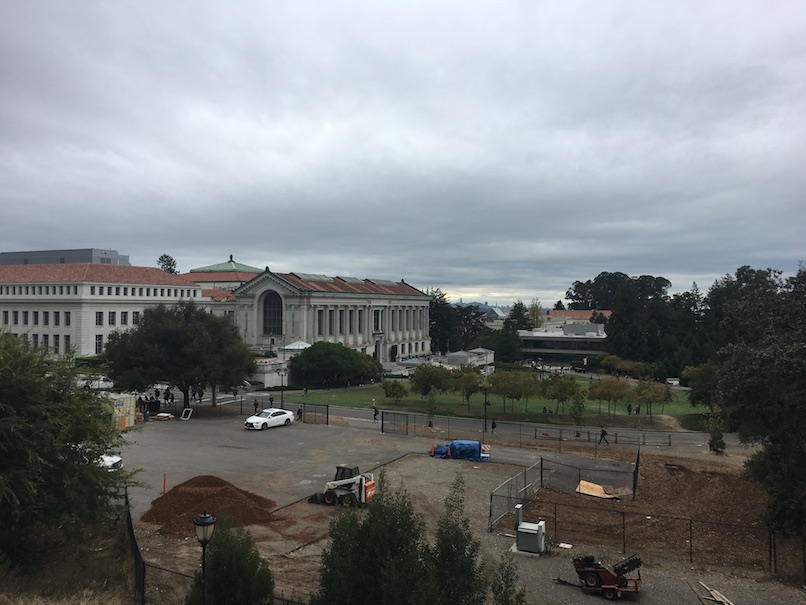
This first image was a sign I saw in SF. I thought it was hilarious and my friend took it (at an angle) from the passenger seat of a car. It's a great example of something we can transform with image rectification in order to see what the sign would look like face one (a perspective we probably rarely get for large billboards in the city).

|
|
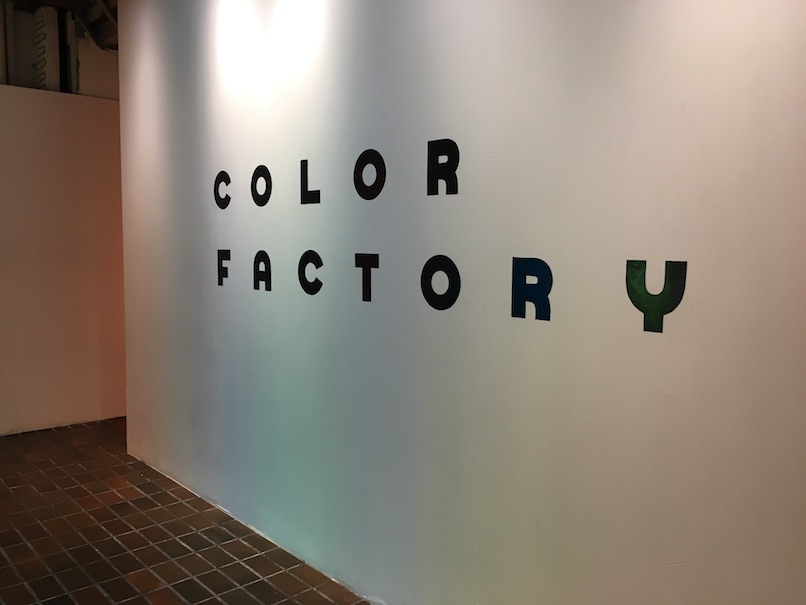
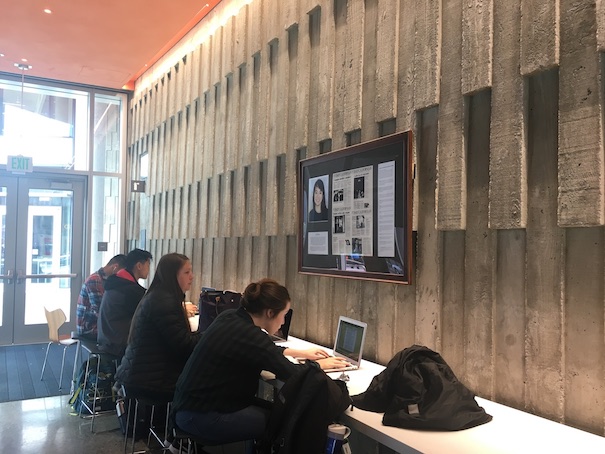
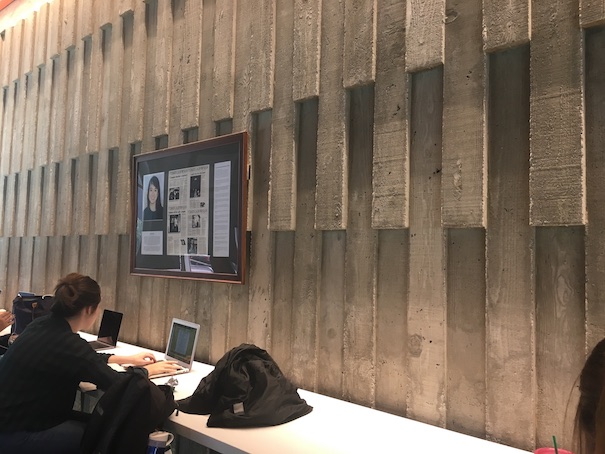
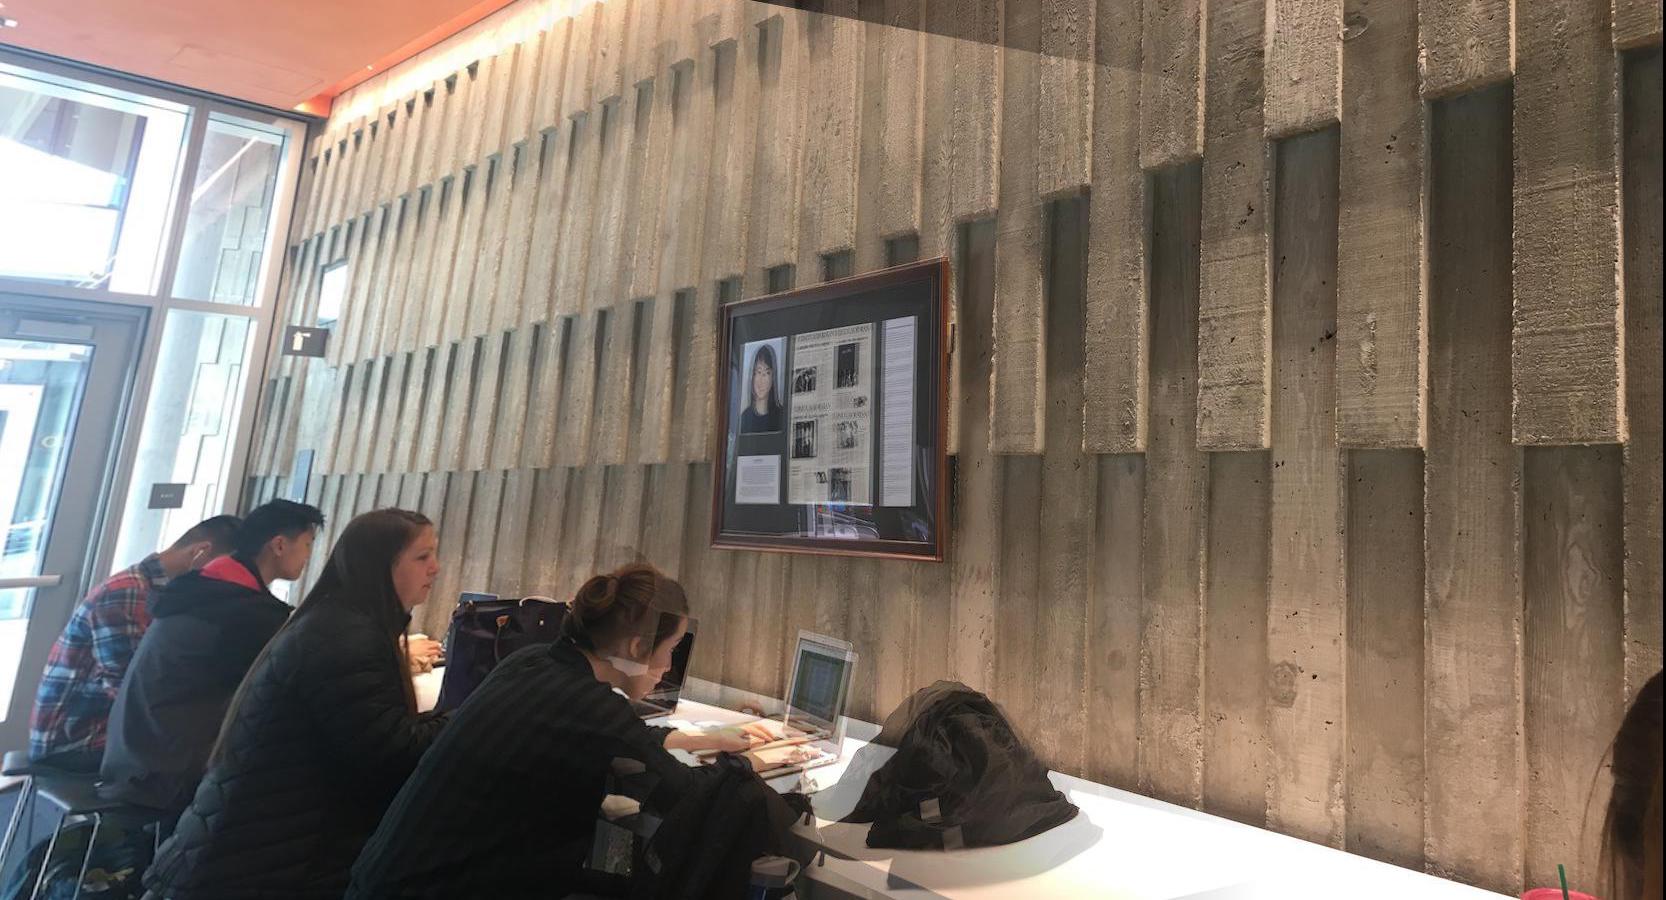
Color Factory
This last image recitification I performed was a bit of a challenge for myself. I decided to try to transform something without a clear rectangular subject, meaning I did not have a good guide to picking points. This is a photo of some text on a wall, that I took at an angle. I wanted to try to transform the image so we would be reading the text straight on.
|

|
Part 1-3: Mosaic Construction
Approach
We can use the image rectification results to create mosaics of our images. There are a few steps involved for creating a mosaic between to images A and B:
- Pick one of the two photos to be your "base" image. In this case, let's choose image A
- Warp image B to image A, using the image rectification method developed in part 2
- Blend image A with the rectified version of image B
The process for creating the mask for the blending step was quite difficult. It involved a lot of tedious work in figuring out where the boundaries of the overlap were. We want those edges to be blended evenly. After determining the x positions of the boundaries, I created a mask and utilized alpha blending.
If we want to stitch together more than two images, that is also easily doable. The resulting mosaic will just become the "base" image for the next mosaic process.
Results
Eshelman
This was the first mosaic construction I attempted. I chose this one because there was a clear rectangular subject that I could use as a warping reference between the two images. Although those two are pretty well aligned, I think that the resulting mosaic still has some ghosting/misalignment because I wasn't able to match the points exactly. Also, I was not able to acquire a tripod, so I think that there's definitely a bit of shifting going on.
|
|

|
|
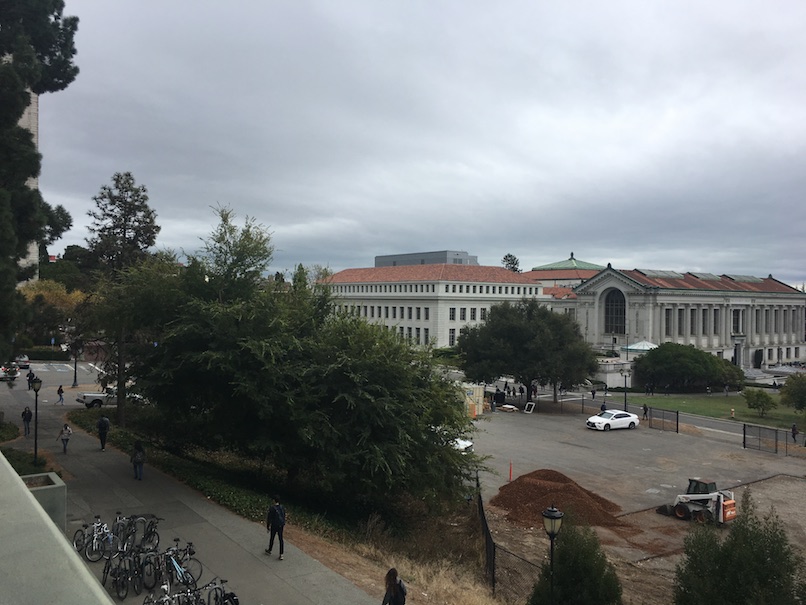
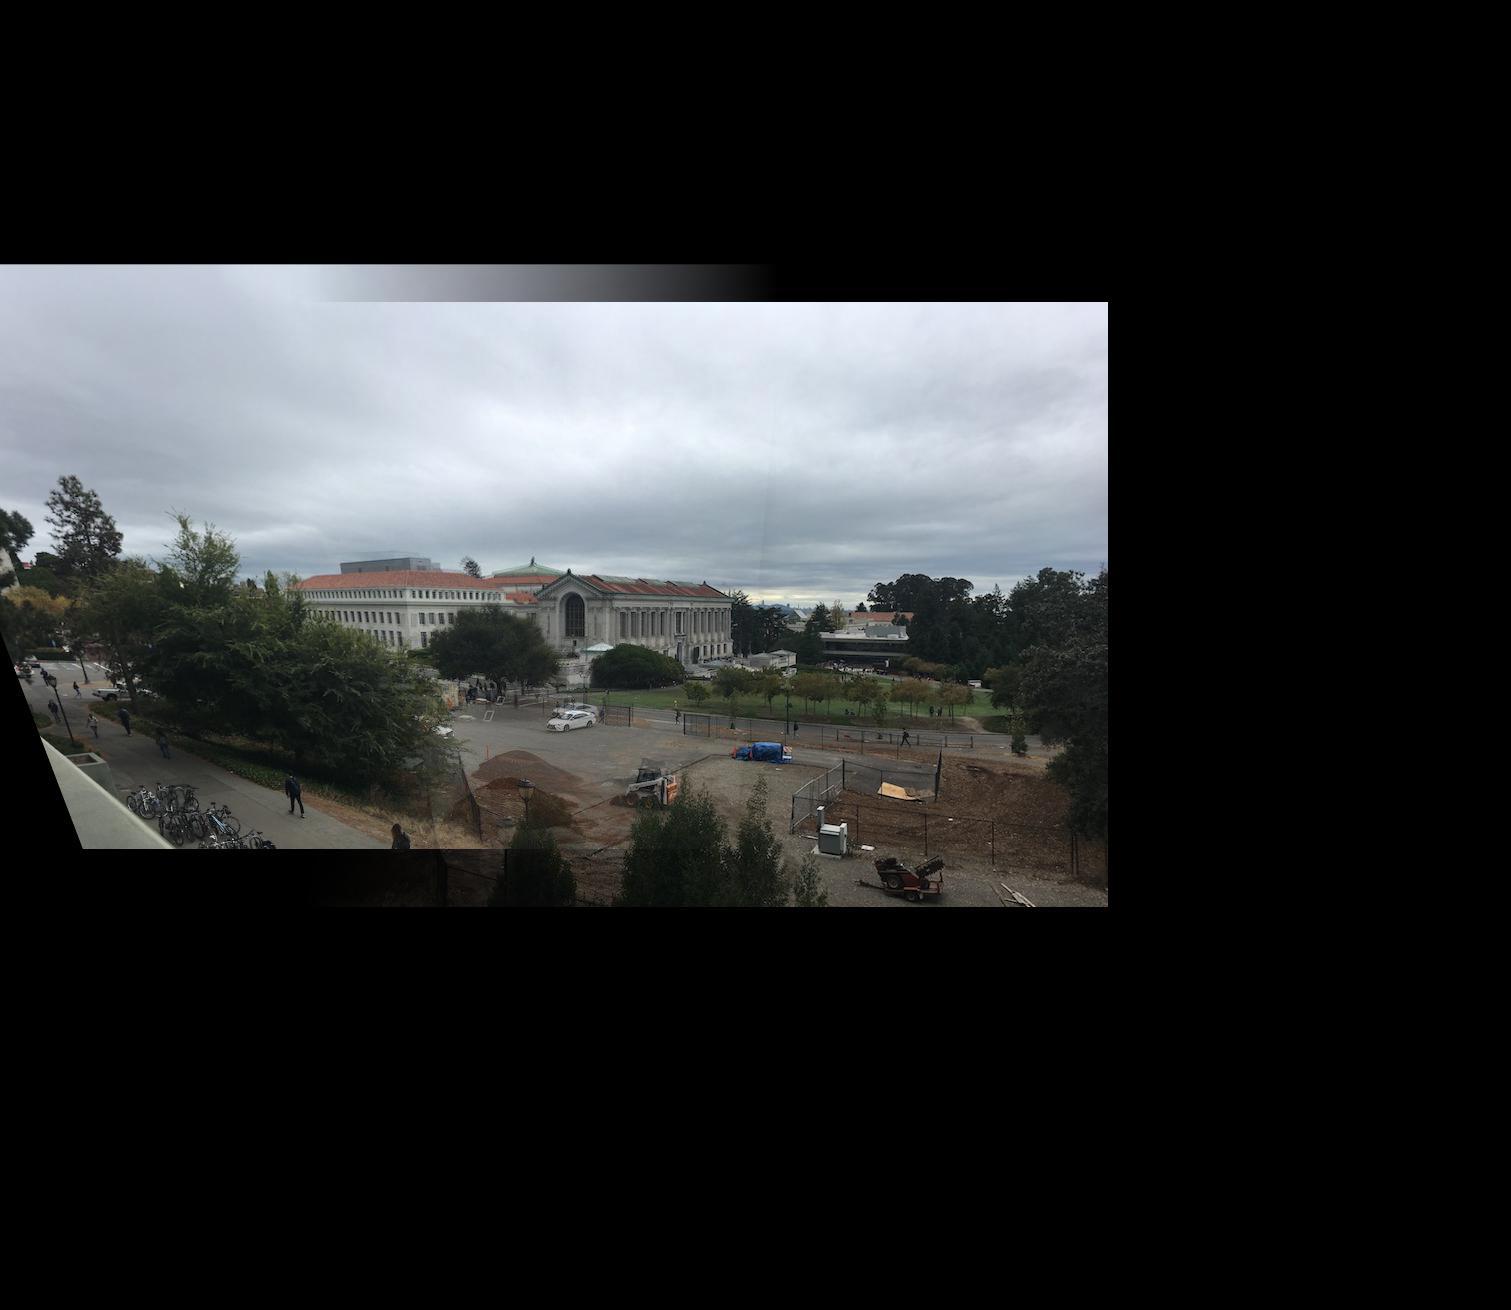
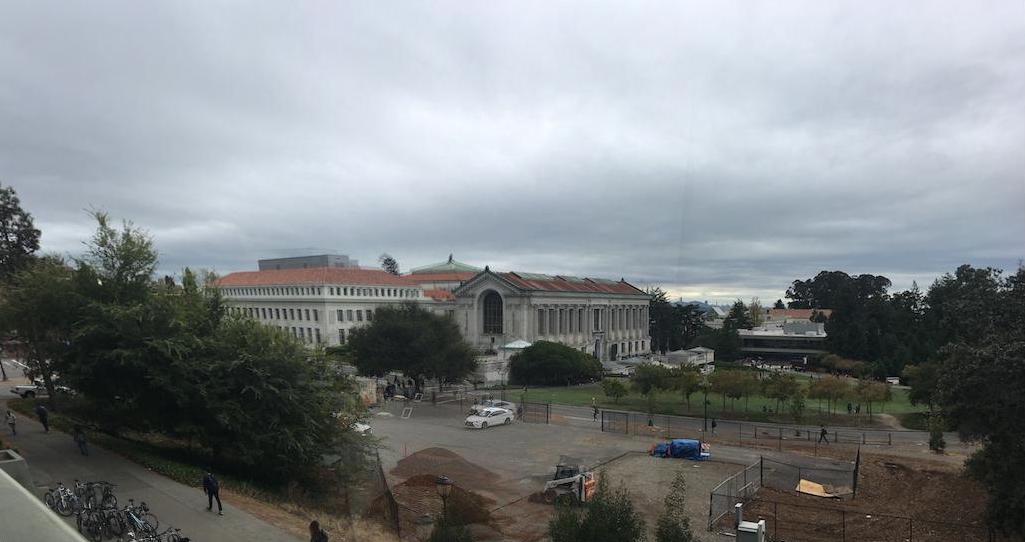
Doe
|
|
|
|
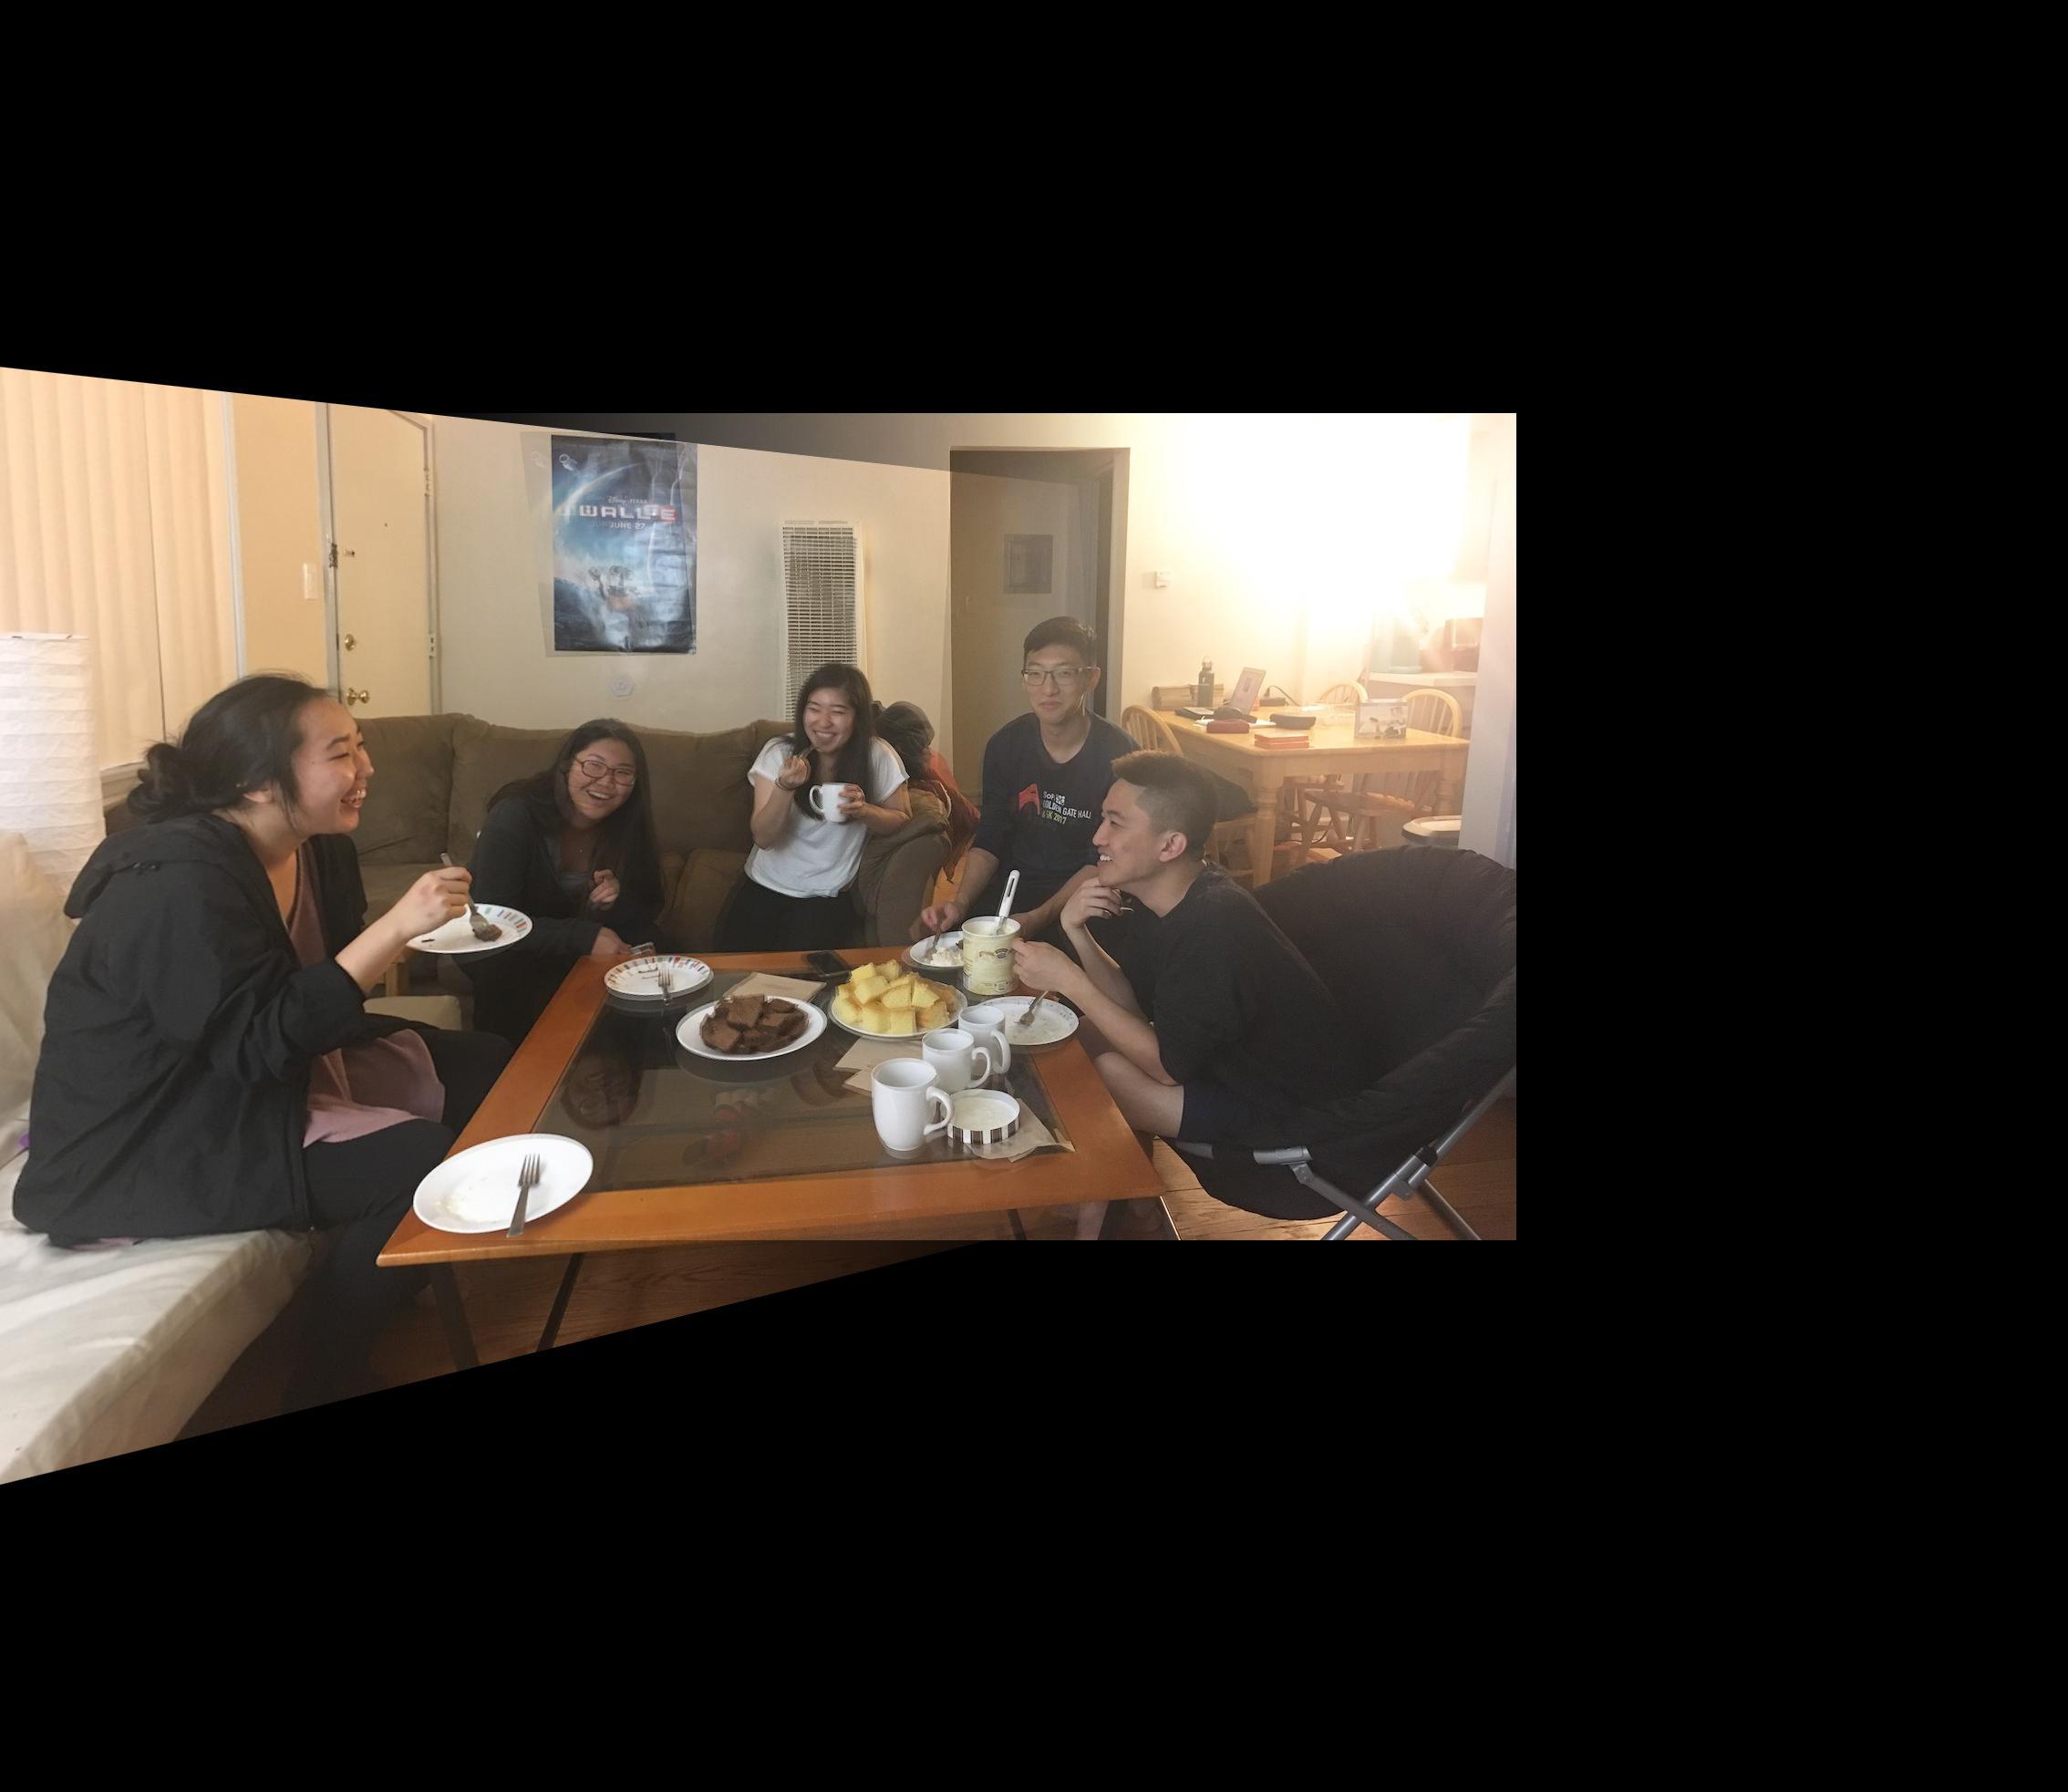
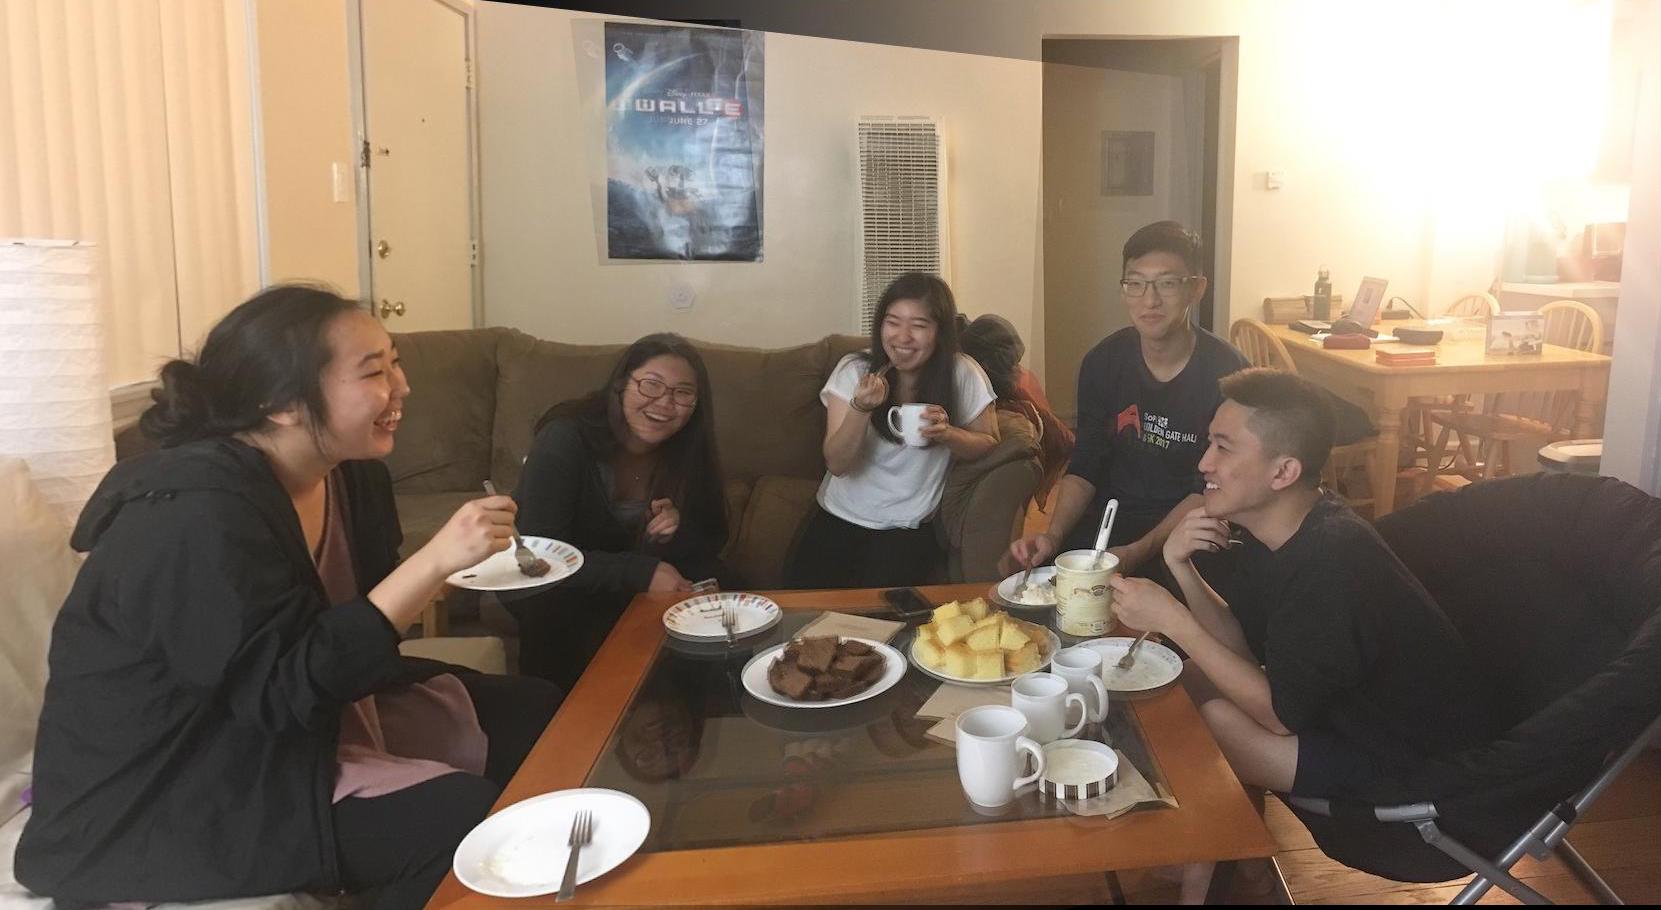
Friends
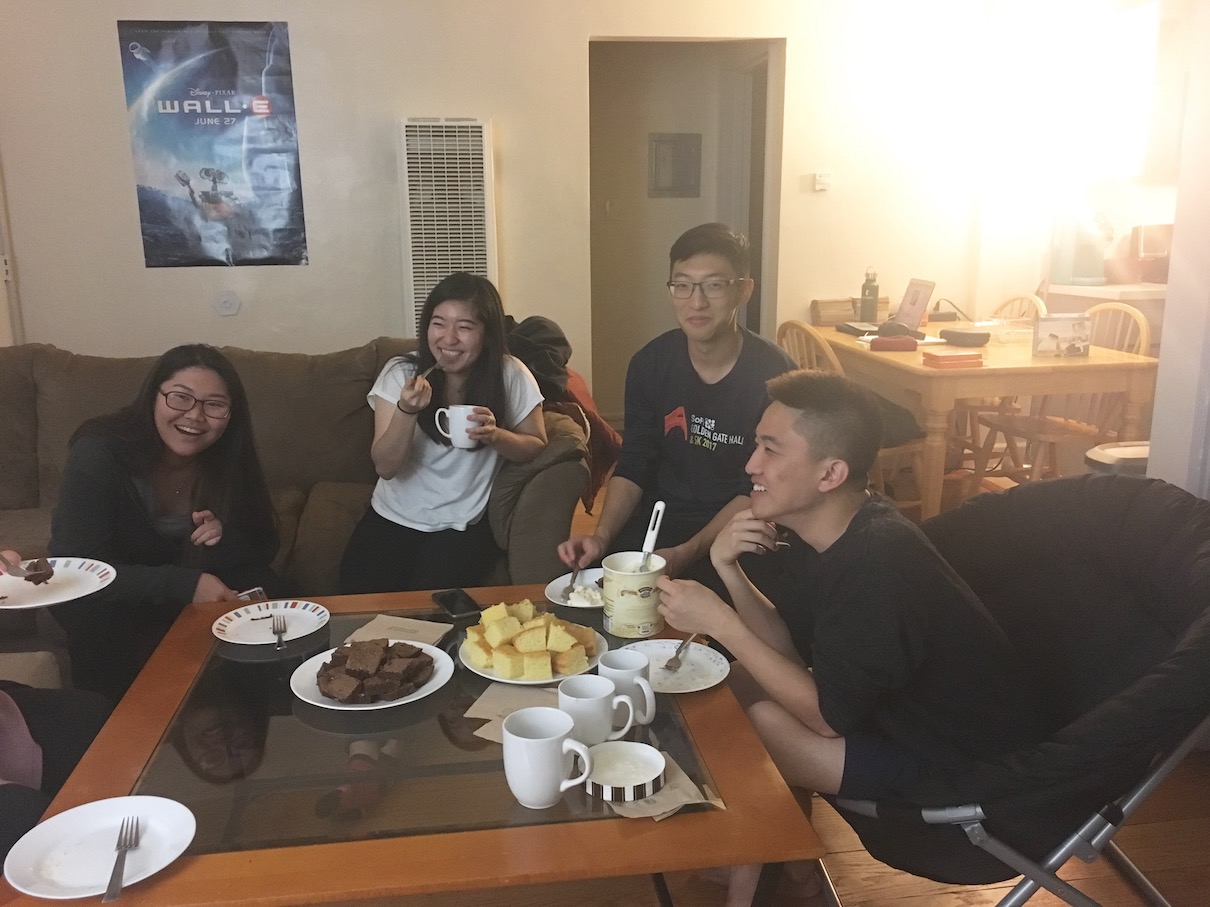
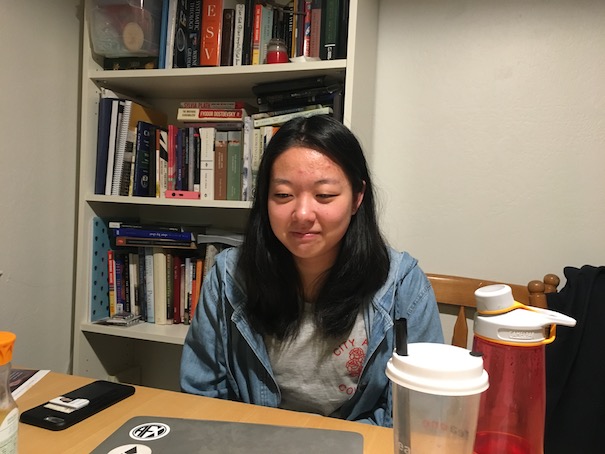
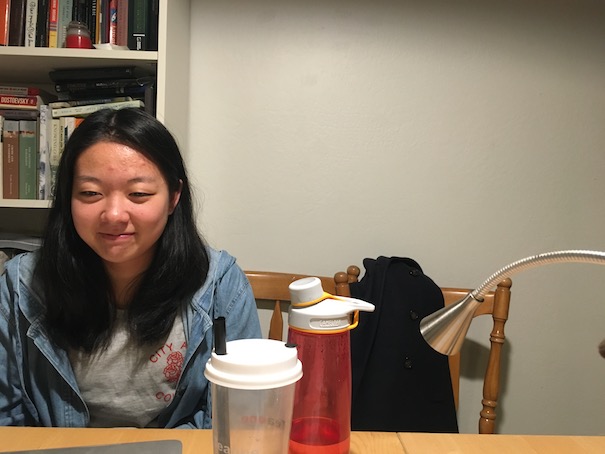
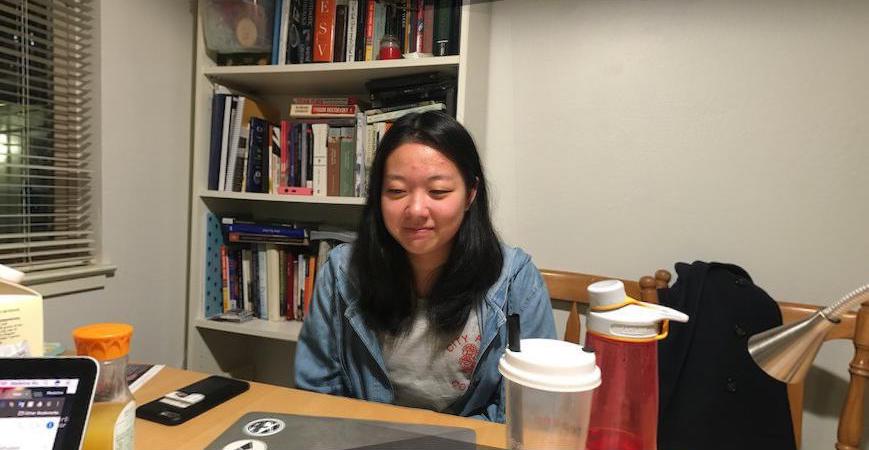
This is my off-campus mosaic construction. I took a break from working on this project to play cards and eat dessert with some friends. This was definitely the hardest mosaic construction that I did because there wasn't an easy rectangular subject to base the point selection on. It was also really hard to account for movement between photos from the individual people (as opposed to the relatively standstill objects in a landscape capture). Also, my friend on the far left is warped to be stretched out/much larger than reality (sorry Amanda...).
I think that I shifted my hand and didn't take the photos from the same point, because although the table is well aligned in the resulting mosaic, the rectangular posted in the background is not, and it really should be. When I tried aligning on the poster, the results were quite poor. The food is pretty in focus/well aligned though!!!
|

|
|
|
I spent the second half of this project implementing feature matching for autostitching, with this help of this paper.
Part 2-1: Harris Corner Detection
Approach
Previously, we picked the corresponding points between photos by hand. We ran into some issues where the images didn't align very accurately and there was some ghosting after mosaicing. This is due to human error because it is difficult to eyeball matching features and ensure that you've selected them precisely.
Instead we use Harris corners as feature detectors.
Results
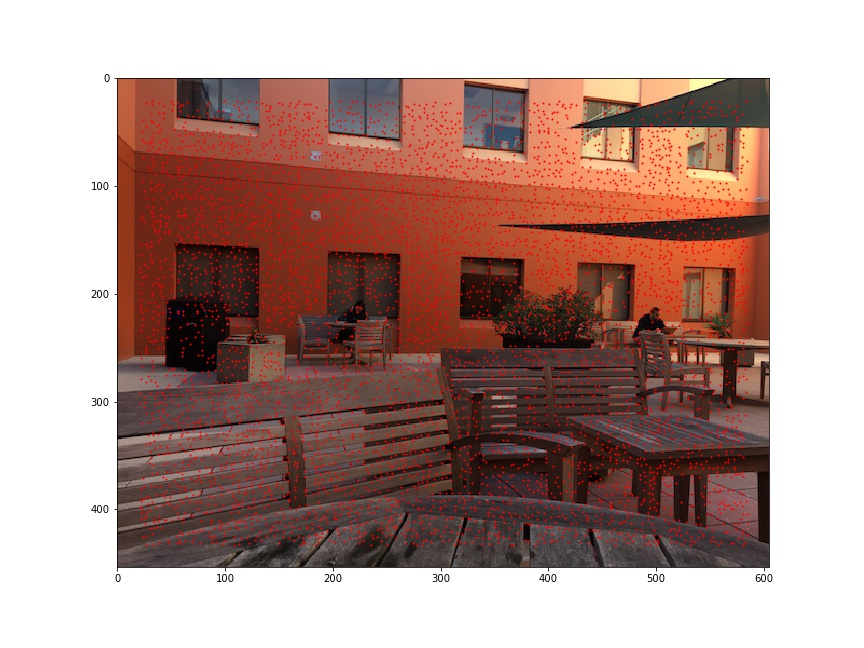
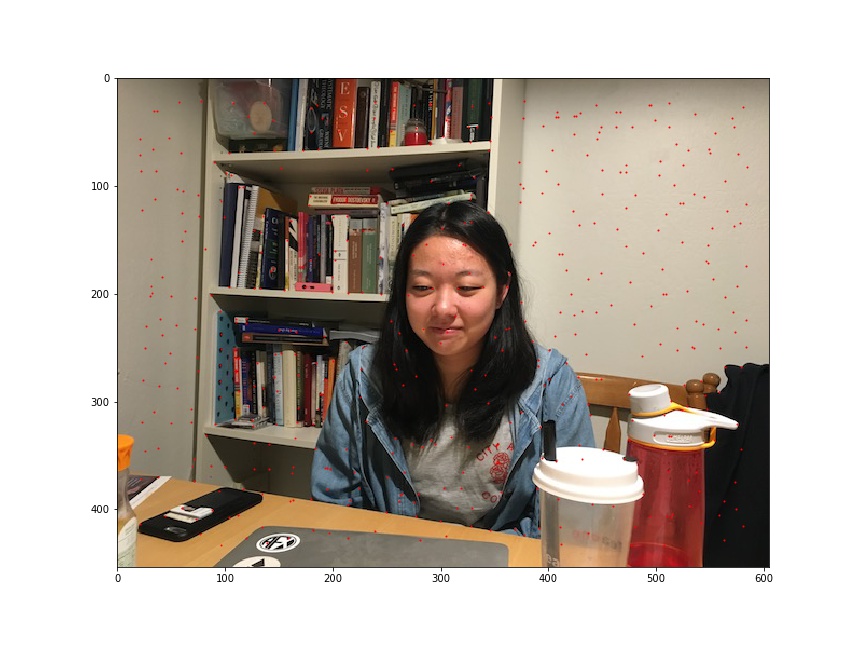
Here are some photos with the Harris corners overlaid:
|
|

|
|
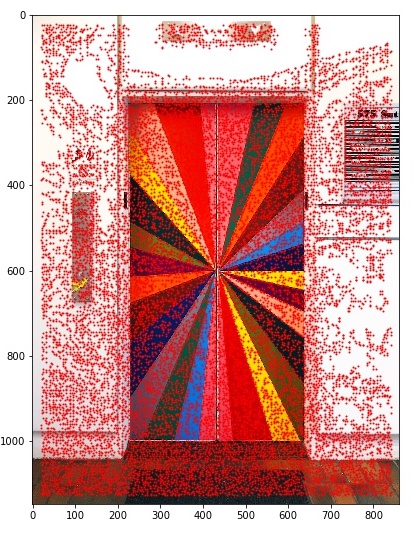
Part 2-1: Adaptive Non-Maximal Suppression
Approach
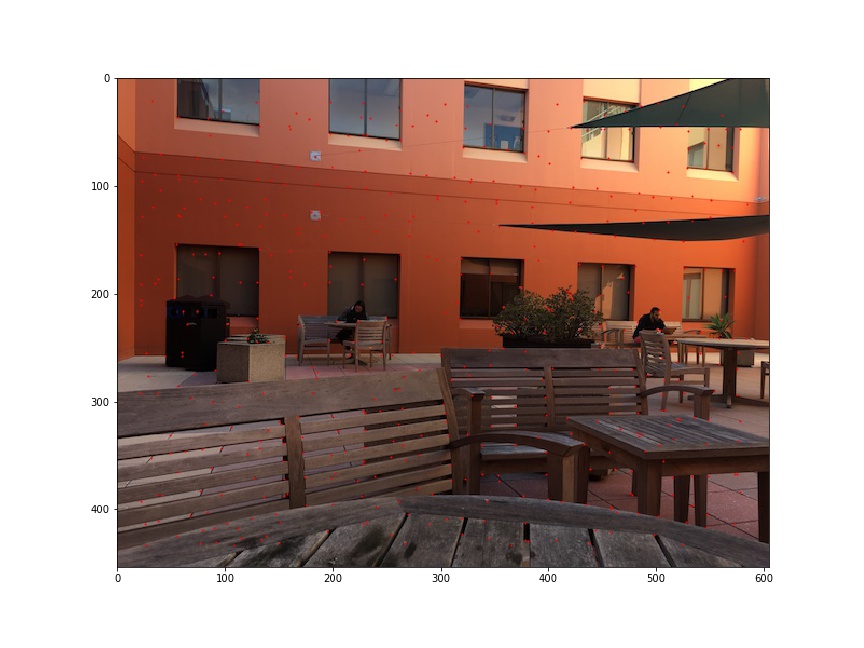
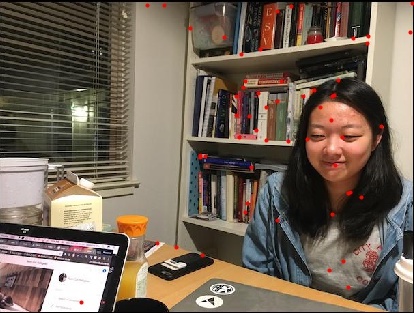
As seen in the previous section, the Harris points returned are some large, random set of all Harris points. However, we want something a little more informative, which leads us to the idea of Adaptive Non-Maximal Supression, ANMS.
ANMS aims to choose points that are evenly distributed over the photo.

|
This is accomplished with the following algorithm:
Create a map from point to distance. For each Harris point in the set:
- Find the distance to the nearest point
- Map the point with that distance
After all of the distances have been generated for each point. Sort the map by descending value. The top 500 points are those selected by ANMS.
Results
Here is the before (all Harris points) and after (with ANMS) of some photos:
|
|
|
|
|
|
Part 2-2: Feature Descriptor
Approach
For each feature point, we want to be able to match them to the correspond point in another phoot. In order to do this, we intuitively have to have some kind of key or ID, in order to characterize each point and provide some basis of comparison. This is also known as a feature descriptor.
Each point can be characterized by the 40x40 pixel region that is centered at. We create the feature descriptor for each point like so:
For every point:
- Extract the 40x40 pixel region of the image, centerred at that point
- Downsample that region by a factor of 5, to create a 8x8 descriptor
- Normalize the 8x8 region by subtracting out the mean and dividing by the standard deviation
Part 2-3: Feature Matching
Approach
After we create the feature descriptor for each point, we are able to match them across two pictures. When comparing two feature descriptors, which are simply small images, we can quantify how similar they are by taking the SSD of the two patches.
For each point, we compare its feature descriptor to that of every other point in the set. We sort our results by the SSD, in increasing order, because smaller SSDs are associated with more similar patches, and thus better matches. We could associate each point with other point that has the smallest SSD, however, this does not always result in the best matches. Instead, we only flag for a match if the ratio of the SSDs between the 1-NN and the 2-NN is low. To put that more formally, we detect a match is SSD_1-NN / SSD_2-NN is less than some threshold.
For every point:
- Compute the SSD between that point and all others
- Find the 1-NN and 2-NN
- If the SSD for 1-NN / SSD for 2-NN is less than a threshold, we have a match between the current point and the 1-NN
Results
With this algorithm, we are able to detect the matching points across multiple photographs.
|

|
Part 2-4: RANSAC
Approach
Now we have reached the point that we were at with part A of this project. We have a set of matching points across two images, and we'd like warp one to the other and create a mosaic. The next step is to compute the Homography matrix to make that happen. We use the RANSAC method to compute the Homography matrix.
The RANSAC loop, repeated 10000 times:
- Pick 4 features at random
- Compute the Homography matrix for those 4 pairs of points
- Compute the inliers with that H. An inlier is defined as a warped point from image 1 that is close (within some defined threshold) to the actual point from image 2
From the RANSAC loop, we keep the largest set of inliers out of all the iterations. In the end, we recompute the Homography matrix out of that maximum set of inliers.
Results
After computing the Homography matrix, then we can warp the images and stitch them together with the mosaic method developed in part A.

|
|
|
|
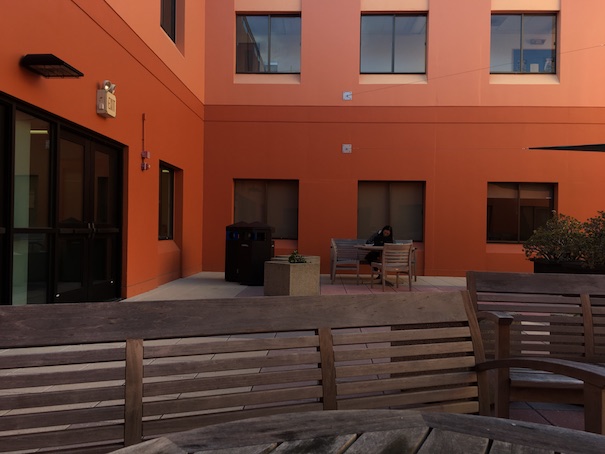
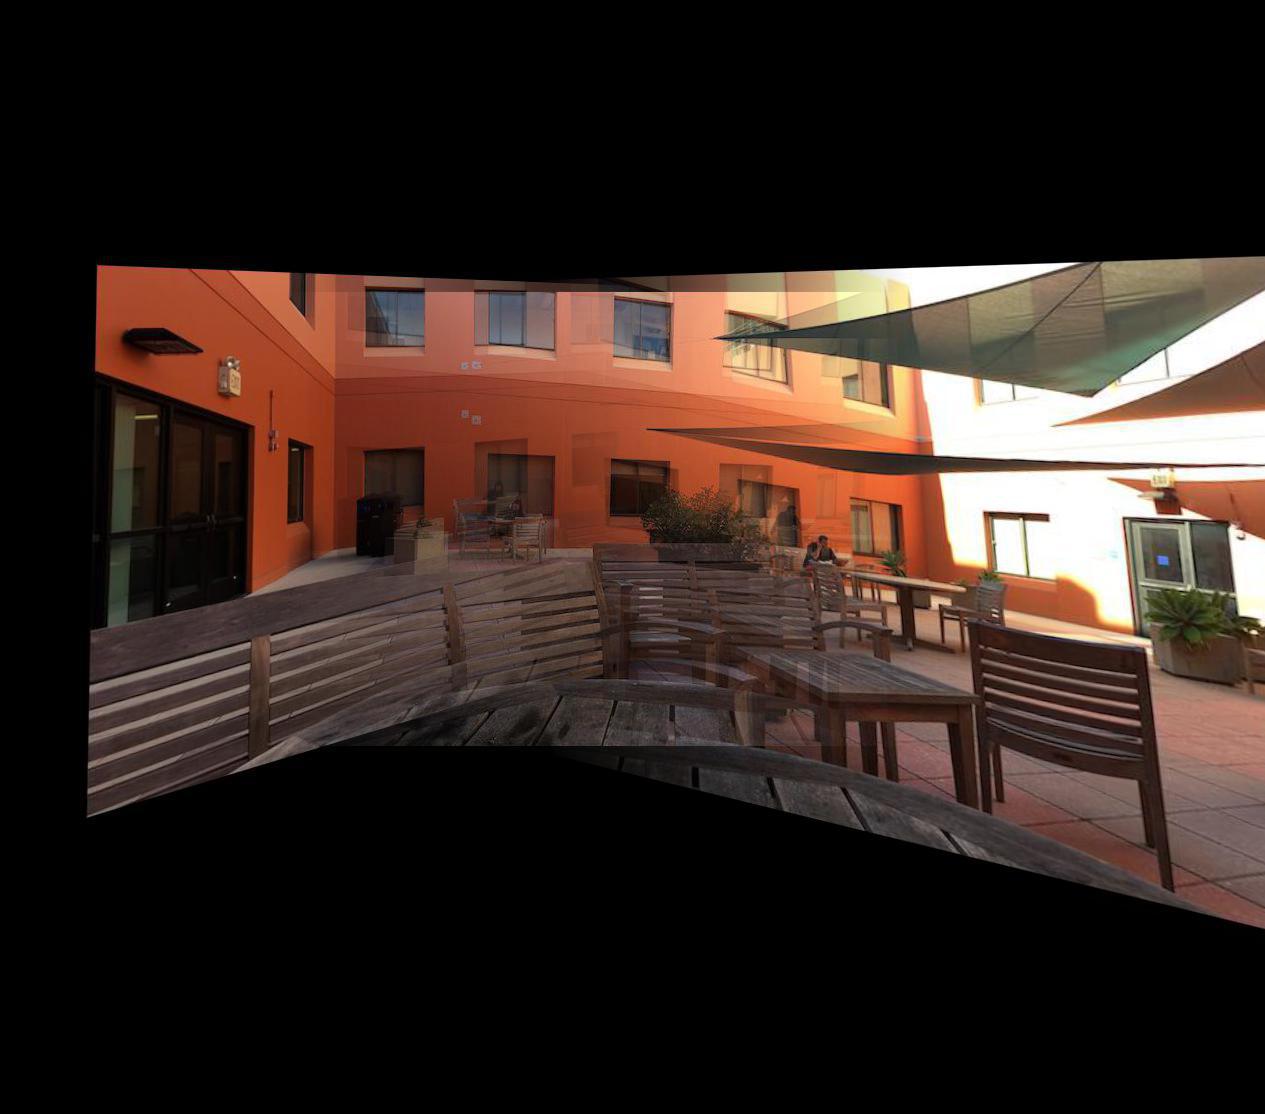
This one of the Evans courtyard did not turn out so well.
|
|
|
|
|
|
|
|
|
|
Conclusion
This was pretty hard. I realized that the photos that you take really make a big difference on the outcome. Even though my code was correct, sometimes the mosaic photos turned out quite poorly because I guess I didn't take the photos from the same axis.
I think that feature detection is really cool. I was really impressed with how well aligned the mosaics turned out. I thought the concept of feature descriptors were also really cool, because things can be matched so accurately with a small 8x8 downsampled patch.