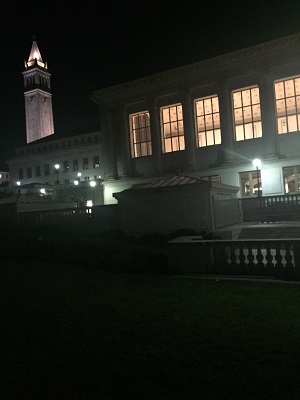
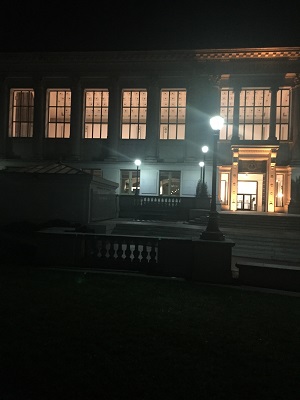
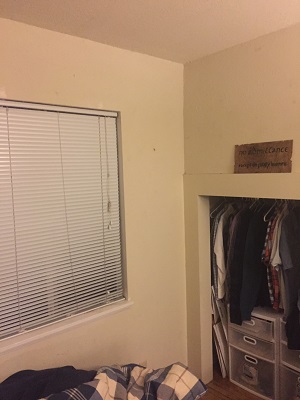
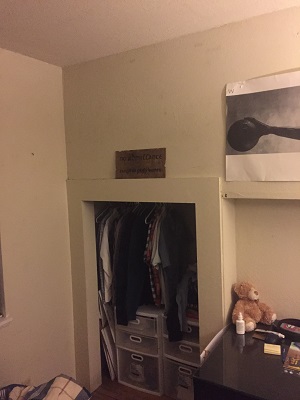
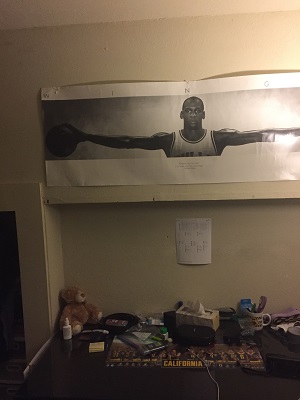
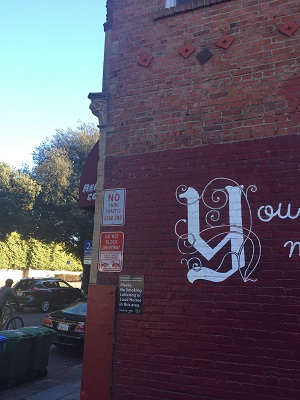
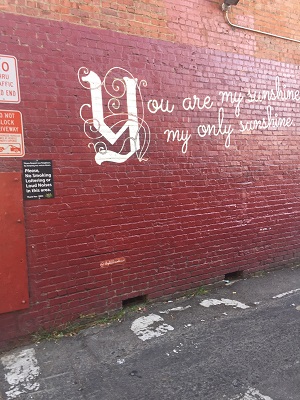
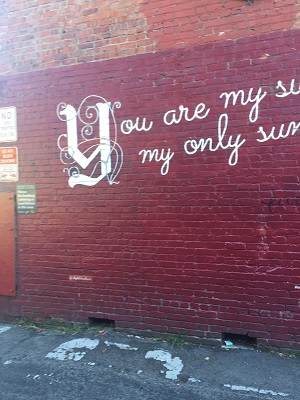
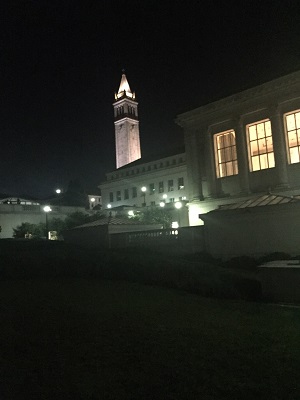
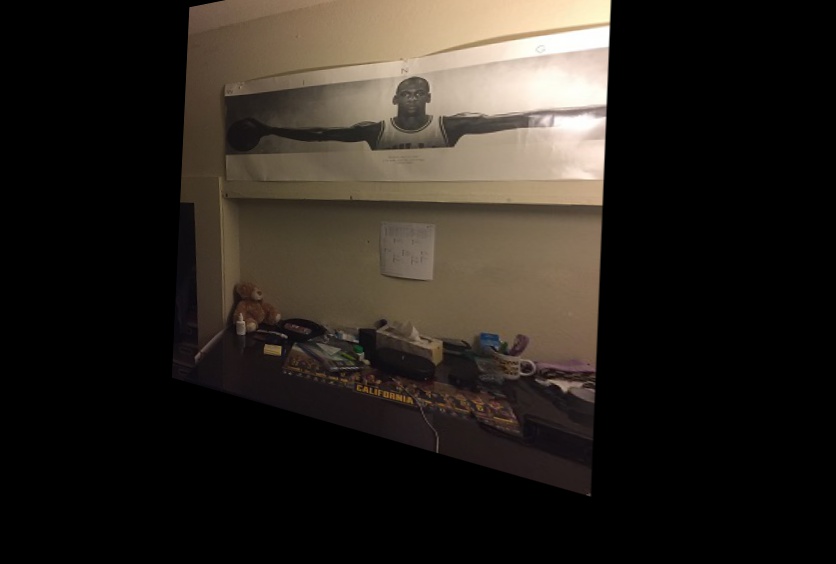
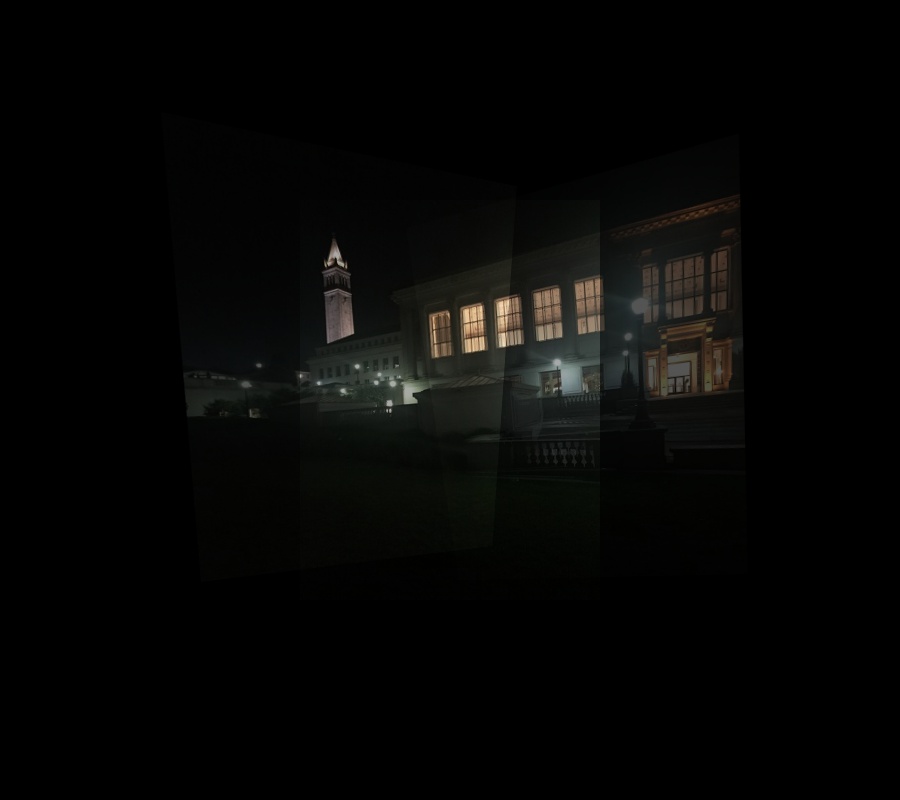
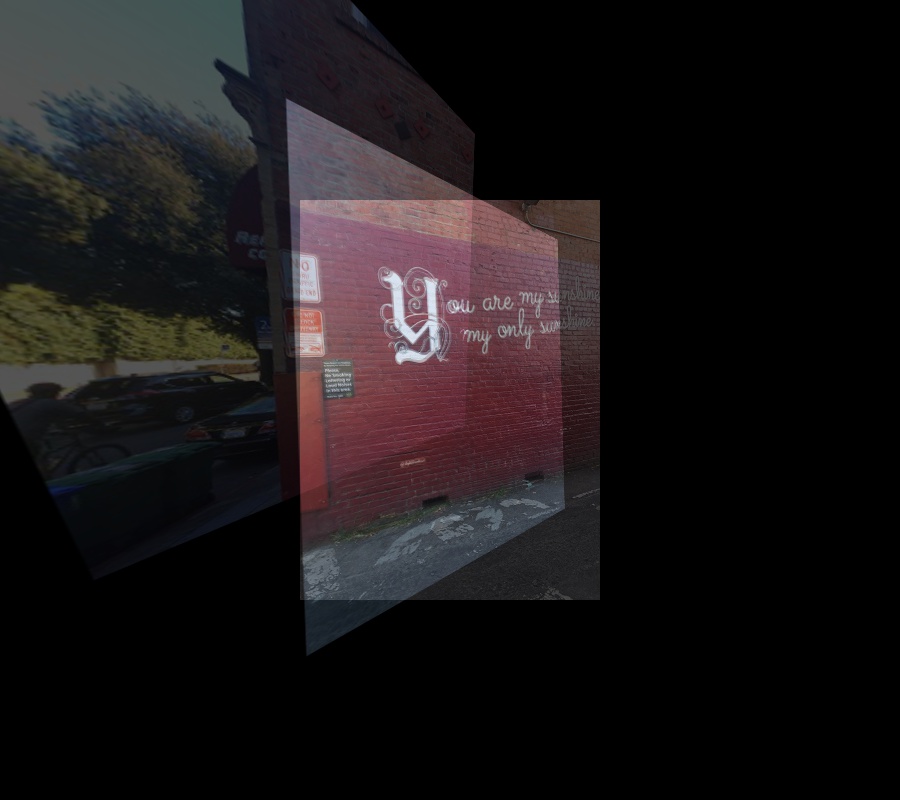
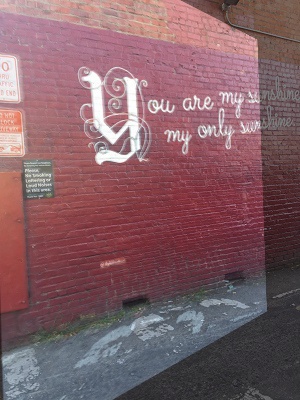
When taking the photos, I stood in front of Doe Library at night, and took several photos from one position. I also took photos from one position in my room, rotating to capture all the images. Lastly, I took photos from several locations of the wall on Oxford Lane near Replica Digital Ink.

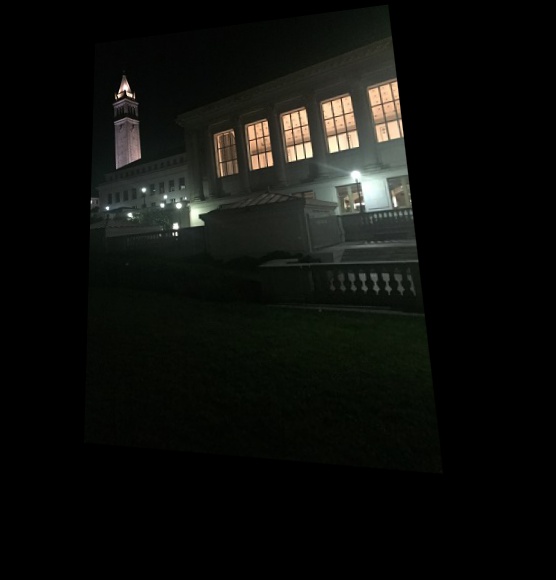
In order to recover homographies and warp the image, I calculated the H matrix using the corresponding points in each image, and then did a projective transformation using that H matrix. This shifted the second image to align with the first. Then, I blended the two images together via averaging.

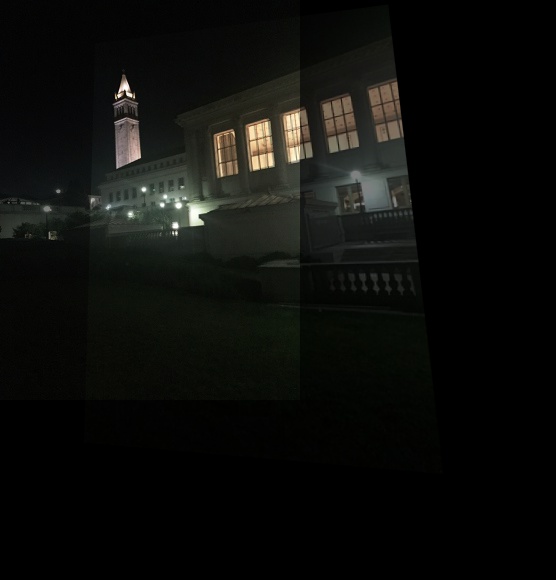


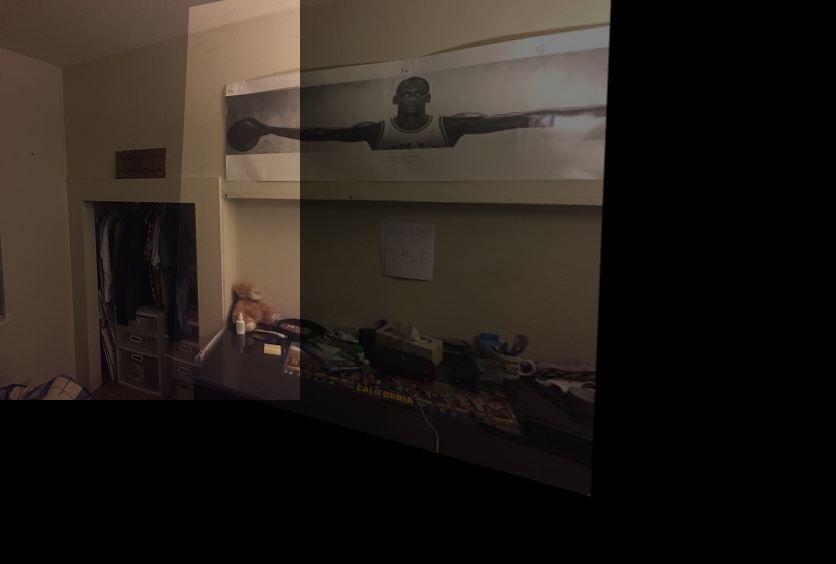
Here, I fixed the middle image, then aligned the left and right images with the center image, using the warping process from above.

What did I learn? You can pretty easily warp one image to align with another by finding the right 3x3 Matrix. However, blending images into a nice mosaic takes a lot more ironing out, and can be difficult when trying to have a smooth blend, include the entire transformed image (and not have part of it cut off), and blending multiple images.
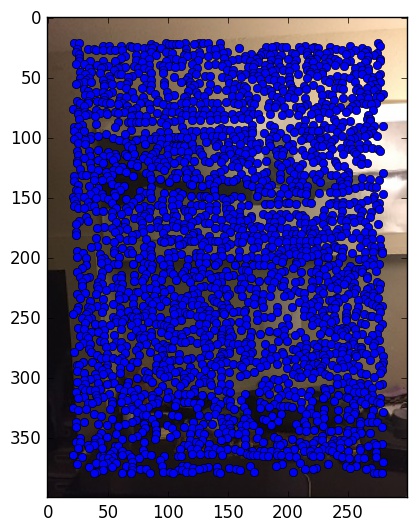
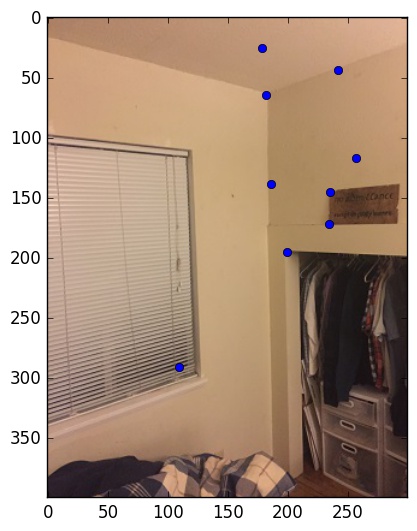
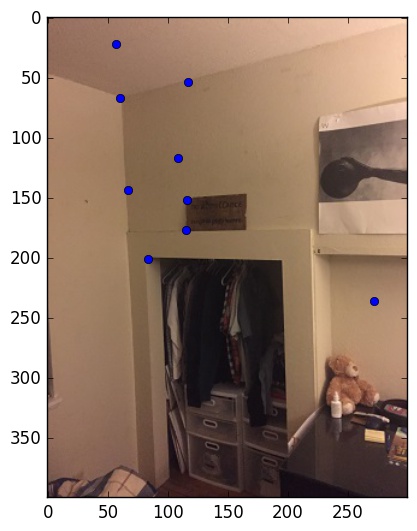
To detect corner features, I used Harris corners, which are calculated by measuring large changes in intensity in small windows. However, we are left with a multitude of corners, as seen below on the left. To fix this, we want to keep a select few, but we don't want to just choose the highest intensity values, as that will give us points that are clumped together. So, we use Adaptive Non-Maximal Suppression (ANMS) to reduce our Harris corners to a sparse few, as seen on the right hand side.
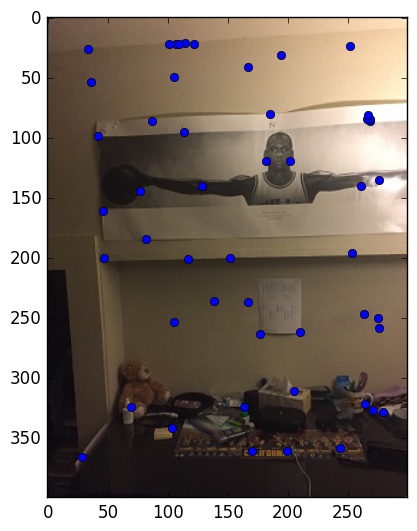
To match features, I began by detecting corner features, as explained above. Then, I had to implement a feature descriptor by implementing Multi-scale Oriented Patches. This basically represented each point and the 40x40pixel around it as an 8x8 image. The features were then matched by computing the SSDs between the feature descriptors, and then I used RANSAC to compute a homography to transform the images. Then, like in Part 1, I stitched the photos together to create a mosaic.
To autostitch the Mosaic, I began by detecting corner features, as explained above. Then, I had to implement a feature descriptor by implementing Multi-scale Oriented Patches. This basically represented each point and the 40x40 pixels and reduced it to an 8x8 feature description. The features were then matched by computing the SSDs between the feature descriptors, and then I used RANSAC to compute a homography to transform the images. Then, like in Part 1, I stitched the photos together to create a mosaic.

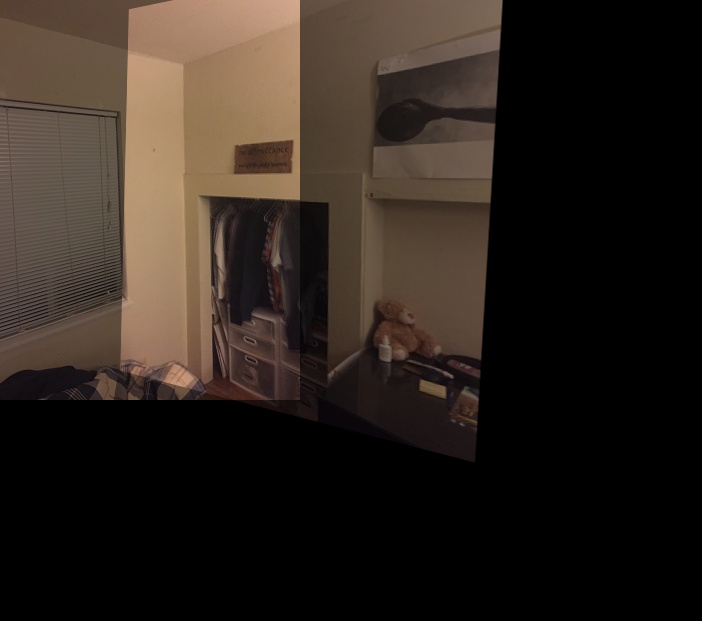
What did I learn? The biggest issue I ran into with autostitching is finding which corresponding points match up. A lot of the features were matched to the same point, which would be a generic background looking point. I ended up doing a small trick and just weeding out all the repetitive matches, and that helped narrow it down to good features.