This project consisted really of 3 parts: Calculating the H-Matrix (which is the matrix used to transform image A to the shape of image B, or a square for rectification), transforming the actual rectification (Where we align the image to a square), and actually stitching the images together.
To calculate the H-Matrix, I used this equation.
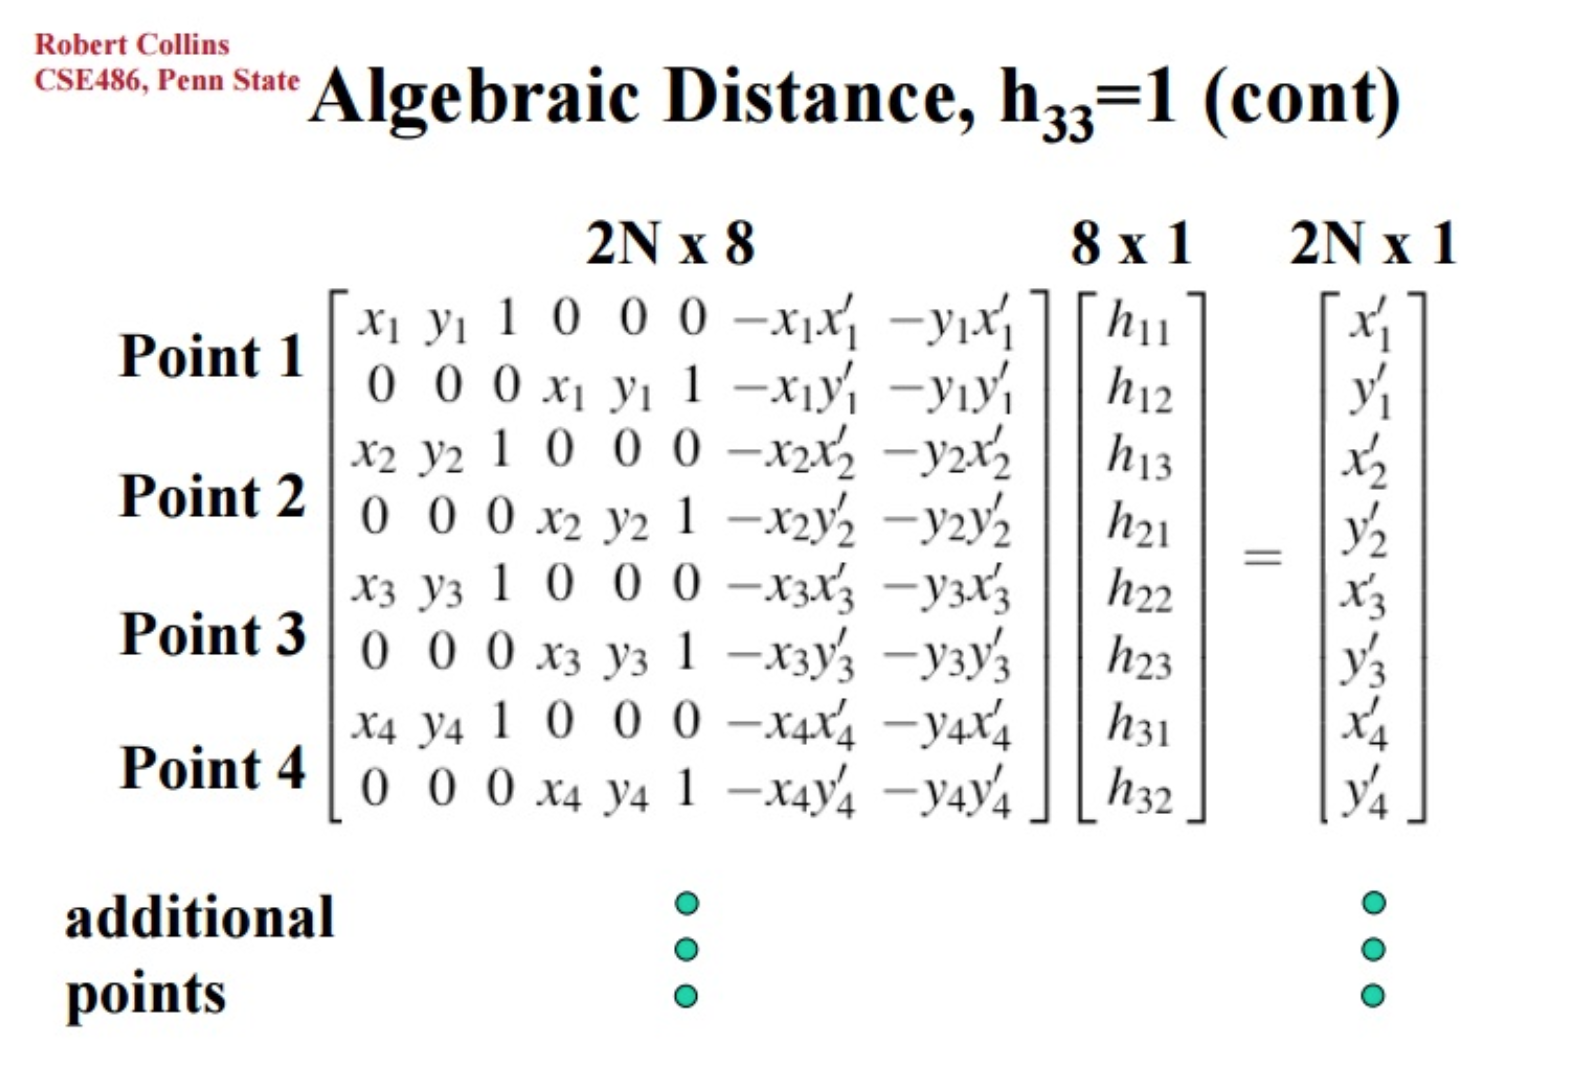
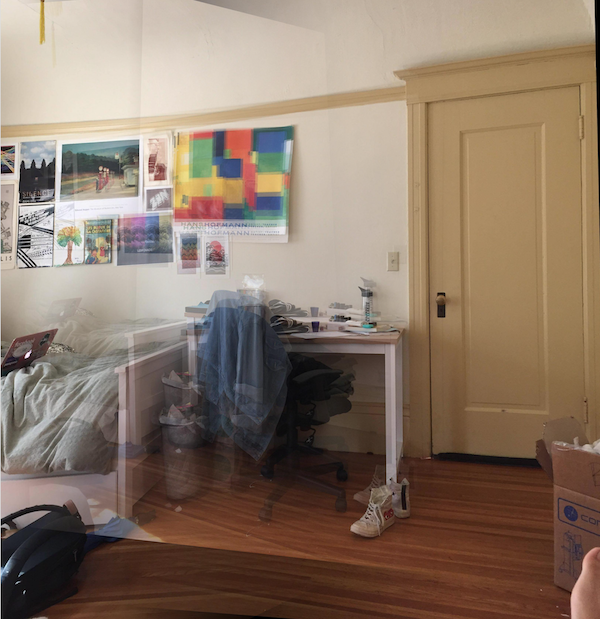
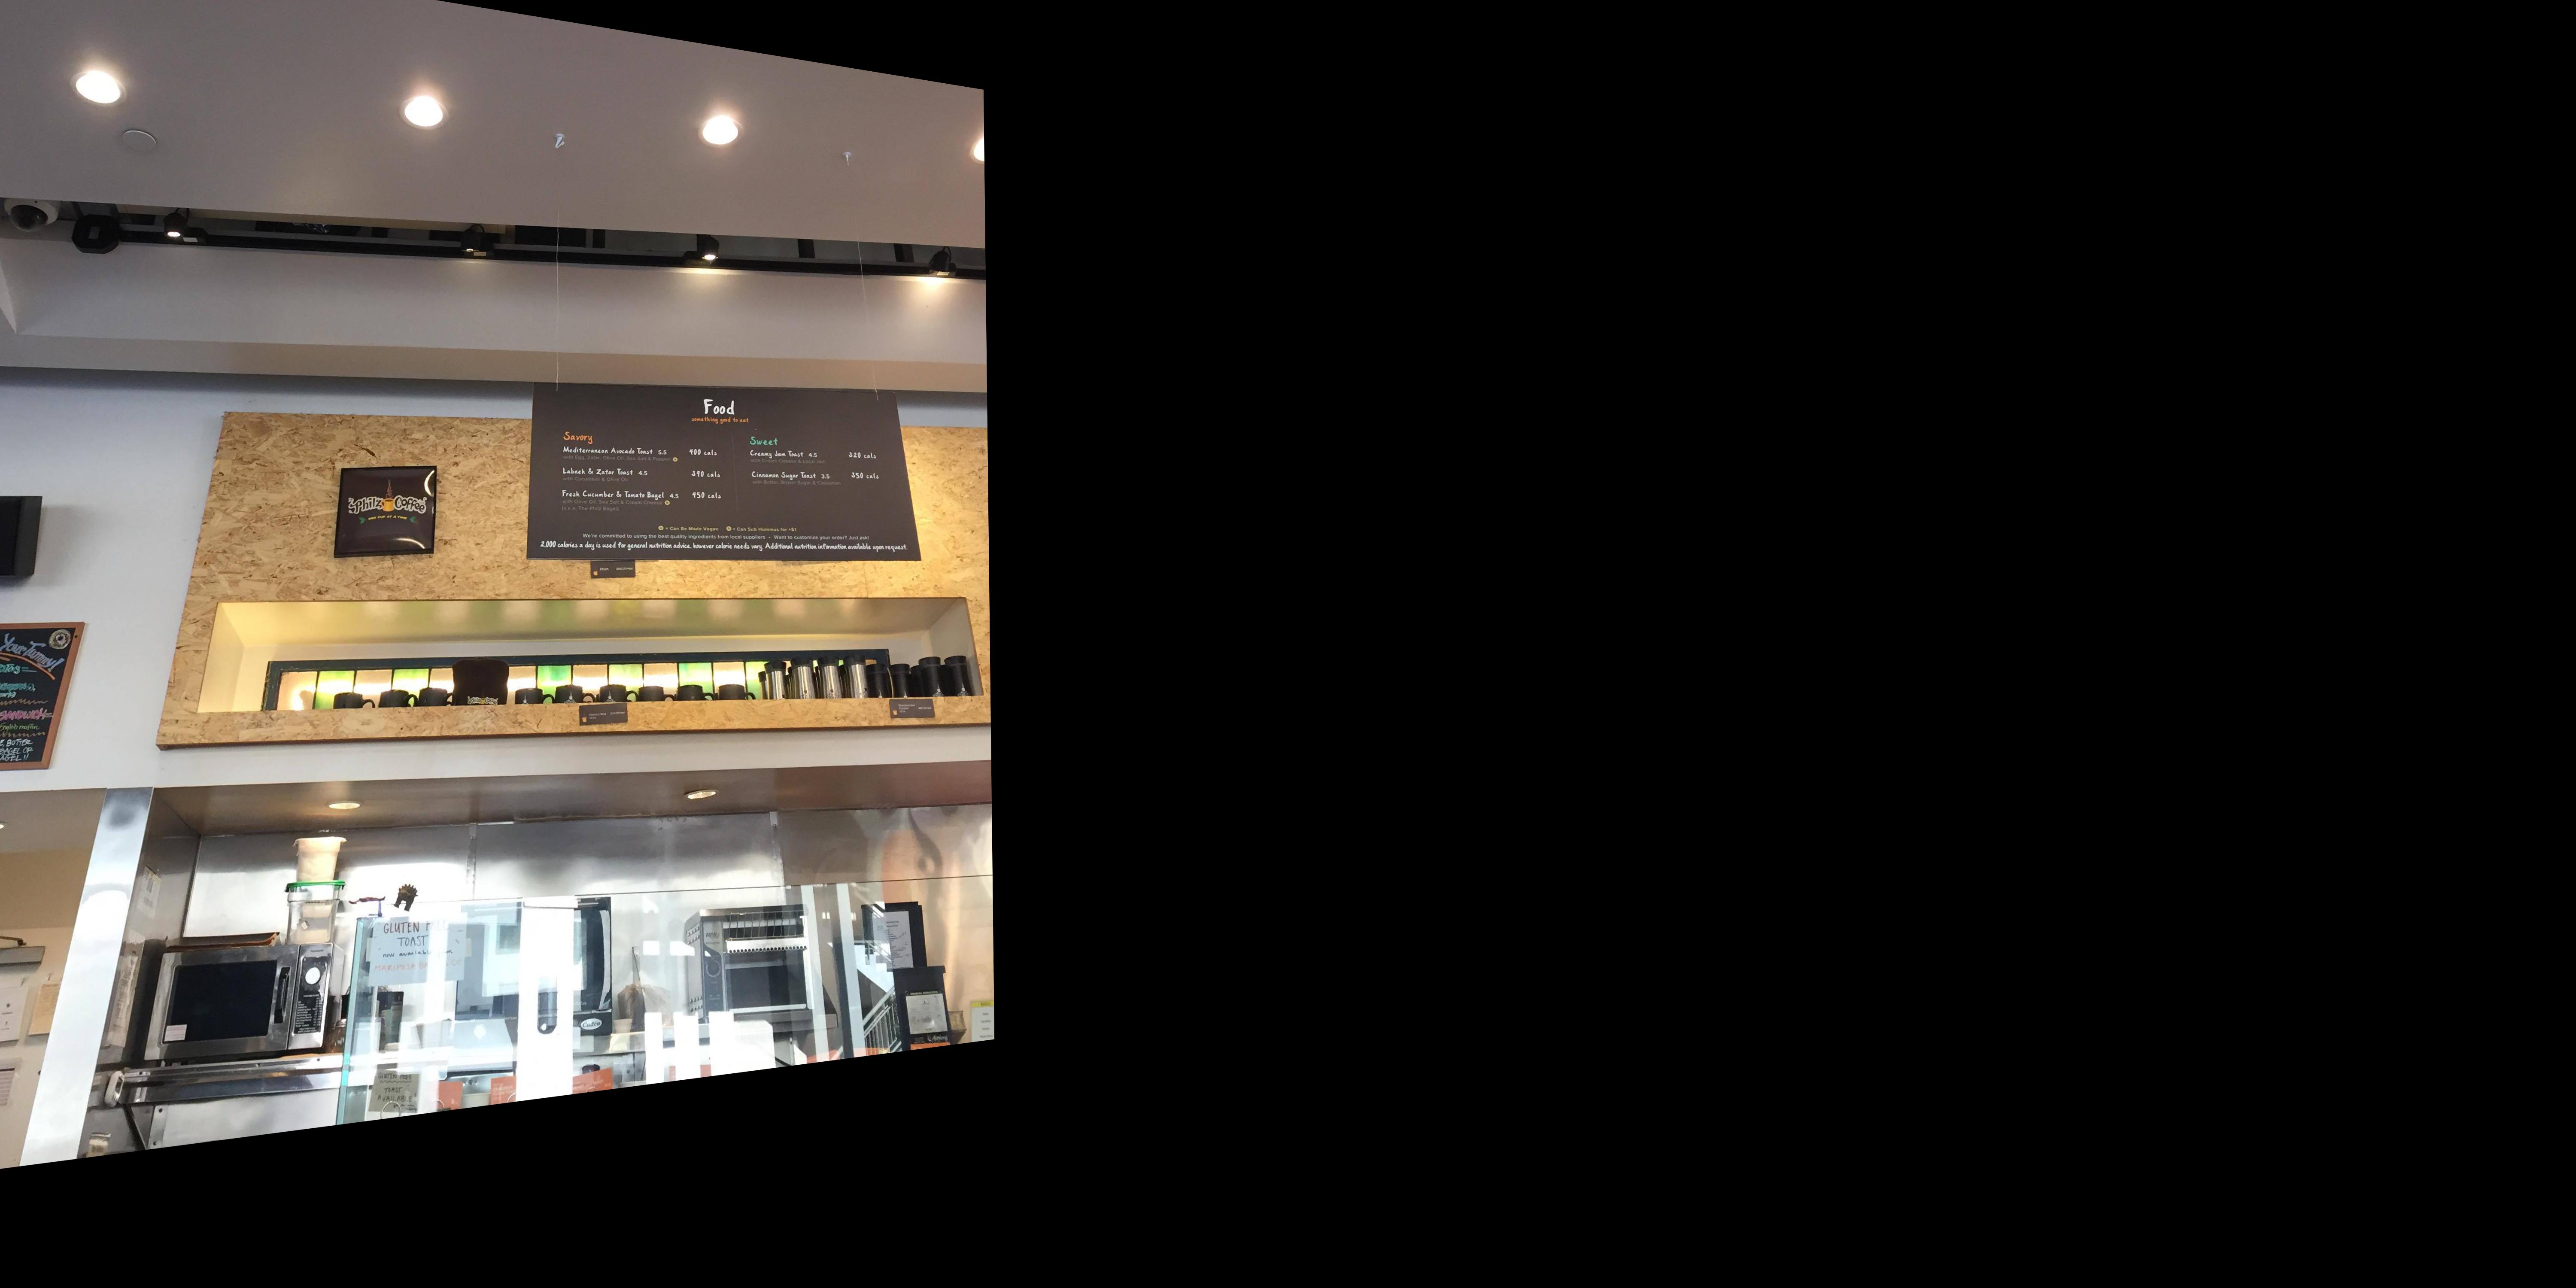
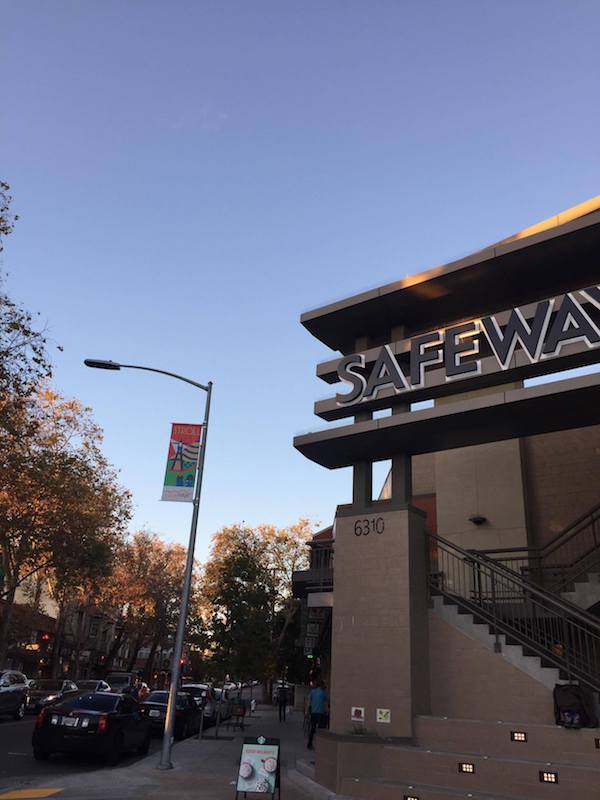
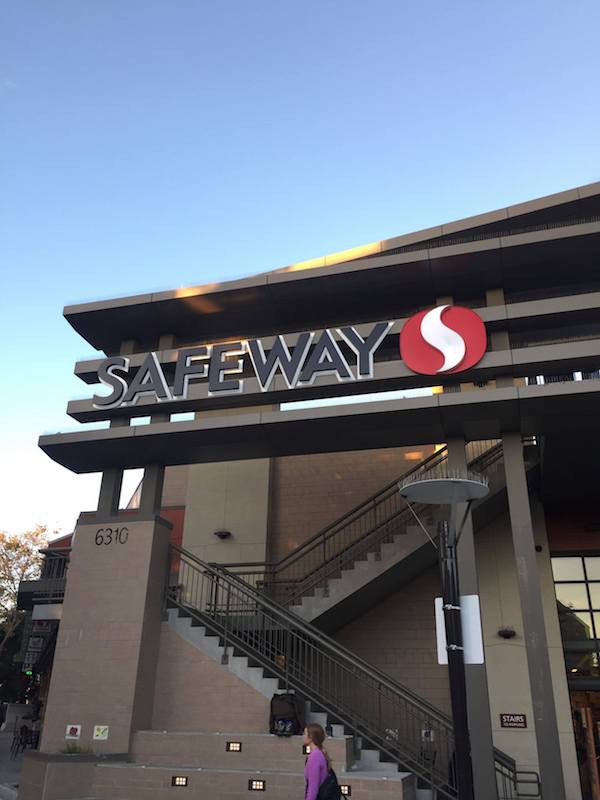
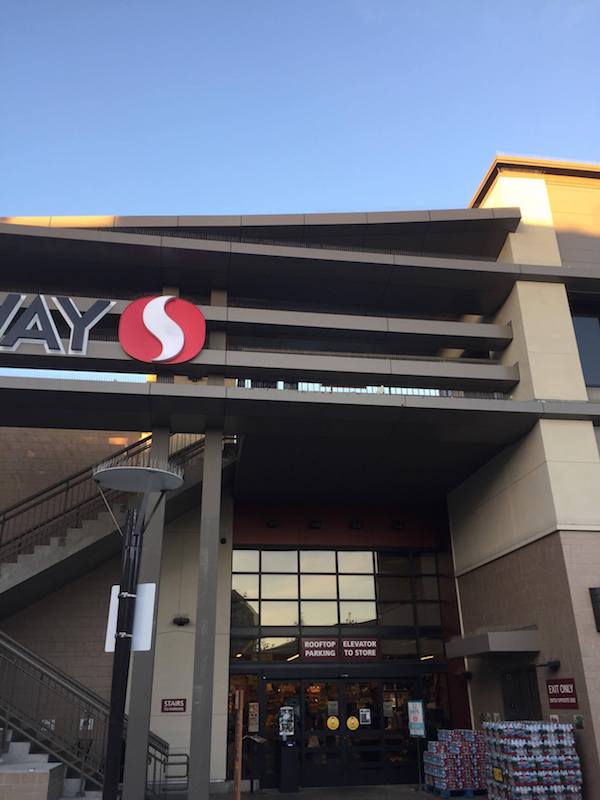
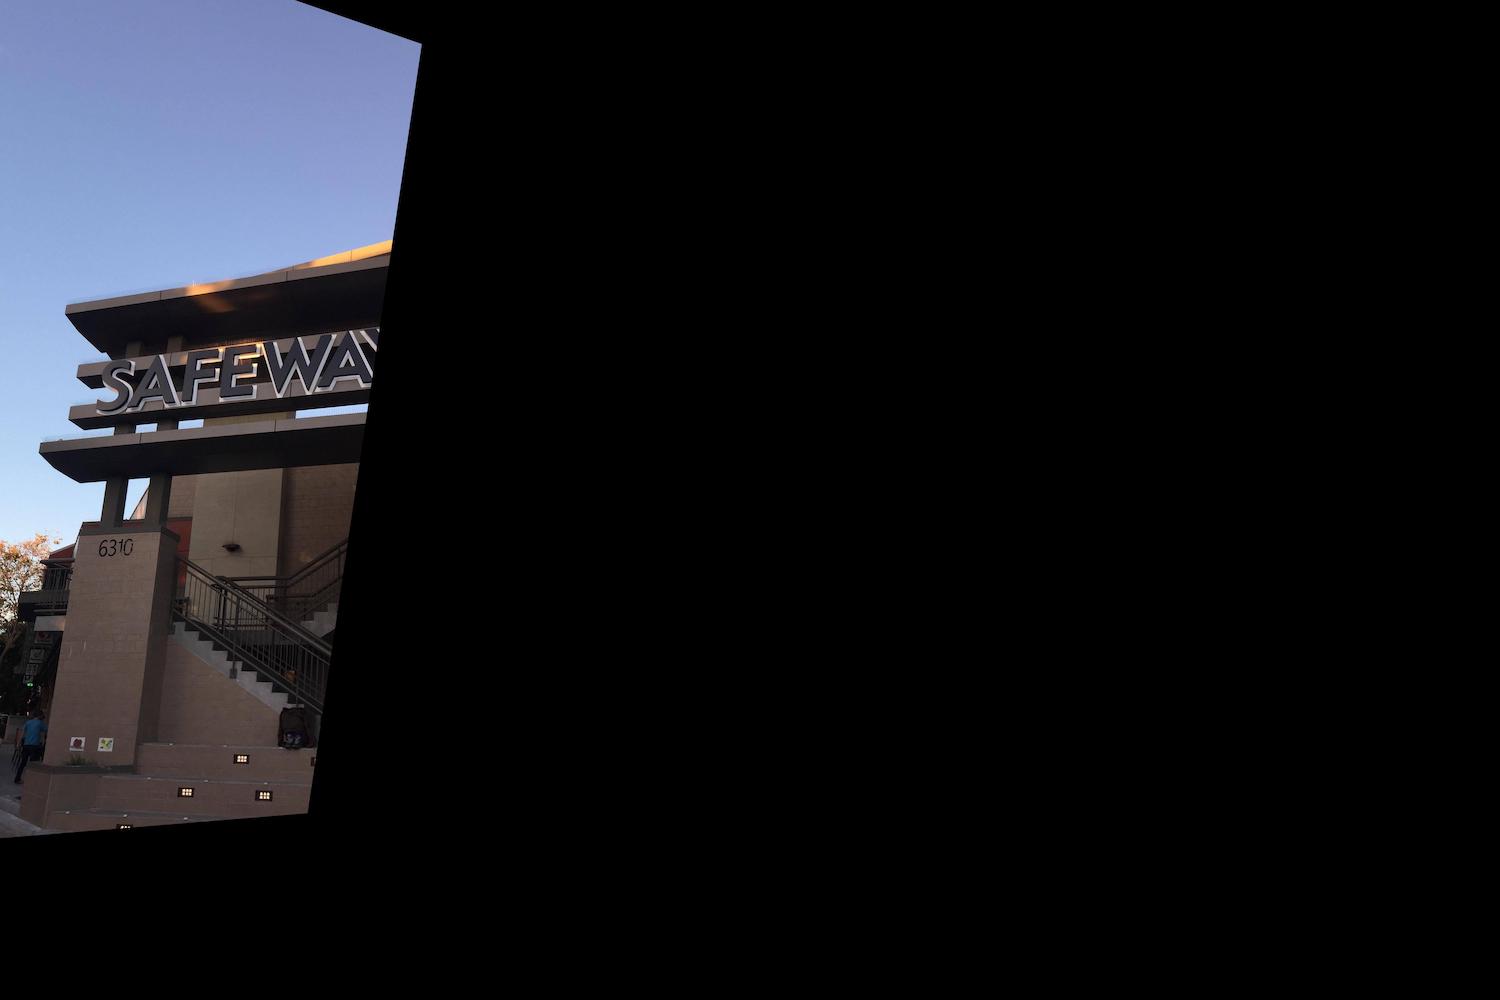
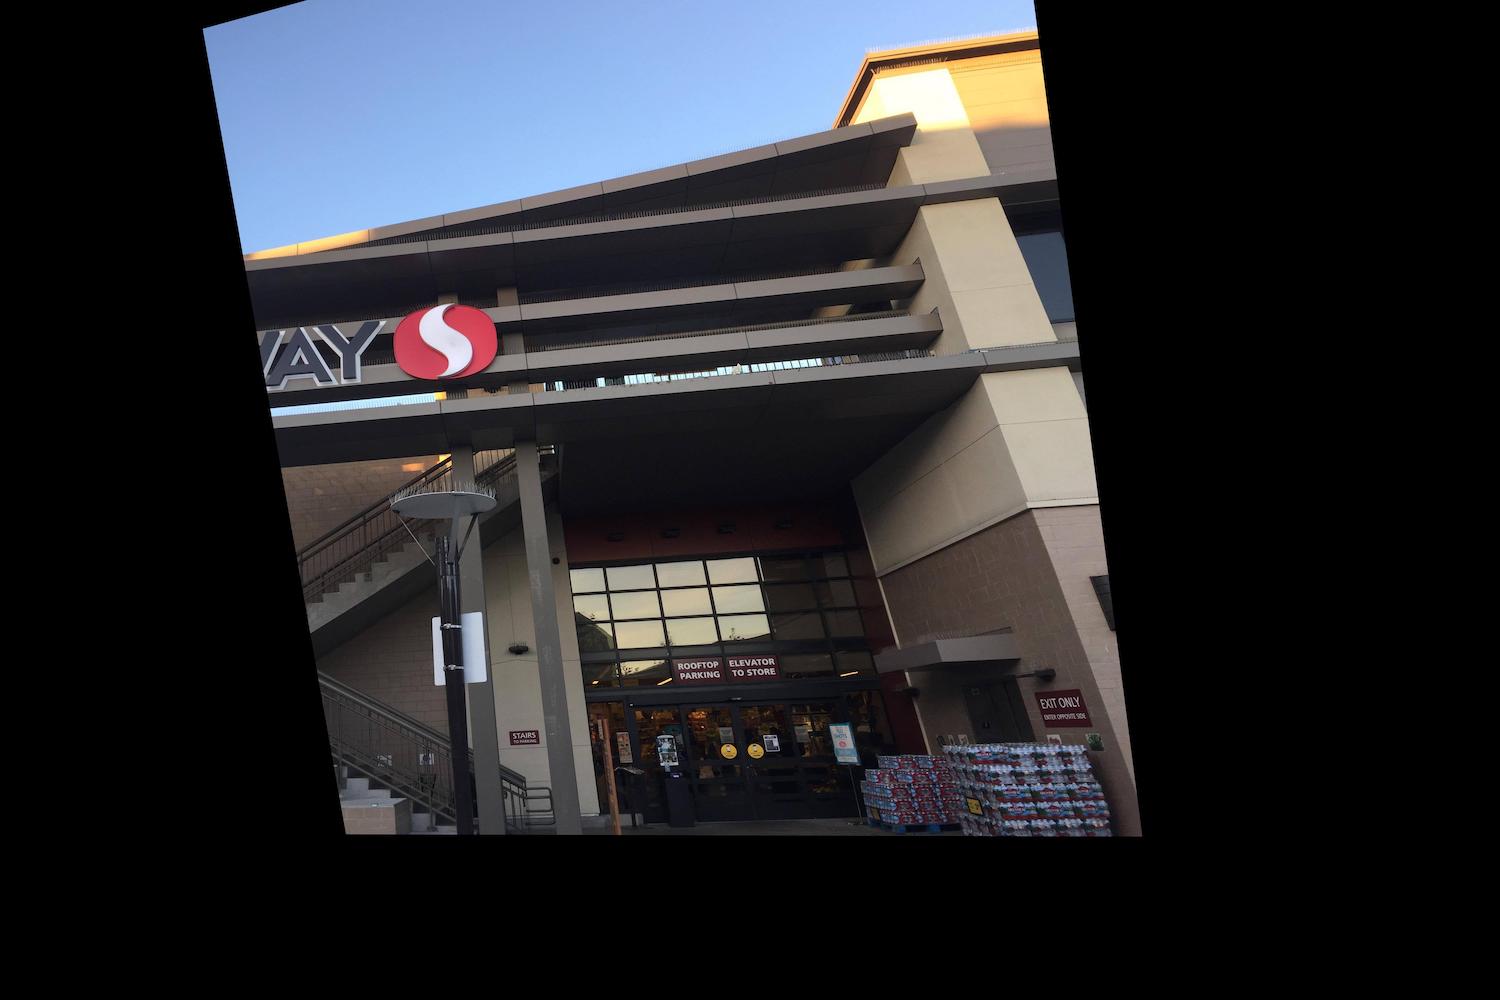
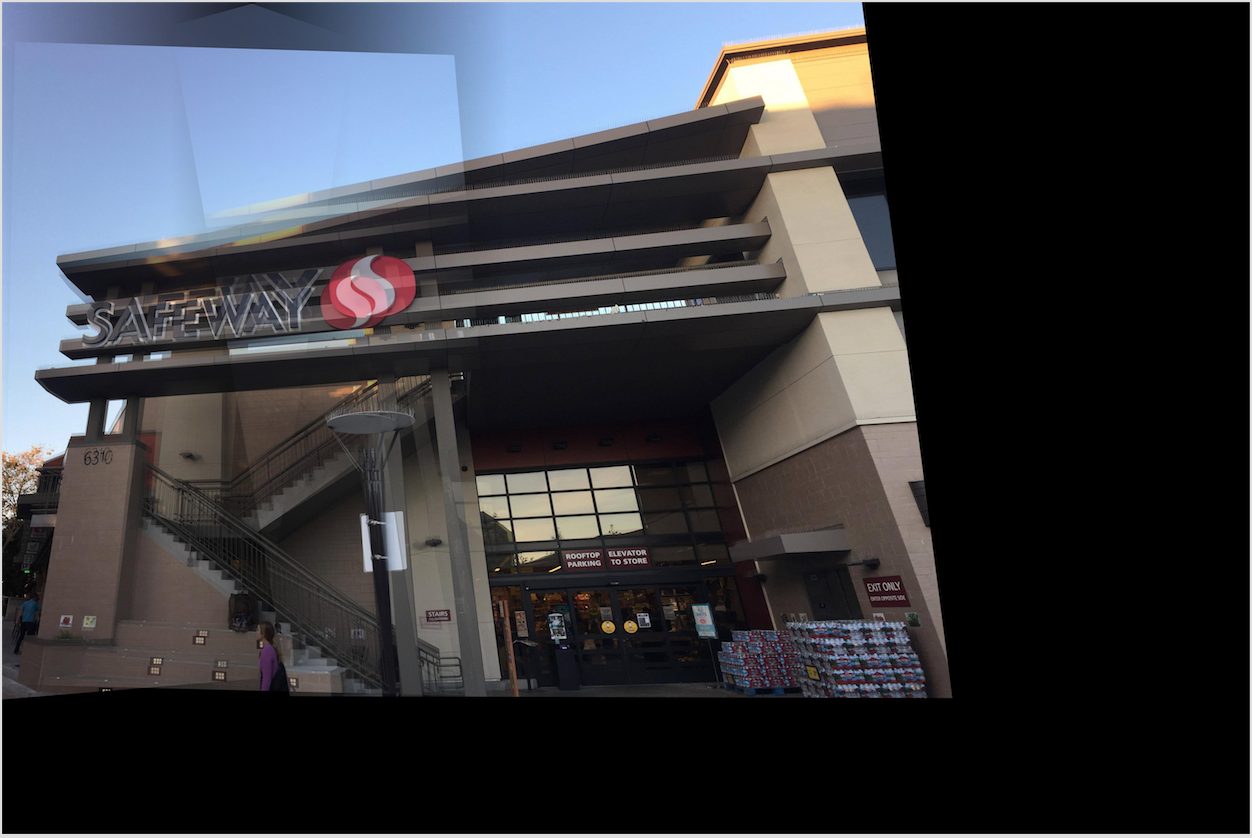
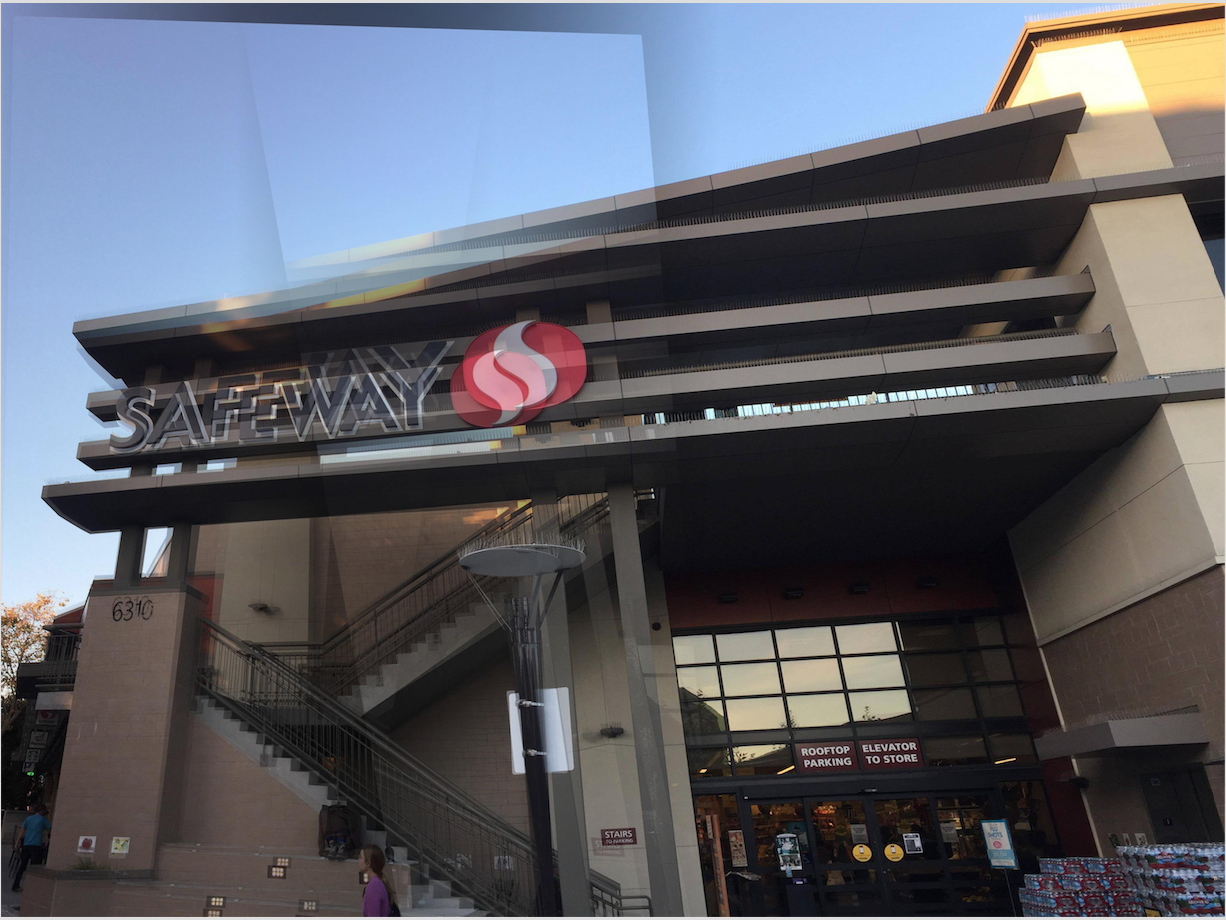
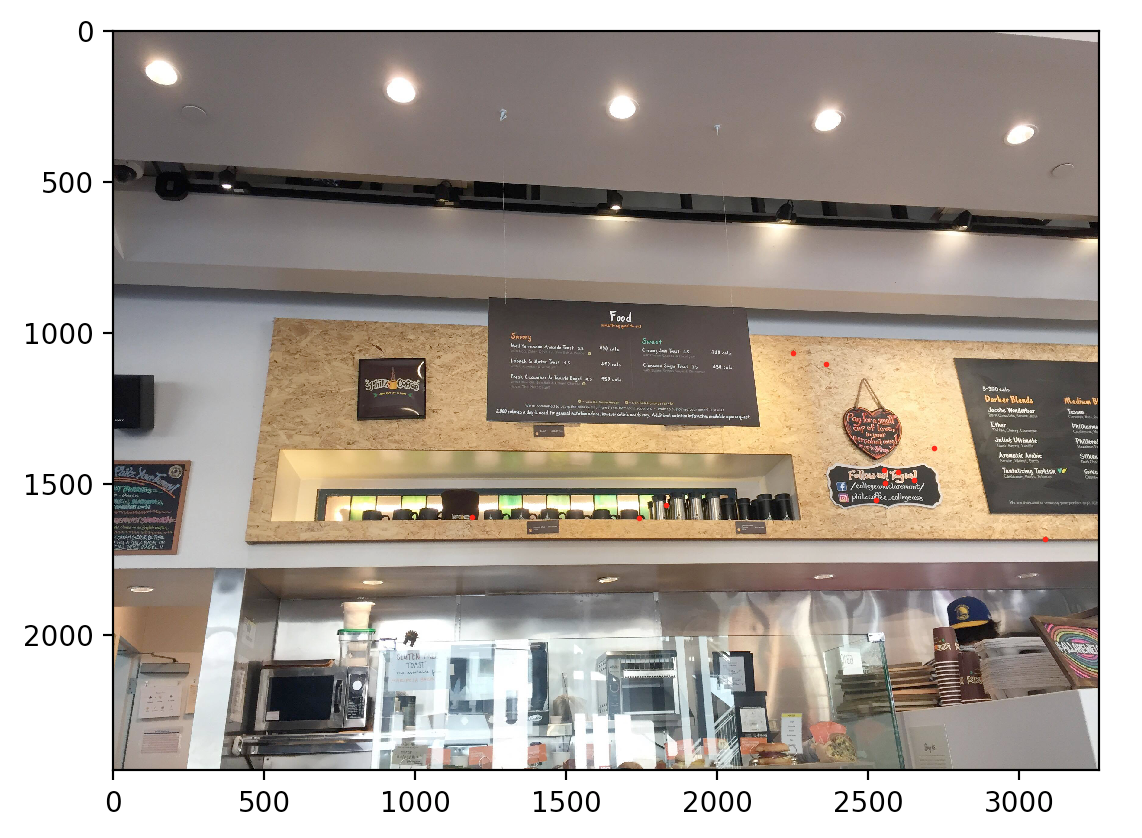
I always use the 4 corners of some square or rectangle shape for my x, y points, although you could use as many as you want. Here are some examples of rectified images:
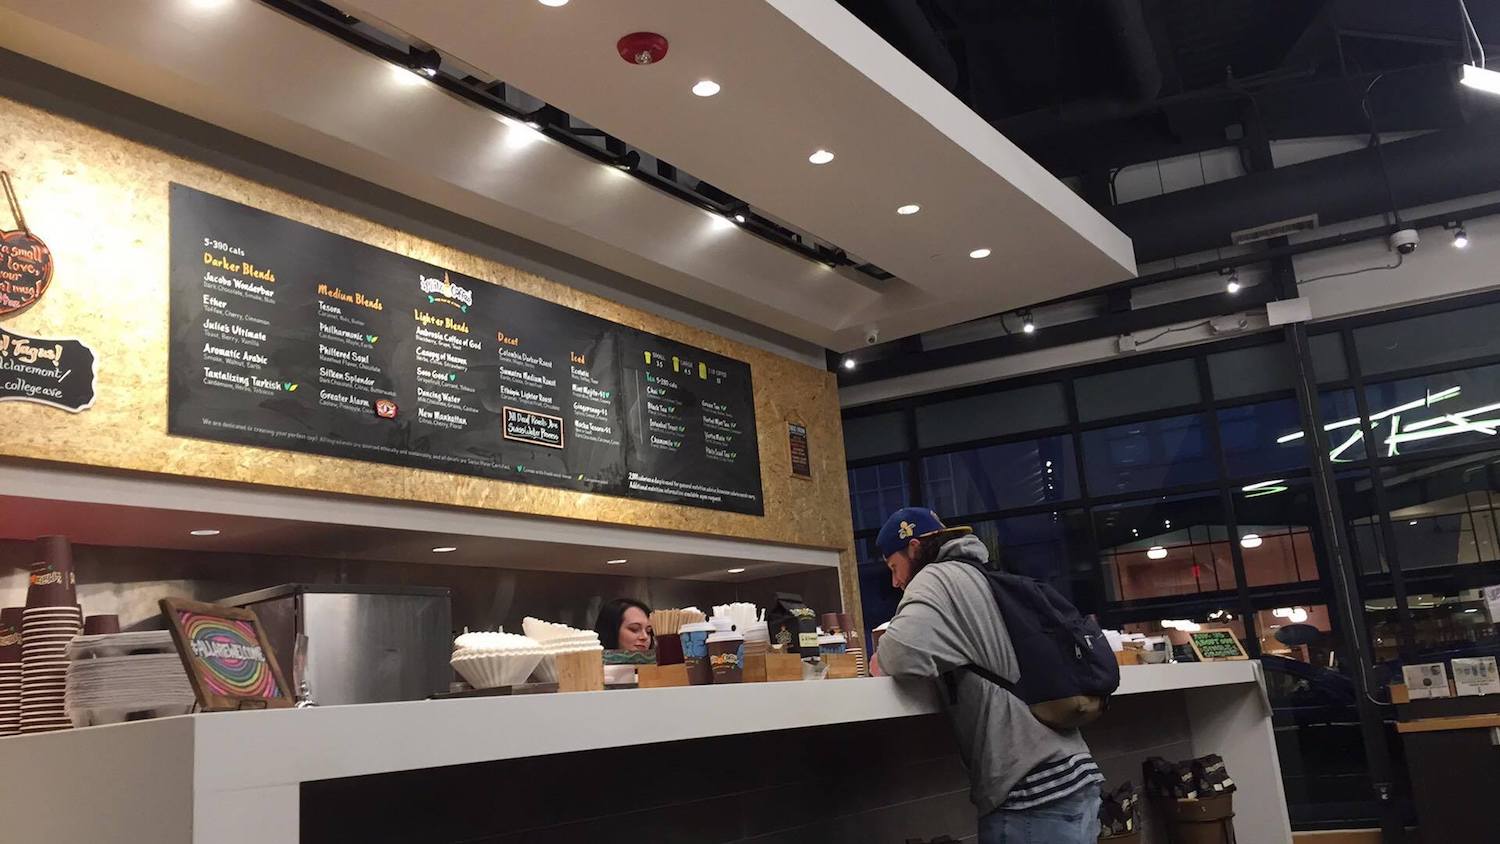
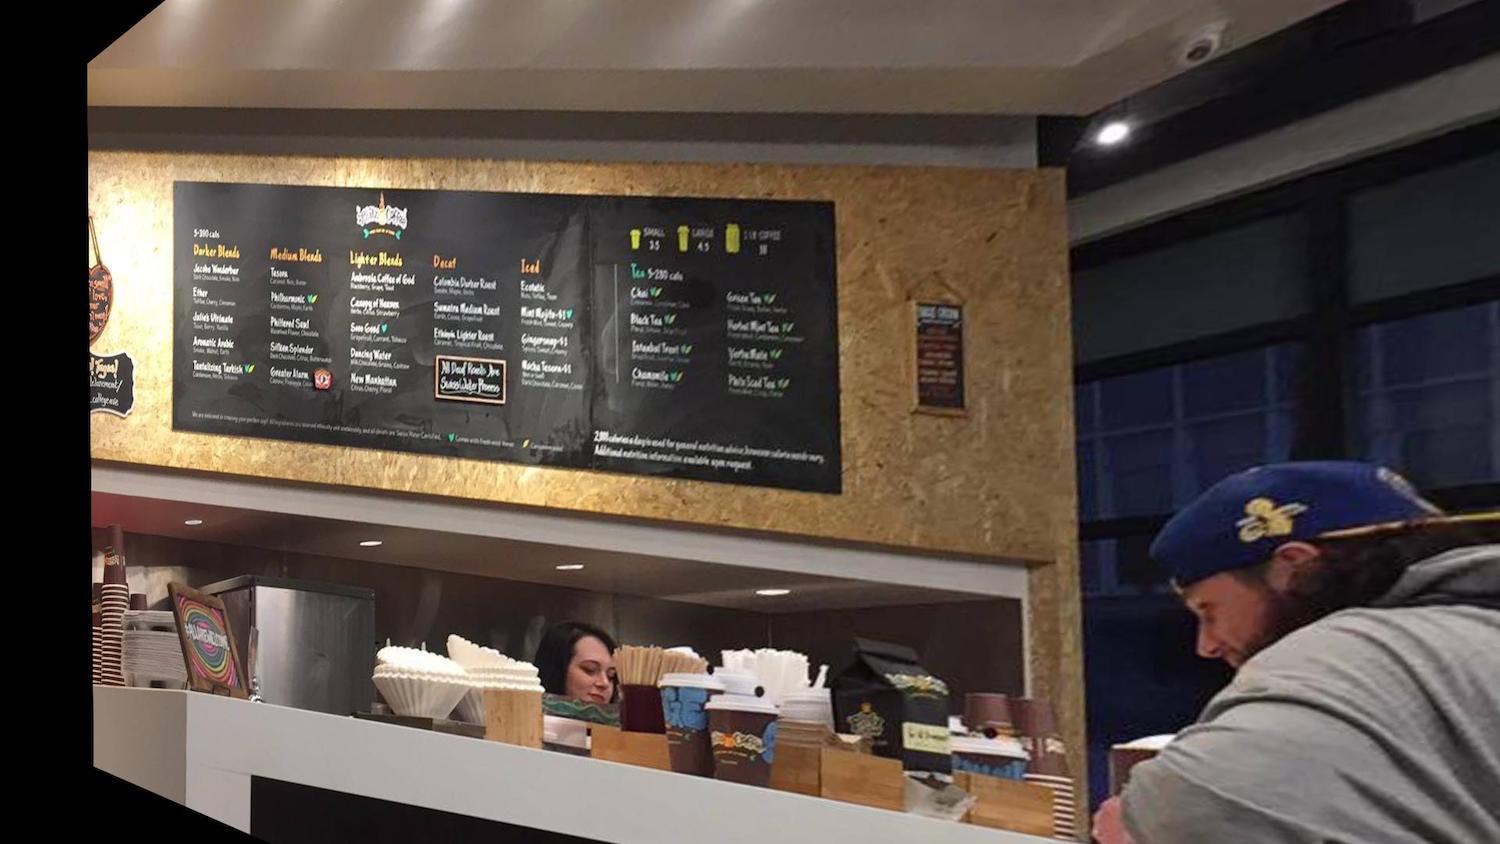
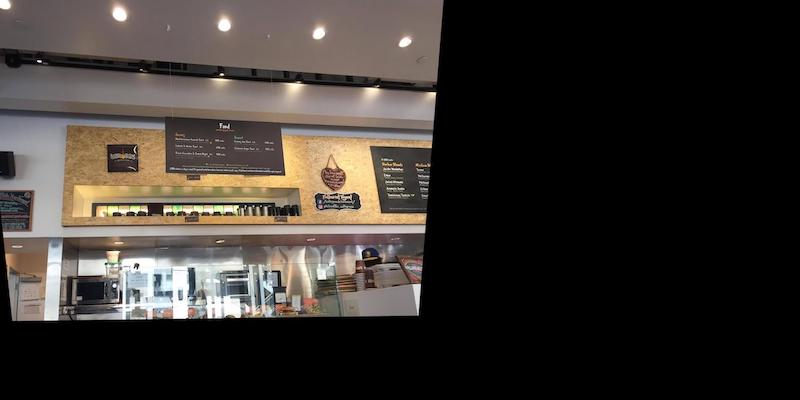
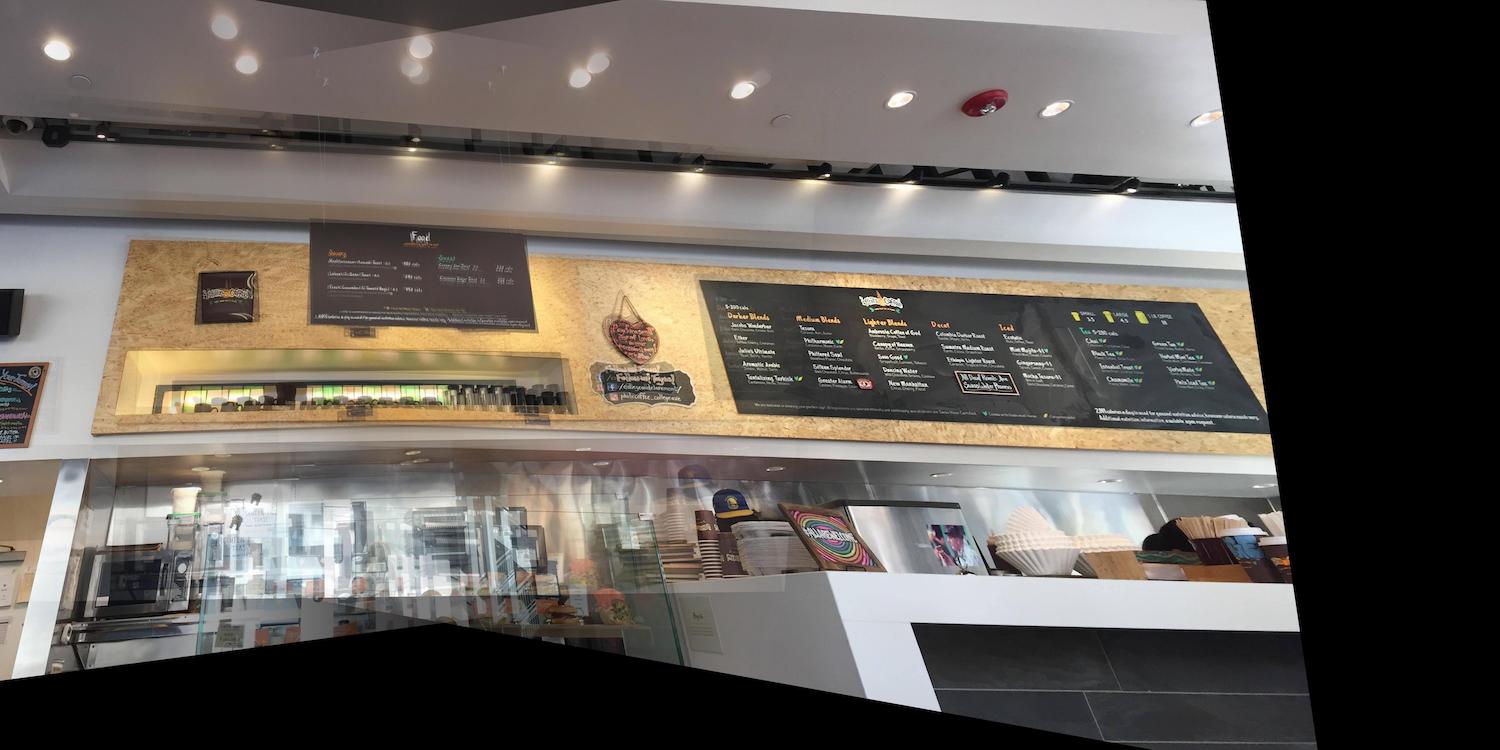
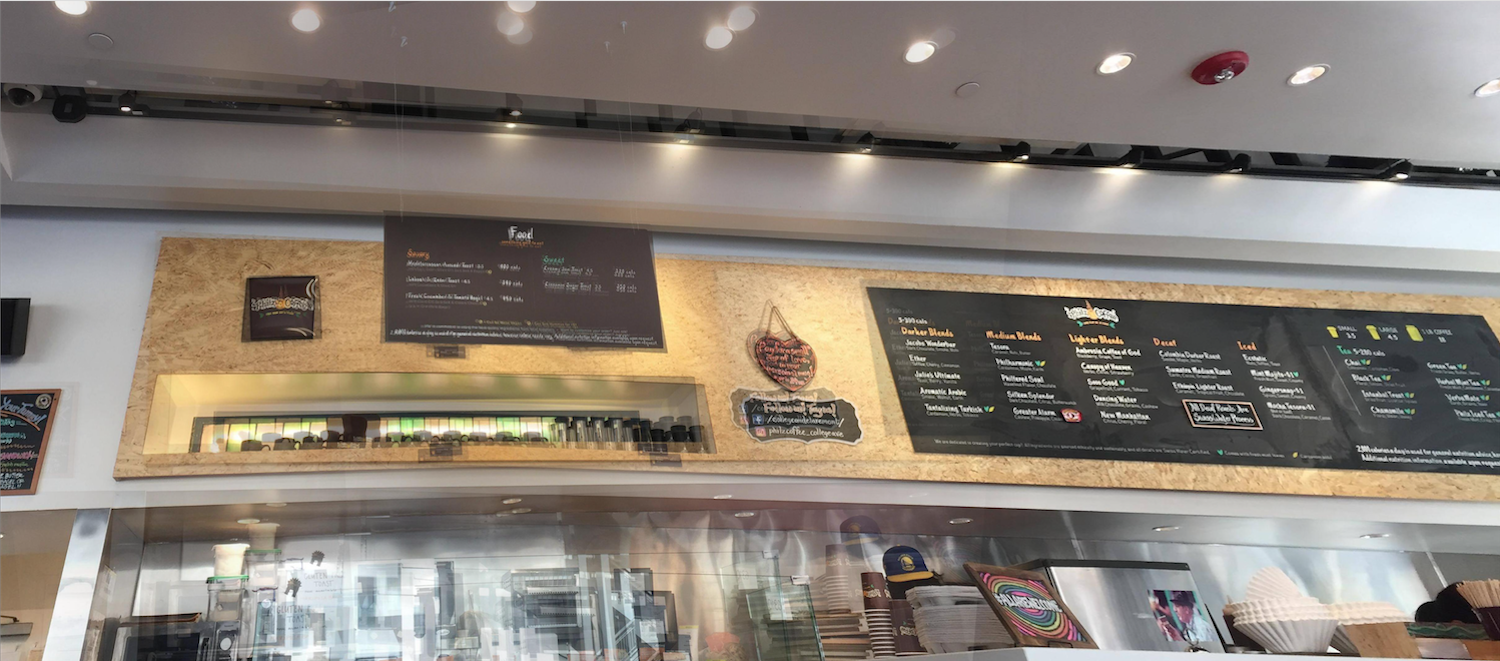
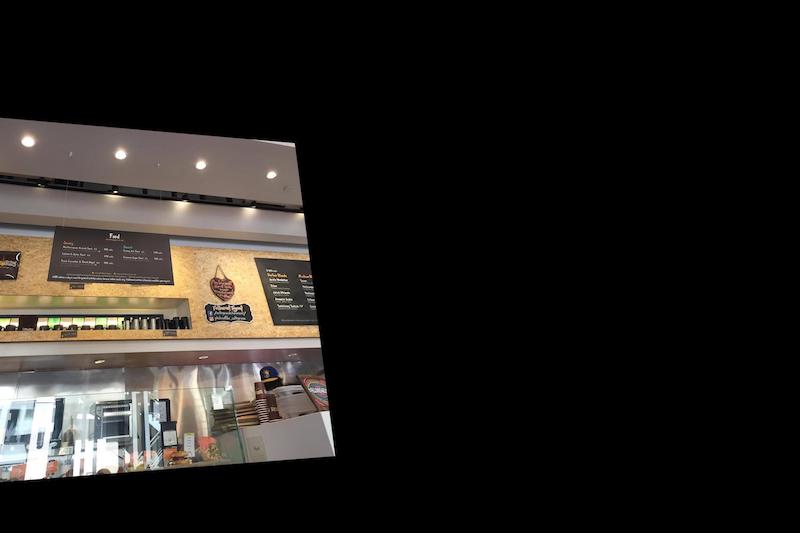
To transform the image, I used scipy.transform.warp() which was said on the piazza. This multiplied the original image's pixels by the H-Matrix in order to find the new image's place. For my 3 images, say image A, image B, and image C, I warped image A -> image B, and image C -> B so that they all combine with image B.
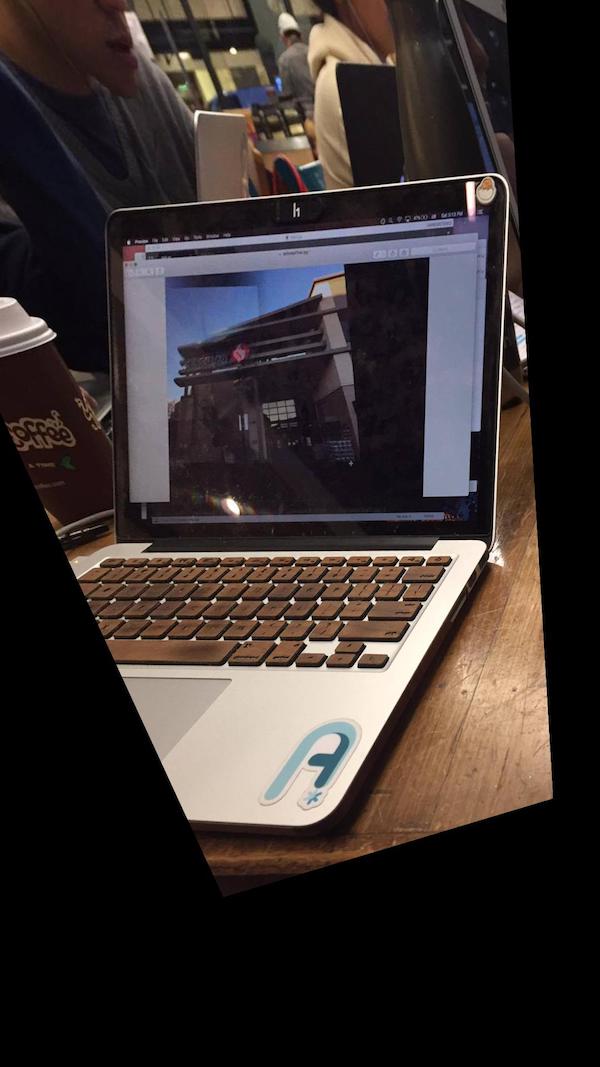
In this example, I transformed one image of a coffee machine so that the screen of image A became the same shape as the screen in image B.
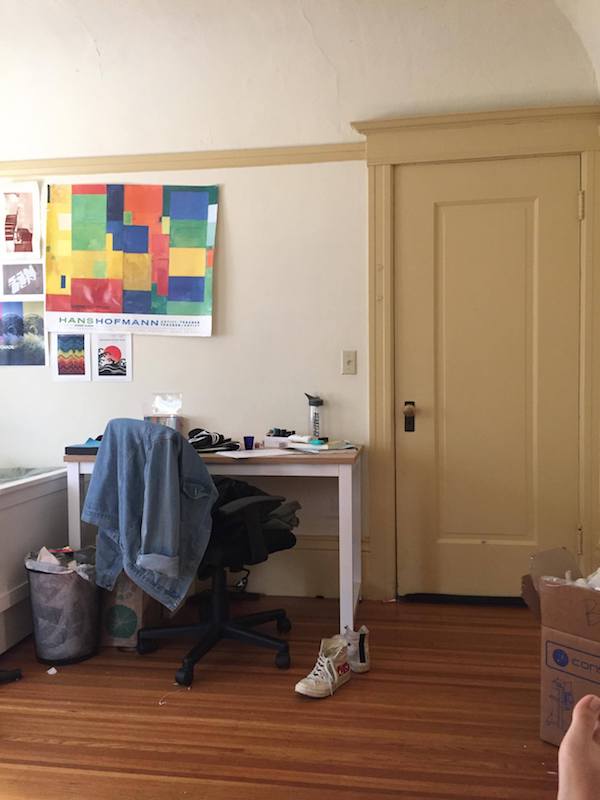
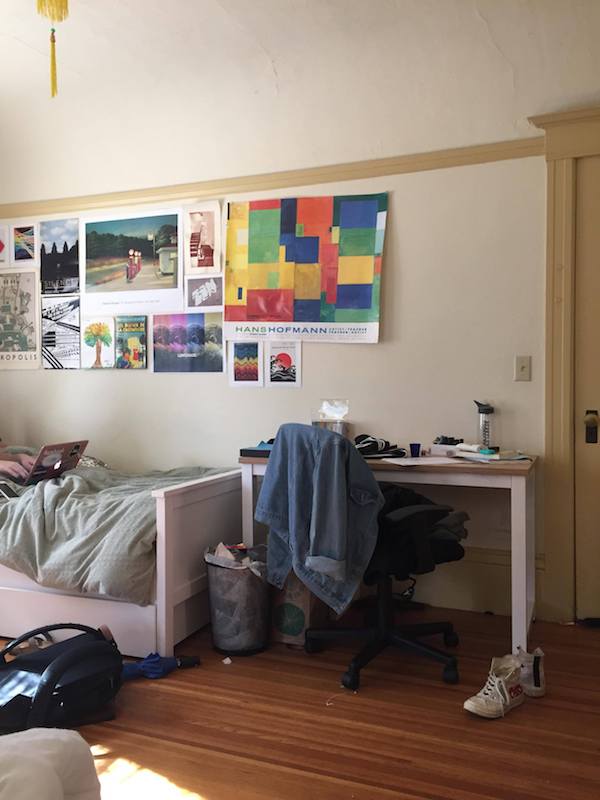
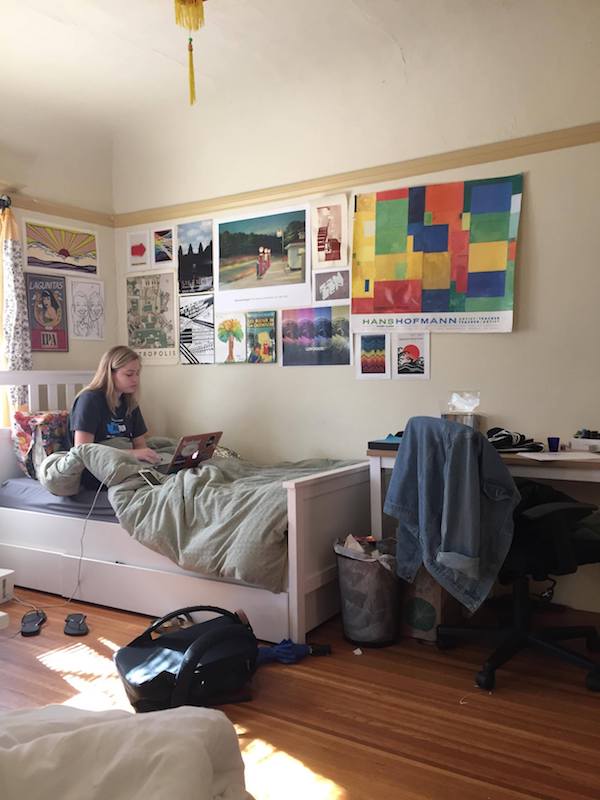
cropped:


cropped:
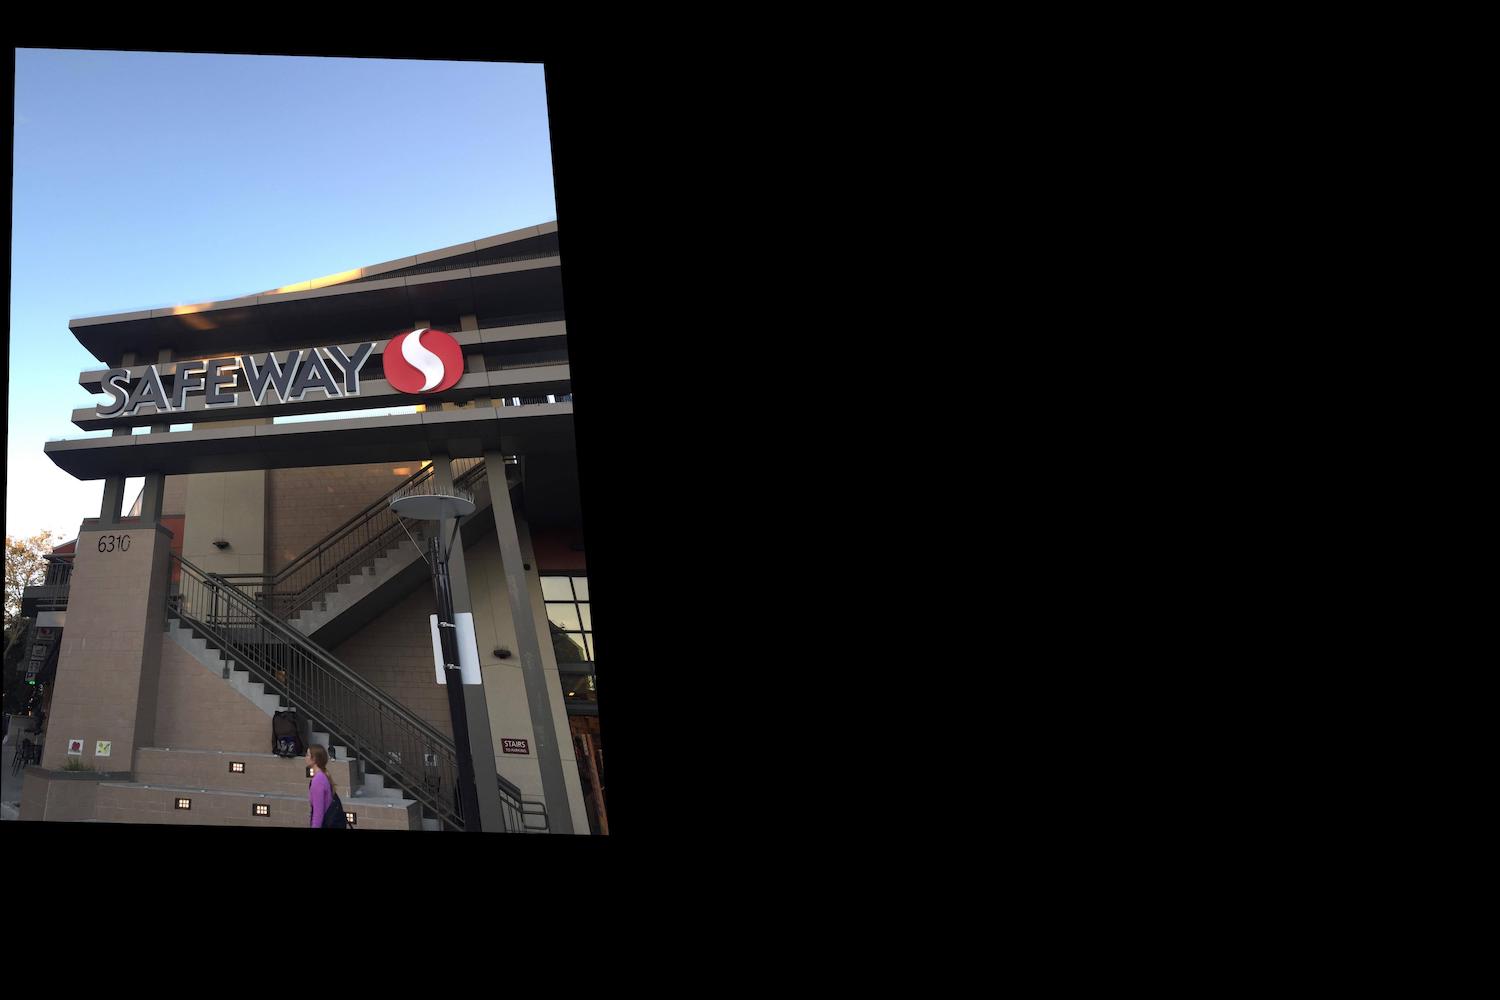
cropped:
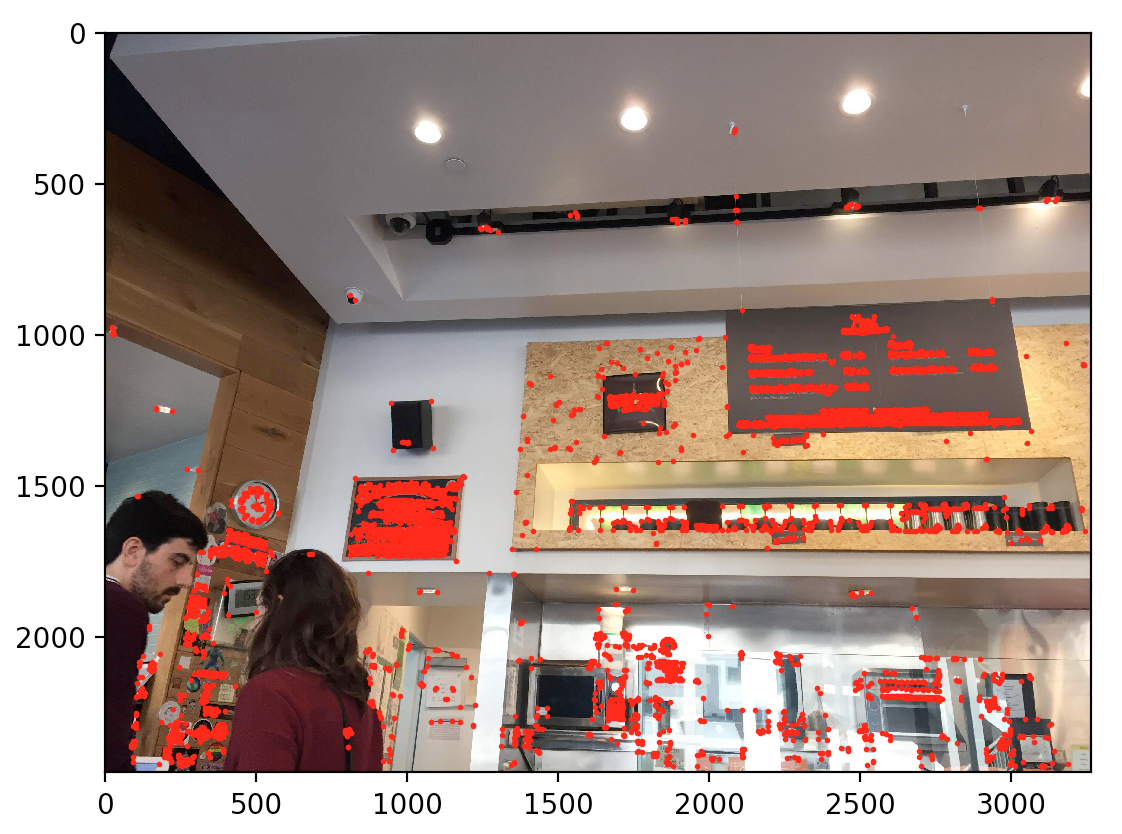
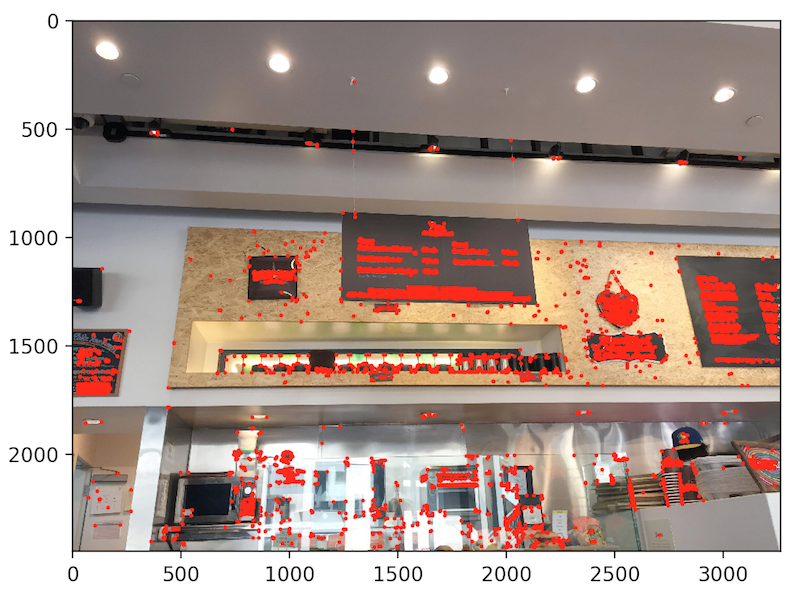
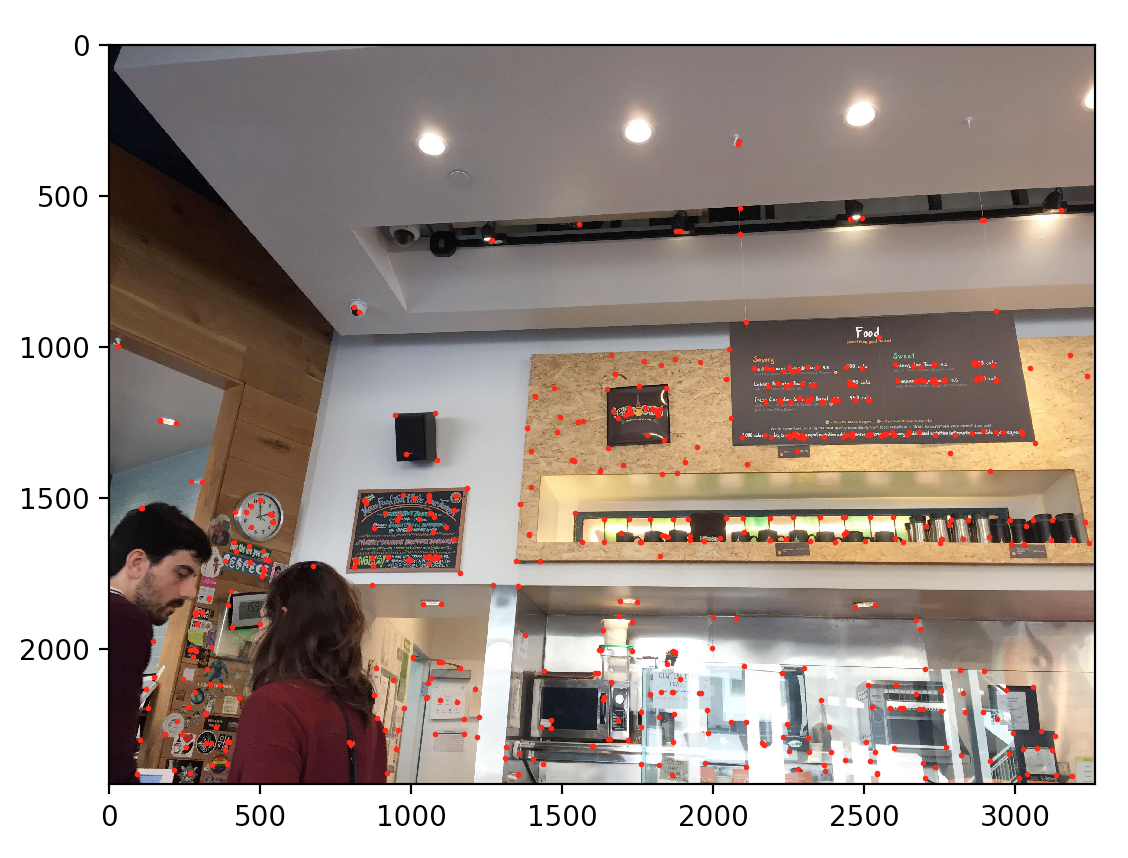
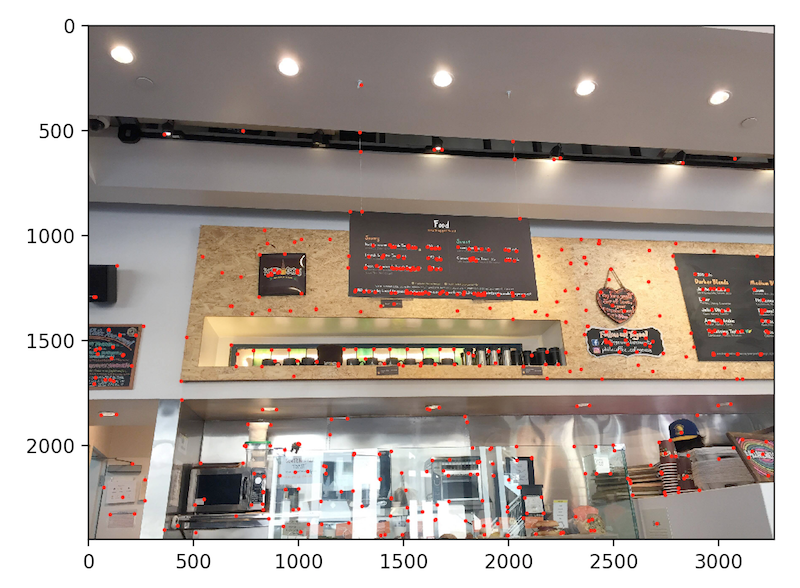
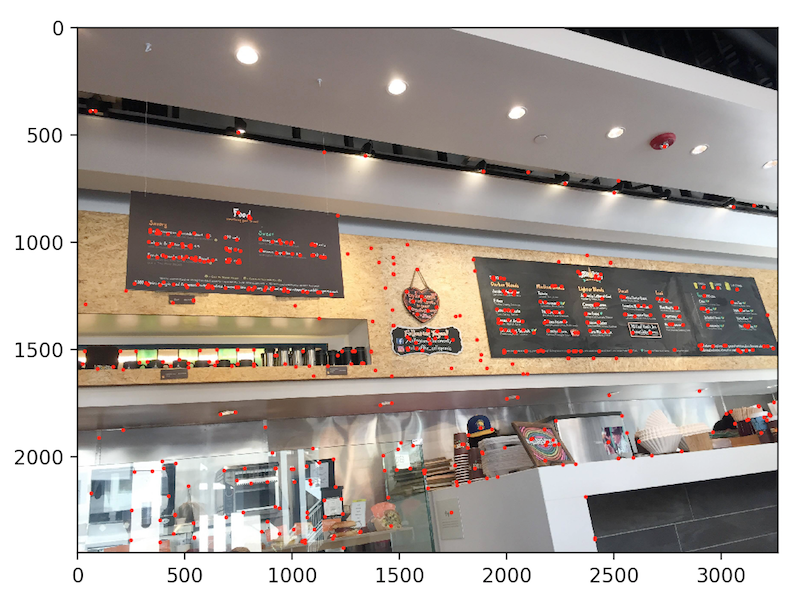
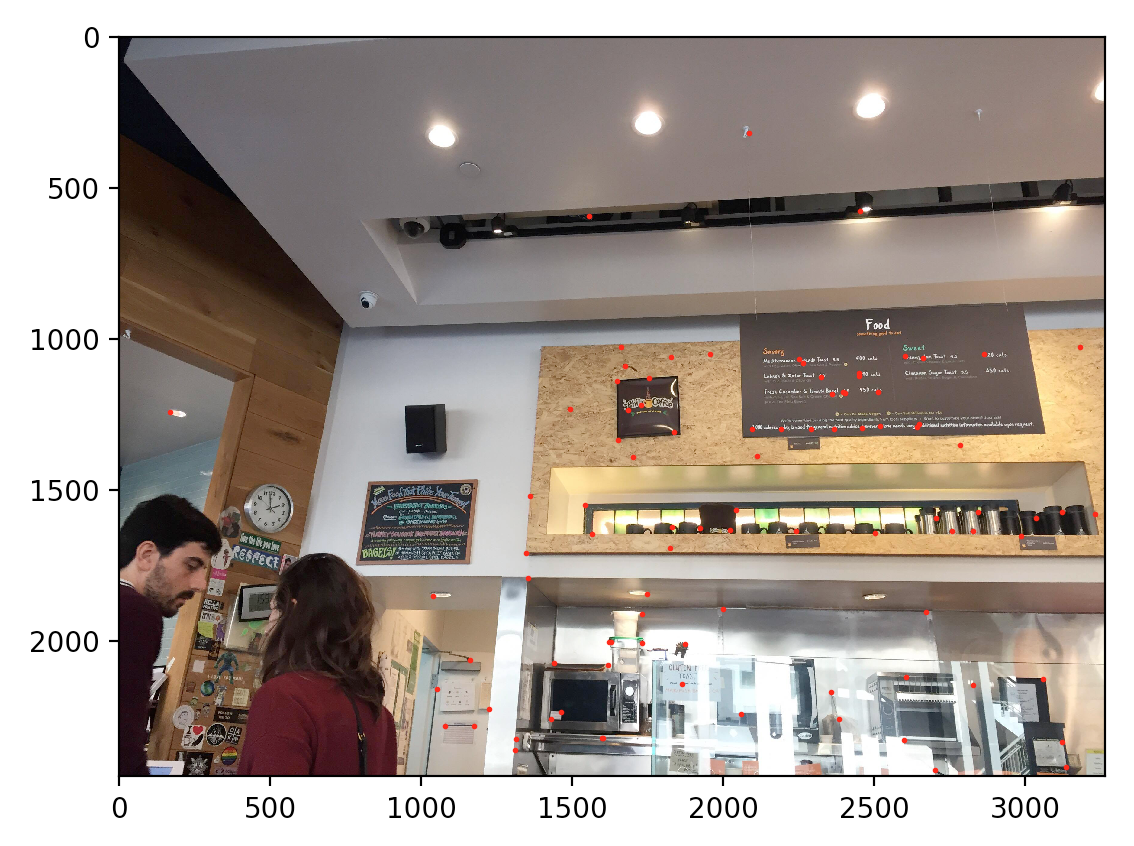
For getting the Harris Corners, we use the given starter code to compute all of the points that have relatively large eigenvalues in the dx and dy direction. This reprsents all the "corners" in the image. As you can see, there are a lot of corners.
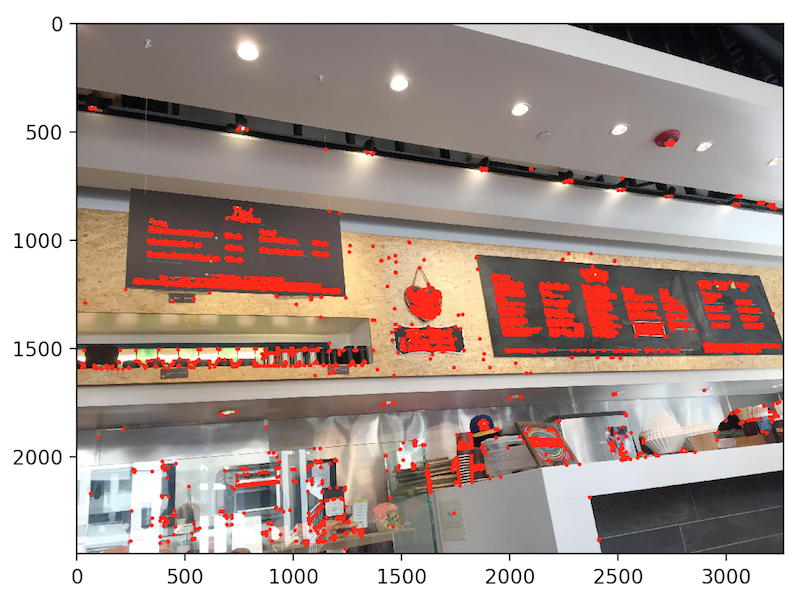
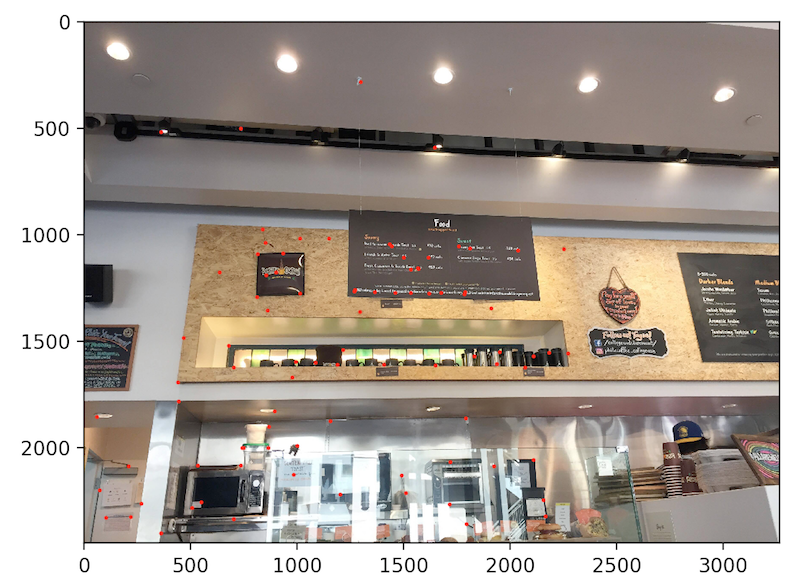
Since we have a lot of points and it looks really cluttered, we want to reduce the amount of points we have. In order to do this, for each point, we find a certain radius for each point. To find the radius, we find the point that has the minimum radius that falls in the equation H_i < epsilon * H_j. I chose an epsilon 0.9. Then after having the radii for all points, we choose the 500 points that have the largest radii. Now we have the coordinates in each image that match each other.
Now that we have a bunch of points representing the corners, we have to match these corners together. If the point lies on both images, we want to keep the point. To do this, for each point, in order to generate a kind of "hash", we take it in respect to he points around it
To do this, we take a 40x40 pixel patch around the image. Then we downsize it to an 8x8 image. Then, we normalize it and flatten it to at 64 index vector.
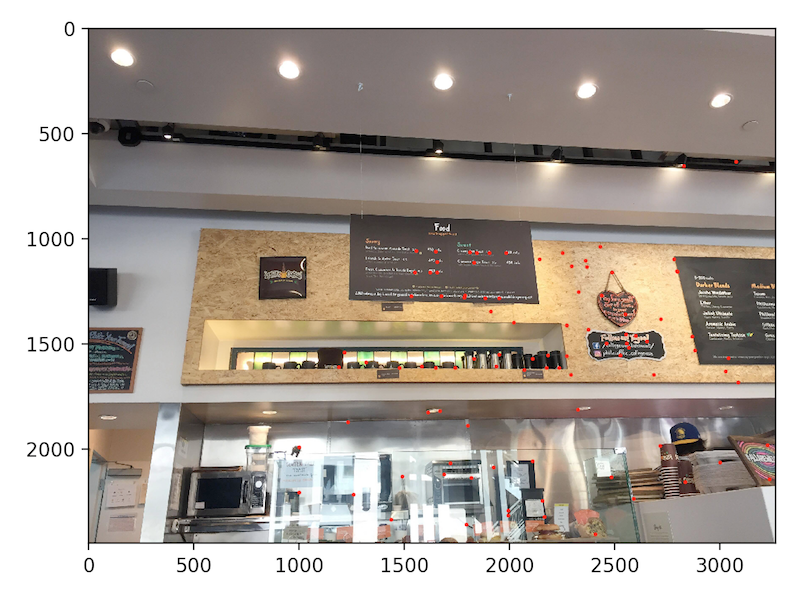
Now that each point in both images has a vector, we have to compare. For each point in image A, we compare it to all points in image B. We take the SSD of each of the points and take the lowest 2 SSDs, the lowest we will call 1_NN, the second lowest 2_NN. Then, if 1_NN/2_NN < 0.3 (which means the points in relation to their backgrounds are similar), then we want to keep the corresponding points for each image. Here are the results
Philz left and Philz Center
Philz Center and Philz Right
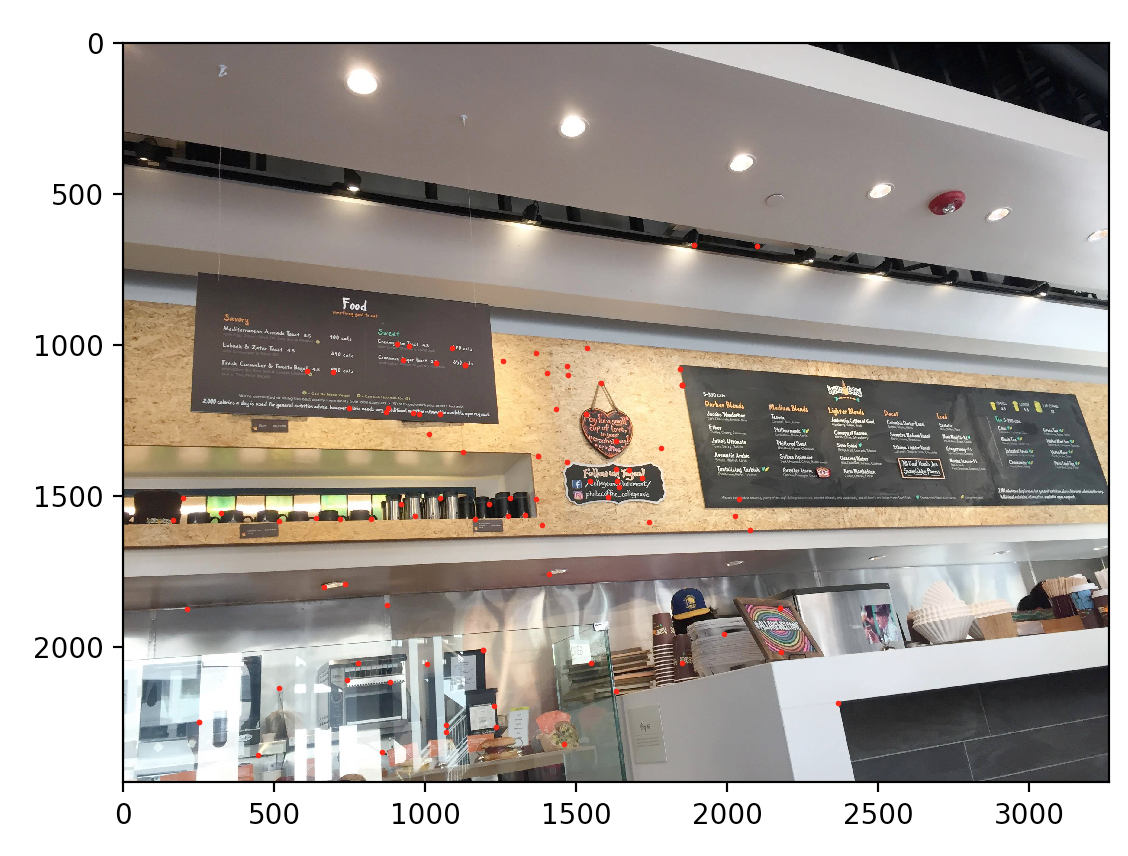
So we have matching points in each image. However, we still want to cut down on the number of points. To do this, we use RANSAC. The ransac algorithm takes 4 points randomly each time. Then it creates a temporary Homography matrix. Using this homography matrix, we transform all of the feature matched points in A to B, and calculate the error. If the error is <.5, we want to keep the point as an inlier. Otherwise we don't keep it. We run this algorithm ~100 times and take the iteration with the most inliers. This is the resulting RANSAC points
Philz left and Philz Center

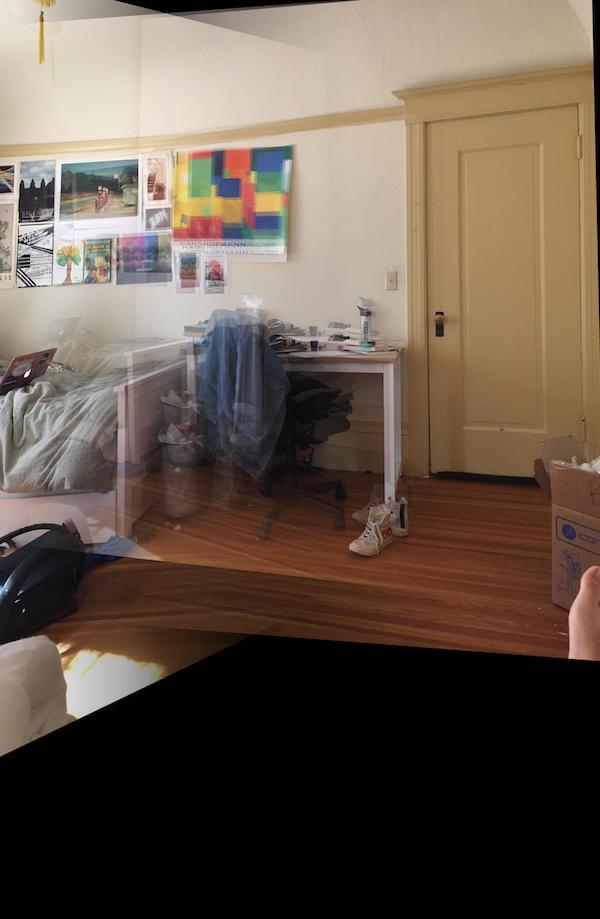
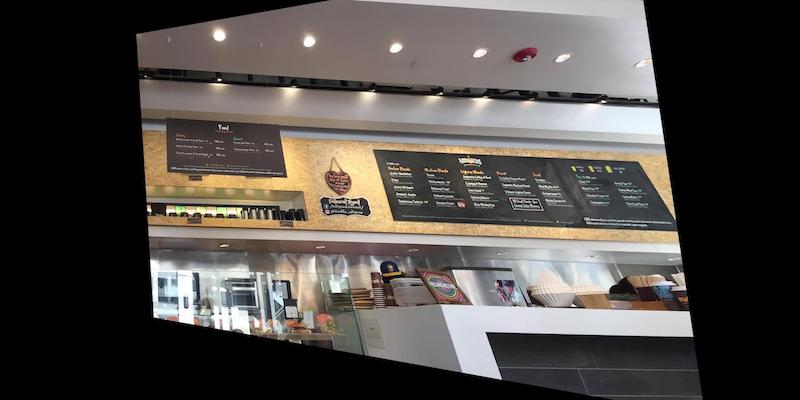
And the warped images
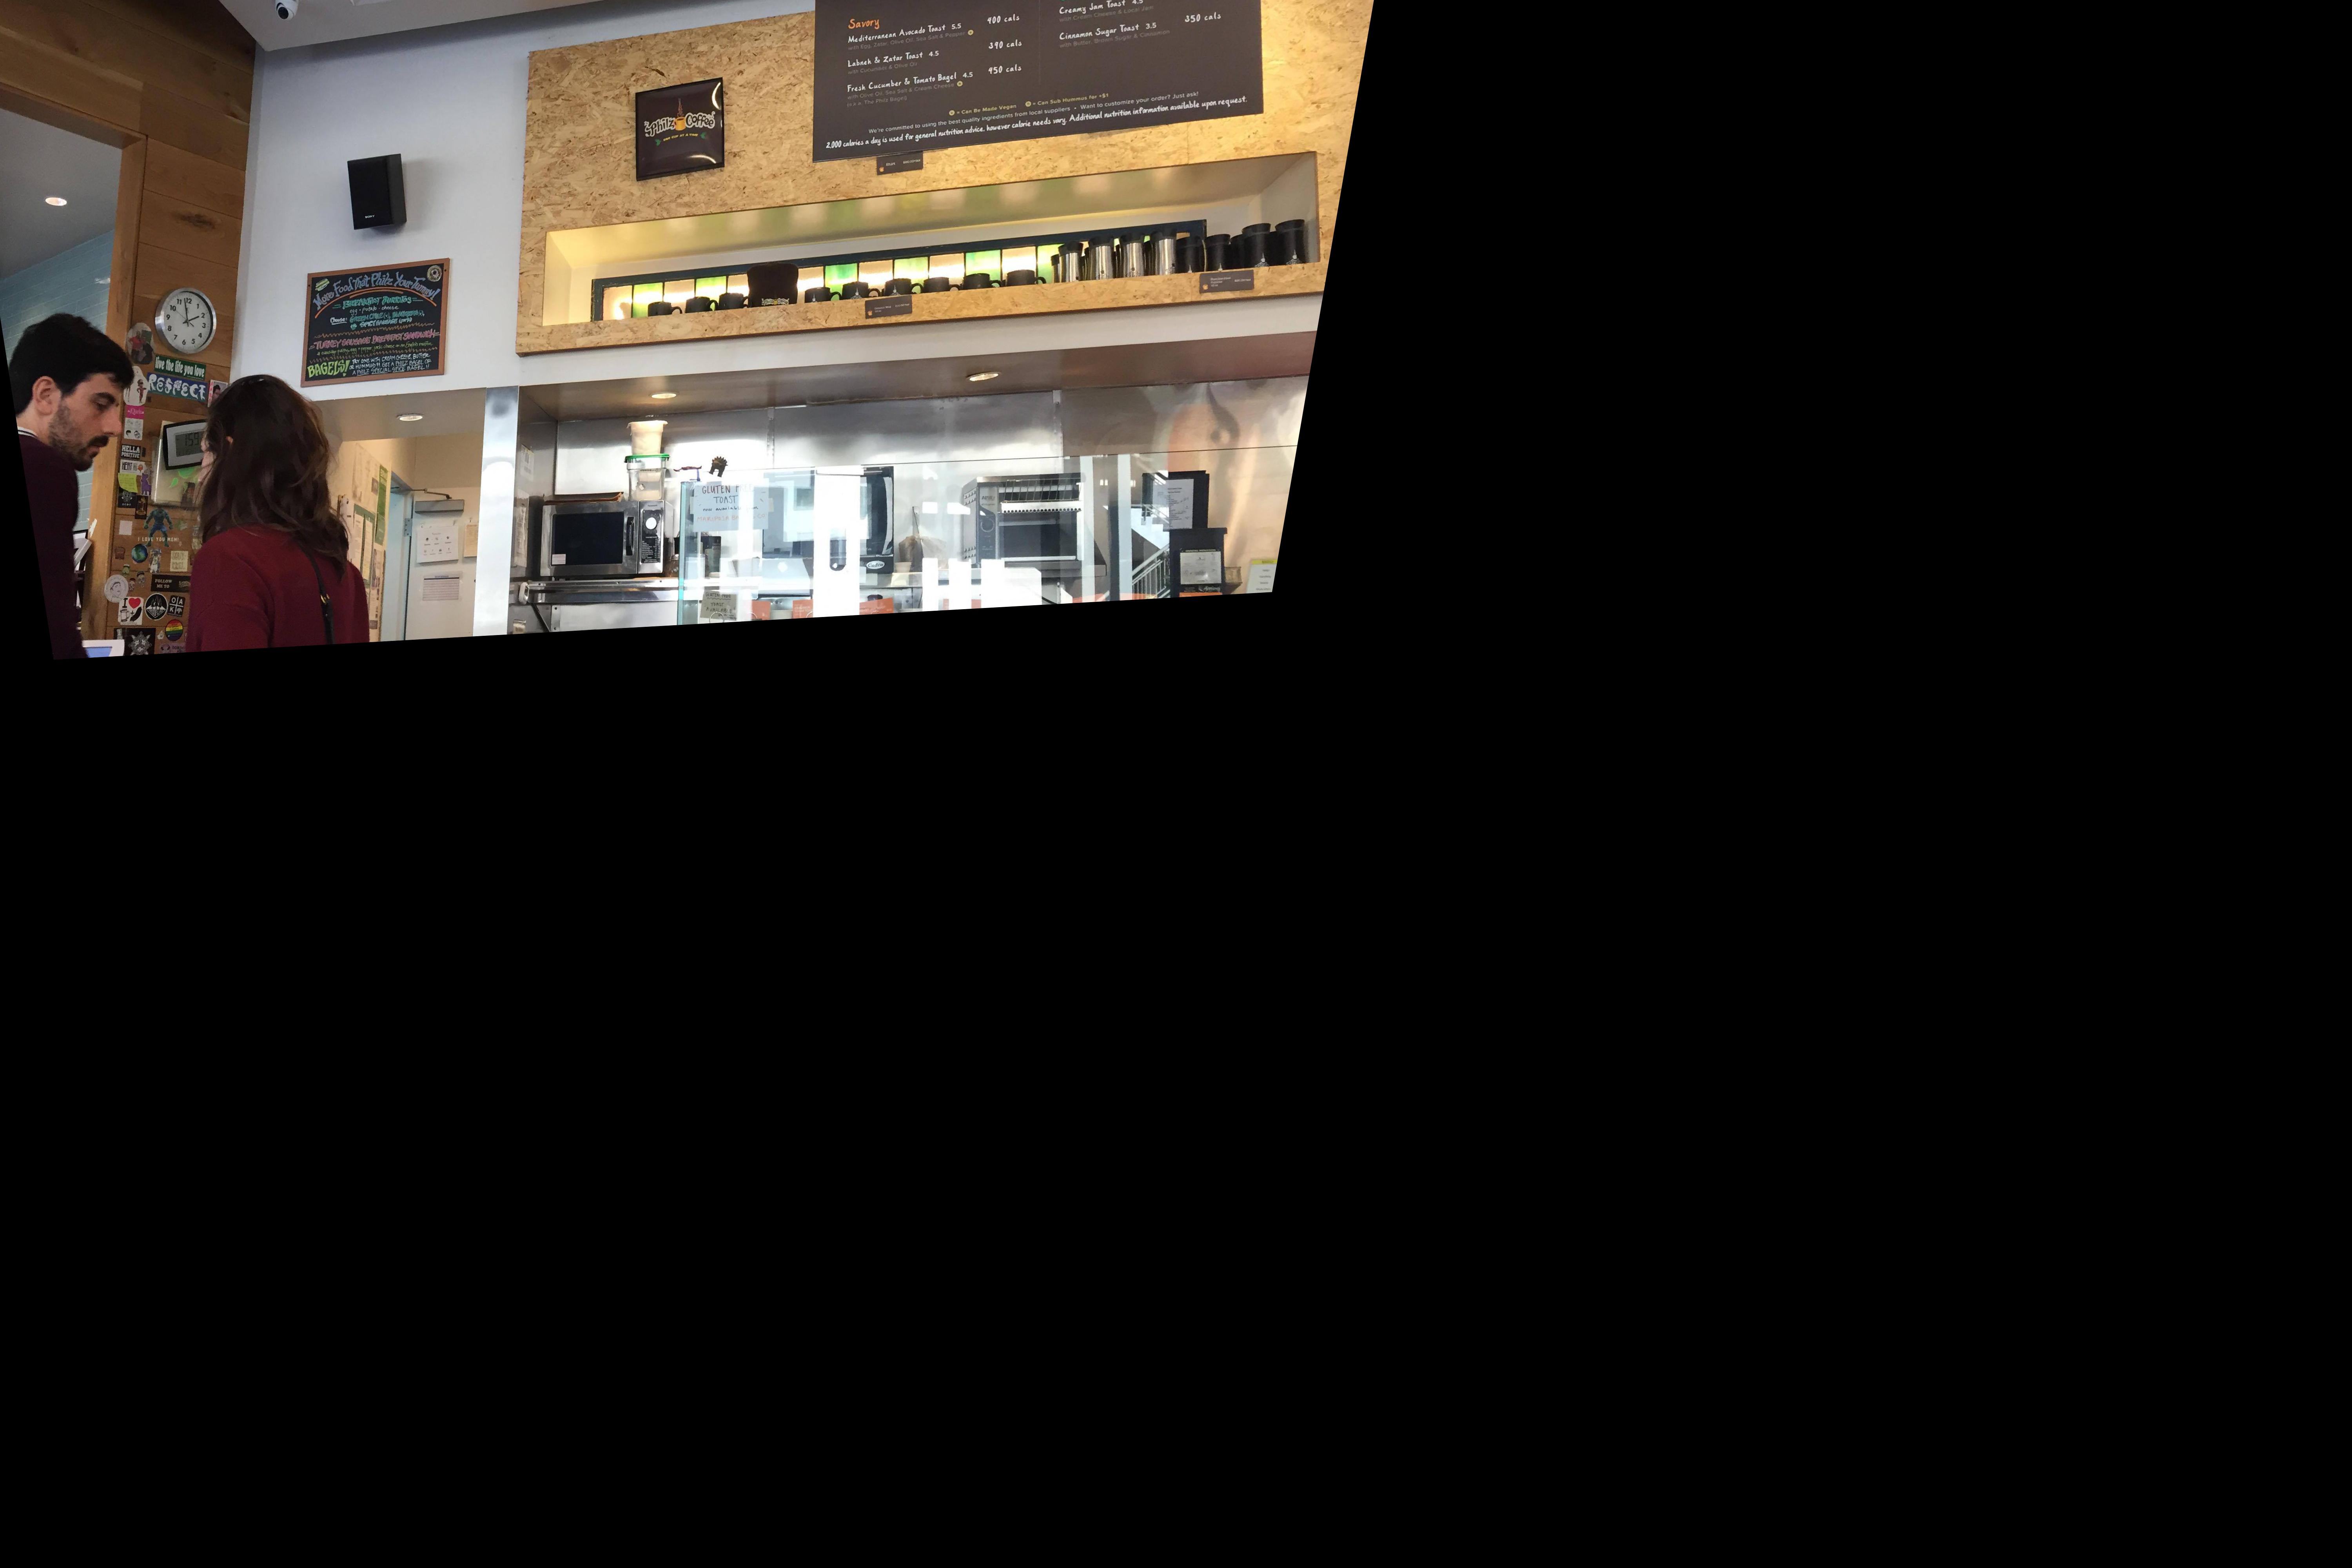
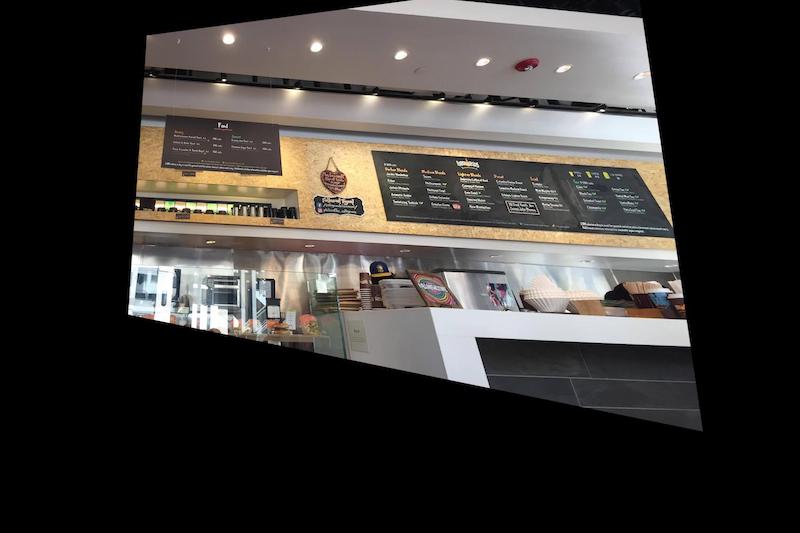
Blended