
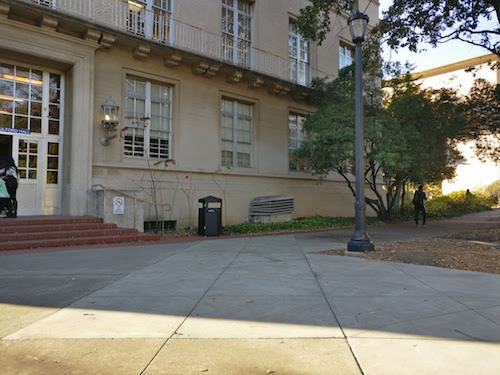
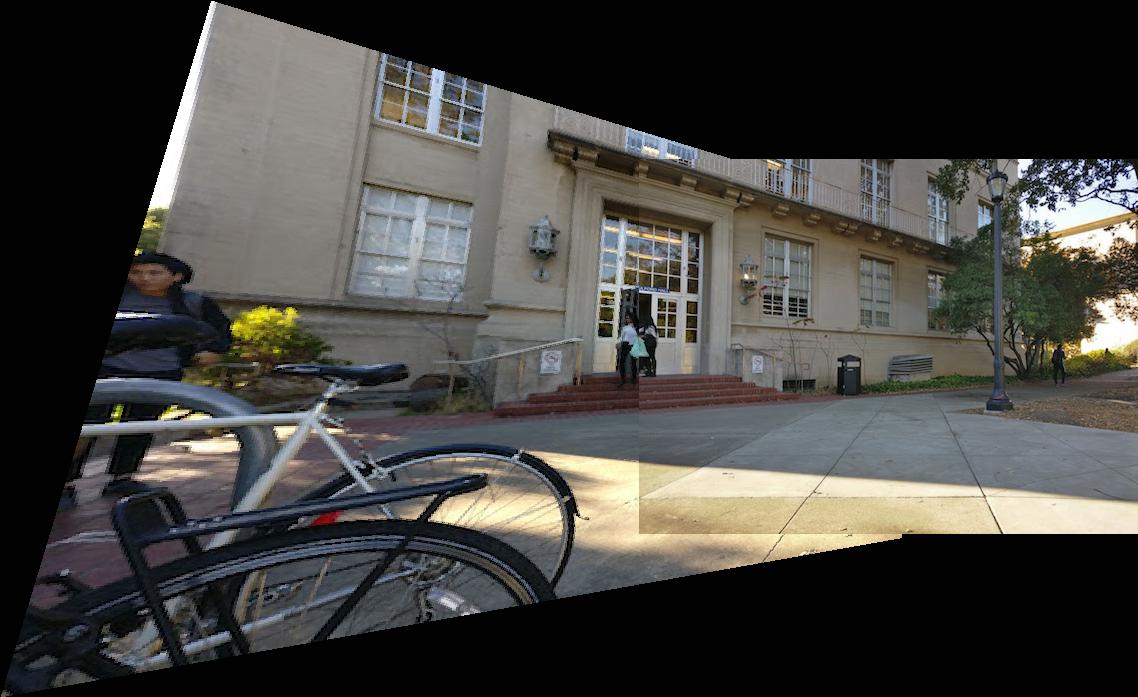
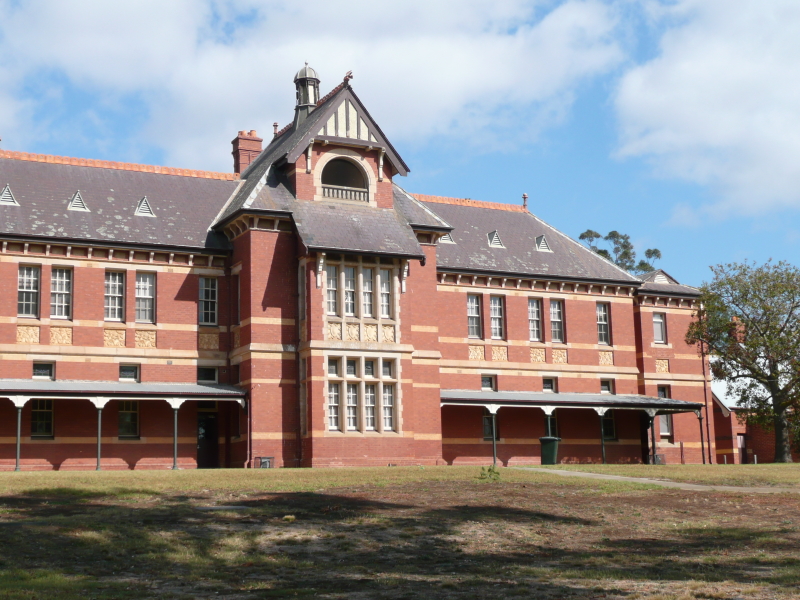
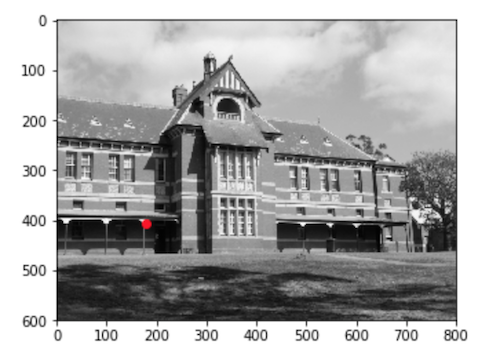
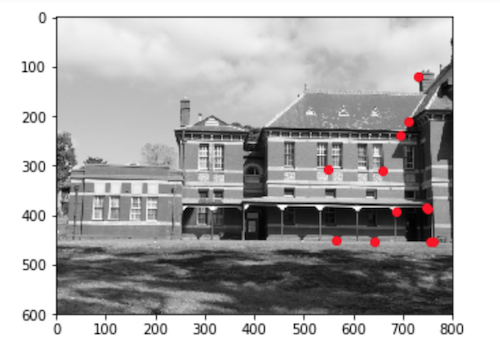
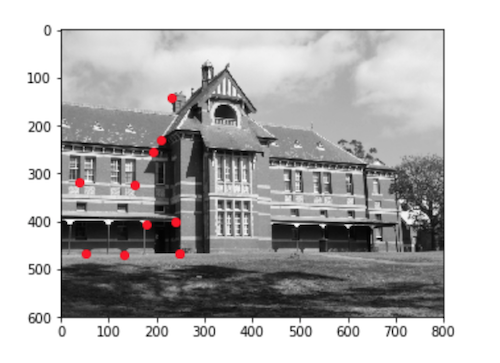
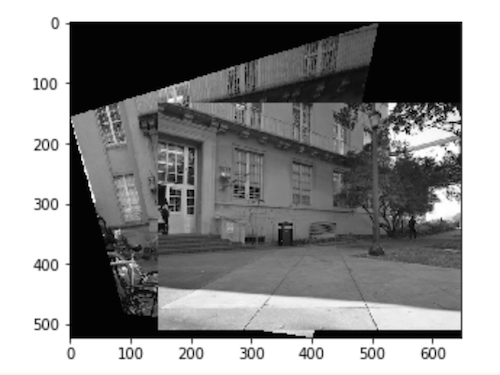
The first two pictures I shot were of Mulford right outside lecture. I propped my phone on a bike seat to keep it stable and took pictures of the building from two different angles but the same center of projection. I made sure to overlap the fields of view by quite a lot, so the two pictures shared almost the whole door, plus two windows on the wall.
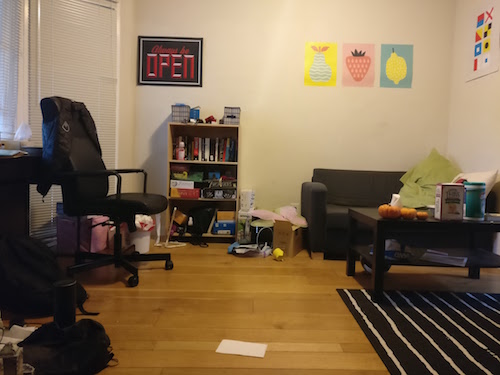
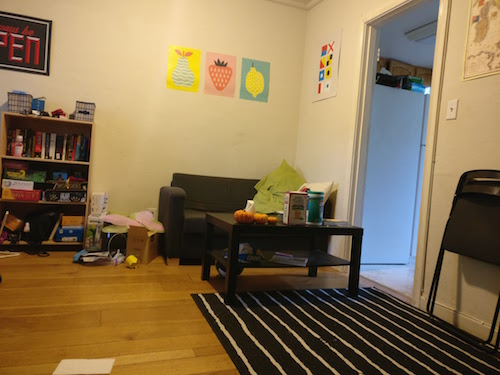
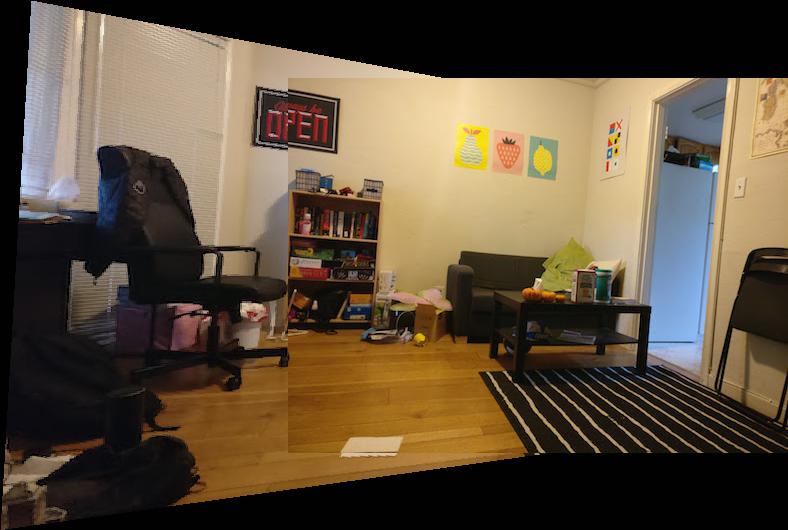
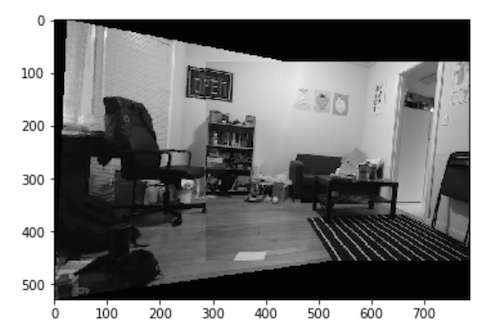
The second two pictures I took were inside a friend's house. She had some posters on the wall that I thought would be great for correspondences, so I took two pictures of her living room at different angles.
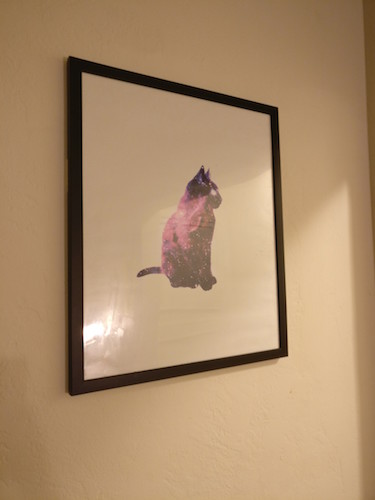
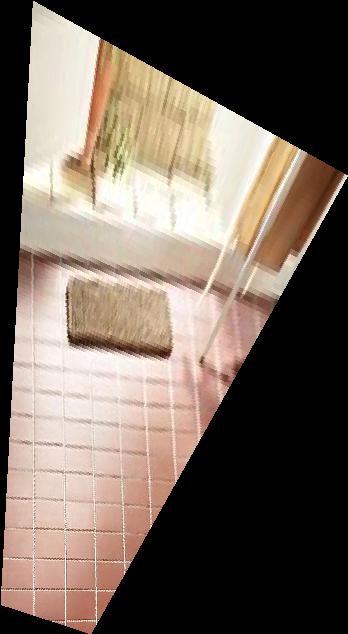
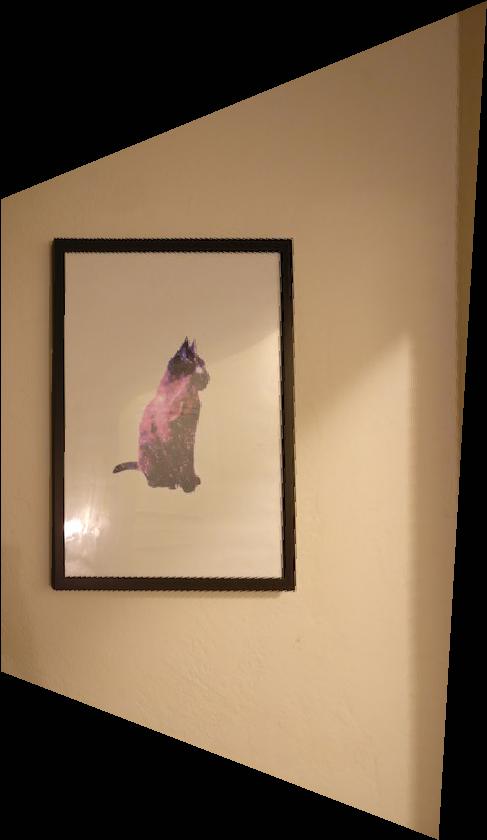
I also took a picture of a framed poster at my house to practice rectifying on.
To recover the homographies, I took the corresponding points in the two images and used least squares to solve for the correct transformation matrix.
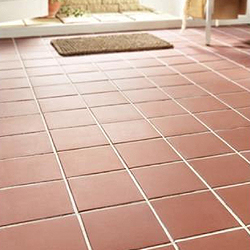
I checked my rectification by using an image I found online of a tile floor at an angle and tried to rectify it to a frontal parallel plane, such that the tiles were square. I am able to do this by forward warping the four corners of the original image, to find the new dimensions of the warped pictures. Then I inverse warp the pixels from the old image into the new bounding box. Below are the results from the rectification.
The final step was merging two images together to create the final mosaic. This involved finding the shift for the image that we didn't rectify, since it's already on the plane we're projecting onto. The result is a single picture that shows the entire views from both pictures, giving the illusion of a wider angle of view for the camera.

This is one of the coolest projects so far, I feel like I now know the ins and outs of how panoramas are created. It was really impressive how the simple homography matrix can change the "perspective" the photo was taken from and the resulting mosaics were very satisfying to create.
In this part of the project, we attempt to fully automate the mosaic creation process. The biggest part of this task is to automate the finding of matching points in the two images. As a guideline for how to do this, we followed along with the algorithms described in the paper “Multi-Image Matching using Multi-Scale Oriented Patches” by Brown et al. This describes a system of identifying possible features, filtering out the identified features, and matching these features between images.
To detect corners, I used the provided harris.py code to find all the Harris corners in the image. Below is the resulting Harris corners found from each image. I had to change the threshold to corner_peaks to significantly decrease the number of corners identified.
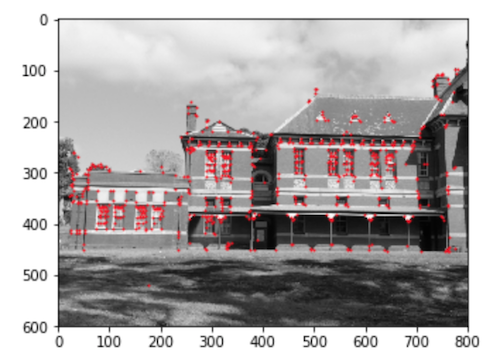
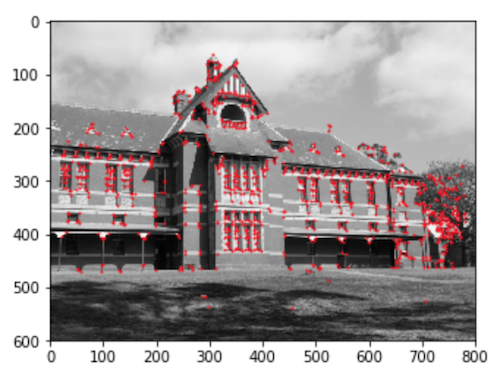
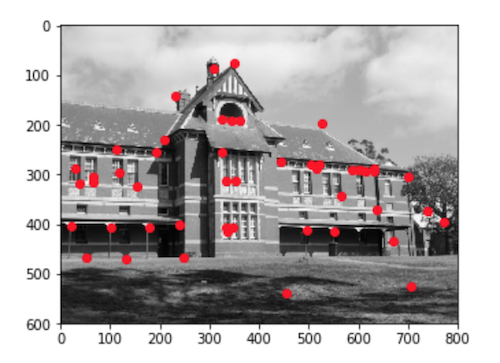
Since this still resulted in too many corners, I implemented ANMS to get a reasonable amount of corners that were well spread out across the image. This involved finding the suppression radius of each harris corner found from the previous step and choosing the ones with the greatest radii. I chose 50 corners out of the 700 or so Harris corners found from the previous step. These chosen corners as filtered out by ANMS are shown below.

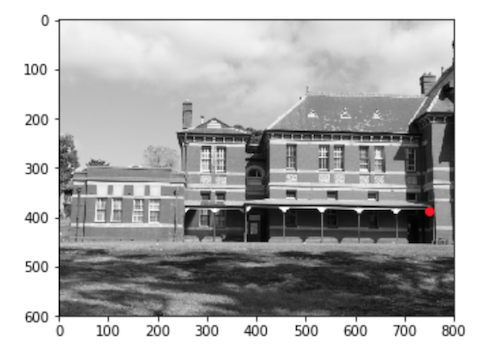
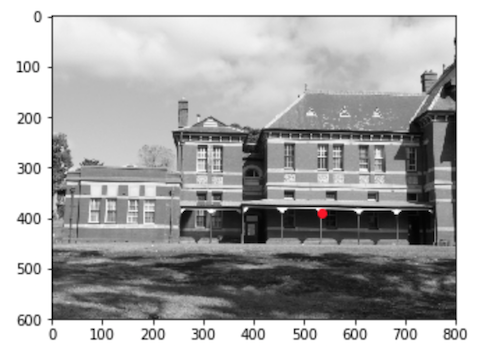
As described in the paper, for each corner, I extracted an 8x8 feature descriptor patch by first running the image through a gaussian filter then resizing and extracting the descriptors. To match them, I followed Lowe's thresholding technique to choose only "matches" that were far better matches than they would have been with the rest of the points. The threshold I ended up using was 0.4, as extrapolated from Figure 6(b) in Brown et al's paper. Some of the matches found are good, and some are outliers.
Good match
Outlier
Using the steps described in lecture, I found the largest group of inliers based on a large amount of random sampling, and computed the homography to be used for the final transformation based on that group of inliers. This is to reduce the chance of an outlier, as shown above, to ruin the homography calculated based on it which would result in a bad stitch. The final inliers chosen after RANSAC are shown plotted on the image below.
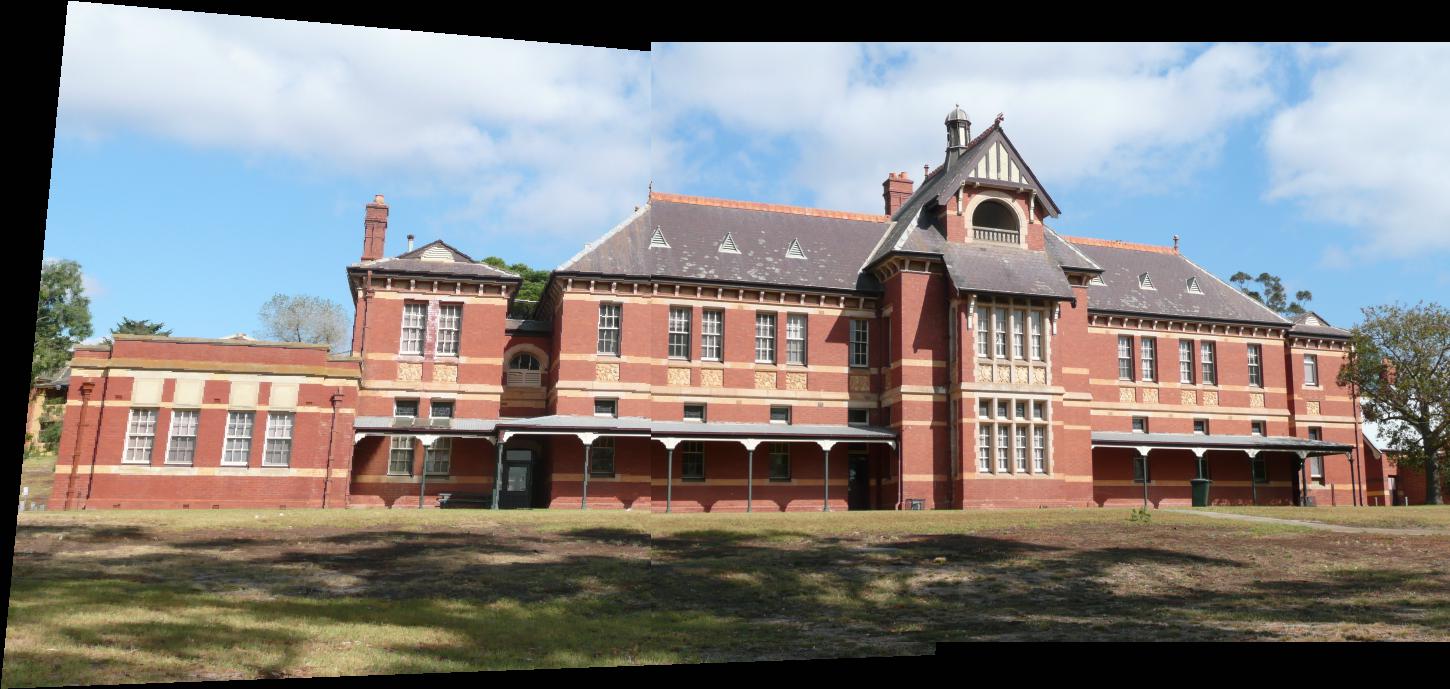
This part is the same as in part 1 of this project. Below are some side by side examples of stitches from part A and part B, including one failure case for the autostitching (Mulford).
Buliding

Room
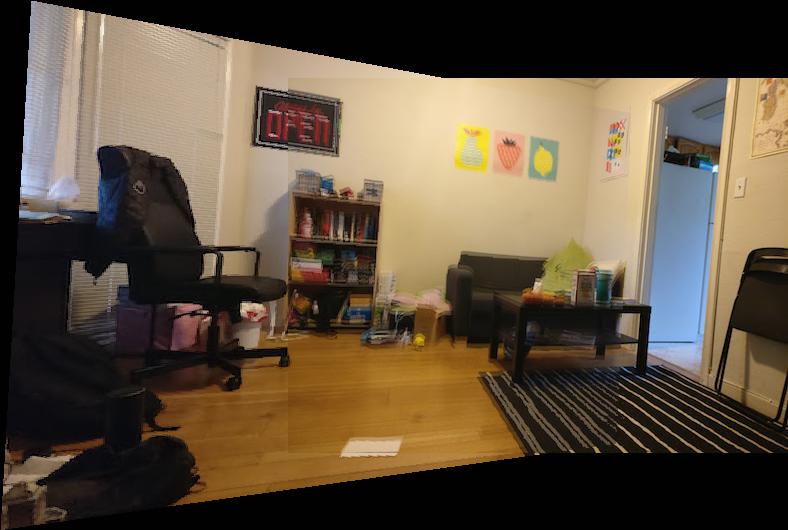
Mulford
I've learned that automating things that is very easy for humans to do is sometimes really freaking hard. It was cool to see how we systematically allow the computer to do things like remove outliers or find visual similarities. And the results of this project are awesome!