Project 6A: Image Warping and Mosaicing
Jiana Huang
Overview
In this project, we calculate homographies using corresponding points between 2 photos to stitch them together. We also can use these homographies to rectify photos and place the viewer at a different angle.
Recovering Homographies
To recover the homographies between two images, I created a simple ginput program that asks the user to manually click on 20 corresponding pairs of points between the two images. We then use these points to compute the values of the homography.
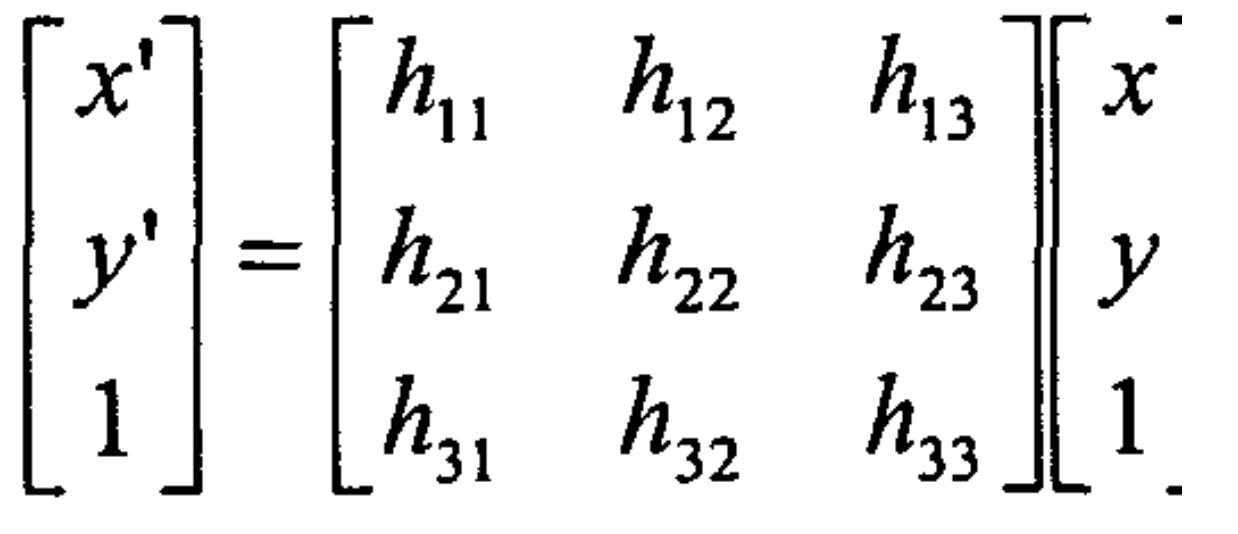
Form of Homograpy Matrix

Example Homography Matrix for the Oxford Building Pictures
Rectifying Images
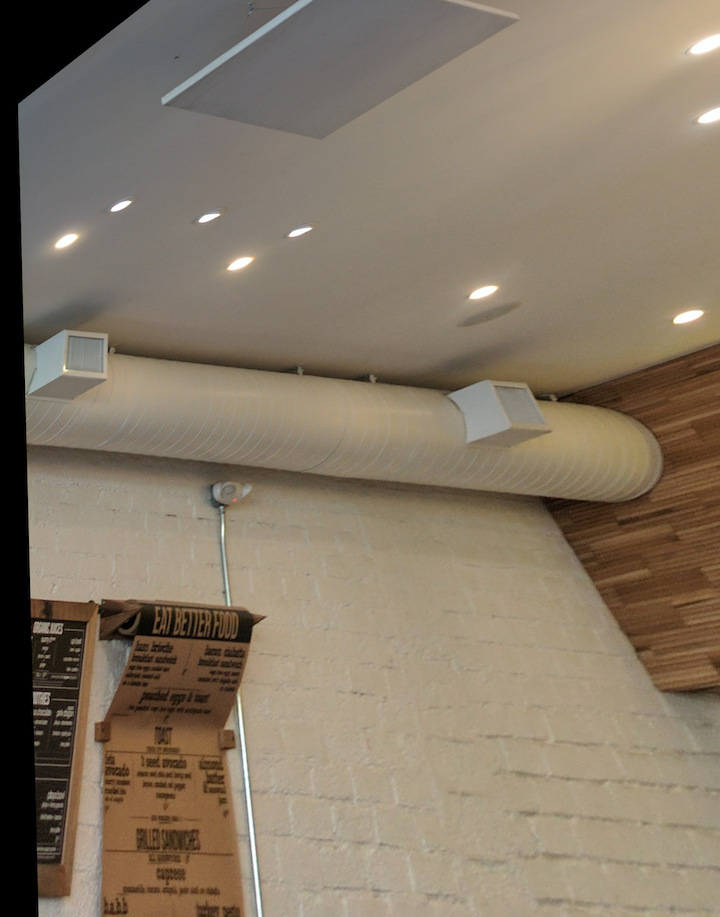
To rectify the images below, I found square like figures in the images, like the window in Morgan Hall and the menu on the wall in the coffee shop. I corresponded these points to a rectangle, which made the viewer have a straight forward view to the object rather than from a side.
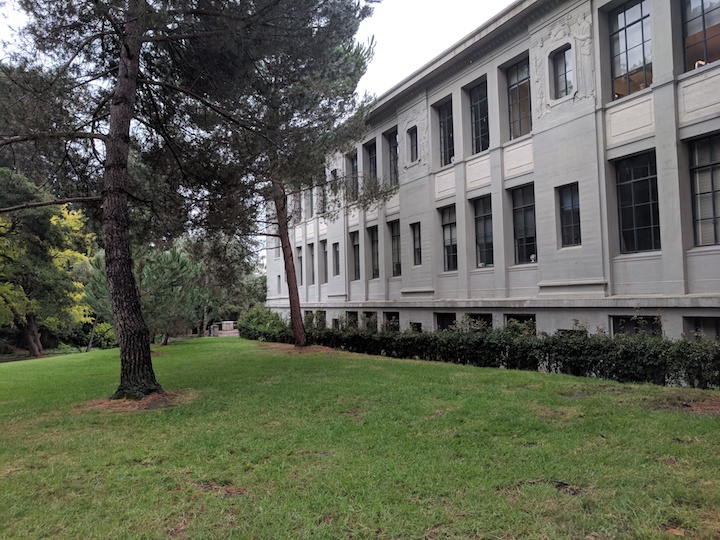
Original Morgan Hall
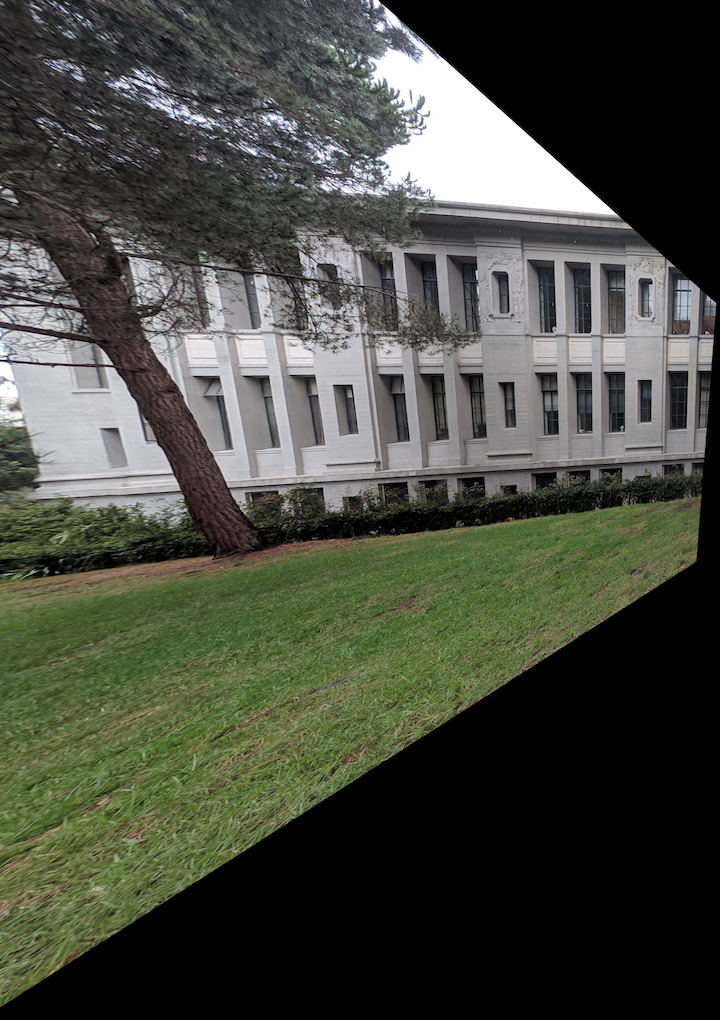
Rectified Morgan Hall
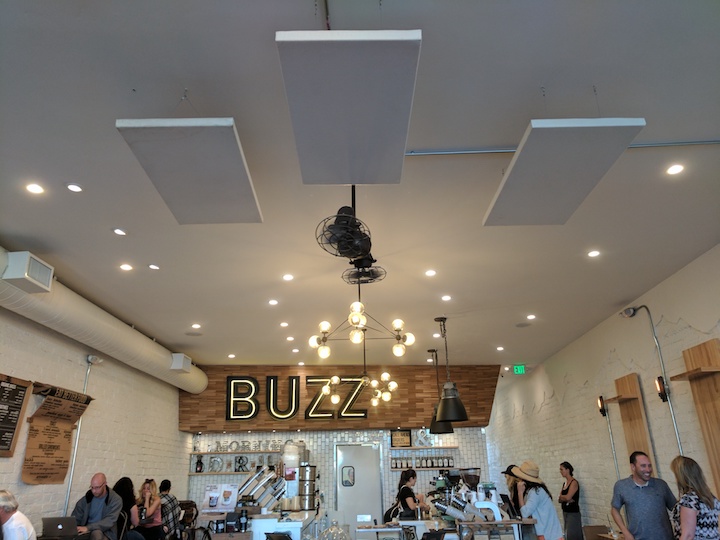
Original Coffee Shop
Rectified to view the Menu on the Left Wall
Mosaics
To create the mosaic, I padded the left image with empty space where I could warp the right image to. After calculating the homographies, I warped the right image to this left image. To get rid of any sharp lines, I did linear blending, making each photo fade out as it got closer to the middle of the mosaic. There is still some ghosting you can see in the Northgate photo if you look at the column, which could probably be fixed by picking either 1. more corresponding points or 2. picking the points more precisely.
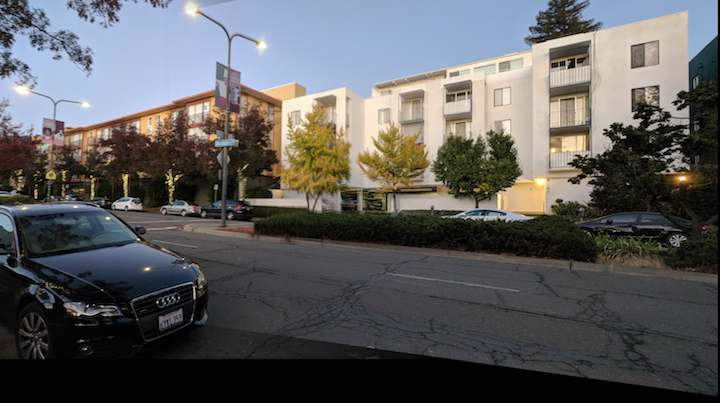
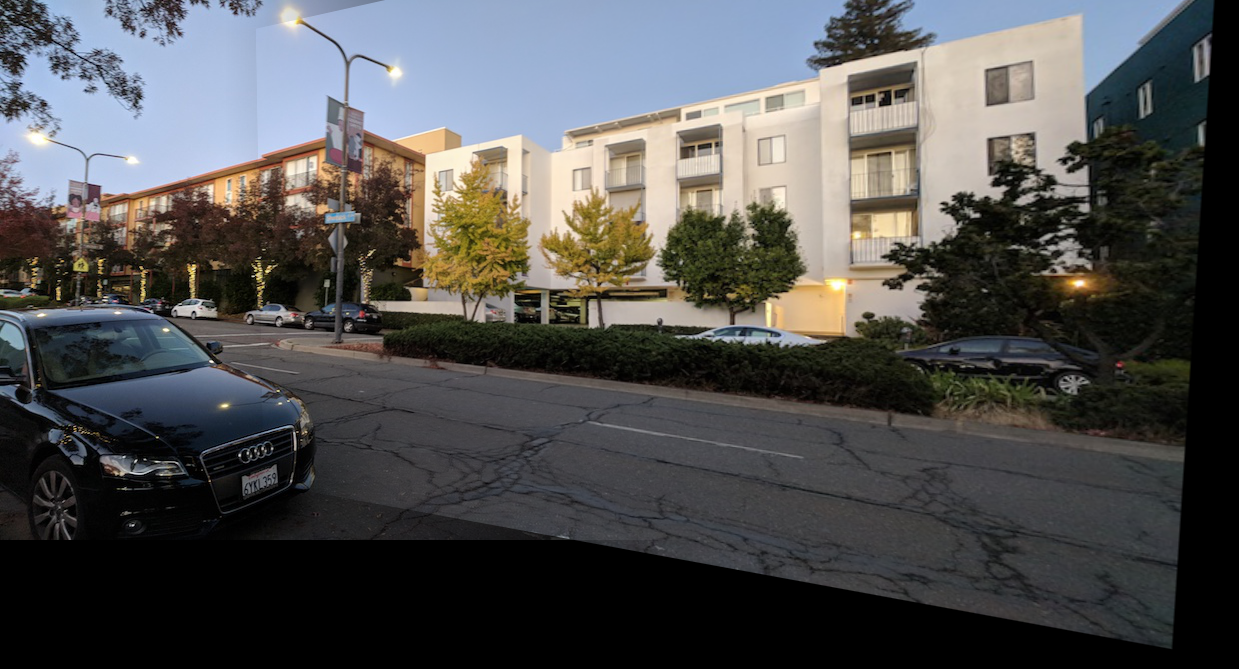
Building on Shattuck
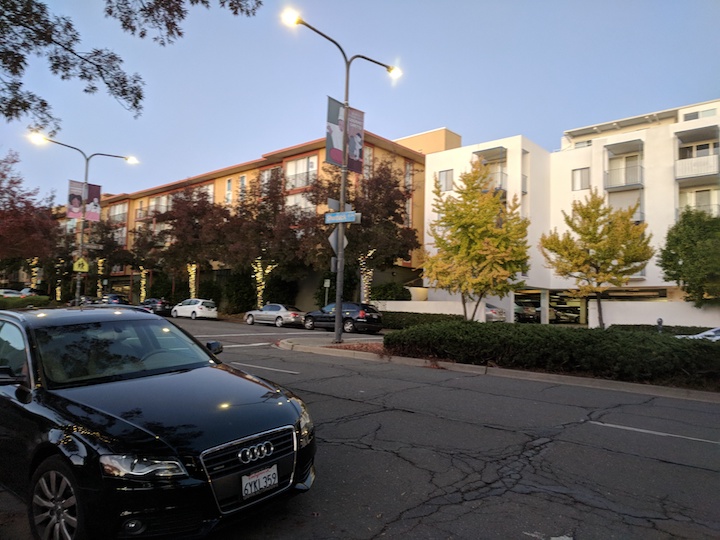
Left Side
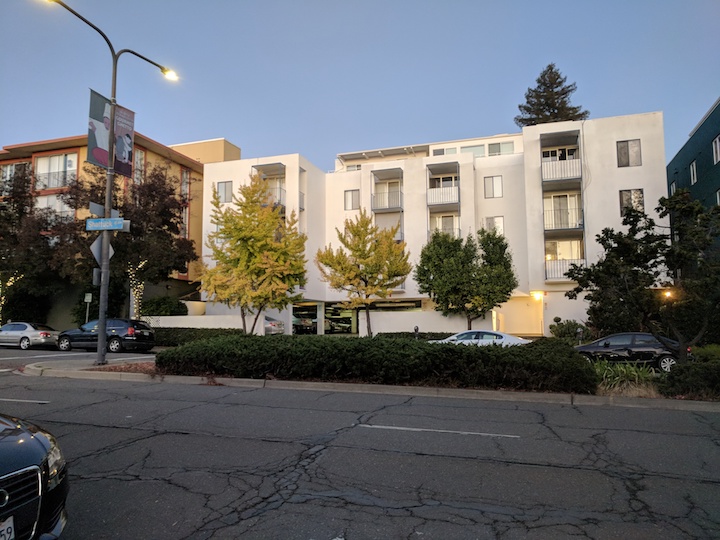
Right Side
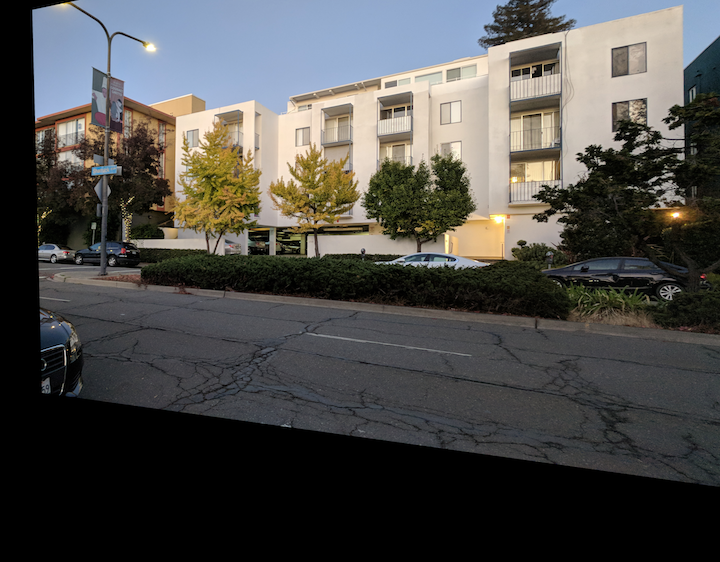
Warped Right Image
Blended Mosaic
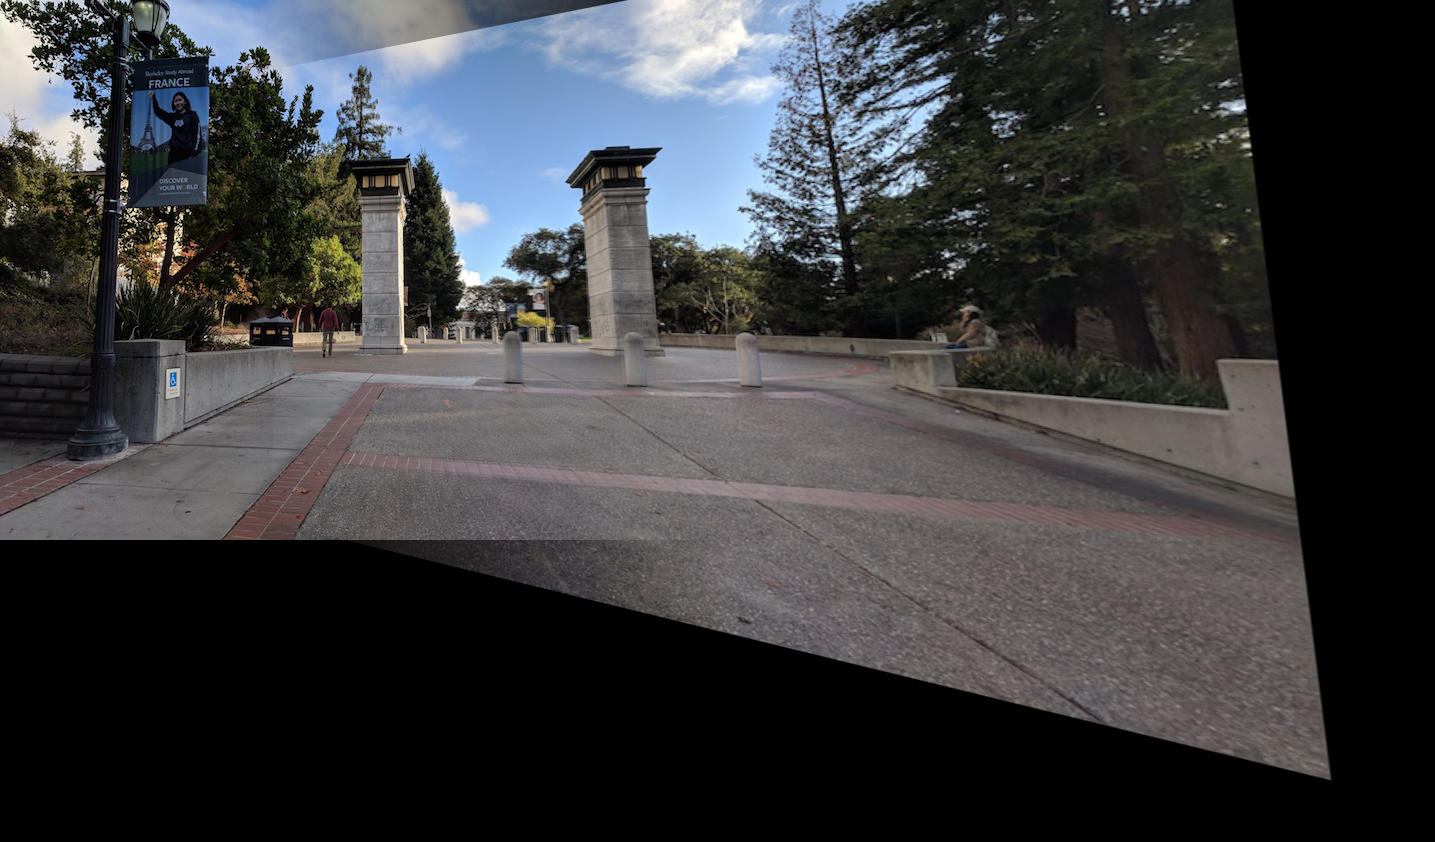
Northgate
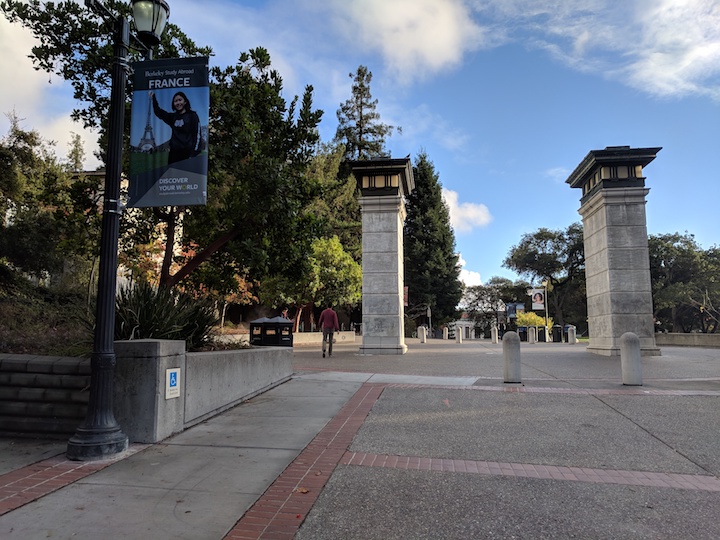
Left Side

Right Side
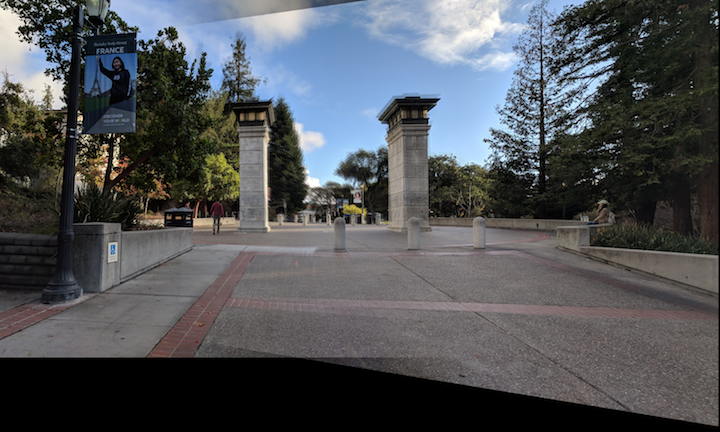
Blended Mosaic
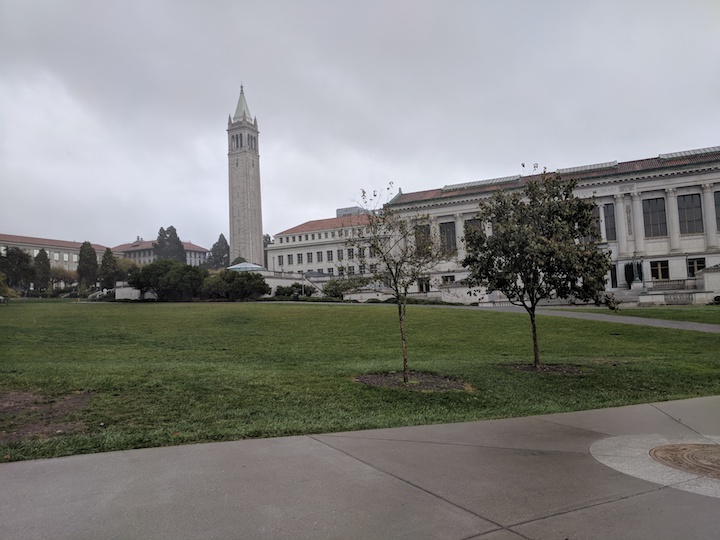
Memorial Glade
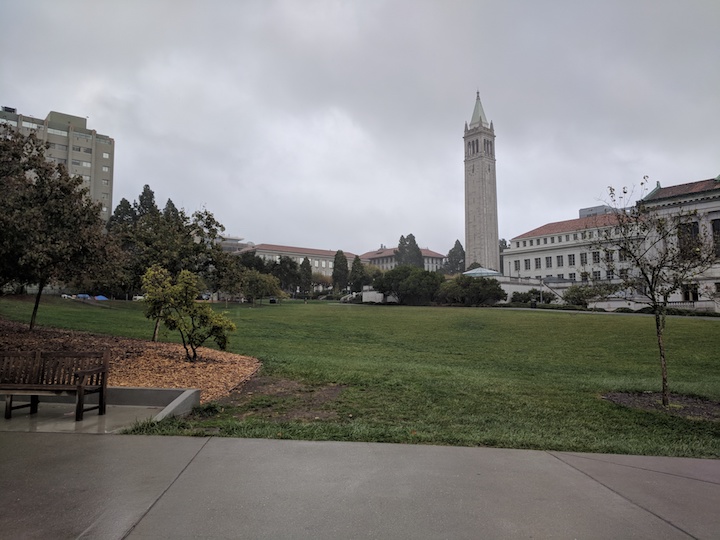
Left Side
Right Side
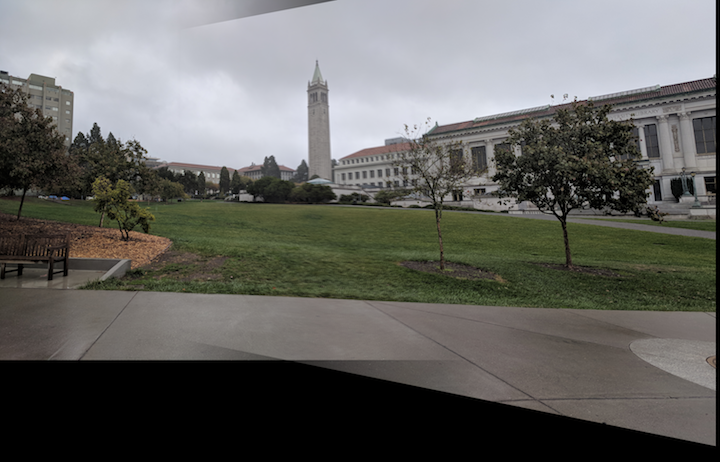
Blended Mosaic
Summary
It's crazy we can change the viewer's perspective even after the photos have been taken. Homographies make it really easy to stitch panoramas together and the key to making them look nice is 1. Picking a lot of corresponding points and 2. Blending the photos well.
Project 6B: Feature Matching for Autostitching
Overview
After exploring how to stitch panoramas with manually chosen correspondance points, we focus on how to automatically detect corresponding points. We do this using harris corner detection and the ANMS algorihtm, feature matching using MOPS, figuring which points to keep using RANSAC.
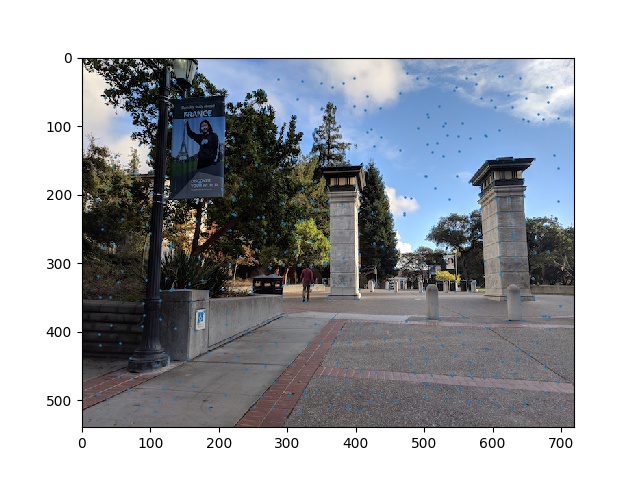
Harris Corner Detection
First, we need to find all the salient points in a photo. We use the Harris Corner detection code given to us to find these corners in our photos.
Harris Corners
Harris Corners
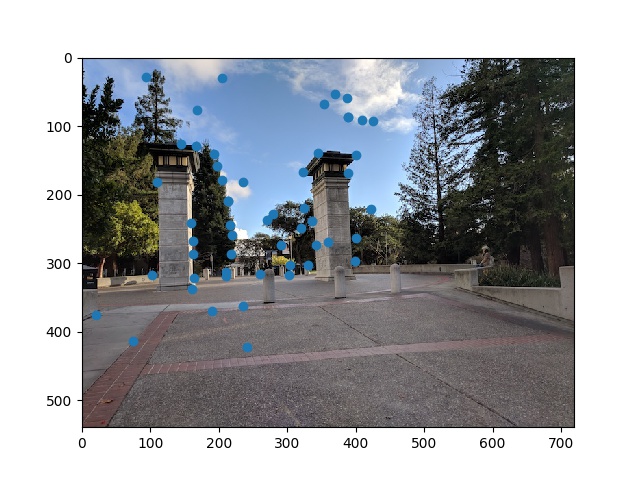
Adaptive Non-Maximal Suppression
However, using all these points is too noisy and we need to find a way to reduce the number of points. We can simply threshold, but we also want the points spaced out evenly. We use the ANMS algorithm described in the paper to reduce the number of points. I chose the 50 points that had the largest distances from other points using c_robust = .9.
Points from the ANMS algorithm

Points from the ANMS algorithm
Feature Descriptor Extraction
We now need to extract the features surrounding each corner. I used a 40x40 patch around each corner and downsampled to 8x8 to be resilient to changes among the image. Finally, I bias and gain normalized the descriptors
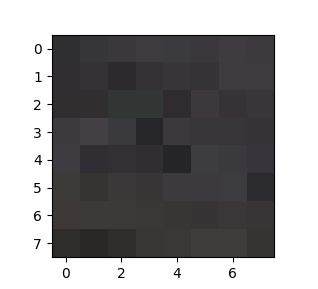
A feature descriptor from the photo
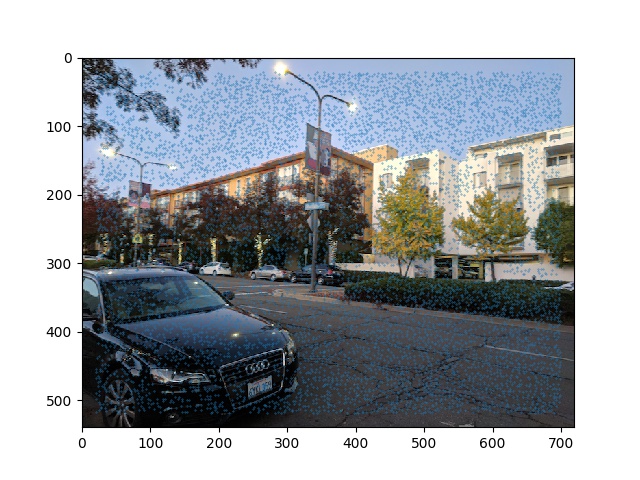
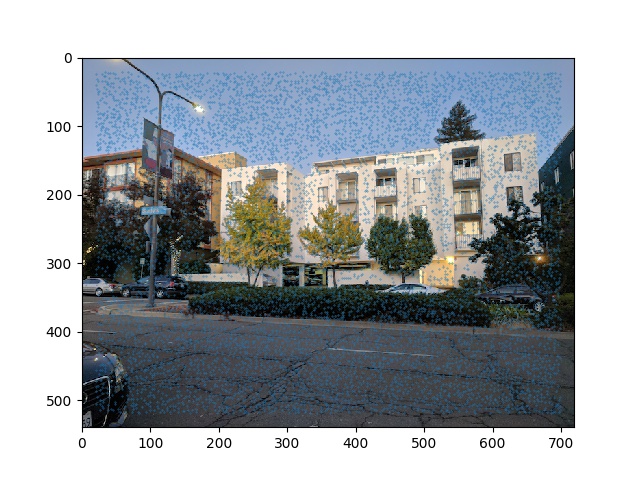
Feature Matching
To match each feature descriptor, I calculated the SSD using the given dist2 function among the 8x8 patches. I only kept the pairs where the 1-NN/1-NN < .6. as this was a good indication that these patches matched well with only each other.
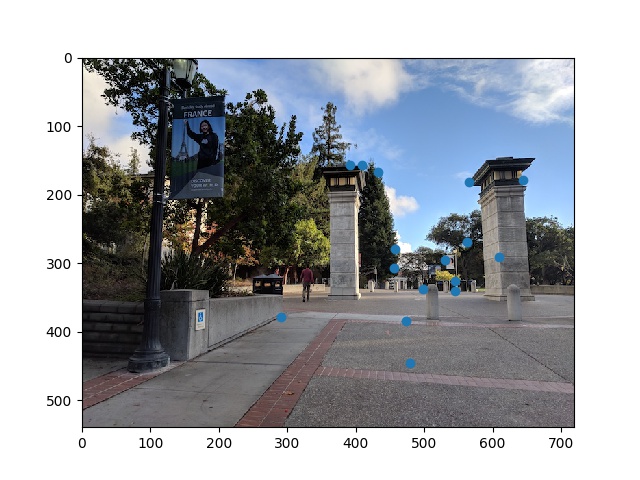
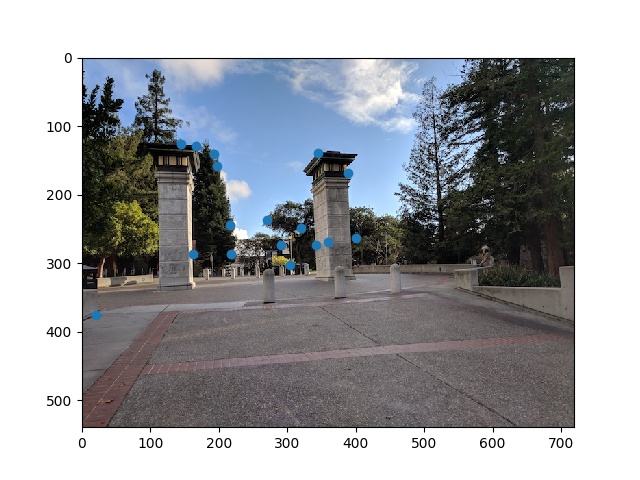
Corresponding Points on Left Image
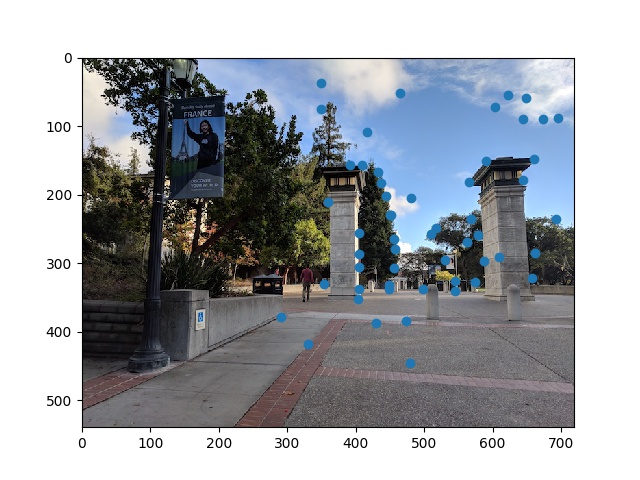
Corresponding Points on Right Image
RANSAC
To remove the outliers from the points given from feature matching, we implement RANSAC. I set the number of iterations to 1000 and picked 4 random correspondances to calculate H. For the H that had the most inlier points, I used linear least squares to find H among these inlier points. This helps to remove all the outlier correspondances as the outliers wouldn't have been part of this set.
Inlier Points on Left Image
Inlier Points on Right Image
Automatic Mosaic Stitching
Finally, we use the homography above to stitch the photos together. We use the same method described in partA and use this H rather than the manually found corresponding points
Manually Stitched Northgate
Automatically Stitched Northgate
Manually Stitched Memorial Glade

Automatically Stitched Memorial Glade
Manually Stitched Building
Automatically Stitched Building
What I Learned
It was very cool to see how the auto-stitching compared really well compared to the manually selected points. Also RANSAC is a really cool algorithm because it magically works with enough iterations even with 4 points picked at every iteration!