James Lin, CS194-26-abr
This project was all about computing and utilizing homographies to warp and align images together in interesting ways.
Before starting on either part, I wrote a function that would take in manually defined correspondence points between two images and output a 3 by 3 matrix representing the homography transformation to go from the first image to the second.
Image Rectification
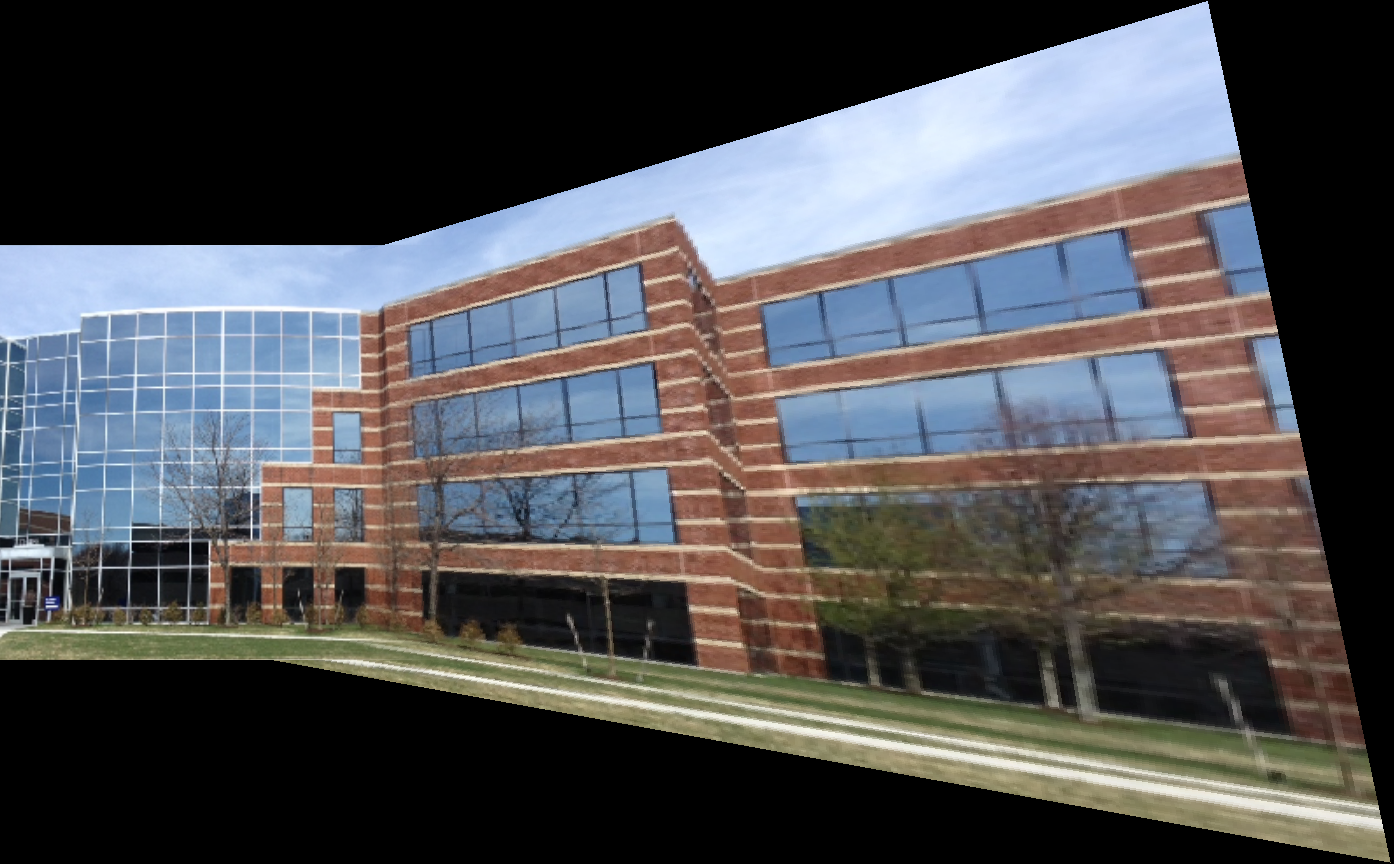
To make sure this homography-producing function worked, I first picked out images with planar surfaces and warped them such that a particular rectangle within the image became parallel with the image plane. For instance, take this photograph of a street corner.
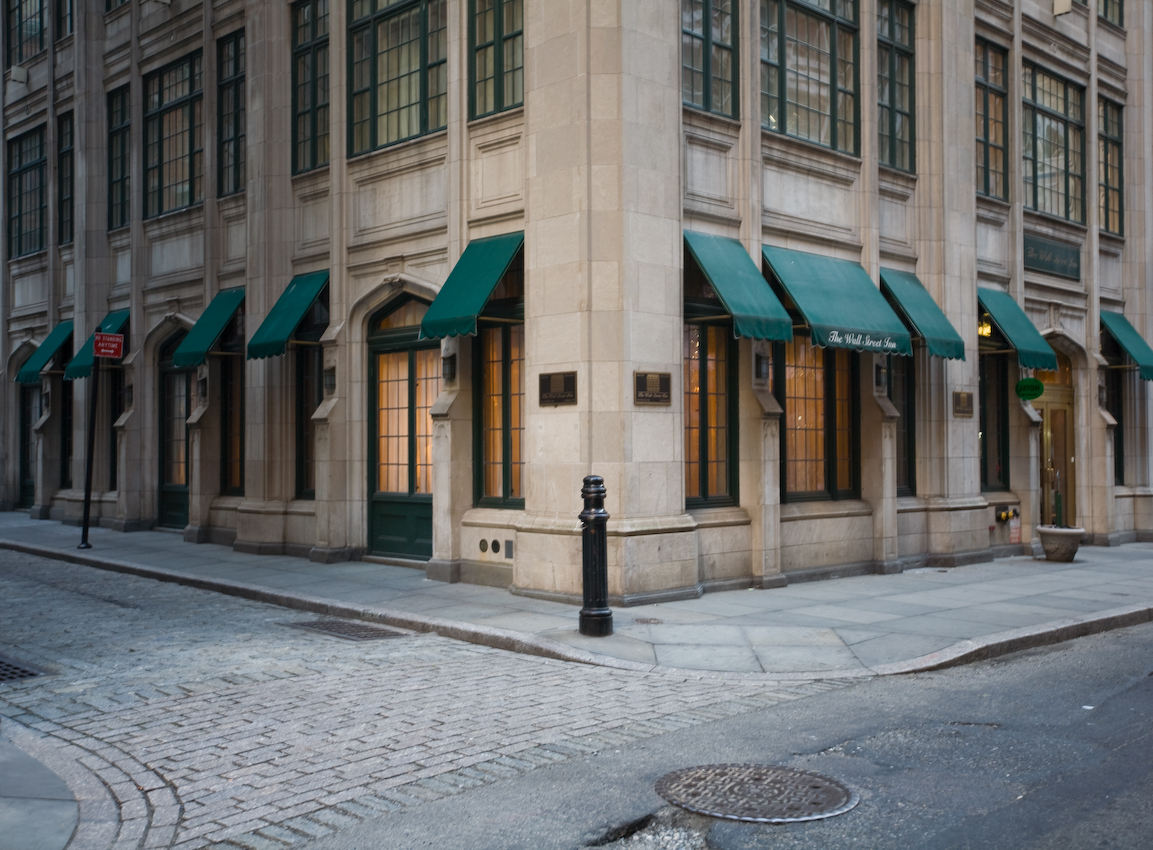
I warped the image such that the squares tiles on the left wall directly faced the camera. As you can see, it works well for the center, but the distortion gets worse and worse near the edges of the image.
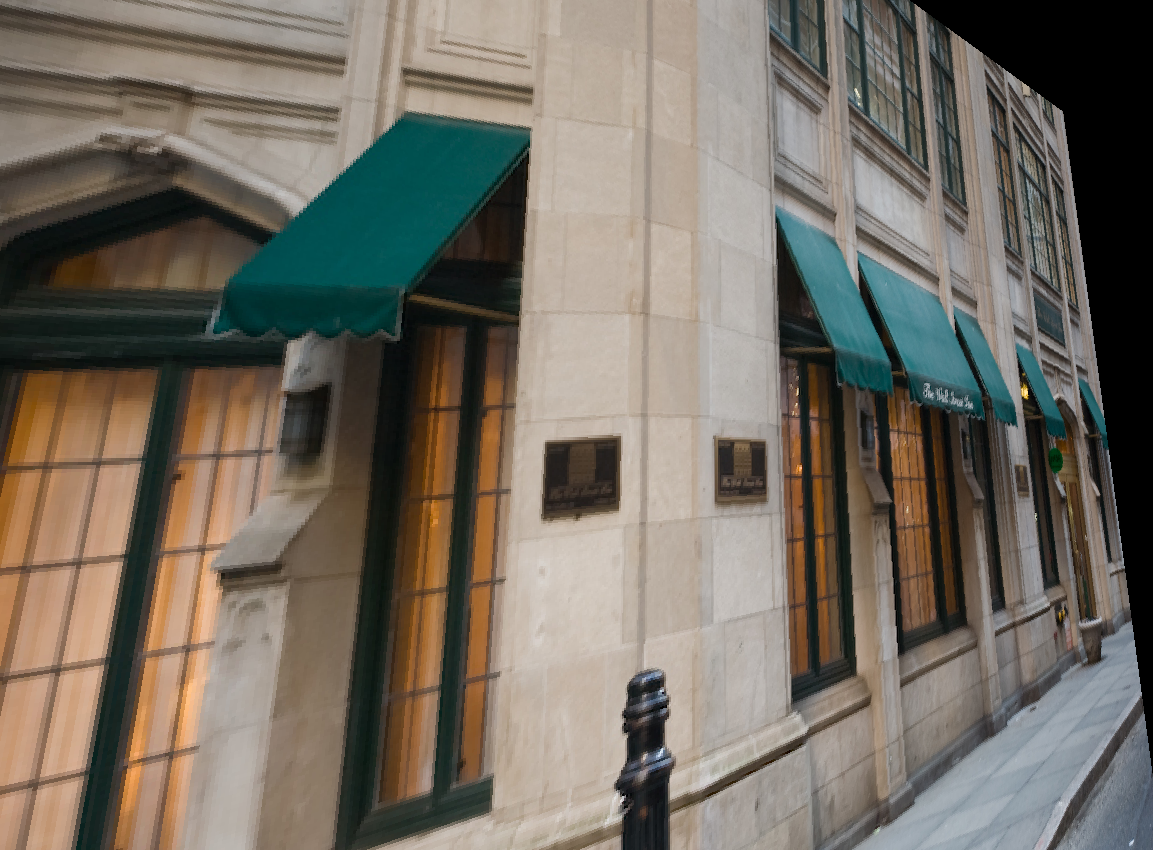
Another cool thing to note is that in real life, we'd probably be able to see the right sides of the door and window on the left side of the image. But, of course, the algorithm doesn't have any information about what new pixels might exist there! In fact, it assumes it's dealing with a planar surface and so stretches the edge of the wall to cover the gap.
I did something similar with this picture of paintings in a hallway.
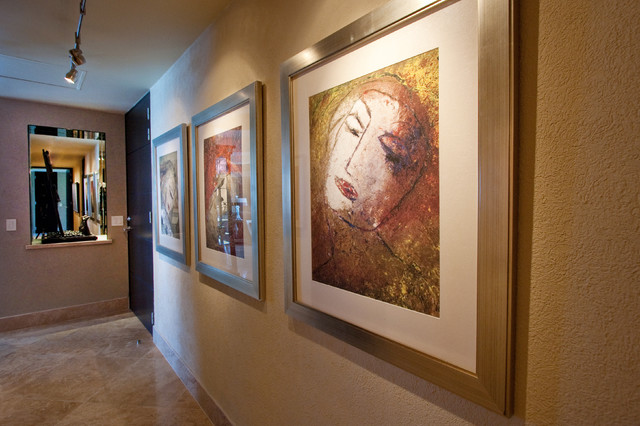
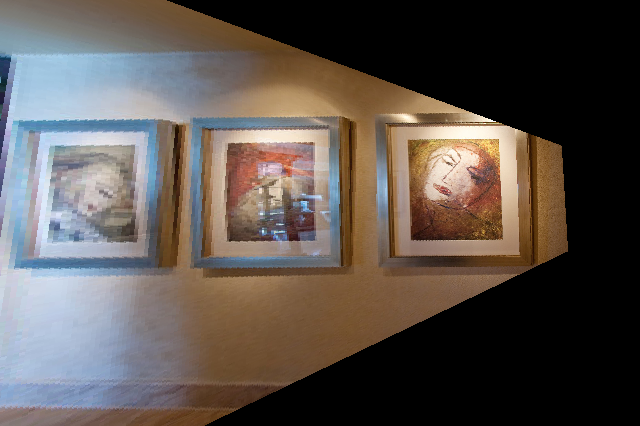
I like this example because it explictly shows how images closer to the camera (the right one) get more pixel real-estate and hence end up becoming higher resolution in the warped version. The one far away has less pixels and ends up being blurry.
Mosaic Blending
This section involved combining semi-overlapping images of a scene into a single larger image (a mosaic). I took two pictures of my room that differed mostly in rotation (and brightness, although not on purpose).
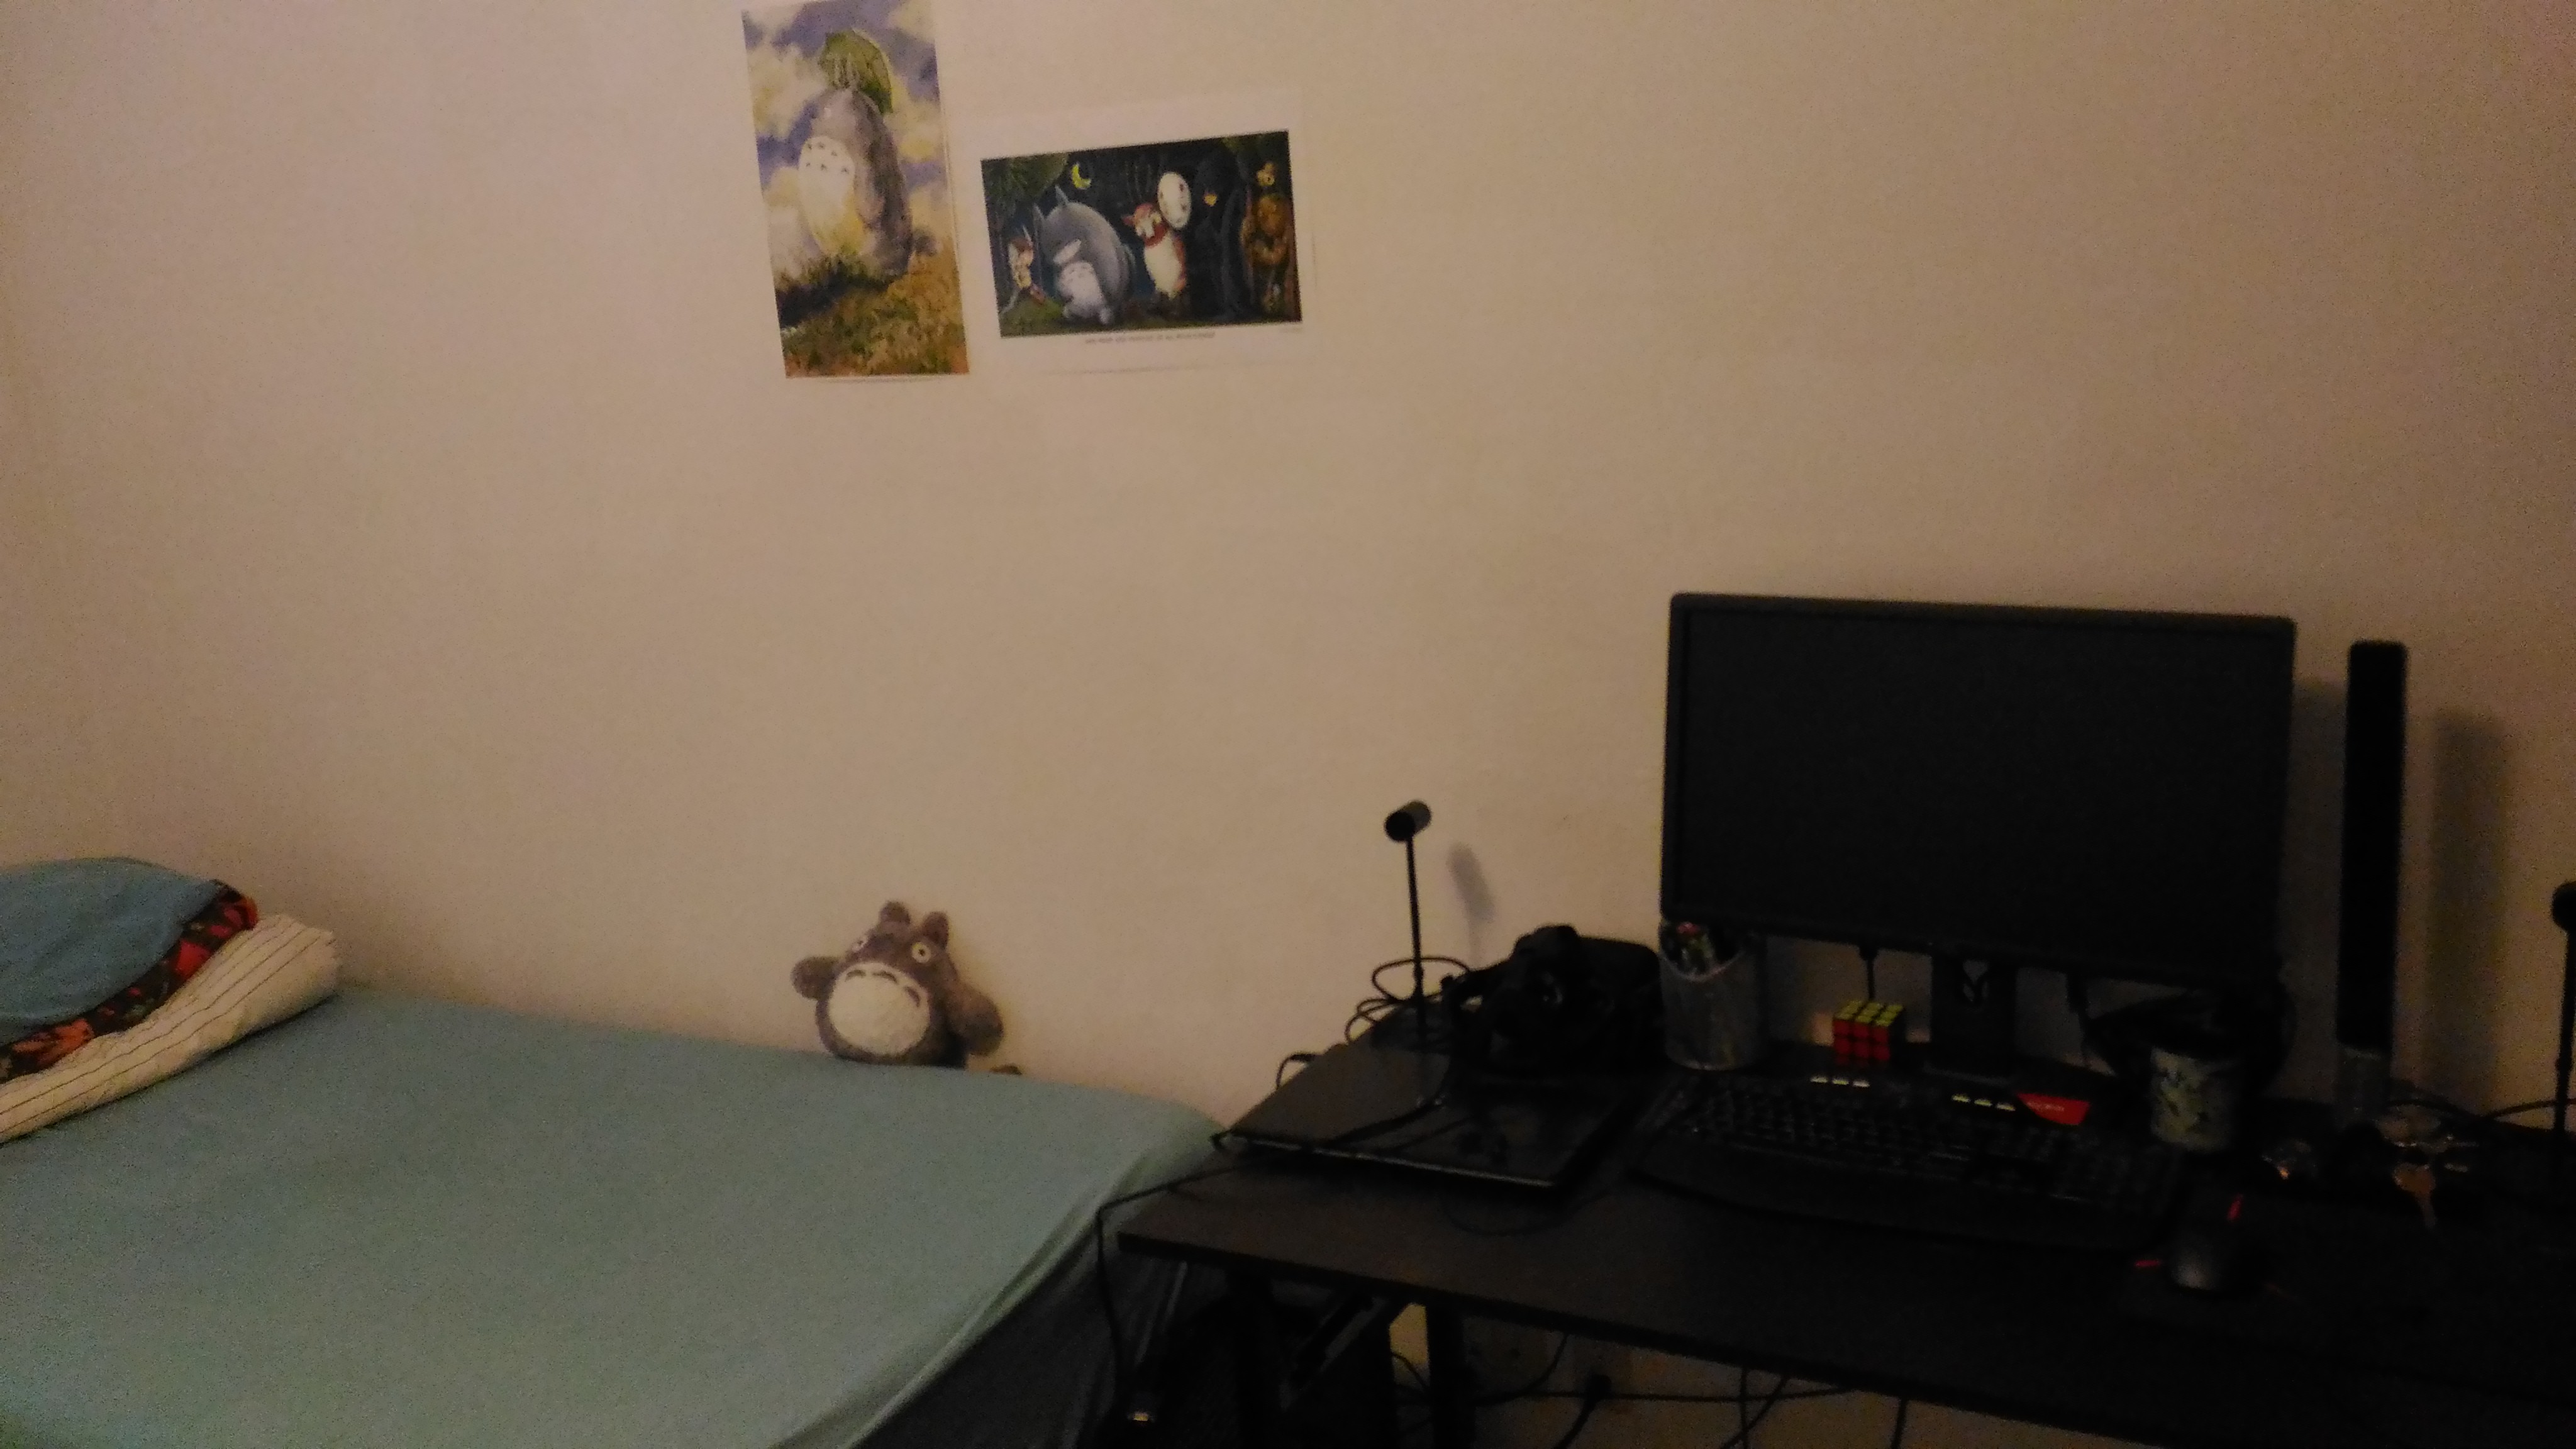
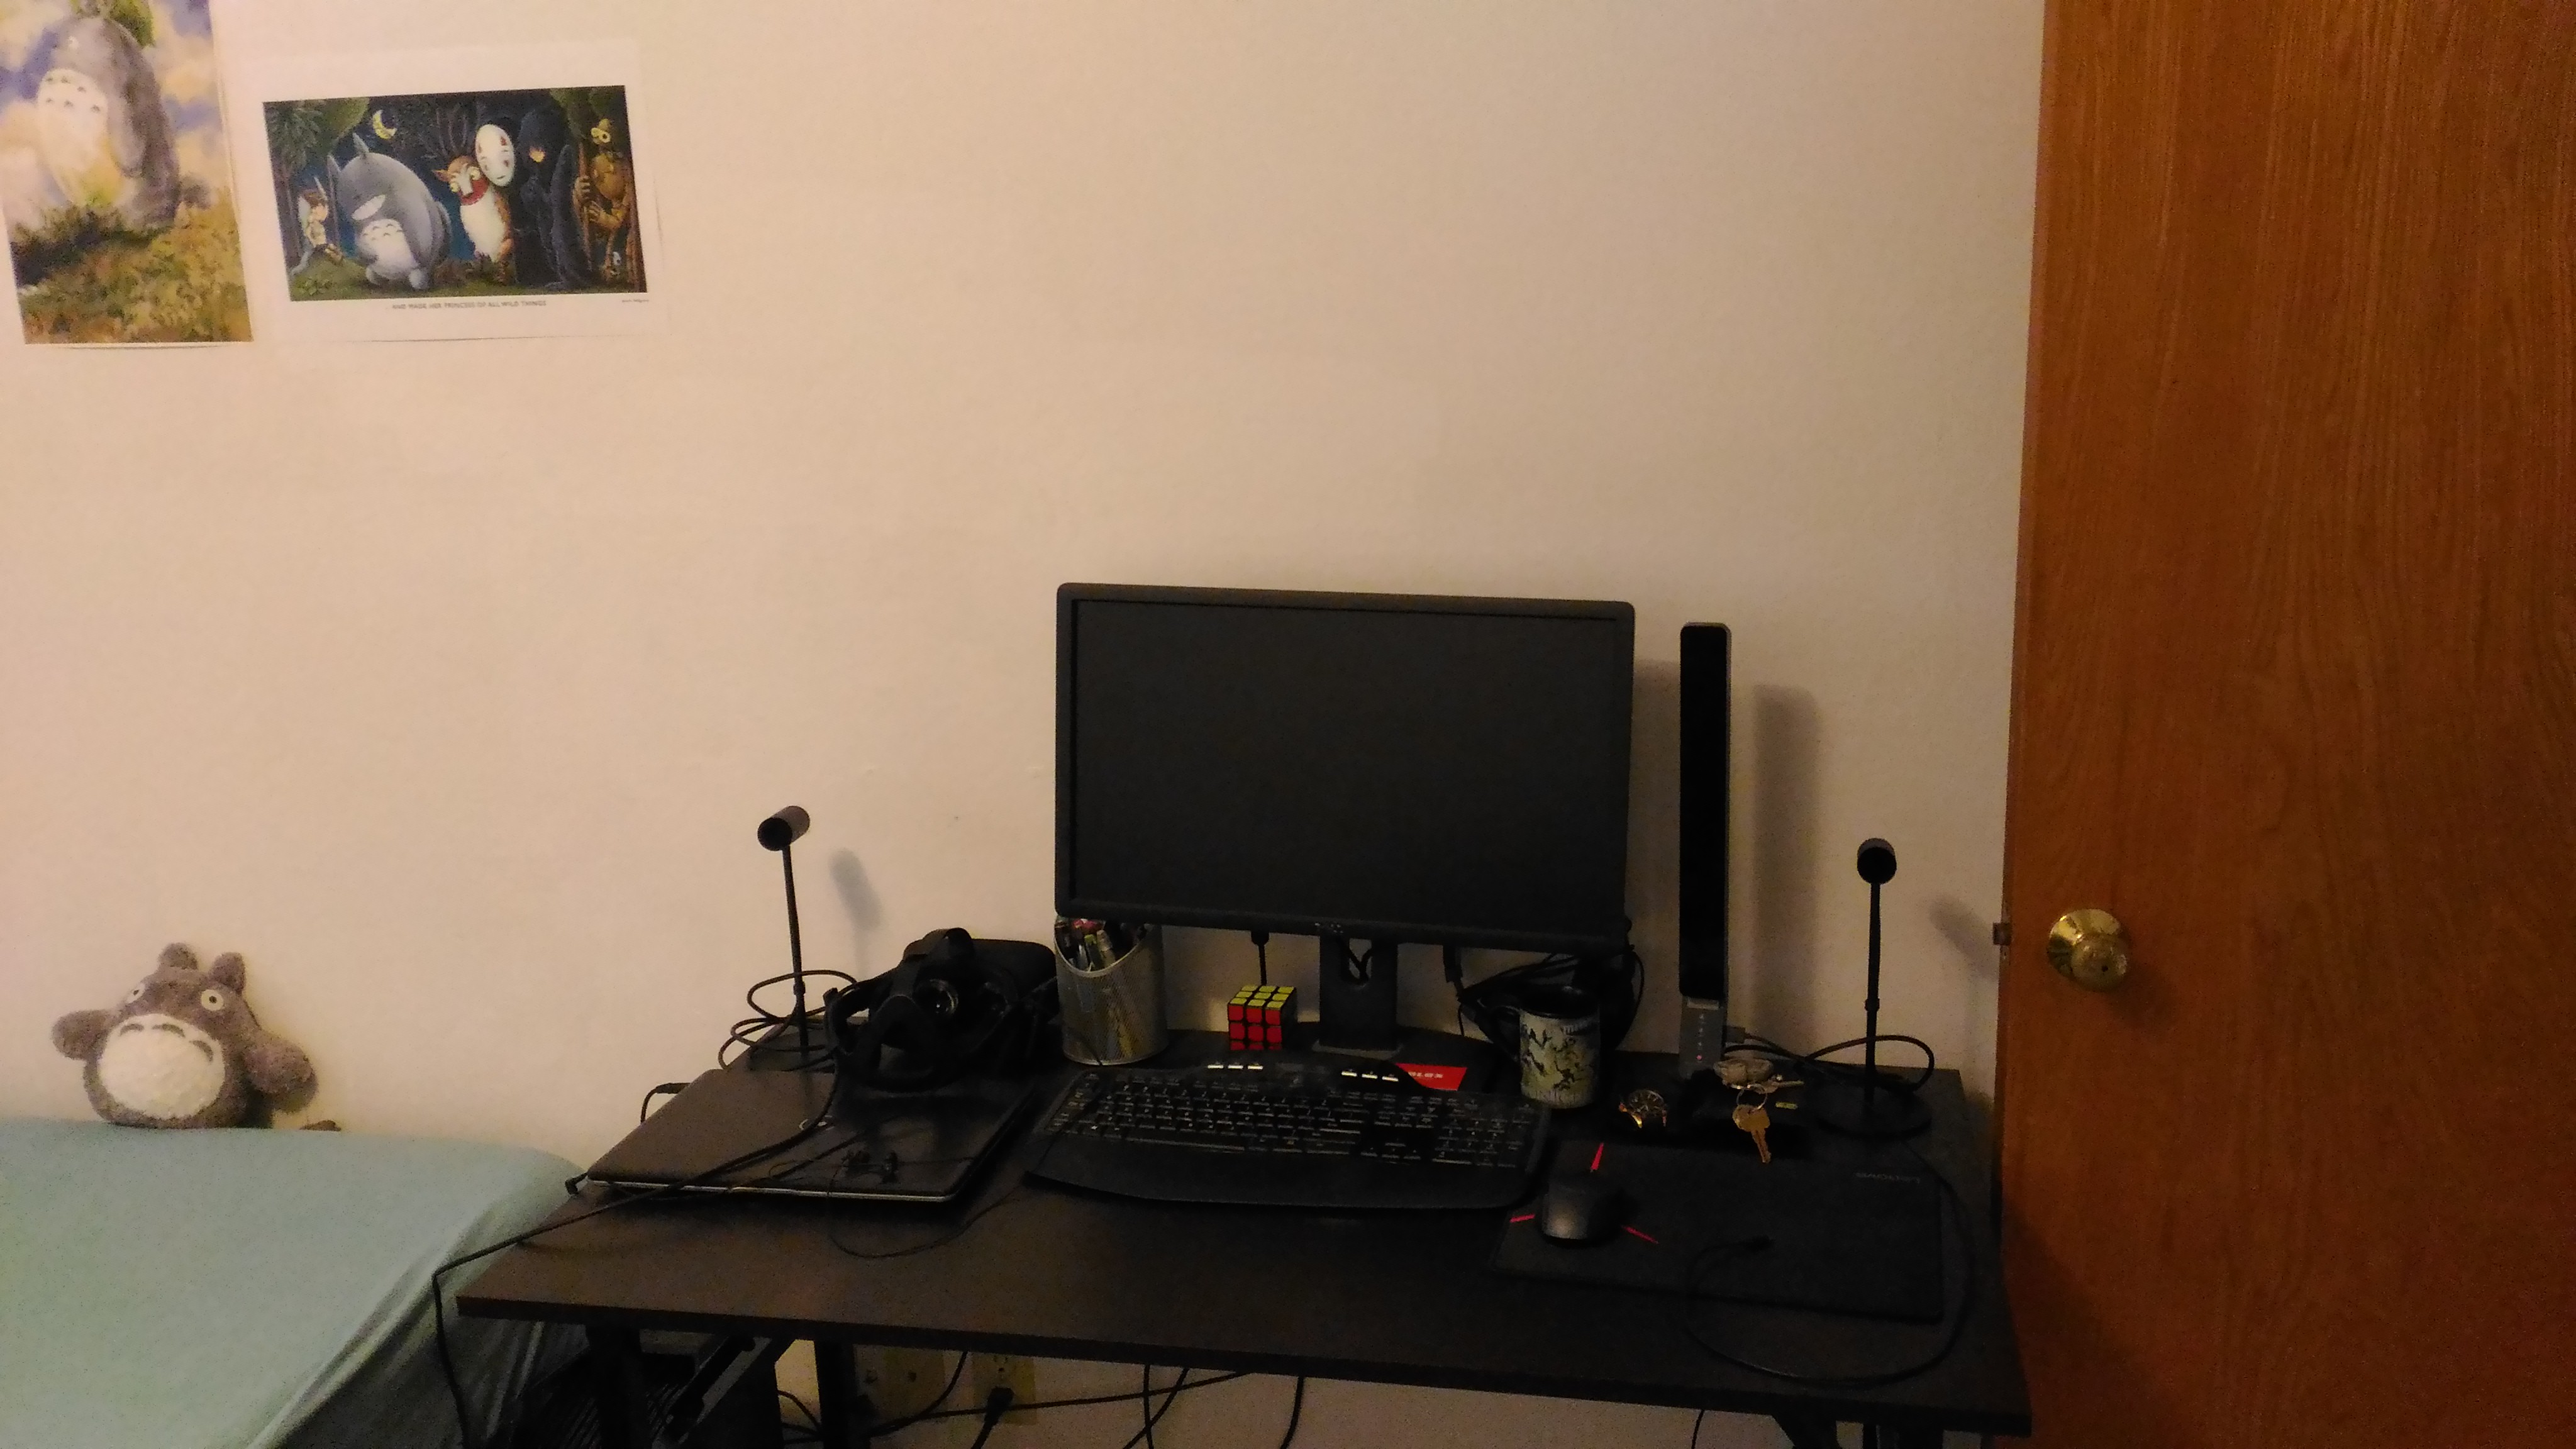
I manually went and defined 13 point correspondences scattered around the overlapping segments, including the corners of posters, monitor, desk, etc. Then I ran the algorithm from the previous section to warp the second image to overlay on top of the first.
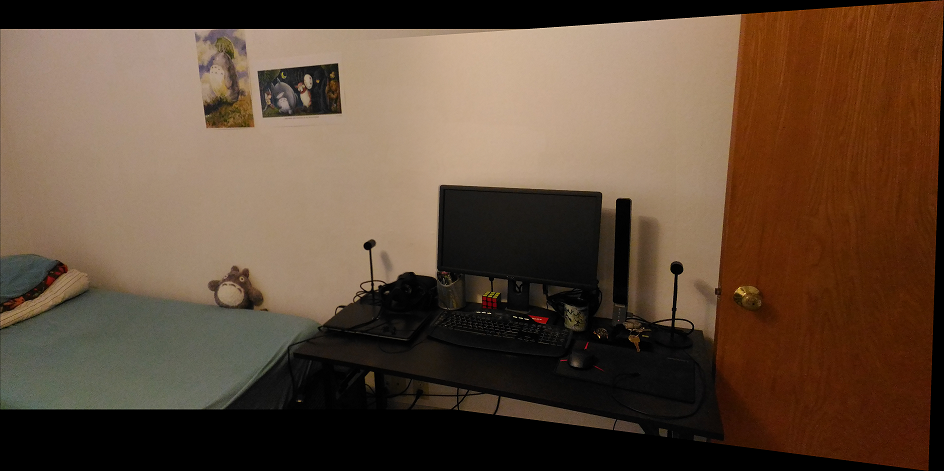
To soften the edges and boundaries between the individual images, I did a weighted average of the pixel values wherever the two overlapped. Weights were determined by how close a pixel was from its original image's center, so there was a gradual falloff. It also created a cool effect that made it look like the whole photo is curved inwards.
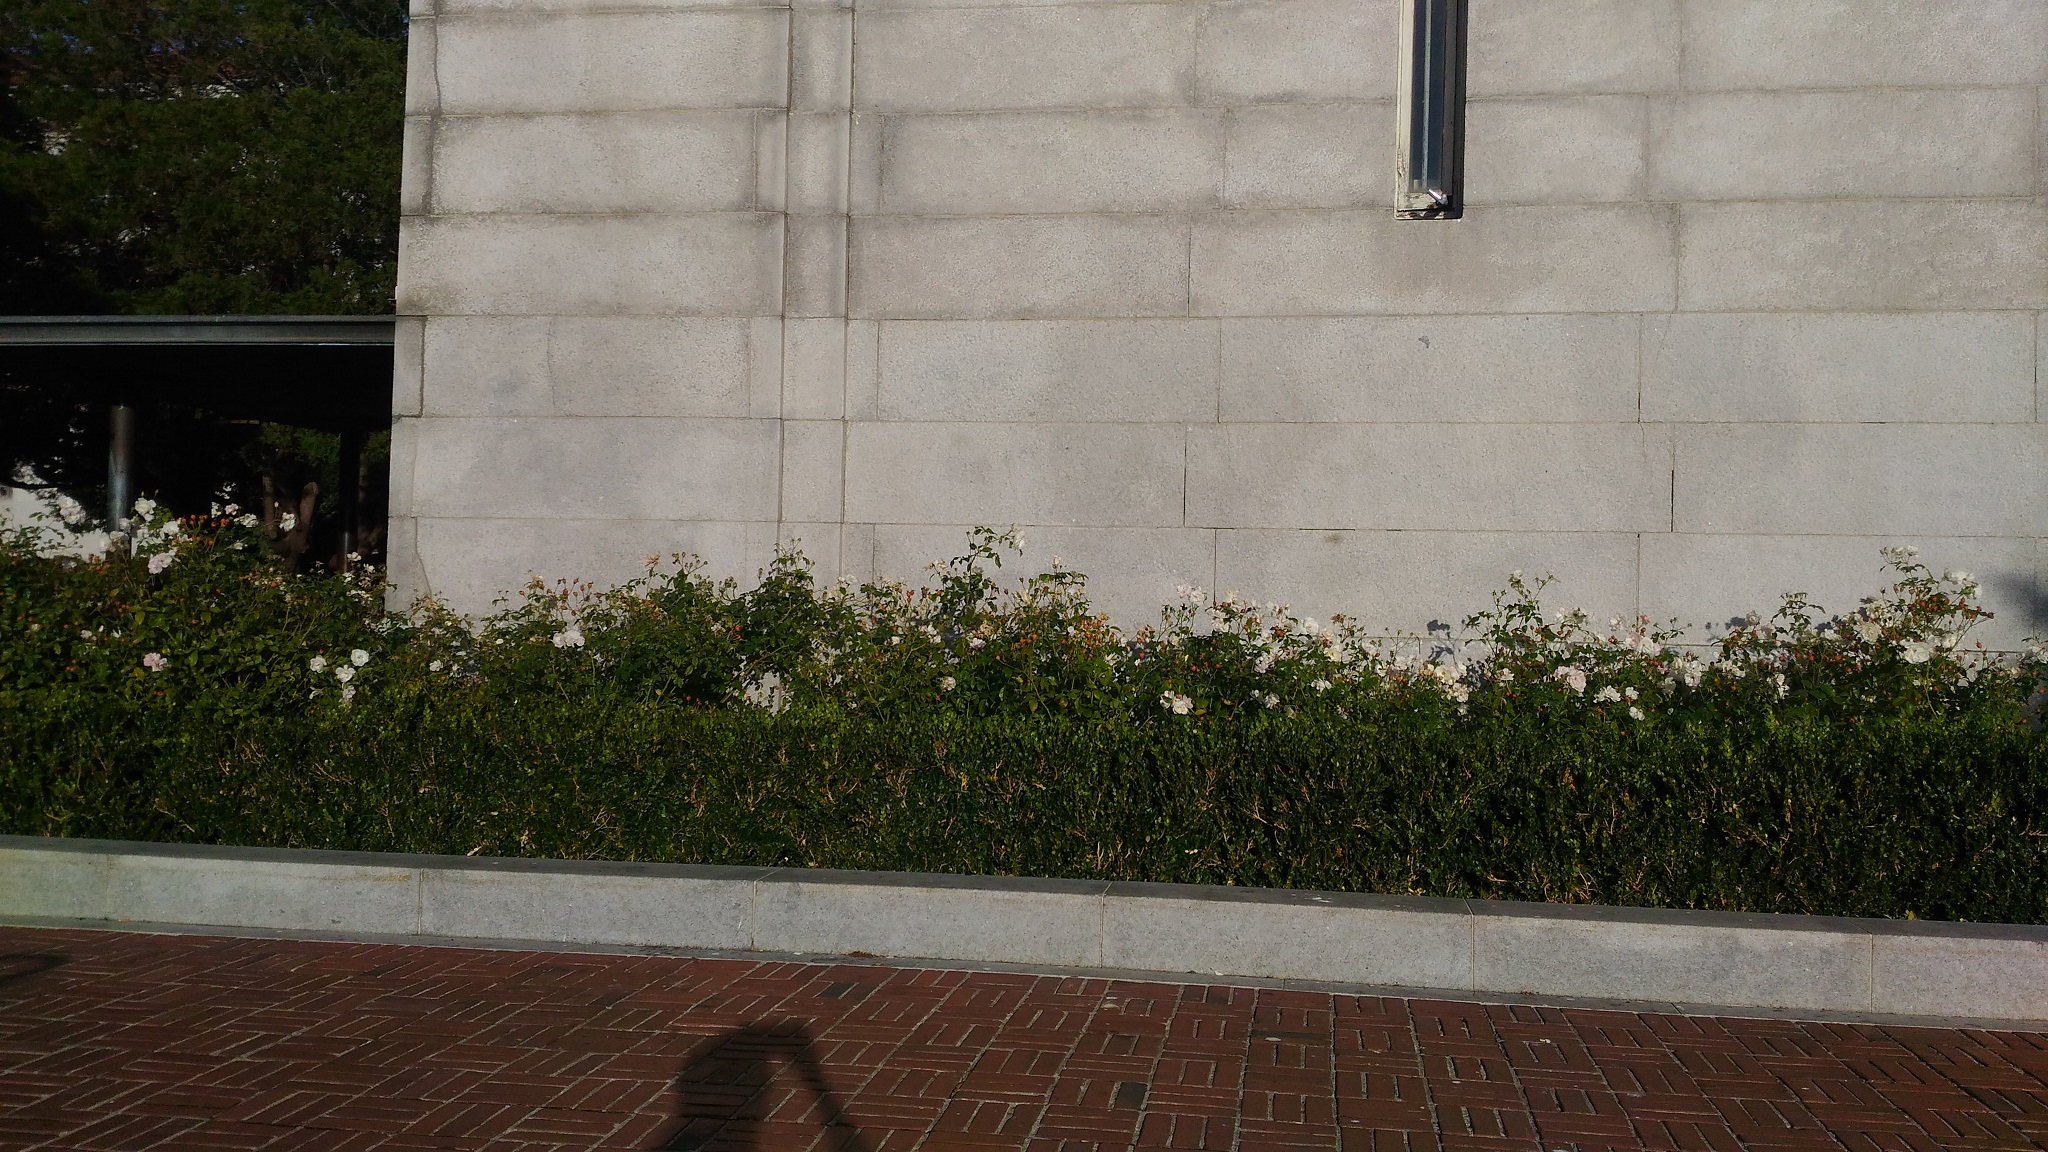
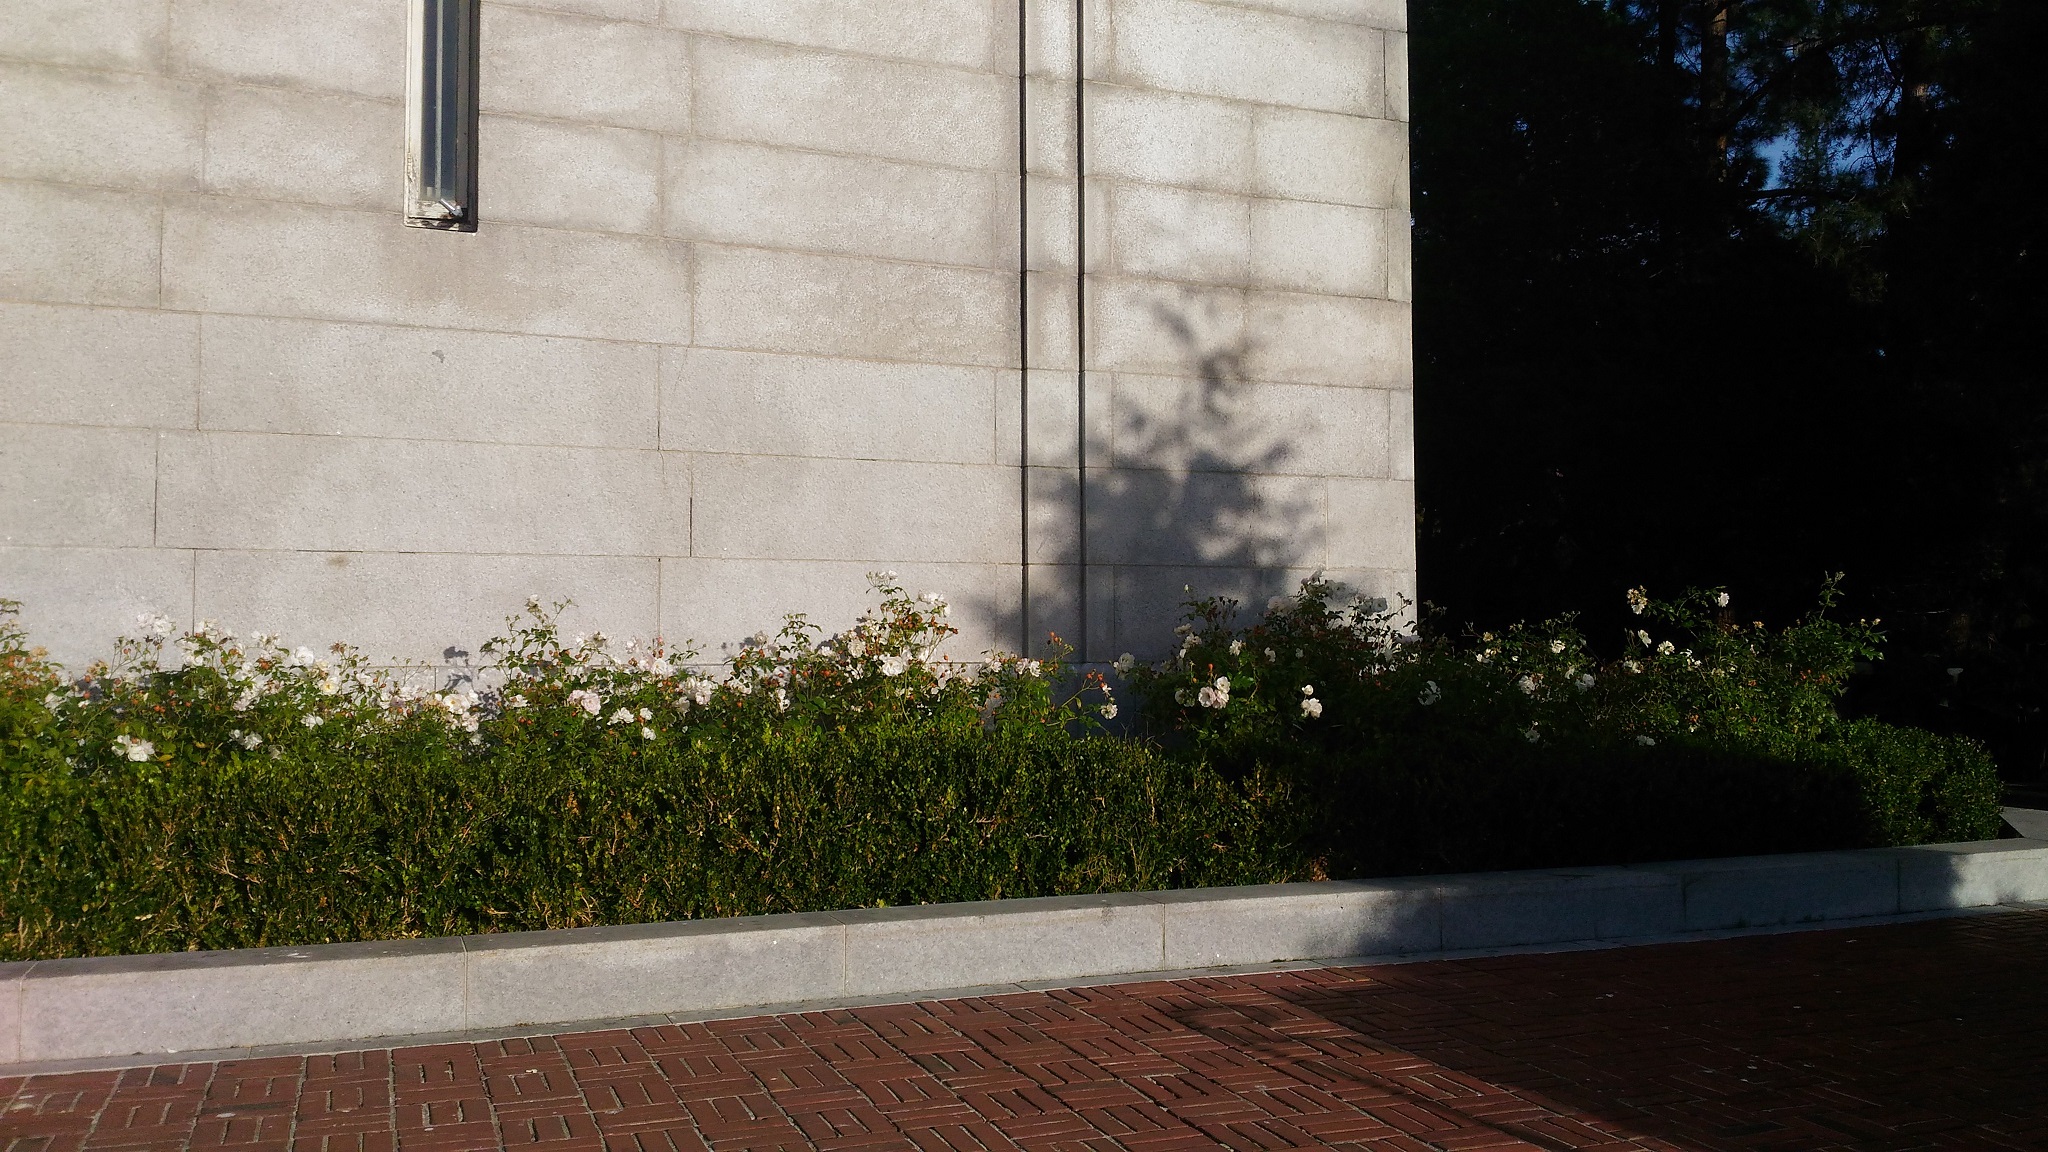
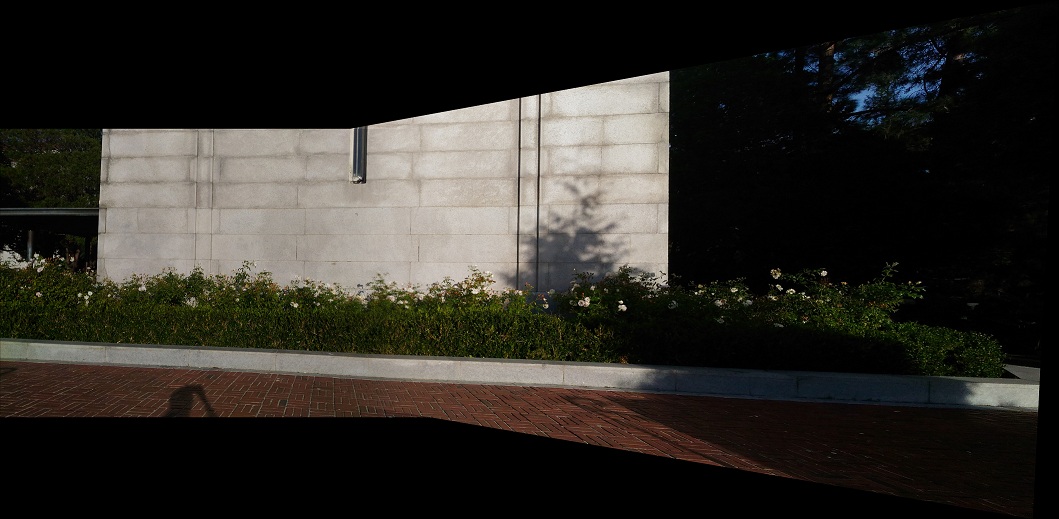
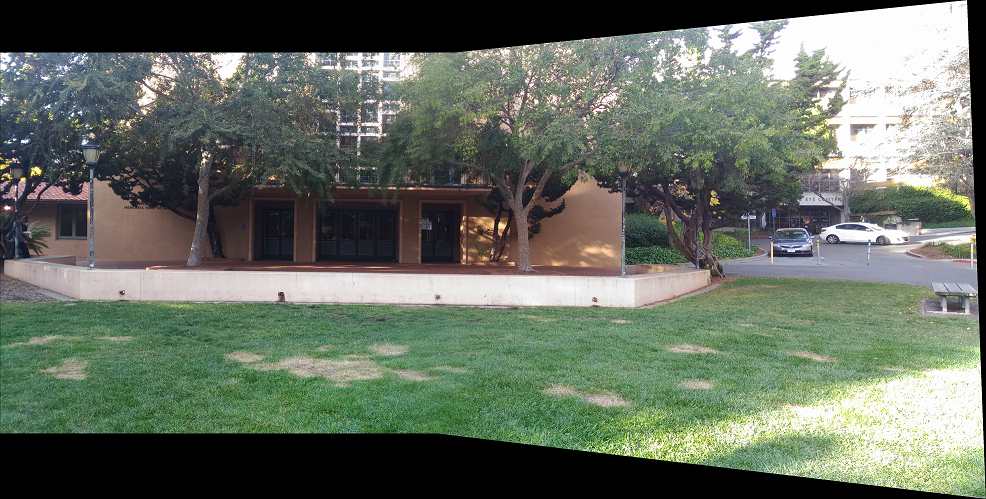
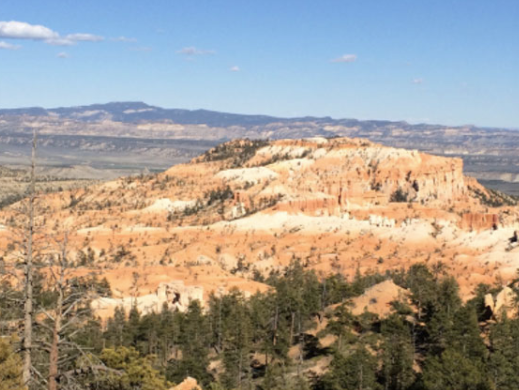
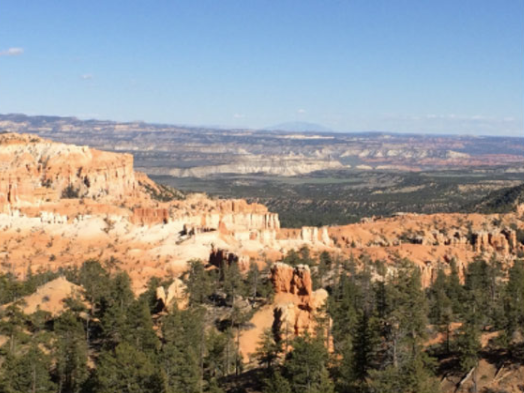
Below are two more panoramas. I took a shot of the flowers at the base of the campanile.
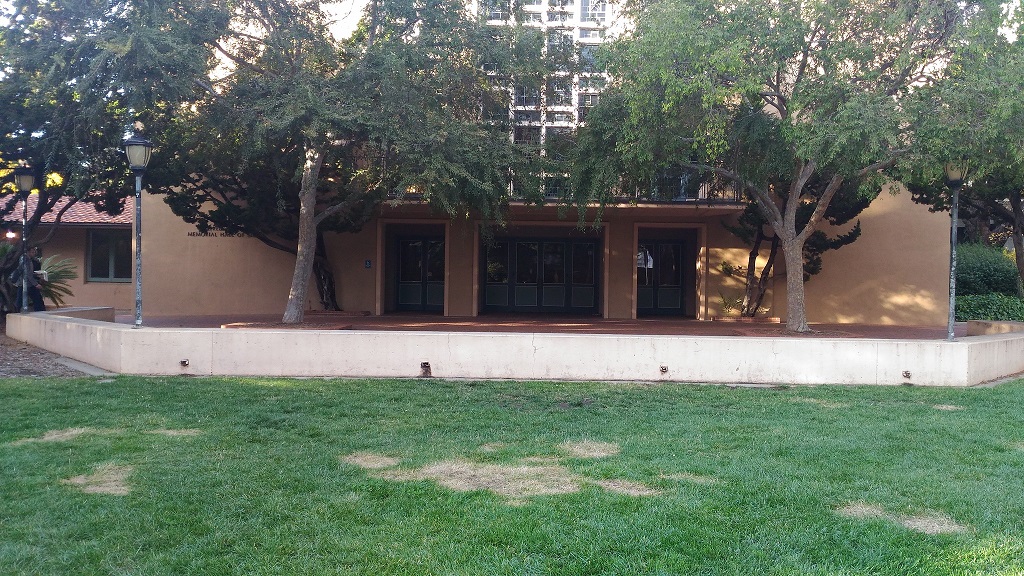
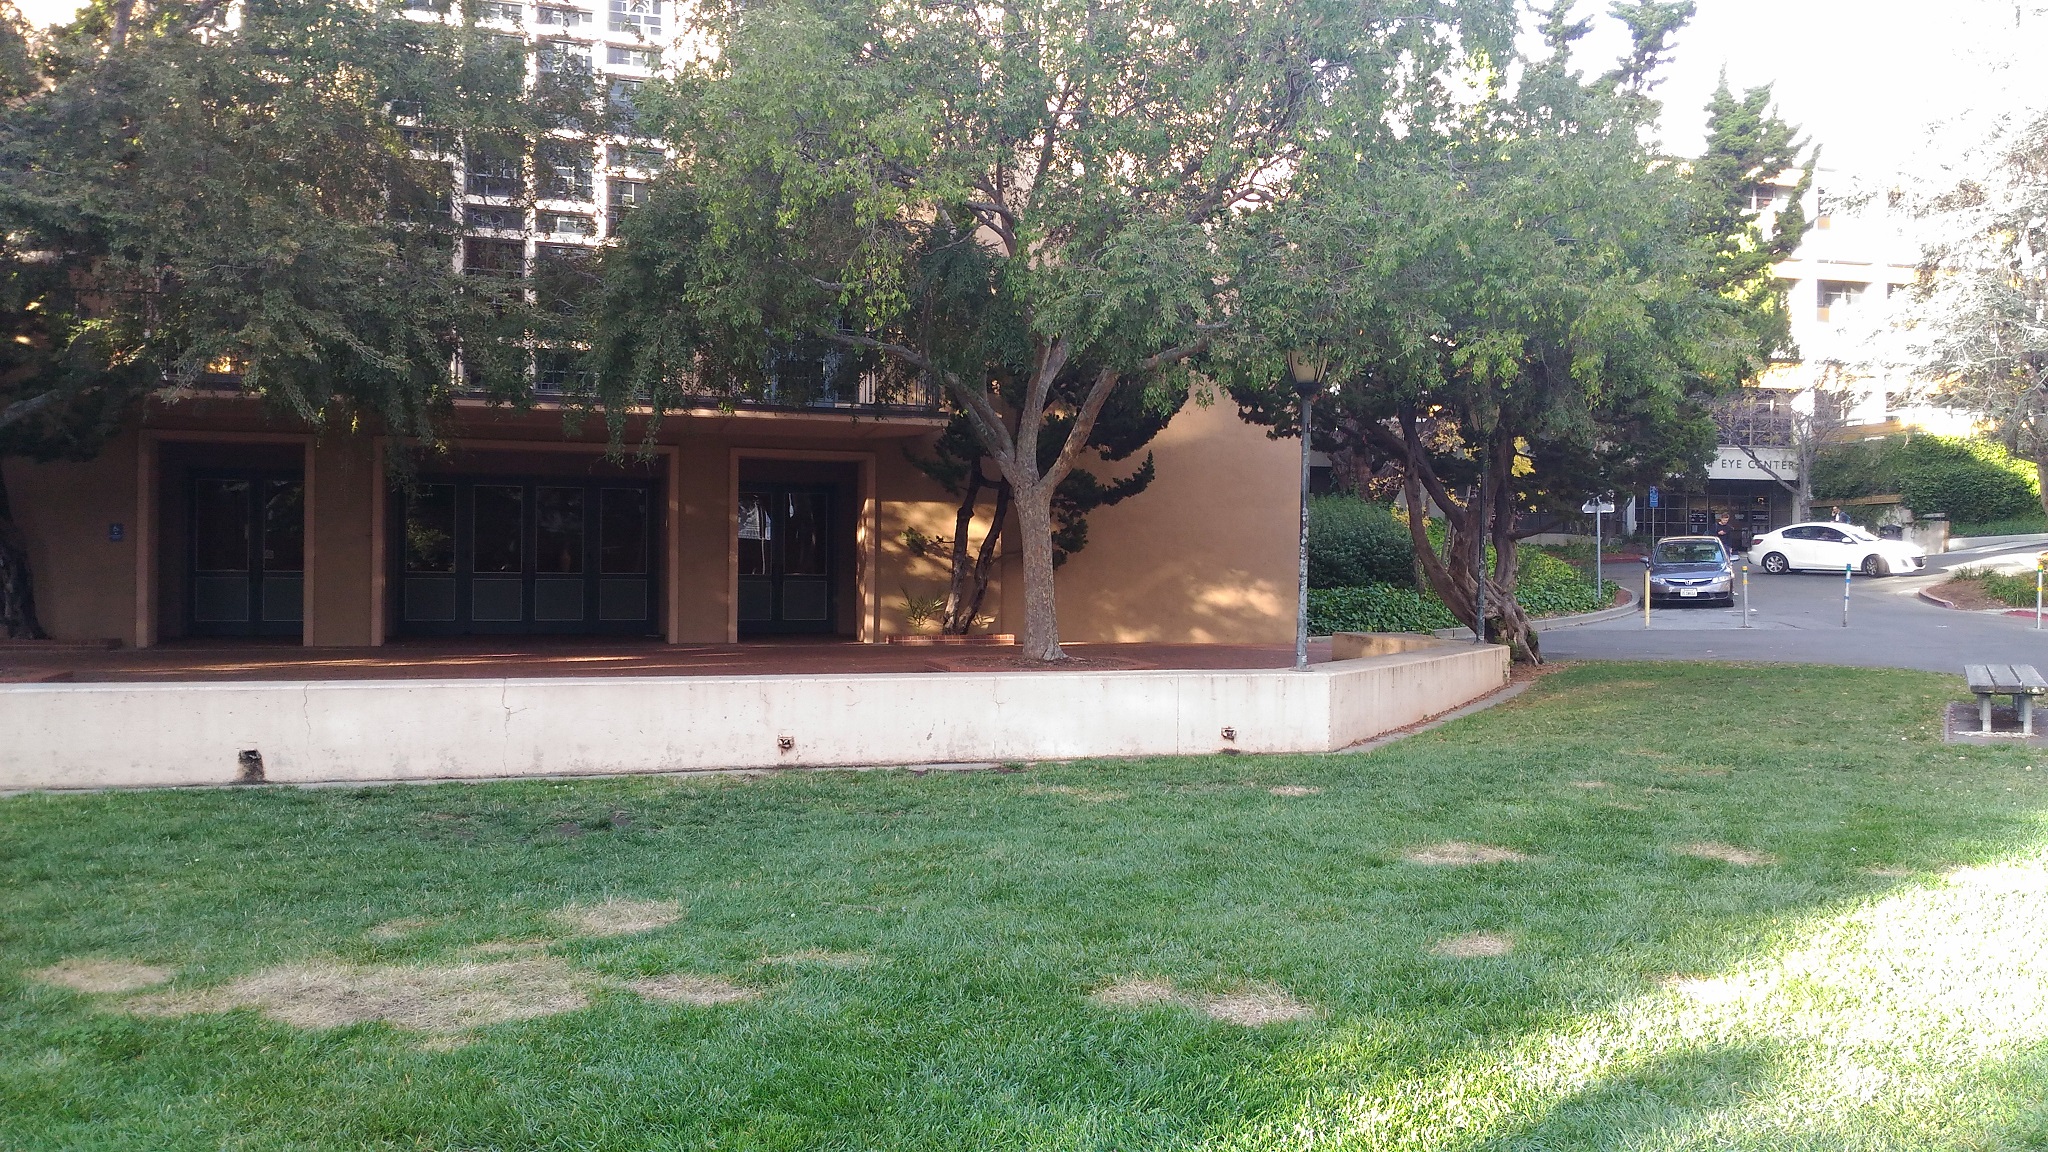
And here's one of Morrison Hall.
Probably the coolest thing I learned from this project (besides the homography technique itself) was how effective least squares can be with even limited data. All these alignments were done by hand, and with only a couple of points (8-12) least squares was able to produce essentially pixel perfect alignments.
Project 6.2: Feature Matching for Autostitching
James Lin, CS194-26-abr
This project was a continuation of the previous one, where we warped images using homographic transformations to stitch panoramas together. At that time, we manually defined point correspondences and calculated the homography from that.
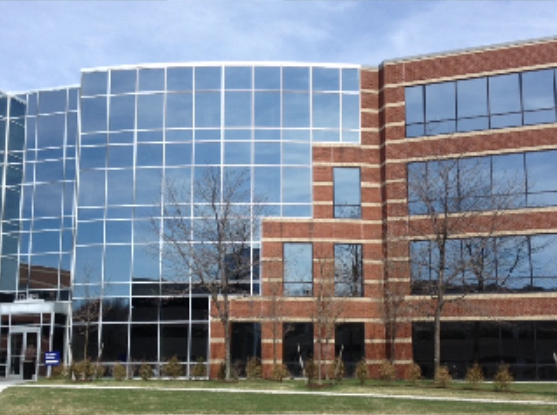
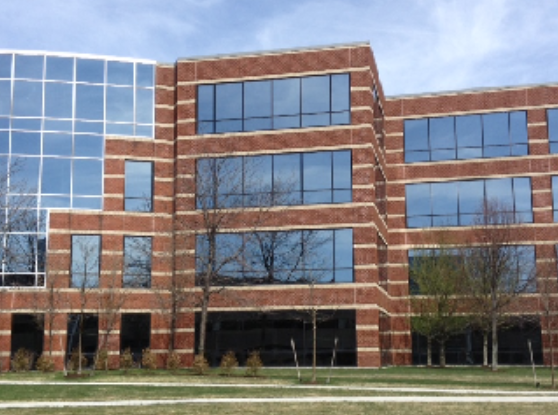
In this project, we automated the process using the techniques described in the MOPS paper. We started with the same two photos of my room from last time.
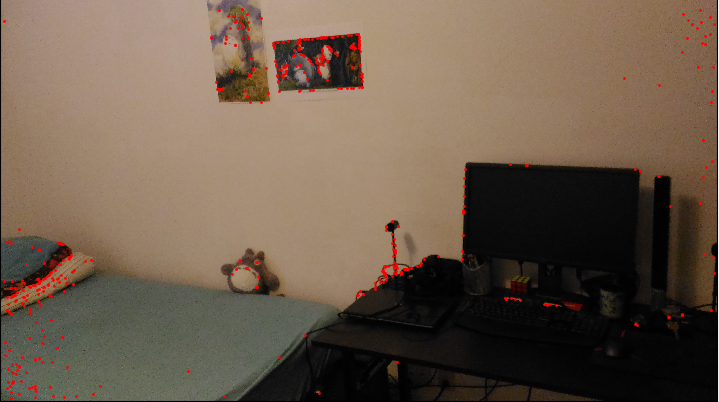
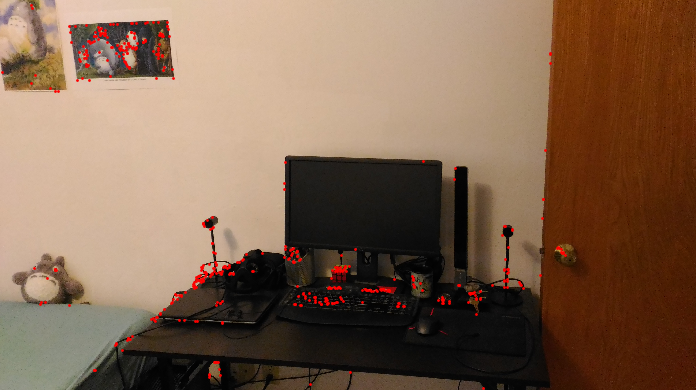
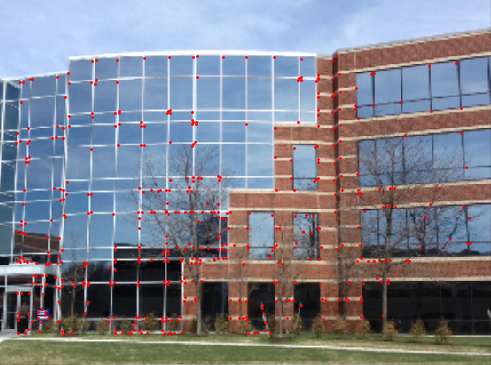
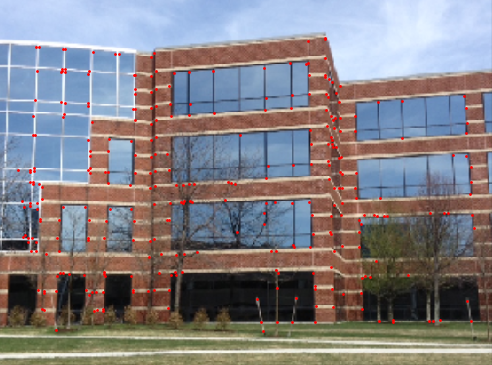
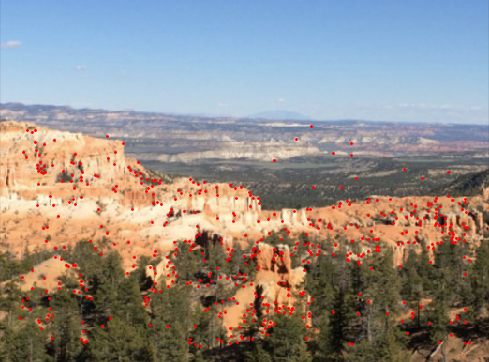
Using the provided harris detection code, we found good corner points on both photos.
We then extracted features from around these points, paired them up, and used RANSAC to find the homography that matched the most points, with the following result:
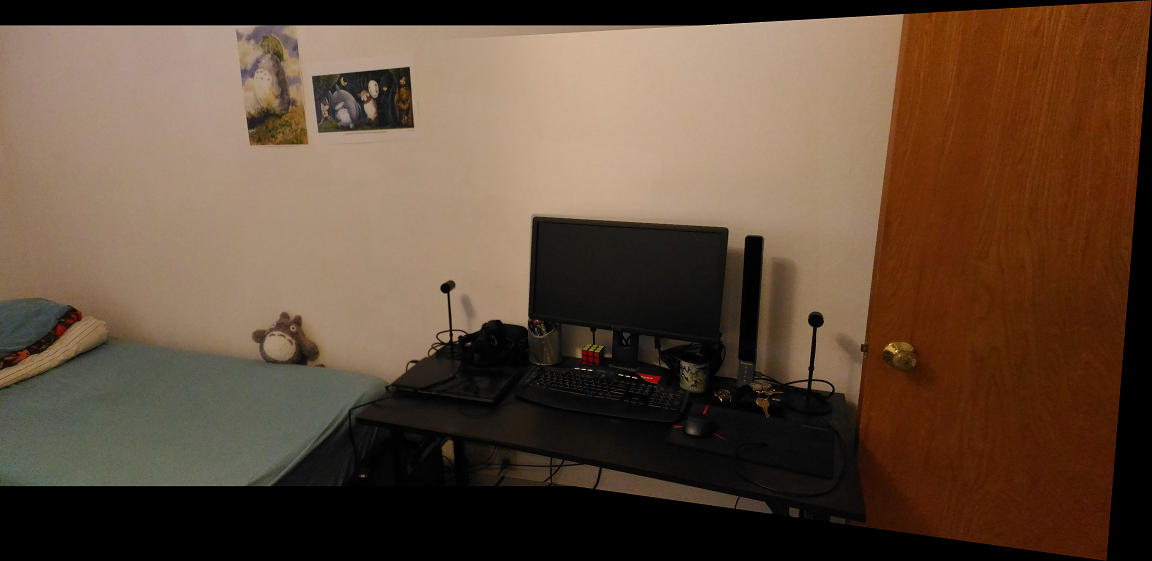
For reference, here is the result from the manual point correspondence:
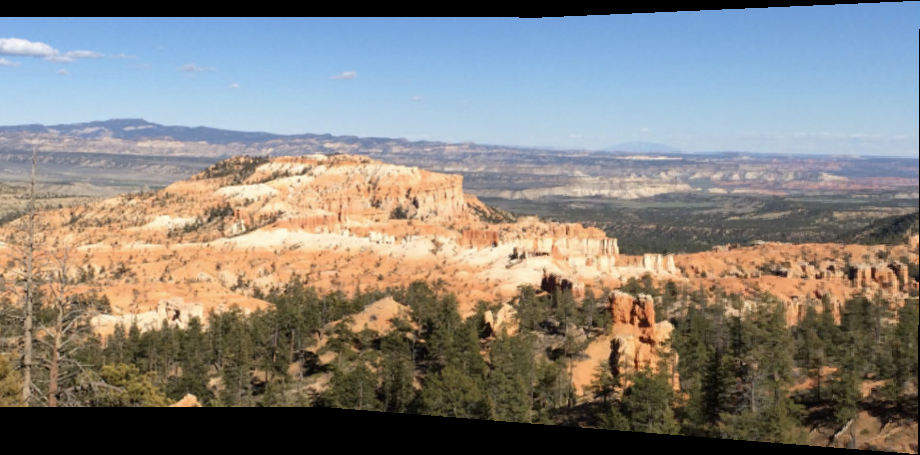
Unfortunately, no amount of further finessing got this algorithm to work on the other photos I had taken for the previous project. I suspect this is due to a lack of easily discernable features - I had used things like the gap between bricks to create point correspondences, which all look identical from the computer's point of view. Here are two more examples using images from the internet.
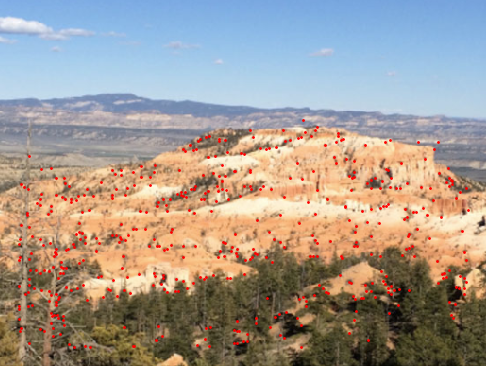
I wouldn't necessarily call this "cool", but I learned that the content of the photo has a huge effect on the effectiveness of the automatic stitching algorithm. For instance, take the photo of the campanile it failed to work on:
While the algorithm was definitely able to find corner points (mostly in the vegetation), it struggled to extract distinguishable features from those points. I would guess that feature matching alone wouldn't work well for this context.