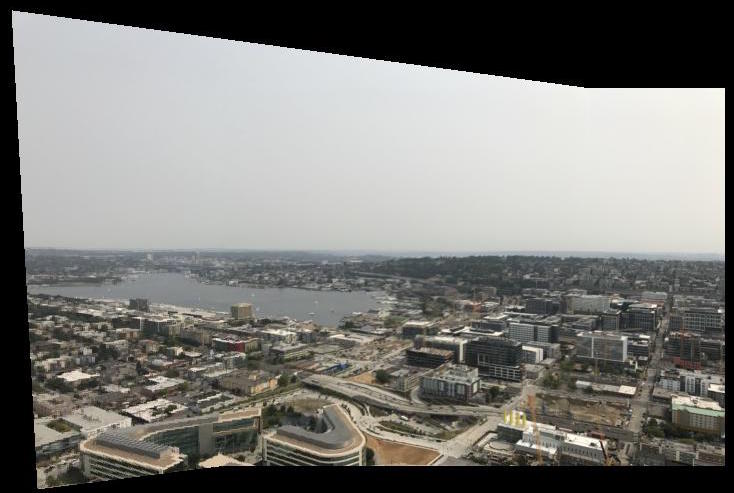
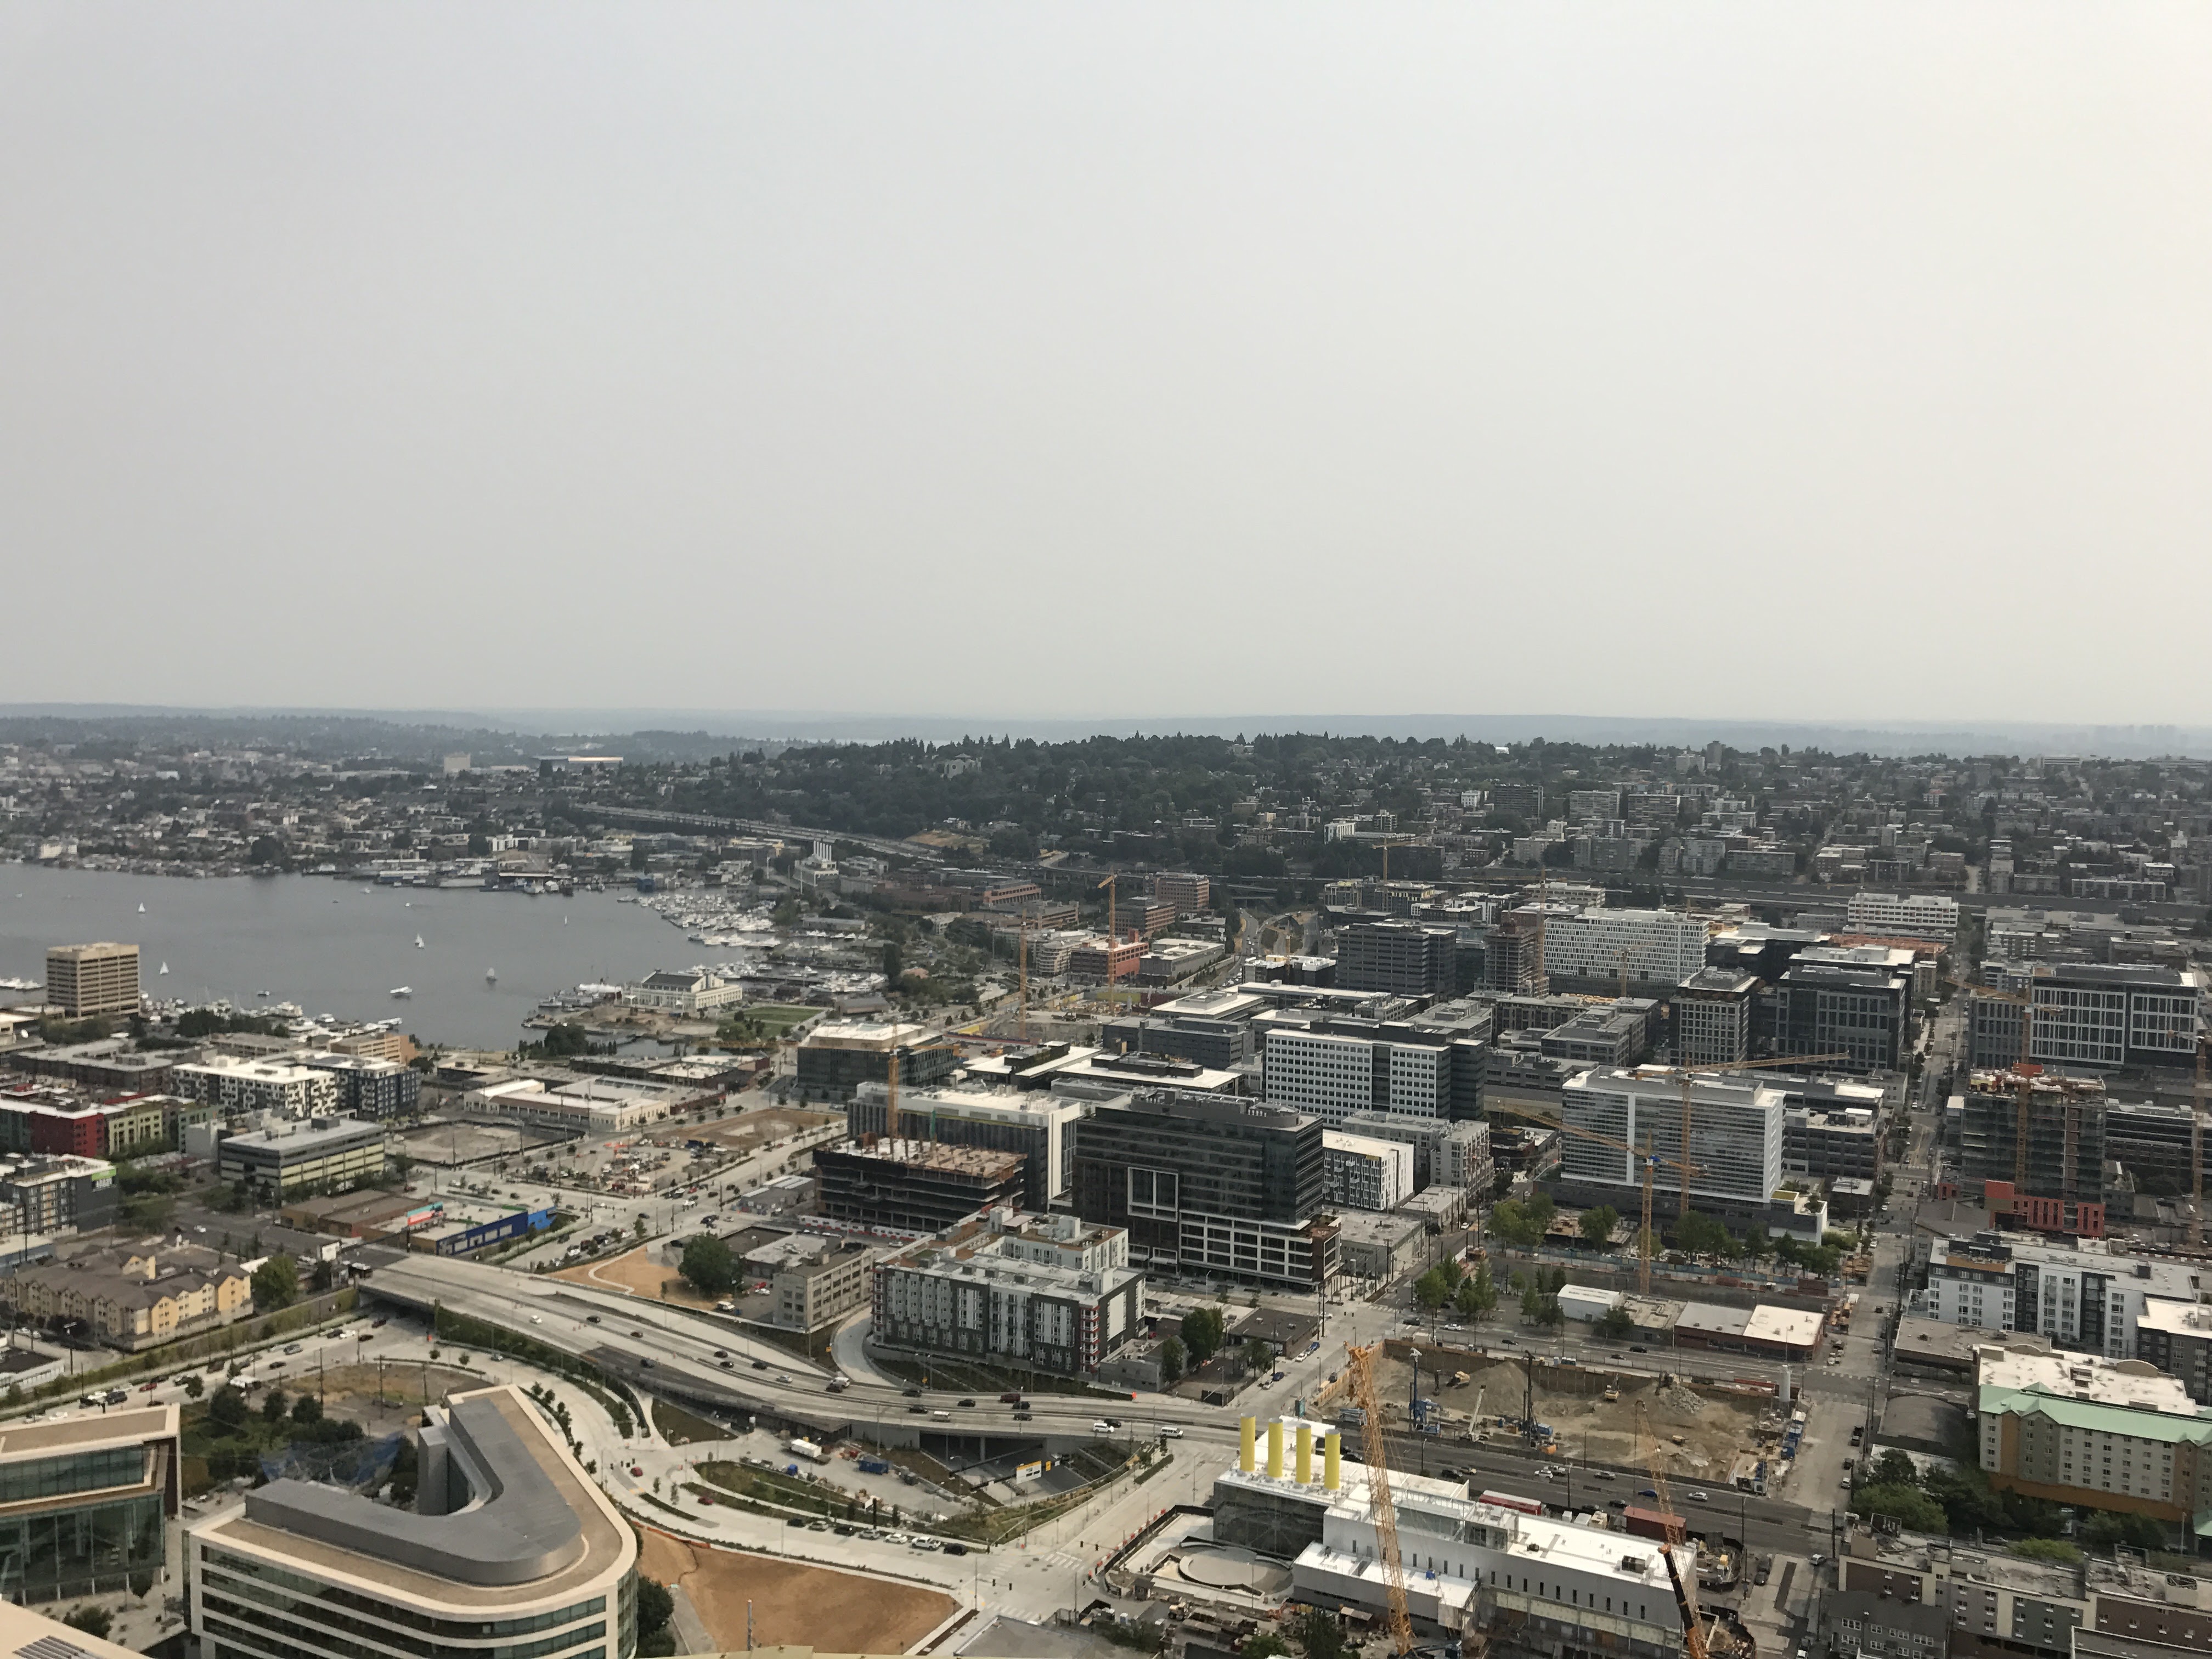
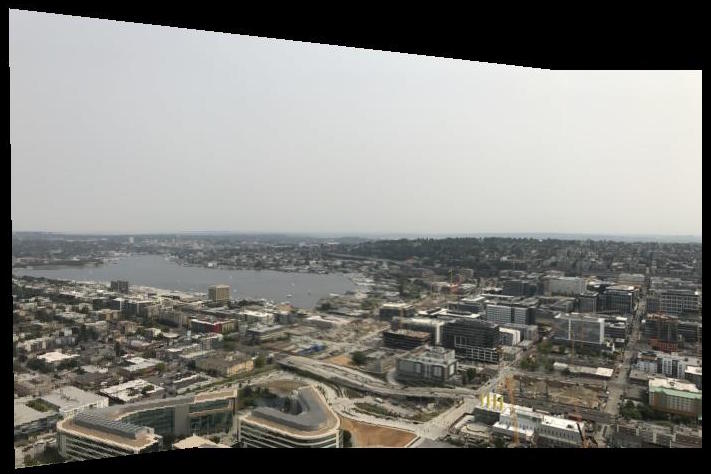
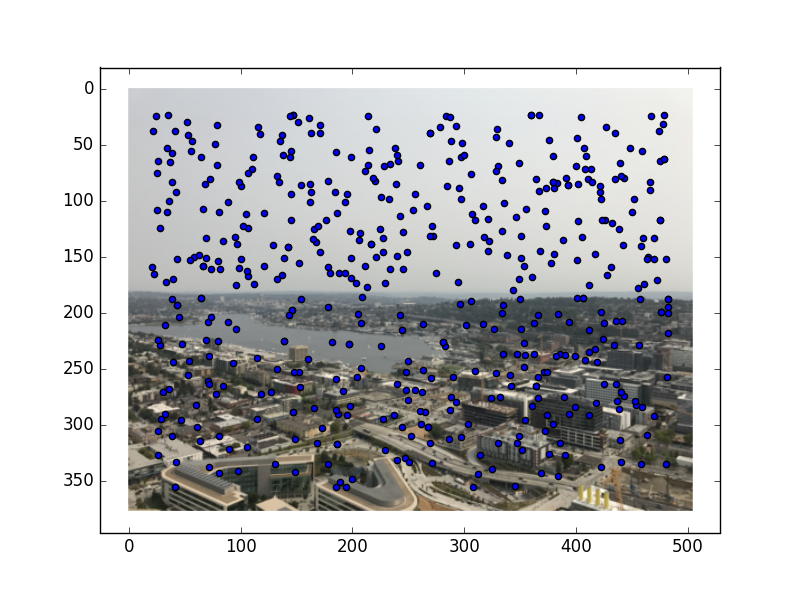
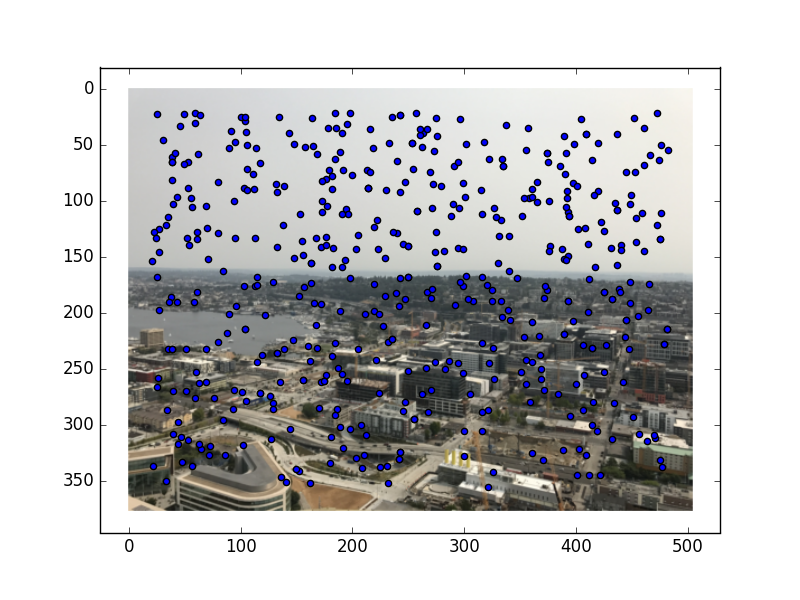
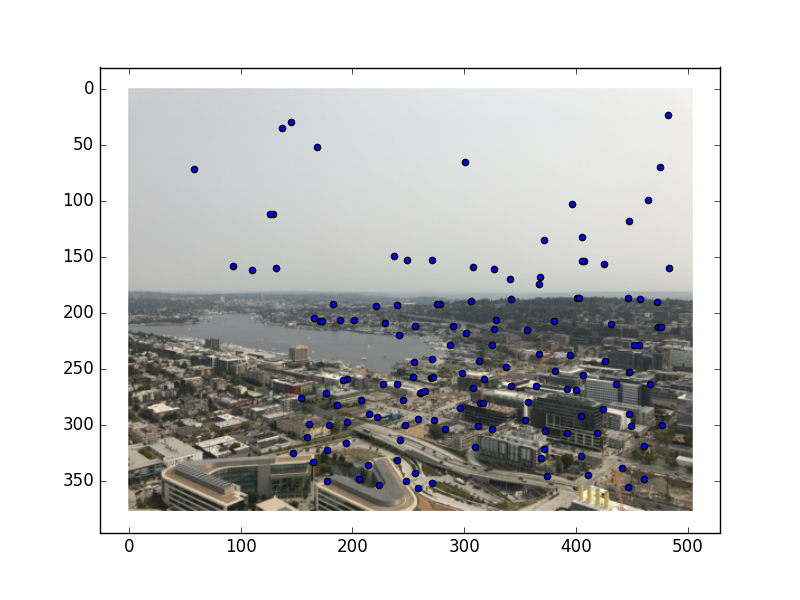
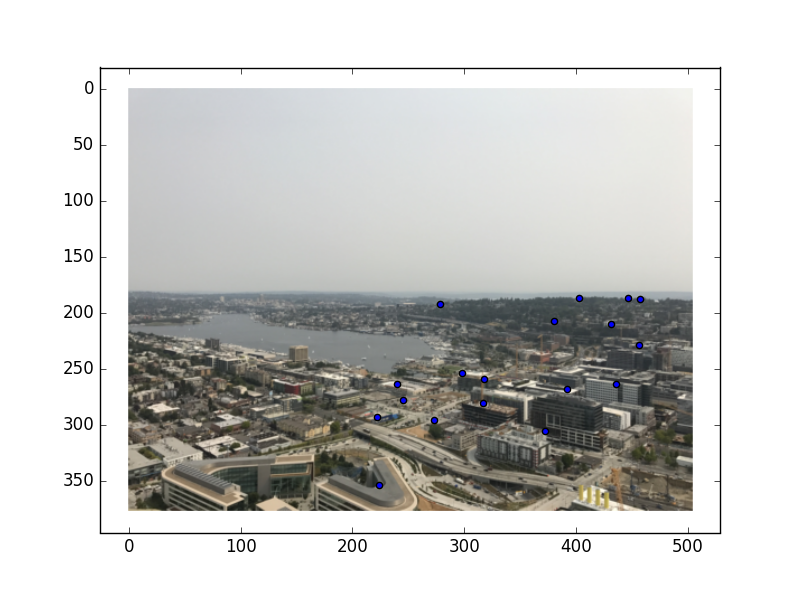
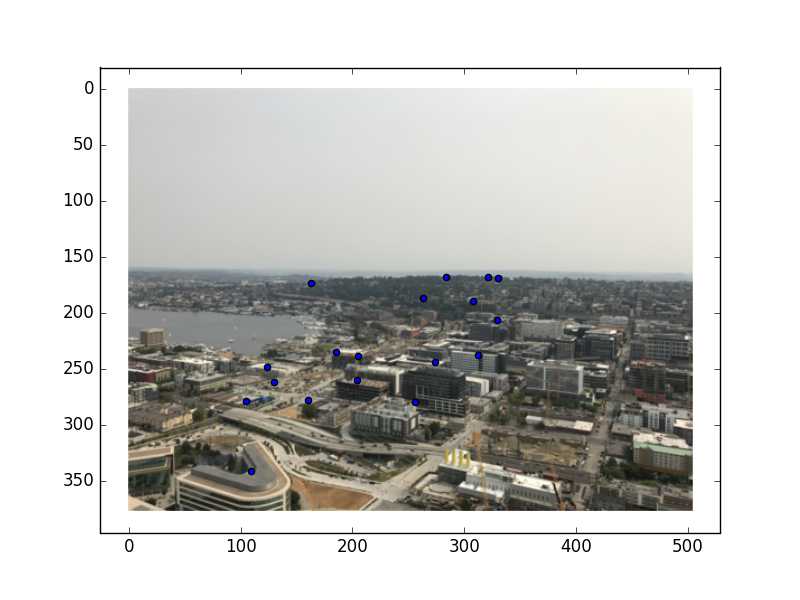
I took these pictures of Seattle from the top of the Space Needle this past summer. There is significant overlap between the pictures, and there are a lot of details that should be easy to align!

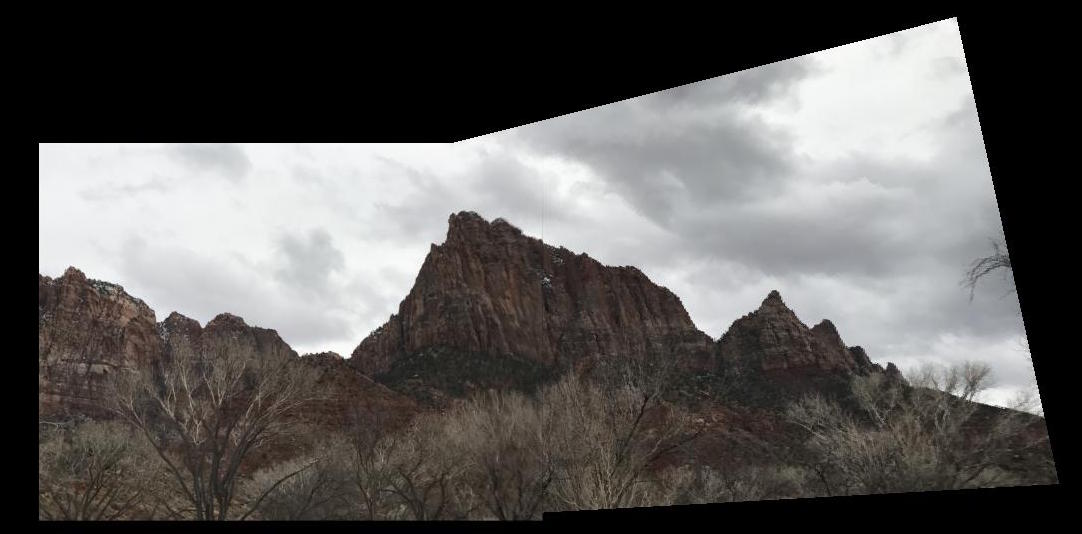
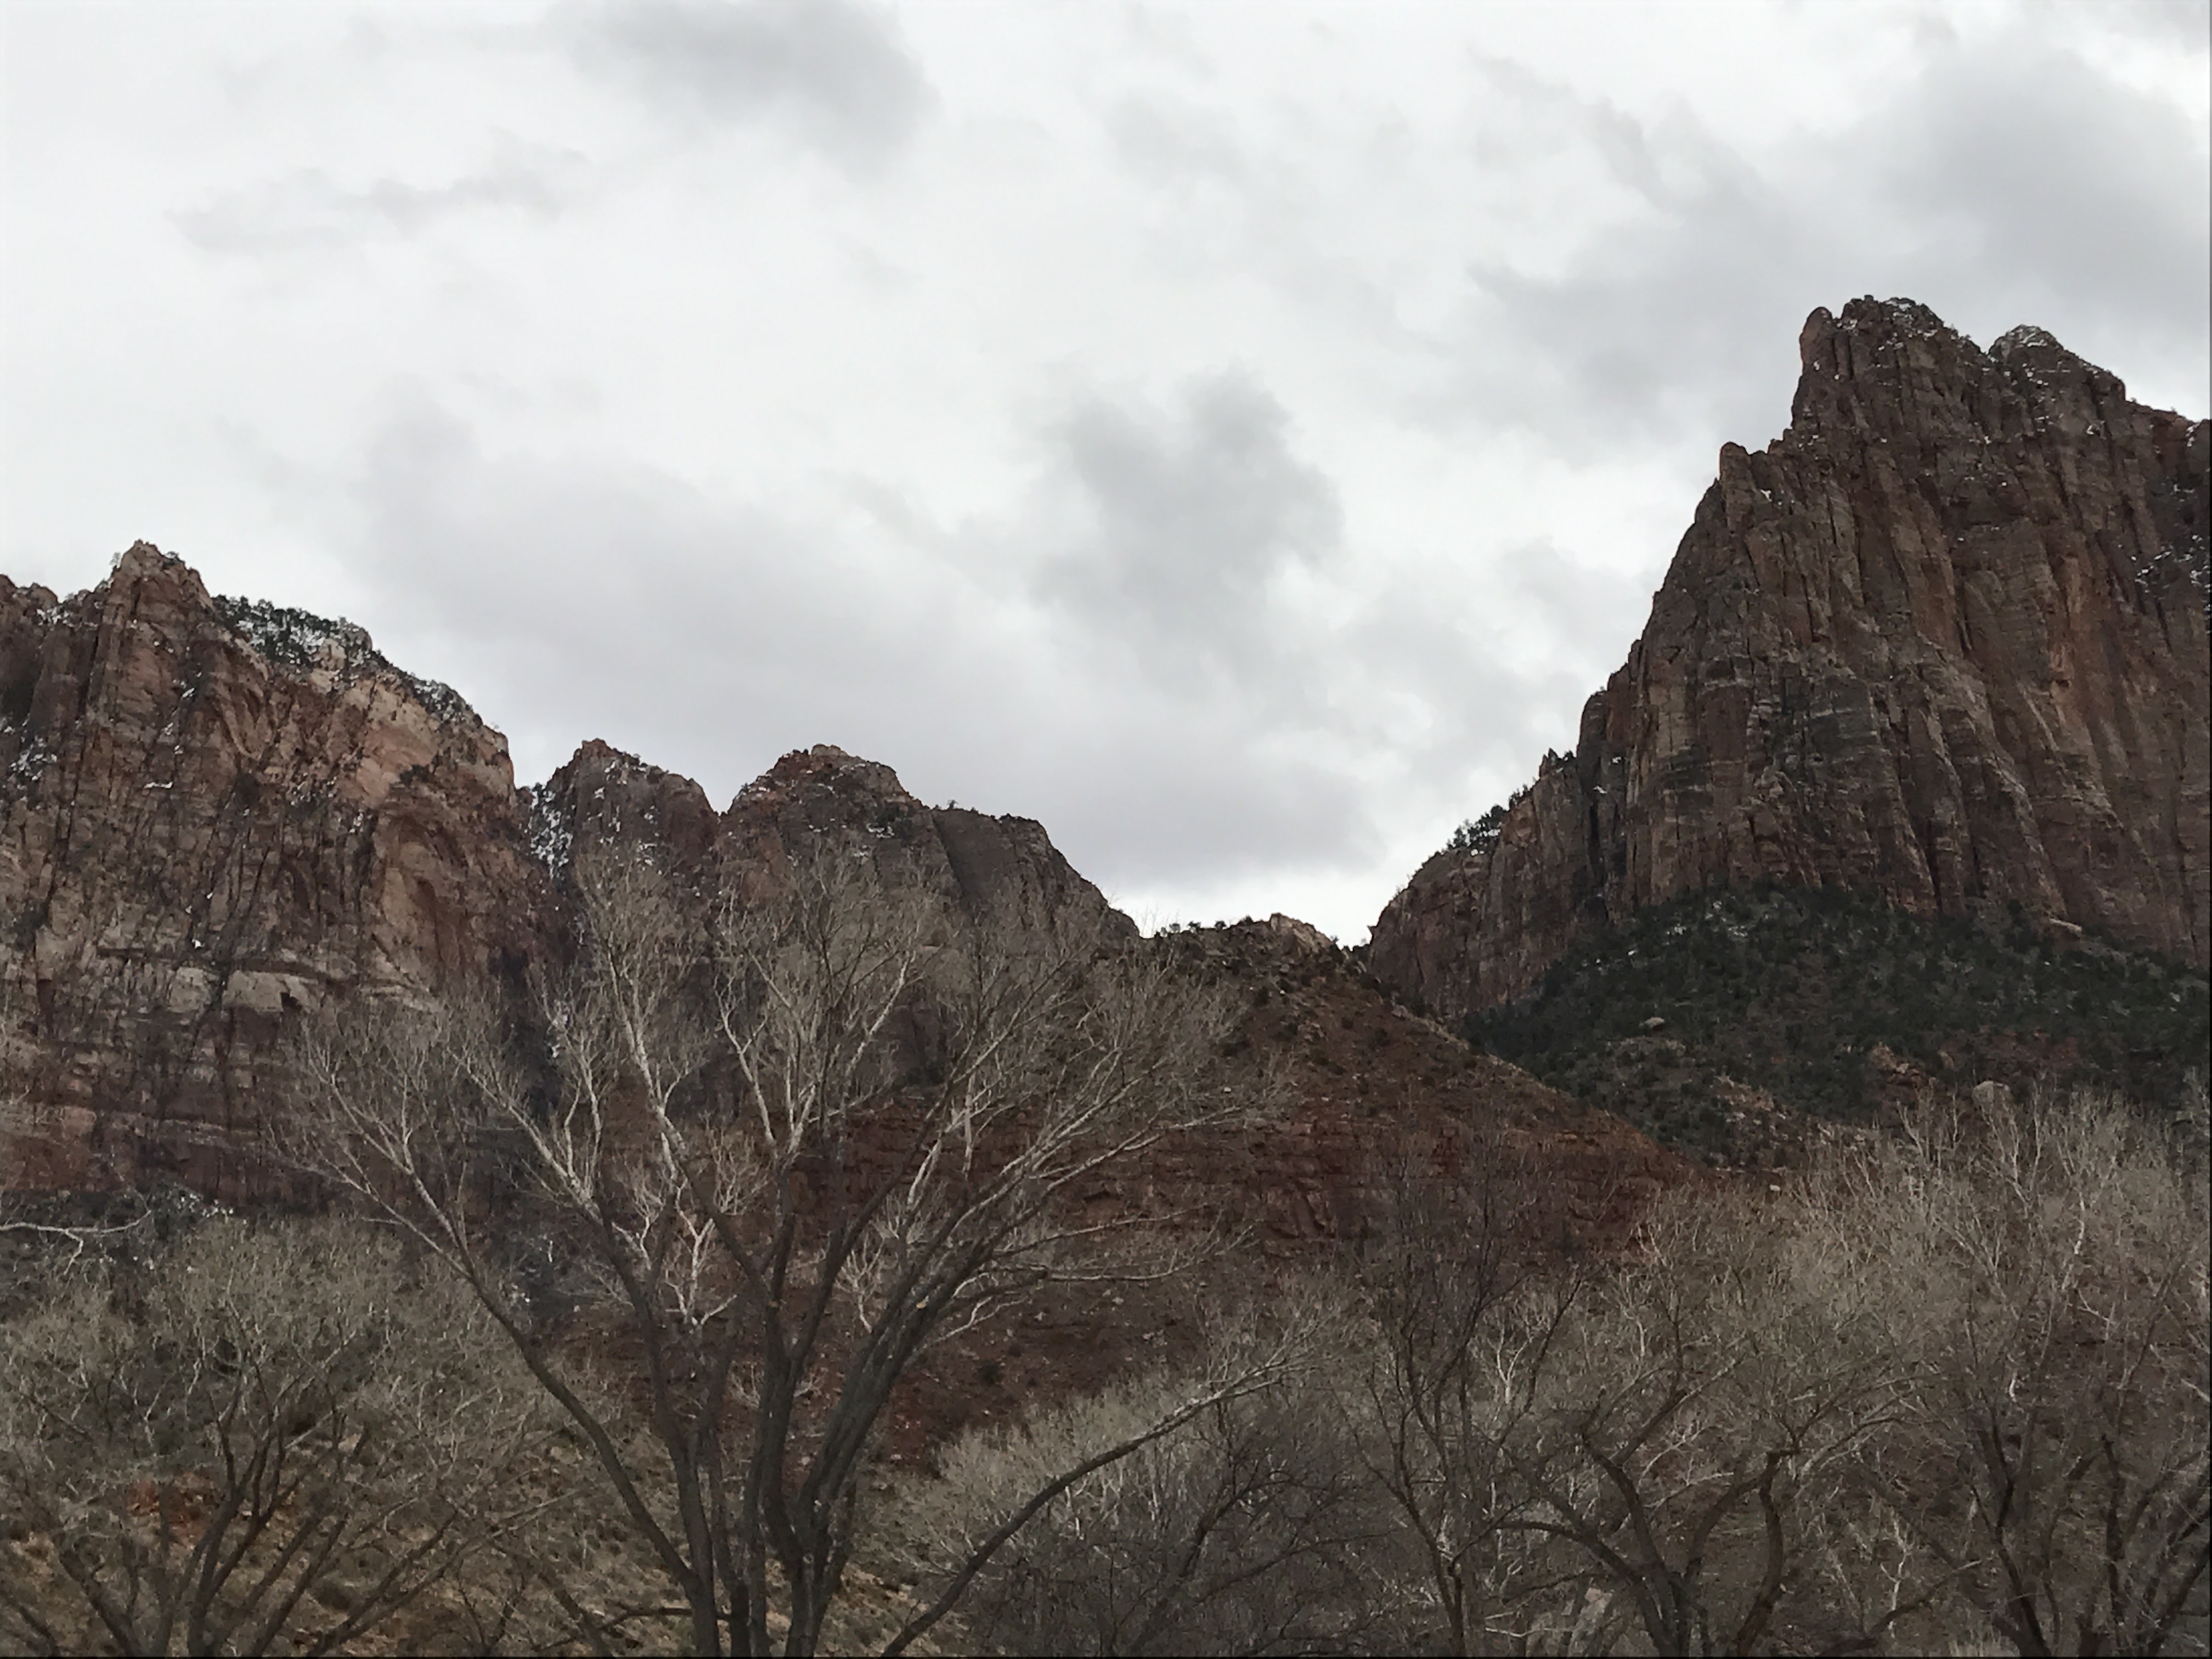
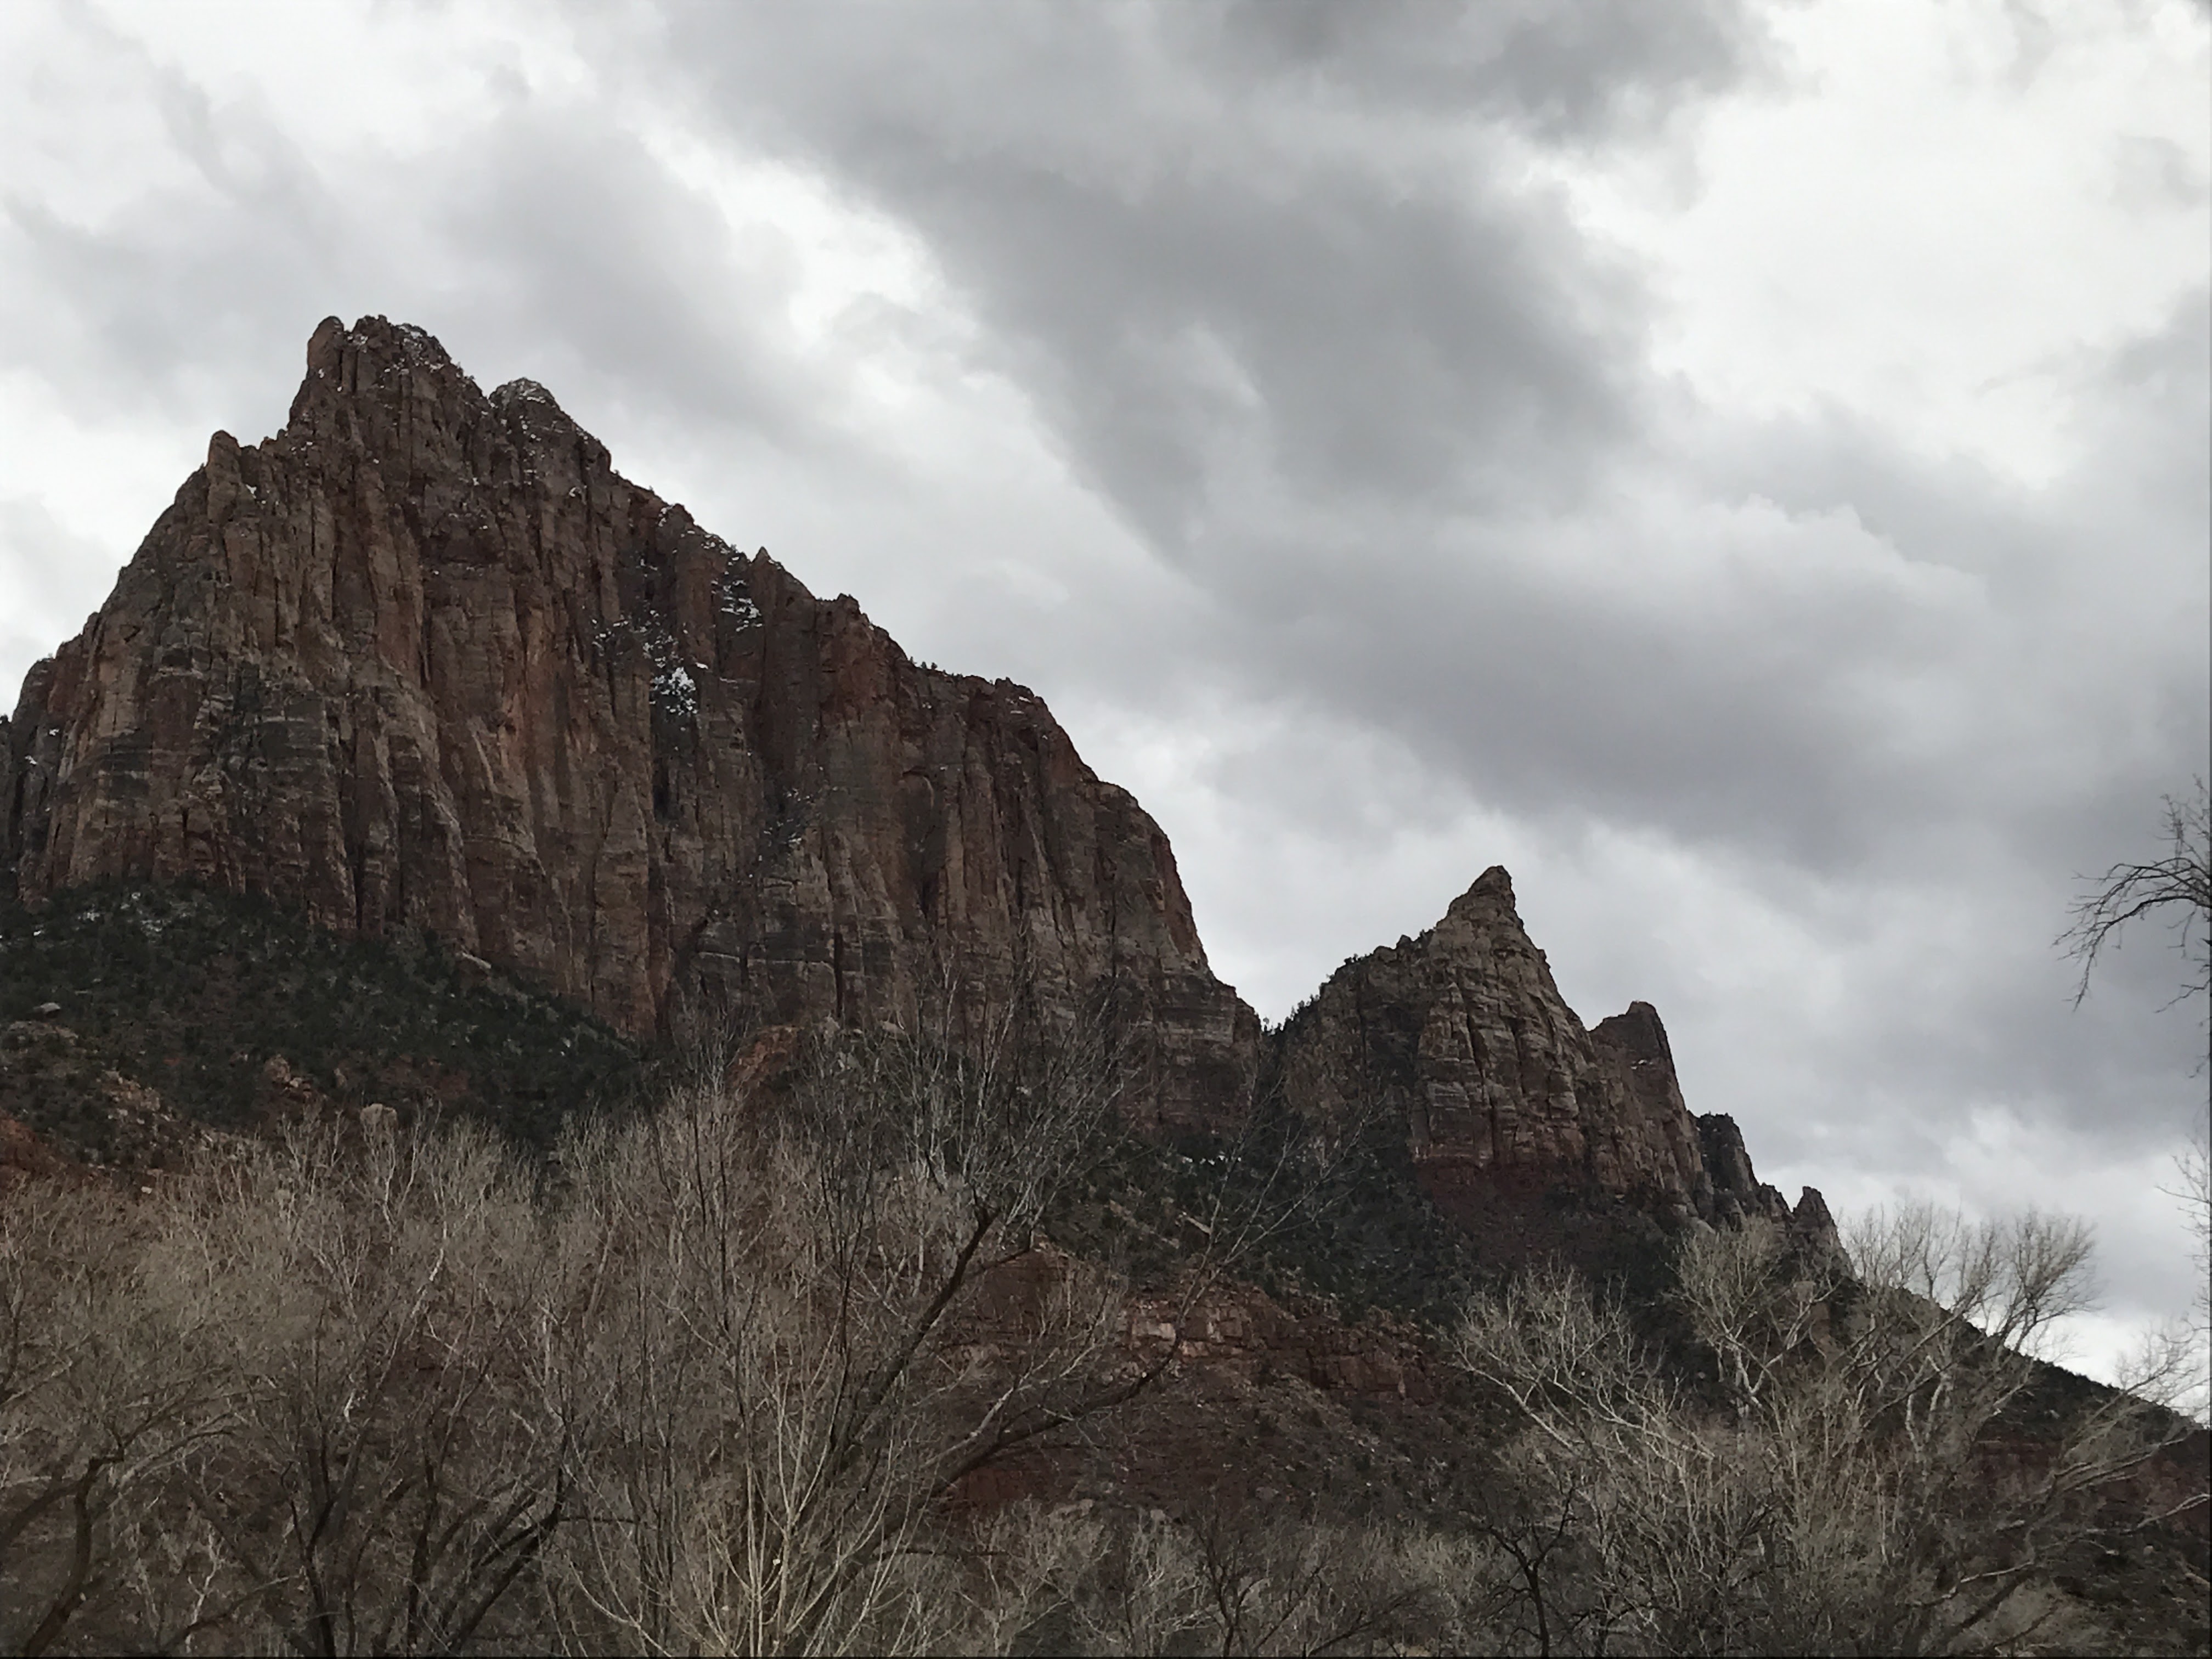
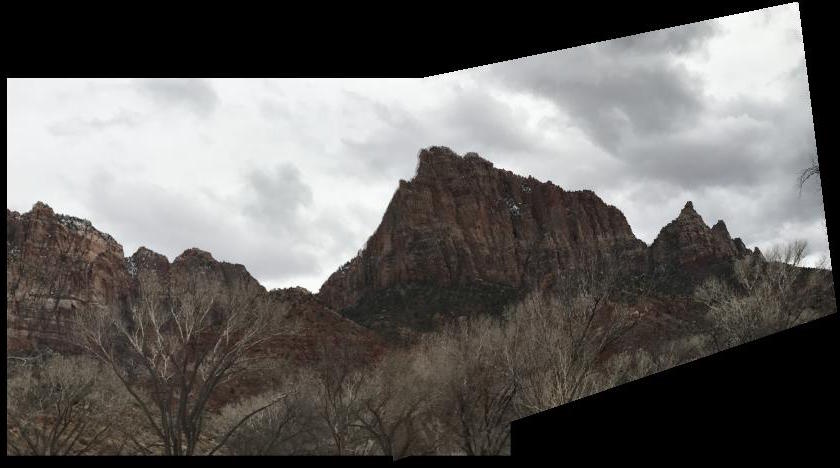
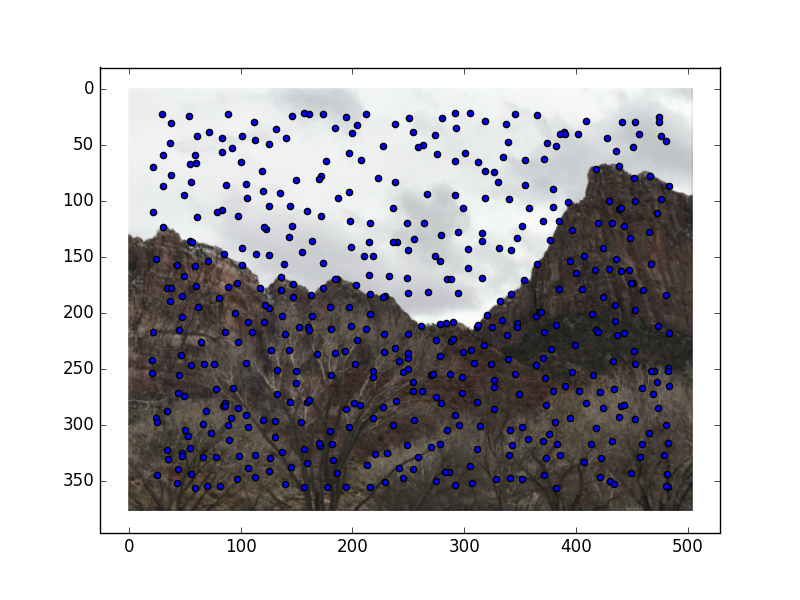
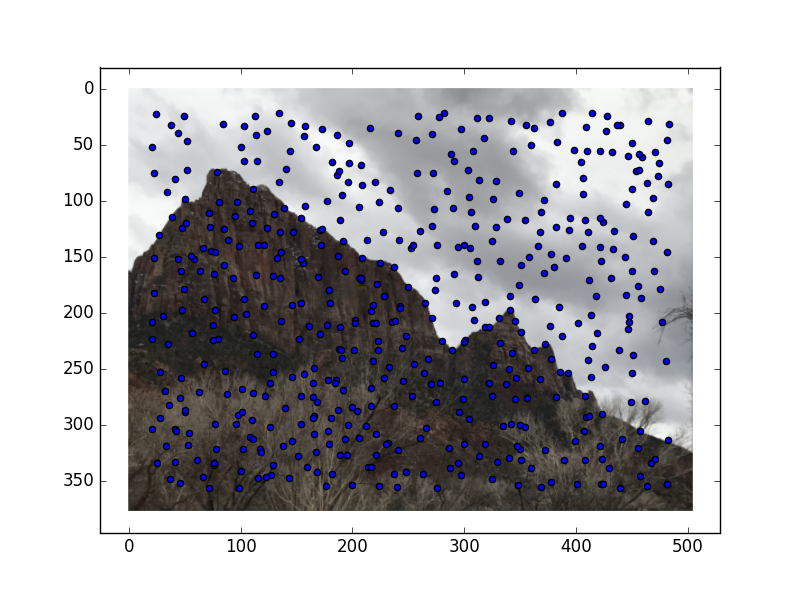
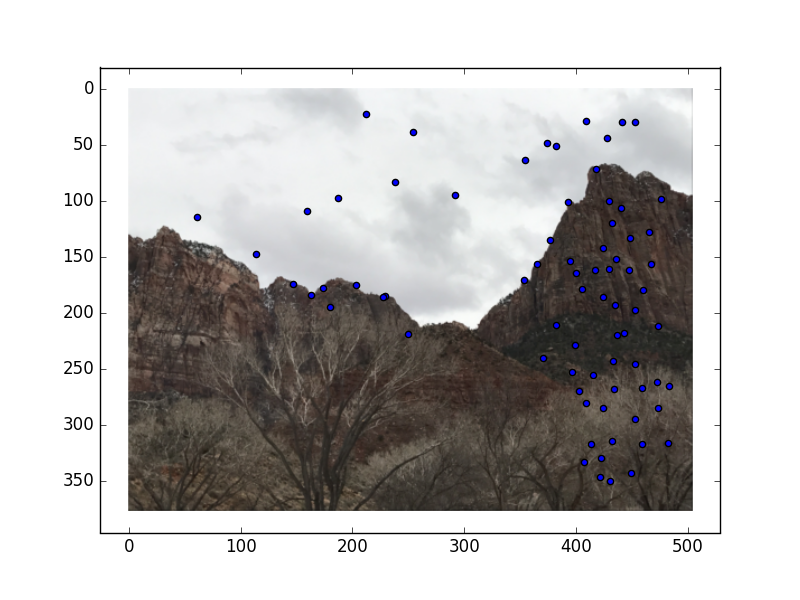
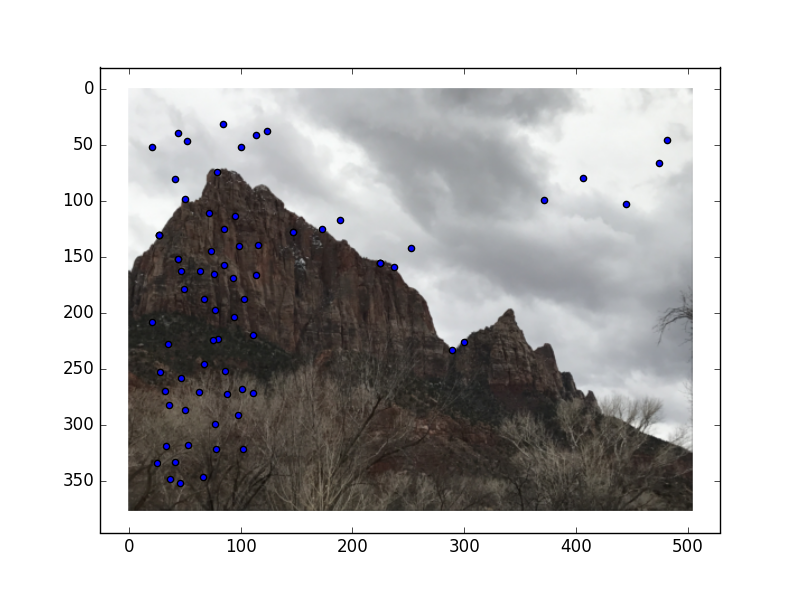
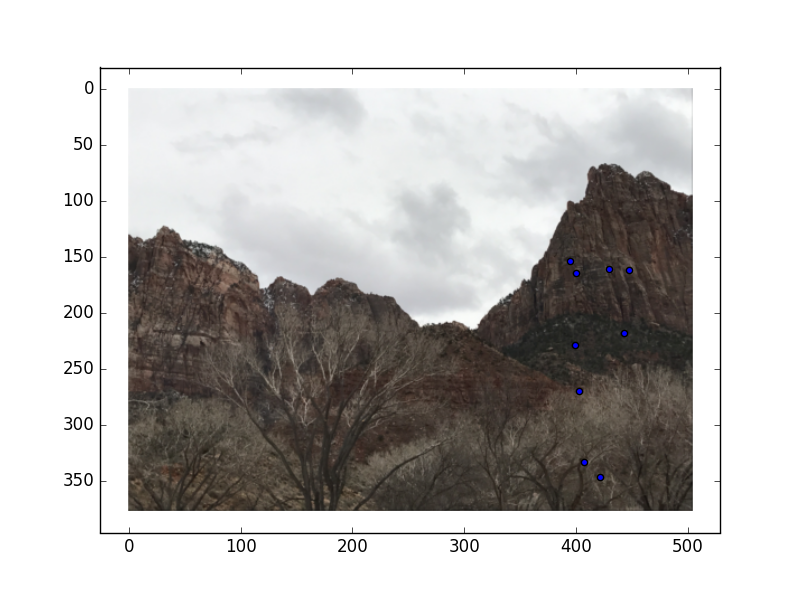
I took these mountain pictures in Utah. The features of the mountain should provide good details to base correspondences off of.
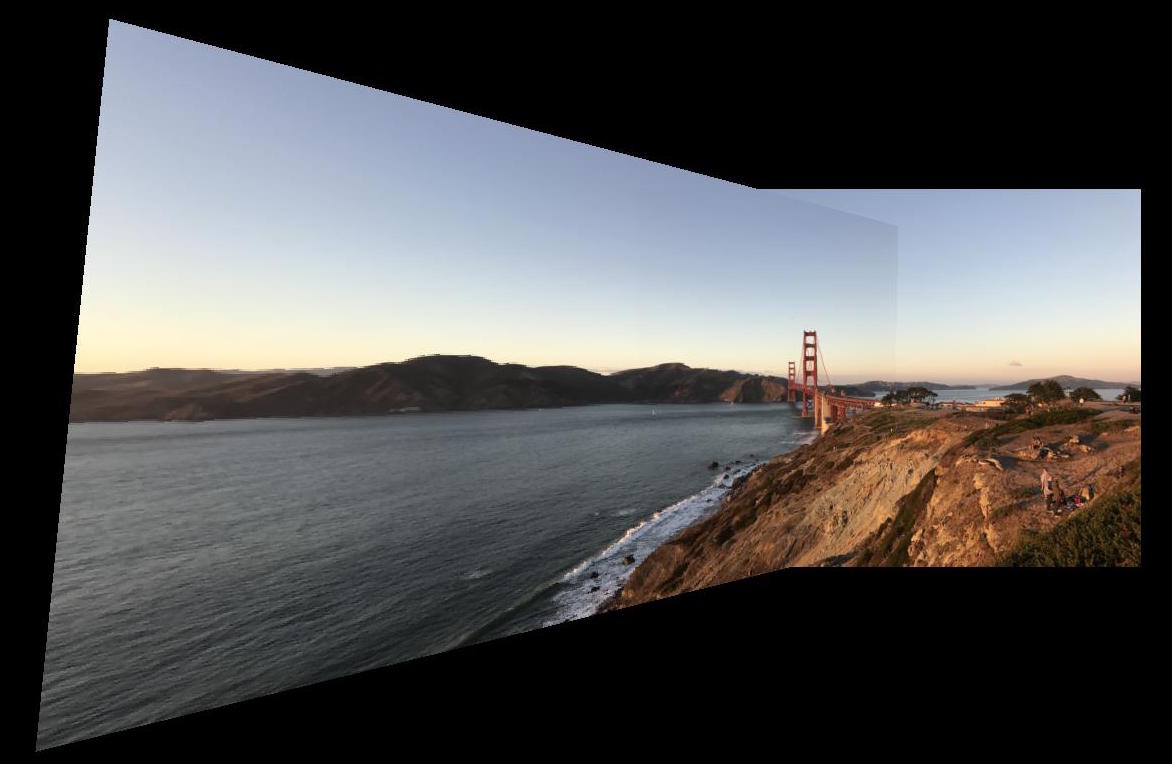
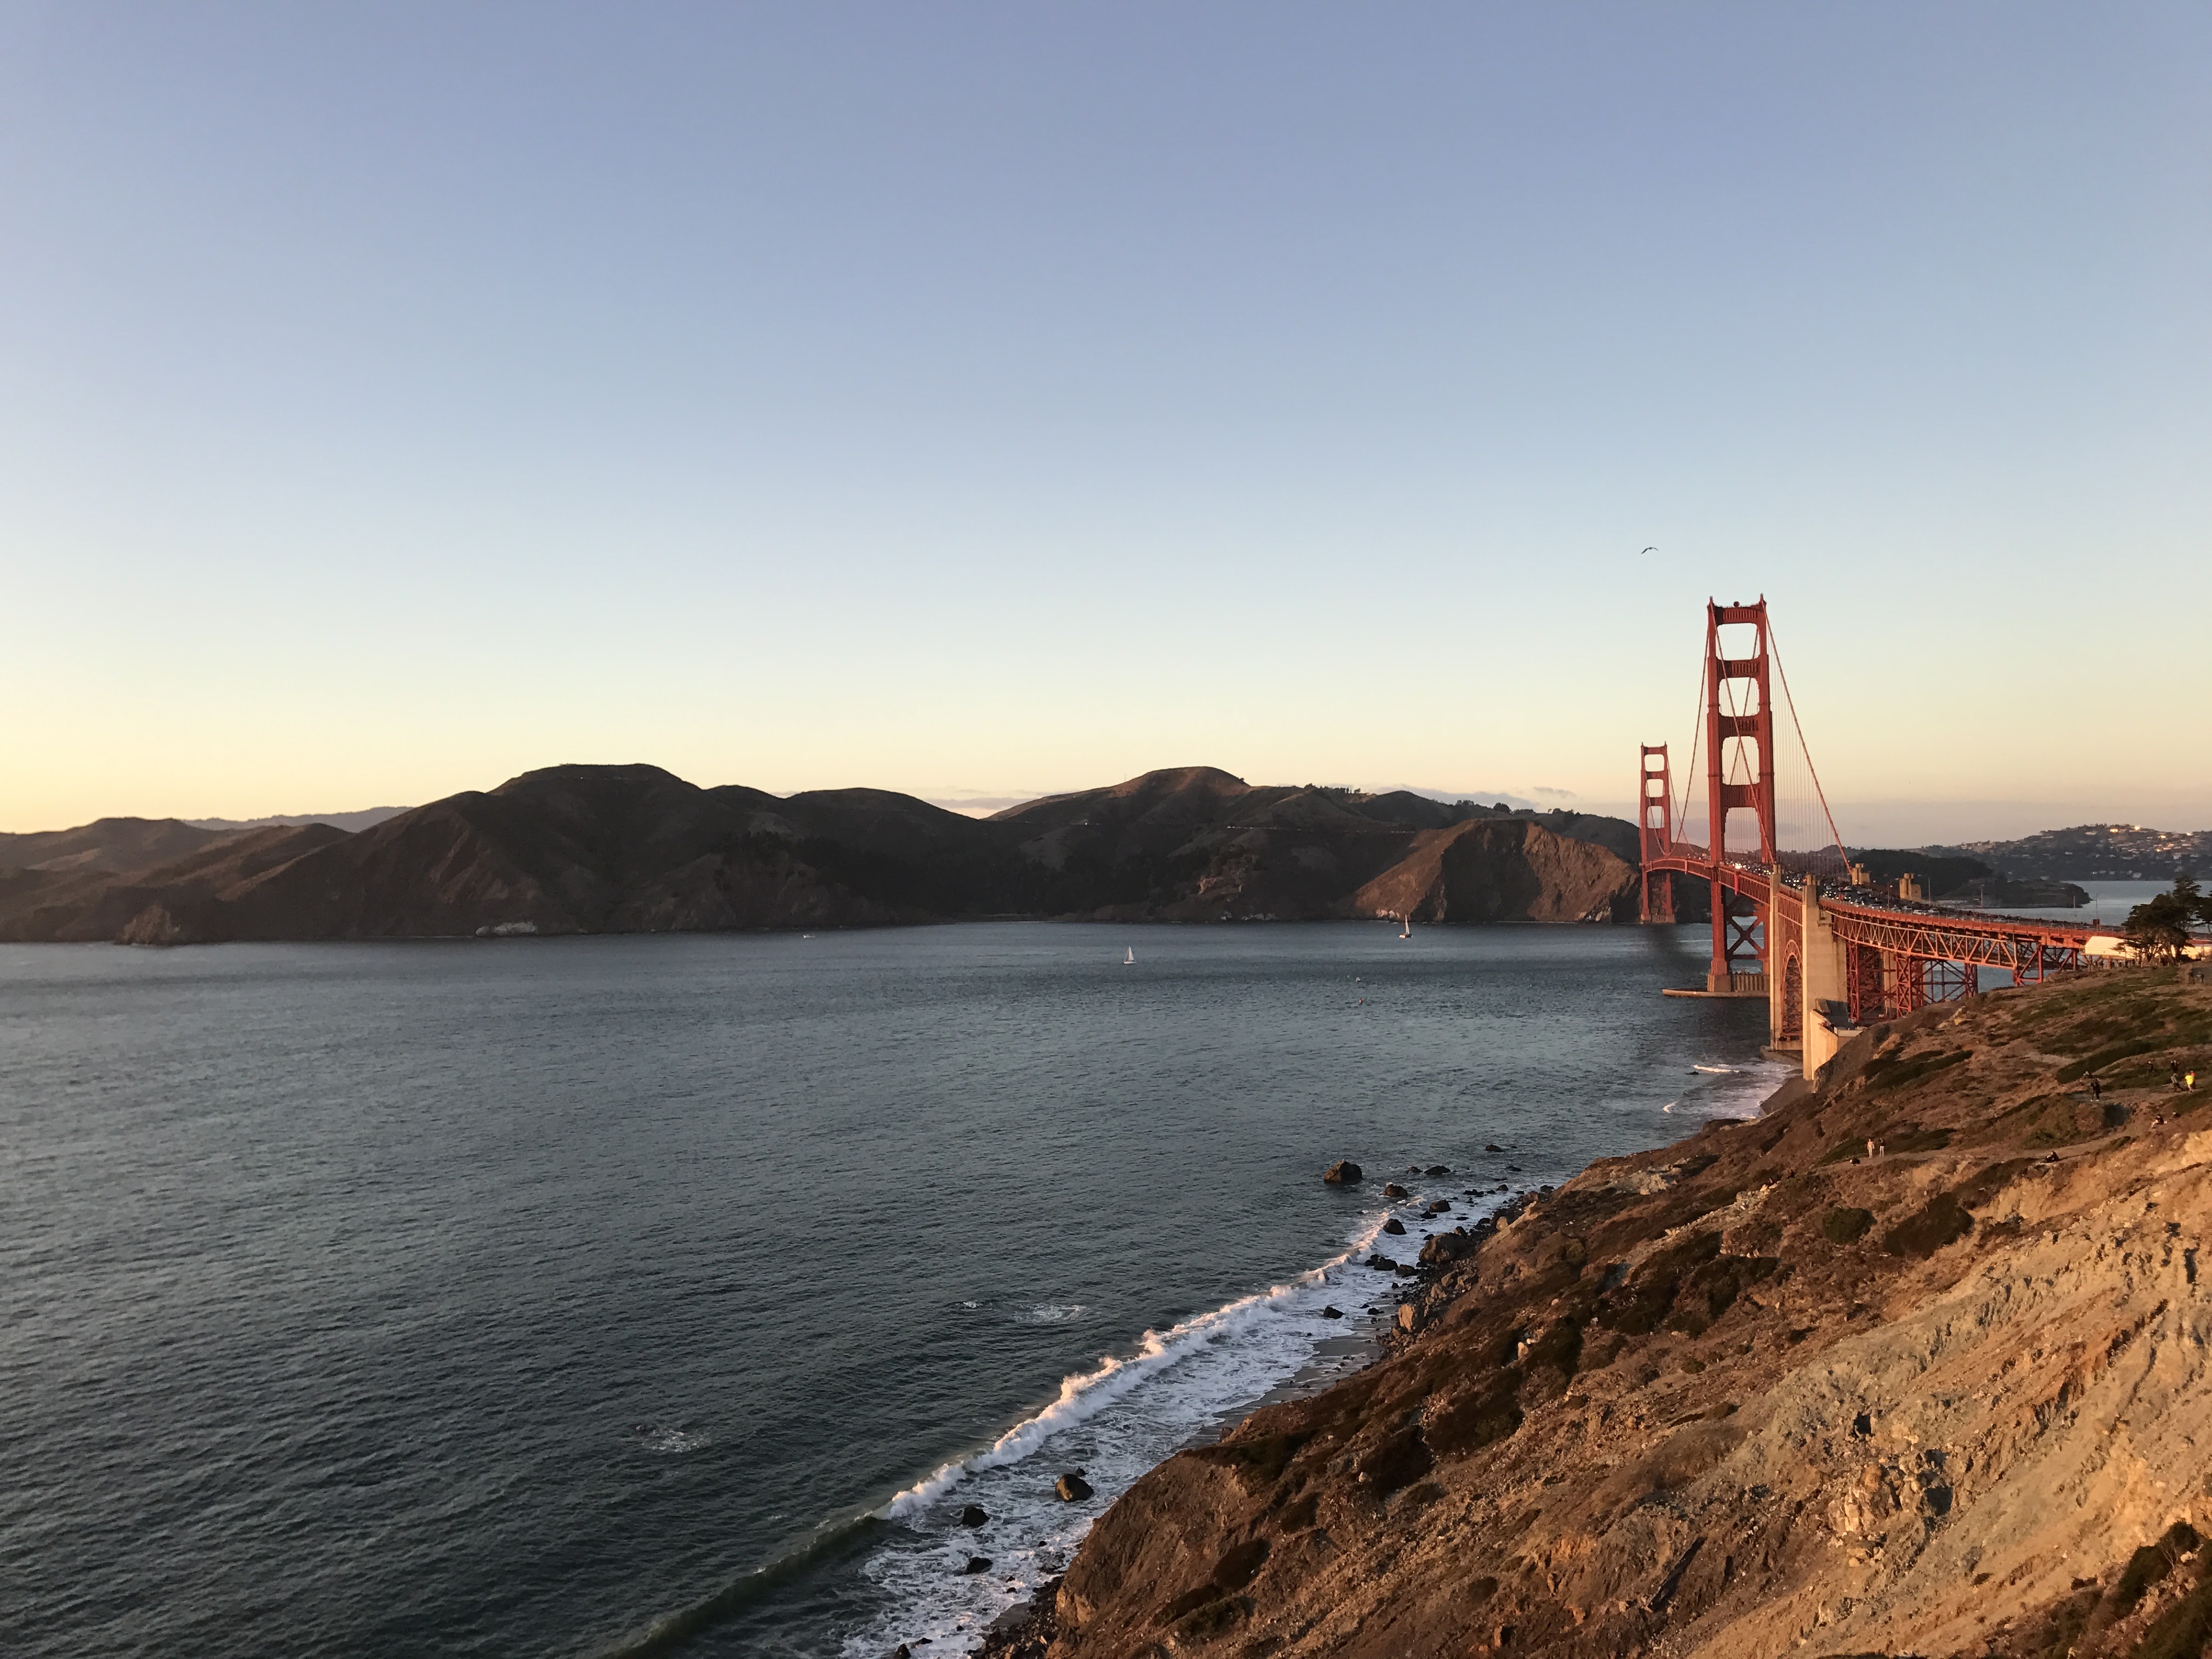
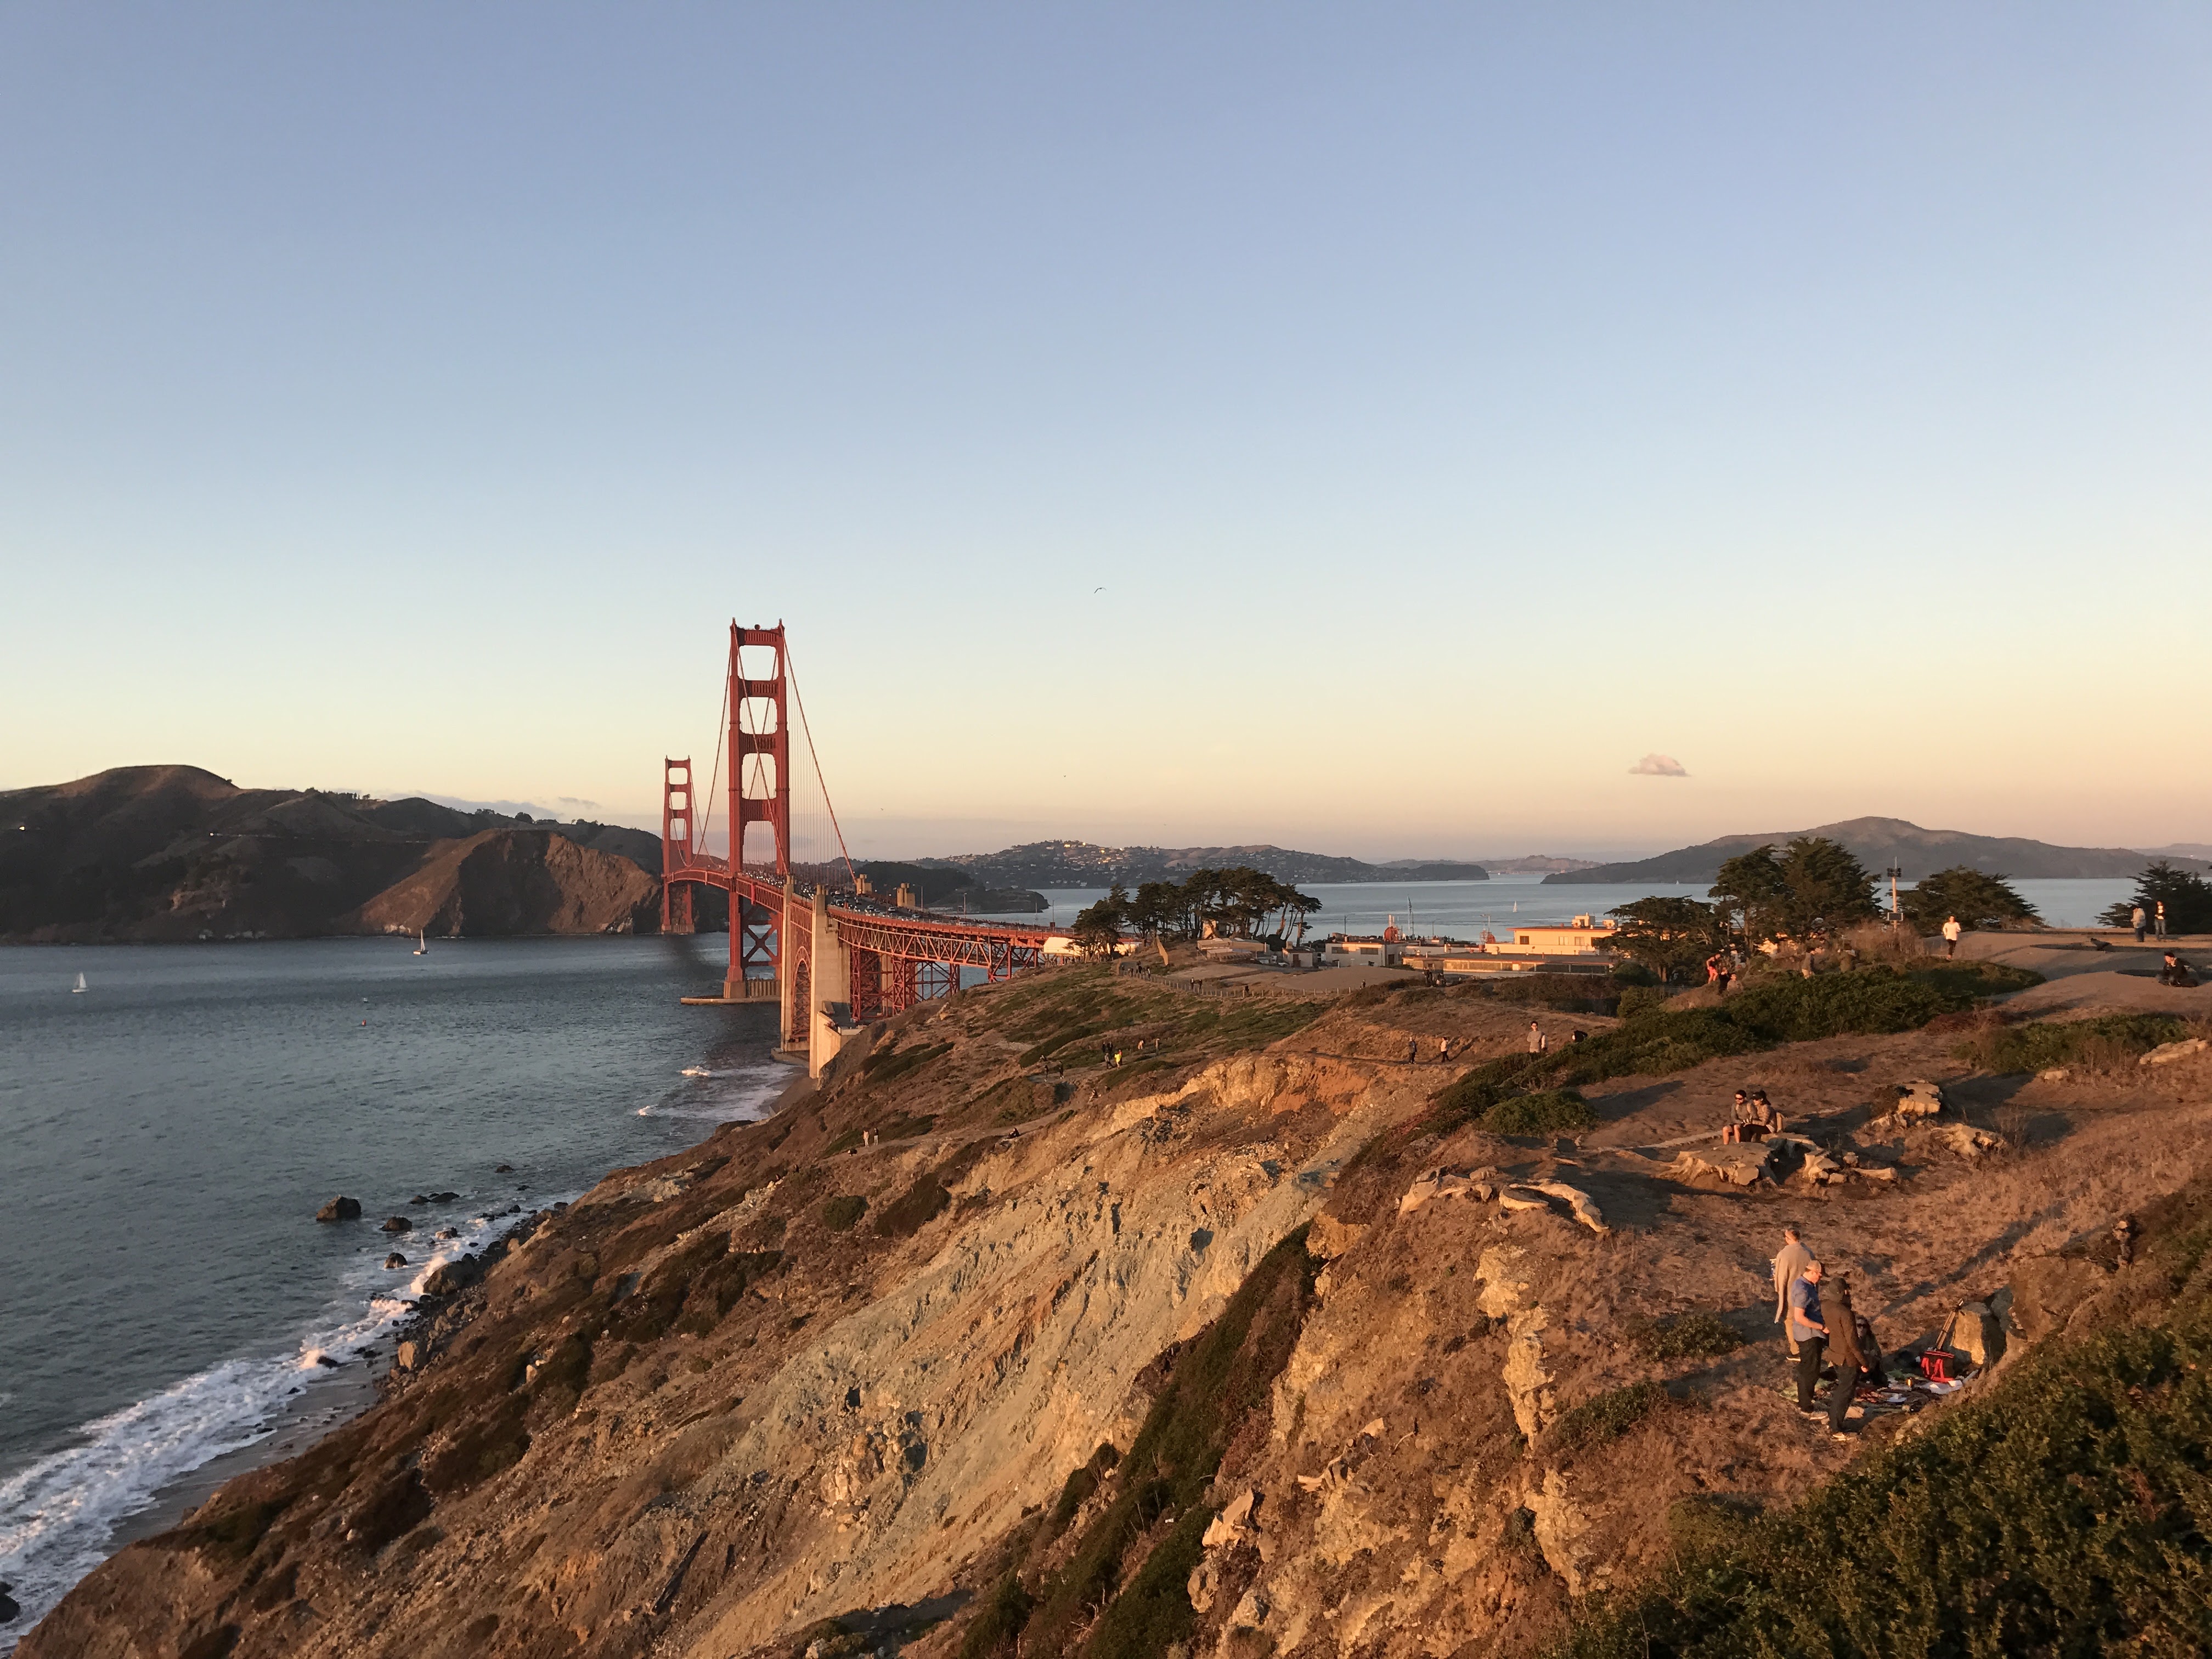
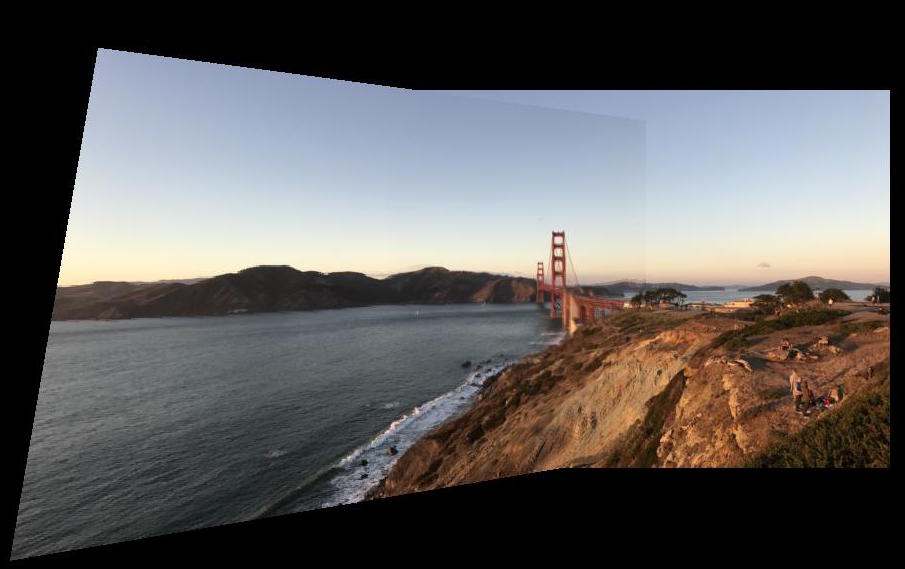
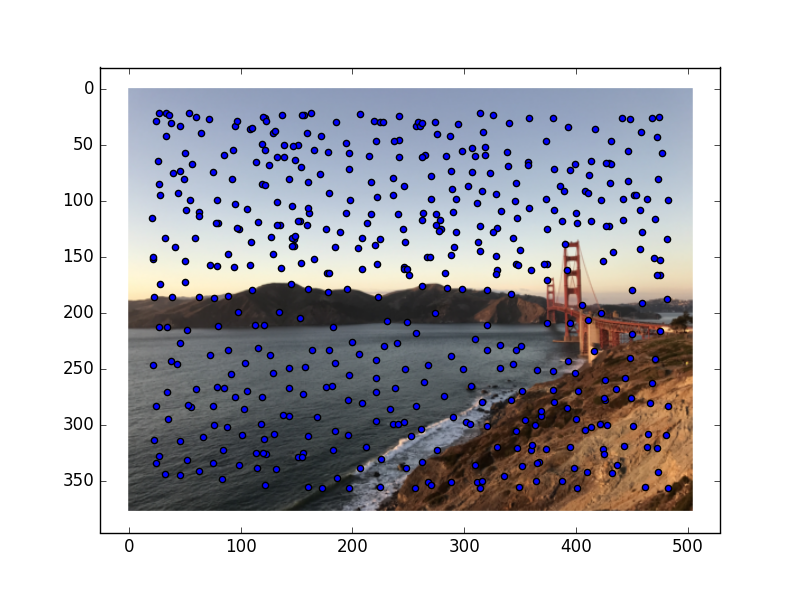
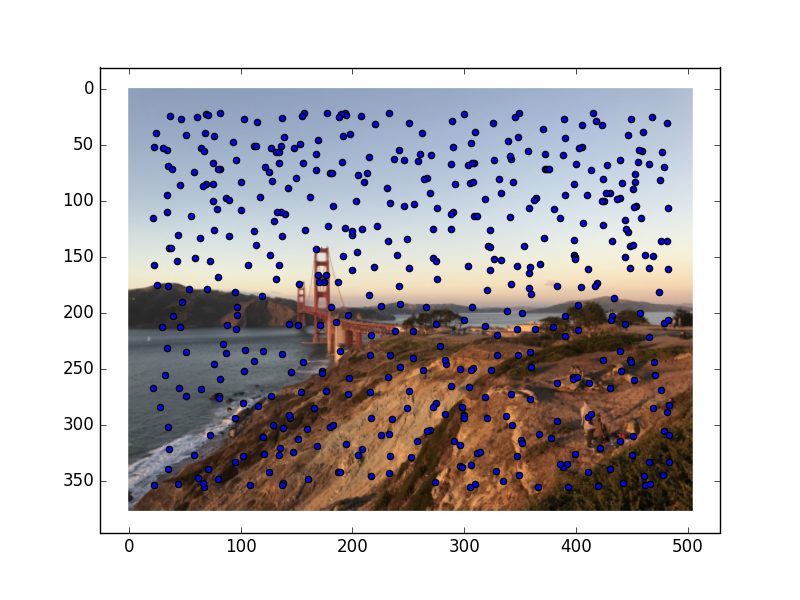
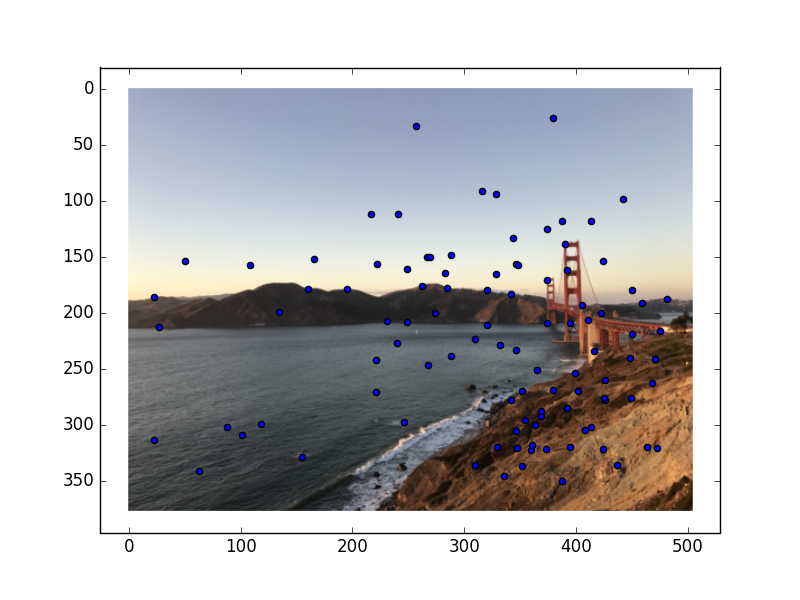
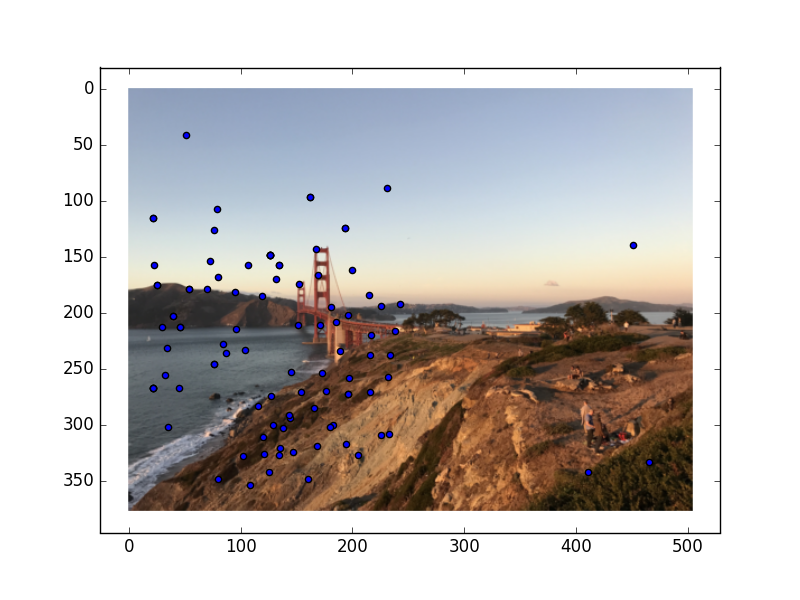
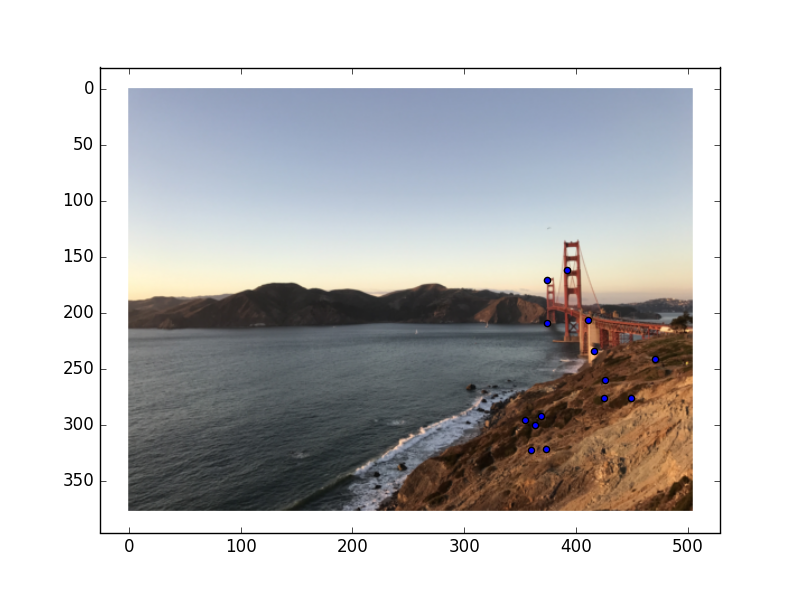
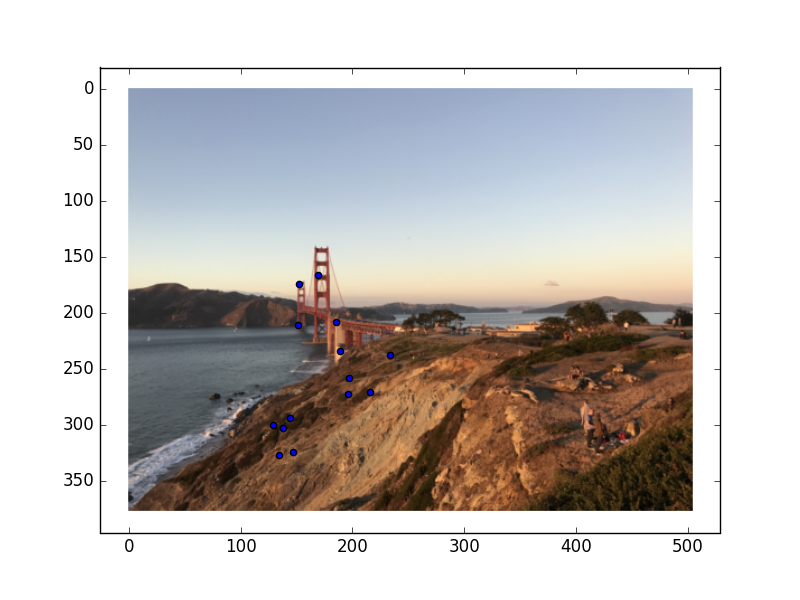
This, as you can tell, is the Golden Gate Bridge in San Francisco.
For this part of the project, we had to compute the homography between the two images. To do this, I chose corresponding points on each image, and then used Least-Squares to find the matrix that would most closely transform the points from image A into the corresponding points from image B.
The next step for this project was using the homography to warp one image so that the corresponding
points aligned. This was done by multiplying the pixels in one image by the homography matrix to
get the resulting warped image.
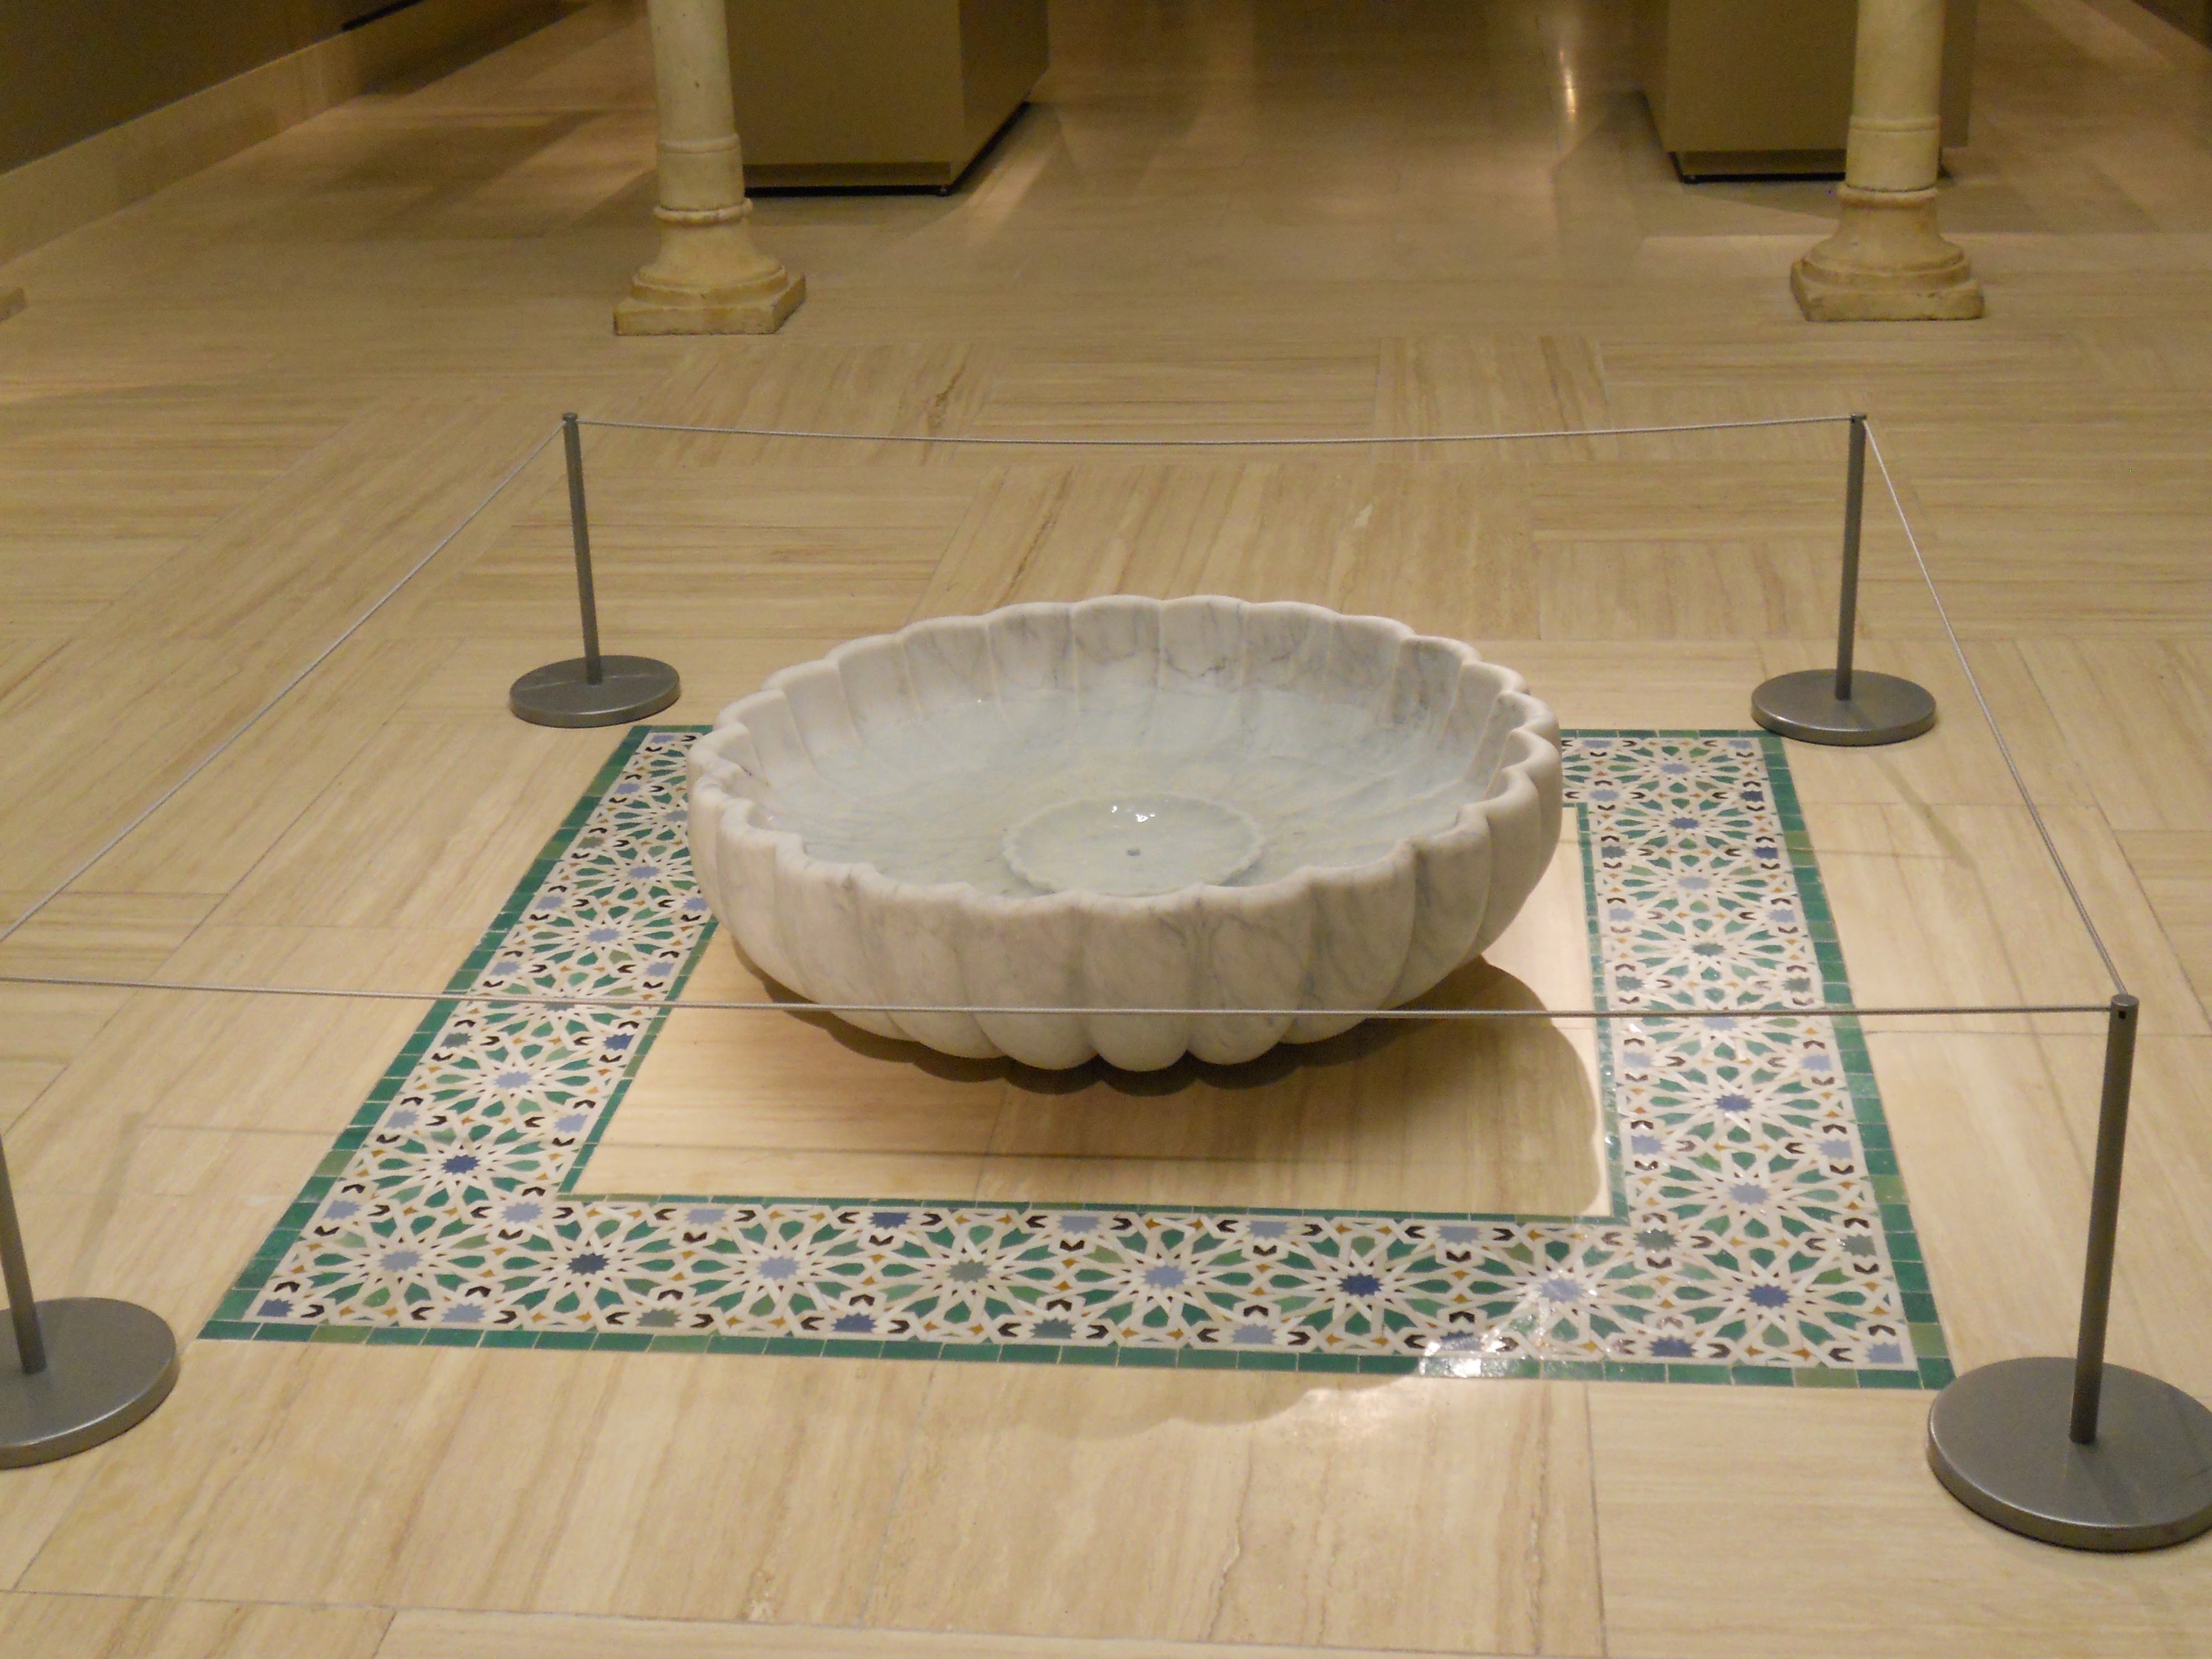
To check that this process was working, I used the following photos (with clear square tiles)
and warped the corners of the tiles to the corner of a square.
The next step for this project was blending the warped images into a panoramic. To accomplish
this, I used the already calculated correspondences to determine how much to shift the warped image.
Then, after the warped image was shifted, I used an alpha channel with linear feathering to blend
the aligned images together, setting
alpha to be one at the center of the image and decreasing until it reaches 0 at the edges of the images.
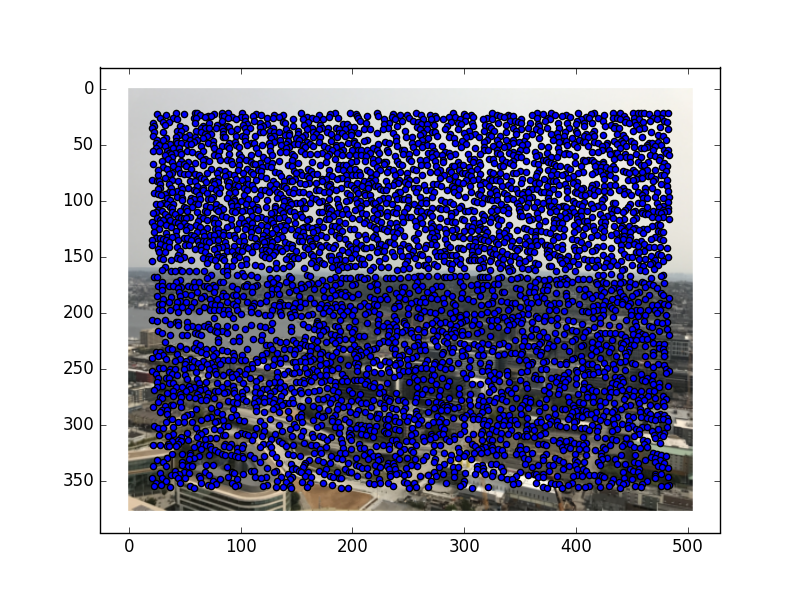
The first part of this project was to detect the Harris corners. This part was implemented for us. Below are the Harris corners overlaid on the original mosaic photos.

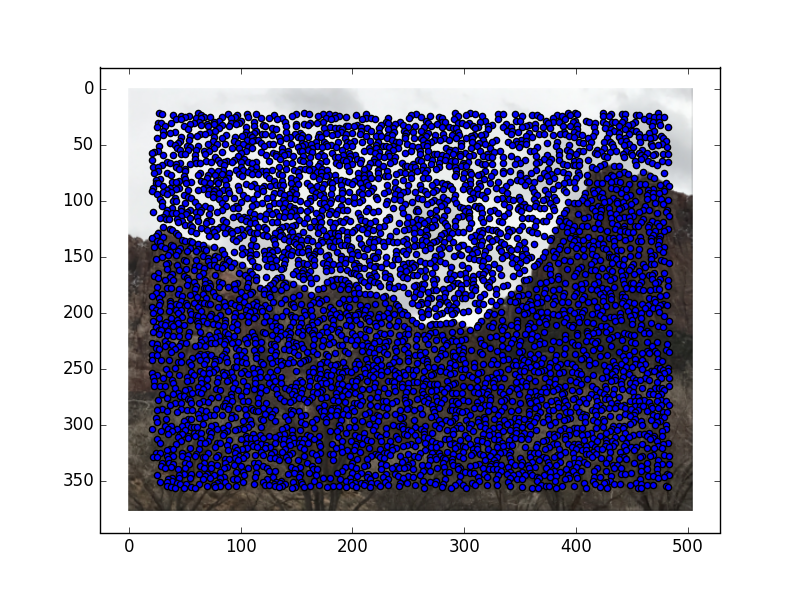
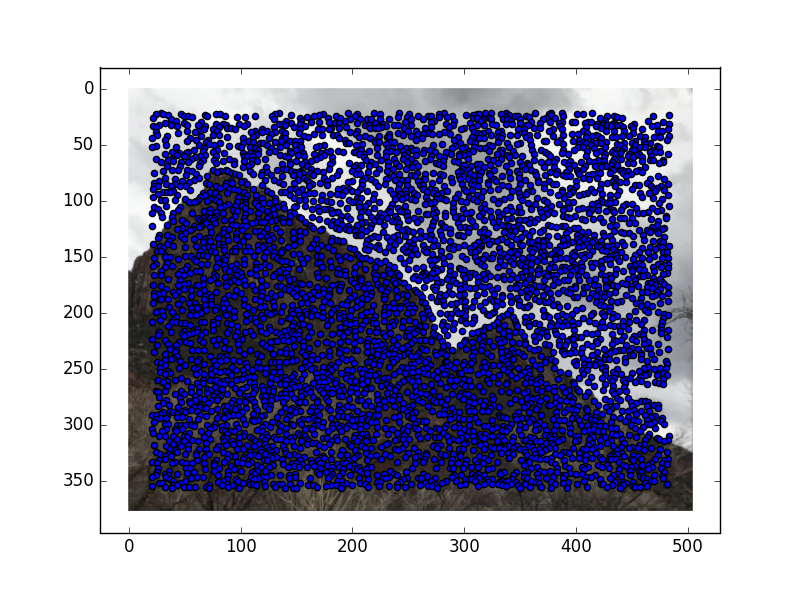

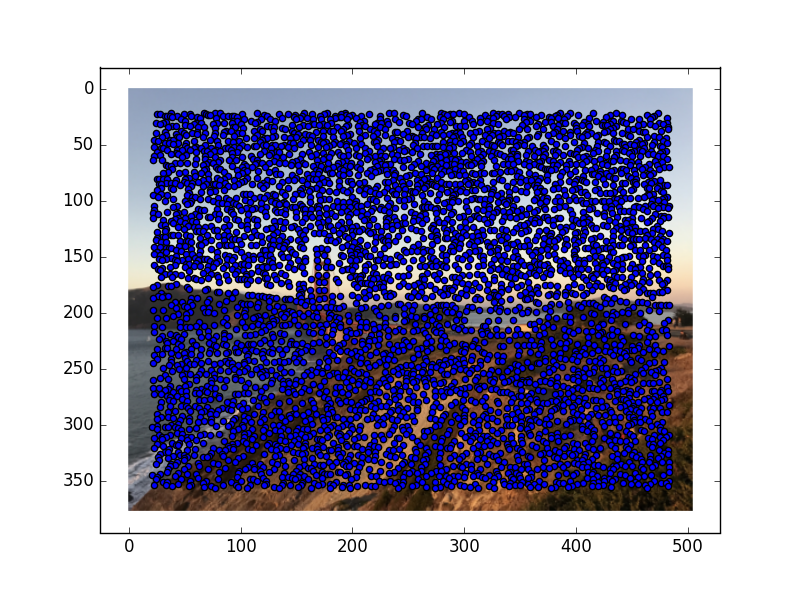
As you can see, this resulted in a lot of points. To filter the points to get a smaller and more useable set, we strategically picked what corners would be the best to keep. To pick the best corners, I implemented Adaptive Non-Maximal Suppression, or ANMS. I calculated r_i for each corner, where r_i is the suppression radius for that corner (defined in the MOPS paper). I then took the 500 points with the highest suppression radii (equivalent to starting the suppression radius at infinity and decreasing until you have 500 points). Here are the resultant corners I kept for each image:
Now that we have the desired interest points, the next step was to describe the features for each point in a way that would be unique. To do this, I used the 40x40 pixel square around each interest point, blurred them to be 8x8, and normalized these squares.
Now that I had feature descriptors, I matched the features between the images. To find
a feature match, I found the two features from the other image that have the smallest distances
(where distance is defined in dist2),
and considered the original feature and the feature with the smallest distance to be a match if the
ratio of the two smallest distance features is less than the threshold, which I kept at .6.
Here are the points that remained:

Now that we have a set of possible corresponding points, it is time to compute the transformation
to warp one image to the other. To do this, I implemented Random Sample Consensus, or RANSAC.
I picked a random set of 4 points, computed the homography between the two sets of 4 points, and
then computed the "inliers" under this homography, or the points that got correctly mapped under this
transformation. After figuring out which homography had the largest amount of inliers, I used this
homography to warp all points in the image.
Here are the inliers for each set of images:

At this point, we use the homography to warp the image in the same way as part A, and follow
the same steps to blend the images into a panoramic!
Below are the manually stitched panoramics (left) next to their automatically-rendered counterparts (right):