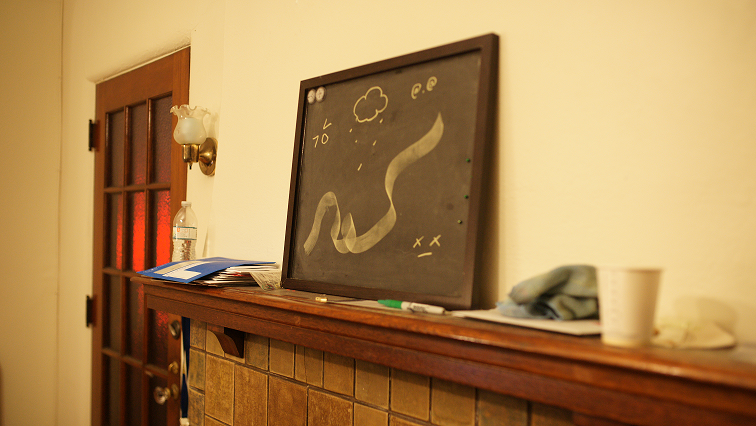

Original and Rectified to chalkboard
In the project, I use homographies to warp images and create mosaics.
By using a homography, we a project set of points onto a another. In order to warp the images we have, we must first solve for the homography matrix H, by setting up a system of equations using 2 sets of points which correspond to each other. We then solve using least squares for our matrix and reshape. To rectify images the following, I compute the homography from a set of four manually select points to another set that defines some rectangle. I then specify the points in the boundary I am going to warp, and multiply those with inverse of H. After some simple calculations, I get the points from the original image, which I can then use to get the correct colors into the newly warped image.
Original and Rectified to chalkboard
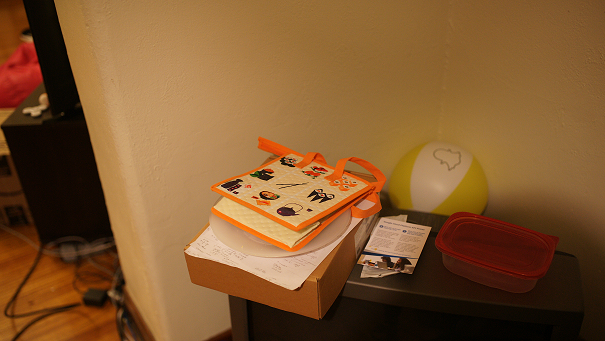
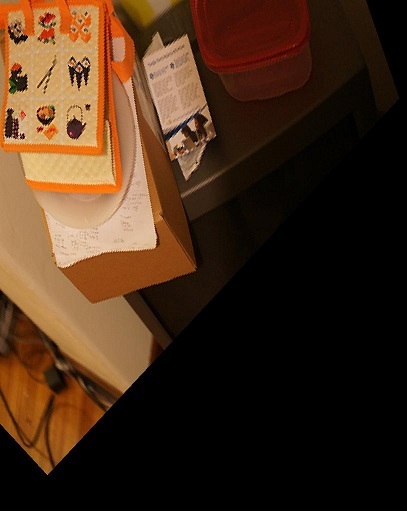
Original and Rectified to Lunchbag
We produce mosaics by taking photos of the same scene from the location but facing towards different directions, which some overlap between the pictures. Then we can warp and blend the pictures together. First we specify a center image, and warp the other image(s) towards that image. Then we figure out which parts of the warped and centered images overlap. Each unwarpped image has an alpha channel associated with it, where the center column is set to 1 and falls off linearly to 0 at the edges. If there is no overlap, then we just take the pixel values from the correct source. If there is overlap, then we take the alpha values at that pixel location. Then normalize them so they sum to 1 and apply the new alpha values to the pixel values at the respective source images, and use this value for the blended image. Any other pixel is set to zero, and we have a blended mosaic.
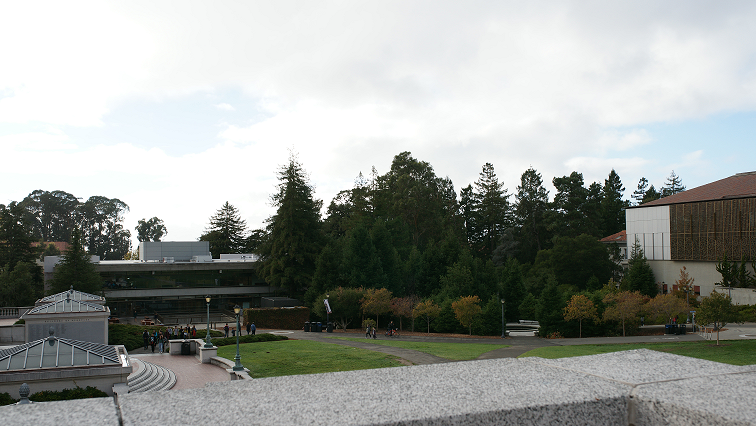
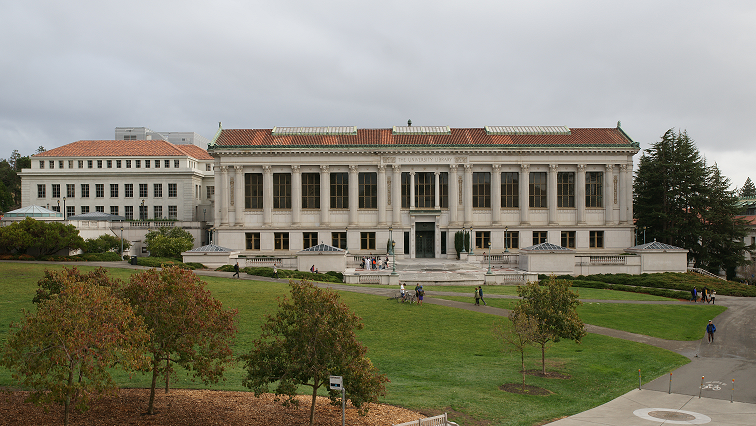
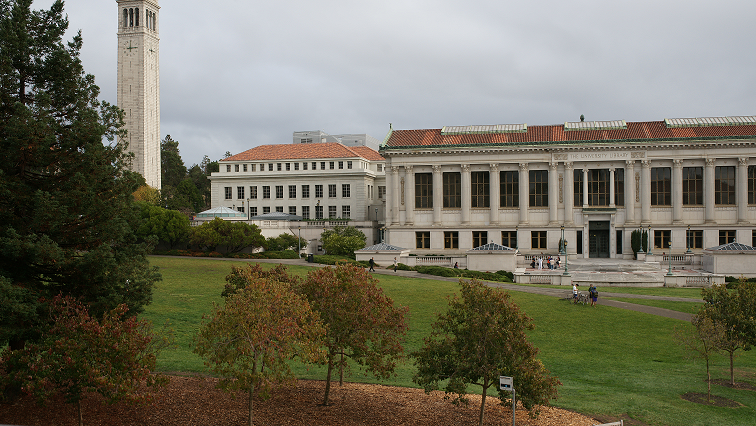
Original Images
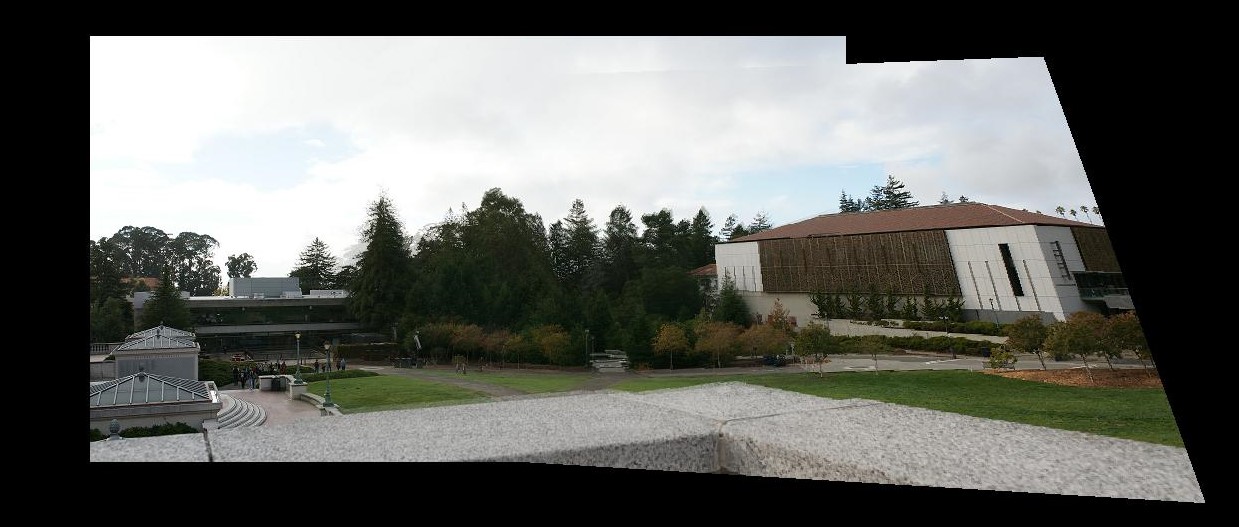
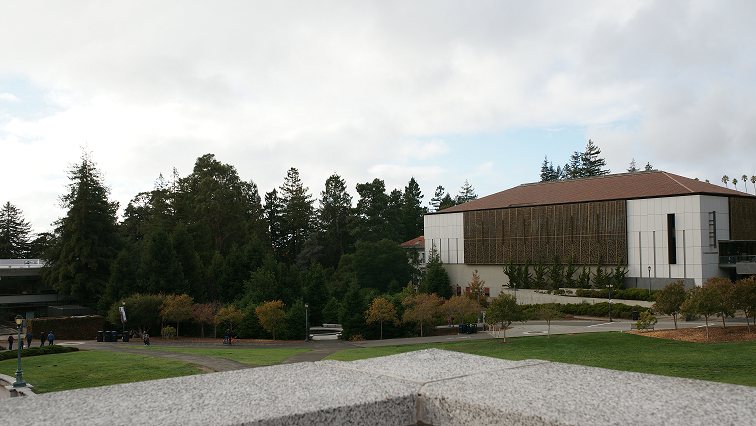
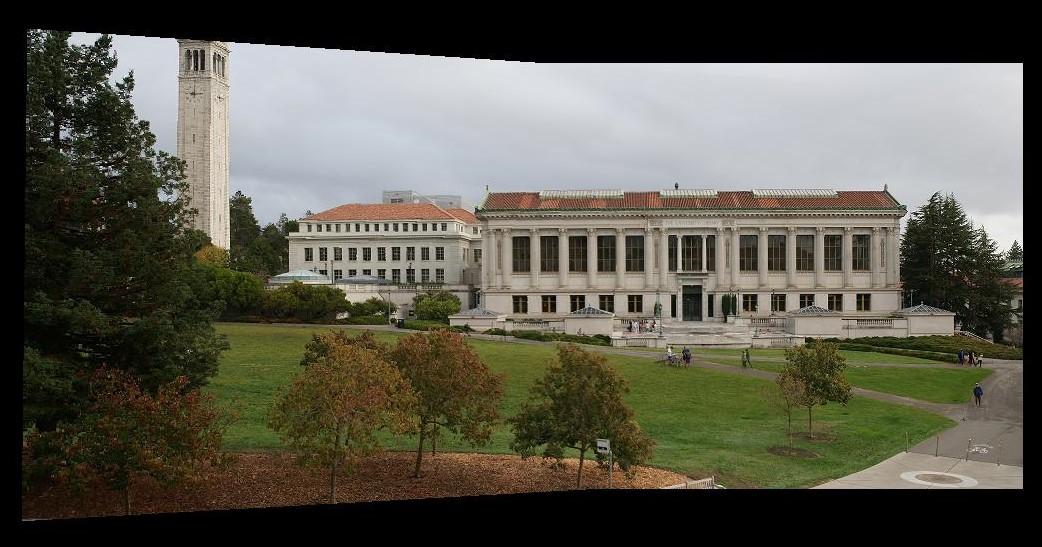
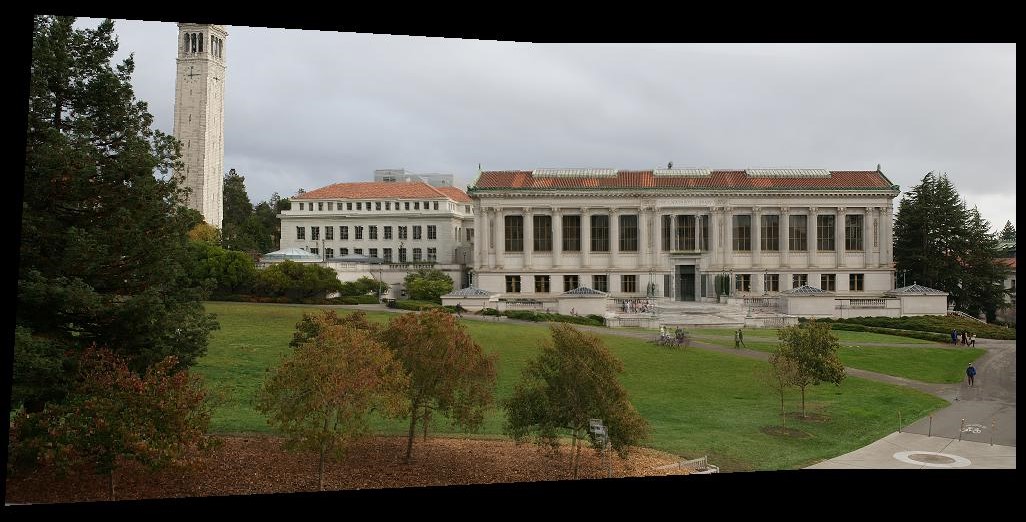
The View from Doe Library

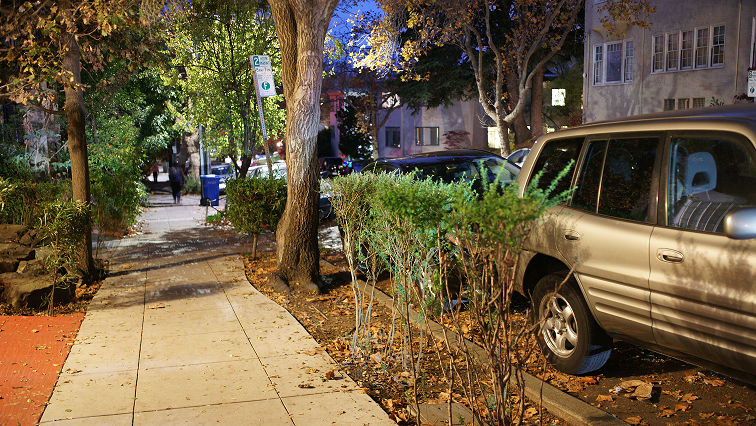
Original Images, Street near my apartment
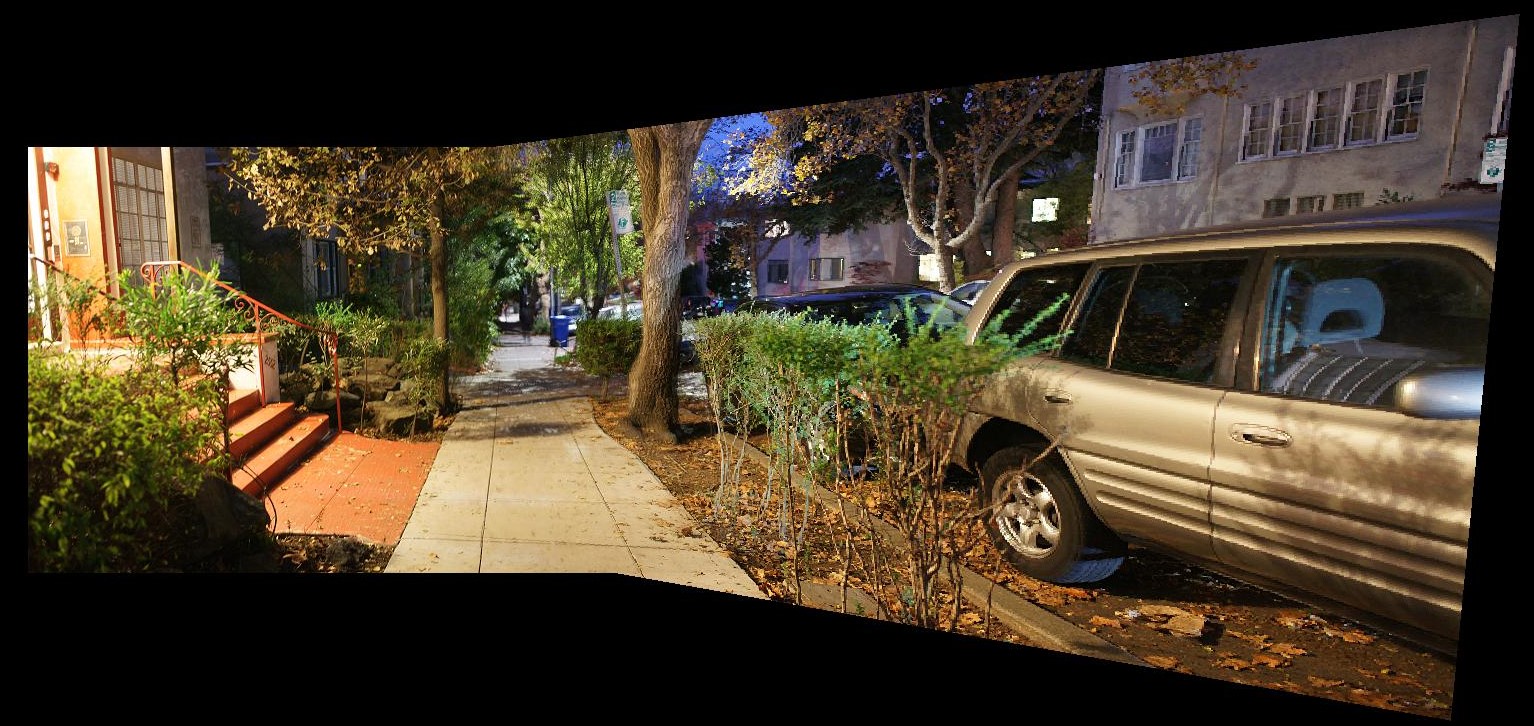
Street
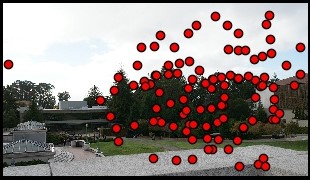
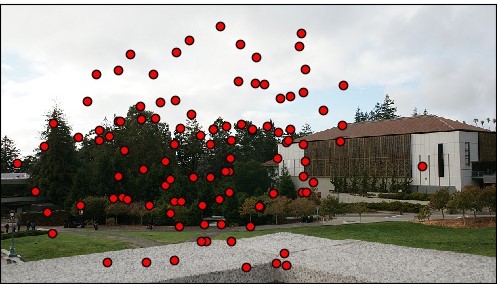
Here we have our detect corner features using the given starter code to detect harris corners. Since there is an awful lot of them, we limit the amount of points we find while also keeping a fairly even spatial distribution by using ANMS. Essentially, for each point, we compare it to every other point such that ri = min |xi-xj|, s.t. f(xi) is less than 0.9*f(xj). If this condition is met, we set r to be the distance from xi to xj if it is less than r, then associate this value with this point xi. Then we can sort our points by their r values and keep the points with the 500 r values.
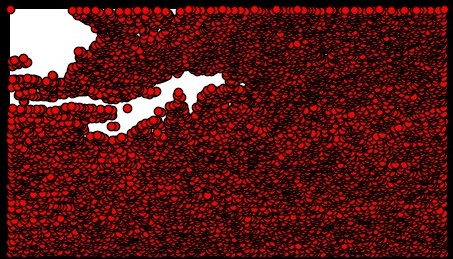
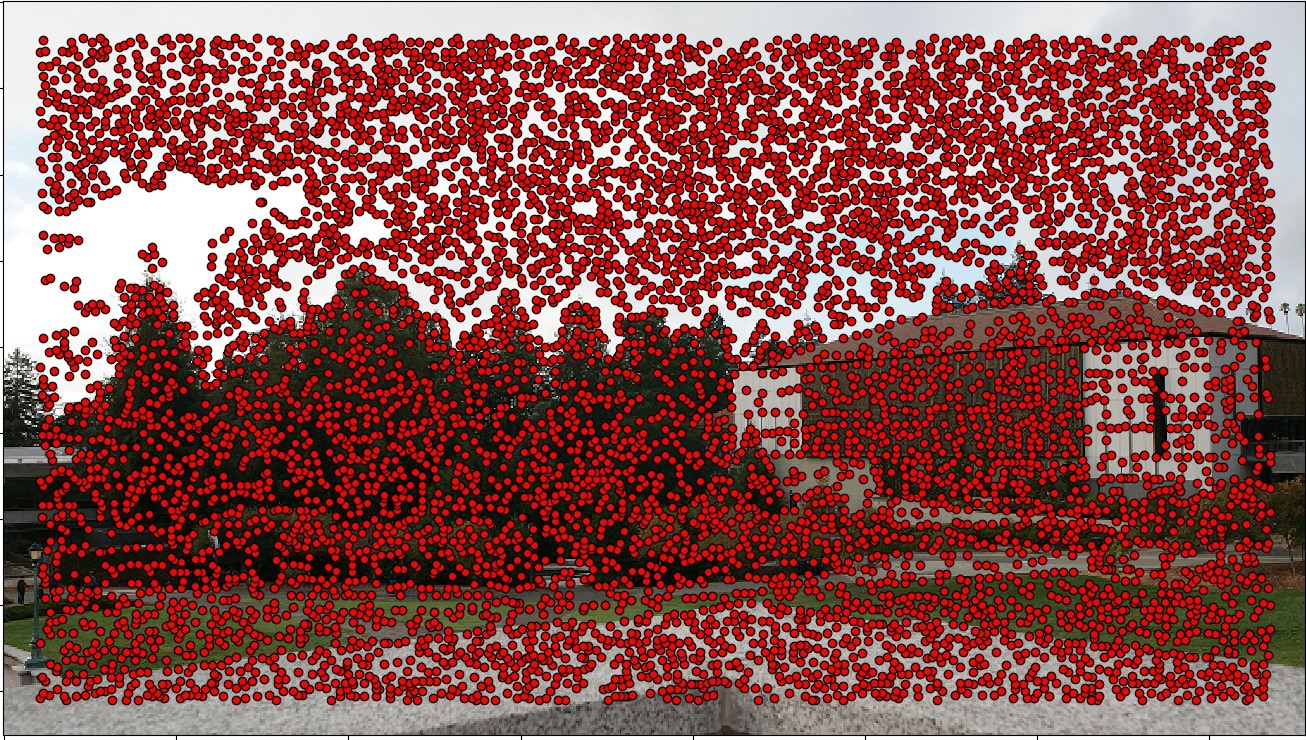
Harris Corners
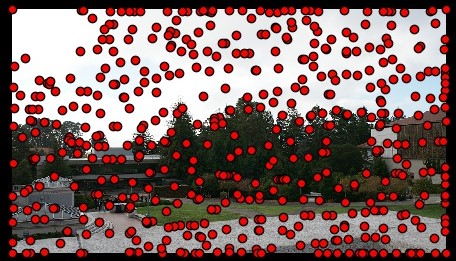
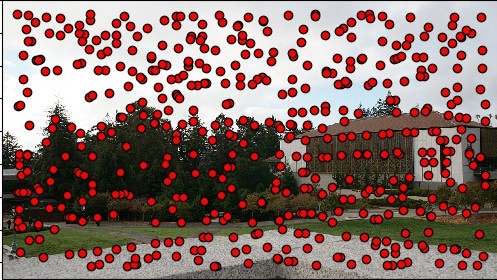
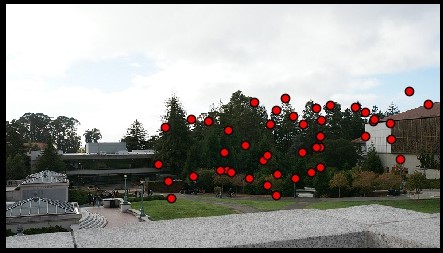
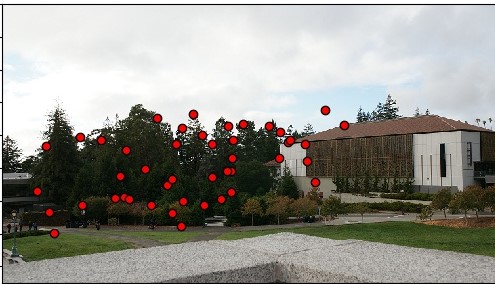
With ANMS
For every corner we detected, we extract a feature descriptor. For every corner, we take the 40x40 window with our corner at its center. We then apply a guassian filter and subsample so that we get a 8x8 patch descriptor. We then bias/gain normalize it with mean=0 and standard deviation=1.
To match our points, we find every combination of ssds from our descriptors for our first image to the descriptors of the second. We find the minimum ssd and the second minimum ssd, finding the ratio of the first over the second. If this ratio is less than 0.3, we consider it a match, and we save the points.
Original Images
To further ensure our points are matching, we chose 4 sets of corresponding points at random and compute the homography. Then we multiply our first set of points with the produced homography and test against our desired output with SSD. If the error is withing 1 pixel, we say it is an a match and the point is an inlier. We repeated this for some amountof iterations (in my case 1000), keeping the largest set of inliers. Then we recompute our homography with these points.
Original Images
Here we have mosaics produced from the automatically matched features. For comparison, the mosaics with manually selected correspondences are under the automatic ones. In general, we see that the automatically stitched ones are cleaner and the warping is more aligned, which is likely due to my unsteady hands while selecting points manually. We warp and blend the same way as for the manually select correspondences, except, of course, we compute our homographies from automatically selected features rather than manually.
Original Images
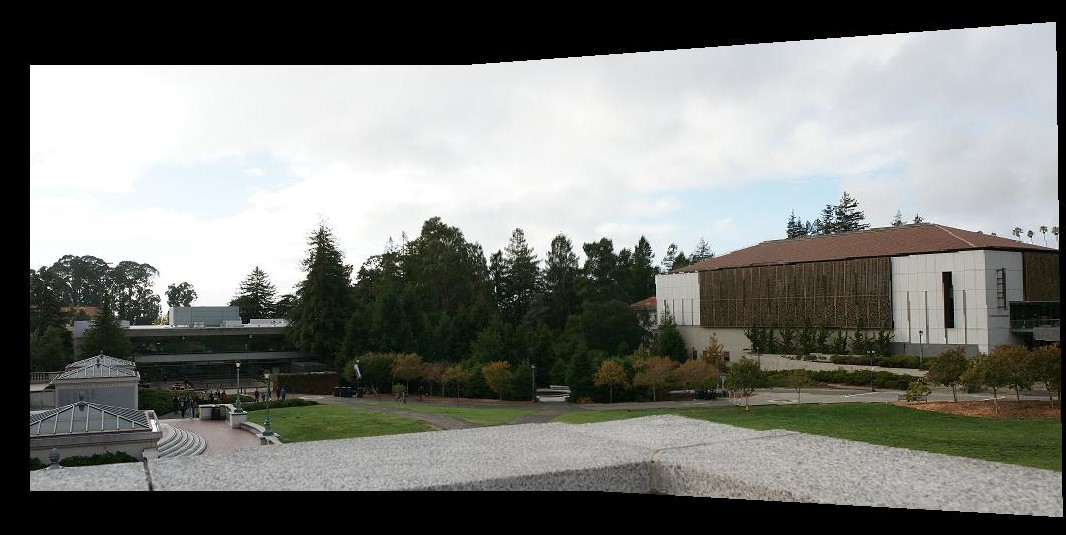
Auto: The View from Doe Library
Manual: The View from Doe Library
Original Images, Street near my apartment
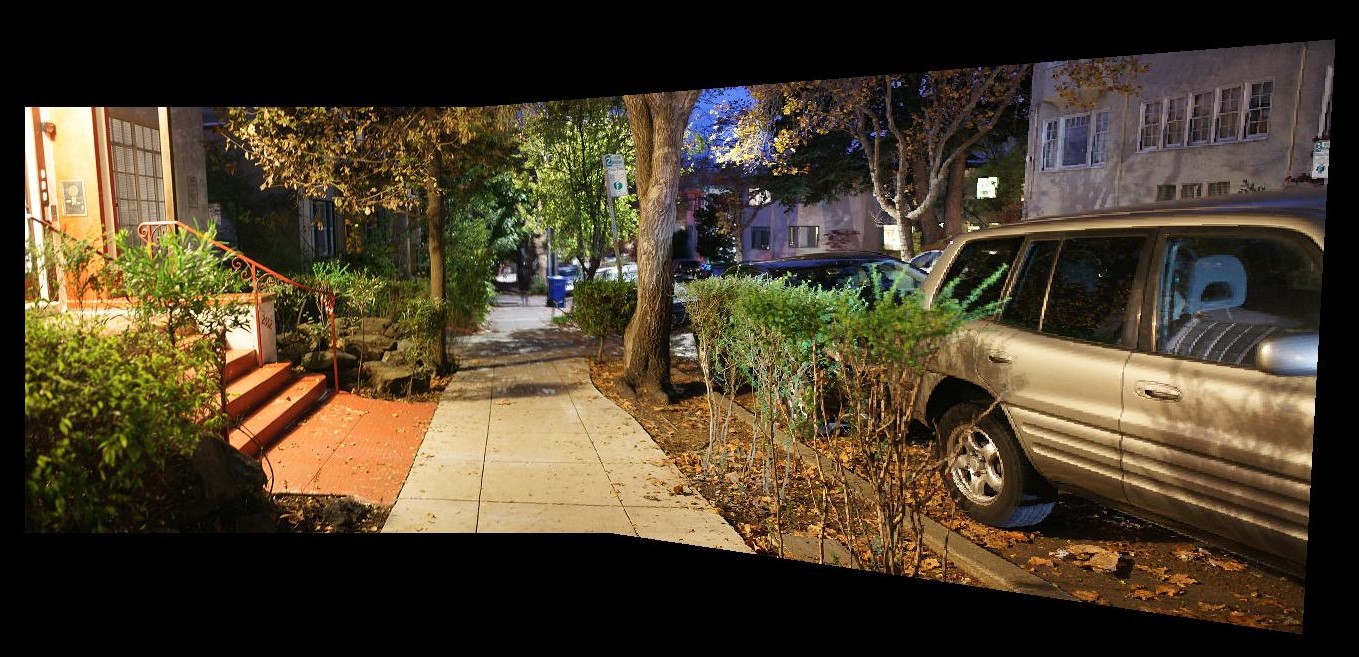
Auto: Street
Manual: Street
Original Images, Library
Auto: Library
Manual: Library
Homographies can produce amazing results, like showing a frontal view or recovering patterns of something an image is not directly looking at. Now I can produce a mosaic with image warps and blending. Automatic matching is extremely helpful when you want to ignore human errors like shaky hands, and can produce cleaner looking mosaics.