CS194-26 Project 6: Image Warping and Mosaicing
Part 6A
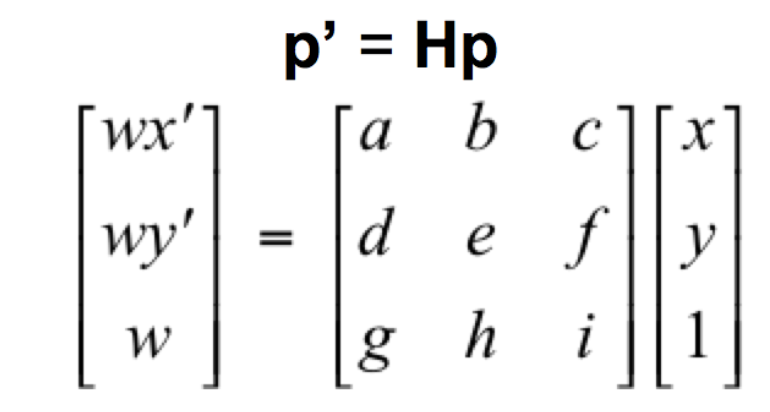
Recovering Homographies
Before warping our images into alignment, we needed to compute the homography, H. We first picked points from 2 images that corresponded to each other. Then, we computed H by solving a least squares problem, with H being a 3x3 transformation matrix. H is as shown in this image, with i as 1.
Image Rectification
I rectified images by picking the corners of what I wanted to straighten out and 4 arbitrary points that I wanted to morph the object into (in this case, a more straightened out version of the object).
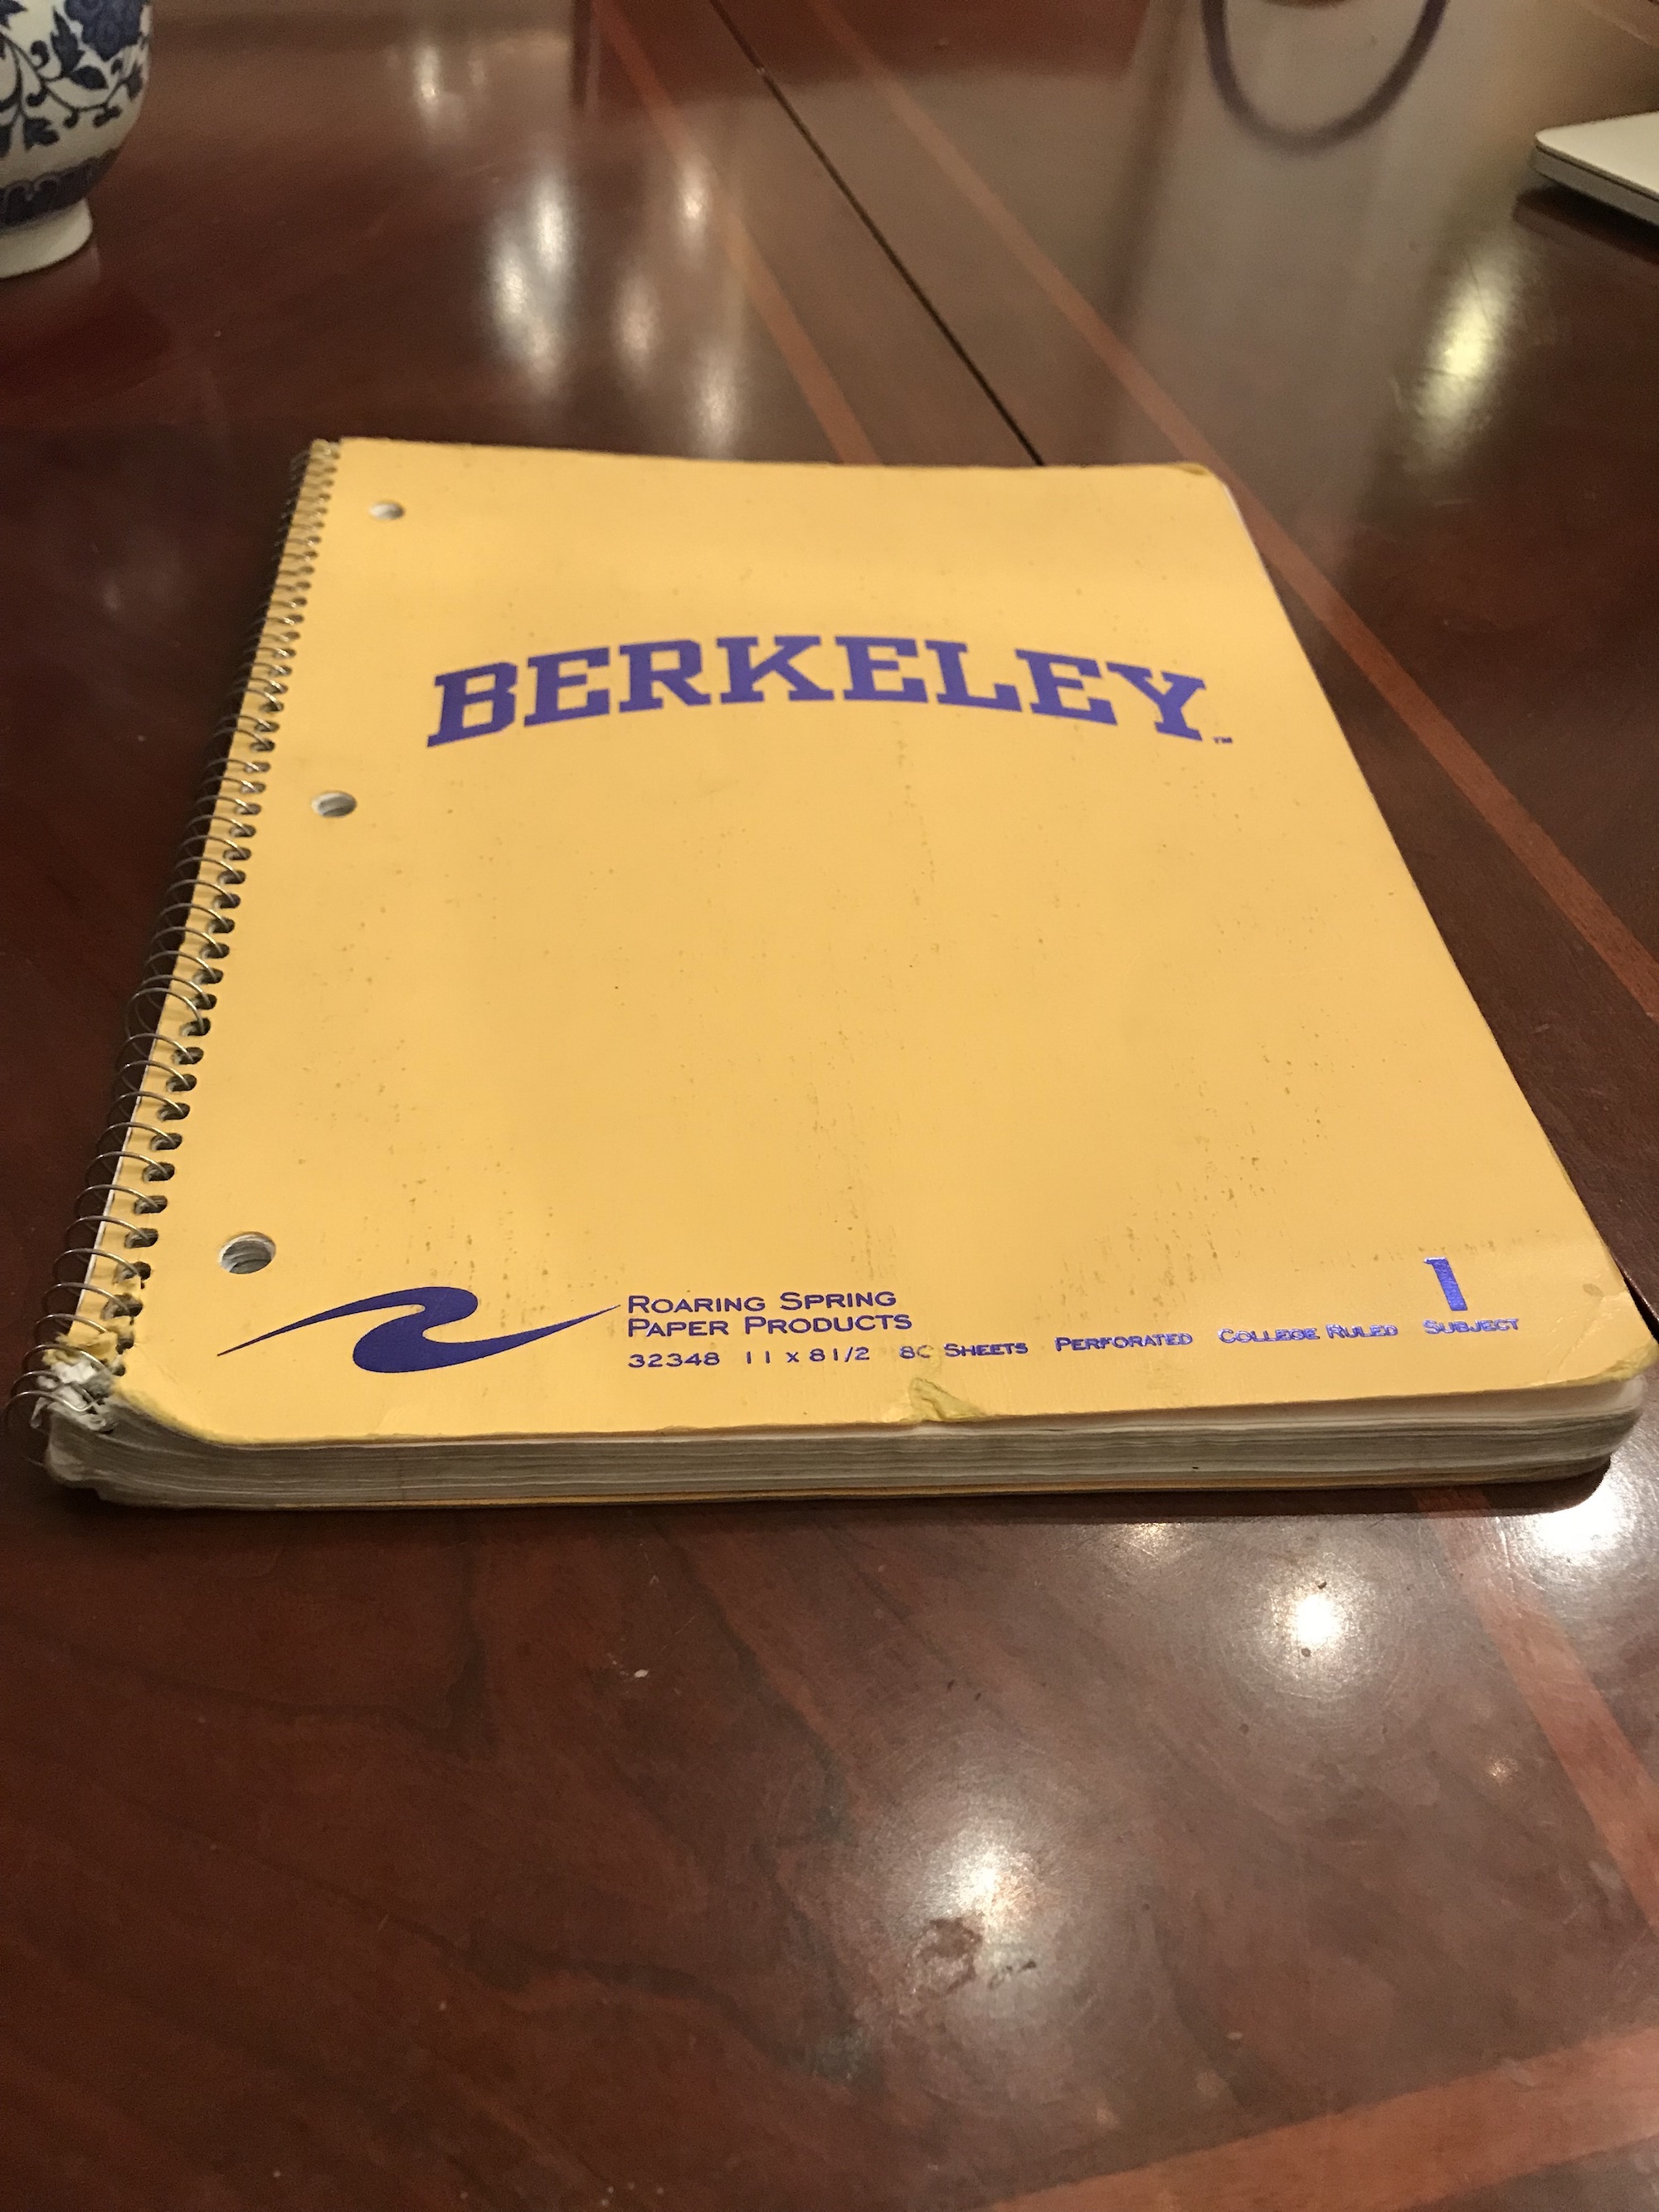 Original Notebook
|
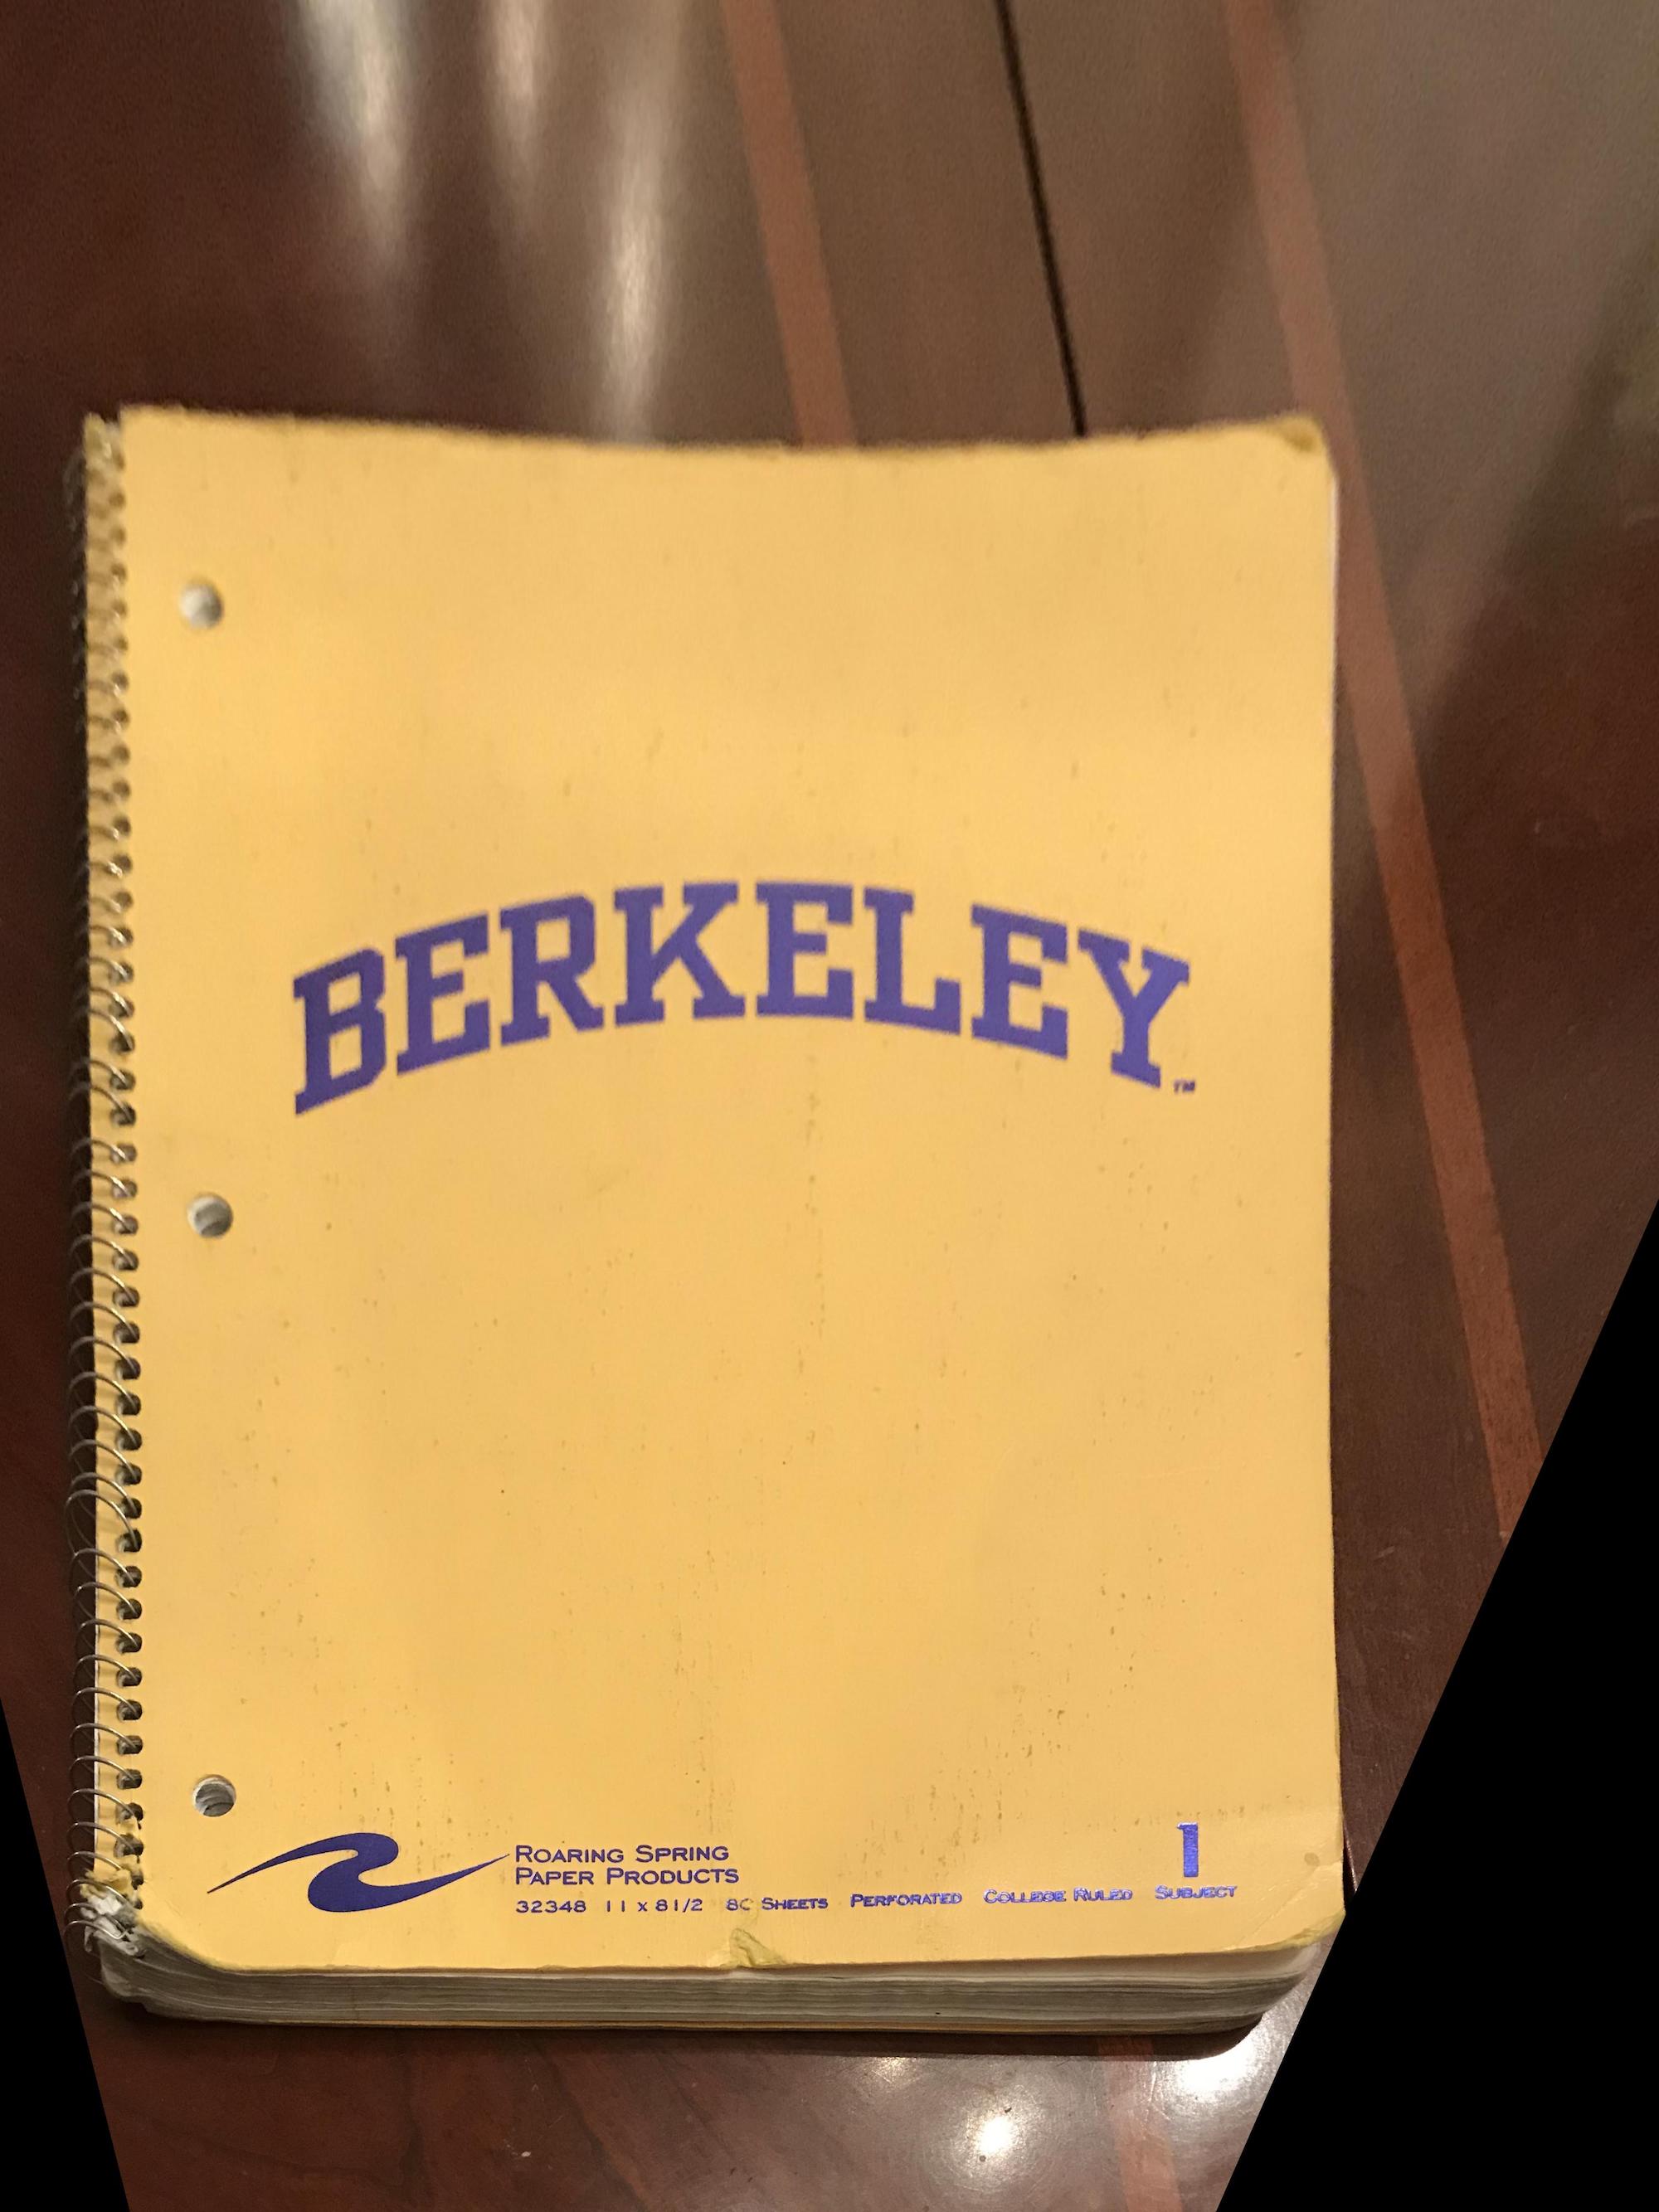 Warped Notebook
|
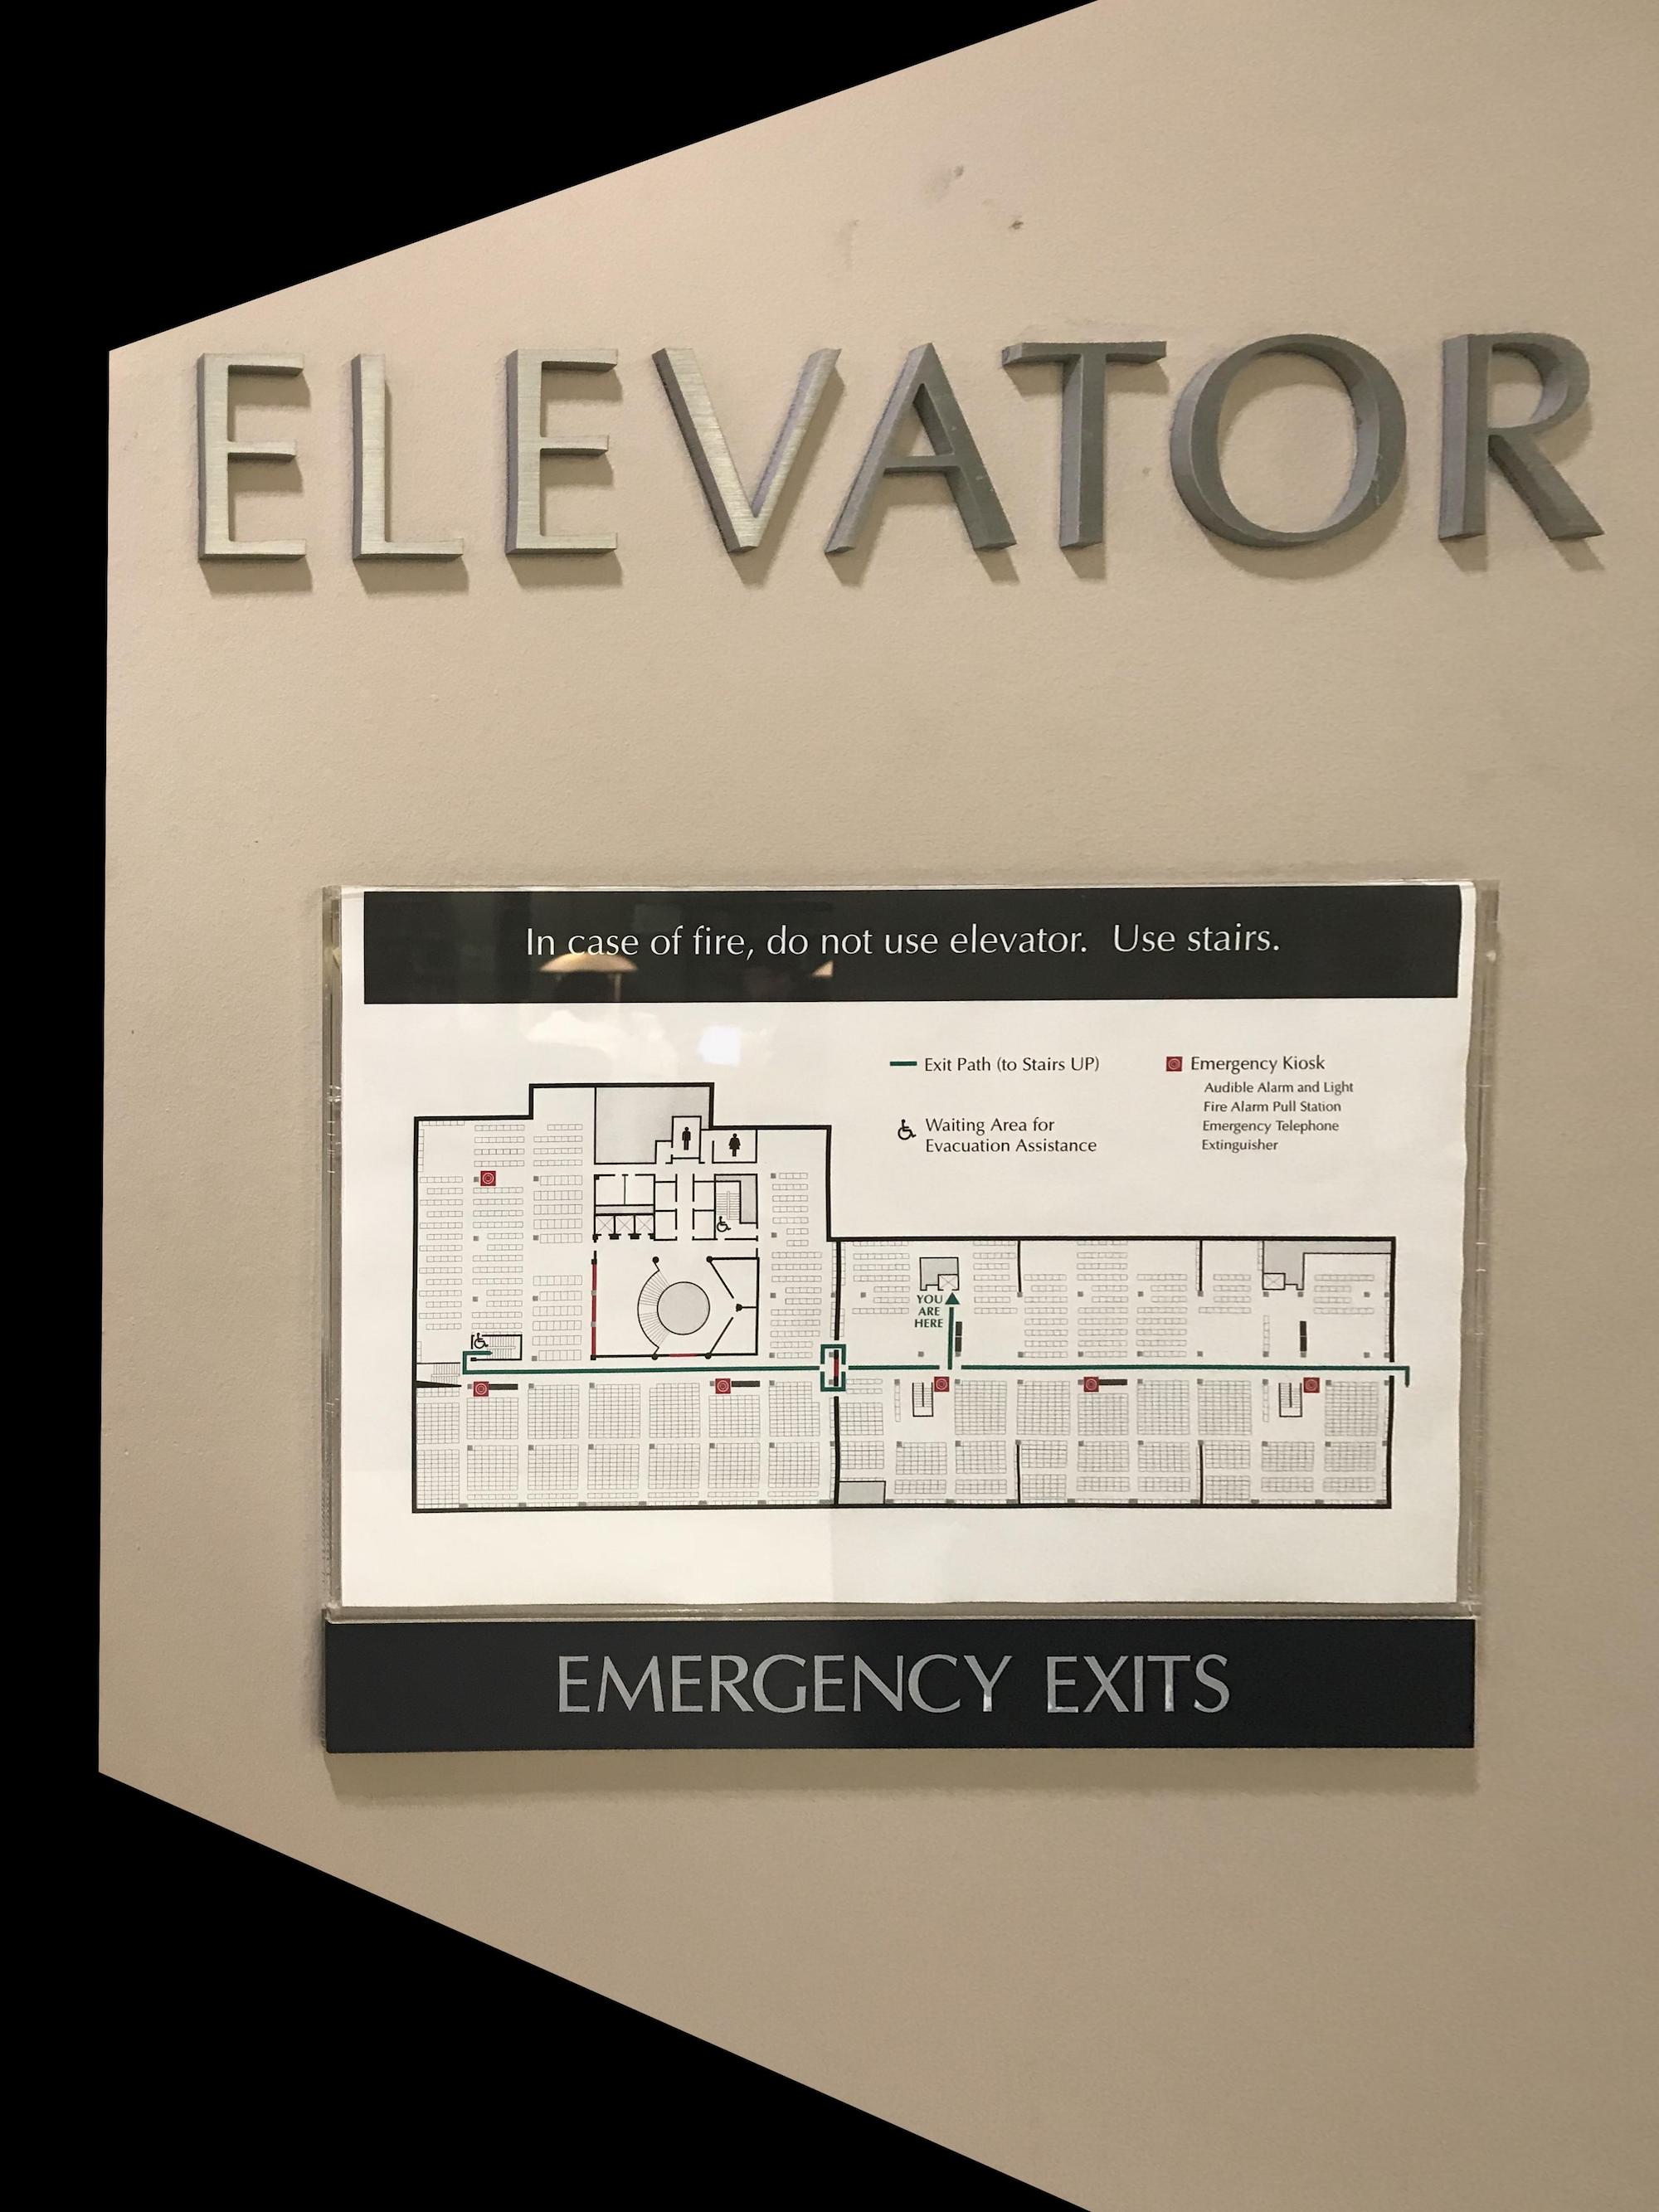
 Original Sign
|
 Warped Sign
|
Mosaics
In this section, I created some mosaics. I padded the images that I wanted to use and I had 1 fixed image in the center and warped the second image around that. Then, I used alpha blending to stitch them together.
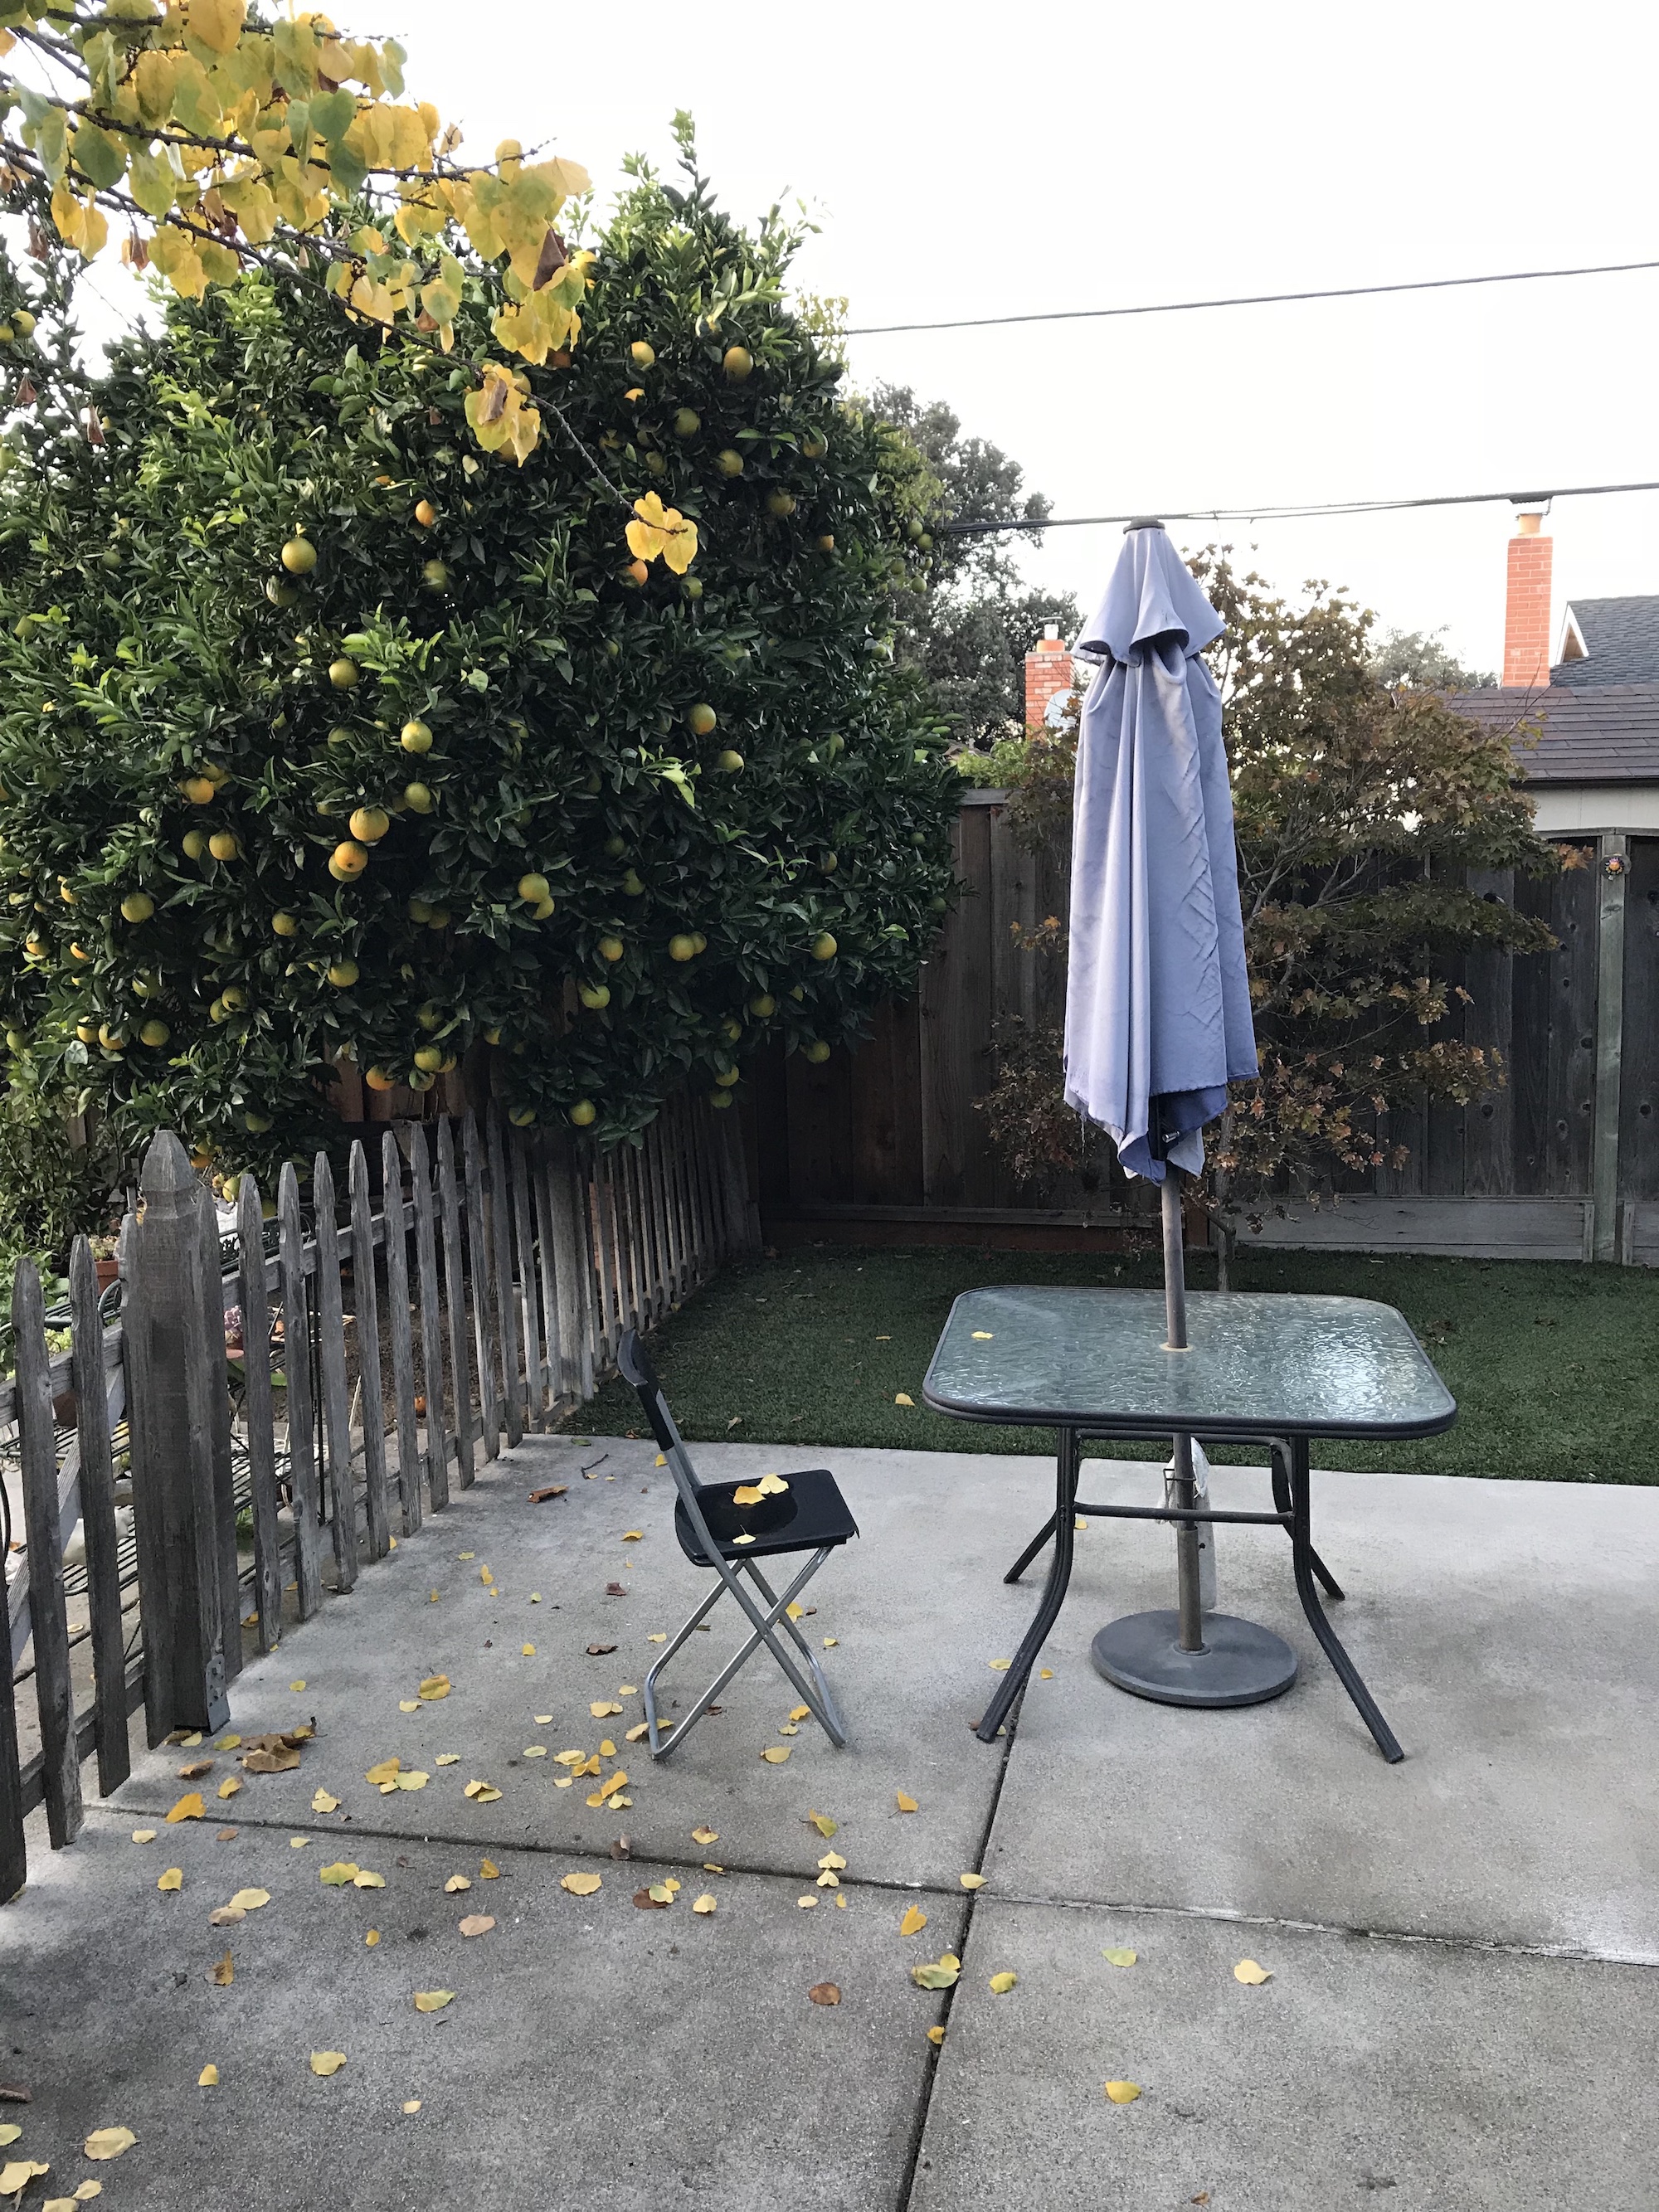 Yard Image 1
|
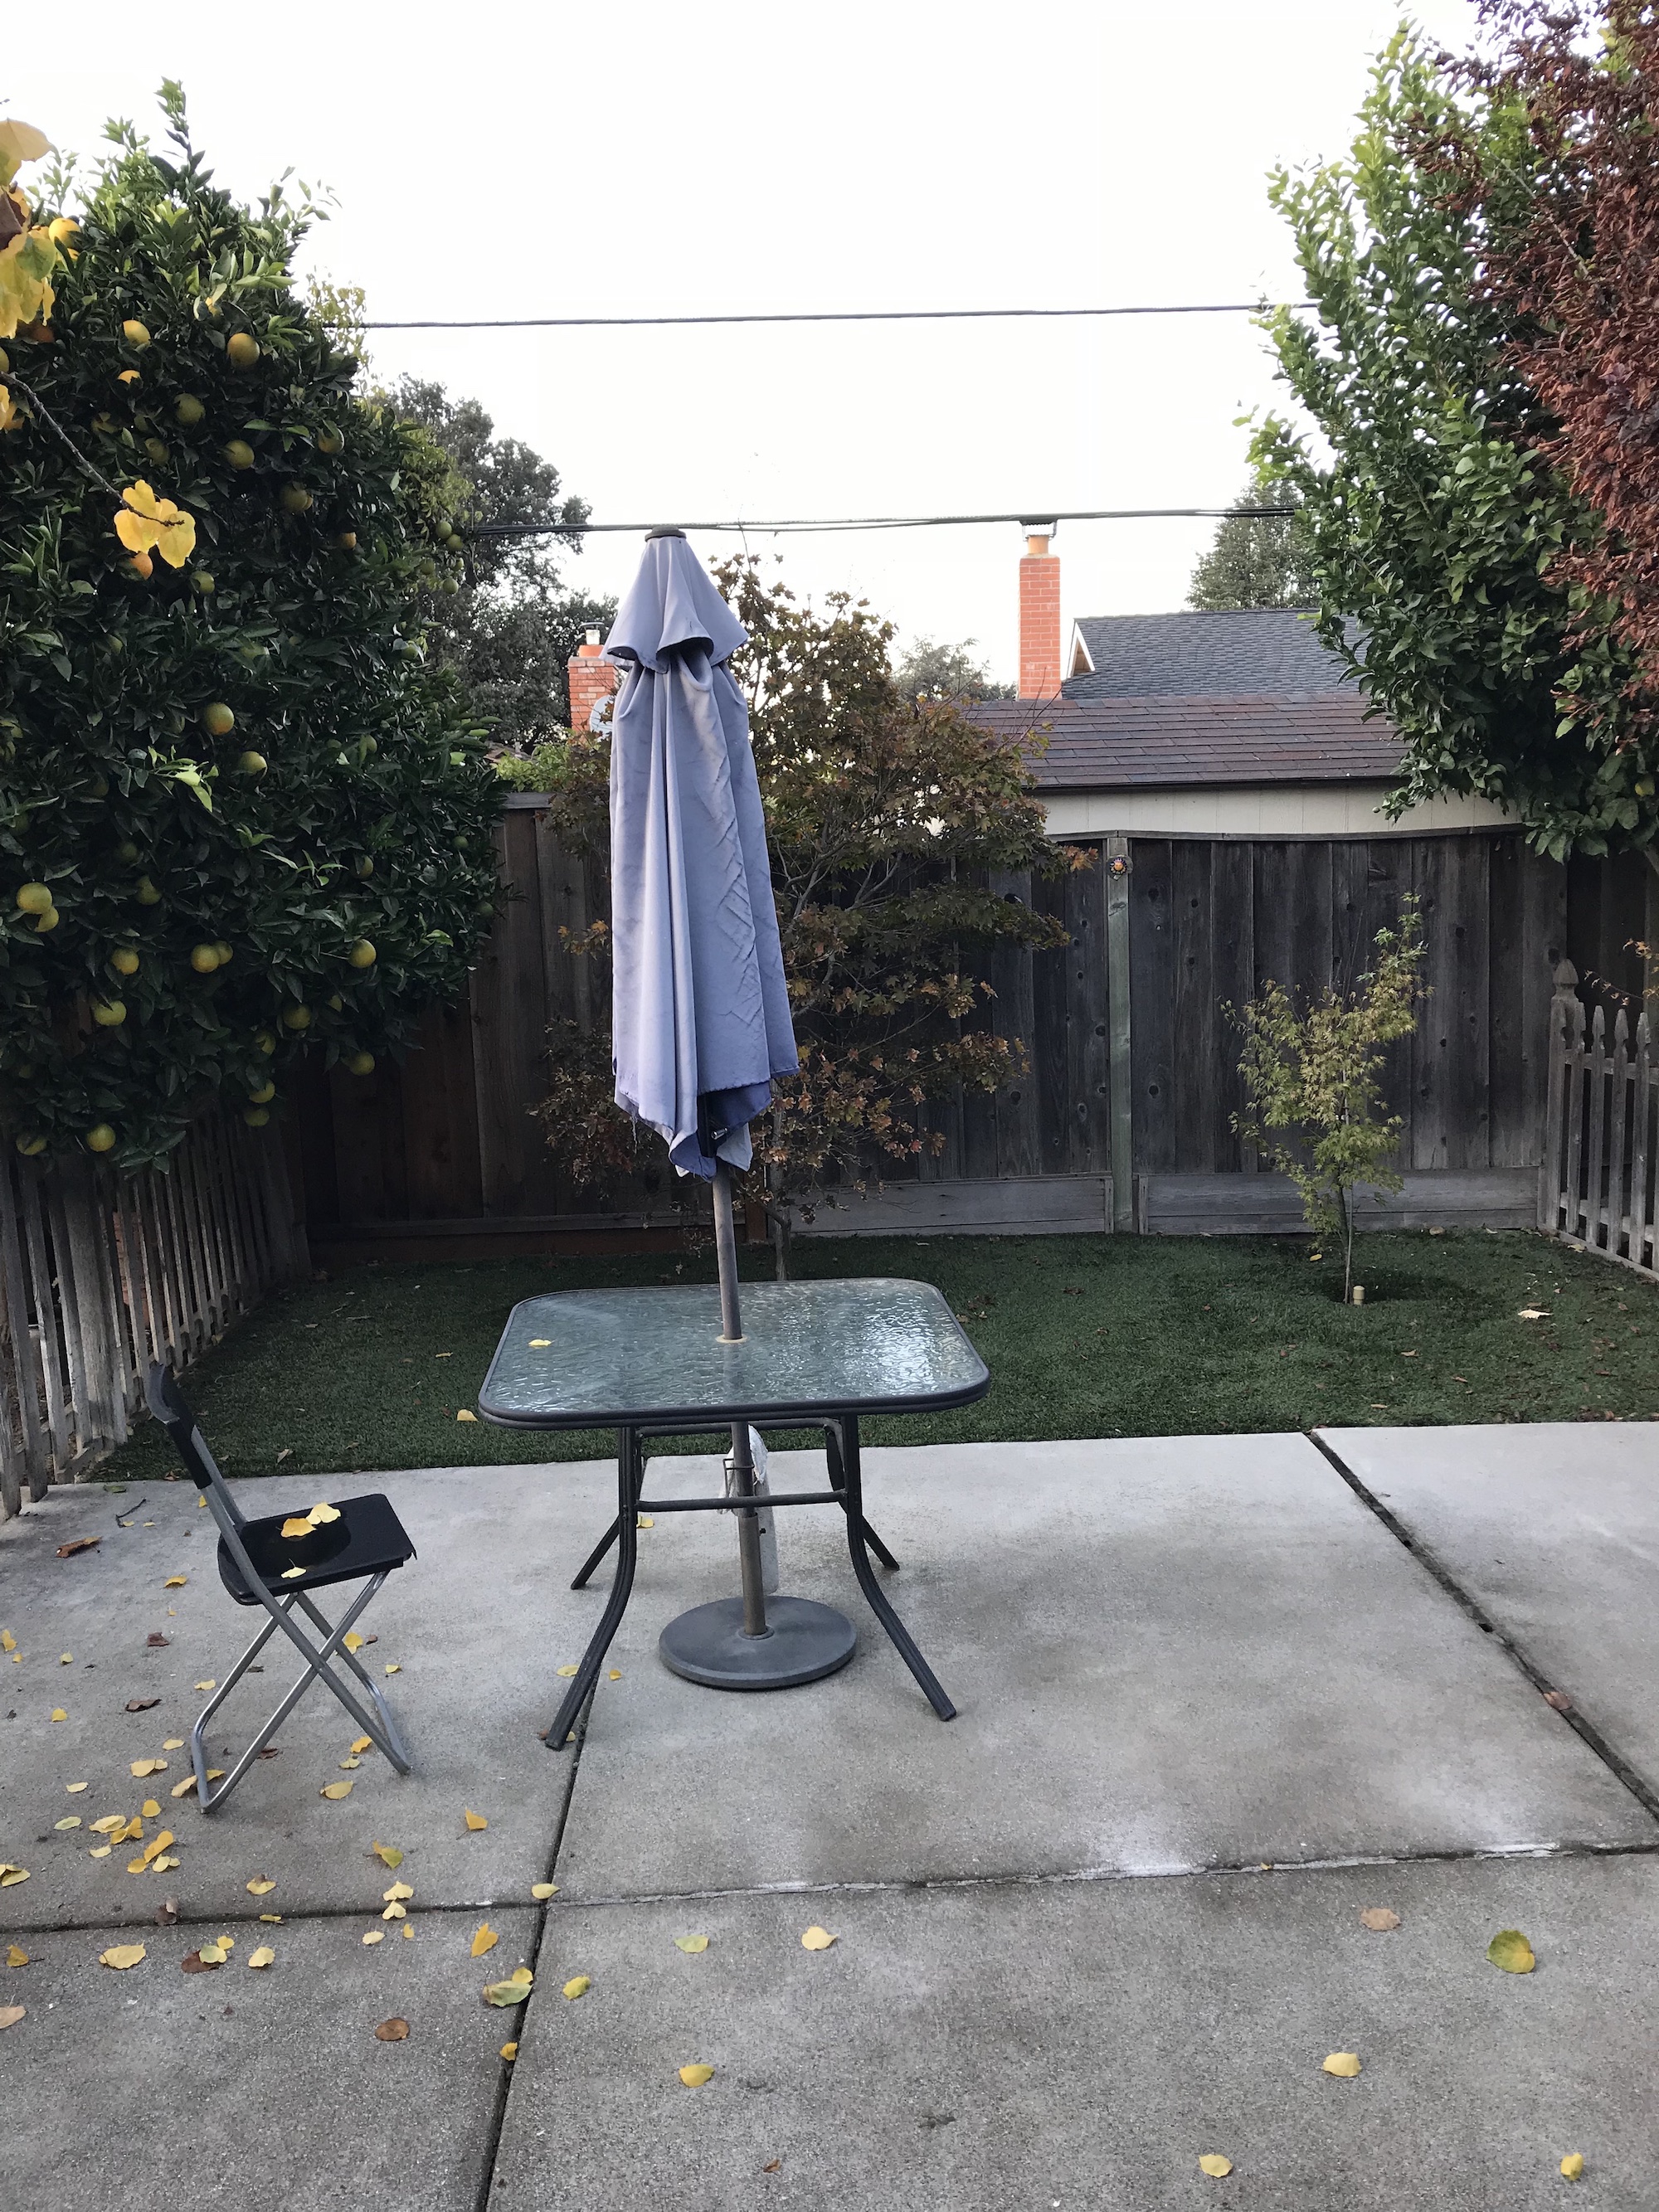 Yard Image 2
|
 Yard Mosaic
|
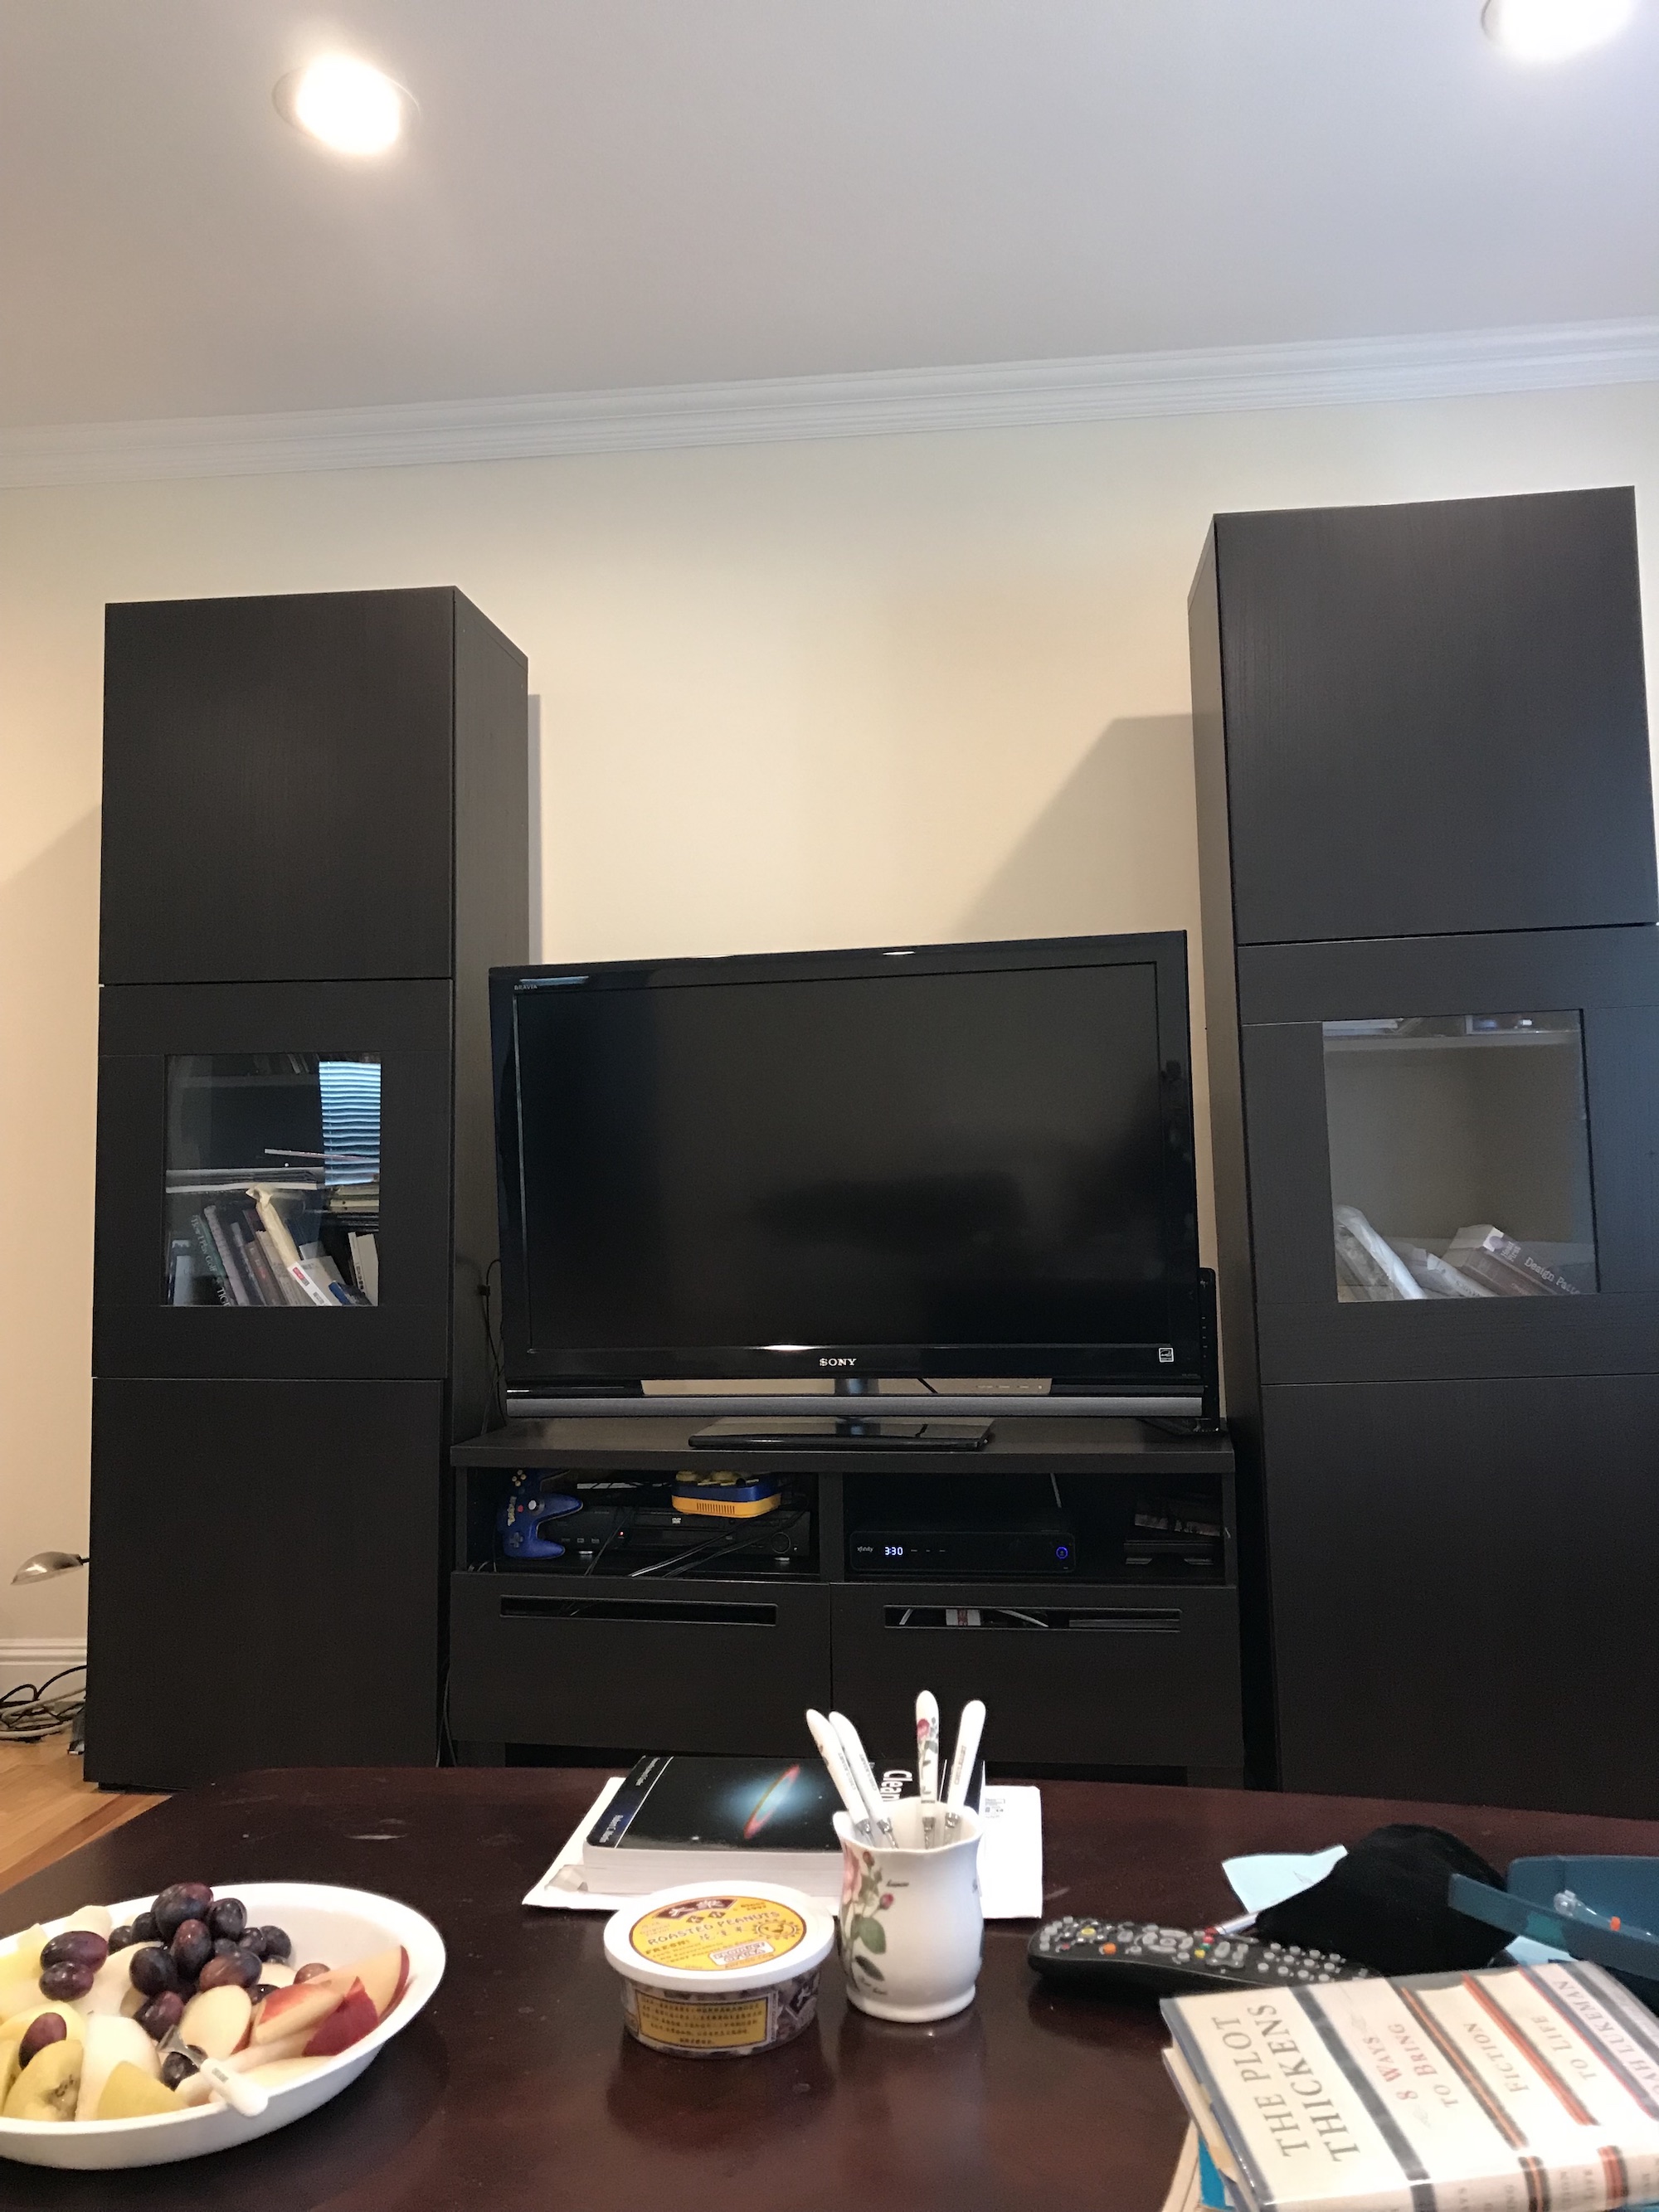 TV Image 1
|
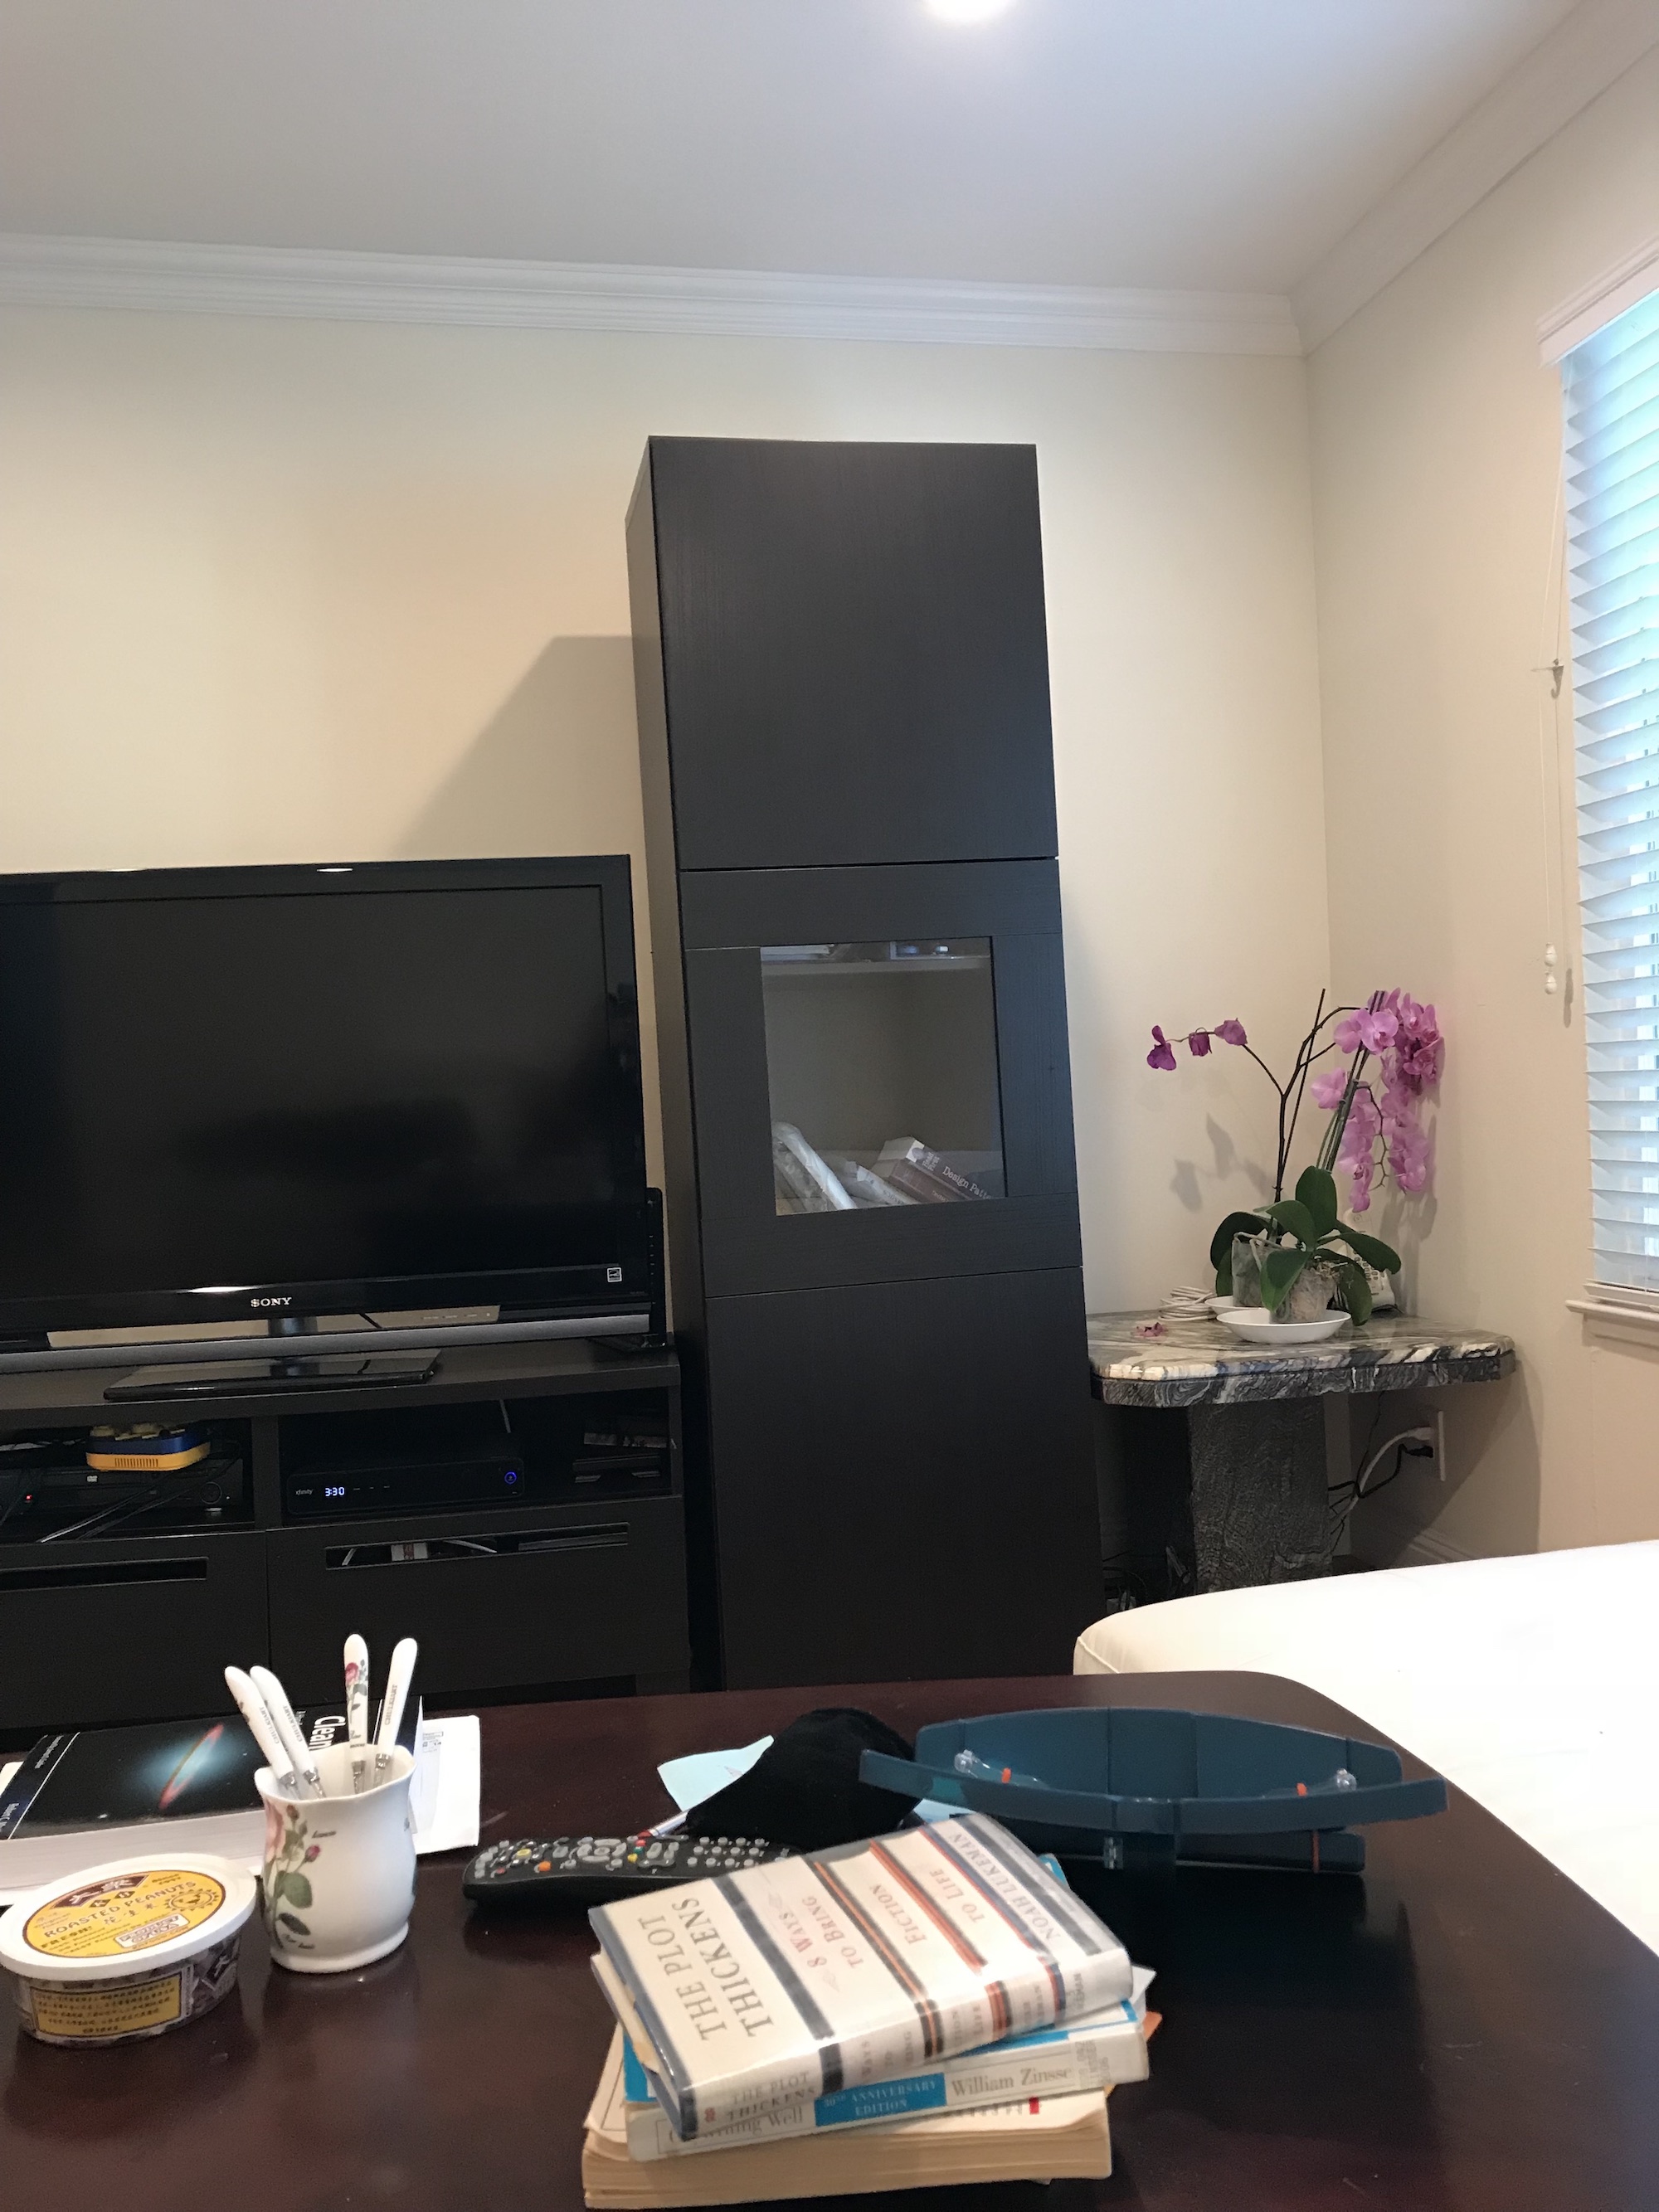 TV Image 2
|
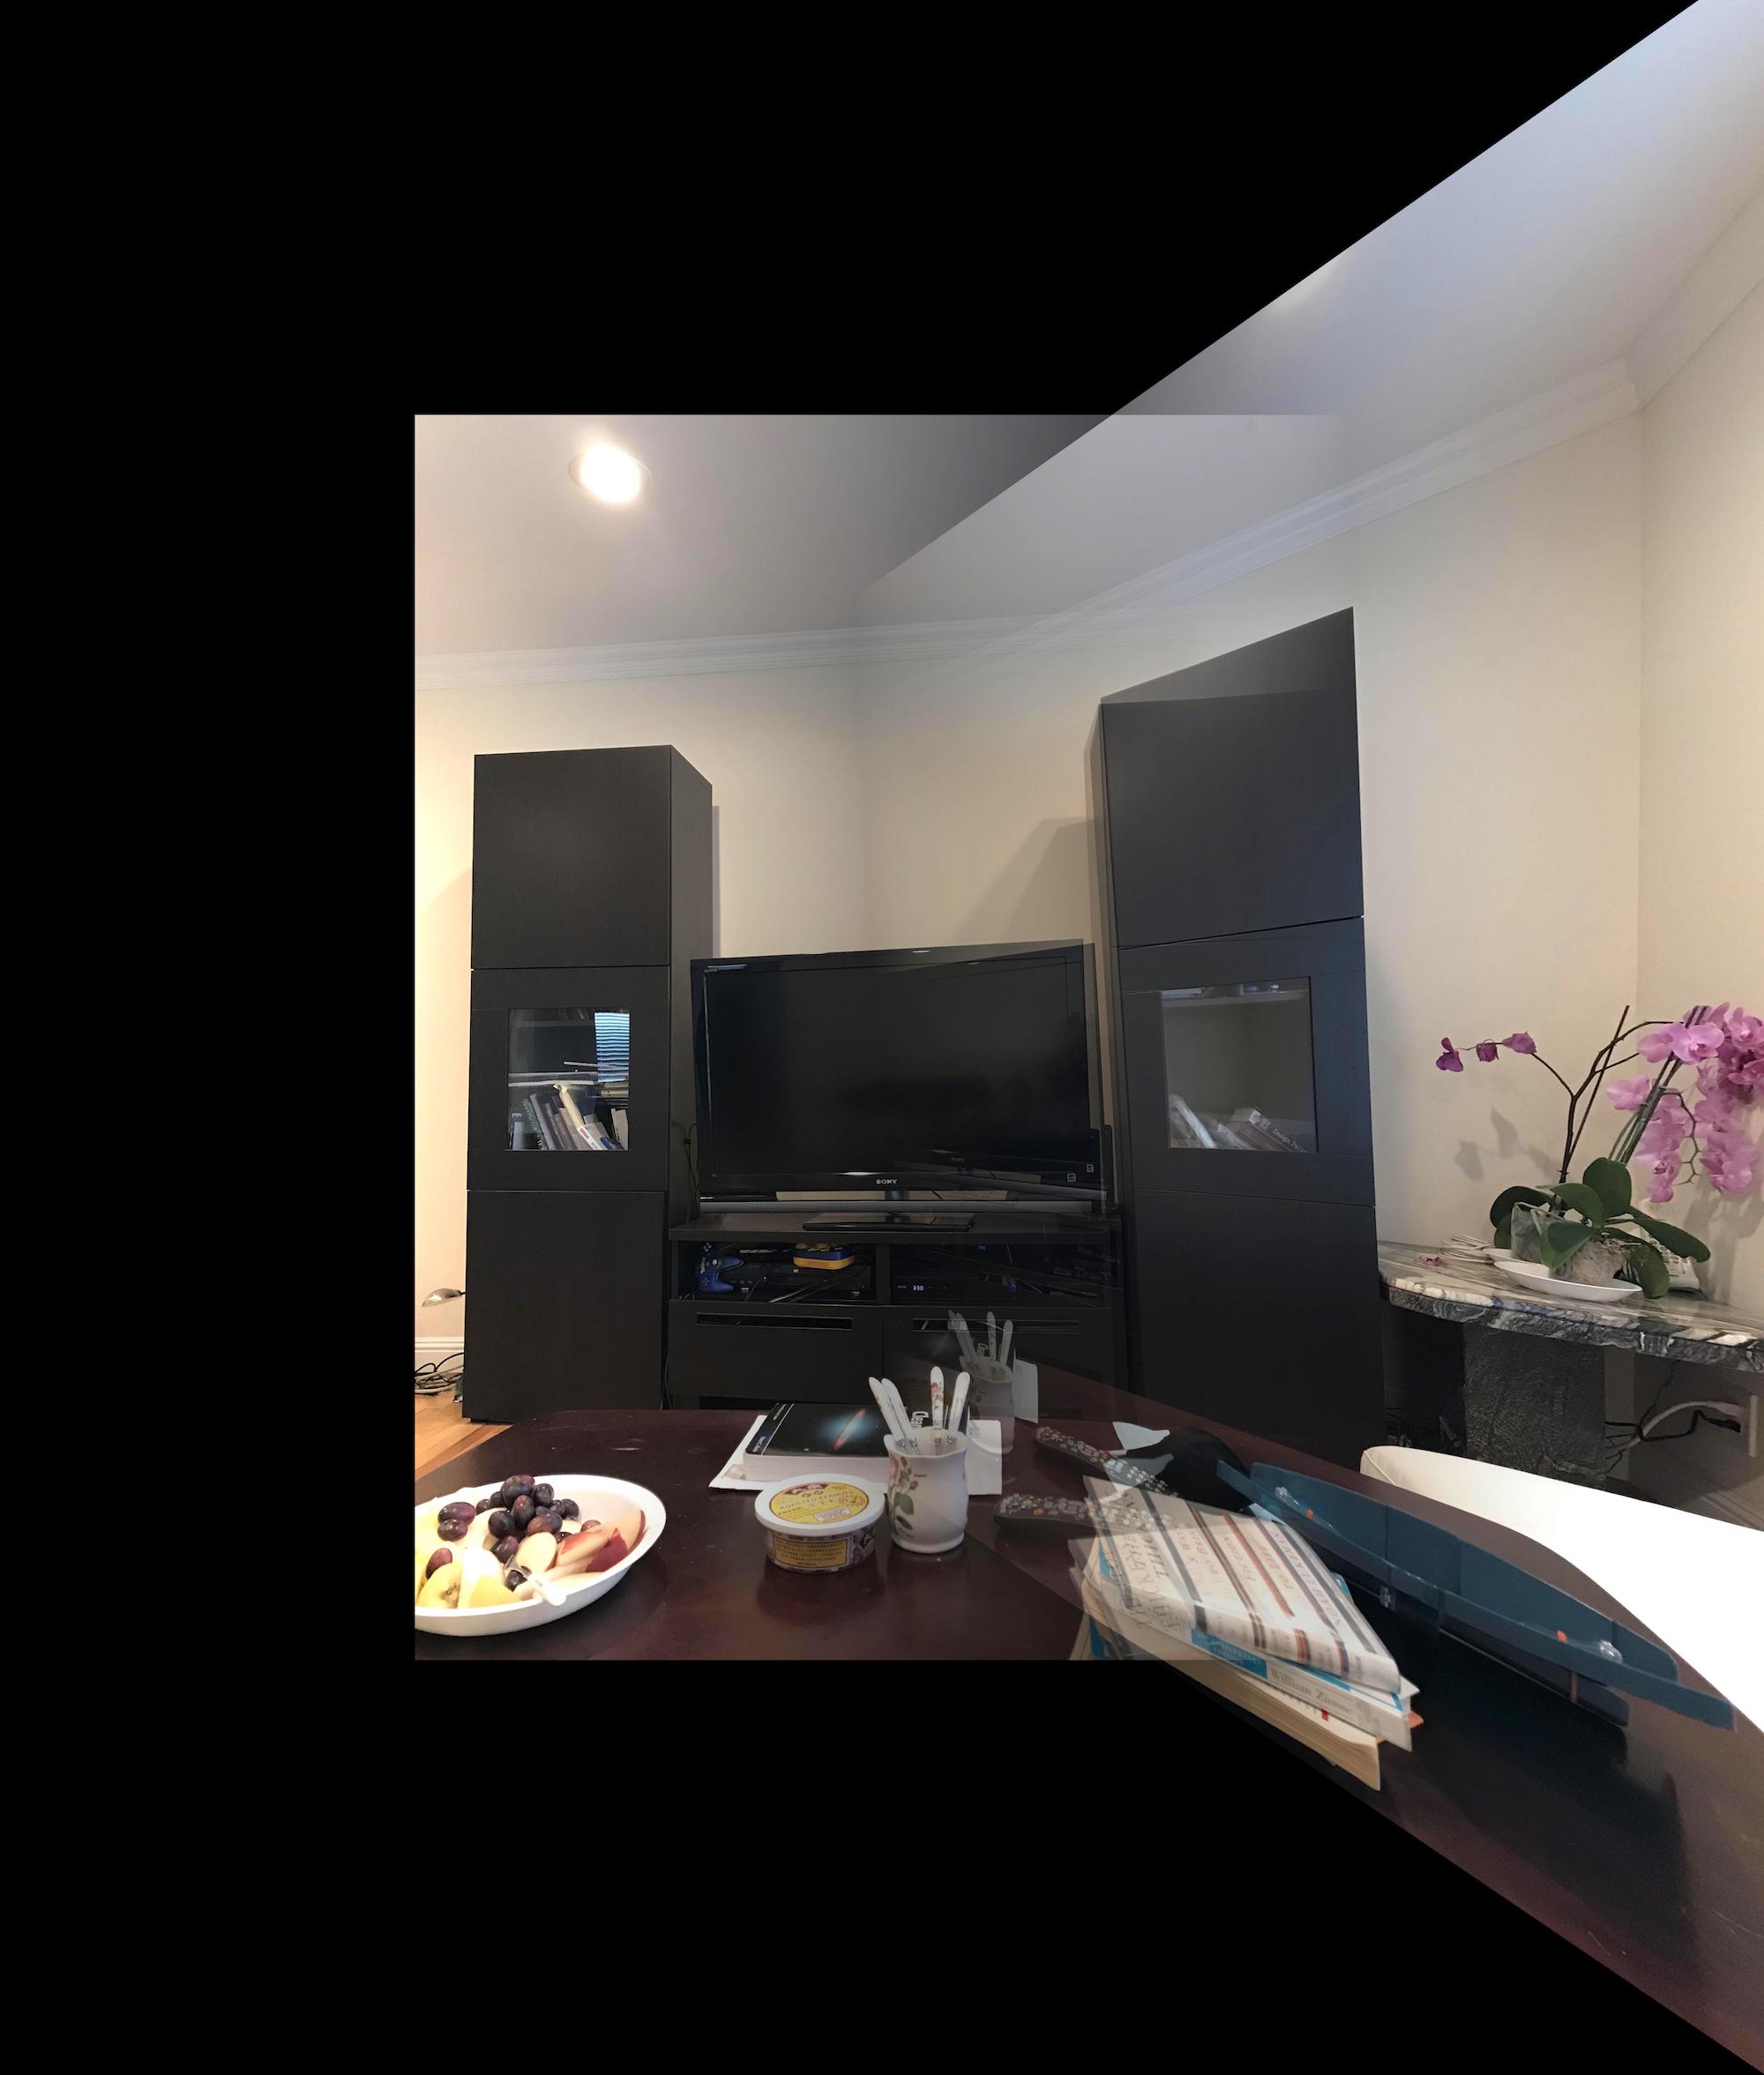 TV Mosaic
|
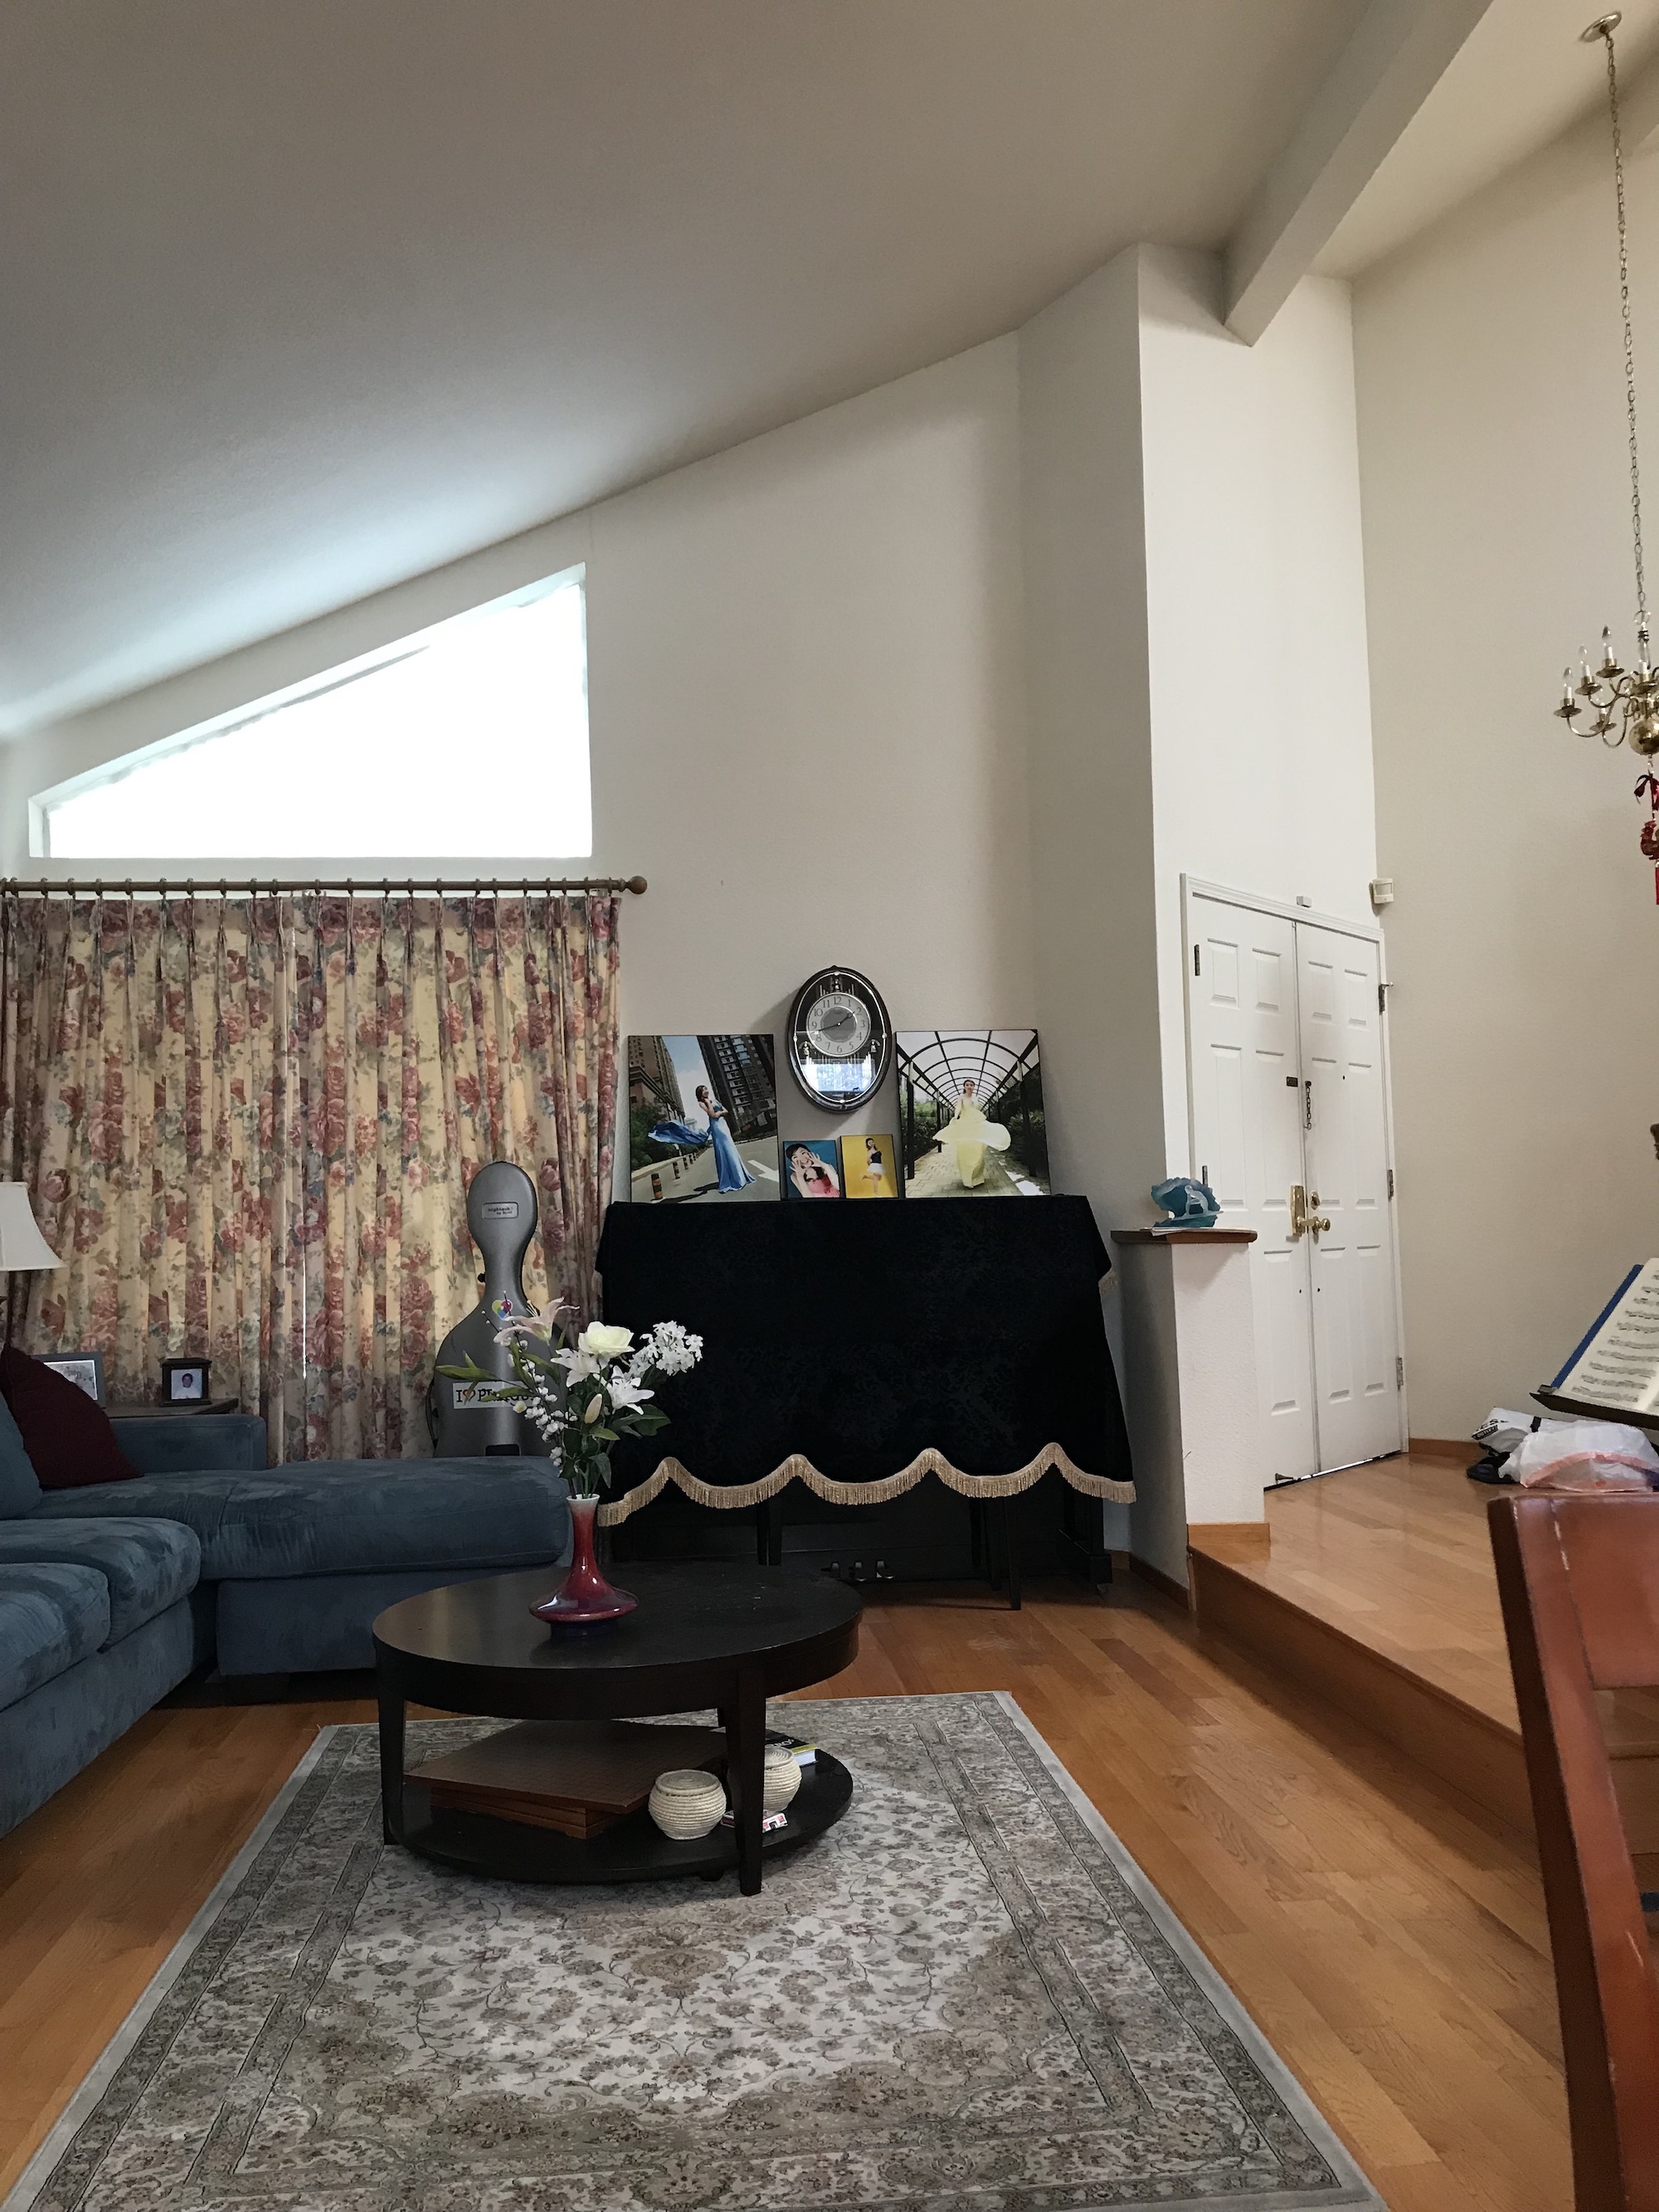 House Image 1
|
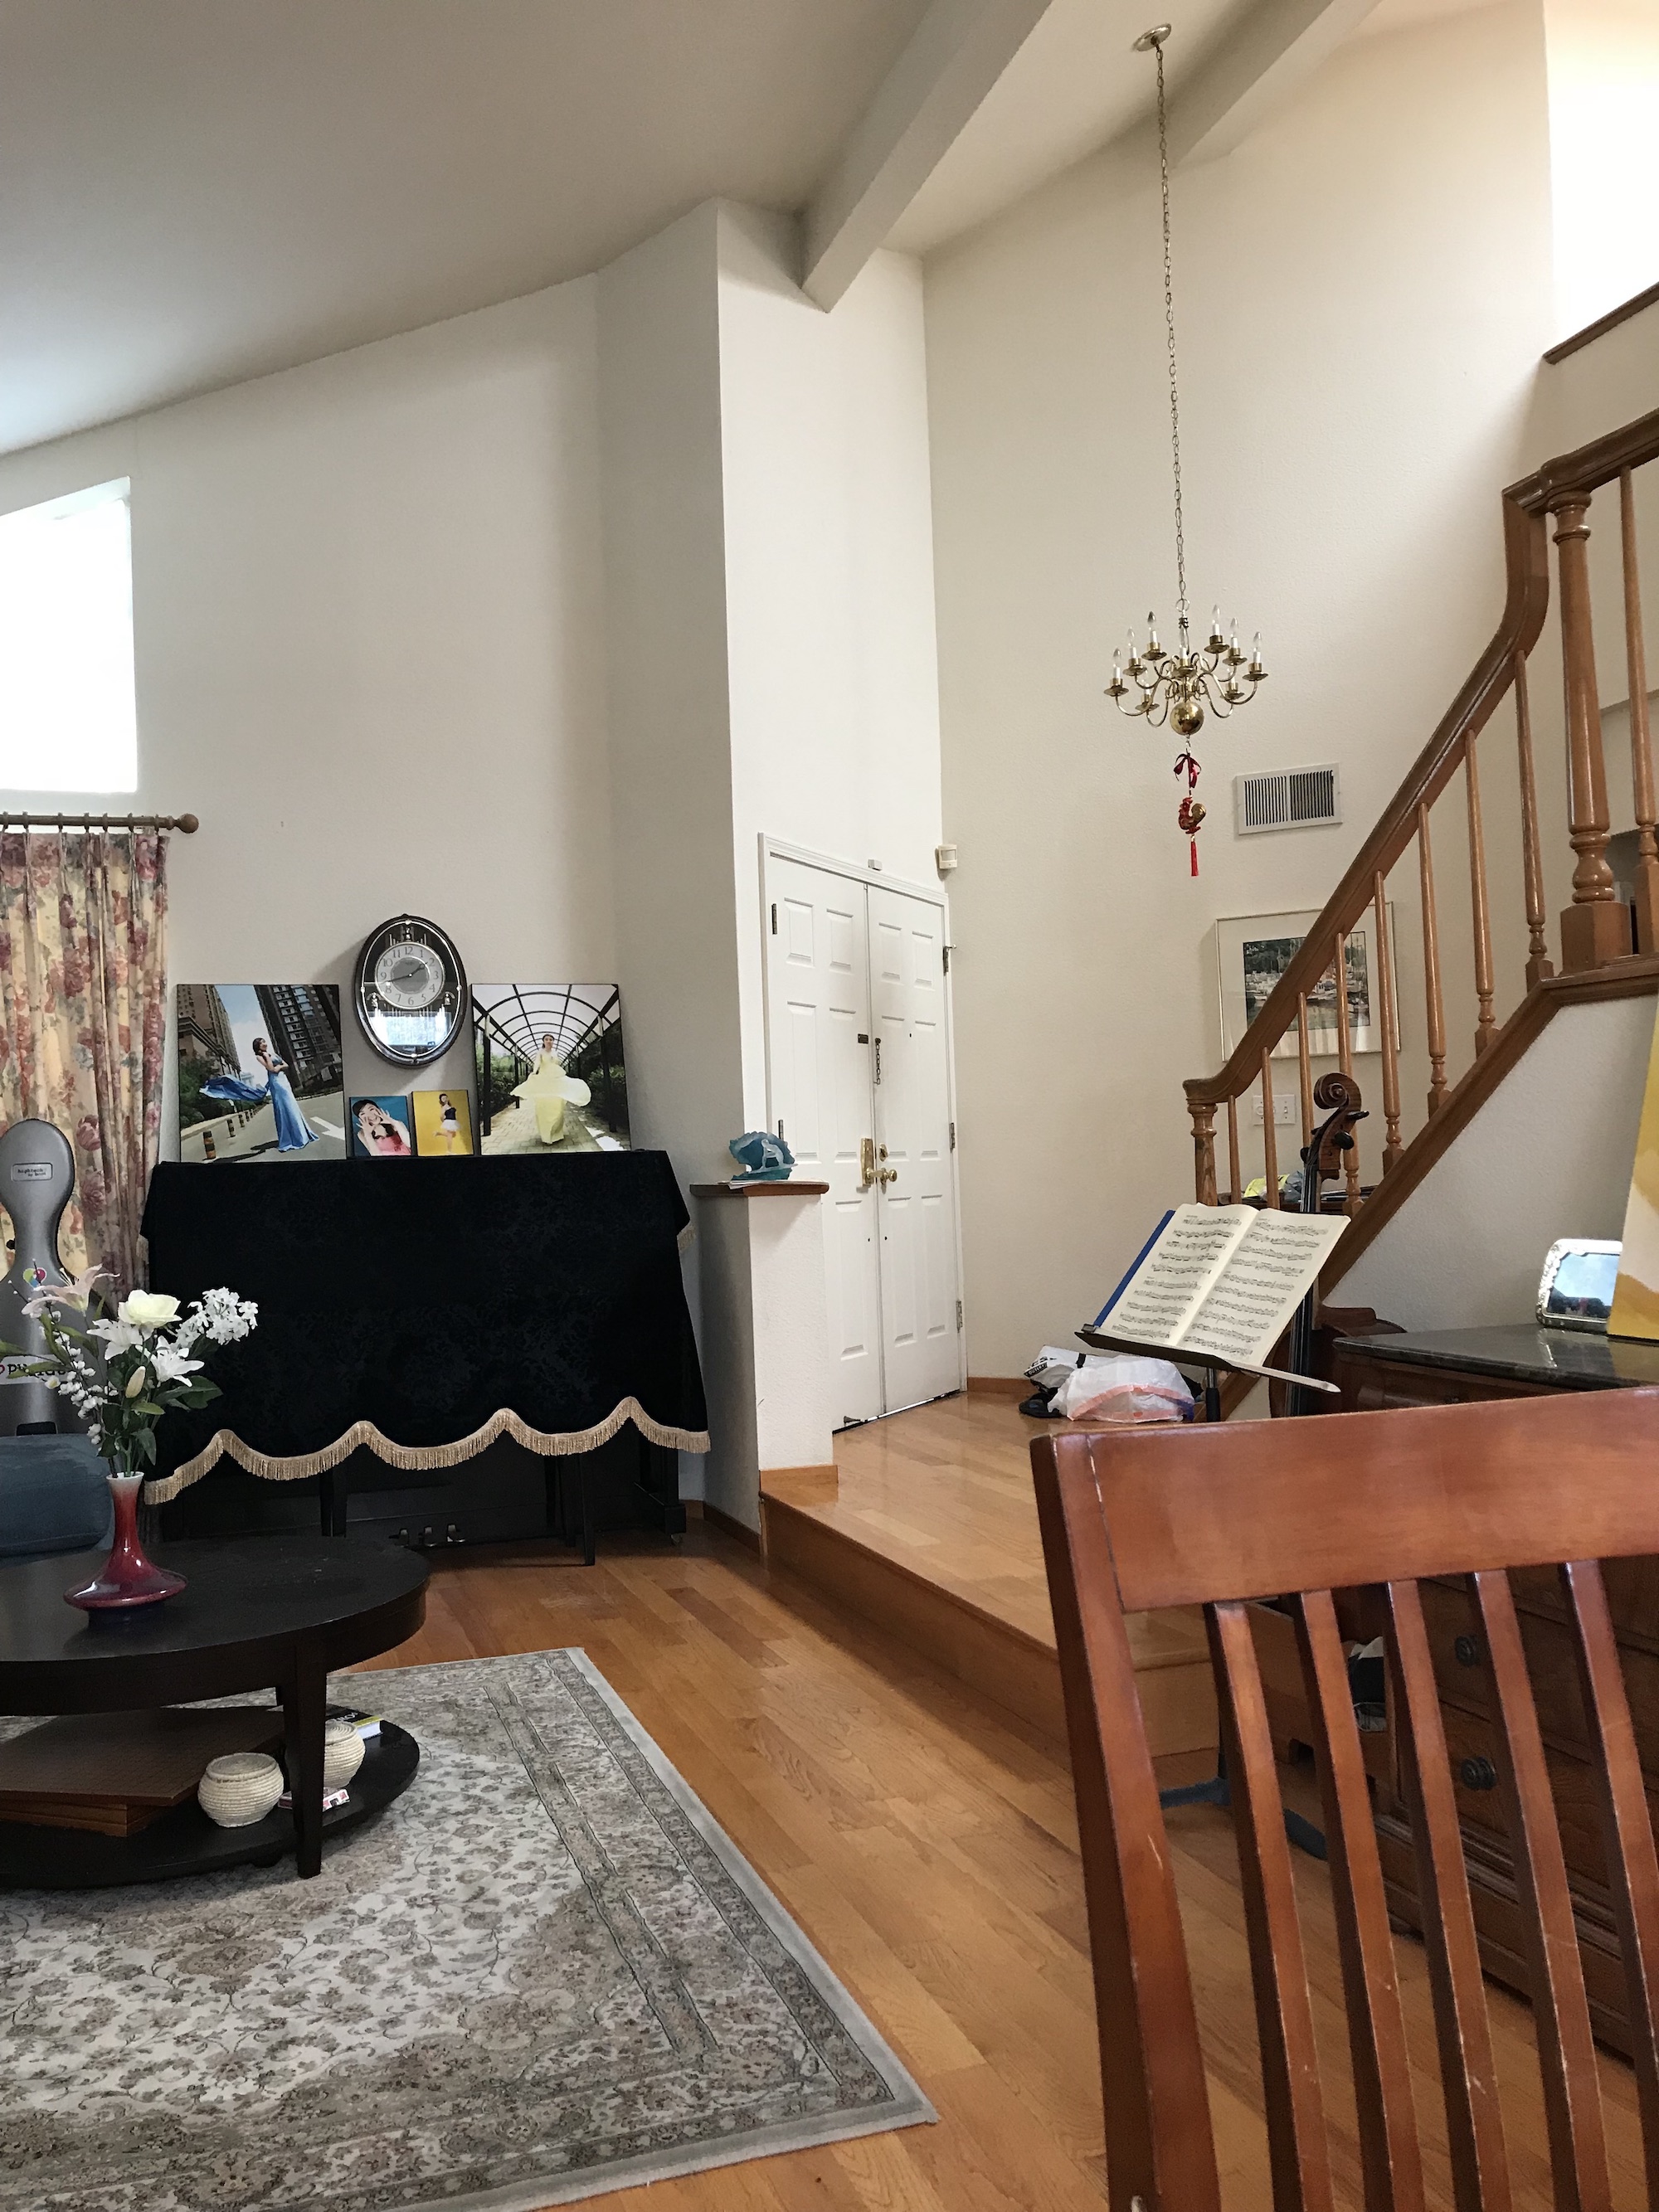 House Image 2
|
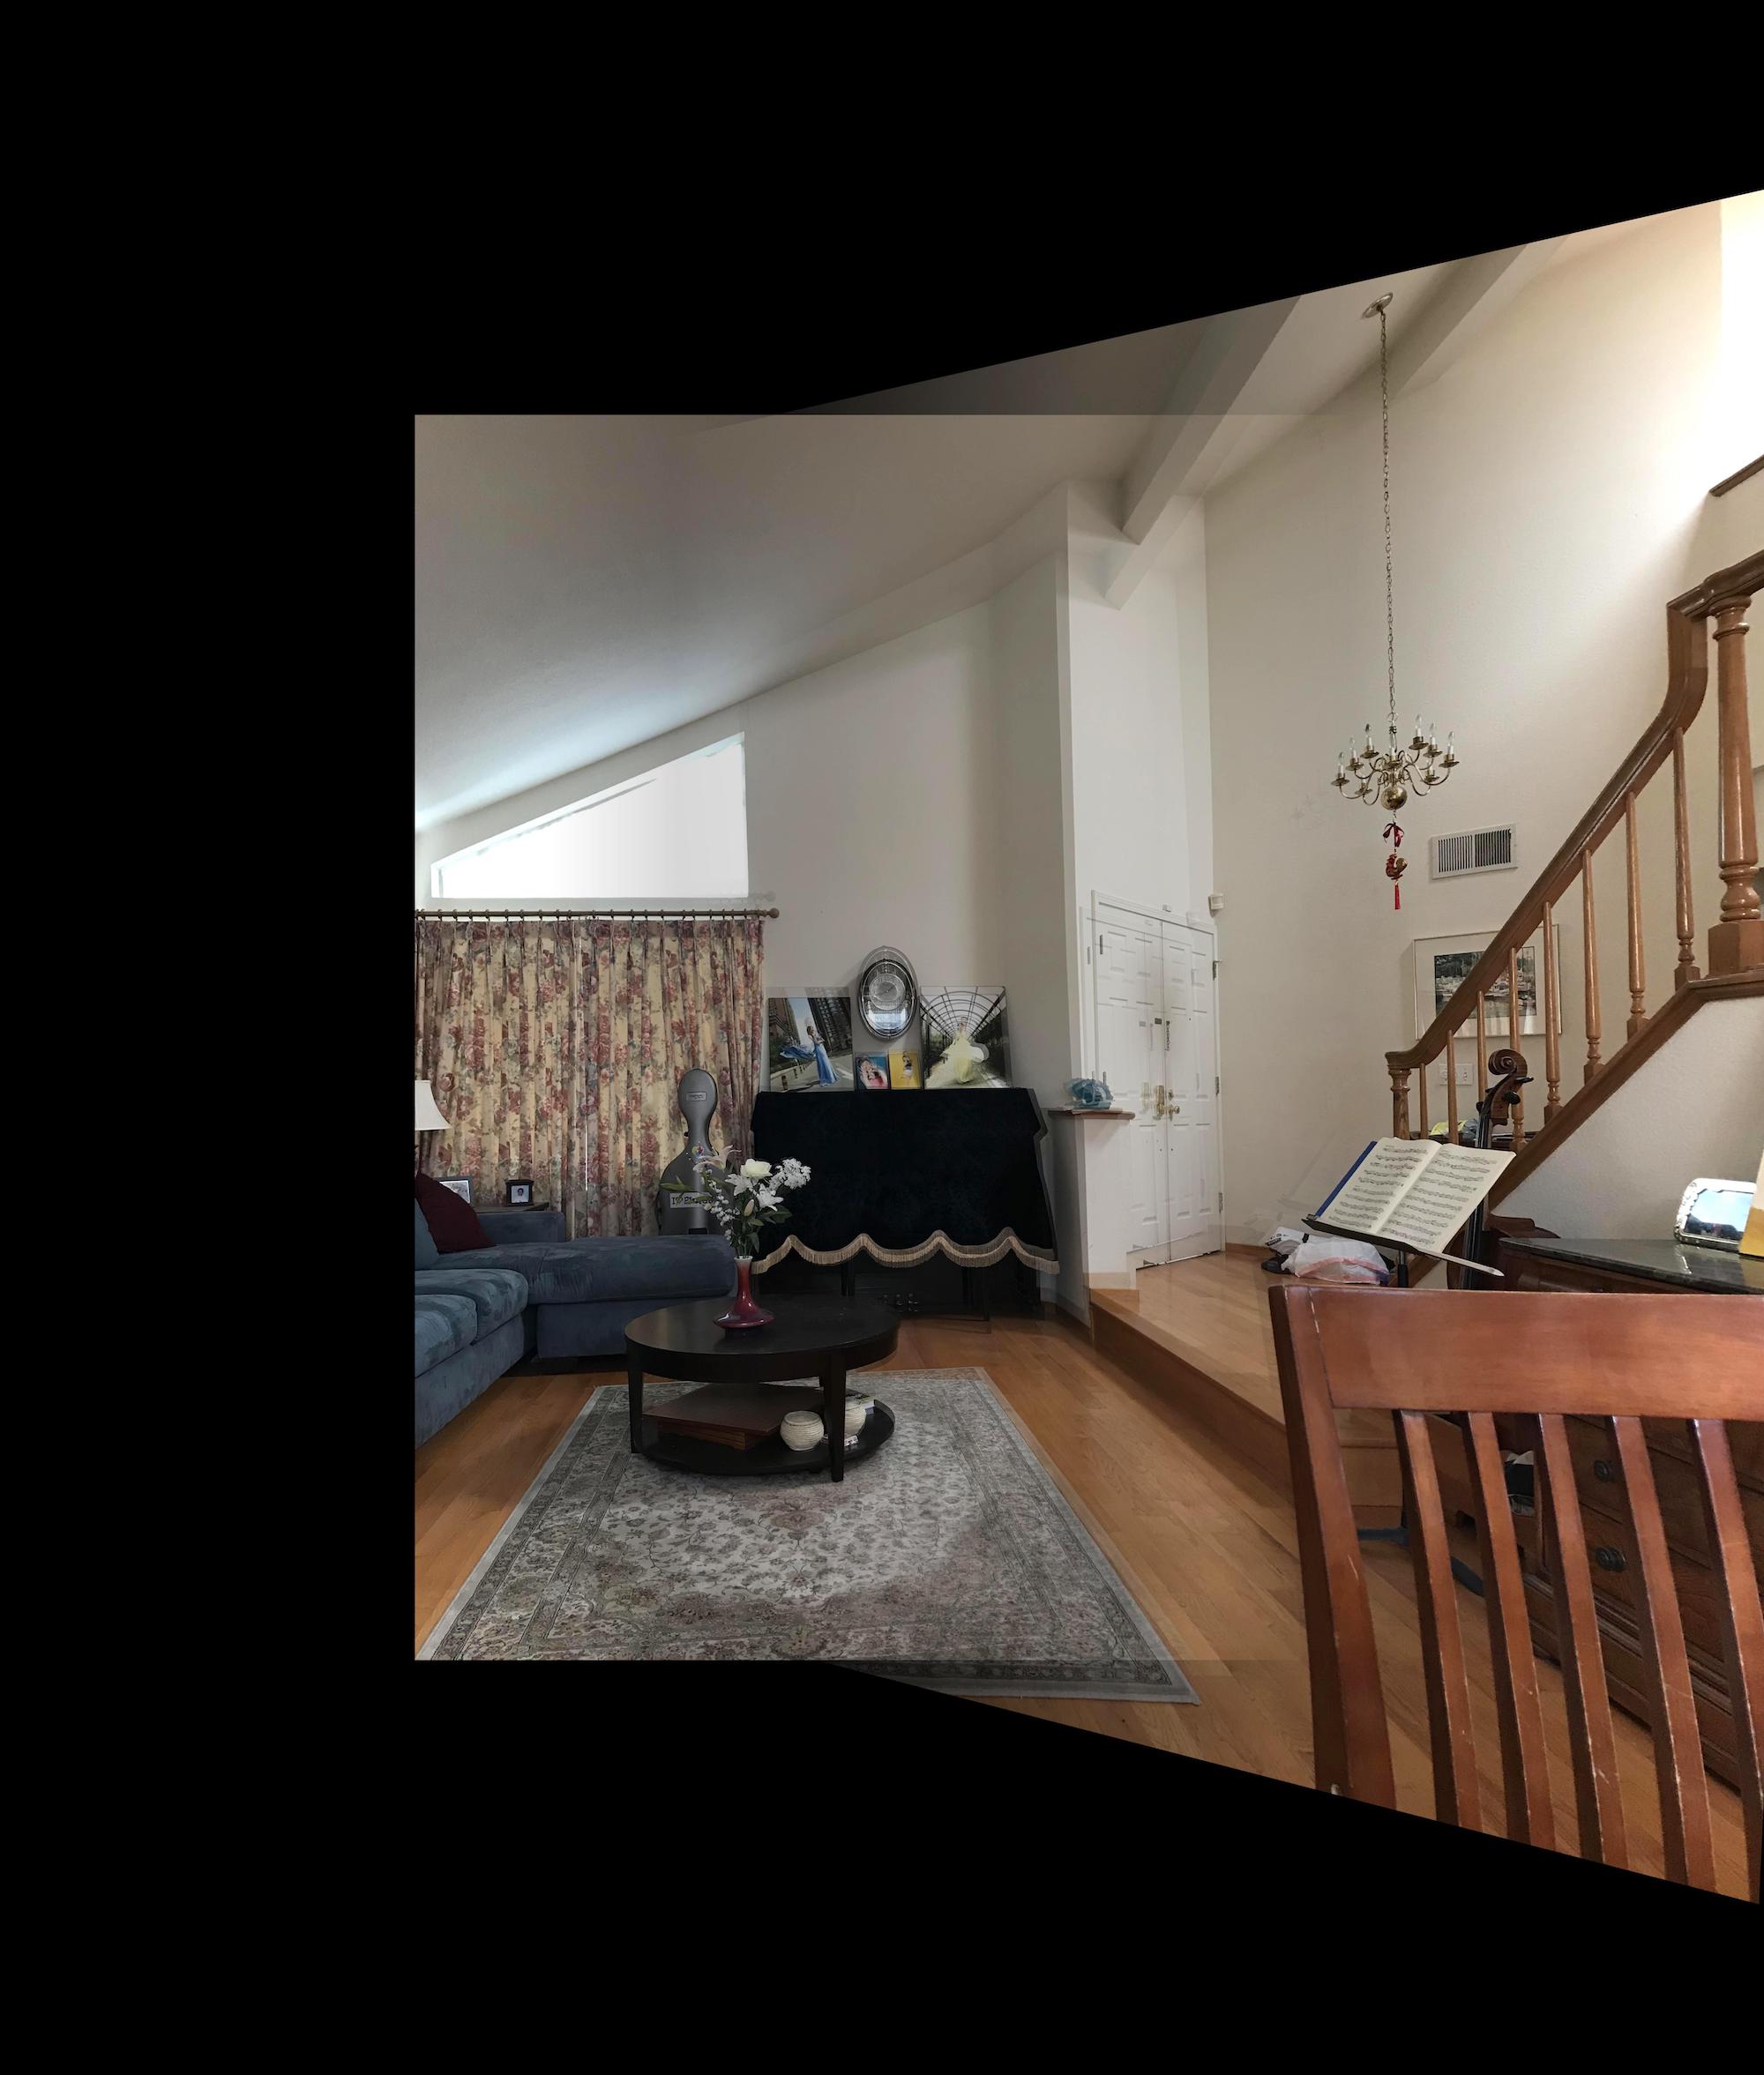 House Mosaic
|
Summary
I really enjoyed this project because it showed me that you can create pretty seamlessly mosaic-ed images with just some linear algebra and some alpha blending. I also learned that even being slightly off when picking points can result in a blurrier image than what you anticipated.
Part 6B
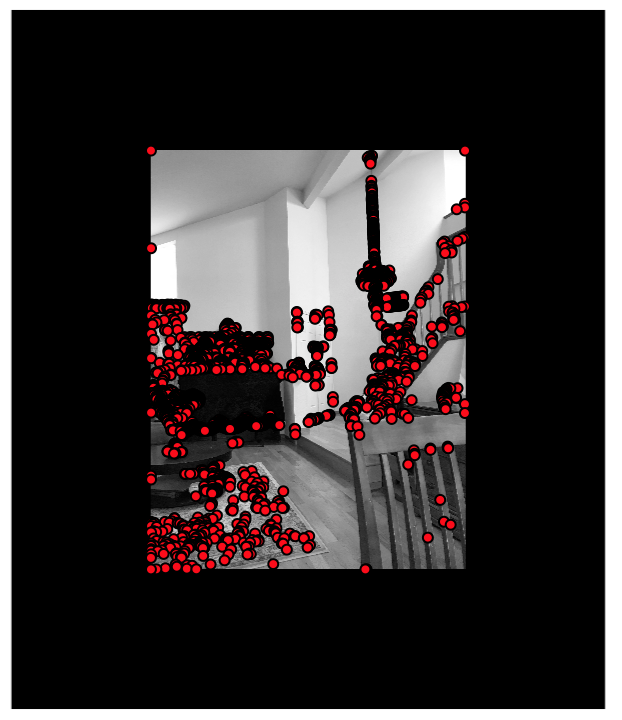
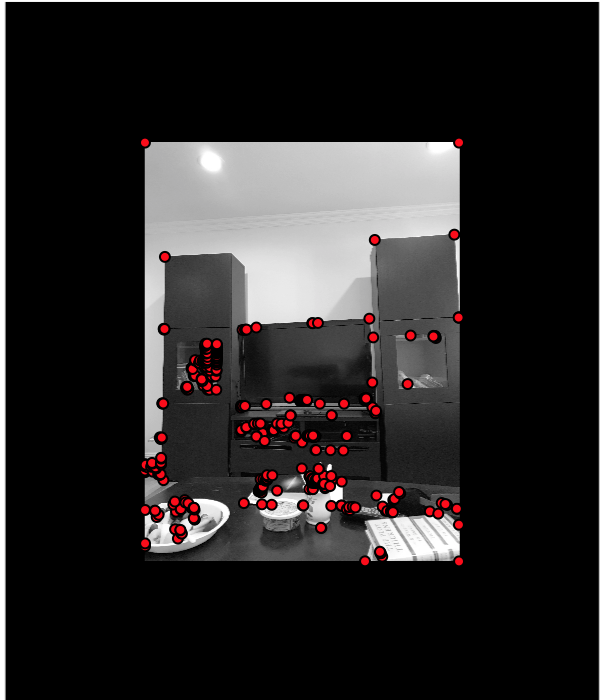
Using the given harris point detector code in harris.py, we detect the harris points in our image. This gives us a ton of points to work with.
 House Image 1 with Harris Points
|
 House Image 2 with Harris Points
|
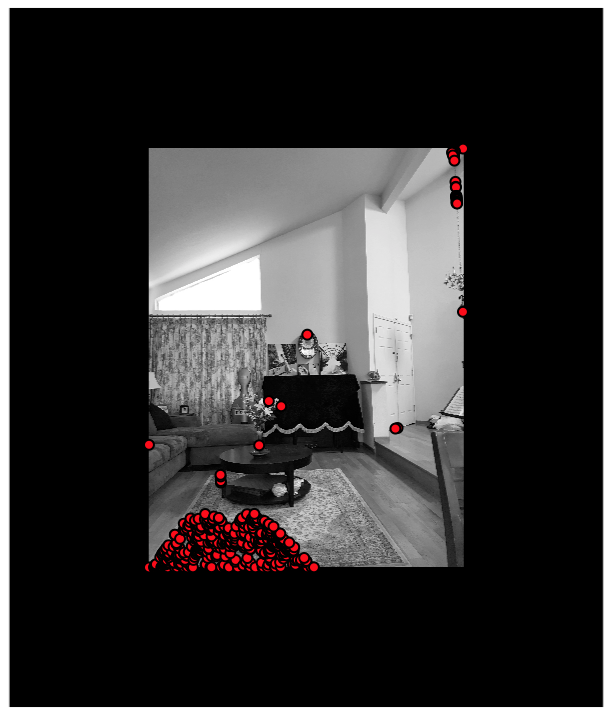
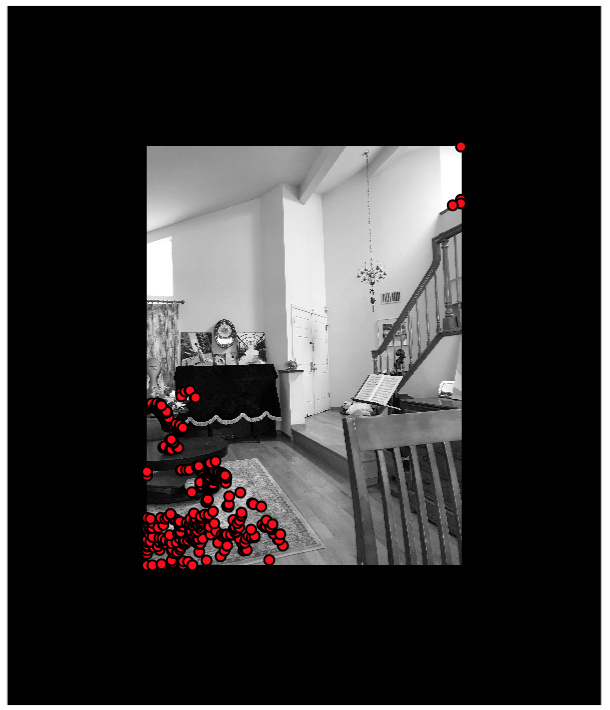
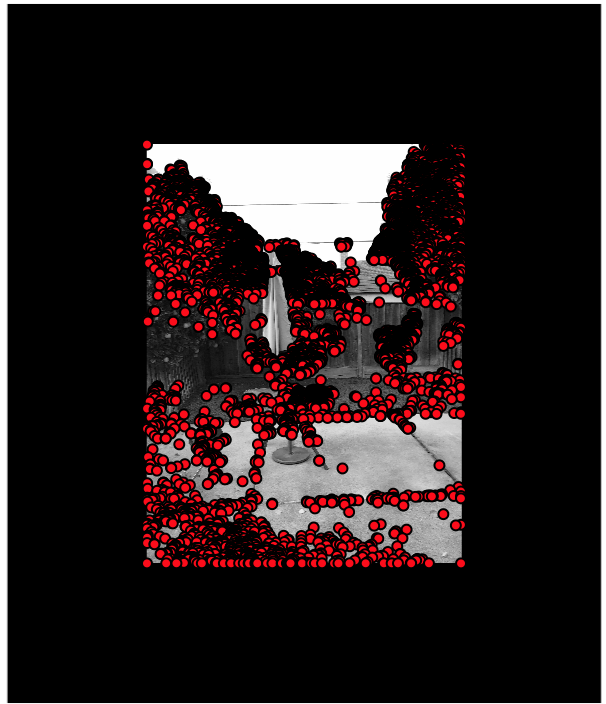
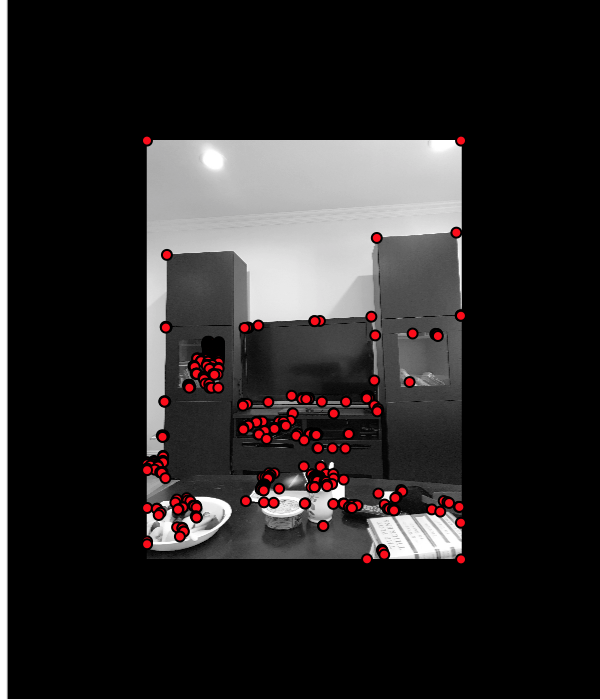
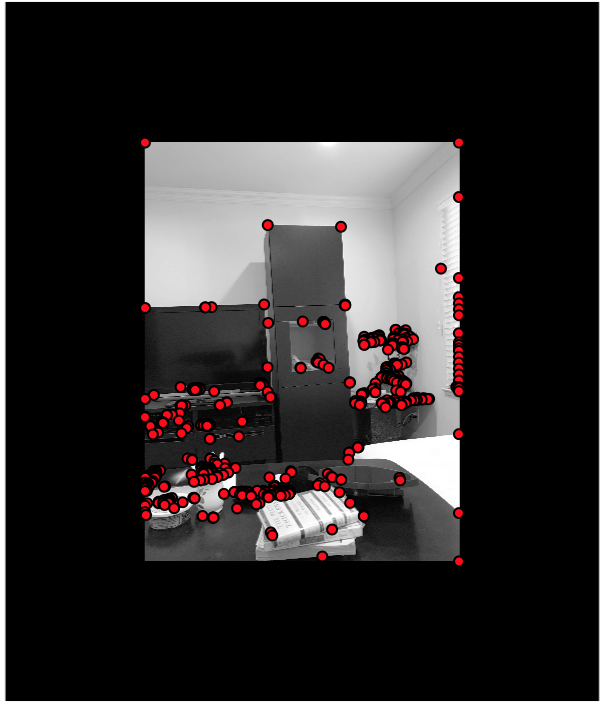
Afterwards, we use the Adaptive Non-Maximal Suppression algorithm. We iterate through each harris point. For each harris point x_i, we iterate through all the other harris points x_j and compute if the h value returned by the harris point detector function at point x_i, h value of x_i < c * h value at x_j. Here, I used c = 0.9. If that is the case, I keep track of the radius (distance) to x_j and return the smallest. Now, I have the mapping of points to radius. Then, I take the top 500 points with the largest radii. Here are the points:
 House Image 1 with ANMS points
|
 House Image 2 with ANMS points
|
After ANMS, we use RANSAC to compute H and get rid of outliers.
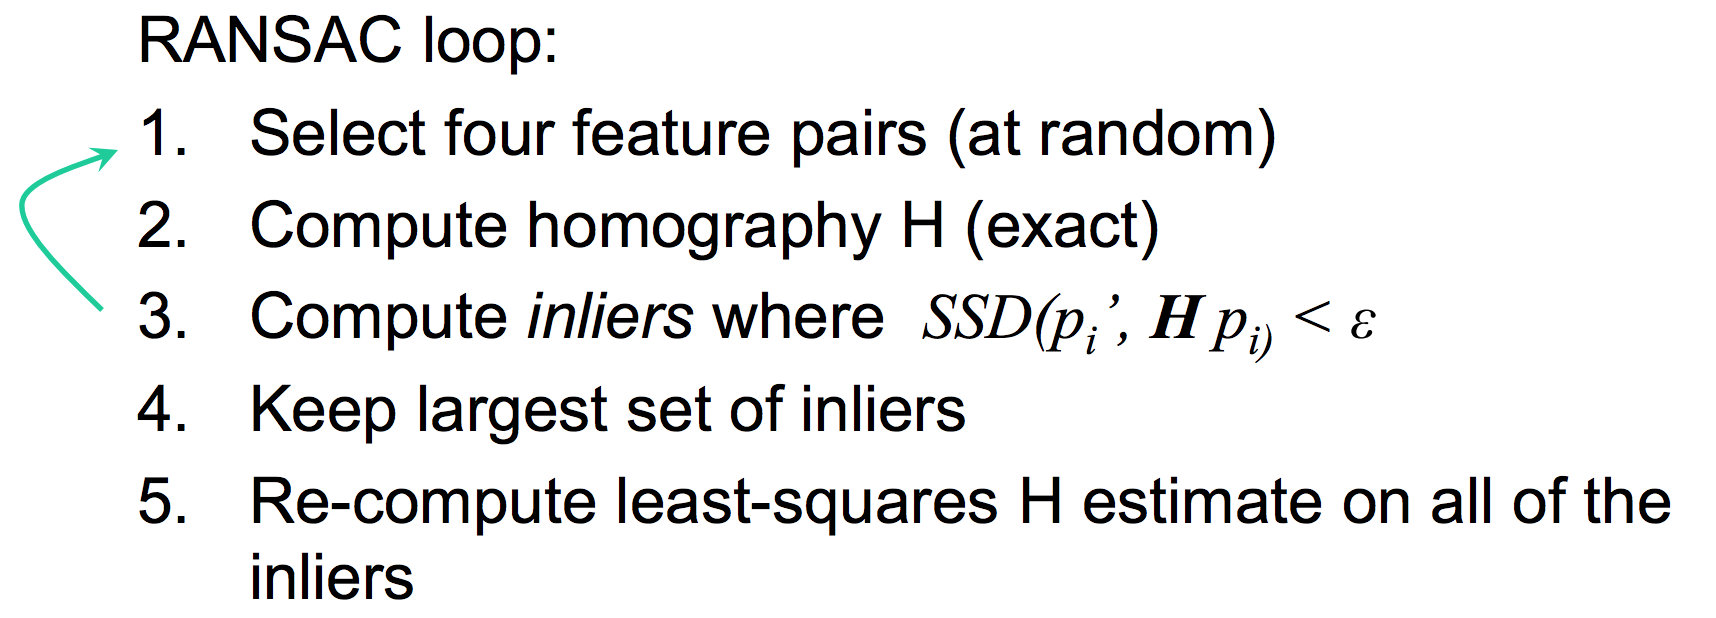 RANSAC function
|
Then, we used normal alpha blending to create the mosaic.
|
House Mosaic
|
Here are some other results:
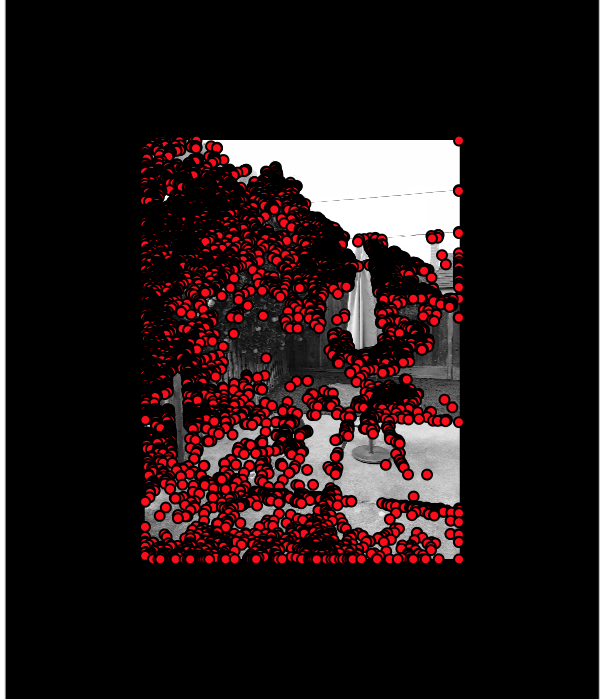 Yard Image 1 Harris points
|
 Yard Image 2 Harris points
|
 Yard Image 1 with ANMS points
|
|
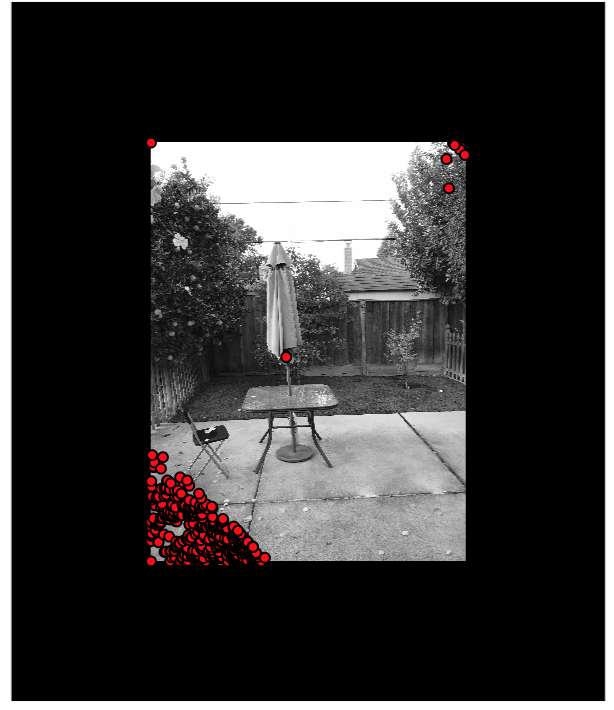
Yard Image 2 with ANMS points
|
|
Yard Mosaic
|
 TV Image 1 Harris points
|
 TV Image 2 Harris points
|
 TV Image 1 with ANMS points
|
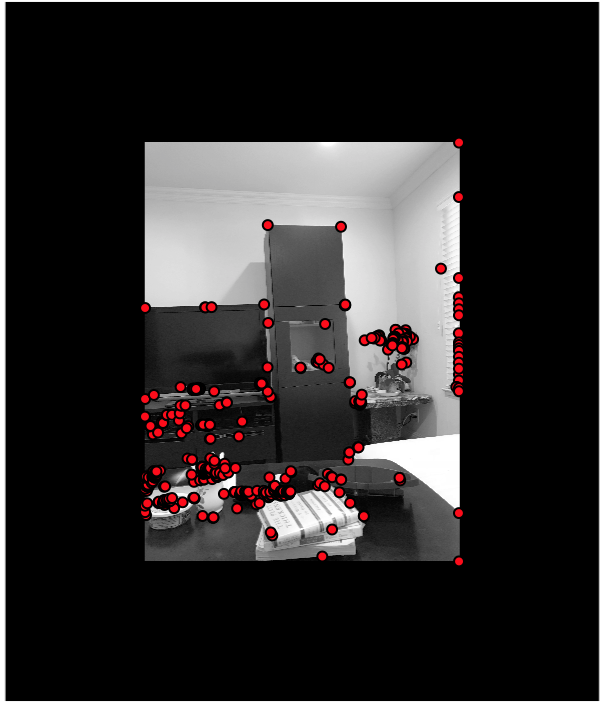 TV Image 2 with ANMS points
|
|
TV Mosaic
|
Conclusion
This was a really hard project. Reading the paper and trying to convert it to something conceptual was really challenging for me. However, the concept is really cool and it was so interesting to see how we can write a program that automatically detects which points are the best to use for image stitching!