CS 194-26
Image Manipulation and Computational Photography
Project 6: Image Mosaics
Hemang Jangle, cs194-26-acv
Overview Part 1
When we take pictures in a camera, we are capturing the rays of light that converge at the focal point of the camera, and project those rays onto a plane. However, sometimes we want a wider field of view than what one picture gives. To do this, we can take multiple pictures from the same point in space, and use the concept of ray-reuse to project the rays onto one large image plane. To discover the homography that takes us from each image to the final image plane, we define correspondences on each image and the base image, and compute the homography parameters through a least squares on the resulting system of equations. After we compute the homography matrices, we apply the warps and paste the images into the final image plane. We must then blend them together to remove edge artifacts in the final image. Here we show two types of blending: linear blending on the borders of the images, and also a maximum operator on each position in the image.
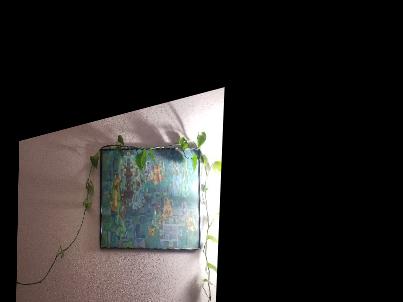
Rectification
We rectify some rectangular portions of an image into a frontal-parallel plane to verify our warp computation works correctly.
 Original Frame
|
 Rectified Frame
|
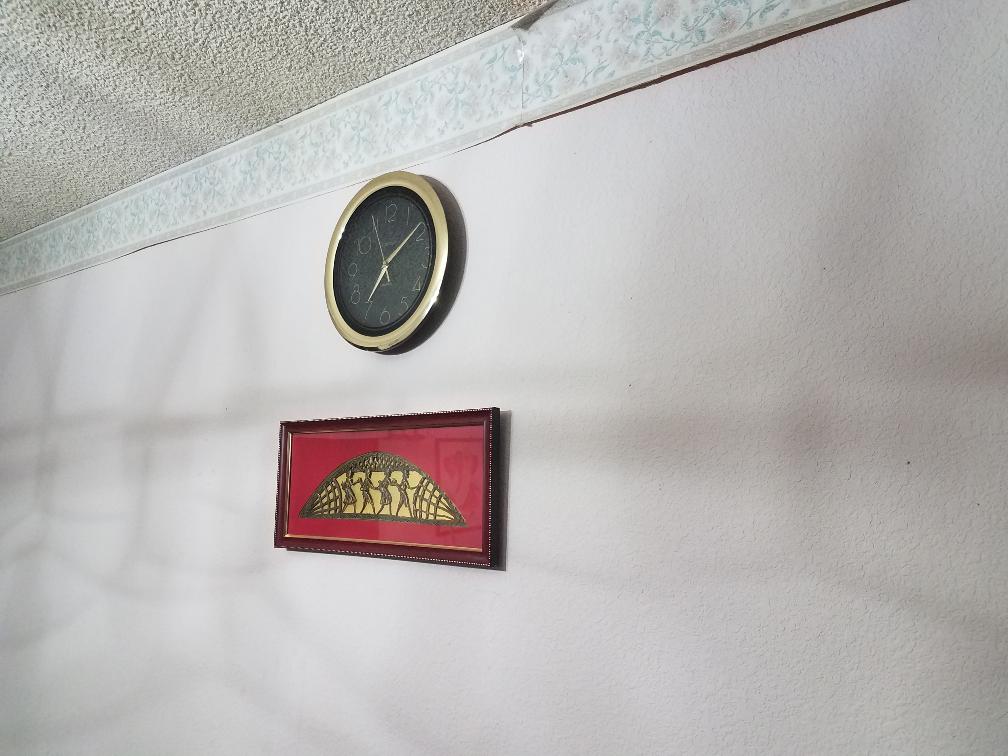 Original clock and frame
|
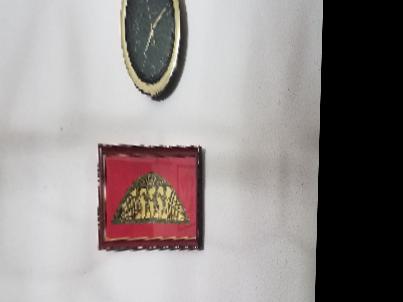 Rectified clock and frame
|
Mosaics
We now show step by step the process of creating a mosaic: capturing images, defining correspondences, computing homographies, executing warps, and blending the warped images.
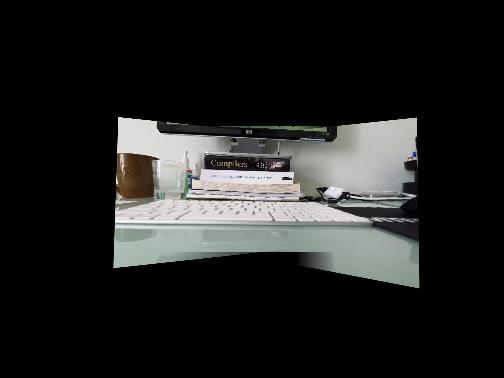
Desk
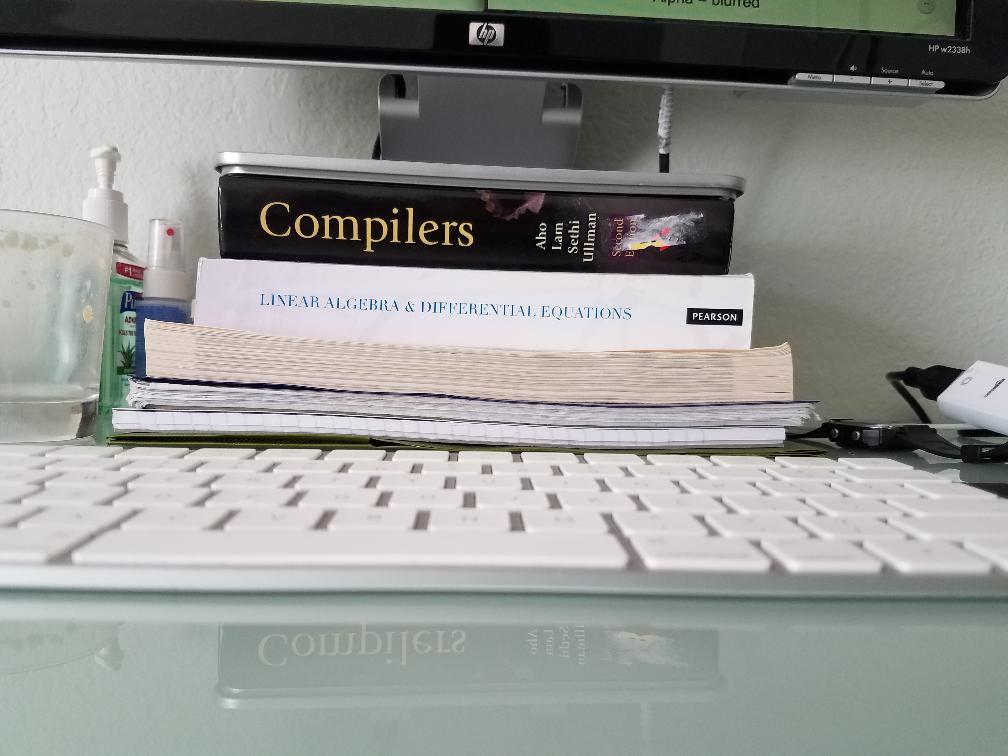
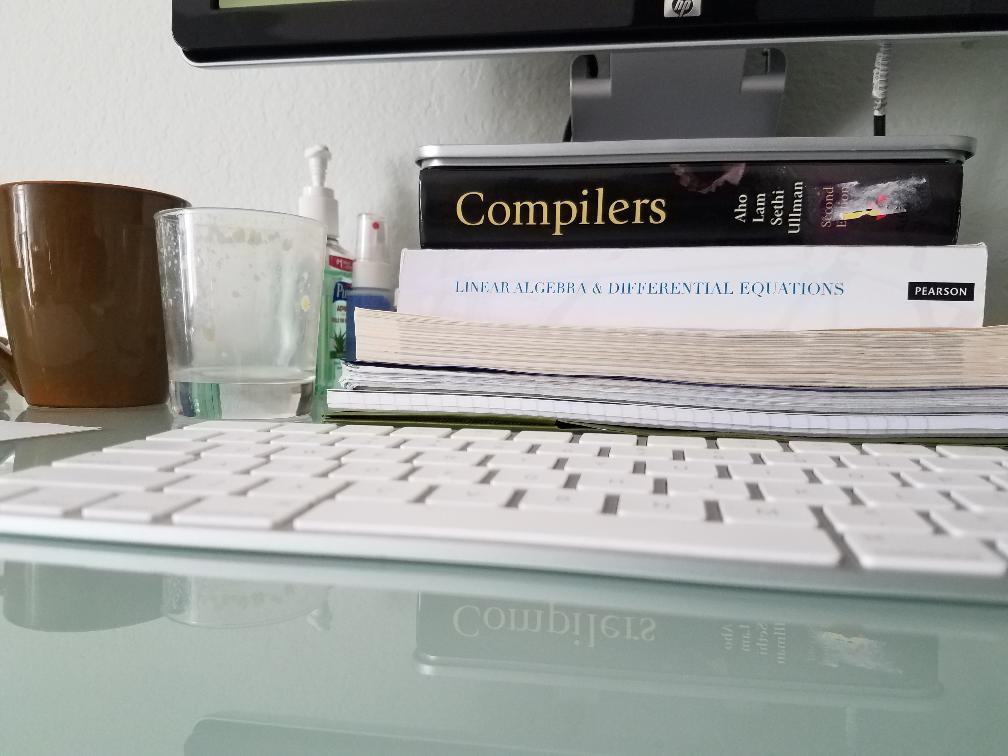 Left of Desk
|
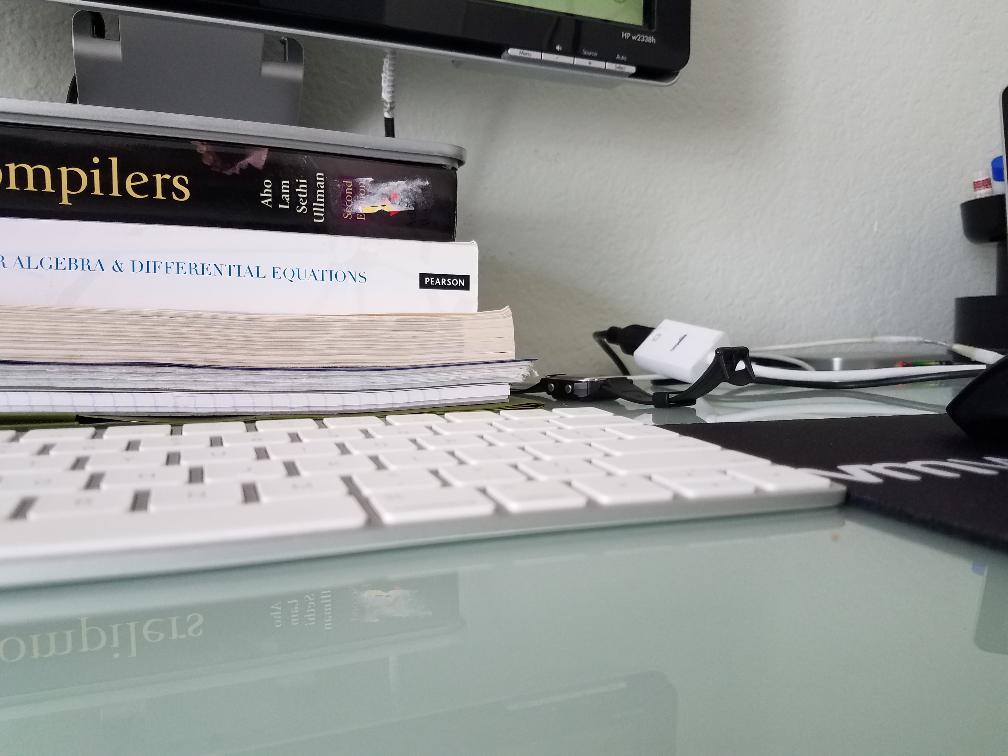
 Center of Desk
|
 Right of Desk
|
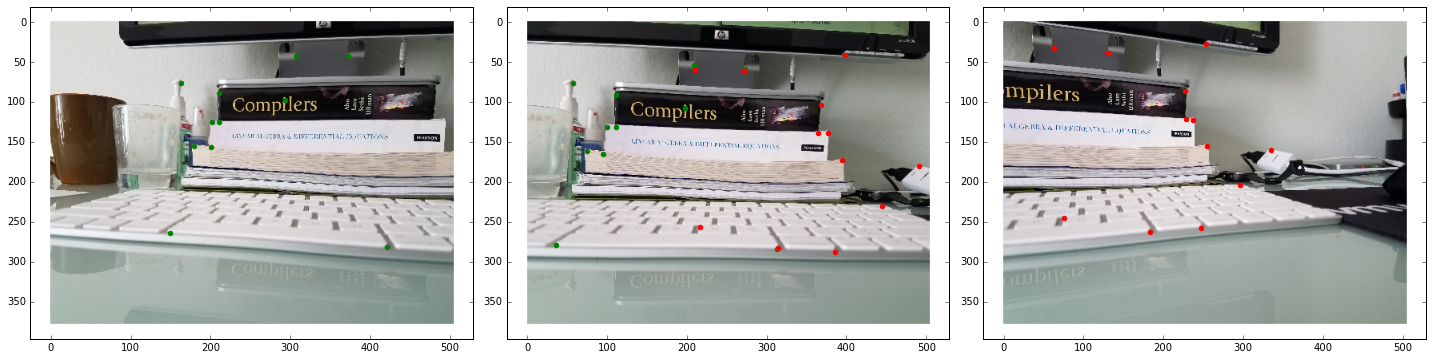 Desk Correspondences
|
 Warped Desk Images
|
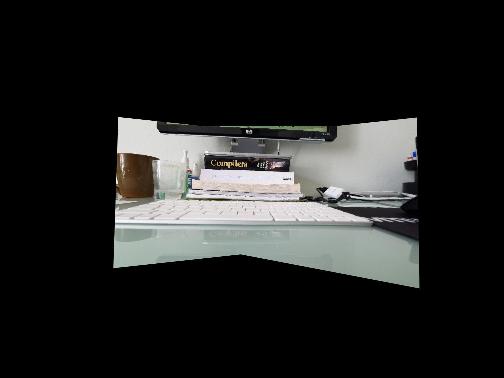 Maximum Blend
|
 Linear Blend
|
The following images are from the Mission Peak hike in Fremont, CA.
Bay
 Left of bay
|
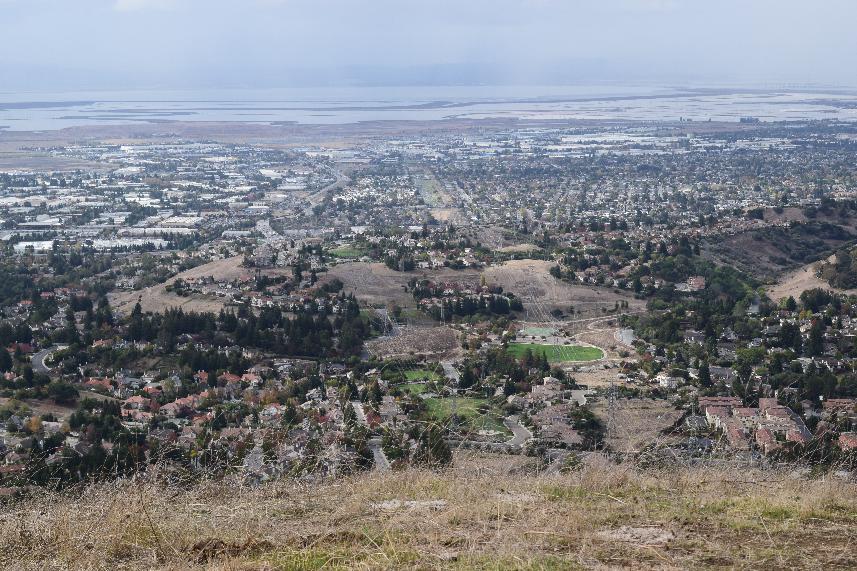 Center of bay
|
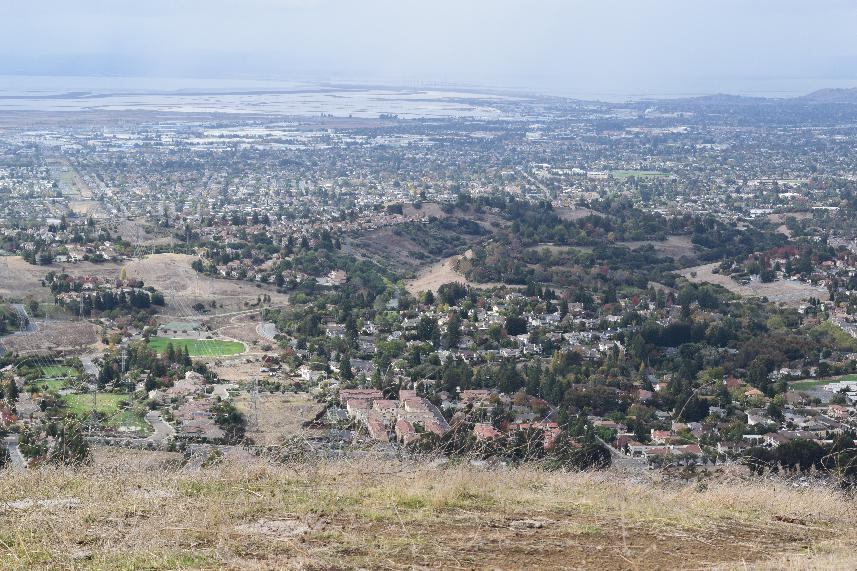 Right of bay
|
 bay Correspondences
|
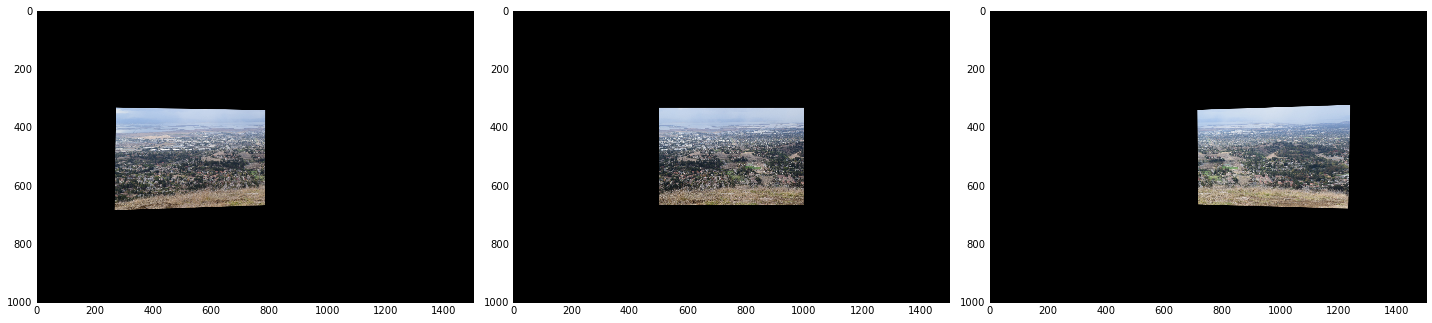 Warped bay Images
|
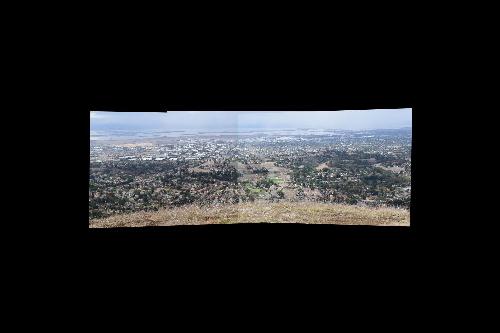 Maximum Blend
|
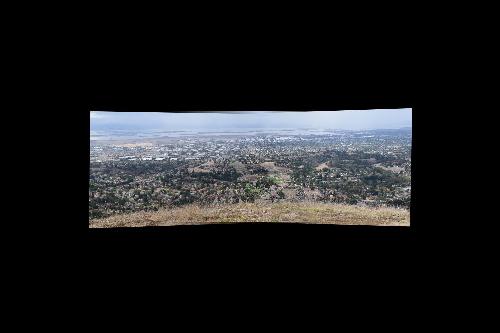 Linear Blend
|
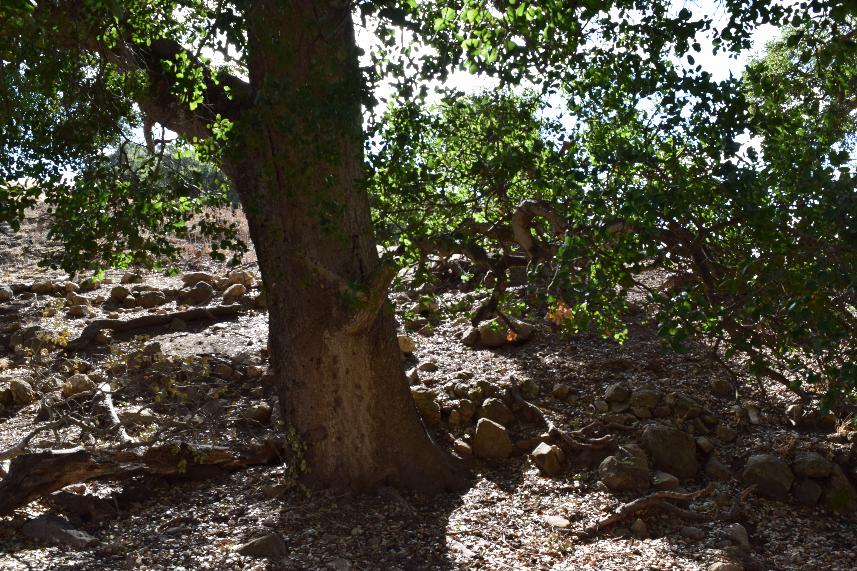
Tree
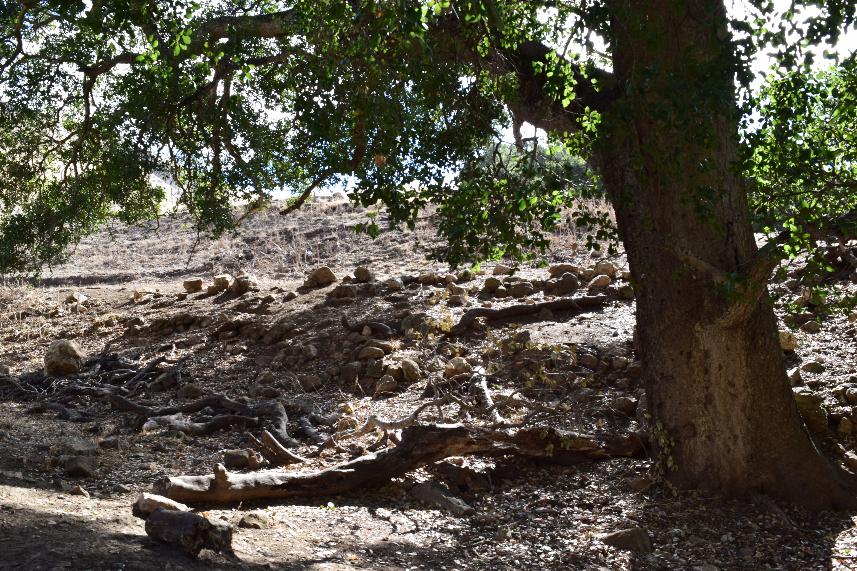 Left of tree
|
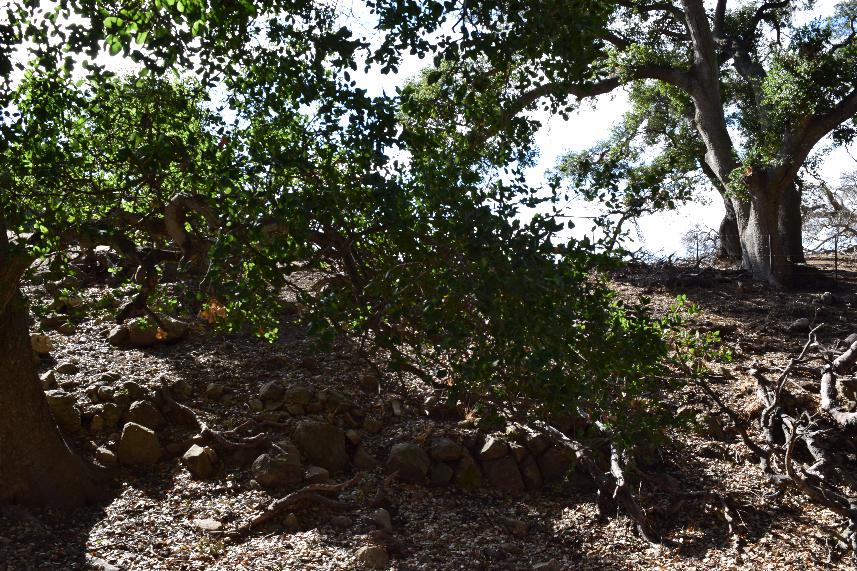
 Center of tree
|
 Right of tree
|
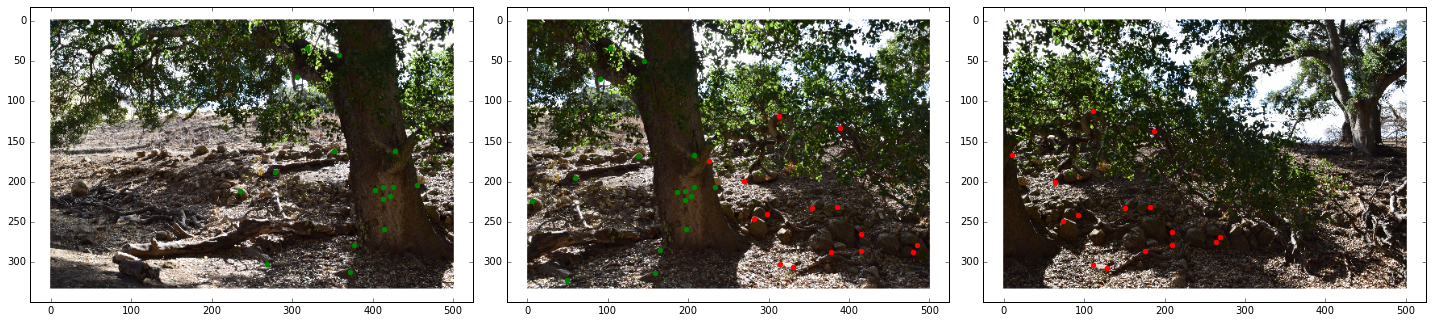 tree Correspondences
|
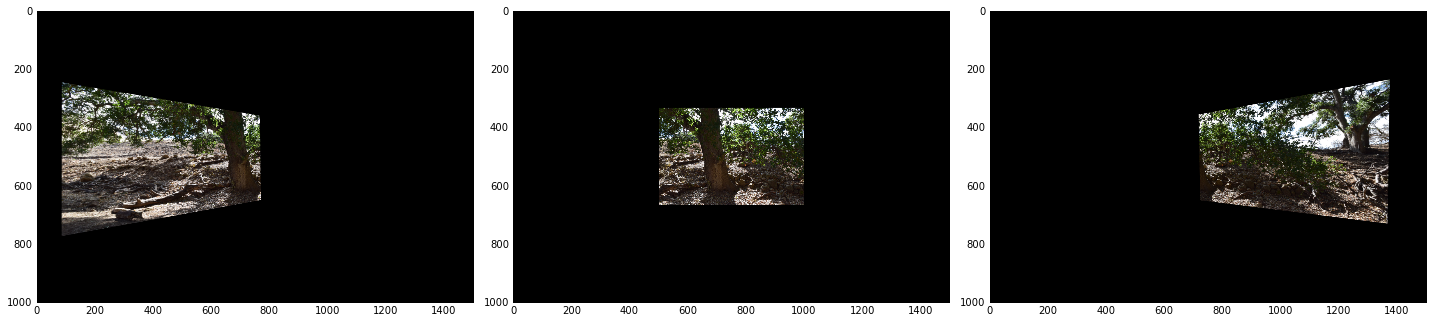 Warped tree Images
|
 Maximum Blend
|
 Linear Blend
|
Overview Part 2
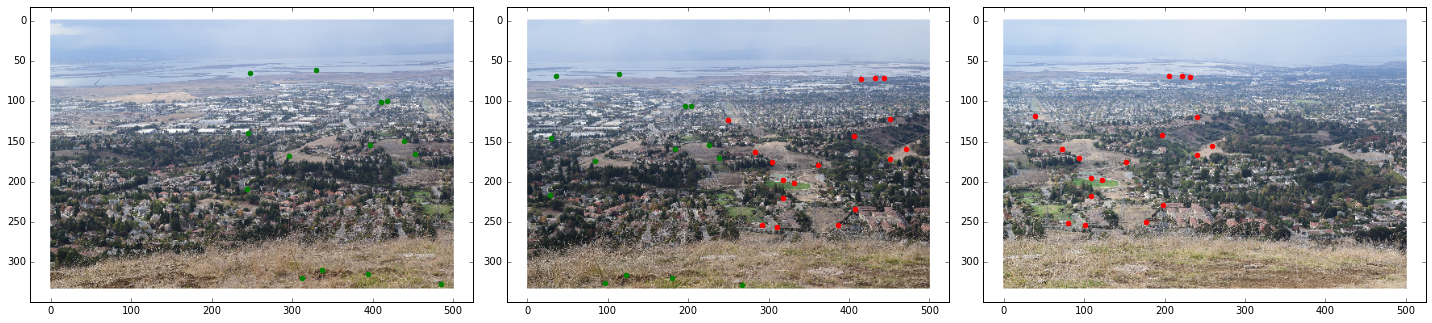
In this part of the project, we implement automatic stitching by making the process of detecting correspondences completely automatic. To do this, we use a feature based matching approach. We first find features in both images that are good for localization: we want features that can be pinpointed to a very specific pixel location without much ambiguity. To do this, we use Harris corners. Once we compute the Harris corners, we use Adaptive Non-maximal Suppression to get harris corners that are evenly distributed across the image. ANMS works by suppressing points in a radius around a chosen point, if the other points are not strong enough corners. To do this, we first compute a radius around each corner to its closest corner that is sufficiently stronger than it. Then, we choose the corners with the largest radii. For the images I've shown, I use 250 corners. We then try to match these corners in the two images. To do this, we use a blurred patch around each corner as a feature descriptor. These patches are of size 40 x 40 subsampled to 8 x 8. After computing these patches, we try to match patches in one image to another. To do this, we compare the distance of a patch in img 1 to its nearest neighbor and its 2nd closest nearest neighbor in the other image, and take the the points for whom the 1st nearest neighbor is a lot closer than the 2nd nearest neighbor. In my case, I took the top 10% of matches from this matching metric. After creating these matches, we still need to filter out the matches that are incorrect, for even one incorrect pair can ruin the homography. To do this, we use RANSAC to find a set of inliers that describe the homography properly. For the images I used, I set RANSAC to run for 1000 iterations, with an error tolerance of eps=1 on the transformed image coordinates. We display each of the steps discussed above on one image pair and then show the rest of the results.
Desk Corners
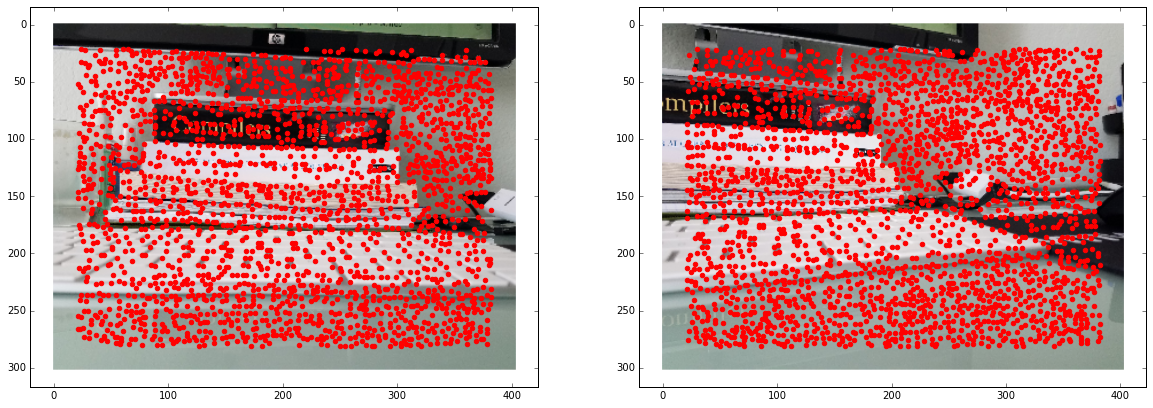 Desk Corners
|
Desk ANMS Corners
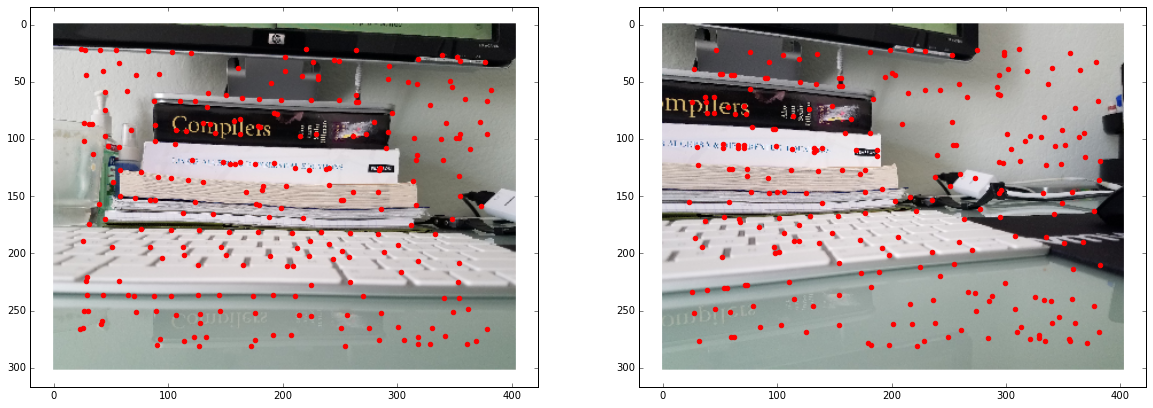 Desk ANMS Corners
|
Desk Corners Post Feature Matching
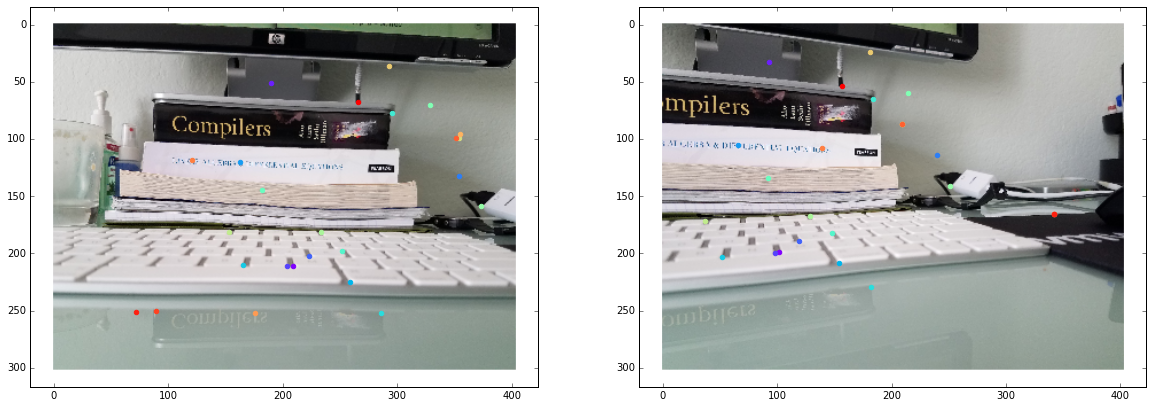 Desk Matched Corners
|
Automatic Stitches
Note we only stitch one side of the mosaic with the automatic method.
Desk Stitched
|
Desk Hand Stitched
|
 Desk Auto Stitched
|
Bay Stitched
|
Bay Hand Stitched
|
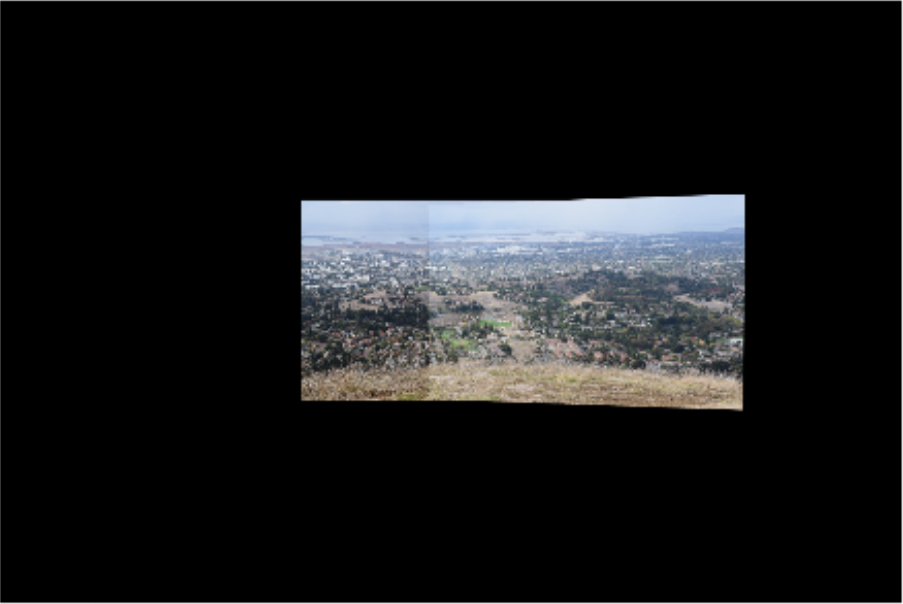 Bay Auto Stitched
|
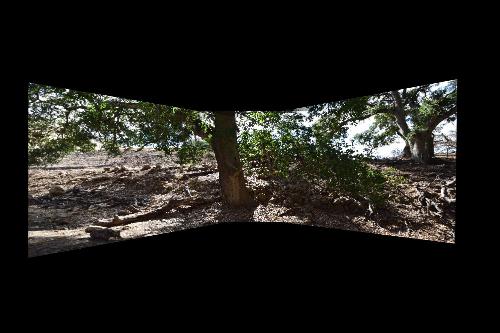
Tree Stitched
|
Tree Hand Stitched
|
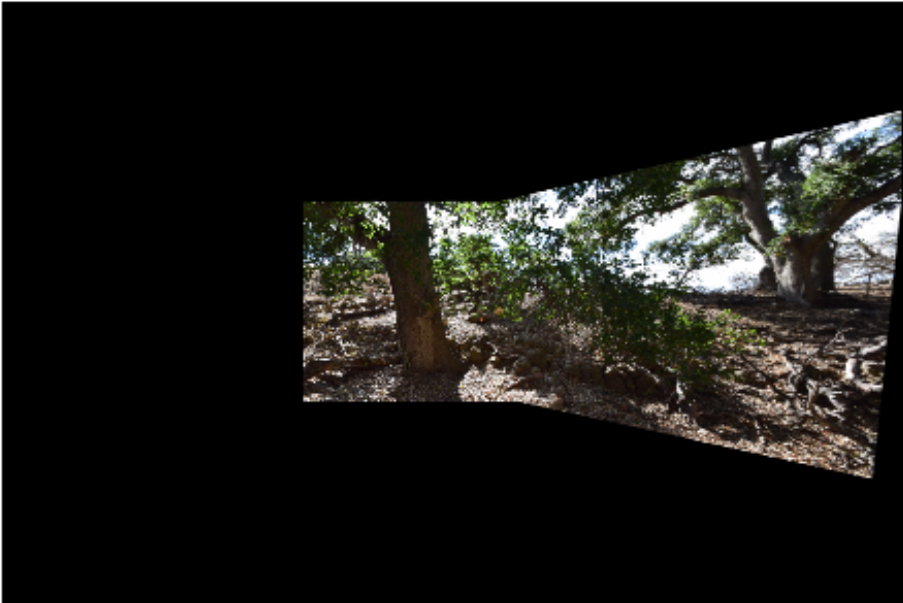 Tree Auto Stitched
|
Bells and Whistles
Just to see what it would look like, I wanted to simulate looking around the panorama in person. I made some gifs of doing this.
 Tree Gaze
|
 Bay Gaze
|
Summary
I learned a lot about the challenges of warping images to the same plane. I also saw the power of homographies which are pretty cool!
I also learned that while are corners are corners, some corners are more equal than others.
And that some corners are more (c)ornery than others.