Image Warping and Mosaicing Part A
By Jason Xie
Abstract
Image warping and mosaicing involves a few key steps. 1. Take multiple perspectives of a view or location 2. Select points to get homographies between the images 3. Warp the images toward the middle perspective 4. Blend the warped images into a mosaic.
1. Take Photos
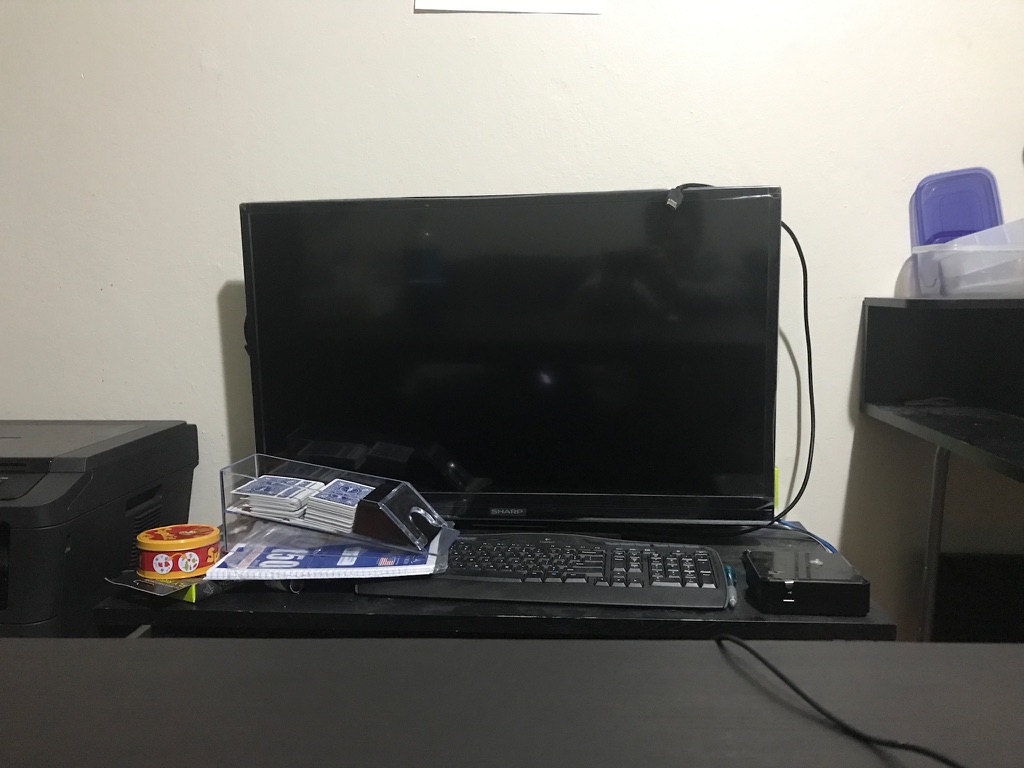
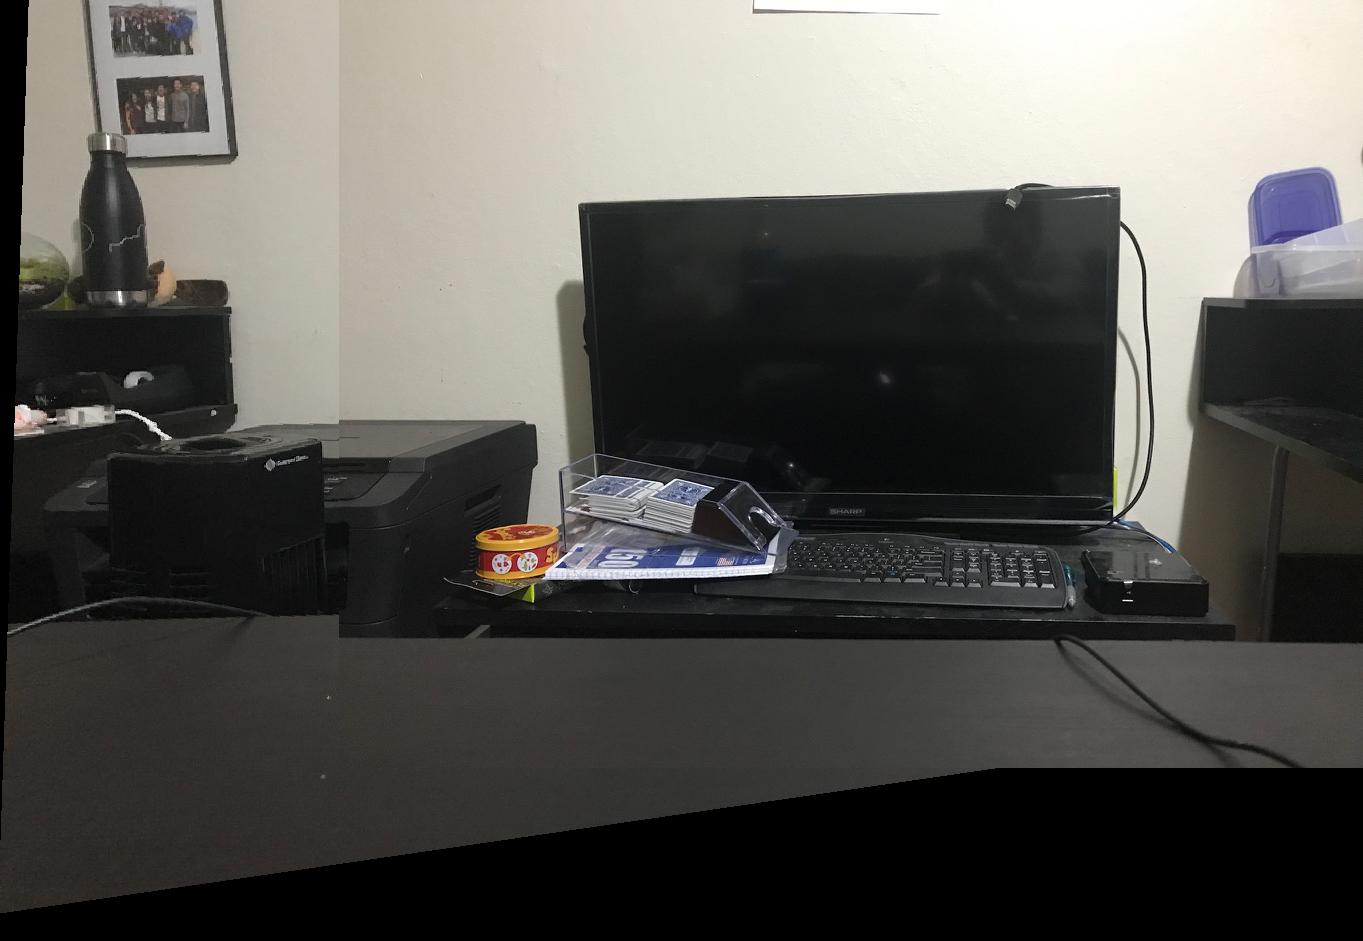
I took two photos of my living room with the TV at the center of one of the images. Here are the original images below:
Left of TV
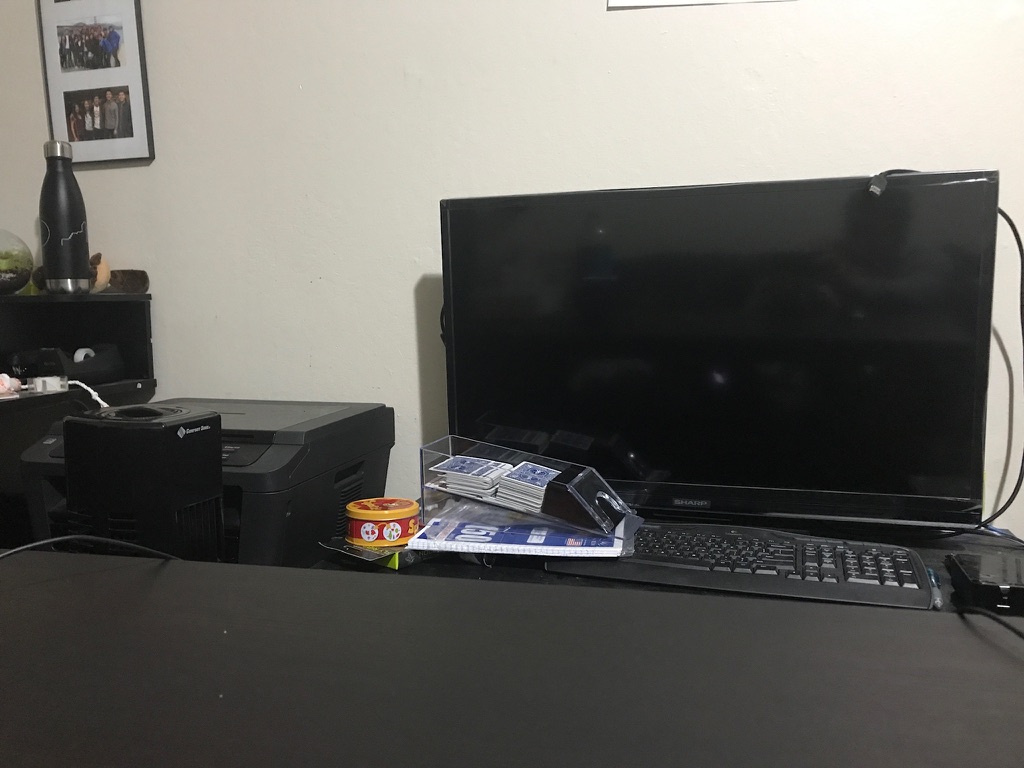
TV
2. Creating Homographies
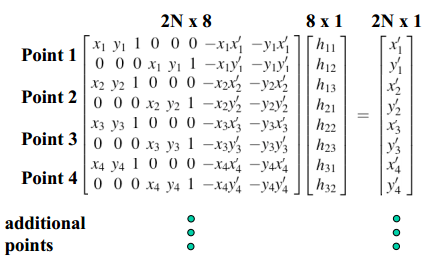
The next step of the project is select points to create a homography between the images. Intuitively what I am doing is trying to find some planar surface in the picture space between two images and solve for the matrix that relates the two. This makes the image look like I'm viewing the same space through a different angle. I used six points to set up the homography matrix and used least squares to solve it. The specific formula is given below:
Homography Matrix Calculation
3. Warping Images
Once the homography matrix is created, I first found out what the bounds for the new image should be. This was done by taking the boundaries of the image and seeing what they got projected to after multiplying by the homography matrix. Then, we can simply find pixel values for each pixel in the new image by multiplying by the inverse of the homography matrix and grabbing the original pixel values.
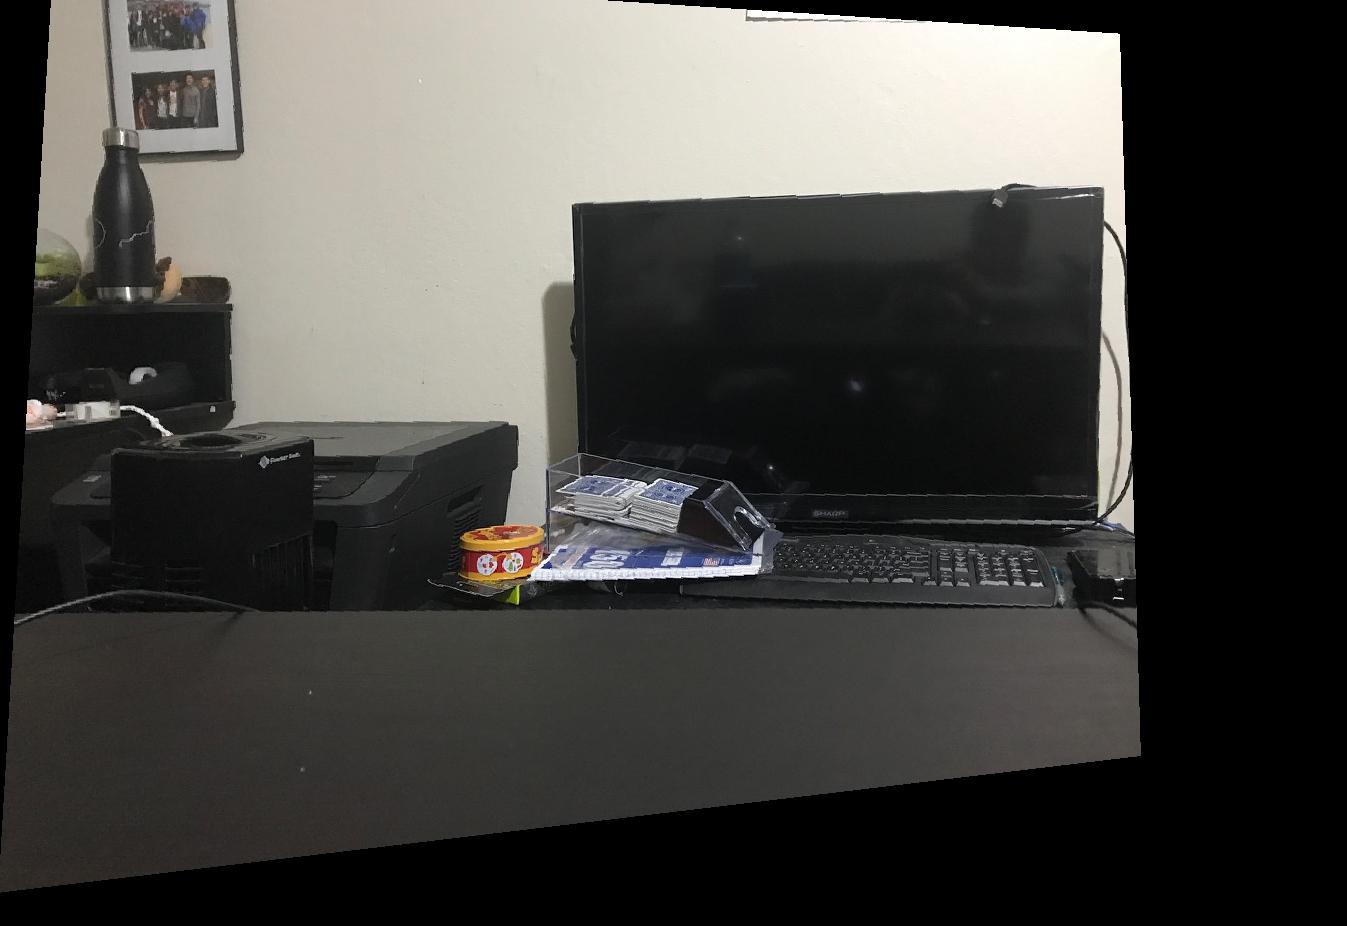
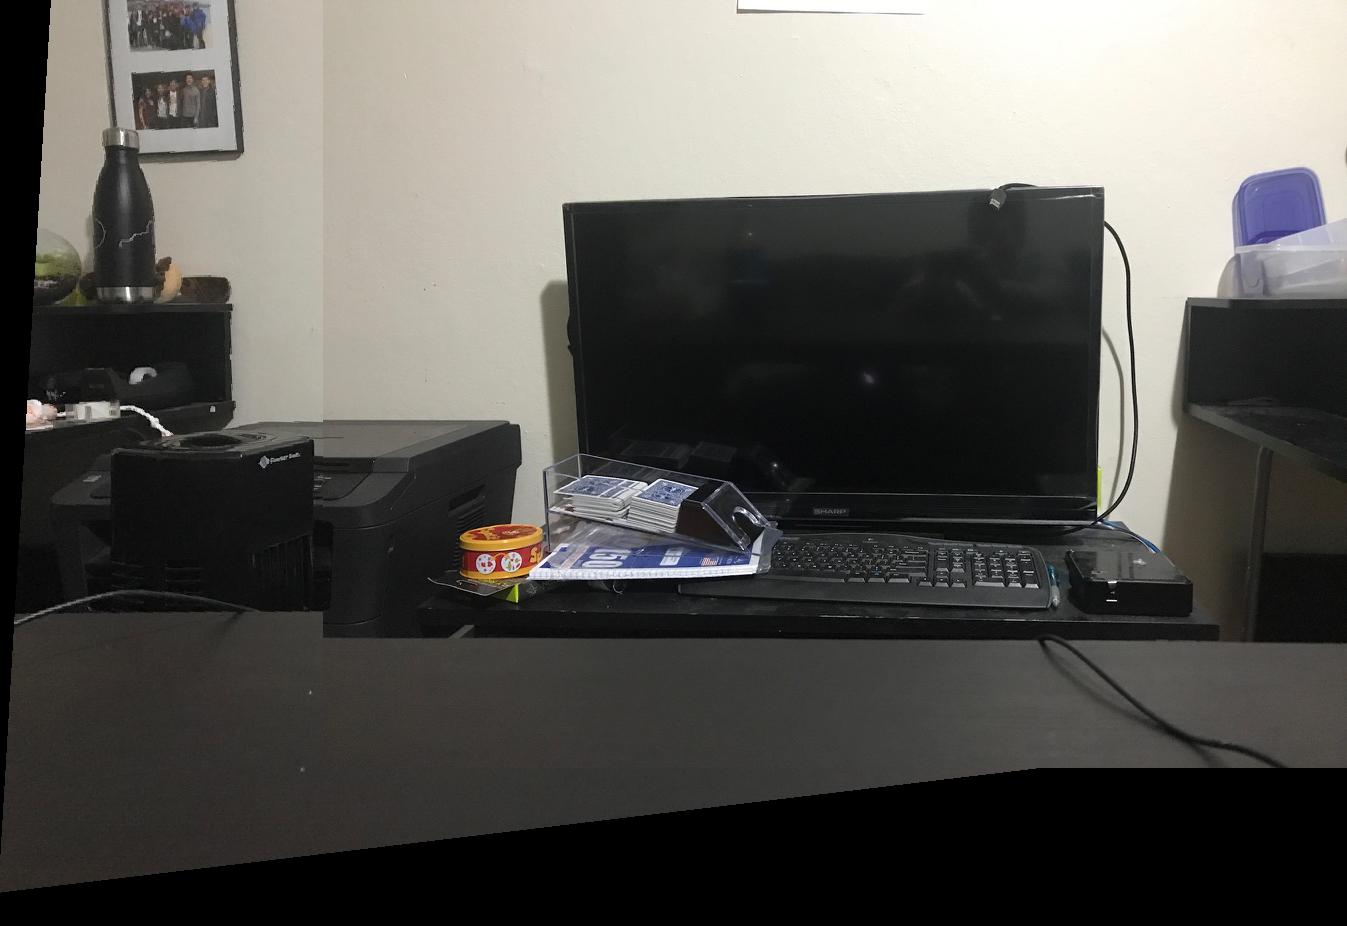
Original Left Image
Warped Left Image
Warping Experiments
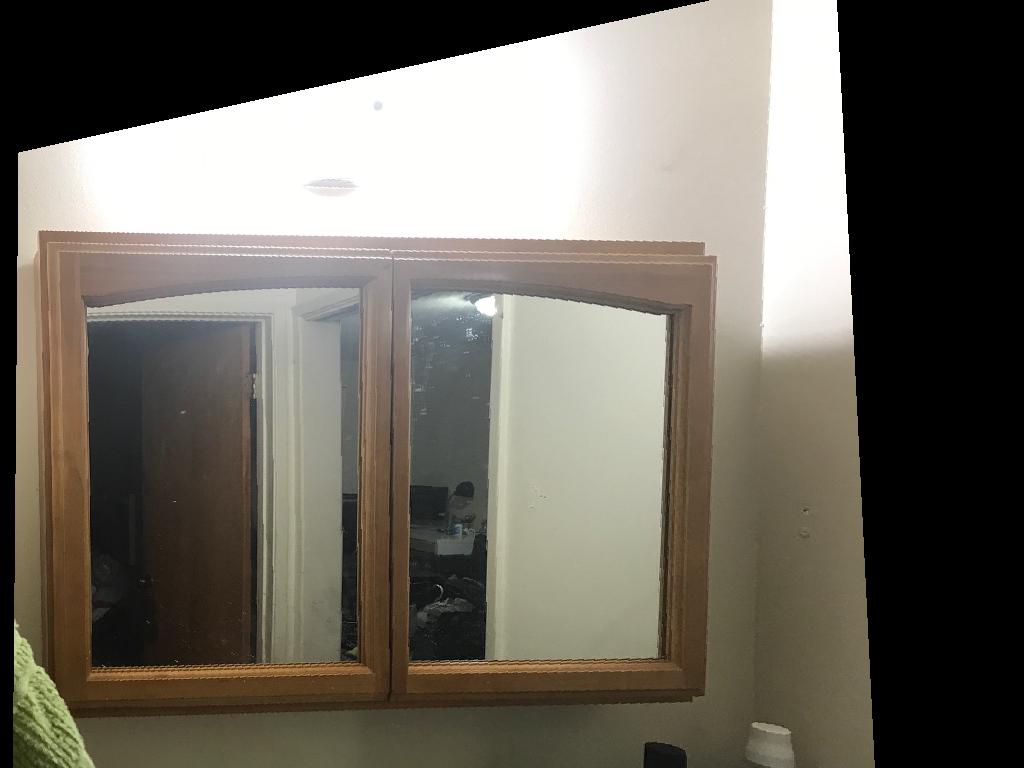
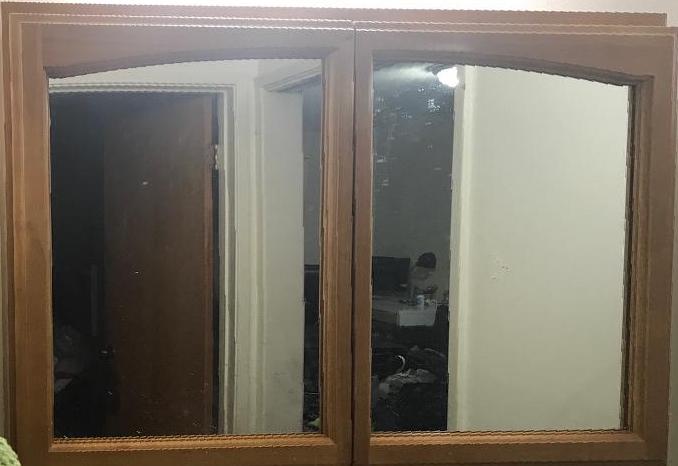
Another explanation of what this warping and homography is doing can be shown by what happens to this mirror picture when we change the homography. In this experiment, I took a picture of a mirror from the side, so that you cannot see that the camera in the mirror, and then morphed it so that it looks like the camera was directly in front of the mirror when it took the picture. This creates the "vampire-like" picture where it seems like we are looking directly at the mirror, but there is no reflection of the camera.
Original Mirror Image

Warped Mirror Image
Vampire Mirror Image
4. Composing Images
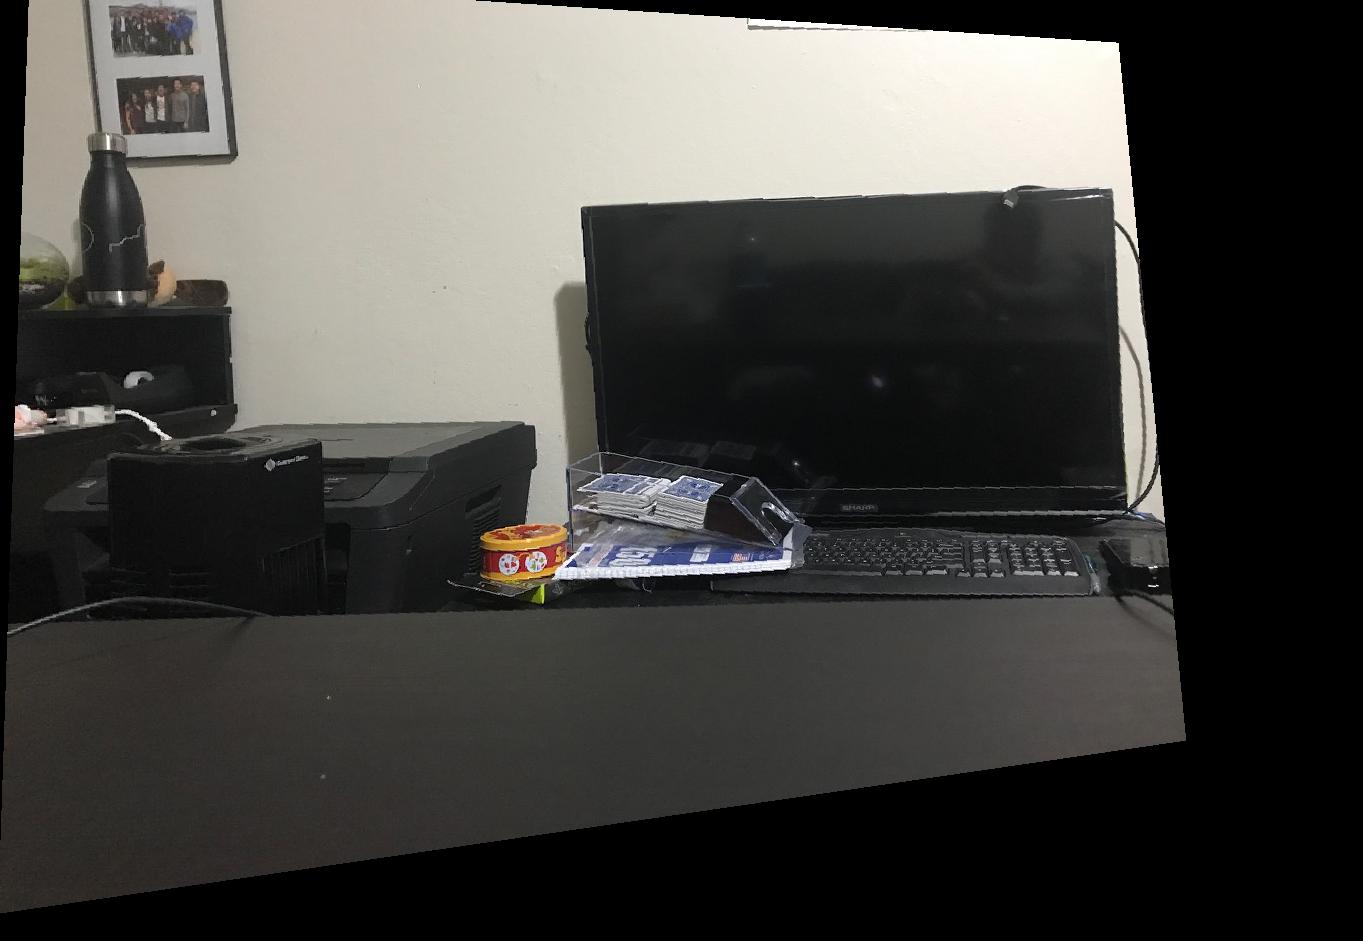
Lastly, we just have to remember the offset we used to warp the photo to and put the original image there to create the combined mosaic of the two photos.
Final Mosaic
Feature Matching for Autostiching Part B
In the second part of the project, we will explore how we can automatically stich photos together by finding and matching features between images. Our approach is based on this research paper.
1. Finding Corner Points
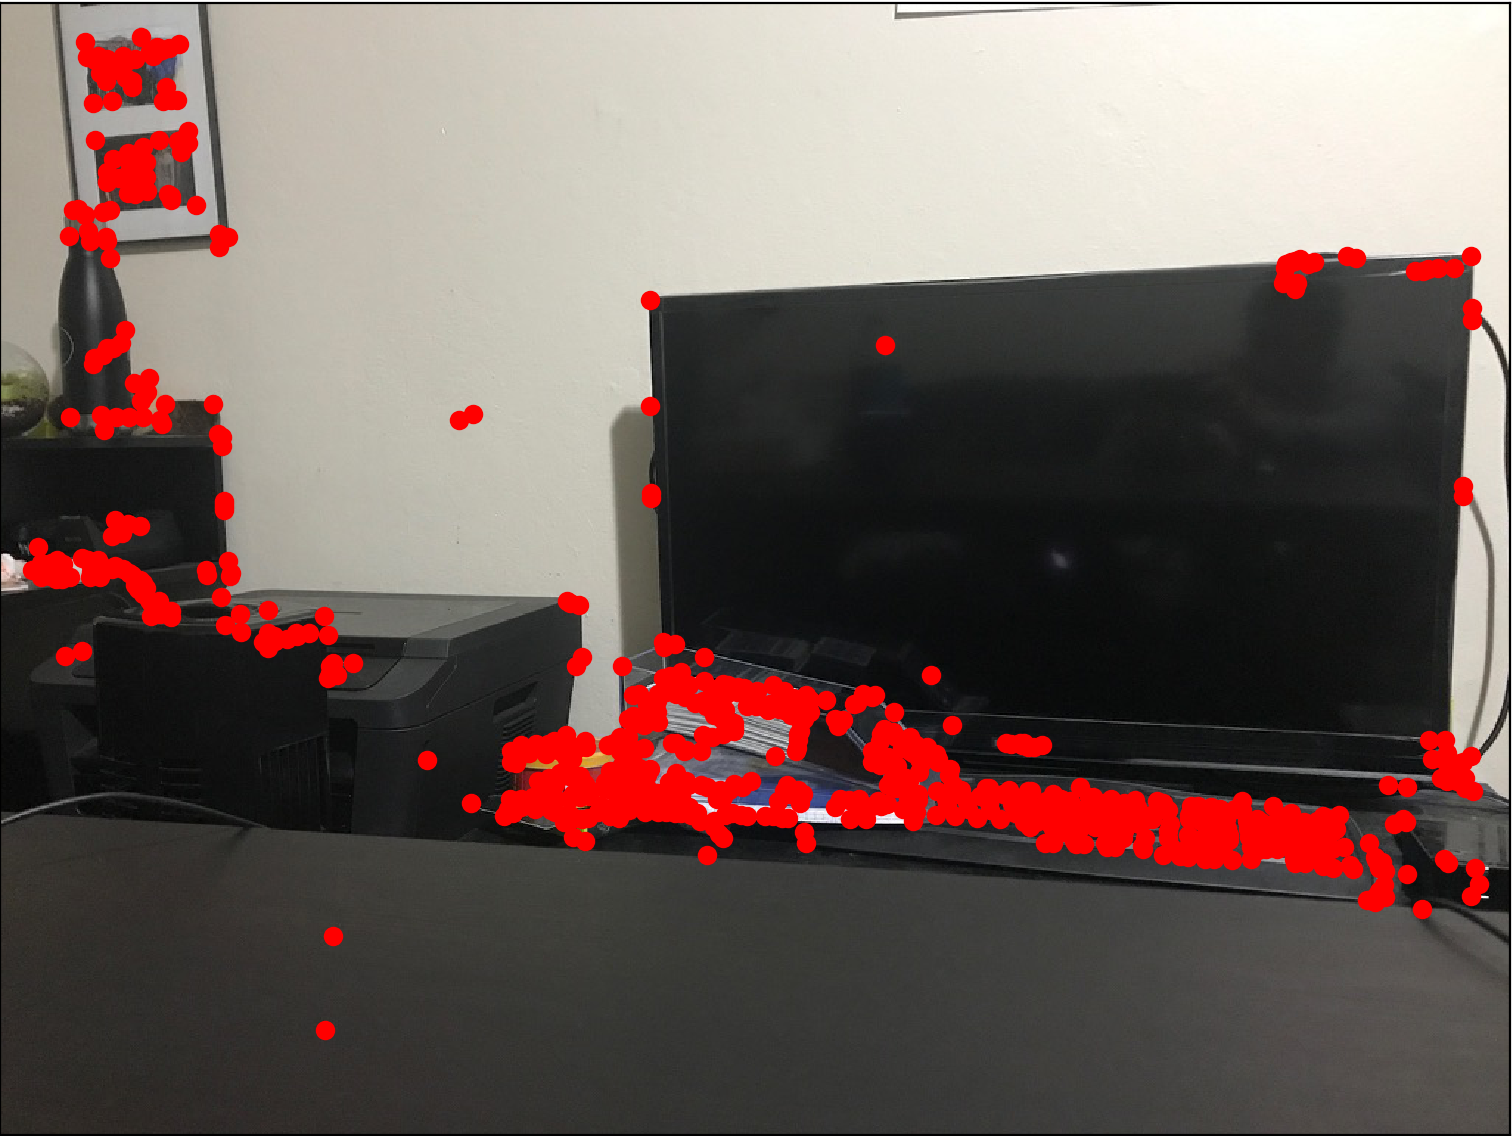
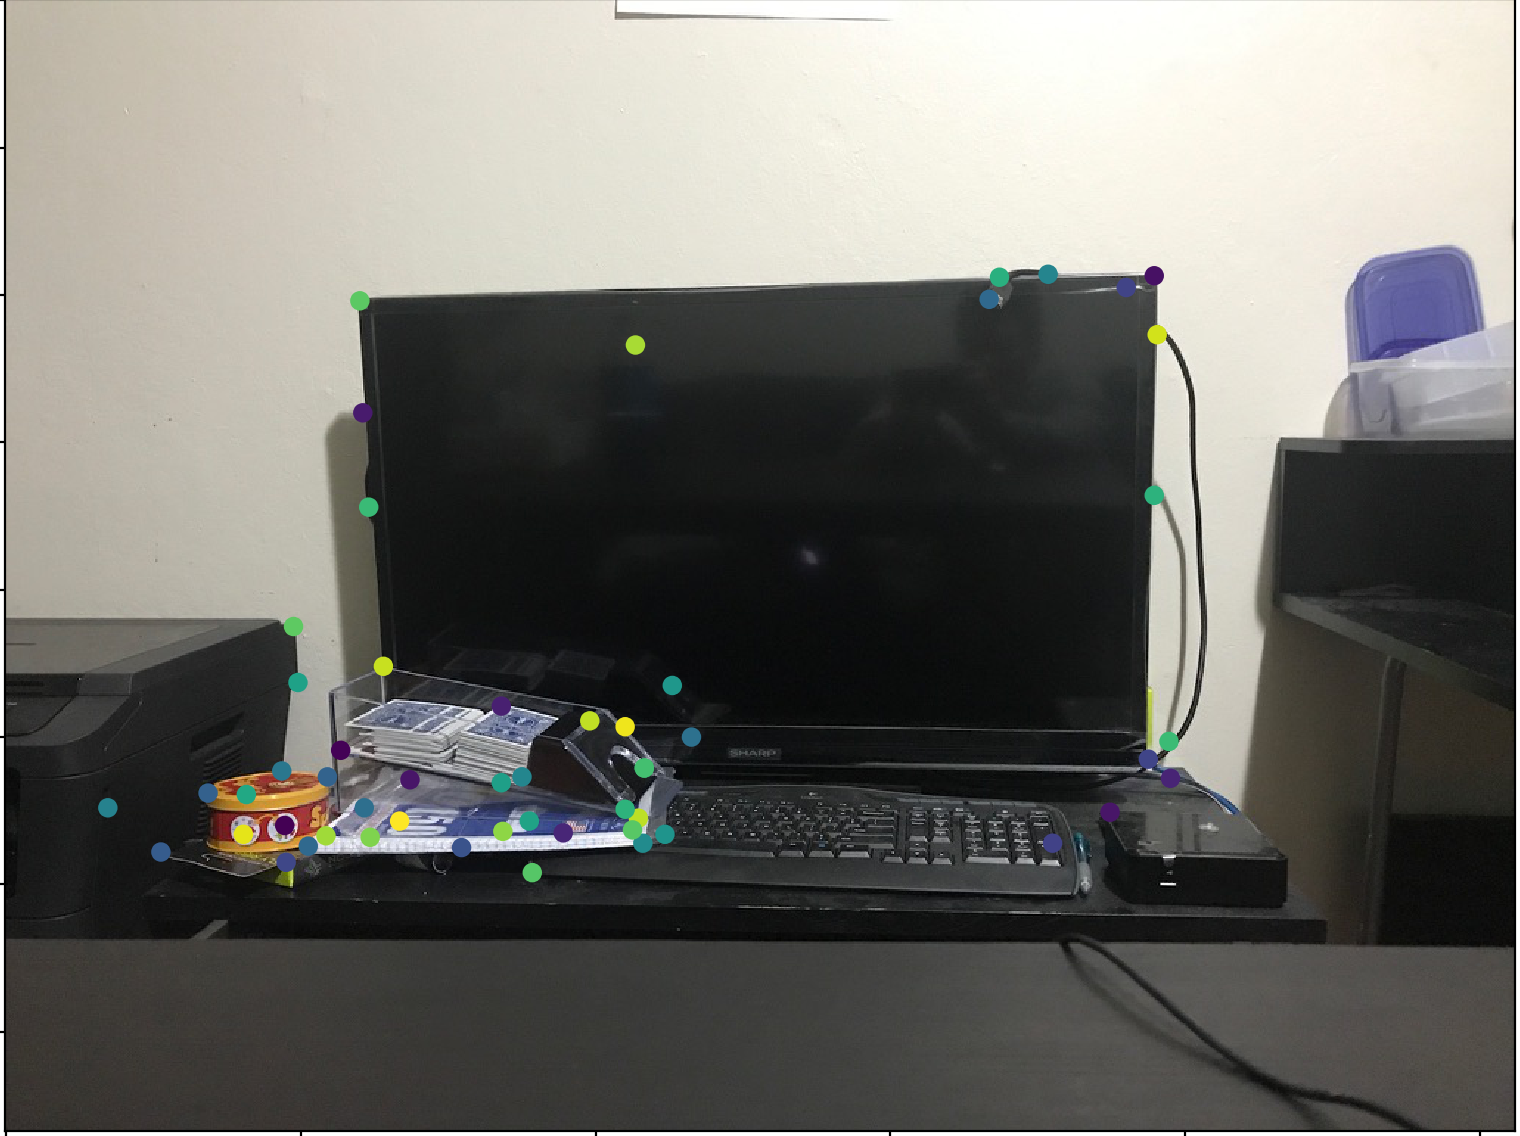
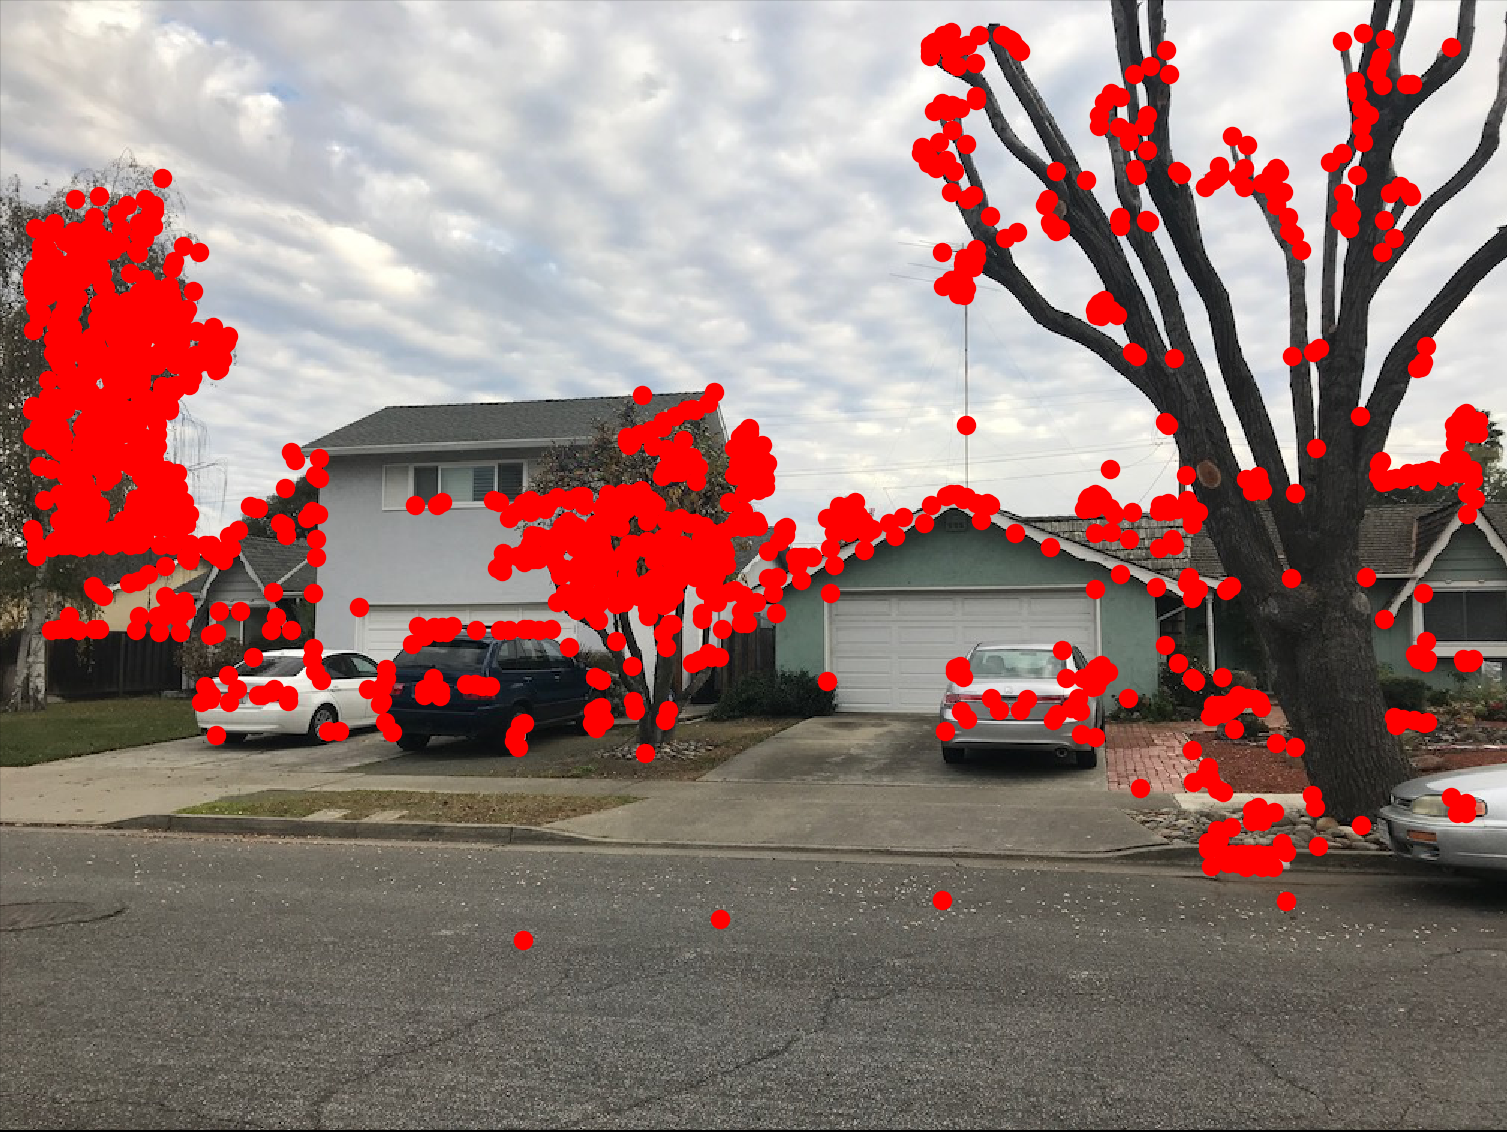
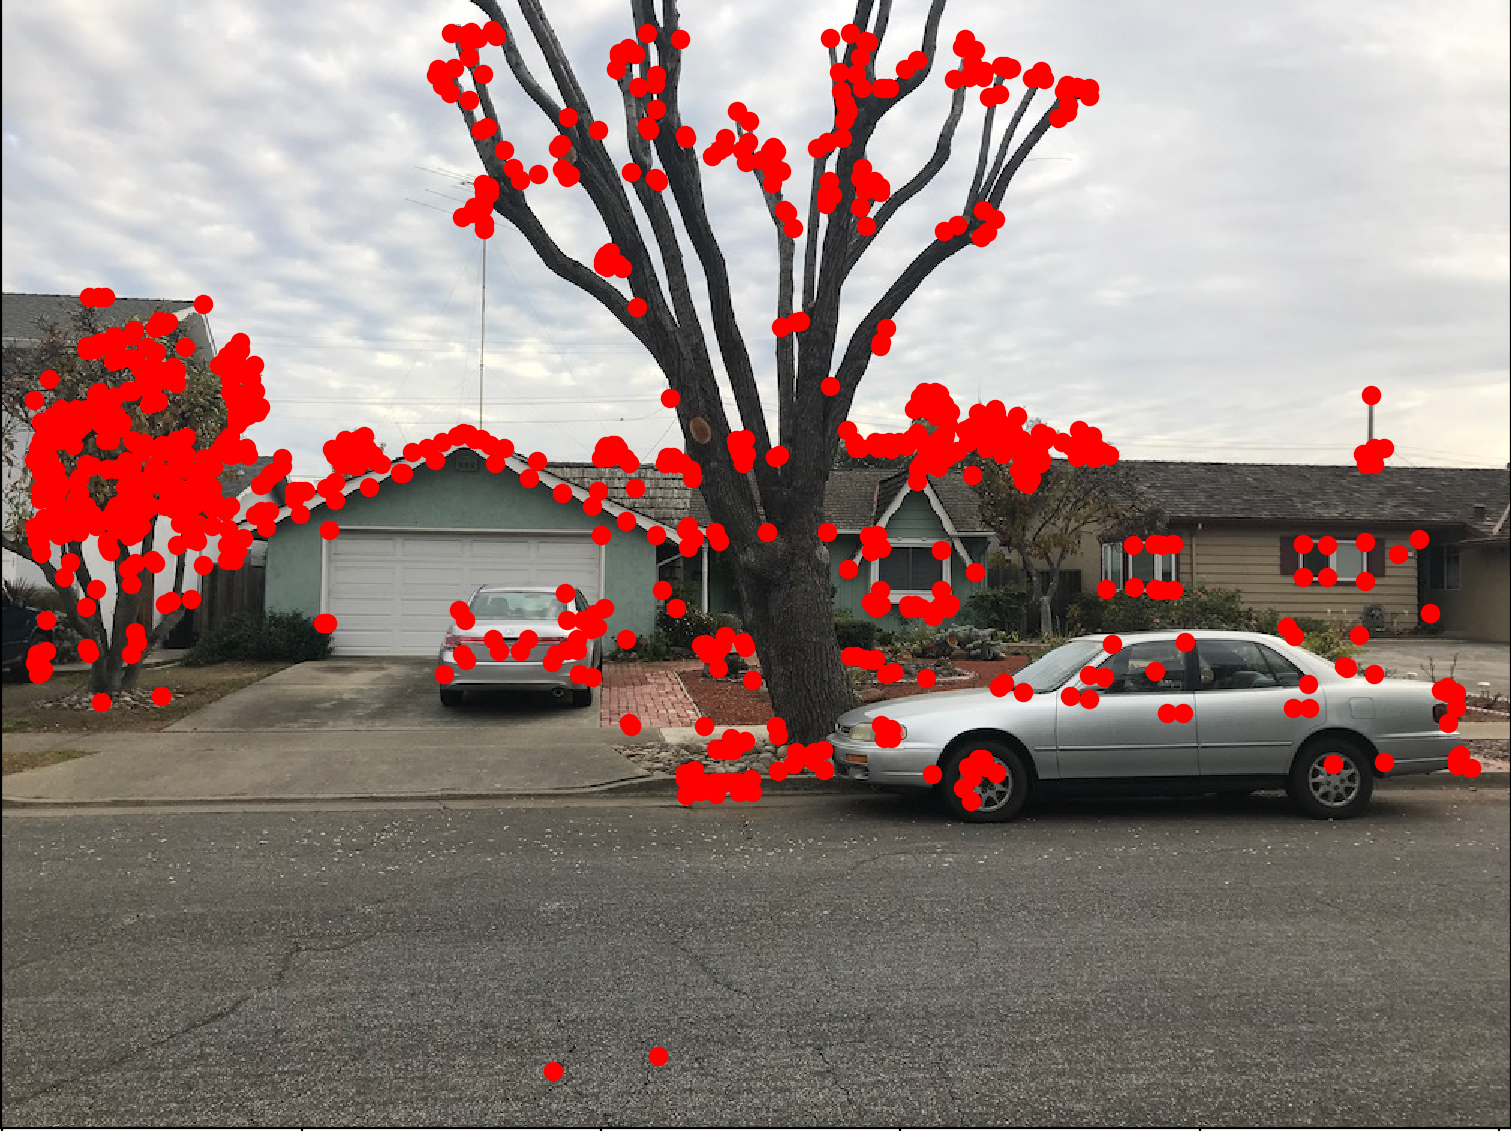
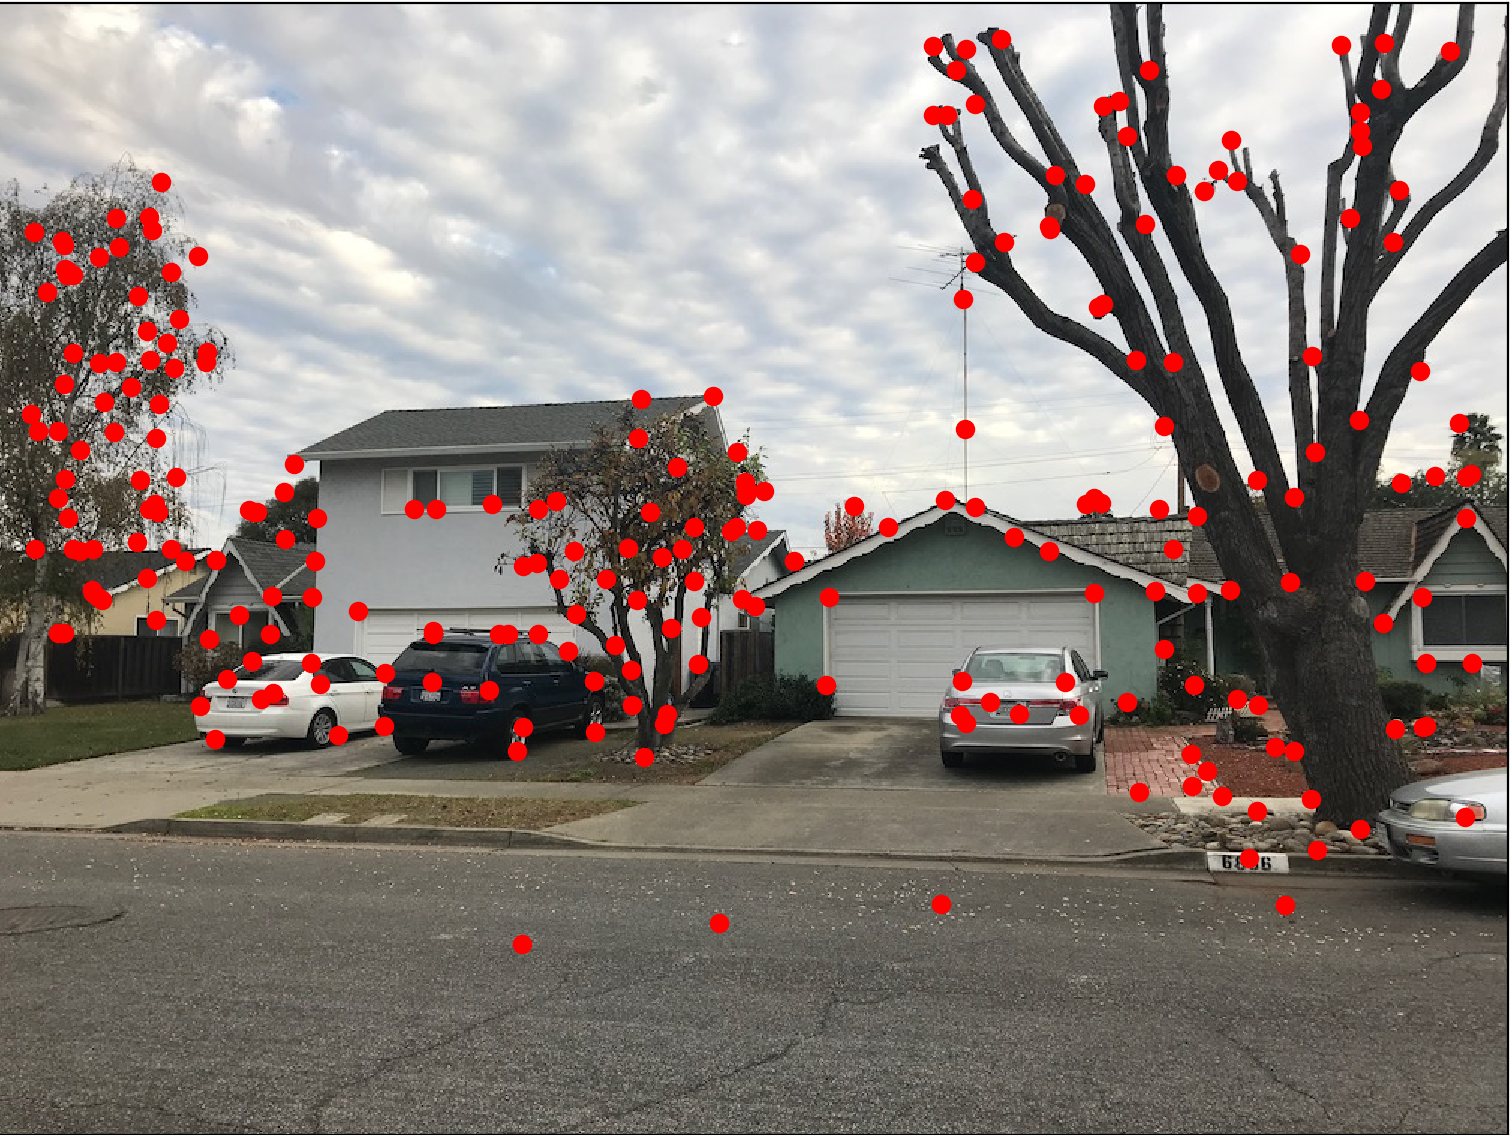
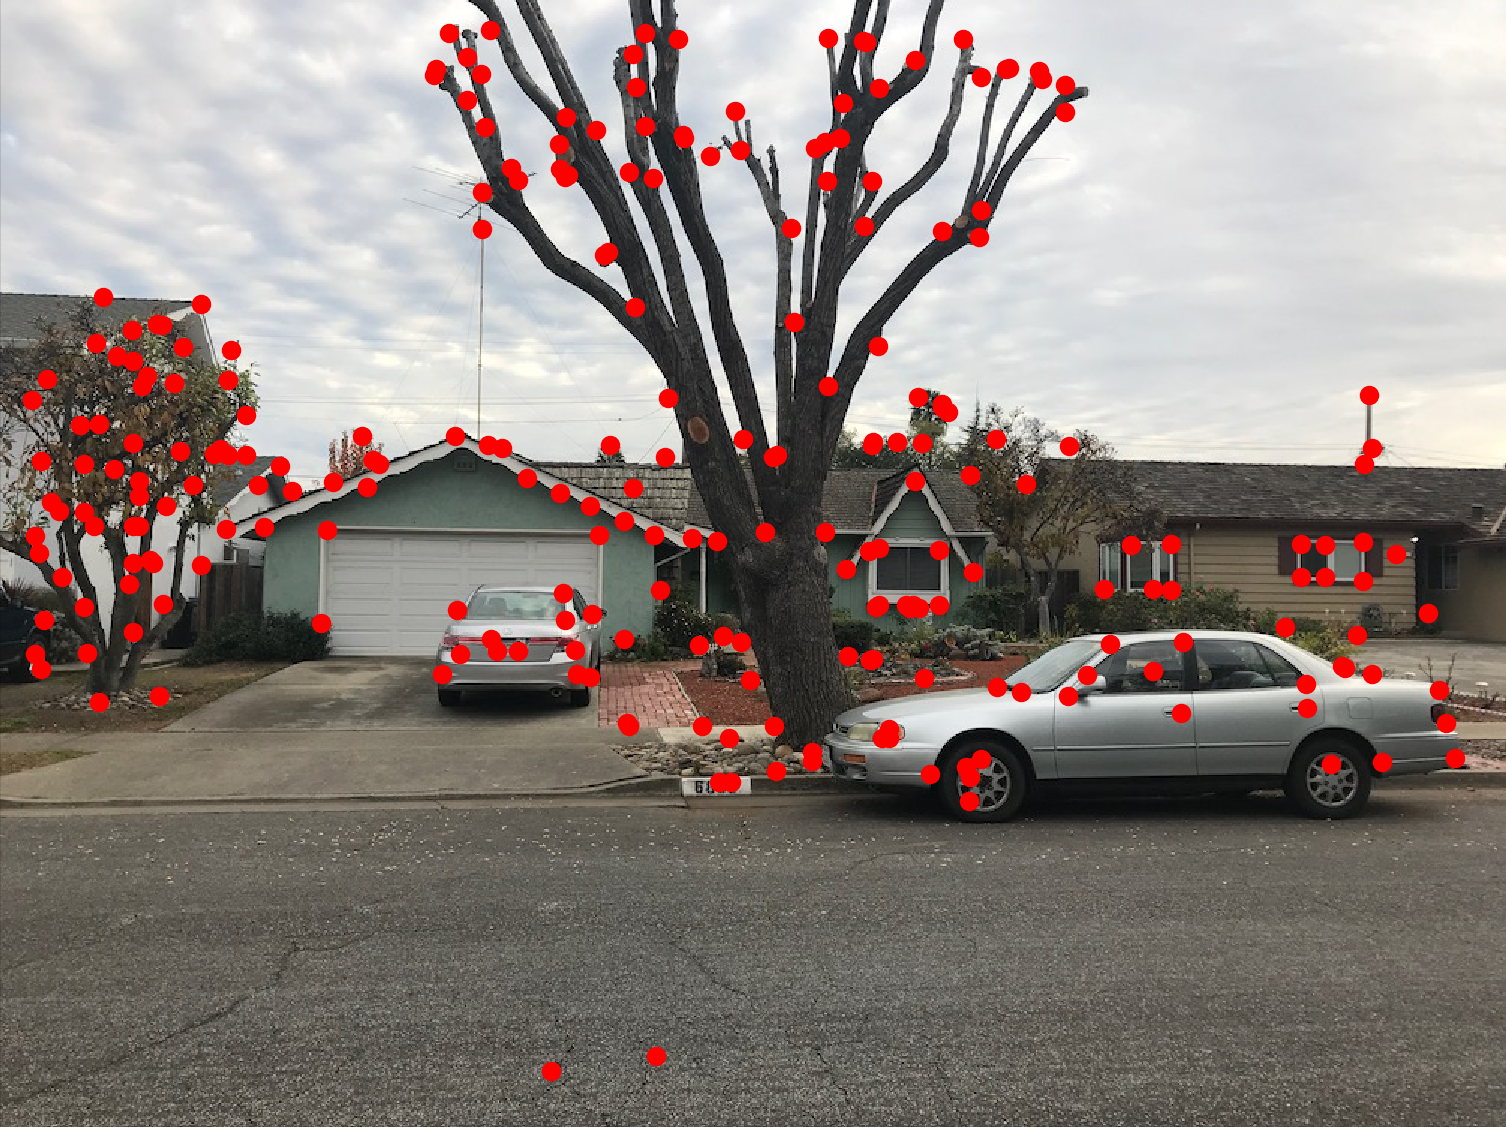
We start by finding Harris Corners, which are calculated based on differences in pixel intensity within a neighborhood. From there, we filter down the points twice. First, we set a threshold value so that we only look at corners which exceed that value. Then, we use Adaptive Non-Maximal Suppression (ANMS), which narrows down the points and trys to make the points evenly distributed.
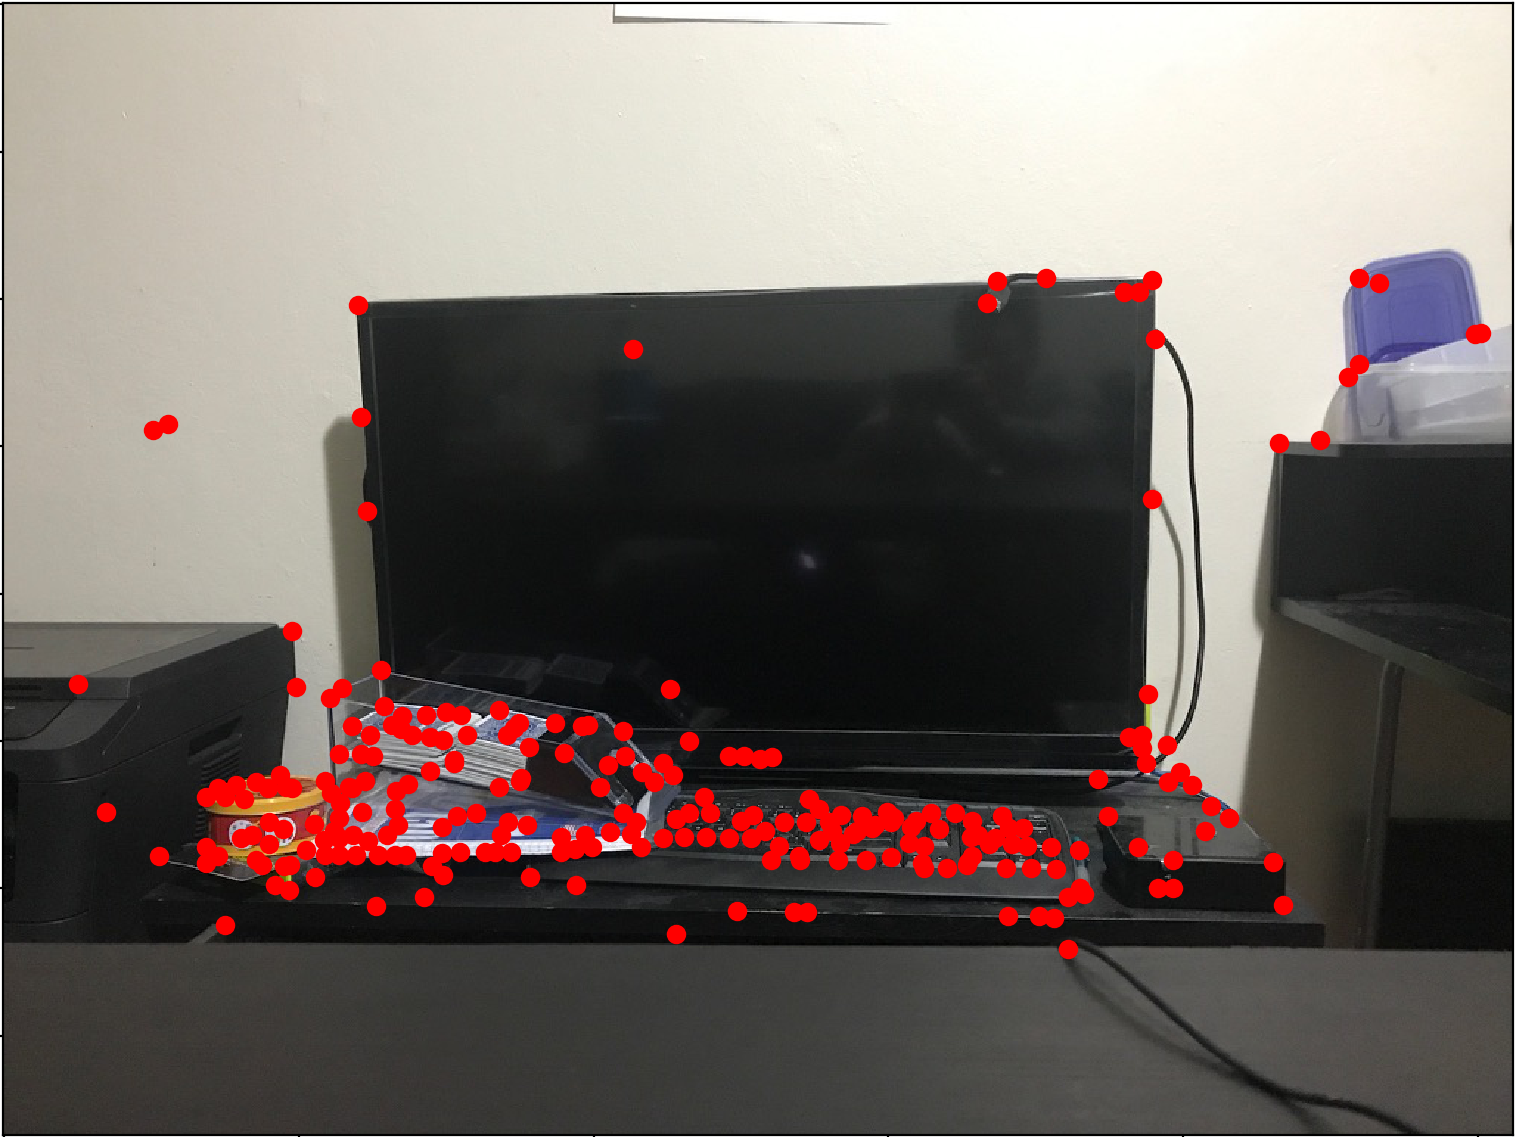
For each point, we compare it to every other Harris point to find ri = min |xi-xj|, such that f(xi) is less than 0.9*f(xj). This essentially gives us the closest neighboring point that differs from our current point. Then we can sort our points by their r values and keep the points with the 250 largest r values. Here is what it looks like with the TV example:
Original
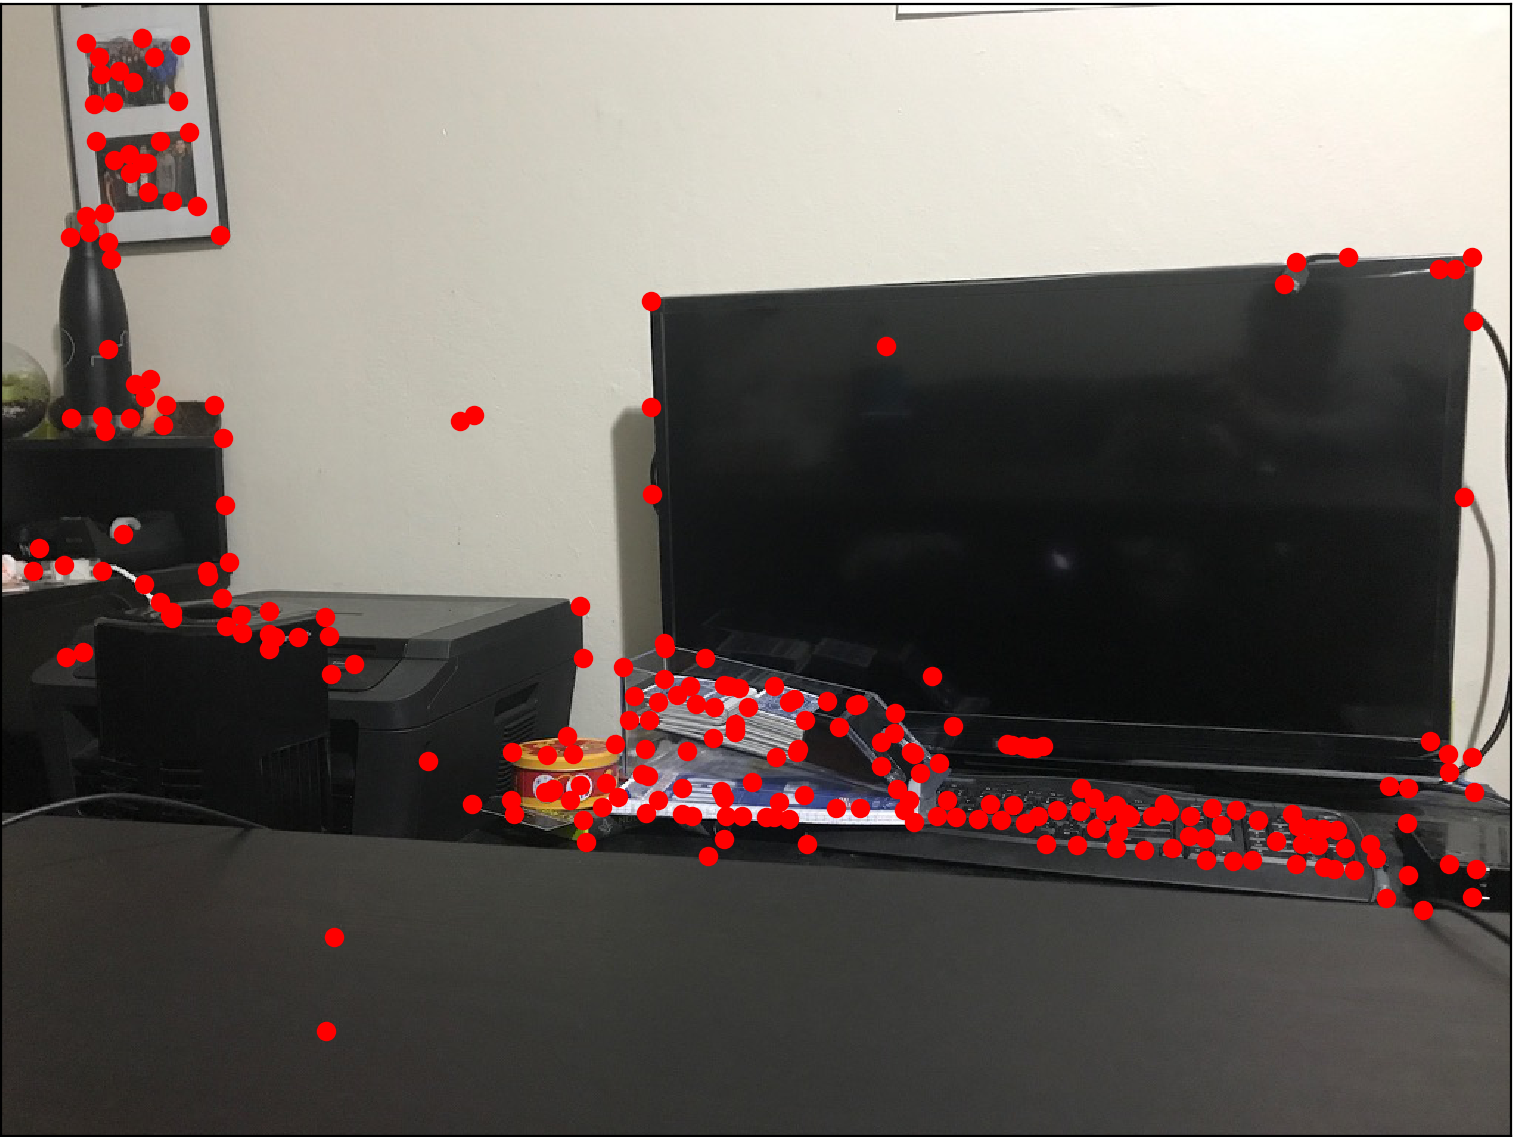
Harris
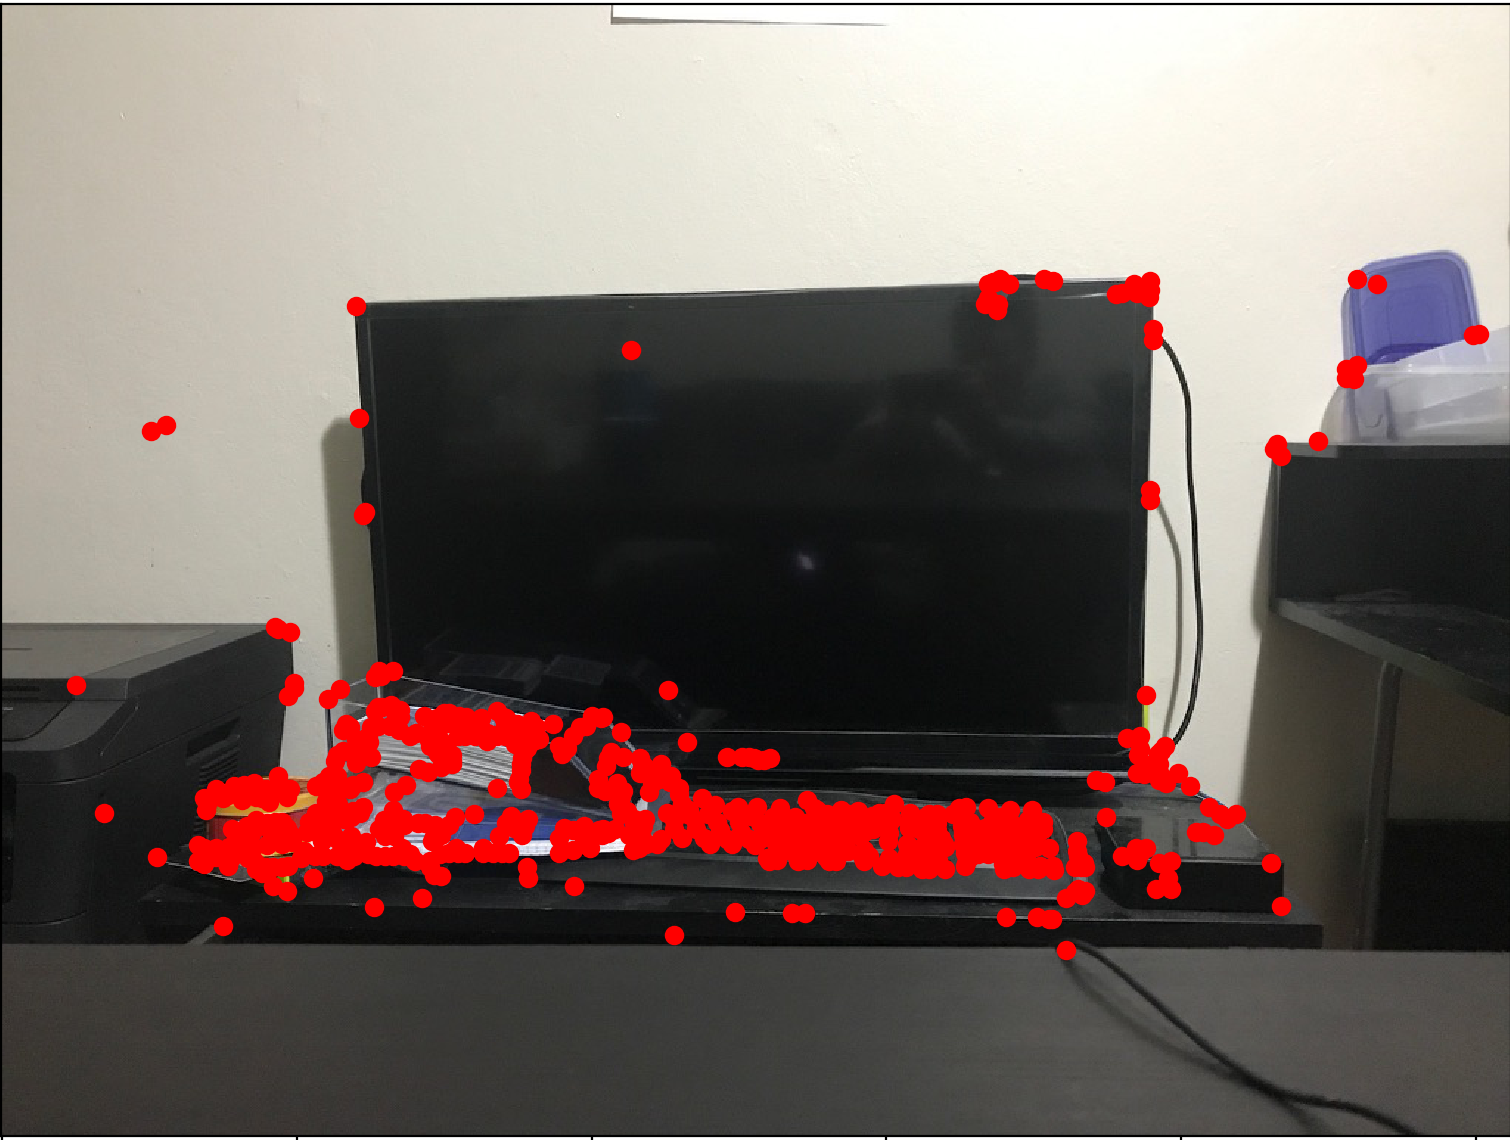
Harris ANMS Filtered
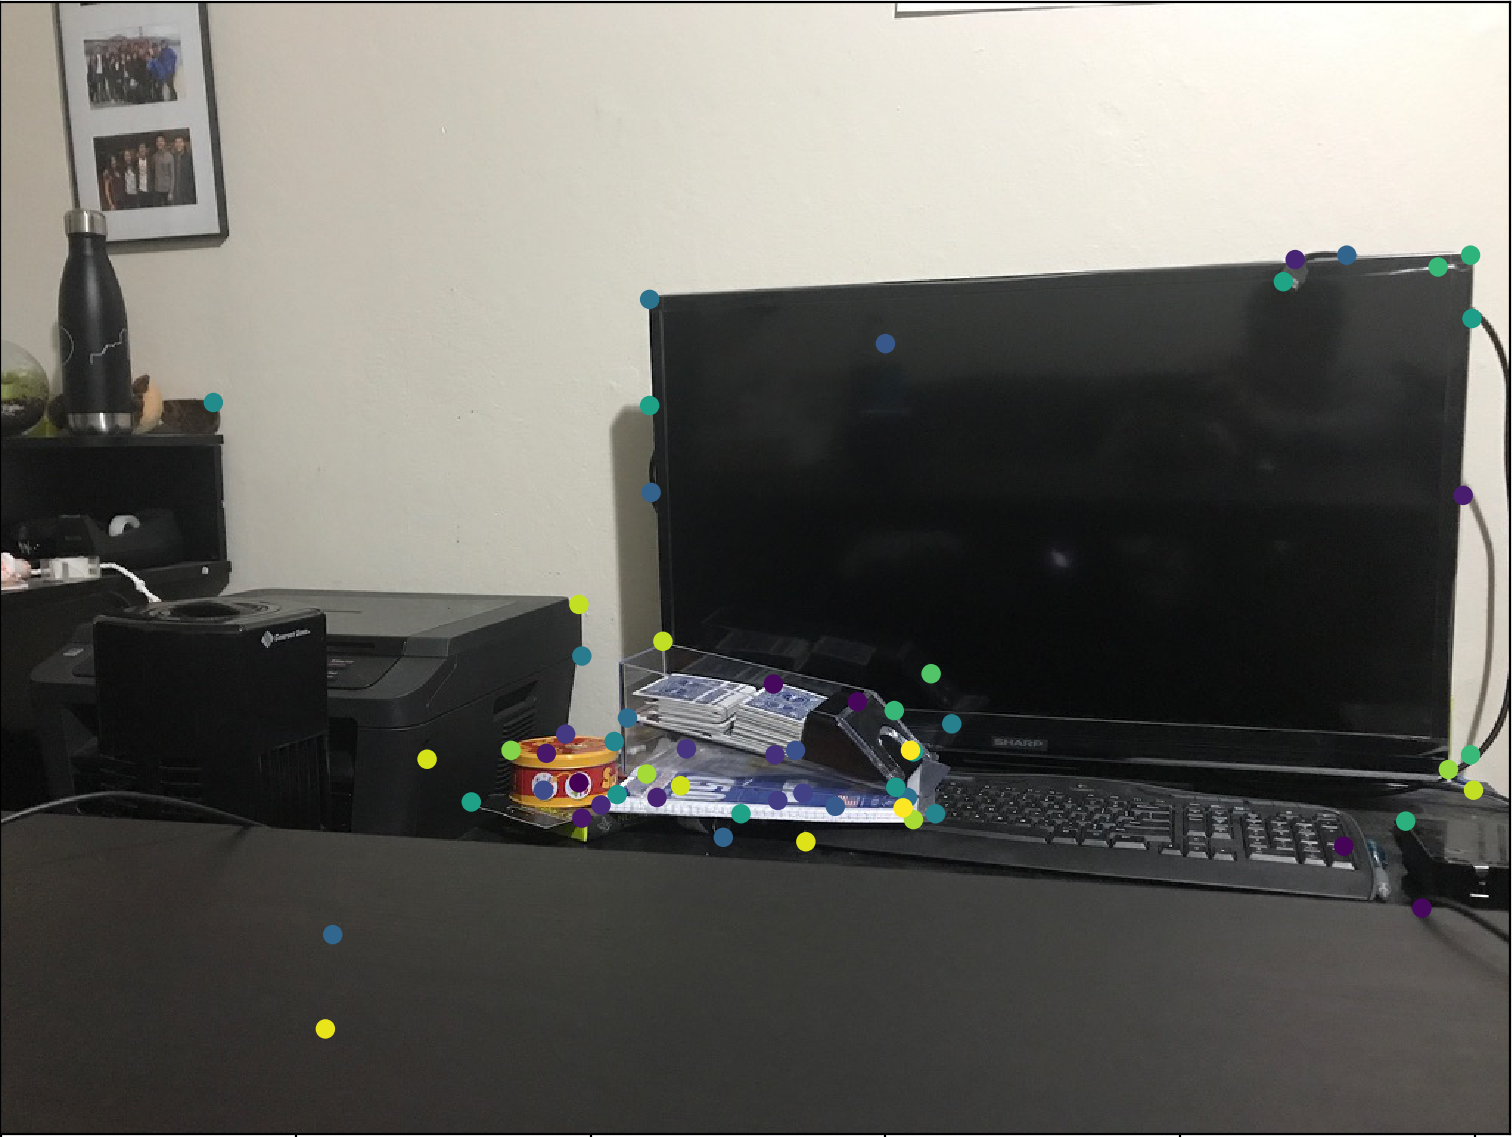
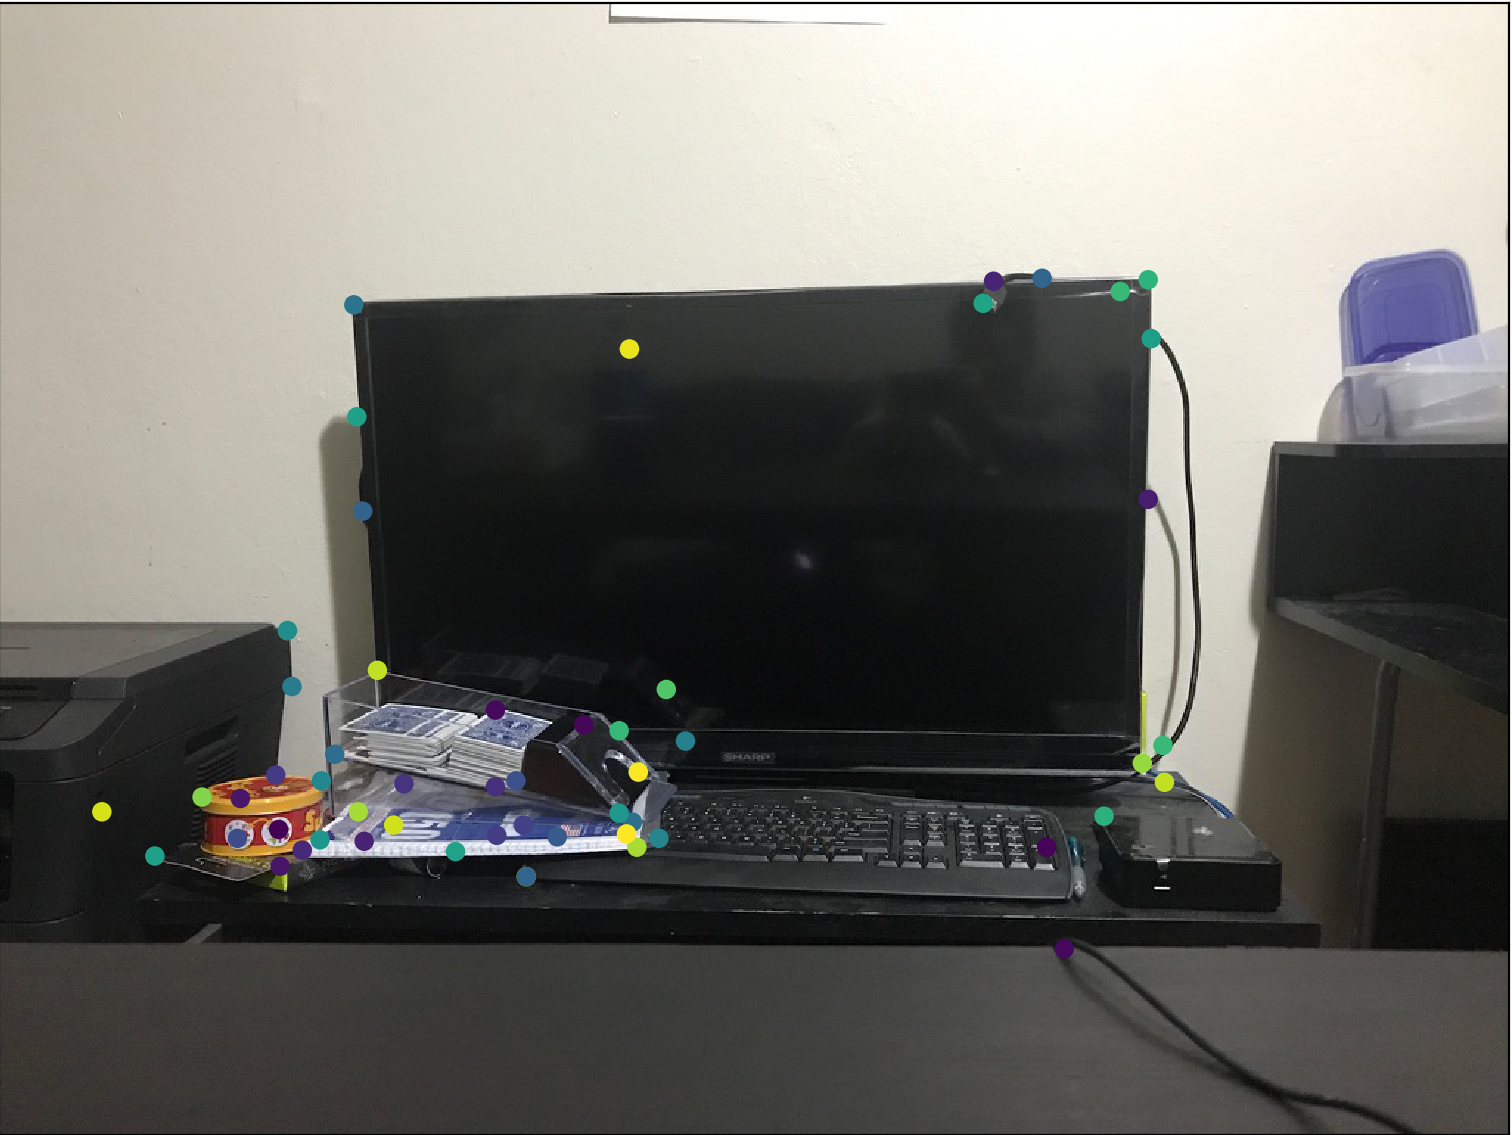
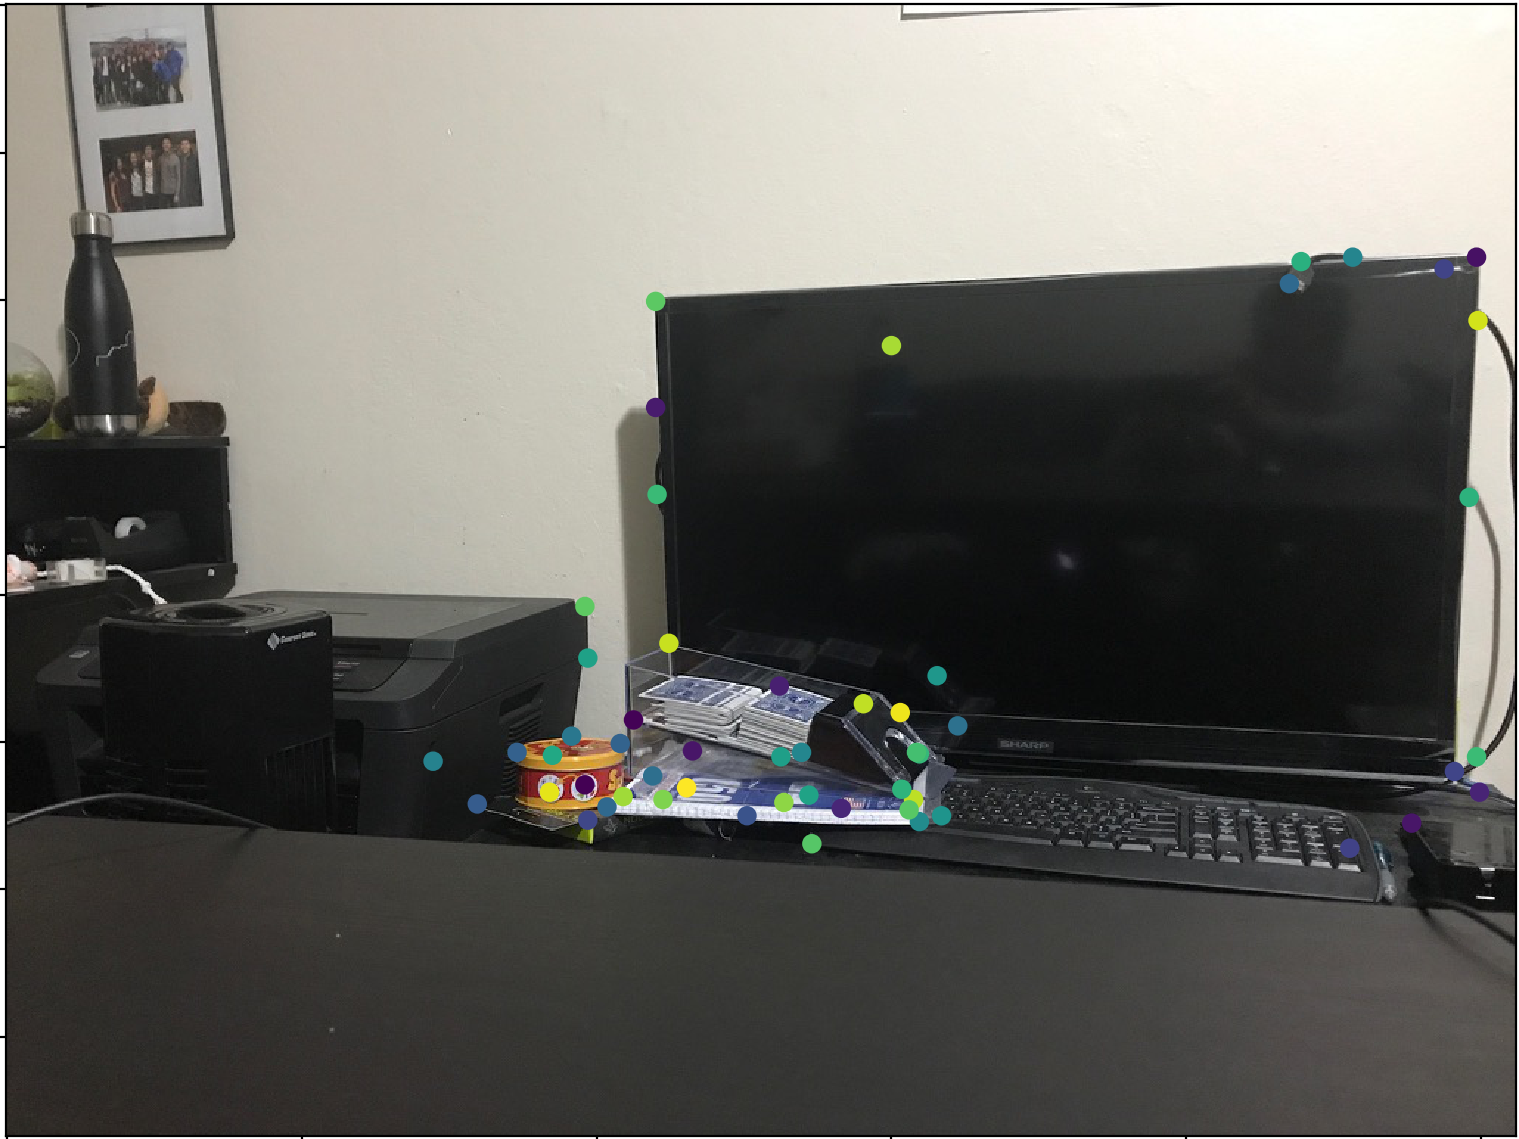
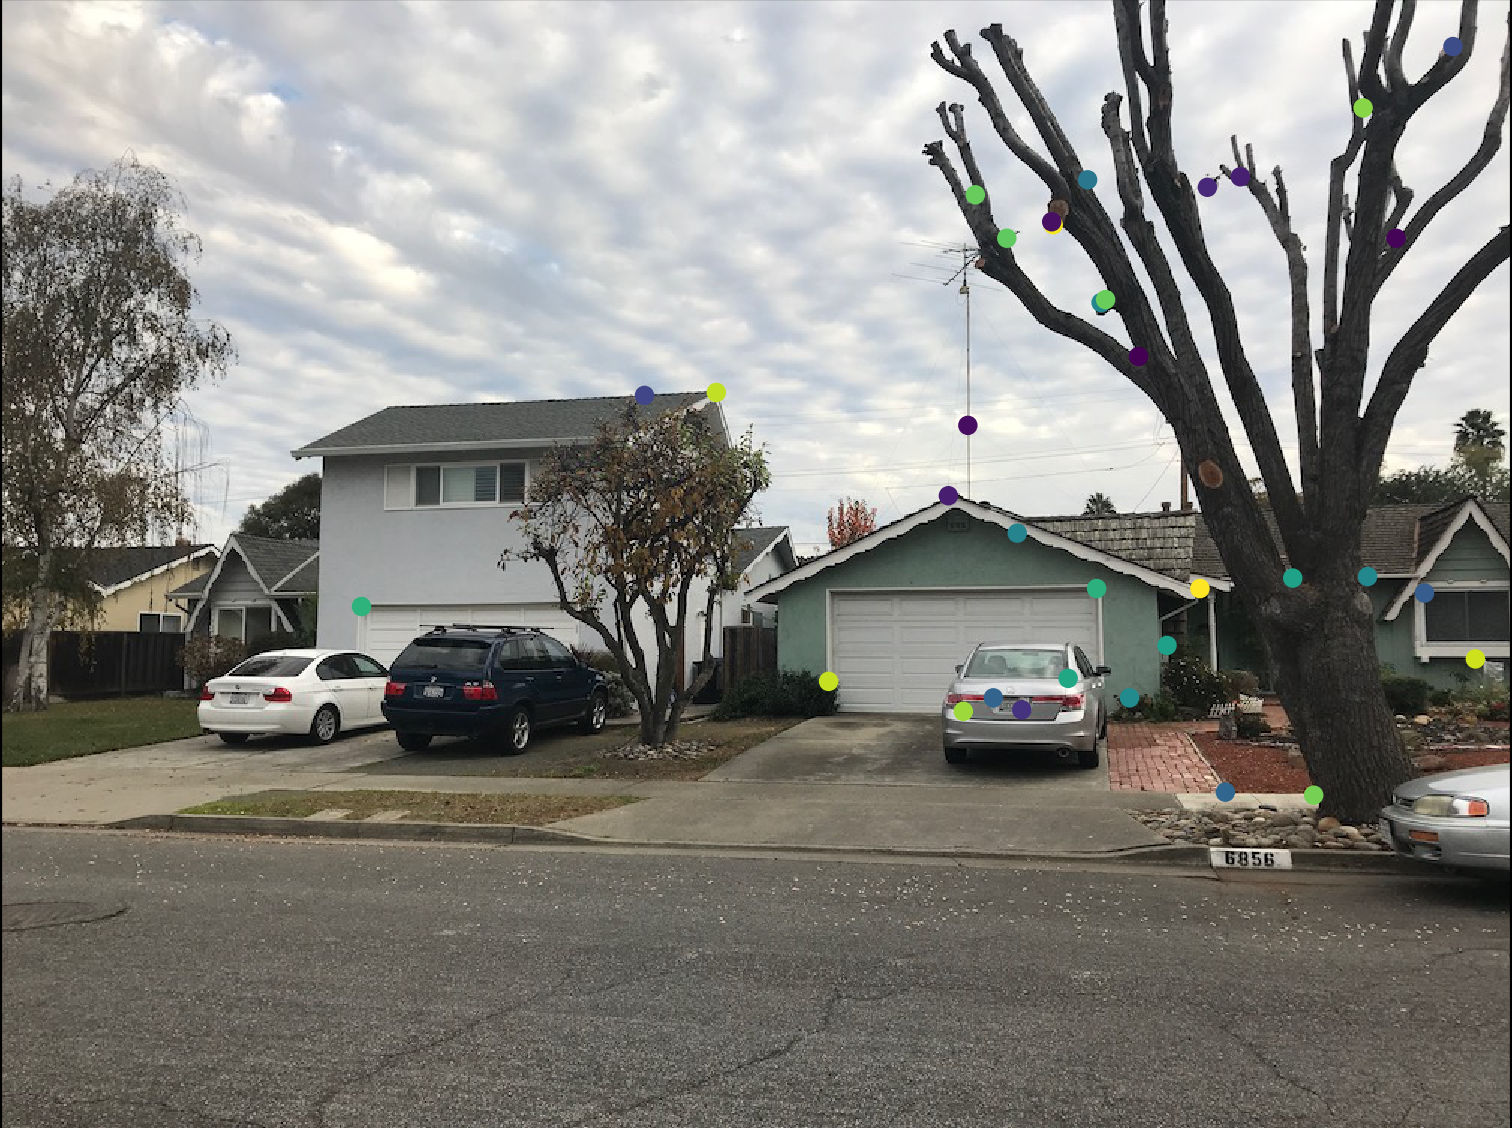
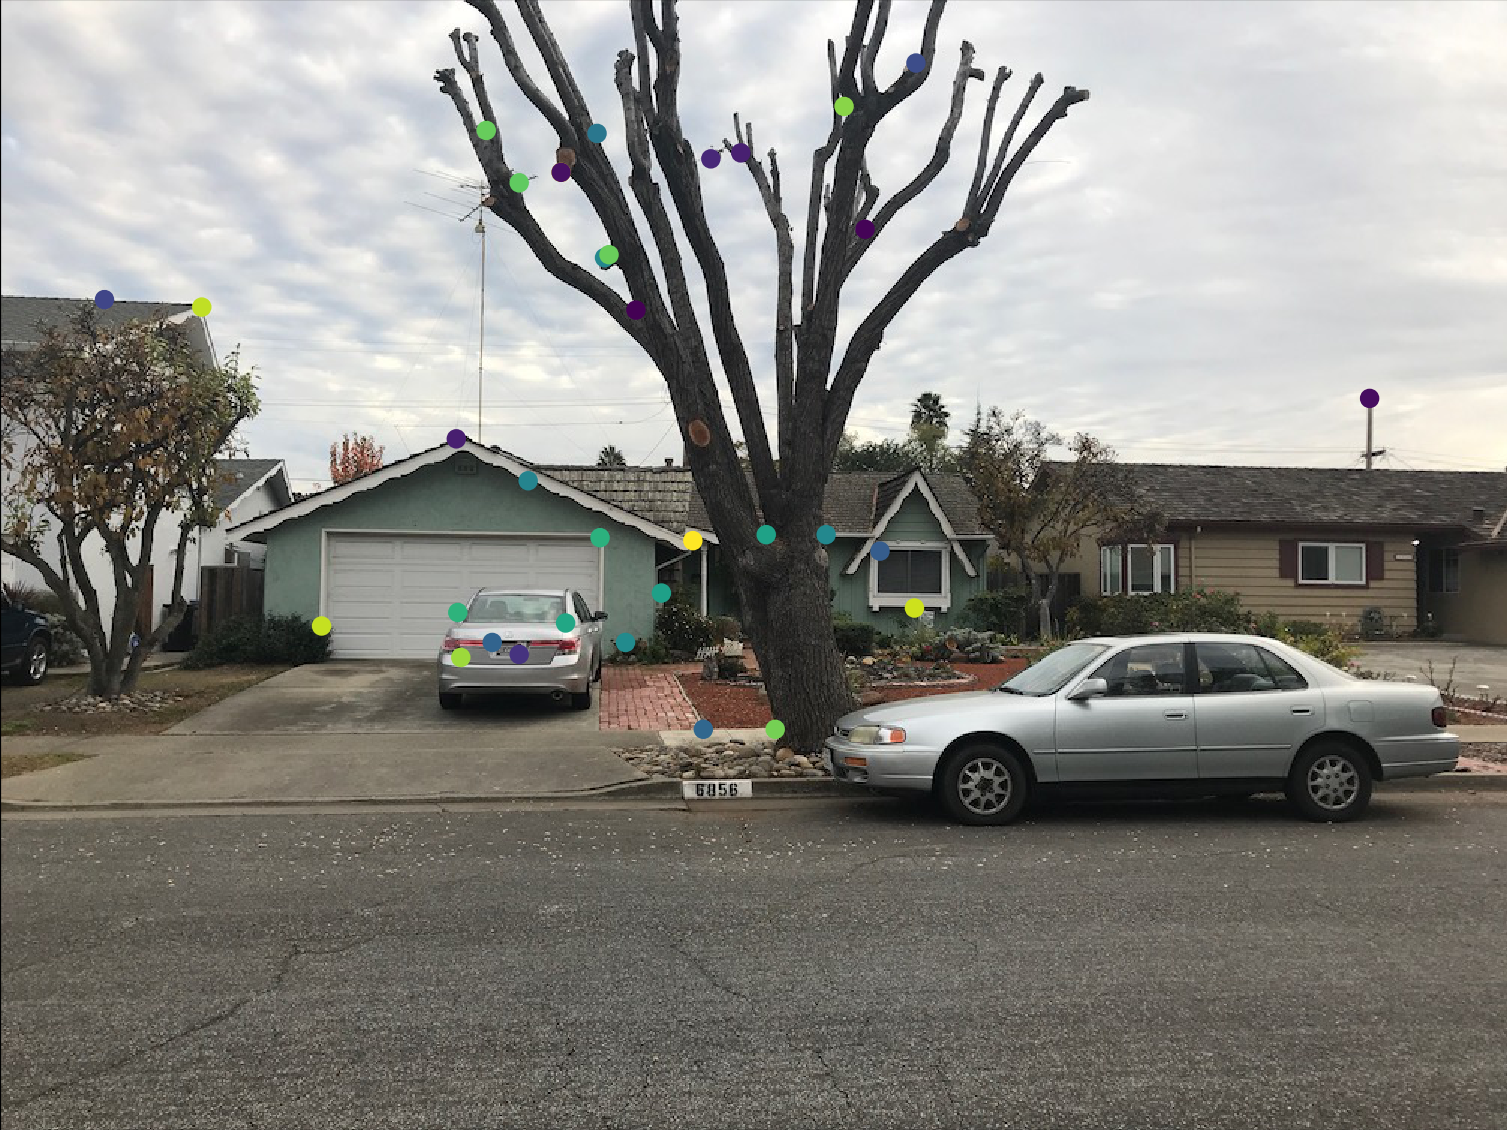
2. Feature Matching and RANSAC
We start with a 40x40 window around each pixel and subsample that to an 8x8 patch which we consider a "feature". To perform matching, we find pairs of features that look similar by finding the smallest SSD between each left pixel to all the ones on the right image.
Then, we run RANSAC with 1000 iterations with 4 random choices and a threshold. In each iteration, we sample 4 pair of matched correspondences to calculate the projective transformation. Then we transform the other matched pixels and if it is within the threshold's distance from the other pixel, it is chosen. In the end, we pick the set of points with most matched pixels translated, and use its homography and blend with picture 2 to get the mosaic. Below, we will also compare the results obtained from manual selections and auto selections
Feature Matching
RANSAC
Stiching and Comparison
Left Warped
Autostiched
Manual Stich
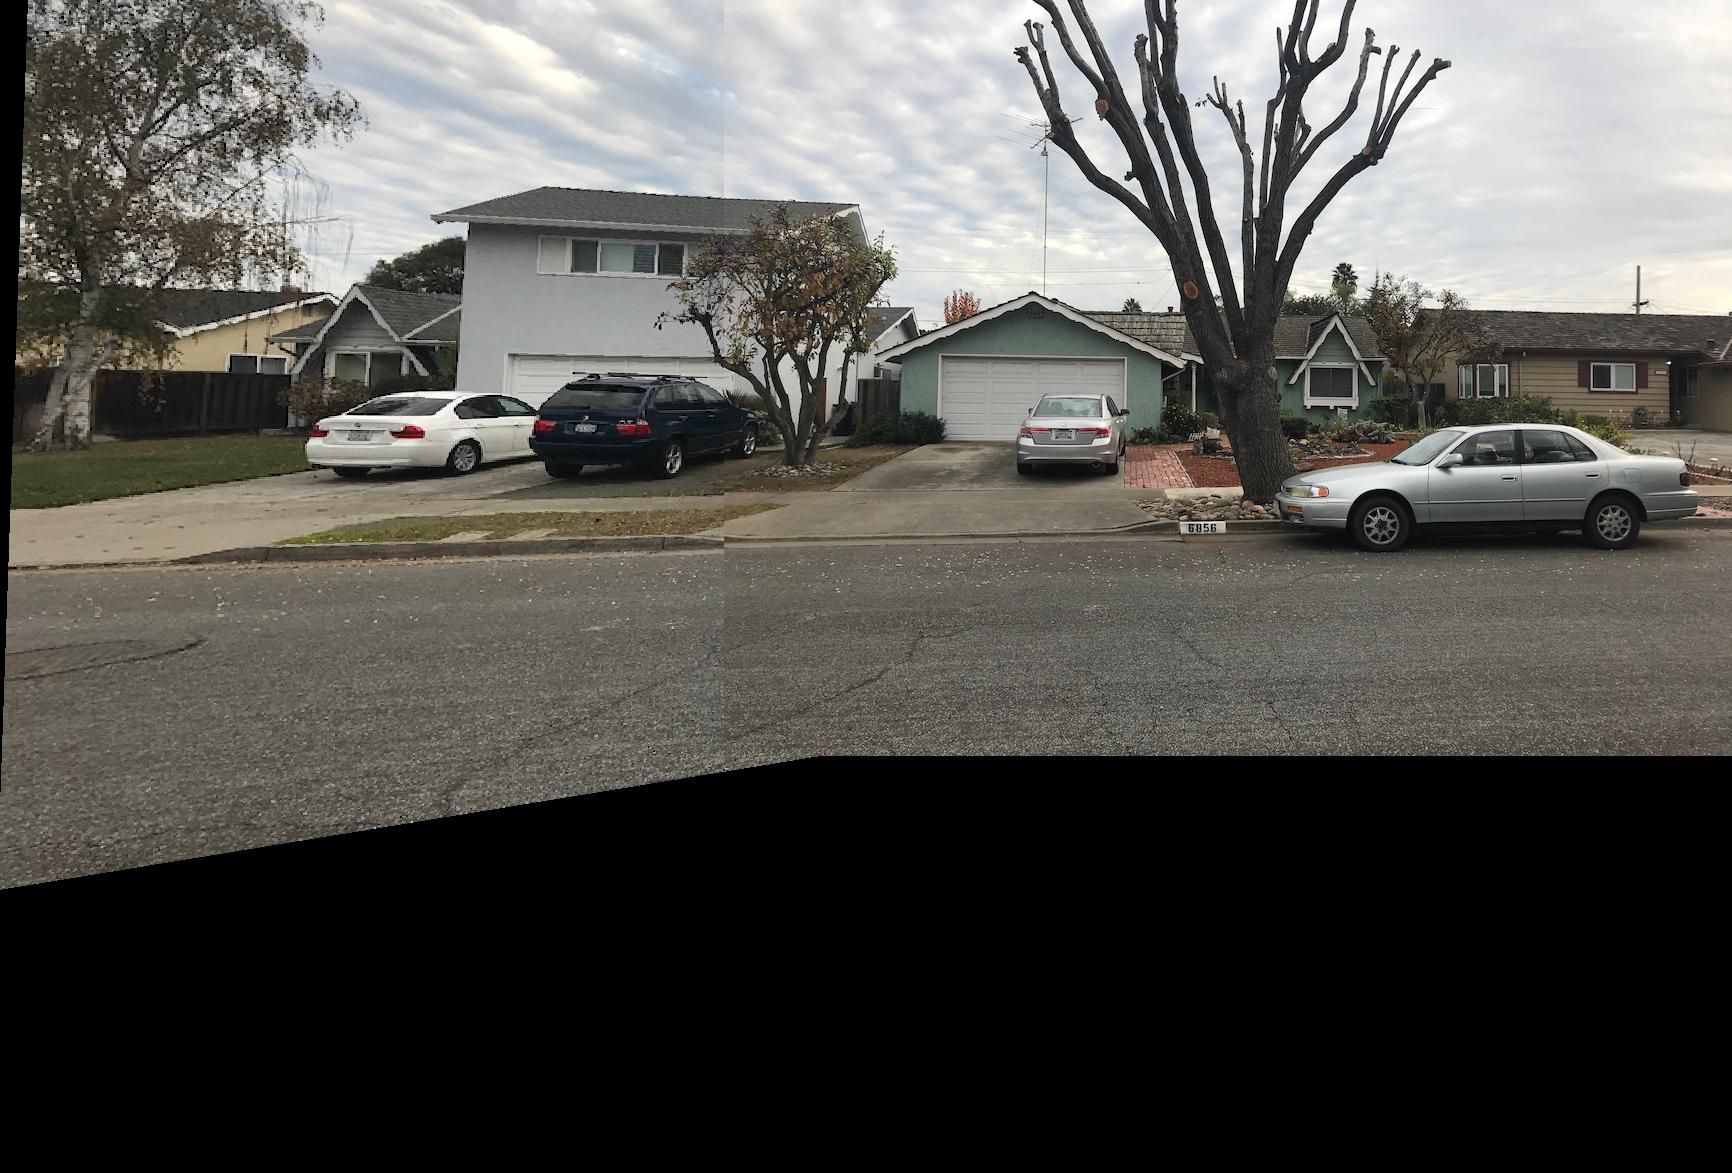
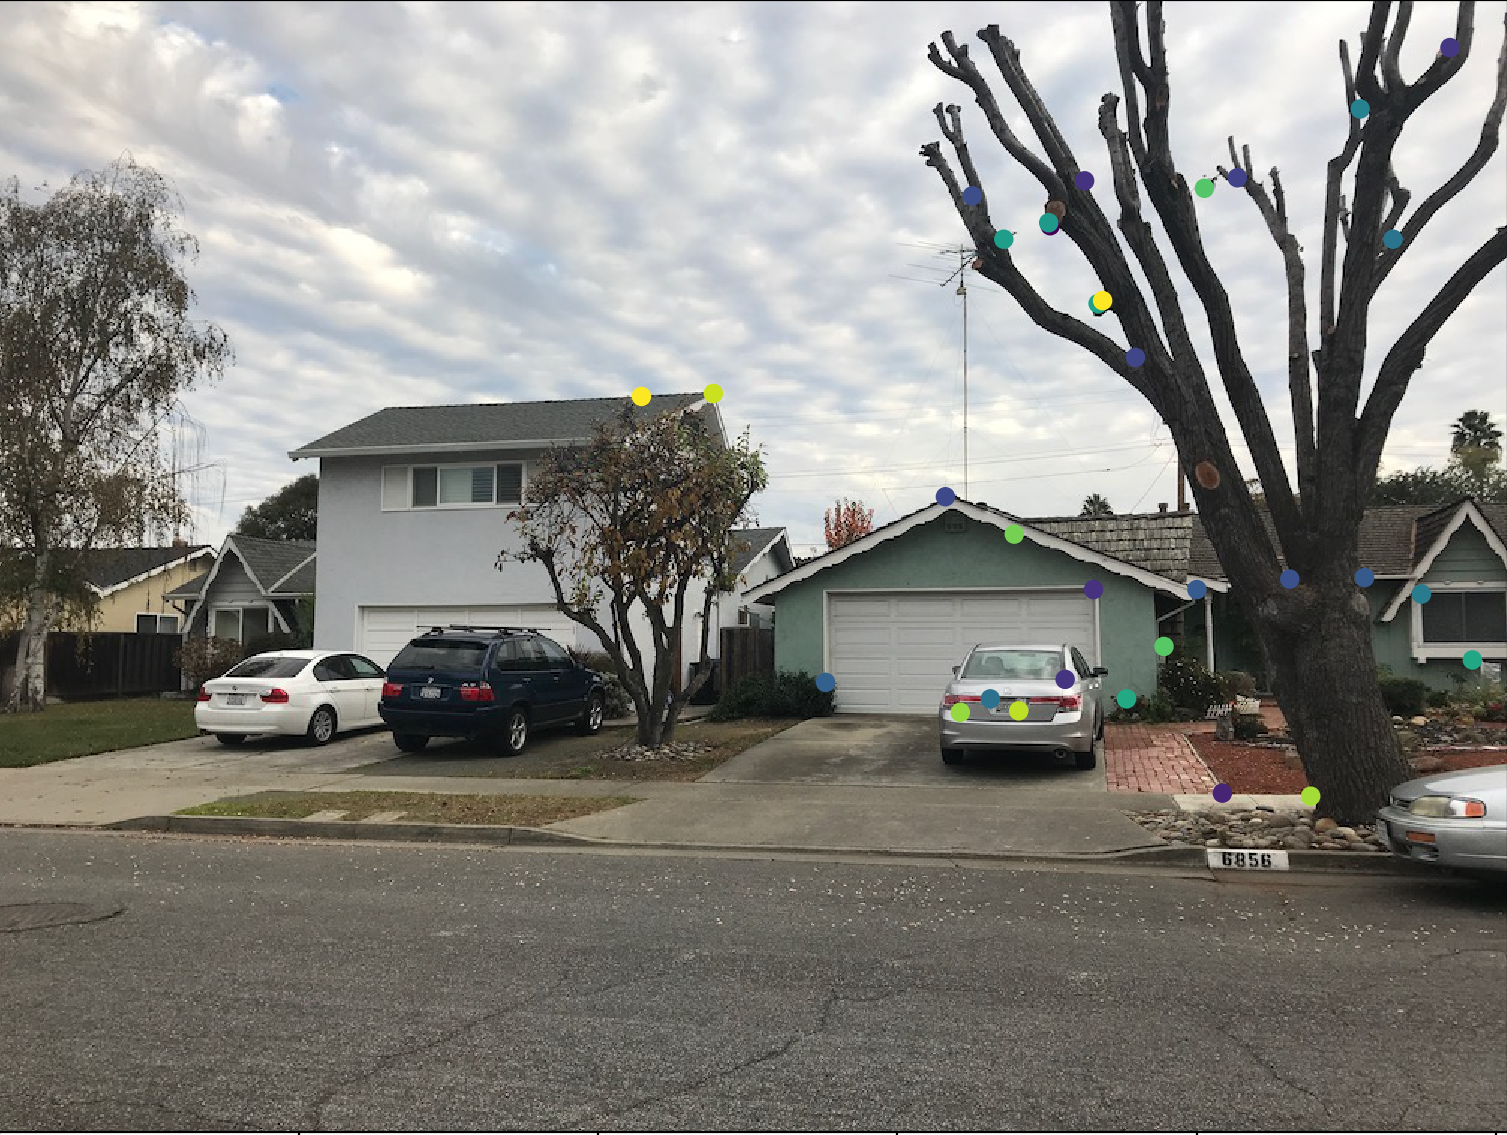
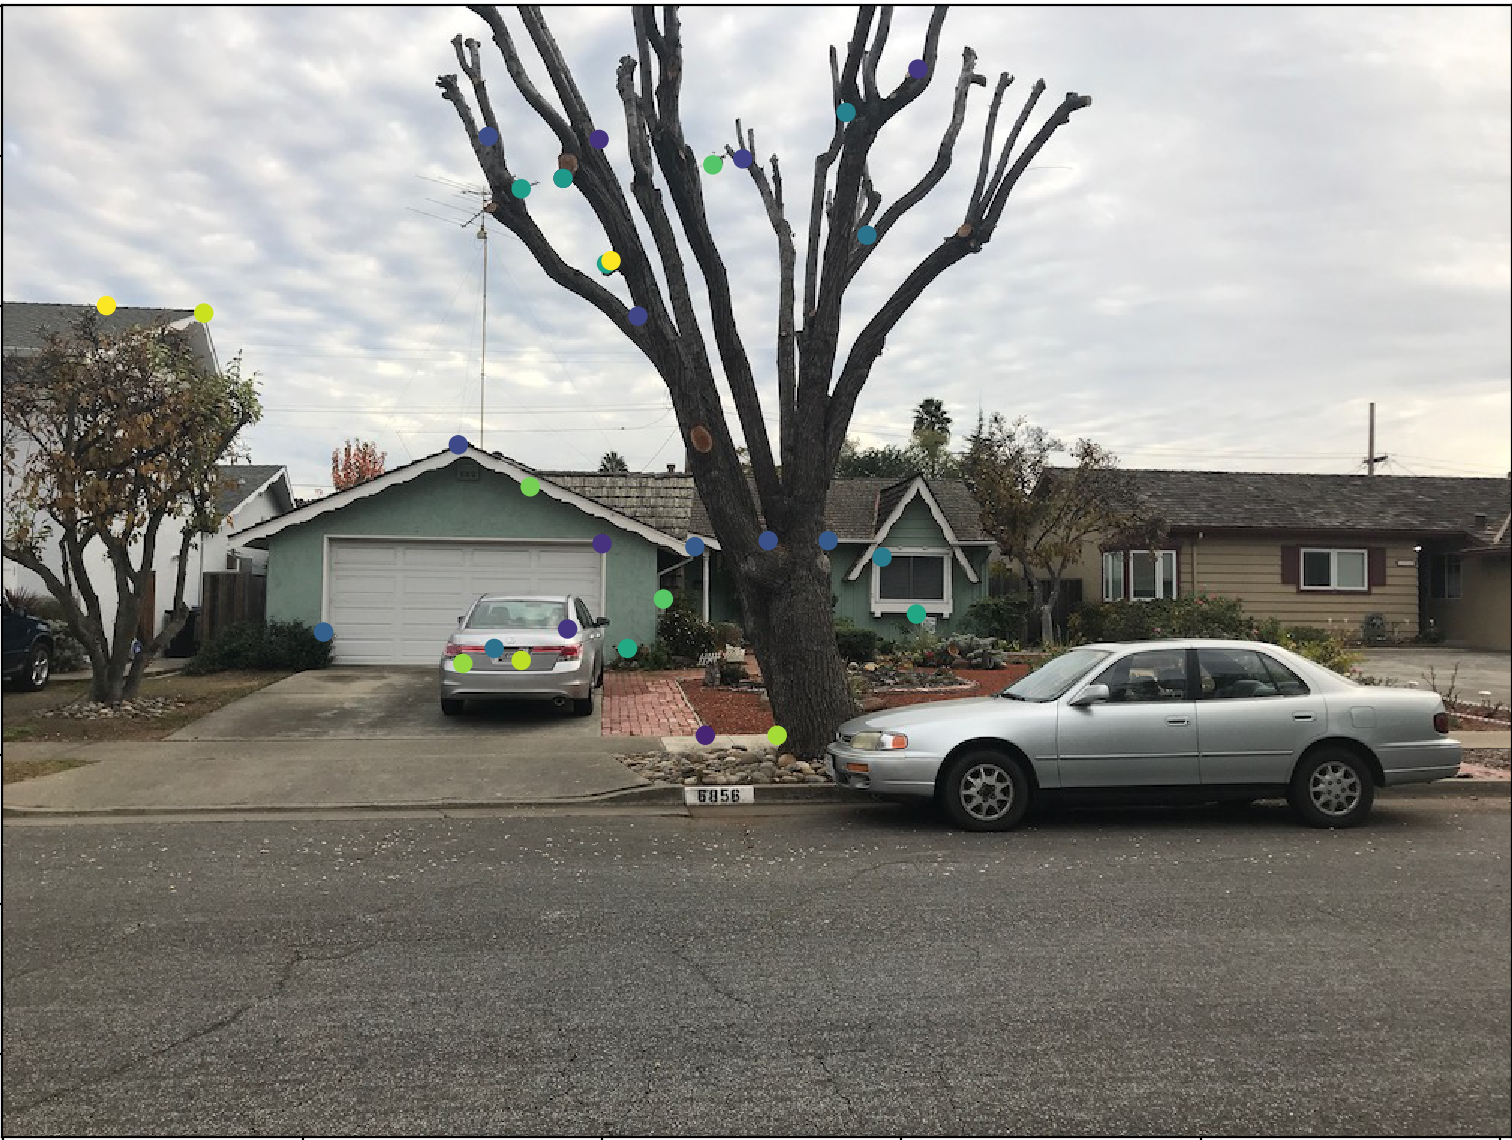
Another Example
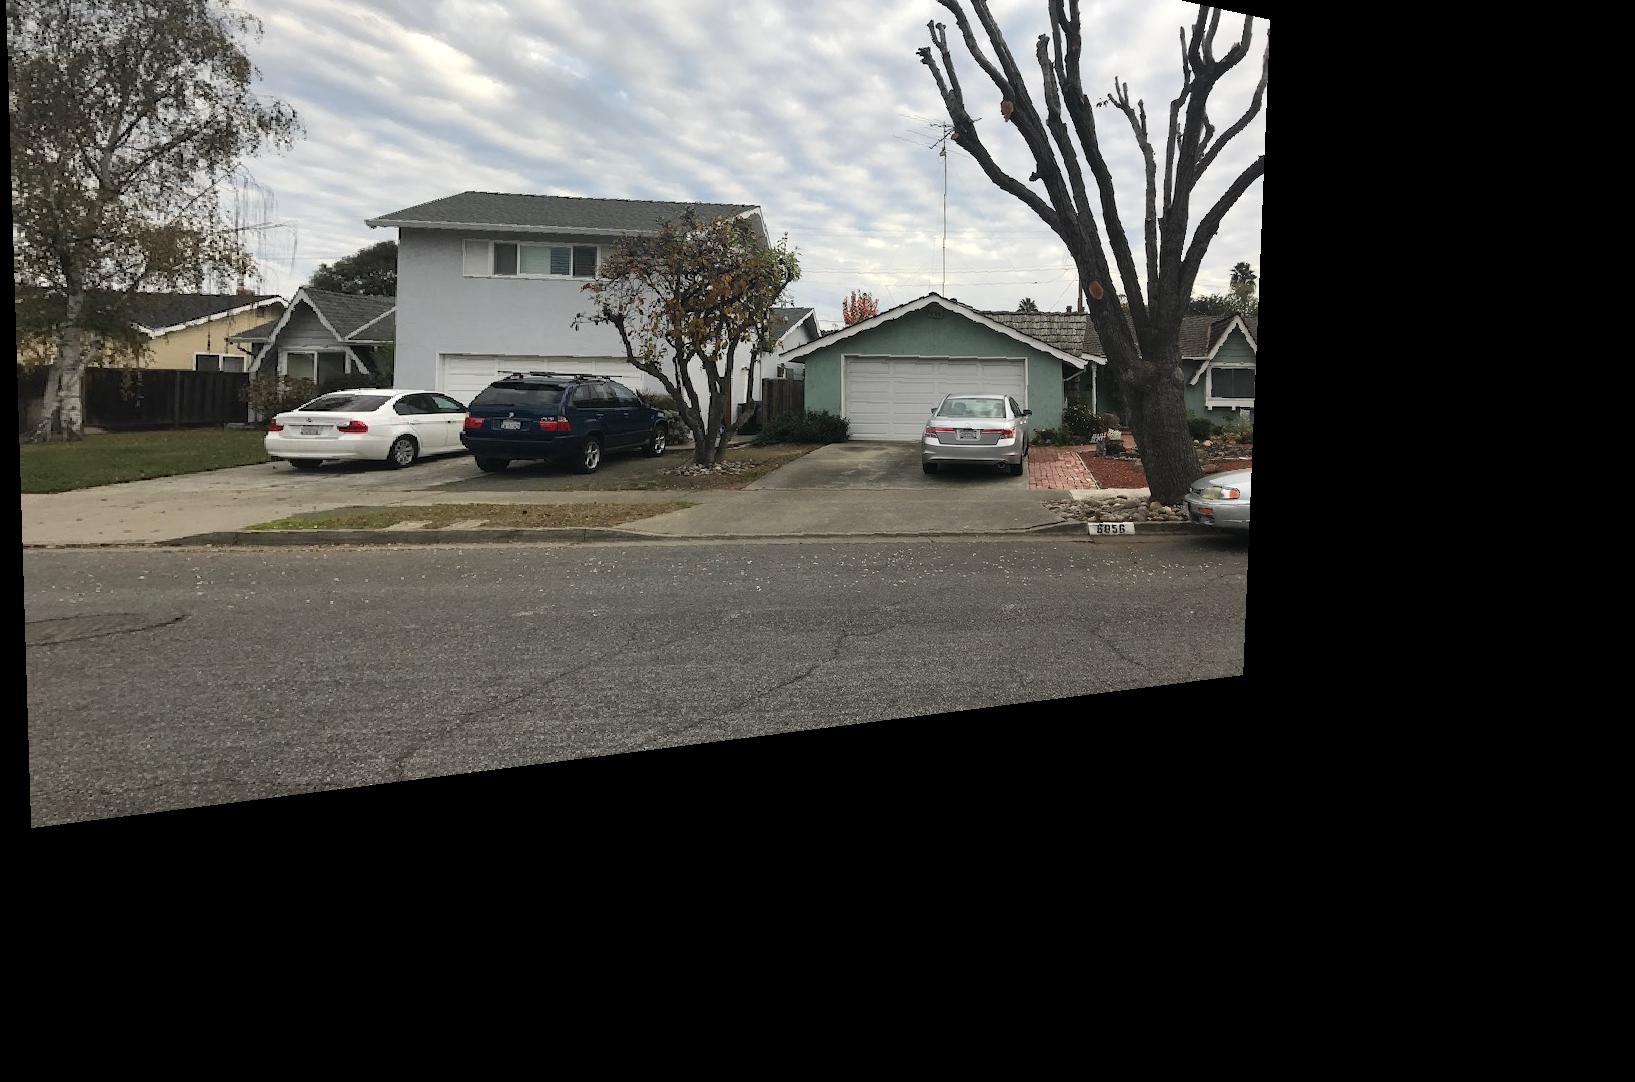
This is another example of the stiching process with pictures of my house.
Original
Harris
Harris ANMS Filtered
Feature Matching
RANSAC
Stiching and Comparison
Left Warped
Autostiched
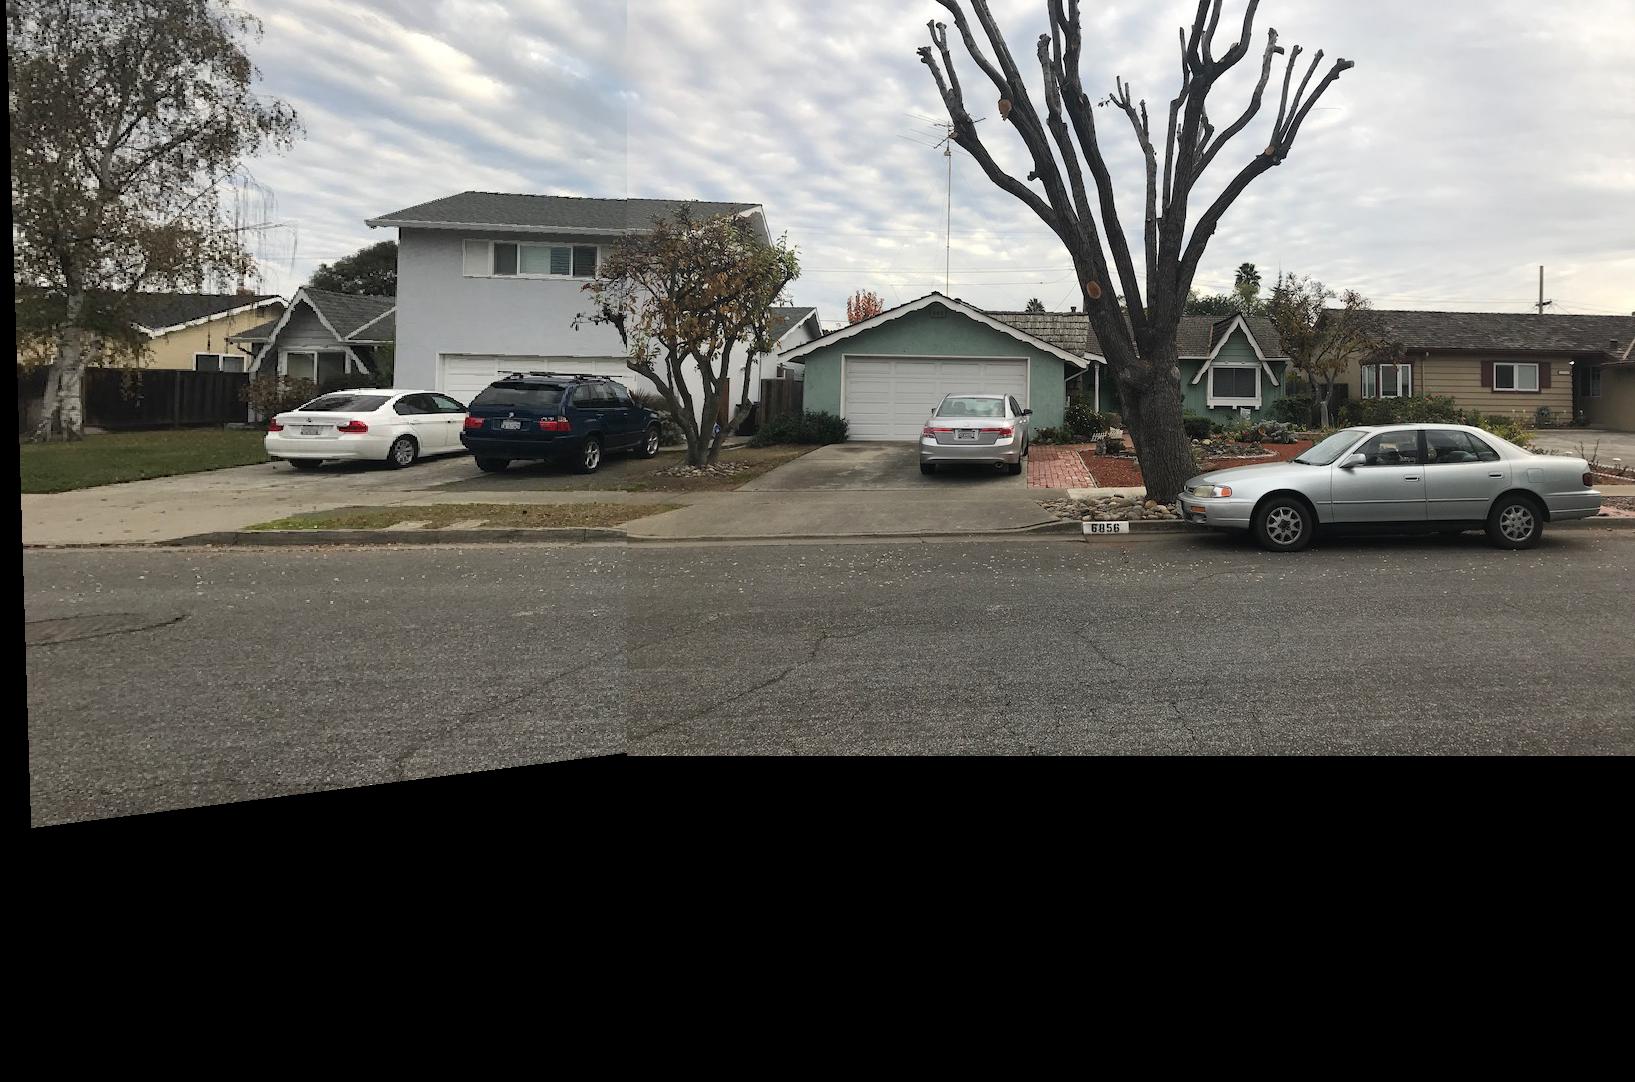
Manual Stich