In this project, we use automatic point matching by using Harris corner detection. Then we compute Homography using the best correspondent points, warp the images correspondingly, and blend them.
In the images below, we show the process of selecting points.
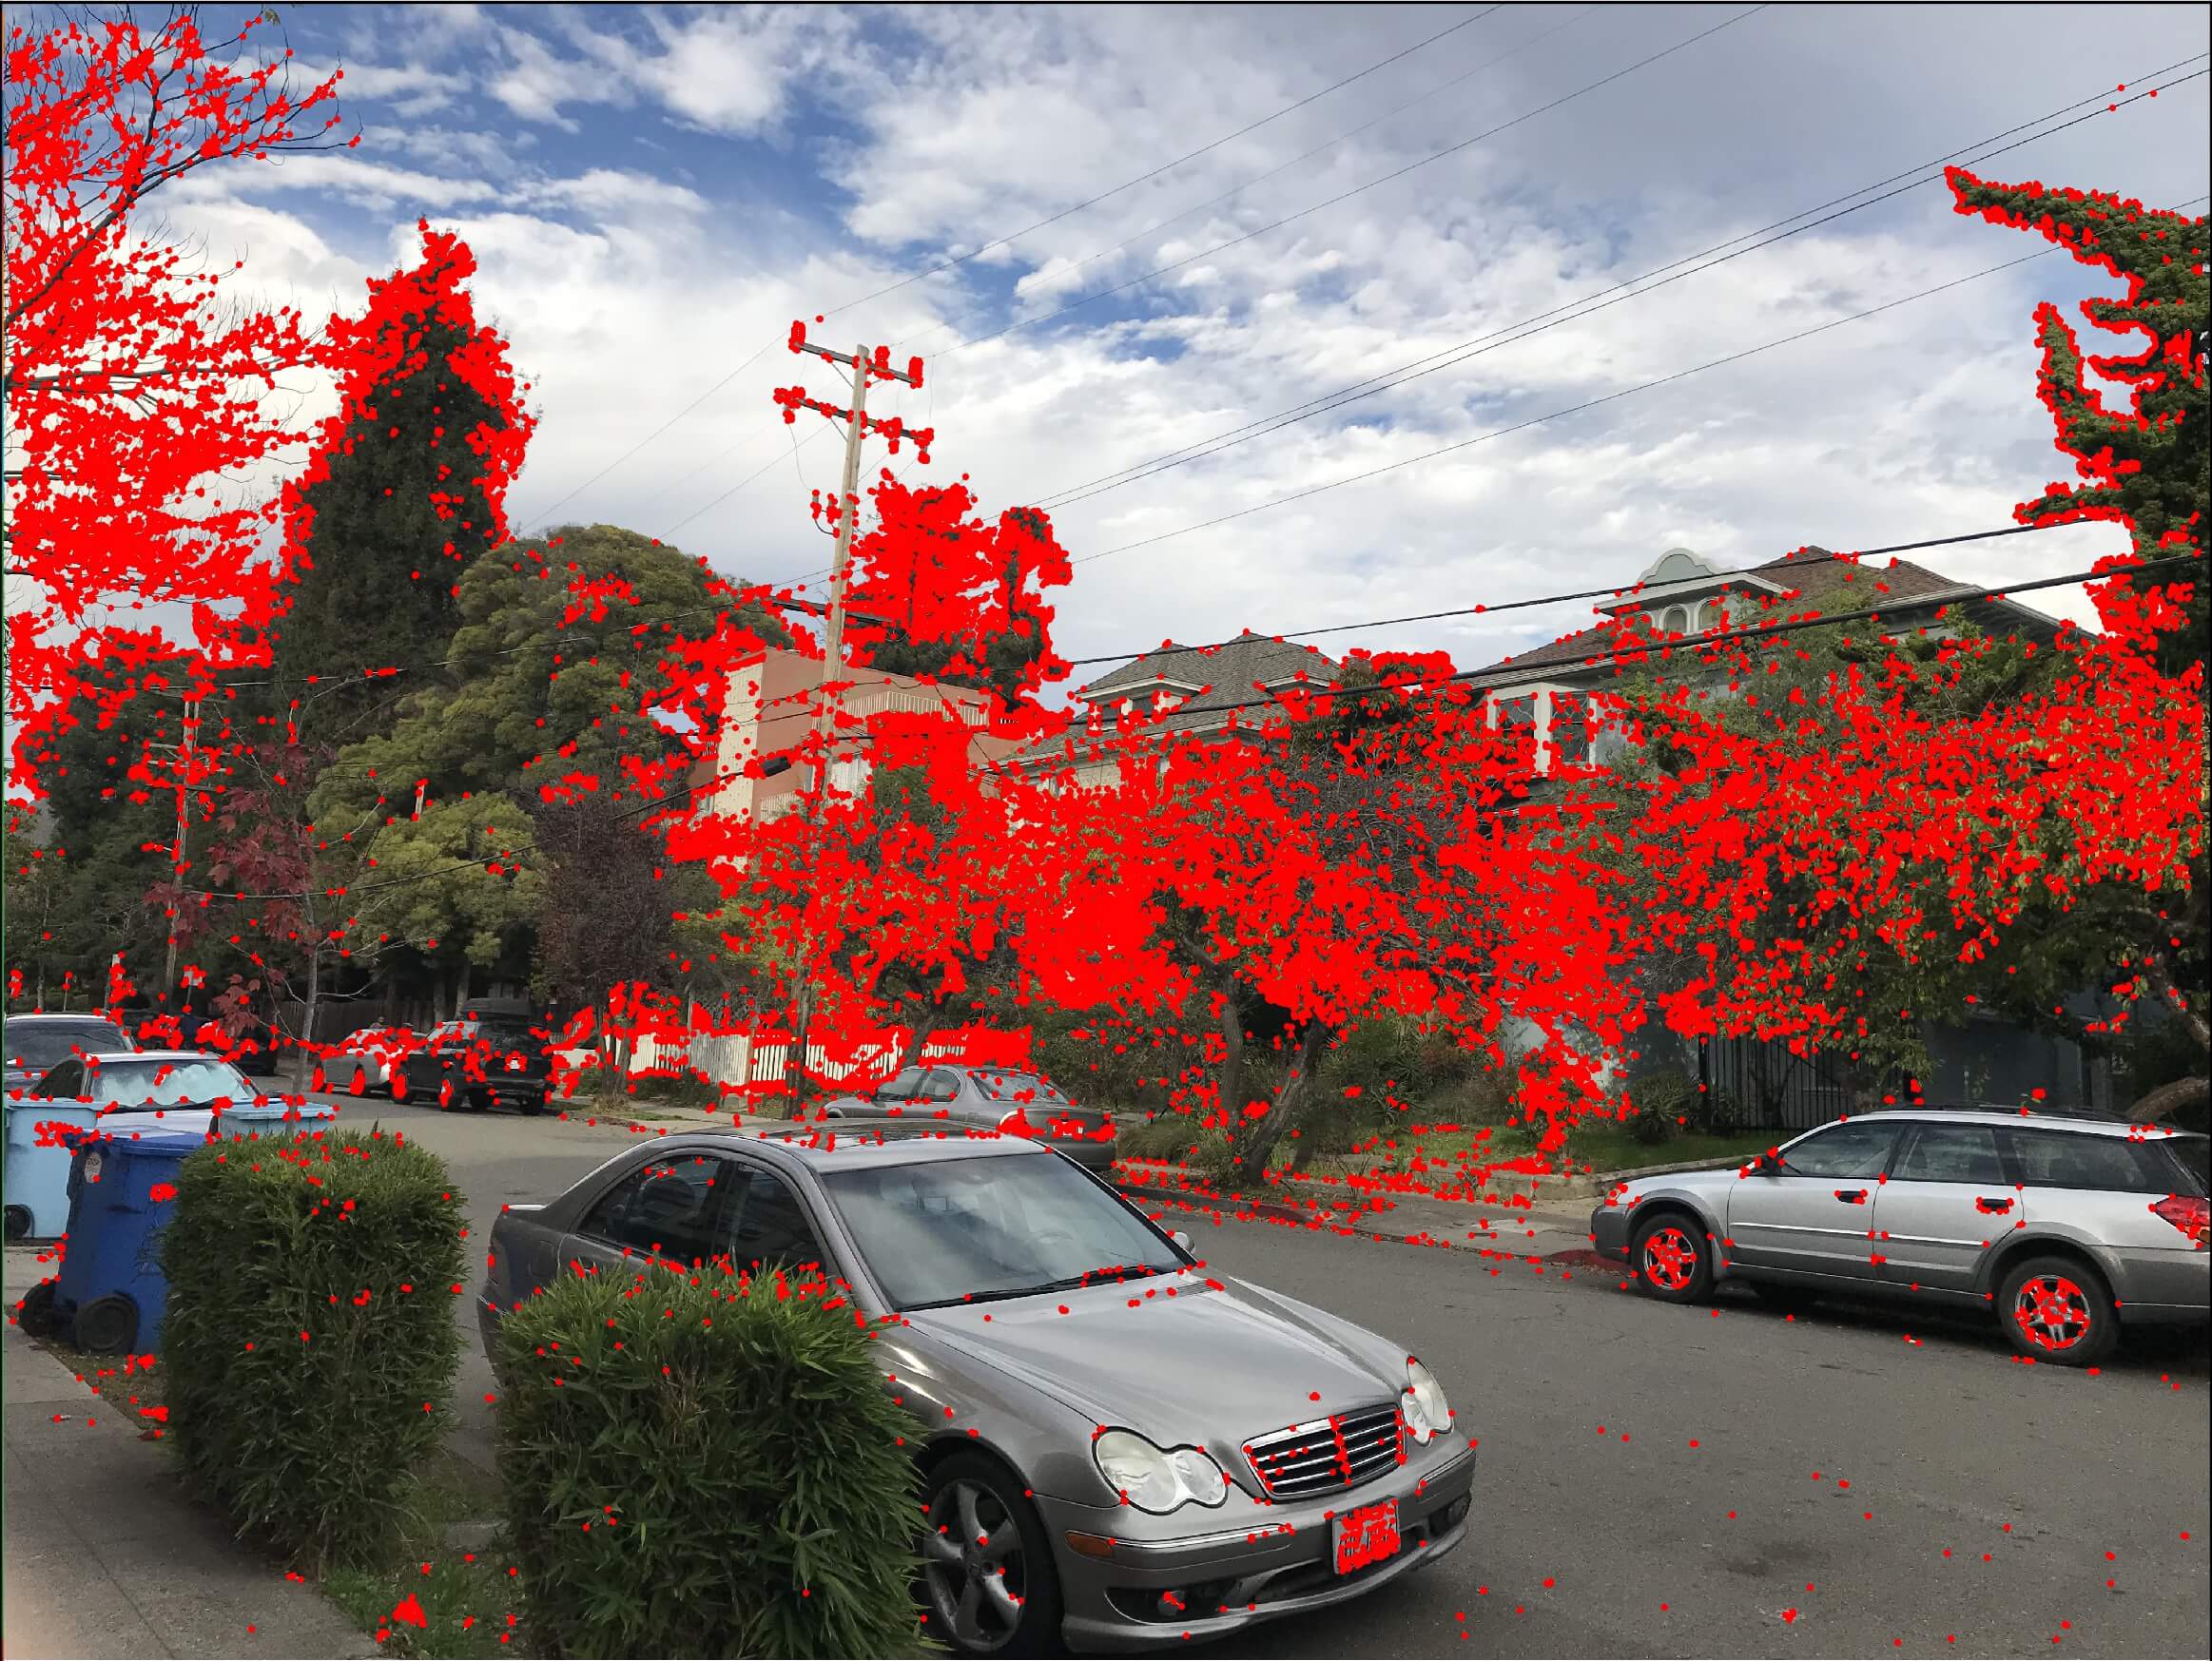
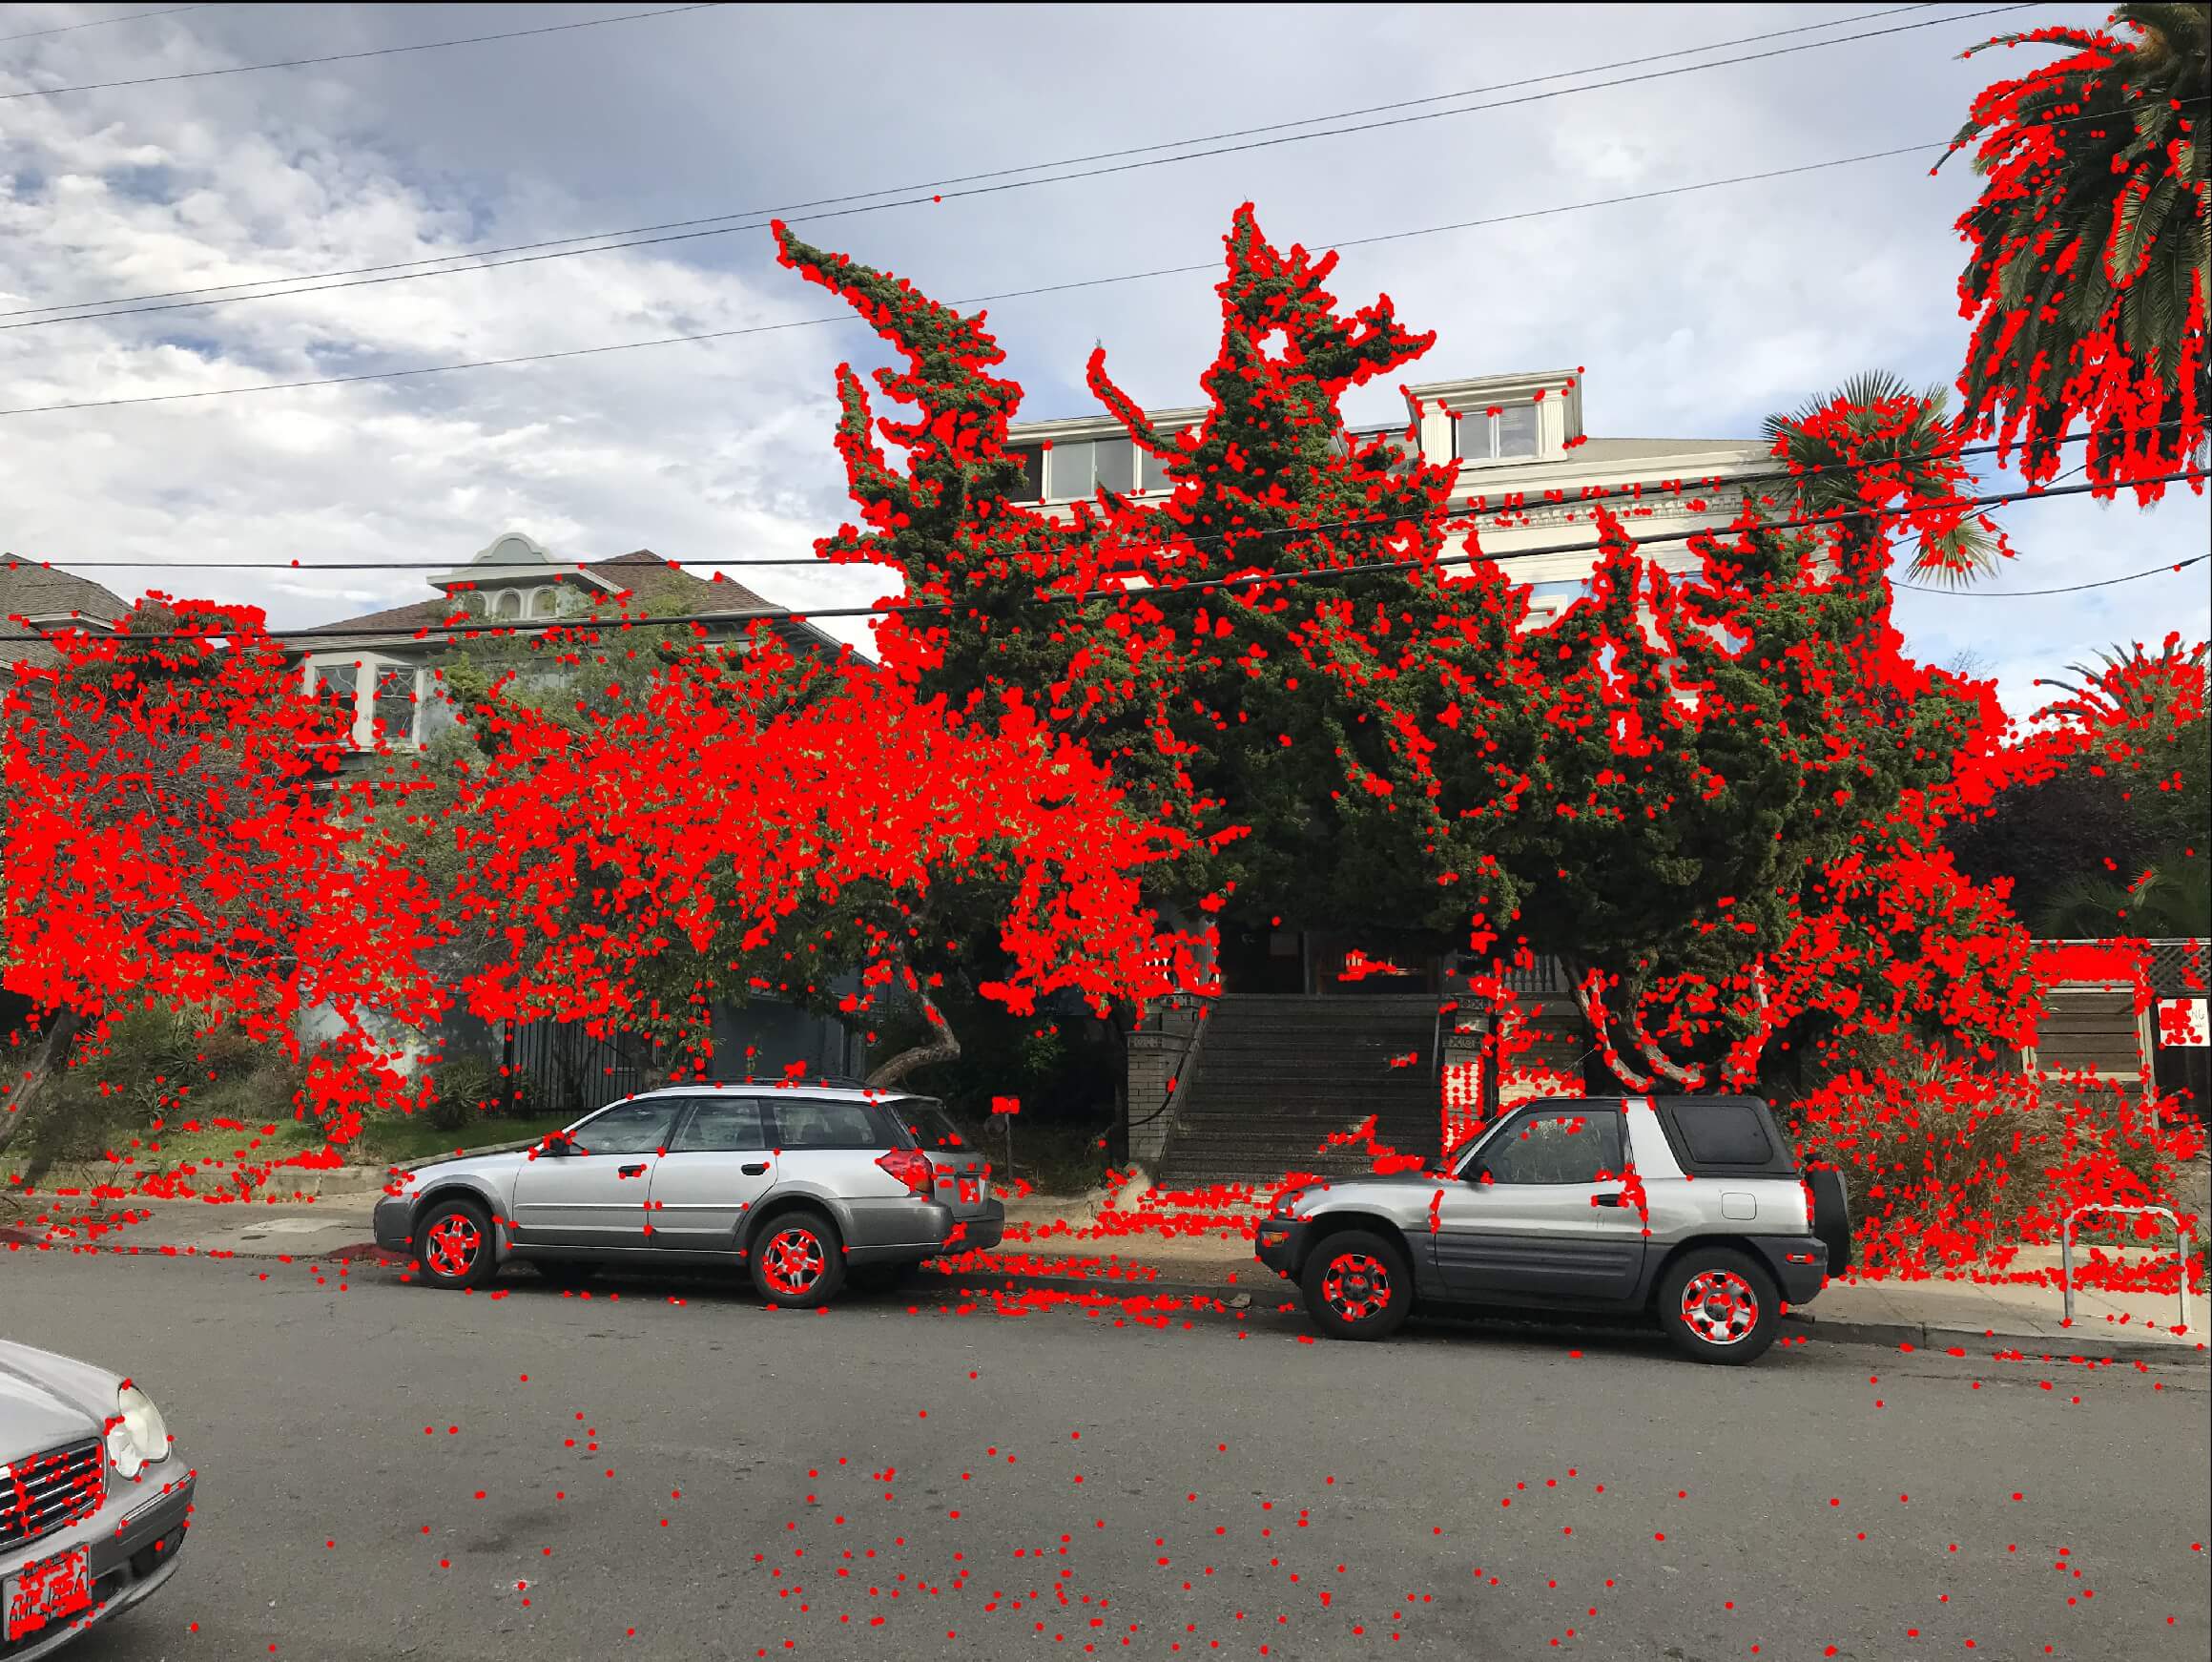
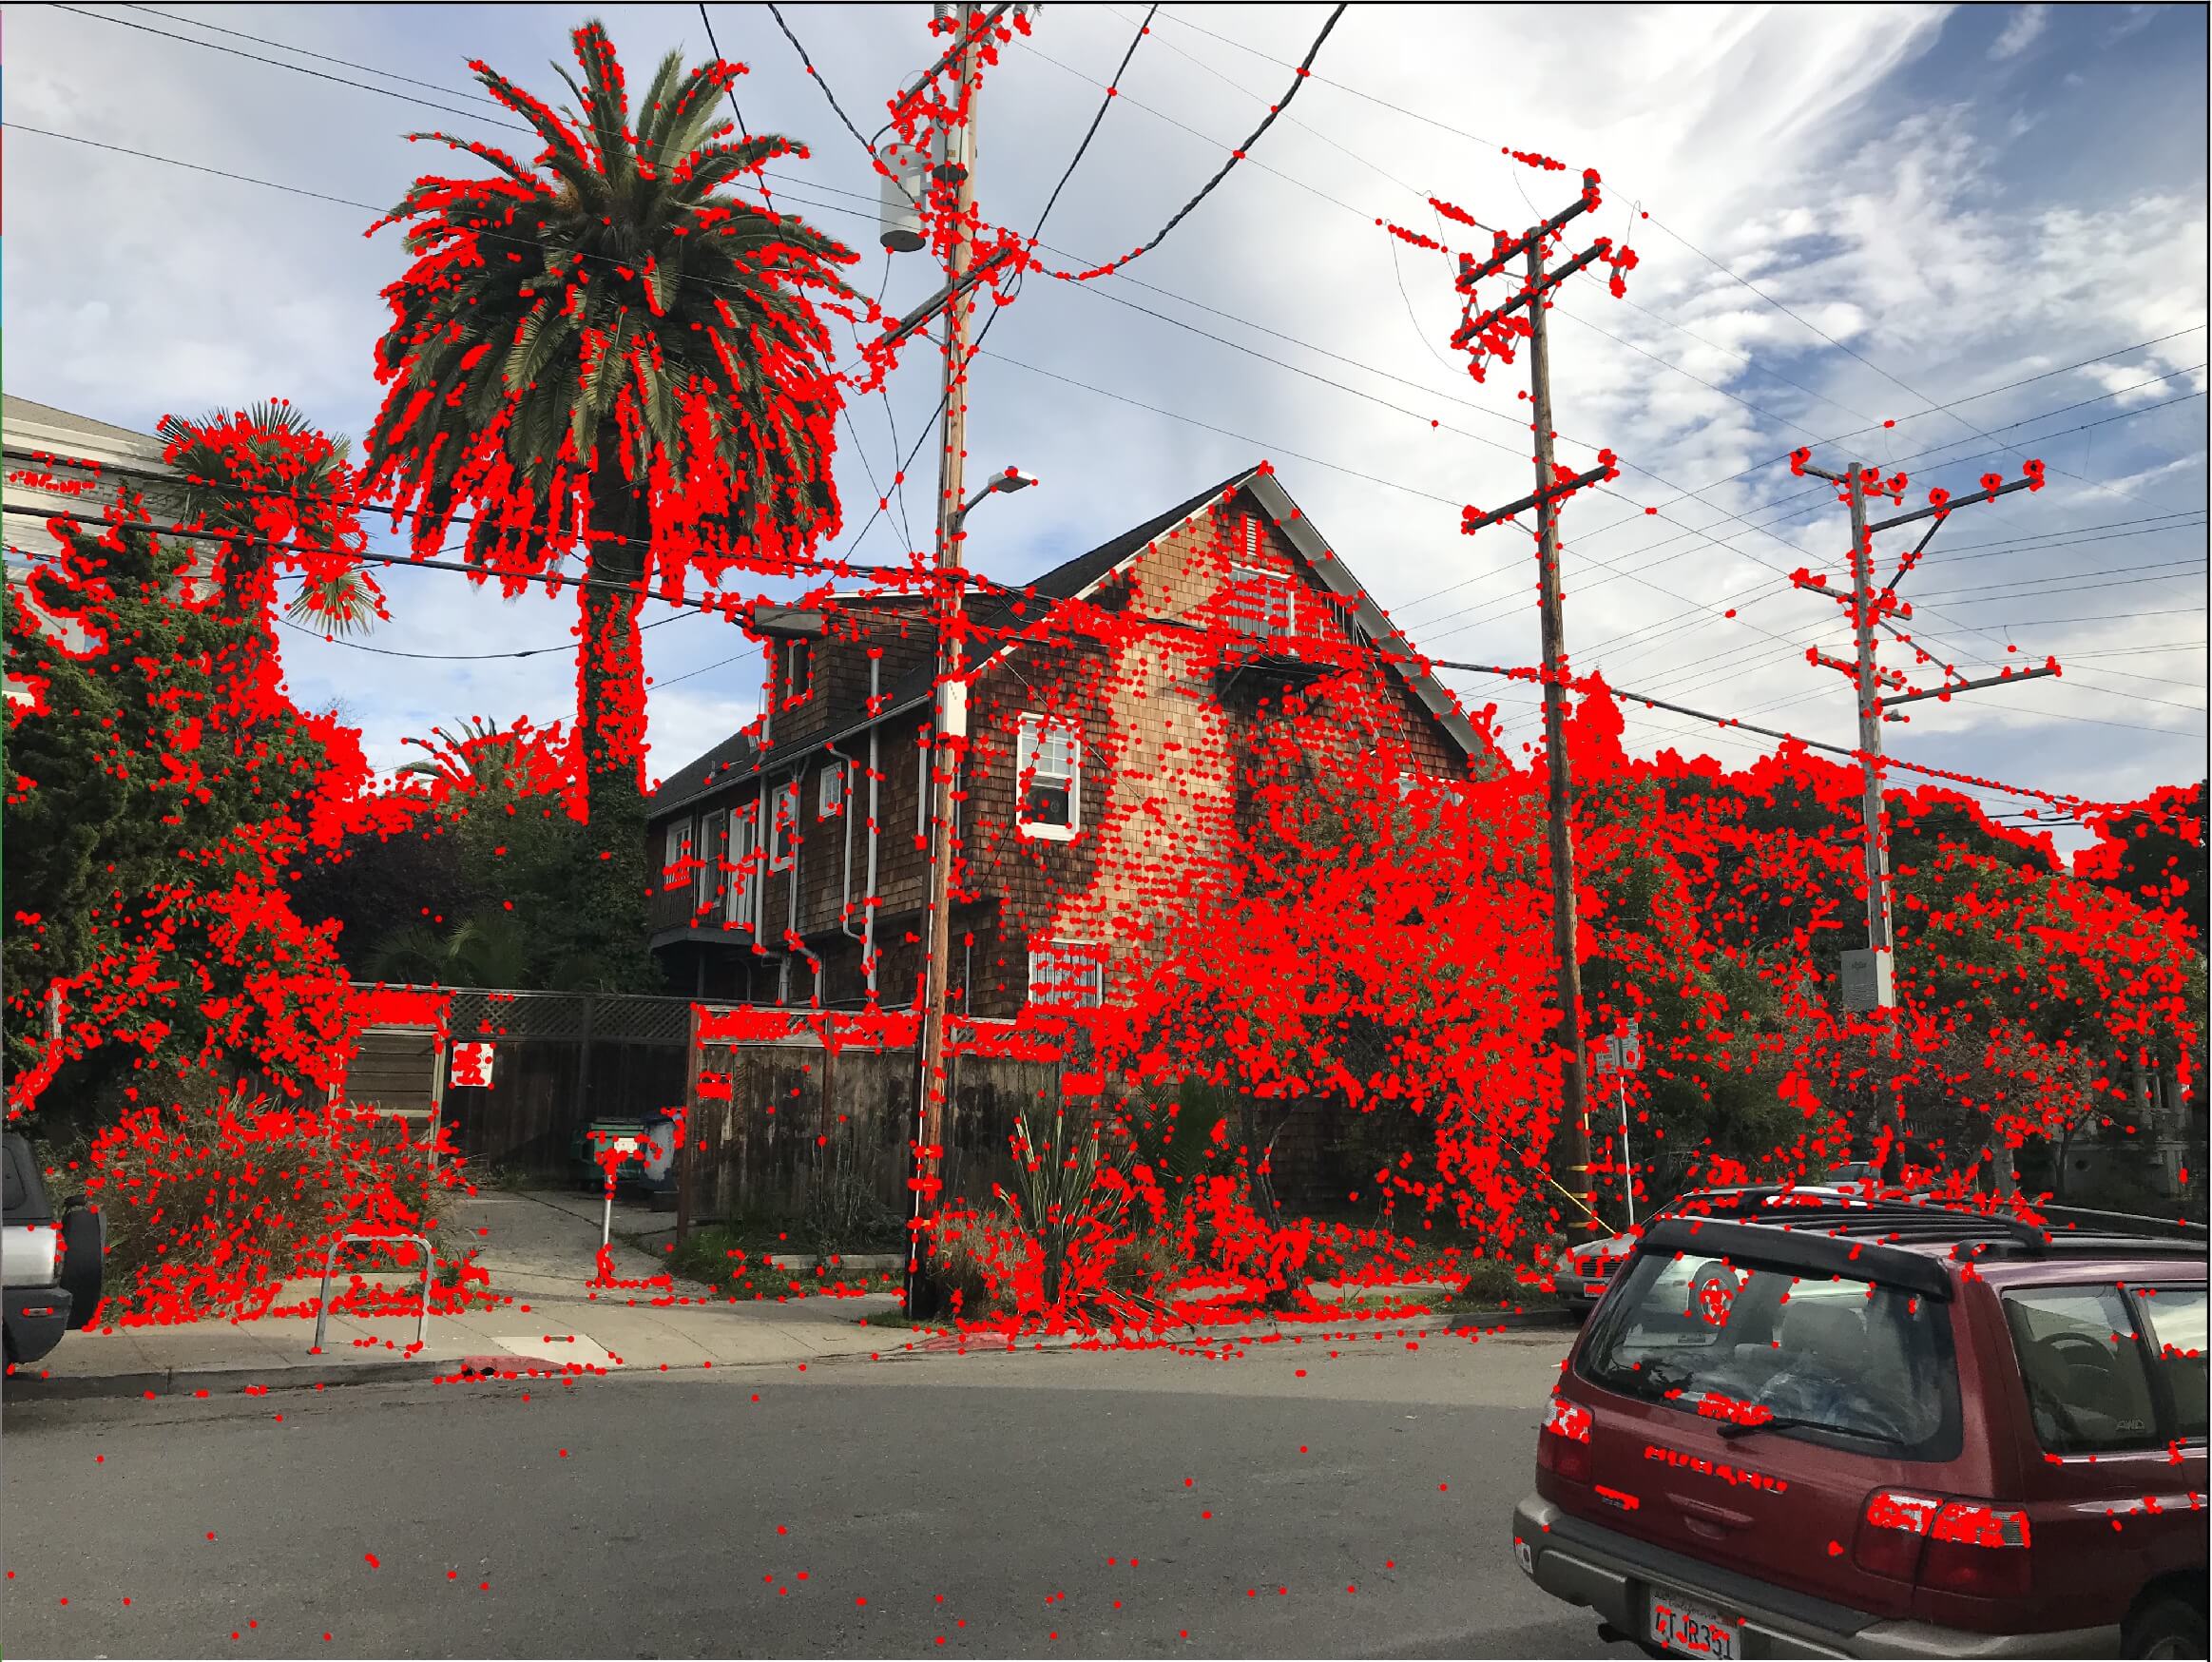
Step 1: Select all Harris corners.
Step 2: Select the top 1/4 of all the points selected in step 1, from the biggest Harris strength to lower ones.
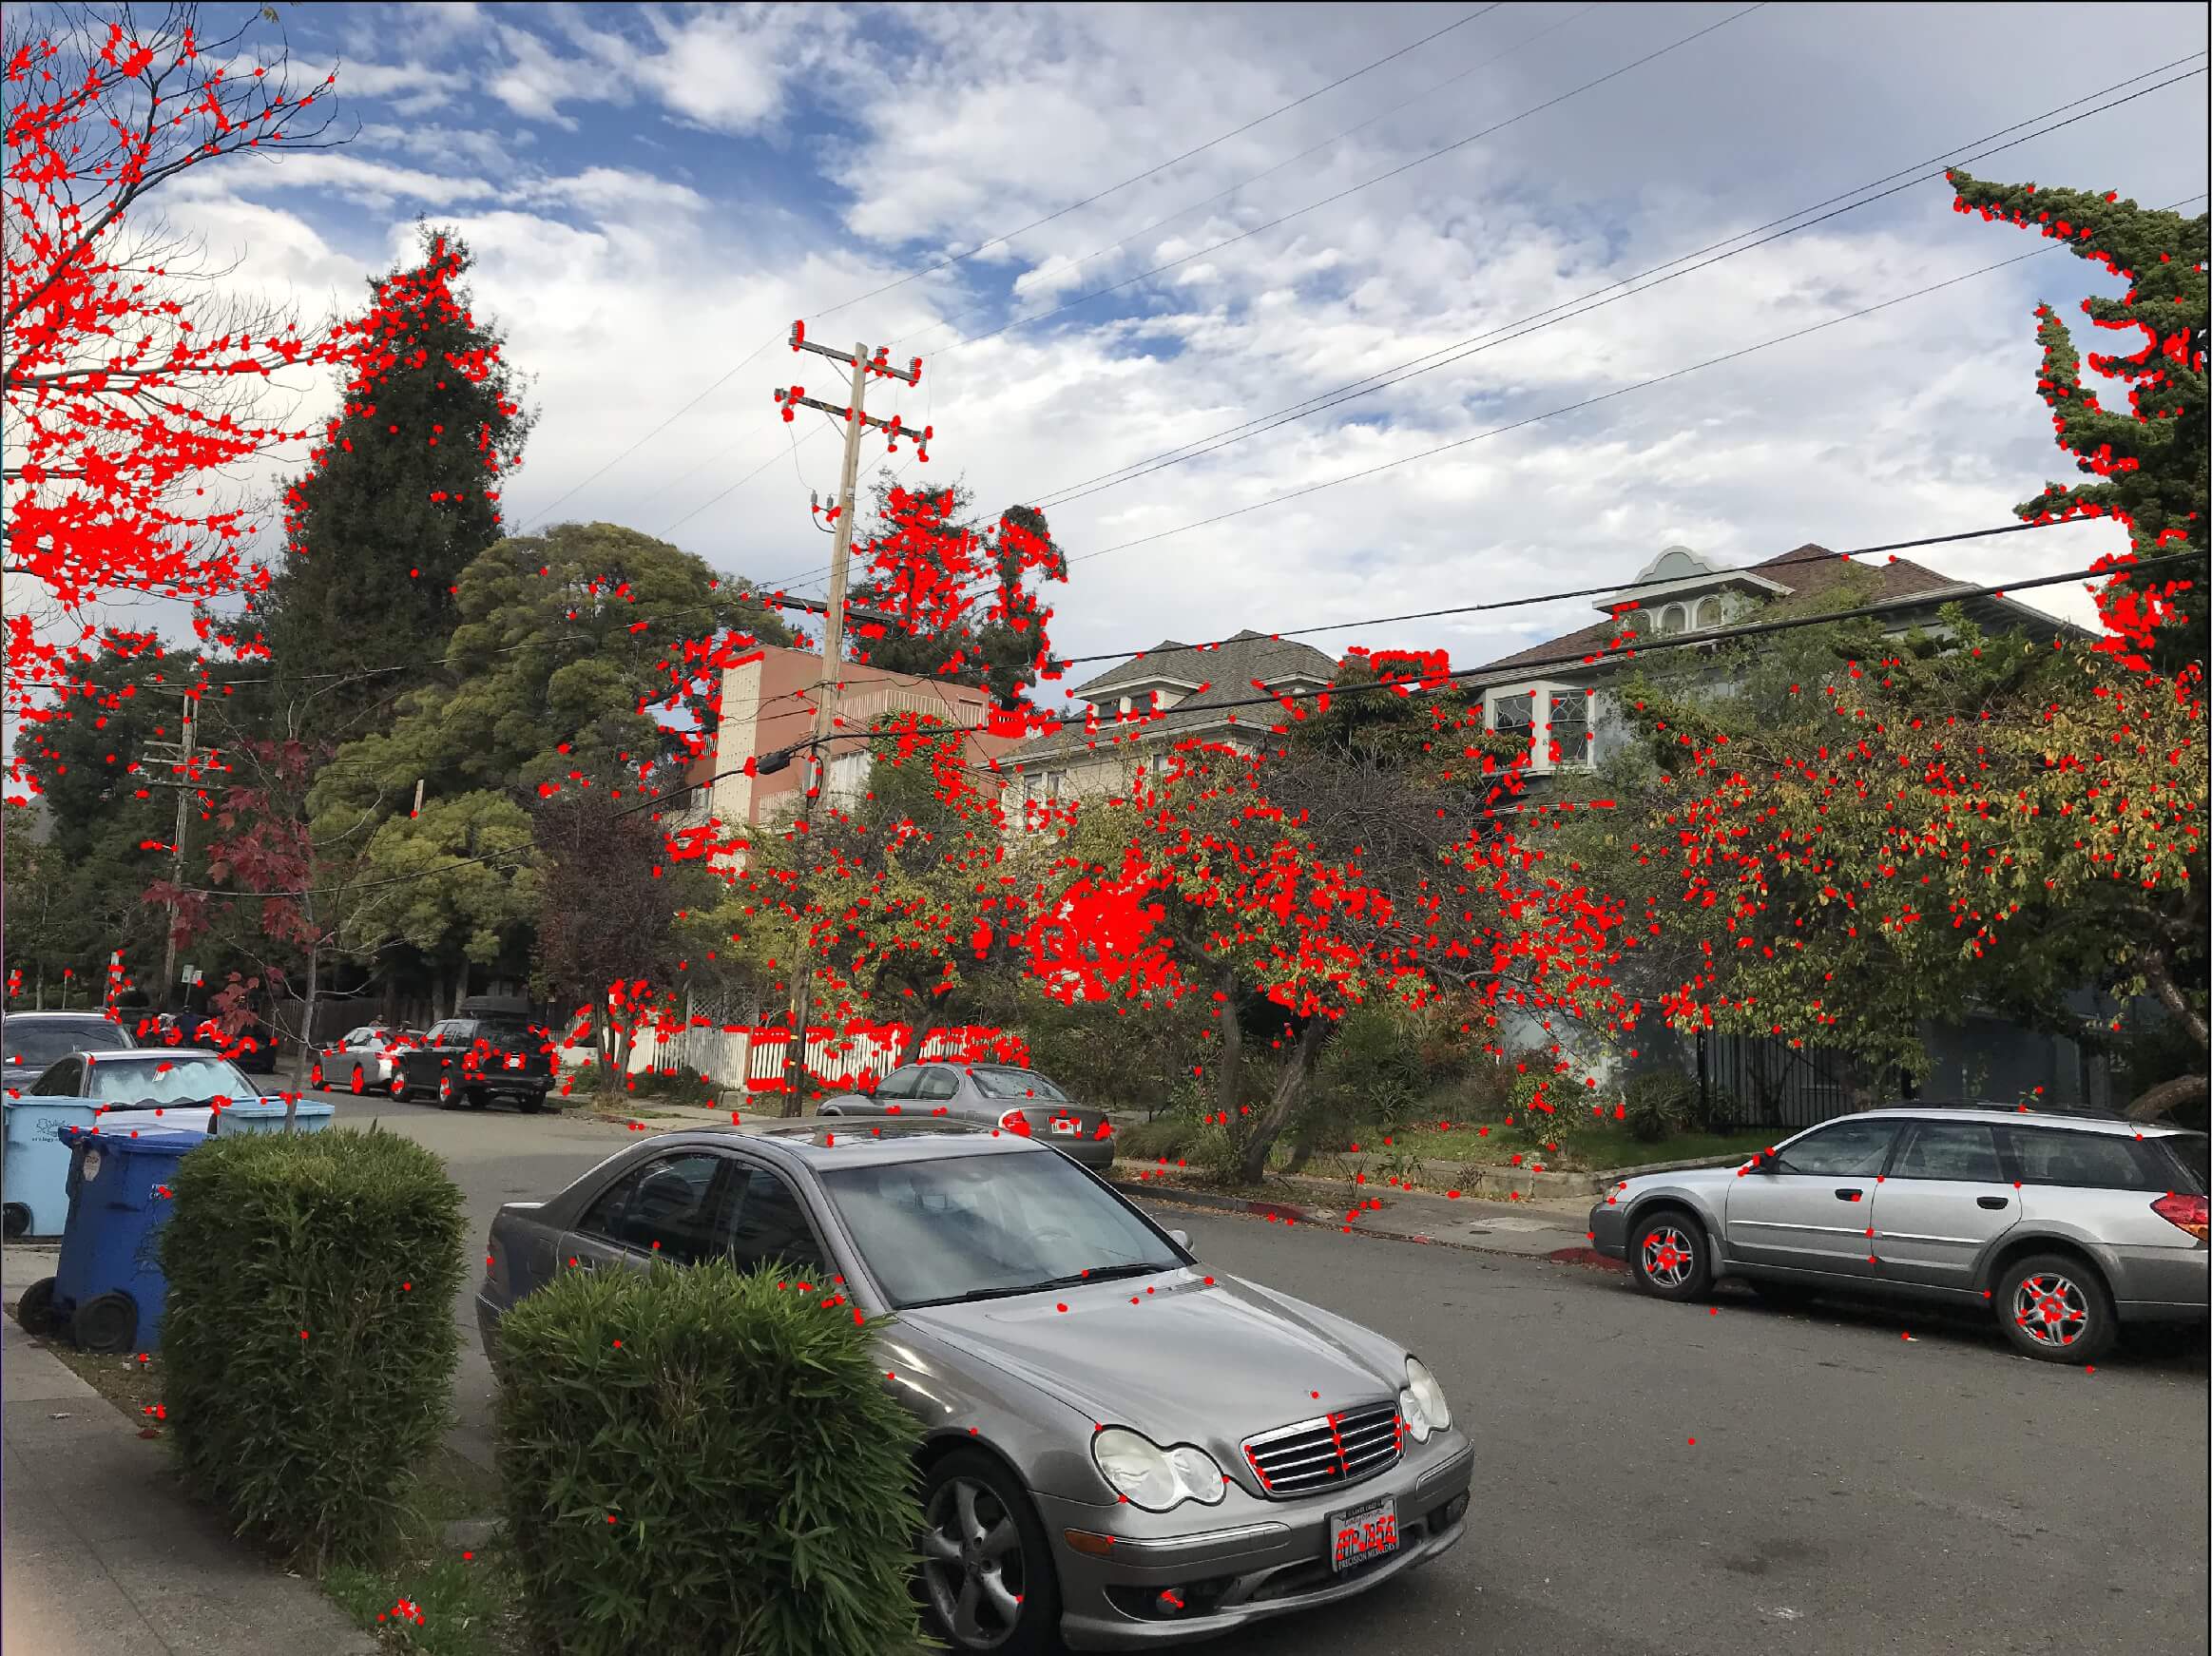
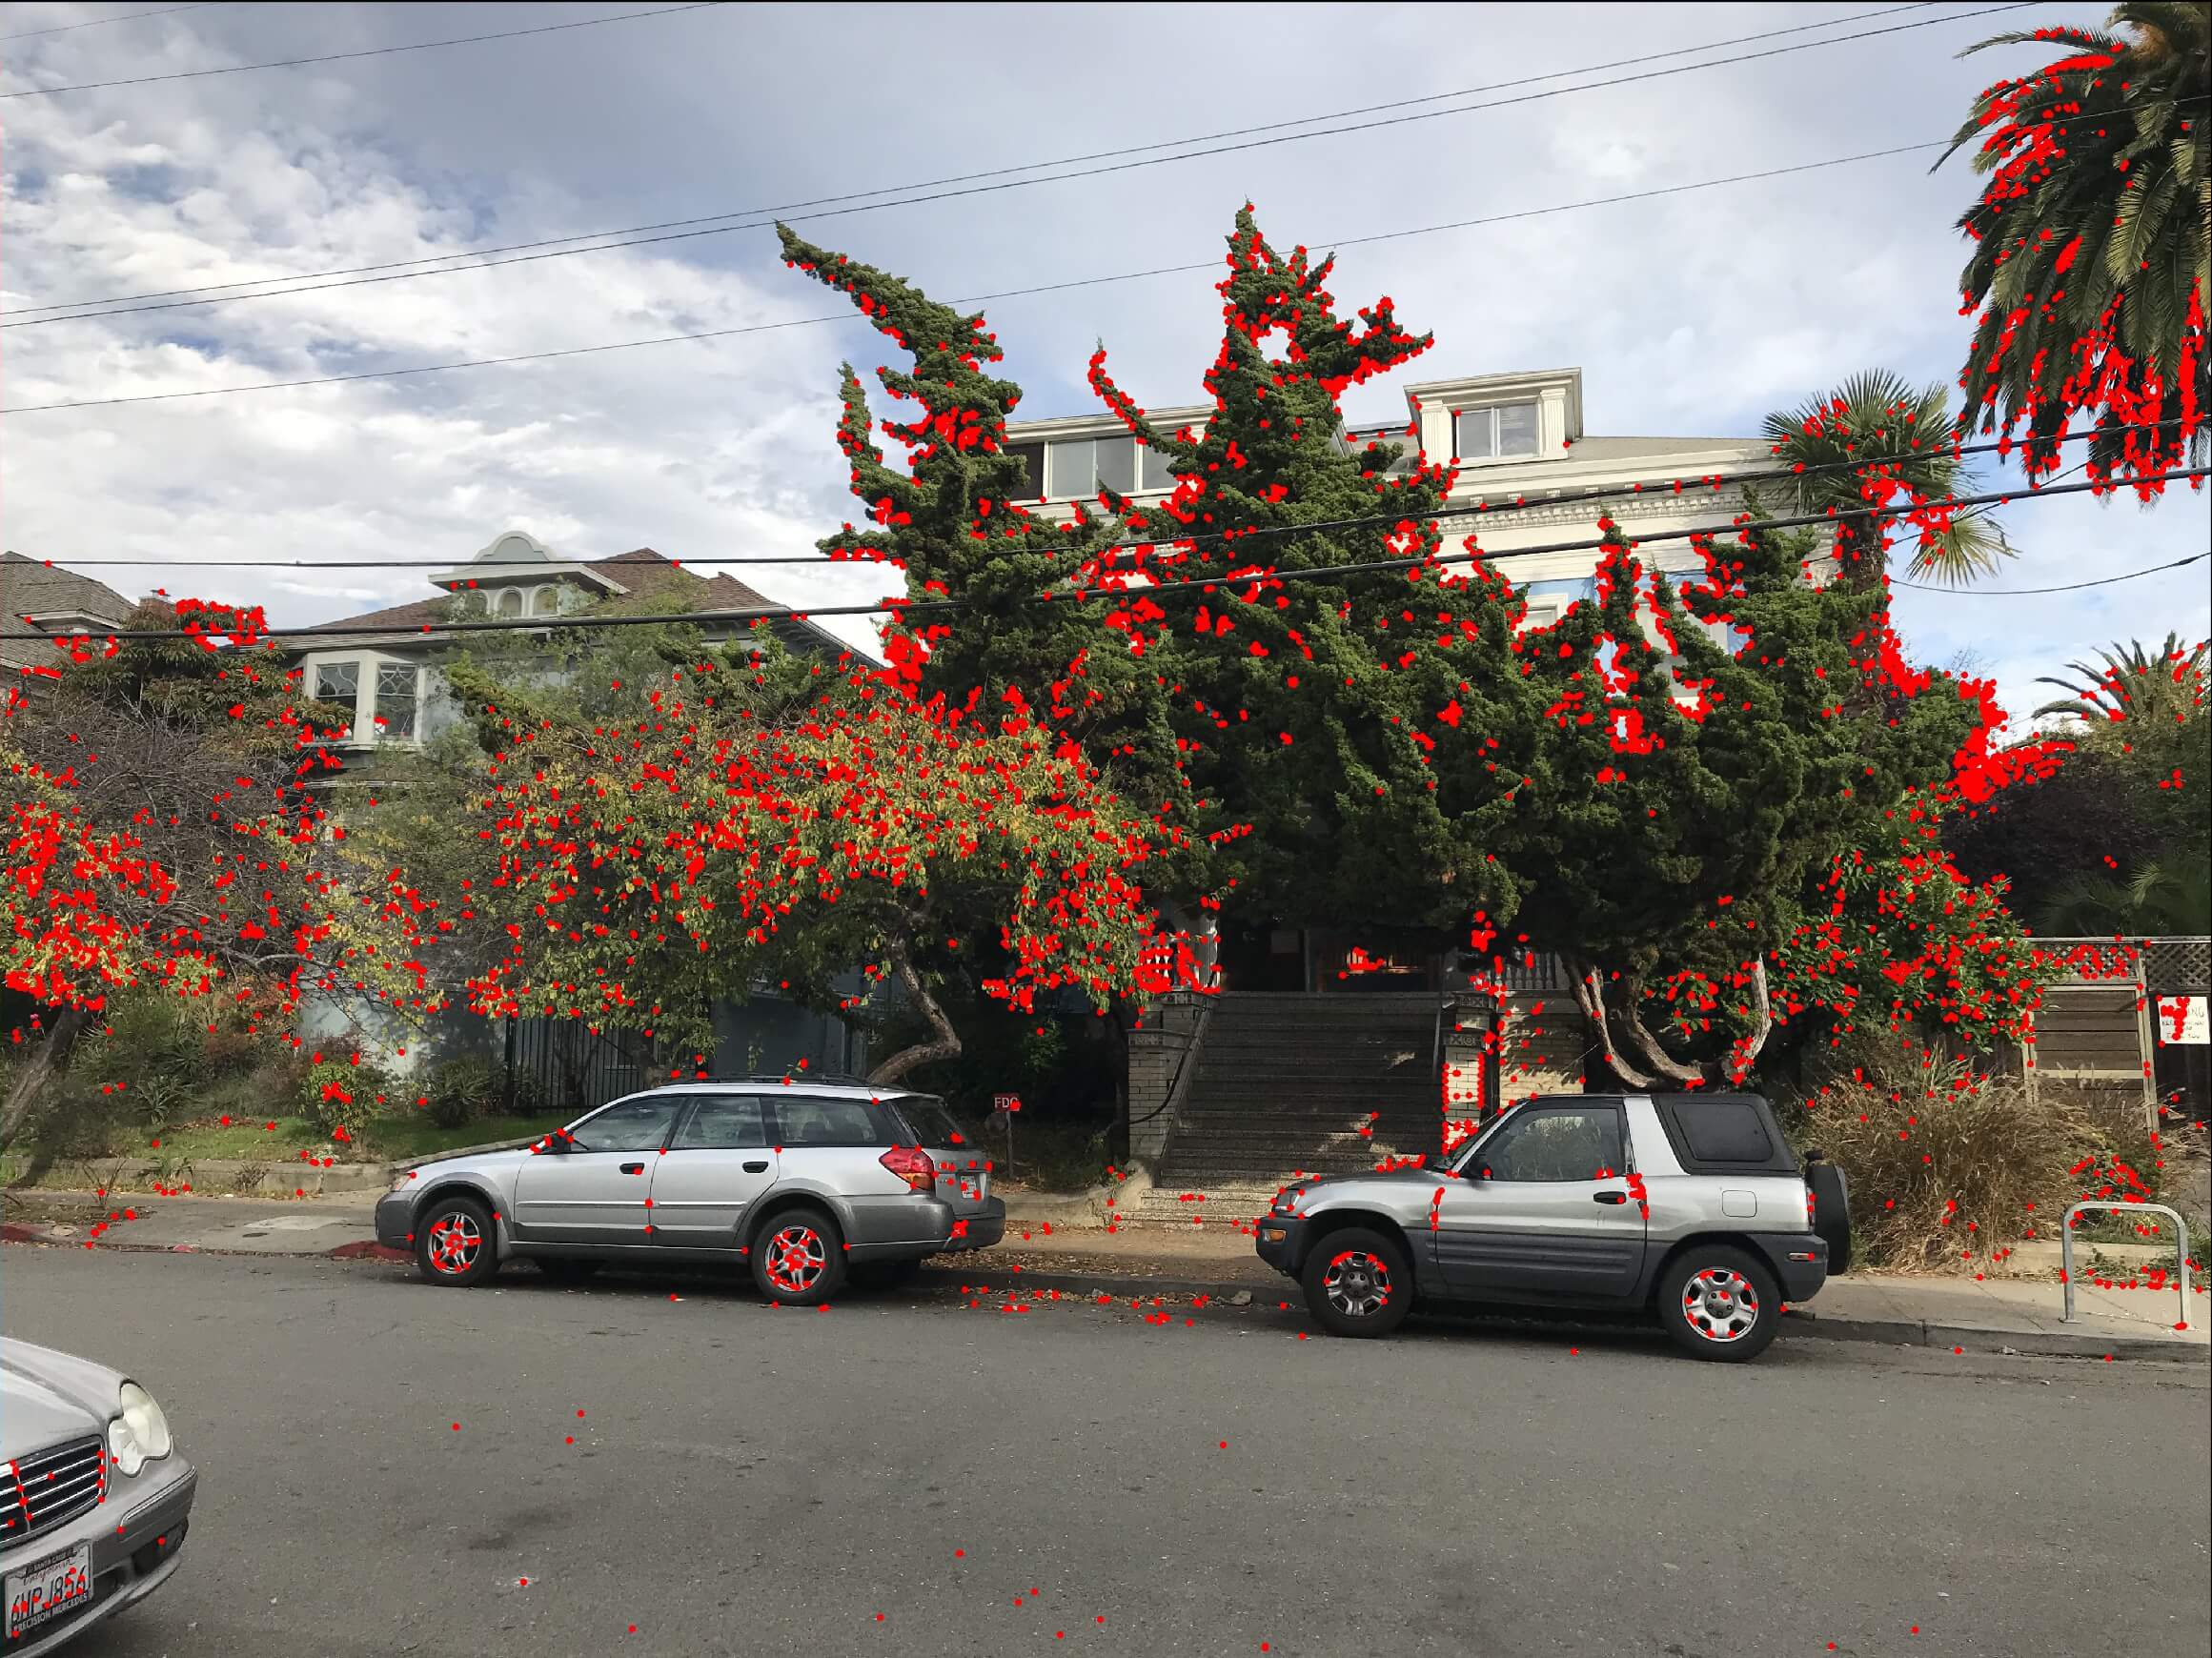
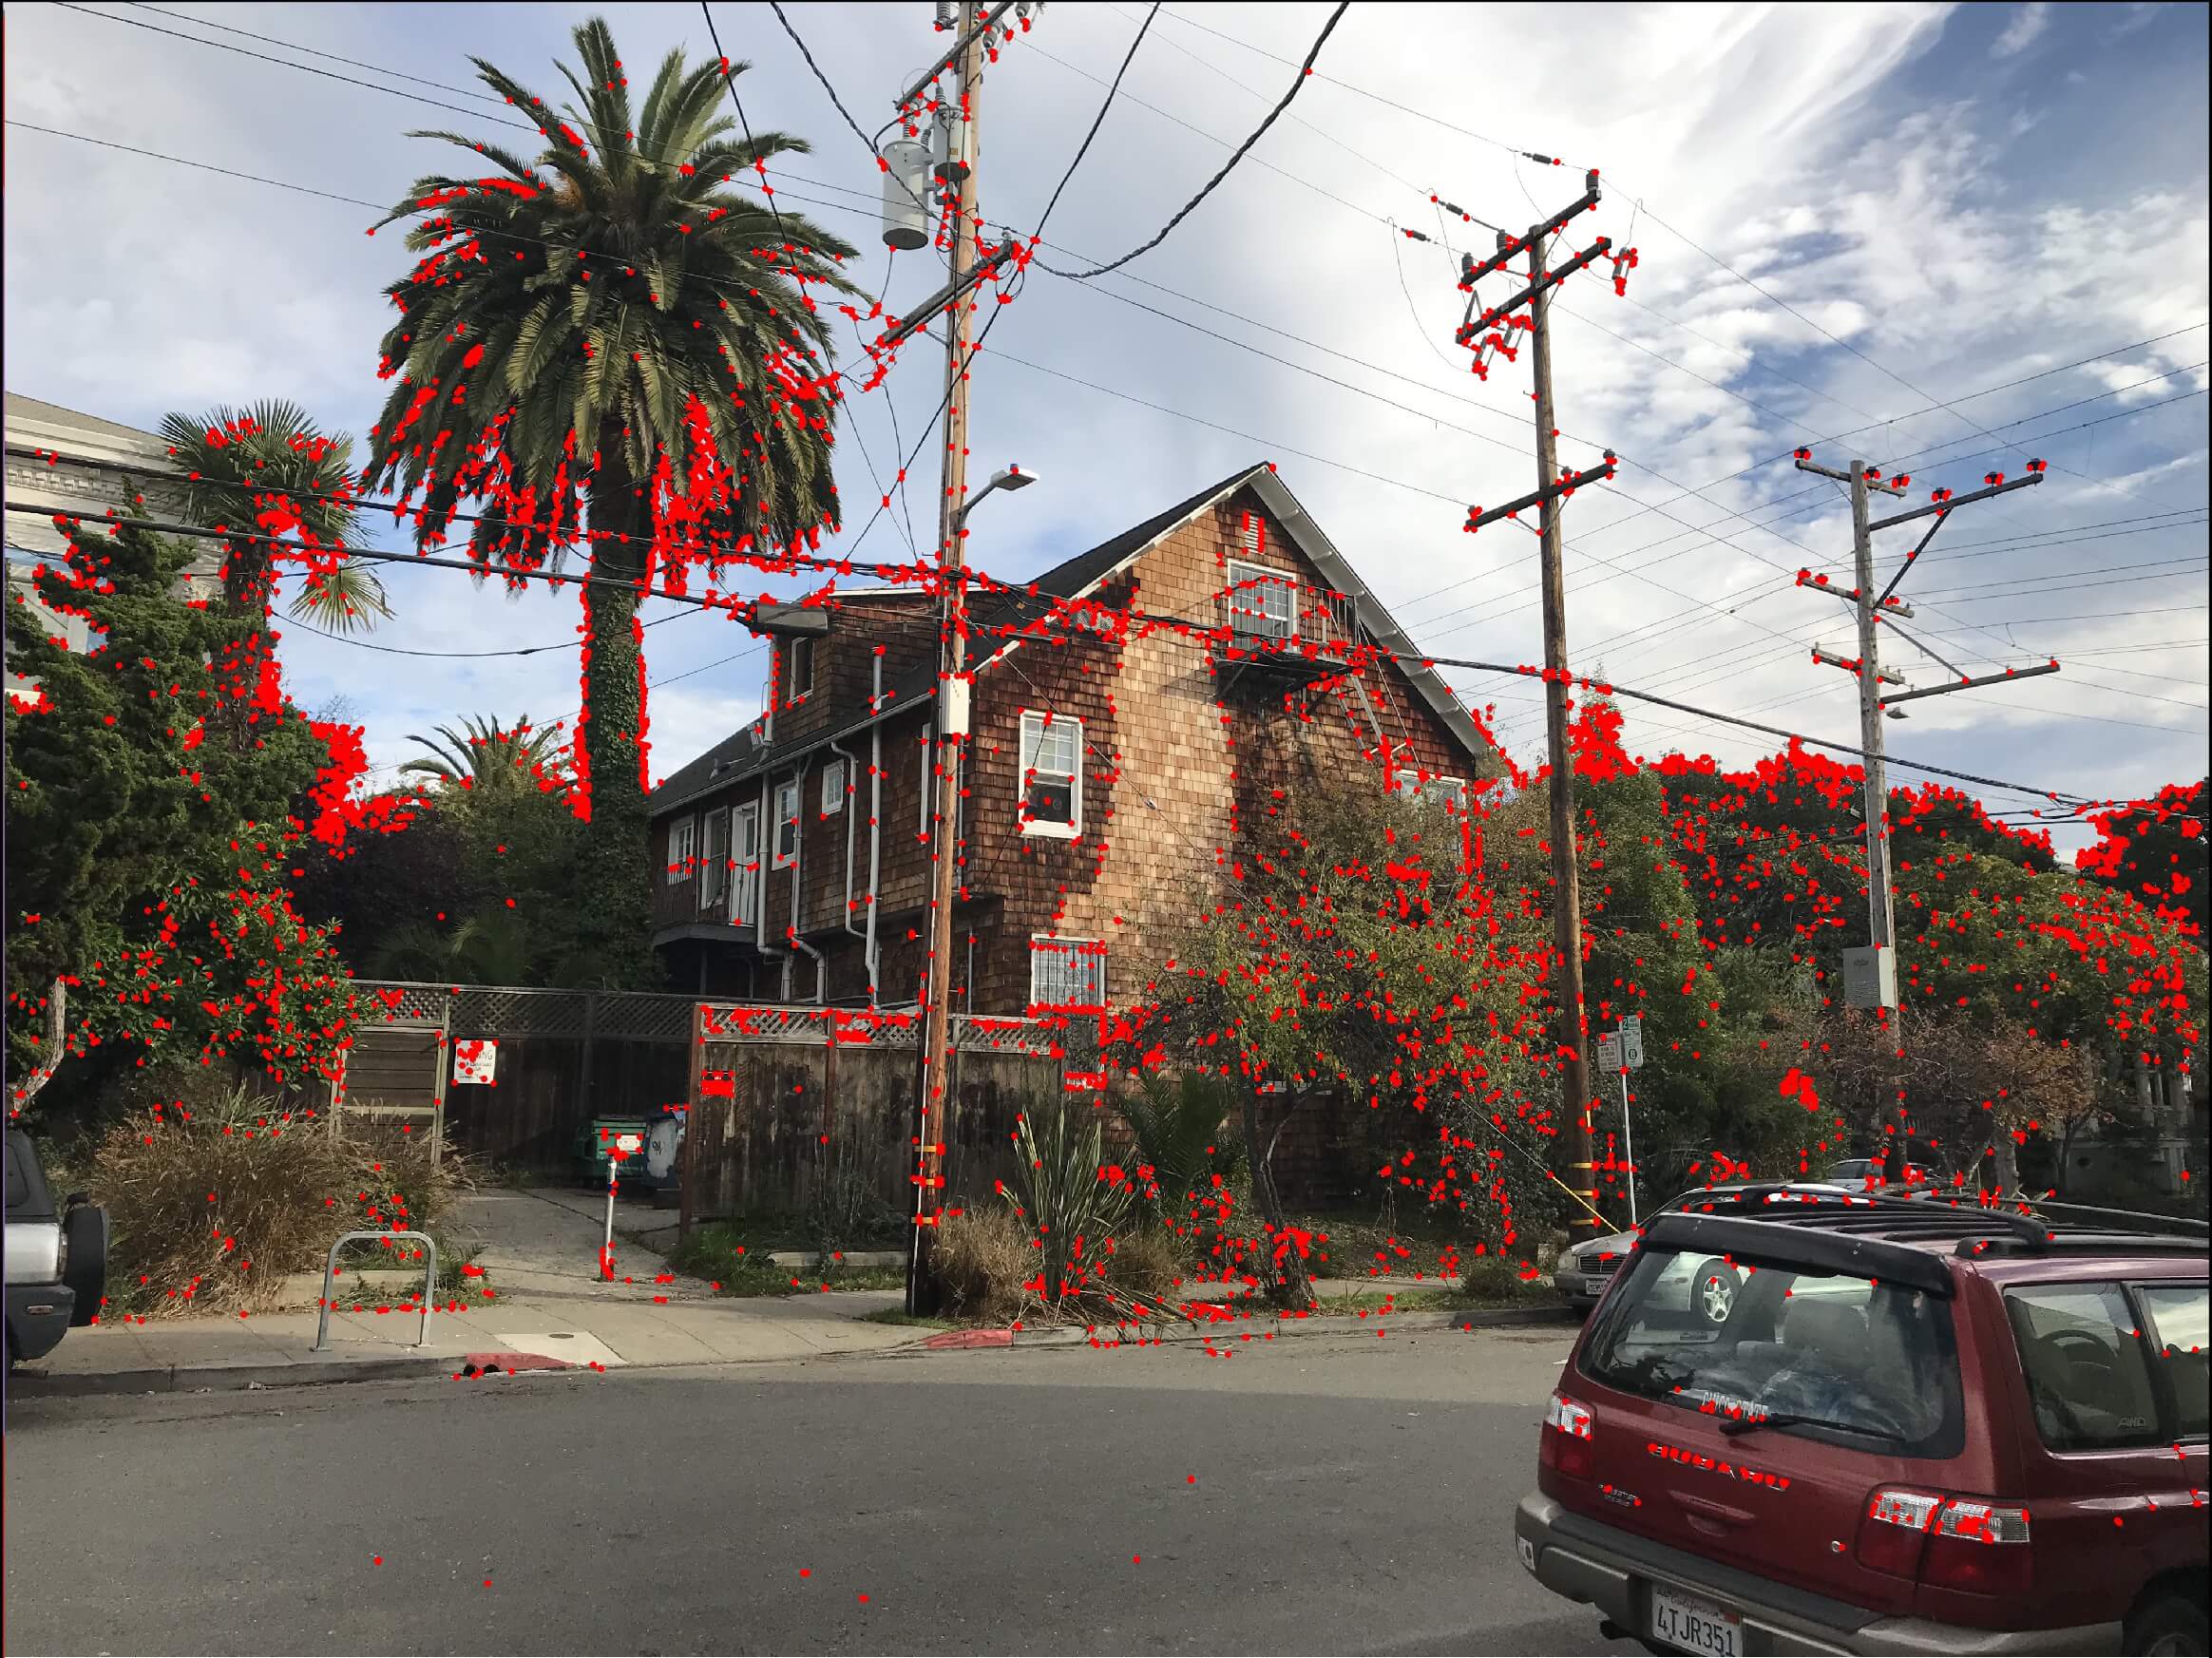
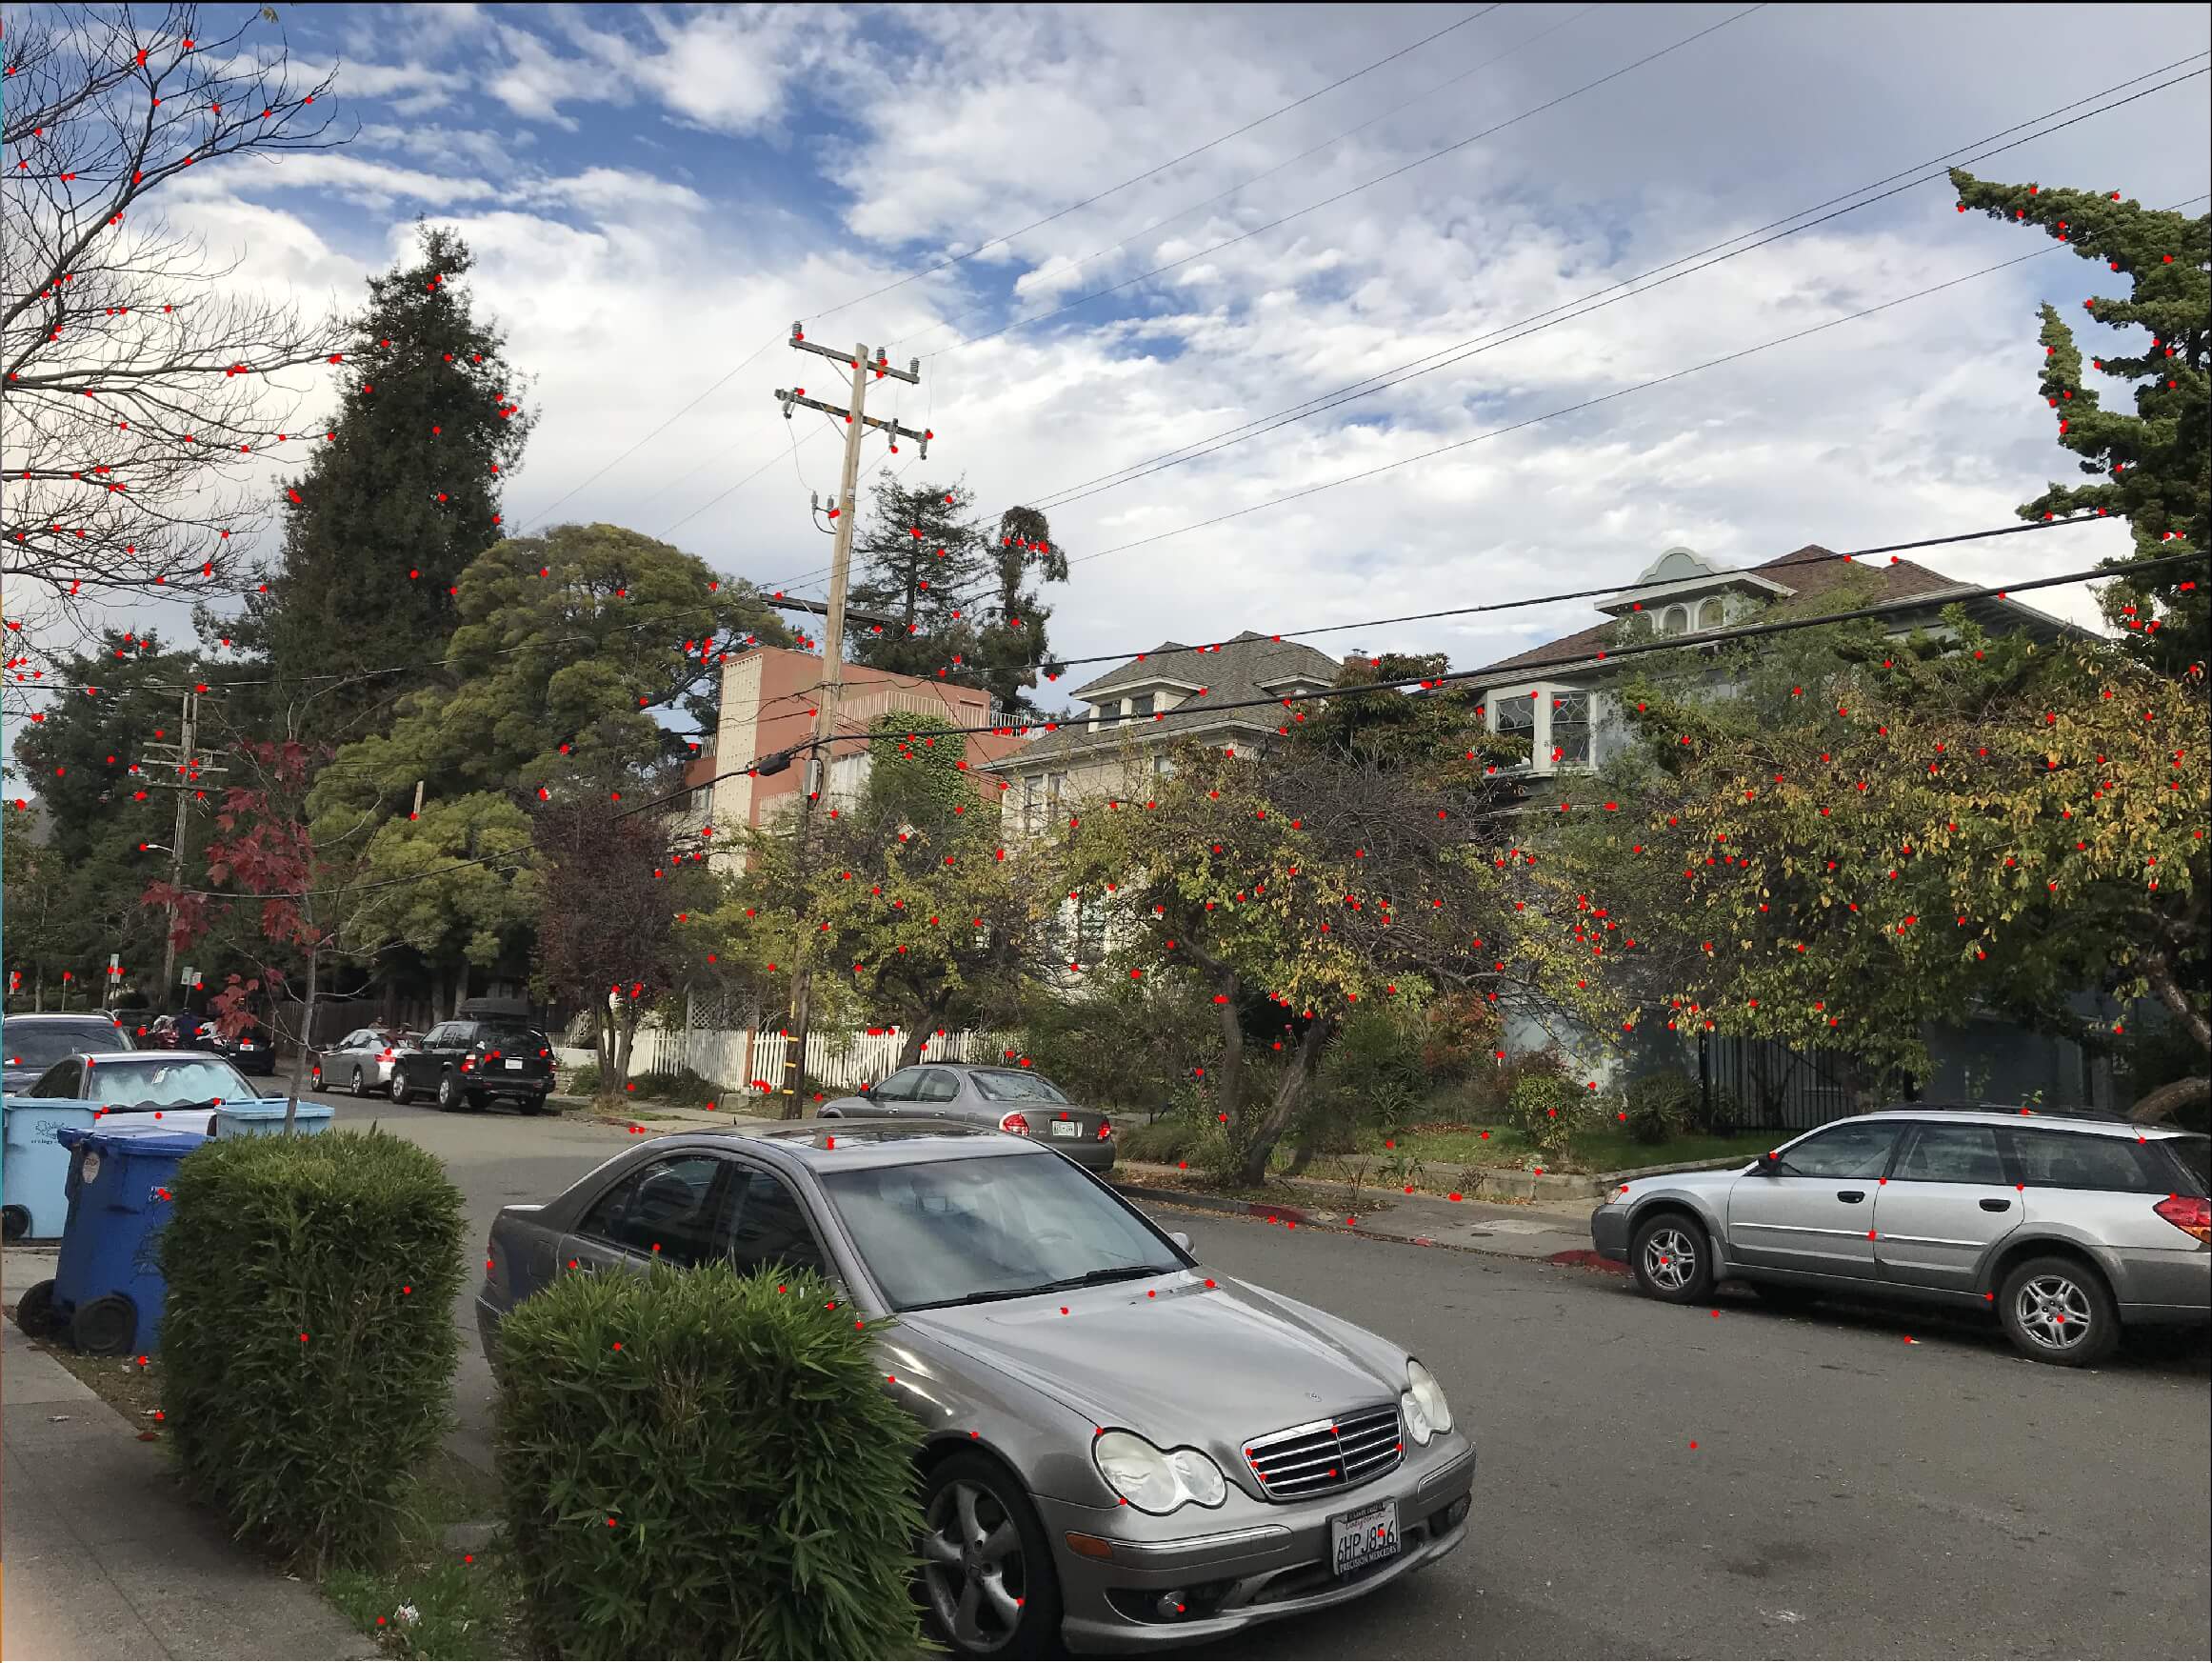
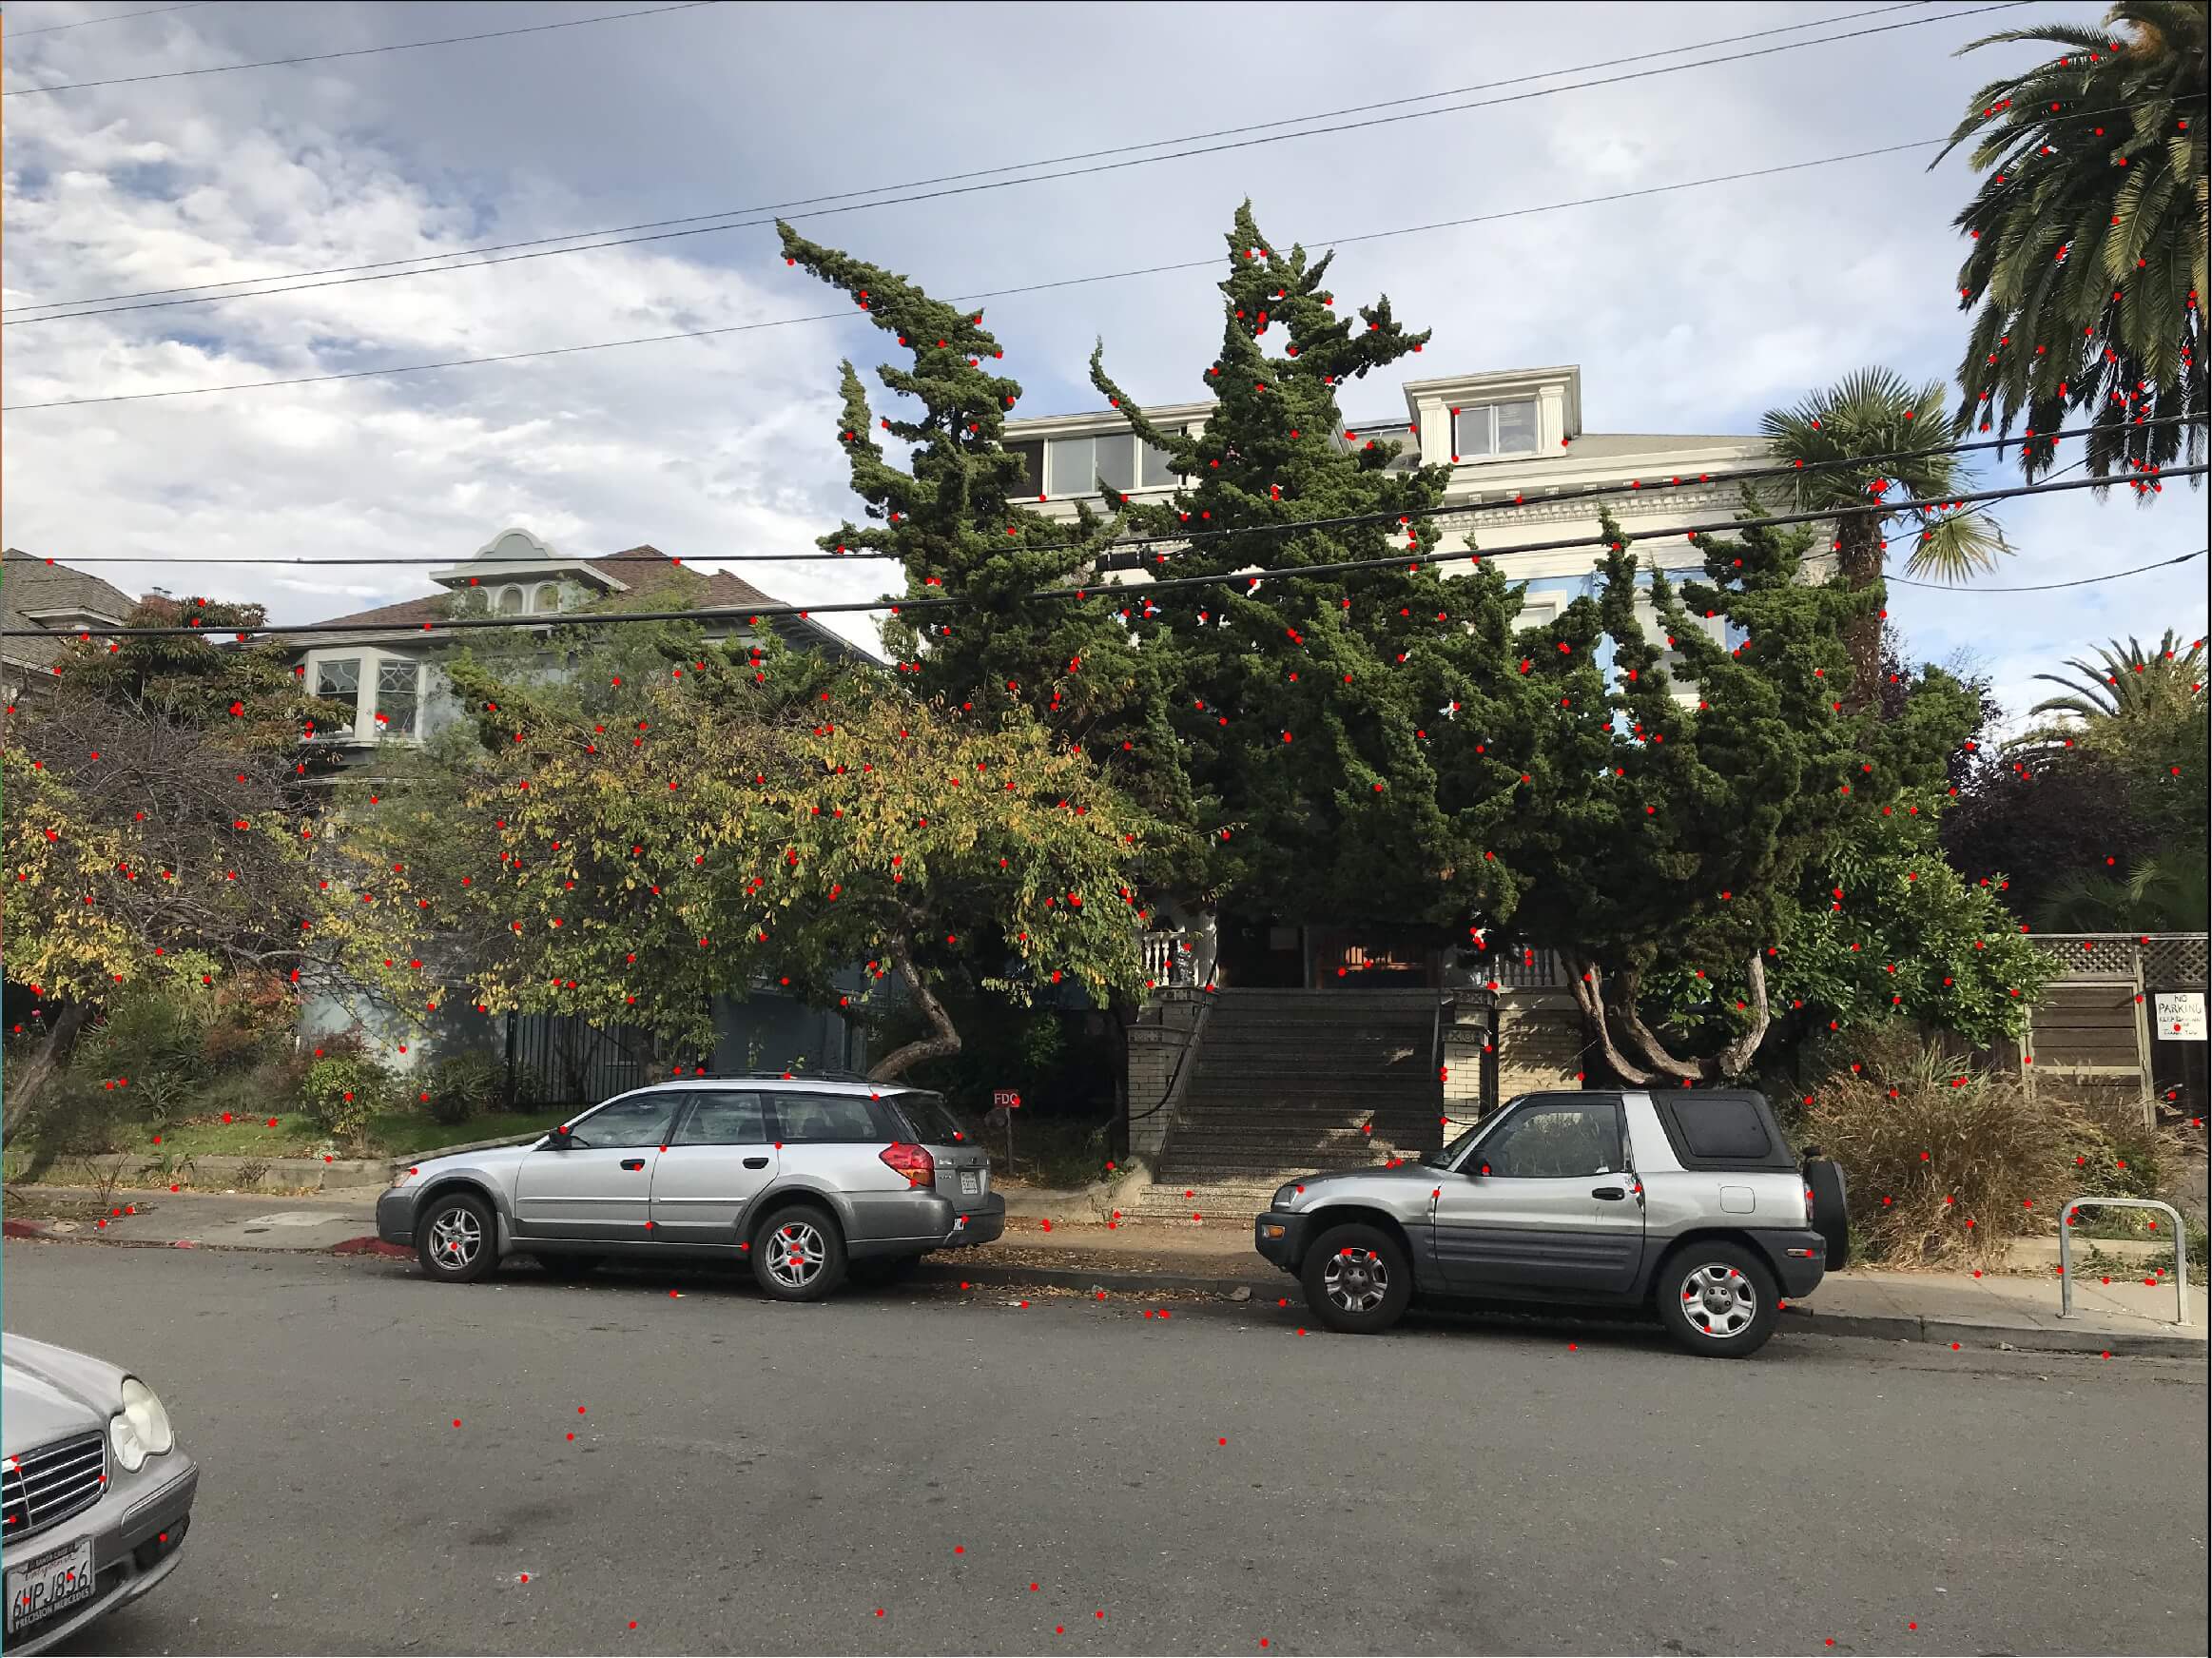
Step 3: Run ANMS on all the points selected in step 2. Select the top 500 points, from the largest "min distance to larger neighbot" to smaller ones.

We show the process with the following images:
Step 1: For each point we selected in the previous part, select 40 by 40 pixels surrounding it.


Step 2: Use Gaussian blur (sigma=1) and downsample by taking the mean of every 5 by 5 sub-patch inside the 40 by 40 patch. Then we have 8 by 8 featurization.


Step 3: Normalize the feature vector (s.t. mean=0, stddev=1). Also cut off values at -1 (lower bound) and 1 (upper bound).


For each point we selected in the previous part, we find the two points in the other image that minimize SSD of their feature vectors. If the ratio of the two SSD exceeds threshold (I found different optimal values for different images), we include the point. (The red dots in the two images are very small. You can zoom in to see it.)
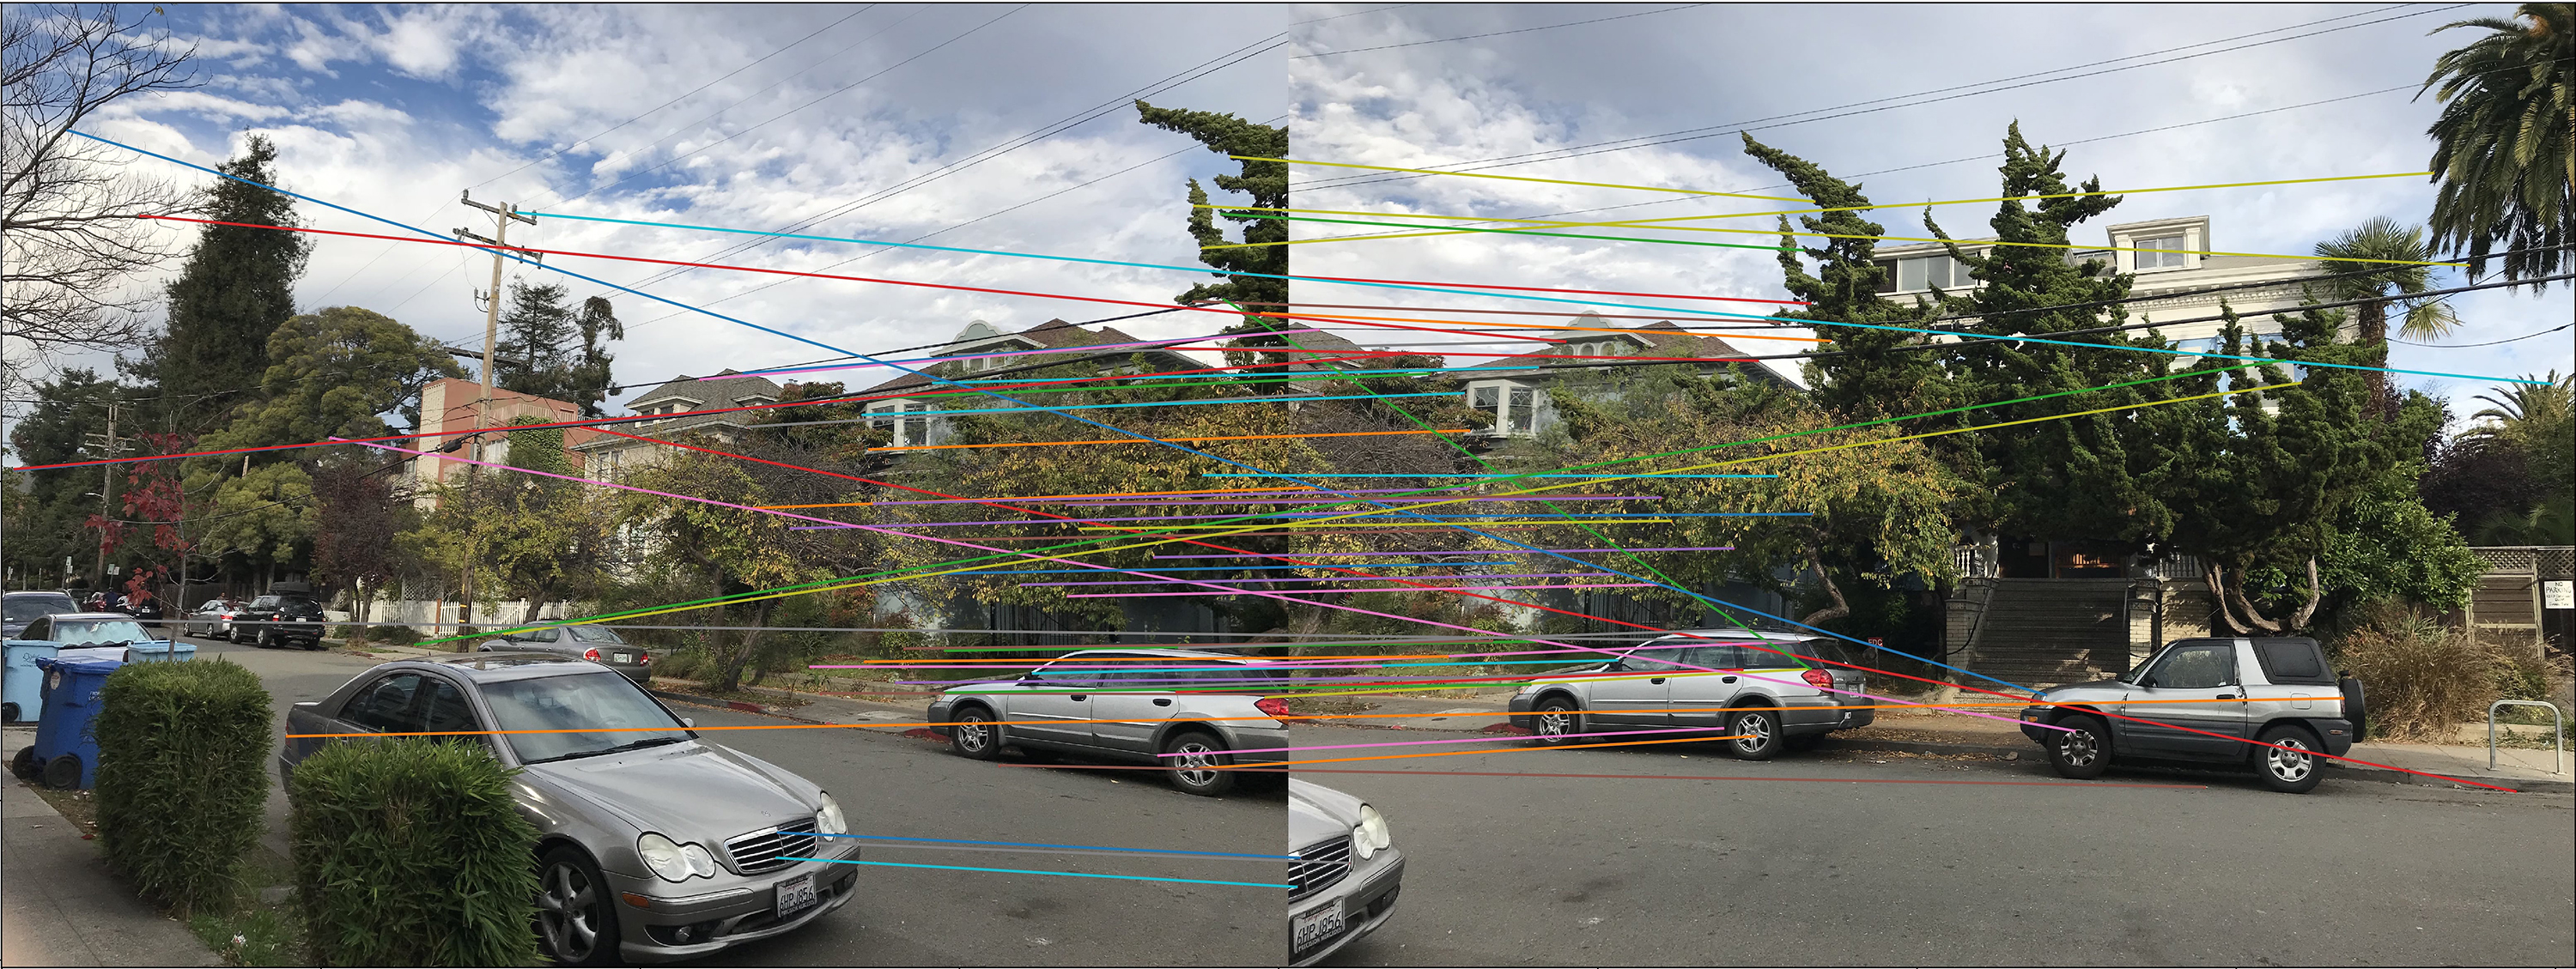
We select 4 ramdom pair of points from the points we selected in the previous part. Compute homography based on the 4 pairs. Project all feature points from one image to the other, and count the number of "inliers", whose distance from the projected location is less than sqrt(10) pixels. Then we repeat the random process 10000 times and select the biggest set of inliers.


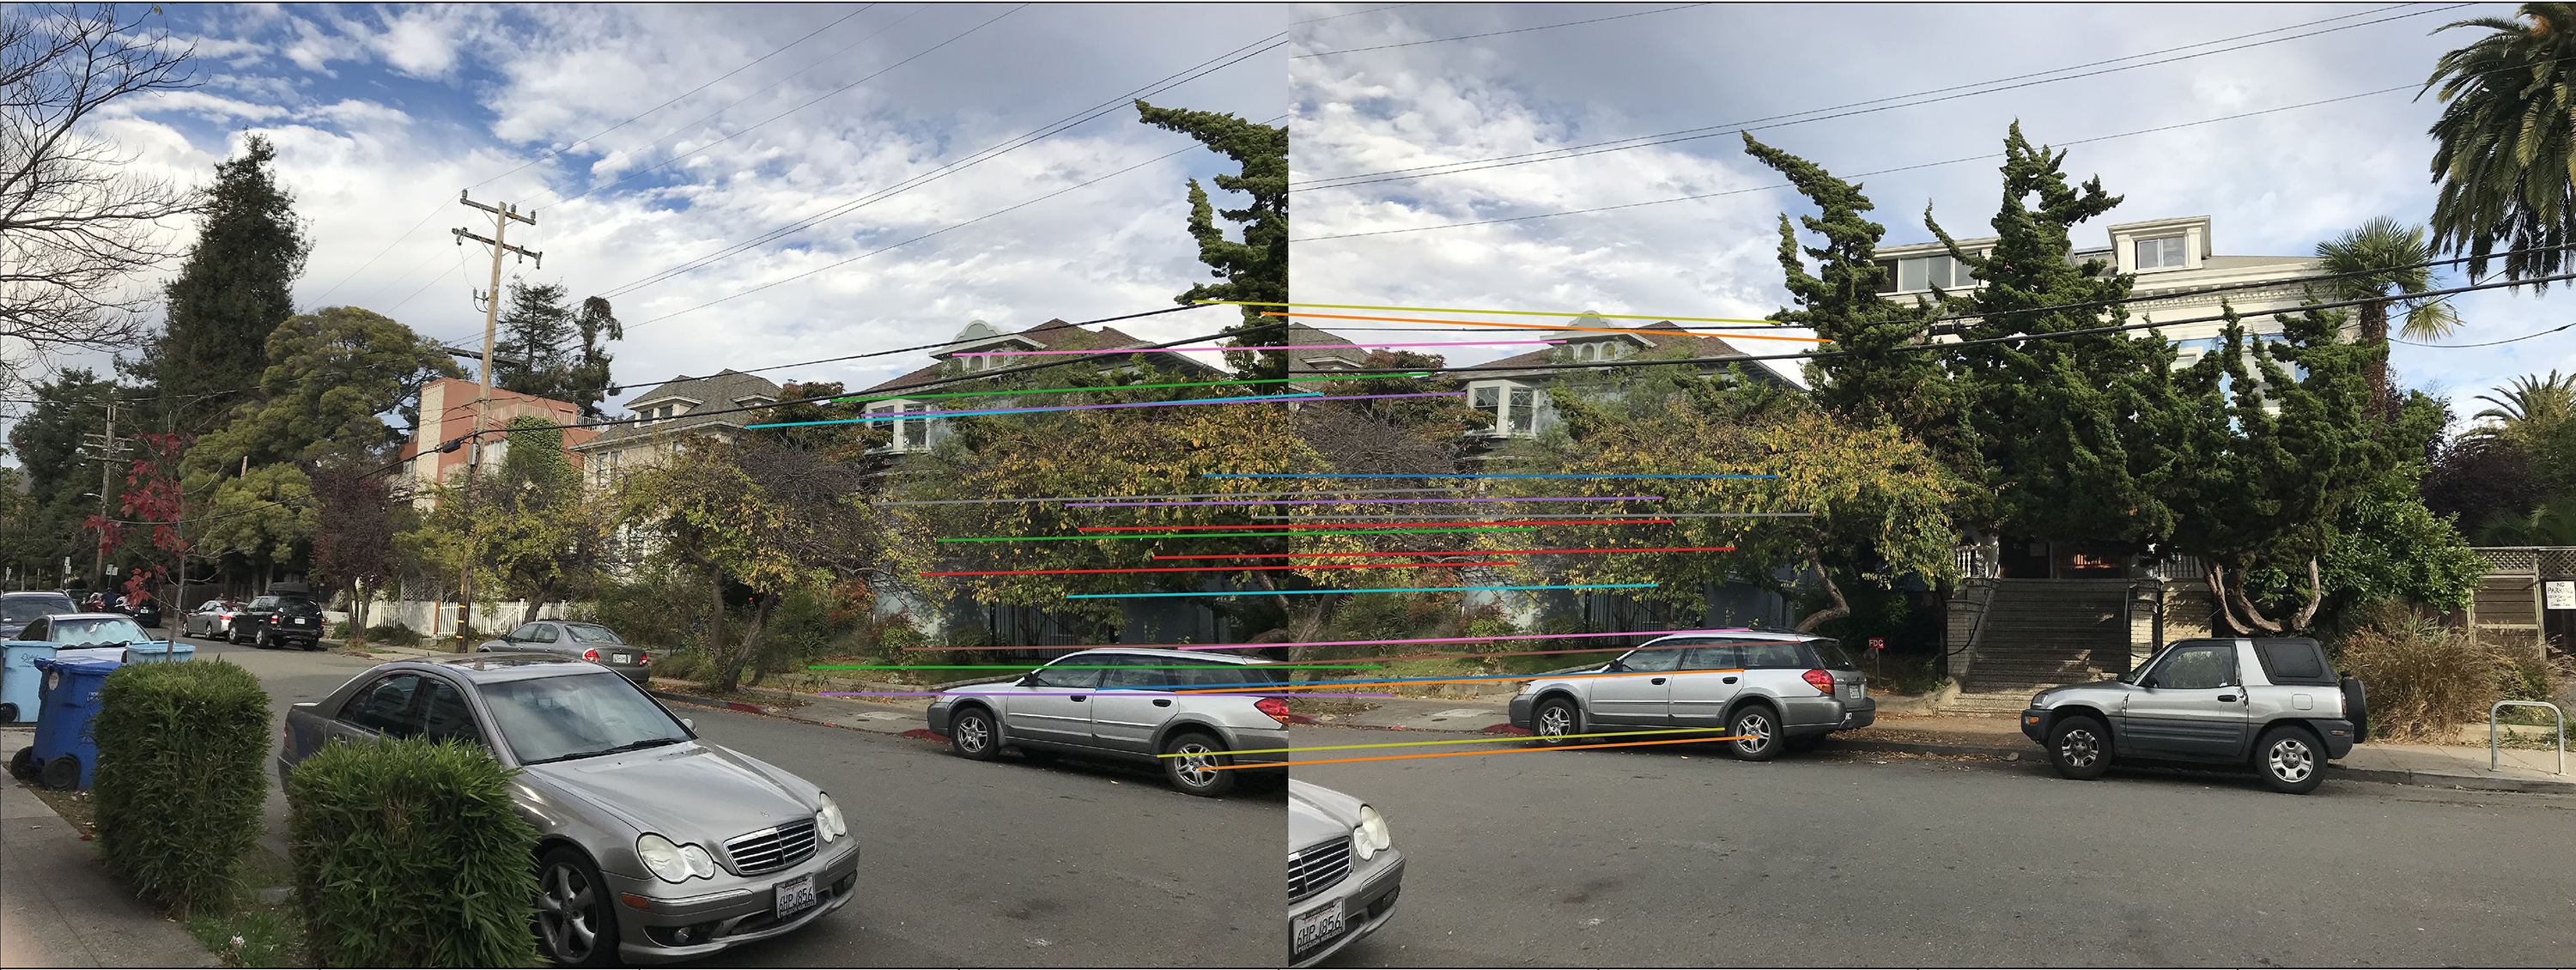
Then we rectify the images based on their homography, and blend together into panoramas.


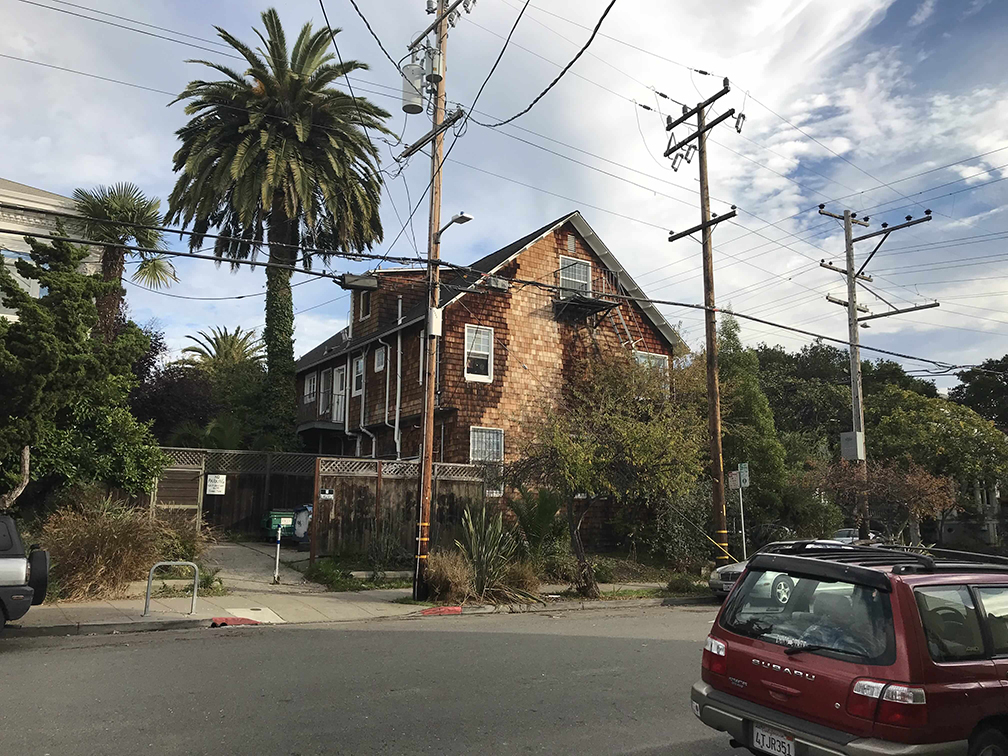
The middle and right images overlap too little. As a result, the correspondent points only cover a limited area, and cause extreme warping on the right image.
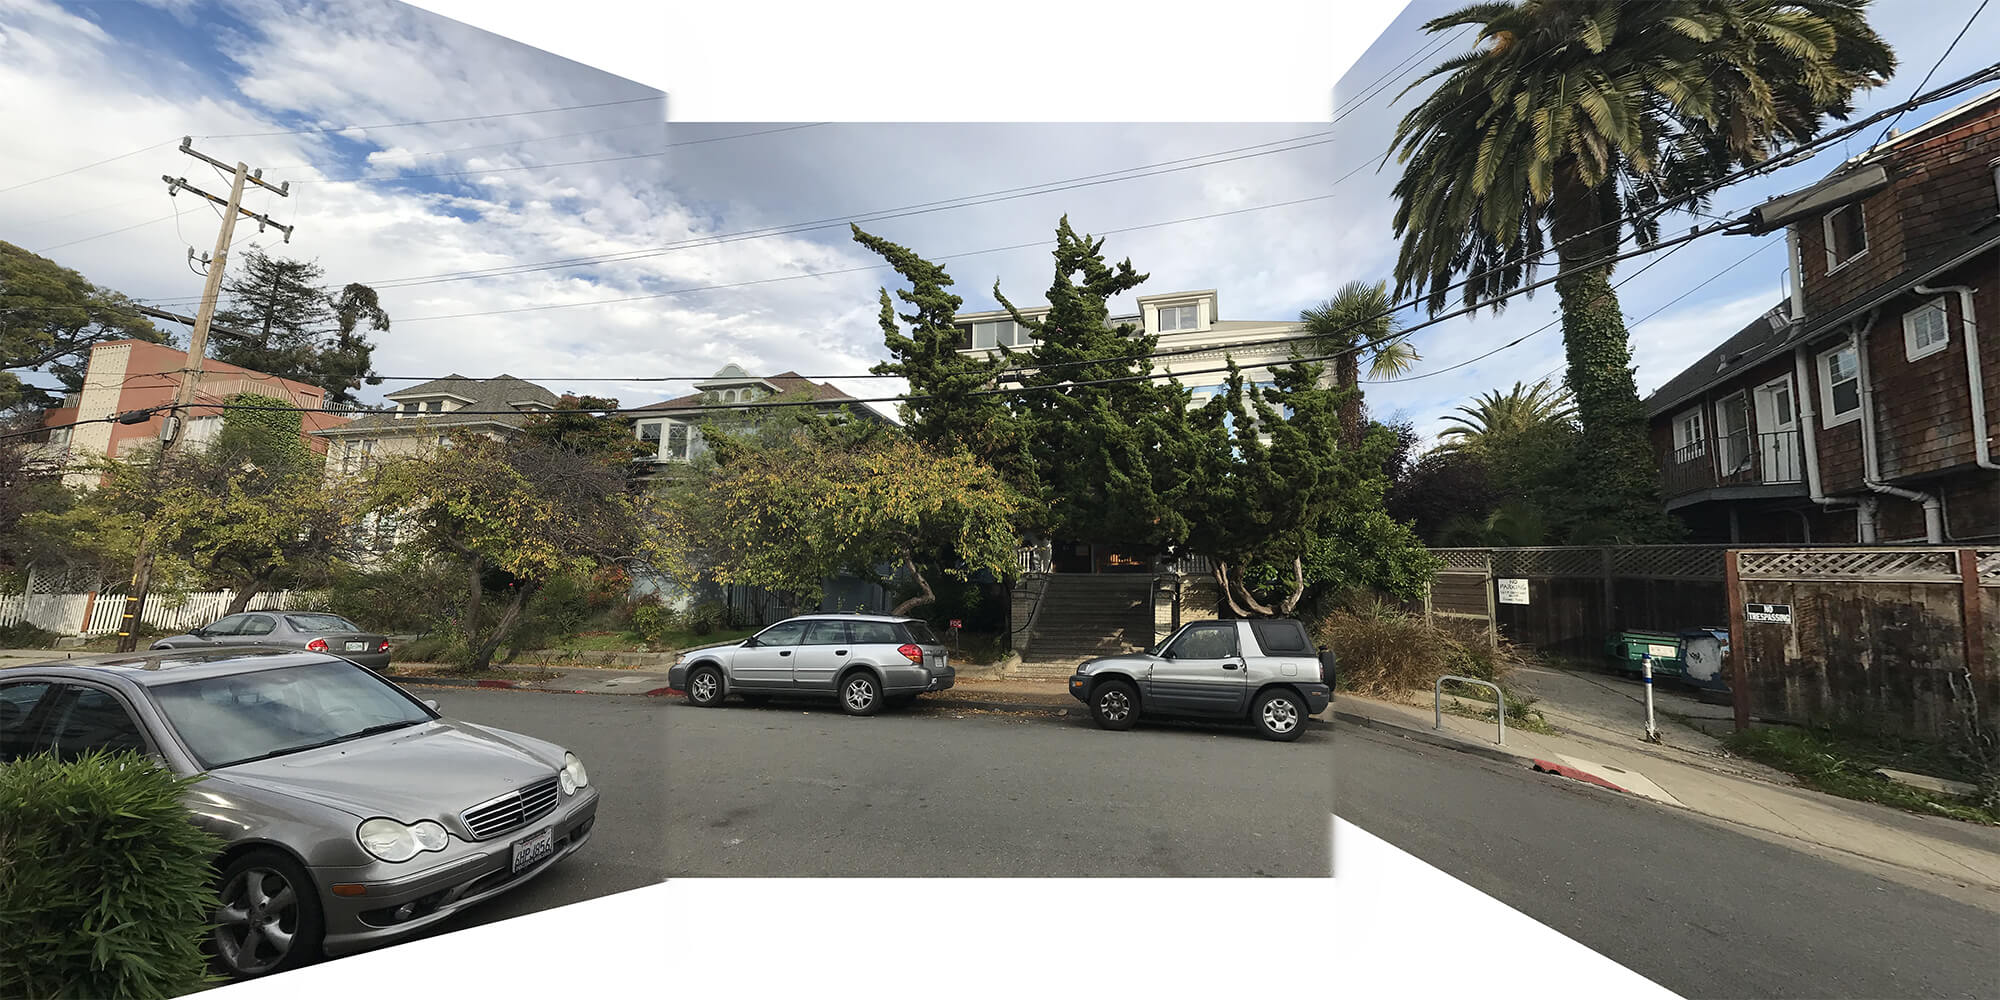
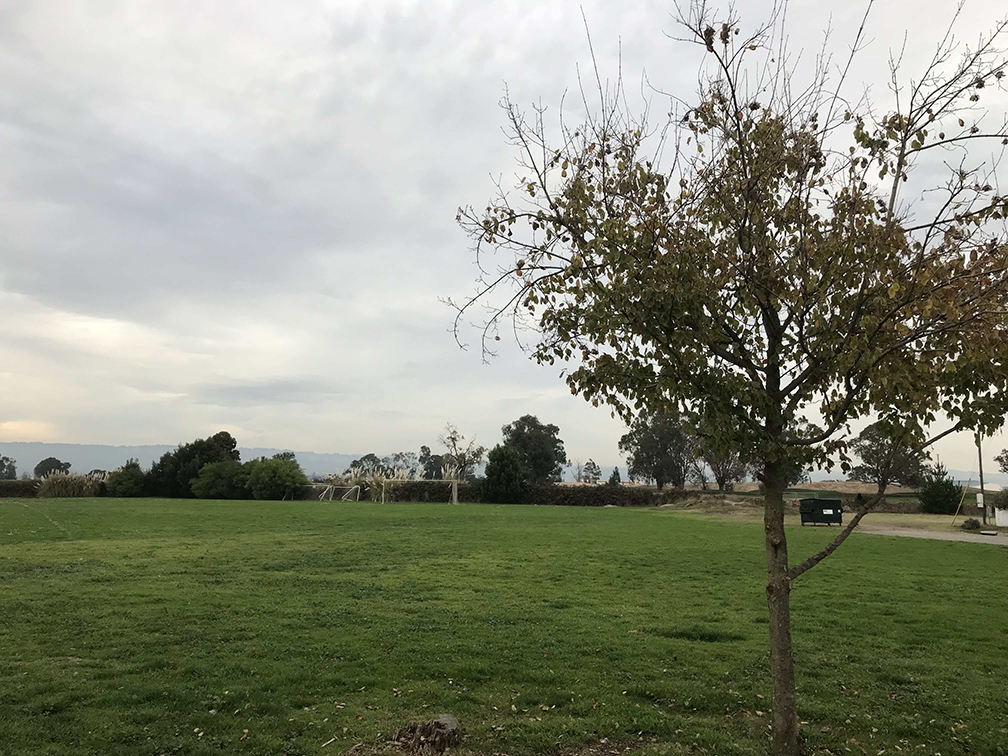

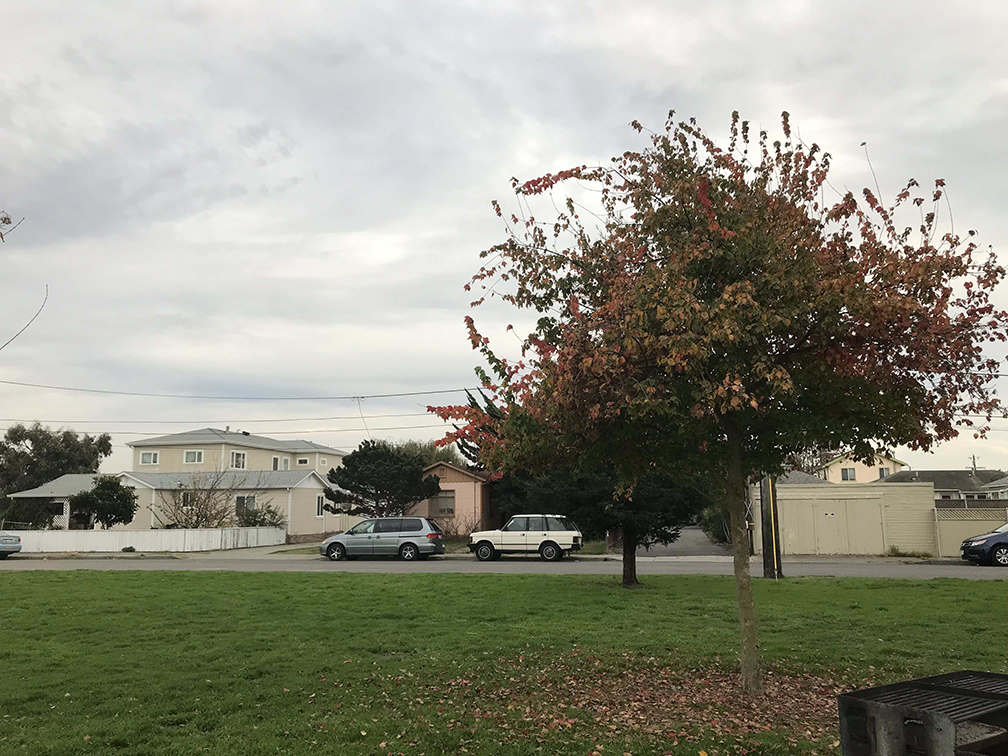
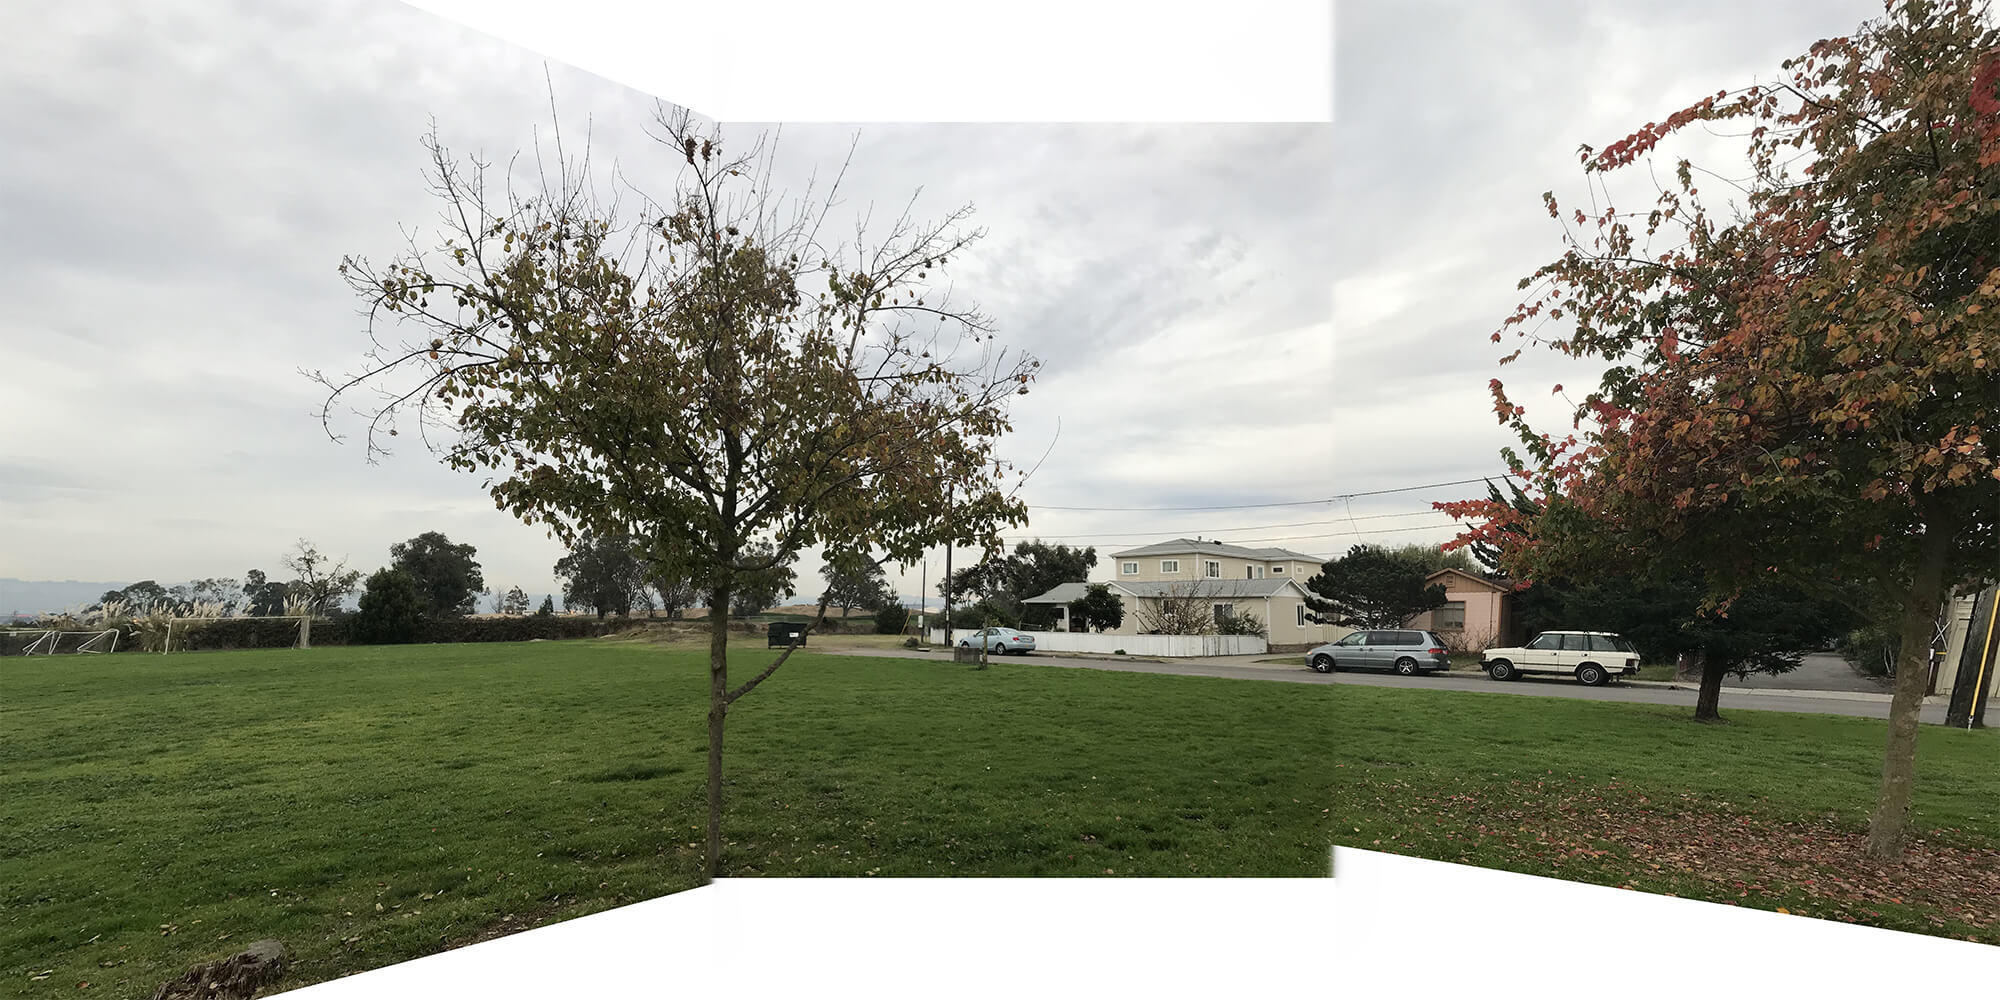
Between the middle and right images, the car was matched, but the cloud and the sky colors don't match well.
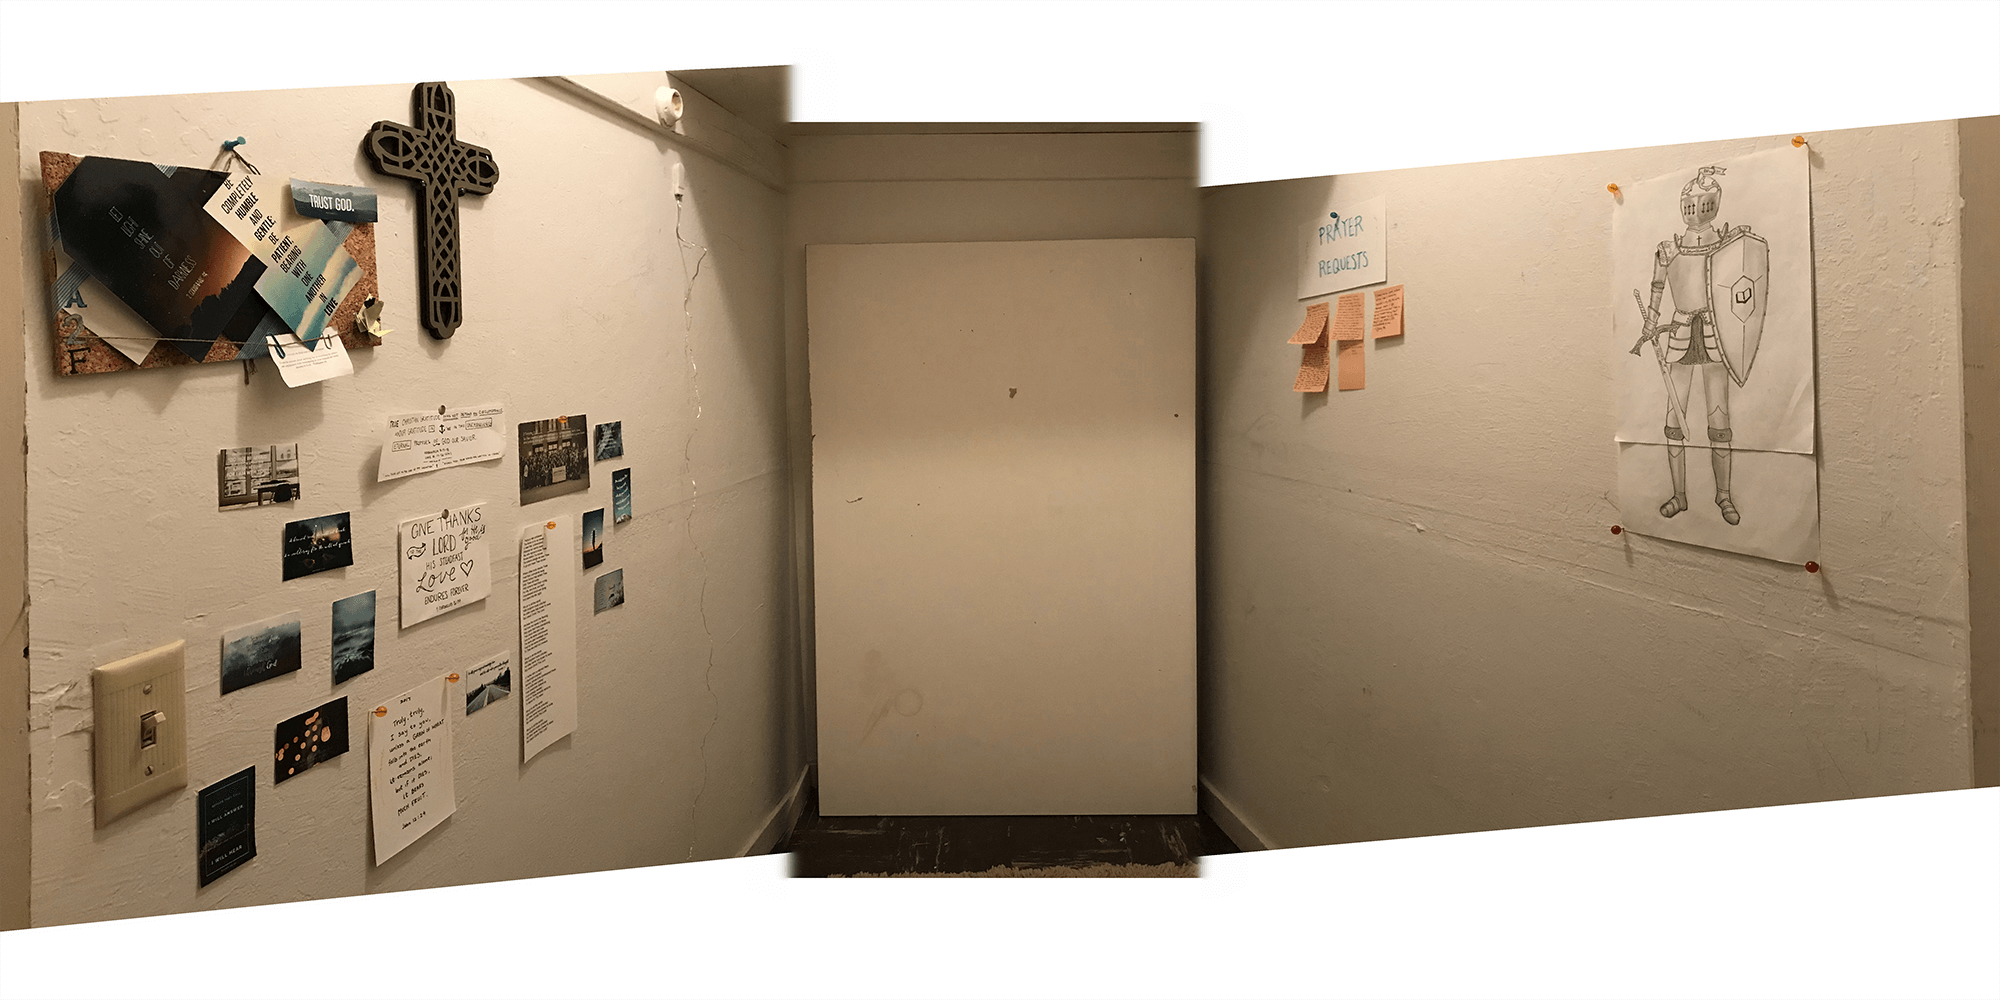
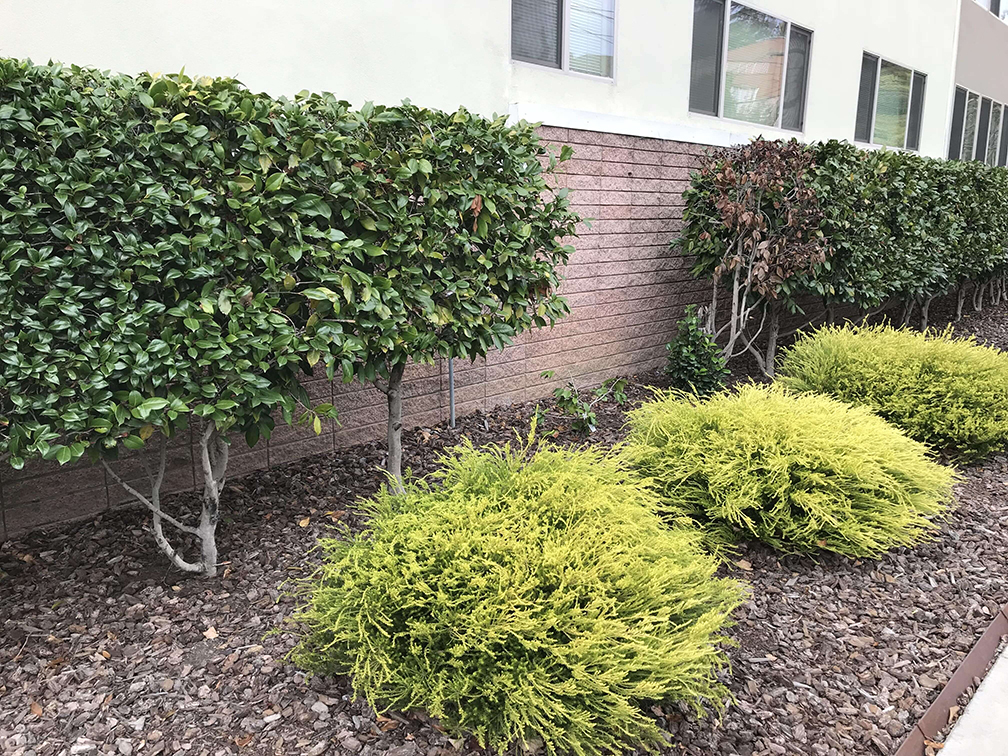
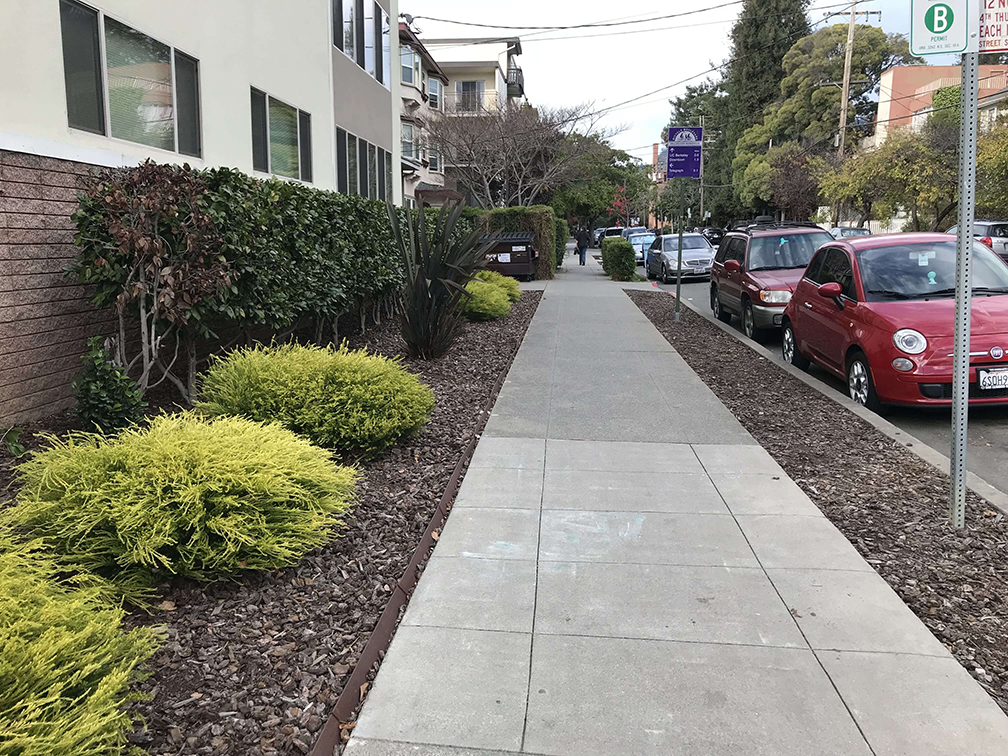
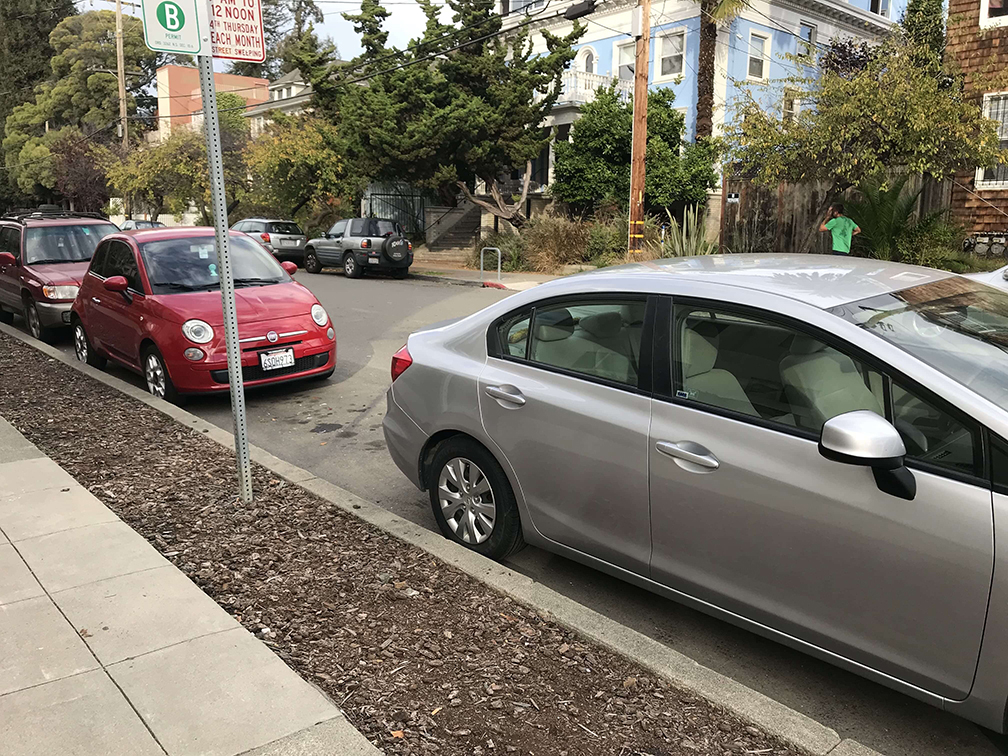
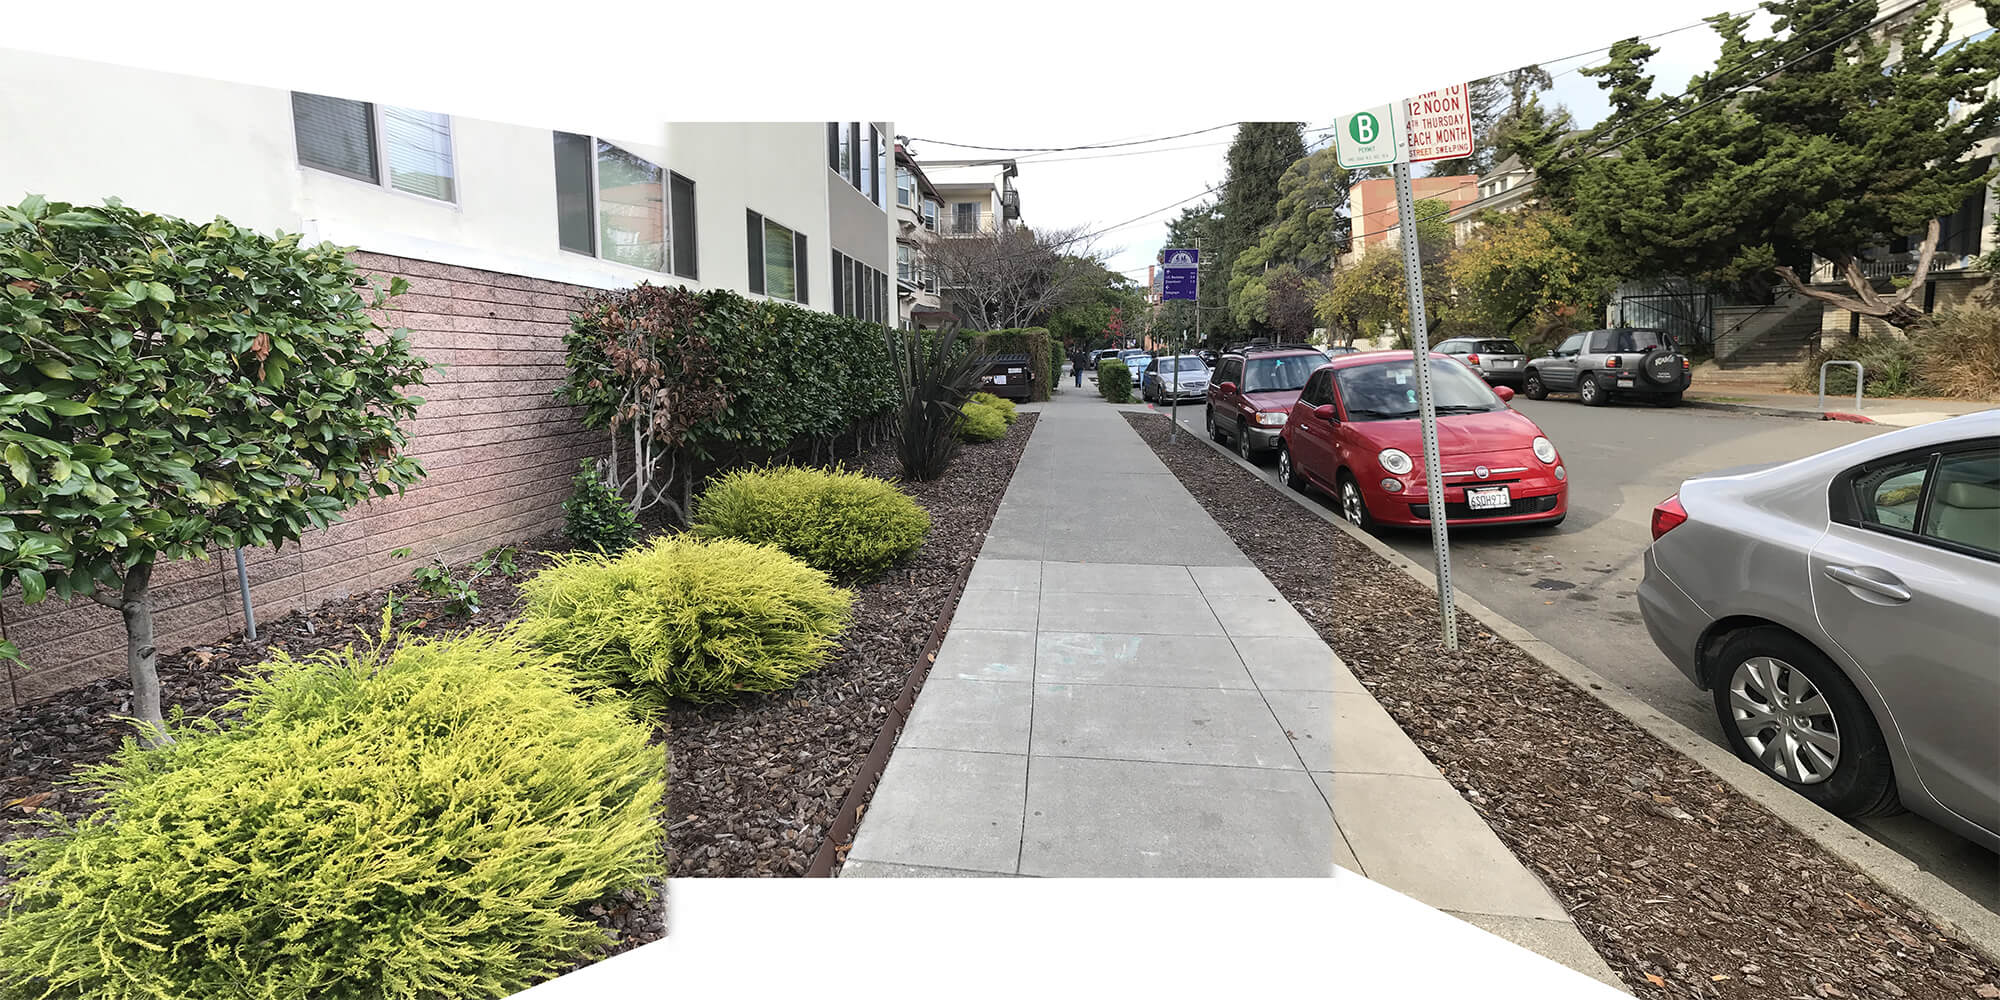
Above picture is Manual
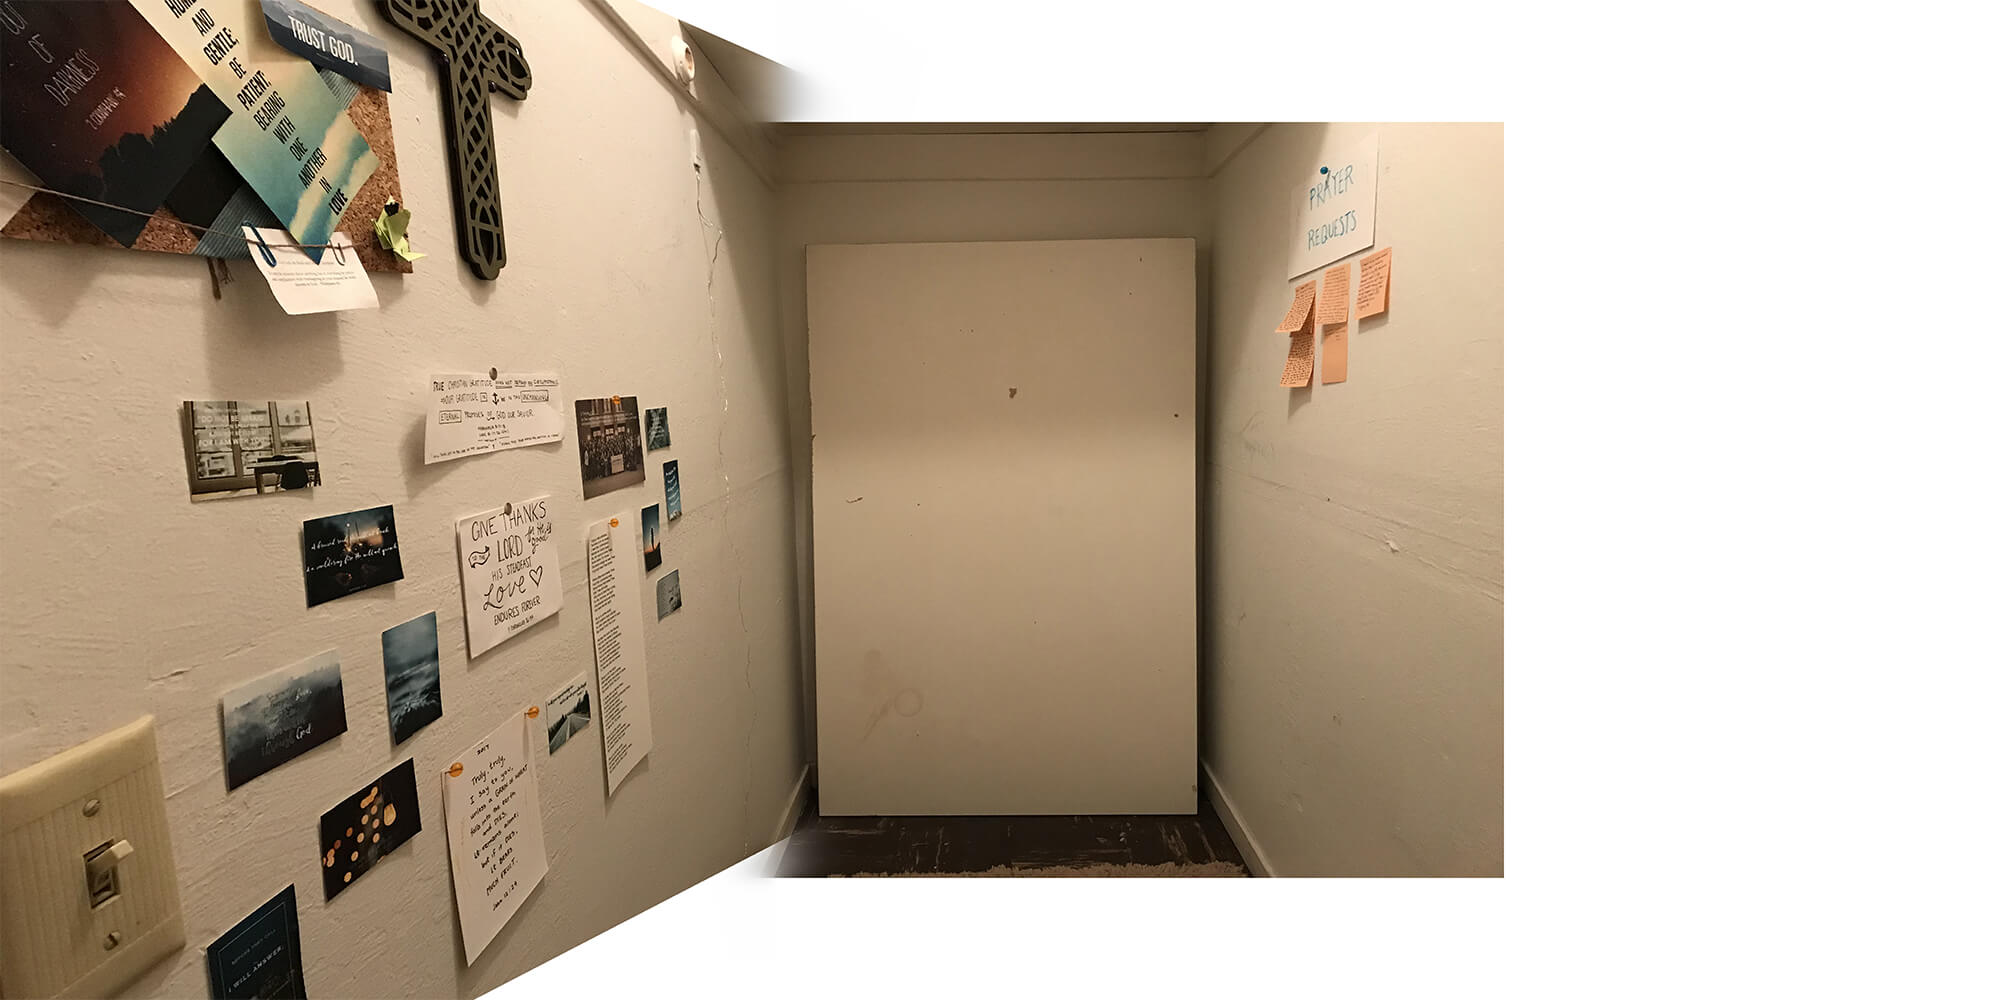
Above picture is Automatic (the right wall doesn't align well because the feature vectors found by Harris corner detection was not very good.)
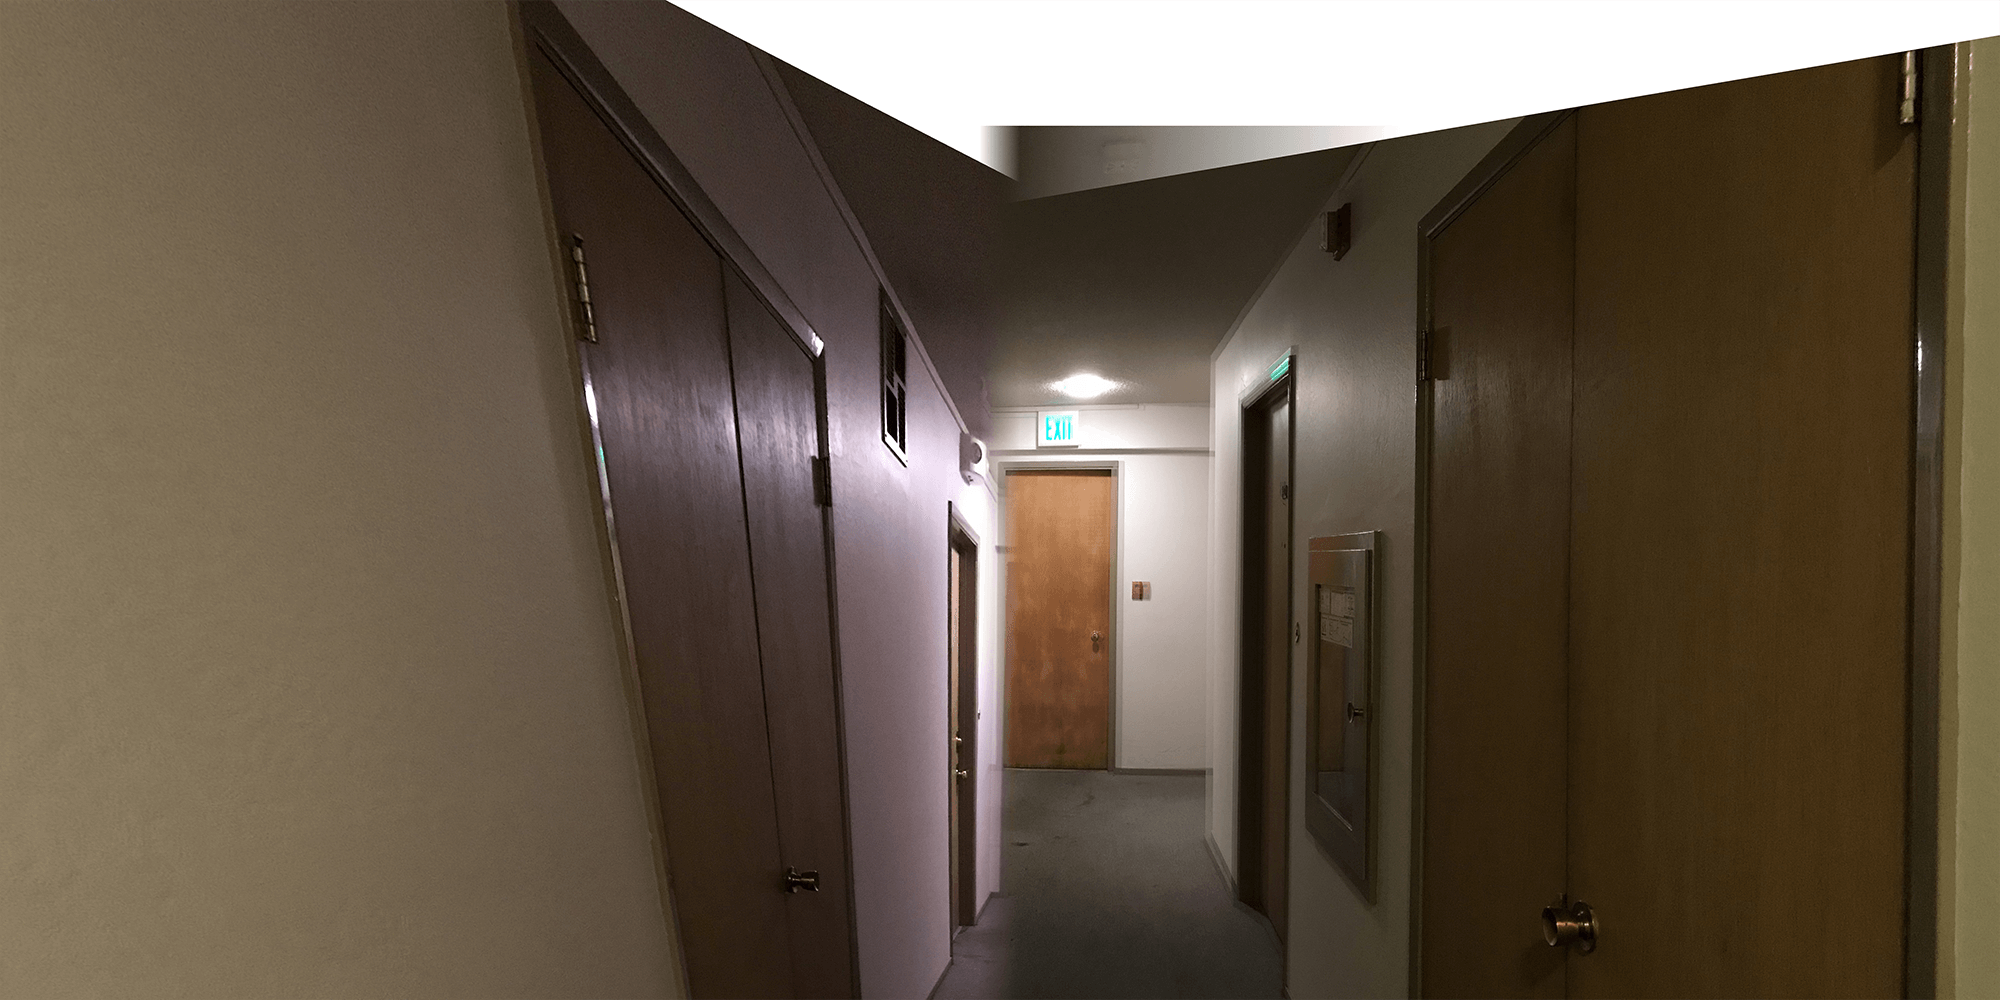
Above picture is Manual
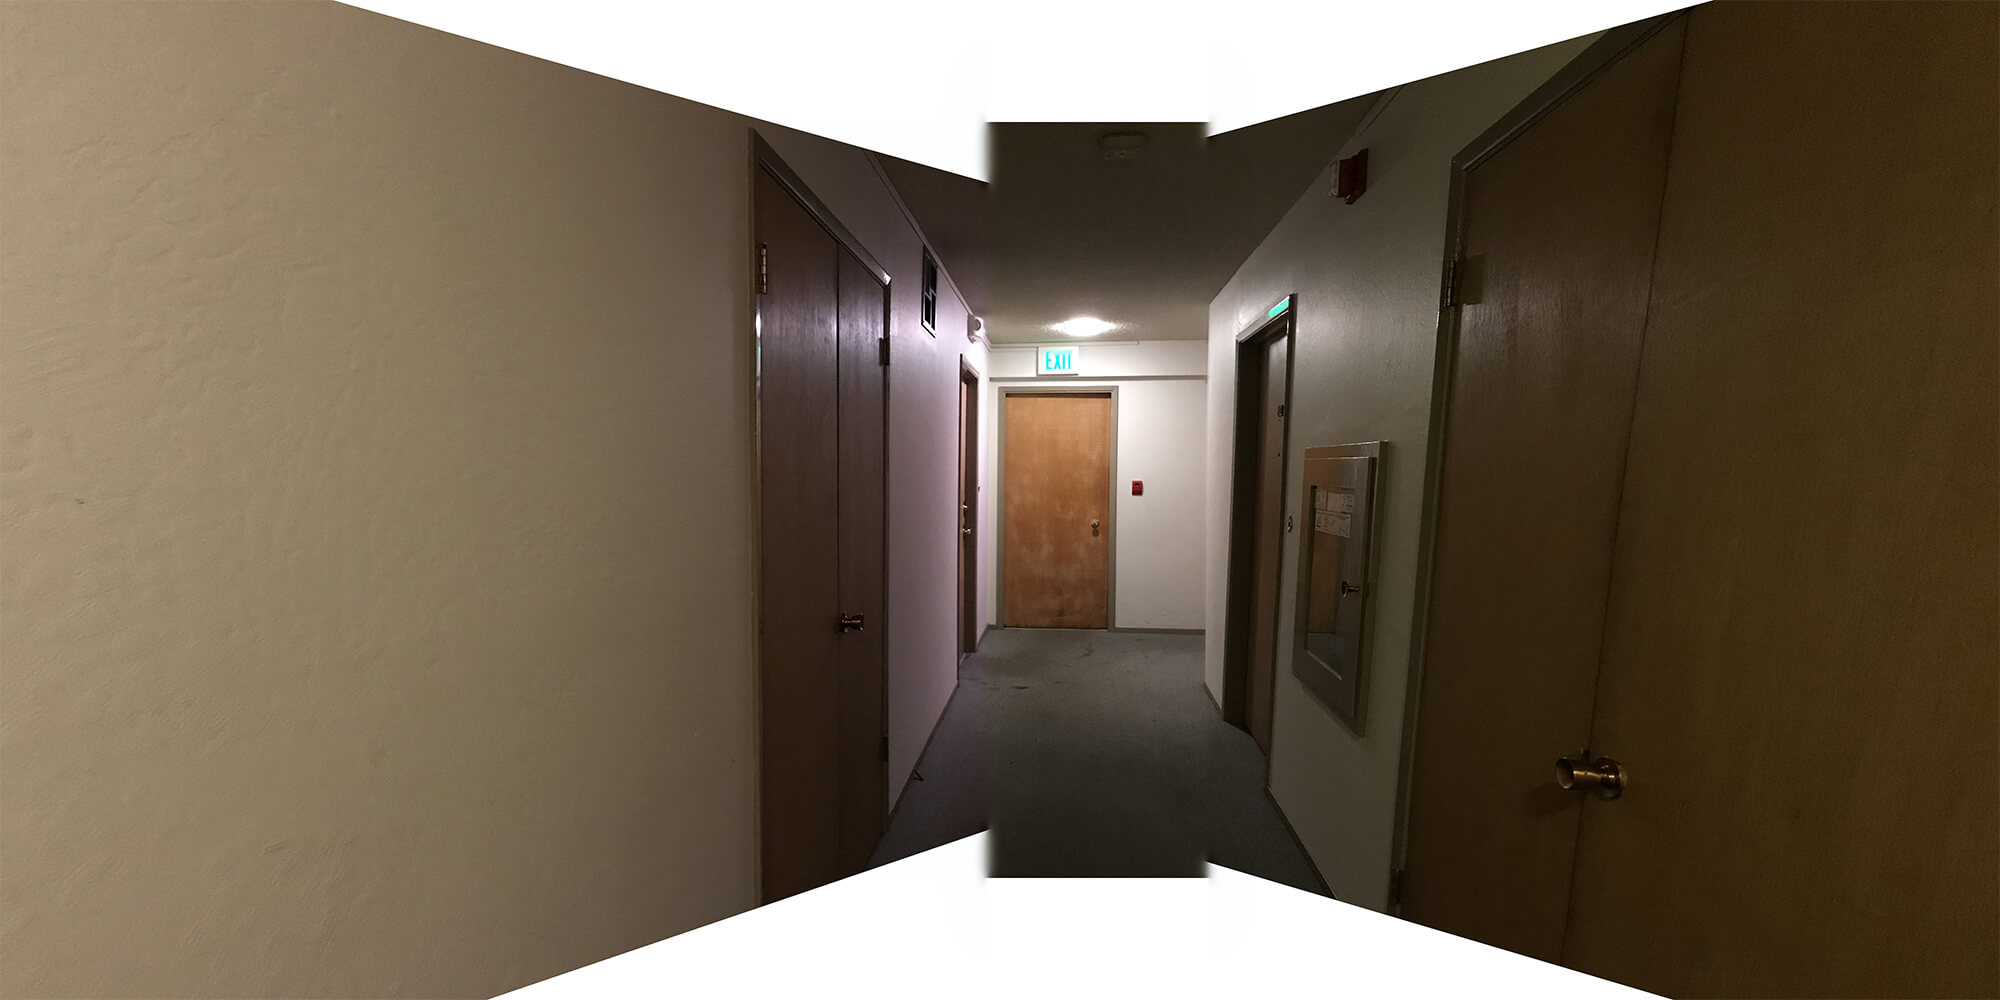
Above picture is Automatic
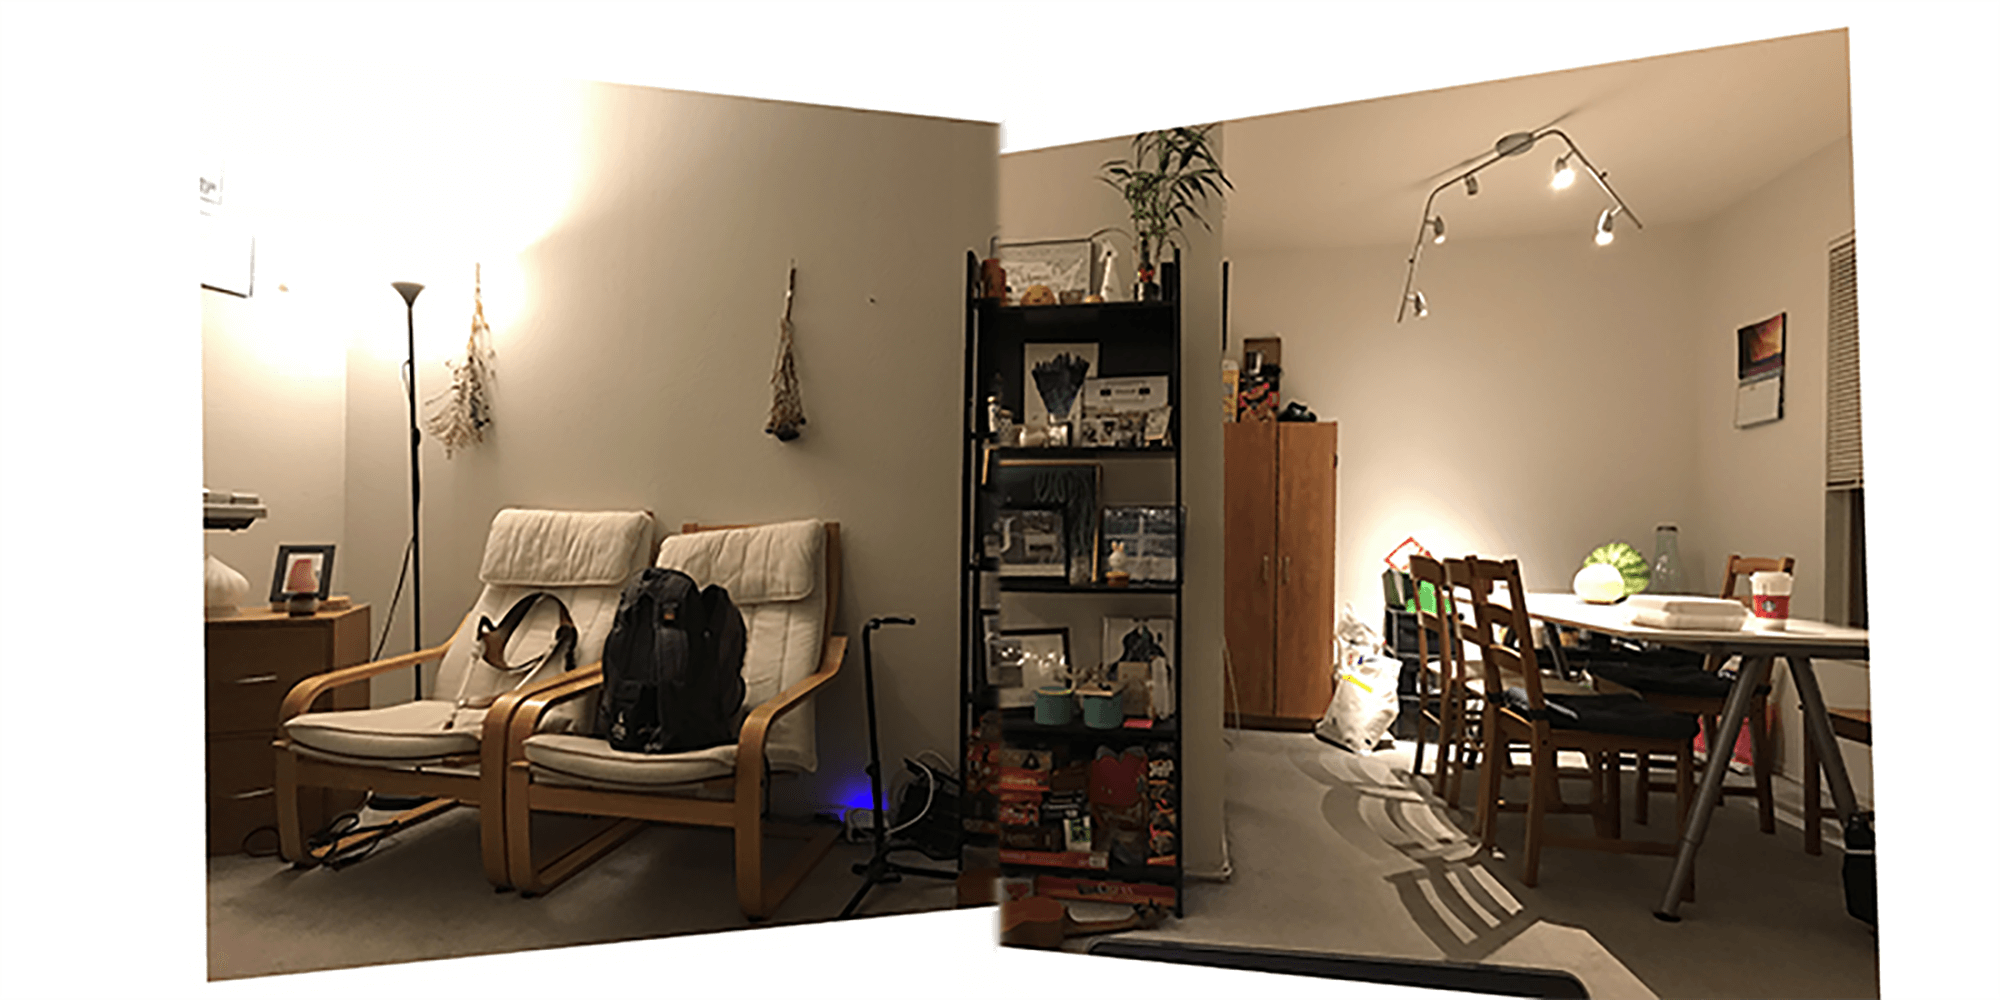
Above picture is Manual (border line is in the middle)

Above picture is Automatic (the color was off because blending sigma for Gaussian blur was not big enough. also the border line on the left was not well chosen. the shelf was aligned perfectly, but not the chairs.)
One thing I learned was the importance of well spread-ness of correspondent points. Even though my correspondent points match perfectly, the homography could be off because it only matched a restricted area, and missed some other big elements in the images.