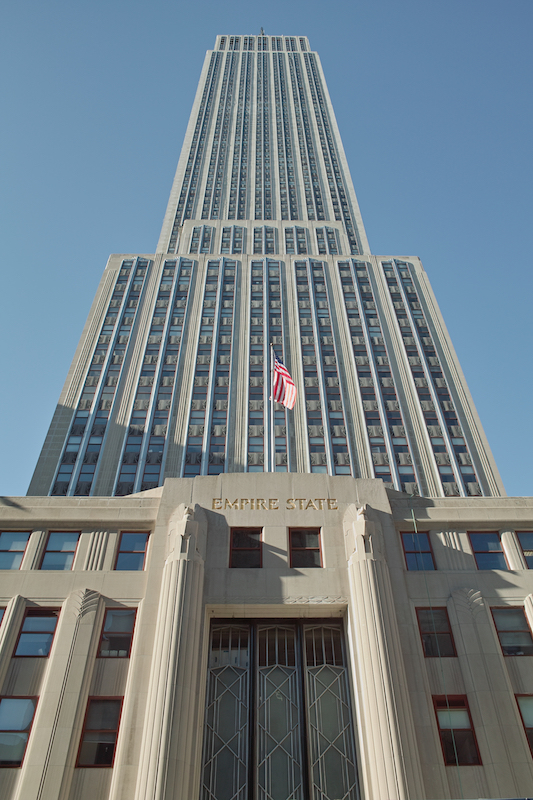
Original Empire State
This project involved shooting pictures and computing homographies to find the transformation so that we can either warp single images in specific directions and perspectives or create a mosaic out of multiple overlapping images, essentially stitching together a panorama.
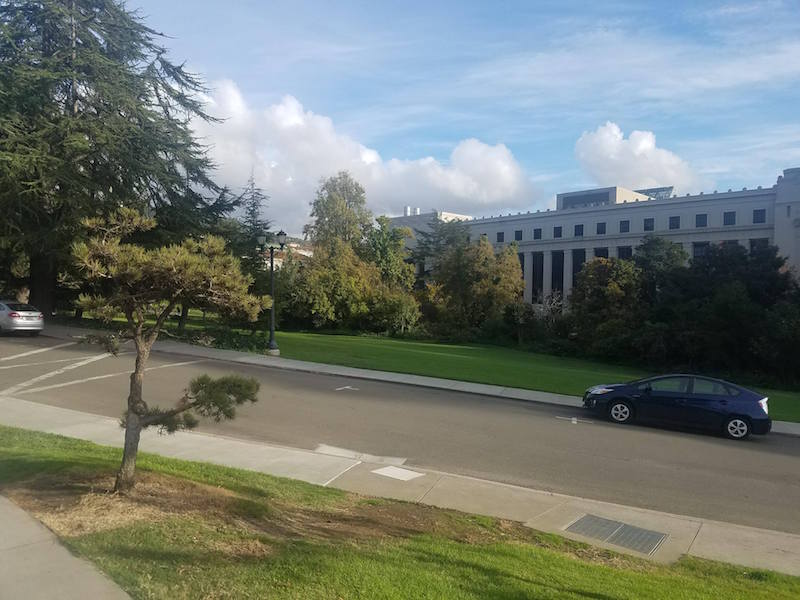
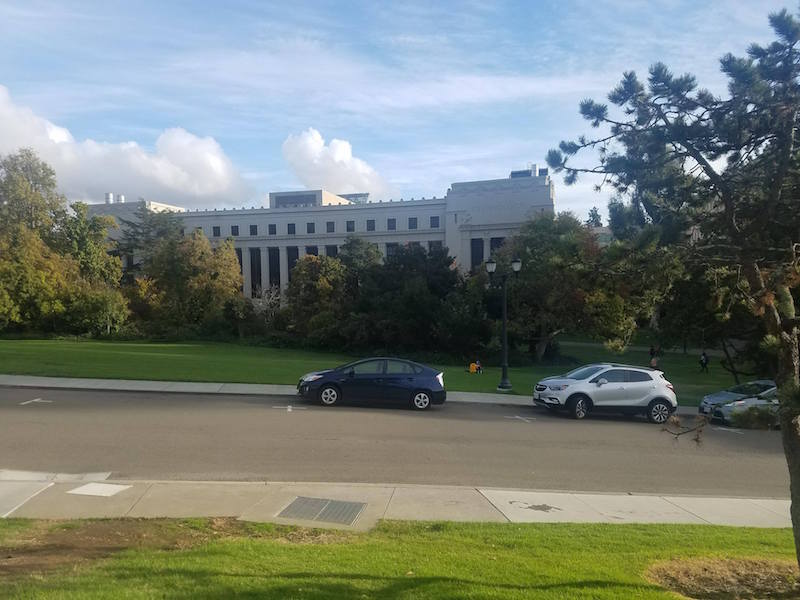
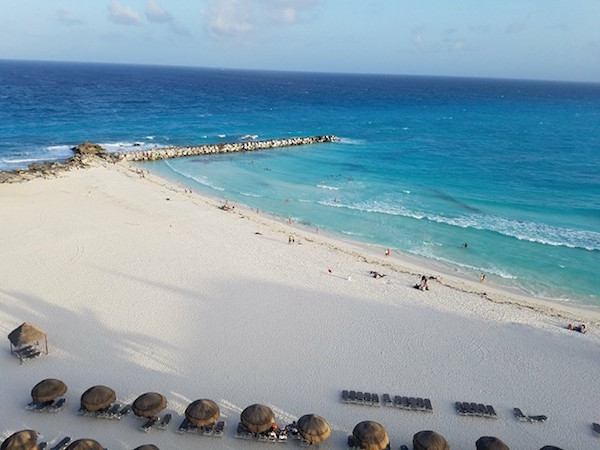
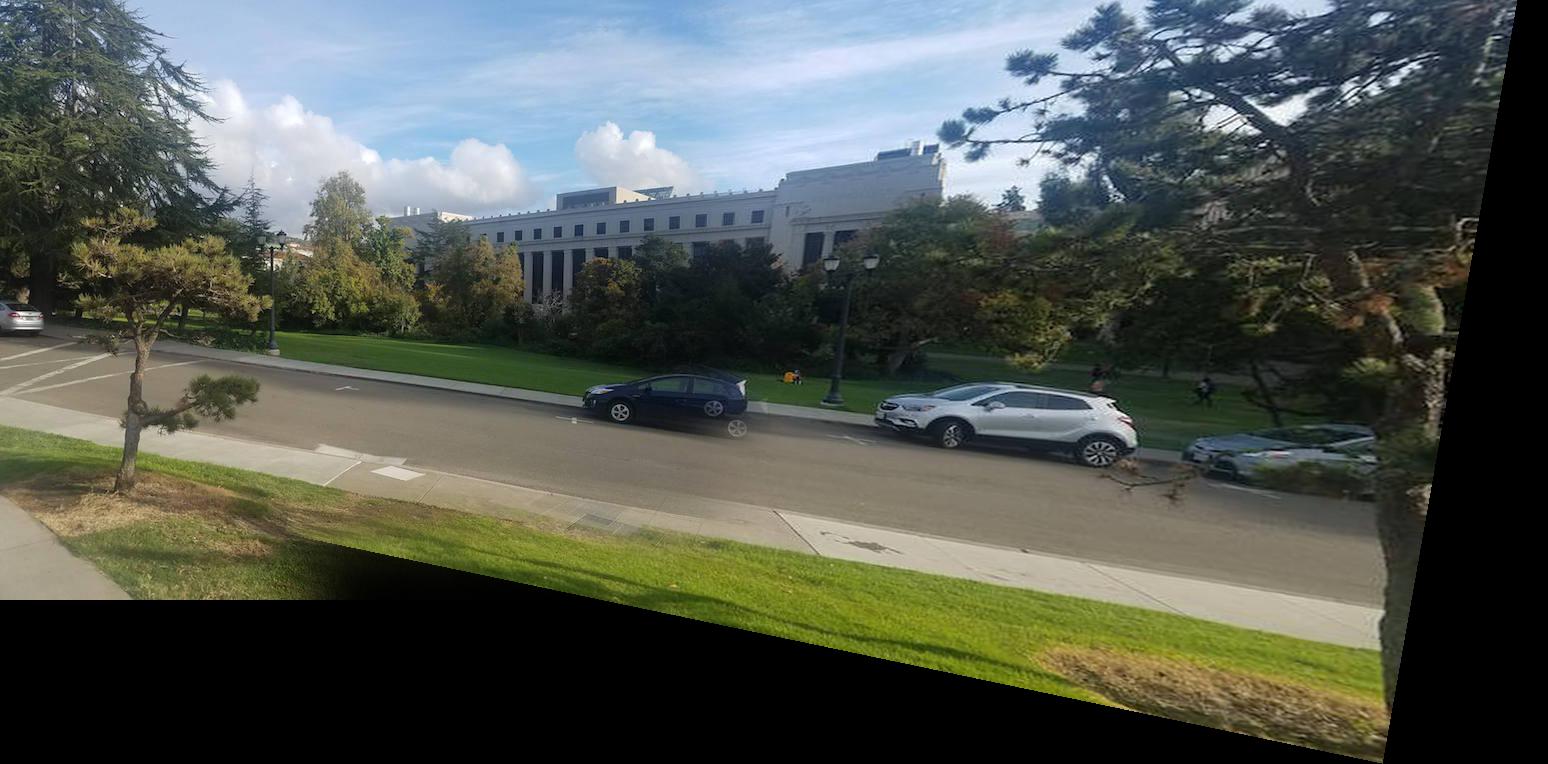
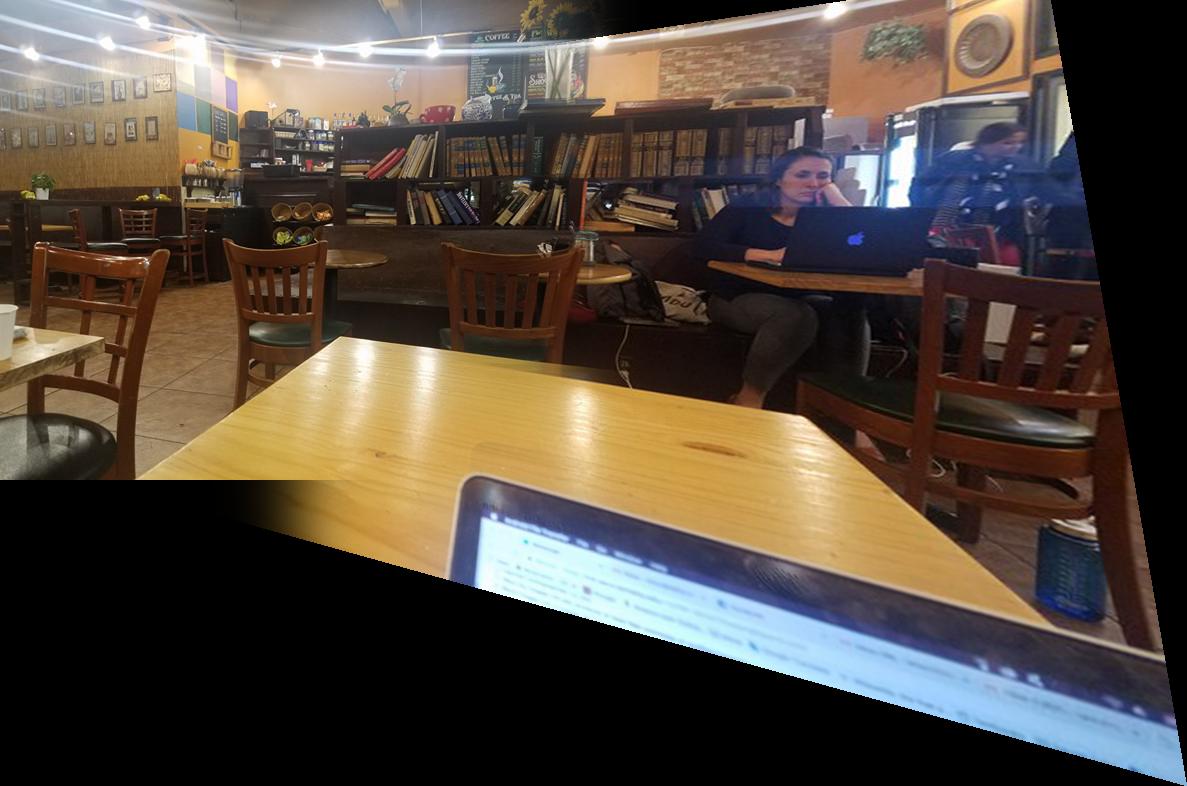
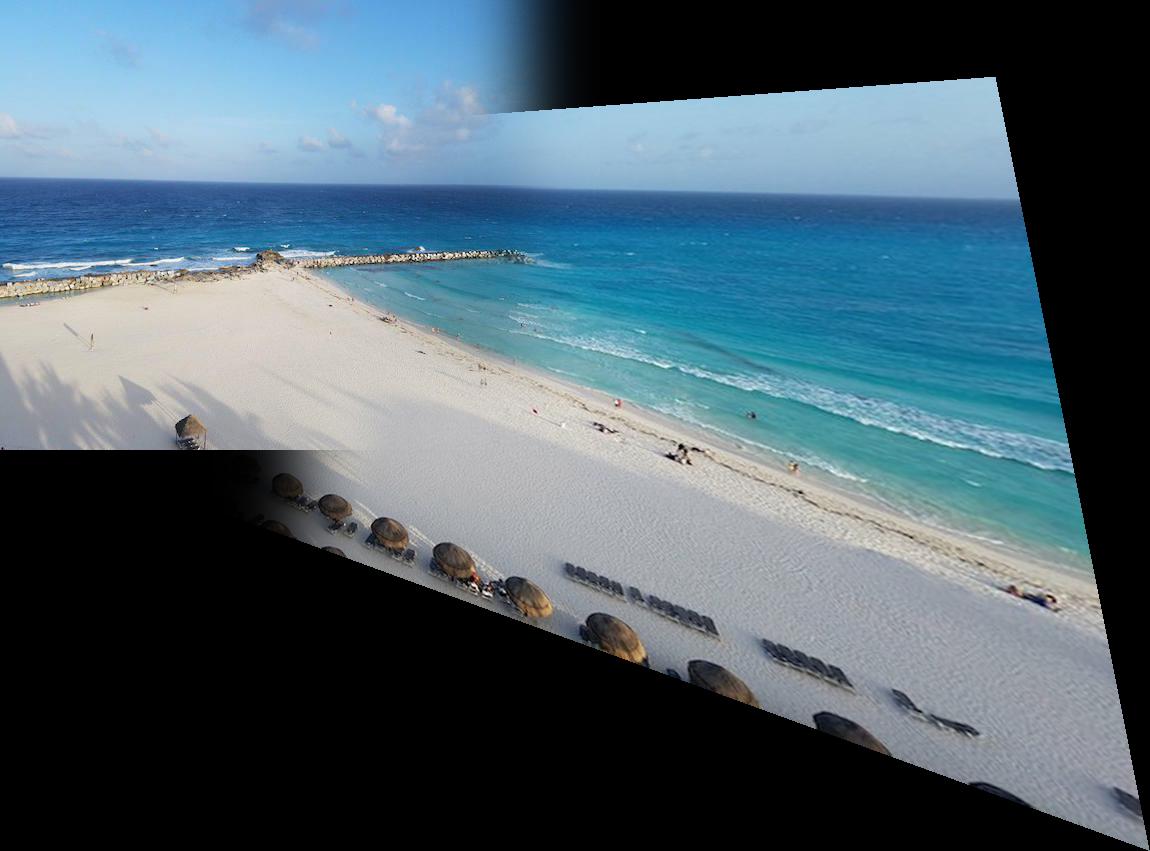
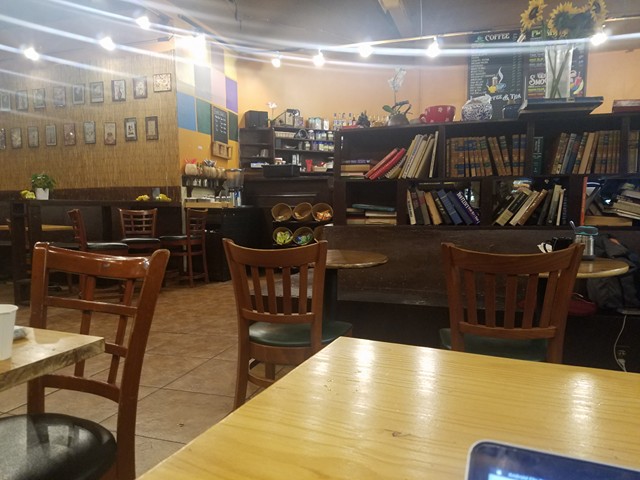
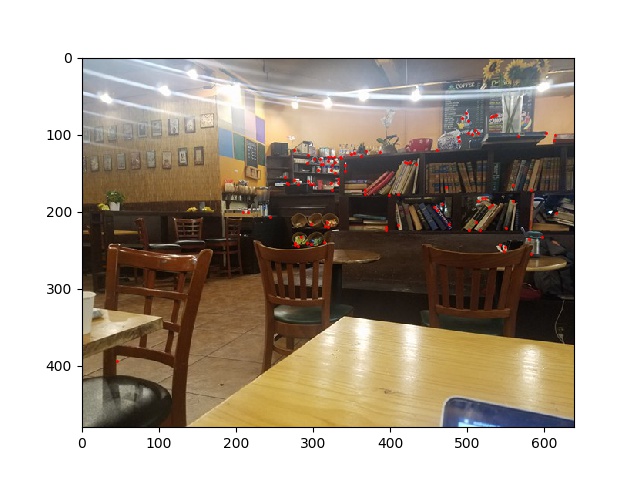
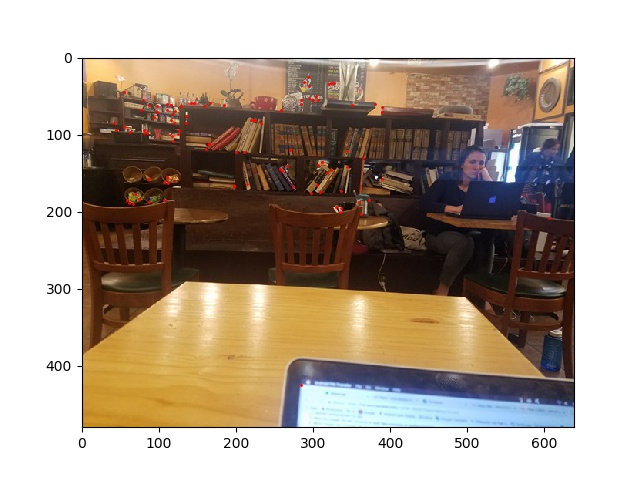
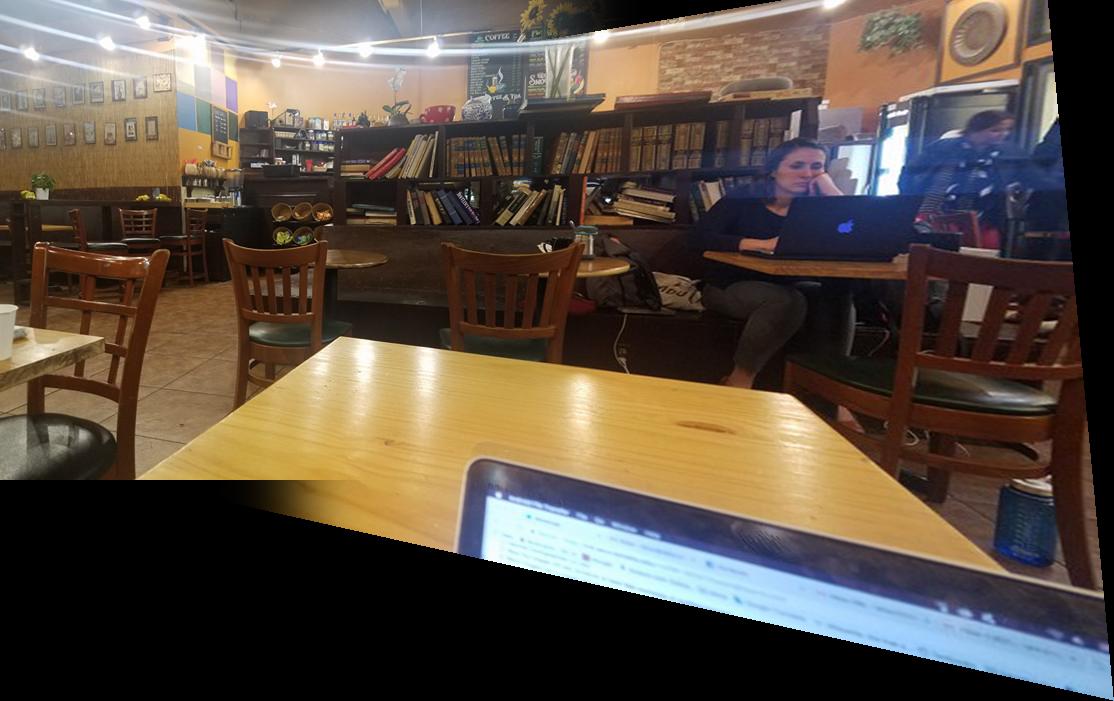
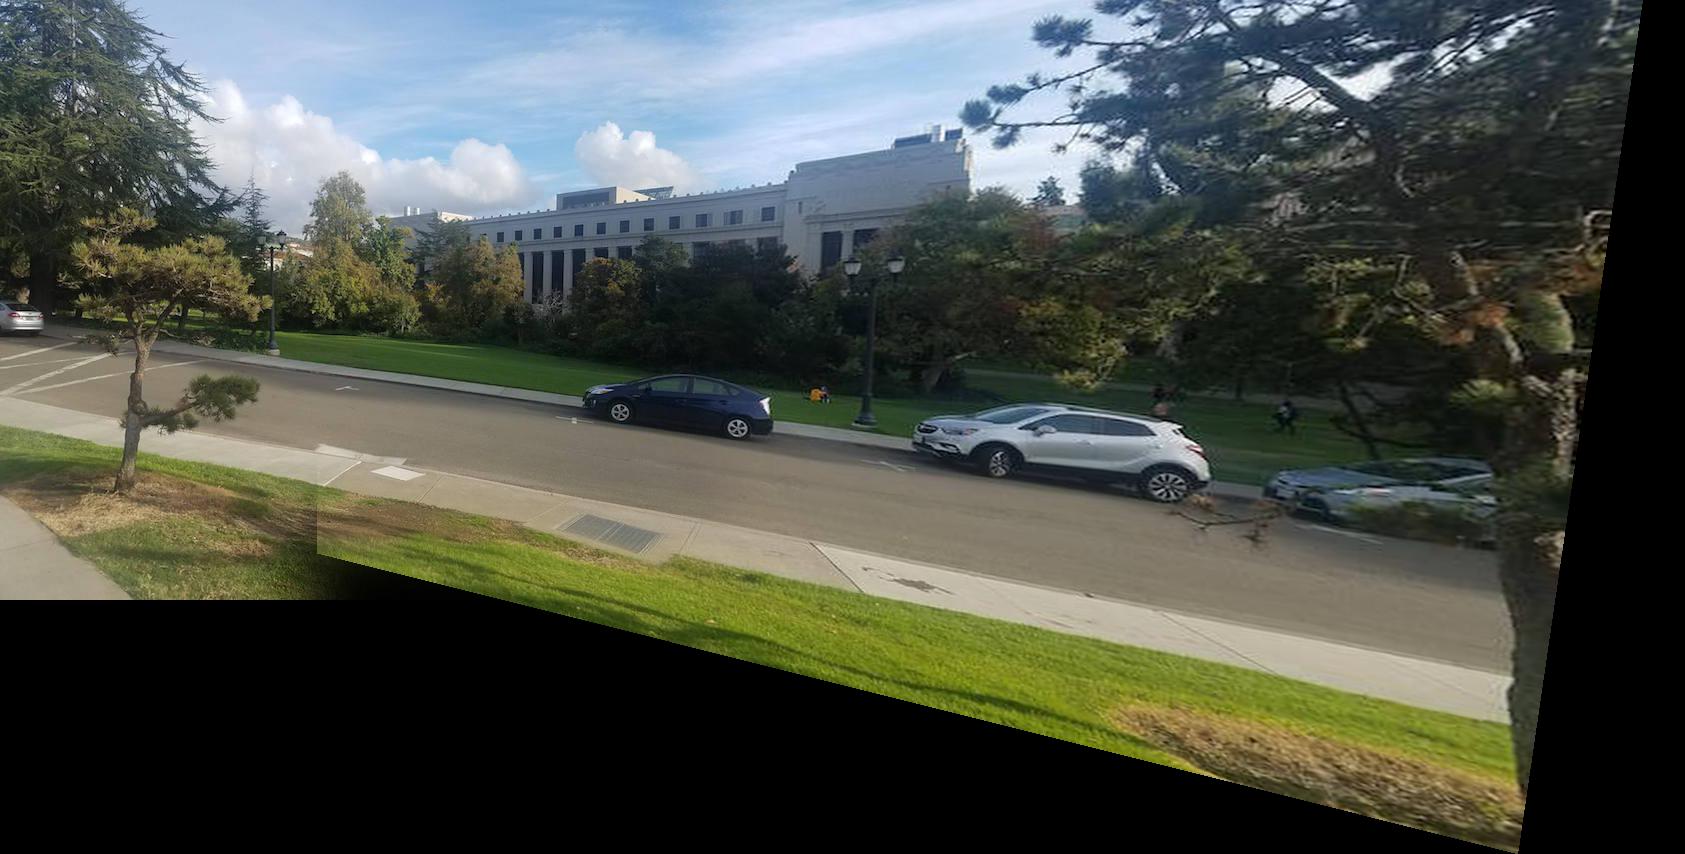
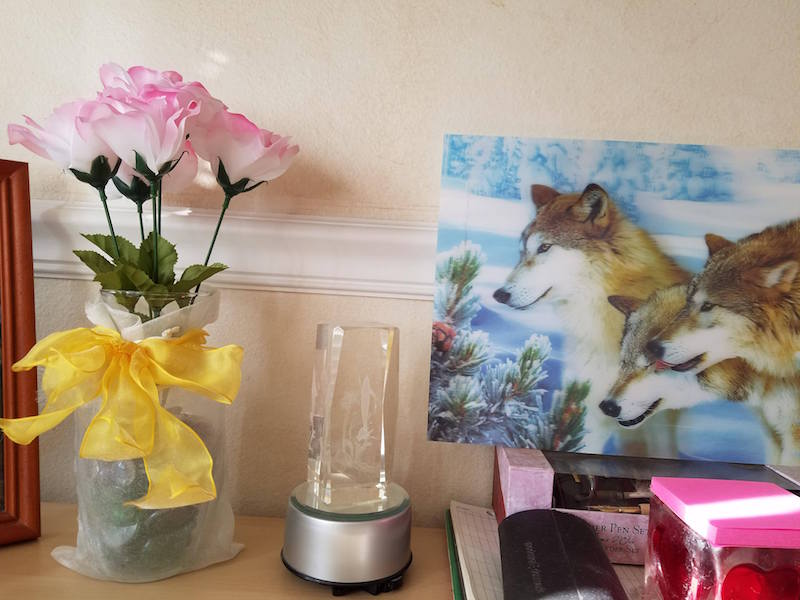
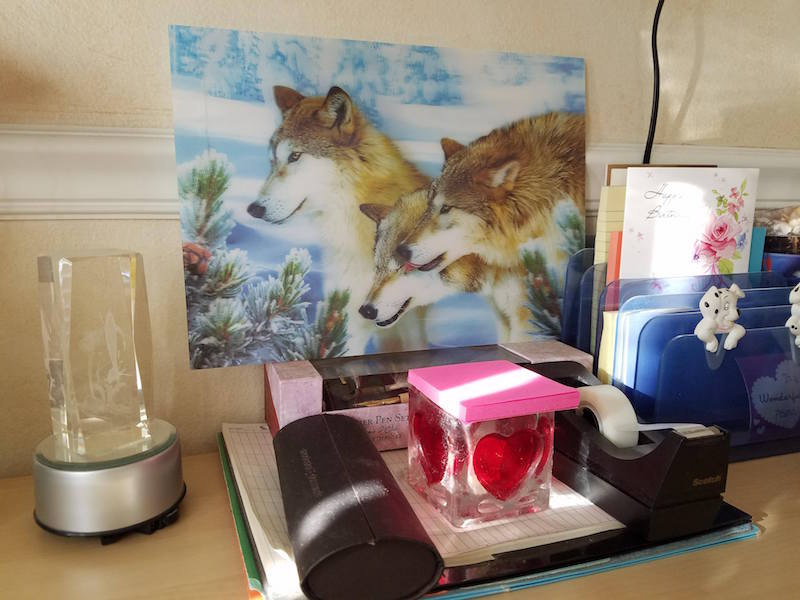
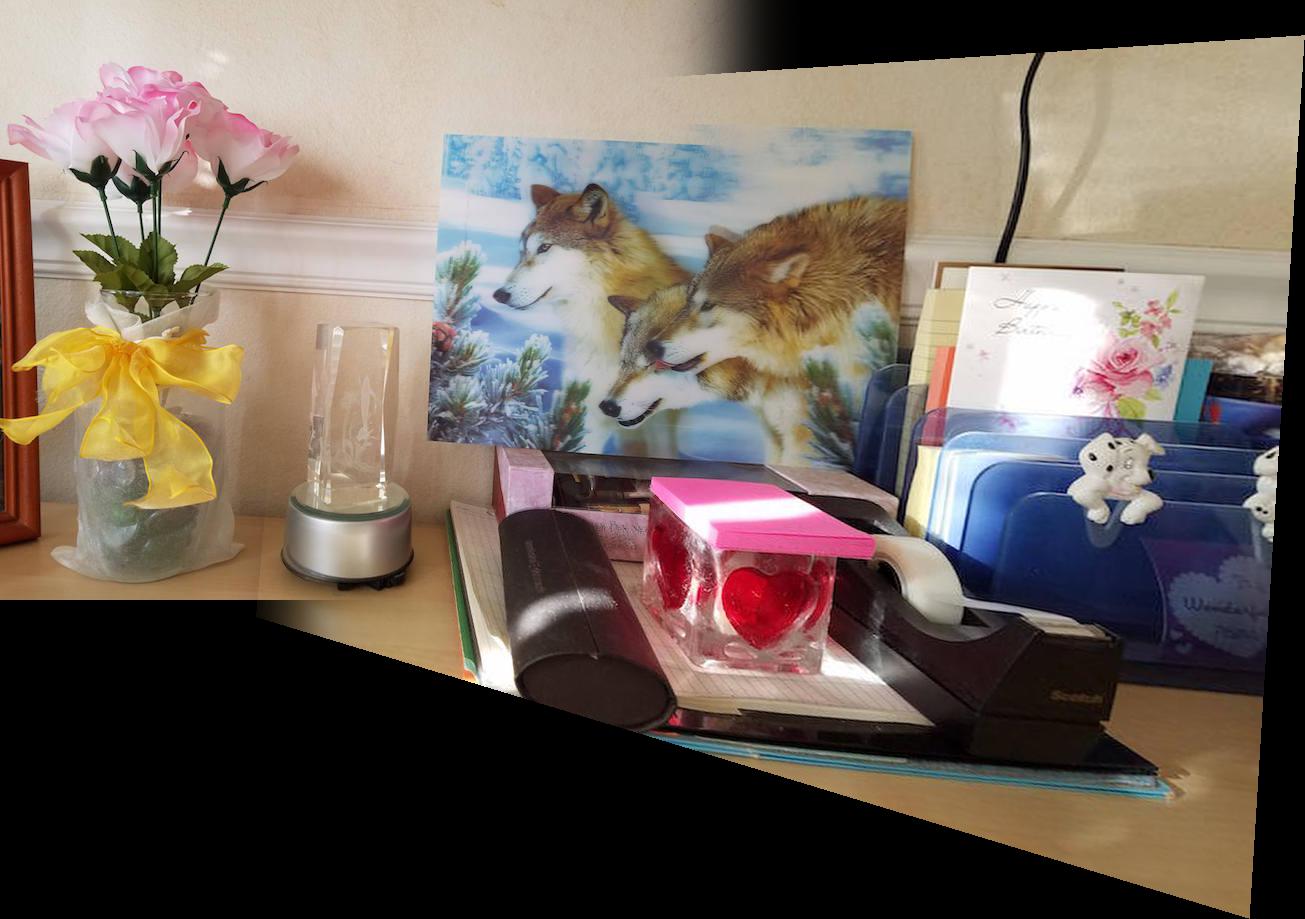
In shooting and choosing the pictures, I tried to select images that overlapped a lot so they would likely look better and tried to not vary the angle too much. The pictures I used for the mosaics are taken in a cafe on campus, of VLSB, and taken from a previous trip to Cancun


To solve for the homographies, we can define point correspondences for each of the pictures and use this equation
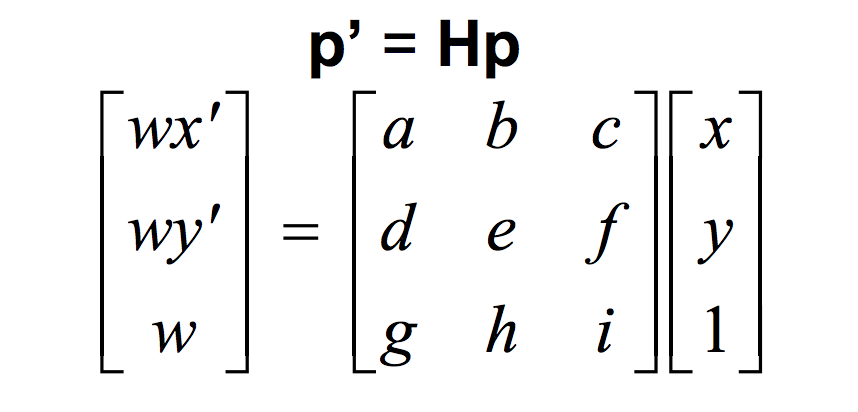
We set the scaling factor i to 1 and solve for the rest of the variables, a-h, using a least squares equation. In this case we need 8 equations, which when solving out the equation above, maps to 4 point correspondences at least.
After computing the homographies, I can warp an image using the transformation and inverse warping with the new shape. I warped two pictures, one of my TV screen (watching Frasier :D) and one of the empire state building
Original Empire State
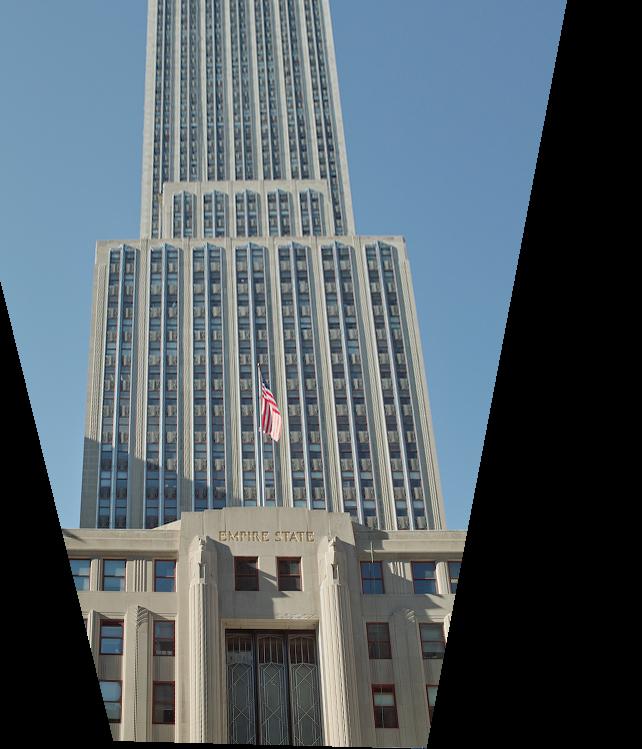
Empire State Warped
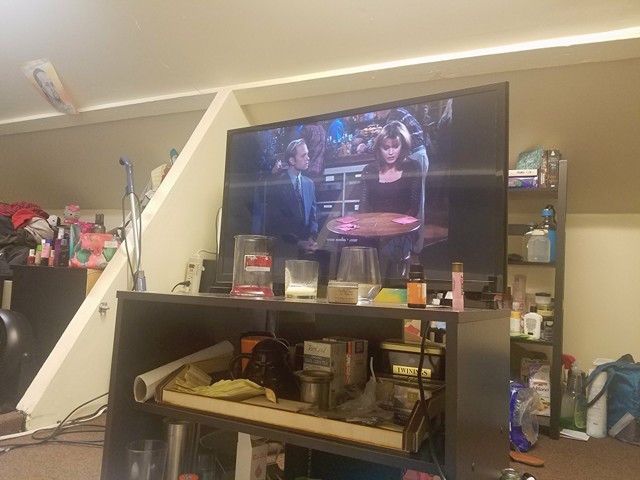
Original TV
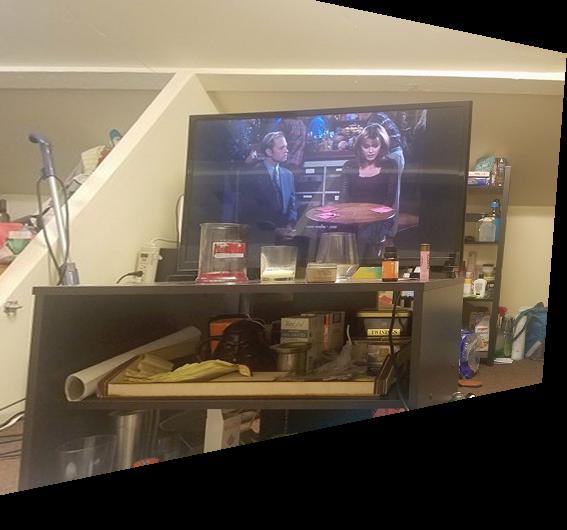
Warped TV
To blend images into a mosaic, I warped one of the images into the homography of the other and blended them together
I learned a lot about how the transformation for the homographies worked and it was surprisingly simple to mosaic multiple pictures
Instead of manually choosing feature points like in part A of the project, we use a 4 step method to automatically detect good feature points to create a homography with to auto-stitch together a panorama.
Original Image 1

Original Image 2
In Harris corner detection, we detect the points on each of the images where there is a large change in the intensity when shifting the pixel in any direction.
Harris Corners Image 1
Harris Corners Image 2
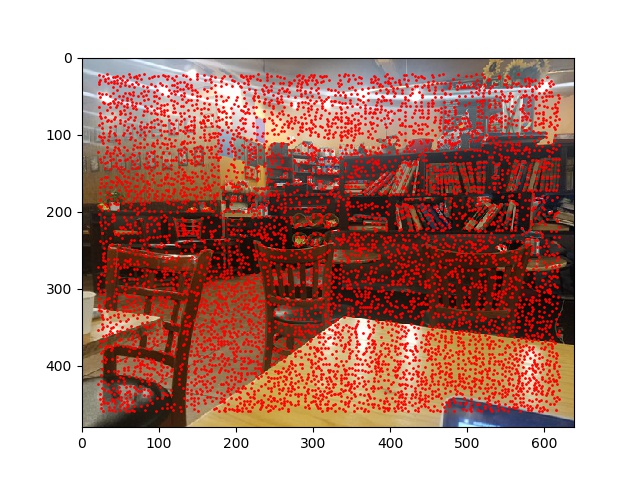
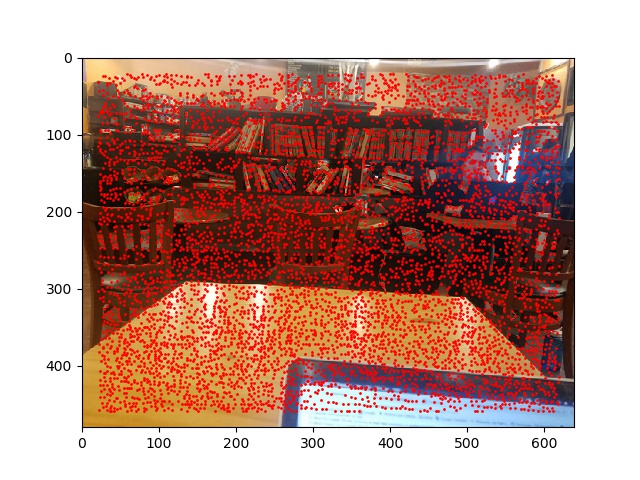
Harris corner detection leaves us with many points, so in this part, we restrict the number of corner to look at for feature matching. First, I eliminated some of the corners that didn't meet a threshold of intensity, and then used the ANMS algorithm. For ANMS, for each point, I looked at every other point in the image and calculated the smallest distance to another point such that the intensity of the other point times a constant is greater than this one, which should give a good distribution of feature points to look at.
ANMS Image 1
ANMS Image 2
Once we have these feature points, we create descriptors from each of theses points by looking at the 40x40 pixel region around the feature point and downsampling that into an 8x8 feature descriptor. Then for feature matching, we compare the feature vector against all the other feature vectors of the other images and save a match for each pair whose SSD is below a certain threshold.
Matched Features Image 1
Matched Features Image 2
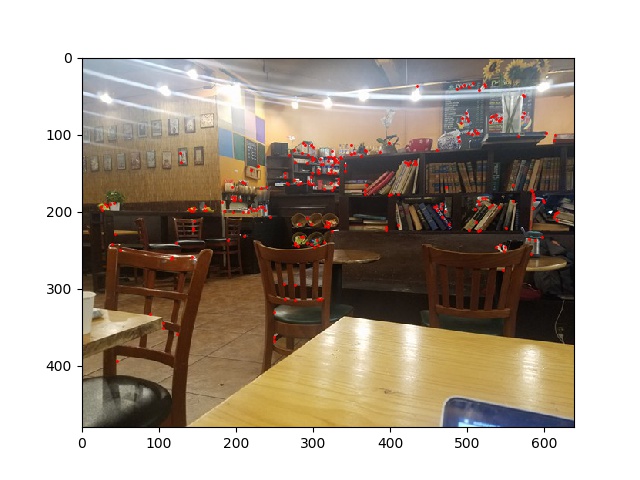
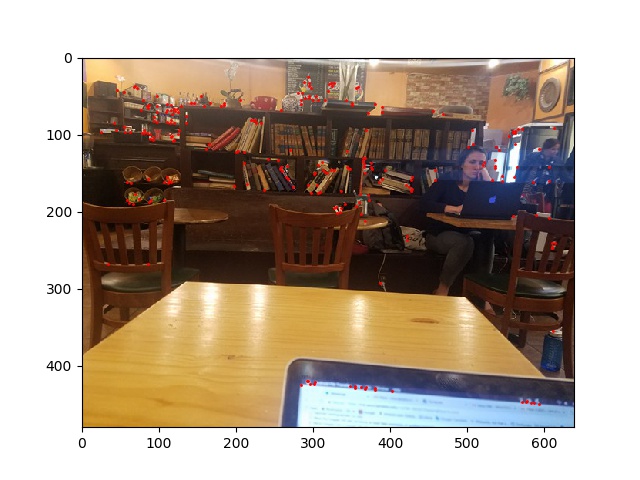
RANSAC further improves upon these matches and eliminates outliers by choosing a random set of 4 points and computing a homography for those 4 points. Then, we compute the inliers, which means to use the homography to map all points from image1 and compare the computed matches to the actual matched points to compare the accuracy of this homography. We run this loop many times and keep the largest set of inliers, and at the end, recompute H using this set of inliers to get the best least squares estimate.

Result of RANSAC Image 1

Result of RANSAC Image 2
The results are similar to hand-stitching, but when looking closer, the details are more defined and there is less ghosting.
Original Image
Original Image
Result of manually stitching
Result of Automatic Stitching
Original Image
Original Image
Result of manually stitching
Result of Automatic Stitching
Original Image
Original Image
Result of Automatic Stitching
I thought it was really cool how we started with so many points all over the image and actually were able to filter out enough points to find feature points that were matching. The homographies calculated automatically eliminated much of the ghosting that some of my manually stitched images had so it's pretty cool that this beats my own manual stitching. Also, I realized the quality of the panoramas depended so much on the pictures that I took, which some were a little too warped.