 Rectified 1.
 Rectified 2.
In this project, I implemented automatic panorama generation from a group of related images. The process works by learning a projective transformations from one image onto another (the transformation matrix is called a homography) from points of correspondence. I first began with doing the annotation process of finding points of correspondence manually, then improved this approach to use a more complicated autostitching technique as delineated in this paper.
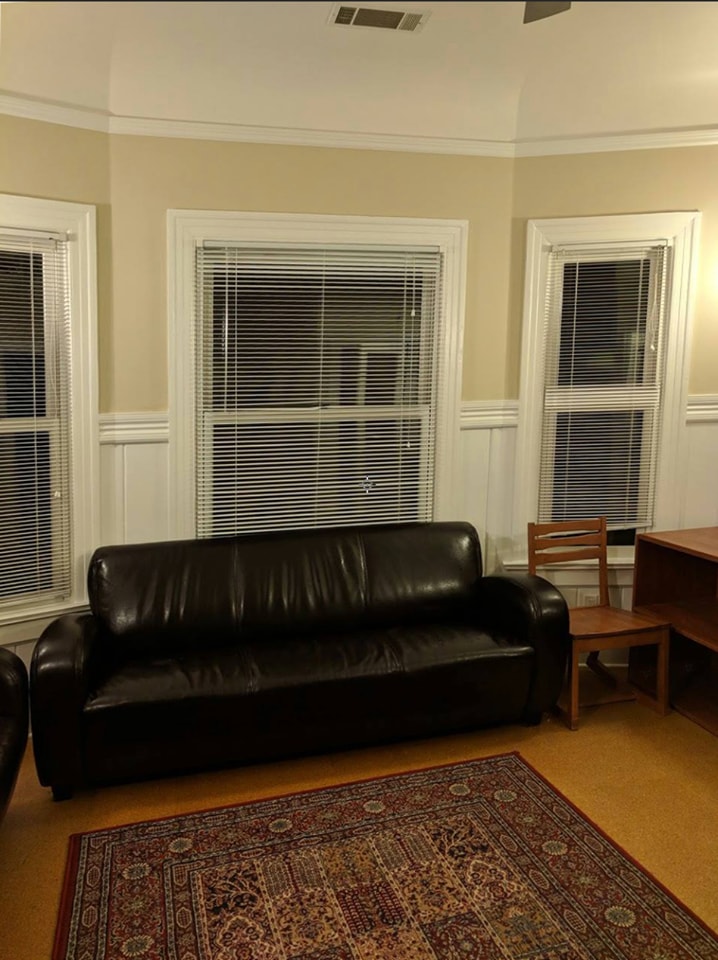
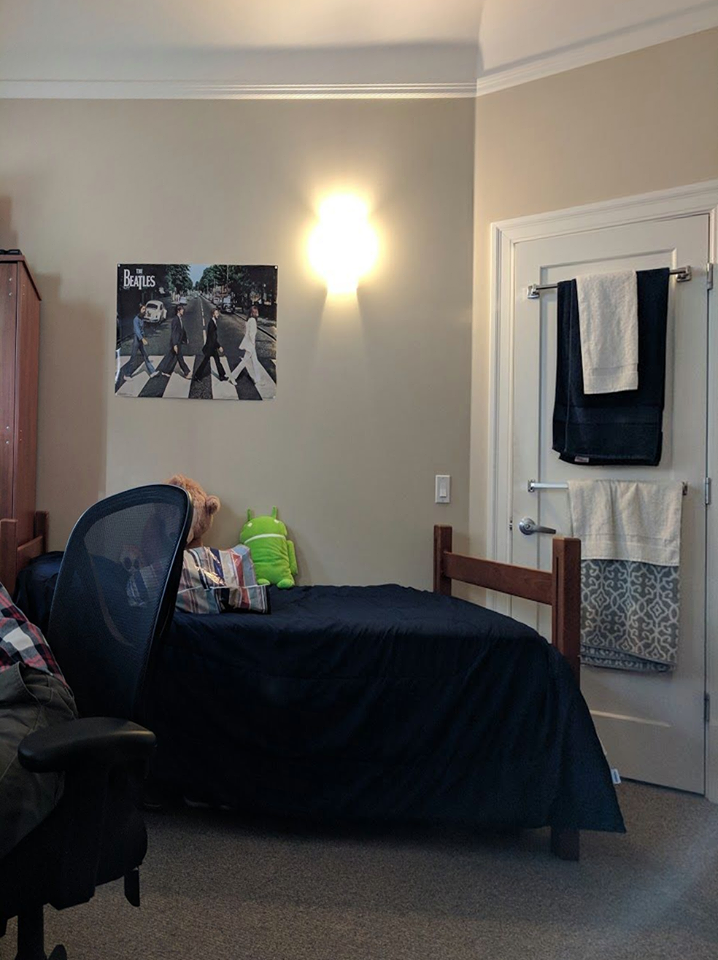
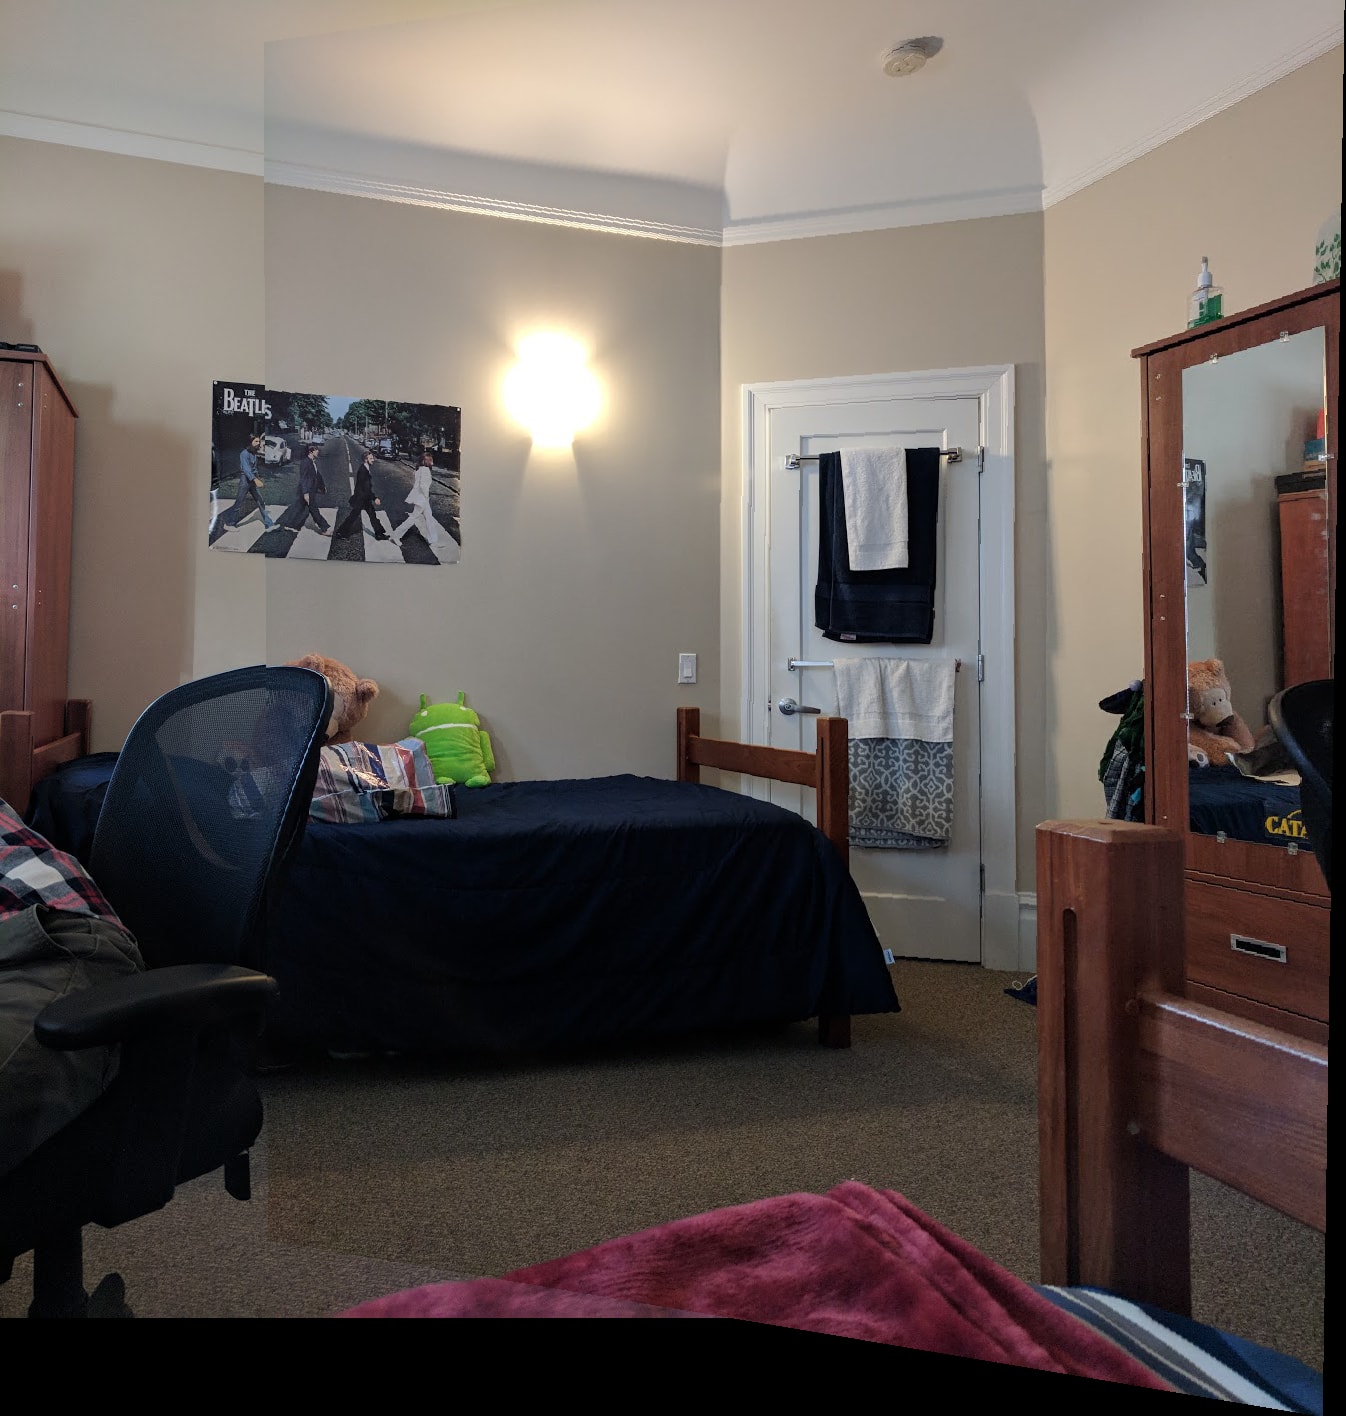
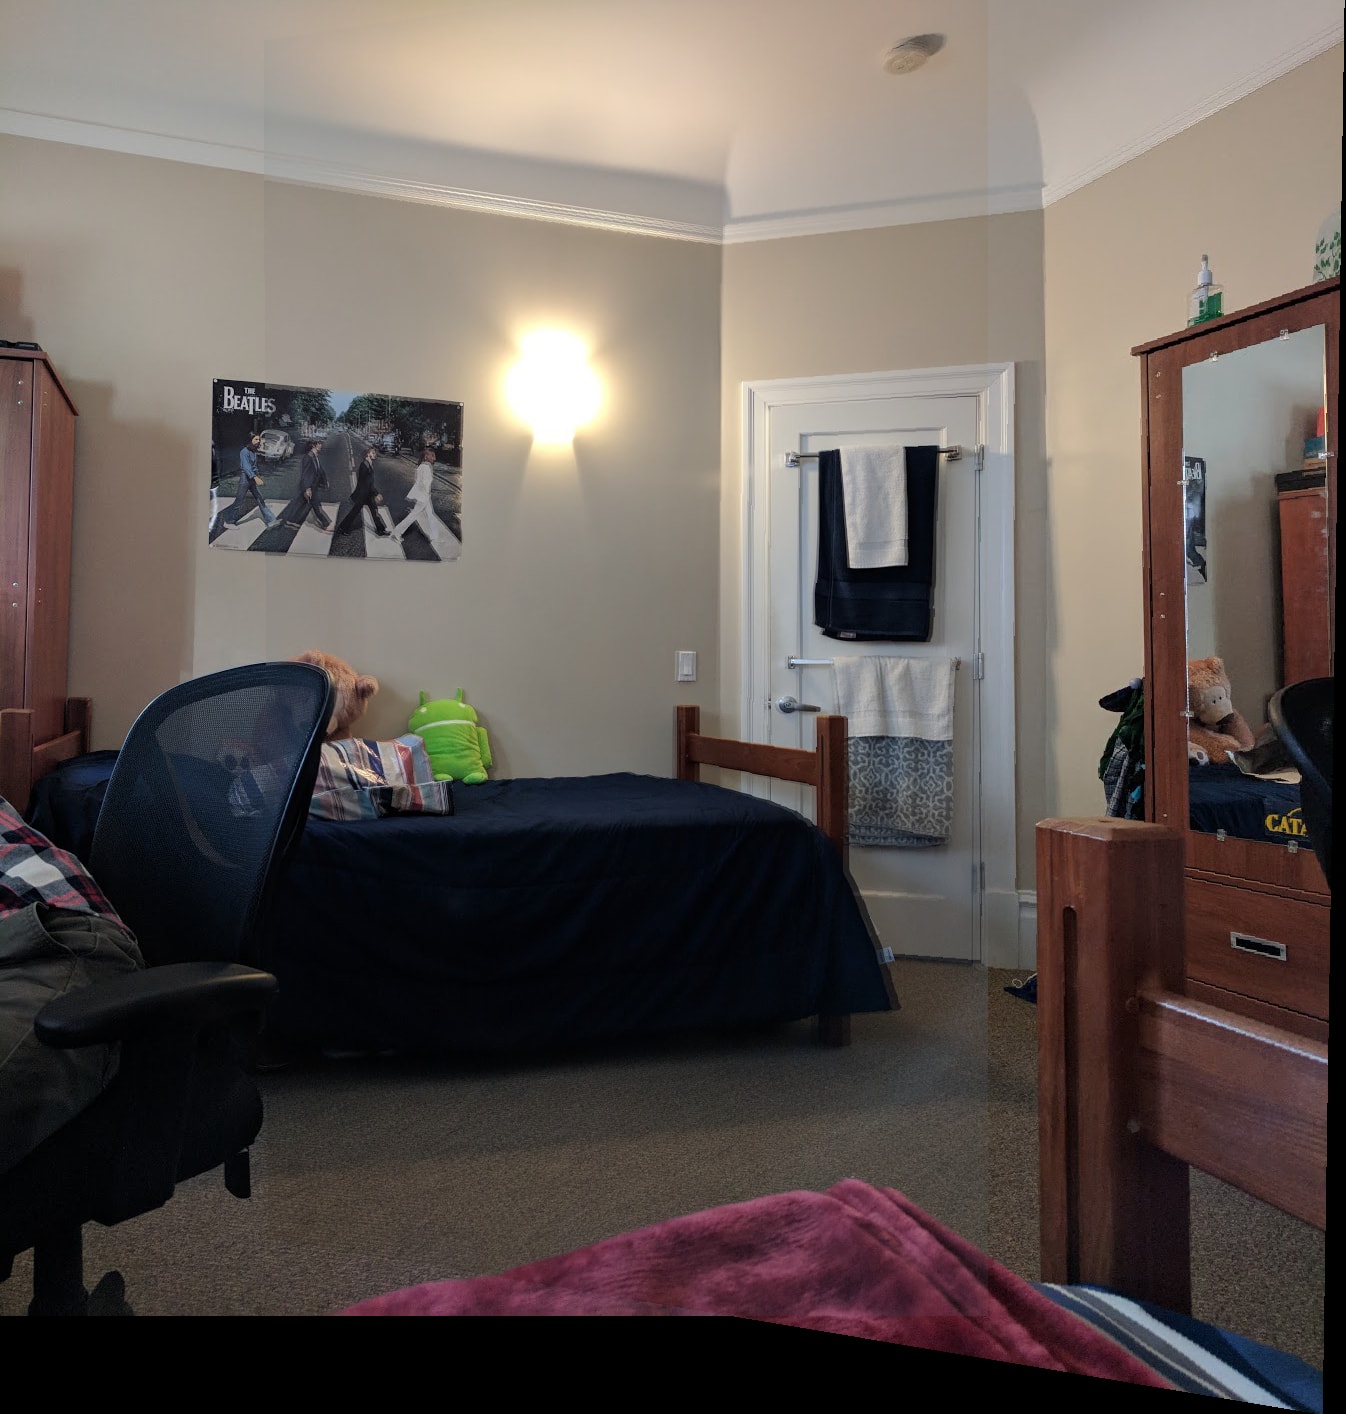
First, after implementing learning a homography via correspondence points, I rectified some images to fit into a rectangular view. Below are two such results. The first image is my living room rectified against the door frame, and the second is my friend's room rectified against a poster of the Beatles. The original images can be seen in the next part, on photo mosaics.
Rectified 1.Rectified 2.
Very cool!
Now with manual point annotation with homography computation, I can moscaic pairs of images together. The first thing I'll mosaic is two pictures of my friend's apartment. The images are displayed below:
 Right image.
 Left image.
Here's the mosaic-ed output without linear blending:
And here's the output with linear blending:
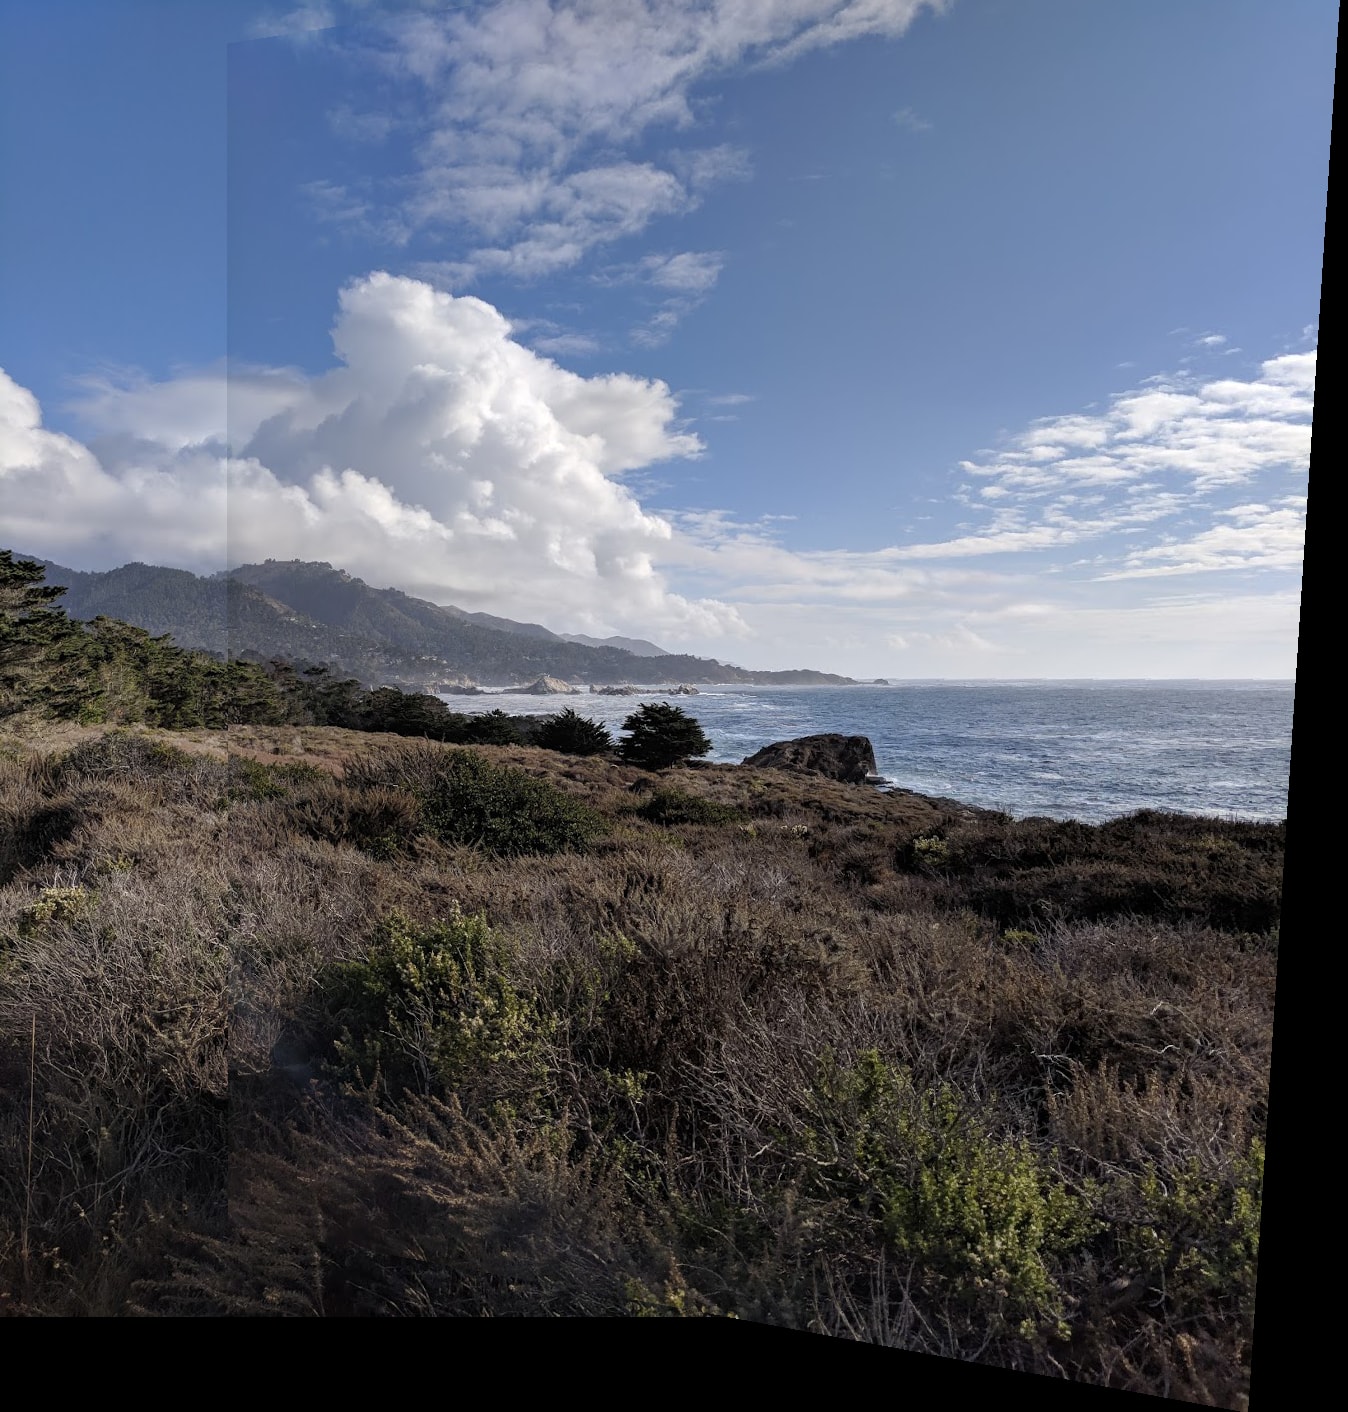
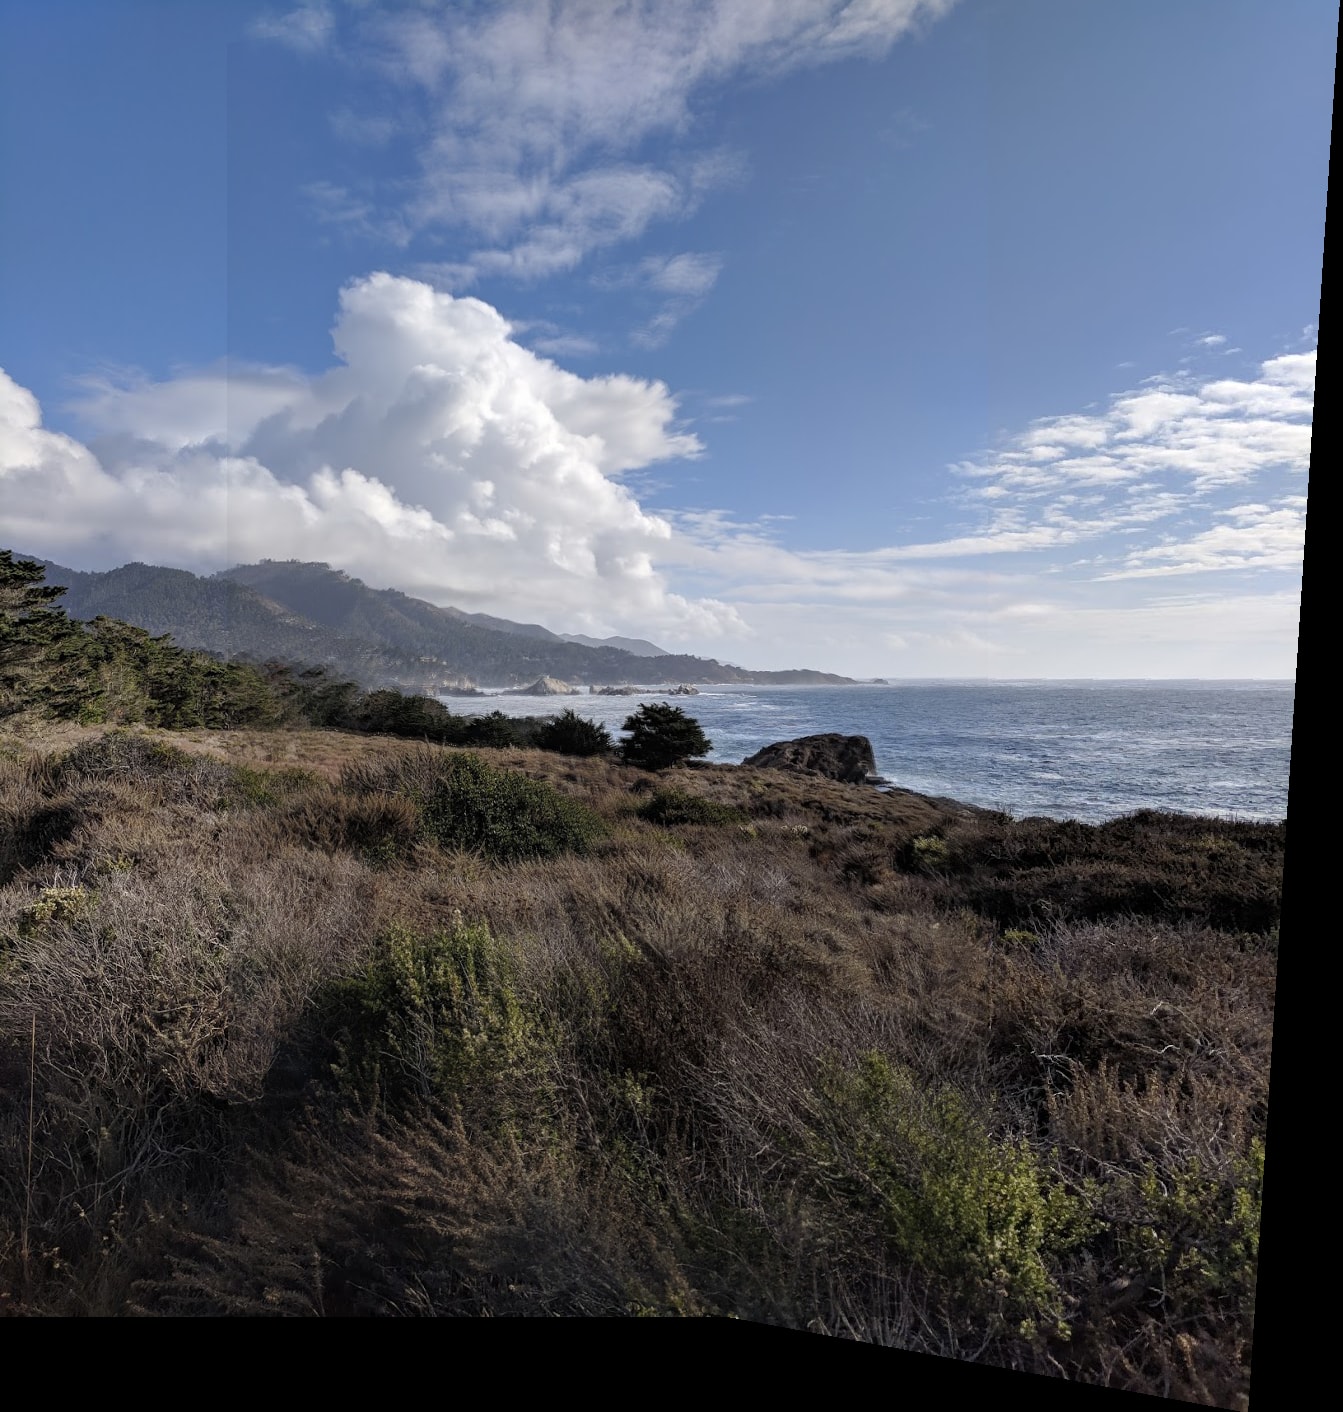
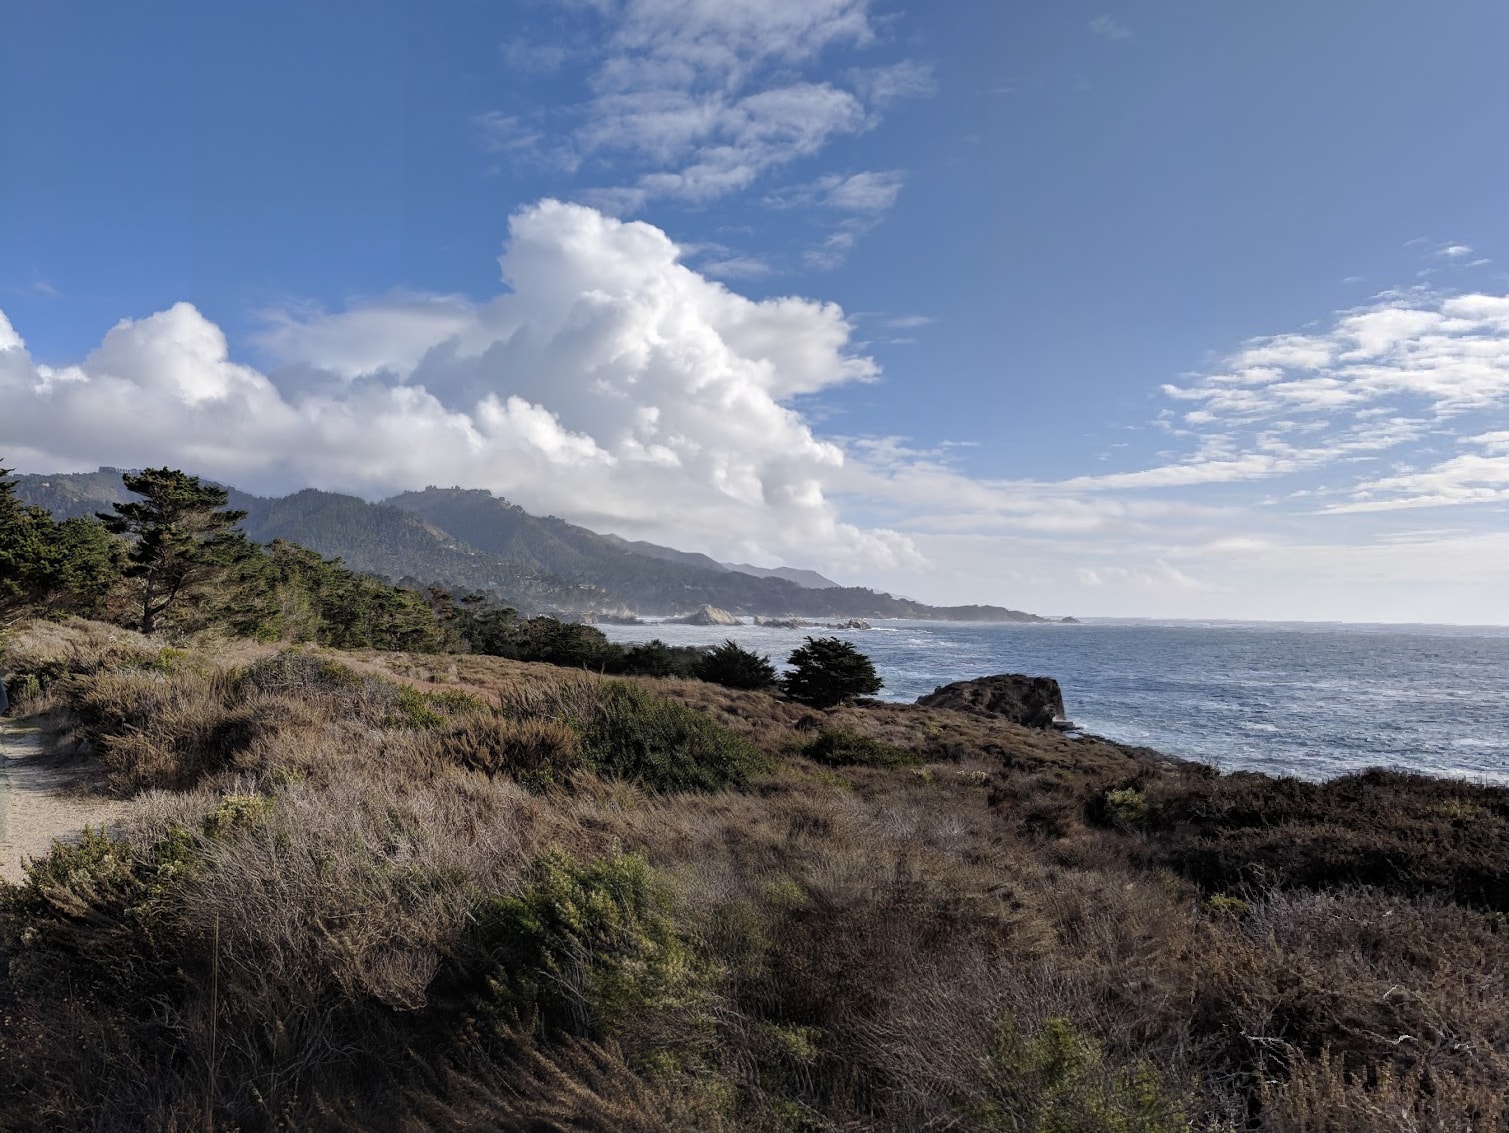
The second thing I'll mosaic is two pictures of Monterrey Bay (outside of Berkeley). The images are displayed below:
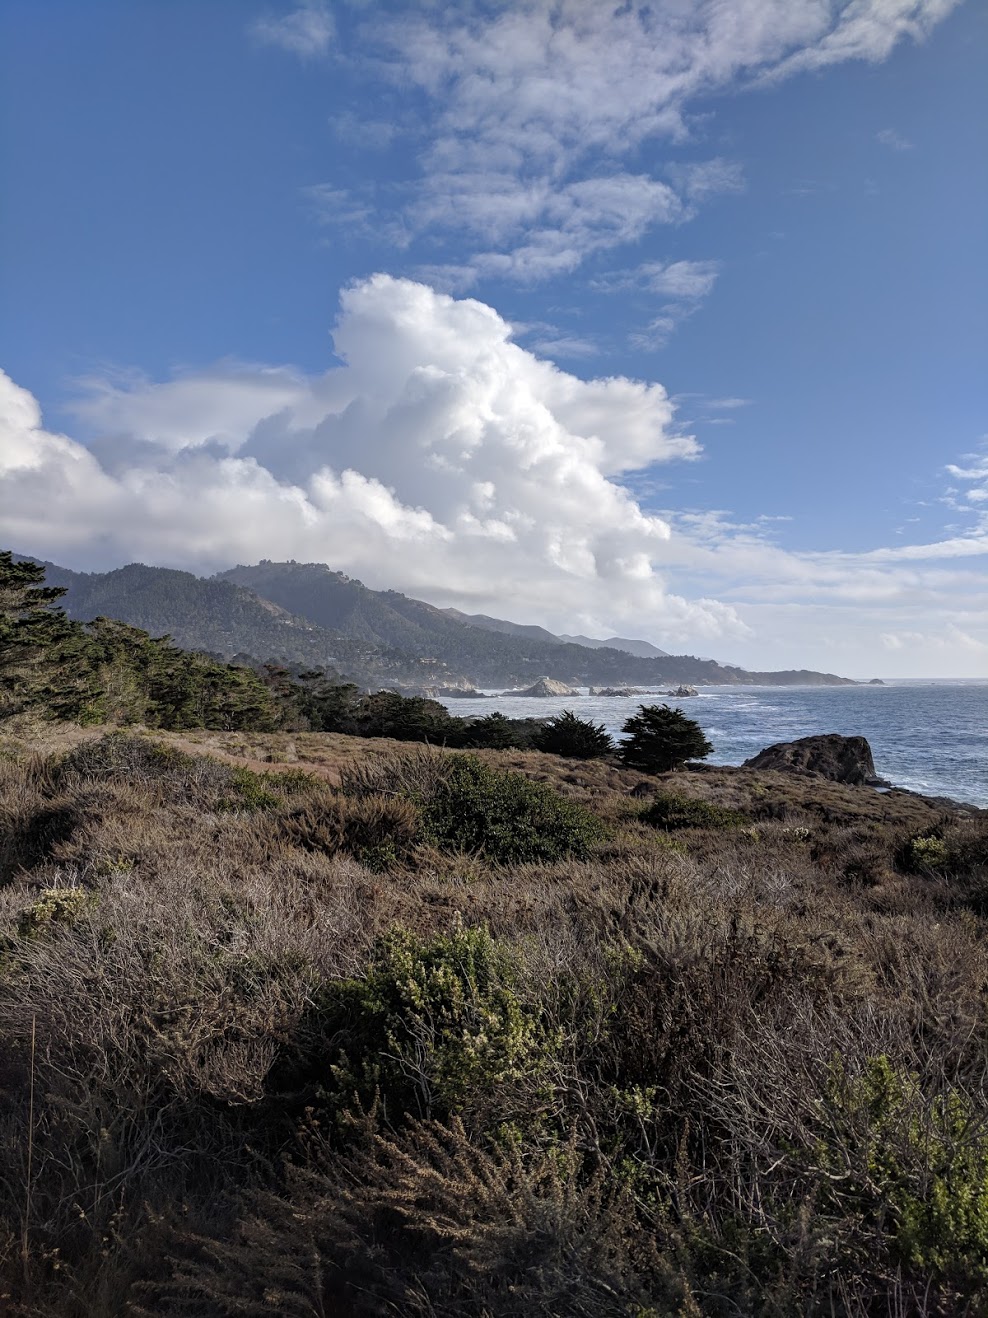 Right image.
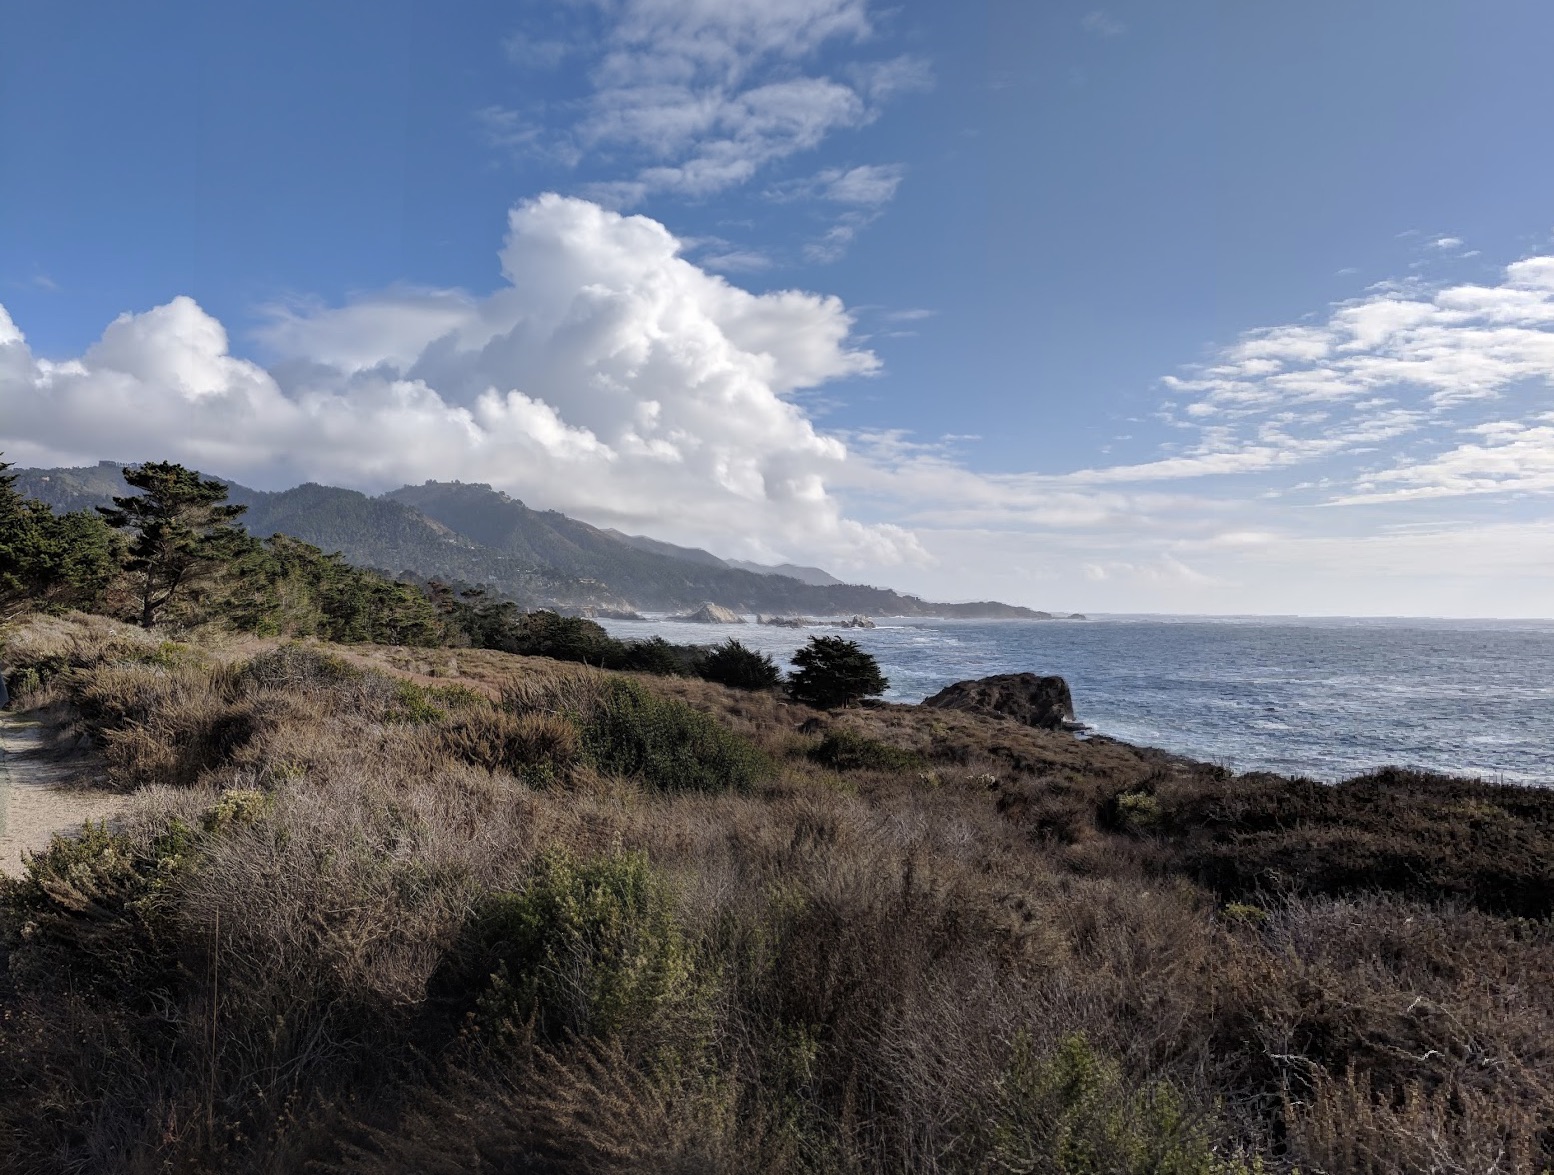
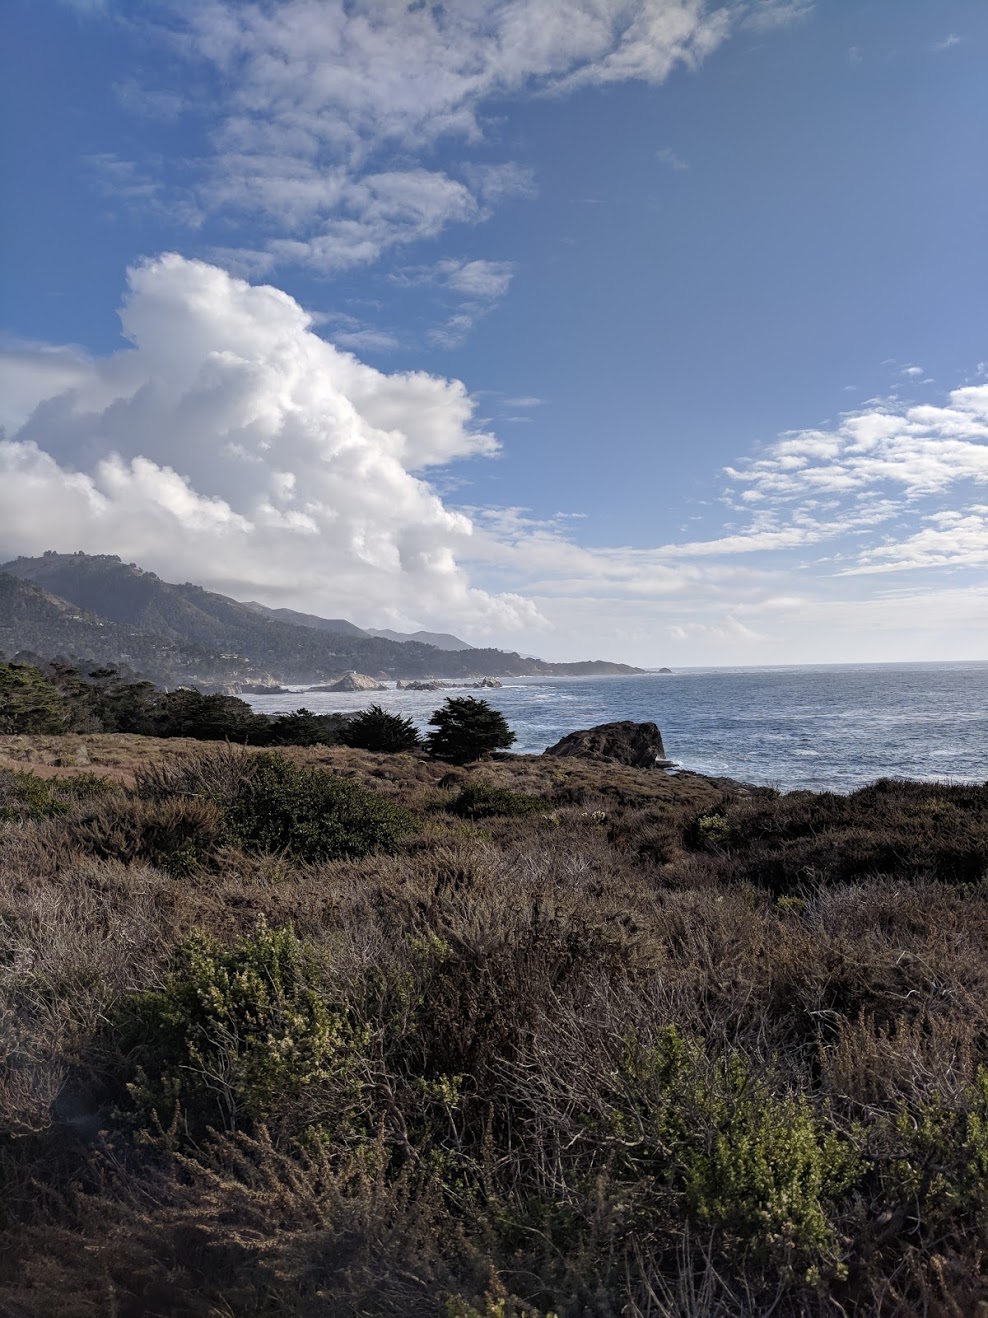 Left image.
Here's the mosaic-ed output without linear blending:
And here's the output with linear blending:
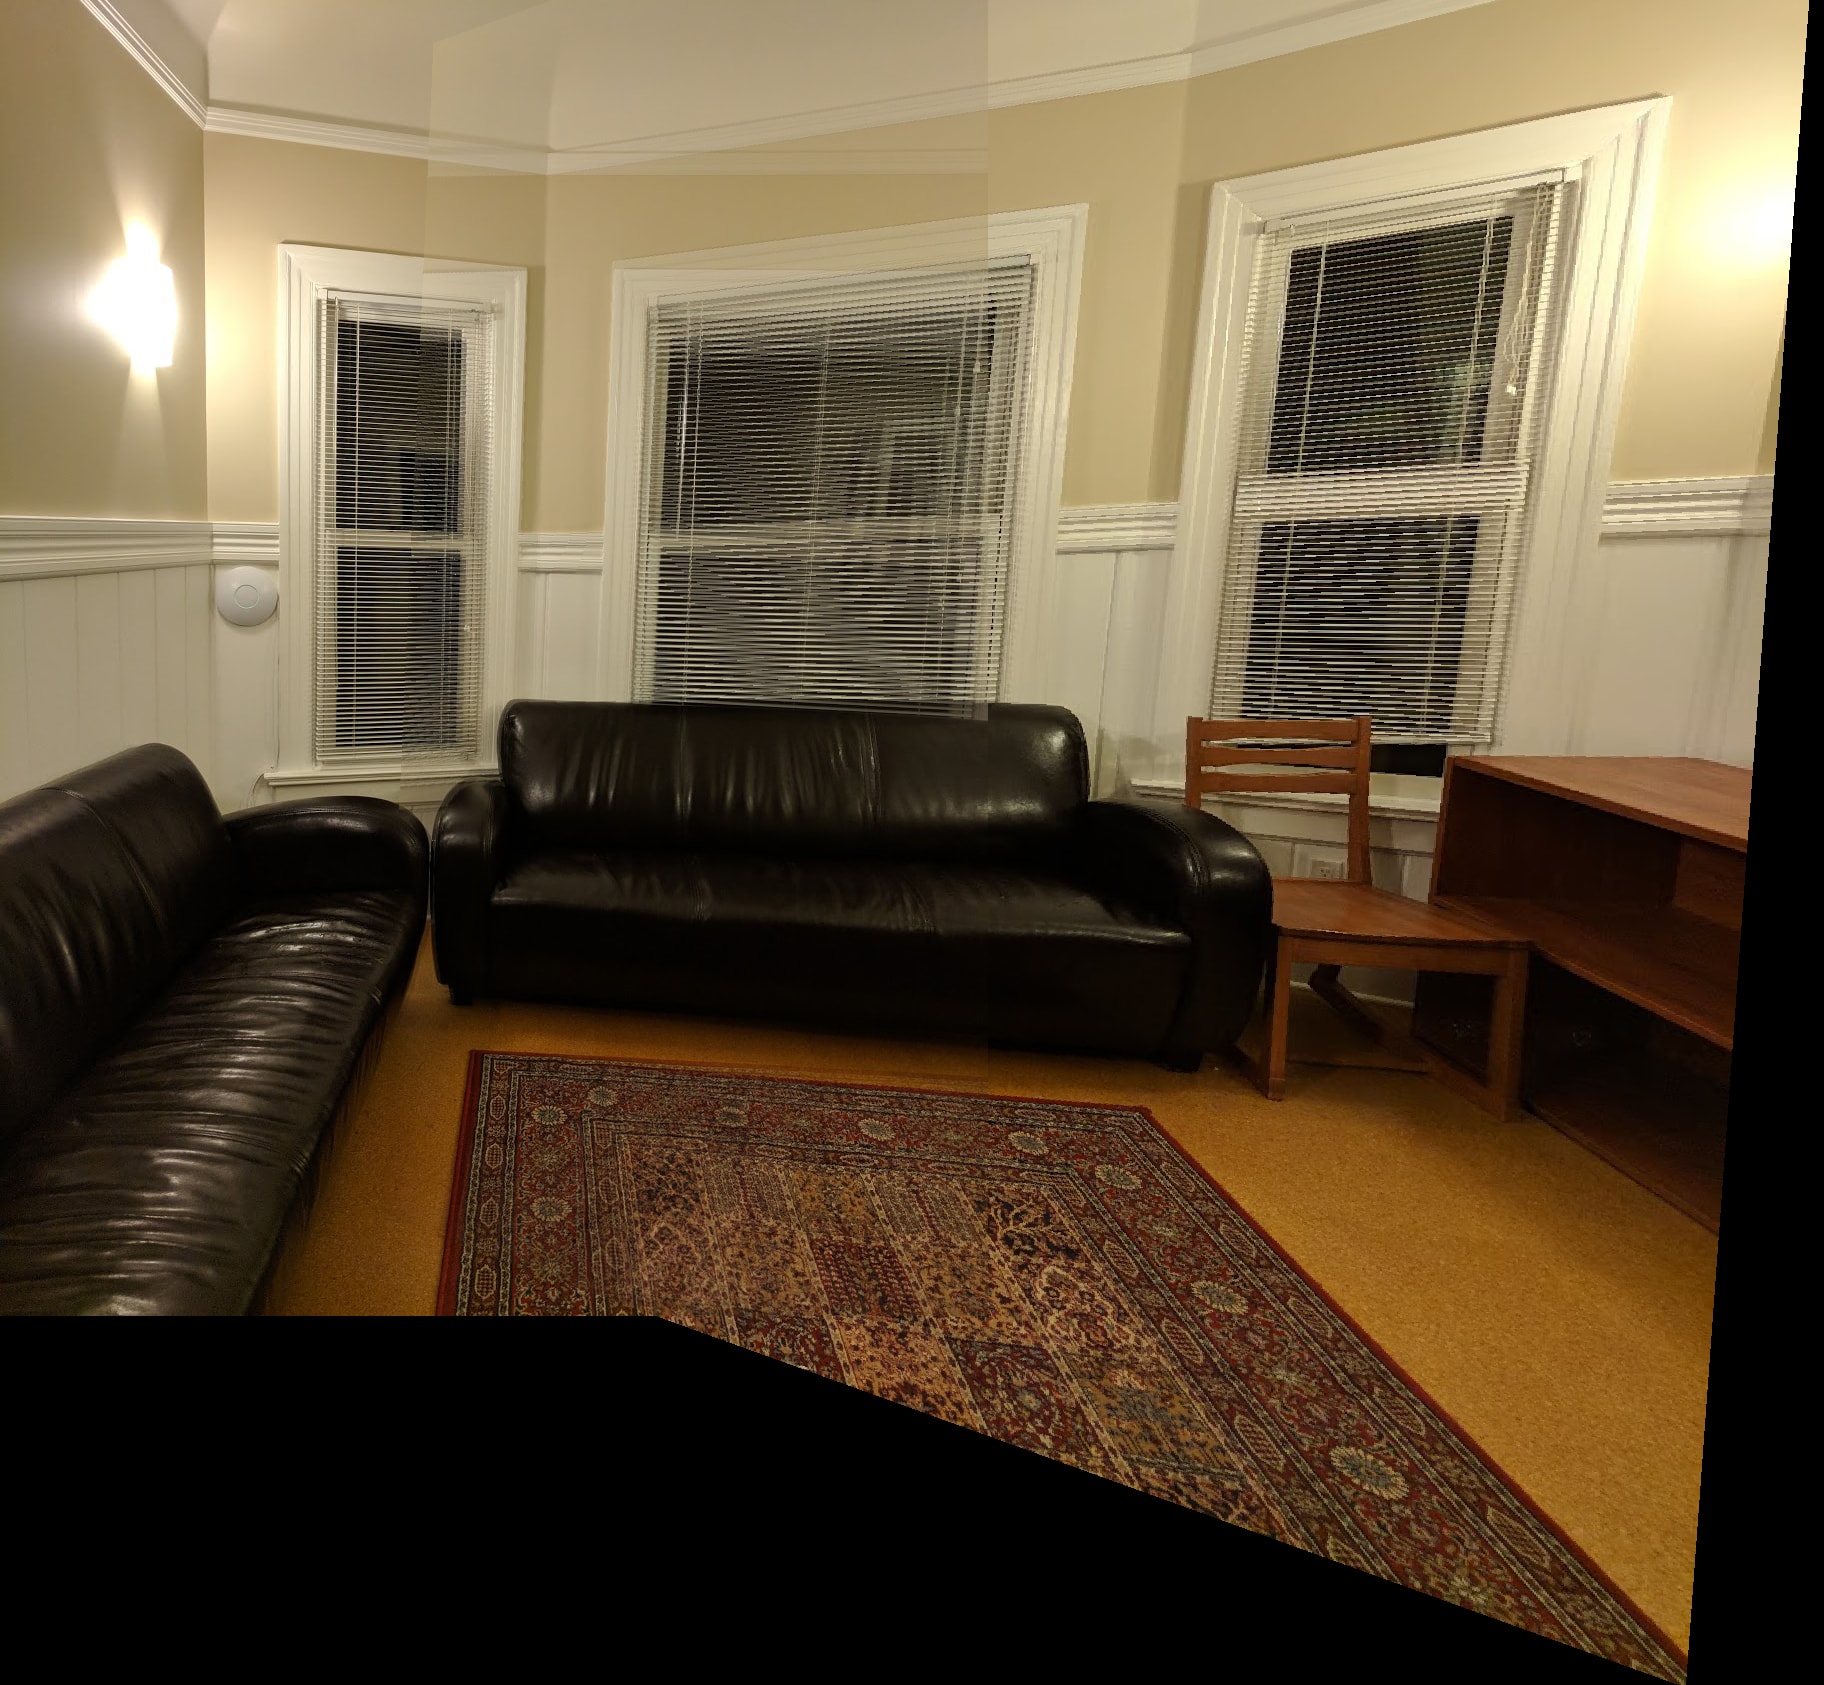
The final thing I'll mosaic is two pictures of my living room. The images are displayed below:
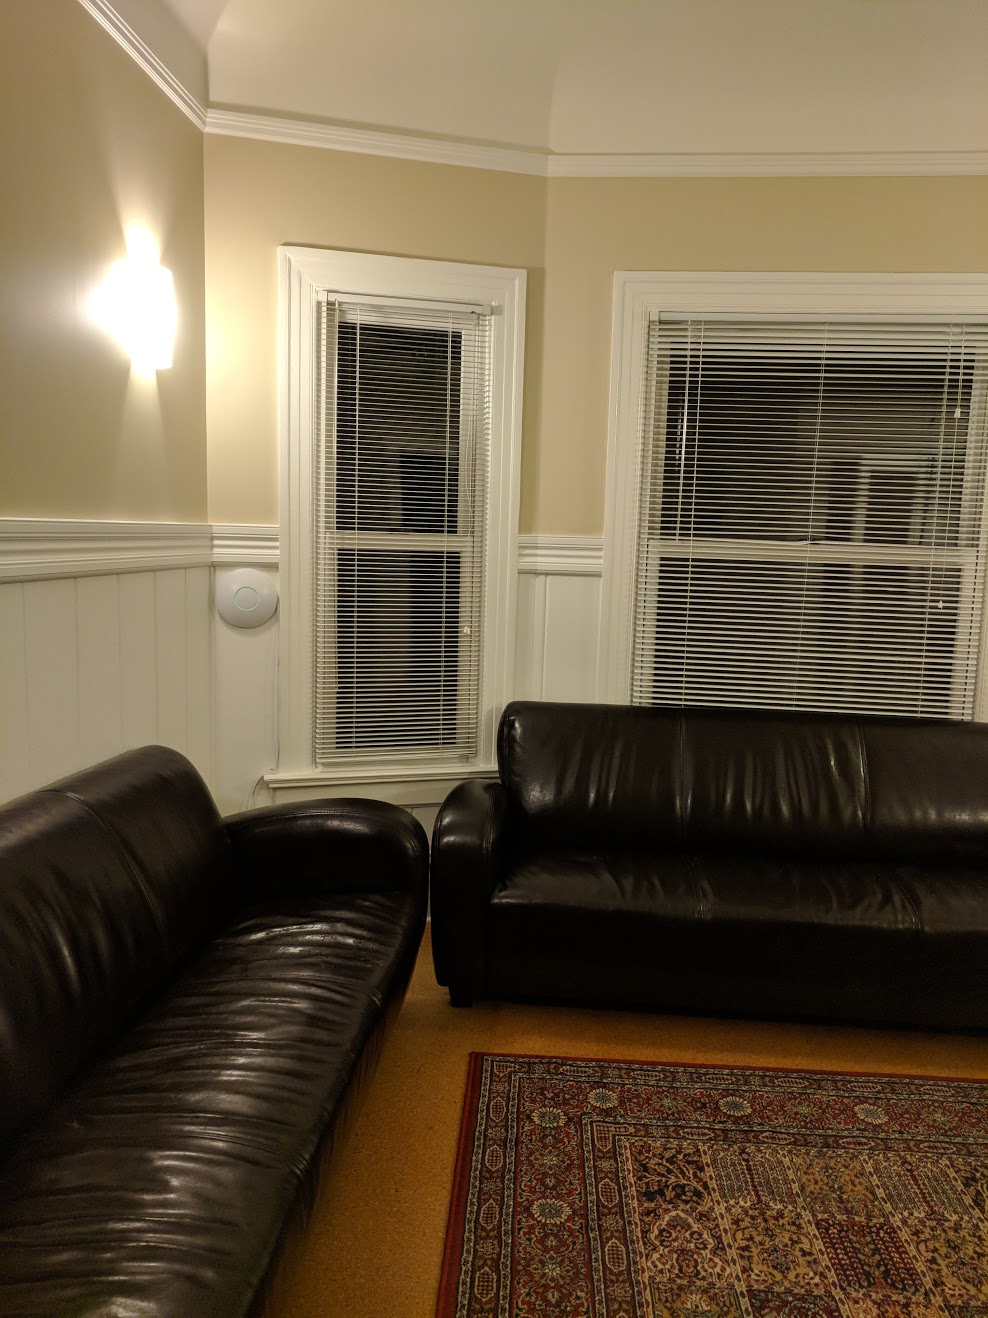 Right image.
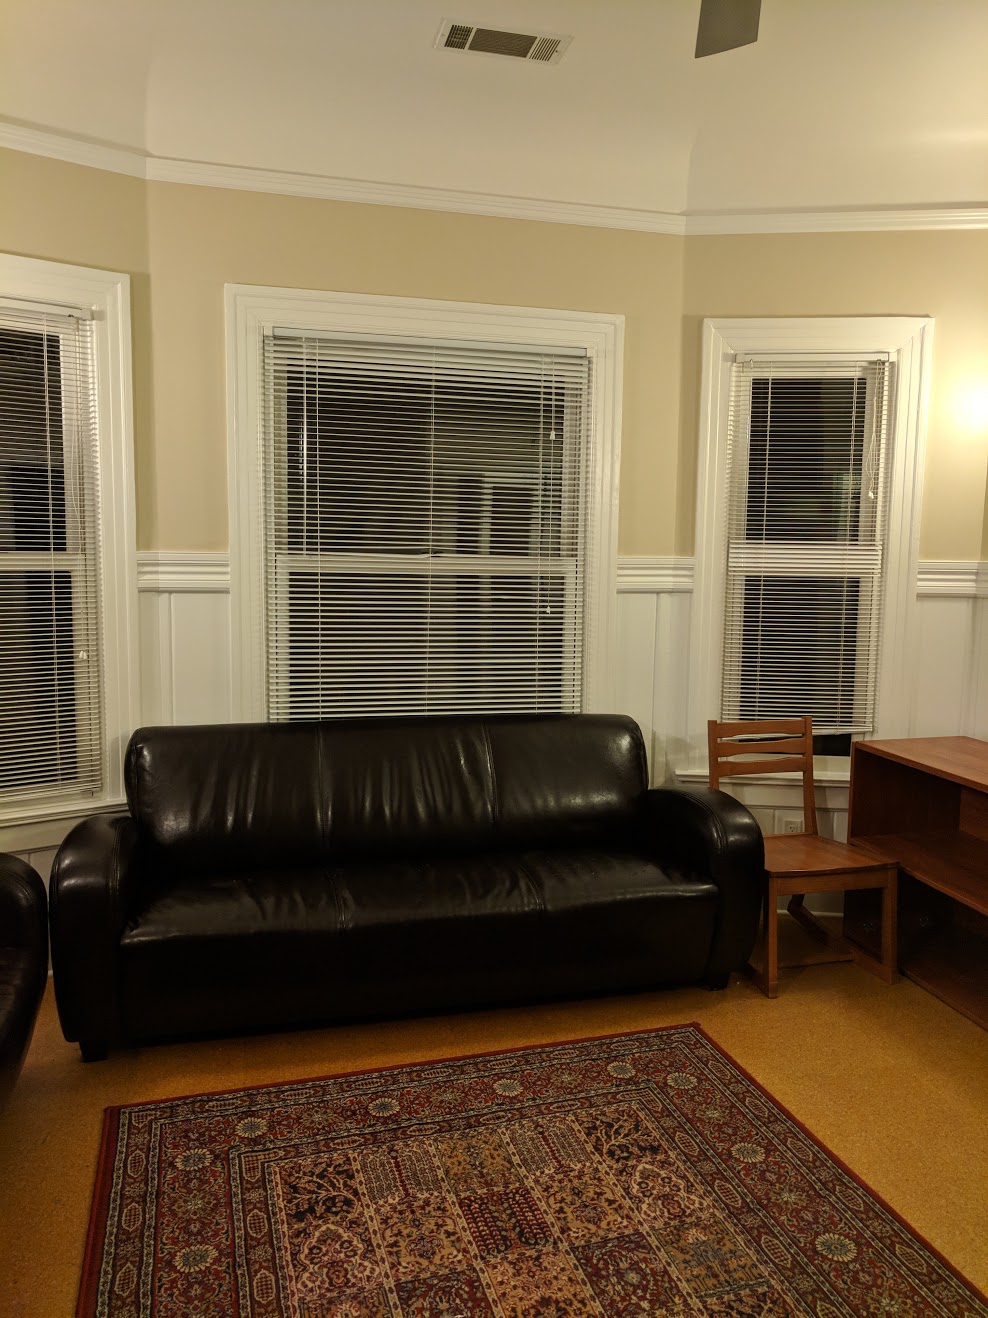 Left image.
Here's the mosaic-ed output without linear blending:
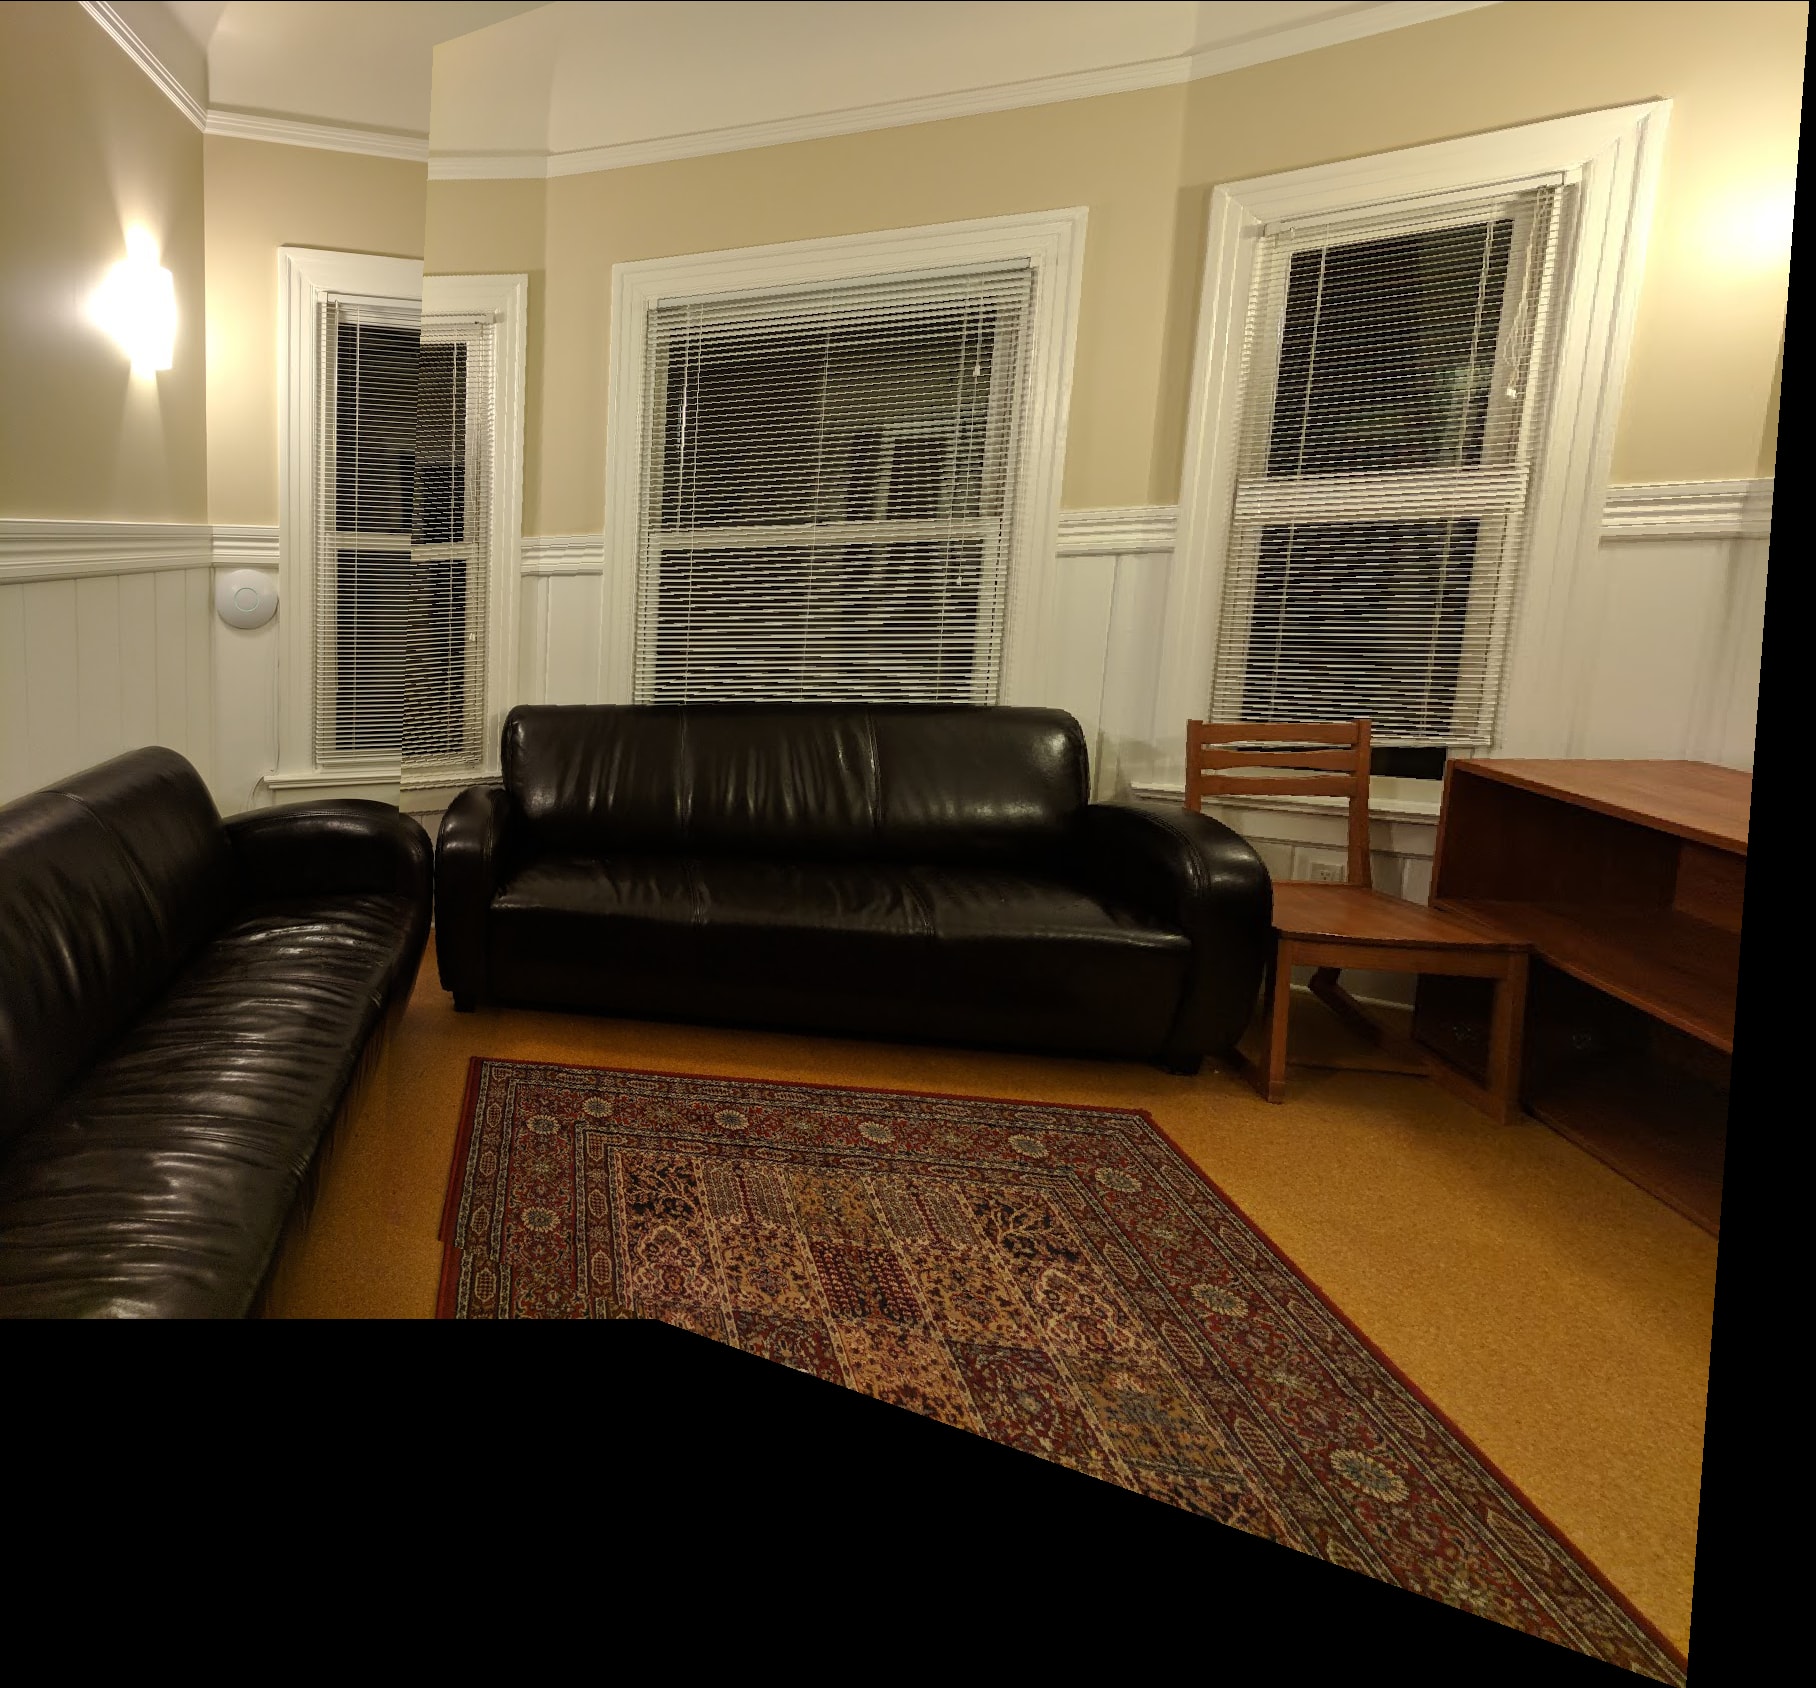
And here's the output with linear blending:
Autostitching begins by using an algorithm known as Harris corner detection. In essence, this algorithm looks for small patches that, when perturbed in several different directions, lead to large SSD (sum of squared distances). Intuitively, this makes sense because the texture should change regardless of the direction of motion from a corner. After this, I used adaptive non-maximal suppression (ANMS) to prune the number of corners, yielding a roughly even spread of corners across the image. For the Monterrey Bay pictures from above, the results after annotation with Harris + ANMS detected corners is displayed below.
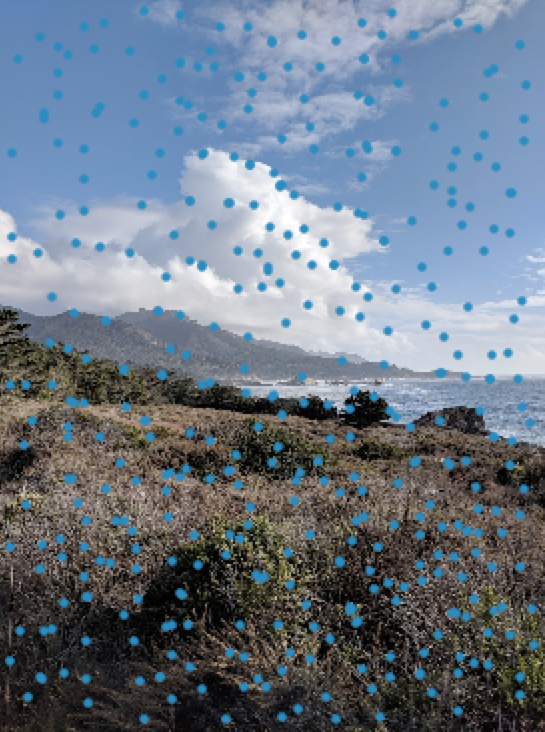 Left image.
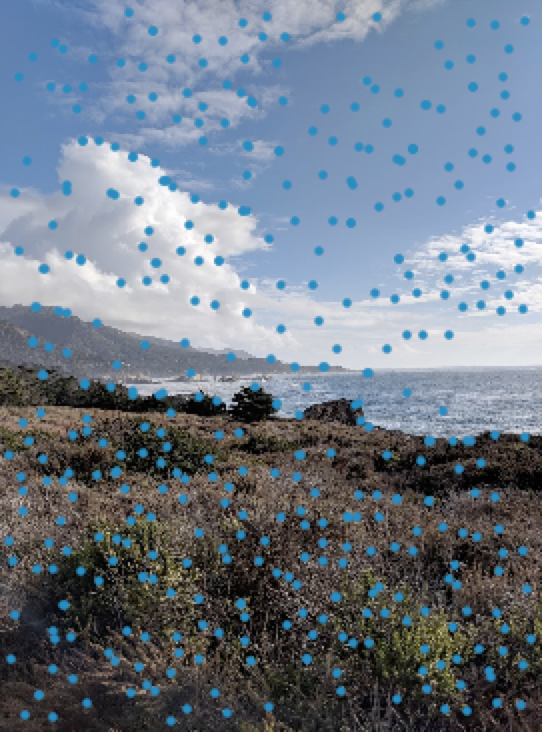 Right image.
Next, patches around these corners were used to extract 64-dimensional normalized feature vectors, which were used to find matches between corners between the two images using an approximate nearest-neighbors method. Below, I've displayed the matched corners between the Monterrey Bay pictures.
 Left image.
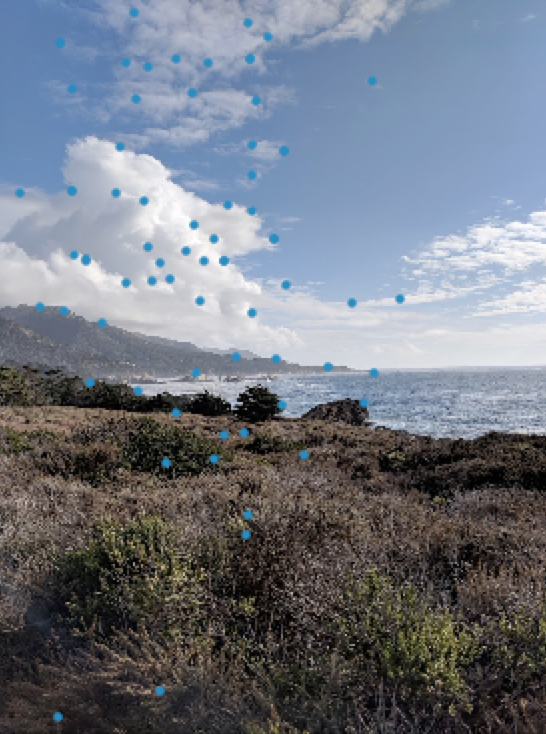 Right image.
Finally, these matched corners are used with RANSAC to determine a probabilistically optimal homography, before generating a panorama in identical fashion to using the manual correspondence points from above. The "optimal" initial matching points yielding the greatest number of inliers is displayed below:
 Left image.
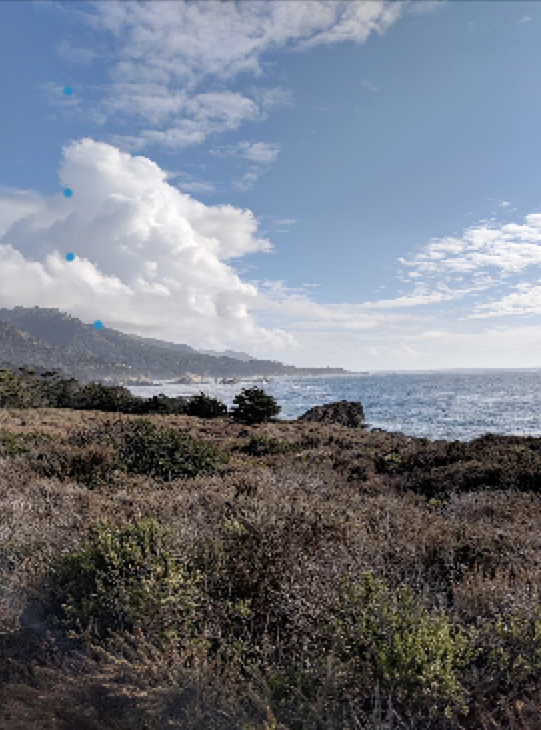 Right image.
Finally, these four points are used along with all their inliers to compute a homography, which is ues to generate a panorama in the same manner as above. These final results are displayed below. Notice that the results are better! This is the beauty of automation!
Manual.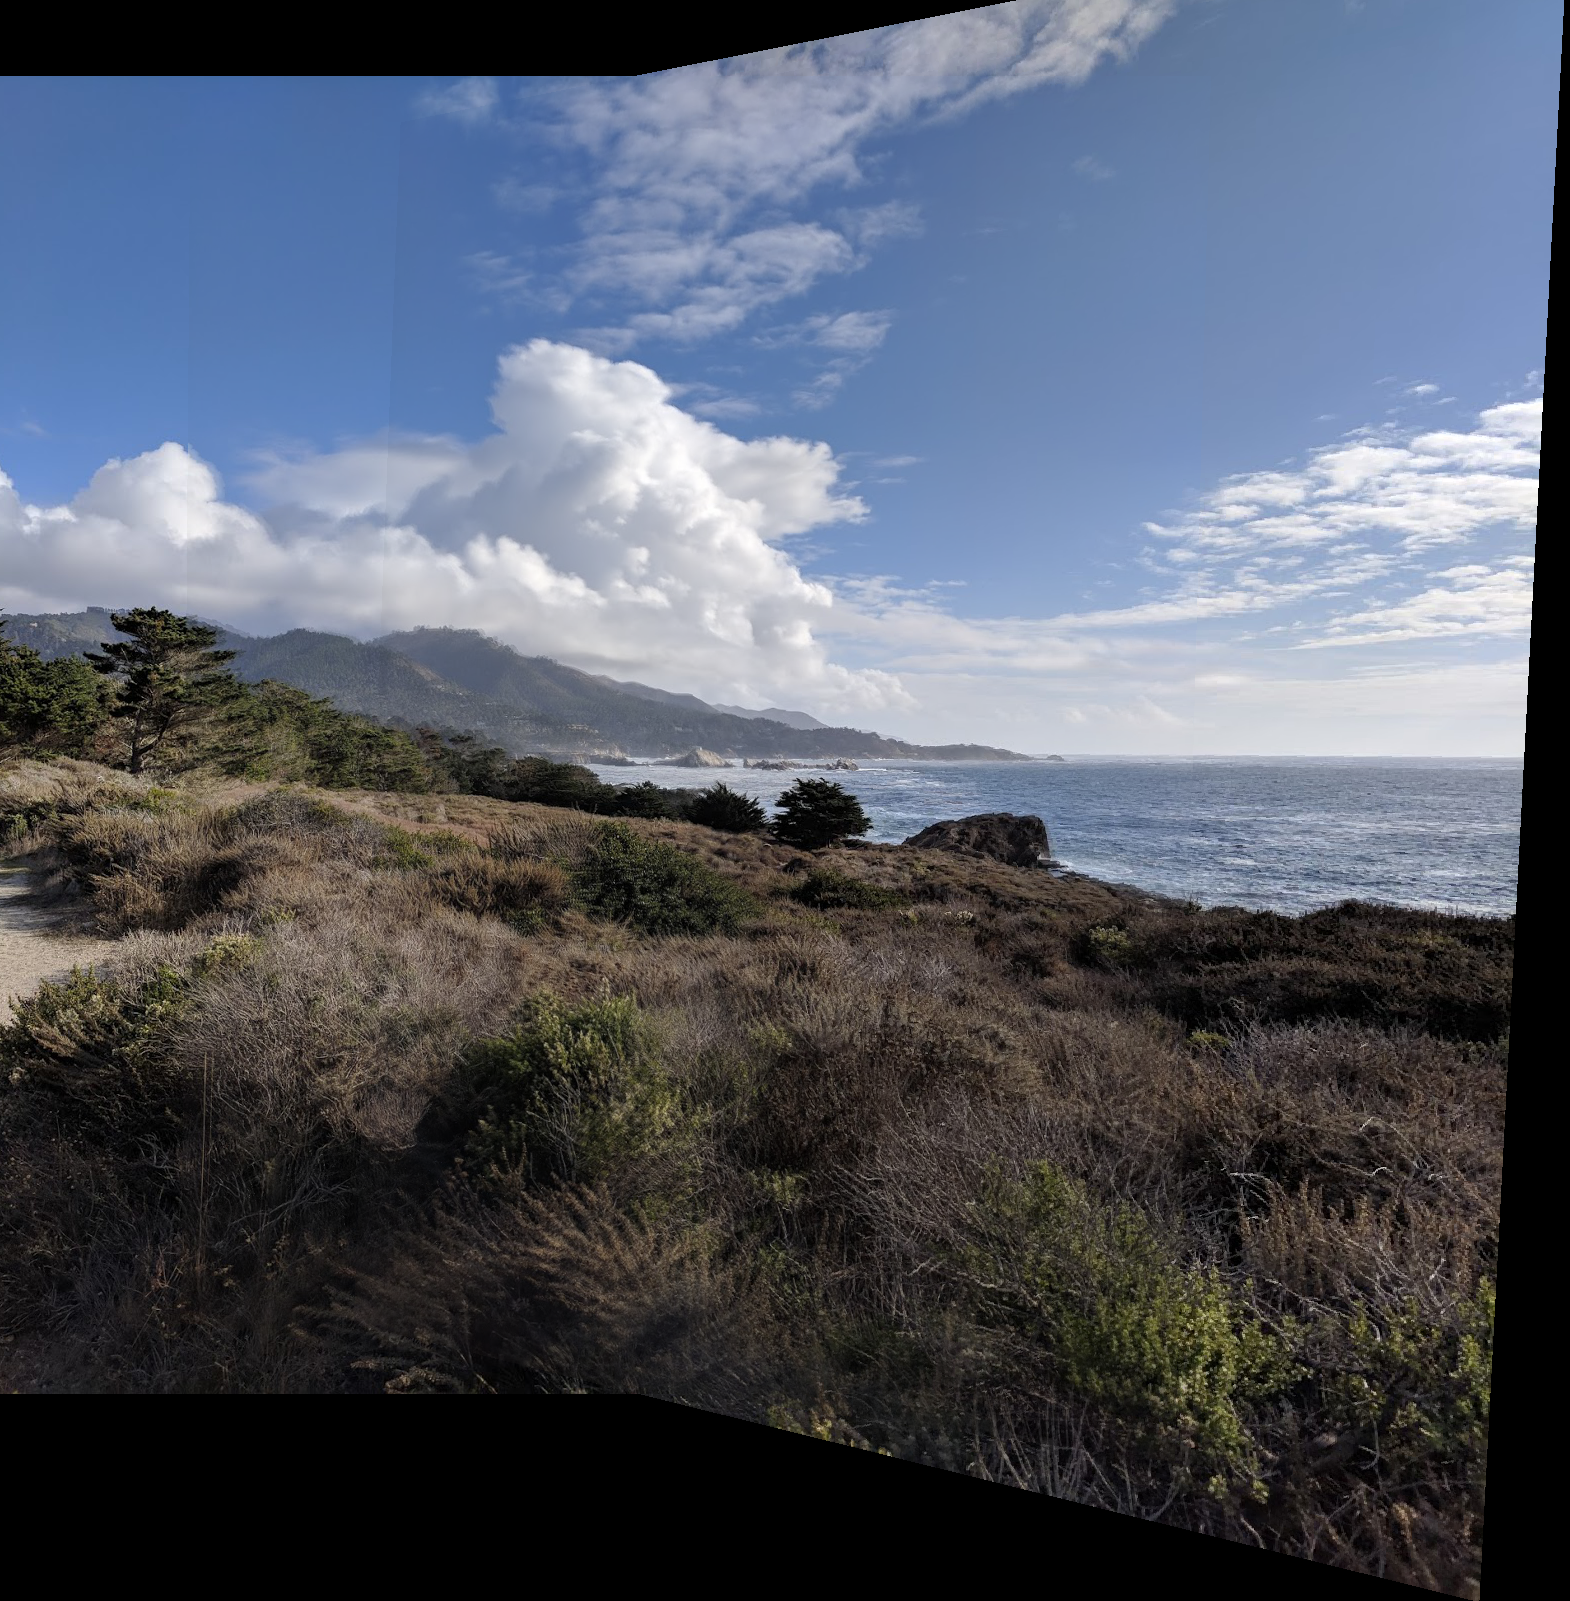 Automatic.
Here is the result of applying the same procedure for the picture of my friend's apartment from above:
Manual.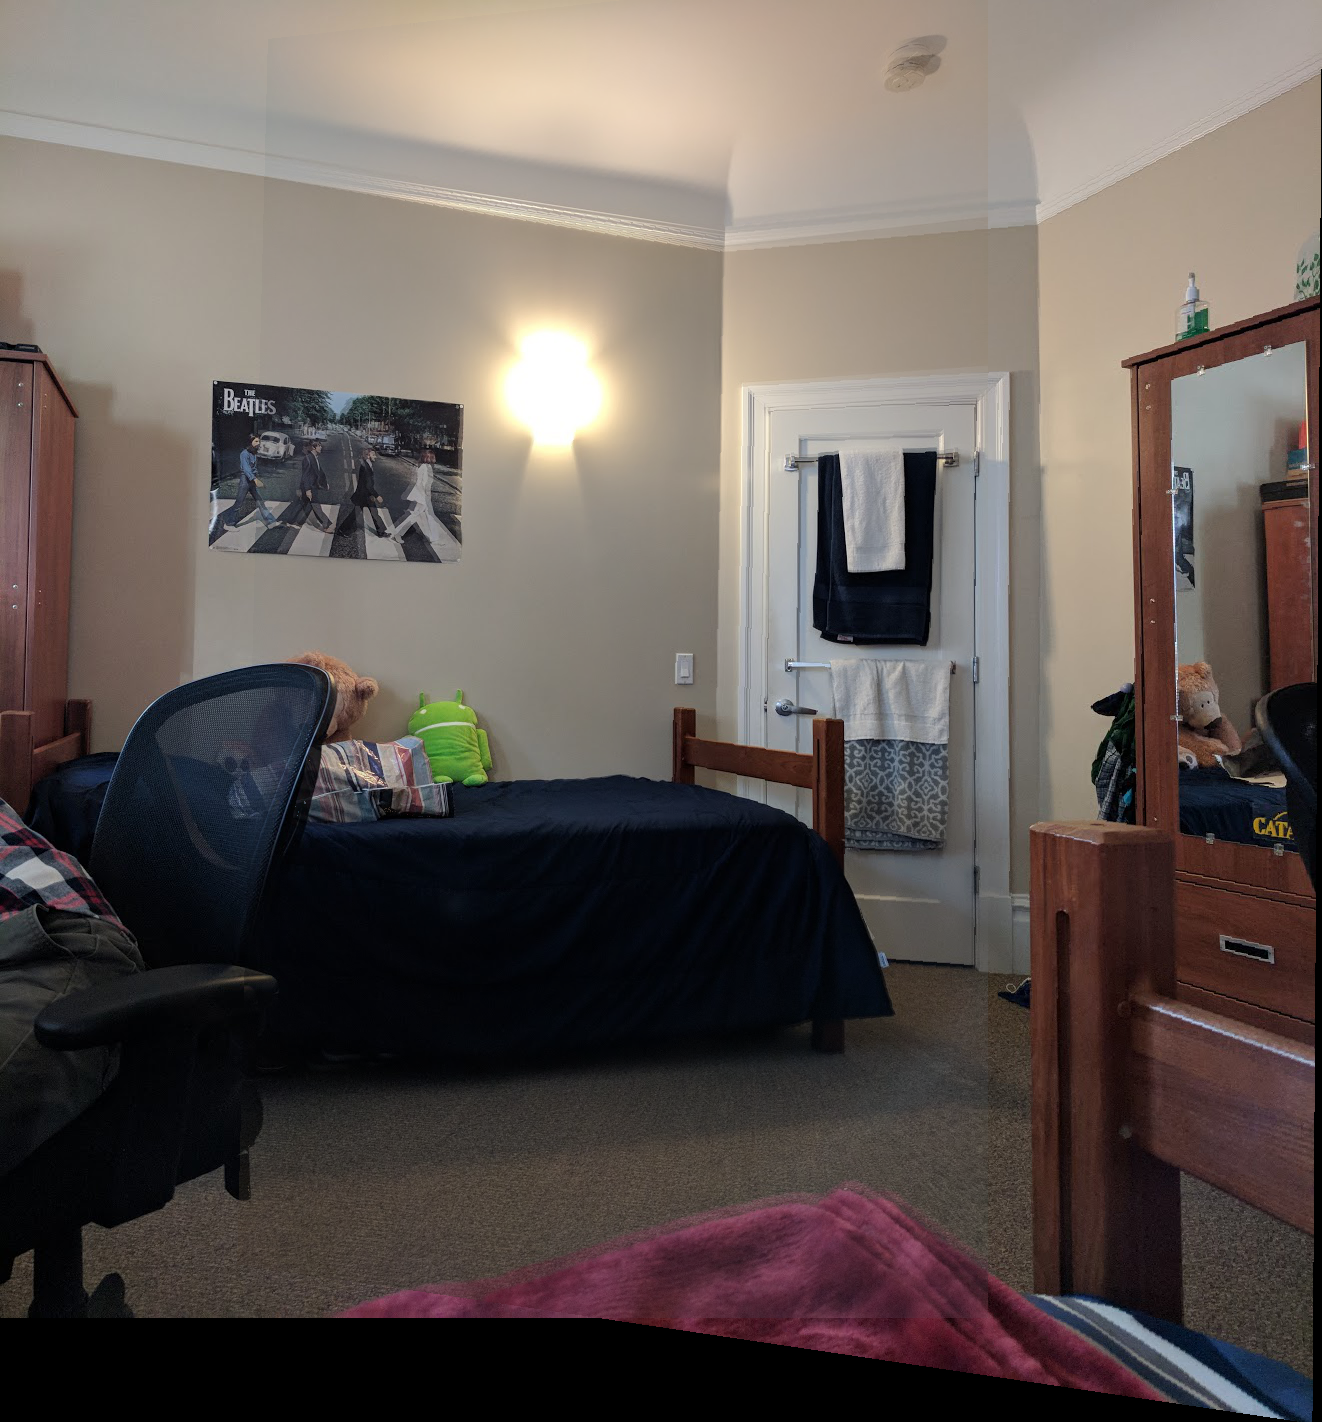 Automatic.
Finally, I applied the procedure to the following two images of my living room, which led to quite a drastic failure unfortunately. It seems that RANSAC for some reason ended up with a very poor choice in homography, as comparing the matched features yielded nothing out of the ordinary. Strange! The resulting autogenerated panorama is below:
Manual.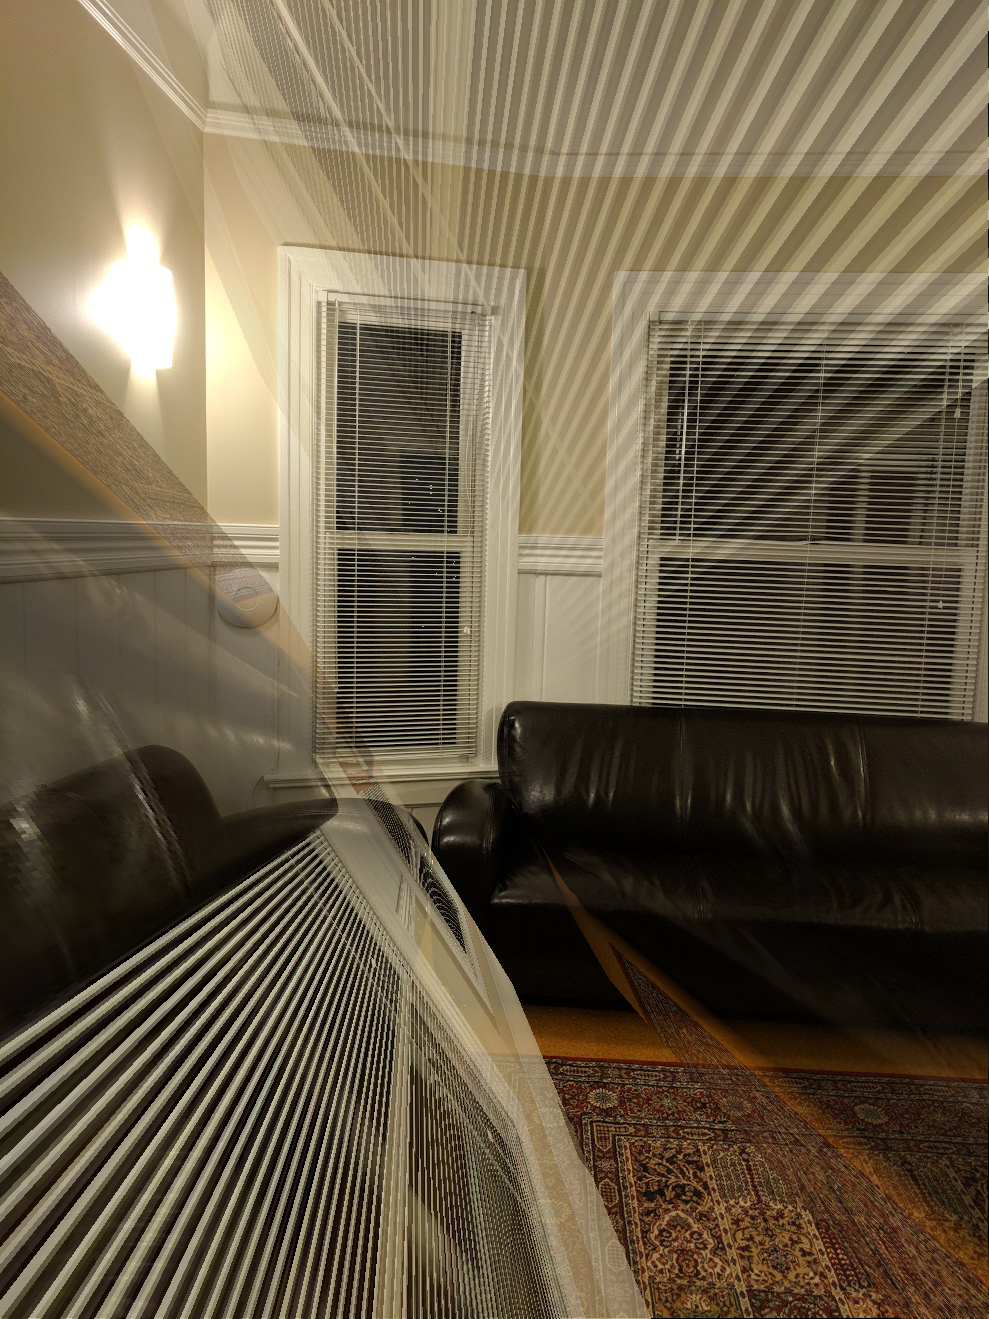 Automatic.
I implemented automatic panorama recognition by looking through images in a directory of images pairwise. If the number of matched features between the two images met some hyperparameter threshold number of features, the two were stitched together, and the process restarted. All the panoramas you see above were generated simply by calling my script on a directory of images!
I really hated the black regions of the images in places where the one image extends higher above or below another, and so I implemented autocropping for one of my own bells and whistles. The way this algorithm works is by comparing the corners of the images that have been mosaiced in various ways to determine minimal borders, and crops the image accordingly. Look at the result of autocropping displayed below:
So much more aesthetically pleasing!!
Next, I extended the single-scale implementation of autostitching to multi-scale. This is very similar, except we utilize a a Gaussian pyramid, where Harris corners are detected at every level of the pyramid and then combined appropriately. This yielded a slight but certainly marked increase in image alignment quality. Observe the result below:
Single-scale.
 Multi-scale.
Note the difference in blurriness in the shrubbery in the bottom middle of the image.
I made my feature matching process rotationally invariant by utilizing the technique detailed at this link. Essentially, the eigenvectors of the matrix computed by Harris corner detector can be used to directly compute a rotation angle for each patch, such that each patch is aligned with the others appropriately. Note the result of autostitching with rotationally-invariant feature matching below:
Original.
 Rotationally invariant.
Here, the rotational invariance doesn't make as big of a difference when added on top of multi-scaling, but the difference is still clear. Interestingly enough, the alignment seemed to vary quite markedly based on the randomness induced by RANSAC. It is pretty universal across the alignment of these images of Monterrey Bay that the shrubbery in the front was blurry - once when running with rotational invariance, the shrubbery was perfectly aligned while there were small perturbations in other regions of the image. Fascinating!
Overall, I think this was my favorite project of the course. There are so many small details that can iteratively make the image quality better and better! The high-level conceptual ideas behind the theory along with the lower-level mathematics that go hand-in-hand with it are remarkably elegant, and I was very impressed with the effectiveness of the algorithm I implemented. My favorite part was the feature matching - it was so satisfying to display the points and see everything match up between the two images about to be mosaic-ed! The project went fairly well, and as the results above show, as I implemented more and more features the results got iteratively better and better looking. The only hitch was the failure case with building a panorama of my living room, but I'll not let this disrupt my personal satisfaction with the results. 😊😊