CS 194-26 Final Project: Fake Miniatures and Seam Carving
Joey Barreto
Fake Miniatures
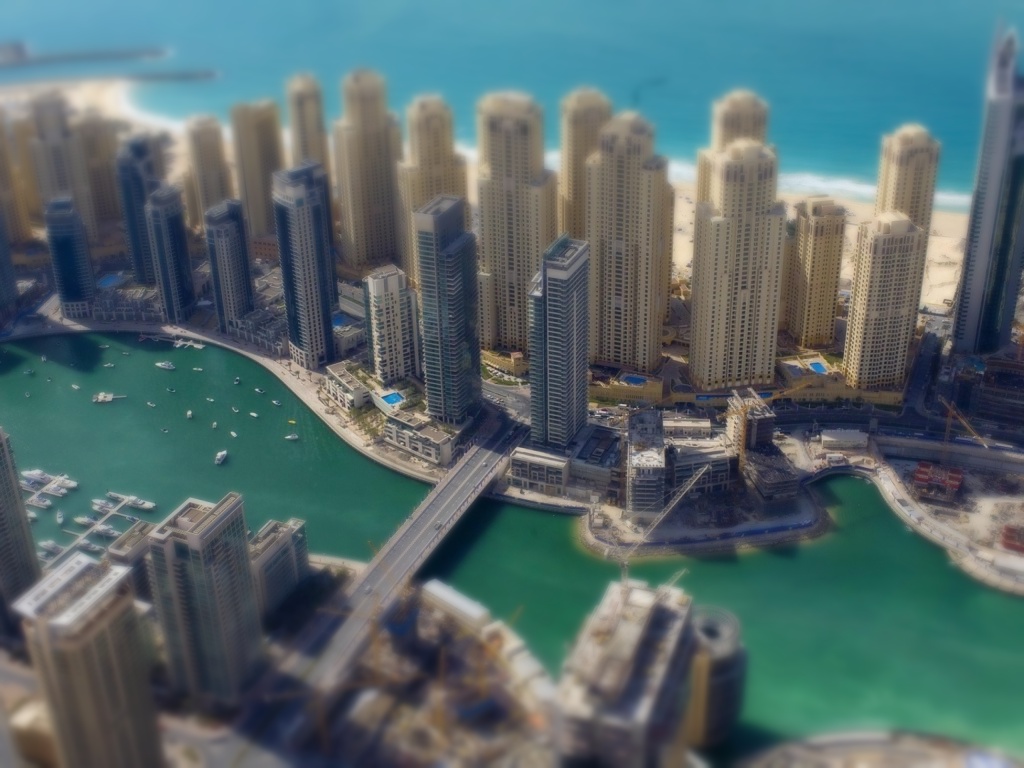
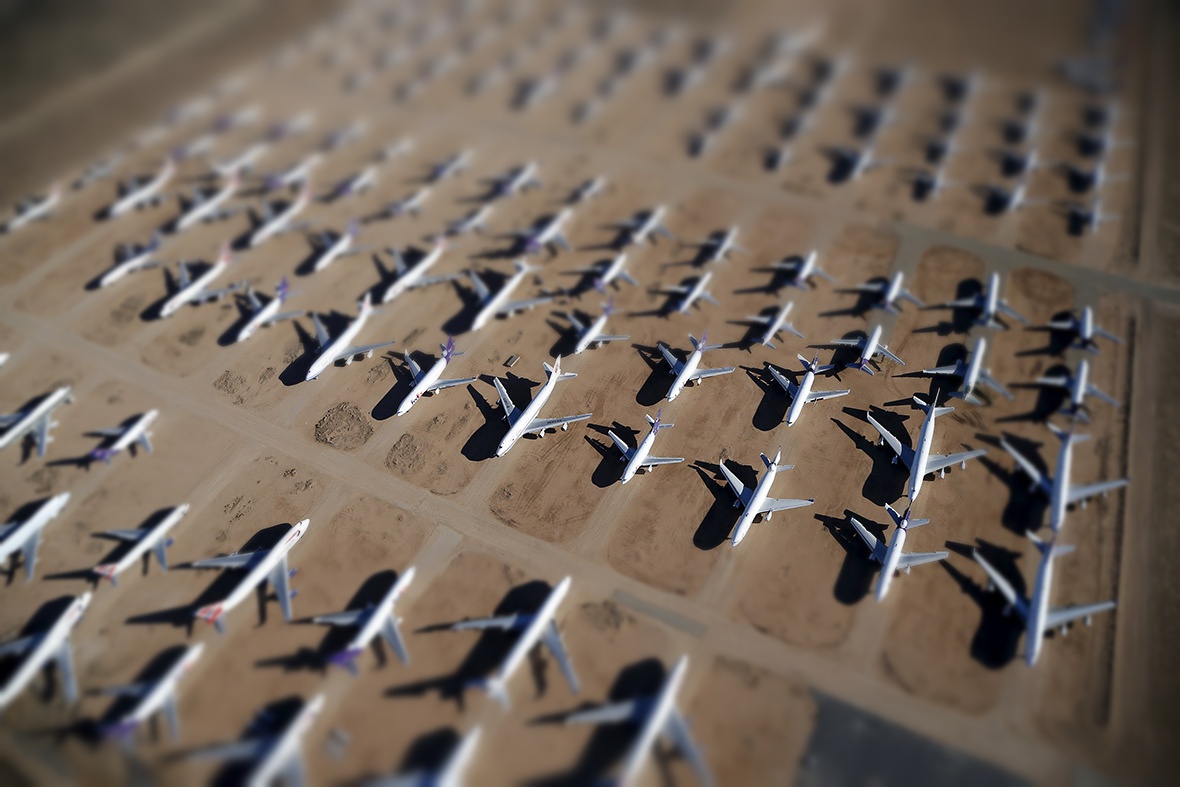
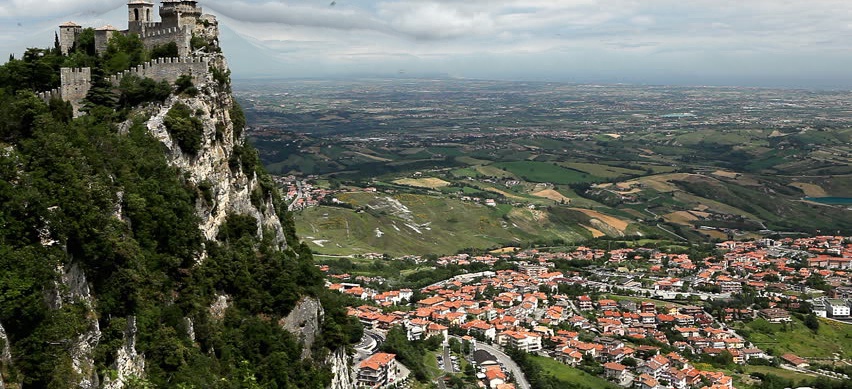
Taking a photo on a wide aperture setting allows light to enter at more oblique angles, contributing to larger circles of confusion for objects farther from the focal plane. Increasing the magnification of the subject by moving the subject closer to the lens produces a similar effect. Thus, we are used to seeing narrow depths of field with lots of blur in images with close subjects and wide apertures. If we take images of further subjects with narrow apertures to bring the whole image into focus, we can selectively add in blur to make it seem like the whole scene was much closer to the camera, creating a 'fake miniature' effect. Since depth is not encoded in images and can only be inferred by image content, this trick works best for scenes taken from a high point of view so that roughly features at the bottom of the image are closer to the viewer than at the top, suggesting that depth increases with in-image height. We then want to choose the focal plane of the image, which in this case would be a line at a certain depth (height) in the image. A region of small width is chosen about the line to define the field of view, and the rest of the image is blurred as the distance from the DOF region increases. The result is that only the region around the selected depth remains in focus, which simulates the effect of a wide aperture, which in turn makes the subject in focus feel very close, and necessarily small.
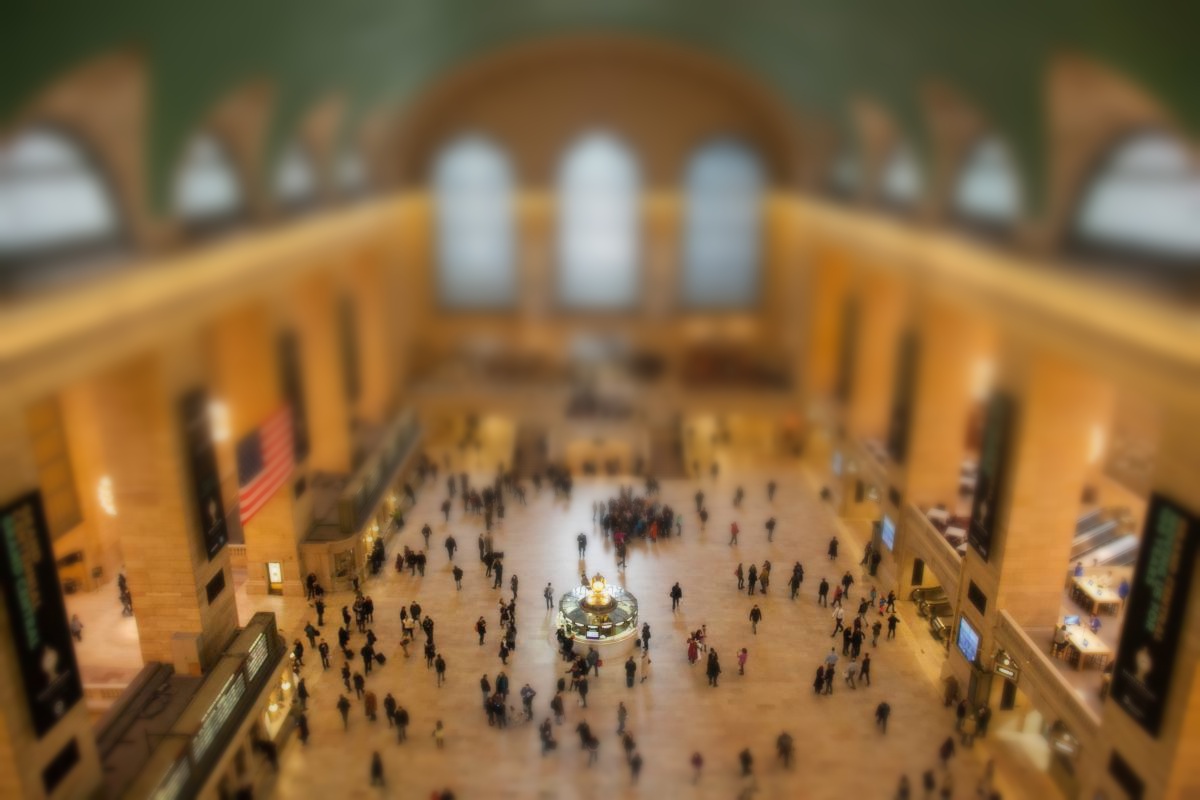
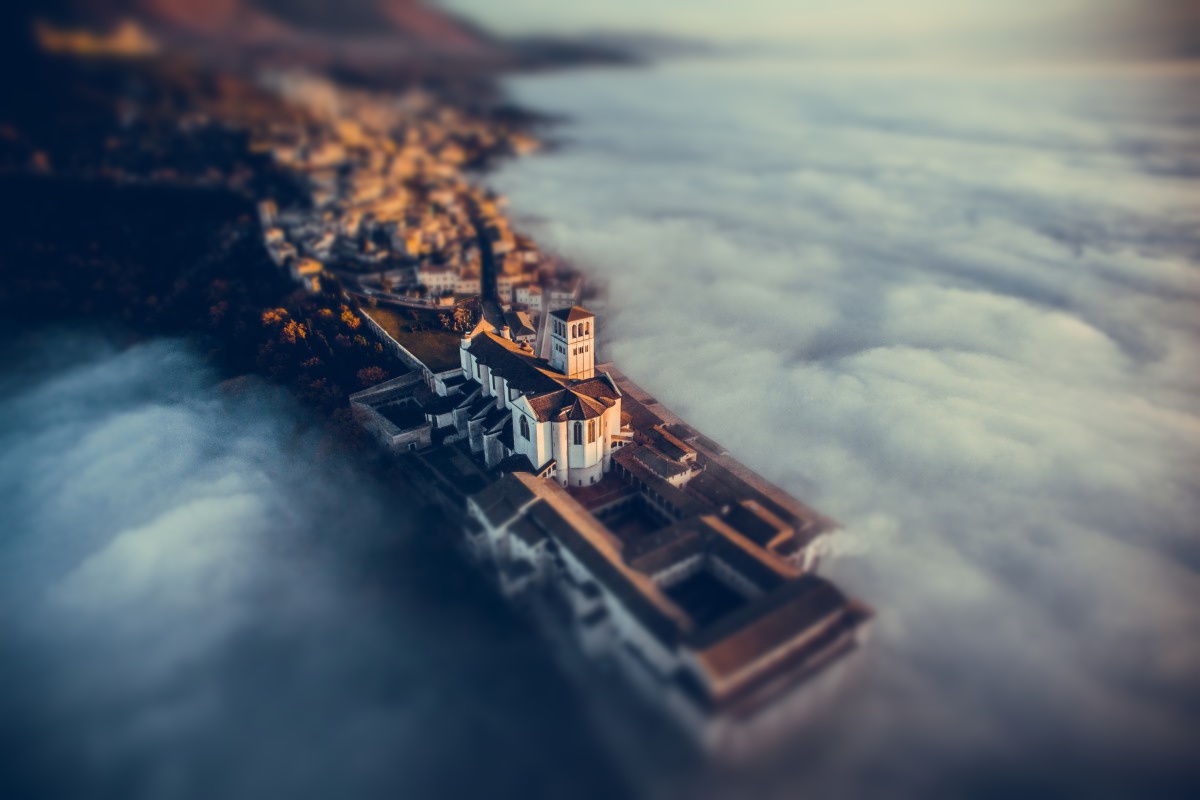
In the images below I manually set thin rectangular regions to define the fields of view, and combined a sequence of blurred images and alpha masks to increase the blur with distance from the DOF regions. The best results are achieved with prudent image choice and DOF region selection. Having tall features in the foreground complicates the DOF regions. I sometimes used ellipsoidal or sheared DOF regions to keep certain image features in or out of focus.
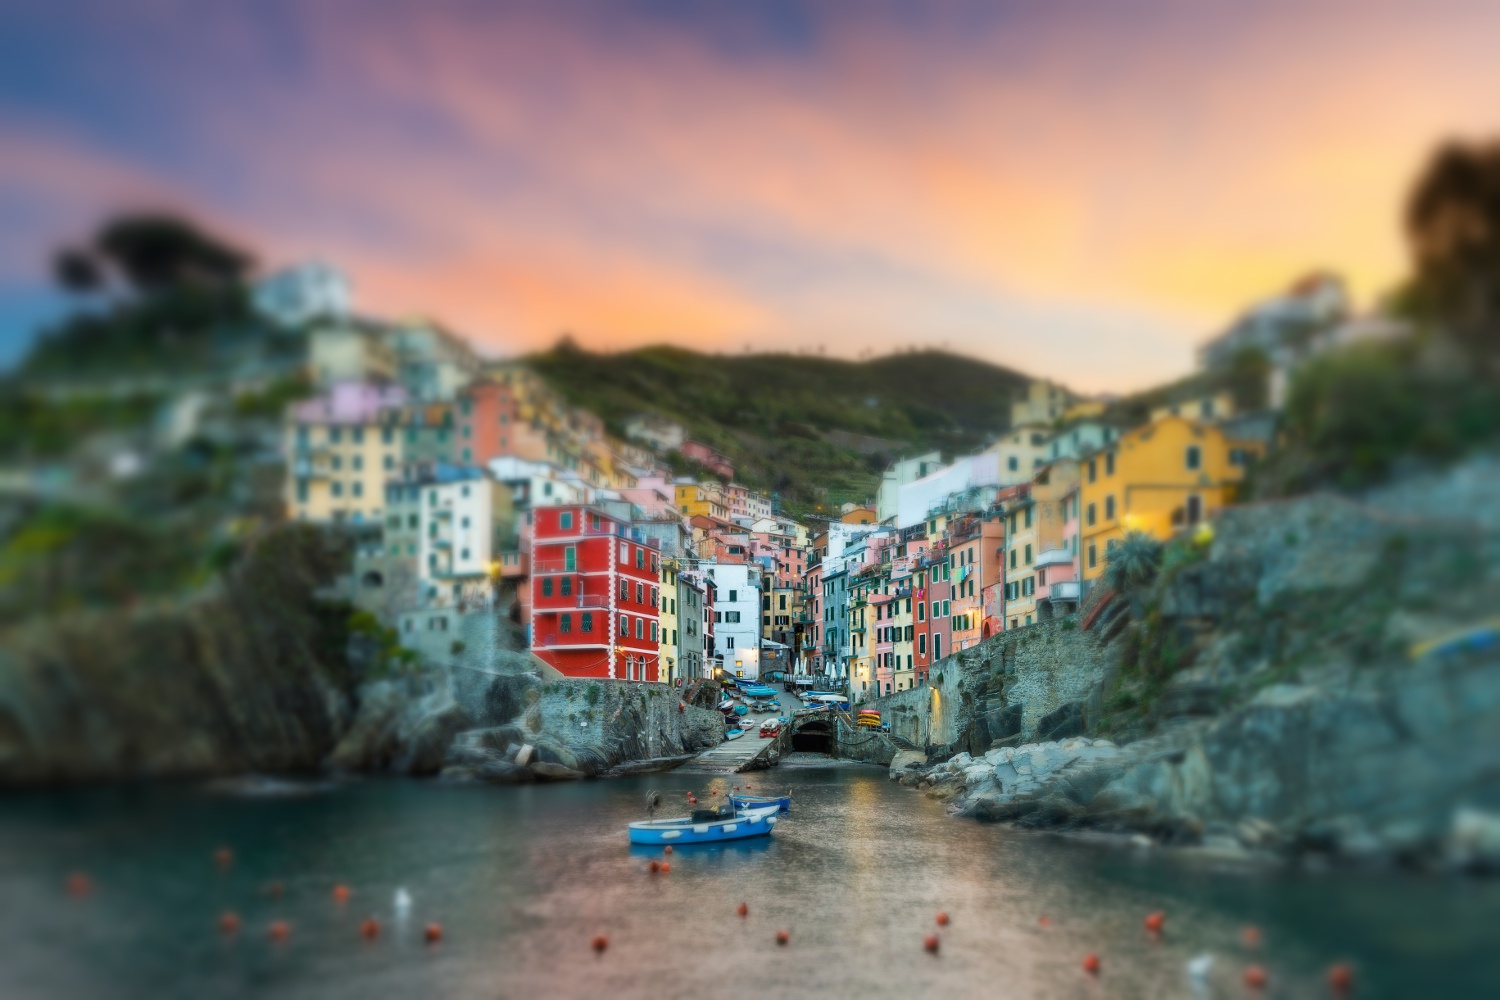
Good examples
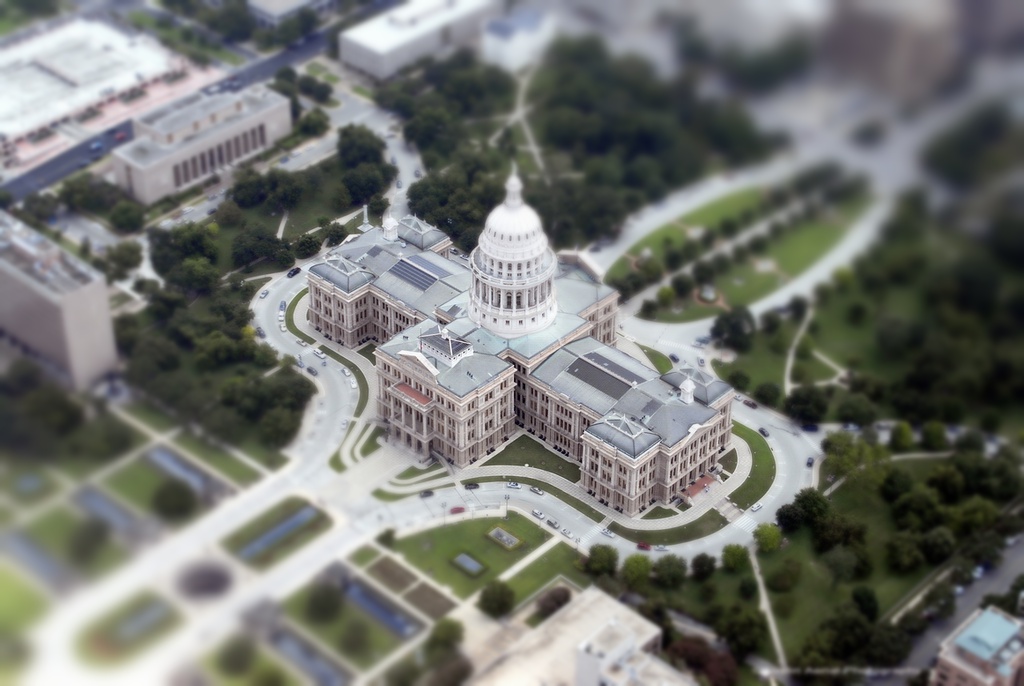
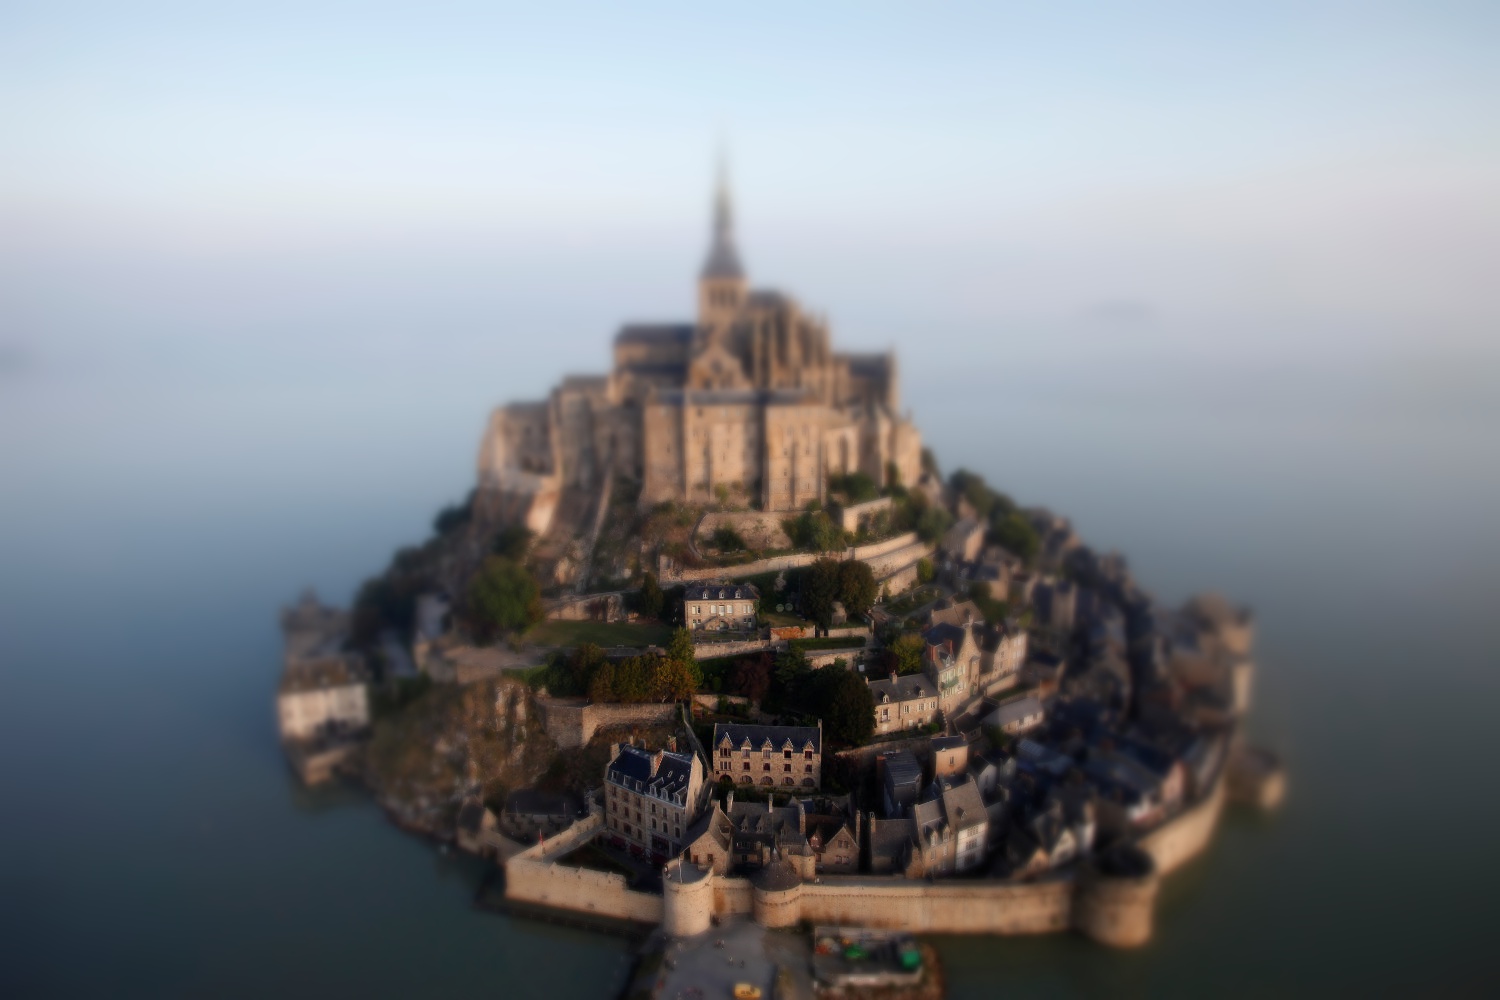
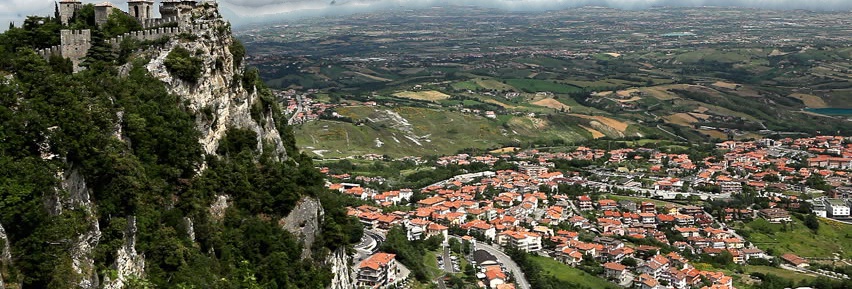
Bad examples
Depth doesn't vary well with in-image height
|
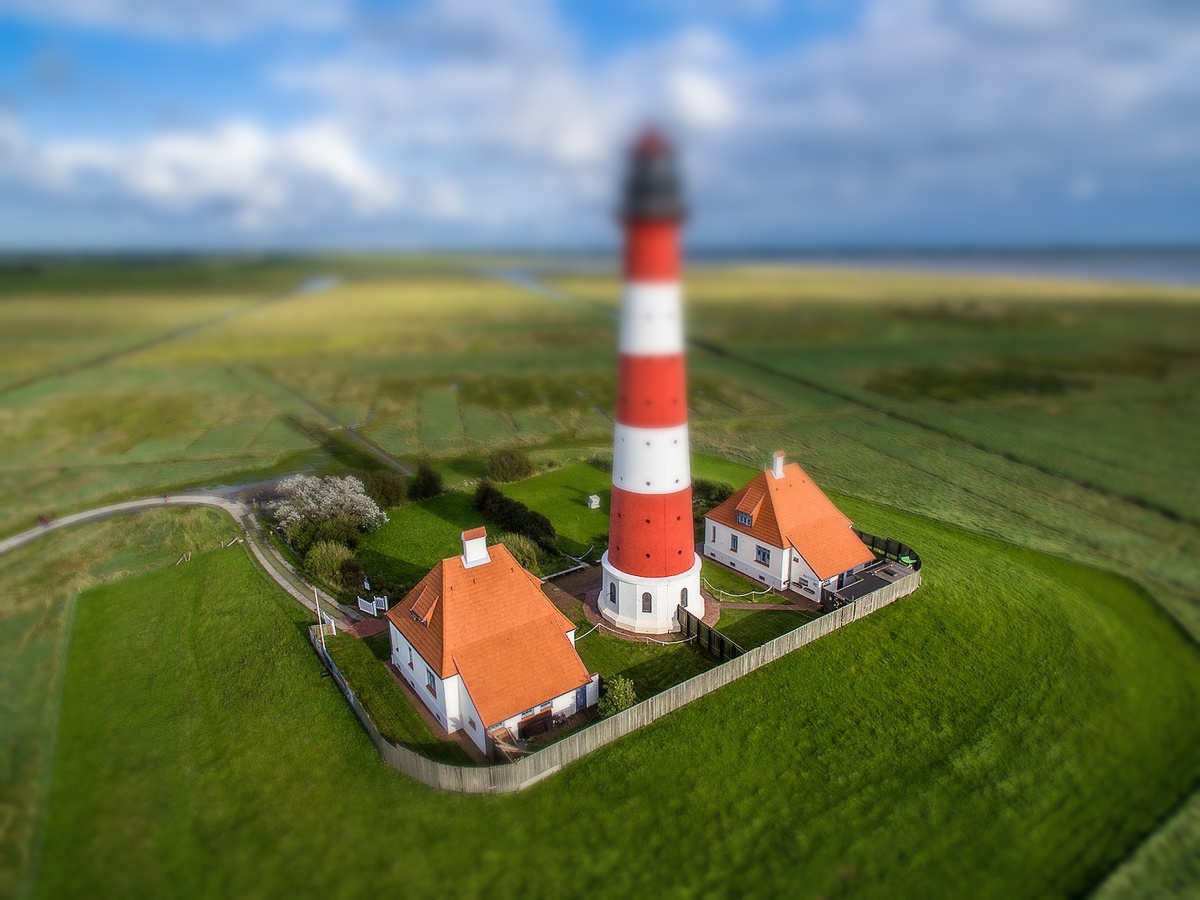
Image foreground extends too far vertically
|
Seam Carving
Seam carving is a content-aware image resizing operation. Seams are eight-connected paths of pixels that run either vertically or horizontally through the image. The nth pixel of an eight-connected path must be one of the eight neighbors of the n-1th pixel, with the additional seam constraint that the next pixel in the path can't occupy a row (column) that a previous seam pixel already occupies, for vertical (horizontal) seams. The seams are paths of lowest energy through the image to be resized, where the energy function here is |dI/dx| + |dI/dy|, the sum of the magnitudes of the x and y image gradients. The seams are found via dynamic programming: first, the image is traversed to assign each pixel the total cost of the minimum seam reaching it, and then the image is covered in reverse, choosing the pixel of minimum energy from those available on each row/col. The goal is to remove entire seams one by one until the desired new dimension size is reached, with the energy being recomputed each time. The idea is that since the energy function is proportional to the image gradients, regions of low energy are homogenous and pixels can be removed from them less noticeably than from regions with lots of details, i.e. high gradients. However, we can't just remove the lowest energy pixel in each row/col because that does not regard the structure in the image, which also needs to be considered--unnoticeable pixel removals can add up and add noticeable effects elsewhere. Using seams ensures that after the removal the two remaining 'halves' of the image still match up decently.
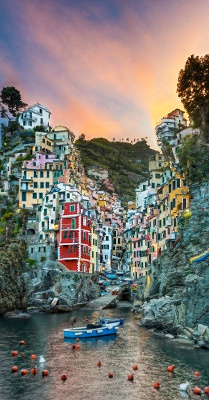
Resizing works best in images with features surrounded by lots of homogenous space that can be carved out while keeping the subjects of the image intact. Naturally, if you shrink too much, or have lots of detail that can't all be preserved, the seams will start passing through buildings, faces, etc. and cause distortion. This can actually be used for object removal, but that will not be implemented here.
The vertical seams cause all of the buildings and windows to become closer together, but there are enough avenues for the seams to prevent too much noticeable distortion. Also, seams tend to add a sort of cubist distortion which I think actually blends in with the content of this image.
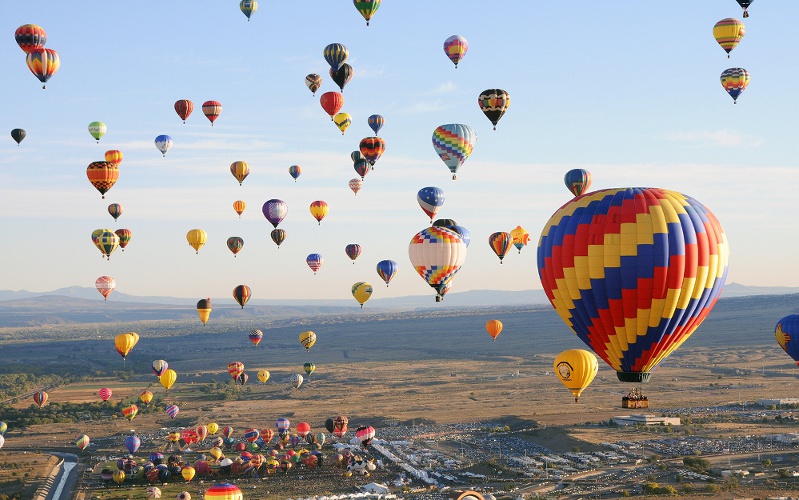
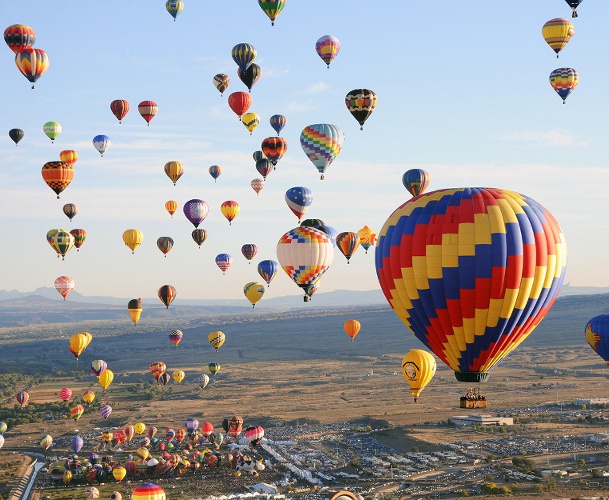
All the balloons grow closer to each other because the low-energy sky in between is removed.
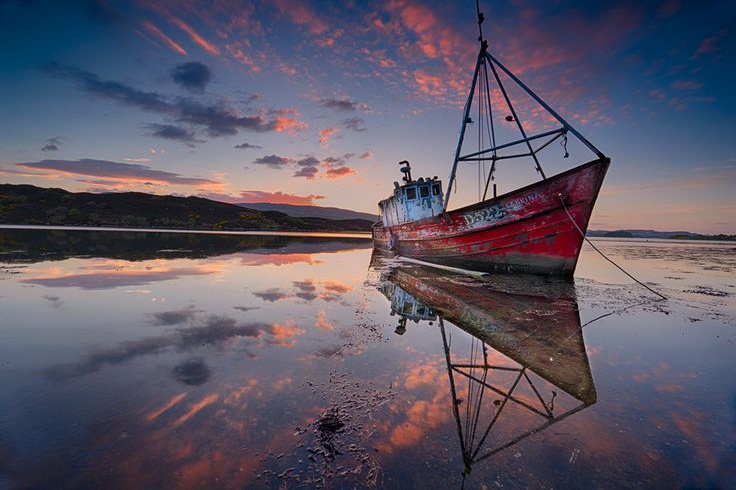
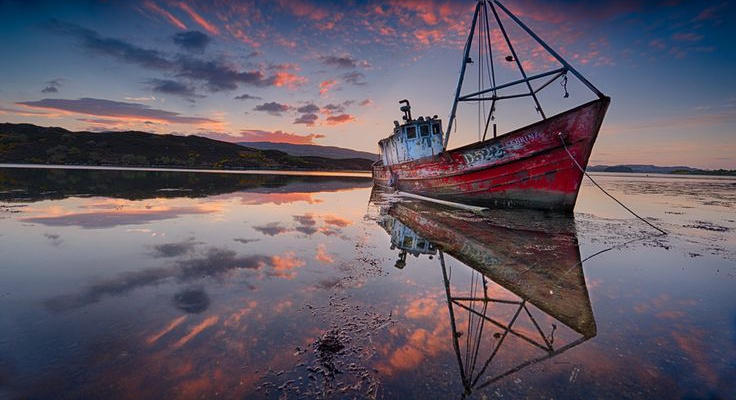
The image is roughly symmetric about a horizontal axis due to the reflection in the water, which is evident in the distortion in the poles of both the boat and its reflection. Also, we see that non-axis-aligned thin lines suffer because even a few seams will cause misalignment in their shape.
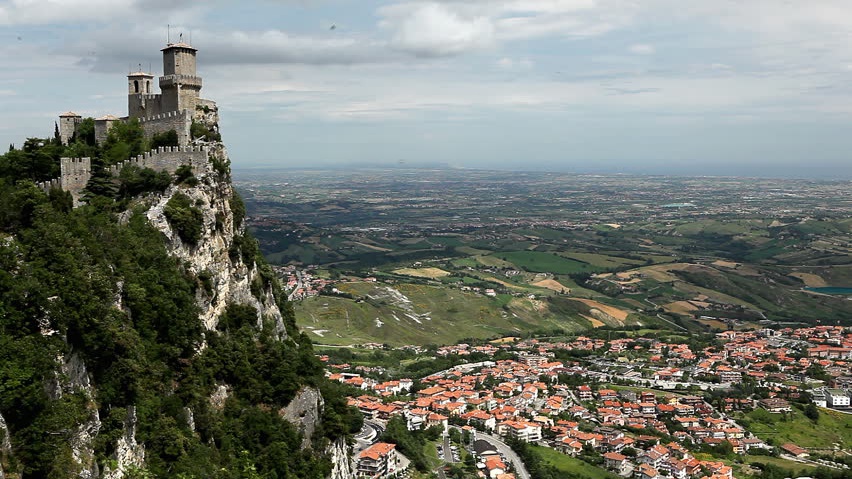
Here there is unfortunately a lot of detail in the towers and mountains on the left that span the image vertically, so the horizontal seams in the sky still end up causing distortion because the seams can't change their direction more sharply than 45 degrees.