Running the Code
numpy and skimage are needed to run the code. Matplotlib is needed if new images are used.
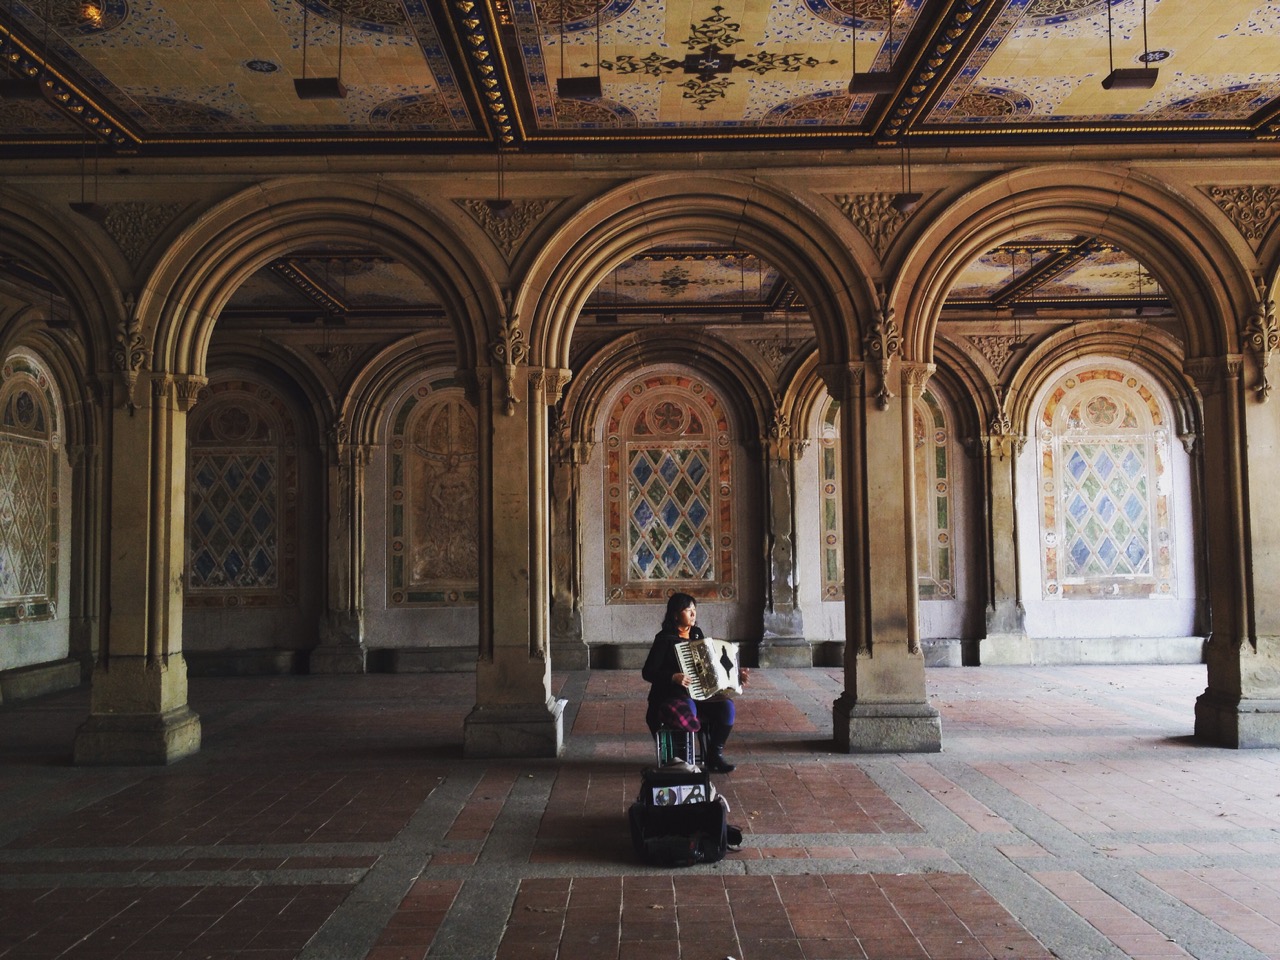
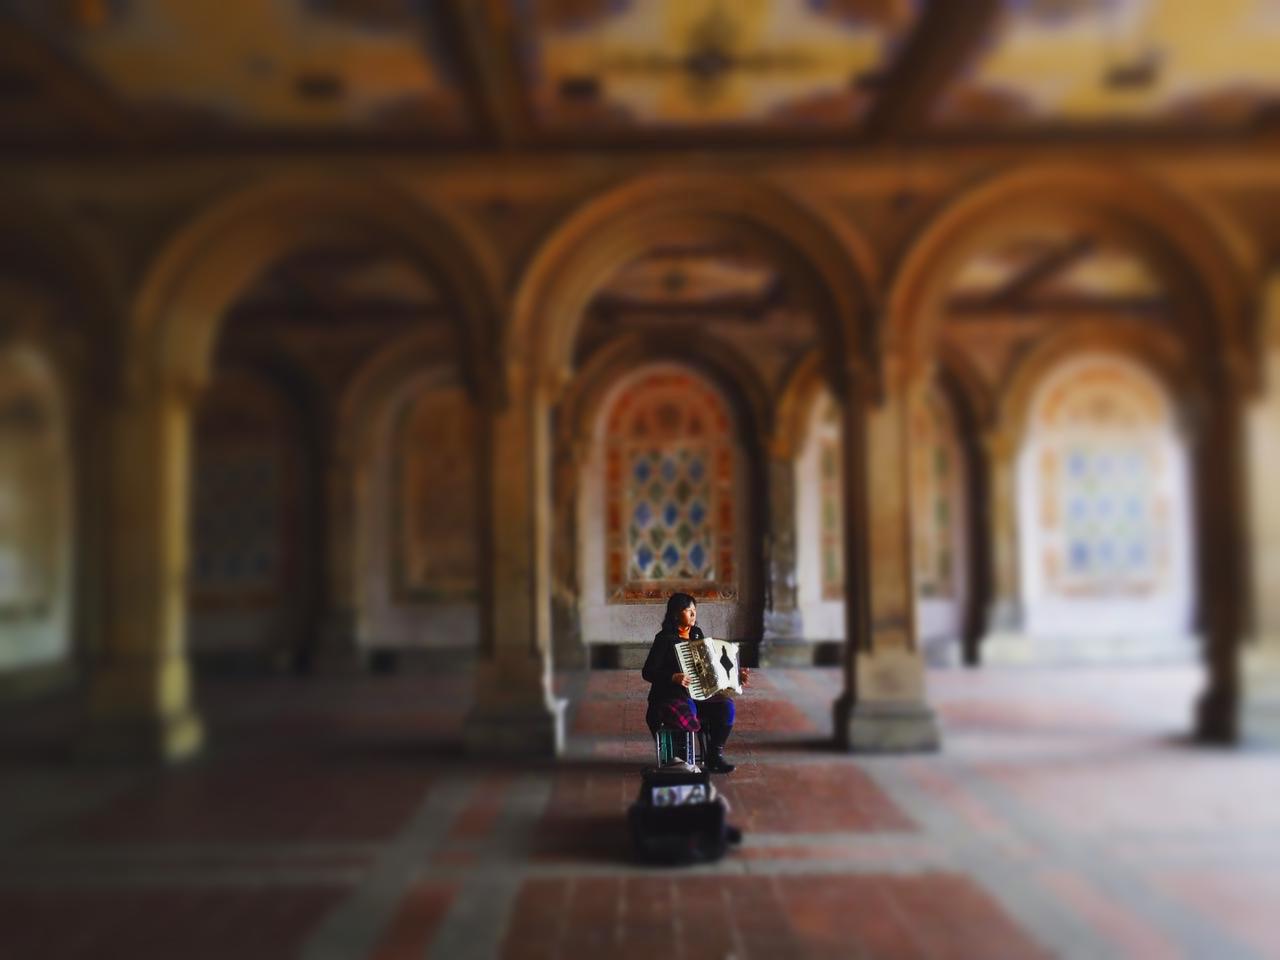
Fake Miniatures
In this project I create fake miniatures by simulating the effect of selective focus cameras, also known as Tilt Shift. The technique is to narrow the perceived depth of field in the scene and create the illusion that the lens is very close to the subject. The photo becomes increasing blurry the further it gets from the focus plane. Note that in an actual camera focusing on a plane means that all objects in that plane are in focus.
Usually, the effect is achieved using photo editors like GIMP or Photoshop. I fake this process by approximating the focus plane (choosing a focus line and defining a mask around it), and repeatedly convolve Gaussian filters with various portions of the photo (increasing the number of convolutions for parts of the image further from the focus plane) to create a "miniature"-ized effect. Color filters are also used to increase the miniature effect.
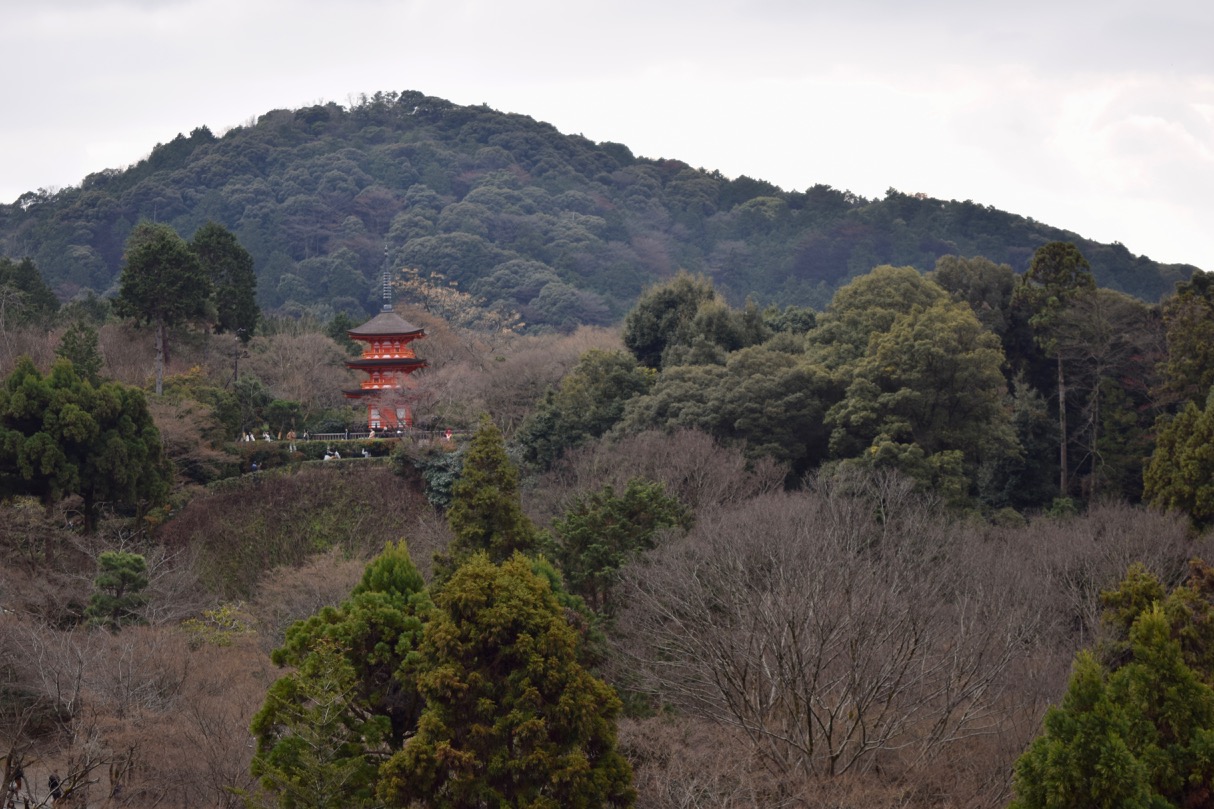
The accordion player in NYC and the temple in Japan were photographed by myself. Other photos are taken from the web.


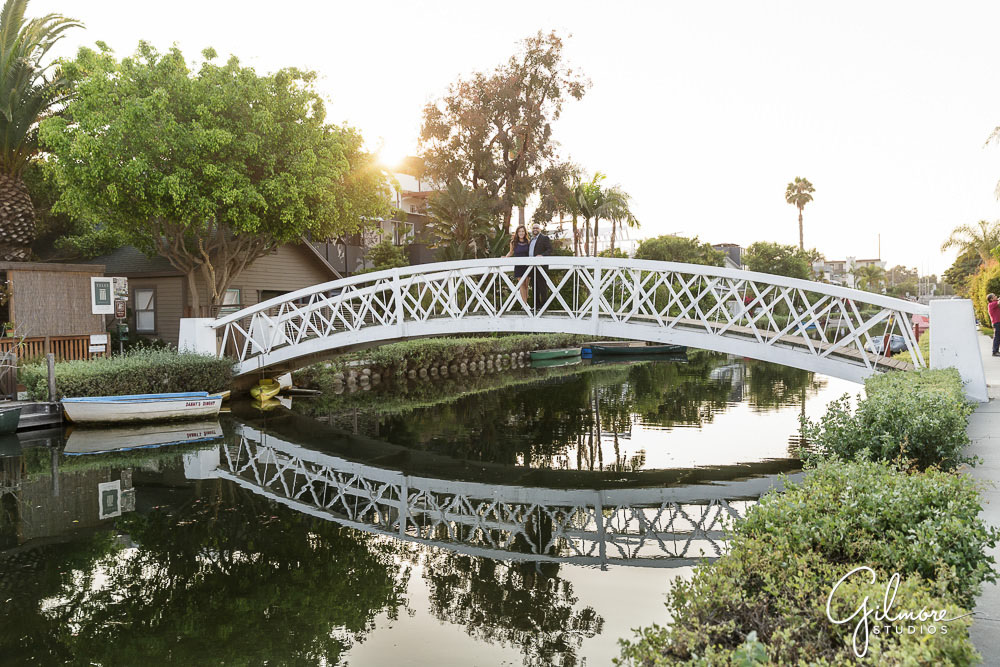
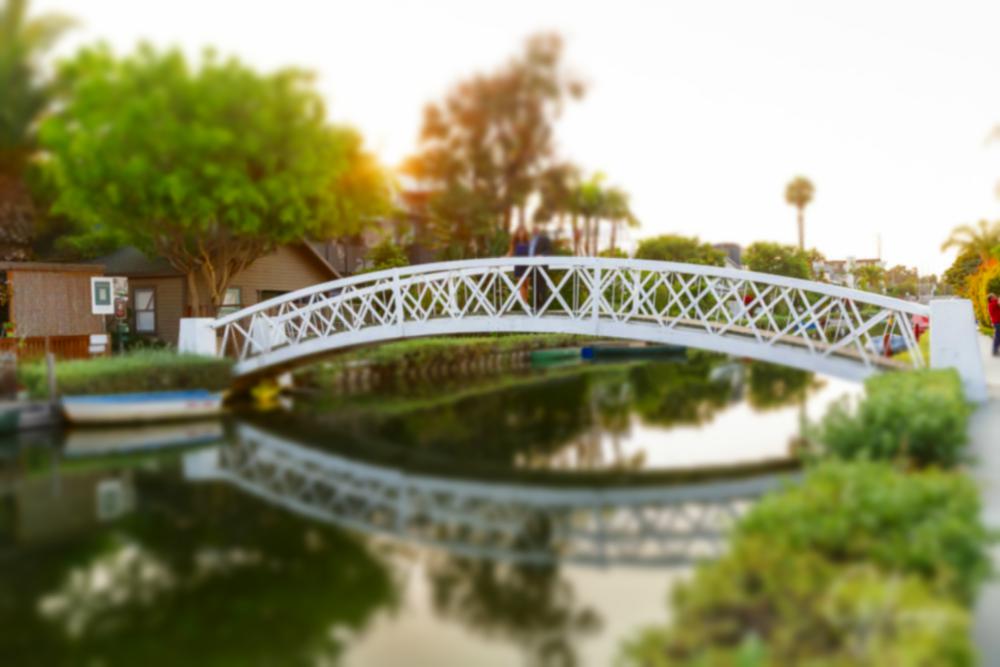
The following two examples were perhaps less successful, due to the depth of field of the actual scenes being a little more complex. The overlapping trees in both examples made the simple rectangular focus plane I chose slightly too rough of an approximation, despite my attempt to isolate the objects in both examples. Still, a miniature-like effect is somewhat achieved in the processed photos, albeit requiring a bit more imagination.


Dolly Zoom (Vertigo Shot)
To achieve what is known as the dolly zoom effect, aka a "vertigo shot" (nicknamed as such because the camera technique was made famous by a scene in Hitchcock's film Vertigo), one takes a series of photos of the same object but with a different FOV.
In the most classic form, the camera is pulled away from a subject while the lens zooms in, or vice versa. During the zoom, the perspective distorts continuously, e.g. the background appears to change in size relative to the subject. Seeing the background perspective change without a change in size in the subject can be unsettling.
It is important to use a camera with a real zoom lens in order to achieve this effect. I used a Nikon D3300 with the 18-55mm zoom lens; in each photo series below, each series starts from a photo taken with a completely unzoomed lens, to a photo taken with the zoom lens fully extended.
First example:
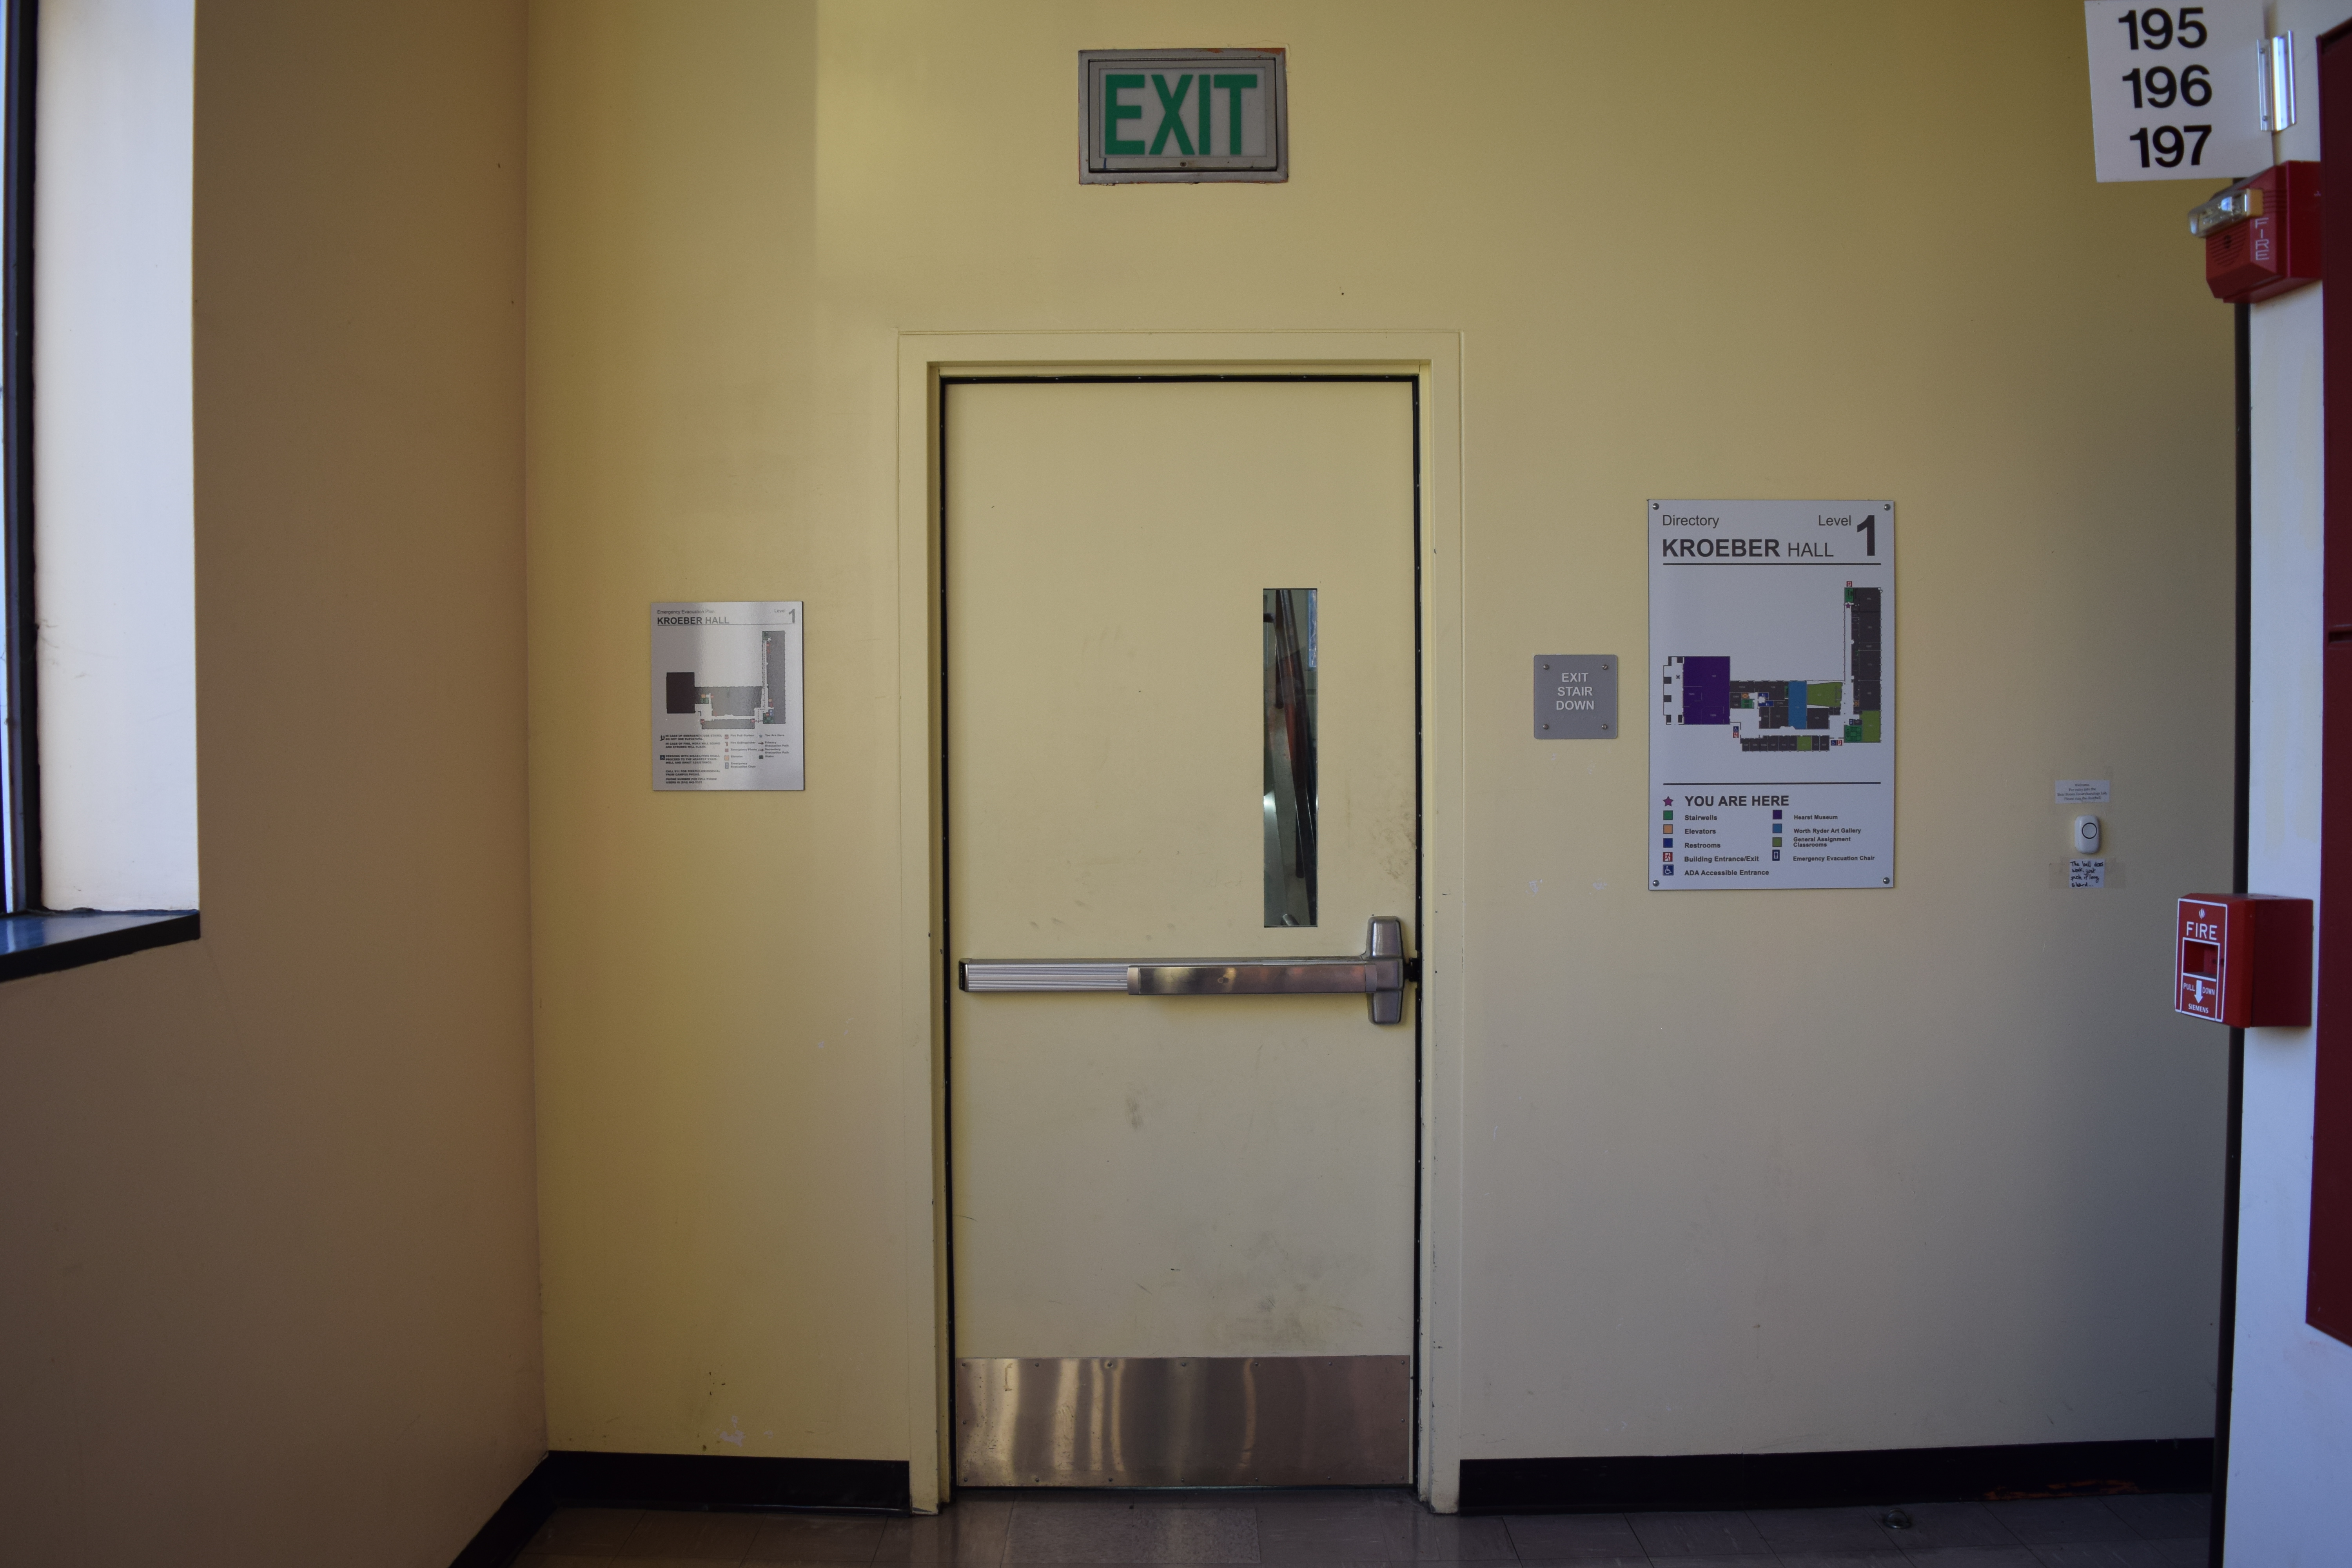
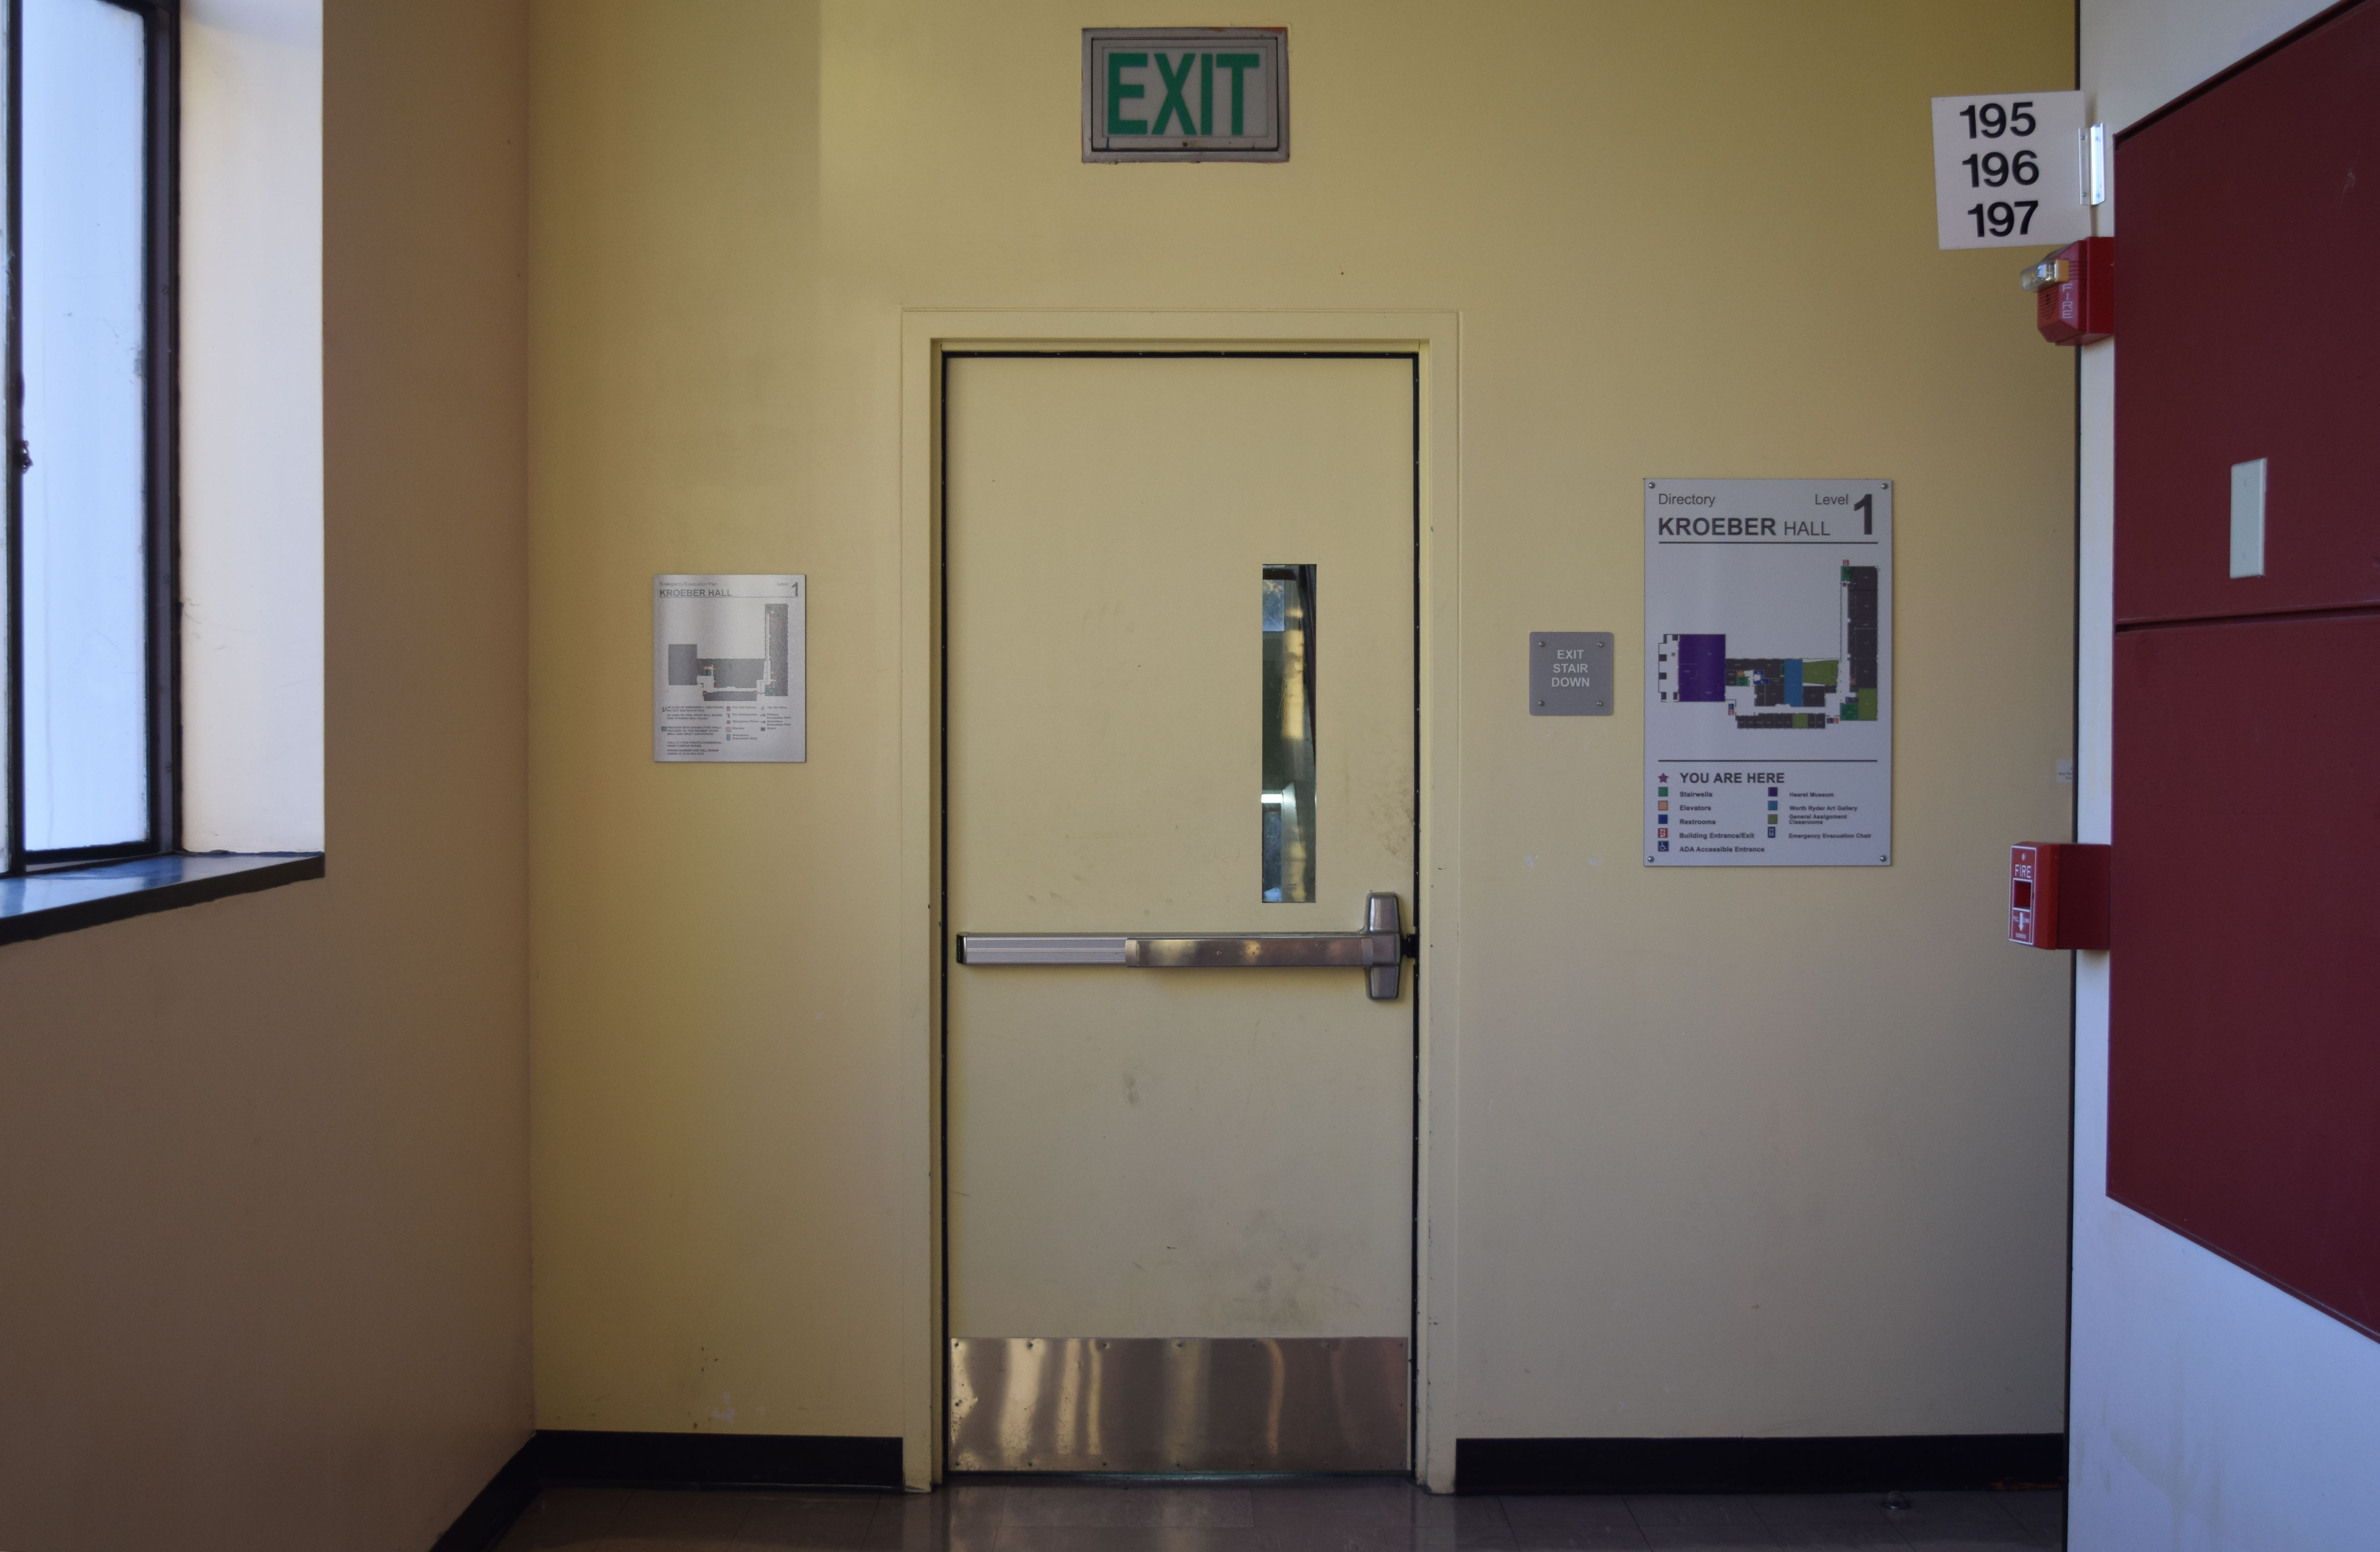
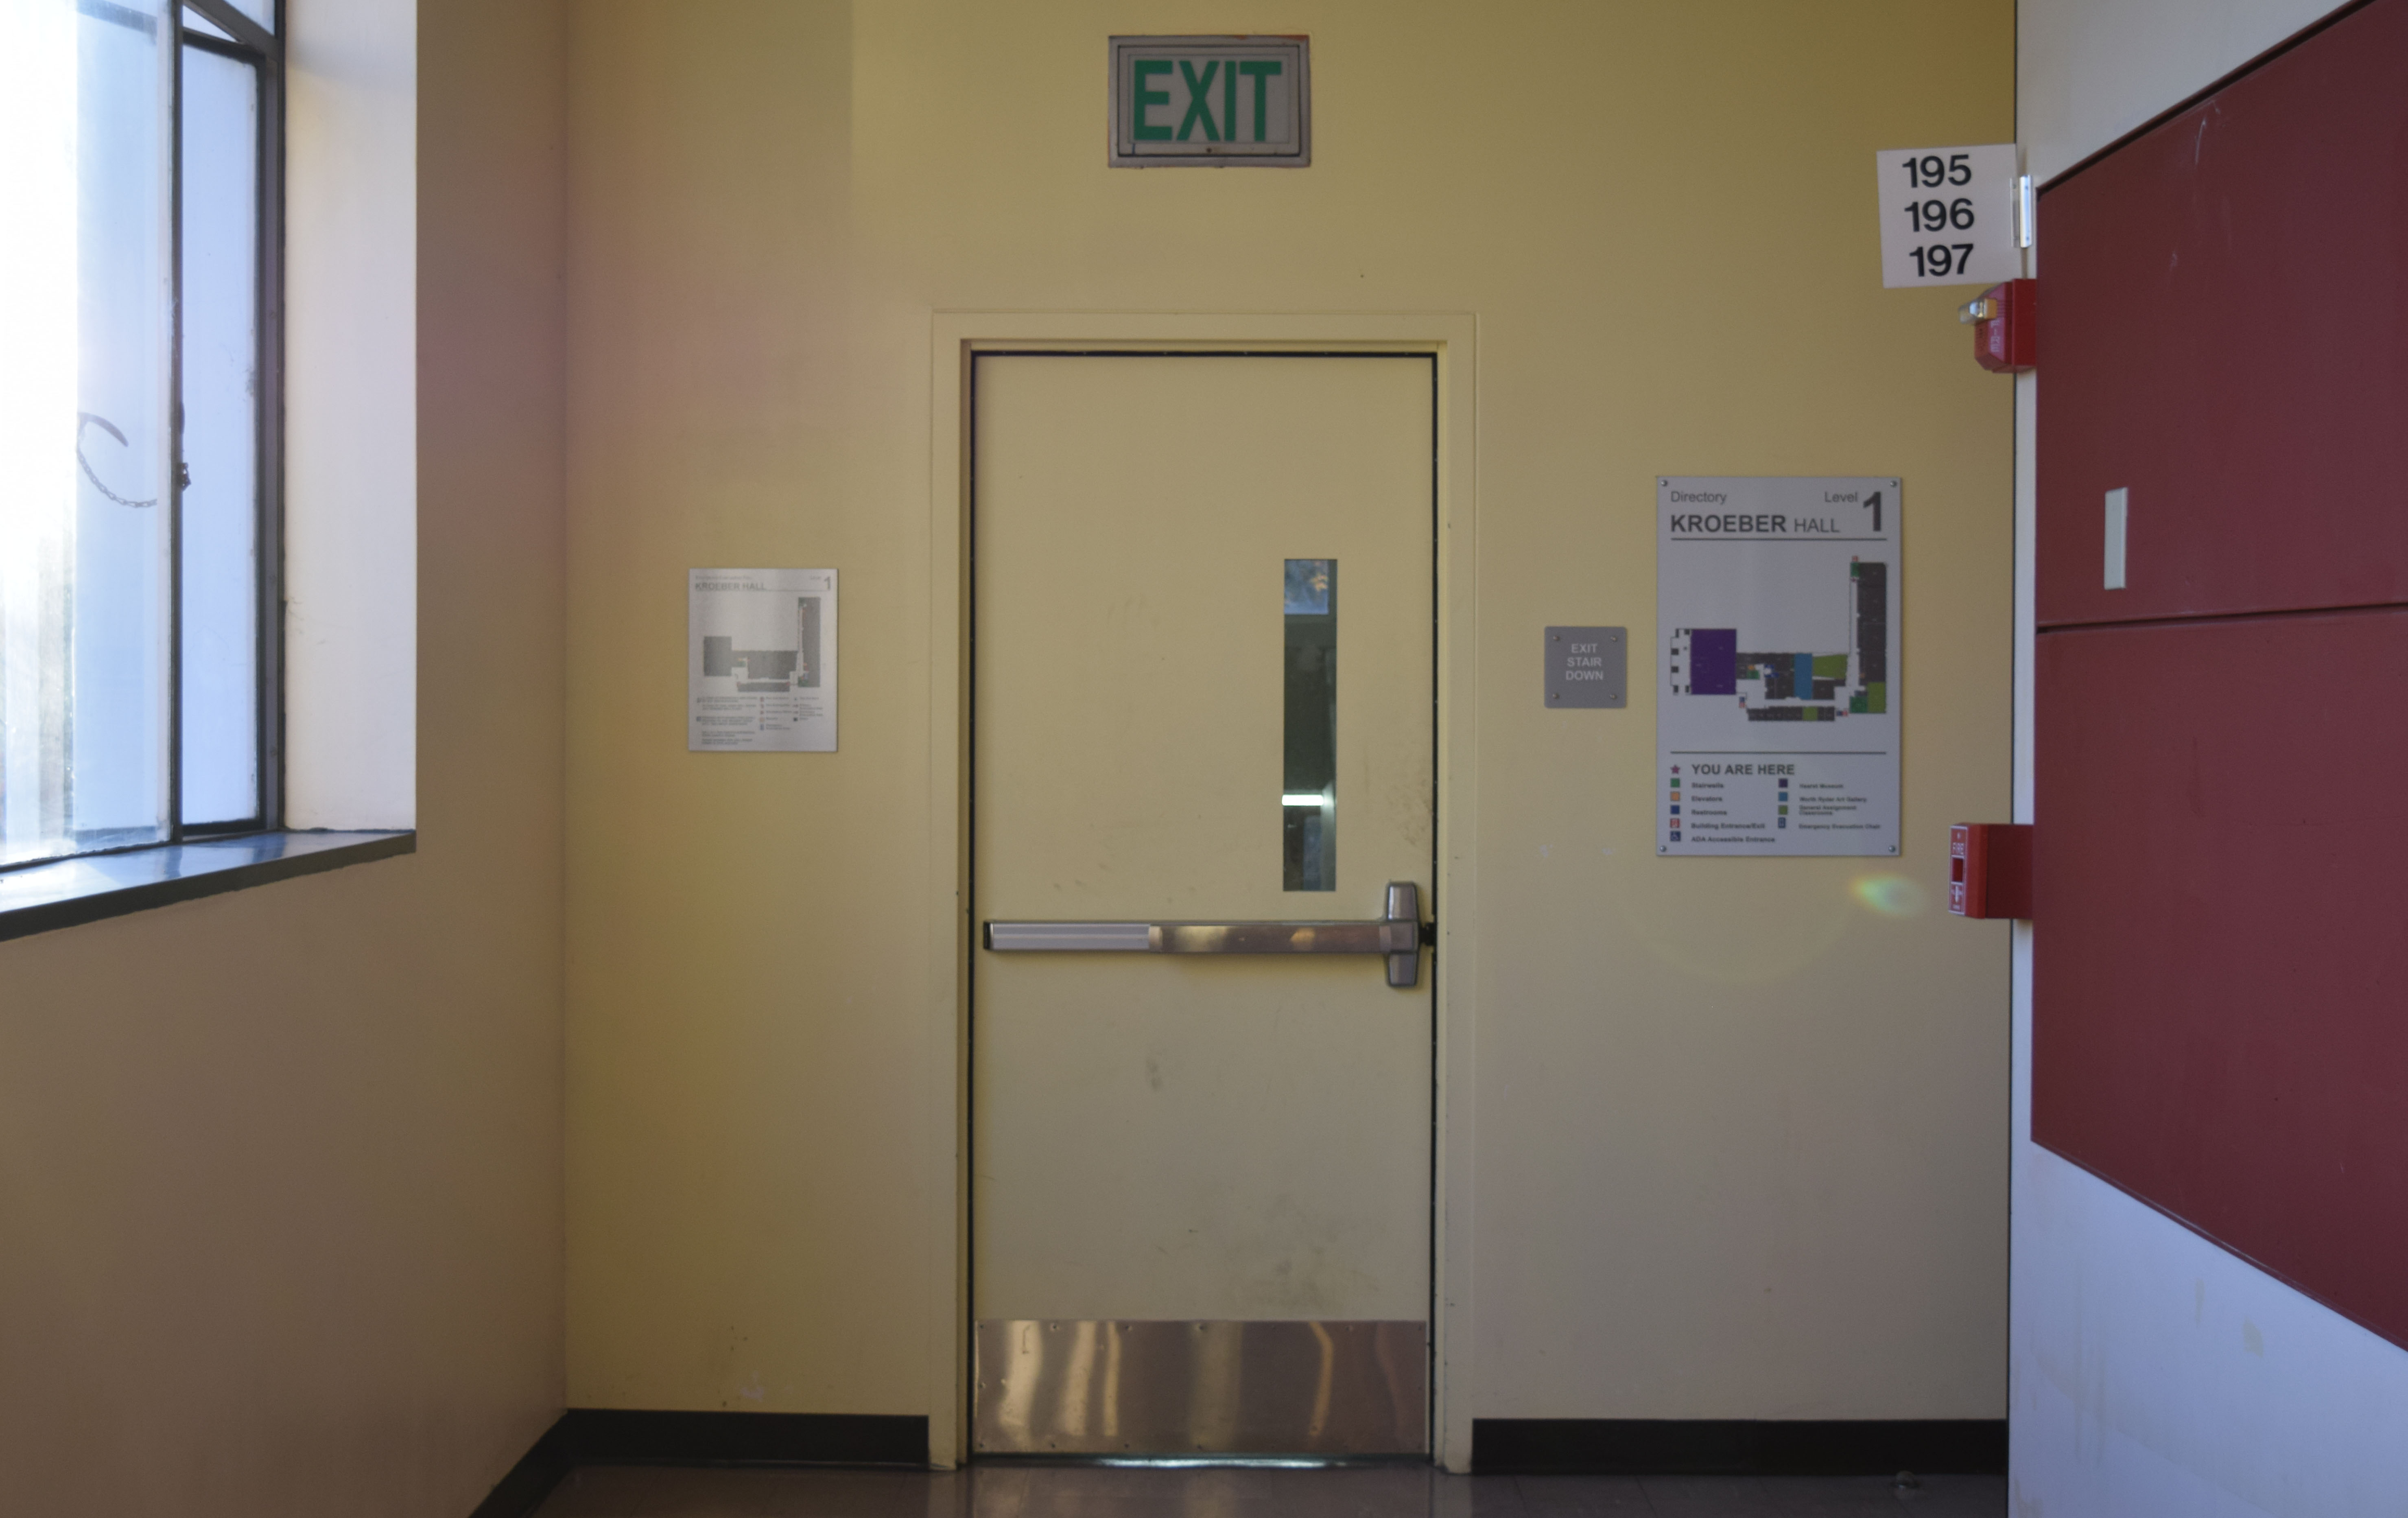
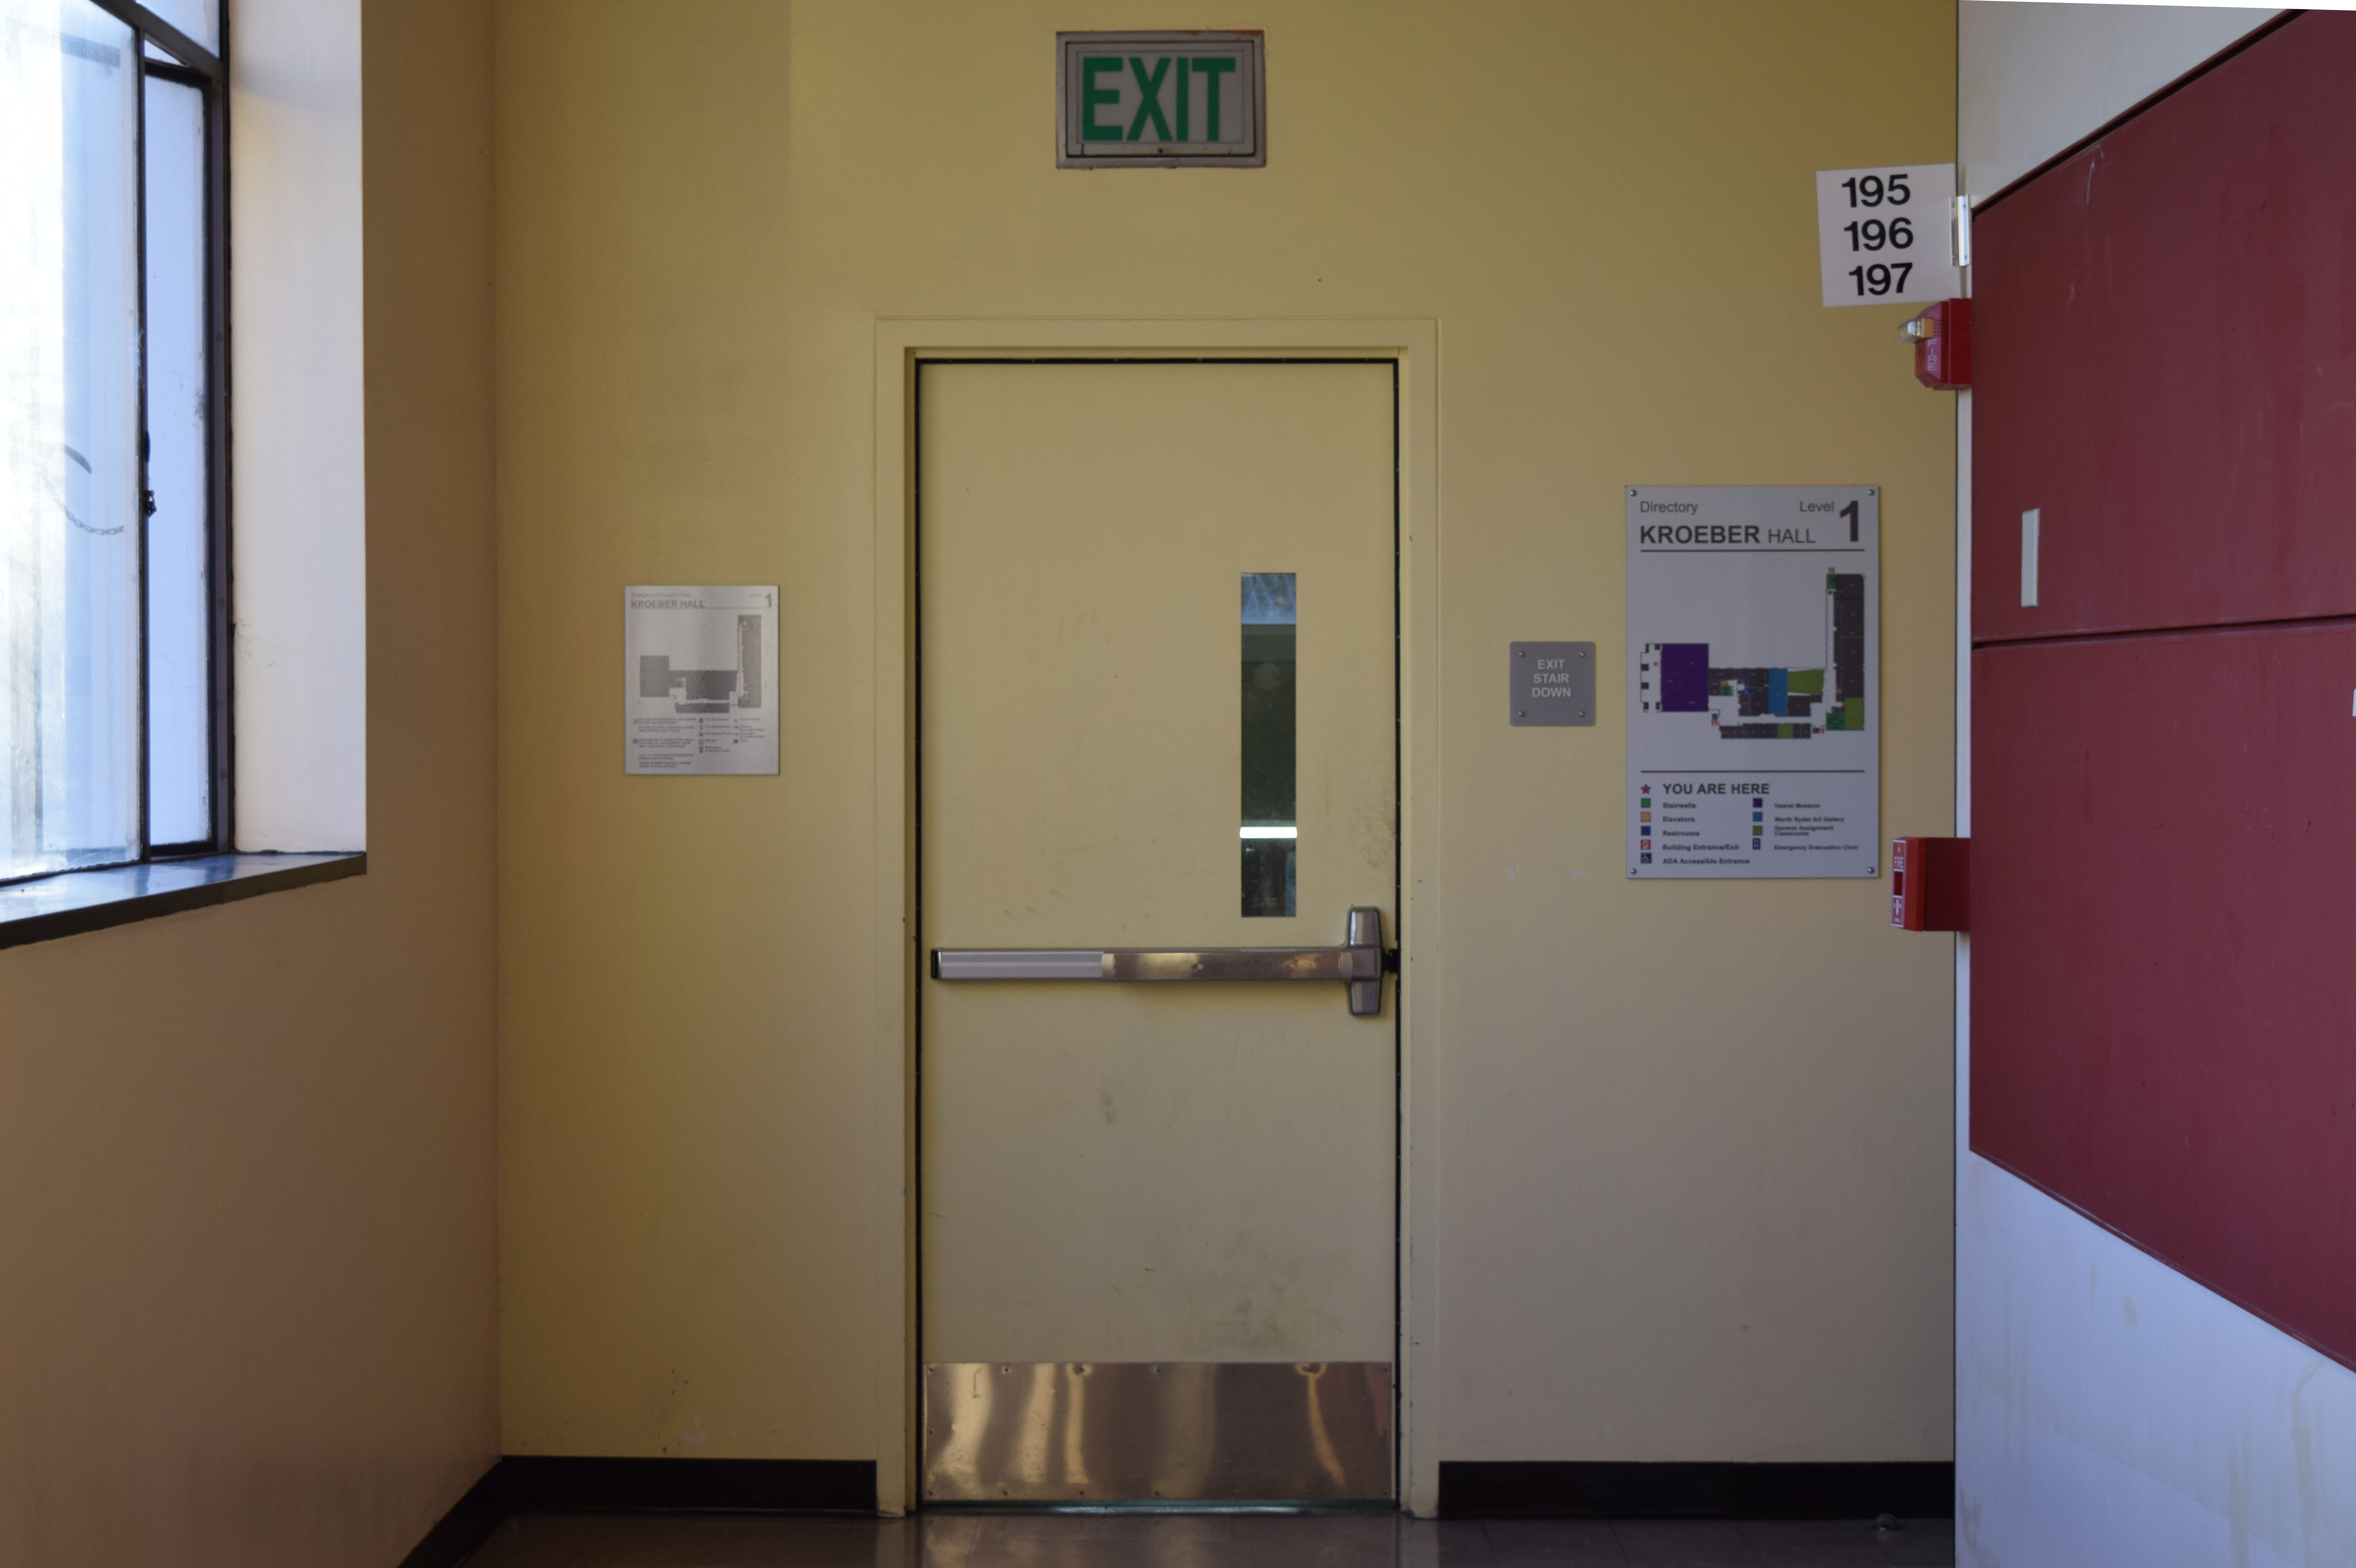
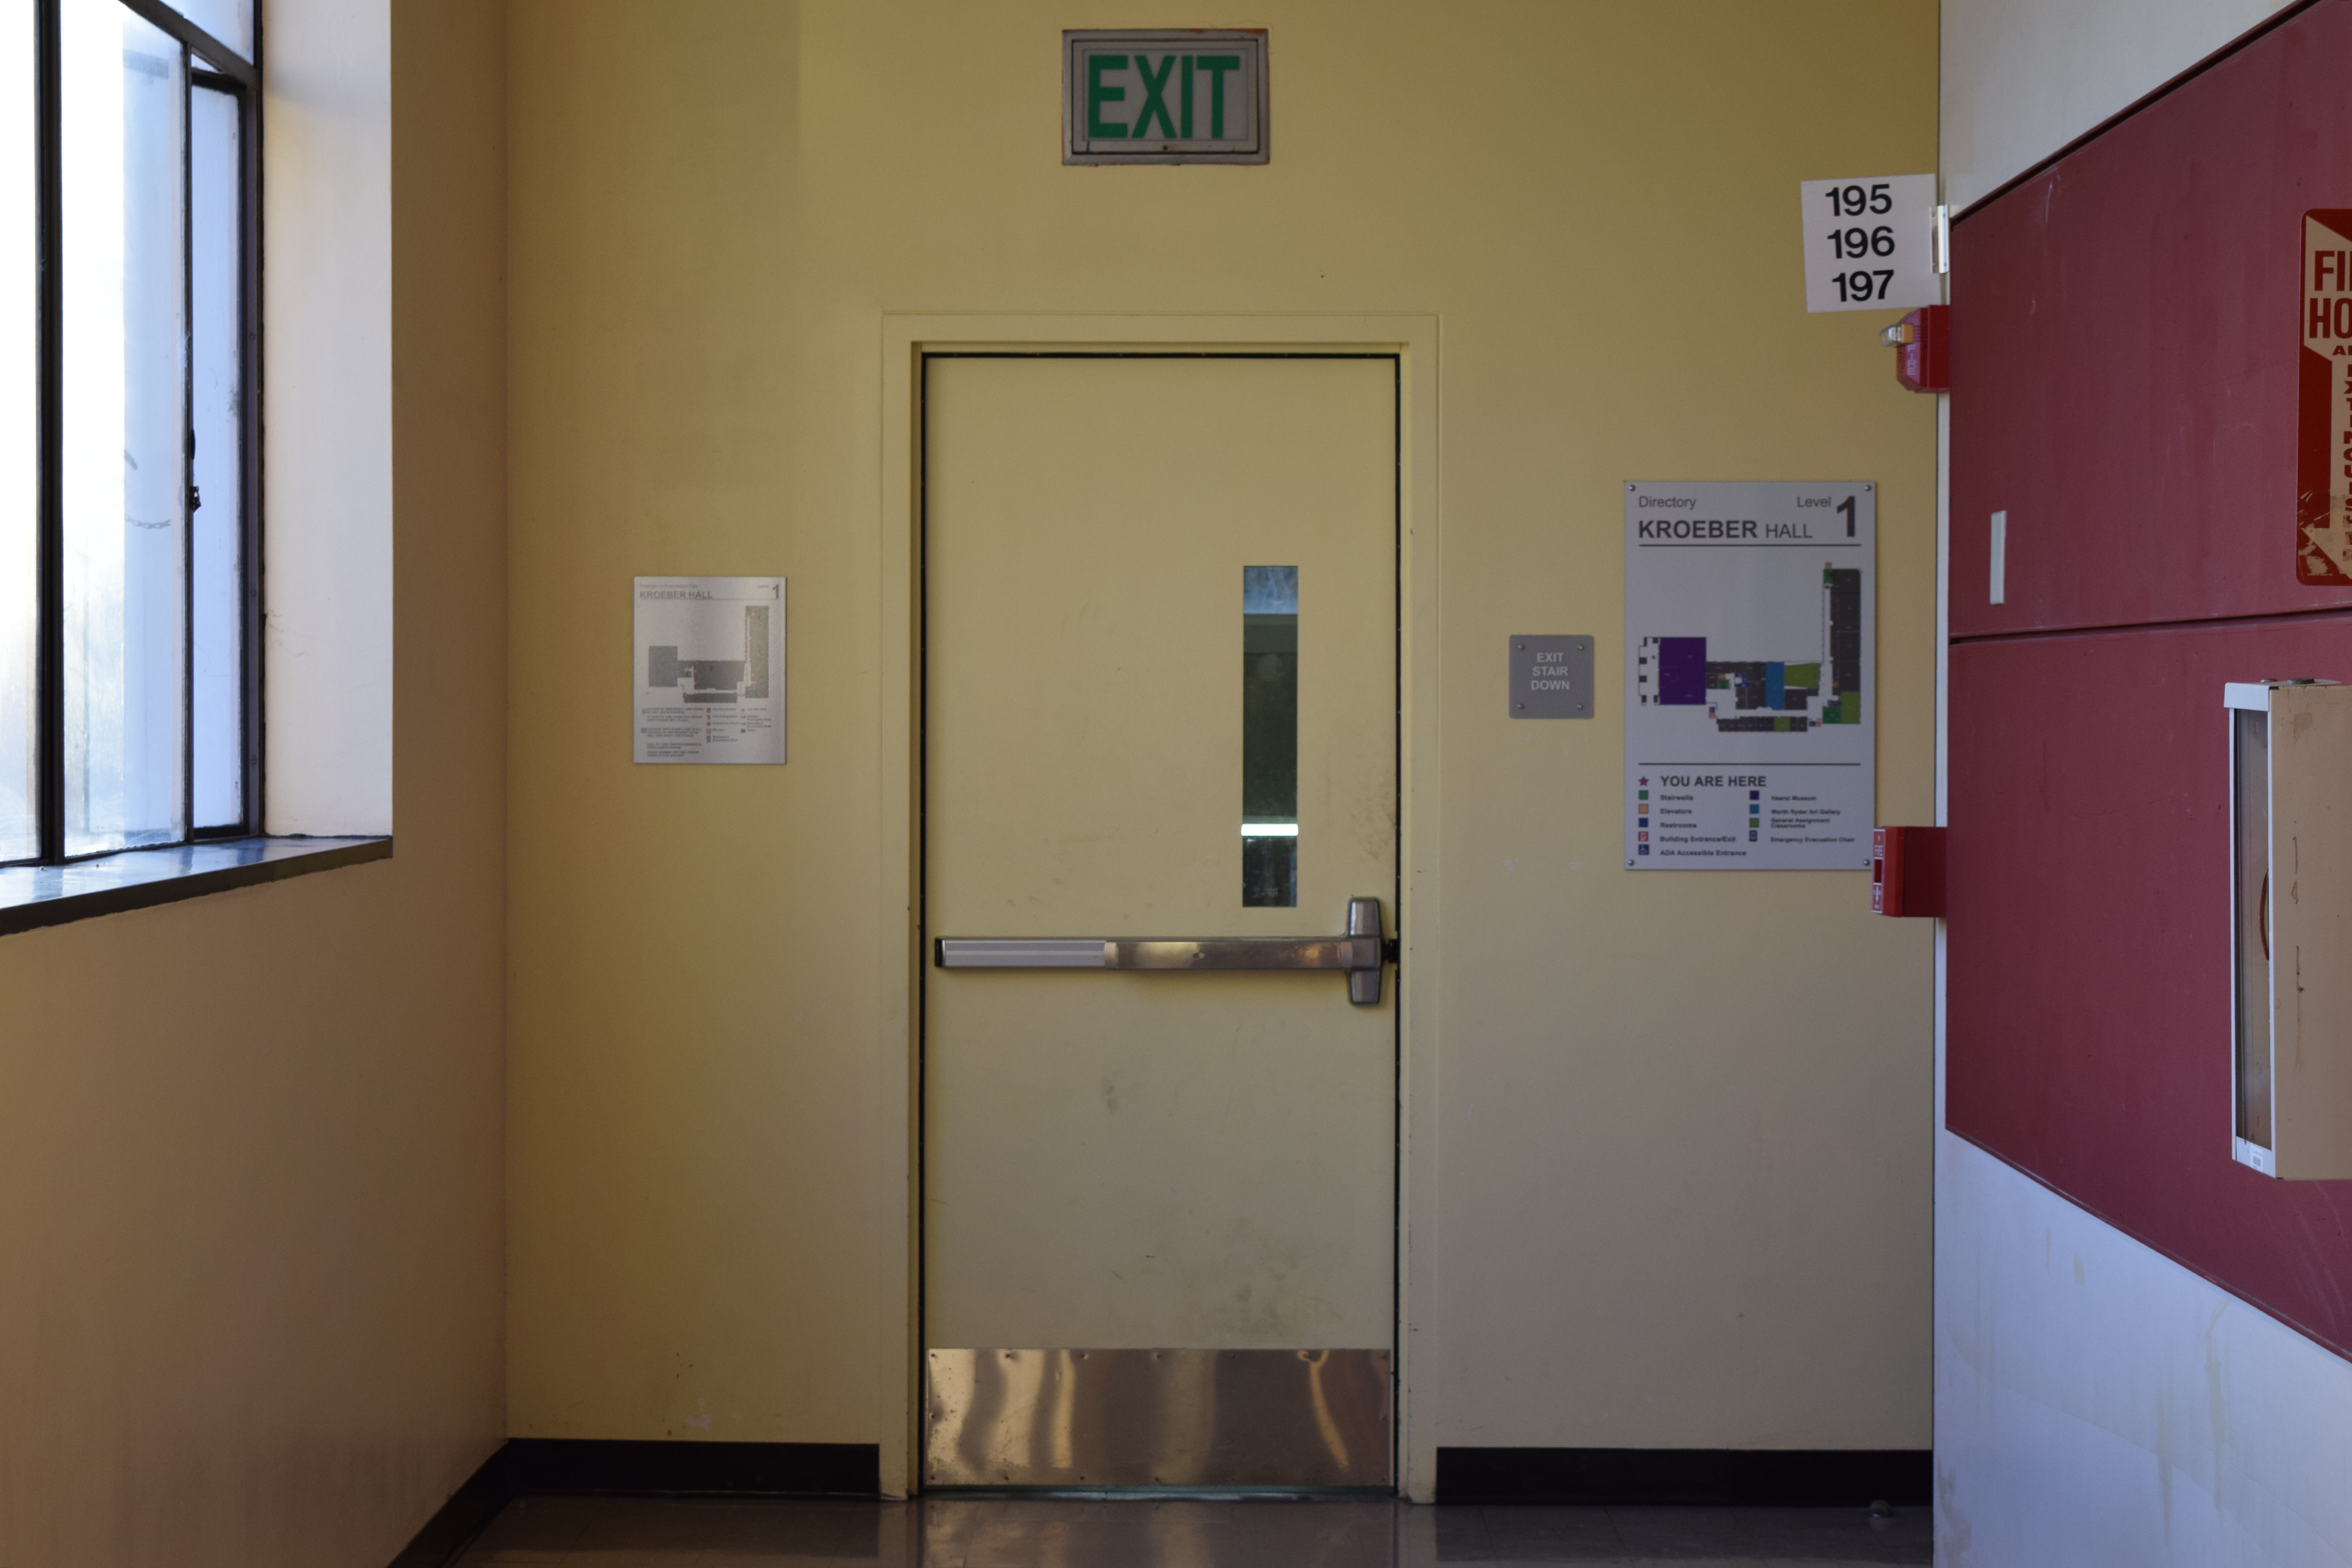
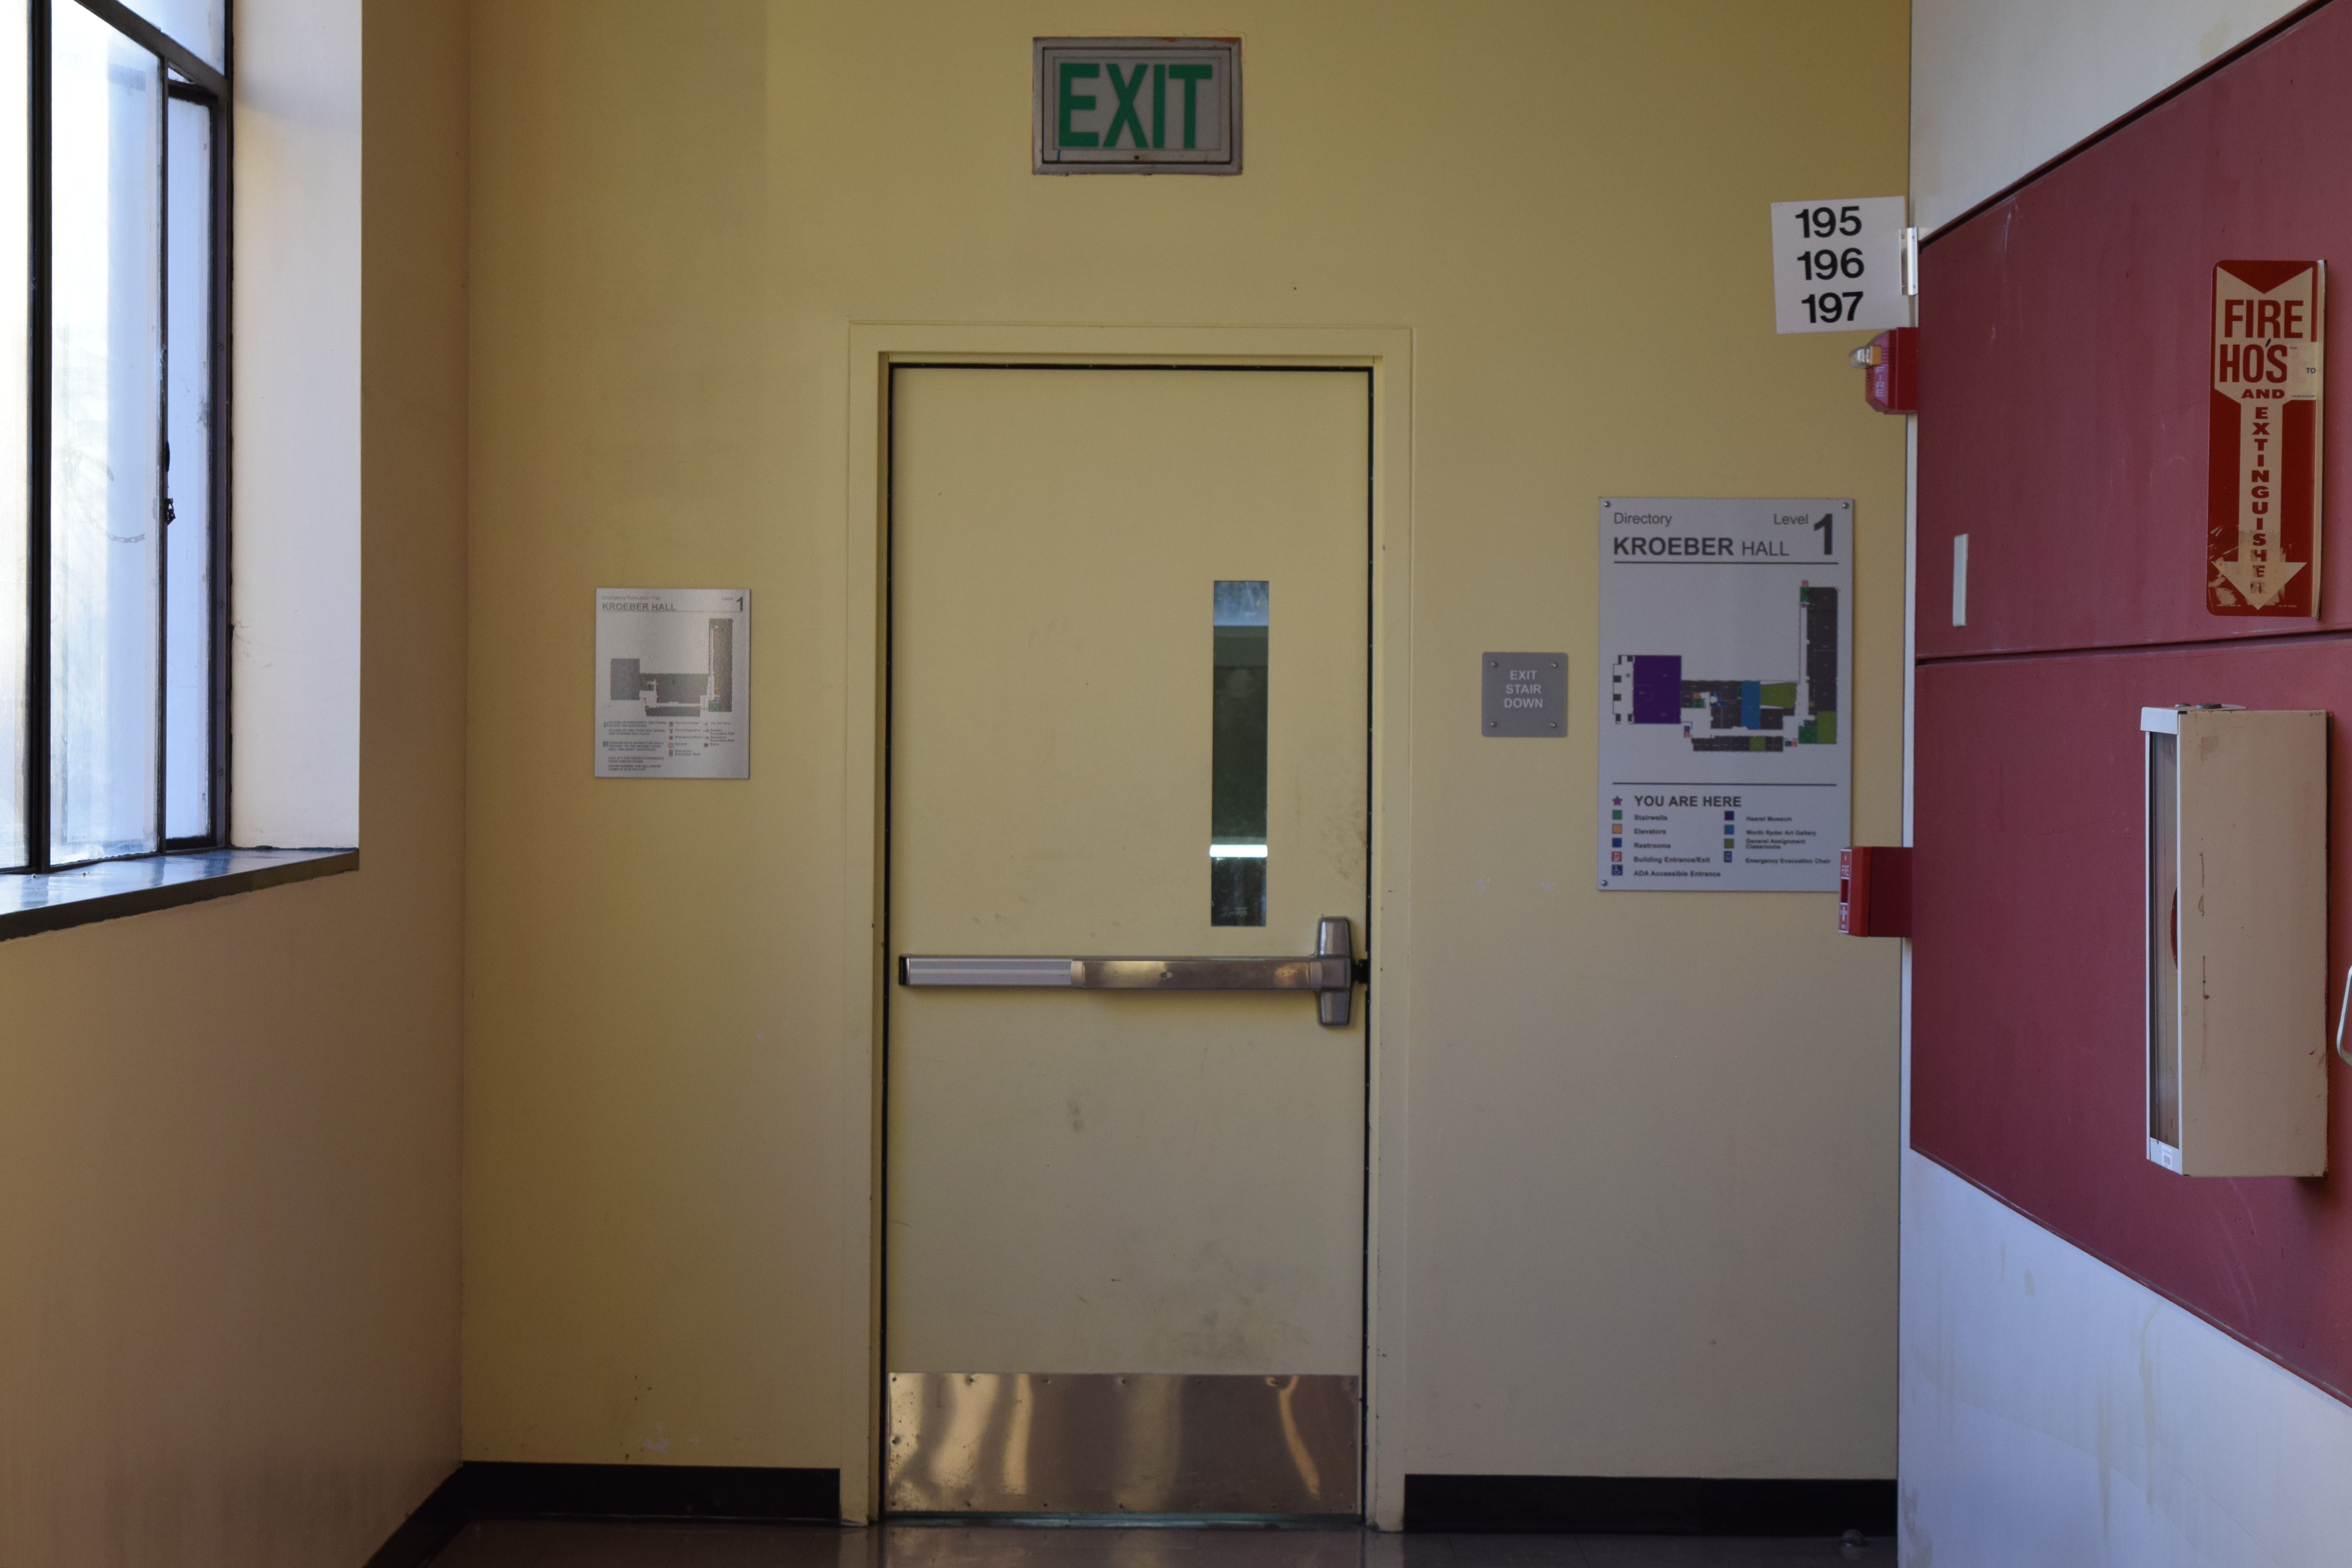
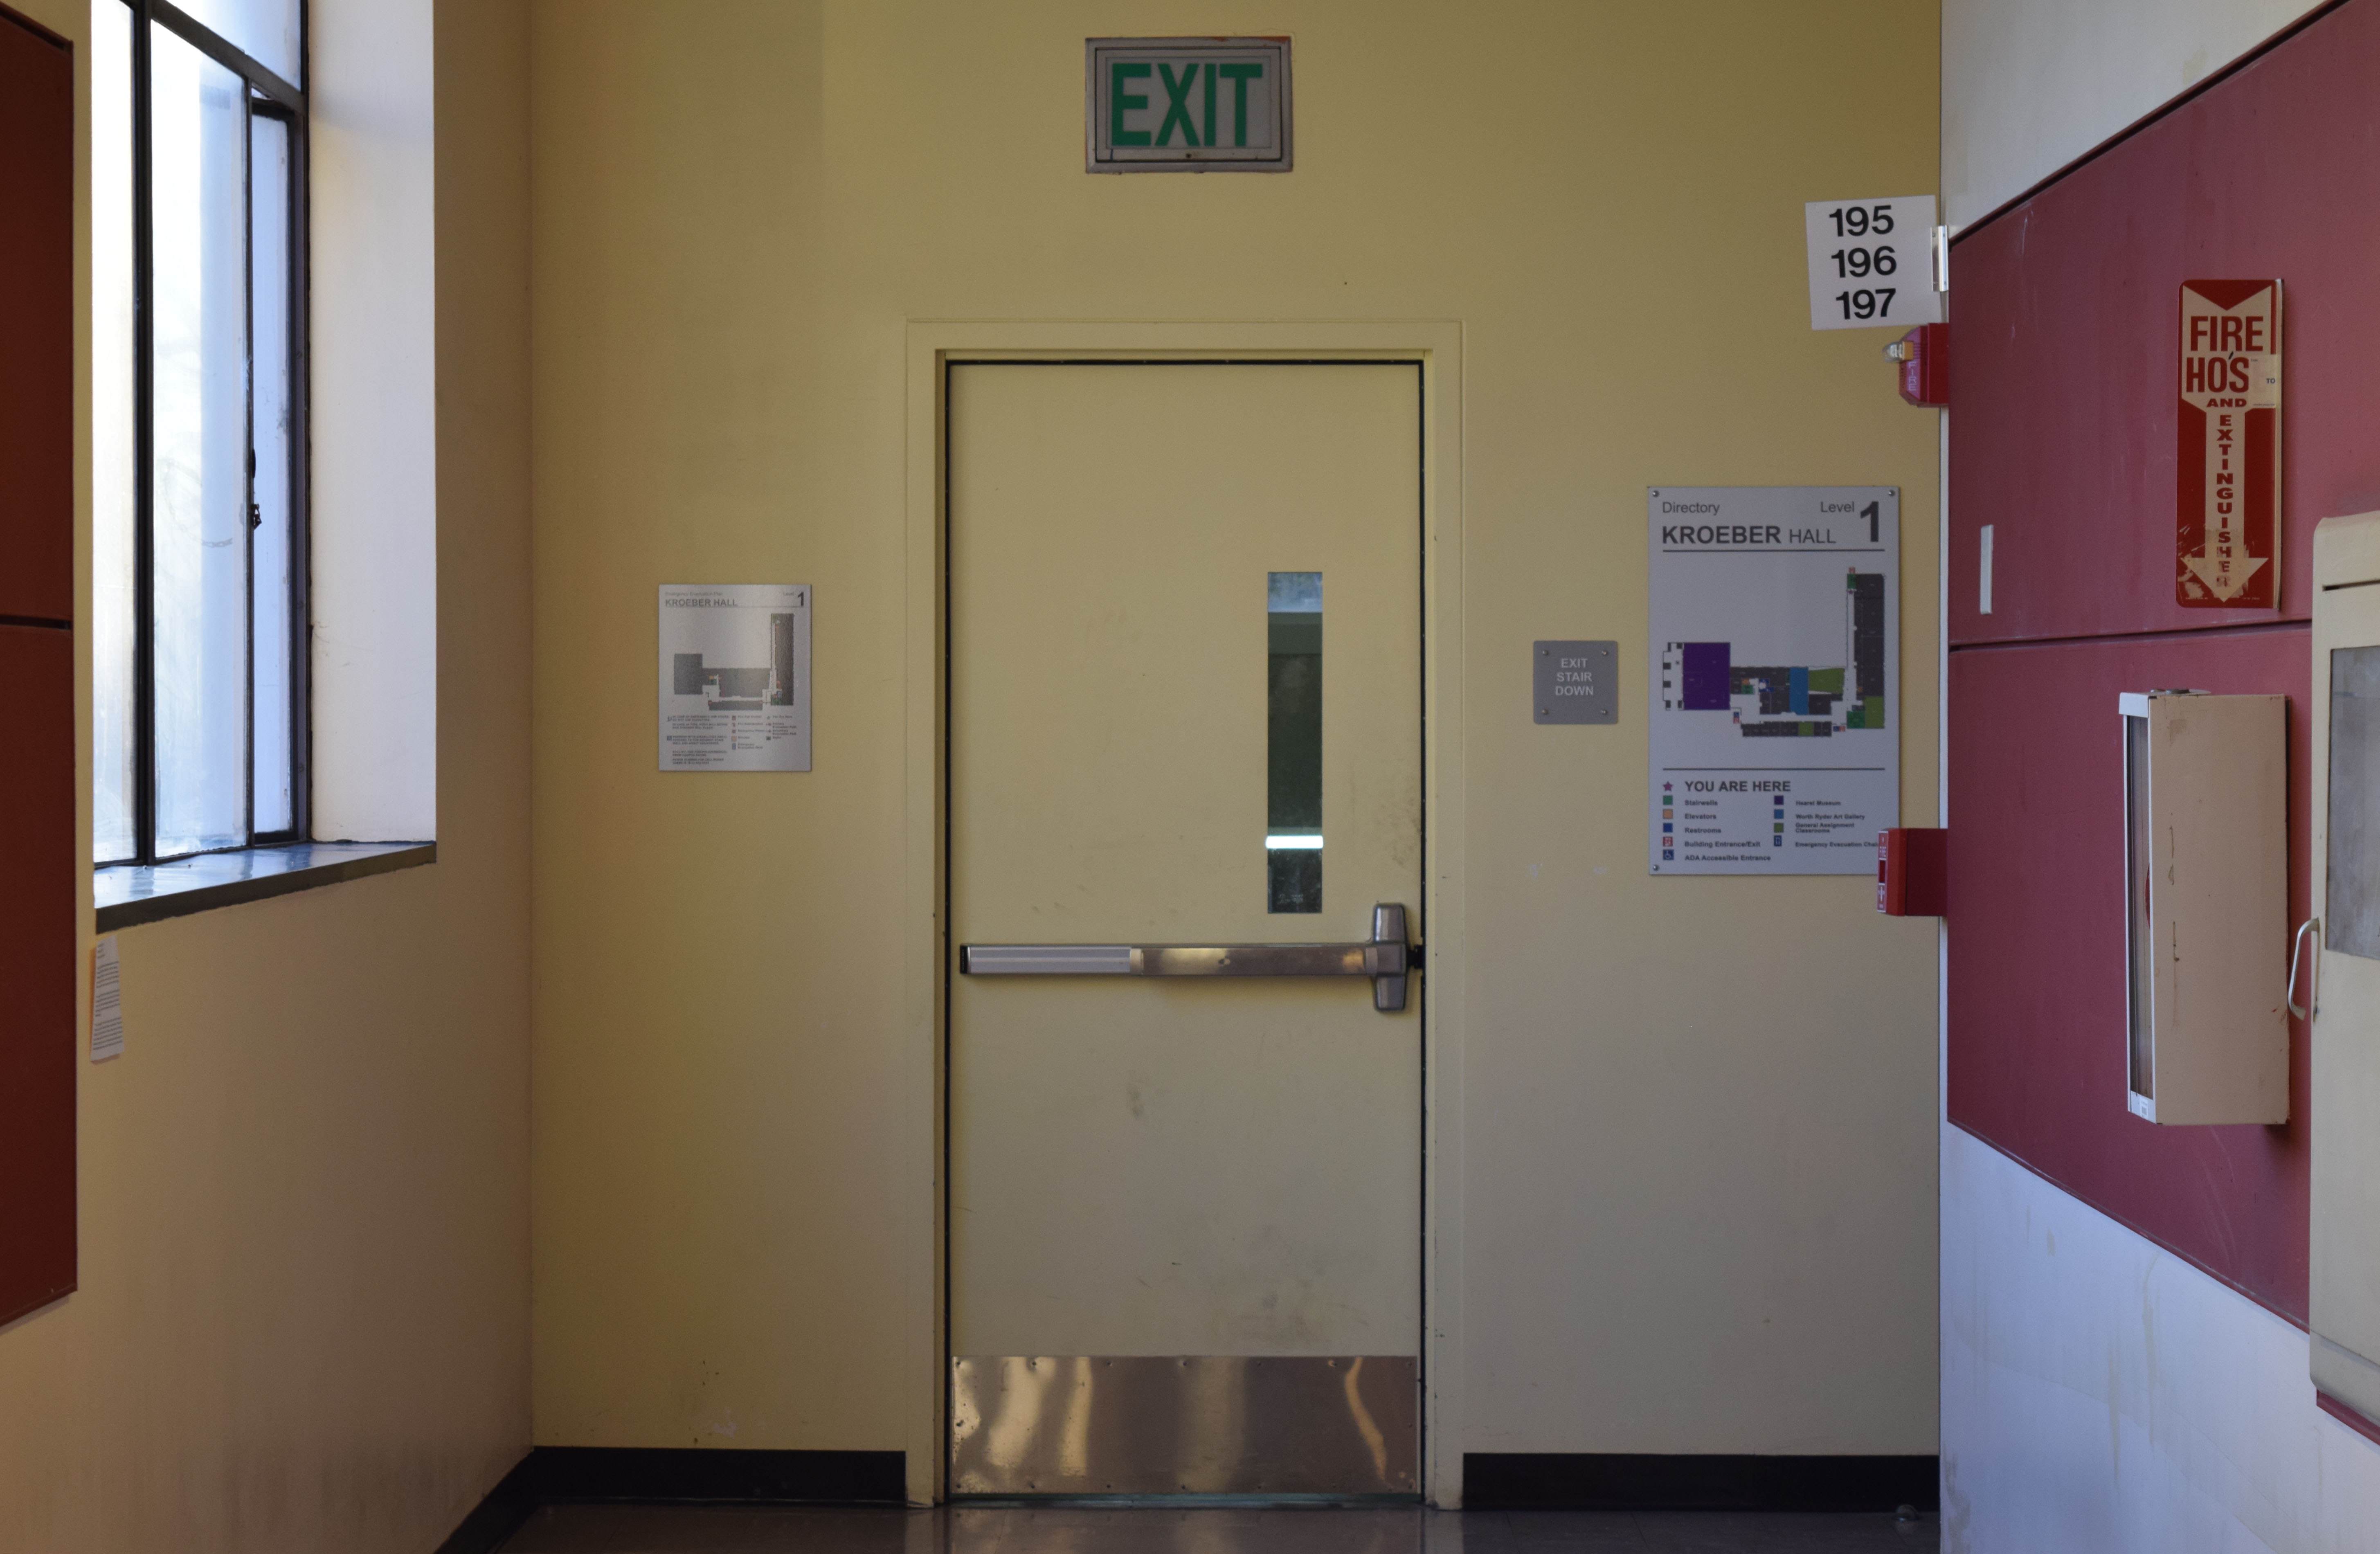
Here are seven shots of the same door in Kroeber Hall, with the camera being closest to the subject in the first photo, and furthest from the subject in the last (zooming in a little with each photo). I chose to shoot this particular door because it was at the end of a long hallway, allowing me to shoot at various distances. (Also, a doorway seemed appropriately sinister for a camera technique titled the "vertigo effect").
Bells and Whistles: here they are sequenced together in gifs.


Notice how the bulletin board on the right and the window on the left appear to creep inward toward the door, which remains the same size.
Second example:
Here are the four shots of the same tea containers, taken at different zoom levels. I set up this scene because I thought that the change in the carpet pattern would illustrate the changing FOV in an interesting fashion. As it turns out, the background objects are what contribute the most to the vertigo effect (at least to me).
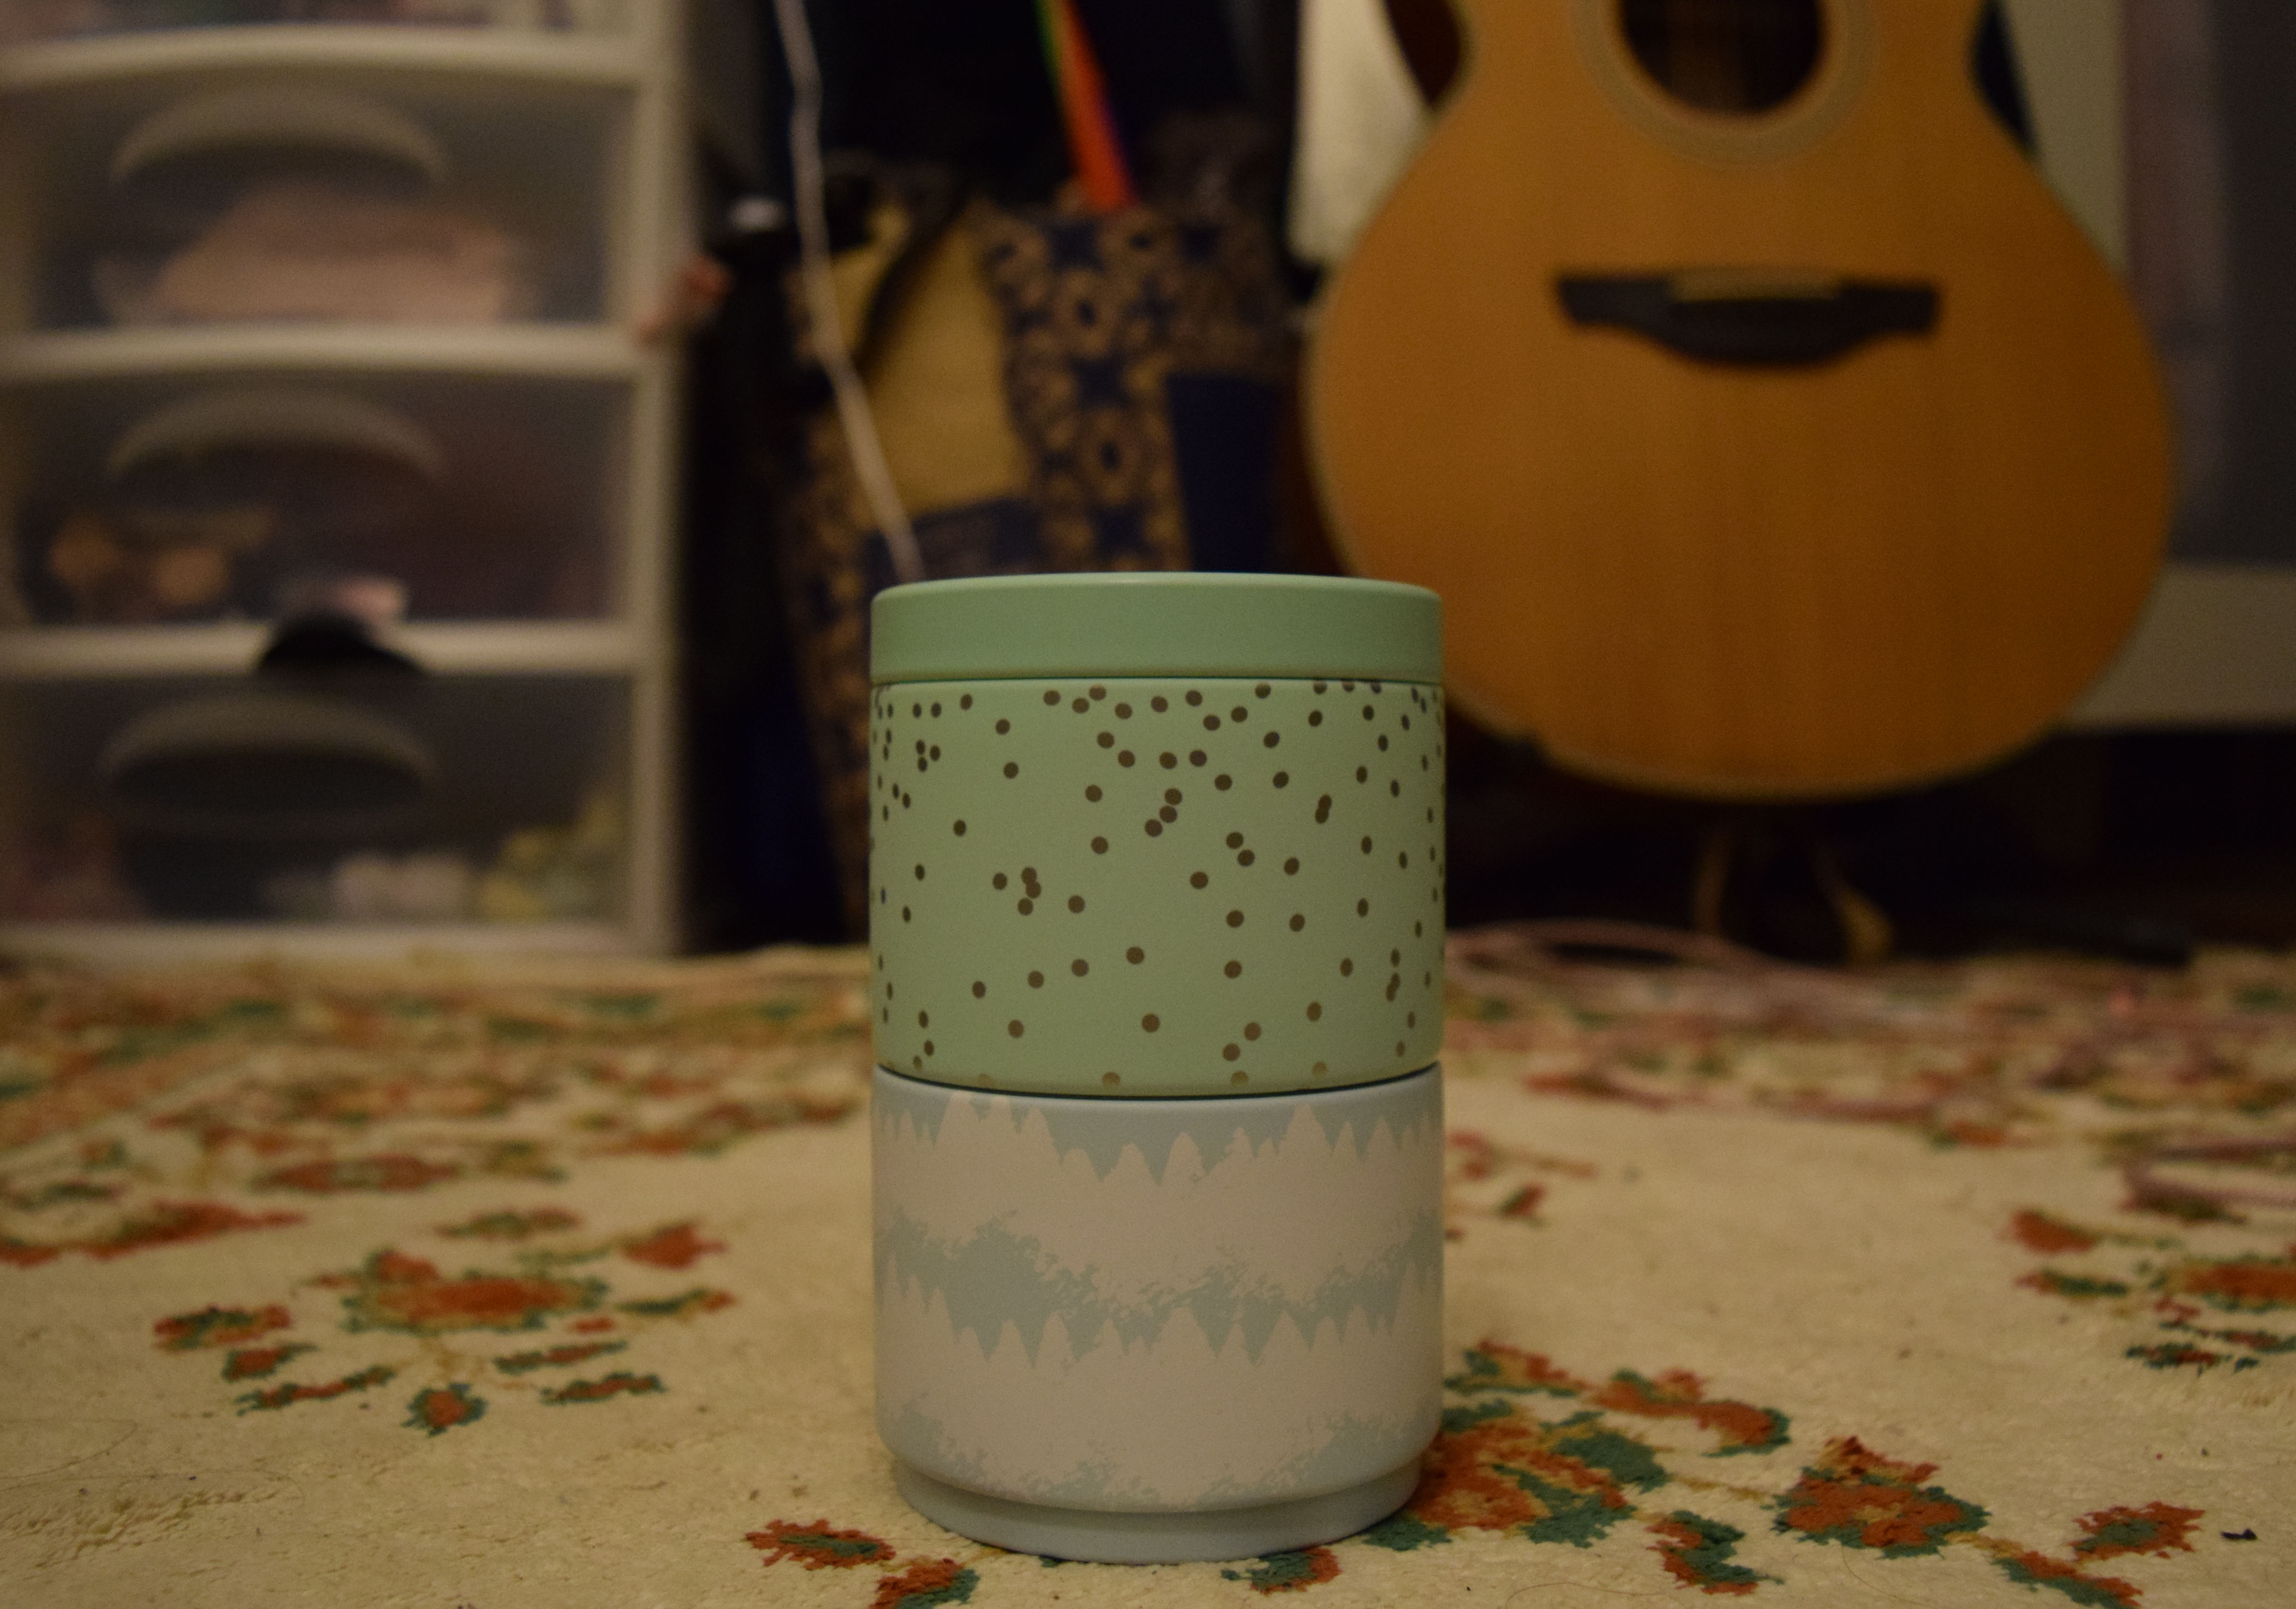
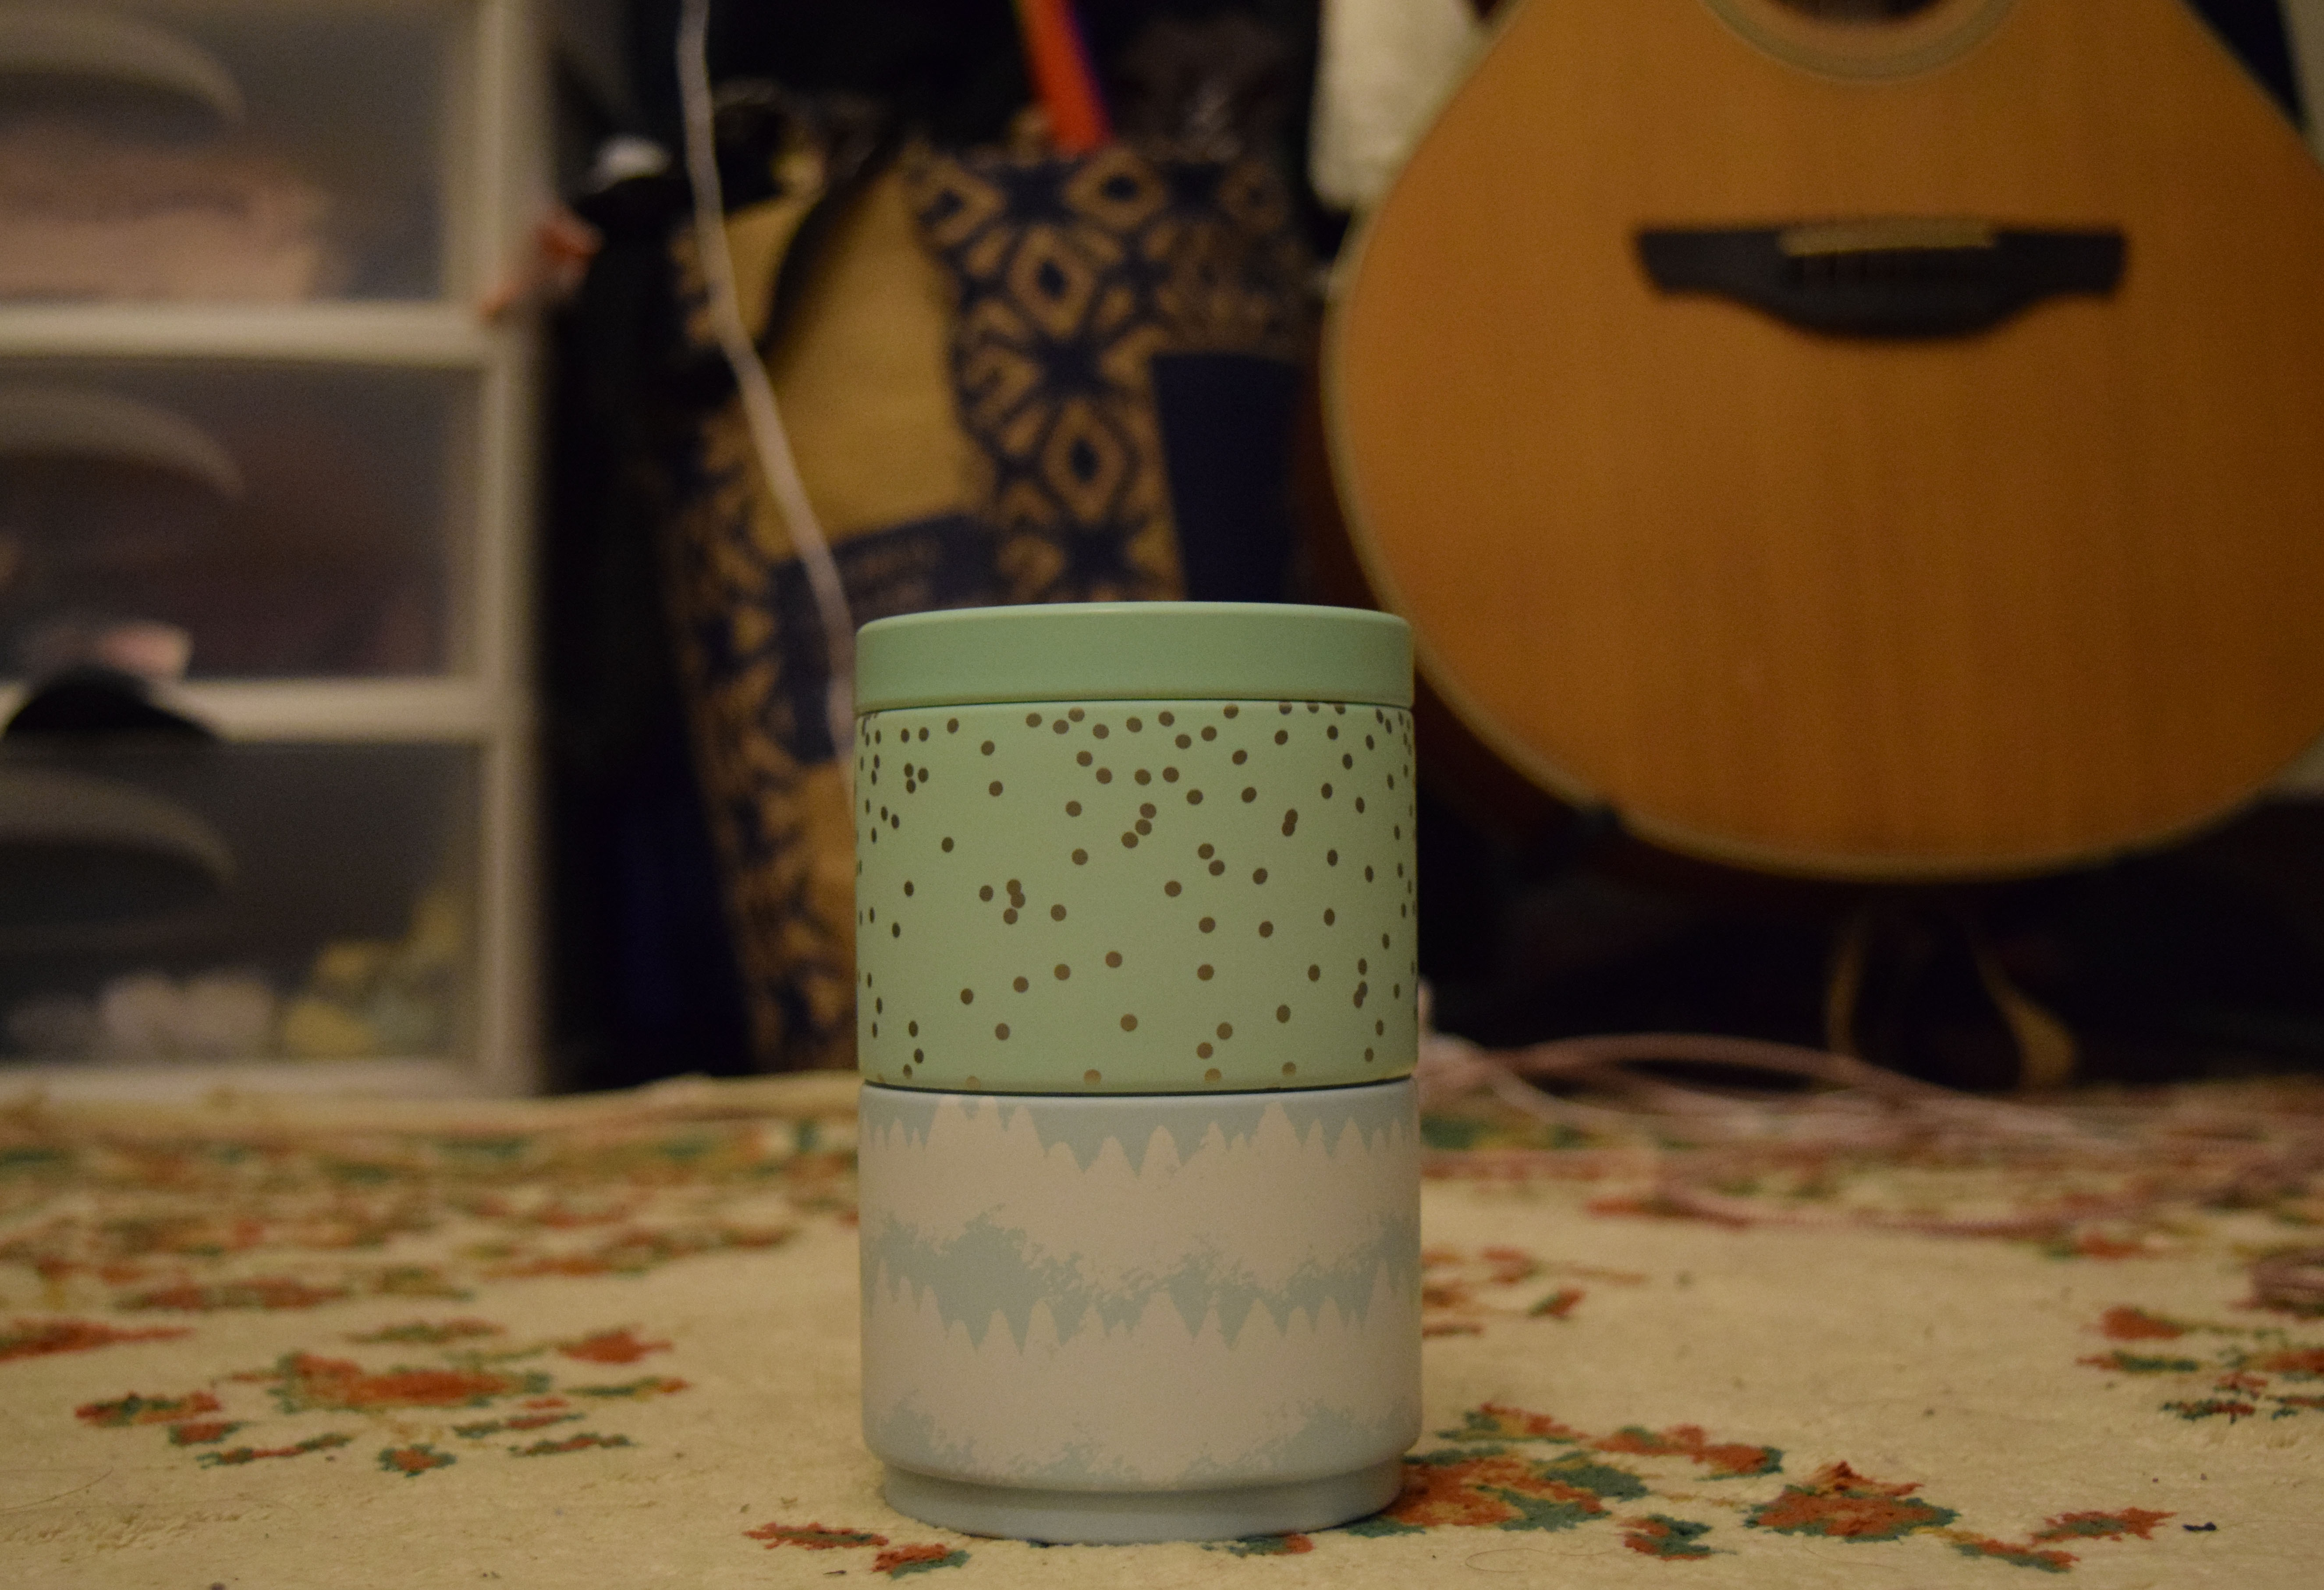
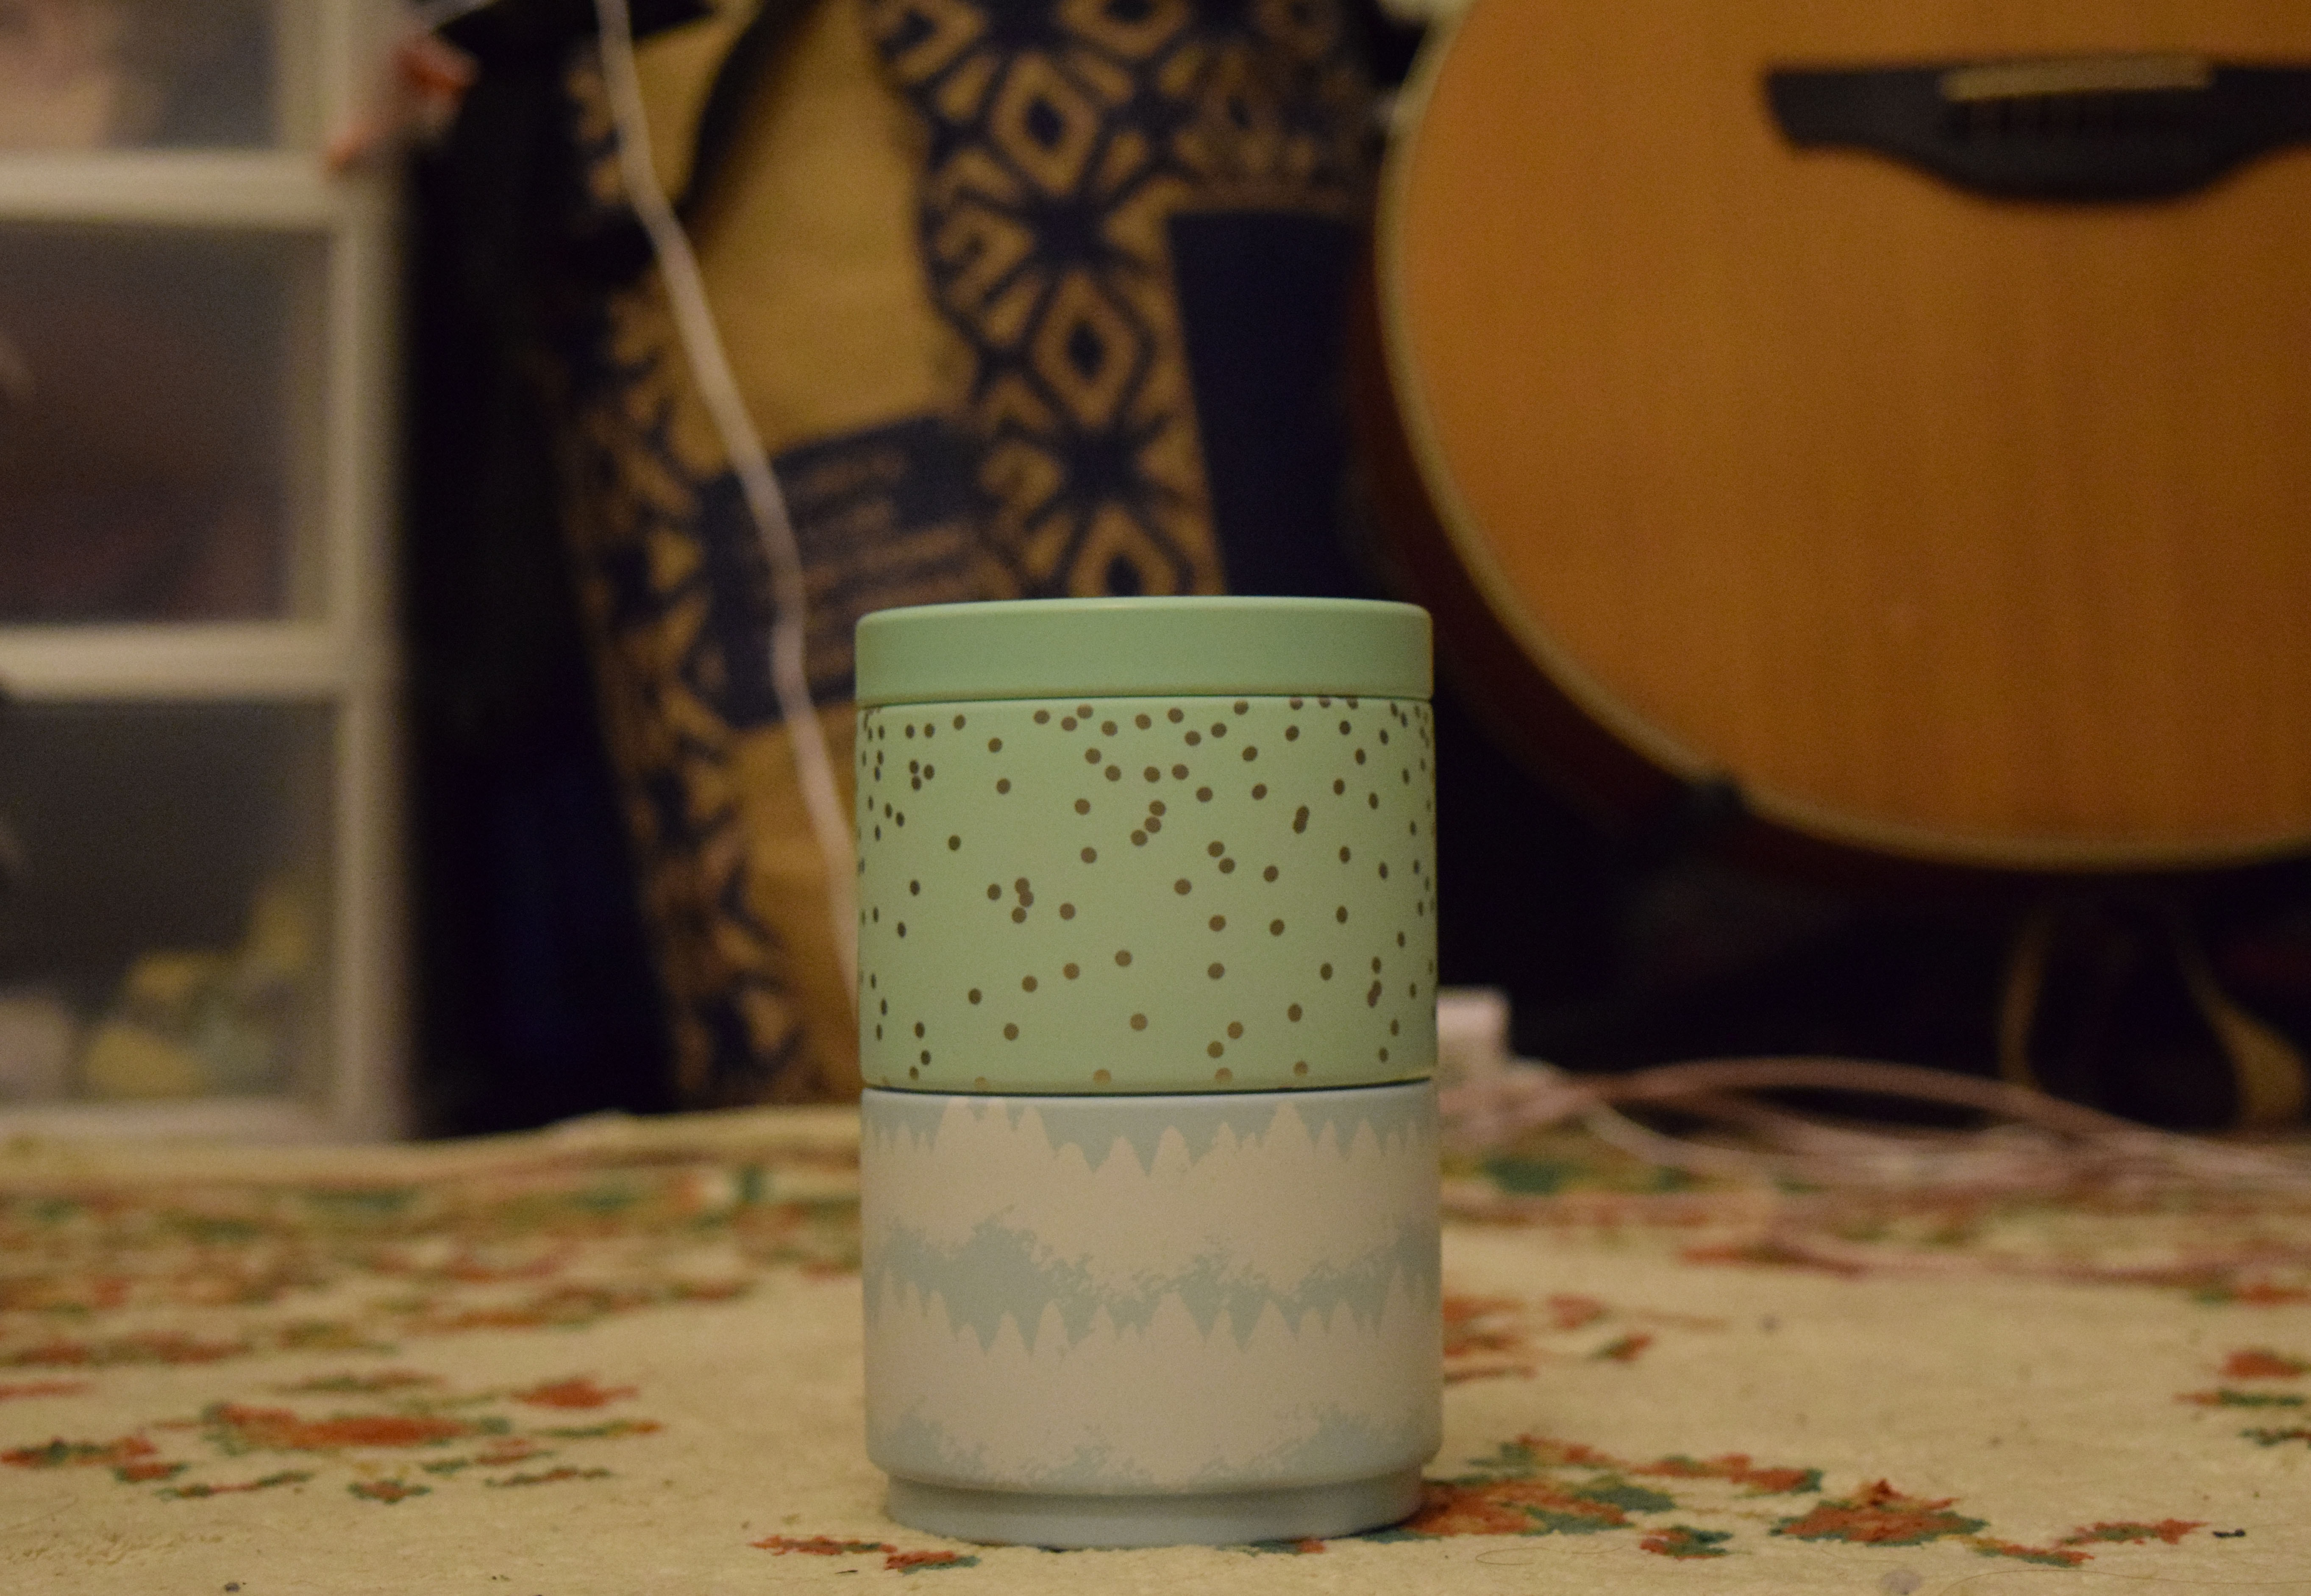
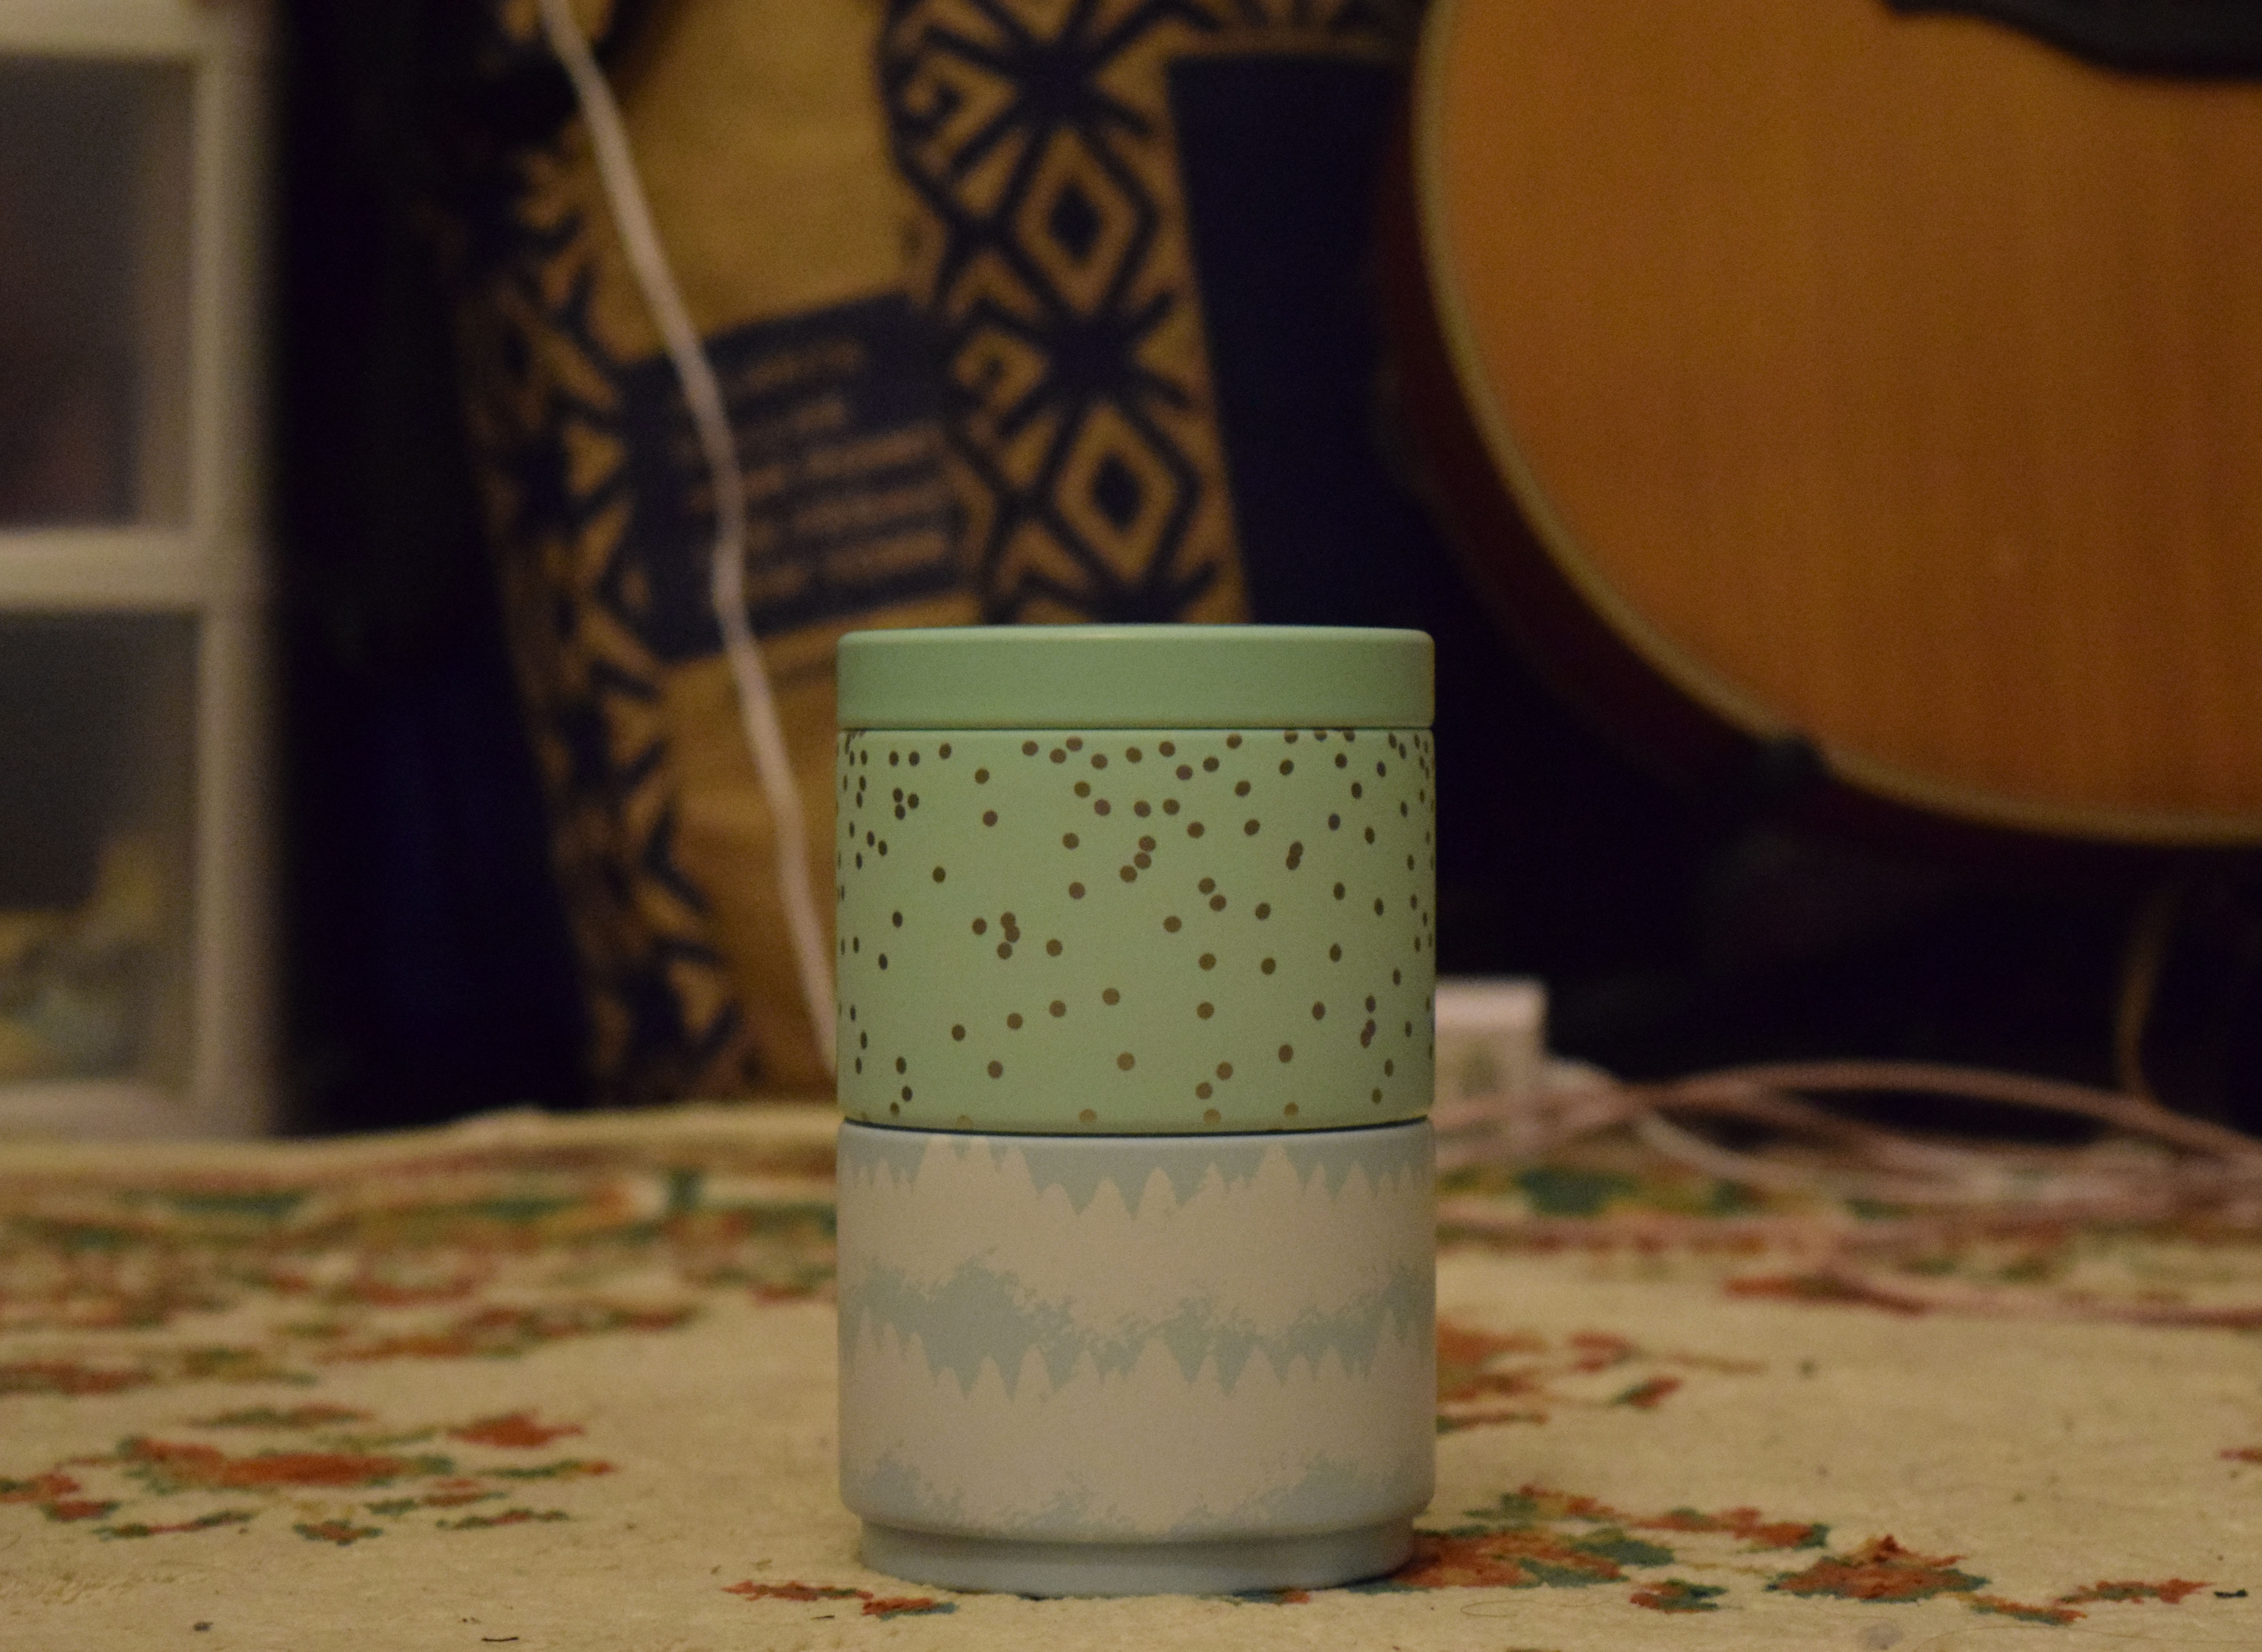
I find it fascinating that in this example, the more zoomed the camera lens is, the less of the background objects (the guitar, the drawers) one sees. In the previous example, the more zoomed the camera lens was, the more background (the bulletin board, the window) one could see.
Bells and Whistles: Here are the tea container images sequenced together in gifs.

