Vertigo Shot
Overview
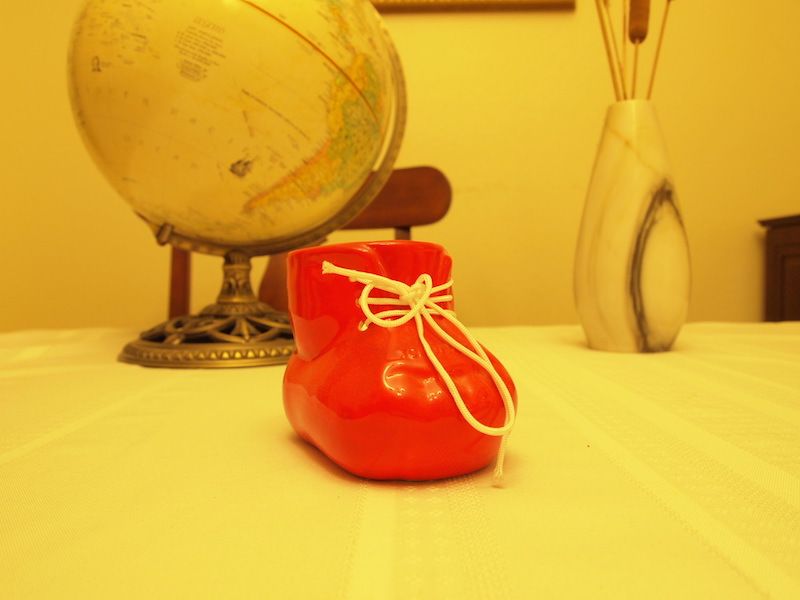
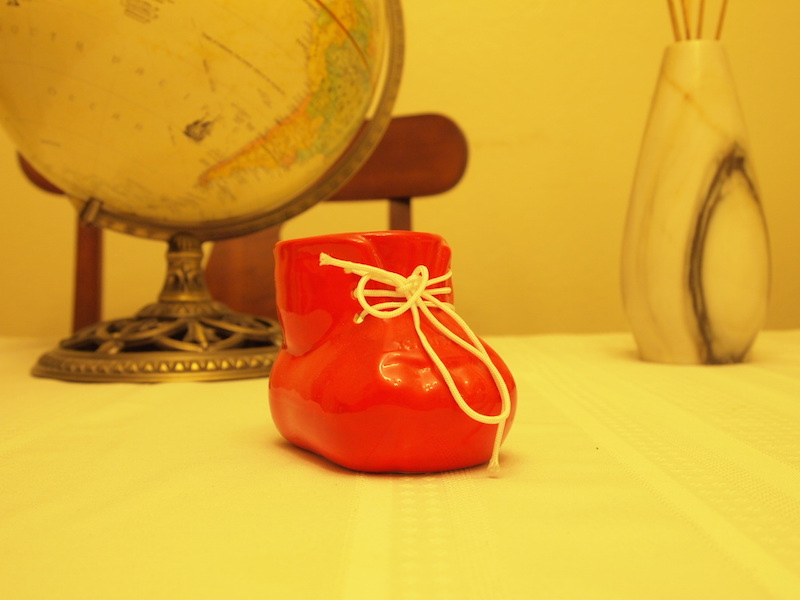
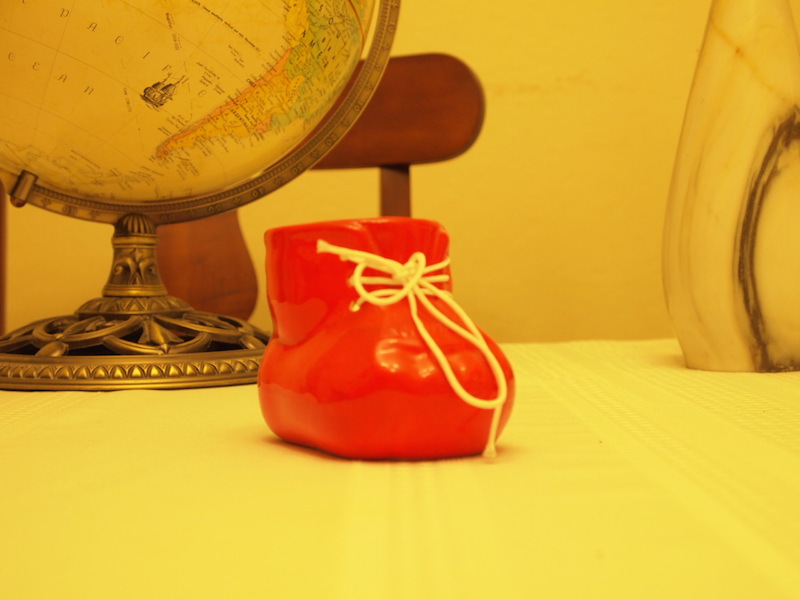
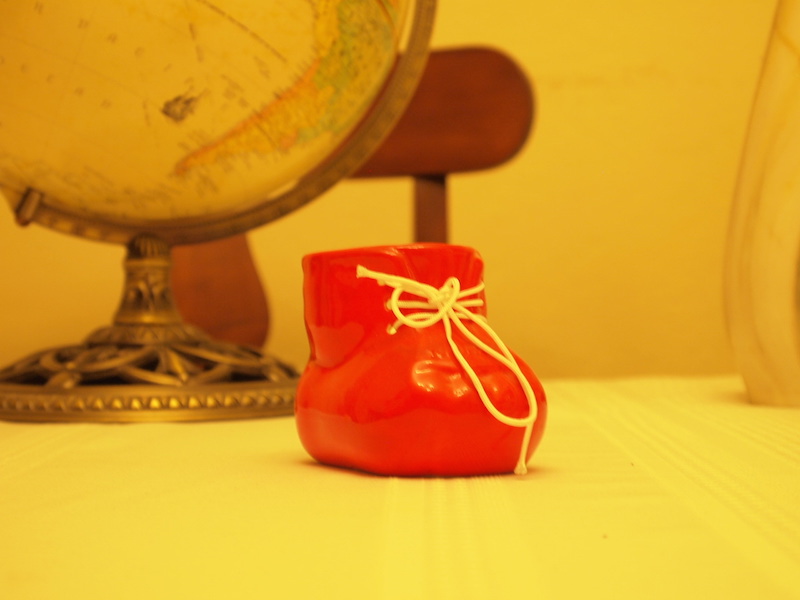
In this assignment we try to duplicate the dolly zoom in-camera effect, also known as the Vertigo Shot. We recreate this effect by taking a series of pictures of an object. We change our distance from the object by moving further away or closer to it, while we maintain the size and positioning of the subject of the image. This causes the background to seem like it's warping as if we're going either deeper or shallower.
I used an Olympus Pen digital camera with a 17.3 x 13 mm sensor size that could zoom in and out for my pictures. For my two examples, I took pictures of a small object that we had at home, and a larger object, in this case a lamp post that was outside my house, and I varied whether I went towards or away from the object to see what the results would be. In the first example with the boot, I took steps away from the target while using my camera to zoom in on the subject to maintain its size. This gave the impression that we were going deeper into the background.
|
|
|
|
|
For this second example, I took steps towards the target (the lamp) while zooming out. This gave the impression that we were moving outwards from the background.

|

|

|

|
|
What I noticed while taking these two pictures was that for the smaller object, because I was taking shots while being closer to the object, I would unavoidably take shots from varying perspective of the boot. You can see in the gif that we have more of a visual of the top of the boot, and while I move backward the shot straightens out to a more frontal view of the boot instead of on top. With the shot outside, where the object was bigger and my distance from the object was further away, the lamp seemingly stays in the same perspective throughout the gif. One thing I also liked about taking pictures of a bigger object was that the background warping effect seems more exaggerated, making for a cooler shot.
Some difficulties I had was mainting the size of the image, and most of the time the shots were made from guesstimation. Another difficulty was keeping the object in the same position. With the smaller object, keeping things in focus also was an unexpected challenge.
Vertigo Shot - Bells and Whistles
Calculating FOV
To calculate the Horizontal Field of View (HFOV), we need to calculate the Angular Field of View (AFOV) in degrees given by AFOV = 2*arctan(h/2f), where h is the width of the sensor and f is the focal length (both in mm).
Given AFOV, we can find HFOV by HFOV = 2 * D * tan(AFOV/2), where D is our distance to the target in mm and AFOV in degrees. Source
For the FOV calculations, I used my lamp photos as my example. I shot the photos from a max distance of 253 inches (6426.2 mm) and a minimum distance of 1524 mm from target, subject 9 inches wide.
At min zoom (focal length = 14 mm)
AFOV = 2*arctan(17.3mm/28mm) = 1.107 rad or 63.420 deg
HFOV = 2 * 3962.4 * tan(63.420/2) = 4896 mm = 16.1 feet
At max zoom (focal length = 42 mm)
AFOV = 2*arctan(17.3mm/84mm) = 0.406 rad or 23.275 deg
HFOV = 2 * 6426.2 * tan(23.275/2) = 2647 mm = 8.7 feet
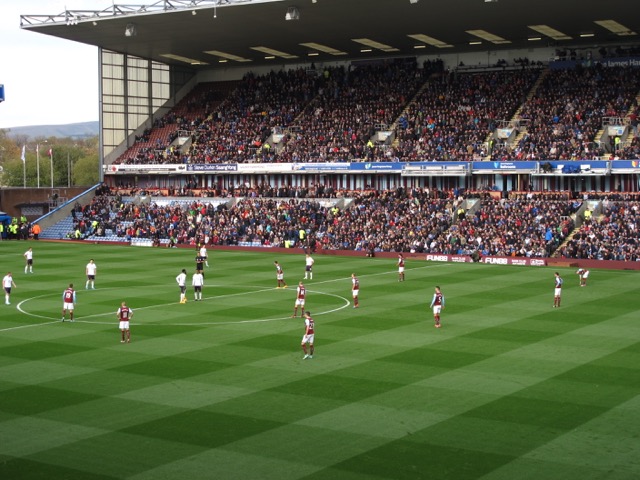
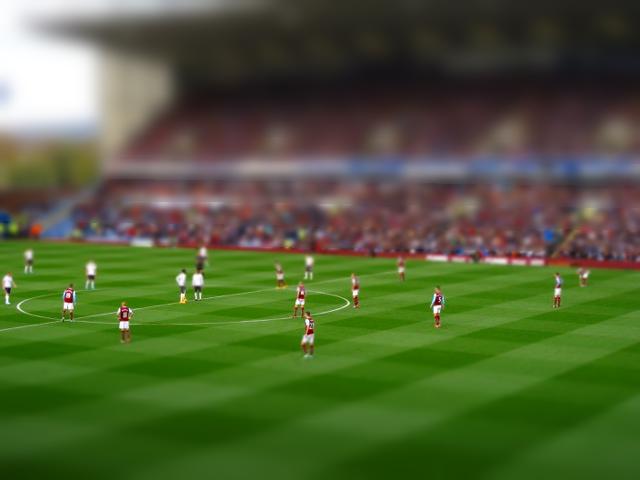
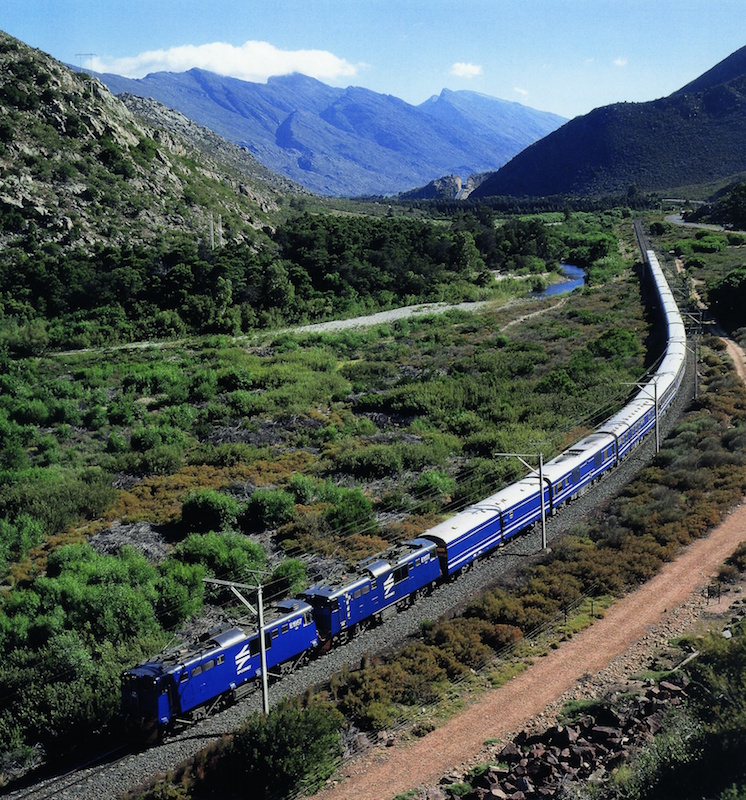
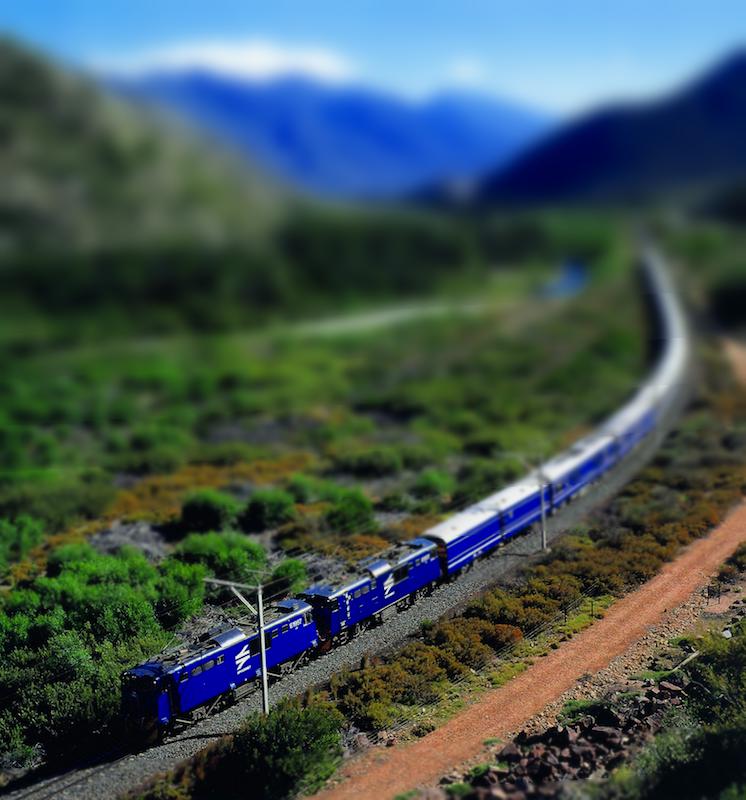
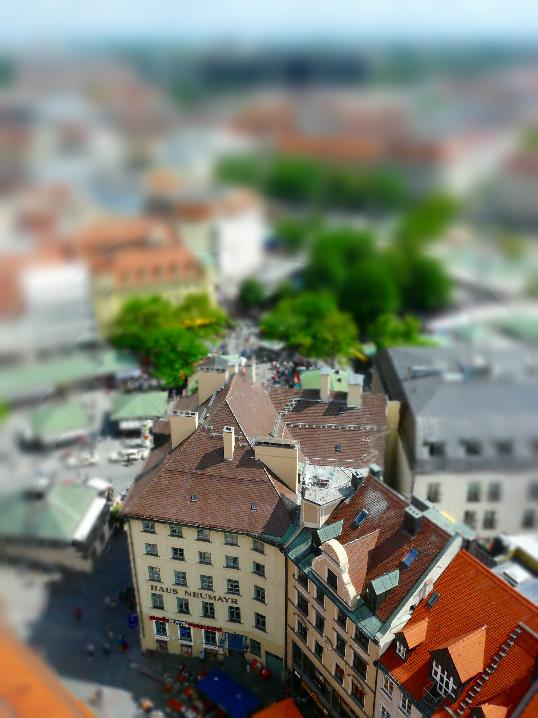
Fake Miniatures
Overview
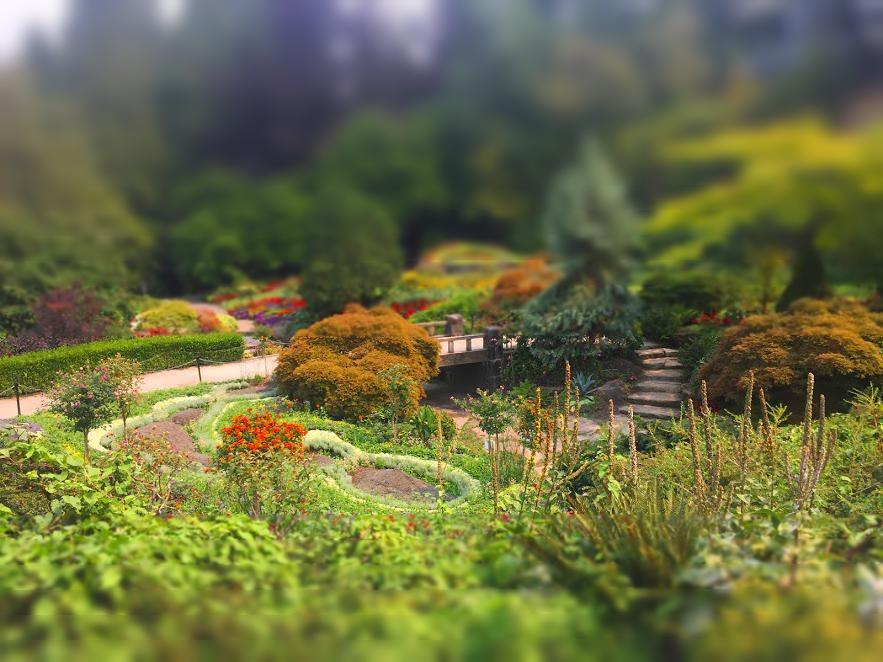
In this assignment, we simulate a tilt shift by having a small focus area and blurring the rest of the image. This creates an illusion of a of a smaller depth of field of the scene, as if the shot was taken really close to the subject. We also increase the saturation of the image to make the illusion more realistic. First, we have the user set the line of focus by clicking two points. Then, the user is prompted to click a point above or below the line that was just created to define the size of the depth of field, and we create a mask of the area of focus. Then, we calculate the rounded Euclidean distance of each pixel from the focused area and store those values in a matrix. I then create bins of distance values, and a Gaussian pyramid of the images, with the number of levels equal to the number of bins. Then, for each pixel, we figure out which bin it belongs to based on its distance, and pick the pixel from the corresponding position in the bin's corresponding level in the Gaussian pyramid.
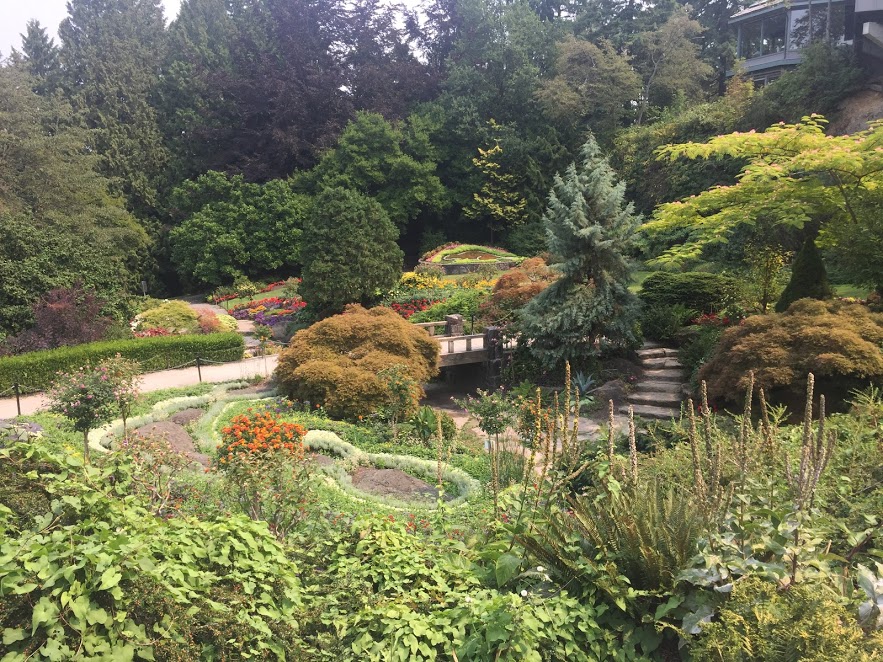
Here are a couple of examples, both of images found on the web and that I've taken myself. Images taken from the web have their sources hyperlinked in the caption.
|
|
|
|

|
|
|
|
|
|
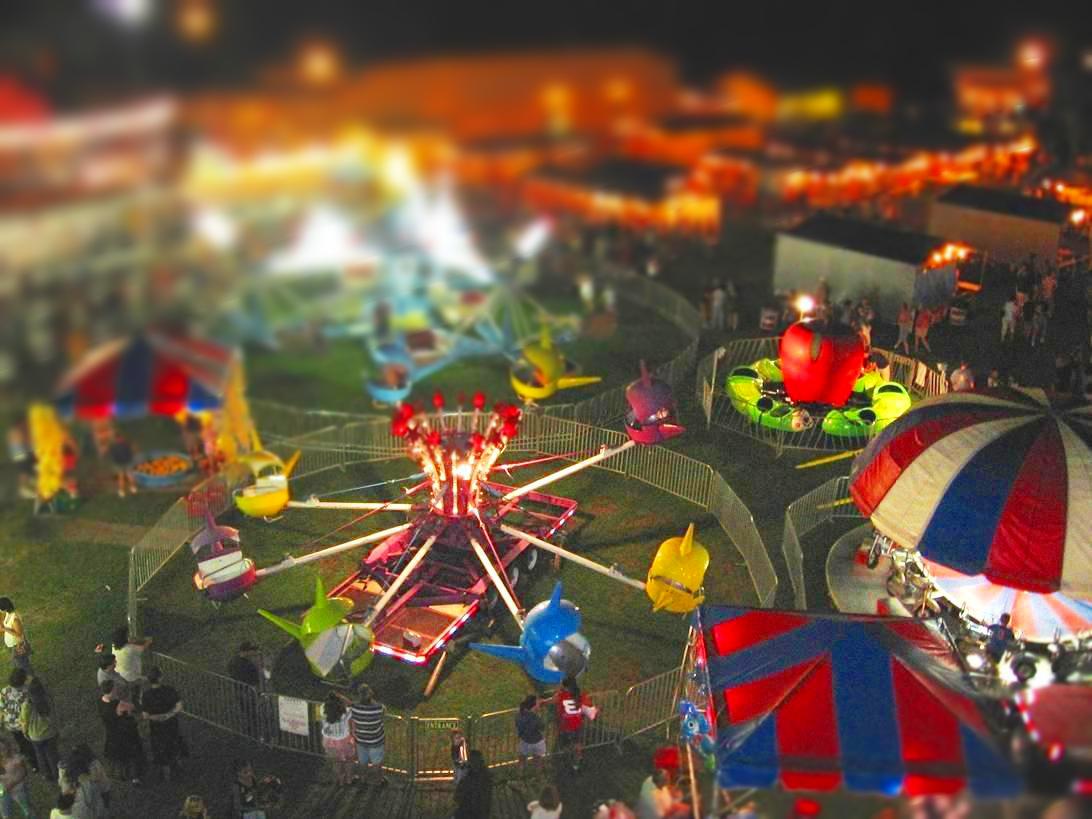
Fake Miniatures - Bells and Whistles
Complex DOF
I also implemented a way to custome create the depth of field by having the user select multiple points, which creates a polygon for the depth of field, instead of a normal rectangle.
|
|
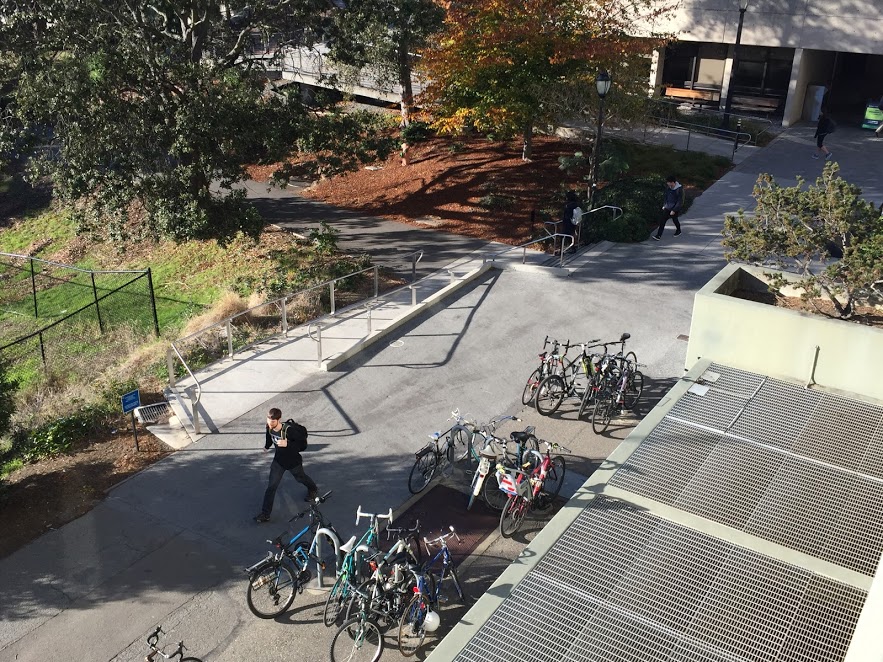
Stop motion
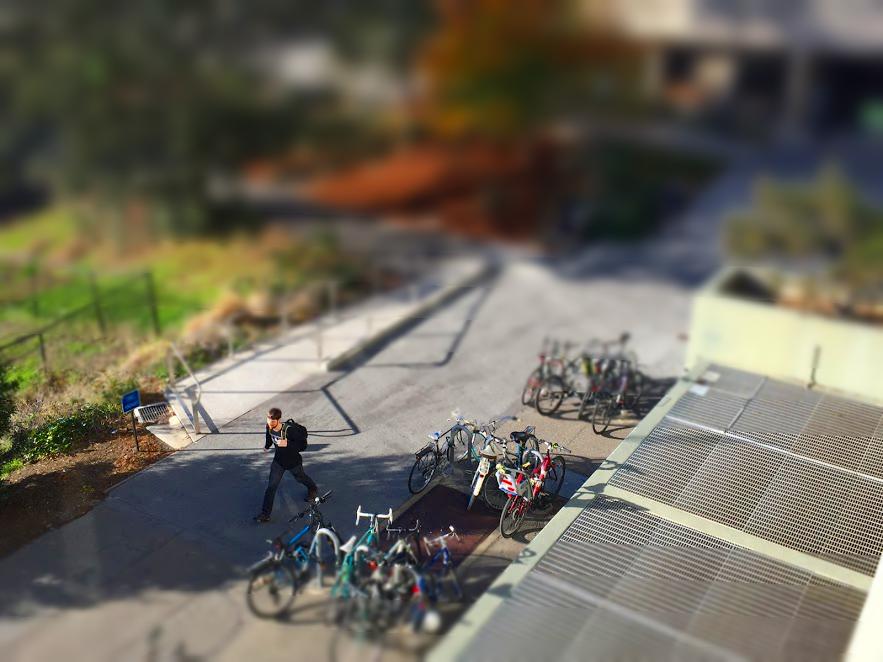
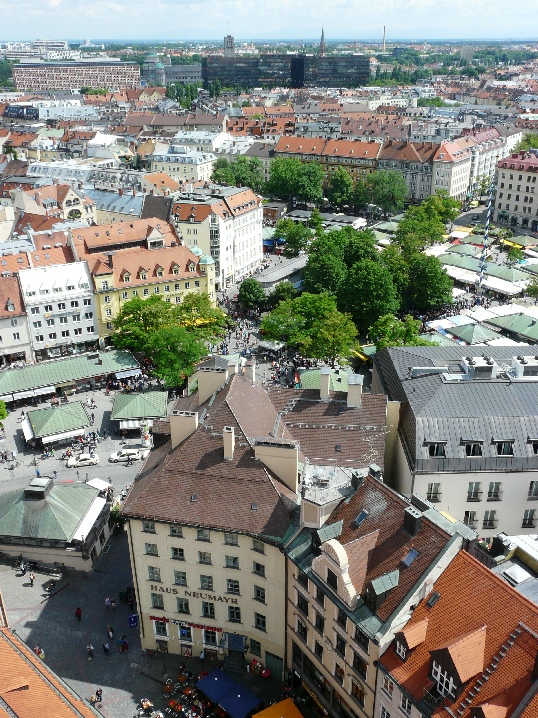
I made a fake stop motion gif by taking a series of pictures from a high vantage point (third floor of Evans hall in this case), and applying my fake miniature code to the series of images.
|