Image Quilting
Using the image quilting algorithm from Efros and Freeman (2001), I was able to synthesize and transfer texture.
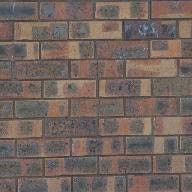
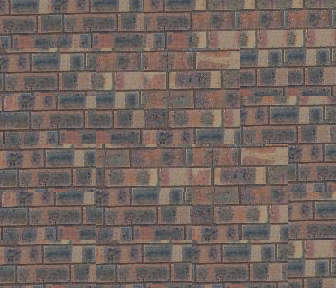
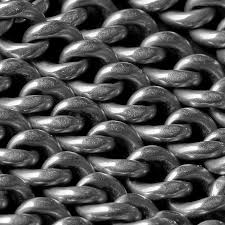
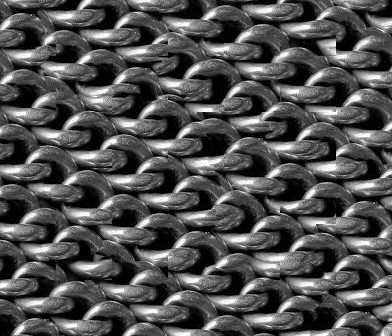
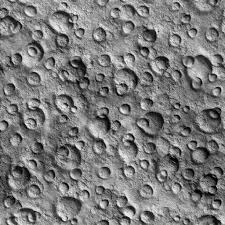
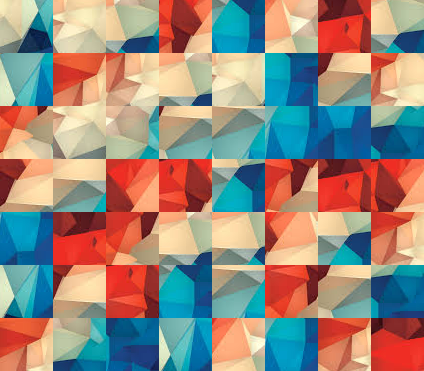
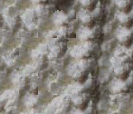
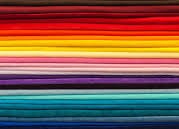
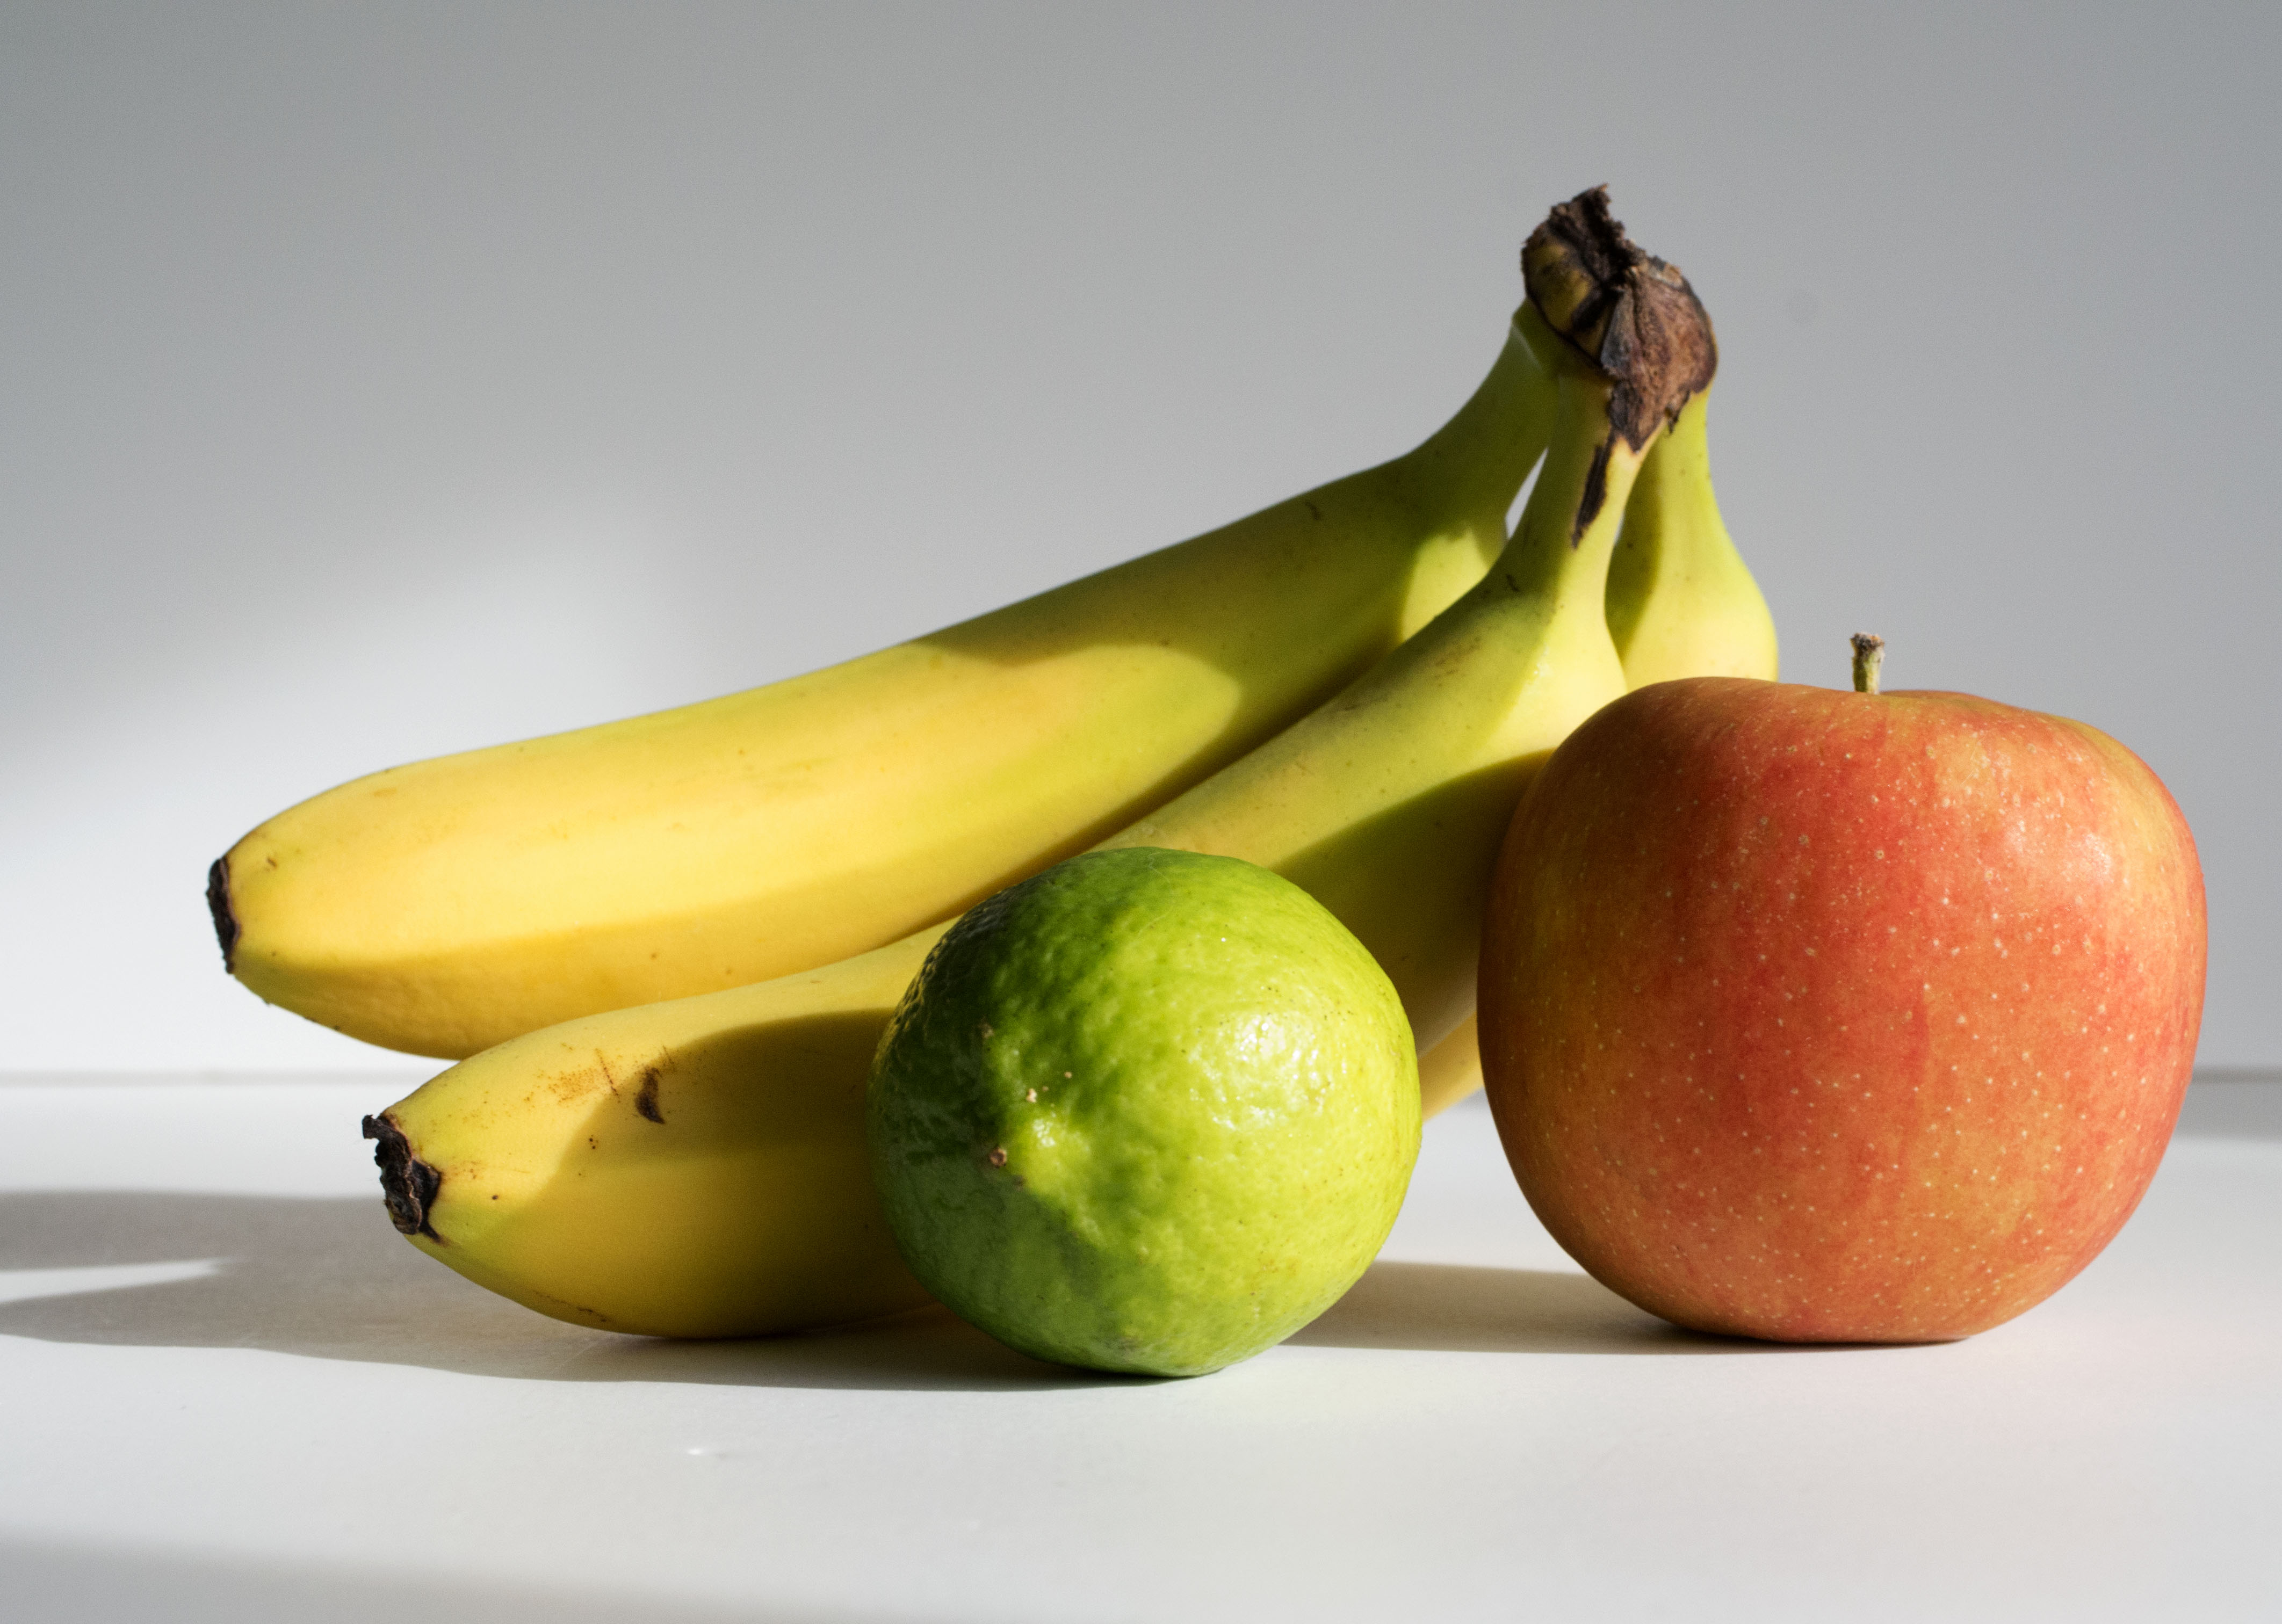
Texture synthesis is the creation of a larger texture image from a small sample
and texture transfer is giving an object the appearance of having the same
texture as a sample while preserving its shape.
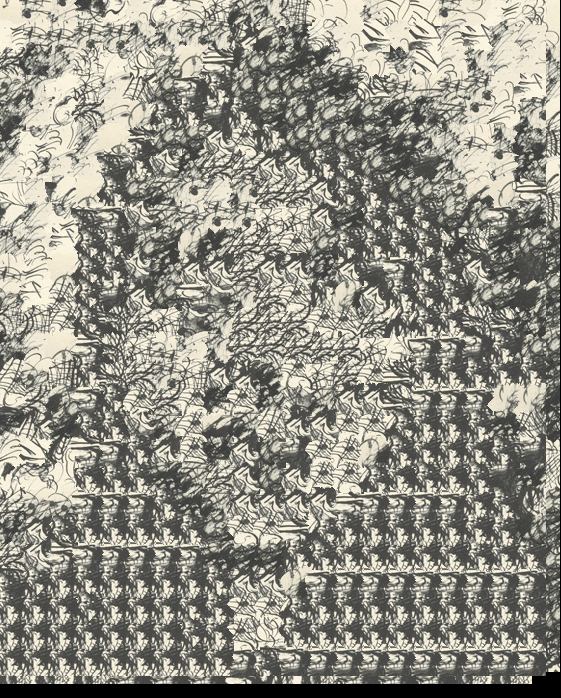
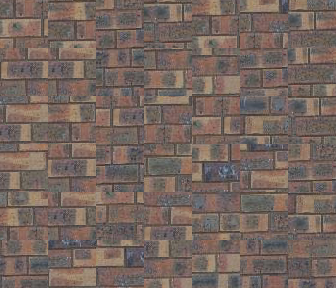
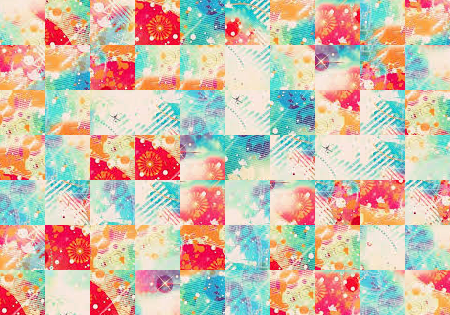
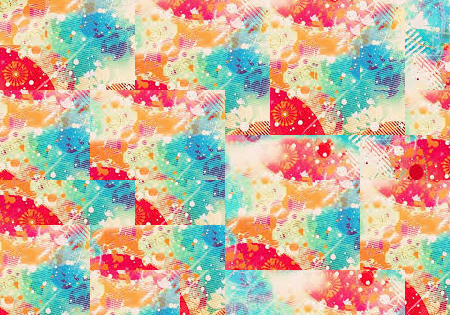
Texture Synthesis
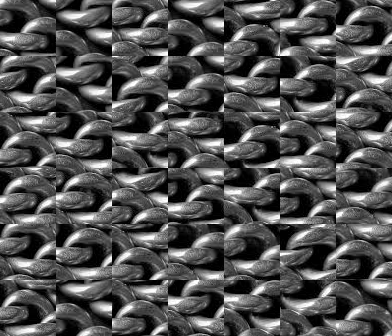
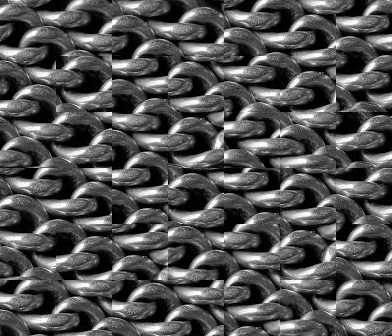
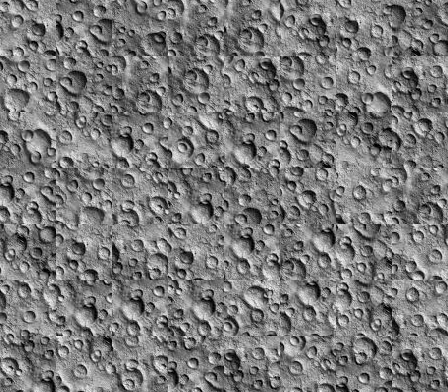
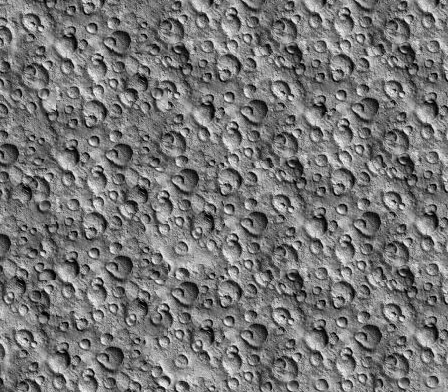
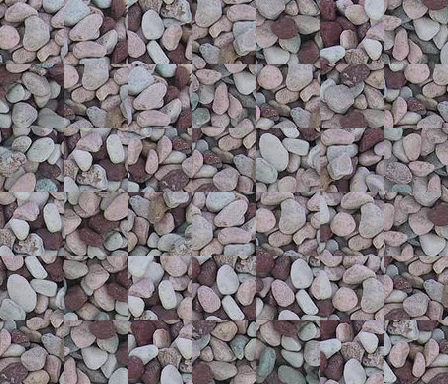
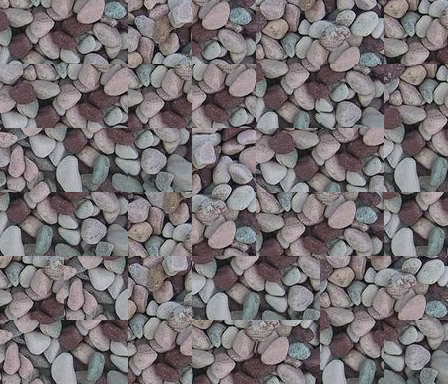
For texture synthesis, the main idea is to sample patches from the original texture and lay them down in overlapping patterns such that the overlapping regions are similar. Just doing this will result in noticeable edges so instead, we find a path along the overlapping regions that will minimize the differences.
 Left Cut
|
 Right Cut
|
 Combined
|
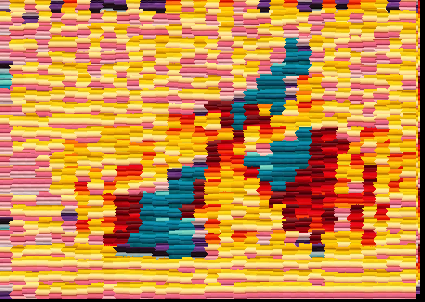
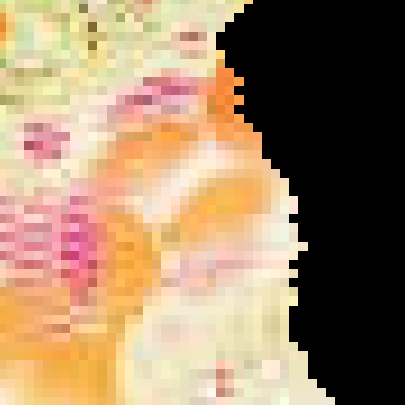
Synthesized Textures
|
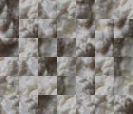
Texture
|
Randomly Sampled
|
Overlapping Patches
|
Seam Carving
|
|
|
|

|
|
|
|
|
|
|

|
|

|
|
|
|
|
|
|
|
|
|
|
|

|
|

|
|
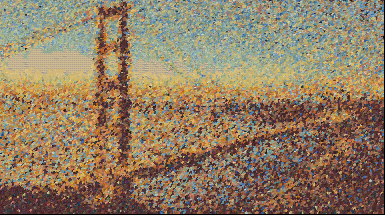
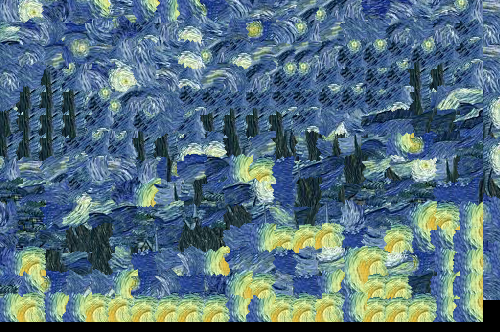
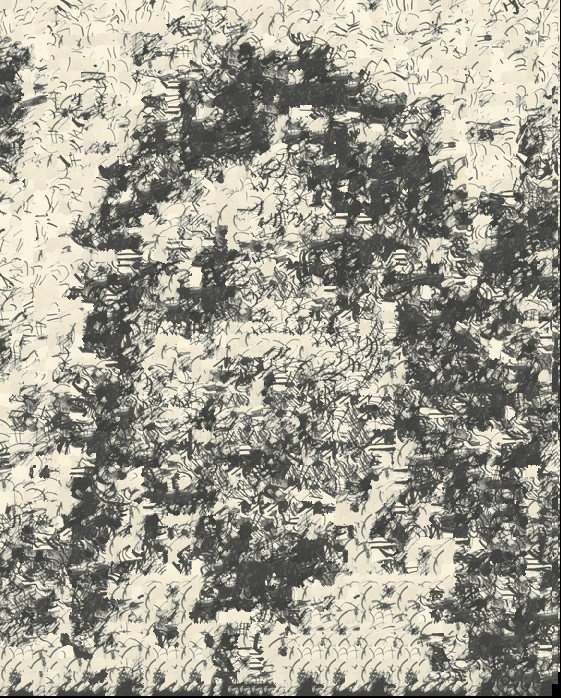
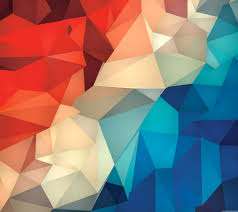
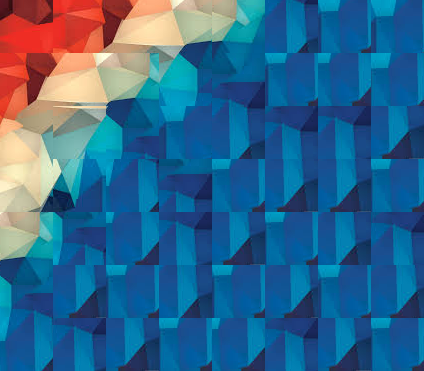
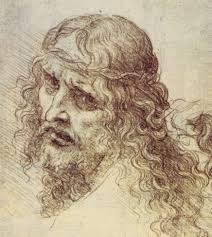
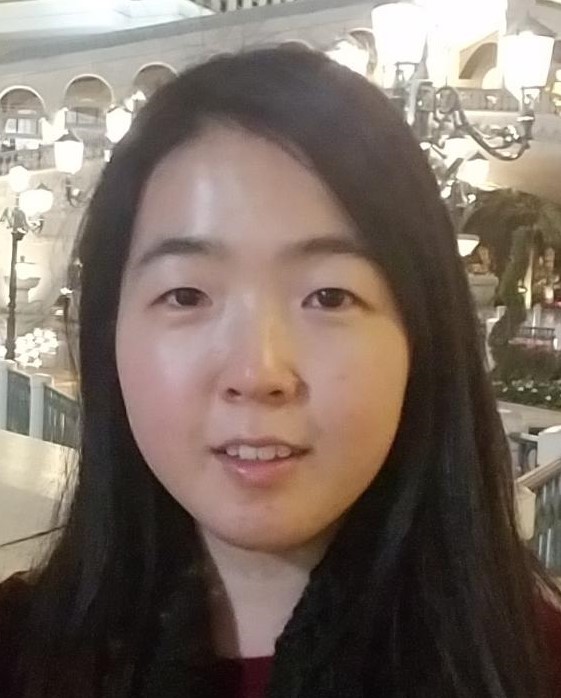
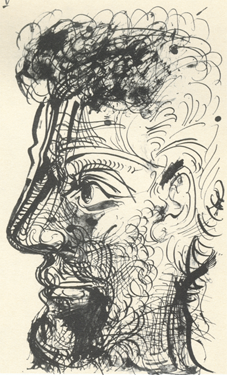
Texture Transfer
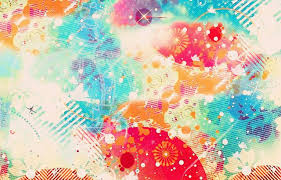
Texture transfer works in a similar way except we add another constraint -
that the sampled source patch should be similar to the target patch at the location to be filled.
So the cost function changes from SSD(overlap_regions) to:
alpha * SSD(overlap_regions) + (1 - alpha) * SSD(sample_texture_patch, target_patch)
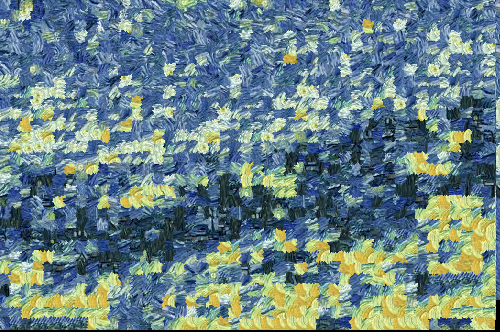
For the iterative version of this, we add another constraint - that the new sample patches should not only satisfy the local texture constraint but also should be similar to whatever was synthesized at this block in previous iterations.
For each iteration, I reduced the block size by a third and set alpha_i
= .8 * (i - 1 / N - 1) + .1, where i = current iteration
and N = total number of iterations.
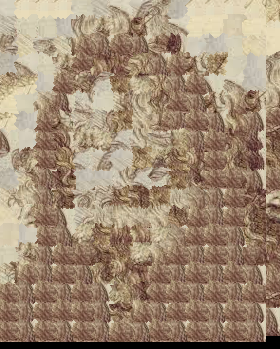
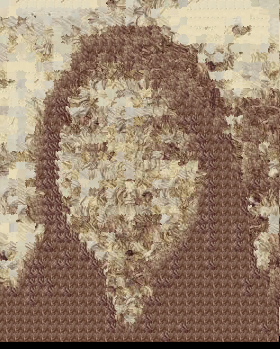
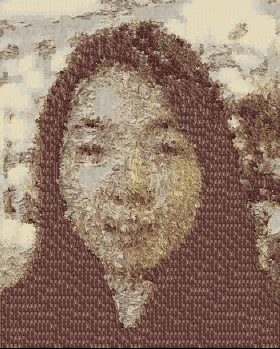
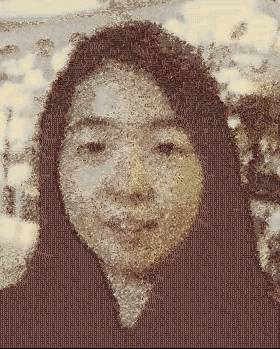
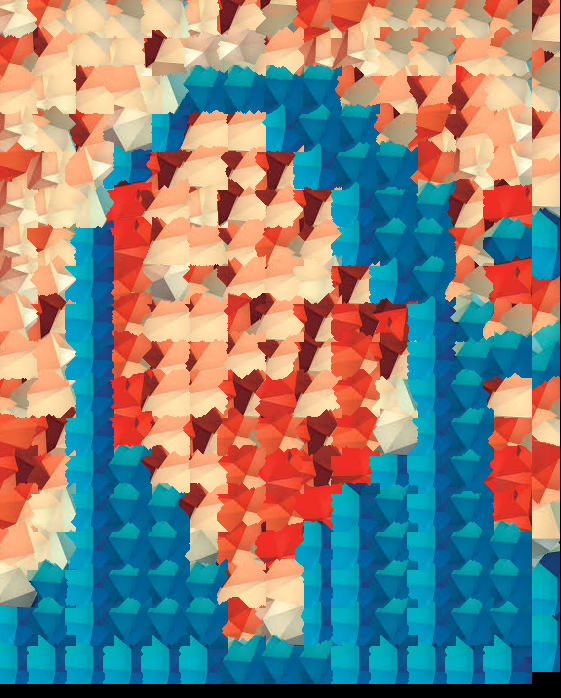
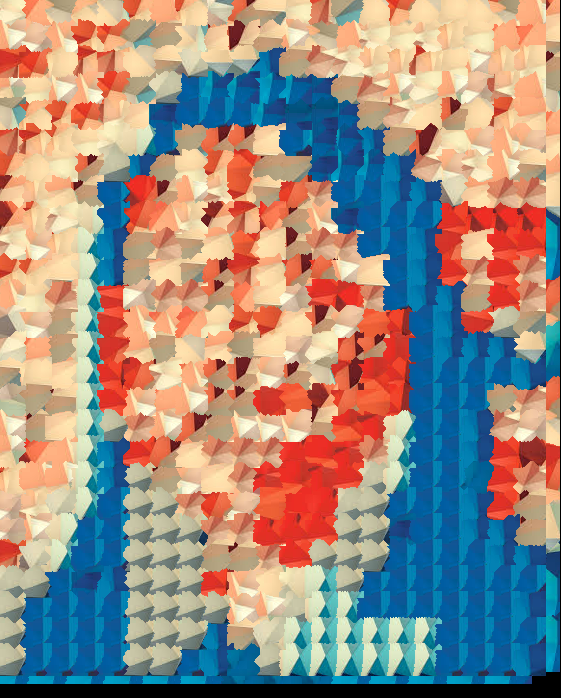
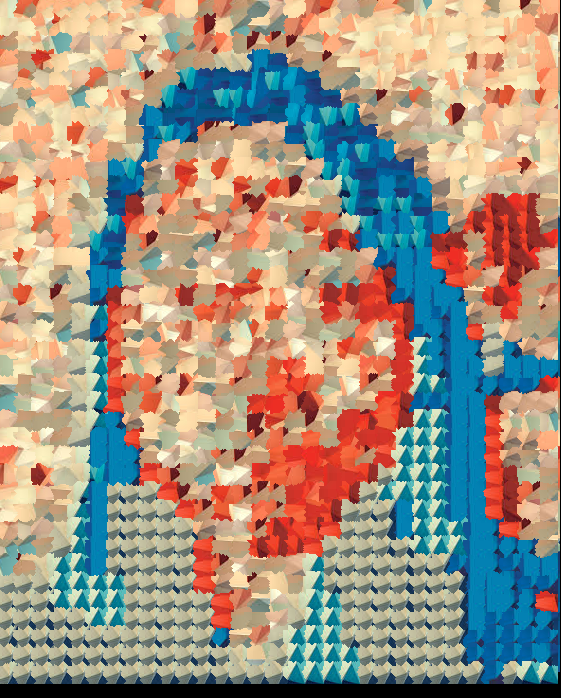
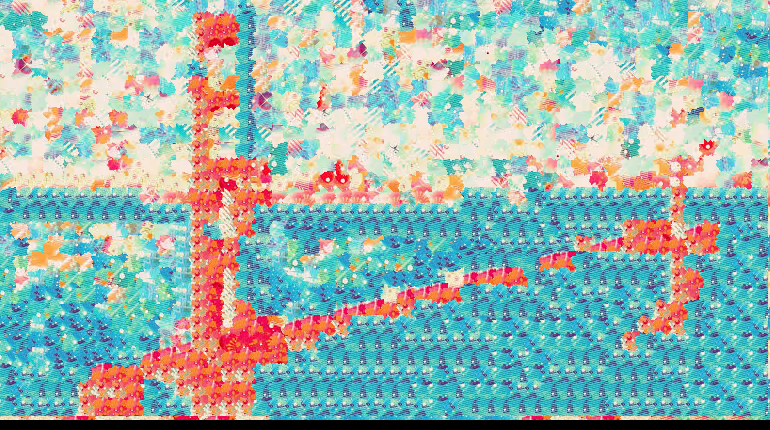
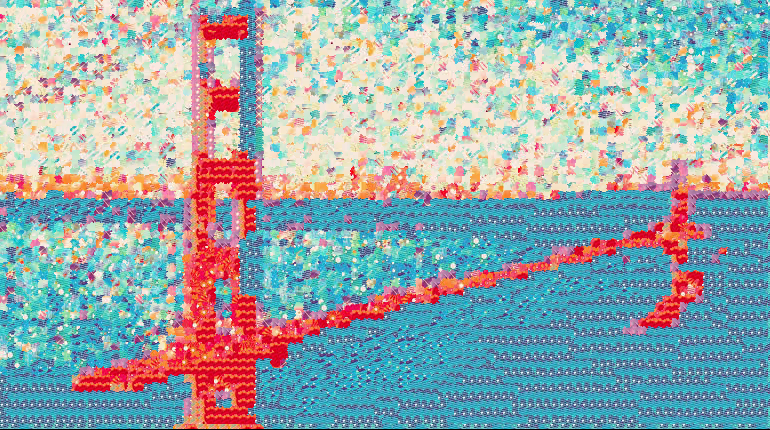
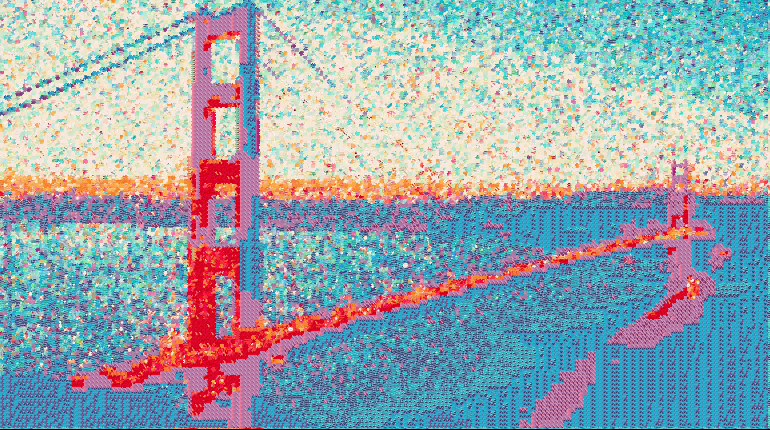
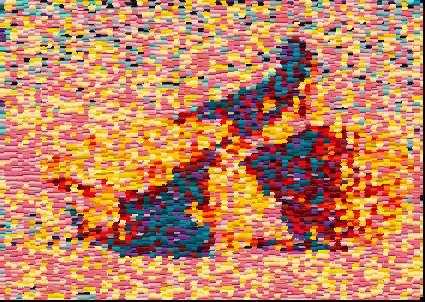
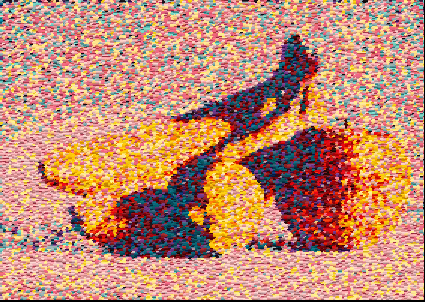
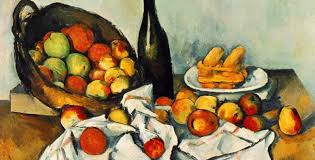
Texture Transfer Results
Texture
|
Image
|
Texture
|
Image
|
Texture

|
Image
|
Texture
|
Image
|
Texture
|
Image
|
Texture
|
Image
|
Texture
|
Image
|
Texture
|
Image
|
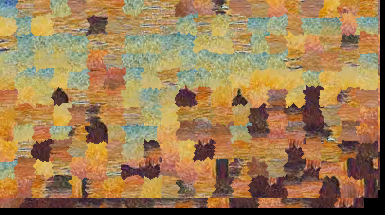
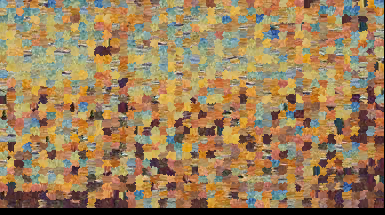
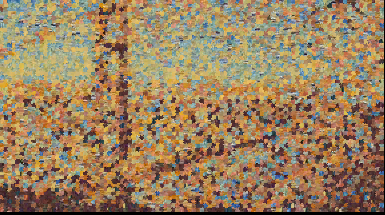
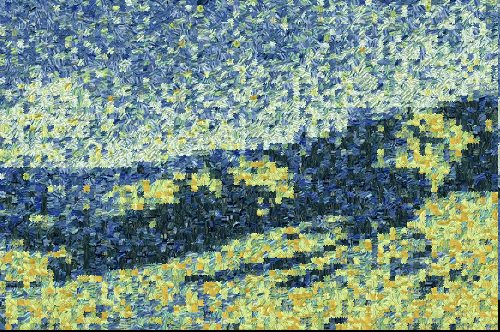
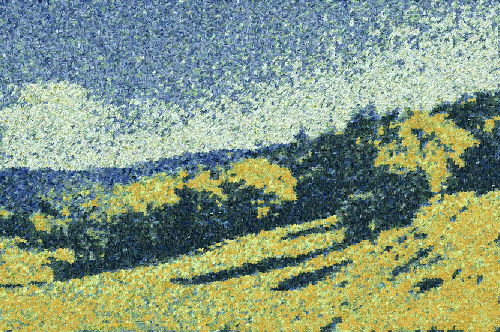
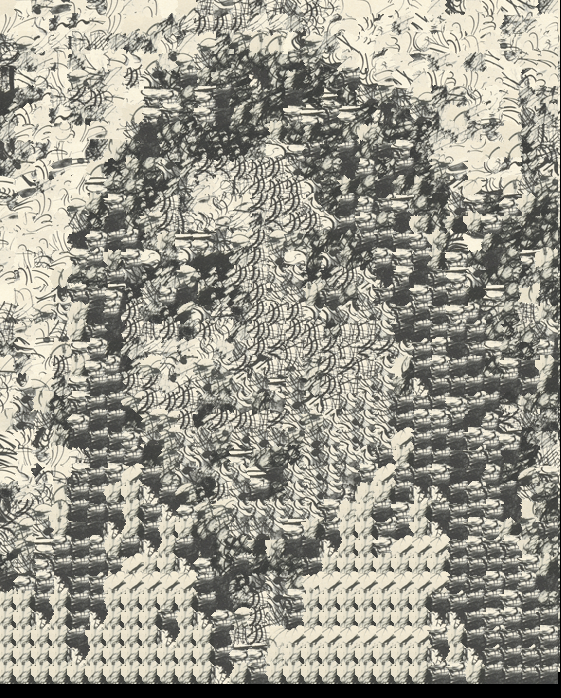
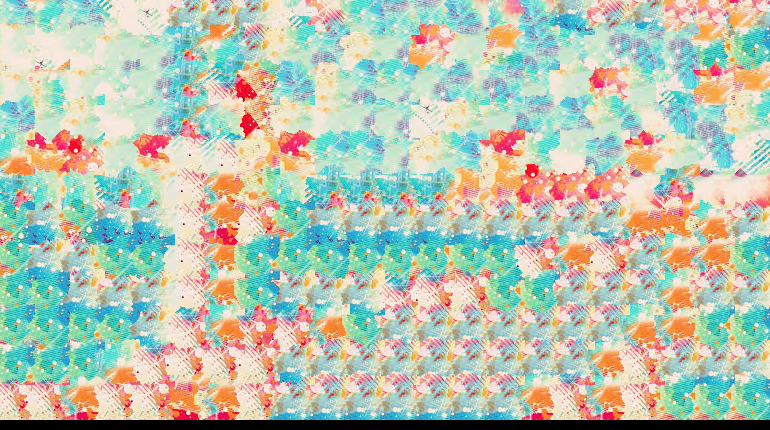
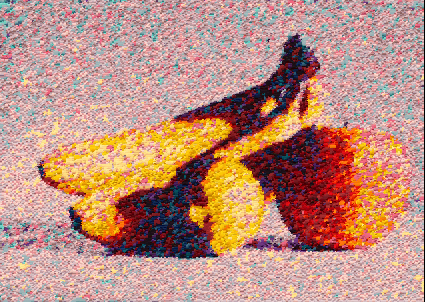
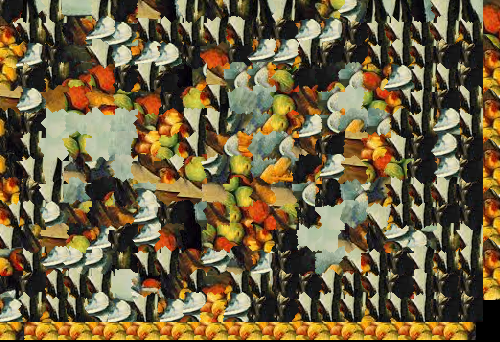
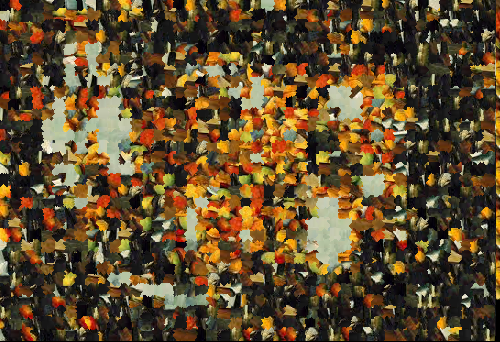
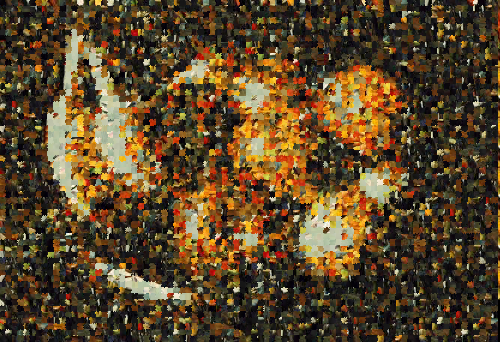
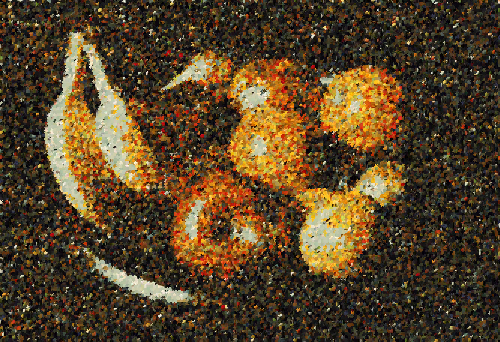
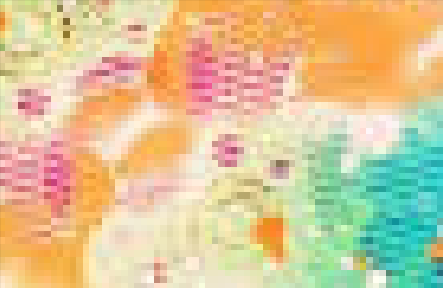
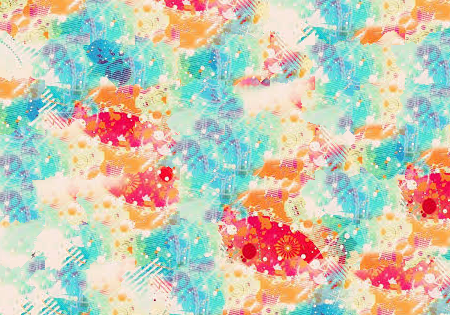
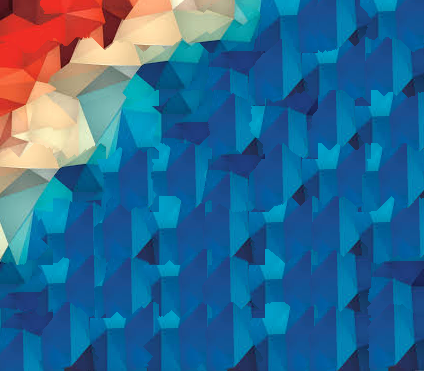
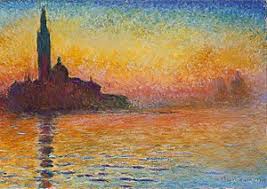
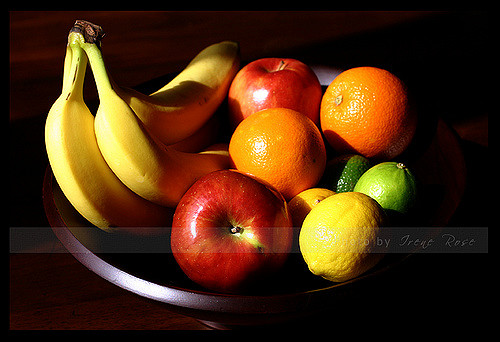
Summary
The image quilting algorithm works very well and has many applications such as
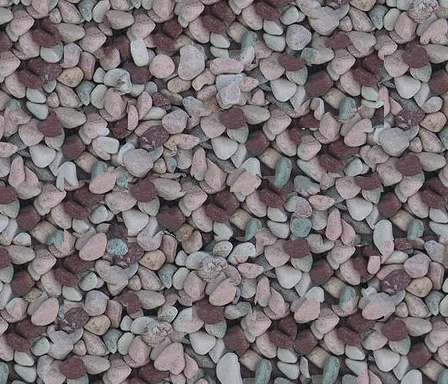
hole-filling, etc. For texture synthesis, as the number of iterations increases the
image becomes more and more detailed. But, the image also loses a little of the texture
and seems more like a mosaic (like the one directly above) but they still look really nice.
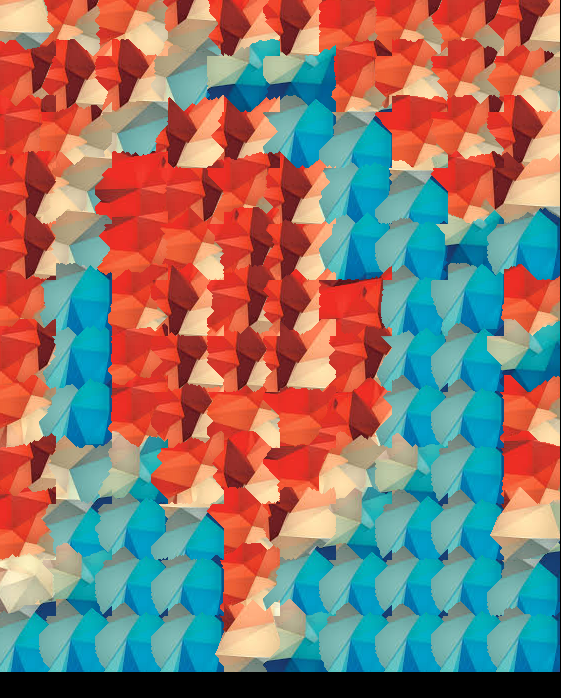
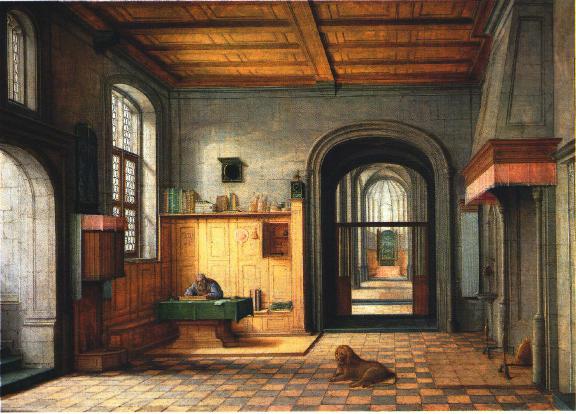
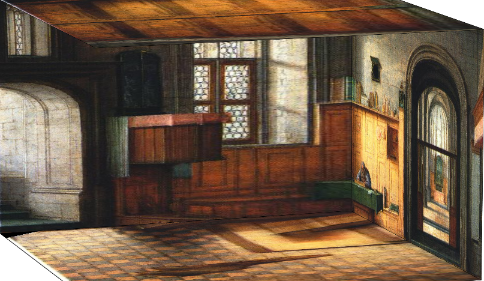
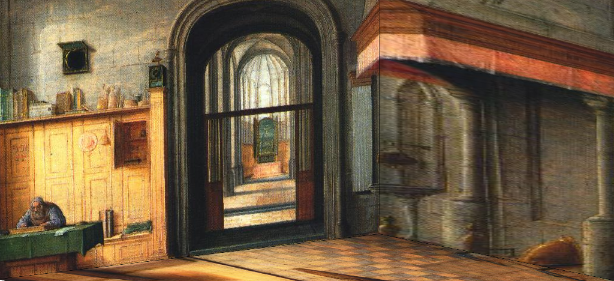
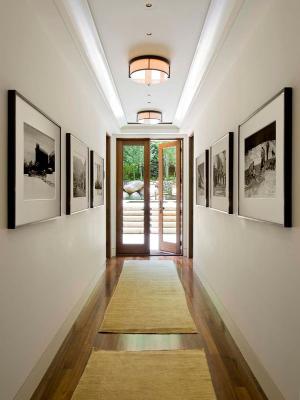
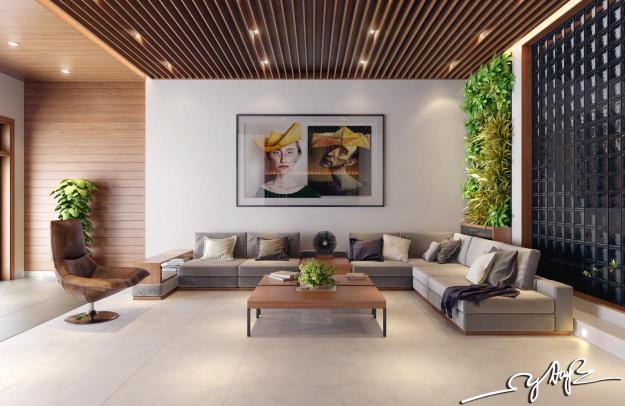
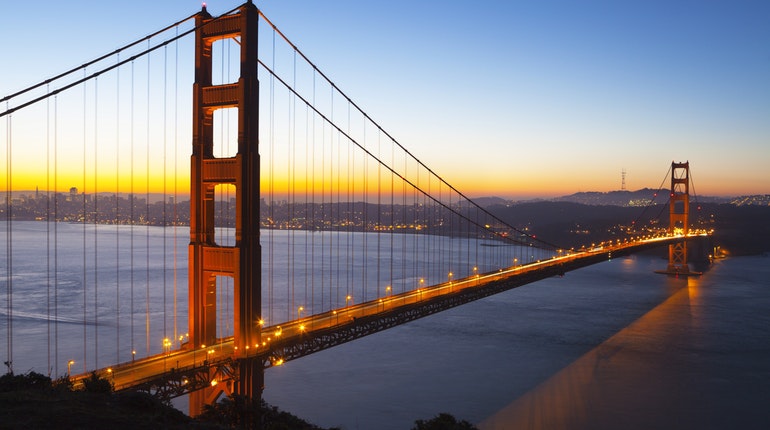
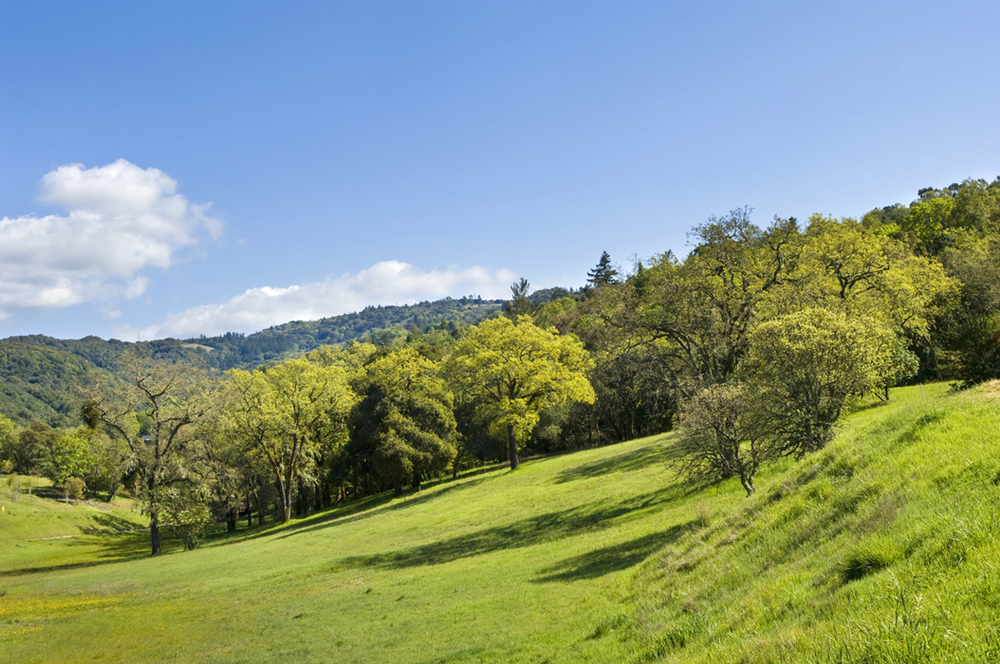
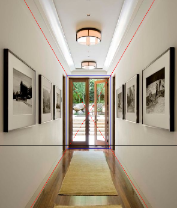
Tour into Picture
In this part, I was able to create a 3d model of a scene using a single image by first specifying
constraints on the box (back wall and vanishing point) using the Matlab code provided.
Then, I found all the 3D coordinates of the other points on the box
(using similar triangles and guessing a focal length from this lecture)
and computed homographies for each of the planes using my project 6 code.
Finally, I texture mapped them onto a 3D model using Matlab.
 Back wall + Vanishing Point
|
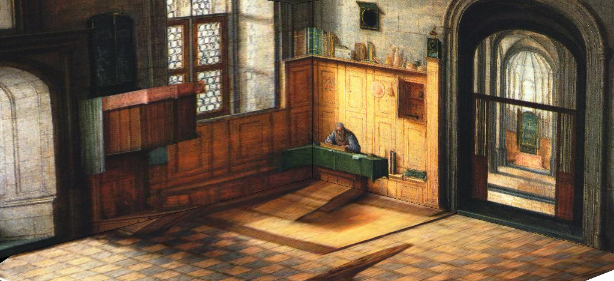
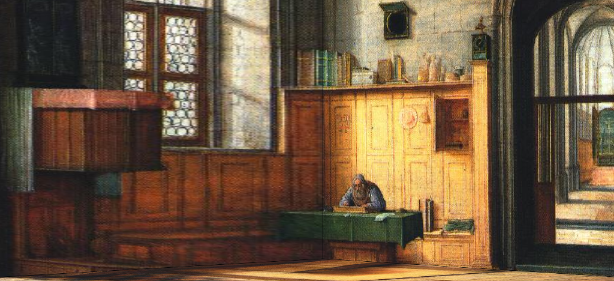
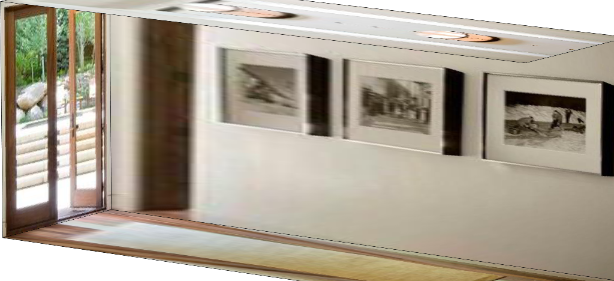
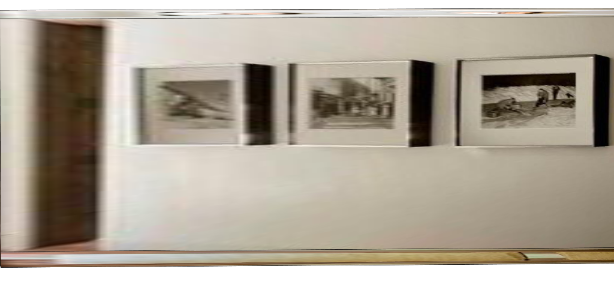
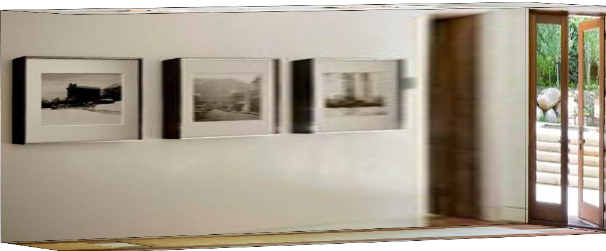
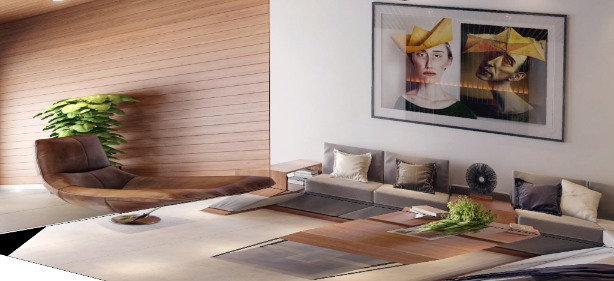
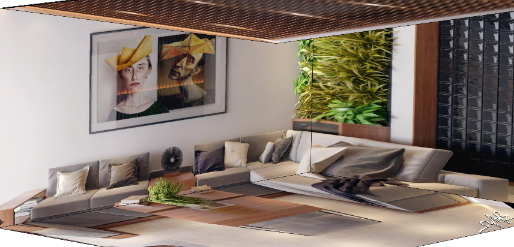
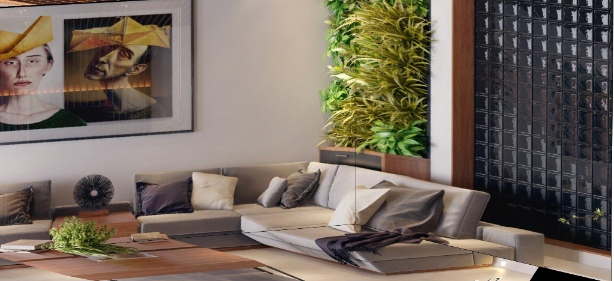
Results
Scene
Views
Scene
Views
Scene
Views
Summary
This was a really interesting and fun project and the results turned out pretty
good. The only thing is there are some distortions with foreground objects and
anything that was in between the boundaries of planes.