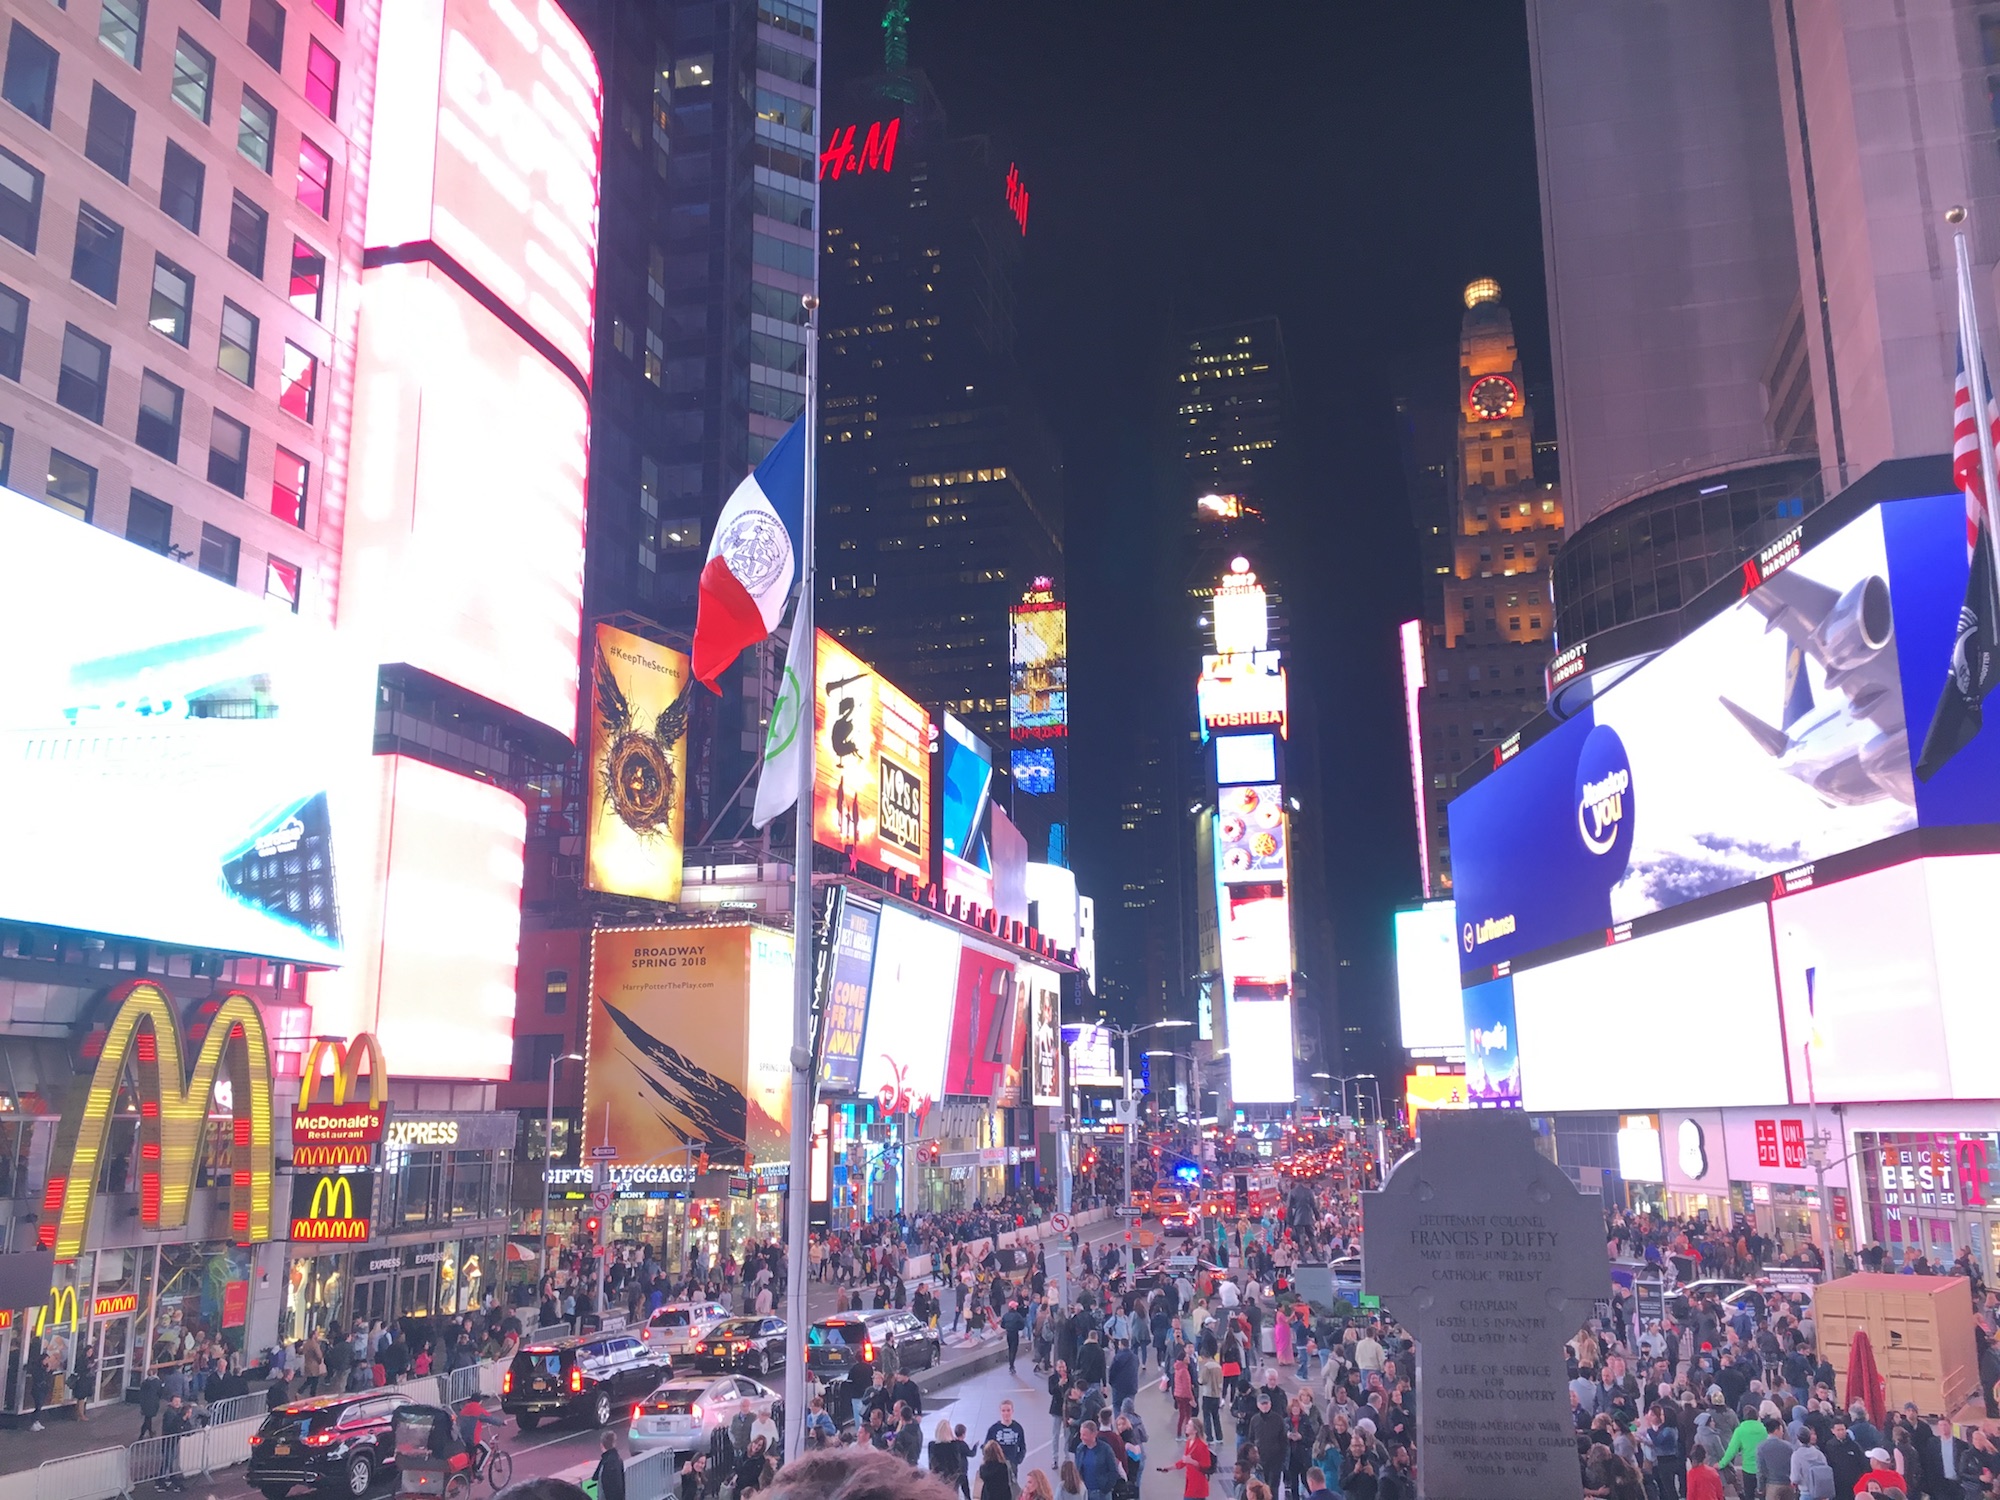
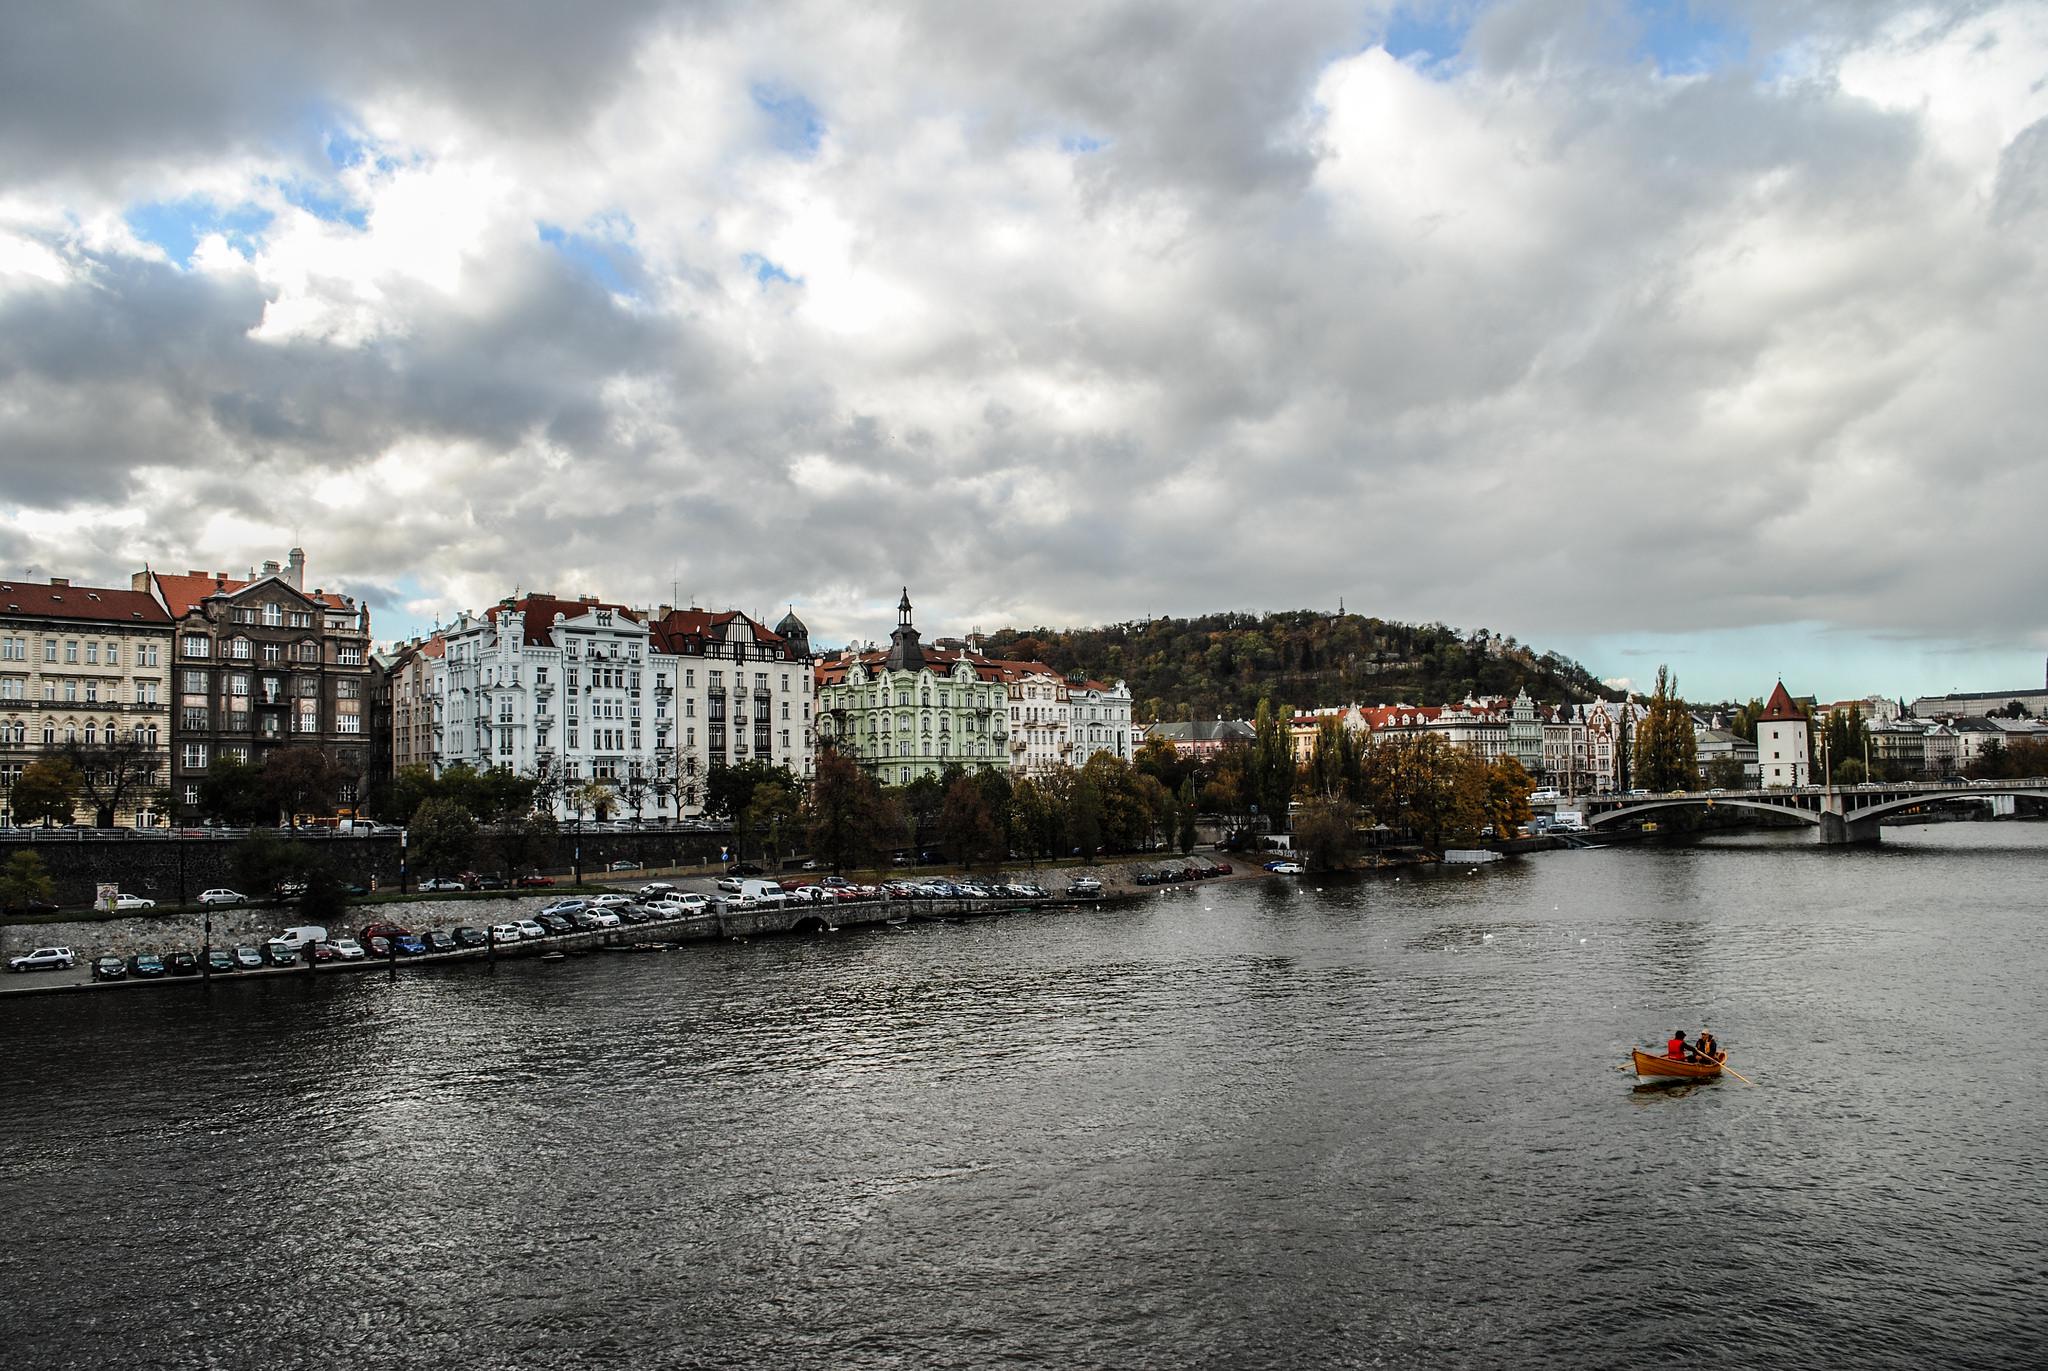
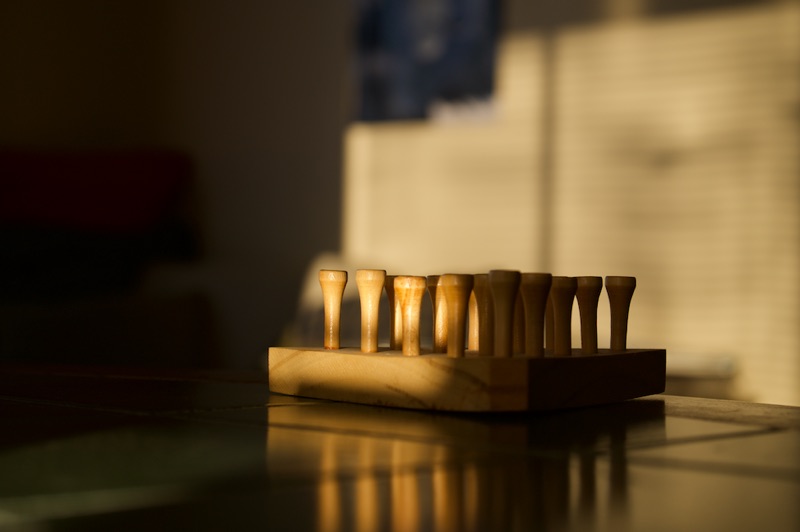
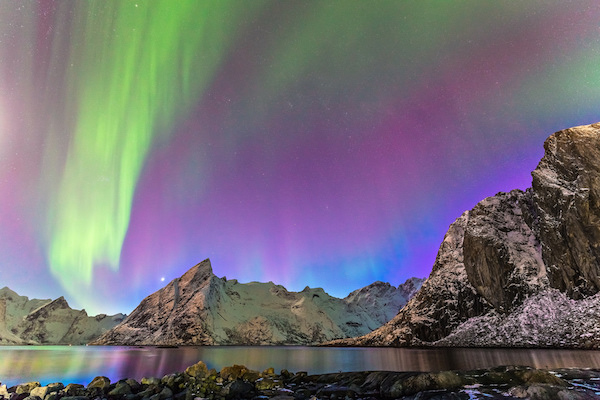
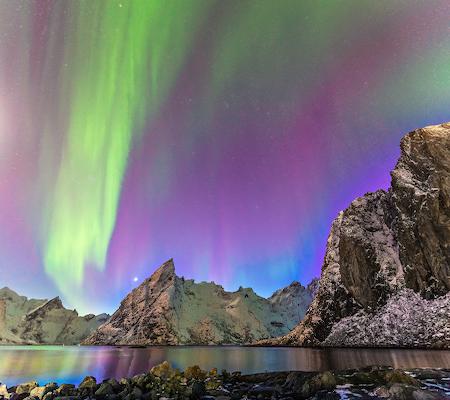
Original image
By: Alex Pan (abq) and Brian Kooperberg (acd)
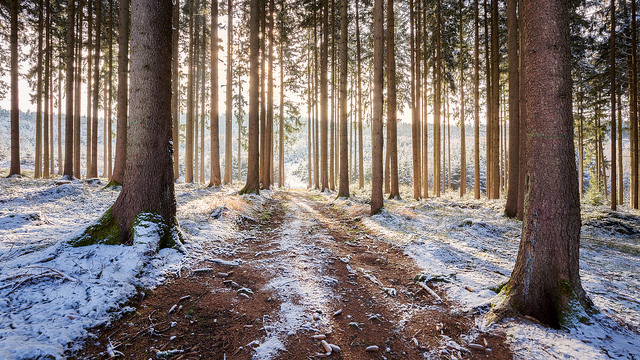
In this first part of the project, we are creating fake miniatures. This refers to taking a regular photograph of a location or an image, and simulating the effect of selective focus cameras to make the subject look smaller than it is. This models the technique known as tilt-shift photography, and can be digitally simulated through a few simple steps.
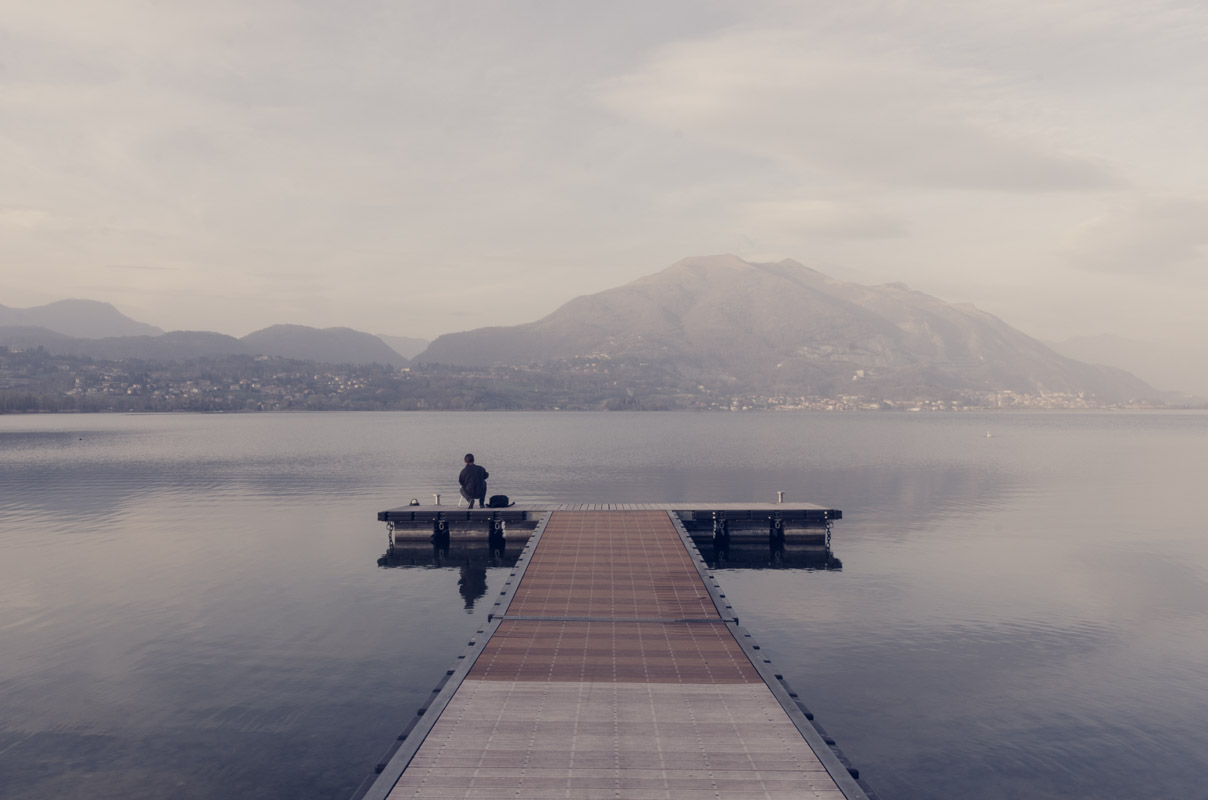
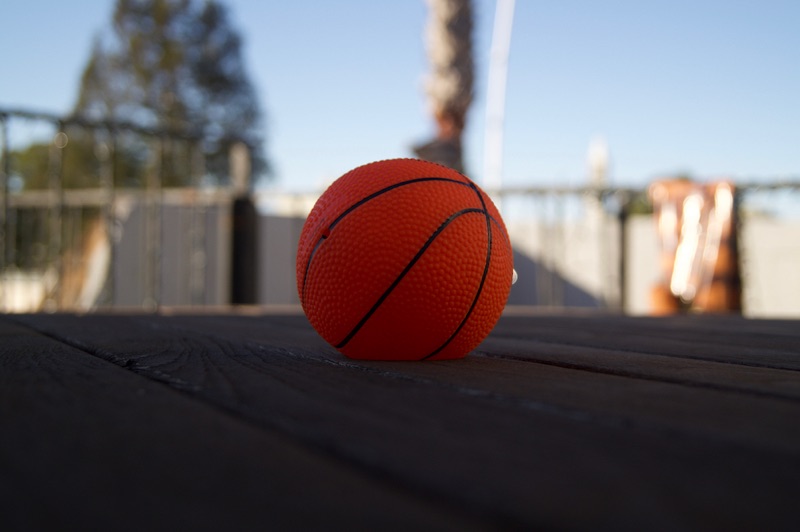
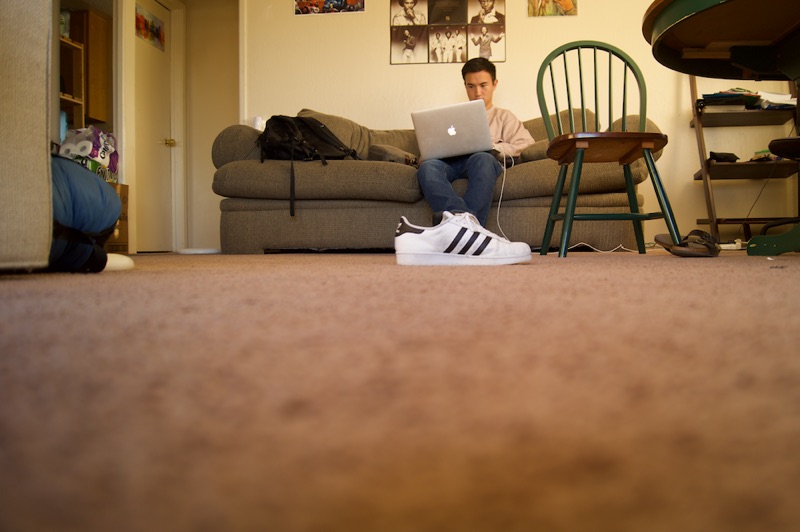
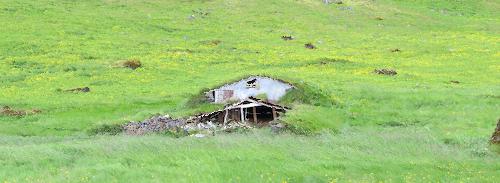
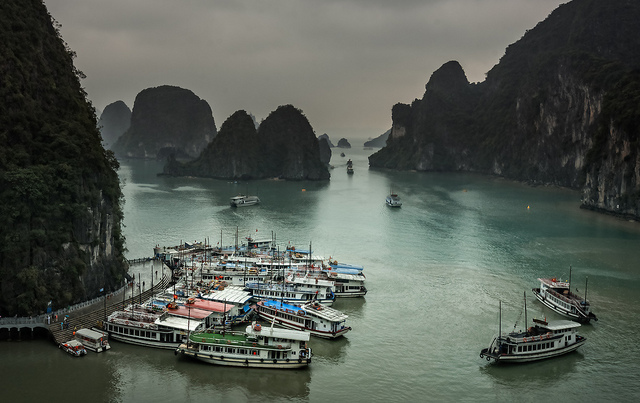
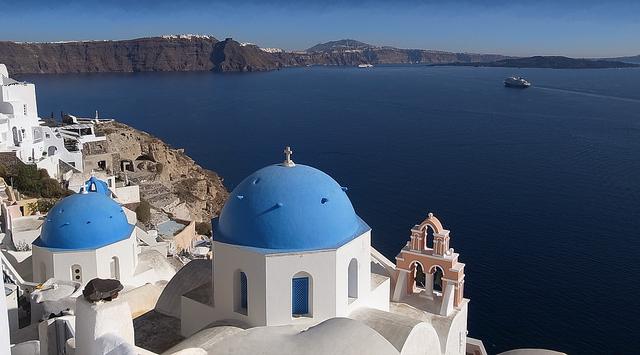
From a 2D image, it is technically impossible to recover depth information. Rather than accurately defining at what distance objects are, we can use a good heuristic that objects on the same straight line are at the same depth. We can manually pick a focus line for the image we are working with, and whatever lies on the focus line will be depicted to look miniature. This line can be vertical or horizontal, depending on what we want. In the image below, you can see where we've defined the focus line based on the photo's subjects.
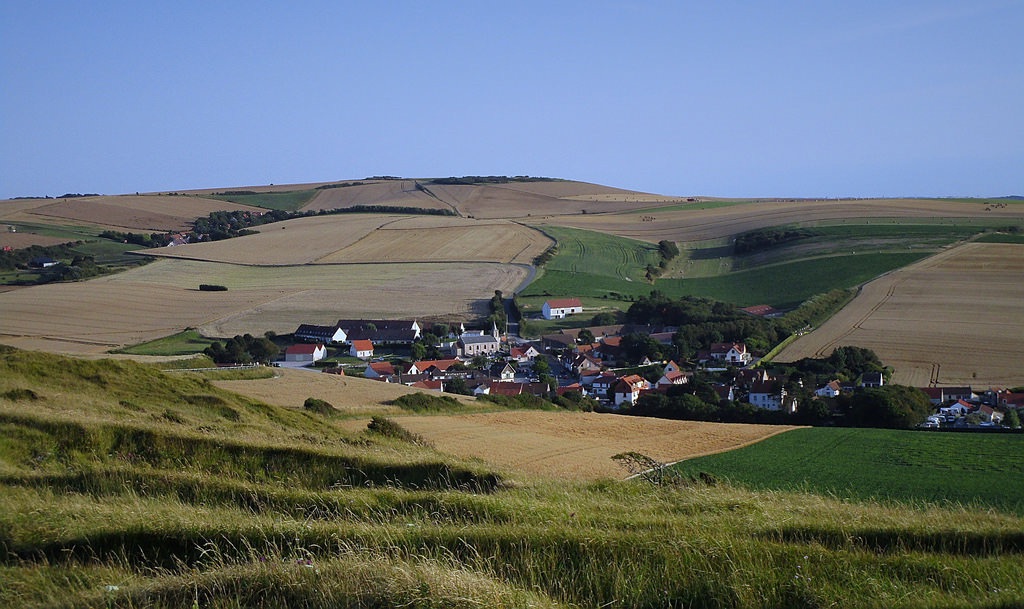
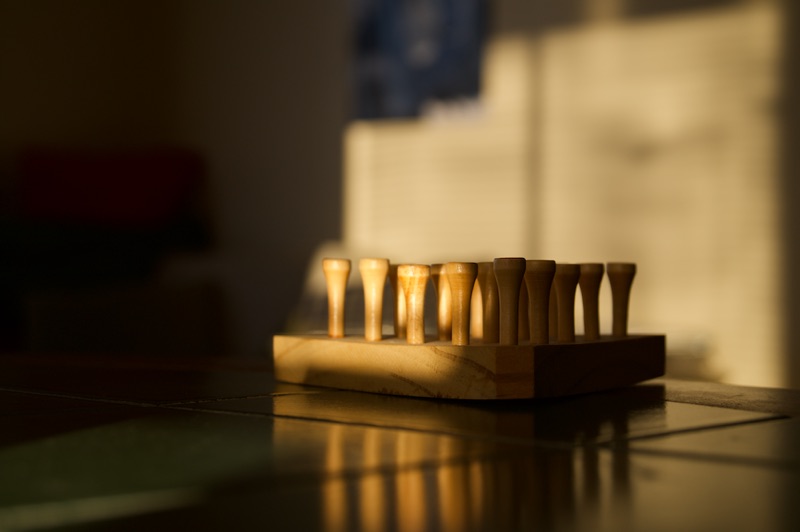
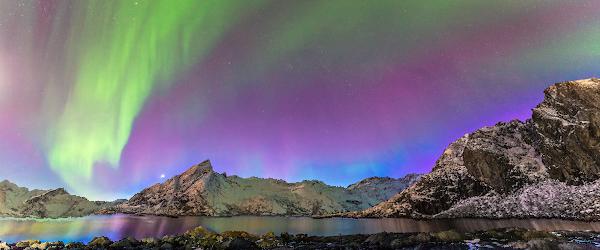
Original image
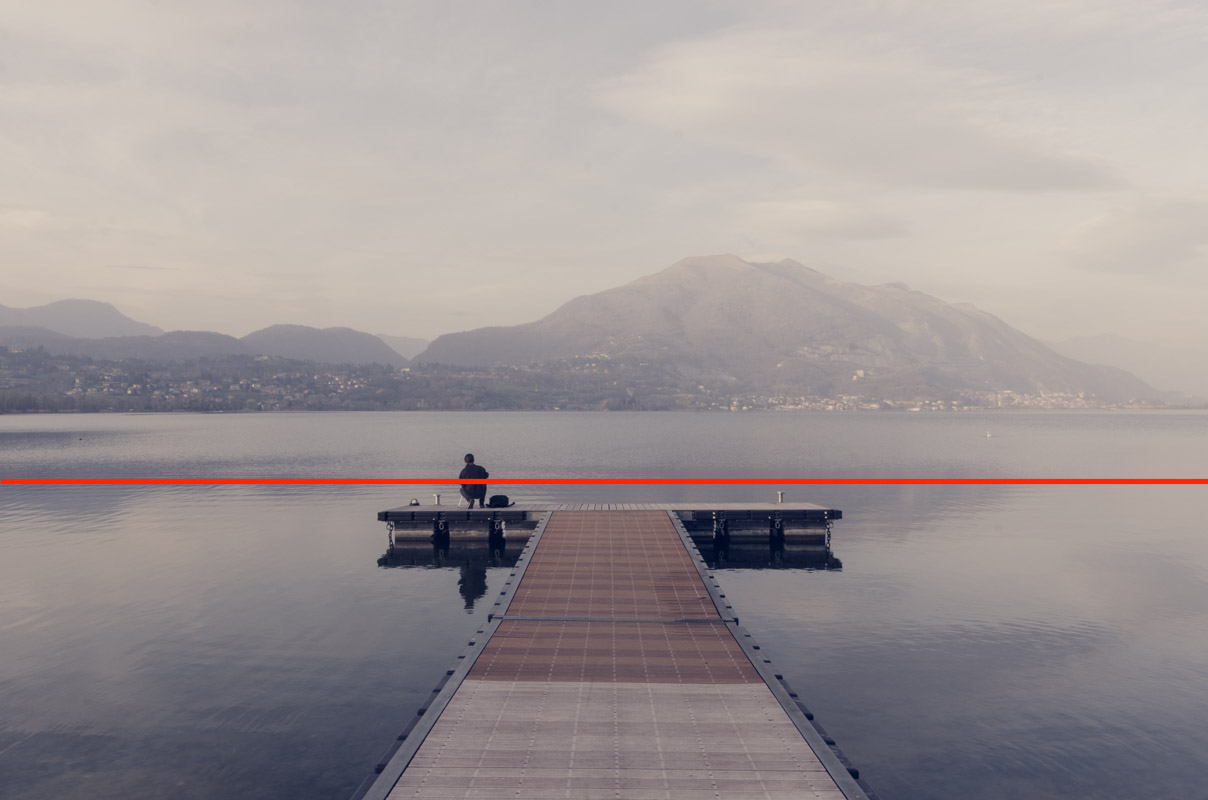
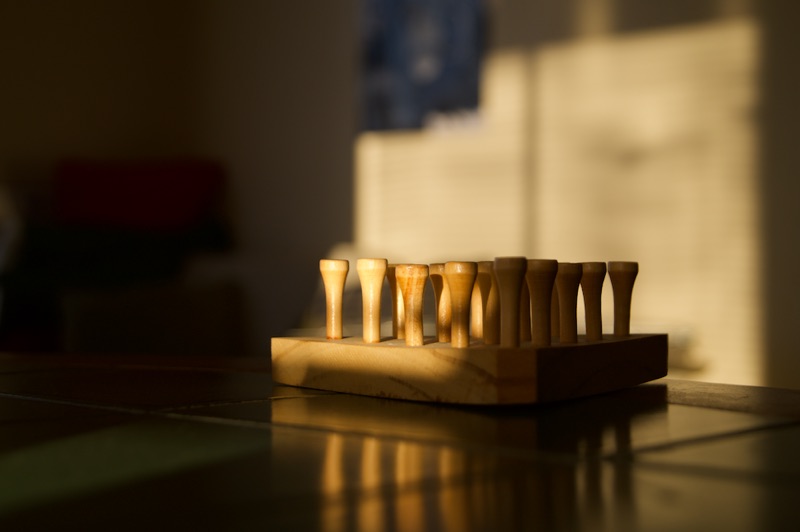
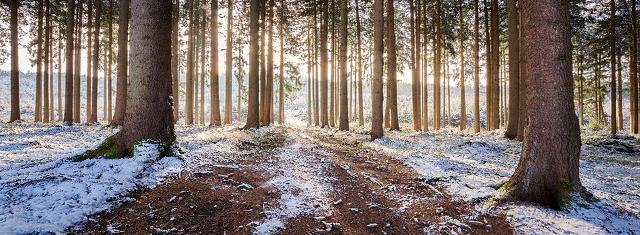
Focus line
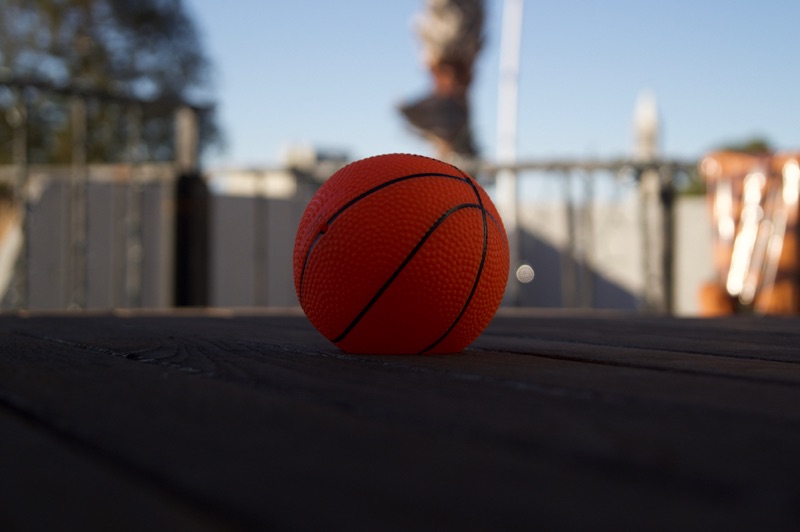
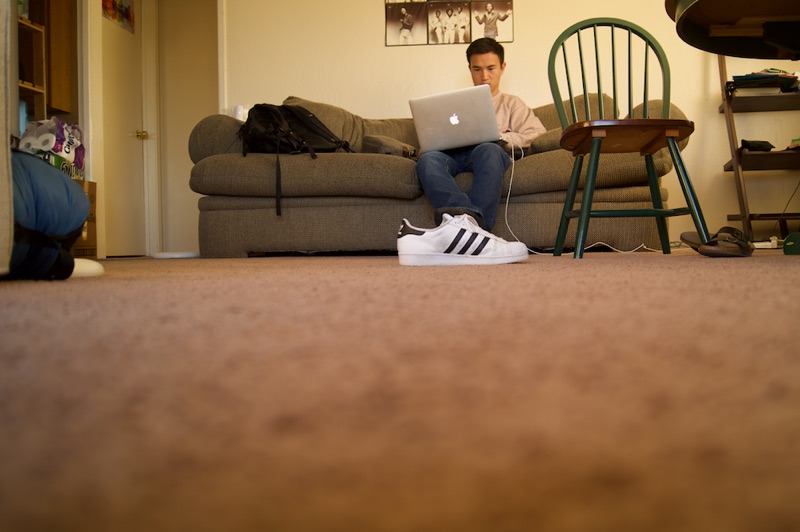
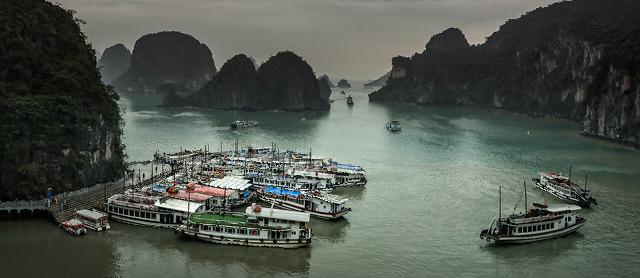
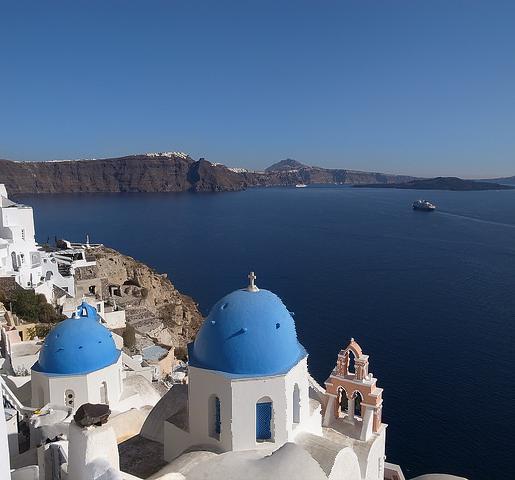
Now that we know where the focus line is, we have to determine the depth of field. The depth of field is the part of the image in focus, centered around the focus line. Since we are faking the process of focusing an actual camera, we can specify what the depth of field should be. In simple situations, the DOF is just a rectangle around the focus line. By defining the width of this rectangle, we can pick an adequate depth of field for each miniature (seen below).
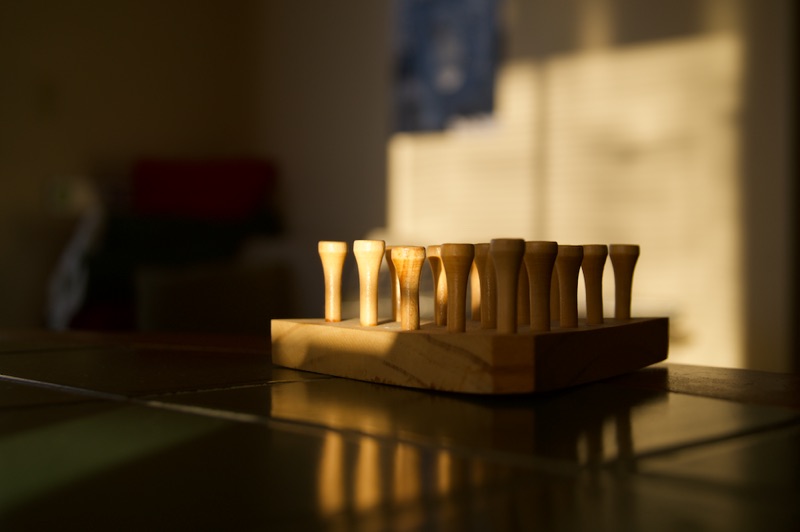
Focus line (red)

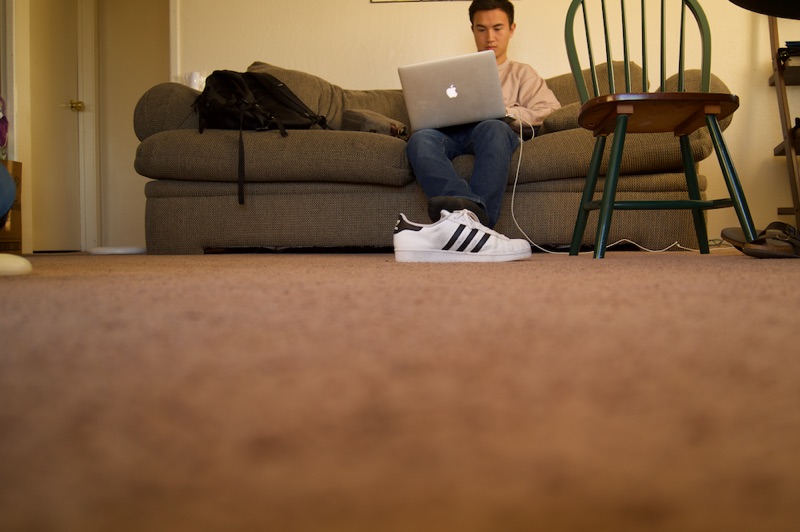
Focus line with depth of field (blue, 250px wide)
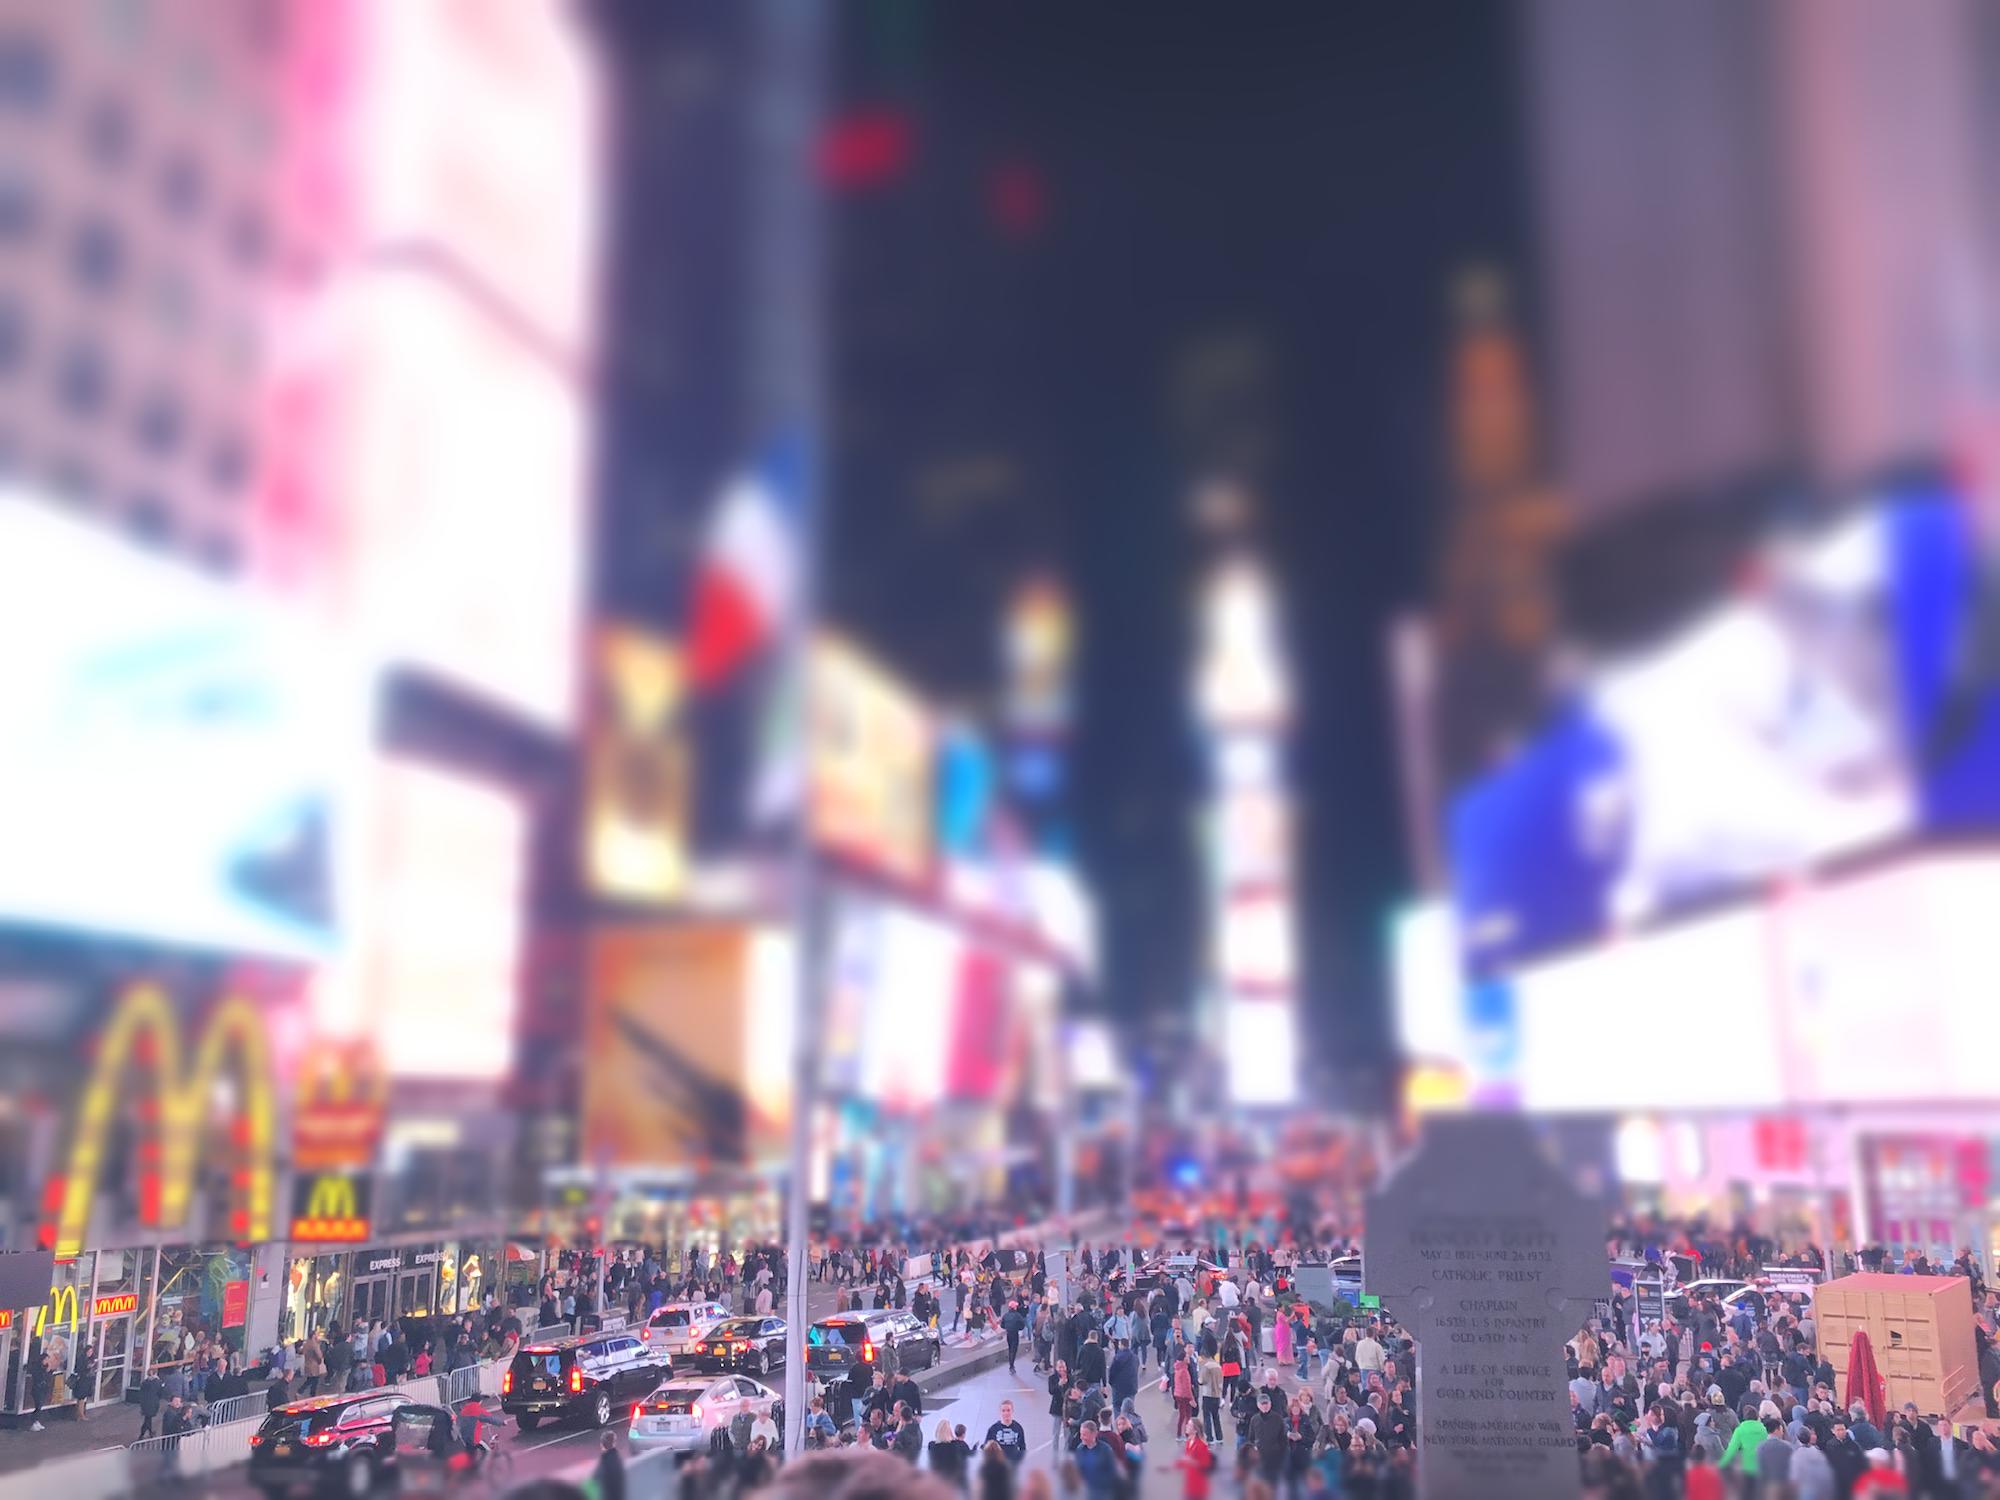
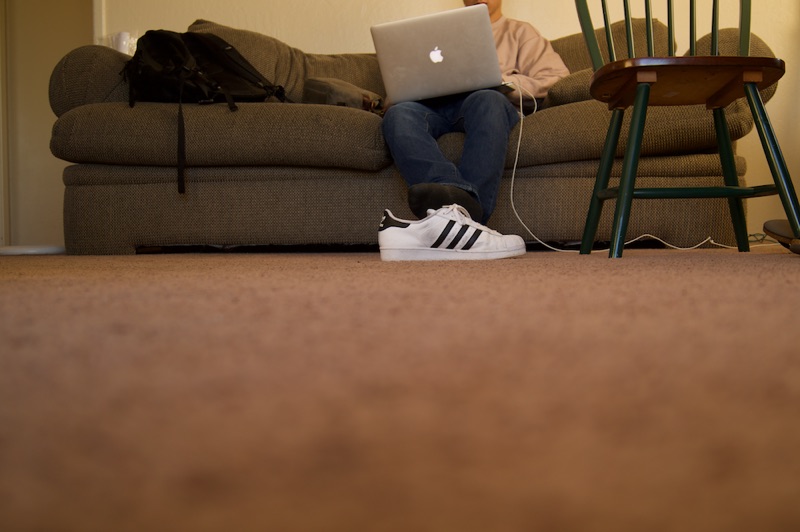
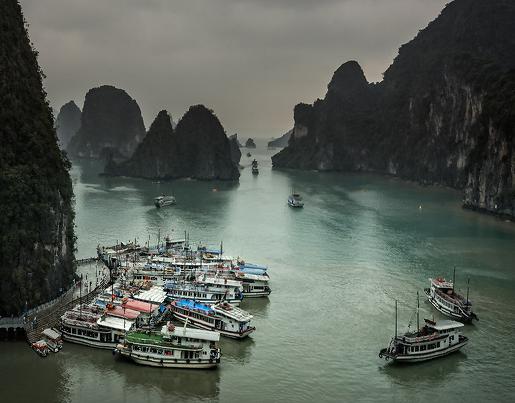
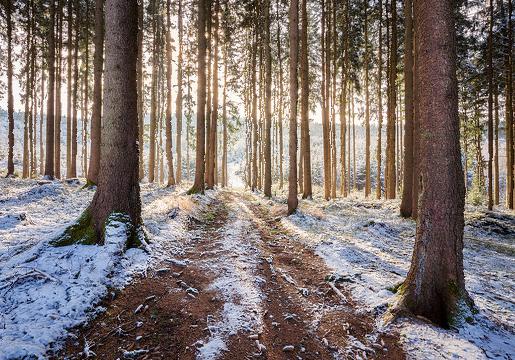
The actual 'miniature' effect is created by blurring other parts of the image. The DOF region should remain focus, but everything other than that should be incrementally blurred. Regions of the iamge further away from the DOF are assumed to be further in real life, so they should have blur. To do this, we incrementally apply Gaussian filters (with specified sigma) to the image depending on distance away from the DOF until the desired effect is acheived.
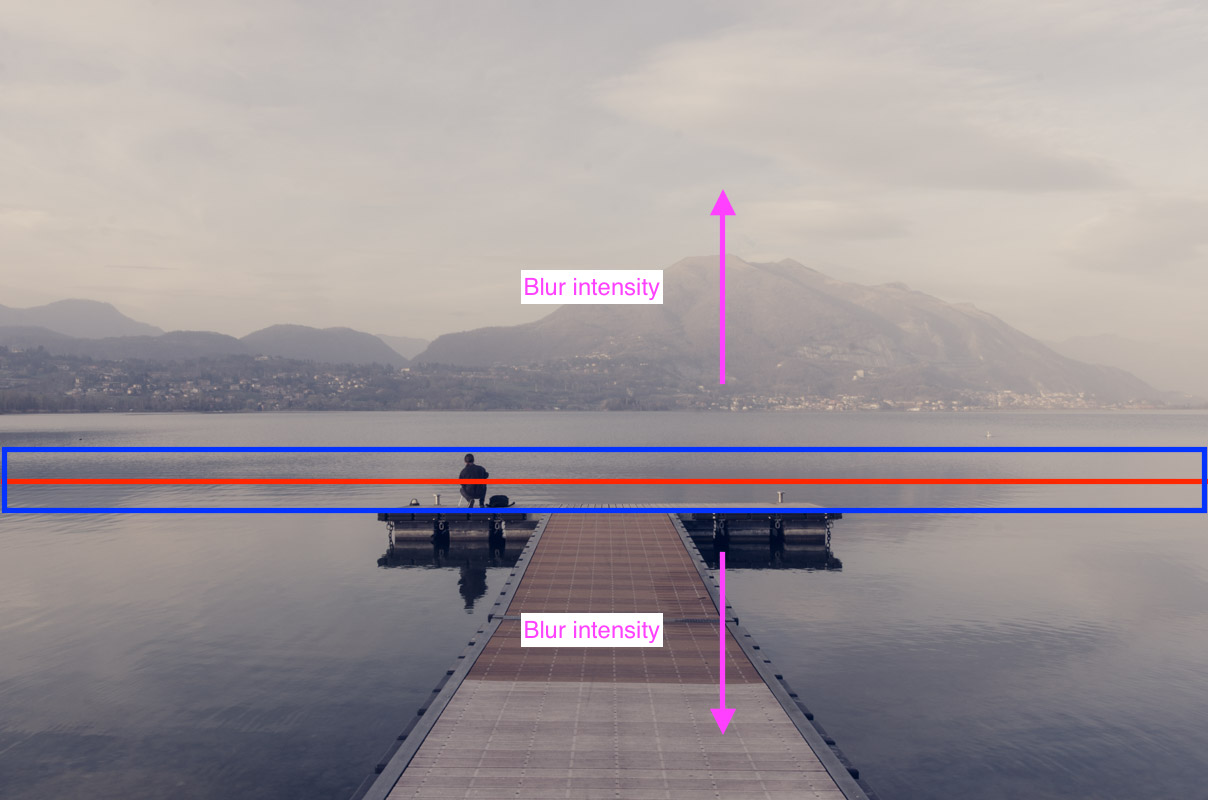
Blur regions
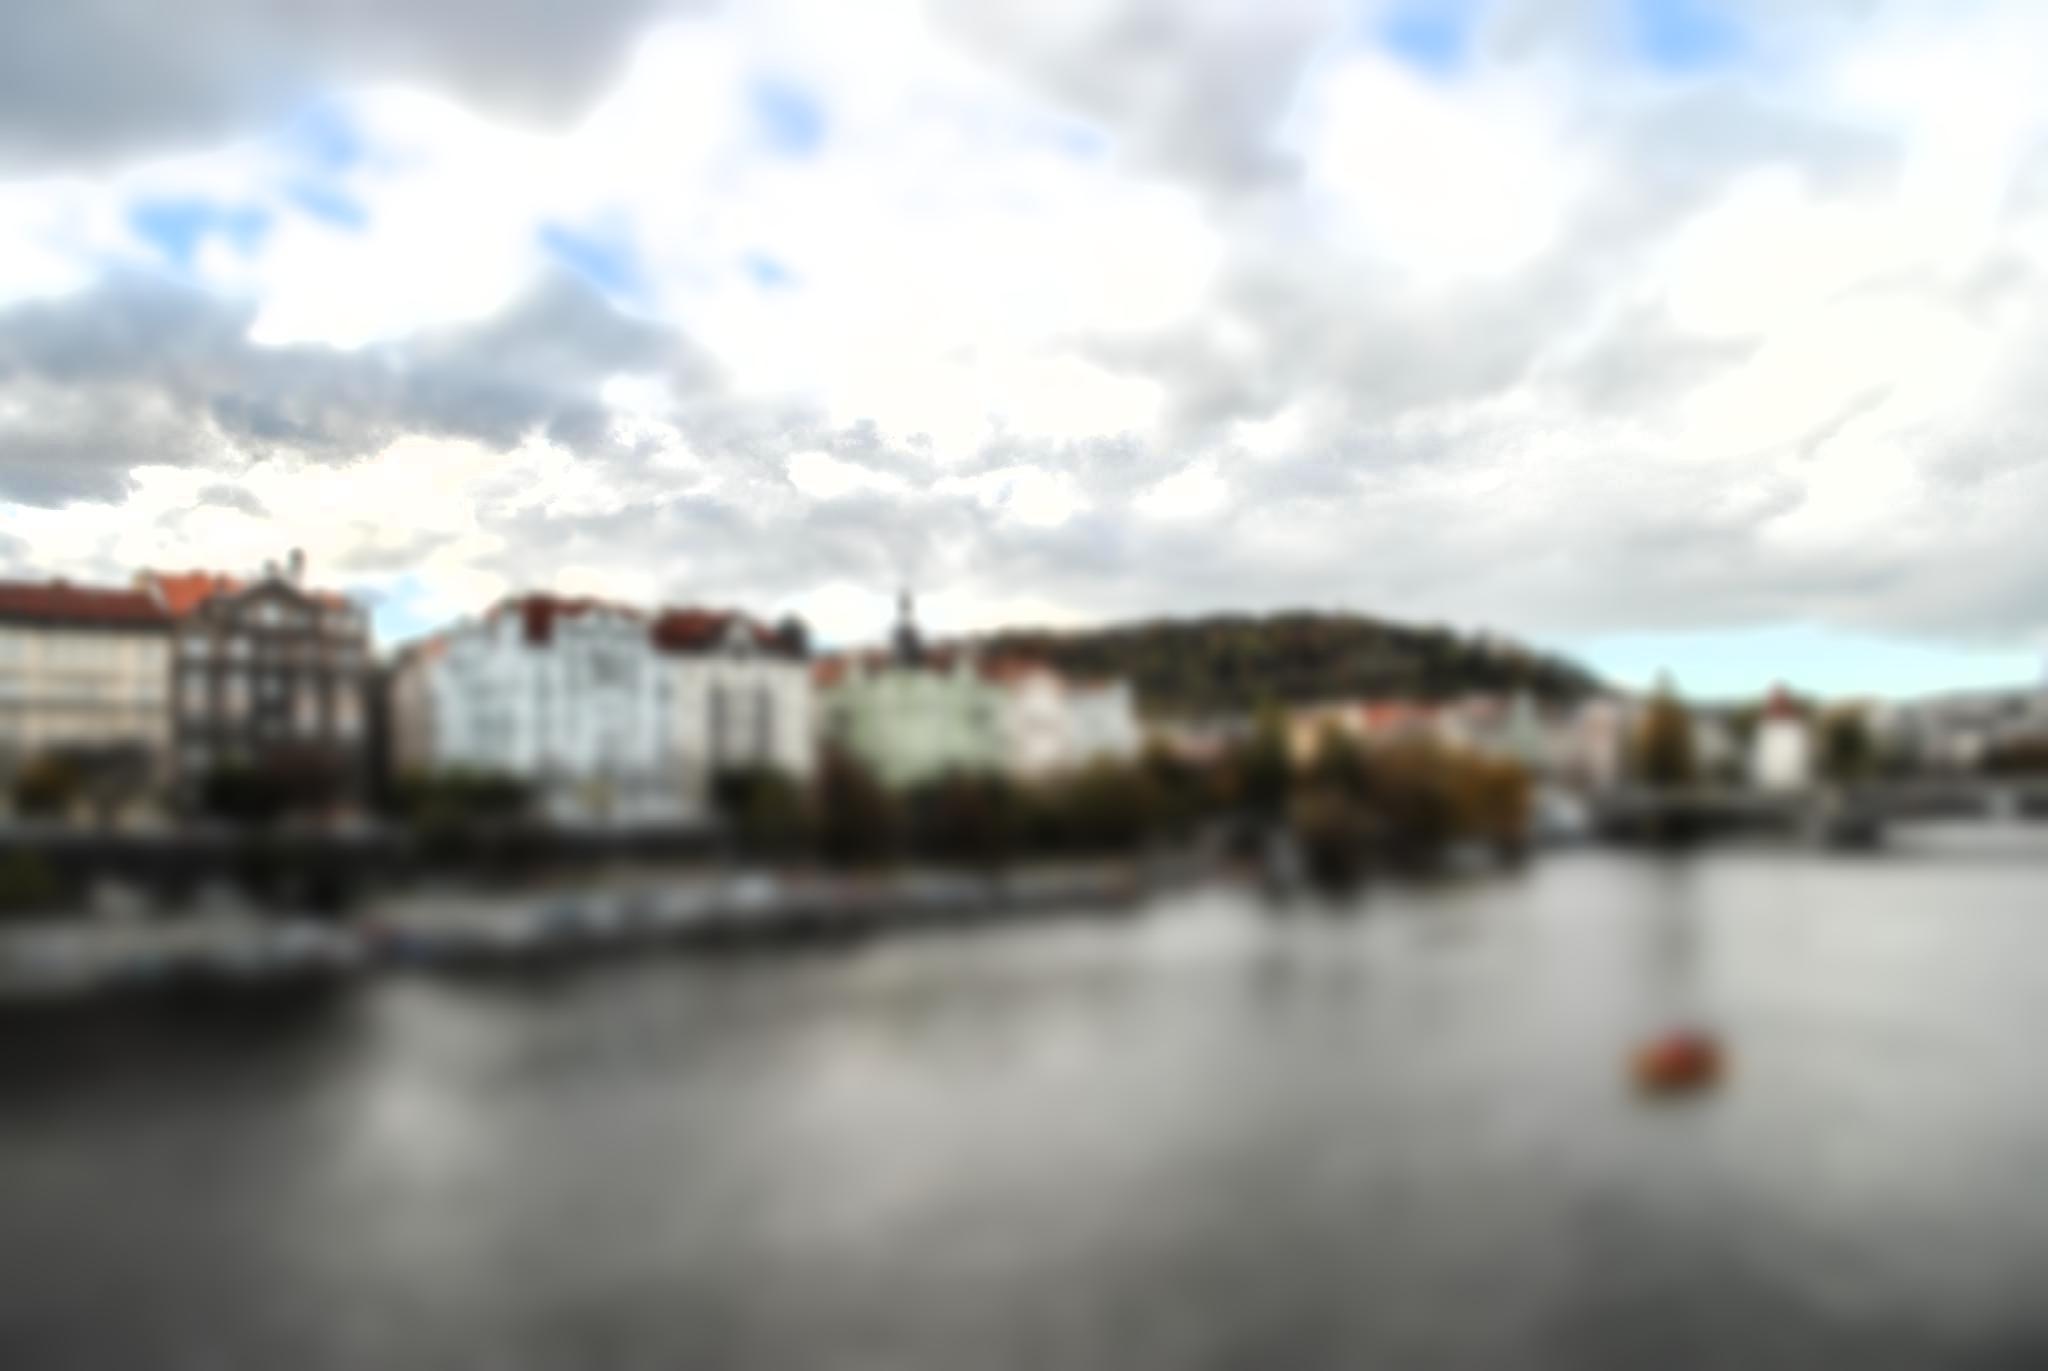
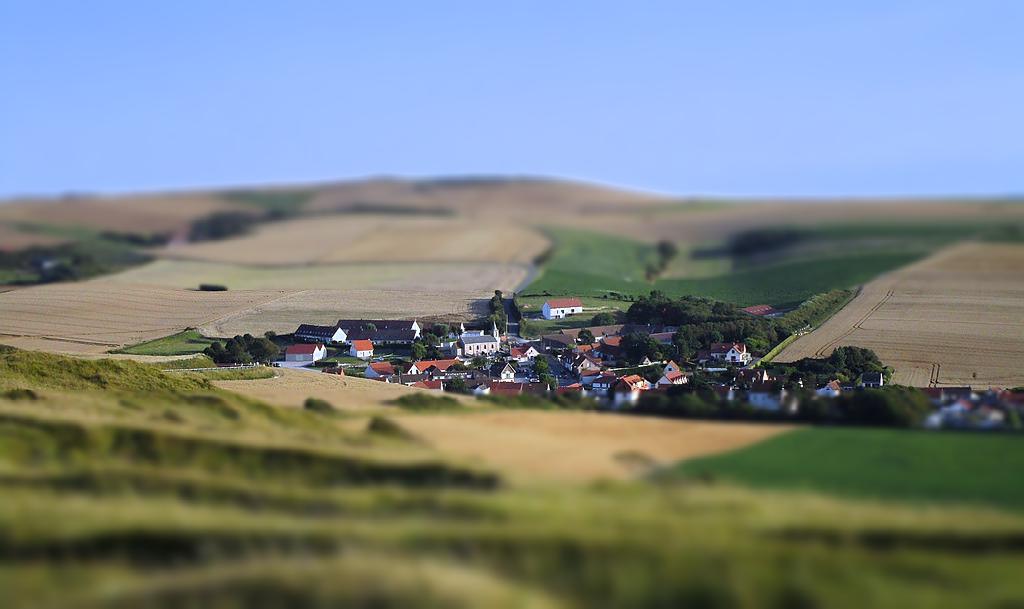
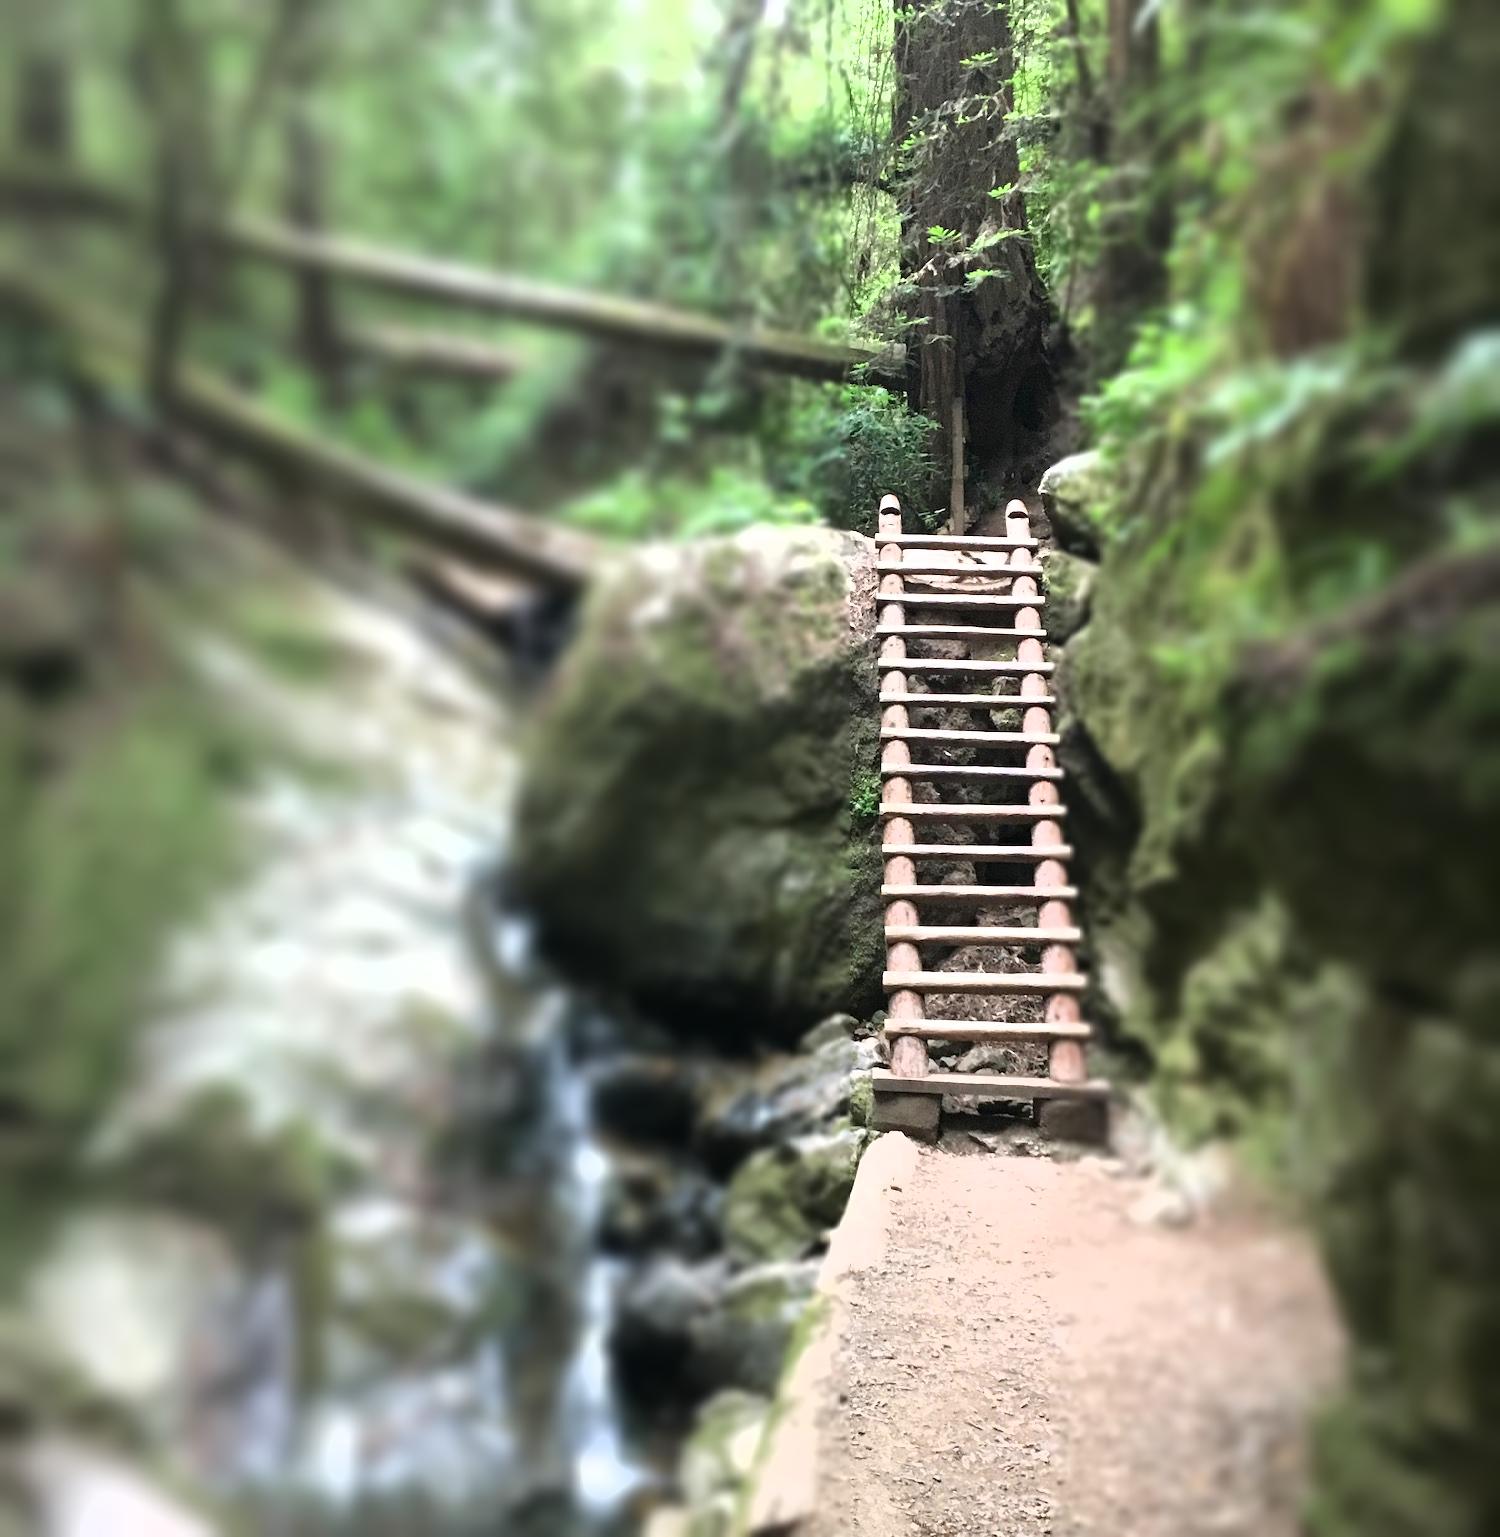
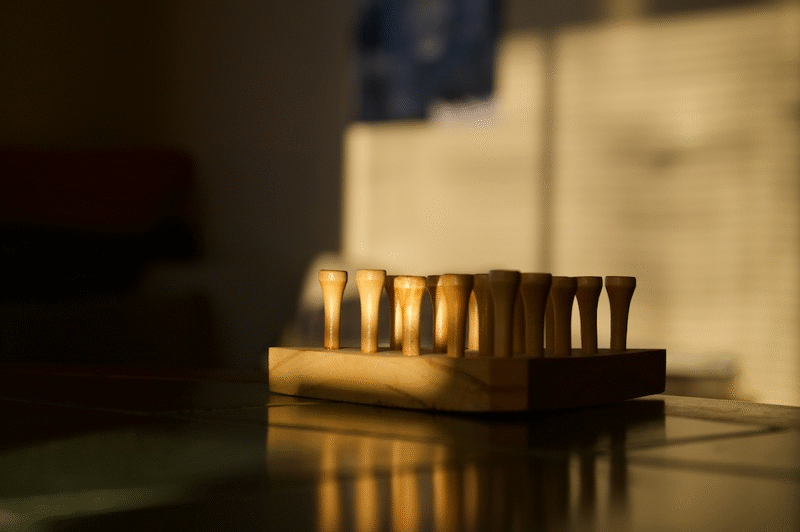
After doing all of the steps above, we end up with completed fake miniatures! To increase the illusion of the miniature, we also boost the saturation of the image. Below, we will show a few finished results. All of these outputs have different focus lines and depth of fields.
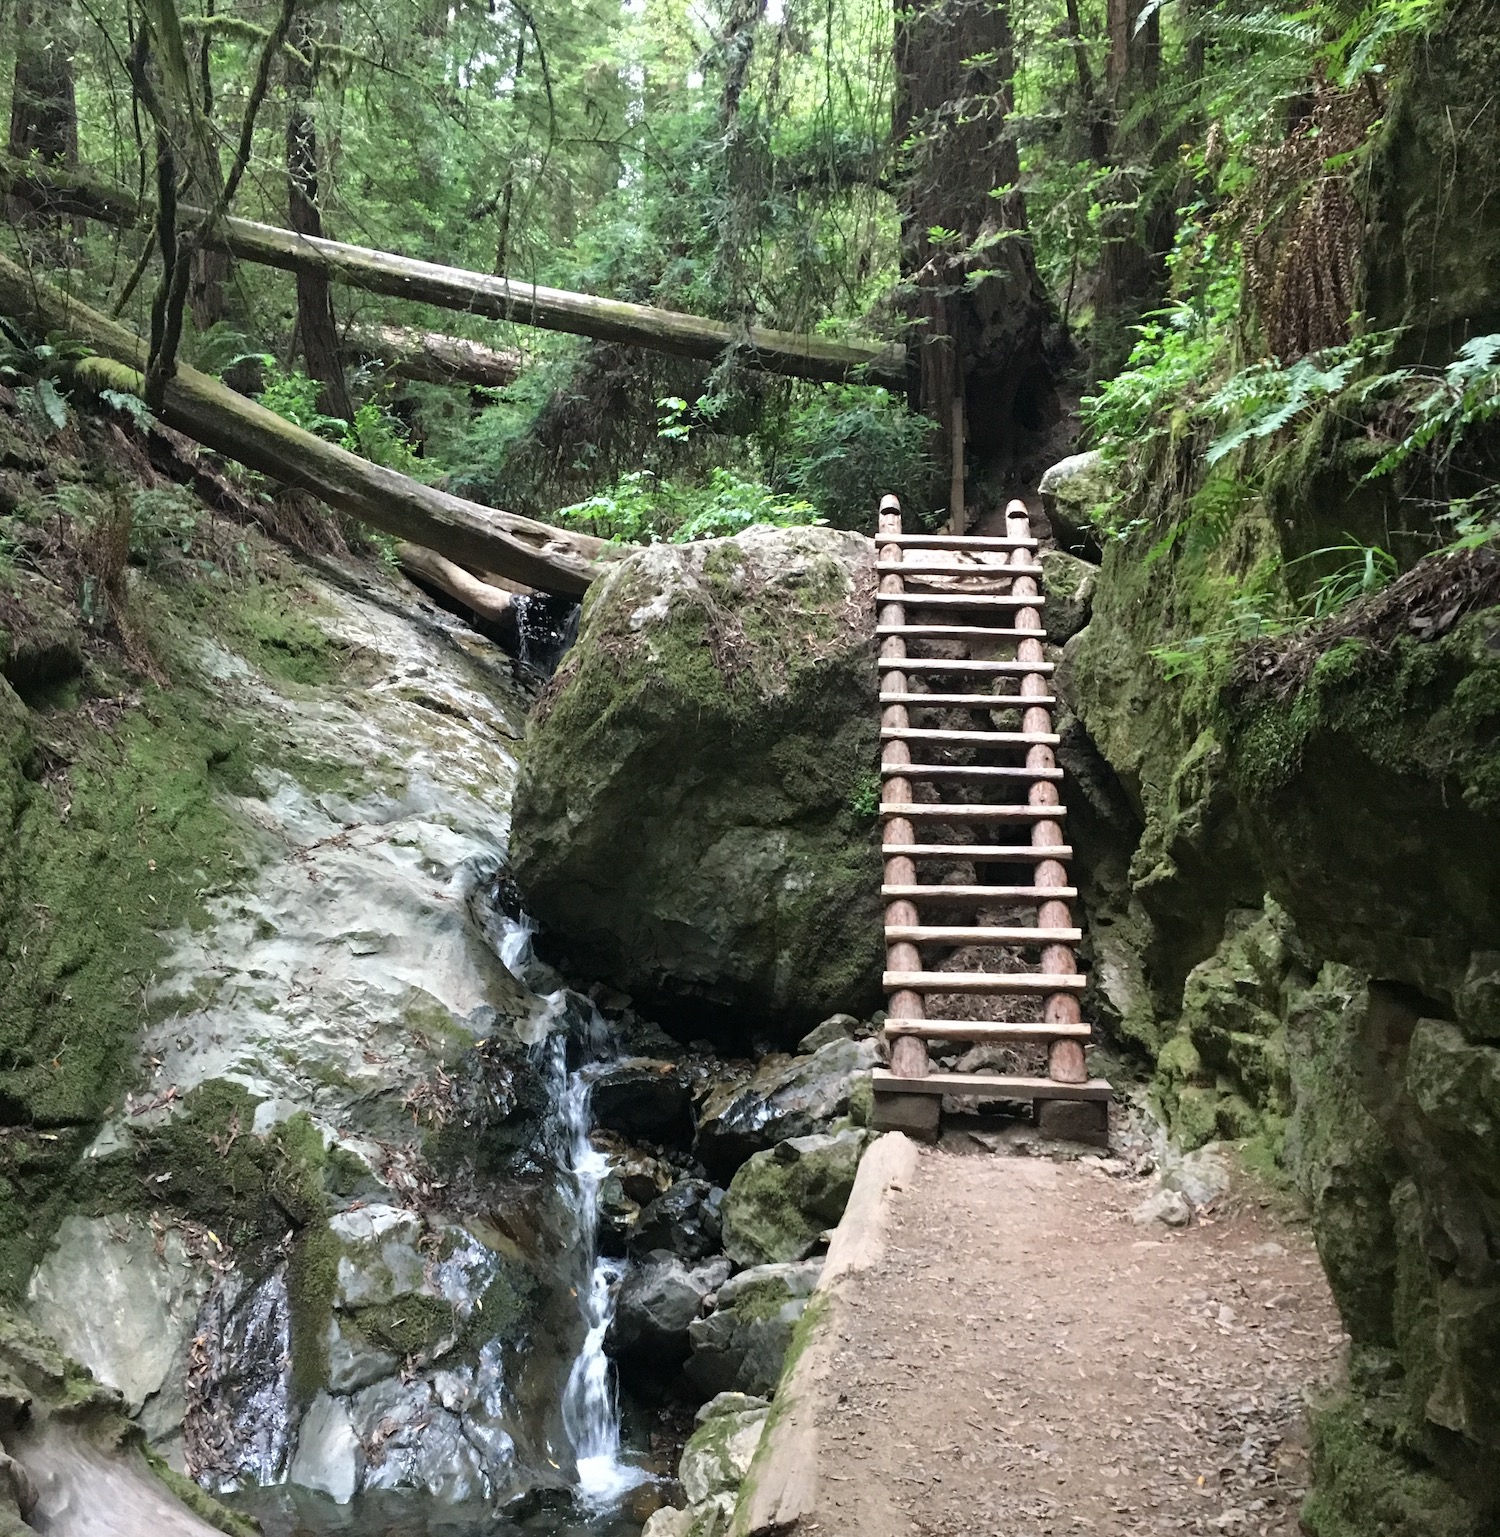
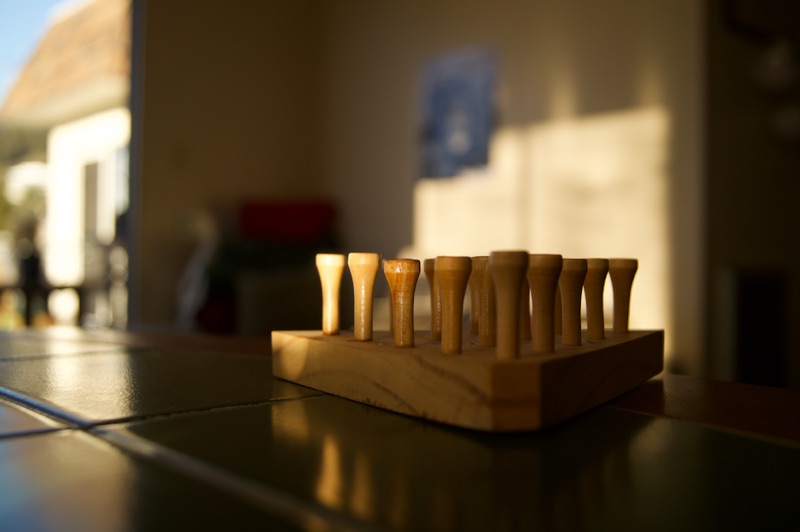
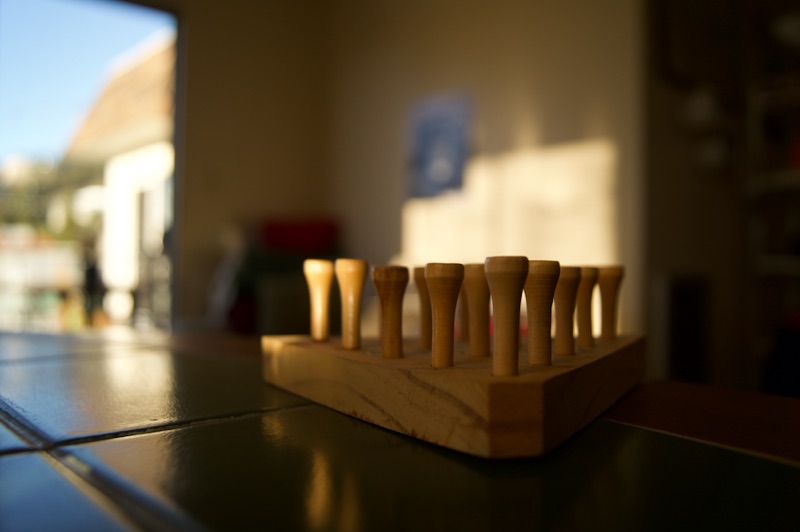
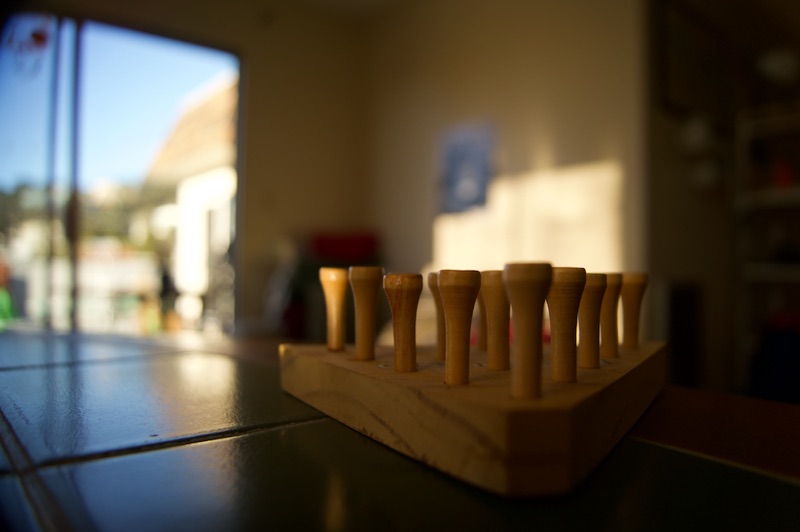
Original Image
Fake Miniature
Original Image
Fake Miniature
Original Image
Fake Miniature
Original Image
Fake Miniature
For bells and whistles, we thought it would be cool to incorporate ideas from previous projects. More specifically, we explored how to use blending techniques like poisson blending (from project 3) in our fake miniatures. The purpose of fake miniatures is to create a surreal, tiny appearance of a specific subject in an image. If we use poisson blending, we can insert anything we want to into the image and make a fake miniature out of it. This gives us endless options to make miniatures out of, and well-thought-out ideas can turn into very realistic and creative fake miniatures.
The code used for this is included with project 3. Below is an example of a blended fake miniature:
Source Image (source)
Target Image
Blended Image

Fake Miniature Blended Image
The next part of the project explores a famous in-camera effect called the dolly zoom. It is also known as the "Vertigo shot", referencing a famous scene in Hitchock's movie Vertigo. Here is a video demonstrating various examples of this effect.
Unlike the previous part of the project, the dolly zoom effect is acheived using the camera alone. To simulate the effect, the camera simultaneously zooms in and dollies (moves) away from the subject. By adjusting the field of view while moving, the subject being captured stays the same size in the frame throughout. Different variations of this can be done depending on the desired effect (moving forwards instead of backwards, zooming out instead of in, etc).
Here are a few images and gifs (part of bells & whistles) of our attempts at the dolly zoom. We took the traditional approach in making these: zooming in while moving the camera backwards. It was hard to replicate the effect perfectly without an actual camera dolly, but we think our results turned out pretty nicely!


Besides providing gifs for our images, we also did some extra bells and whistles regarding different combinations of moving the subject and camera. Below, we should these results labeled by the technique we used to create them:
This combination is the opposite of the one we did above. We start all the way zoomed in, and slowly zoom out as we move the camera closer to the subject. It achieves a similar but reversed effect; whether you would use this one or the normal combination depends on what the movie scene is trying to do.
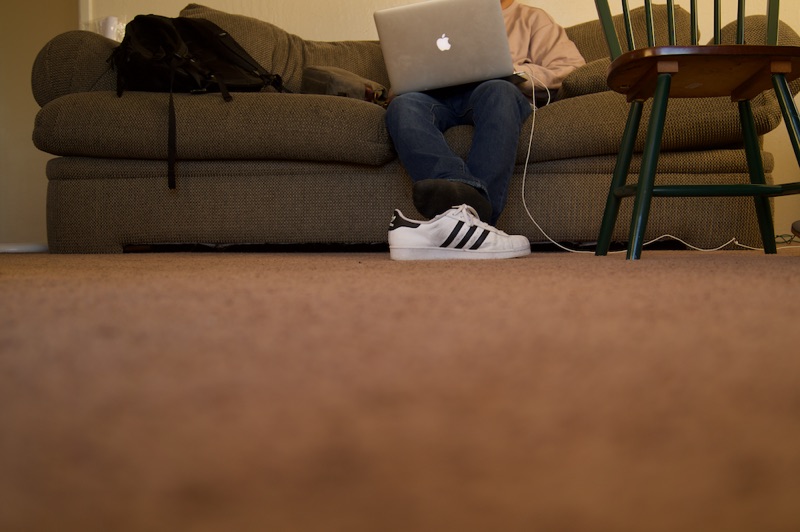
This combination resulted in a pretty good result. One noticeably difference on our end was that in this case, it was much easier to move the subject than the camera. All we had to do was push the shoe back a few inches between each picture, which required us to be less delicate than if we were to slide the expensive camera. This approach seems to be good when the subject is something easily movable, like a shoe or a small object. Obviously, it wouldn't be feasible if we were taking pictures of a boulder or something like that.

Obviously, the results of our dolly zoom were choppy because we stitched together individual images. In an attempt to make it smoother, we tried using video instead. We found out that this was really hard - it involved holding the camera completely level while walking backwards. In order for it to look right, we also had to make sure to zoom smoothly at the same speed we walk backwards. The hardest part was trying to keep the camera steady as we moved, and as you can see our footage was very shaky. The results would have been better if we had a dolly or even just a skateboard to stand on, but it was fun to try it out.
In the last part of this project, we will explore the idea of seam carving. To give a brief description, the goal of seam carving is to shrink an image either horizontally or vertically. In order to preserve the integrity and content of the image, we can't just crop rows and columns out. Seam carving is a way of finding which pixels we can remove without changing the image itself.
First, we define what a seam is. A vertical seam is a path of pixels connected from the top of the image to the bottom, with one pixel in each row. A horizontal seam is the same thing from the left side to the right, with one pixel in each column instead. Depending on which way we want to shrink the image, we take out each type of seam.
We pick which seams to take out based on the 'energy' of each pixel. For the energy function, we used the gradient function from Numpy and then compared it to the four pixels around it to find the energy. Then after we have each pixel's energy, we use dynamic programming to find the seam from top to bottom with the lowest cumulative energy (each pixel has to be within one pixel of the row before it in a seam). We remove this lowest energy seam, and repeat this process until the picture is the desired size.
Below, we show successful seam carving outputs for a variety of images. There are limited artifacts, and the resized images look comparable to the original. If you view the images on a full sized browser, you can clearly see the side-to-side size difference between the seam-carved images and the original.
Original Image
Vertical Cut (100 seams)
Horizontal Cut (100 seams)
Original Image
Vertical Cut (150 seams)
Horizontal Cut (150 seams)
Original Image
Vertical Cut (150 seams)

Horizontal Cut (150 seams)
Original Image
Vertical Cut (125 seams)
Horizontal Cut (125 seams)
Original Image
Vertical Cut (125 seams)
Horizontal Cut (125 seams)
Original Image
Vertical Cut (125 seams)
Horizontal Cut (125 seams)
Seam carving isn't guaranteed to produce good results, and for certain images it is impossible to prevent artifacts. Here are a few examples of this below:
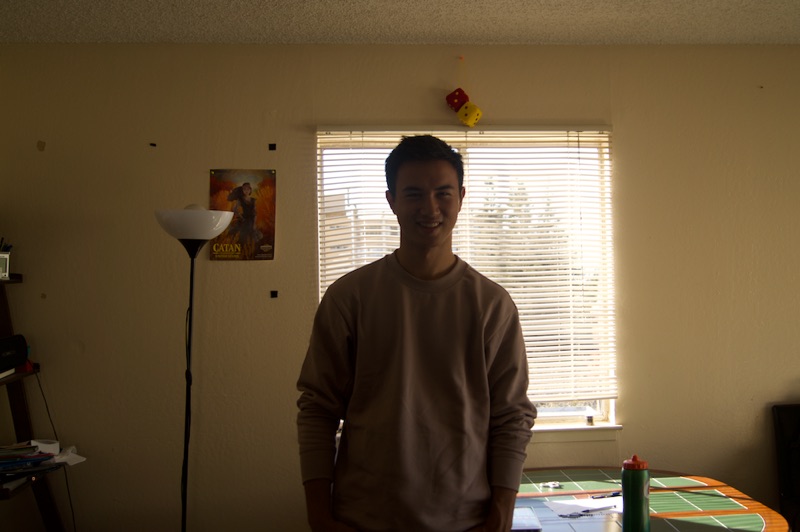
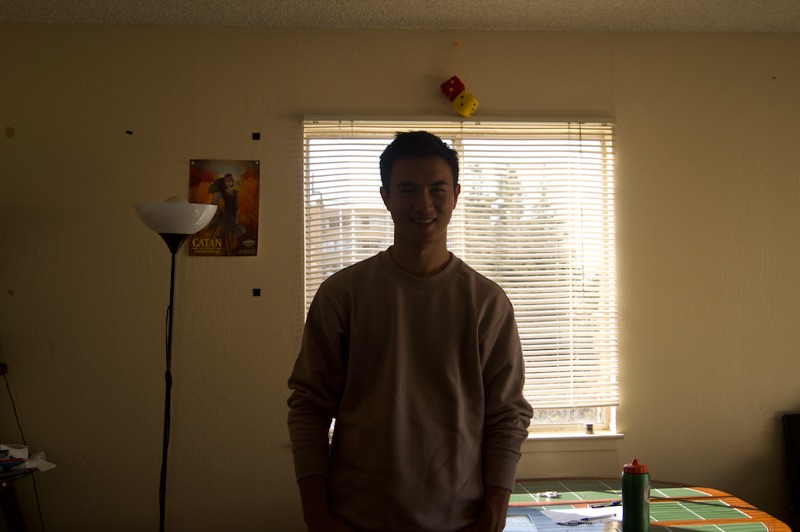
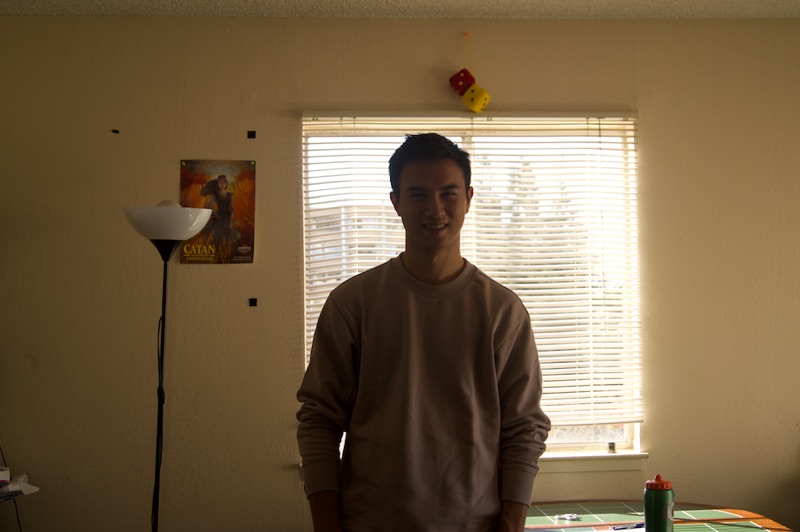
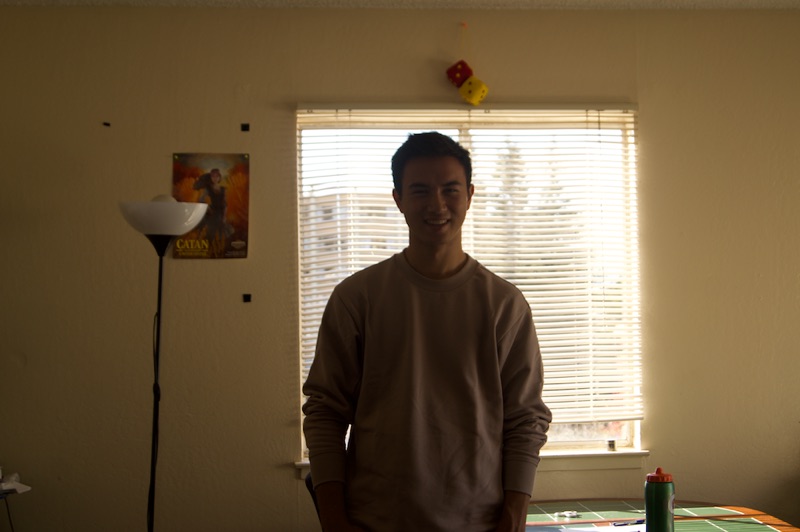
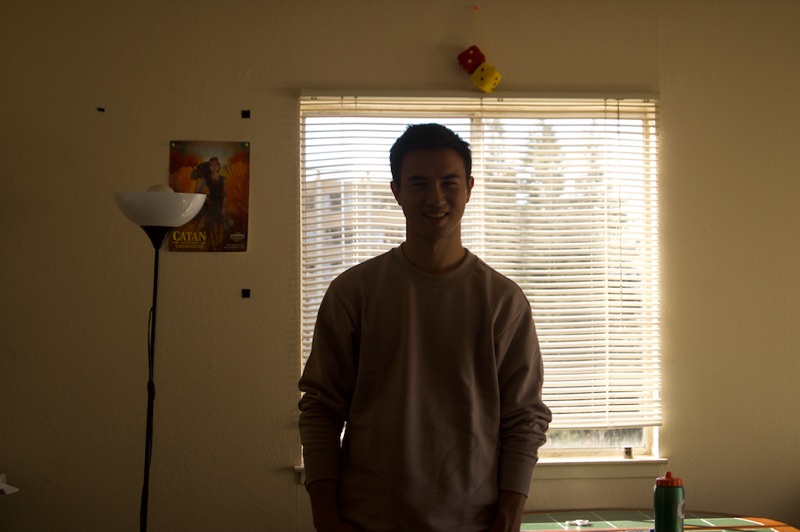
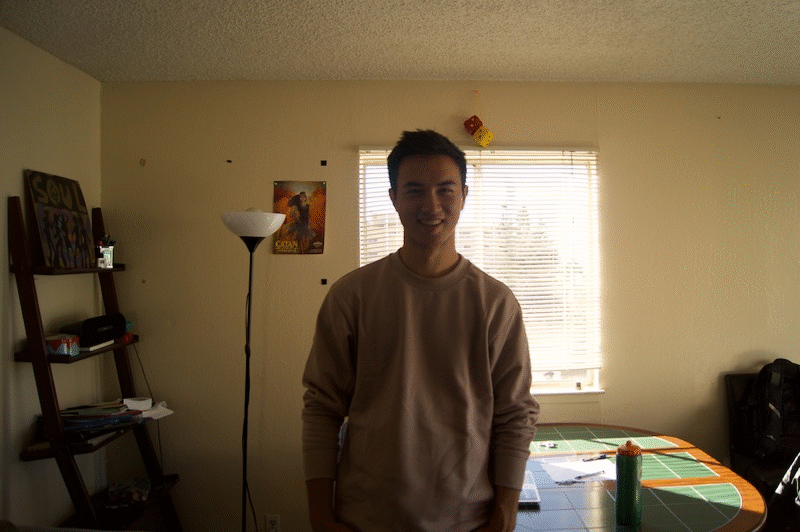
In this picture, we see that seam carving didn't work well and results in our bodies / faces significantly warped. This is because we take up a large portion of the image. Therefore, at an early time, the algorithm already cuts seams through us and messes up our shapes. It is very difficult for seam carving to work on an image with human faces, since any seams being removed will warp the person and be easy noticeable.
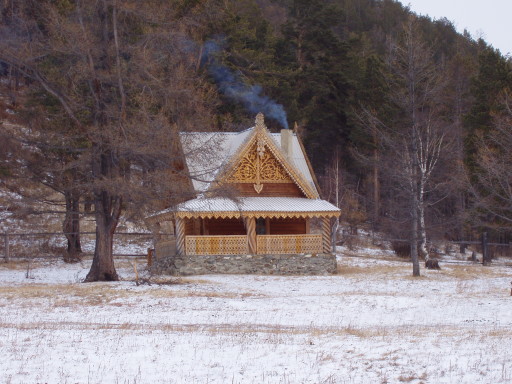
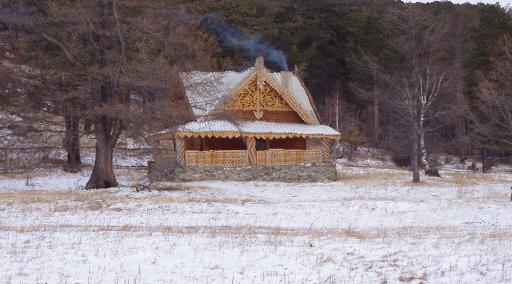
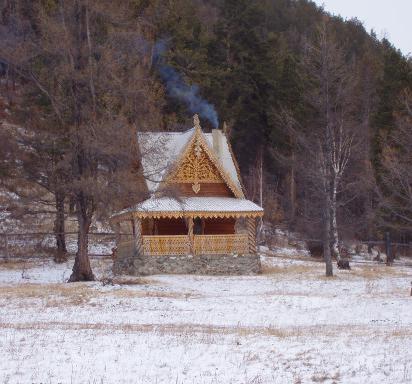
Original Image
Horizontal Cut (200 seams)
Again, we see major artifacts in the image. The shadows on the snow create a bigger contrast than the difference between white snow and polar bear fur, so seams are taken out of the polar bear. The resulting effect creates distorted images, no matter which direction we cut the image from.
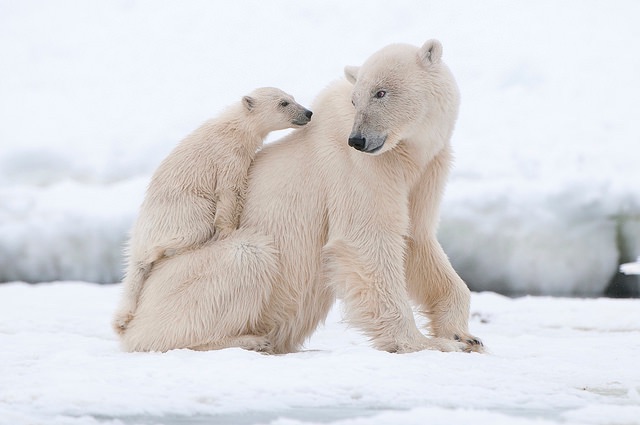
Original Image
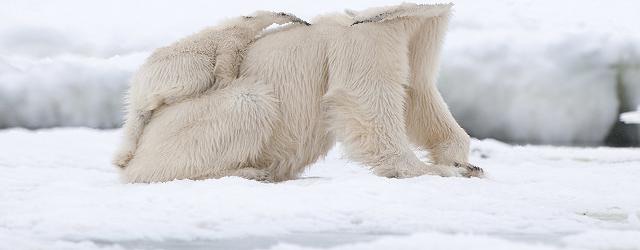
Vertical Cut (175 seams)
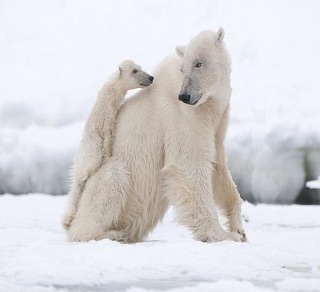
Horizontal Cut (175 seams)
In order to speed up the runtime of the algorithm, we divided it into two sections: a precompute and an online section which runs really quickly. To do this, we first calculate all of the seams to an arbitrary number (depending on how many seams we think we will want in the online section). Then, we write this to a file that is read in the online section into a list. This will tell us exactly where to carve. The online performance is a lot better (currently 20x faster, which would improve even more if we used bigger pictures) but the results are the same. Since our outputs are identical, we just included the set of pictures above. The code for fast computation can be found inside the submitted python file.