Seam Carving
Overview
With seam carving, we hope to resize images while maintaining as much of the content in the image as possible.
Algorithm
The basic idea behind seam carving is: in order to maintain as much of the content as possible, we delete seams that have the least "energy" in the image. This seam is seen as adding the least "stuff" to the image, so its absence will be least noticed.
We first compute the energy of each pixel in the image, using an energy function. Here, I used the sum of the norms of the x-gradient and y-gradient. Then, we find the seam (either horizontal or vertical, as desired) with the lowest energy, using dynamic programming. Once we find this lowest-importance seam, we remove it from the image. This process is then repeated until the specified dimension is reached.
Images and Results
Below are the images, and their results after being shrunk a certain amount (click to enlarge):
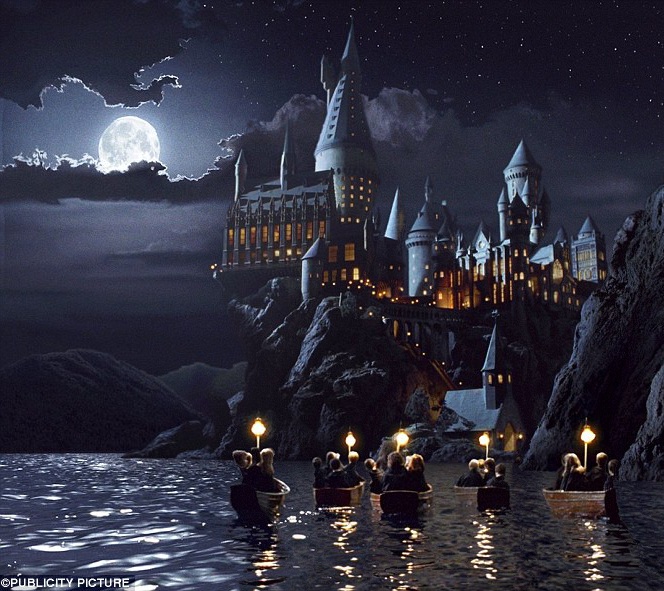
First Years going to Hogwarts
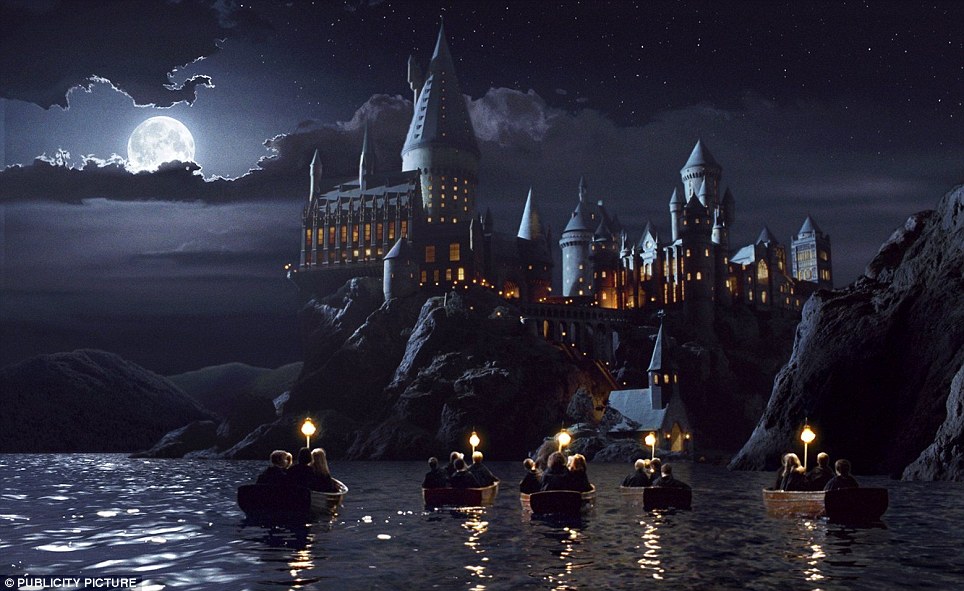
Width shrunk by 300 pixels
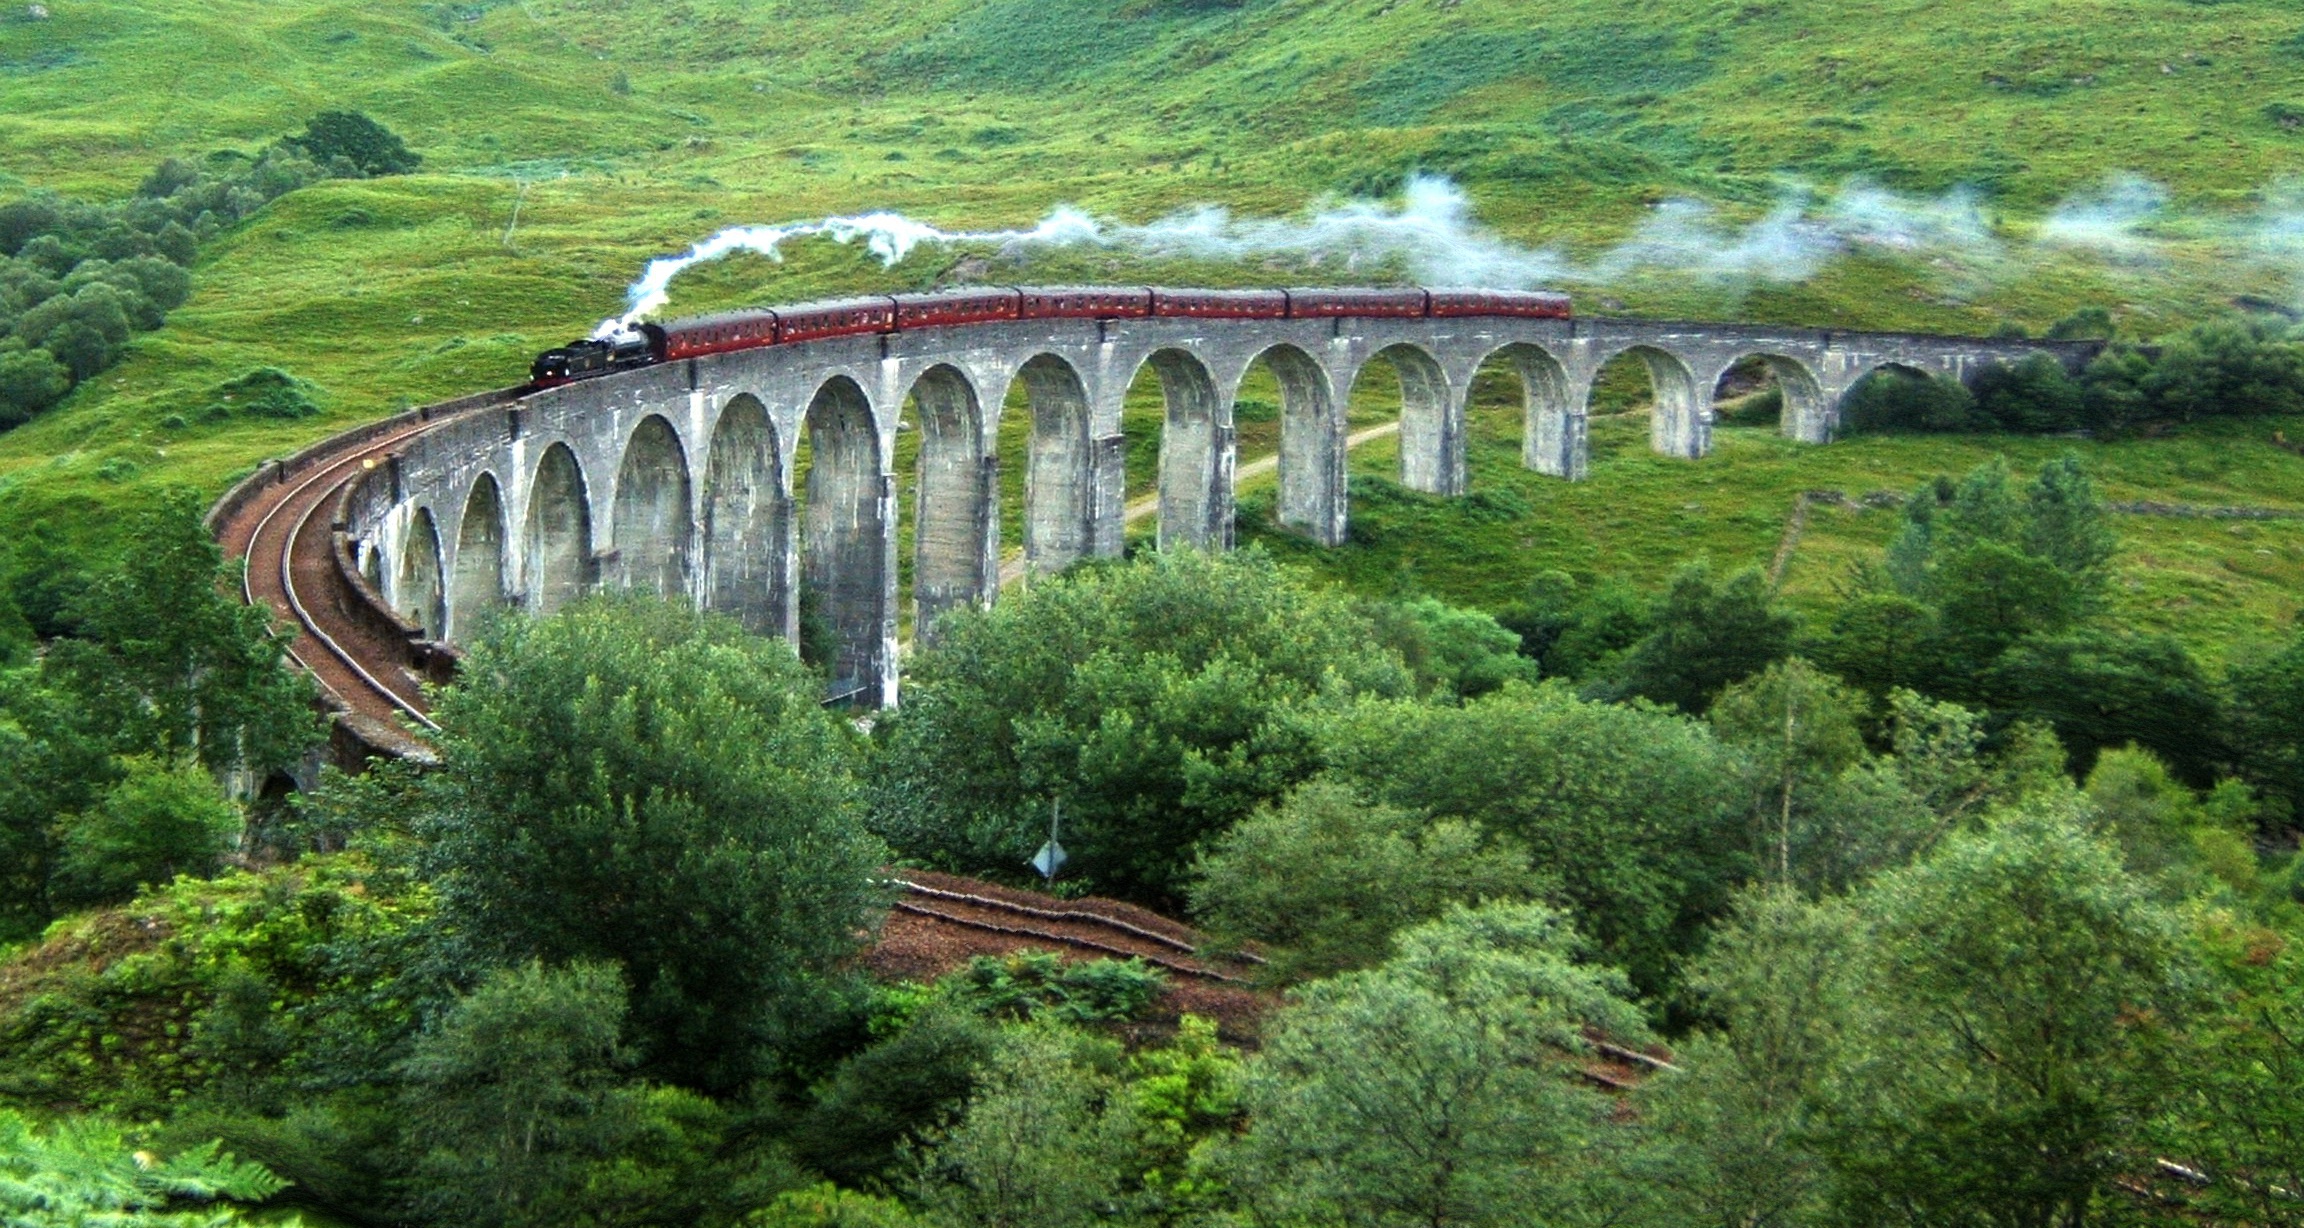
Hogwarts Express
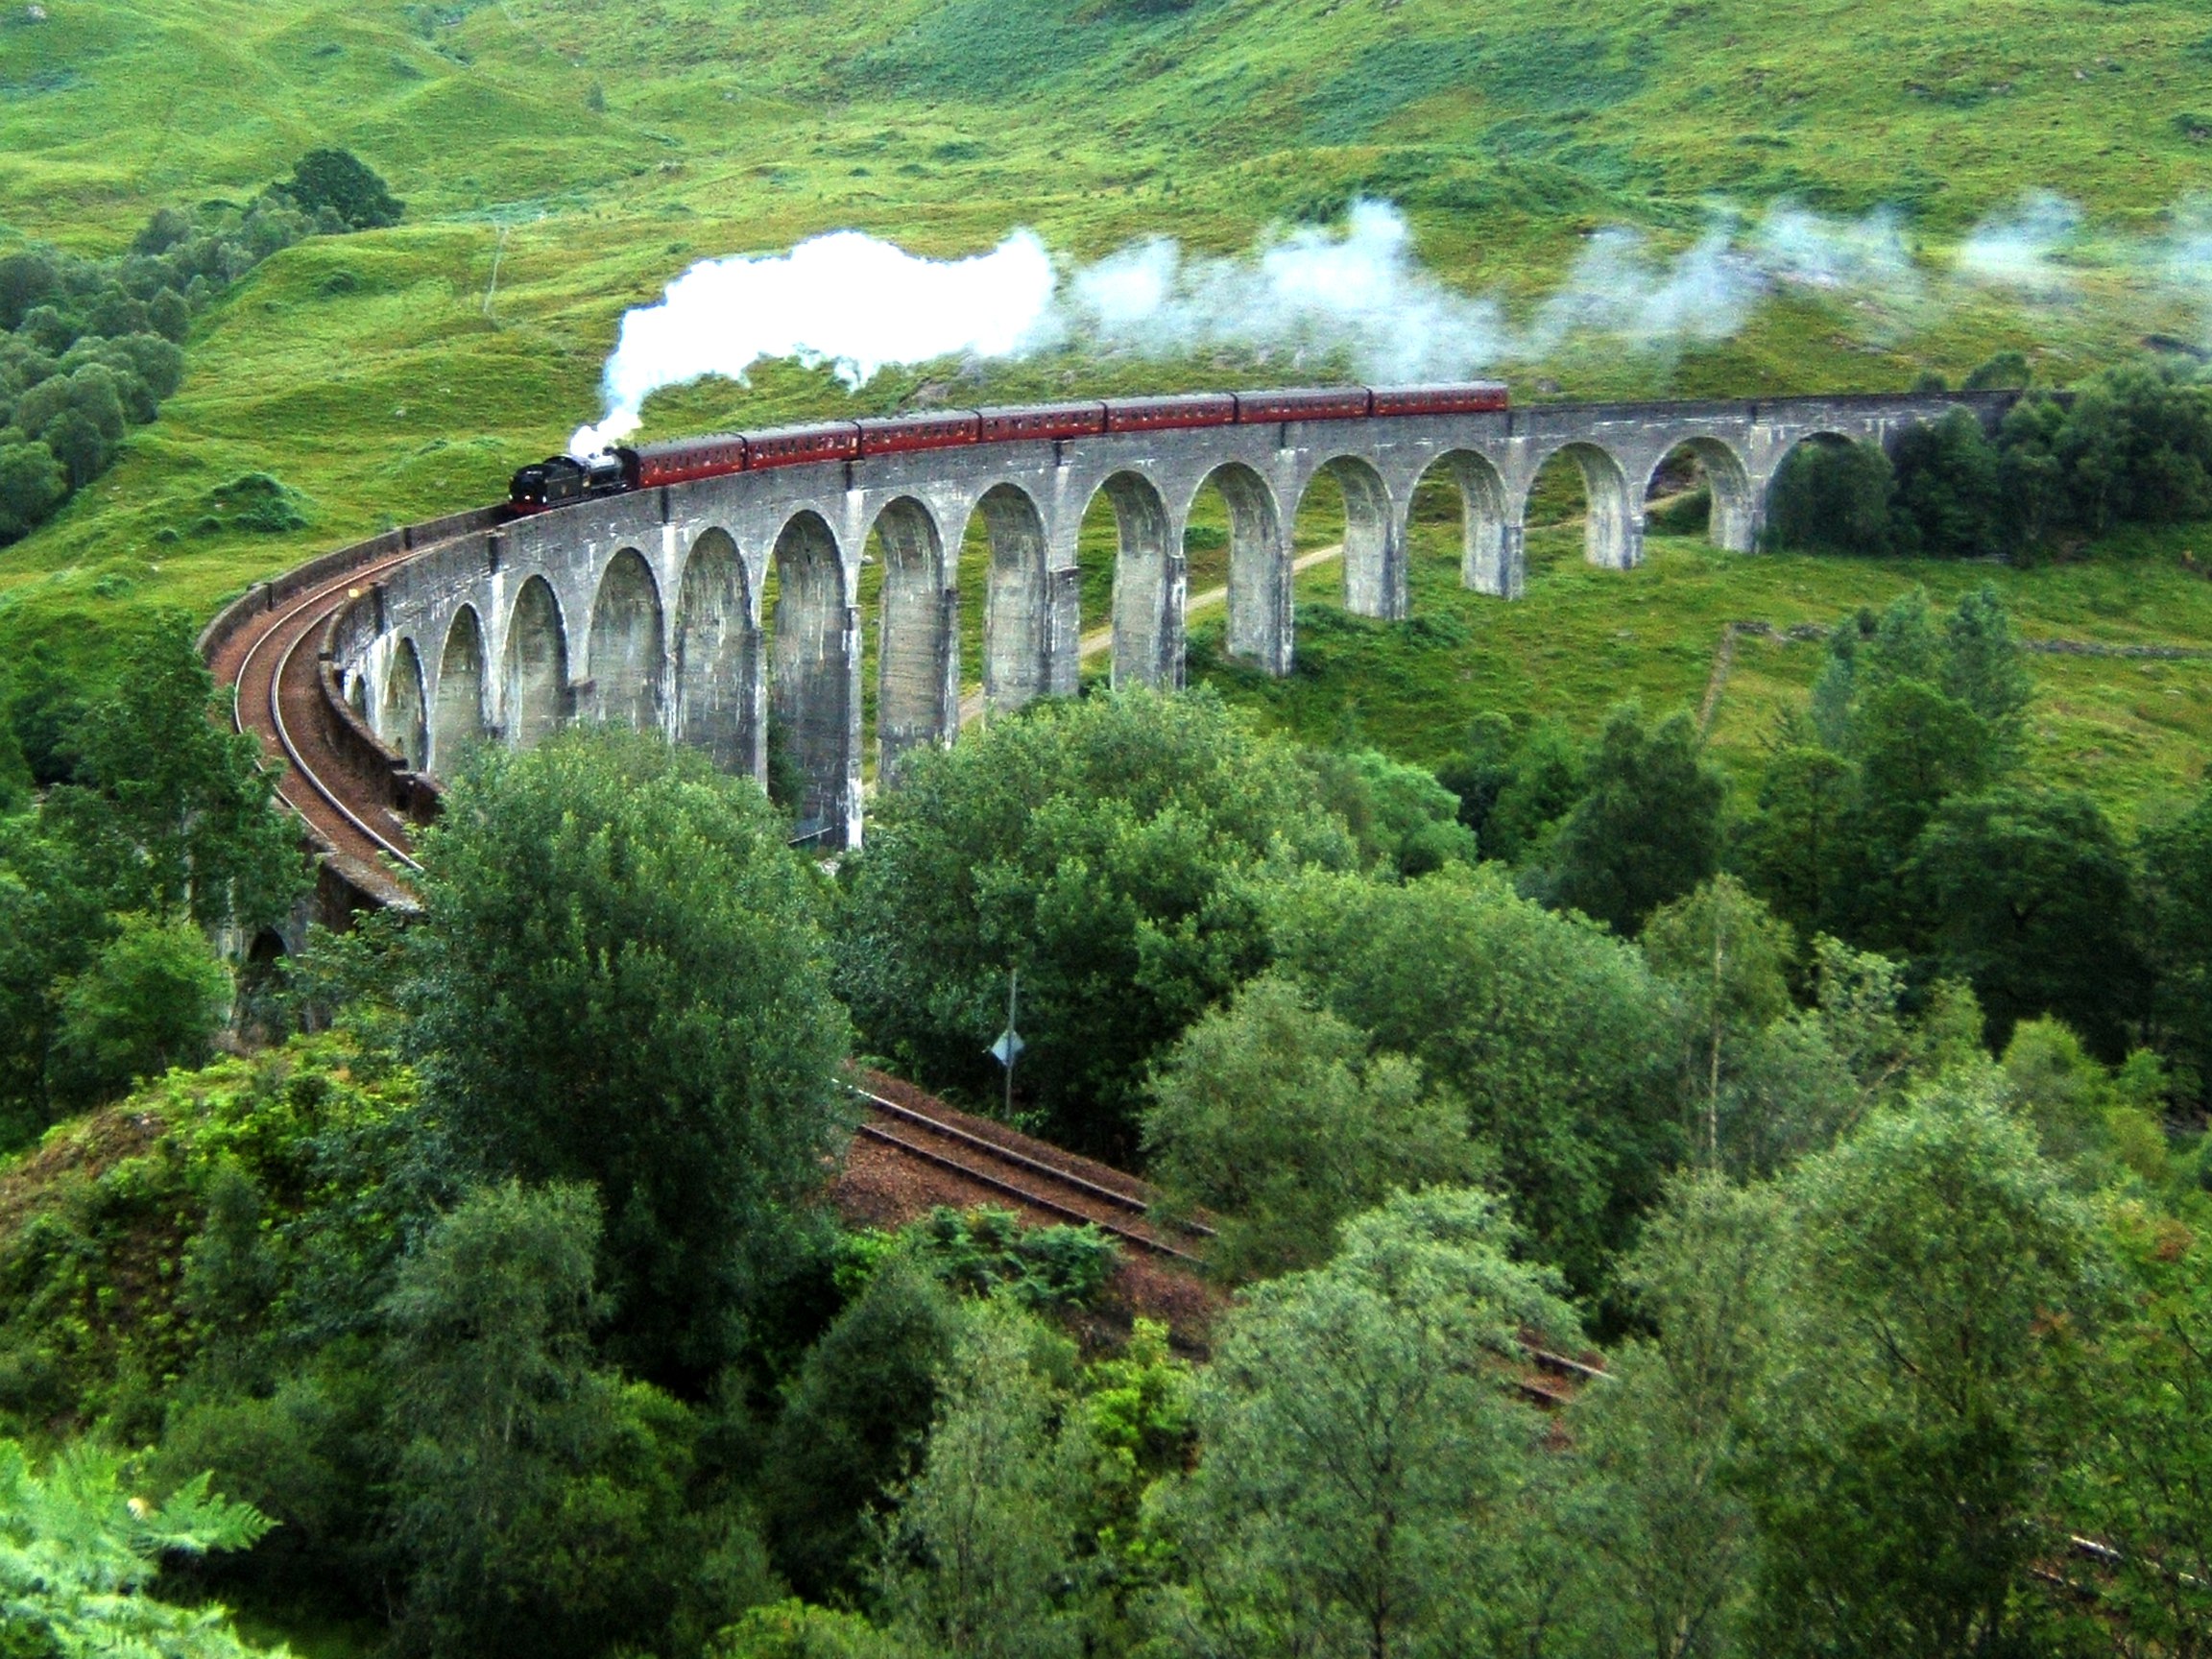
Height shrunk by 500 pixels
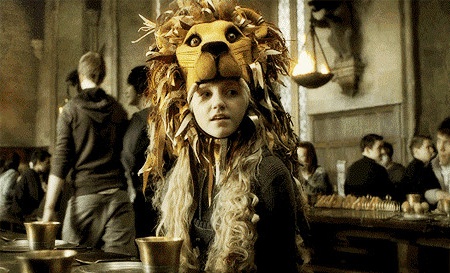
Luna Lovegood
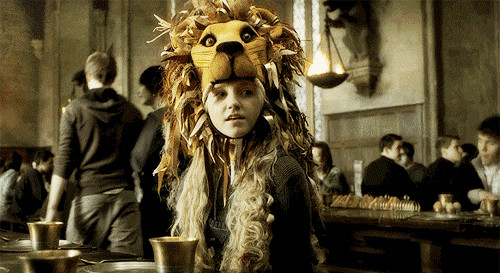
Width shrunk by 50 pixels
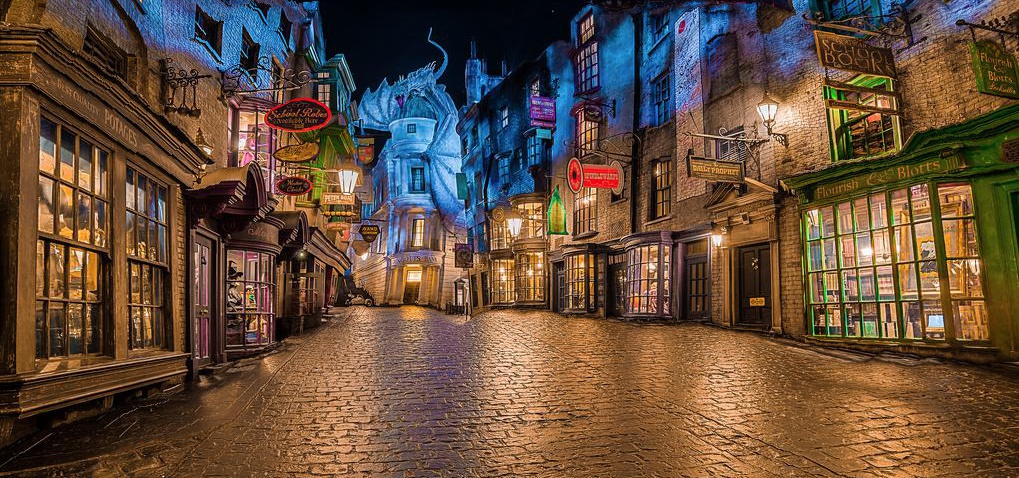
Wizarding World of Harry Potter
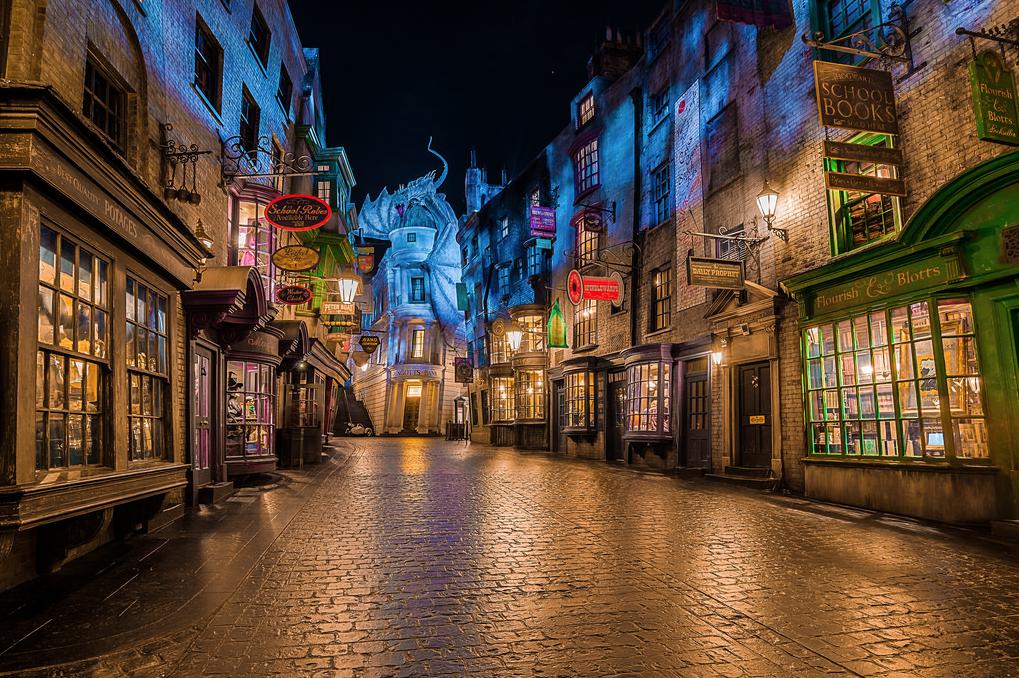
Height shrunk by 200 pixels
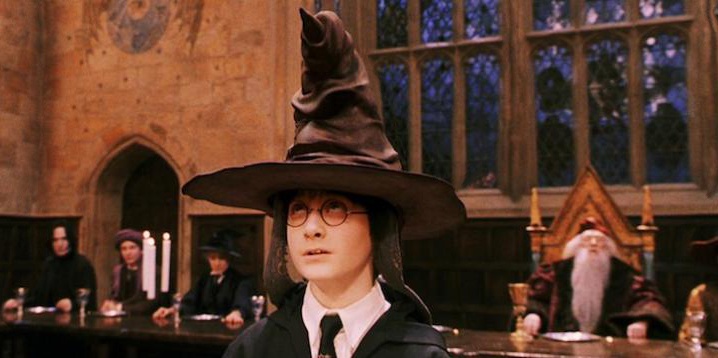
Harry Potter getting Sorted
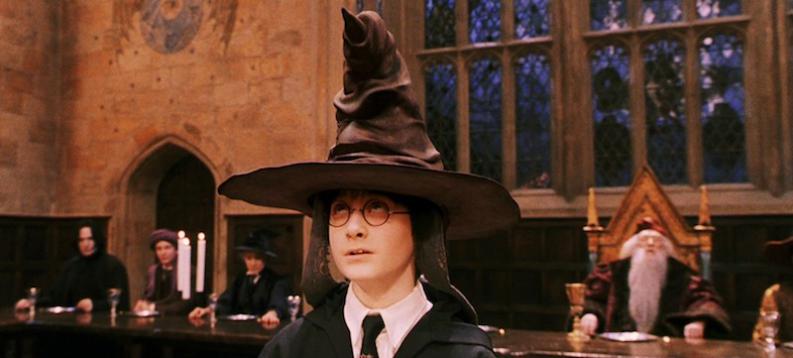
Width shrunk by 75 pixels
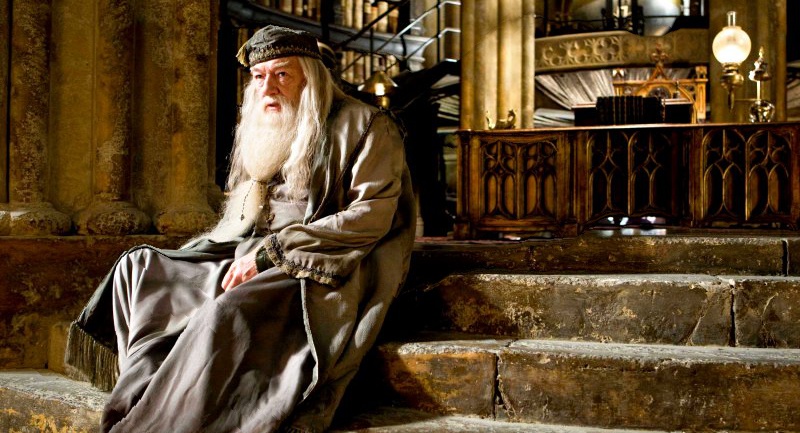
Dumbledore
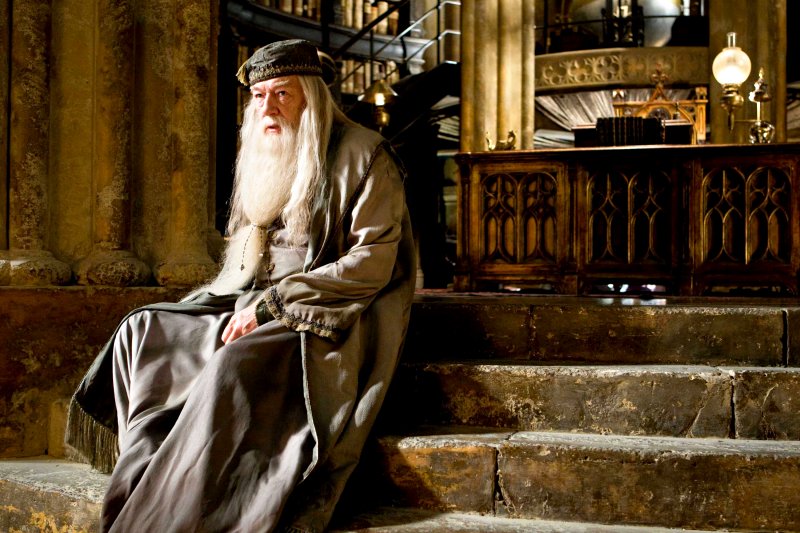
Height shrunk by 100 pixels
Failure Examples
Below are some instances where seam carving didn't work as well as desired. A common problem here was faces - when human faces were a large part of the scene, artifacts started to pop up.
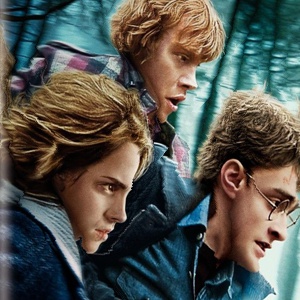
Running away from Death Eaters
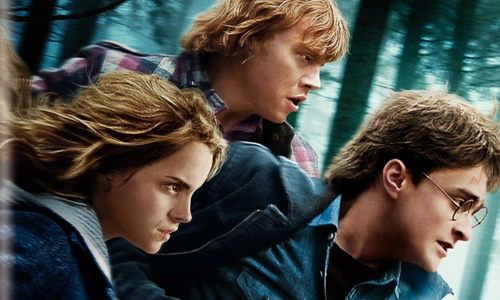
Width shrunk by 200 pixels
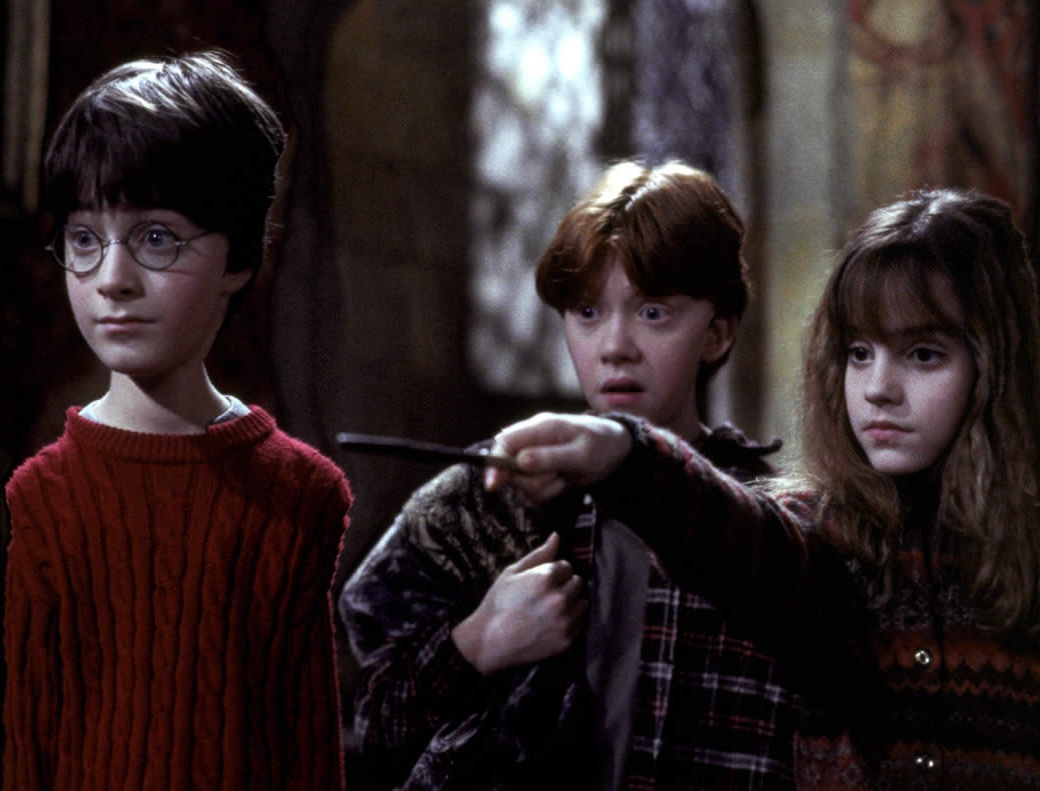
Going after the Sorceror's Stone
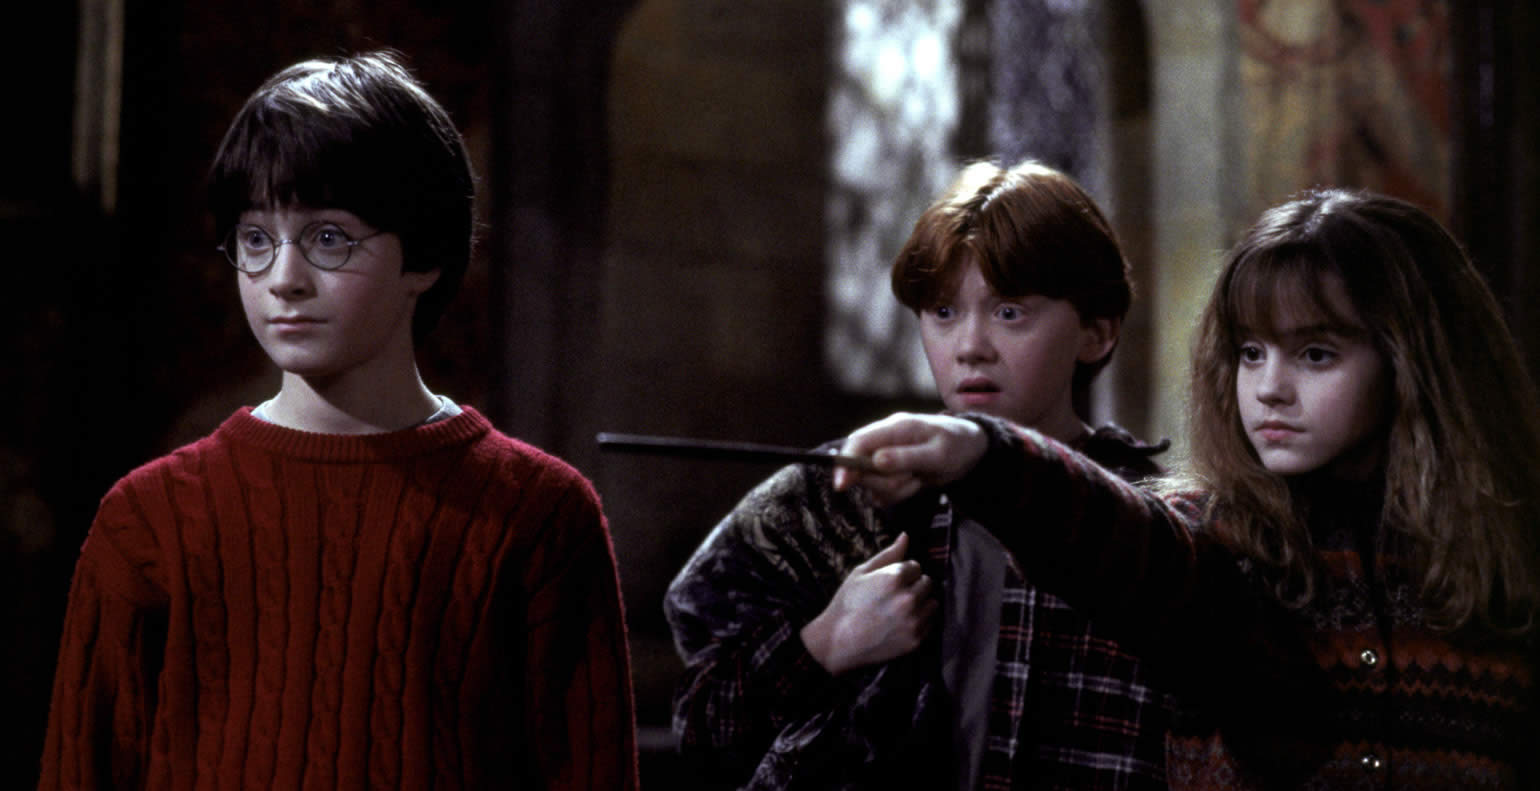
Width shrunk by 500 pixels
Summary
I thought seam carving was pretty cool. Not gonna lie, I think the failure results are more entertaining than the successful ones though (Harry looks like he's morphing into a giraffe or something!).
I learned just how important optimization can be for large inputs though. The difference in runtime between my smaller pictures and larger pictures was absolutely astounding (some of the large ones took absolutely forever). So although I give a lot of credit to those who come up with these great cool algorithms, I also gotta give a shout-out to those who rewrite them so they run so fast, we don't even give a second thought to all the computation going on. Sometimes, I think we really don't realize how important that part is as well.
Vertigo Shot
Overview
We will recreate the famous dolly zoom, or Vertigo shot, effect.
Details
The idea behind the Vertigo shot, is to manipulate field of view and distance together, to create a vertigo effect. In a sequence of photos, while keeping the main subject's position constant, increase our distance from the subject and decrease our field of view (zoom in), or vice versa. The changing background creates the feeling of vertigo.
I borrowed my homie James' camera to shoot the shots. The shots were taken on campus, near North Gate, and on the bridge of Sutardja Dai. Each vertigo shot below uses 5 photos, taken with approximately equal distance intervals.
The main difficulty encountered was people constantly walking by and ruining the shot. Ideally, the scene is the same in all the images, so humans randomly popping up in one image and then disappearing in the next kind of ruins the smoothness of the effect. This problem is easily solved though - just take pictures in a less populated area.
Results
Below are the image sequences animated into a gif (click to enlarge):
James in Nature
Sculpture on the Bridge