Overview
For our final project for CS 194-26 we were allowed to implement 2 from a list of developed projects. I've had sheer joy with the combination of intellectually stimulating coding chanllenges that come with implement image-based algorithms, and the artistic license you get for free when it comes to presenting the results of your implementation. I really went a bit crazy with the bells & whistles here, and with finding just the right pictures to really highlight the ideas I dove into, because to be honest I just had a lot of fun doing so. Enjoy!
Project 1: Fake Miniatures
The first project I chose deals with changes of perspective. Not literally - no homographies this time.
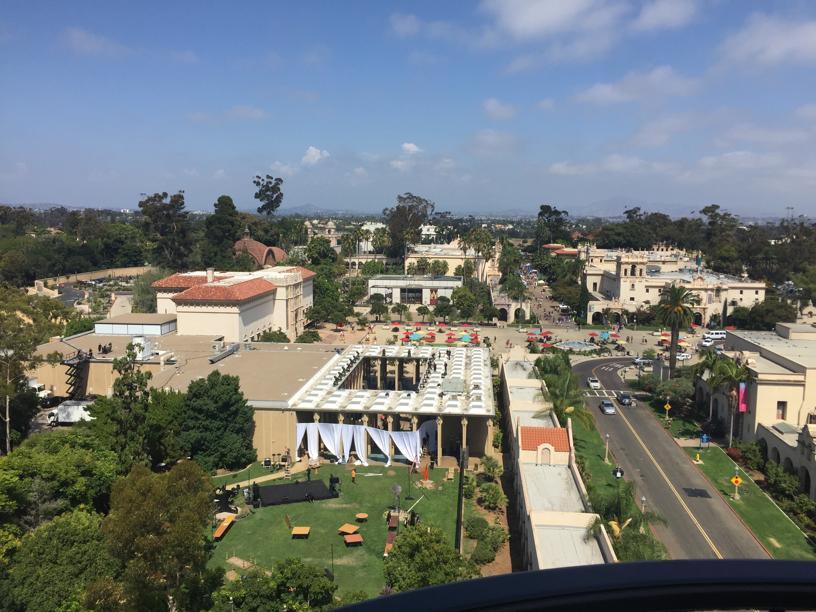
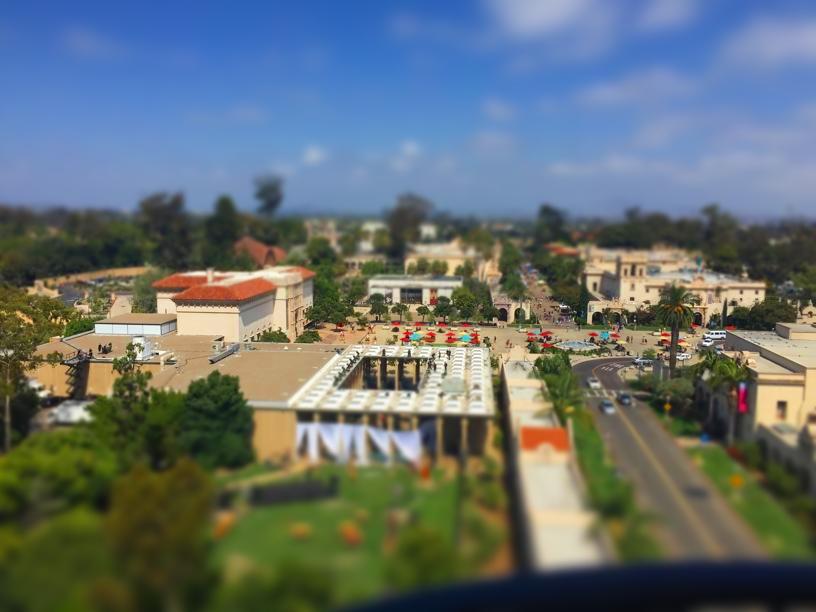
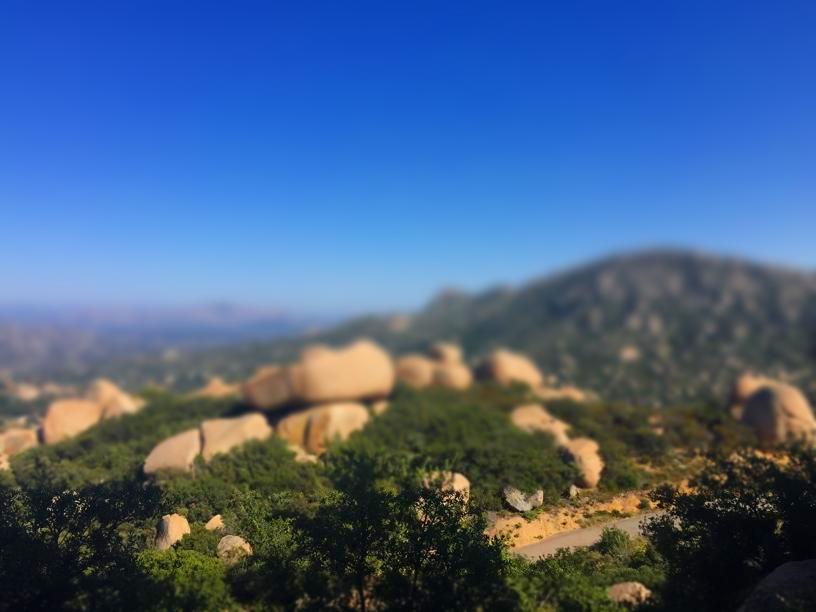
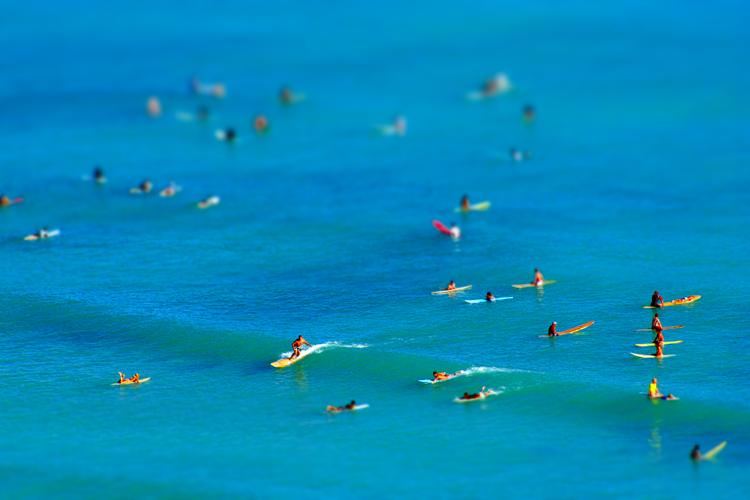
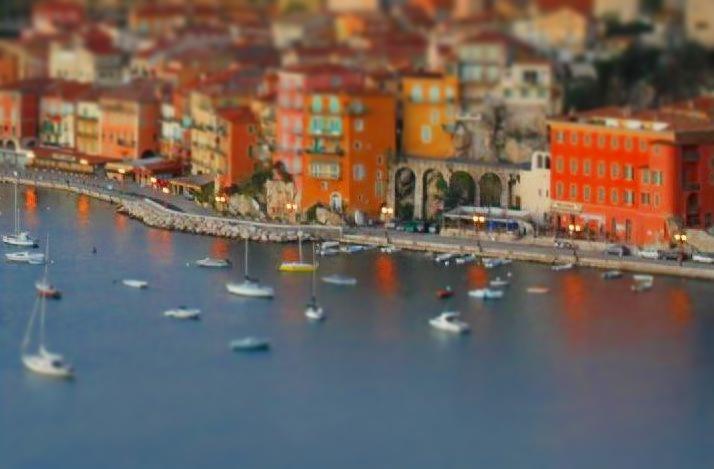
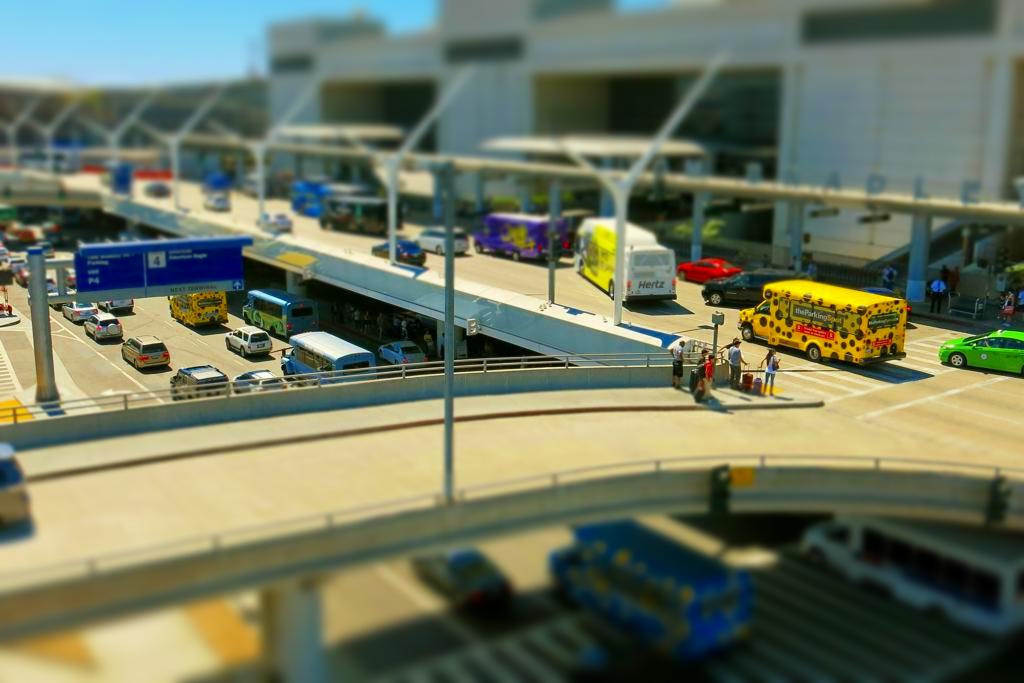
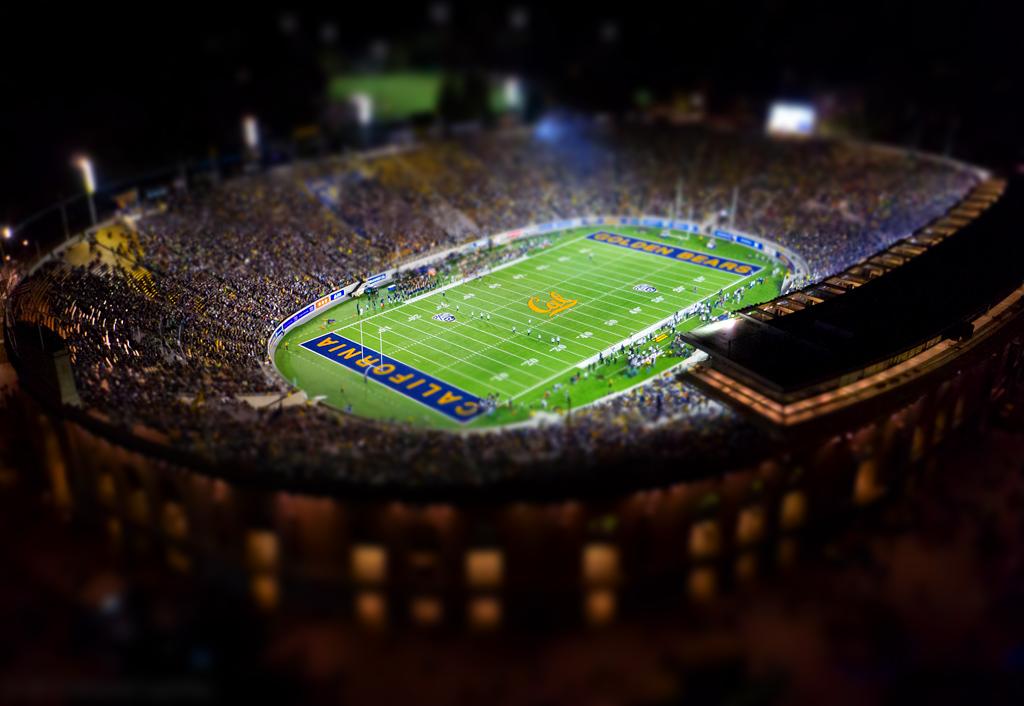
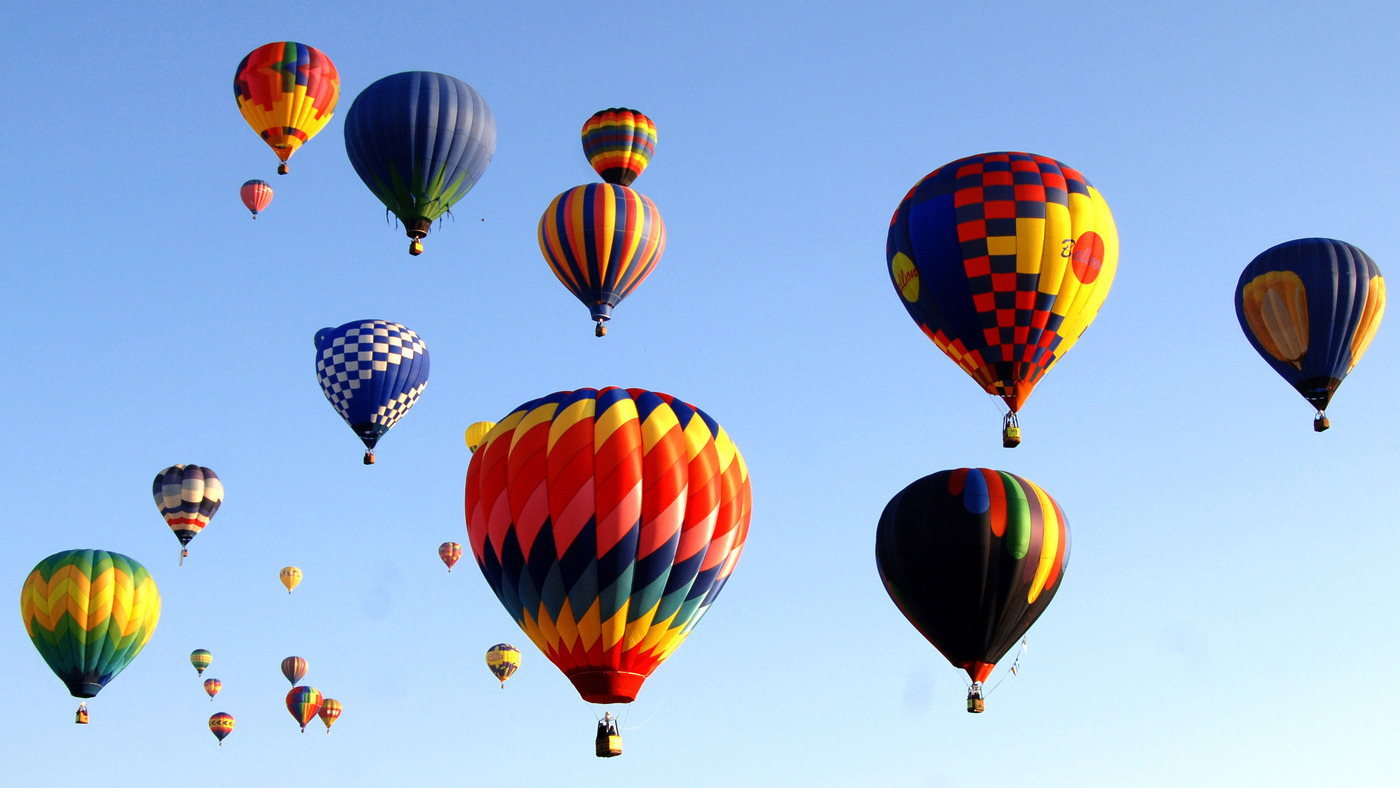
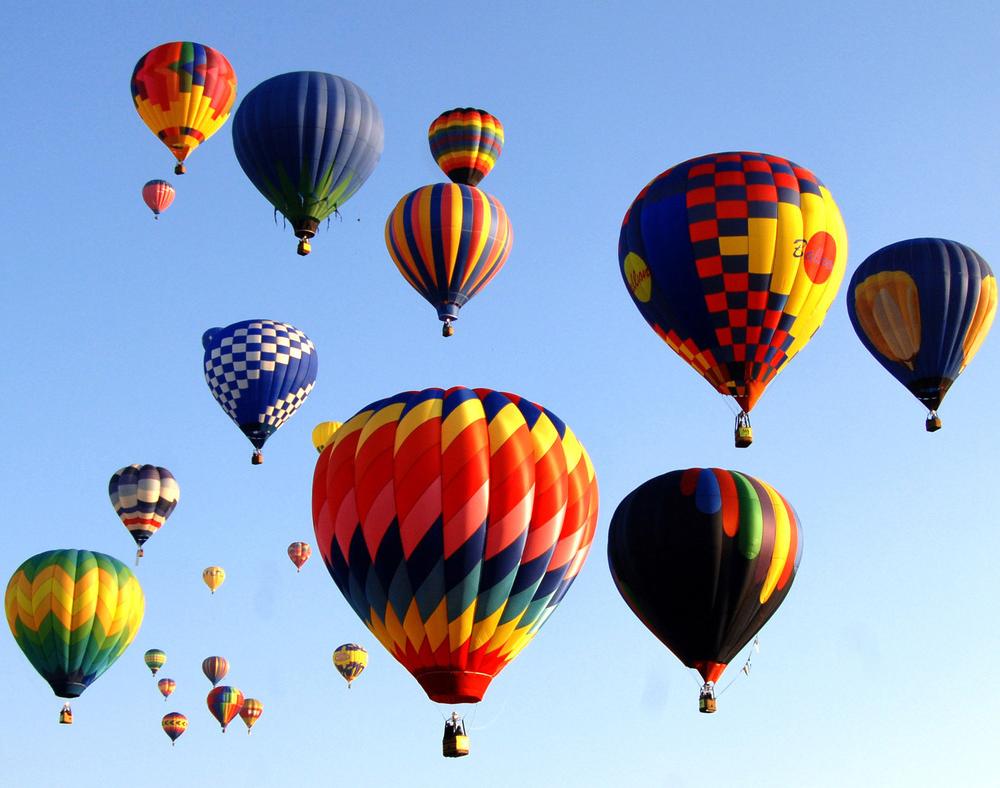
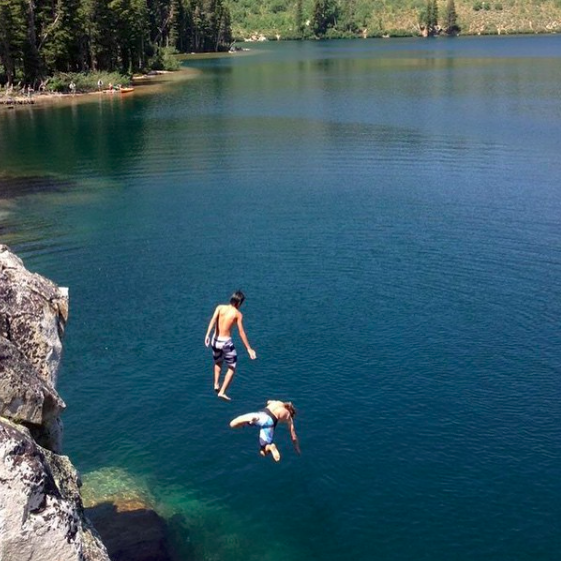
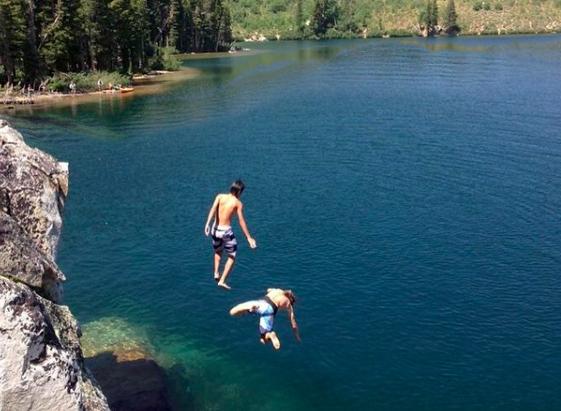
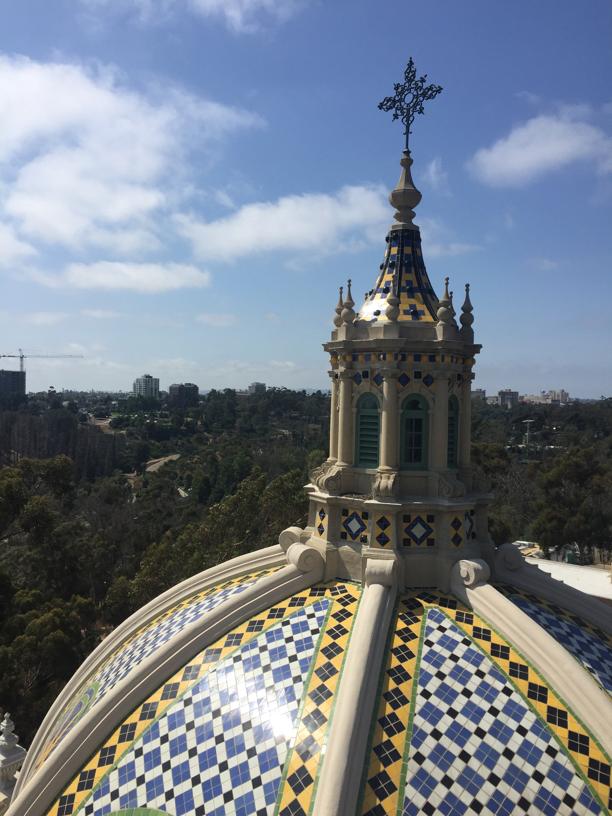
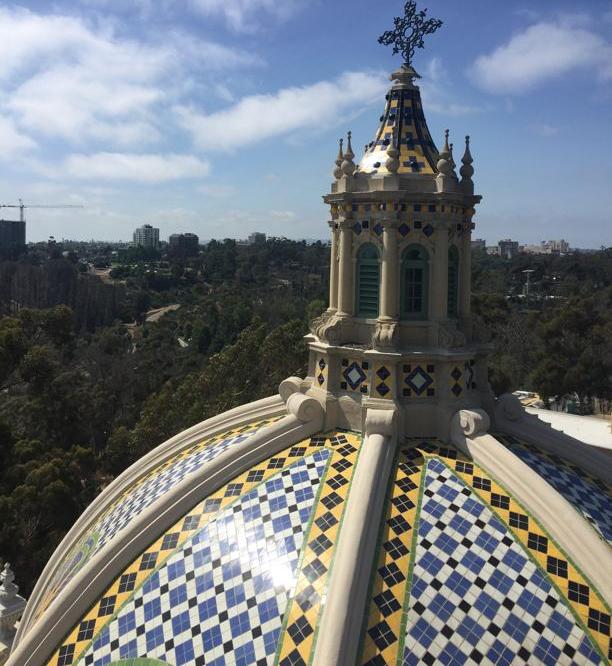
Rather, this project served to highlight the latter part of the phrase "Computational Photography" by programmatically creating the effect known as tilt shift. At its simplest, the input to the program defines a horizon line and a Depth of Field. Elements at the horizon are kept in focus, and the rest of the scene is Gaussian blurred in proportion to its distance from the horizon.
What makes this effect fun is when you apply it to an overhead/landscape shot with a healthy distinction of perspectives. The blurring makes it seem as it the picture was taken very up close rather than far away, and suddenly pictures of landscapes and cities appear to look like hand-made miniature scenes! I also converted the image from RGB to HSV space to up the saturation a bit and give the picture a more whymsical feel, ehnacing the miniature feel.
To achieve this gradual blurring effect, I first made a Gaussian stacked of increasingly blurred versions of the original image. I then made a binary mask for each image, to define which of the blurred pixels would contribute to the final picture. But the problem with a truly binary mask is the final image had hard lines between each blur level. What was the solution? More blurring! By blurring the mask itself, the 0's and 1's are left unchanged inside the mask, but the boundaries form more of a smooth gradient that gently rolls from one layer of the Gaussian pyramid to the next. For many of the pictures, this model of choosing the mask simply as a flat horizon worked quite well.


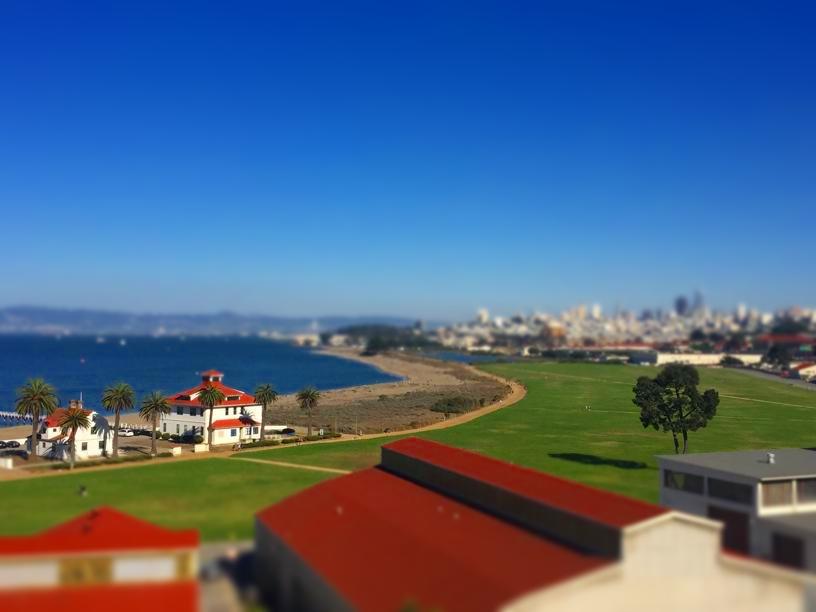
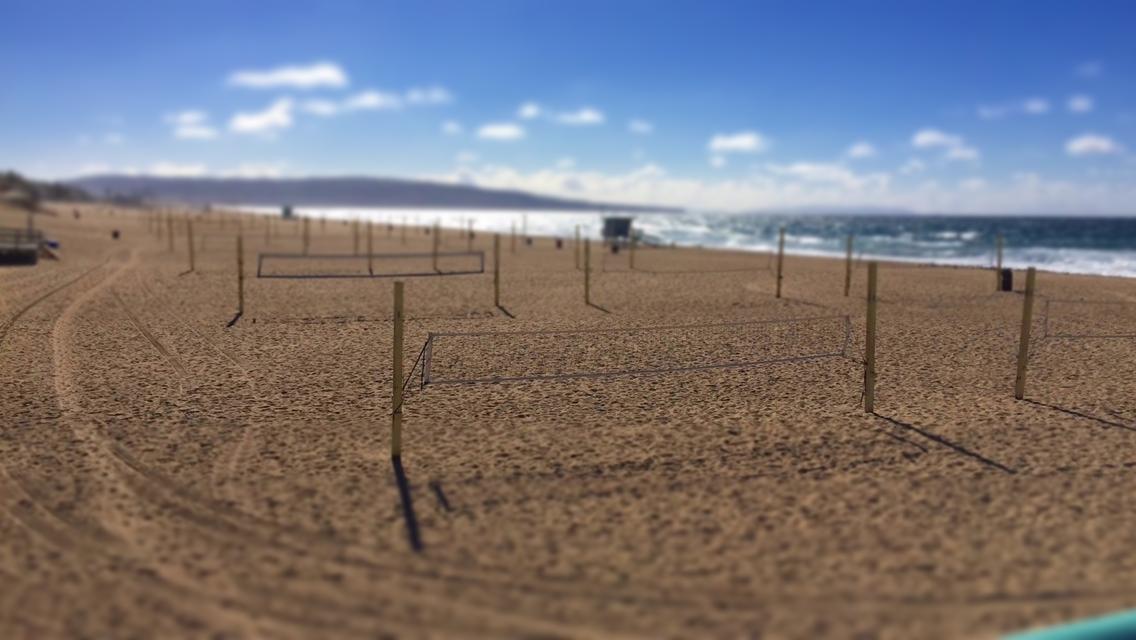
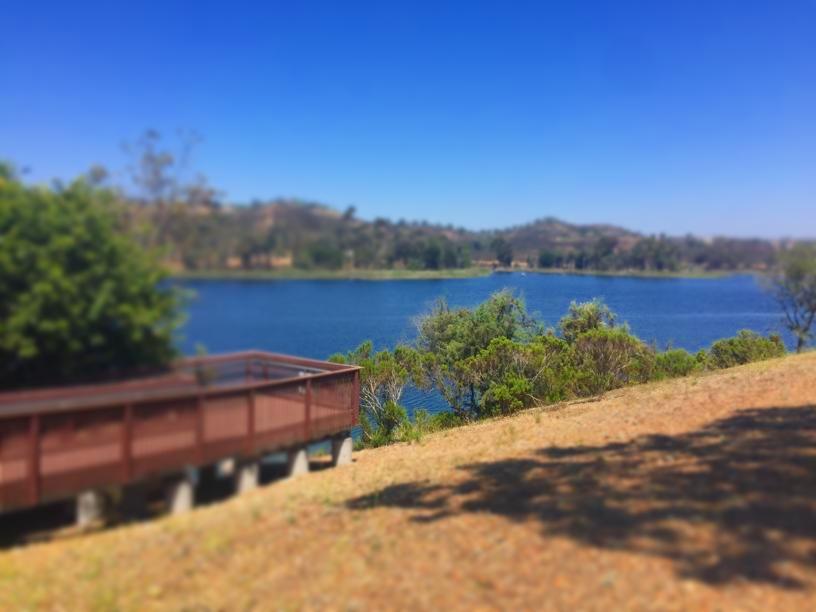
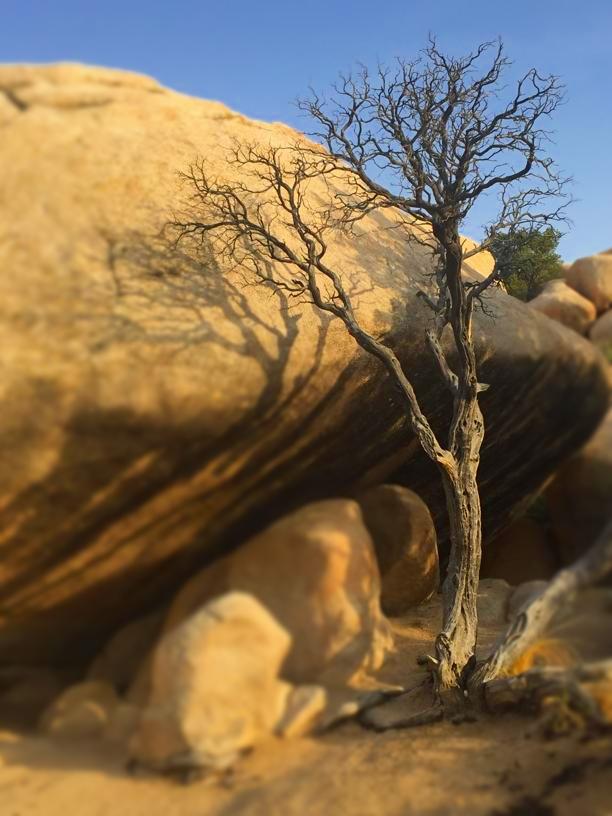
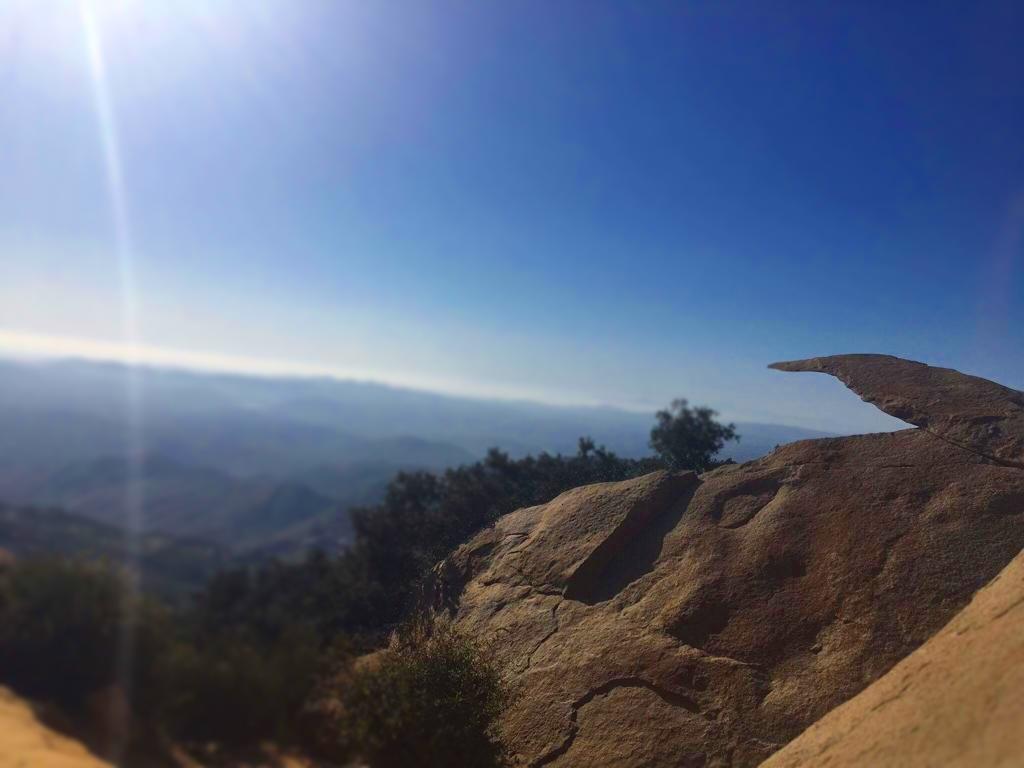
More Pictures, taken by me (with both horizontal and vertical tilt shifts)


More Pictures, from around the Internet
🌟 Bells & Whistles 🌟
Complex Masks
After getting plenty of great results with the "horizon line" model, I also experimented with drawing arbitrary polygons to create my layer masks, allowing for a more complex depth of field. The effect isn't terribly more convincing, but it is nice to be able to focus on whatever part of the image I wanted to.


Fake Stop Motion
A video is nothing more than a quick series of pictures, right? I took a stationary video (camera not moving to keep the horizon/depth of field constant), then tilt shifted/saturated each frame of the video (and also stepped down the output framerate to heighten the cartoony vibe). After all that, we have passing students acting out a stop-motion film right in Sproul Plaza!
Project 2: Seam Carving
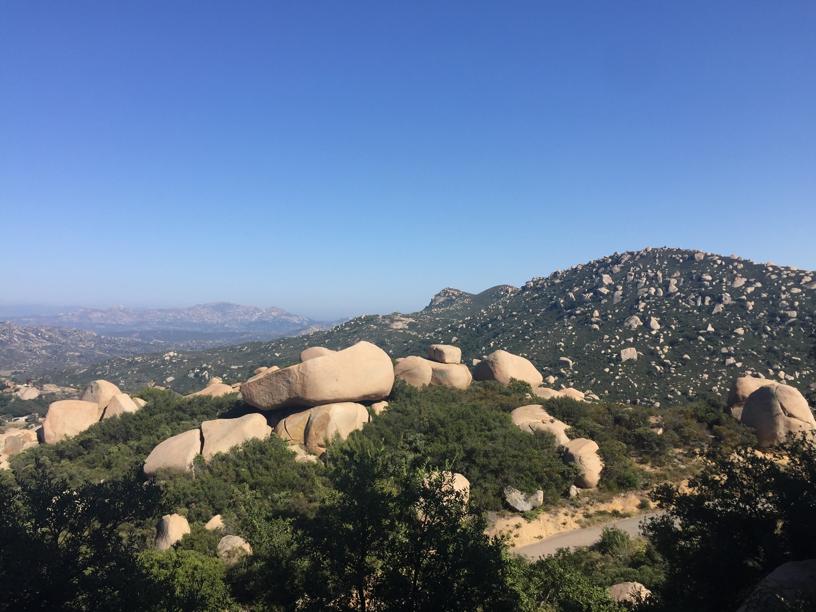
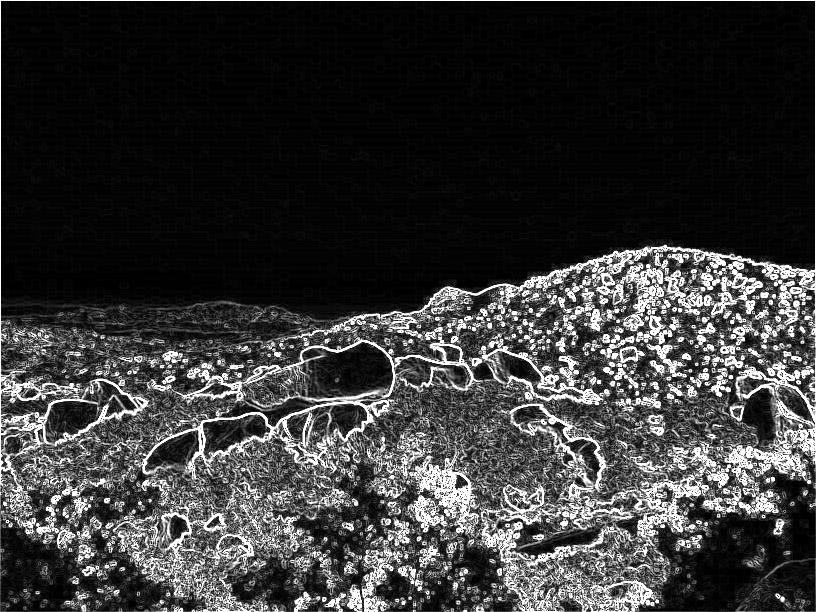
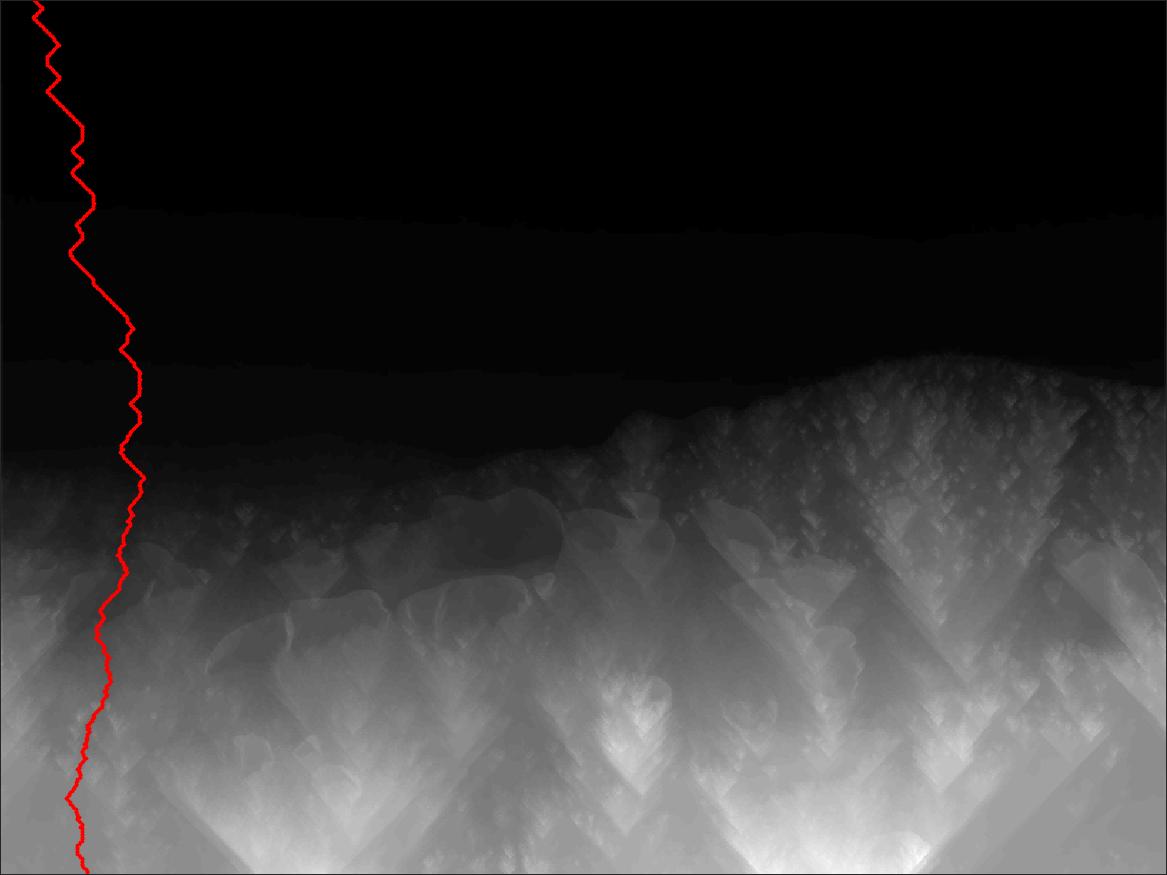
Programmatically speaking this was the more exciting project of the two. The building block of this process is a "seam"; a vertical seam is a continuous stream of pixels fromm the top to the bottom of the image, that only has one pixel per row (and similarly for a horizonal seam). To find a seam we define a per-pixel energy function – the middle image shows the output from an edge detector, which ended up being a simple but effective metric. Then a dynammic programming algorithm calculates cumulative minimal energy sums for each pixel from its 3 neighbors above/to the left. The right-hand image shows the cumulate energy from top to bottom, and the optimal seam that traverses the least "busy" area of the image.
That's cool and all... but cropping is a thing?
To backtrack a bit, why should we care about seam carving? The method is defined in its inaugural paper as content-aware image retargeting. If I had a very wide image that I needed to shrink, the 2 traditional methods would be to either crop or globally resize the image. As seen below, cropping may force some important details to be left out, and resizing fits everything in but throws aspect ratio out the window. Seam carving takes the best of both methods, only removing parts of the image that are deemed "unimportant" by the energy function.


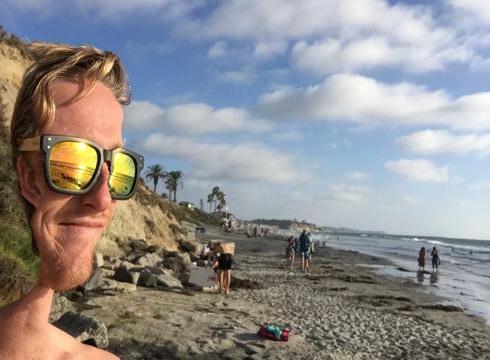
Now for some results!
(also, that's me on the right in the top picture)


🌟 Bells & Whistles 🌟
Seam Insertion
We've now seen the acute yet effective abilities of seam removal to make images smaller. But with image resizing, decreasing size is only half the game; sometimes content needs to grow larger than its original dimensions. In this case, cropping just isn't an option, and scaling runs into the same issue of neglecting aspect ratio.
What's the solution? Well it still makes sense to first find the seam with the least energy in the picture, because modifying this area in any way will cause the least amount of visual disturbance by construction. But instead of removing this seam, the pixels in this seam are averaged with their left- and right-hand neighbors to create 2 new seams. This process is magical as new structures seem to appear out of nowhere in the resulting image.

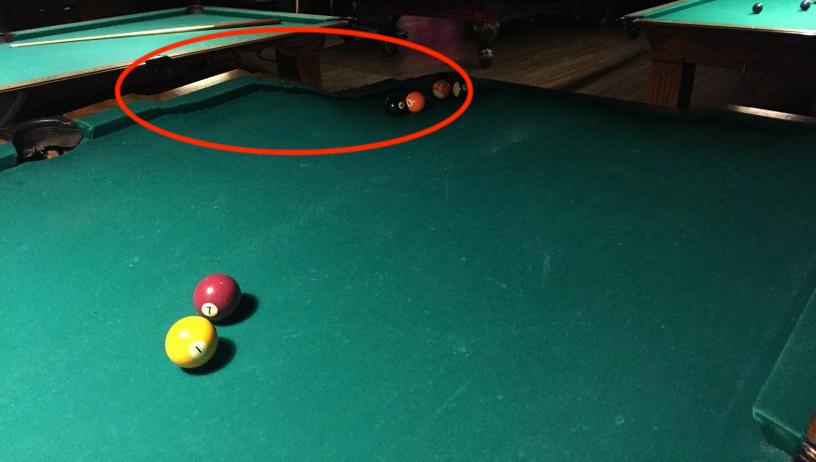
Object Removal
This feature goes back to seam removal, but in a more interactive fashion. Recall that the dynammic programming algorithm finds minimum cumulative energy sums across the image, where the energy values are usually non-negative real numbers. Then consider what would happen if some of the energy values were artifically reset to a large negative value: the optimal seams would always go through these negative values, effectively allowing the user of the algorithm to now "steer" the seams to go through certain parts of the image. Add a UI for a user to select a closed patch of the image that defines where the negative energies will be placed, and we have a scheme for removing objects from an image!
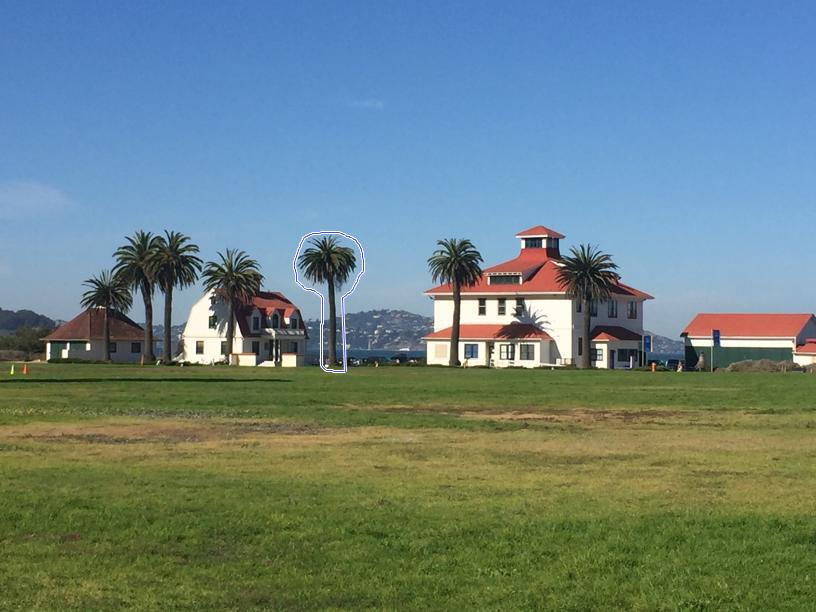
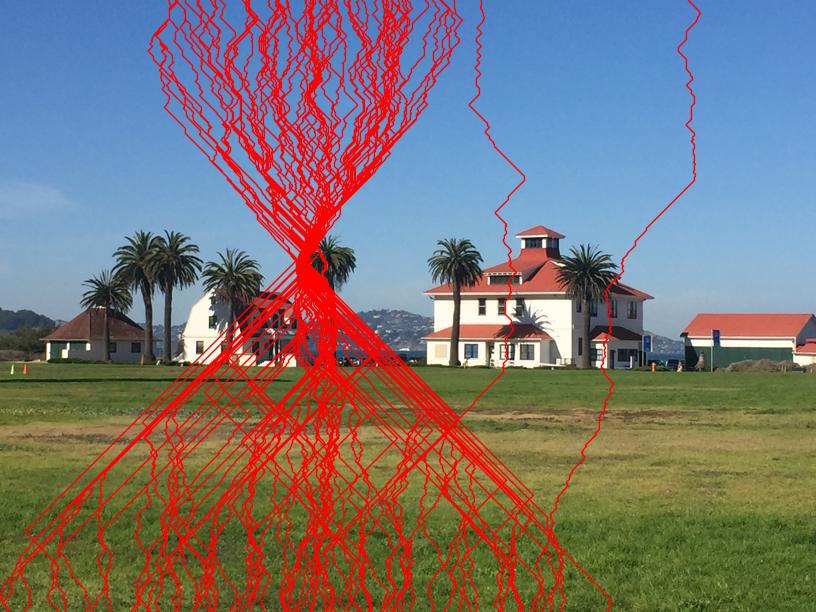

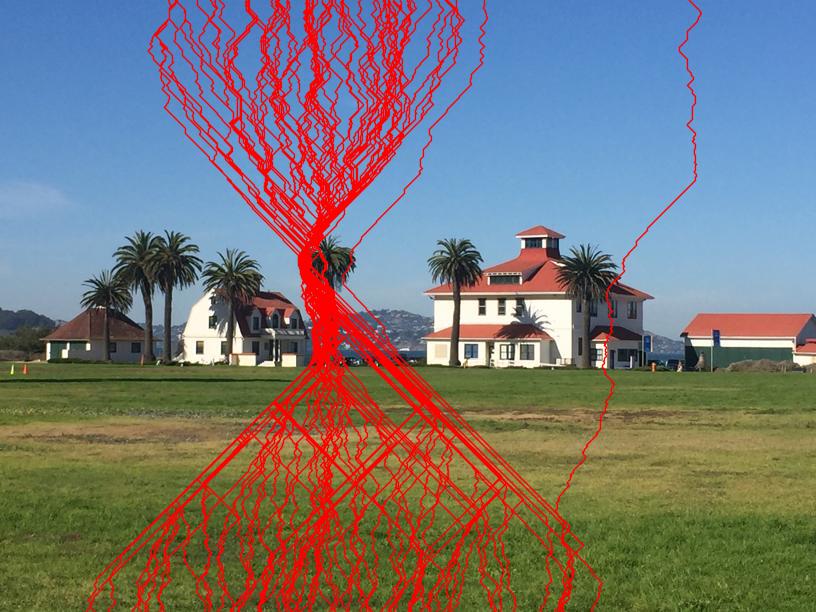
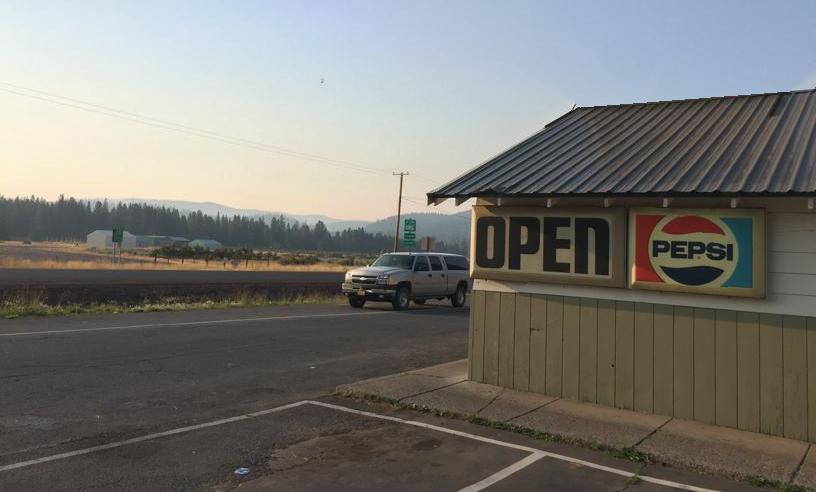
The palm tree was removed, but the calculated seam paths and the result reveal a major issue with this approach. The negative energies direct the seams through the user selection (1st image), but outside the selection the only constraint is that of the DP minimization. Many of the seams fan out to the left and cut through one of the buildings, causing dramatic deformation. Similarly to how we added negative energies to specifcy areas of interest, artifically raising other pixel energies to infinity will specify areas the seams should avoid. Notice how the seams still fan out in all directions, but narrowly skirt around the edge of the house (which I selected in the same manner as the palm tree).

Another example
Static Video Seam Removal
I was so amazed by this project (if you couldn't tell!) that I found & read a follow-up paper on seam carving that improved some of the energy calculations and then applied the principles of seam carving to video input. The full algorithm they developed basically turned the problem into a 3D graph cut, which I would've attempted implementing if I had more time, but for brevity's sake I stuck with their first model which is more similar to the approached discussed thus far.
To carve seams for an image we need an "energy image" which is the energy function evaluated at each pixel. A video is simply a collection of images, and so taking the max energy at each pixel over all the frames will tell us which areas in the video generally do or do not change. This already reveals one of this method's limitations, in that it is only really stable for video input in which the camera is unmoving and also at least one area of the frame sees little movement. Using the same video of Sproul Plaza, the GIF to the right shows the accumulation of maximum energies over the frames of the video.
Below are the Sprould video with N=100 seams removed vertically then horizontally. The method is a bit too simple and produces significant artifacts (right column), some of which could've been cleaned up by adding infinite energy like in the "Object Removal" scheme. An even better video retargeting approach than the 3D graph cut actually used discontiuous seams!
Failure Cases
Despite all the great results we've now seen, there are several ways seam carving can fail. If the image is largely composed of straight lines, the buildup of removed pixels shifts the scene enough to remove the linearity. If a scene is very detailed, then the best seams will mess up some scene or object no matter where they go. On top of all that, simply removing (or inserting) too many seams will end up disaster.
What I Learned
So much, so much in this class. Interestingly, paradoxically, some of the core concepts that ended up power my programs (least squares, dynammic programming) were nothing new. However, seeing the way that imaging problems and how spatial/geometric relationships can be related or boiled down to mathematical ones was incredibly eye-opening. Or how blurring, sharpening, and blending images is all thanks to a 2D Gaussian distrubtion and the power of convolutional operators. Now I feel properly acquainted with both the skills and interest to continue exploring and developing in the whimsical field of image manipulation. Maybe I'll even pick up photography along the way! May as well put my effort in Project 2 to good use.