For this project, I implemented seam carving. The goal of this project was to shrink an image by removing the least important "seams," where a vertical seam is defined as a connected path of pixels that contains one pixel from each row, and where a horizontal seam contains one pixel from each column. Removing a vertical seam shrinks the image by a total of one column, and removing a horizontal seam shrinks the image by a total of one row.
To accomplish this, I first identified a way to determine the "importance," or energy, of each pixel. To
do this, I used the energy function defined in the paper, which is the sum of the absolute value of the x
and y gradients of the pixel. The energy of a seam is defined as the sum of the energy of each pixel in the
seam.
Until the desired amount of rows/columns were removed, I identified the seam (horizontal or vertical) with
the smallest total energy and removed it. I then recomputed the energy of each pixel in this new image,
and repeated the process.
Here are some resized images that turned out pretty well!
Here is the painting with 50, 100, 200, and 300 vertical seams removed, respectively.


Here is the painting with 50, 100, 200, and 300 horizontal seams removed, respectively.


Here is the picture with 50, 100, 200, and 300 vertical seams removed, respectively.

Here is the picture with 50, 100, 200, and 300 horizontal seams removed, respectively.

Here is the picture with 100, 200, and 300 vertical seams removed, respectively.

Here is the picture with 100 and 200 horizontal seams removed, respectively.


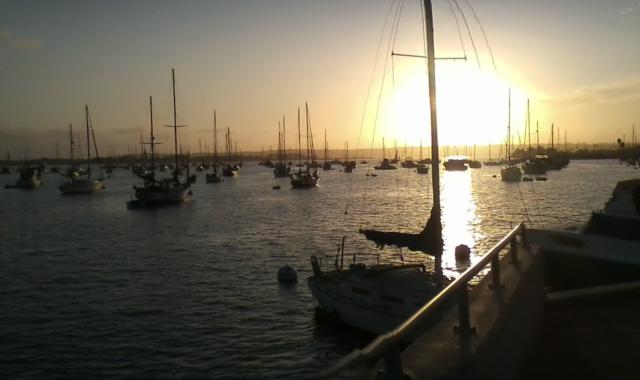
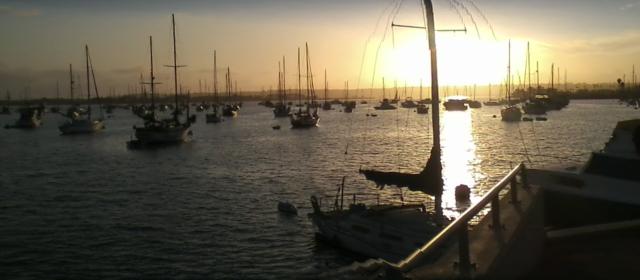
Here is the picture with 50, 100, 200, and 300 vertical seams removed, respectively.
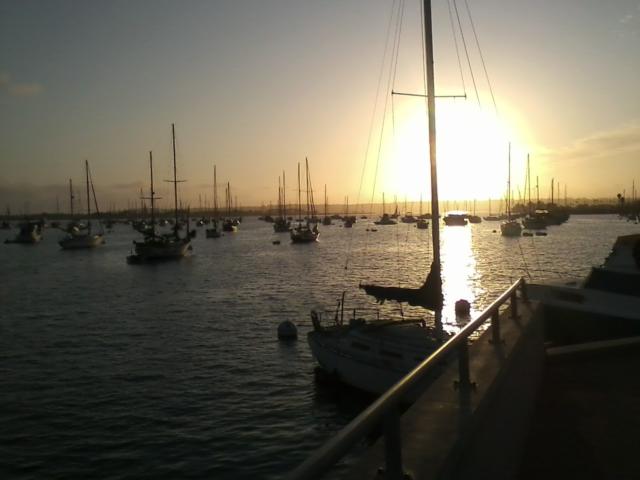
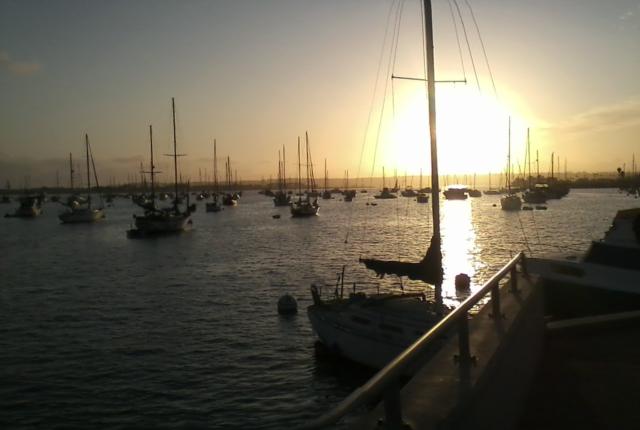
Here is the picture with 50, 100, 200, and 300 horizontal seams removed, respectively. Removing horizontal seams creates some artifacts in the rigging of the closest boat, but other than that it seems to behave fairly well.

Here is the picture with 50, 100, 200, and 300 vertical seams removed, respectively.

Here is the picture with 50, 100, and 200 horizontal seams removed, respectively.


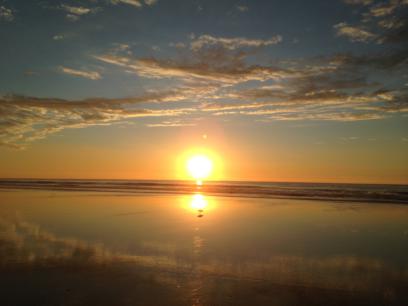
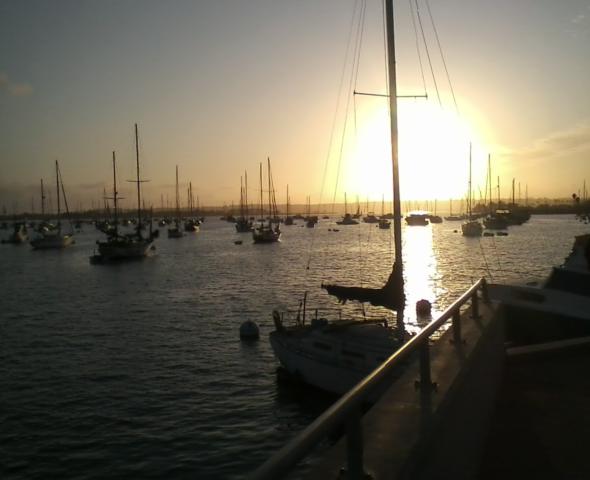
Here is the picture with 50, 100, and 200 vertical seams removed, respectively. The reflection begins to get warped when more seams are removed, but the rest of the objects in the picture seem to be fairly well preserved.


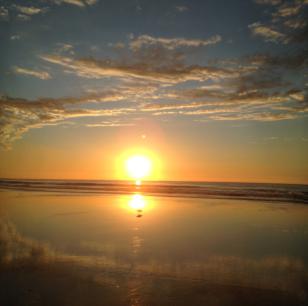
Here is the picture with 50, 100, and 200 horizontal seams removed, respectively. Removing horizontal seams preserves the image better than removing vertical seams in this case.


Here is the picture with 50, 100, and 200 vertical seams removed, respectively. Removing vertical seams distorted some of the straight lines in the photo, but preserved most of the geometry and detail in the photo.

Here is the picture with 50, 100, and 200 horizontal seams removed, respectively. Removing horizontal seams preserves the image much better in this case as well.
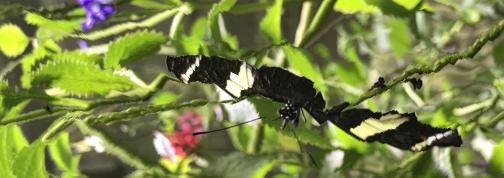
Here are some images that didn't turn out so well when I tried to resize them.
Here is the picture with 50, 100, and 200 vertical seams removed, respectively.


Here is the picture with 50, 100, and 200 horizontal seams removed.

Here is the picture with 50, 100, 200, 300, and 400 vertical seams removed, respectively.


Here is the picture with 50, 100, and 200 horizontal seams removed.

Here is the picture with 50, 100, 200, and 300 vertical seams removed, respectively.

Here is the picture with 50, 100, and 200 horizontal seams removed.


I implemented a greedy algorithm to resize both vertically and horizontally (instead of the optimal
algorithm in the paper). While there were both rows and colums to remove, I computed the cost of the
minimum vertical seam and the minimum horizontal seam, and removed the seam with the smaller energy. Then
I repeated the process with the newly resized image. I continued this until there were only rows or columns
left to remove, and then used the previous resizing algorithm to finish resizing the image.
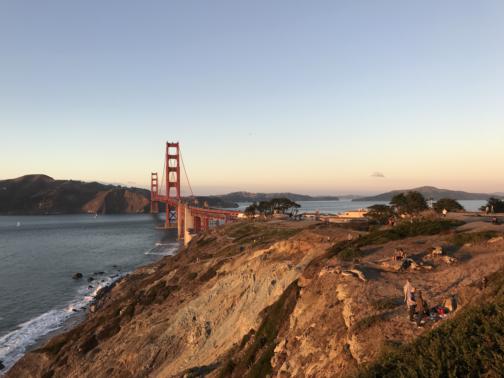
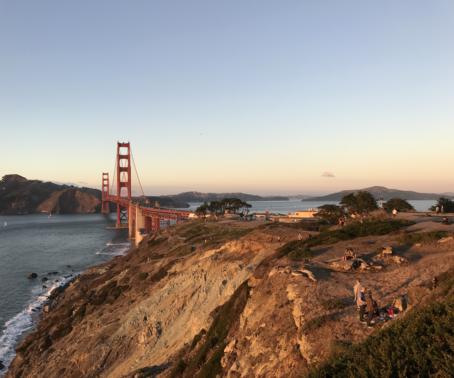
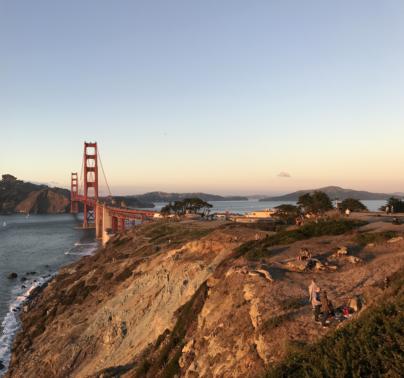
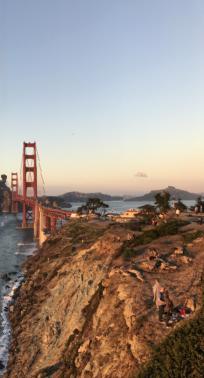
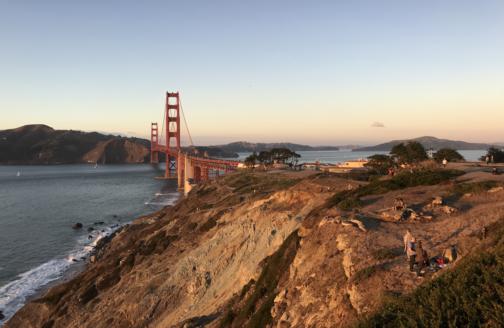
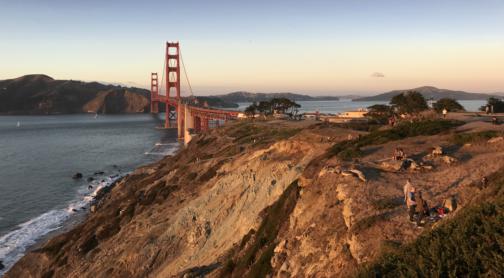
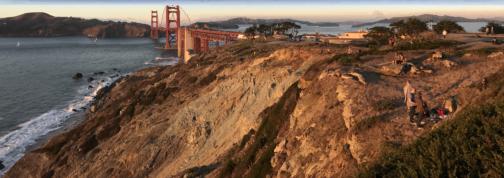
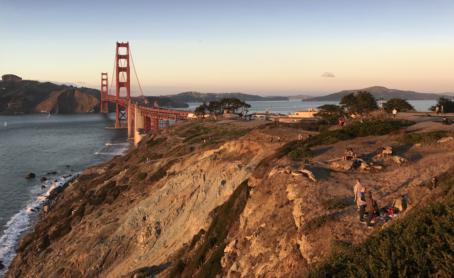
Here is the picture of SF (previously used) resized to remove 100 rows and 50 columns.
For this project, I duplicated the "vertigo shot", or dolly zoom, which makes it look like the background
of the photo is compressing or expanding while the subject of the photo remains the same. I used a Nikon D40 camera
with an 18-55 mm lens.
To create the effect, I first stood close to my subject and zoomed out as far as I could go. I then took a step (or a few)
backwards and zoomed in until the subject was about the same size as before. I continued this until I could zoom in no
further. I did my best to keep the camera level and the angle constant, but as I do not have a camera dolly, this is
not as constant as it could be.
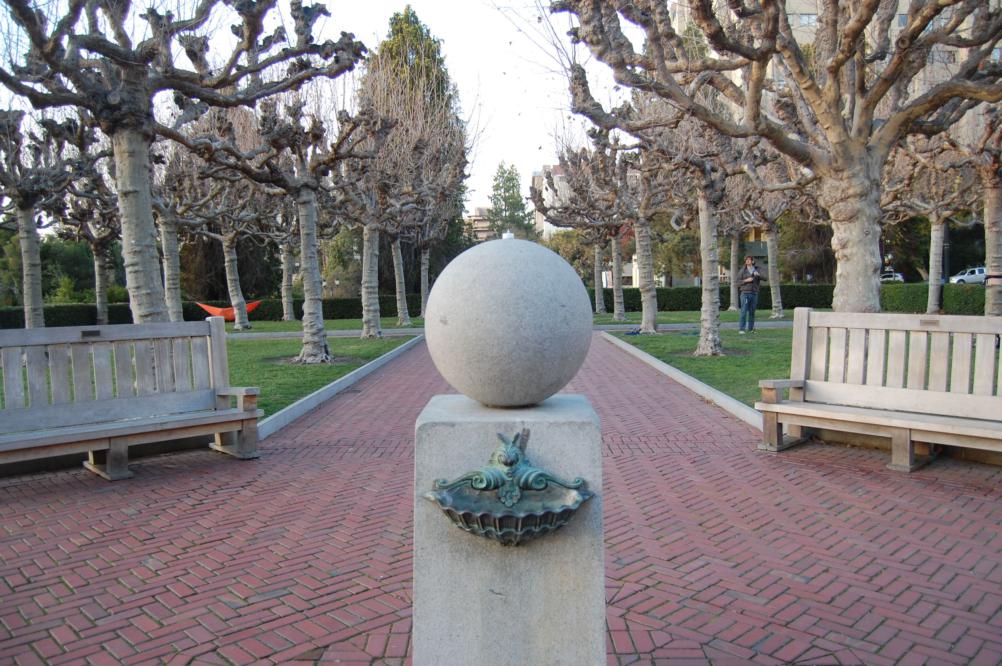
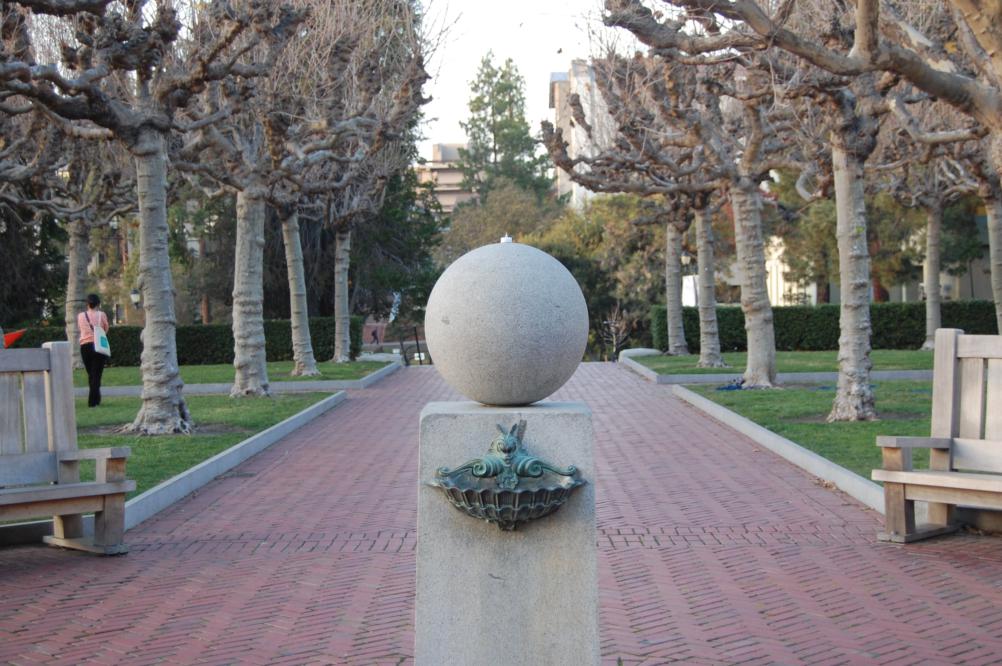
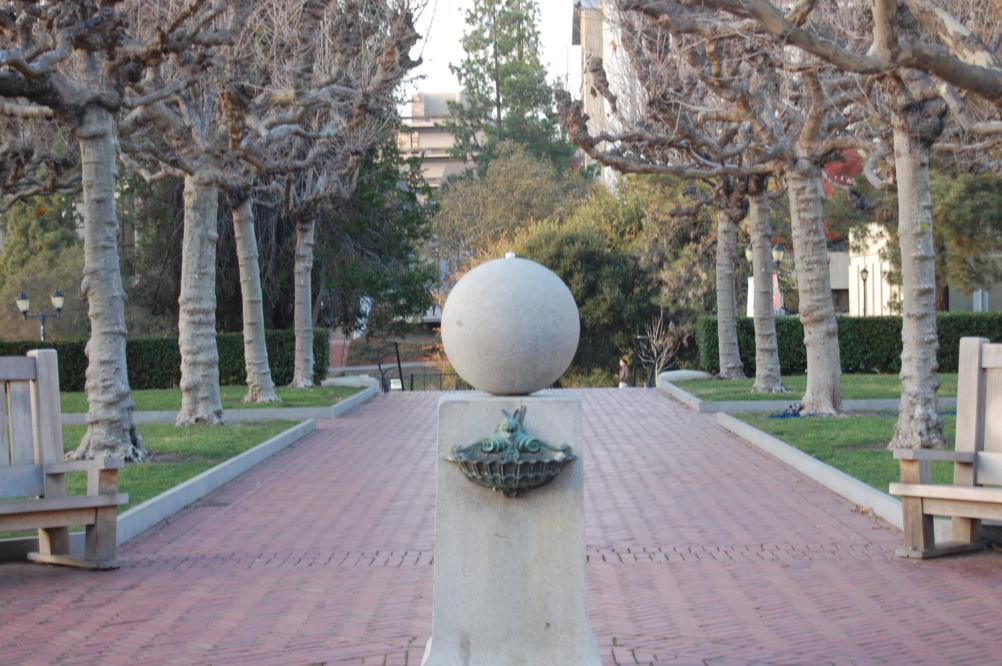
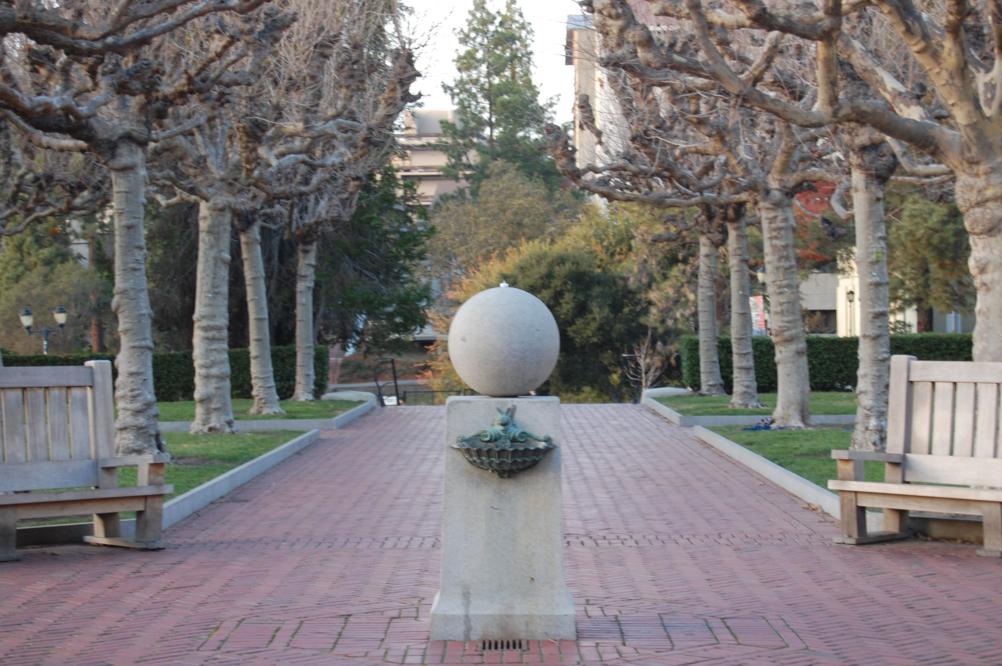
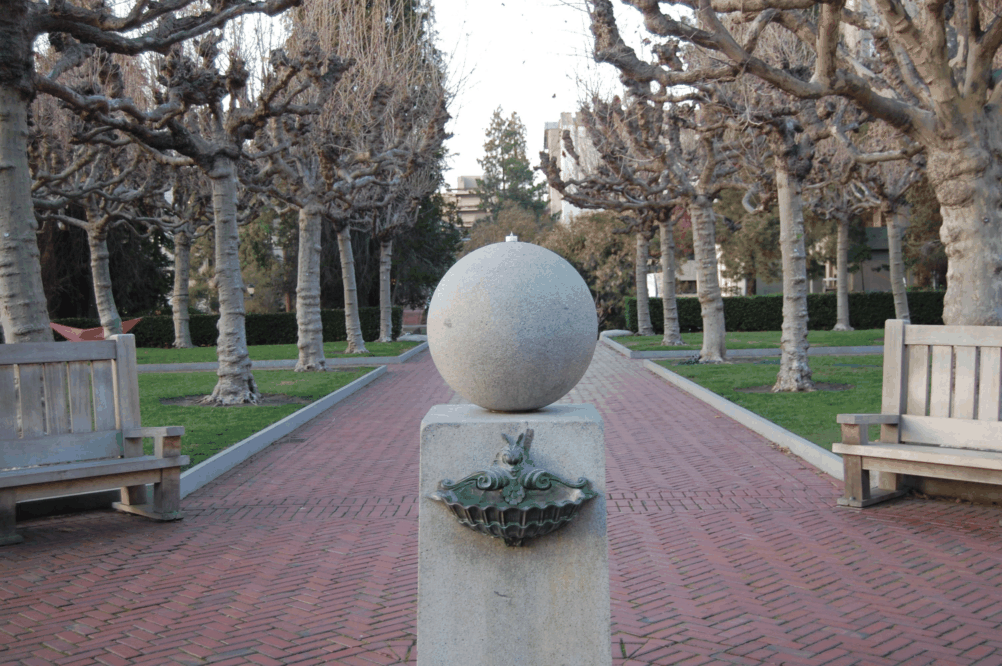
For this example, I took photos of the concrete ball by the Campanile. I chose this space because there is a long, flat walkway on either side of the ball, and the angles of the trees, benches, and bricks add an interesting visual effect when perspective changes.

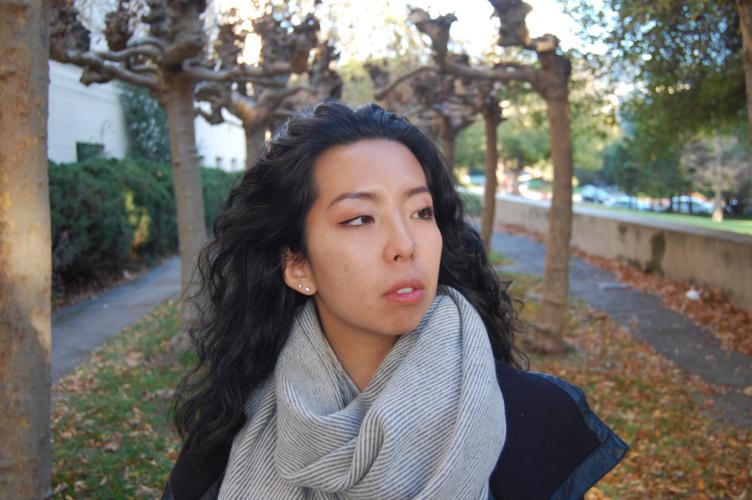
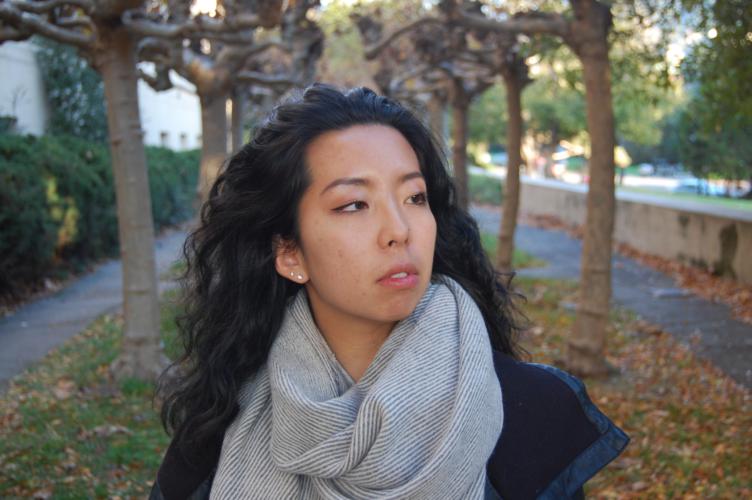
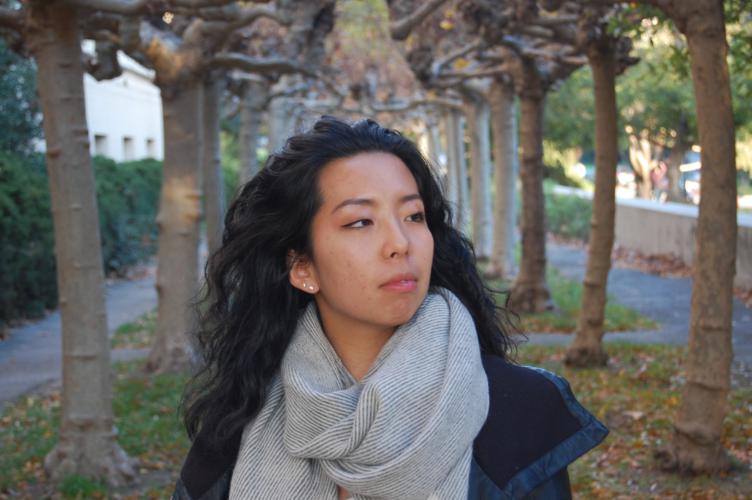
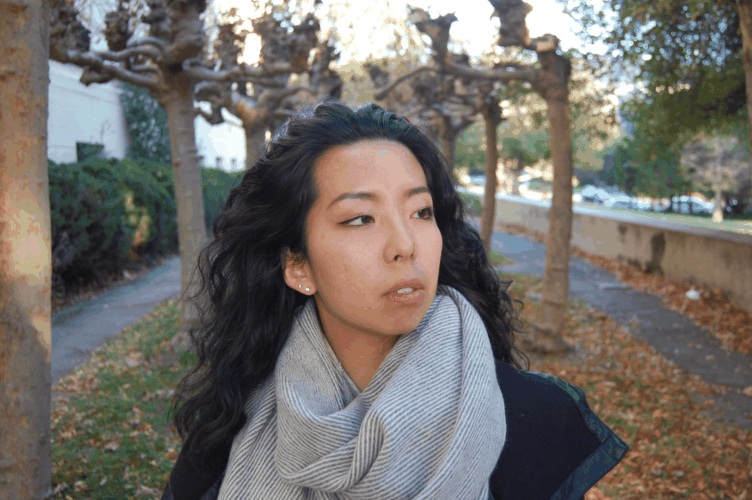
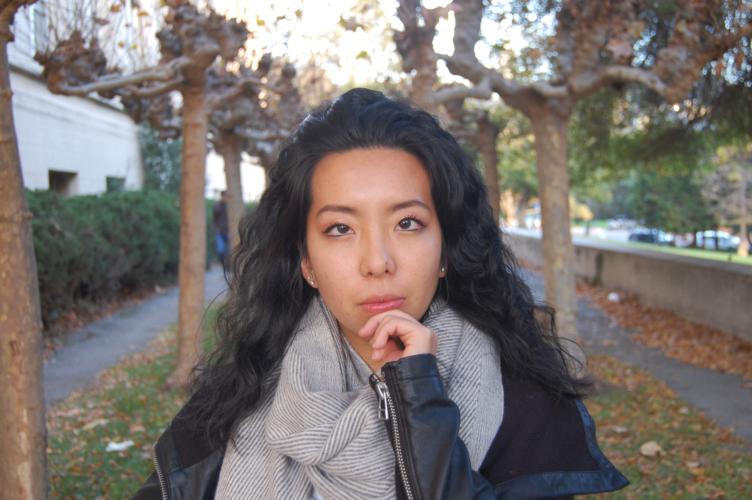
For this example, I took photos of my housemate, Rita. I took these photos in the trees by Mulford. I chose this spot because the line of trees created an interesting vanishing point, and the regularly spaced intervals between the trees emphasized the vertigo effect. In this sequence, I had her stand still as I backed away and refocused.


For this example, I took photos of Rita (again), but this time I had her walk away from me (moving the subject) while I stood still and refocused.


Some difficulties I had were keeping the subject a constant size. In most cases I zoomed in or out too
far, but the effect was still achieved.
A difficulty I had with some sequences (not shown) was that as I increased my physical distance, the angle
between my camera and the subject changed (particularly when my object was high in the air).