Final Project Part A: Seam Carving
By Jason Xie
Abstract
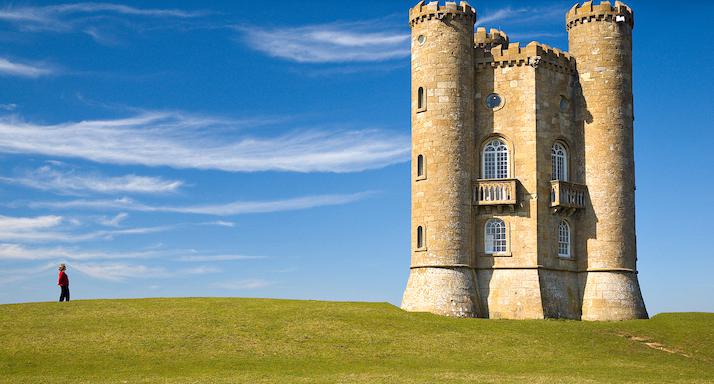
Seam carving is a way to shrink an image vertically or horizontally by respectivly removing horizontal or vertical seams. Seams are defined as a path that only has one pixel in each row or column. However, theses seams are not chosen arbitrarily. We want to shrink the image so that the important features and deatils of the pictures are kept while the less important background gets chipped away. This way even if the photo is shrunk by hundreds of pixels, the primary objects don't get shrunk.
Seam carving is done by first calculating an energy for each pixel. I chose the energy function that calculates the absolute difference between each pixel's RGB to that of the pixel to its left and the pixel below. Once this is calculated for all the pixels, we can use dynamic programming to calculate for the energy of the lowest seam possible by creating another matrix which values are determined by this photo:
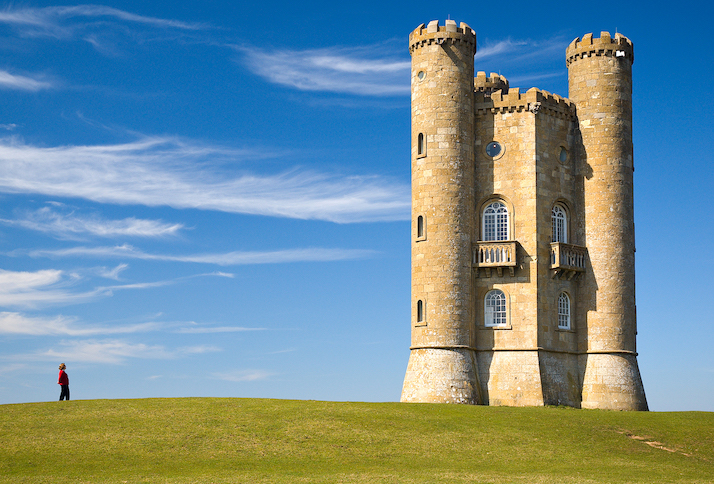
Lastly, we do this algorithm multiple times until we remove enough pixels to get to the rectangular shape that we desire. Below is an example of what one iteration looks like, and examples of hundreds of iterations look like.
Original Photo
Vertical Seam Highlighted

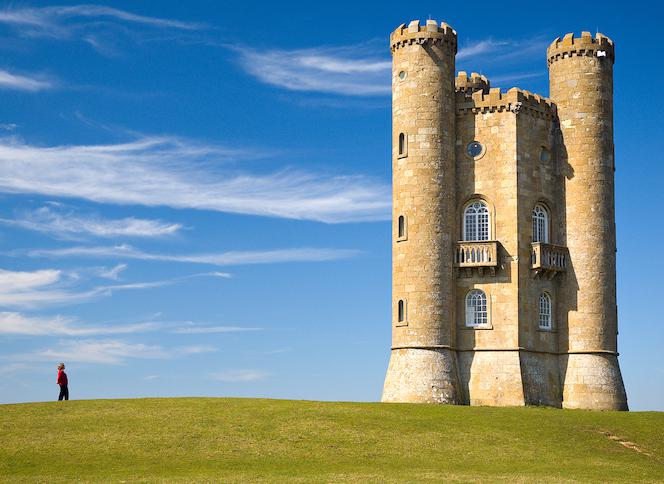
50 Vertical Seams Removed
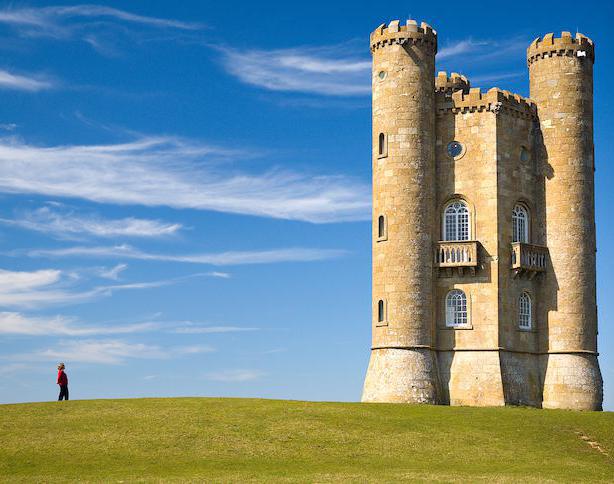
100 Vertical Seams Removed
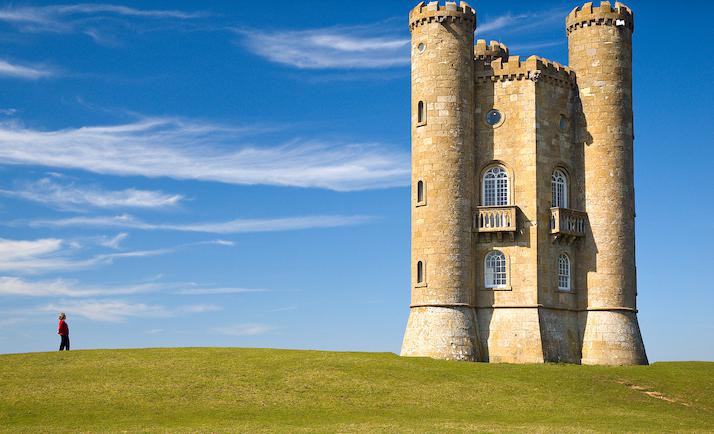
50 Horizontal Seams Removed
100 Horizontal Seams Removed
Original Image
100 Vertical Seams Removed

100 Horizontal Seams Removed
Original Image
100 Vertical Seams Removed
100 Horizontal Seams Removed
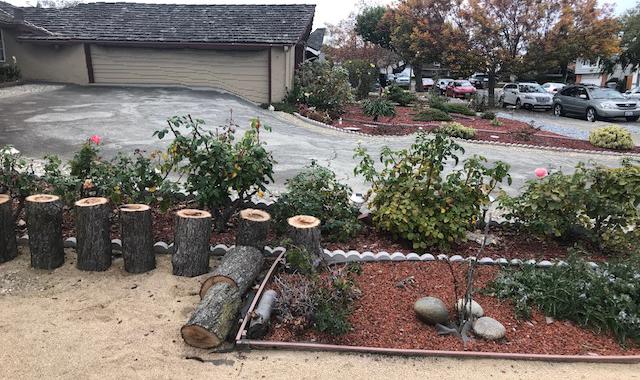
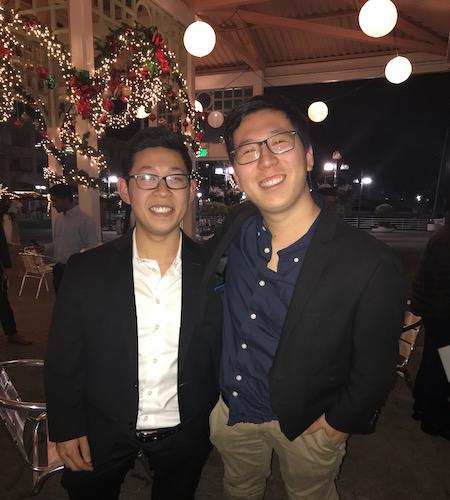
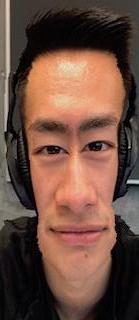
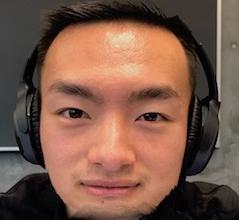
Failed Examples
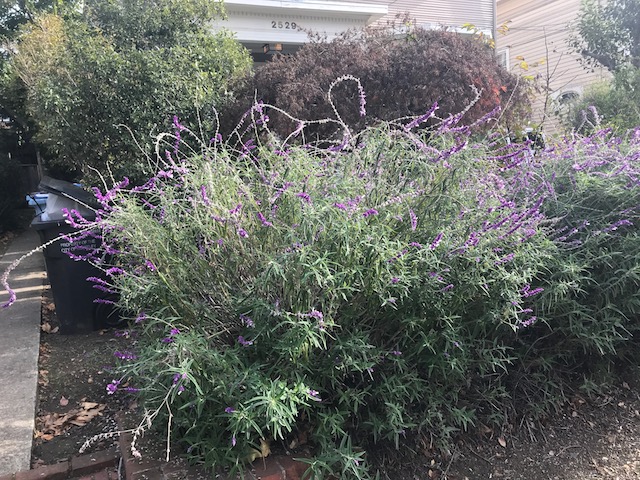
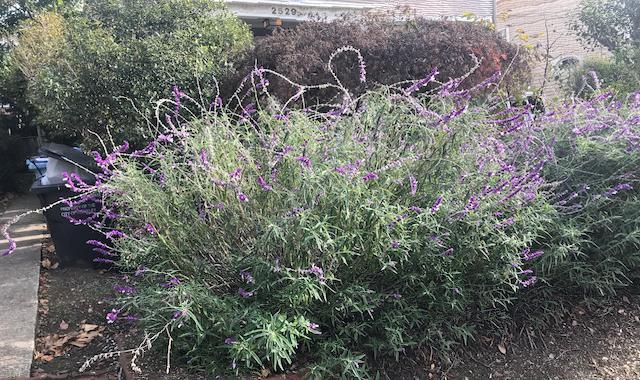
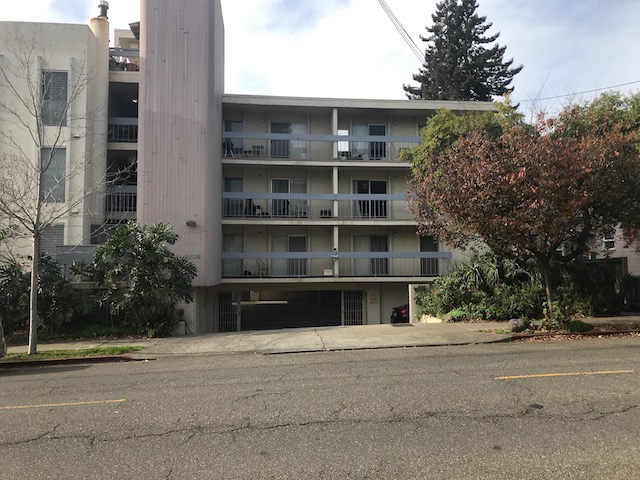
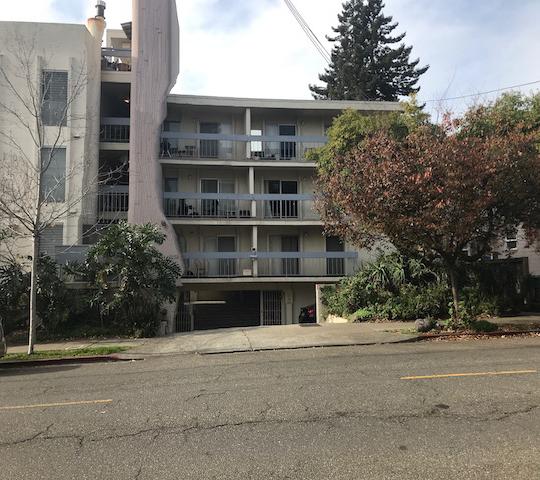
Seam carving doesn't always work out, it sometimes carves out parts of things that need to stick together. One of the most notable things that it does is on one of my friend's selfies. Also, it sometimes turns rectangular objects, like the garage in the house photo, nonrectangular because there was a bush near the corner of the garage that the seams tried to avoid.
Original Image
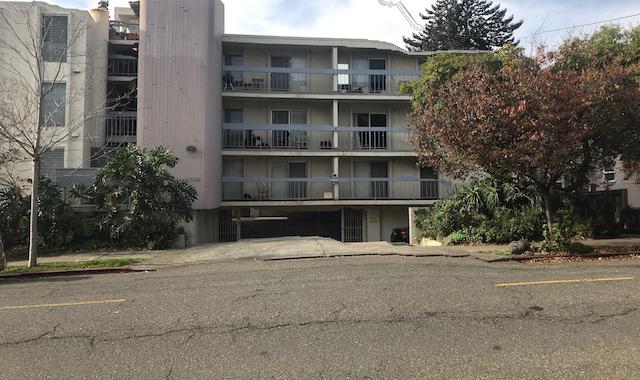
100 Vertical Seams Removed
100 Horizontal Seams Removed
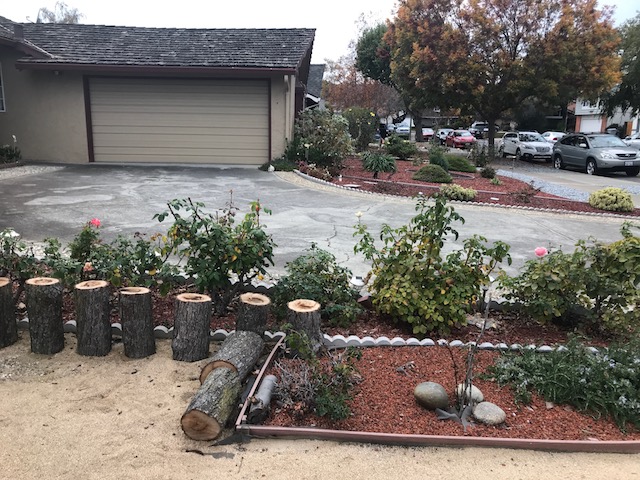
Original Image

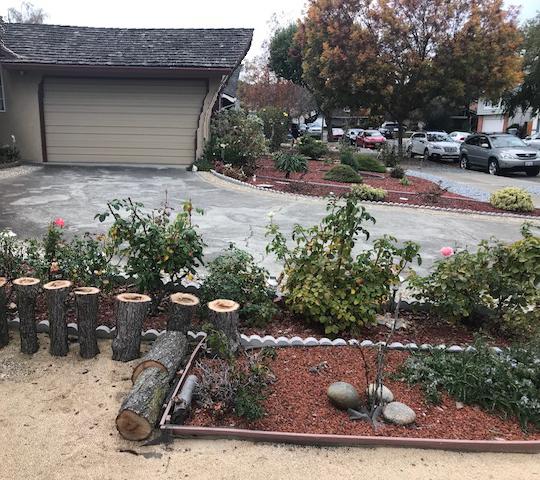
100 Vertical Seams Removed

100 Horizontal Seams Removed
Original Image

100 Vertical Seams Removed
100 Horizontal Seams Removed
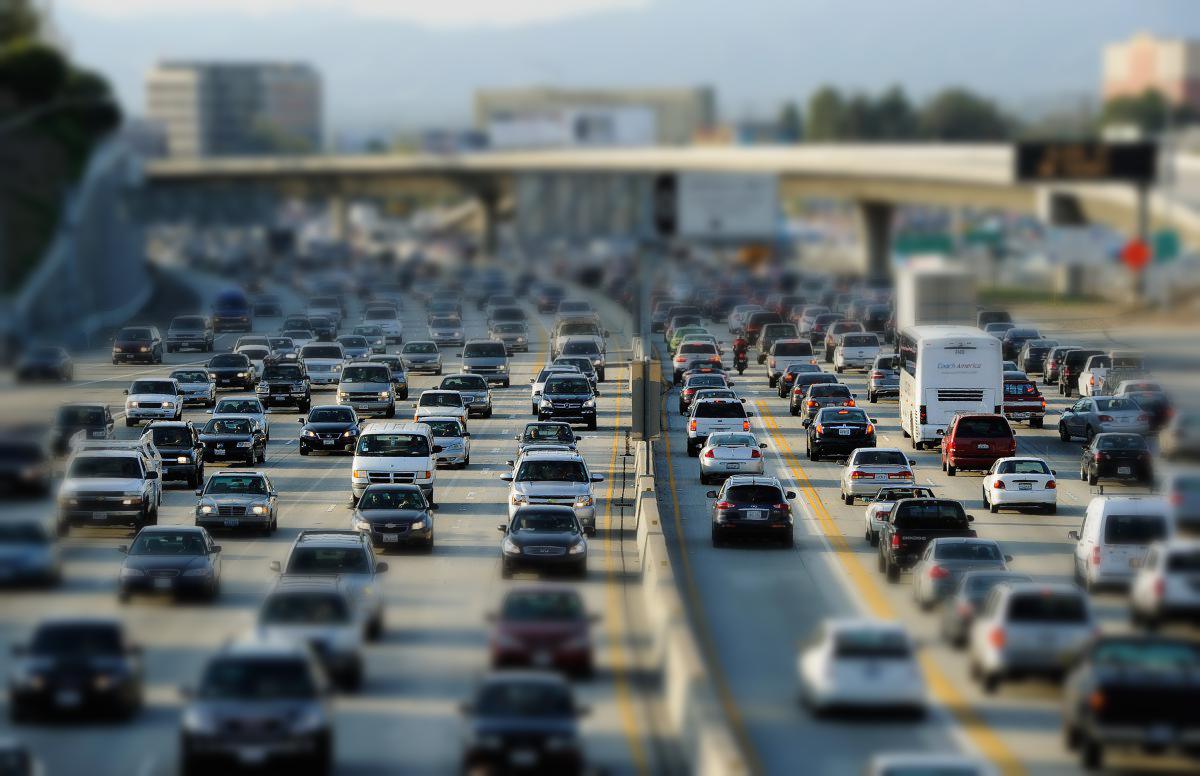
Final Project Part B: Fake Minatures
Abstract
Creating fake minatures is also known as the tilt shift effect. It works by first selecting a mask, and then creating a gaussian stack from the mask and use that to determine how blurry an output pixel should be. Below are minatures of images taken from the internet.
Original Image

Image Mask

Fake Minature
Original Image

Image Mask

Fake Minature

My Images
Below are minatures of photos that I have. I used custom masks, and created a two different perspectives for each photo. The first one is from my trip to Land's End where we stacked rocks. The next one is a photo of stuff near me when I was coding this section. The last one is a stunning photo from my friend's Instagram! Check out @samanthacheng_ to see more of her photography.
Original Image
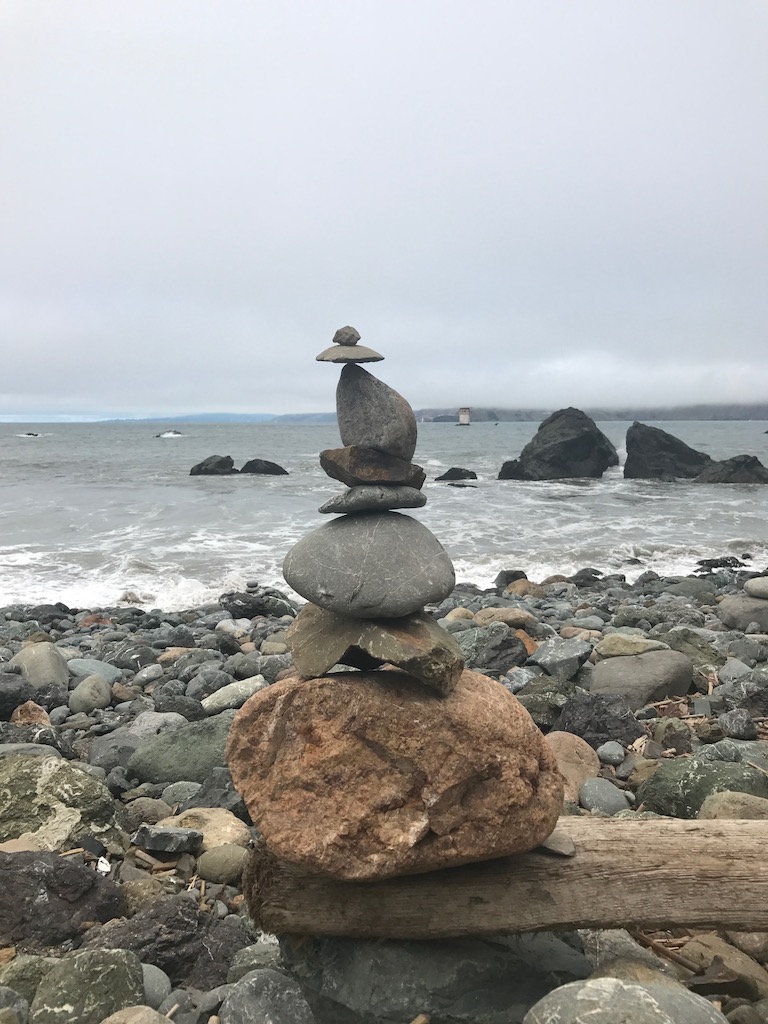
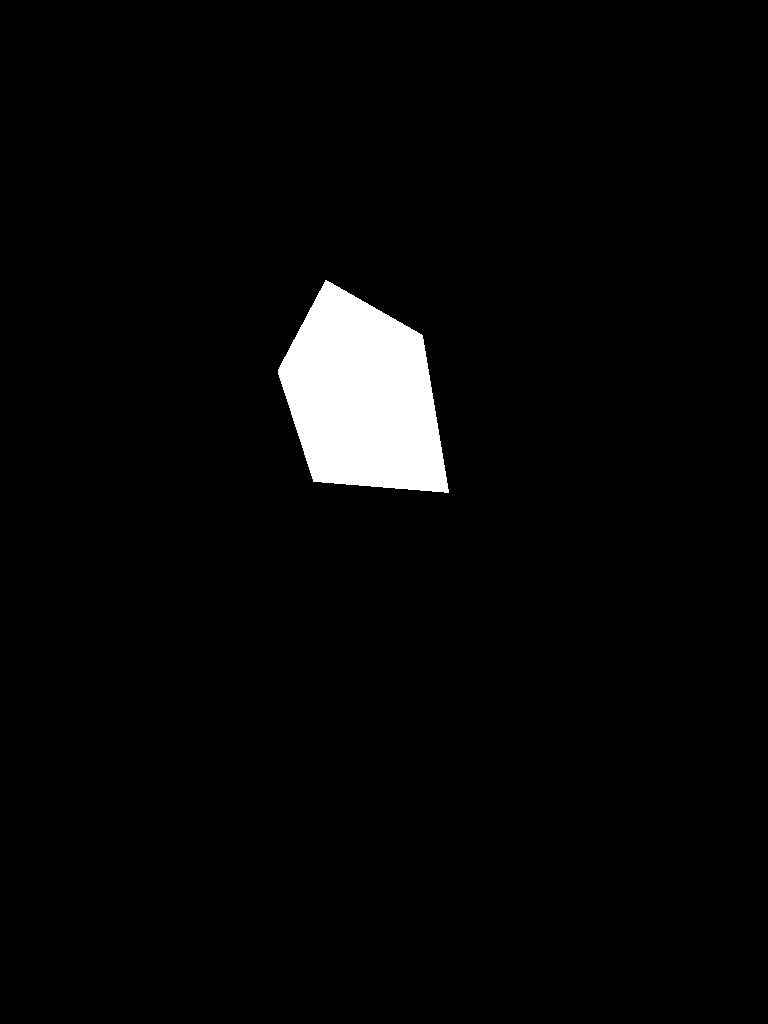
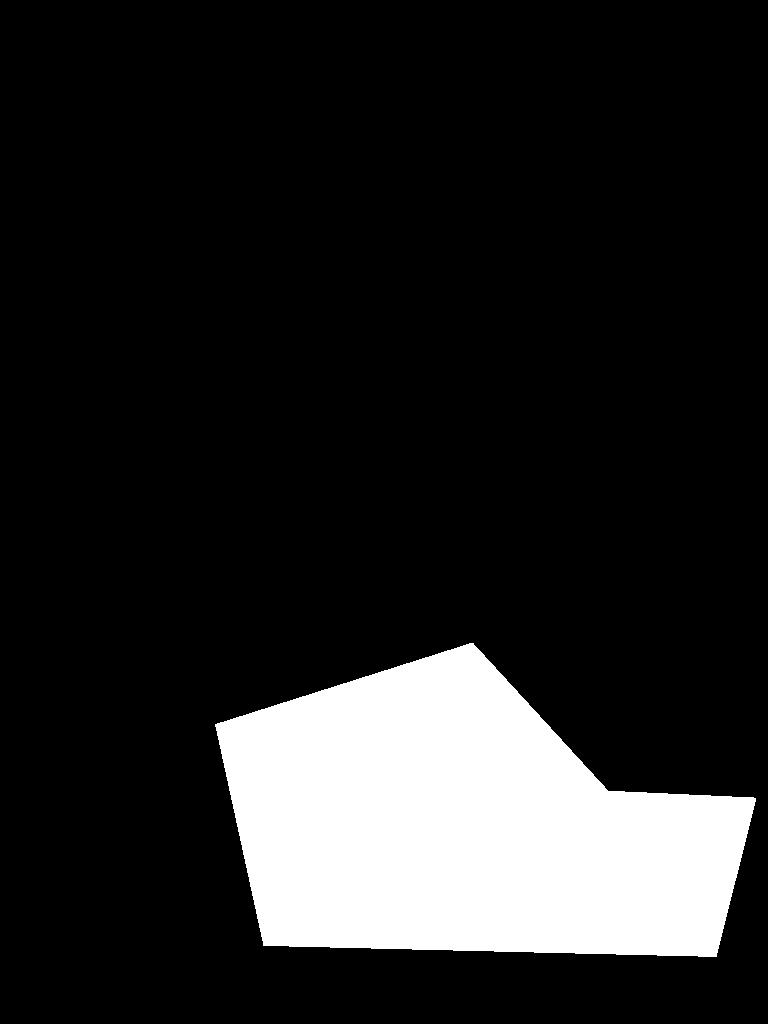
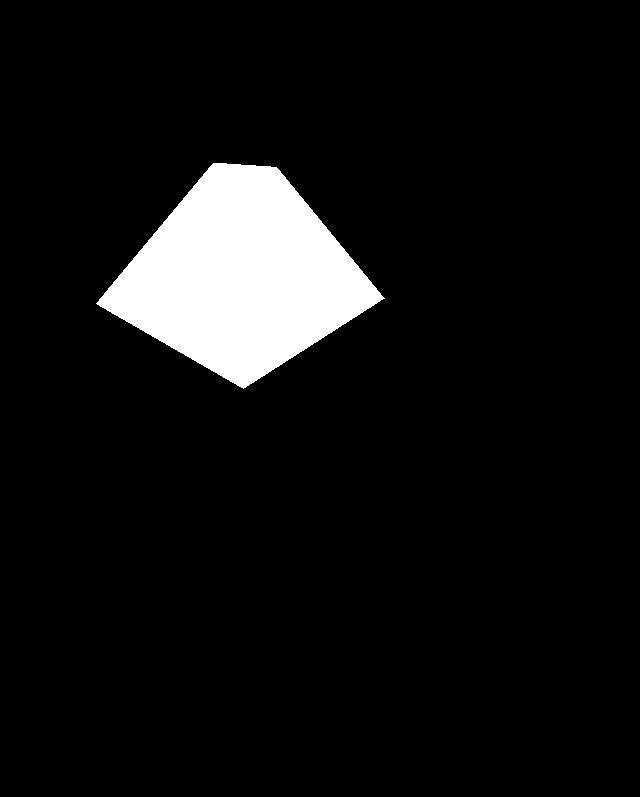
Image Mask 1
Fake Minature 1

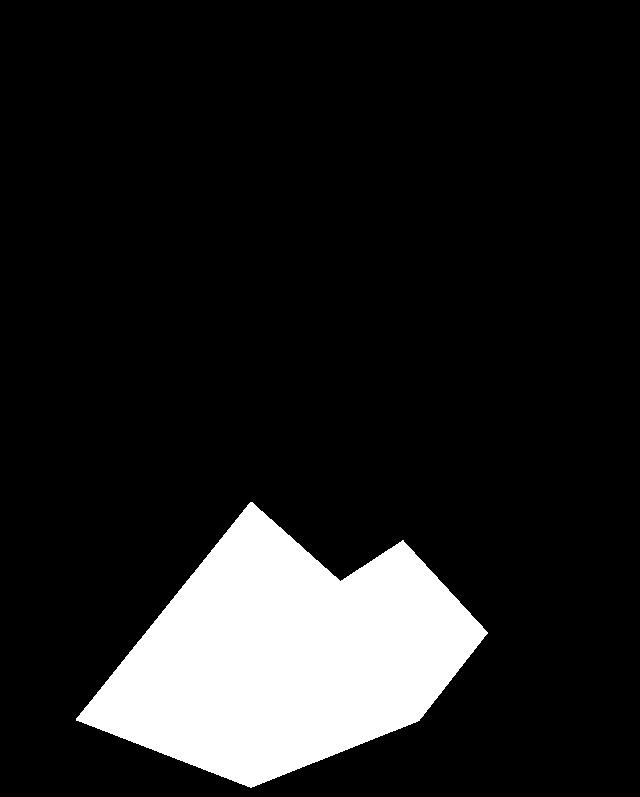
Image Mask 2
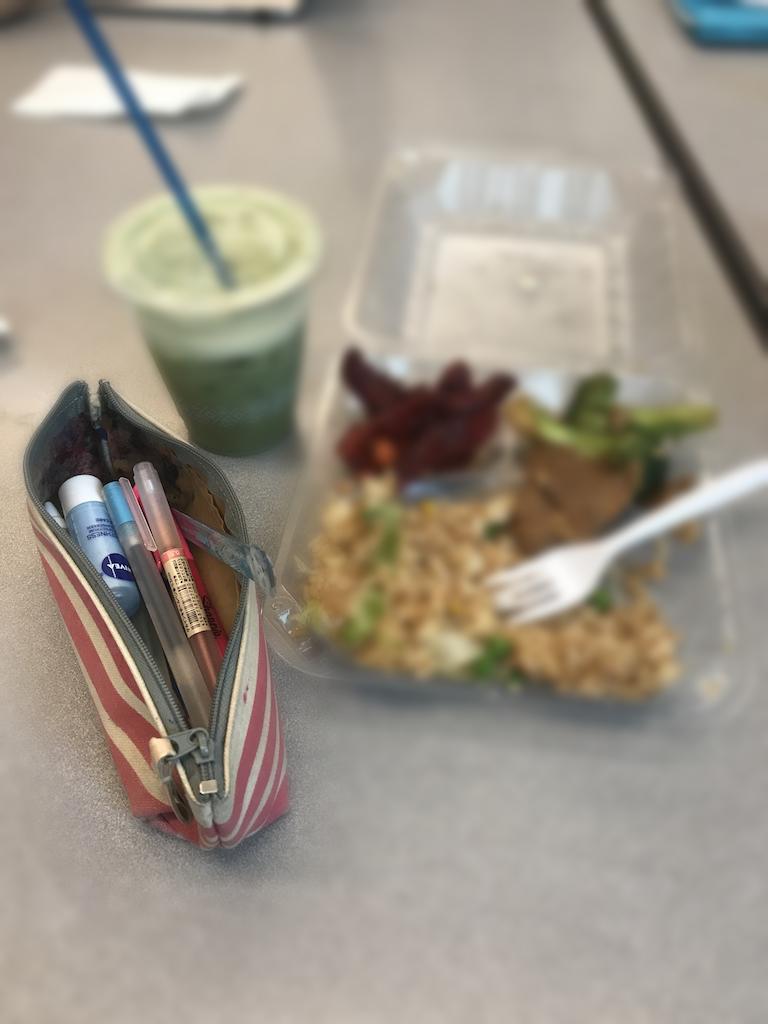
Fake Minature 2

Original Image

Image Mask 1
Fake Minature 1
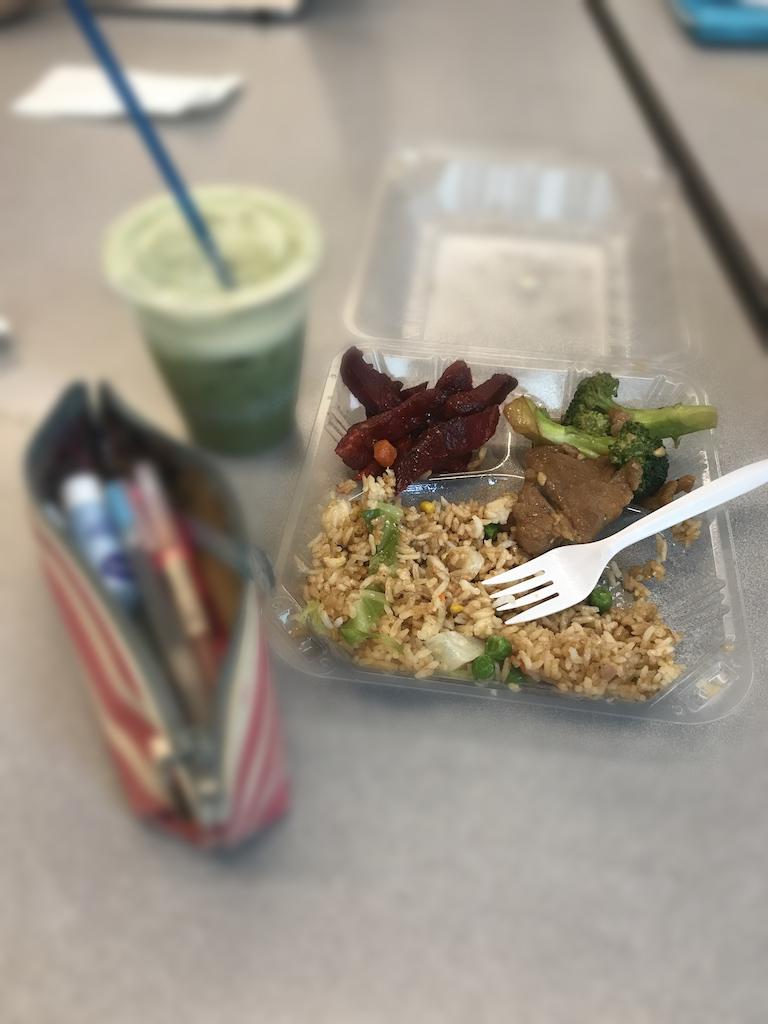
Image Mask 2
Fake Minature 2
Original Image
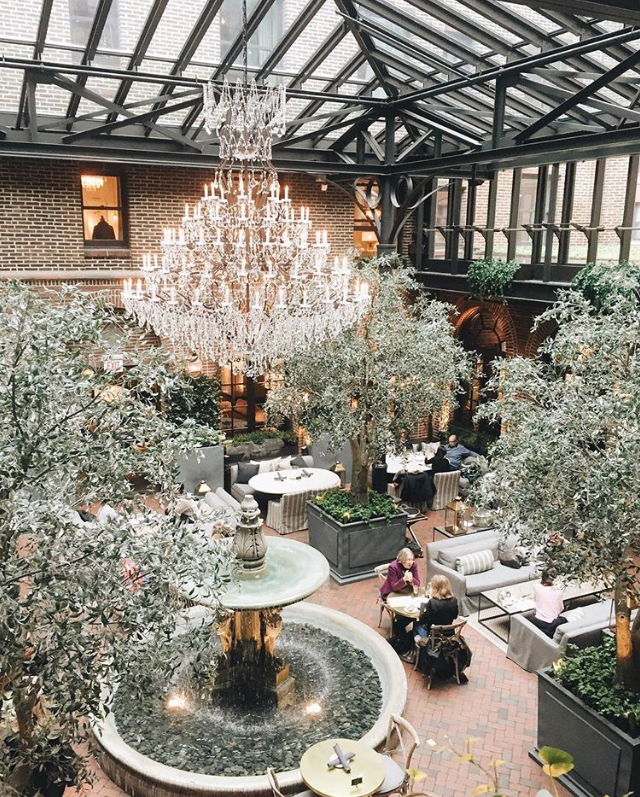
Image Mask 1
Fake Minature 1
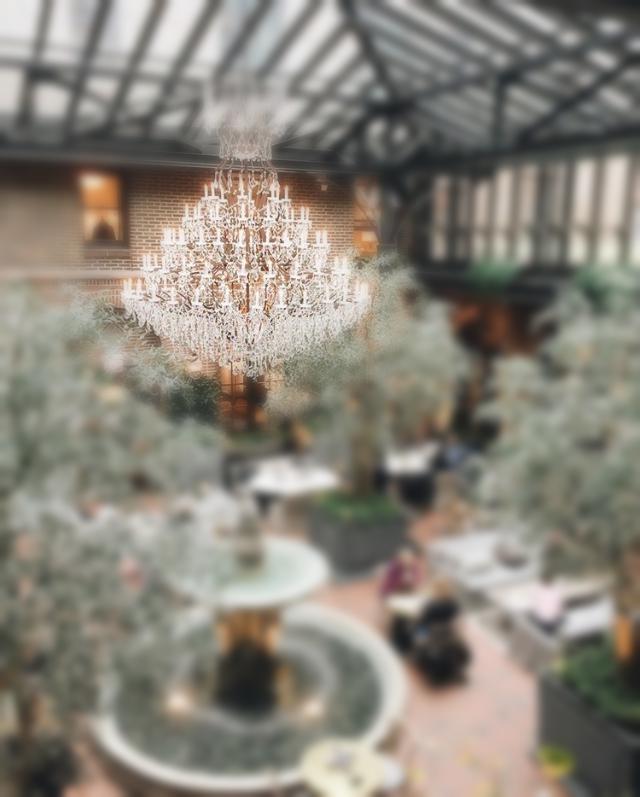
Image Mask 2
Fake Minature 2

