Project 1: Vertigo Shot
Overview
The classic vertigo shot is achieved by keeping the subject of the image sequence the same size while increasing the depth of field of subsequent images. This is achieved by stepping further back from the subject while zooming in enough so the subject is the same size.
The Process
We captured two vertigo shots below on an Olympus EM-5. The first dolly zoom sequence was shot in Napa Valley and the second was shot in Berkeley outside an apartment complex. The main difficulty we encountered was making sure the camera did not rotate between shots, and ensuring the subject stayed the same size. In our sequences, these artifacts are noticeable and affect the smoothness of our sequences.
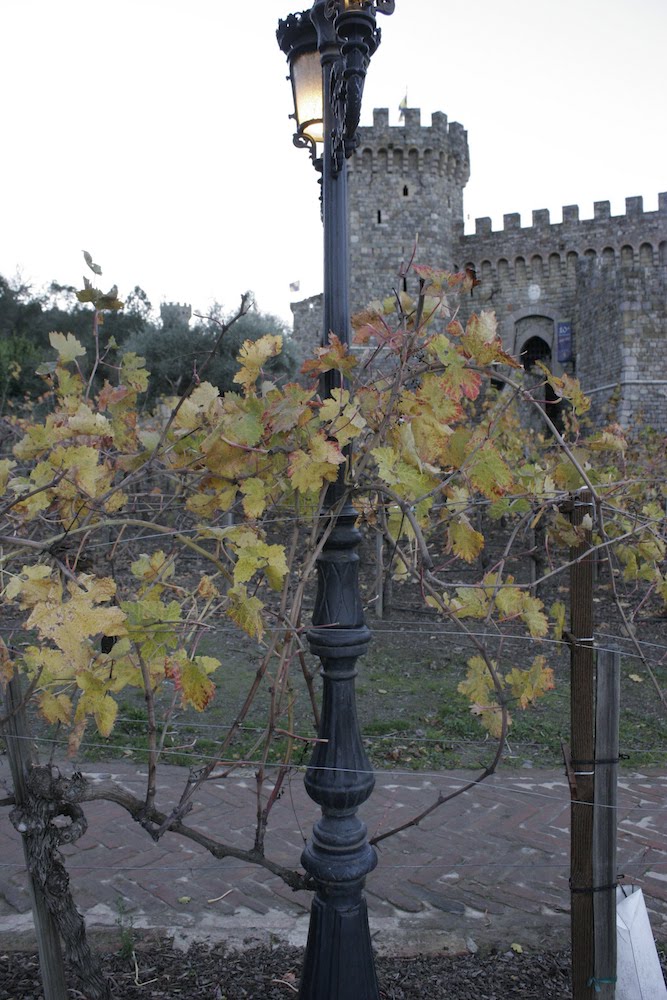
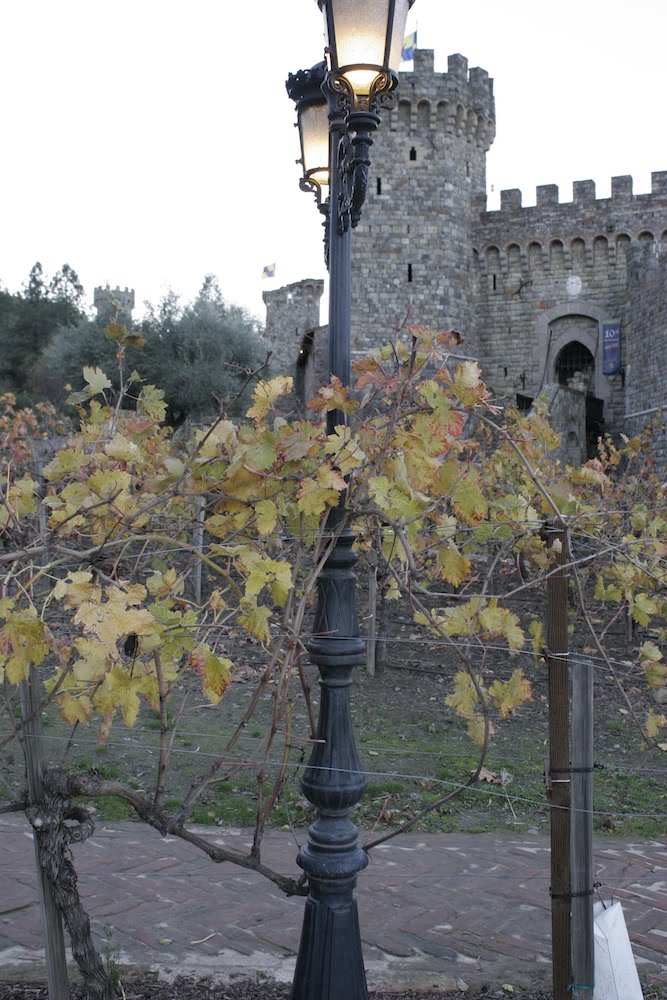
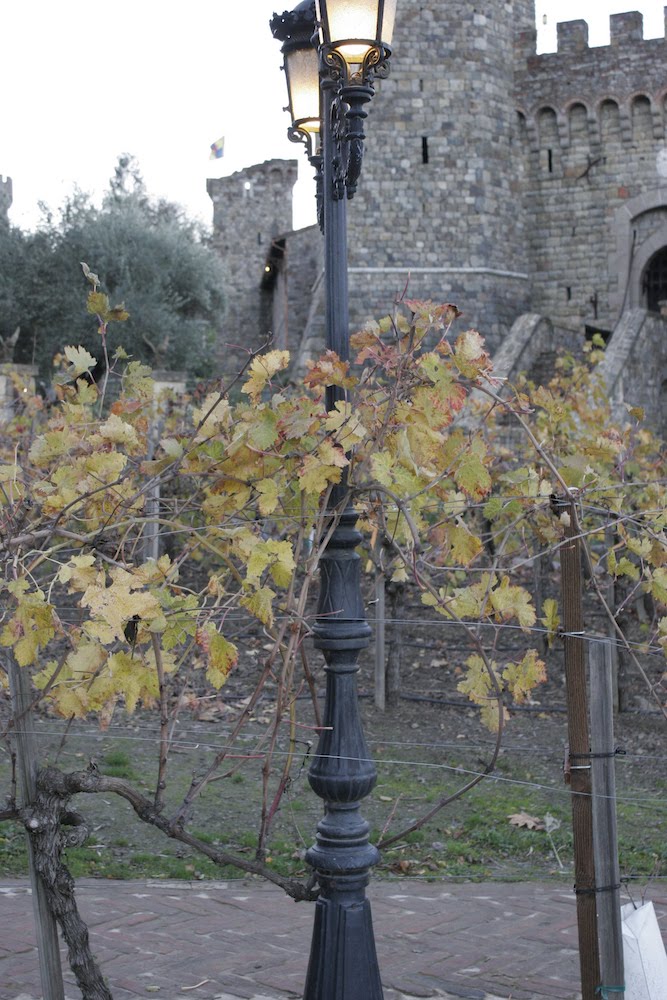
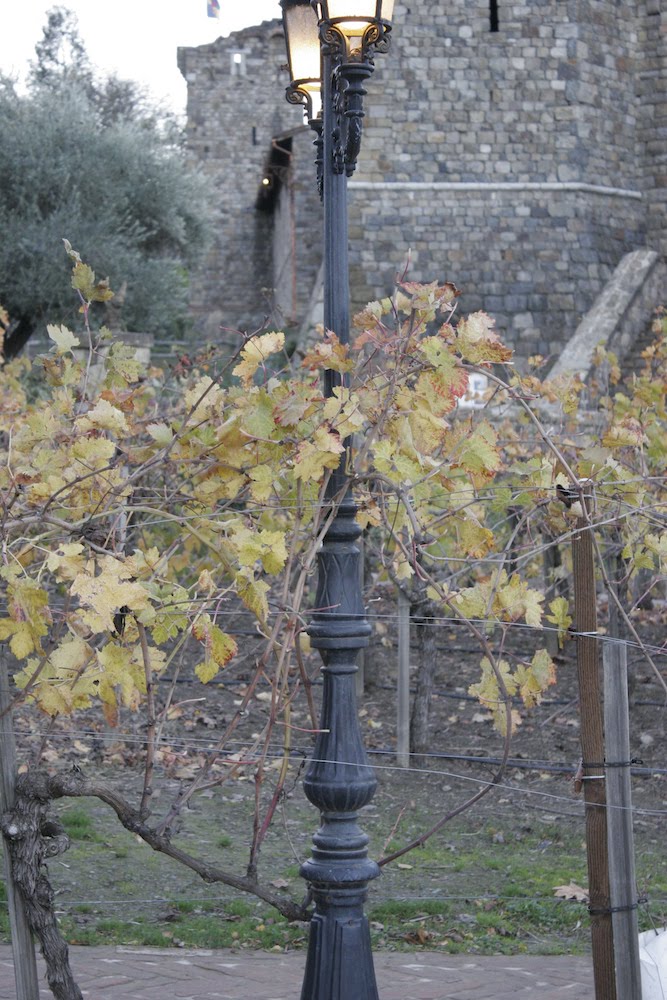
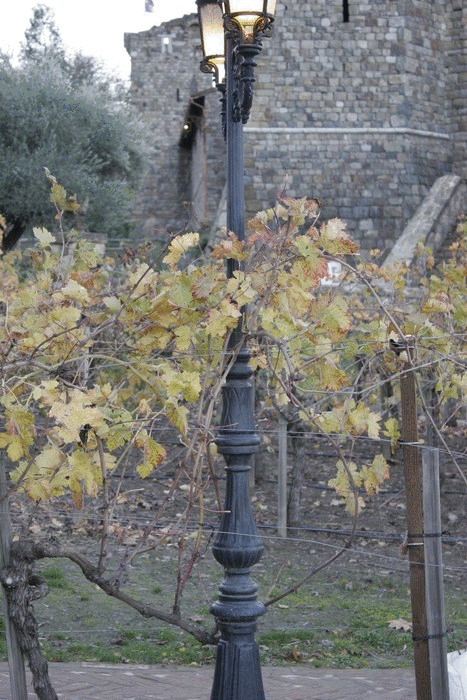
Dolly zoom sequence #1: Napa Valley
(1) First shot, (2) Middle shot 1, (3) Middle shot 2, (4) Final shot
Animated Gif
Dolly zoom sequence #2: Berkeley
(1) First shot, (2) Middle shot 1, (3) Middle shot 2, (4) Final shot


Animated Gif
Bells and Whistles
For each of the sequences, we also implemented the Bells and Whistles option of animating them into gifs.
What We Learned...
It was really interesting being able to create our own vertigo shots. The effect has always been cool when we saw them in movies, and learning the technique behond it was fun!
Project 2: Seam Carving
Overview
The goal of this project is to horizontally or vertically shrink an image to a given dimension, taking the contents of the image into account. Seam carving determines the "energy" of each pixel (mainly determined by the gradient, which can rougly be translated into the strength of the edges), and finds a path (or seam) to remove with the lowest energy.
Energy Function
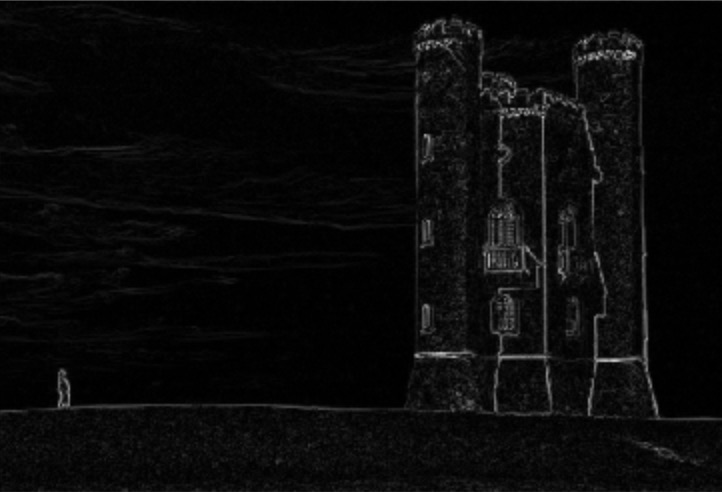
The energy function we chose to use is the gradient magnitude (shown below). Taking the derivative of the image with respect to x and y, the equation takes the square root of the sum of squares. The image shown below is the energy matrix, with the energy value for each pixel. You can see that the energy matrix is basically defining the edges. Therefore, by avoiding seams that go through high energy pixels, we will avoid going through any main objects in the image, and instead carve out the background.
Dynamic Programming to find the Shortest Paths
Using the energy matrix found in the part above, we create a new matrix that computes the lowest cost of the path from the top of the image to each of the bottom pixels. To do this, we start with the first row of the energy matrix, and for every pixel (i,j), we look at the row (i-1) above it, and take the minimum energy pixel from [(i-1, j-1), (i-1,j), (i-1, j+1)], and add it to the current energy value of the pixel, all the way until we reach the bottom. The image shown below is the dp matrix found for the tower image.
Finding and Removing the Seam
From the DP matrix of shortest paths in the part above, finding the least cost path to remove is simple. We can take the minimum element in the bottom row, and backtrack, continuously adding the minimum of the 3 pixels on the row above until we reach the top. Pictured below is an image of the first seam removed from the image, as well as all 50 seams that were removed from the tower image.
(1) 1st seam removed, (2) 50 seams removed
Horizontal Seam Carving
To implement horizontal seam carving, we used the basic backbone of the code for the vertical seam carving. All we had to do was simply transpose the image (so carving vertical seams would actually be carving out horizontal seams), and transpose the image back before returning it.
Final Results
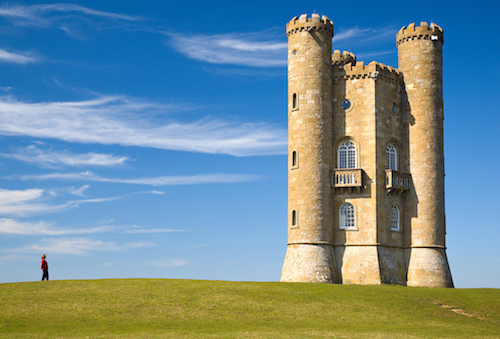
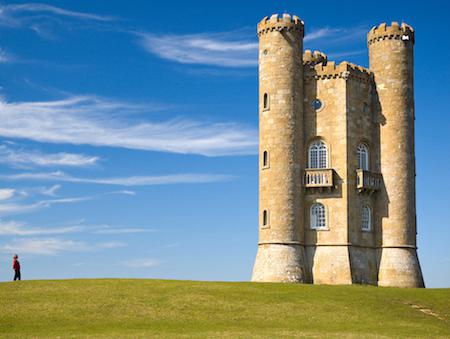
Tower - 50 Vertical Seams Carved
Picture from https://en.wikipedia.org/wiki/Seam_carving
(1) Original, (2) Carved
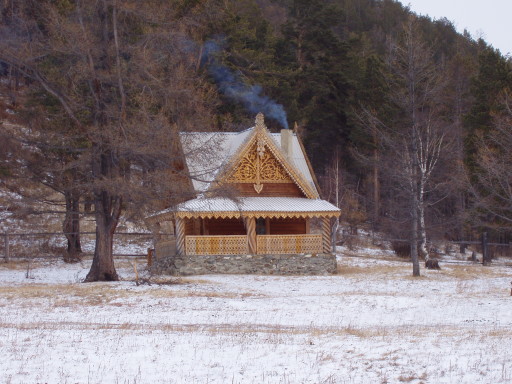
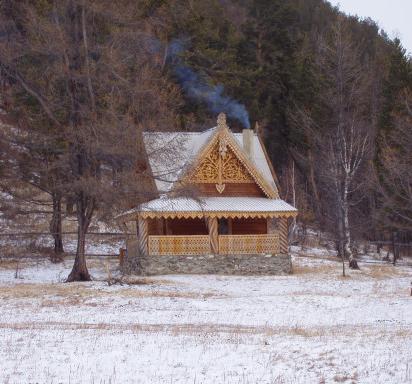
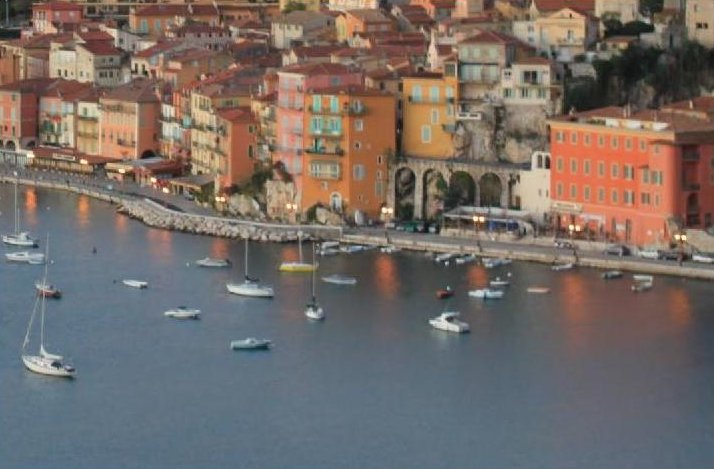
House - 100 Vertical Seams Carved
Picture from project website
(1) Original, (2) Carved
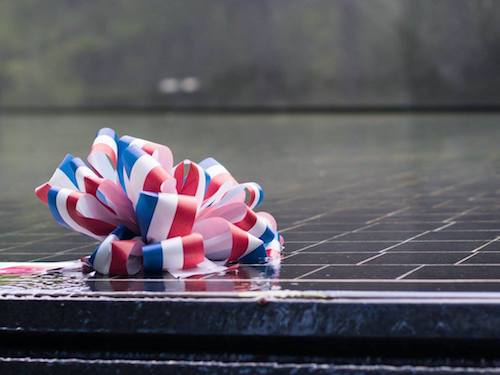
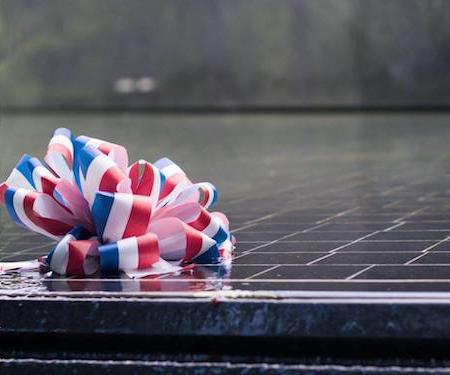
Ribbon - 50 Vertical Seams Carved
(1) Original, (2) Carved
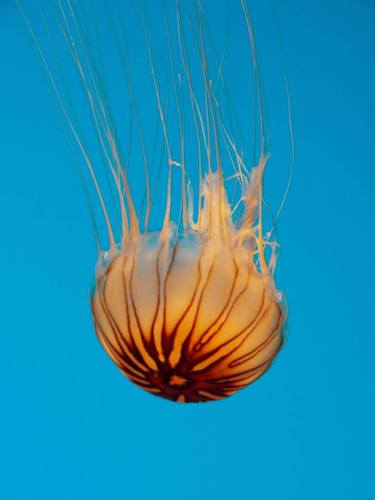
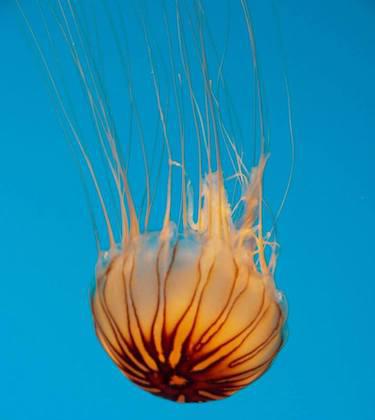
Jellyfish - 80 Horizontal Seams Carved
(1) Original, (2) Carved
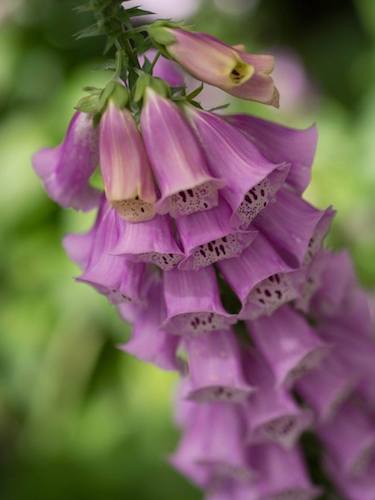
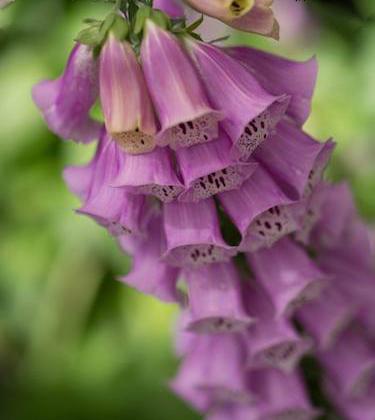
Flower - 80 Horizontal Seams Carved
(1) Original, (2) Carved
Statue - 80 Horizontal Seams Carved
(1) Original, (2) Carved


Failure
Cave - 50 Vertical Seams Carved
This carving didn't work as well as some of the previous ones because my friend in the image is a silhouette, so the only edges are around her body, and there isn't a lot of definition within. Because it's a solid color, her general shape is preserved, but some of the seams carve out some pixels in the body.
(1) Original, (2) Carved


What We Learned...
This project was really fun because it incorporated a lot of different algorithmic concepts, particularly the use of dynamic programming to find the shortest path.
Project 3: Fake Miniatures
Overview
For this project, we will create the illusion of a miniature scene by selectively blurring parts of an image. We can make an image look like it has a small depth of field by blurring all but an interest region or focal plane of the image. To enhance the miniature effect, we also saturate the image to make it look more vibrant.
Rectangular Depth of Field (DOF) Regions
To achieve the miniature effect, we need to create masks for the regions that we will not blur. These regions are called DOF regions. For photos that have clear focus lines such that objects on a given line are at the same depth, we select a focus line to define a simple DOF region. We can do so by simply taking the rectangle or parallelogram that the encapsulates the focus line. The following miniatures were created with this method.
Miniatures with Images from the Internet
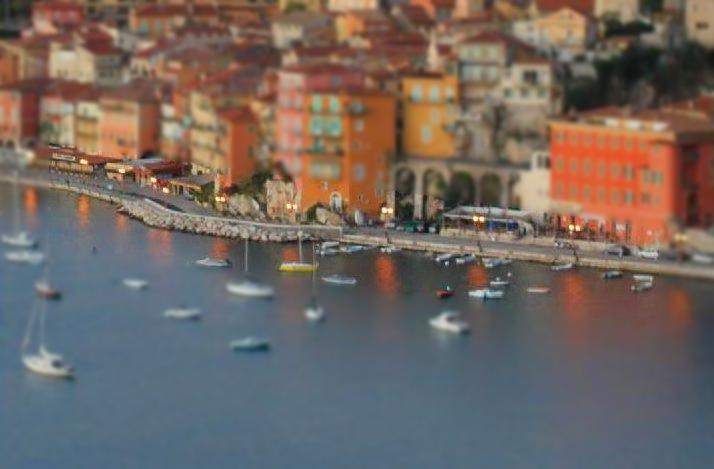
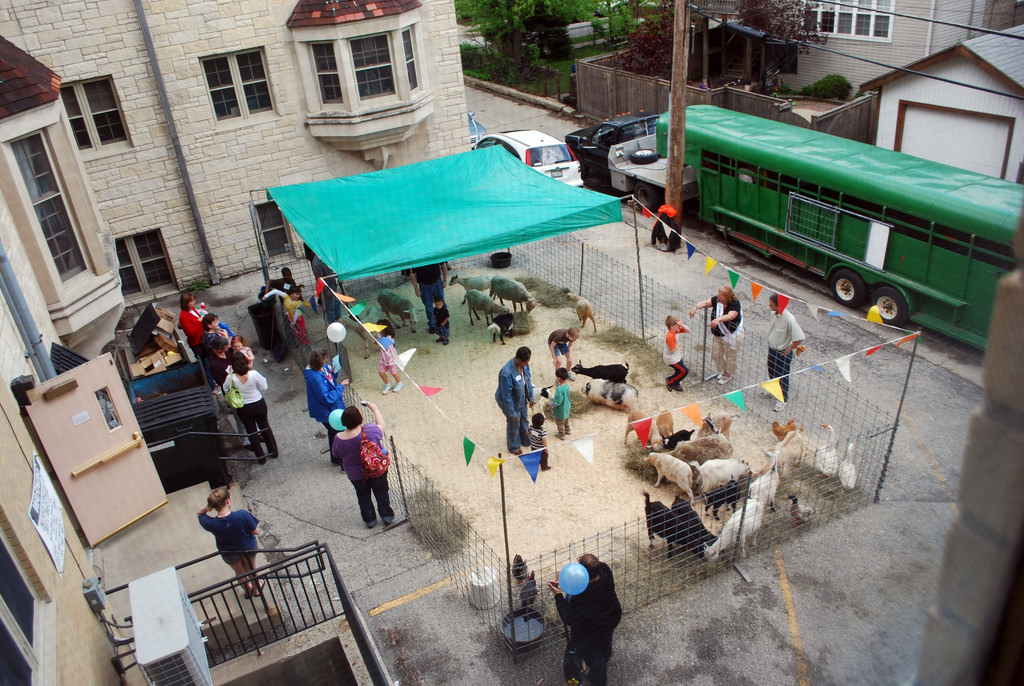
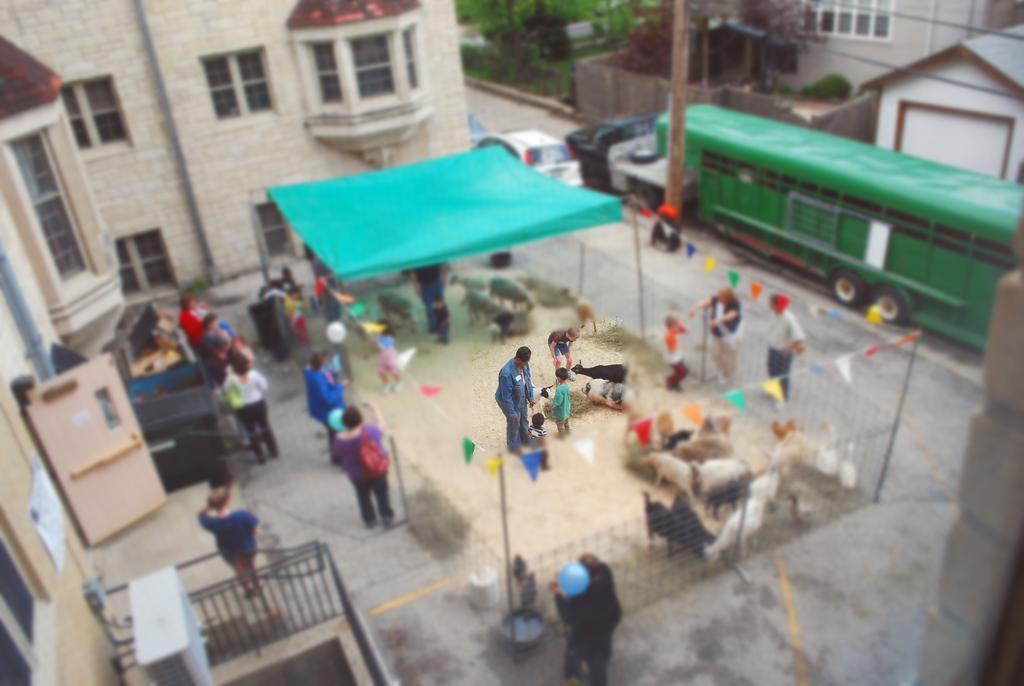
The following images were taken from the internet. The first image was taken from the project specs. The second image was found on flickr (linked here). For the first pair, the focus line is clearly the waterline, and the miniature effect is very apparent. For the second pair, the DOF region is more subtle -- the focus is on the people and animals at the center of the petting zoo.
(1) Original, (2) Miniaturized
(1) Original, (2) Miniaturized
Miniatures with Our Images
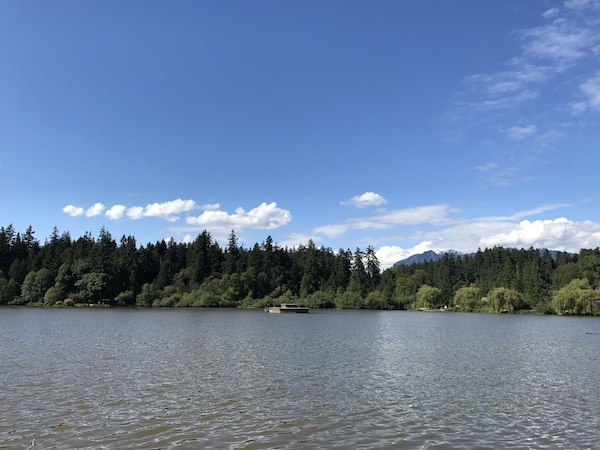
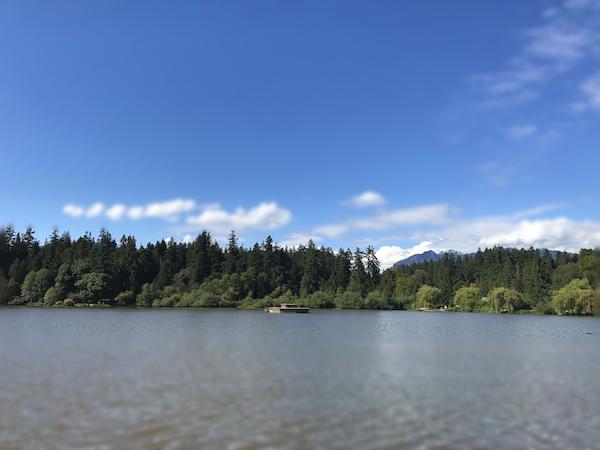
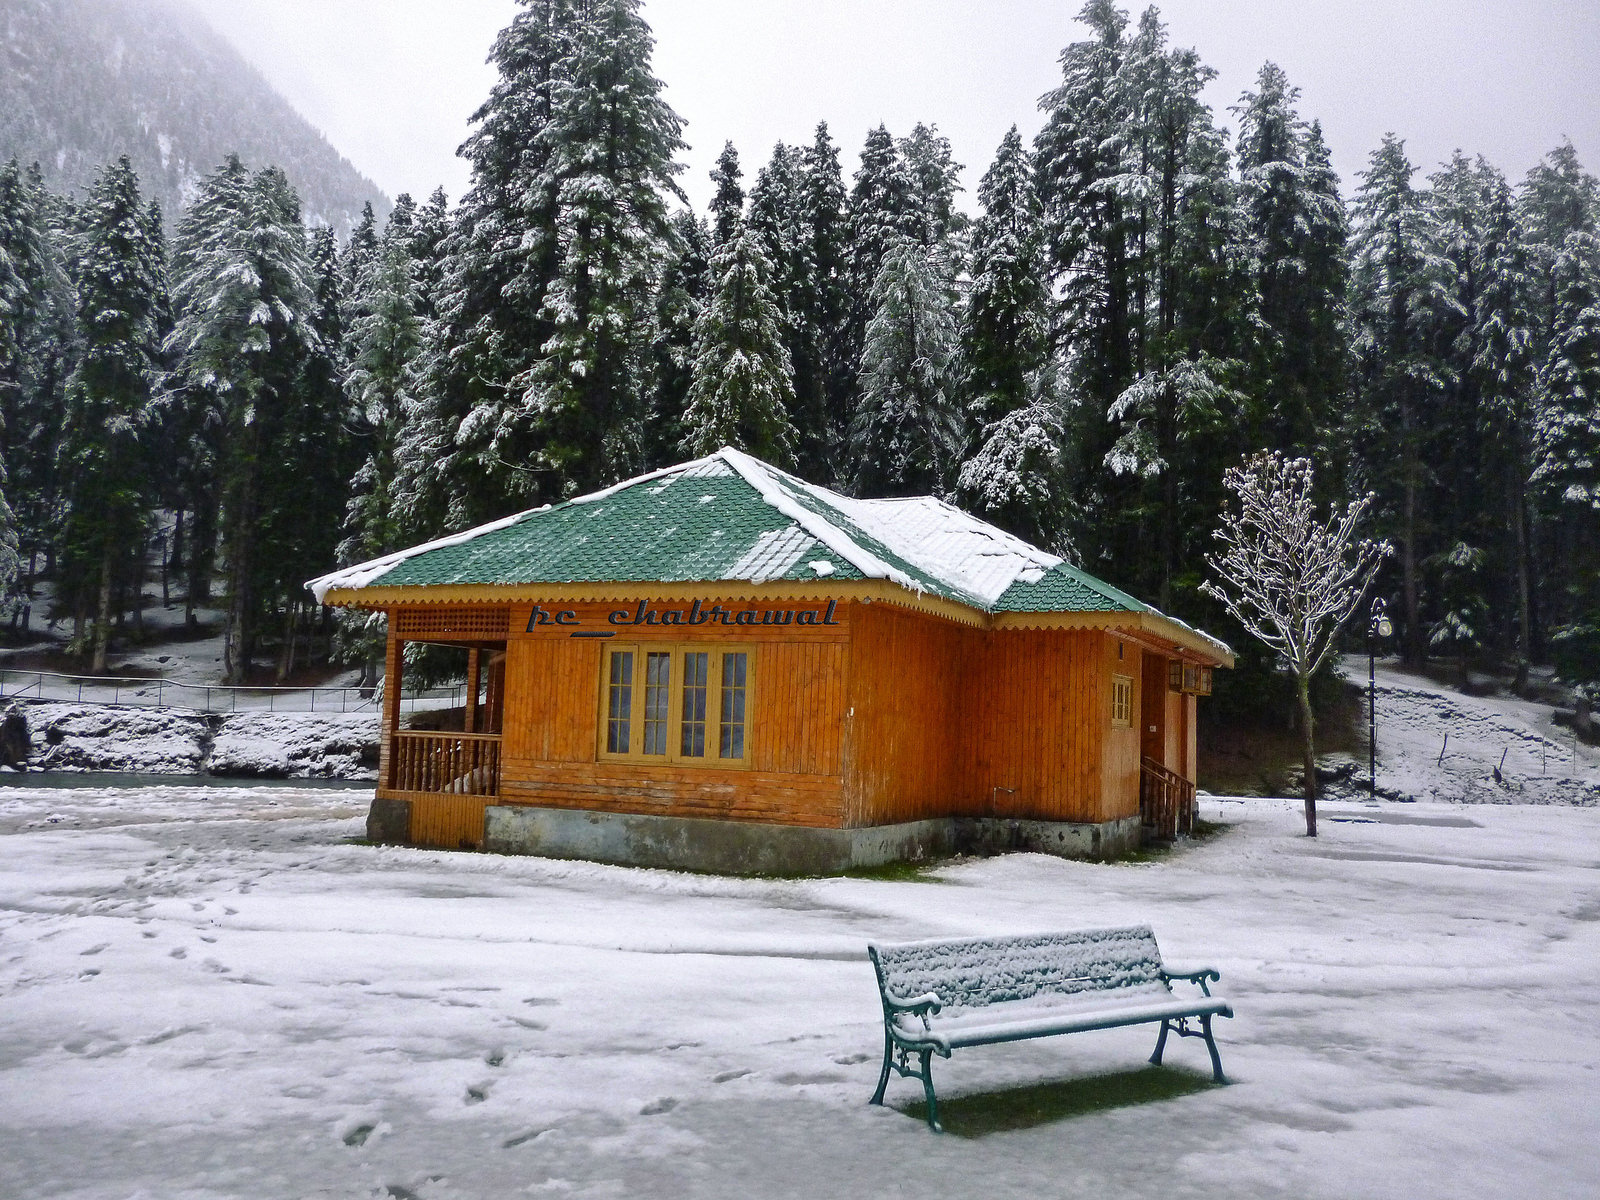
The following images were taken by me! The first pair of images were taken in Vancouver and the second pair in Washington. The Vancouver images have a very subtle miniaturized effect. The Washington images was less successful as a miniature, since there is such a busy background and the DOF region is less obviously separable.
(1) Original, (2) Miniaturized
(1) Original, (2) Miniaturized

Bells and Whistles 1: Complex DOF Regions
We generalized the simple rectangular/parallelogram mask that we used in the previous section to a polygram mask. In the example below, the mask used blocked out the cabin area. The image was found on flickr (linked here).
(1) Original, (2) Miniaturized

Bells and Whistles 2: Stop Motion Animation
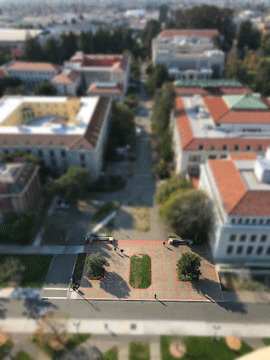
The following gif is a fake stop motion animation created by applying the miniaturizing effect from above to ~60 images taken sequentially. The images used for this was taken (by me!) from the top of the Campanile overlooking the campus.
What We Learned...
This project was fun because it was another chance to see how a common post-processing effect is achieved. It is also cool because it's such a simple technique to create a cool effect!