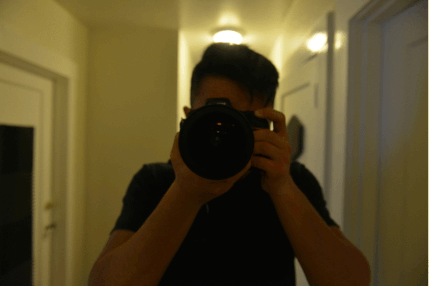
Here we show two examples of the standard vertigo effect achieved by simply moving away from the subject while zooming in on it. We string it into a gif for easier viewing.
In this assignment, we attempt to duplicate the famous "dolly zoom" or "vertigo shot". To achieve this effect, we use a Nikon D800 with a 24-70mm f2.8 lens. Then we select a subject and vary the field of view while changing the distance to the subject. Our sequences consist of 10-20 frames.
Here we show two examples of the standard vertigo effect achieved by simply moving away from the subject while zooming in on it. We string it into a gif for easier viewing.
In the first gif, the subject moves towards me as I move backwards. In every step I take the subject will take half a step. Perhaps the subject moved a little too much, as the resulting effect looks more like zoom rather than vertigo.
In the second gif, the subject moves away from me as I move backwards. In every step I take the subject will take half a step. The result is a nicer vertigo effect.
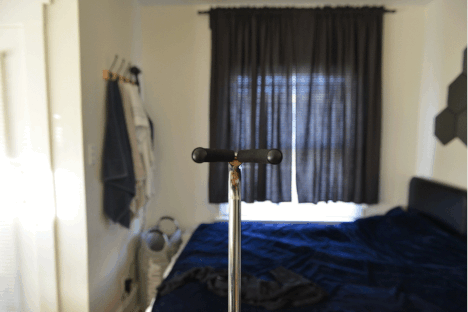
In the third gif, we explore the effect of using a mirror to make myself both the camera and the subject. Thus every step I take backwards, the subject also moves away from me by the same distance. The vertigo effect is much more pronounced in the beginning and trails off near the end.
Now we compute the field of view at minimum distance and maximum distance from our subject. Given these equations:
angle_of_view = 2*arctan(sensor_width / 2*(focal_length)) * 180 / pi
field_of_view = 2* tan(angle_of_view/2) * distance
We can plug in our measurements. sensor_width = 36mm, min_focal_length = 24mm, max_focal_length = 70mm, min_distance = 1ft, max_distance=8ft.angle_min = 2 * arctan(36 / 2 * 24) * 180 / pi = 73.4
angle_max = 2 * arctan(36 / 2 * 70) * 180 / pi = 28.8
fov_min = 2 * tan(angle_min/2) * 304.8 = 457 mm
fov_max = 2 * tan(angle_max/2) * 2438.4 = 1.25 m
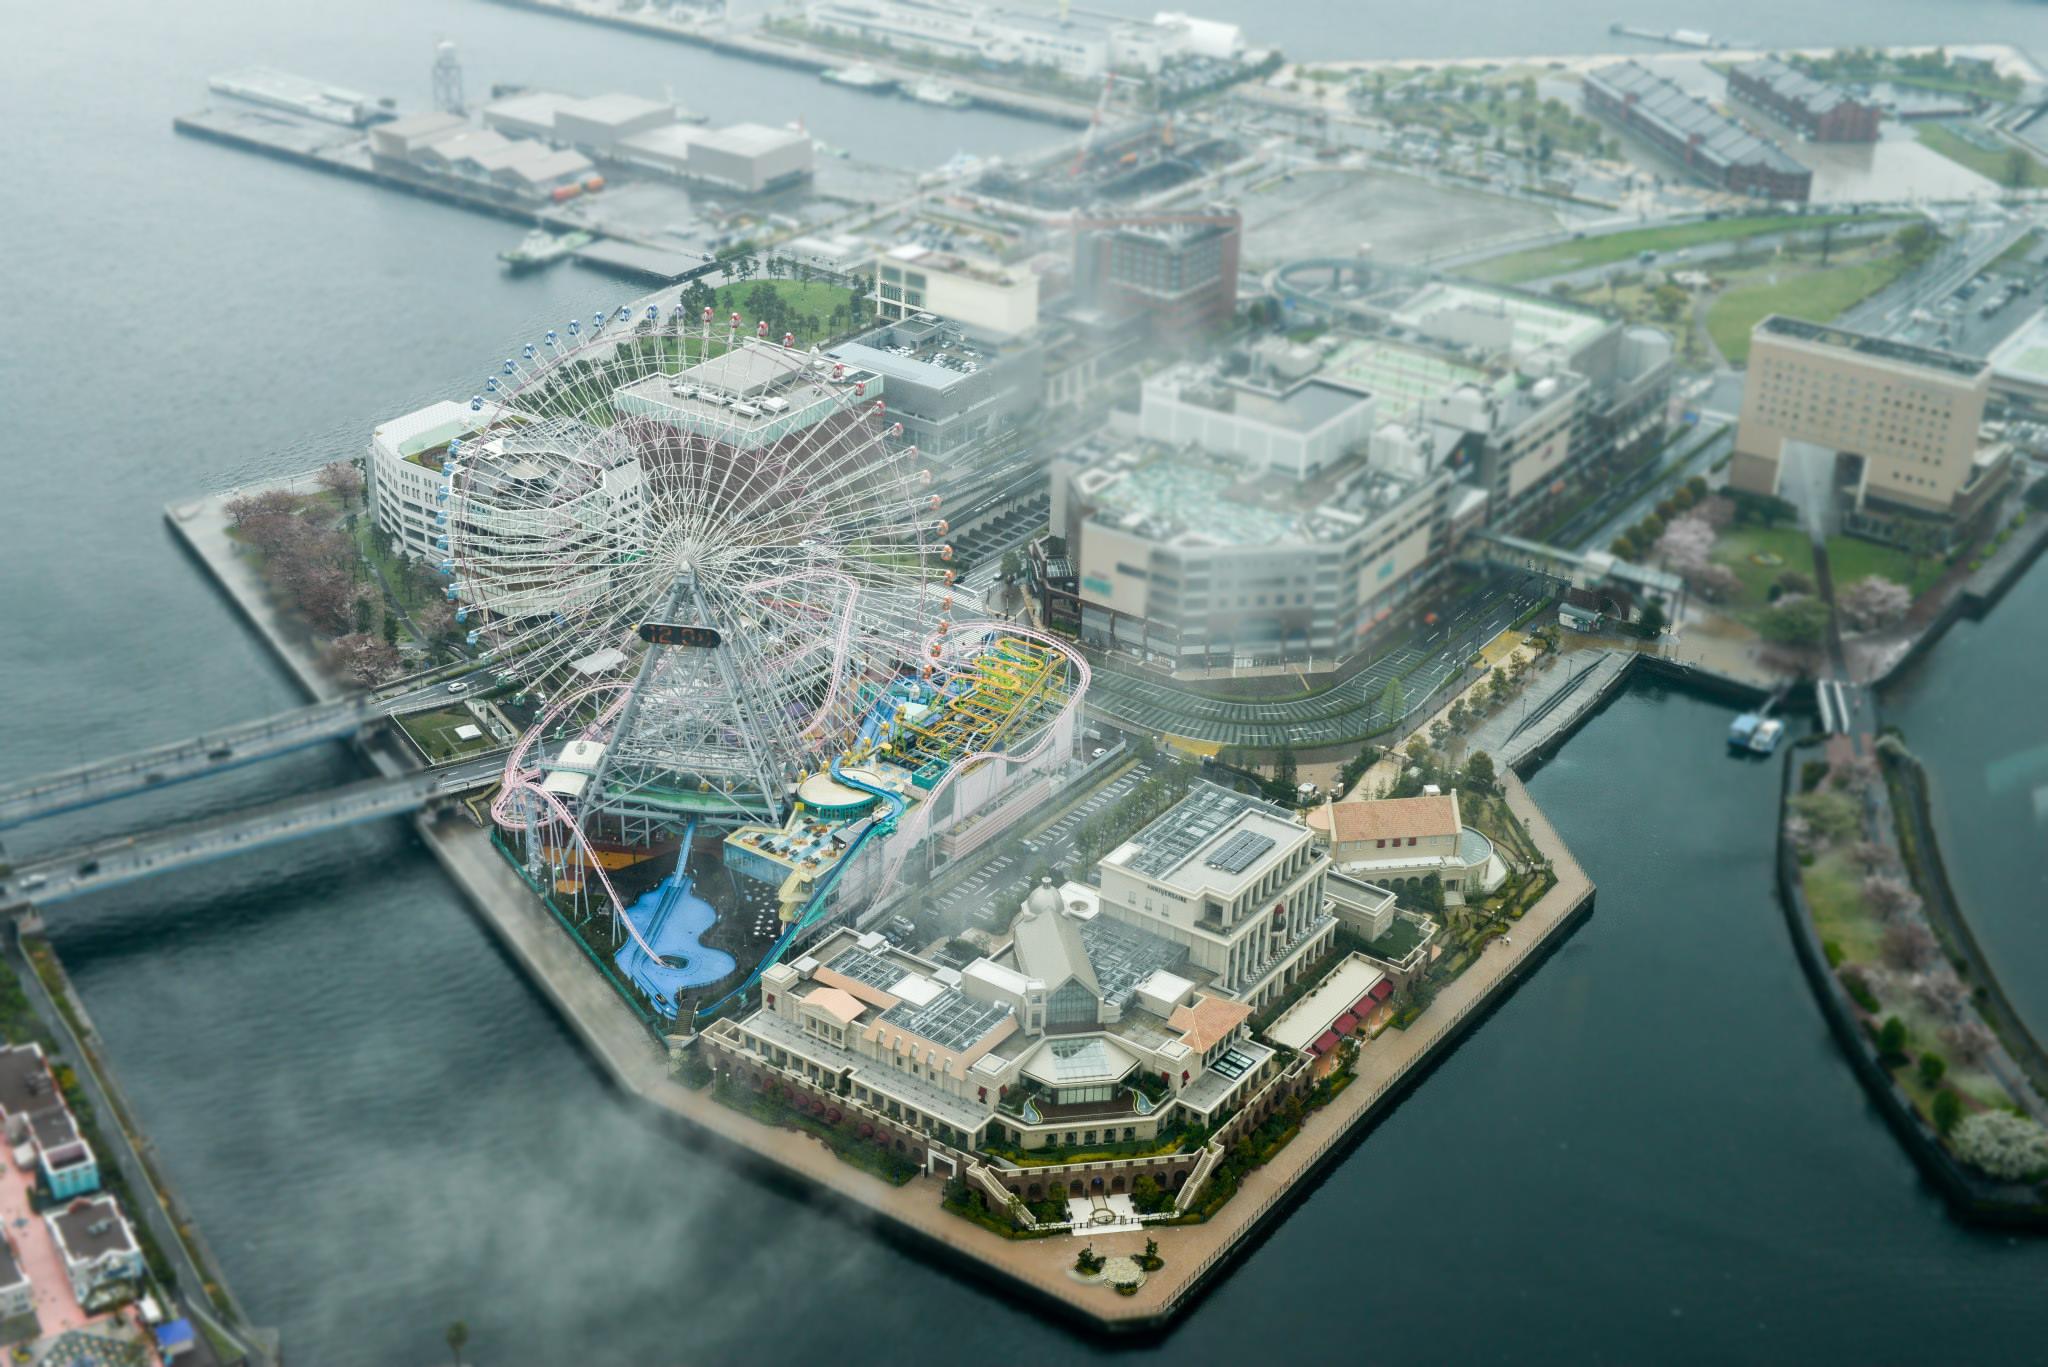
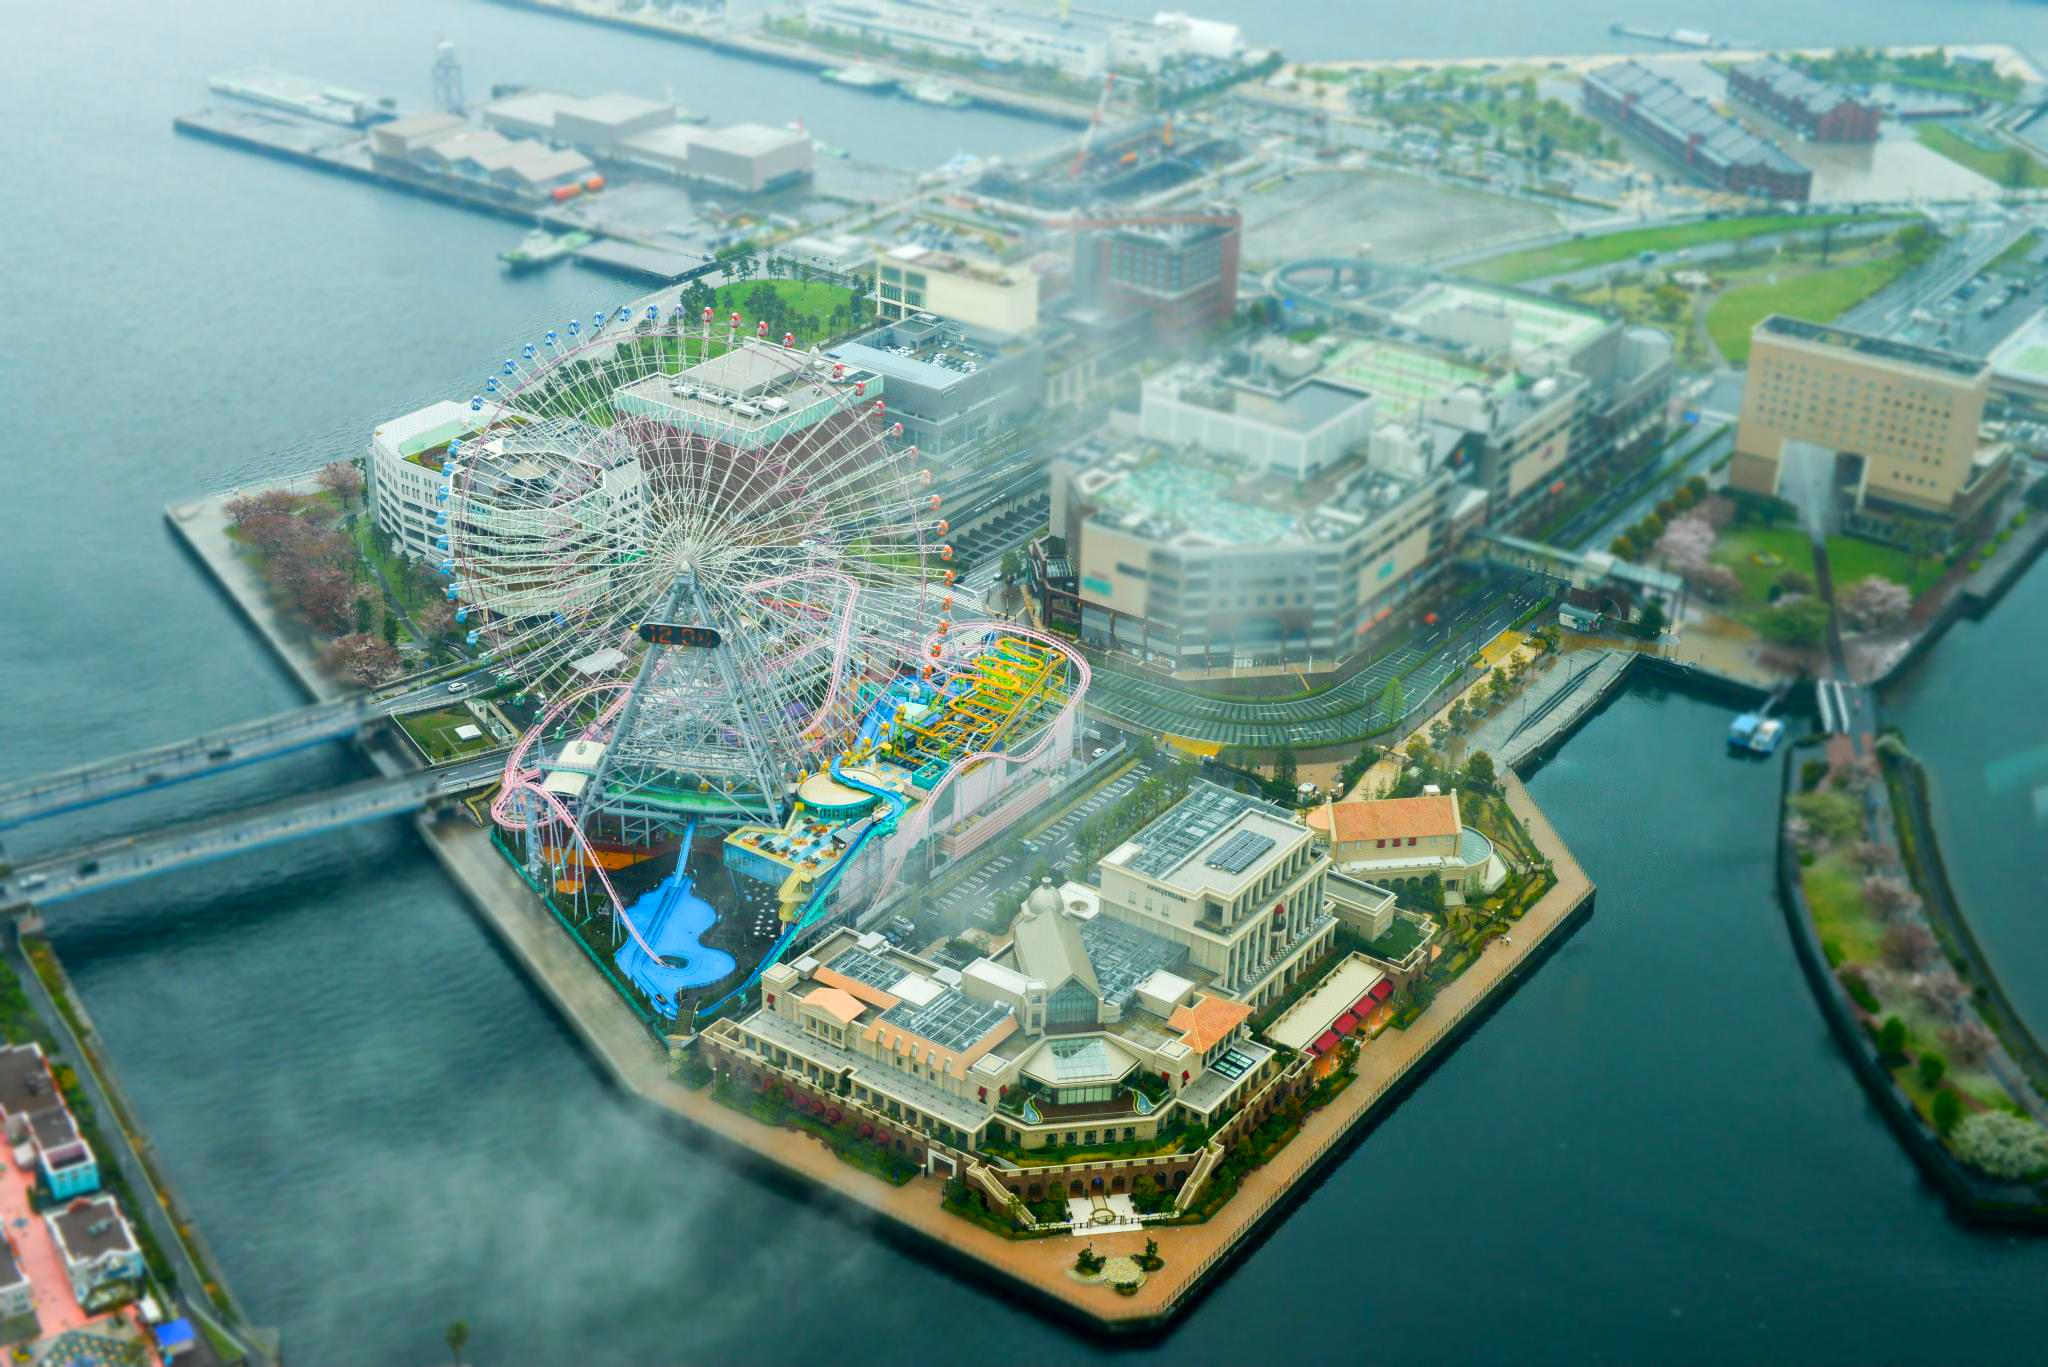
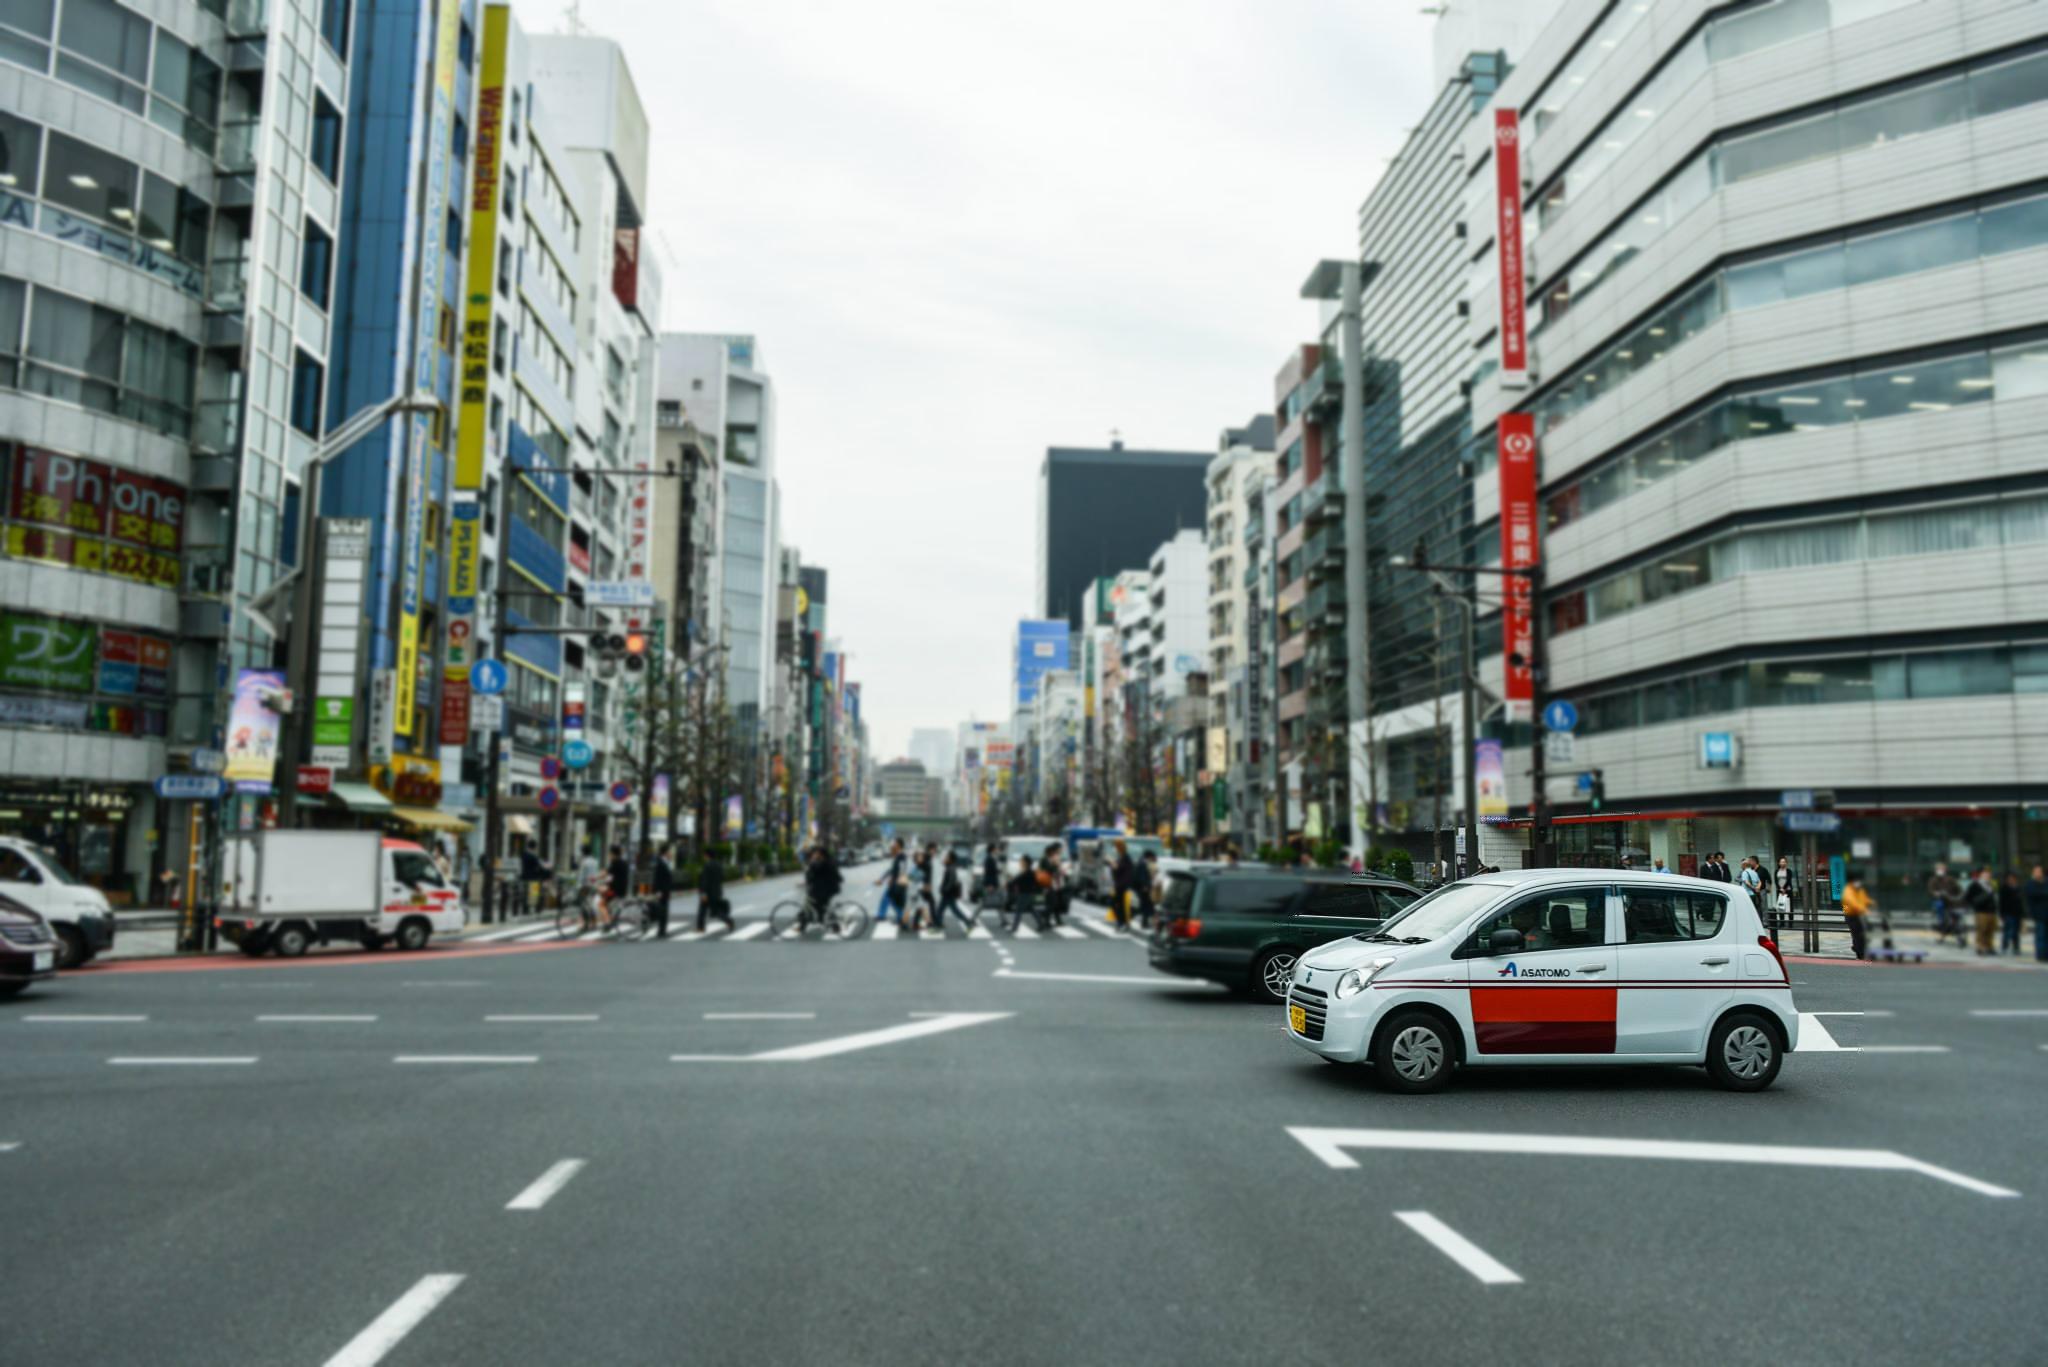
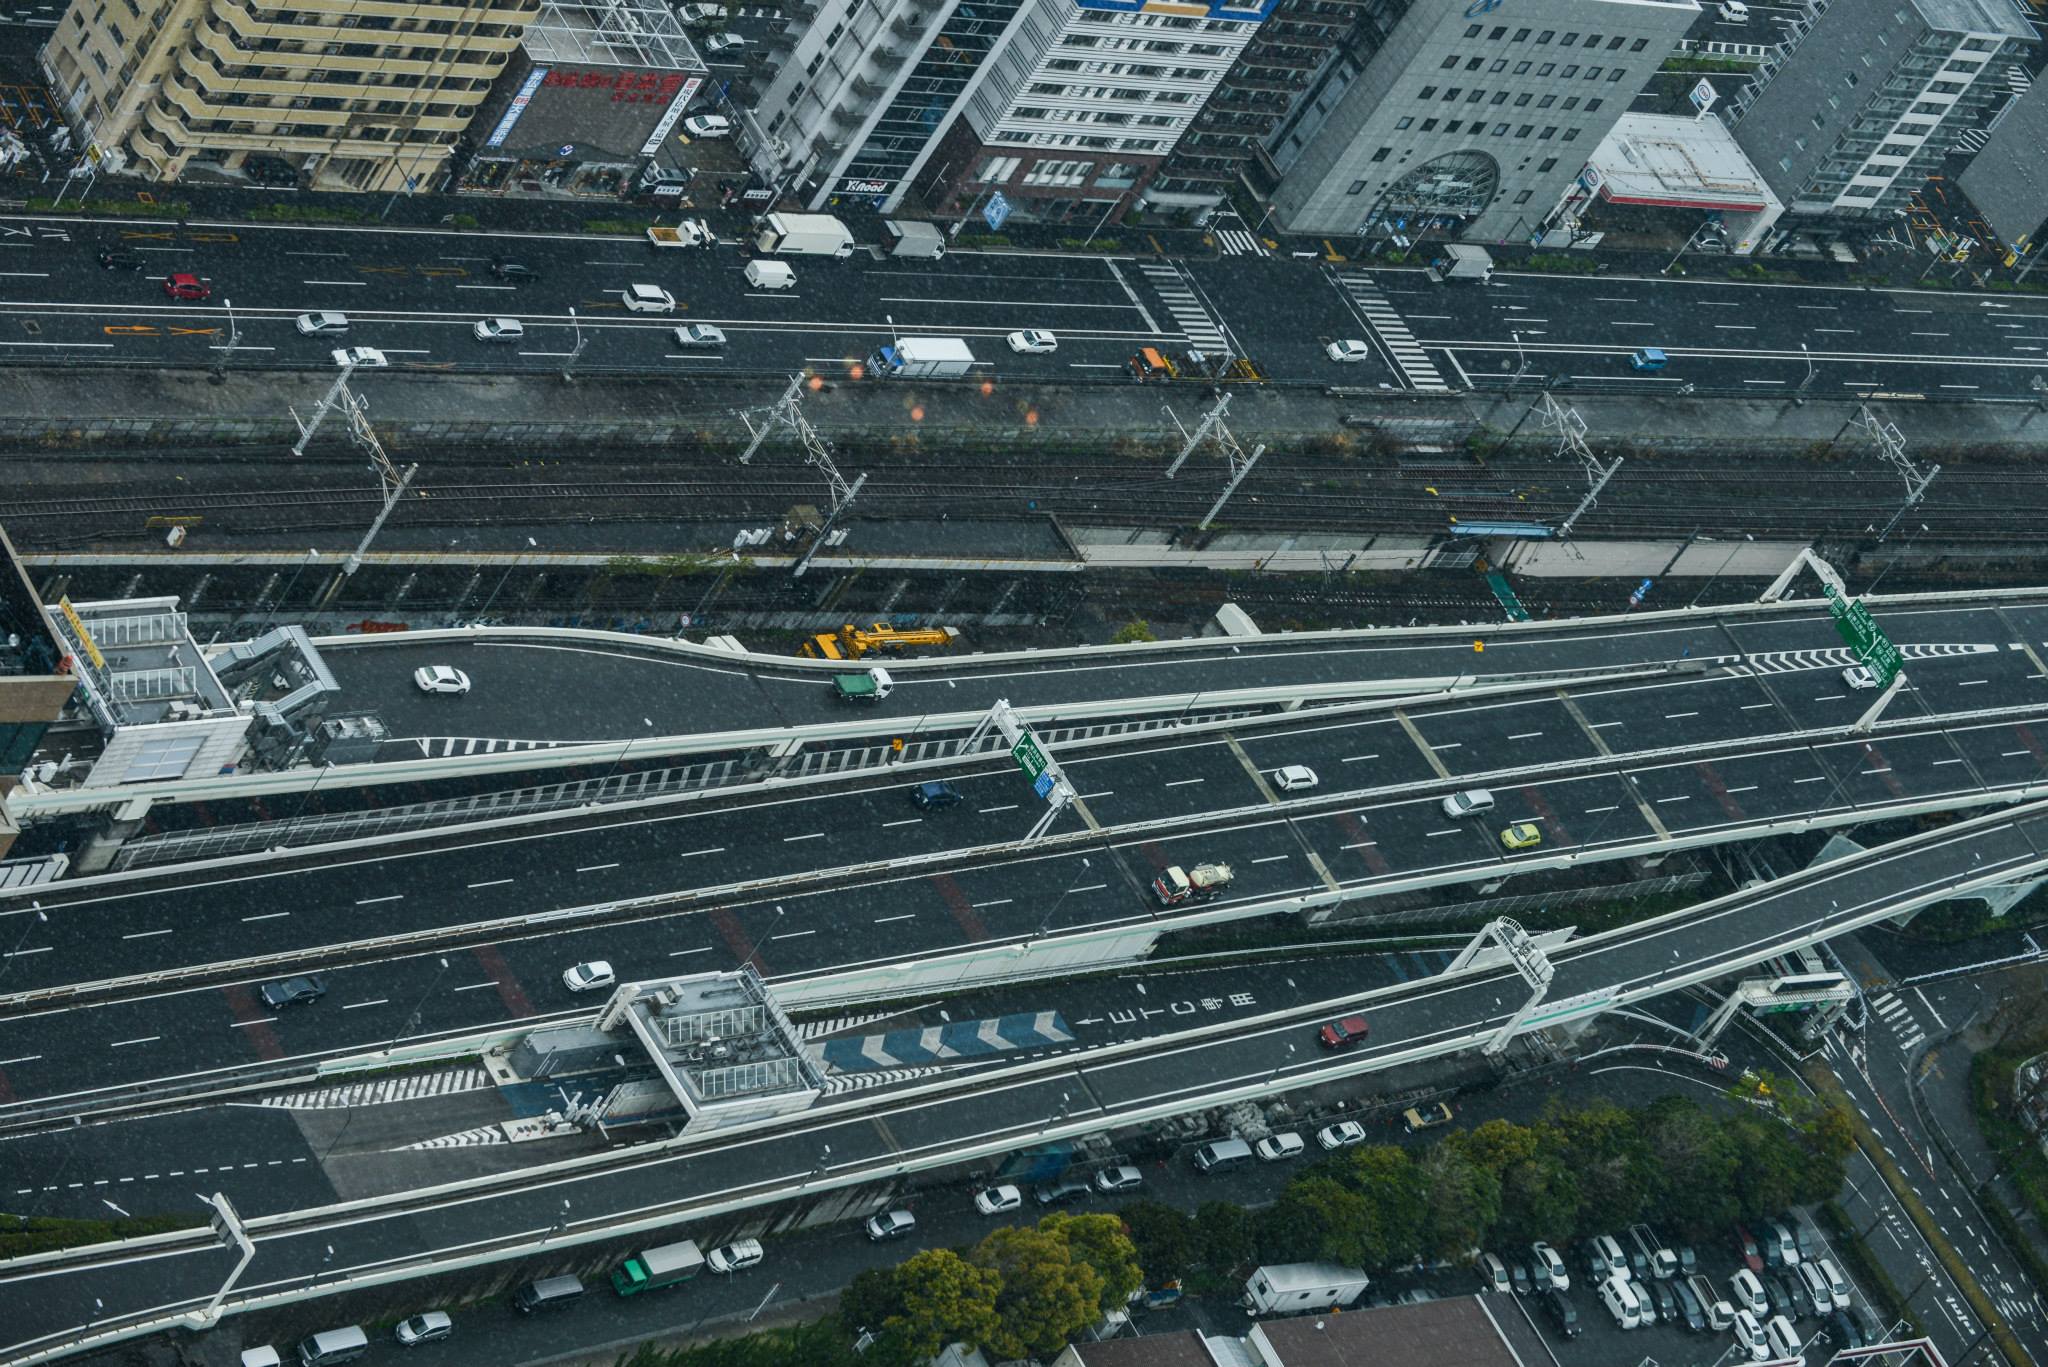
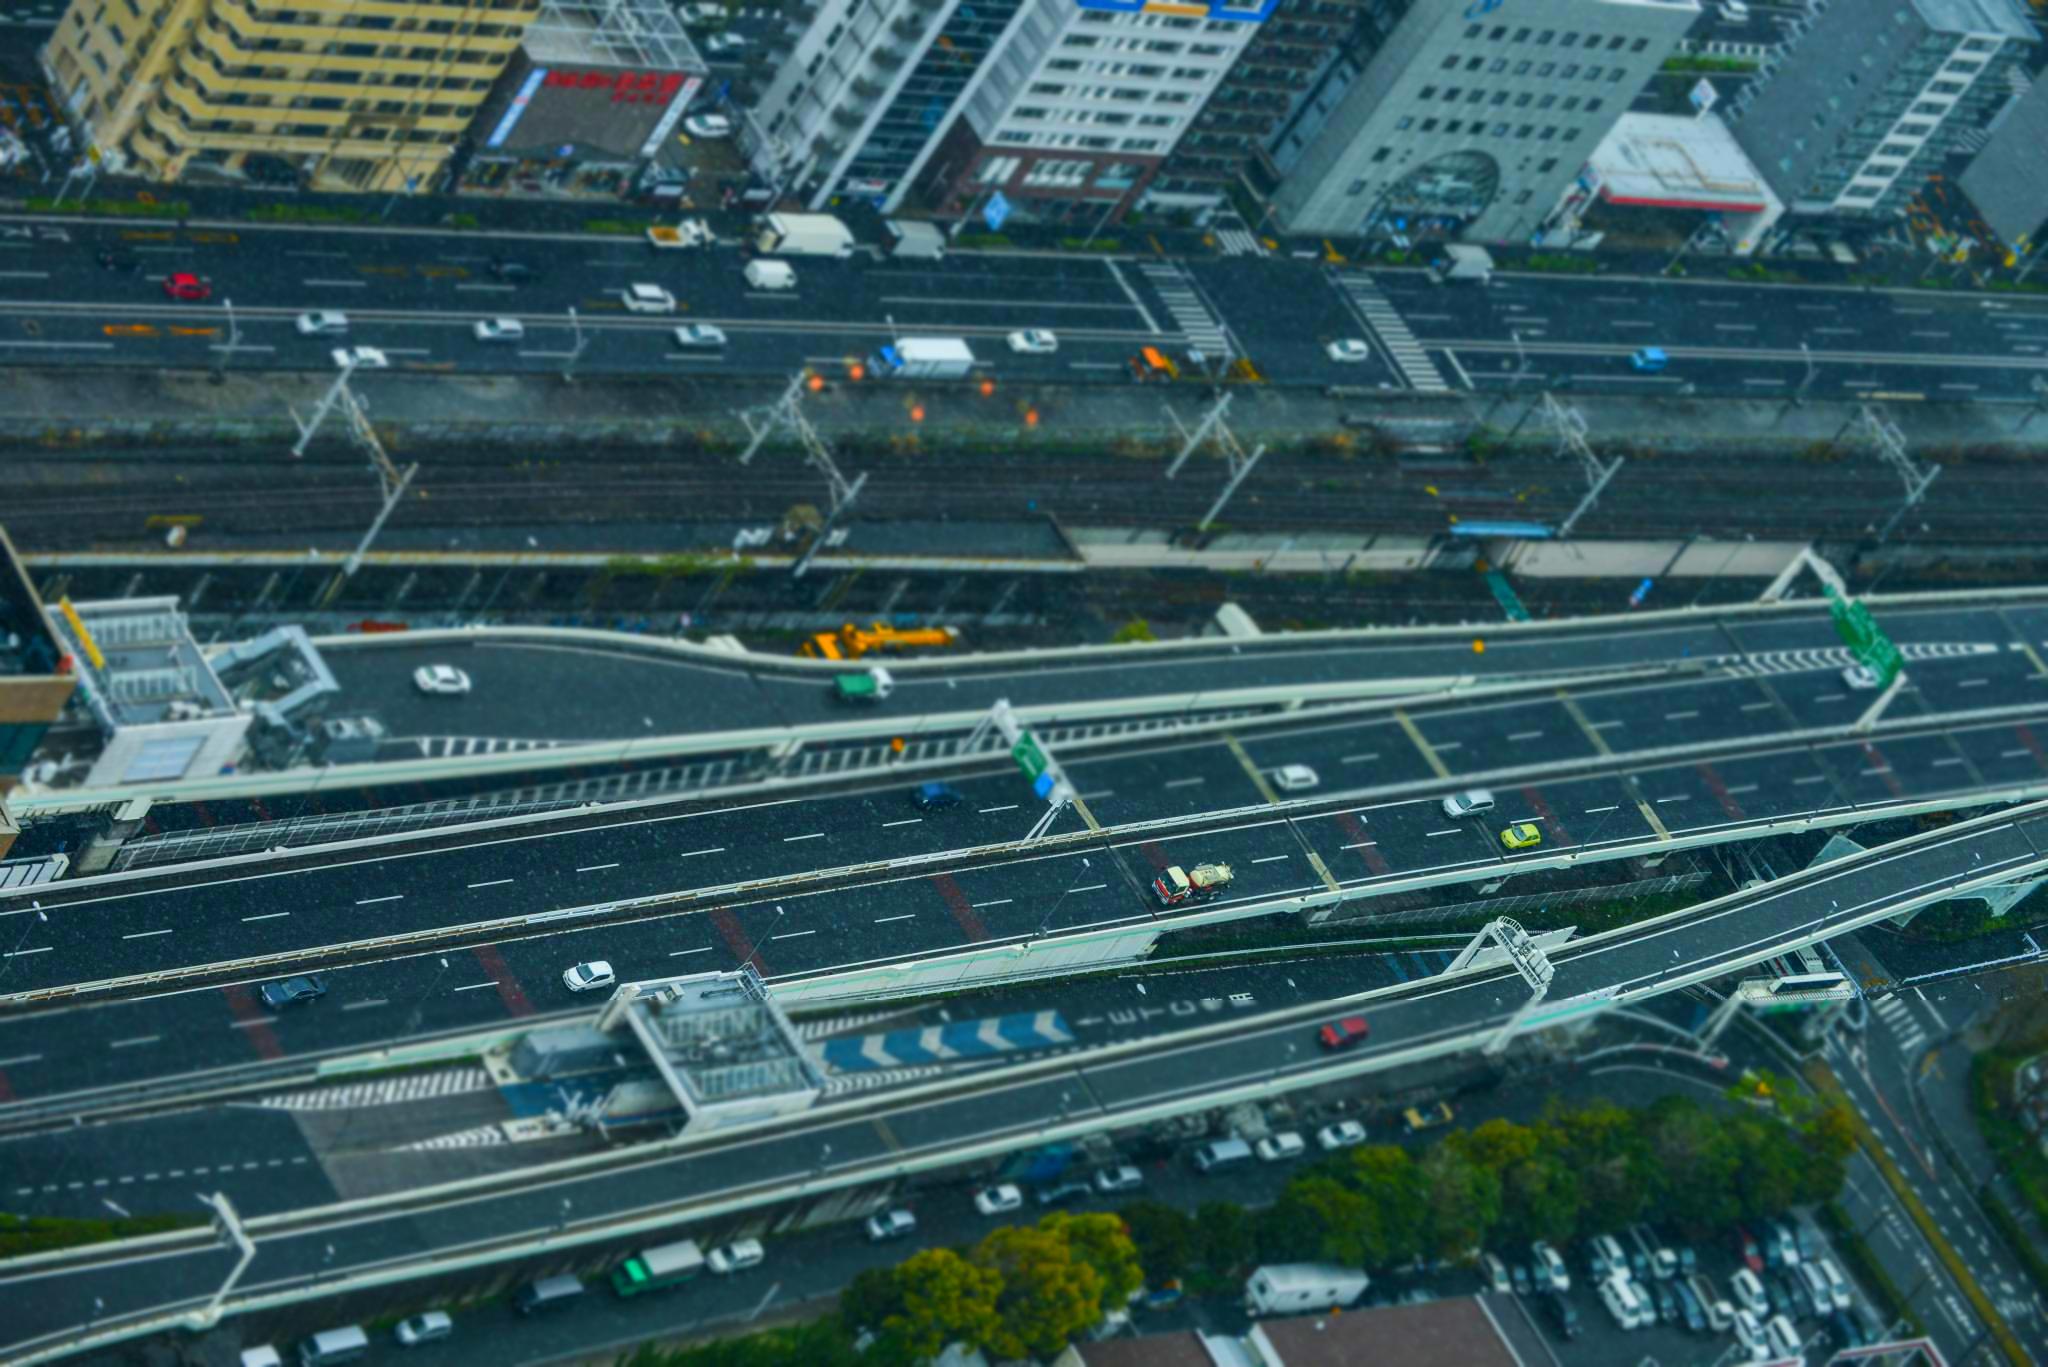
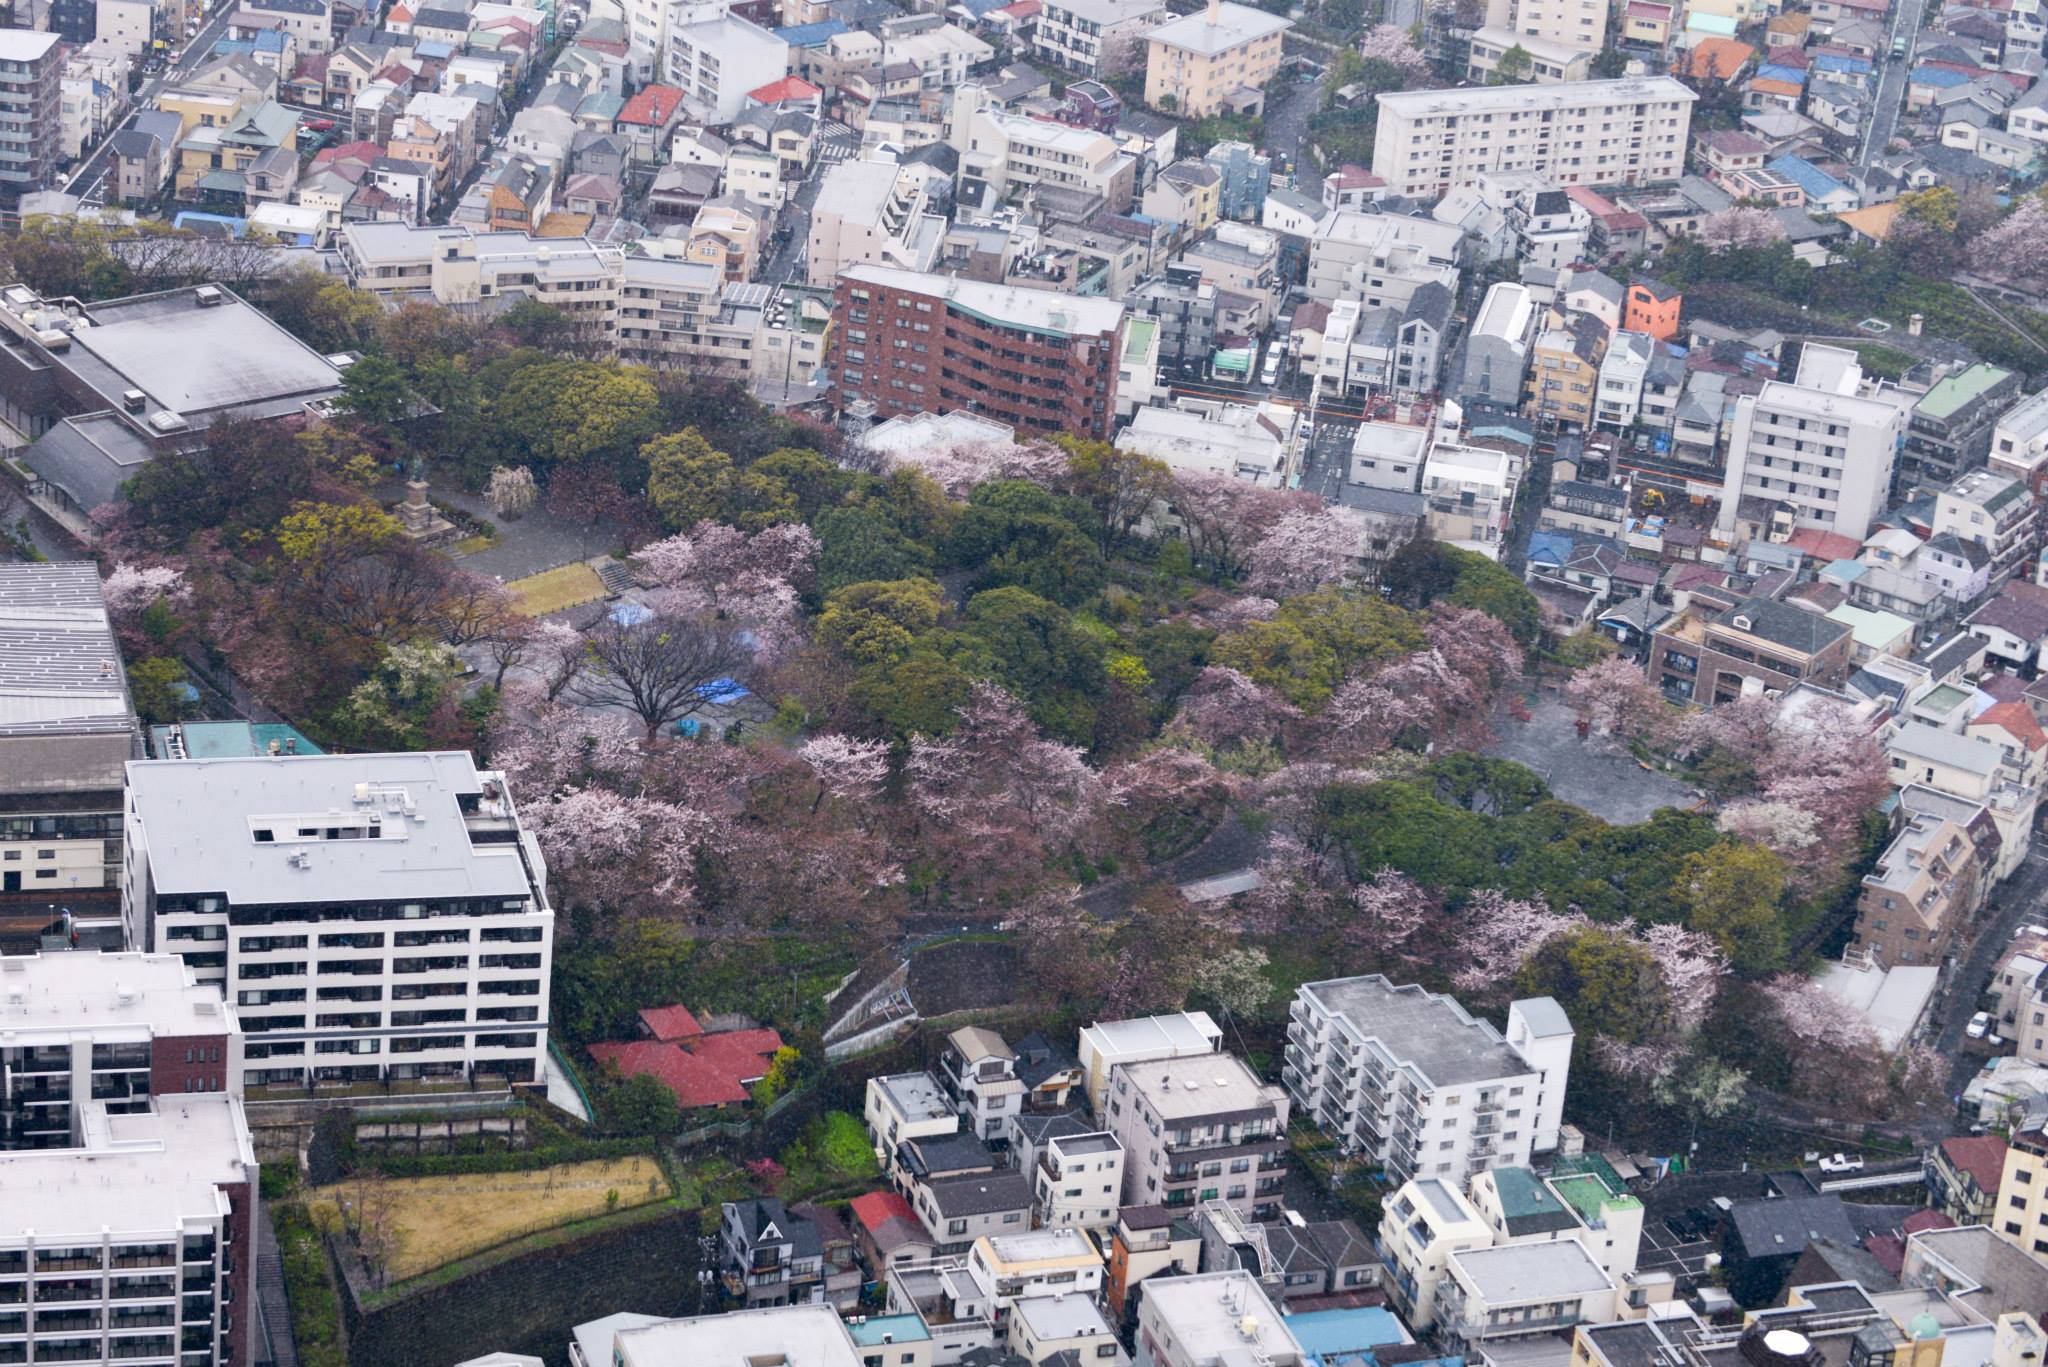
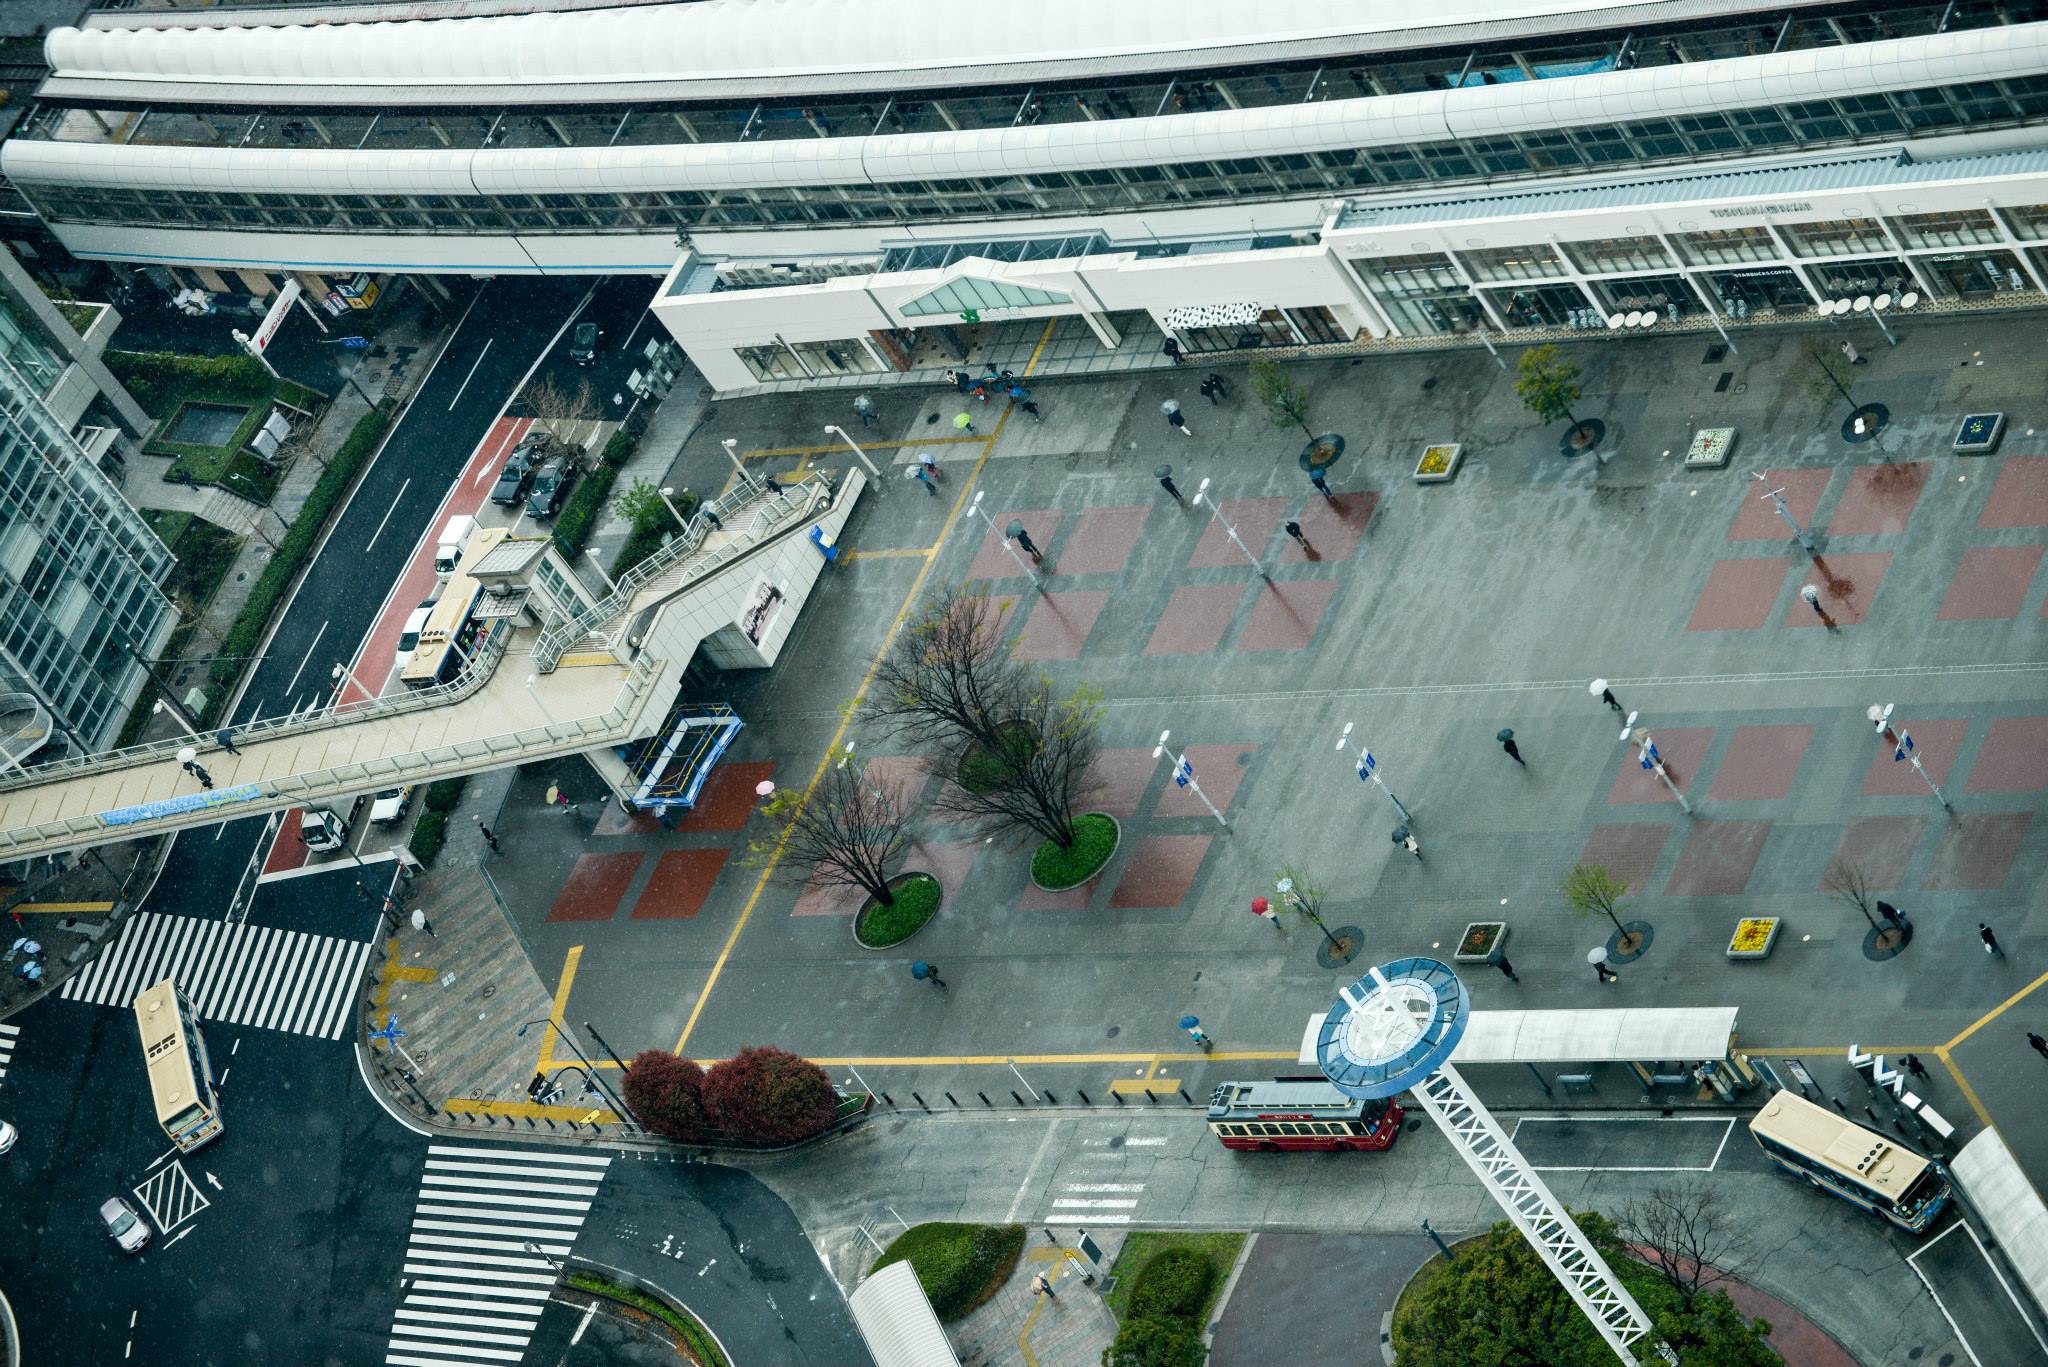
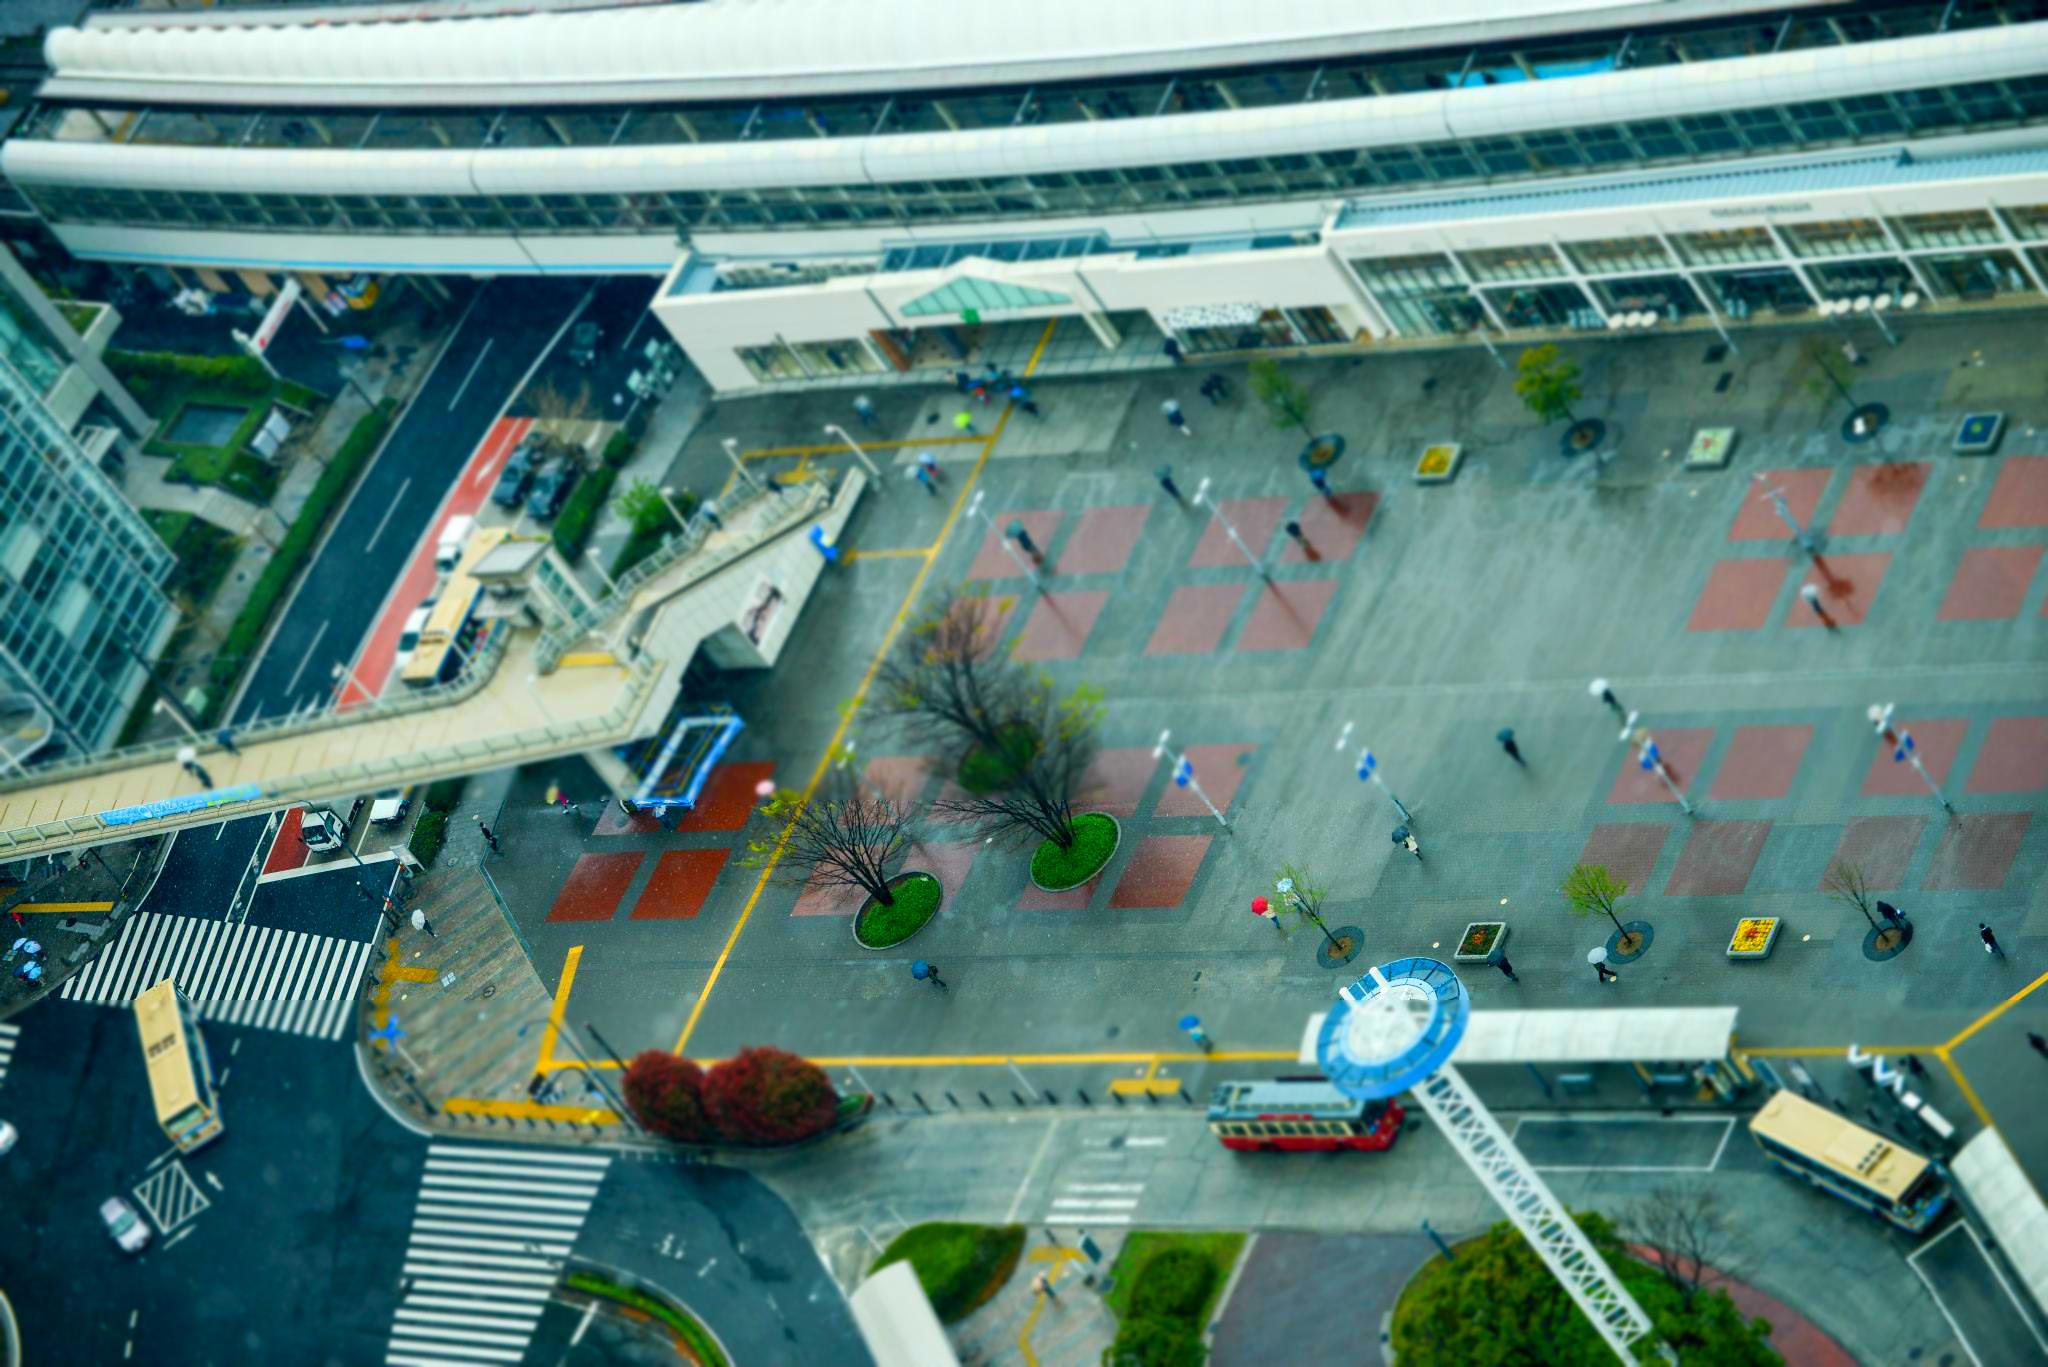
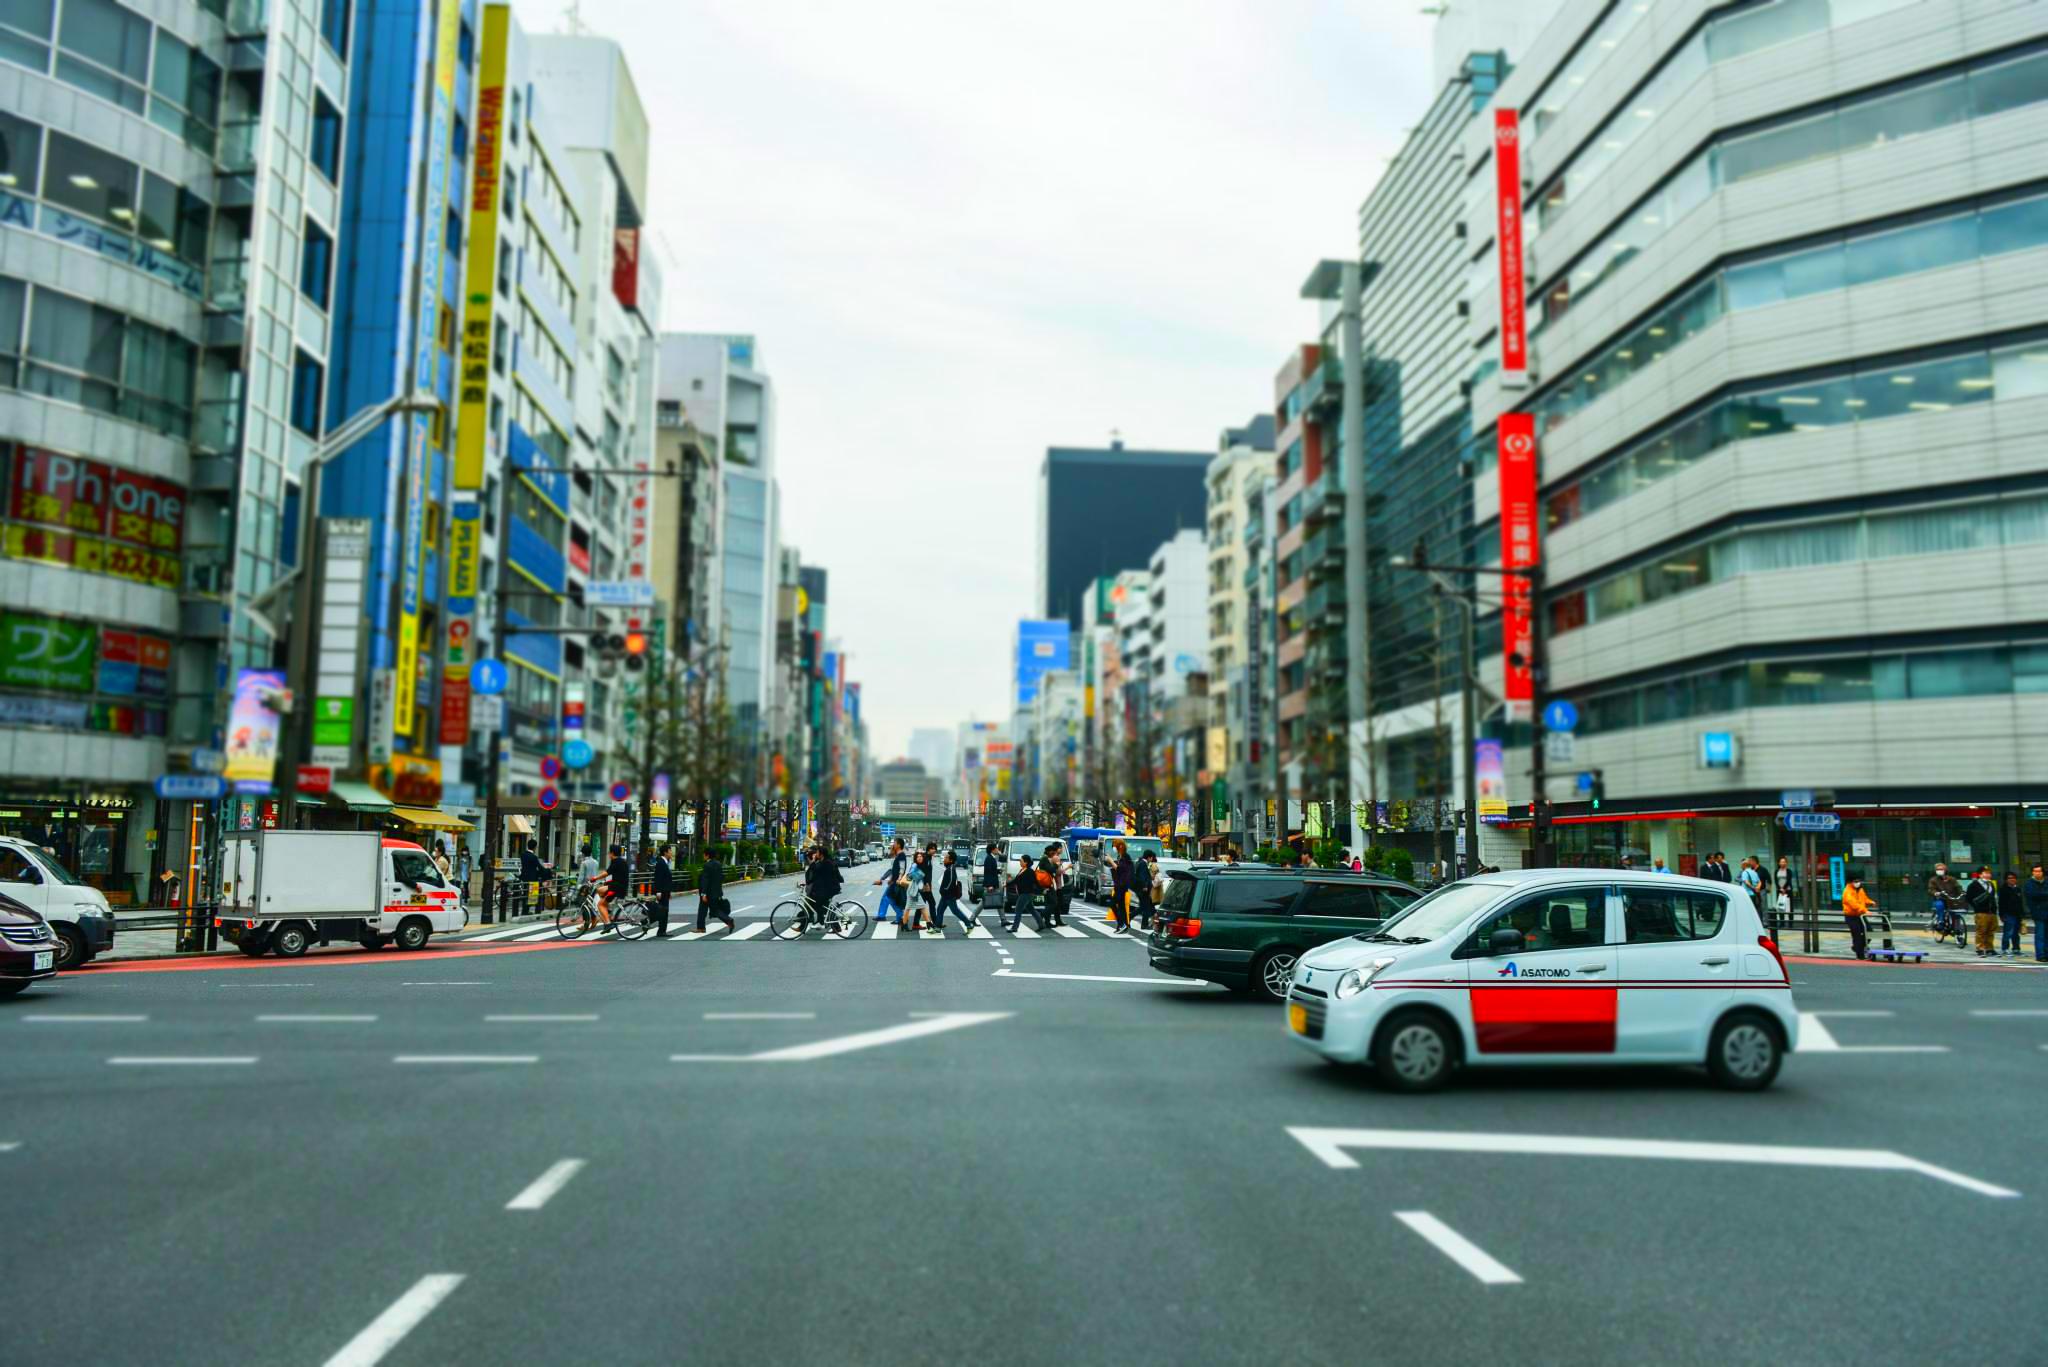
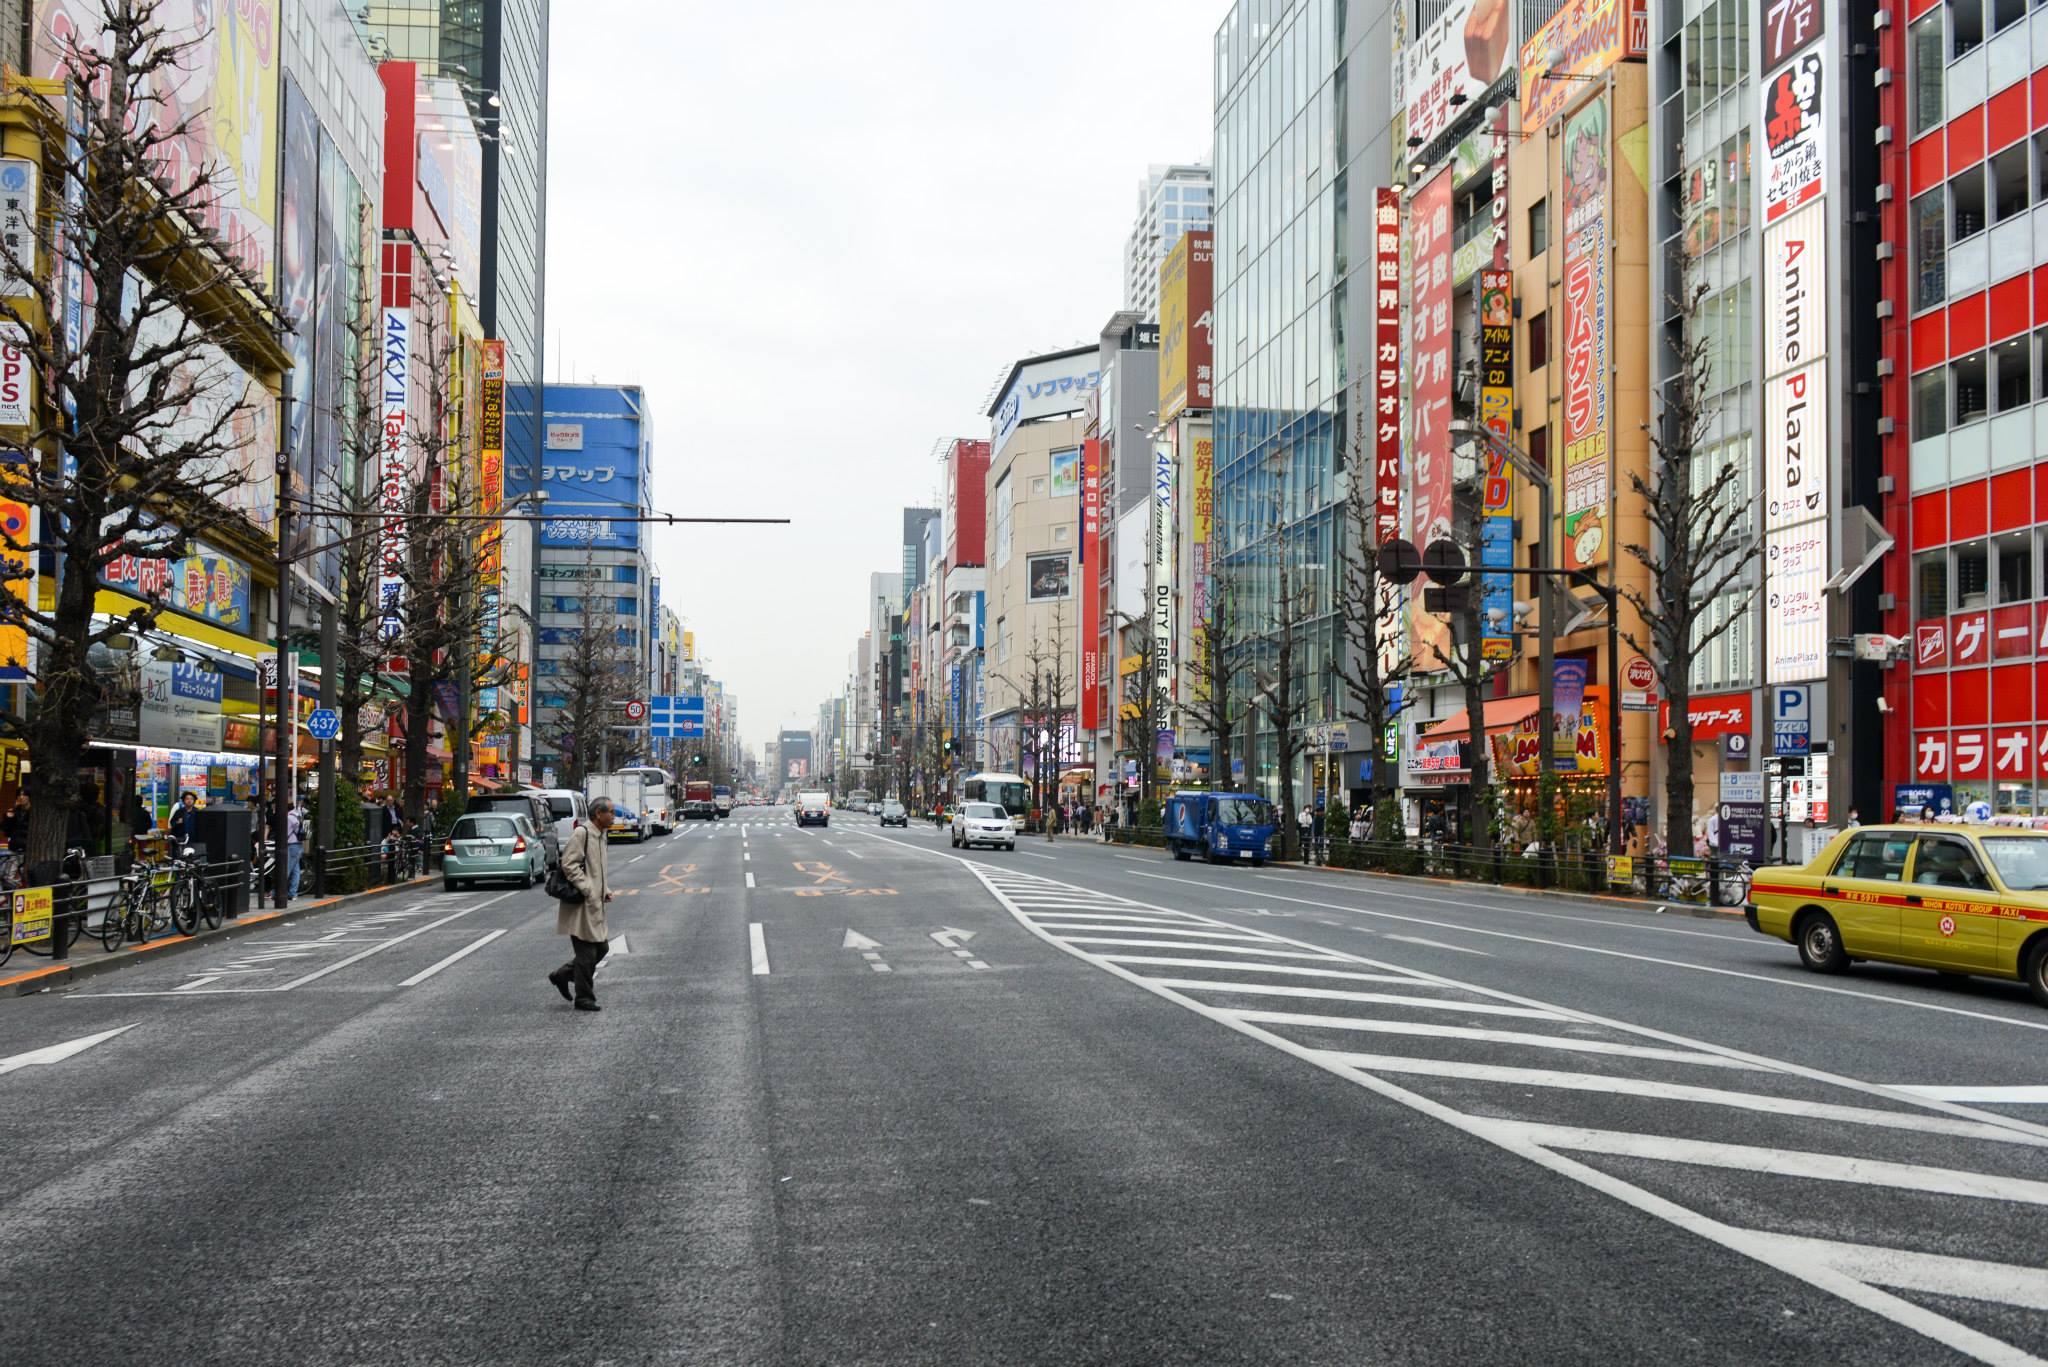
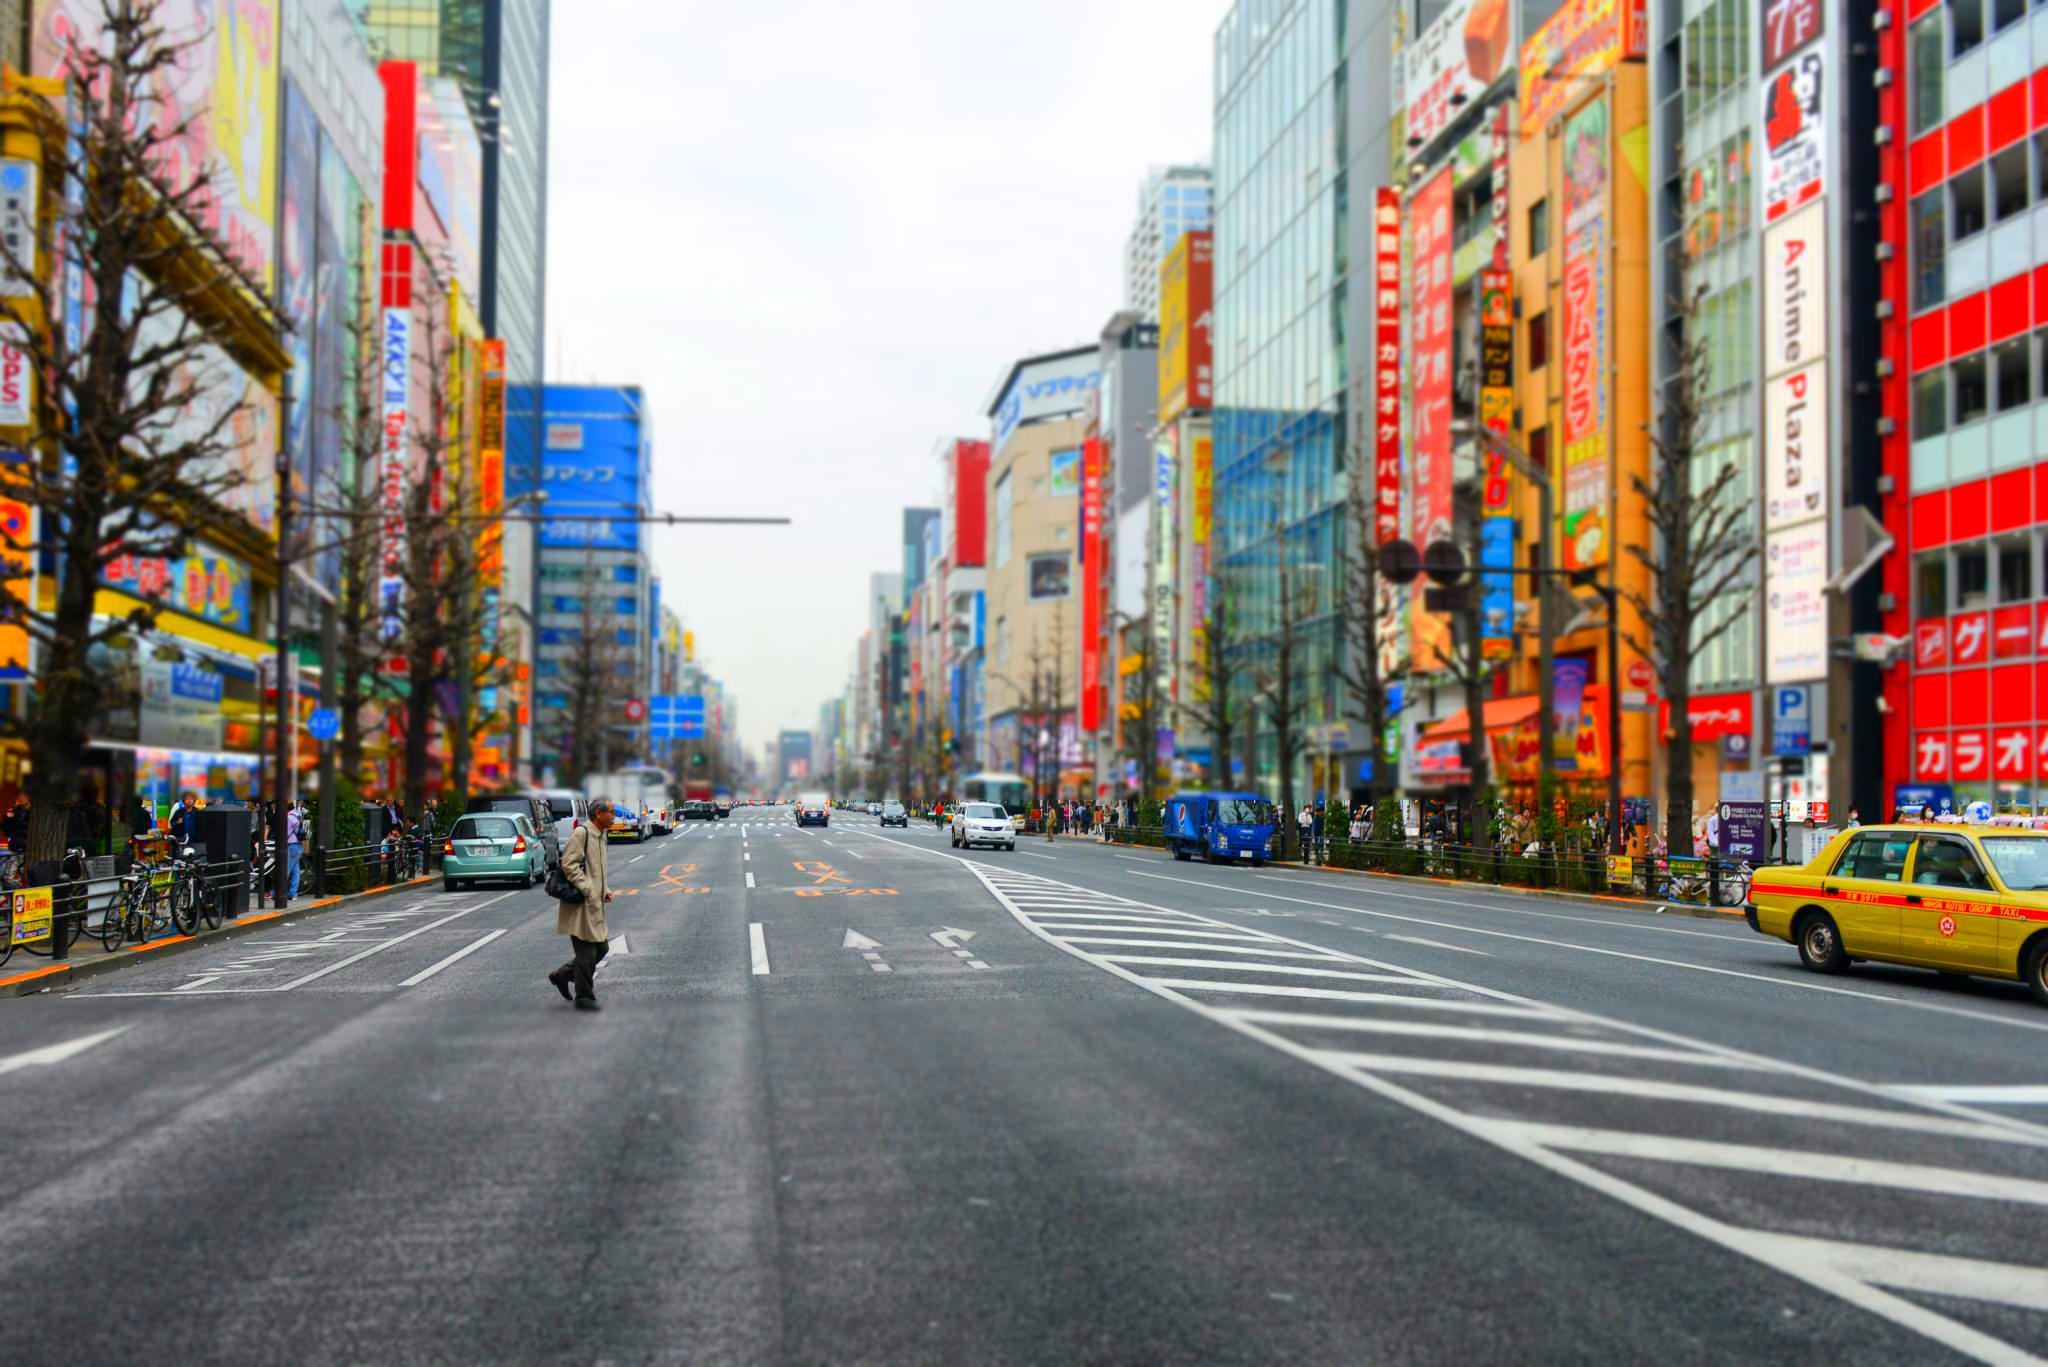
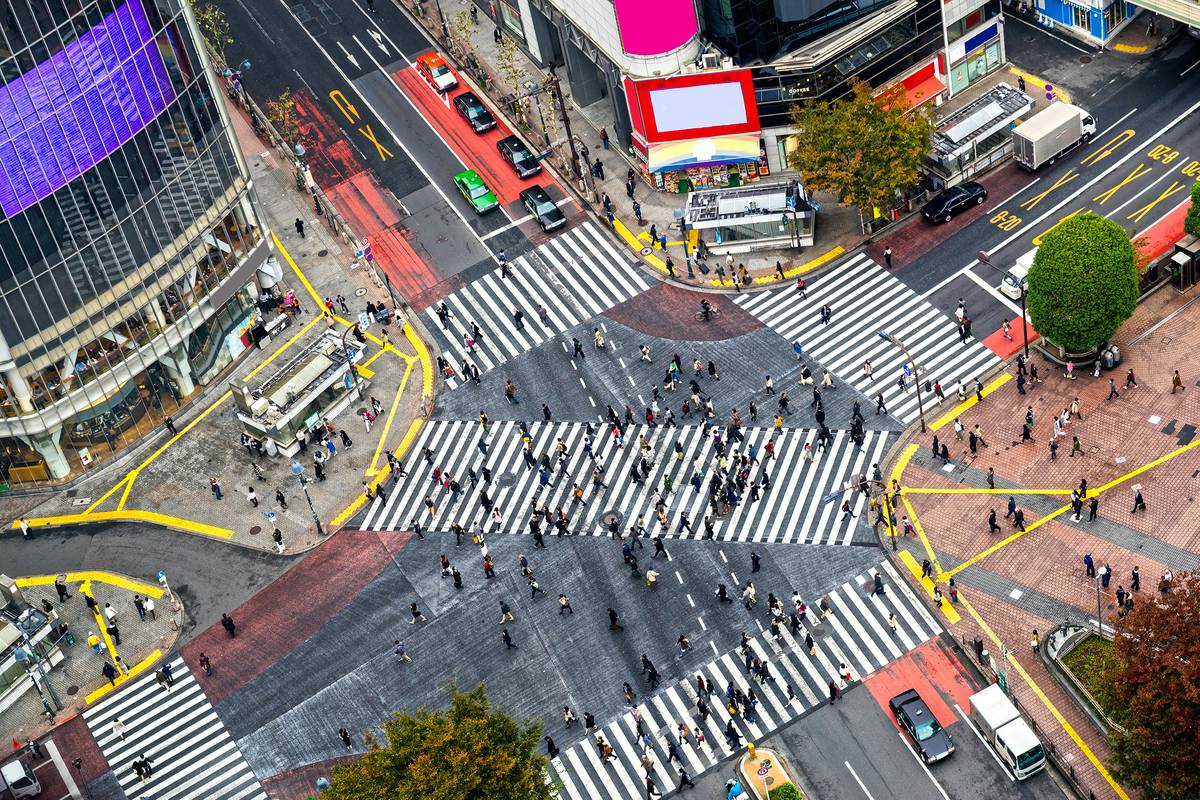
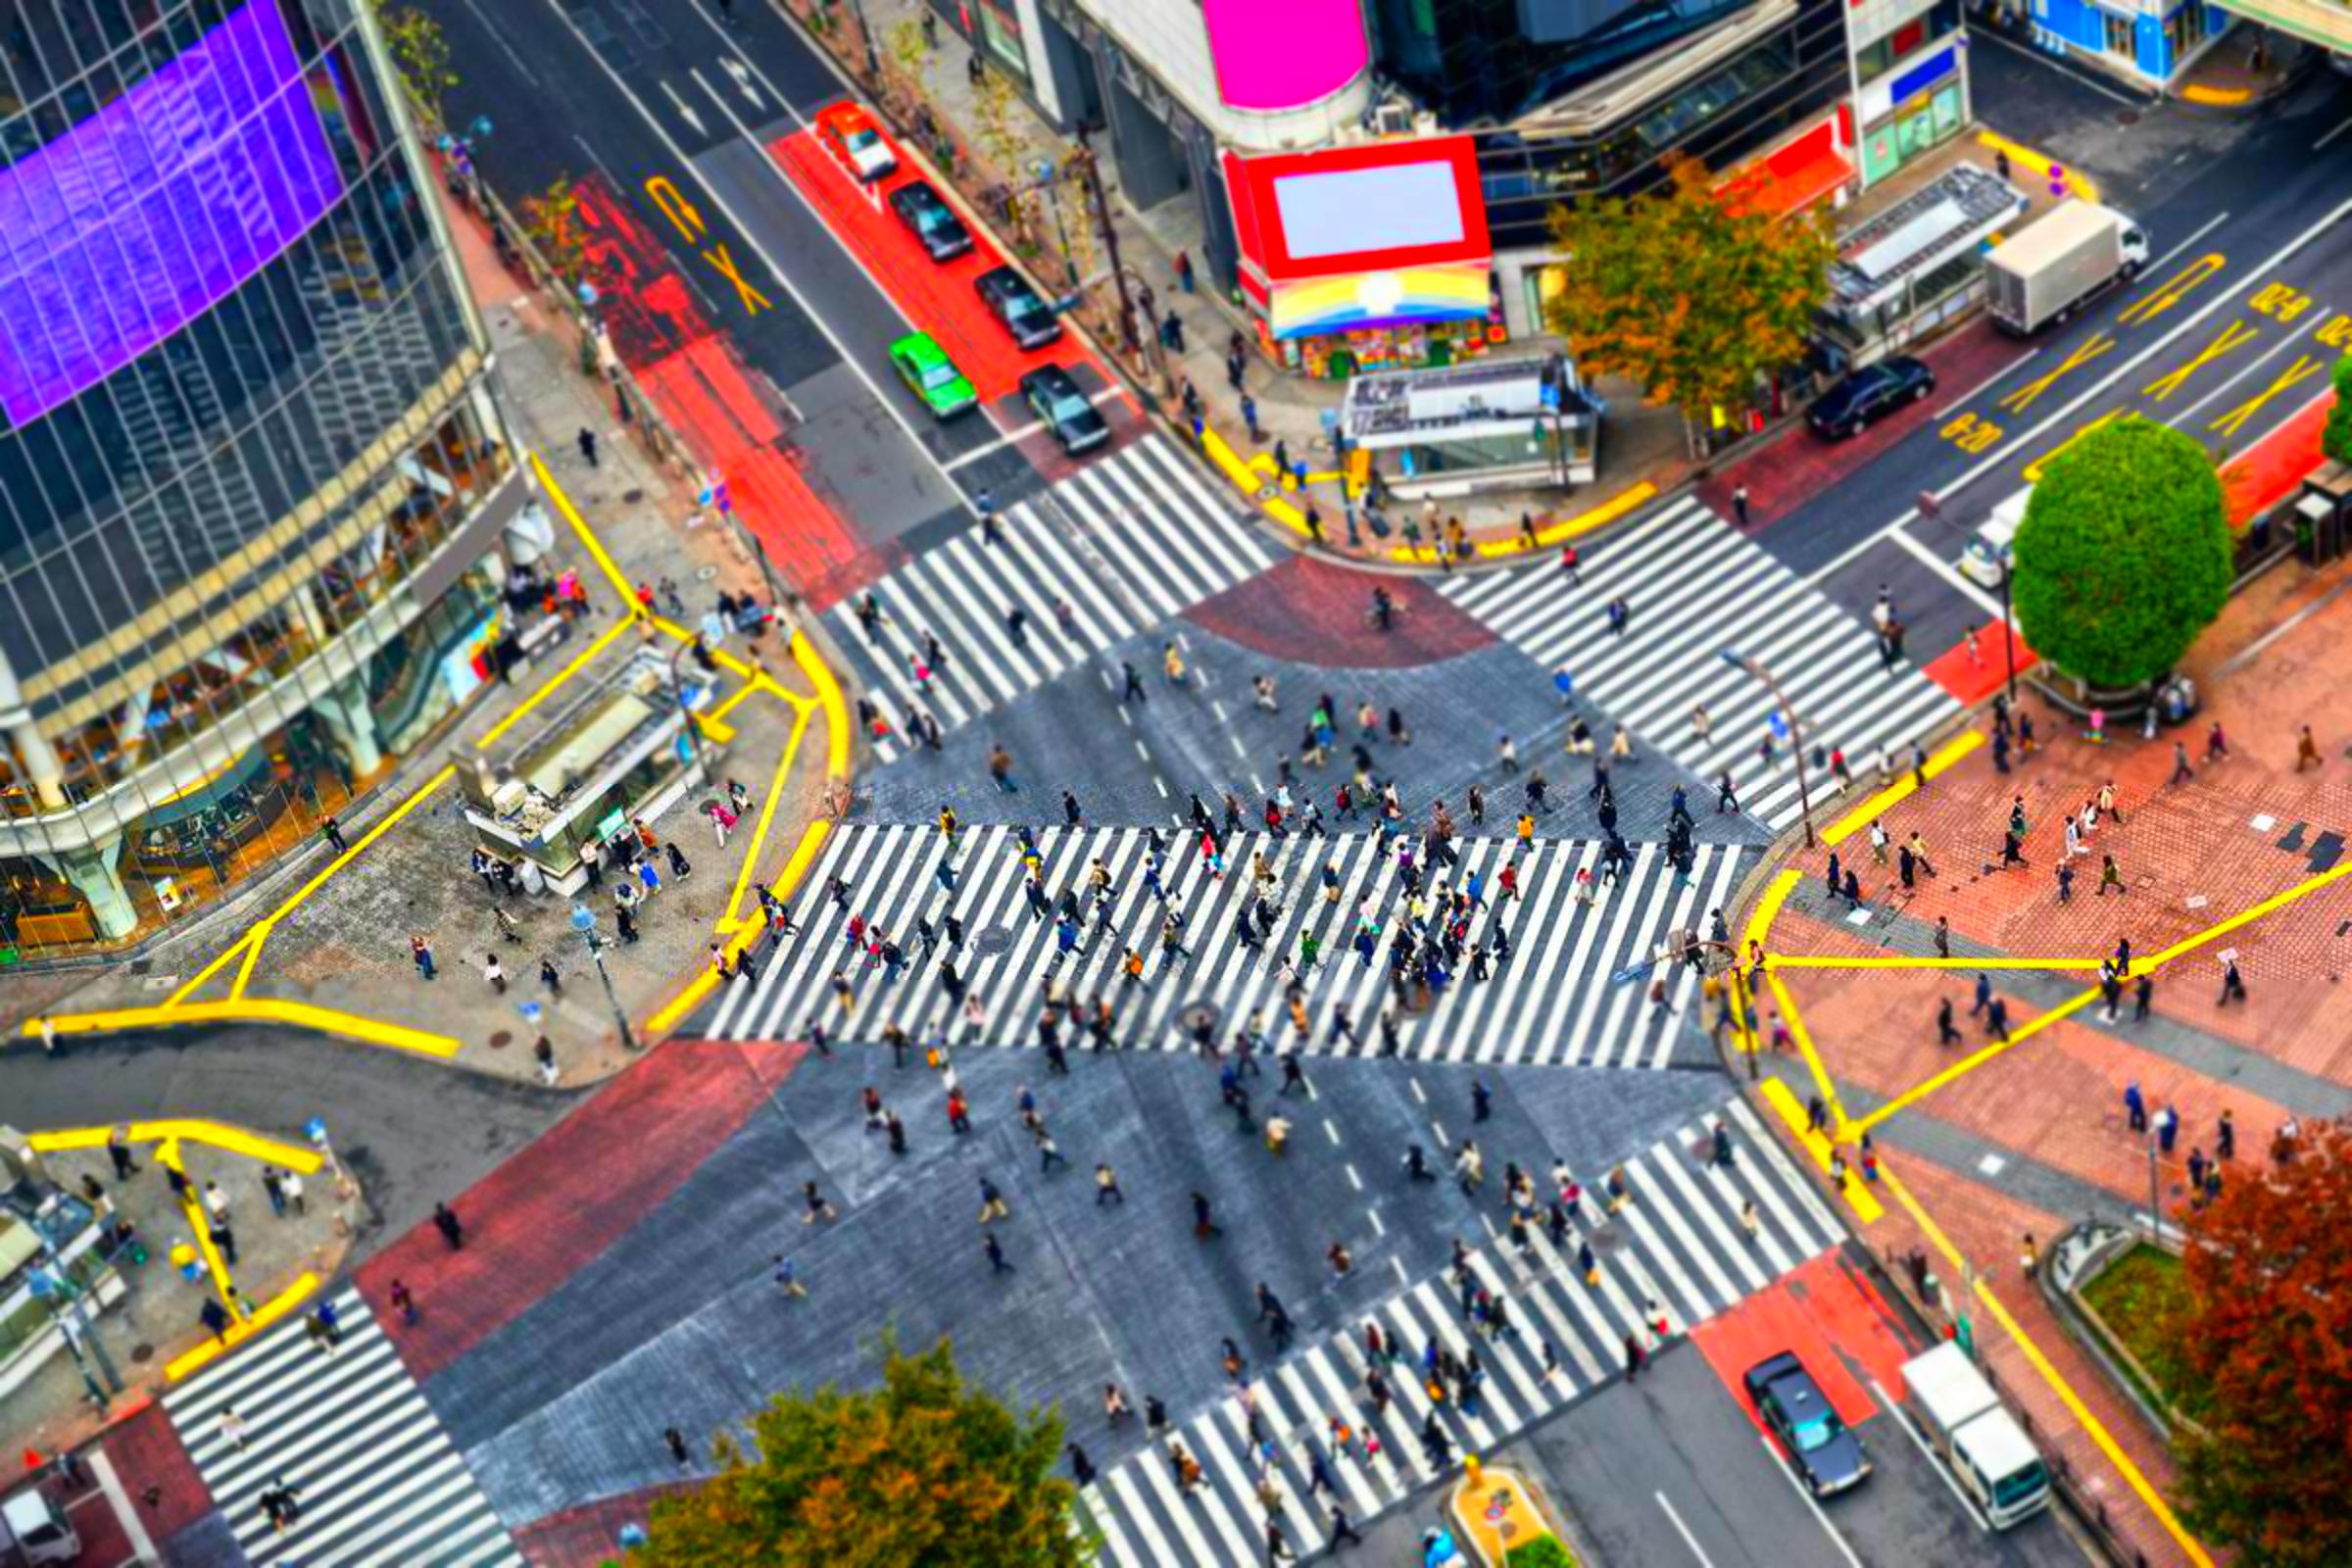
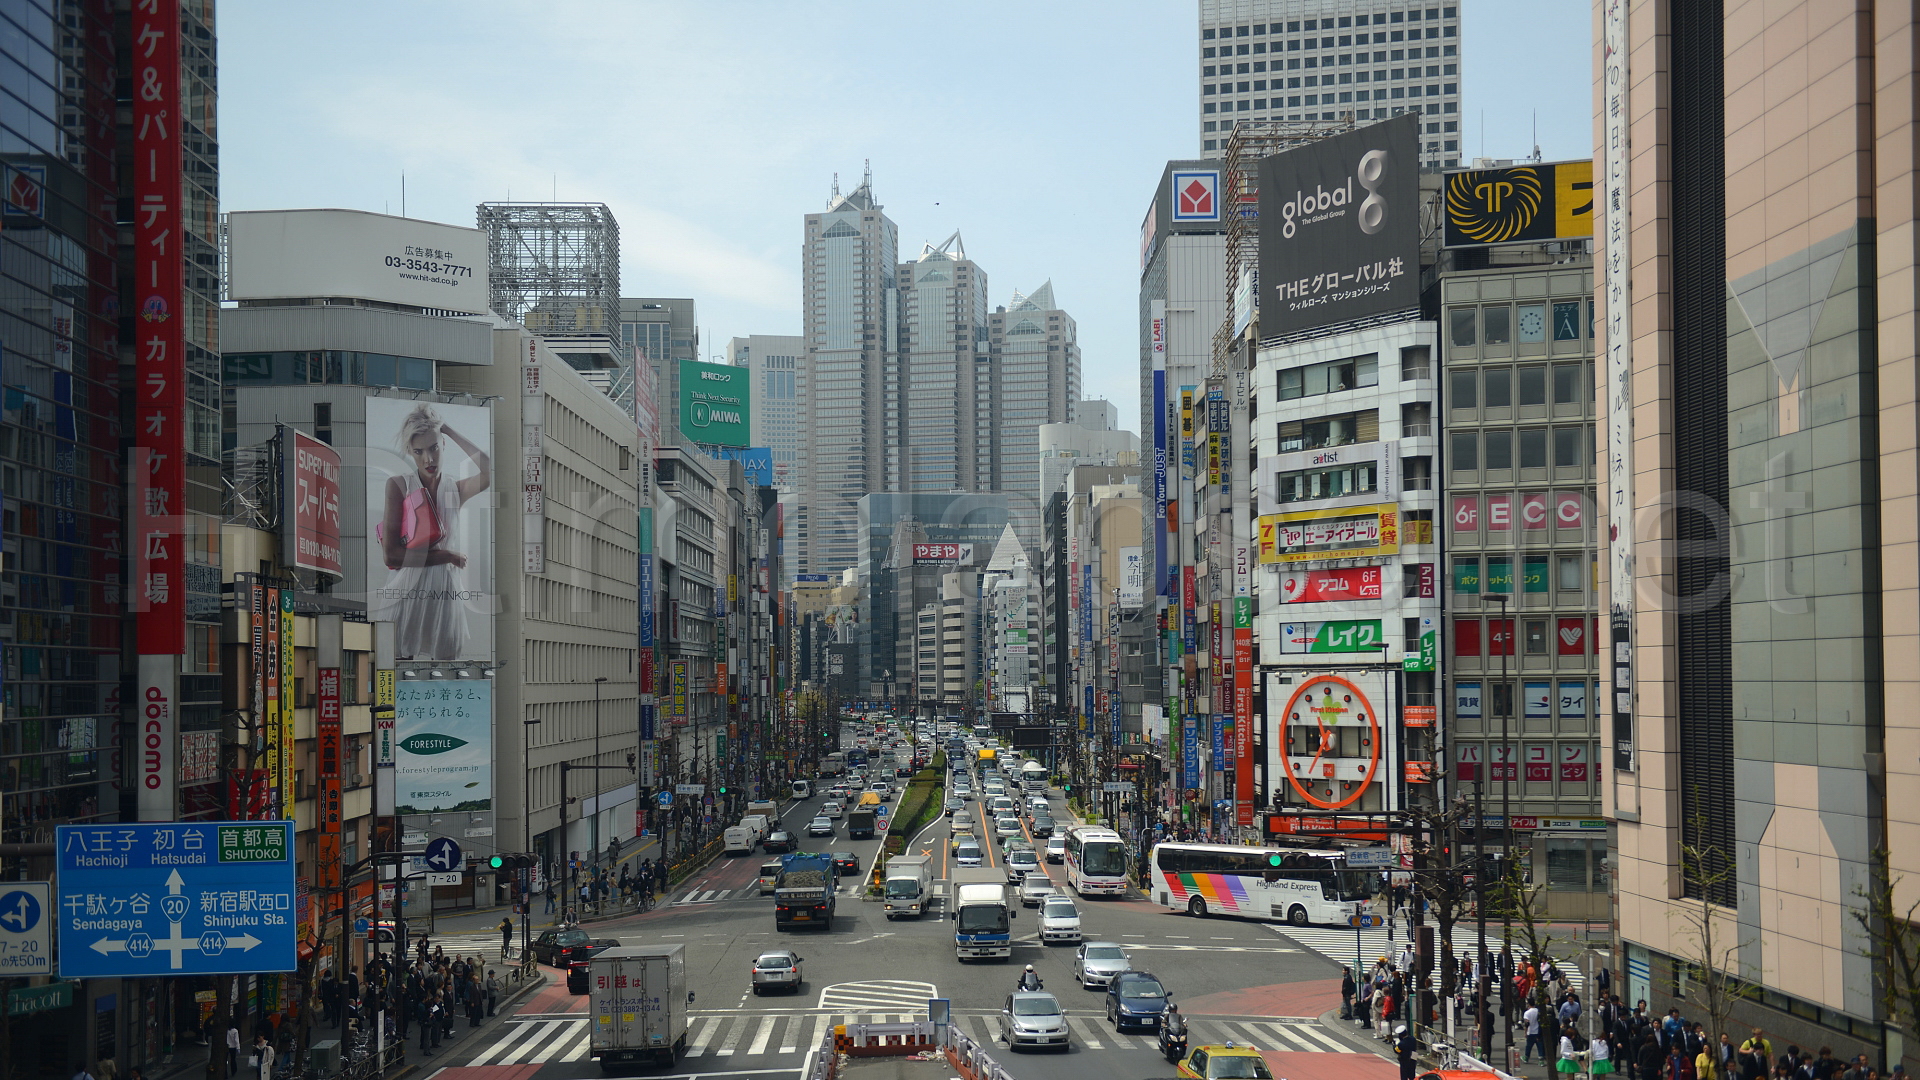
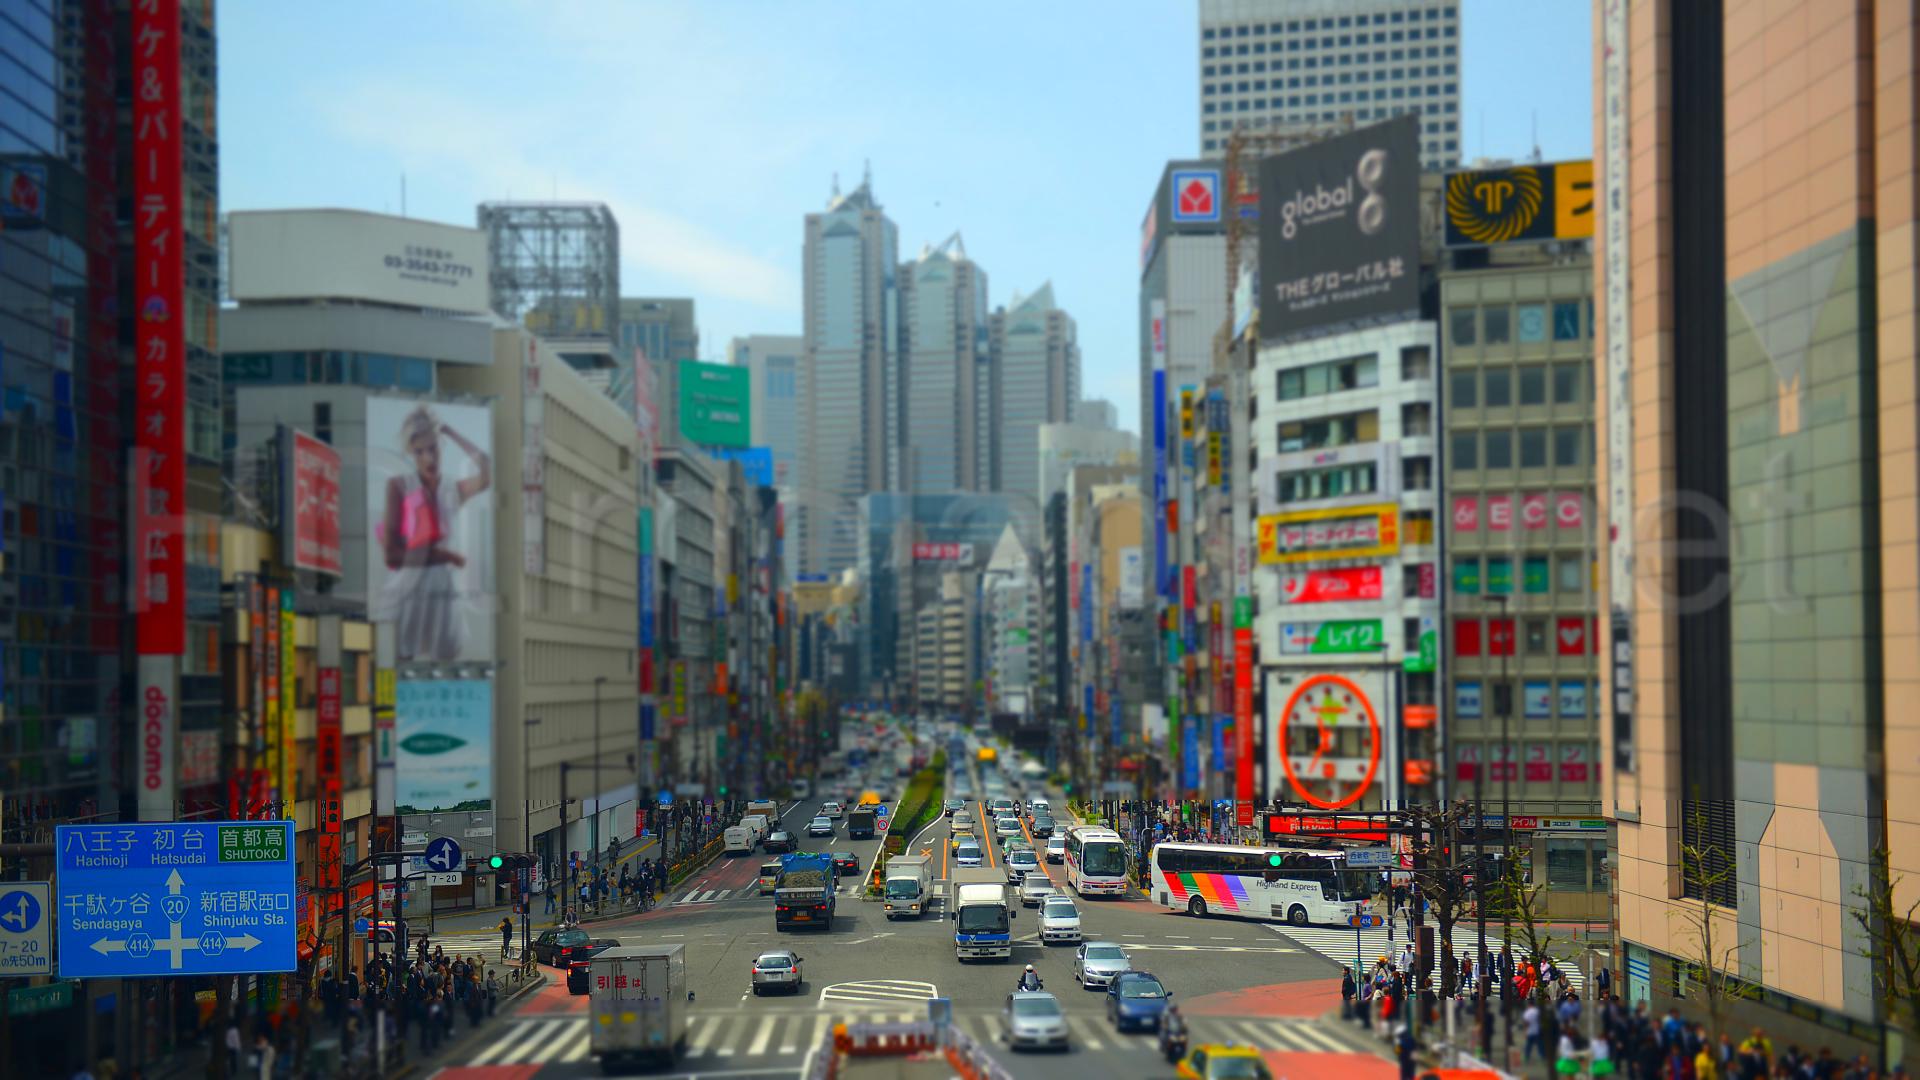
In this assignment we create fake miniatures by simulating the effect of selective focus cameras, also known as tilt shift. Traditionally this is done with photo editors, but here we do it programmatically. To generate the tilt shift effect, we start by selecting a focus line. Then we define the fake depth of field with respect fo the focus plane. Last we blur the image around the focus plane to simulate depth of field effect and increase saturation to generate the miniature effect. Below we show a set of images taken in Yokohama, Japan. The left image is the original image, while the right image is the tilt shifted image. Lines were manually selected and a blur of sigma=2 was used. Noticeably, the aerial photos produce better miniature effects. Perhaps this is result of perception, as we tend to view miniature scenes from above. Saturation is already increased in the right image. For before and after of increasing saturation, please refer to the bells and whistles section below. The first 6 pictures are taken by me. The last two images are taken from the internet.


http://media.ruebarue.com/photos/places/4511435526766592/1-shibuya-pedestrian-scramble-1.jpg
http://www.hdtimelapse.net/content/HDtimelapse.net_City/HDtimelapse.net_City_4950_hirez.jpg
We make a lot of assumptions about the depth of objects in the image by using a line to represent of depth of field. We assume that objects through that line are probably on the same plane. In many cases, this is not true. Now we implement irregular masks to define more complex depth of field regions to generate more realistic miniature effects. The differences are significant especially in the second image. Where a linear depth of field captured the pedestrians who are definitely not in the plane of the car, an irregular depth of field was able to isolate the car as the focus. Shown are the original image, mask, resulting image, and saturation adjusted image respectively.