
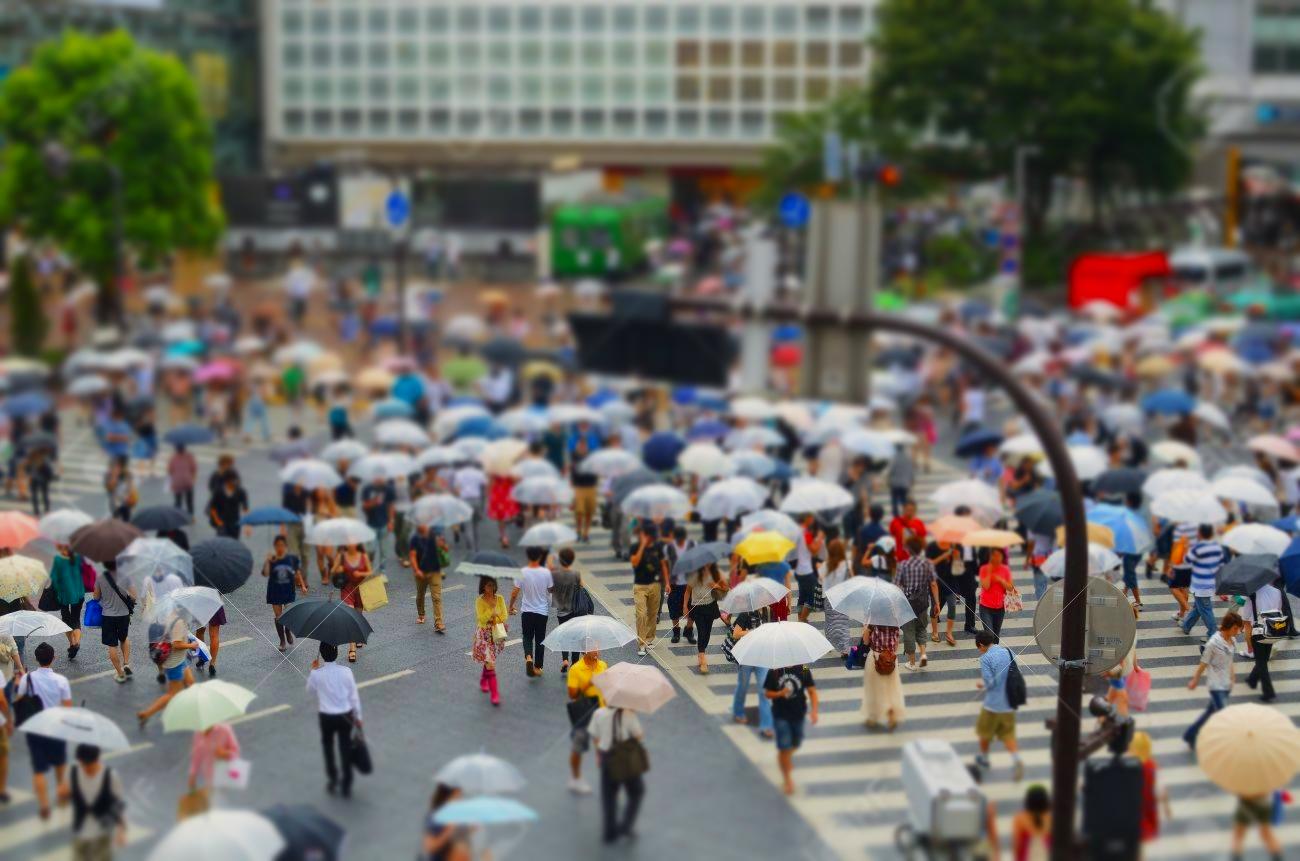
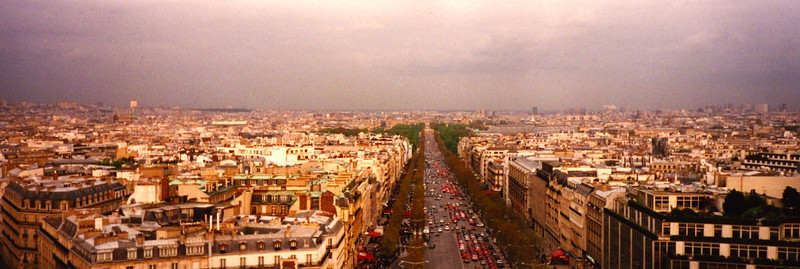
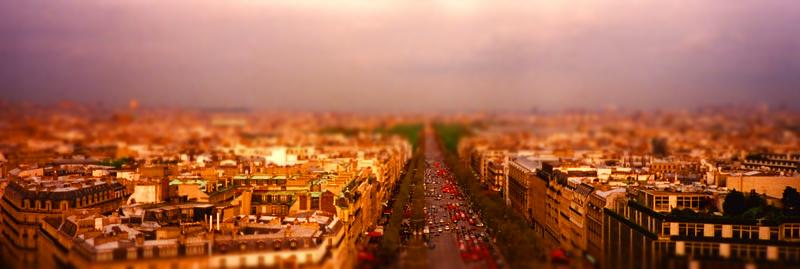
We create fake miniatures by simulating the effect of selective focus cameras (Tilt Shift), effectively narrowing the depth of field to create the illusion of being extremely close to the subject.
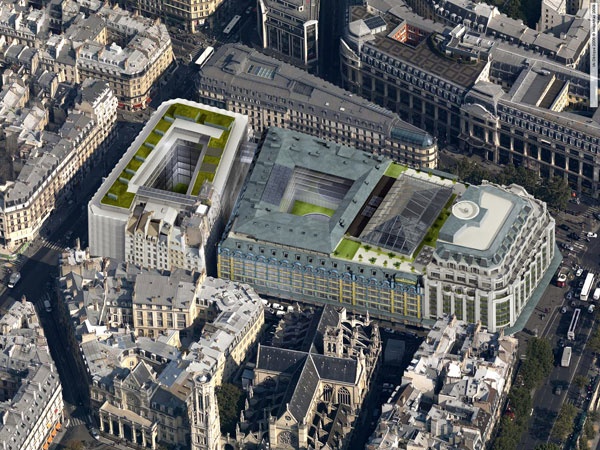
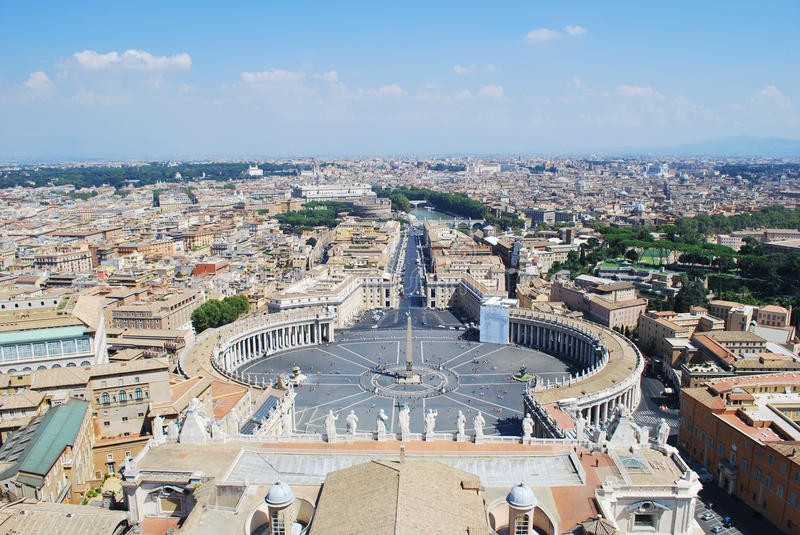
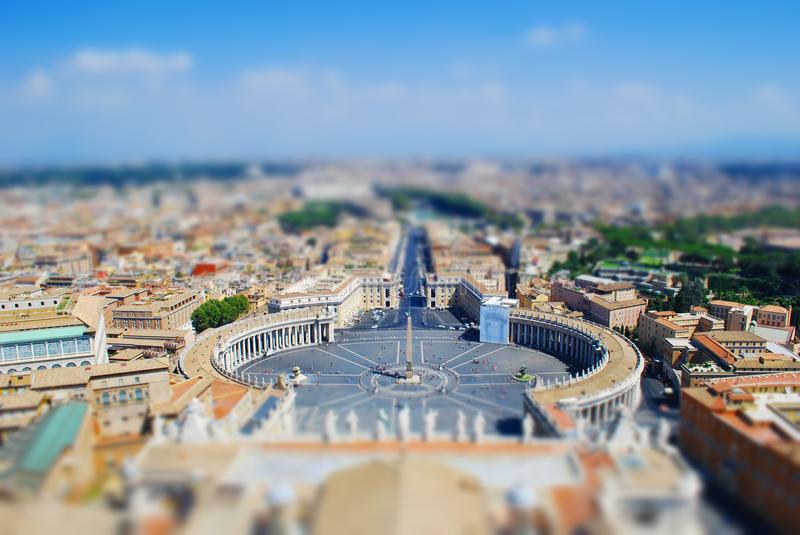
We choose a focus line via user input, and define a rectangular depth of field 40 pixels above and below this line. Using a mask to select the region of the photo that we want to blur, we apply the Gaussian filter to our image using our blurred mask to weight the pixel values from the original and the blurred images. We repeat these steps, progressively increasing the size of the mask and the sigma value for our Gaussian filter. This will increase the amount of blur as we move away from the focus line. To increase the 'miniature' effect, I decided to increase the saturation levels of the images. Here are the original and 'miniaturized' photos side by side! (Original images from Google/Wikipedia)
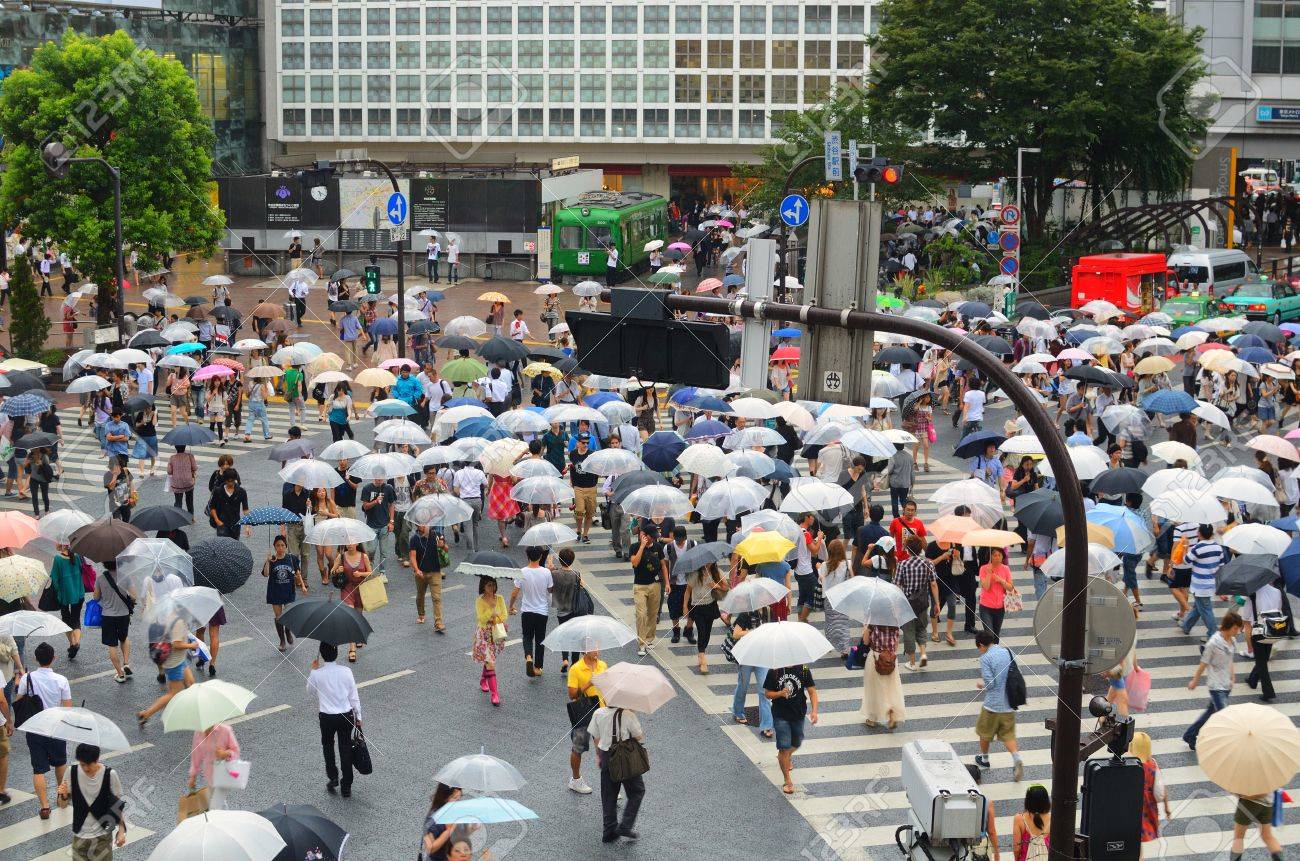
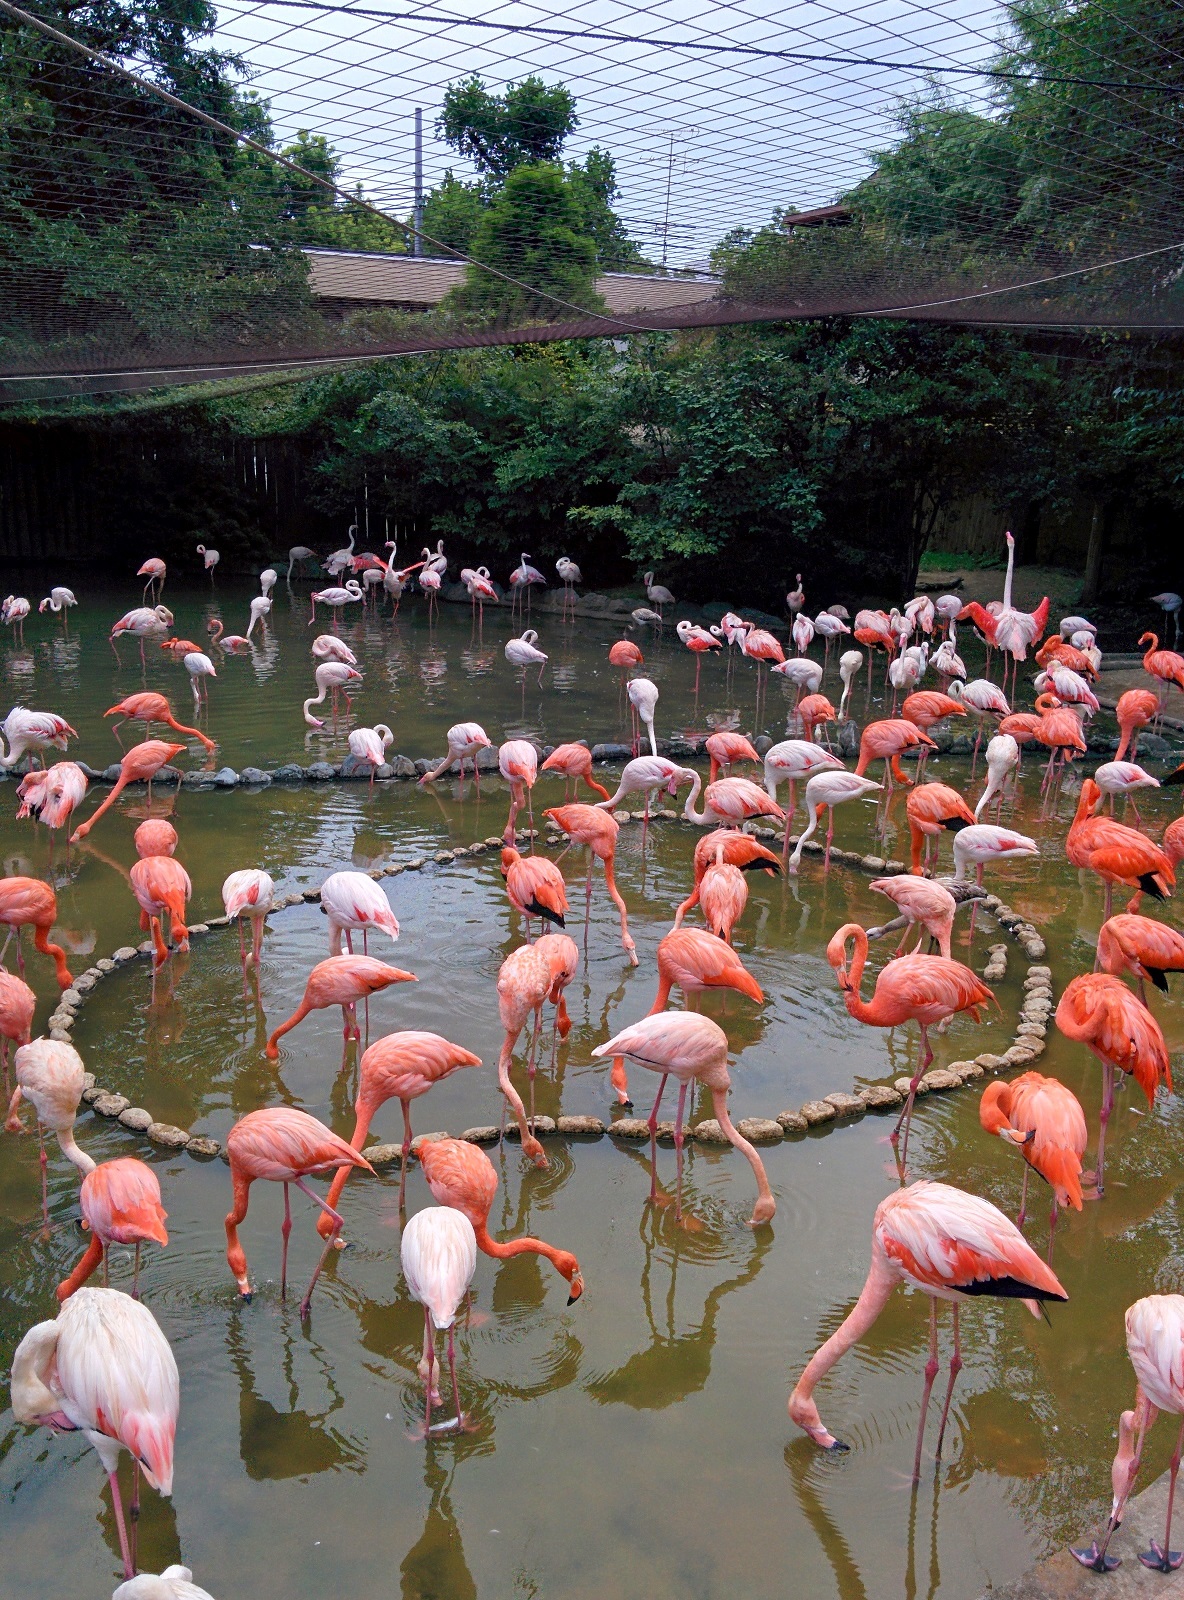
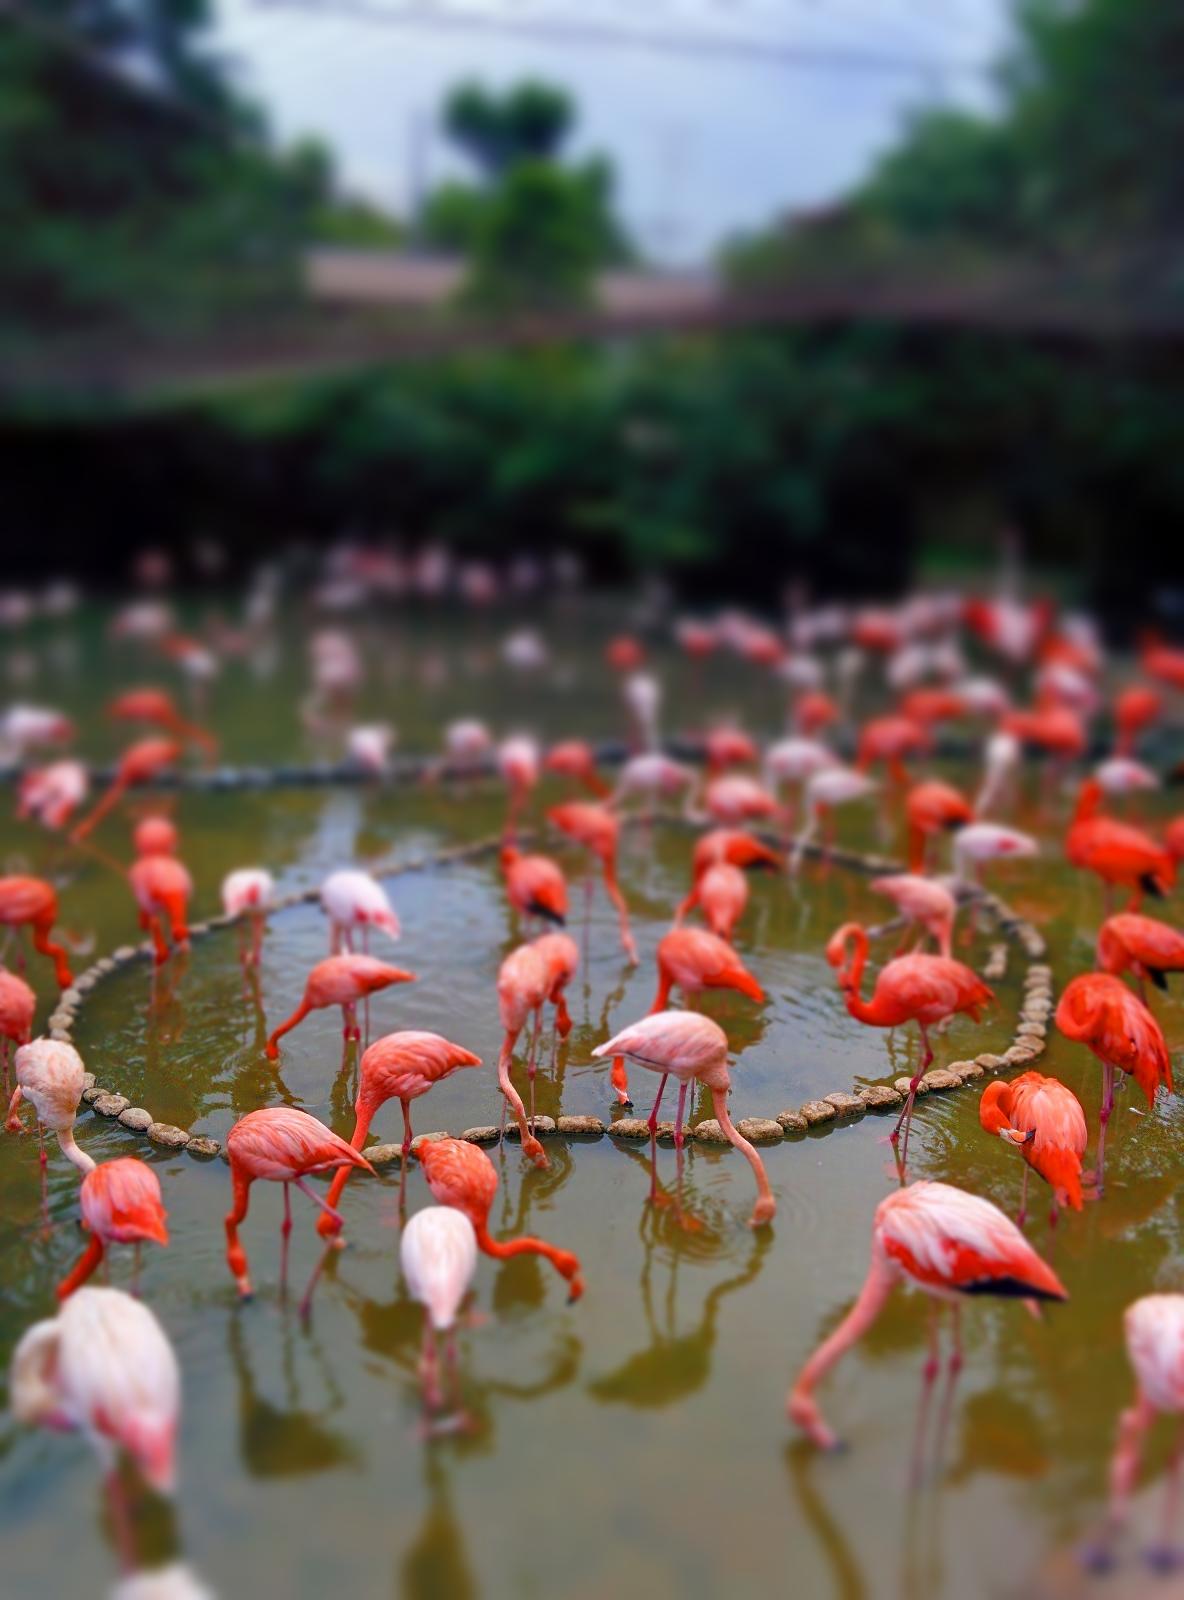
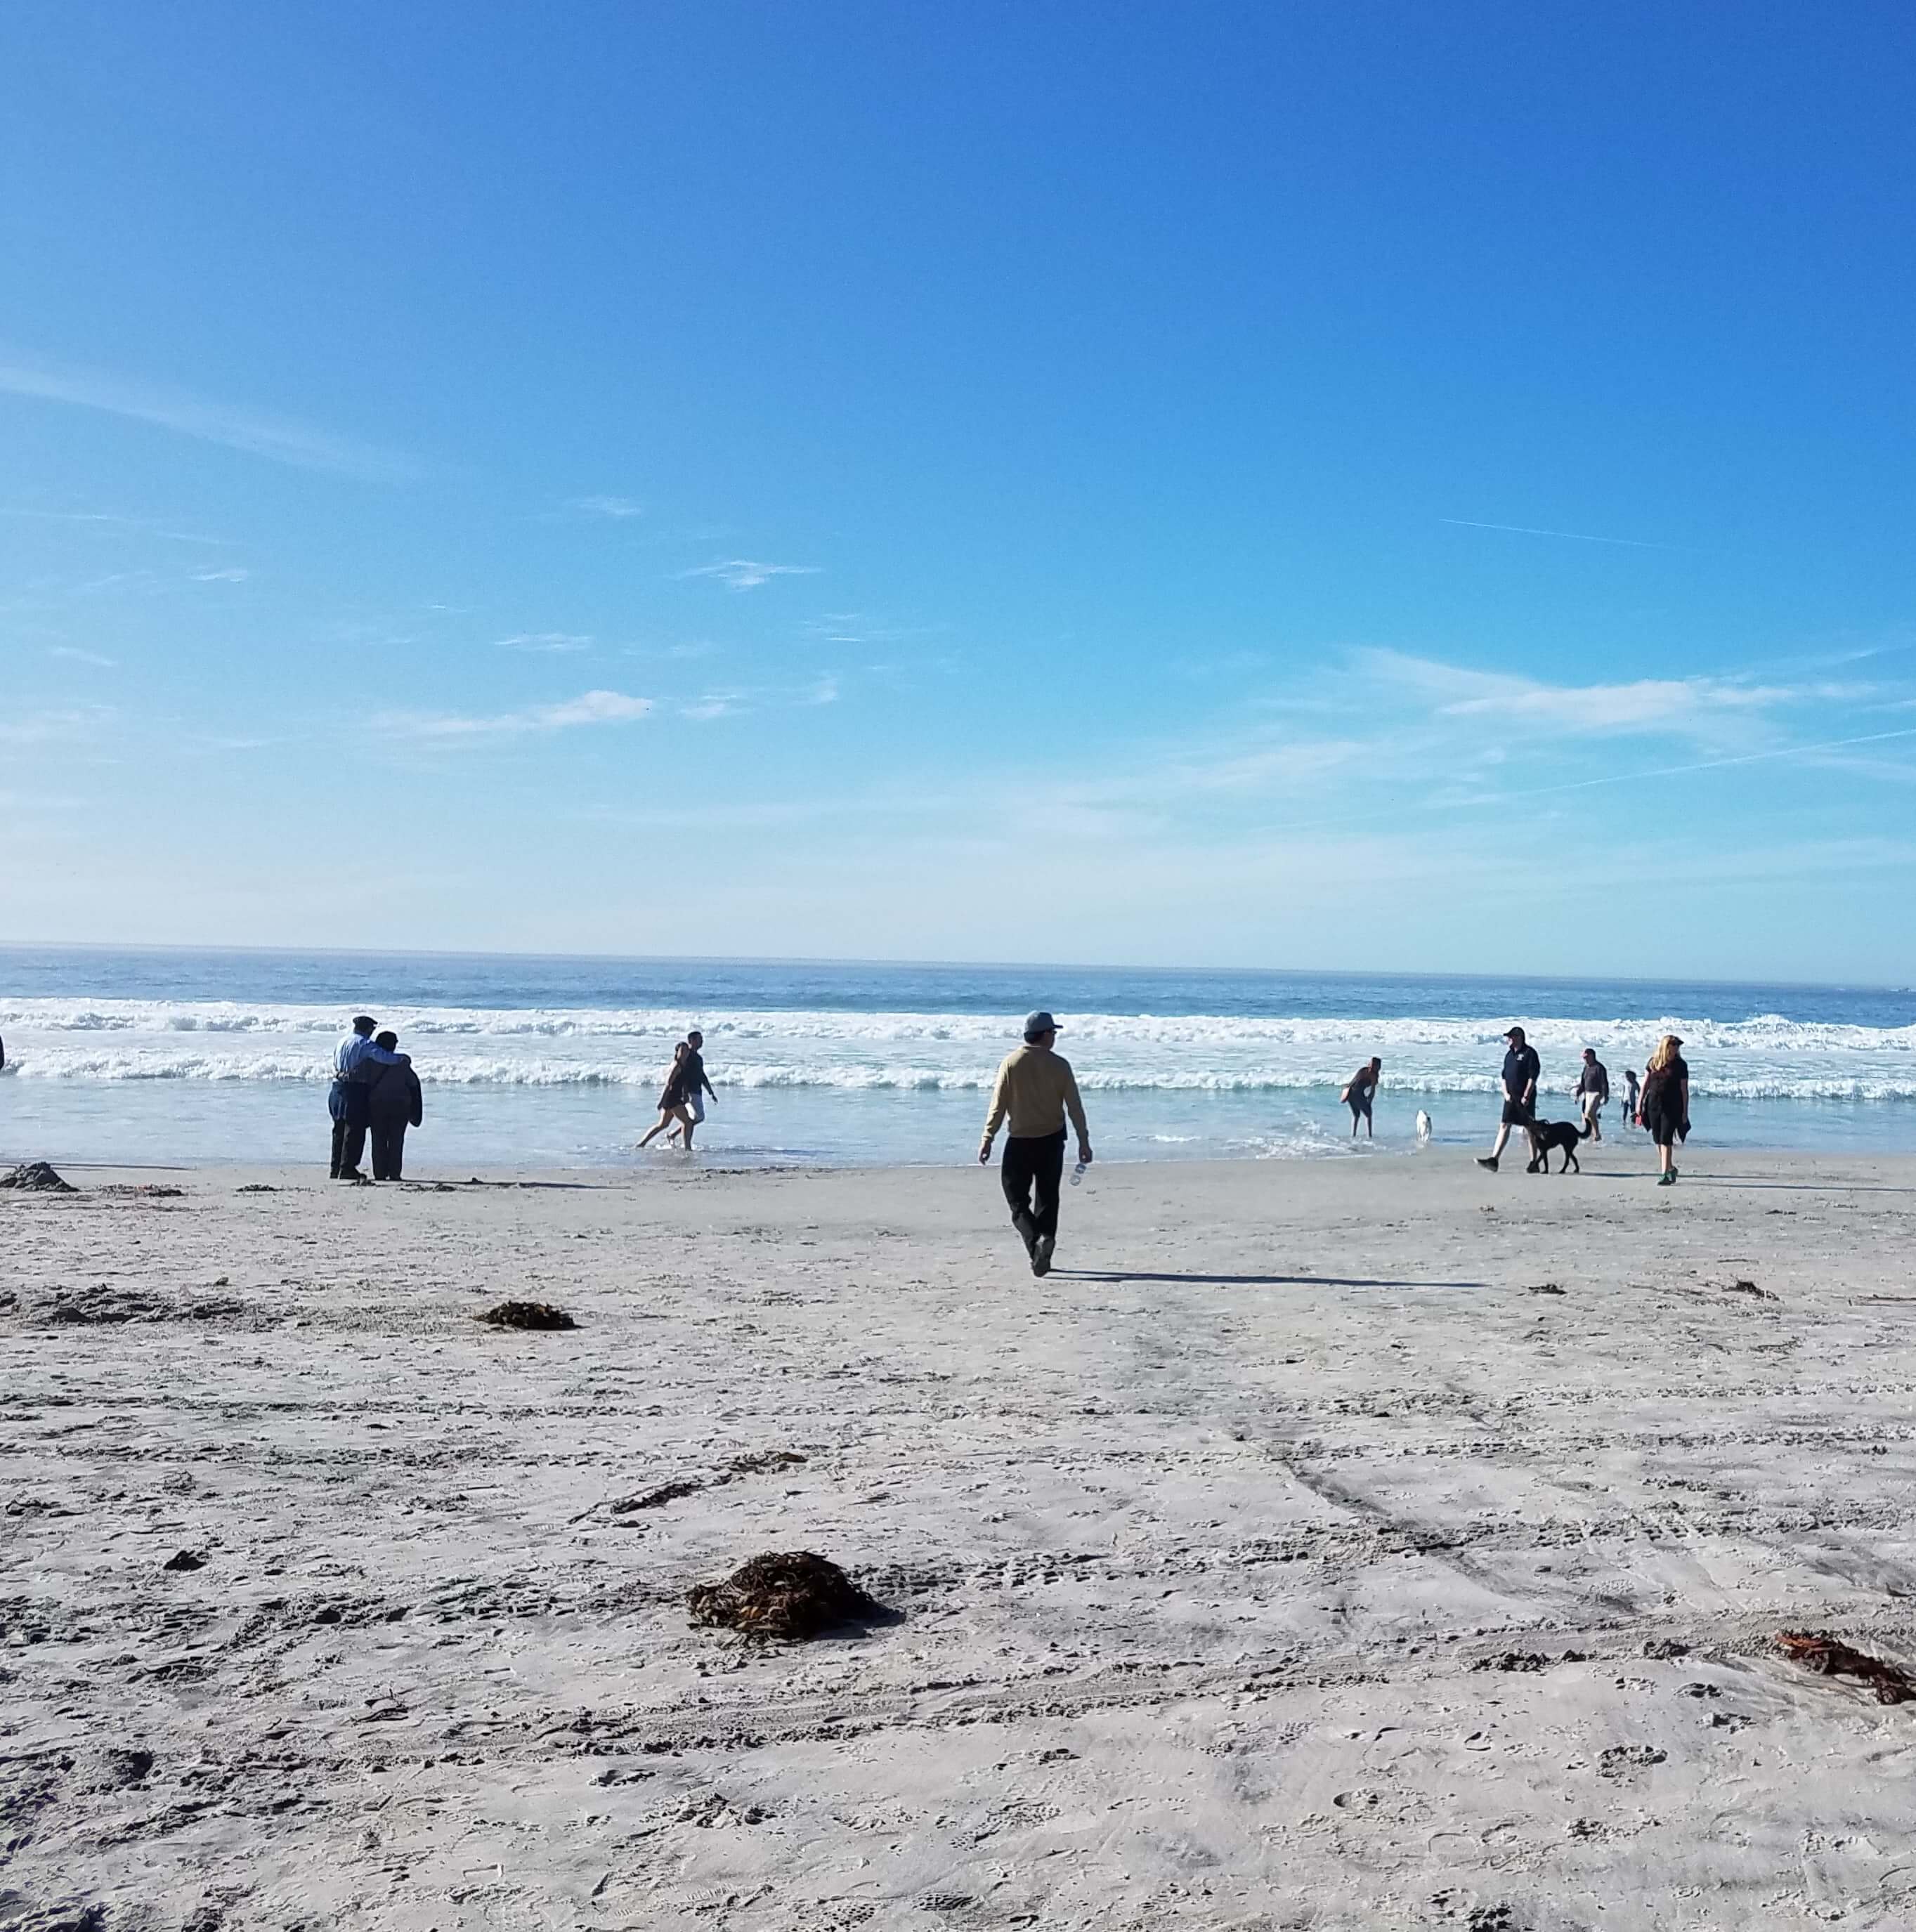
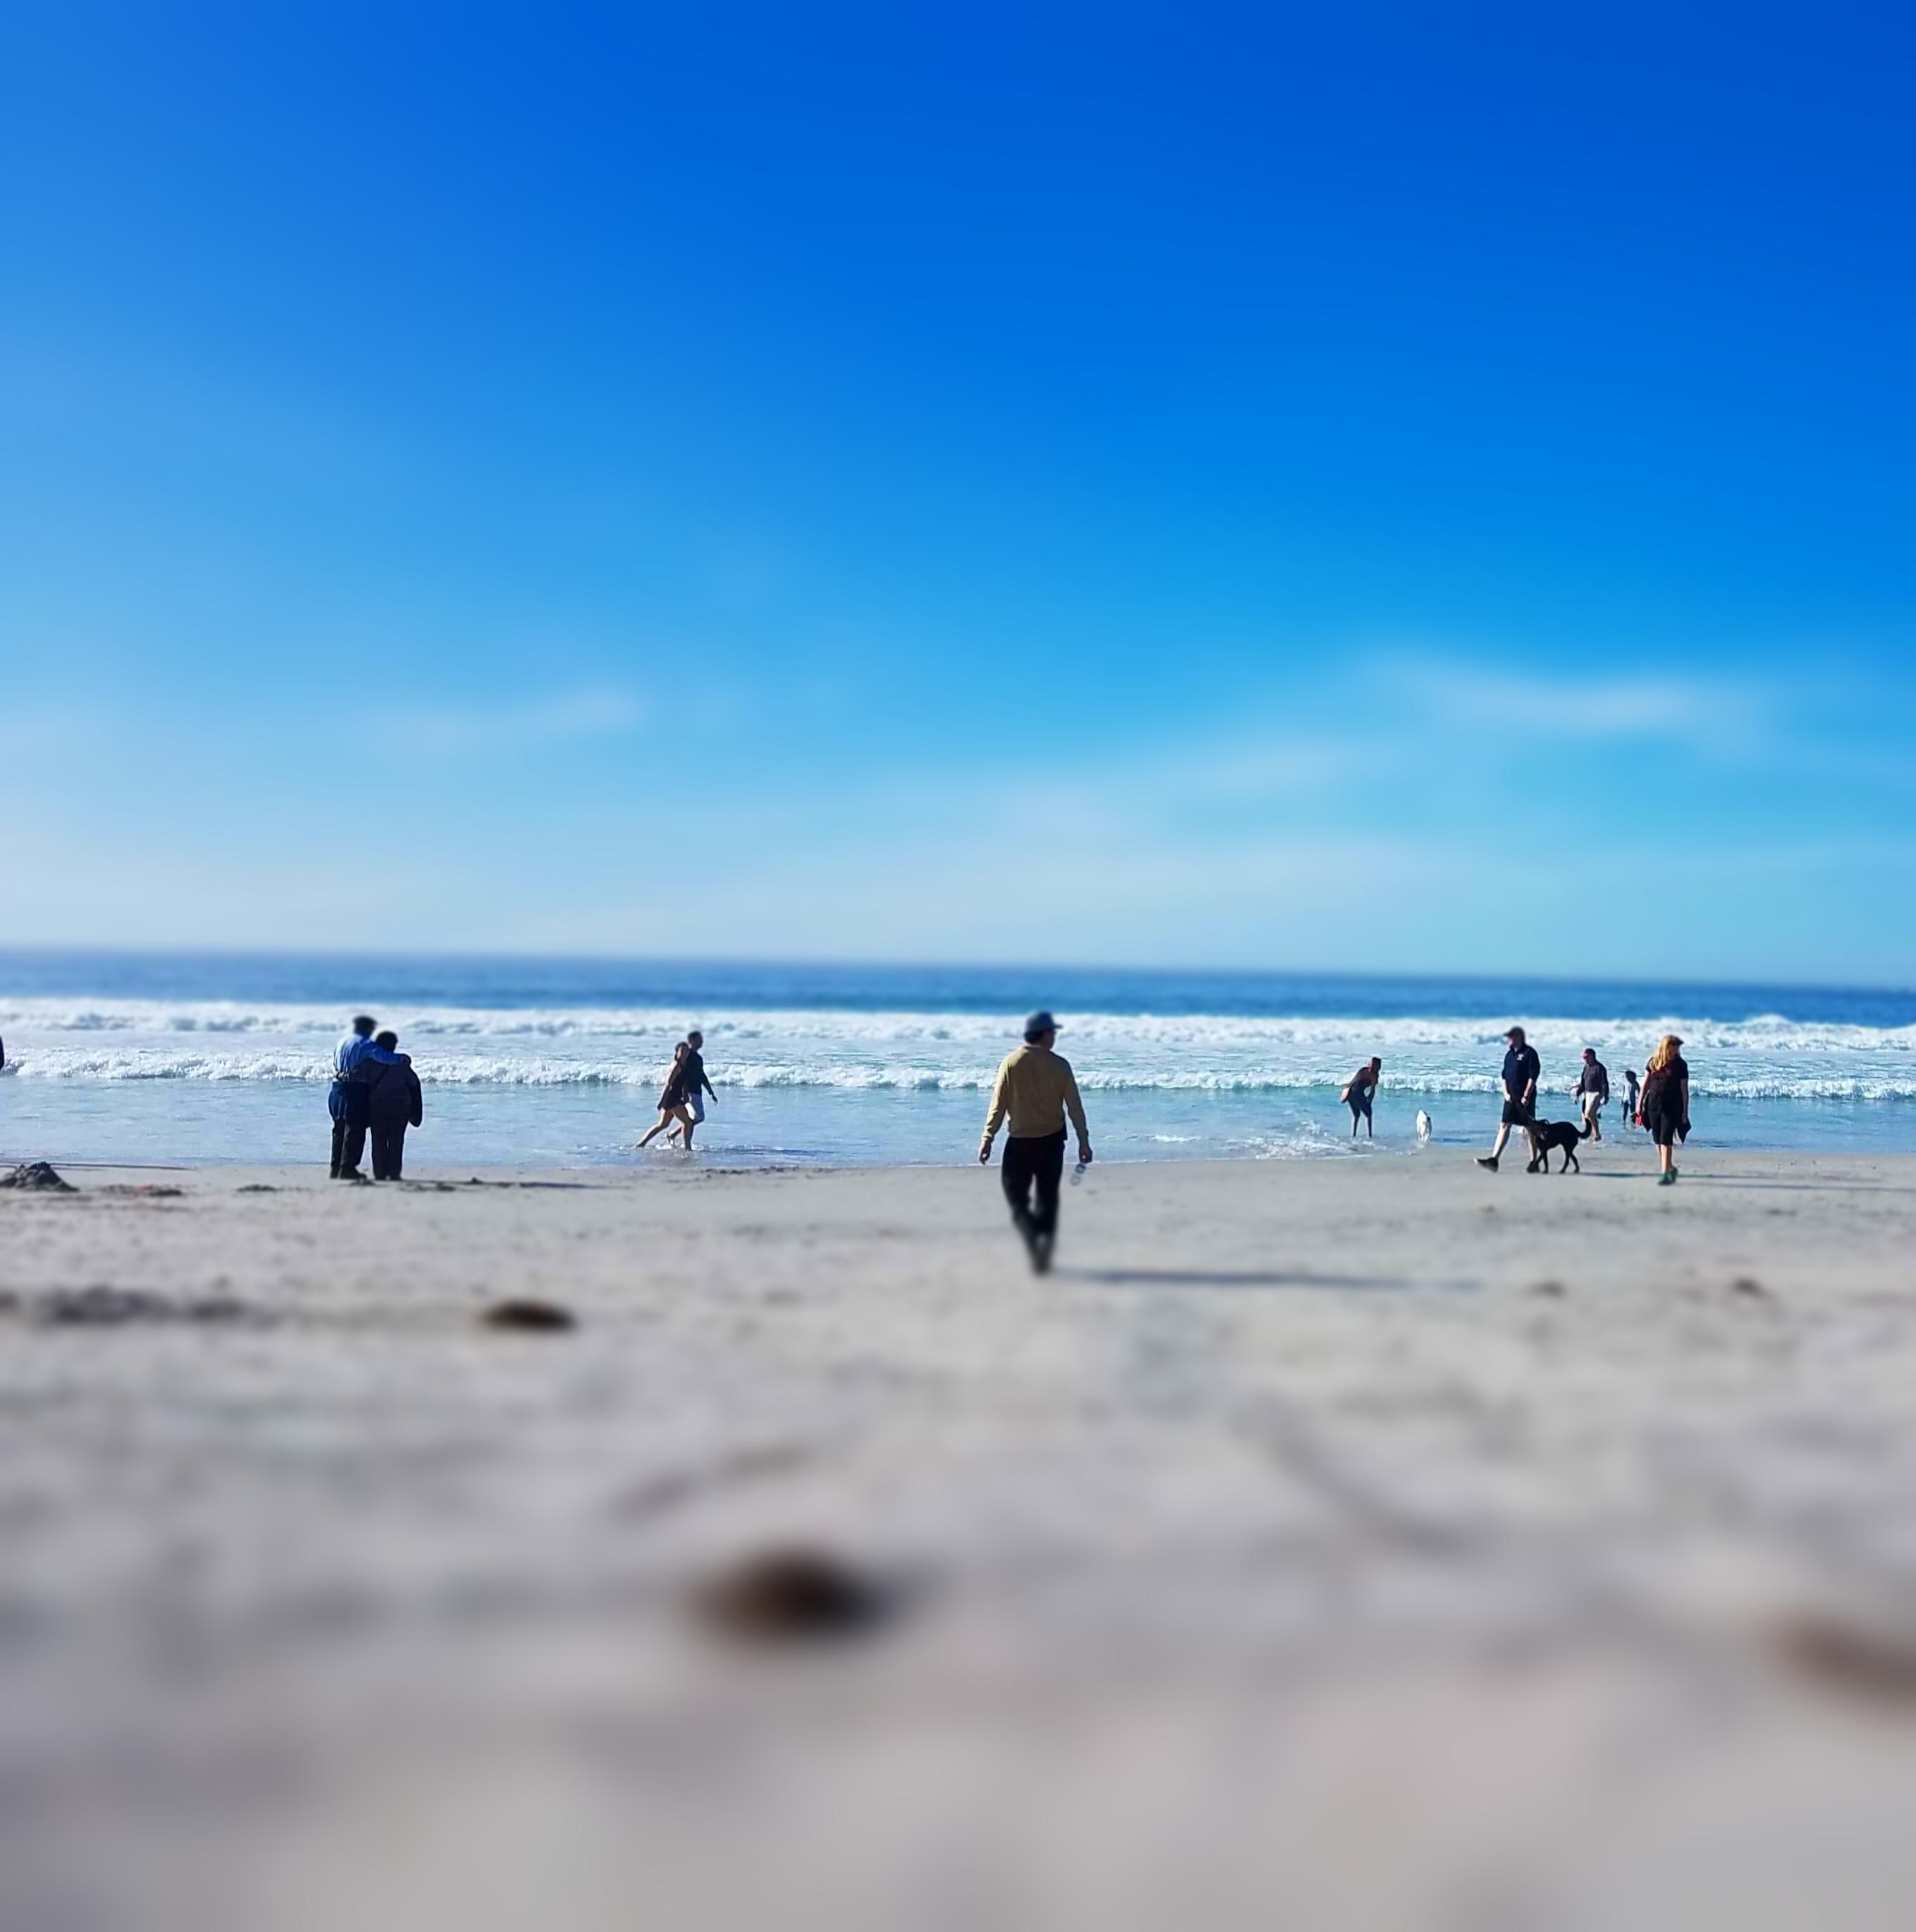
And here are a couple miniatures from my own photography collection. As you can see, they don't work quite as well because the angle that the photos were taken from isn't high up enough for it to really seem like a miniature.
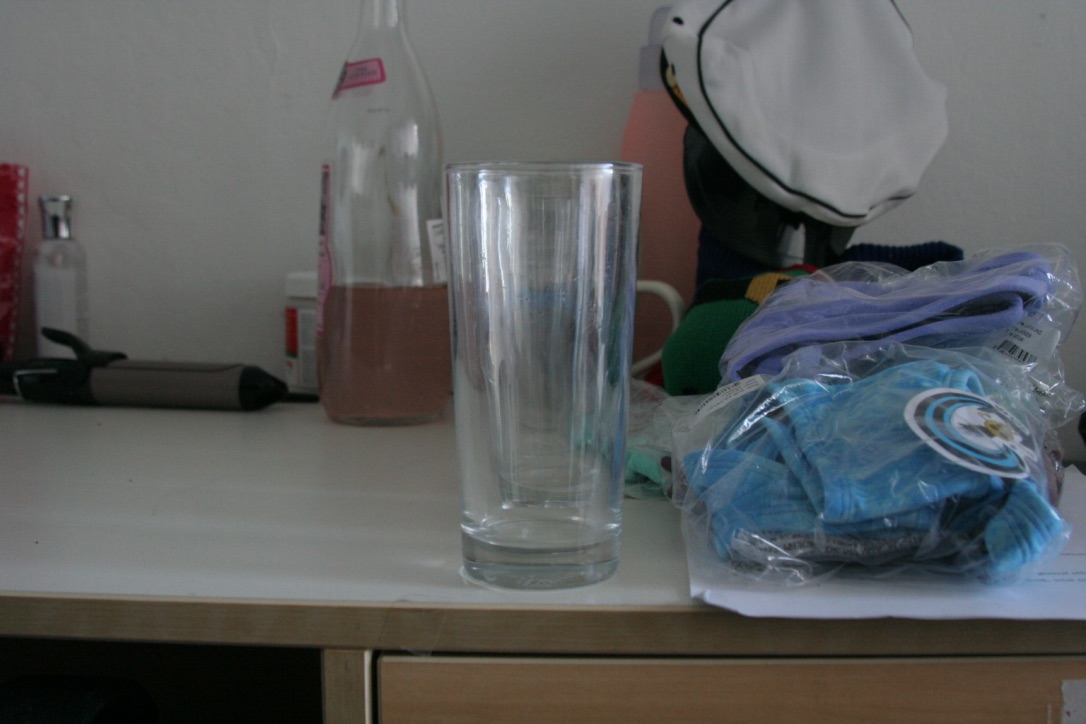
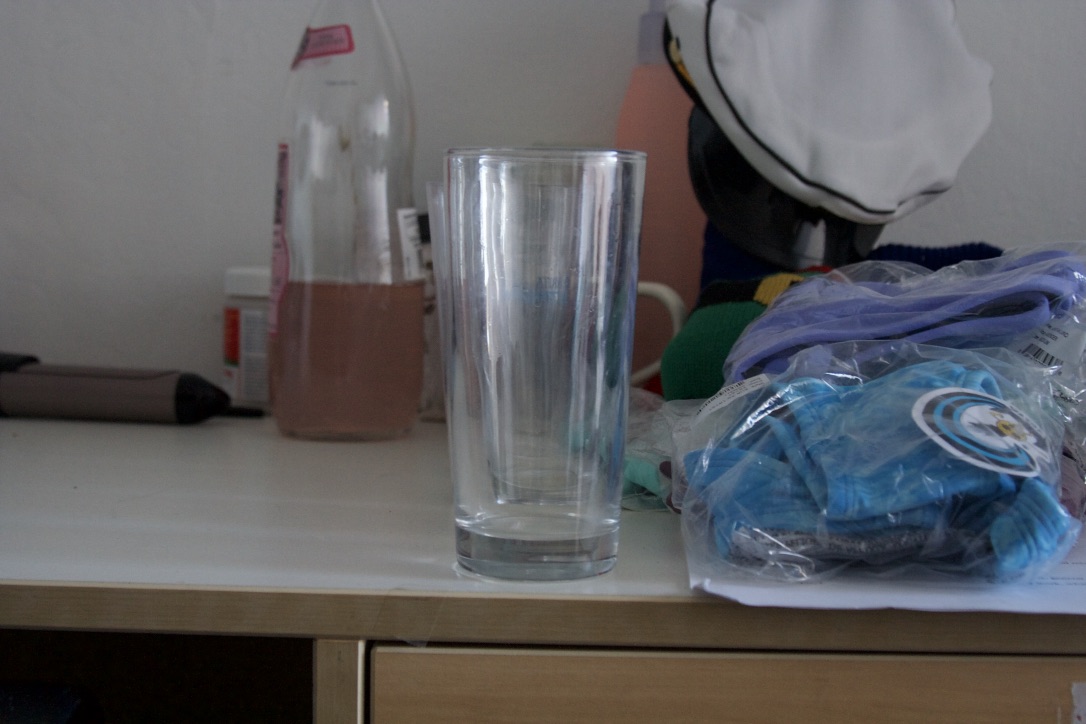
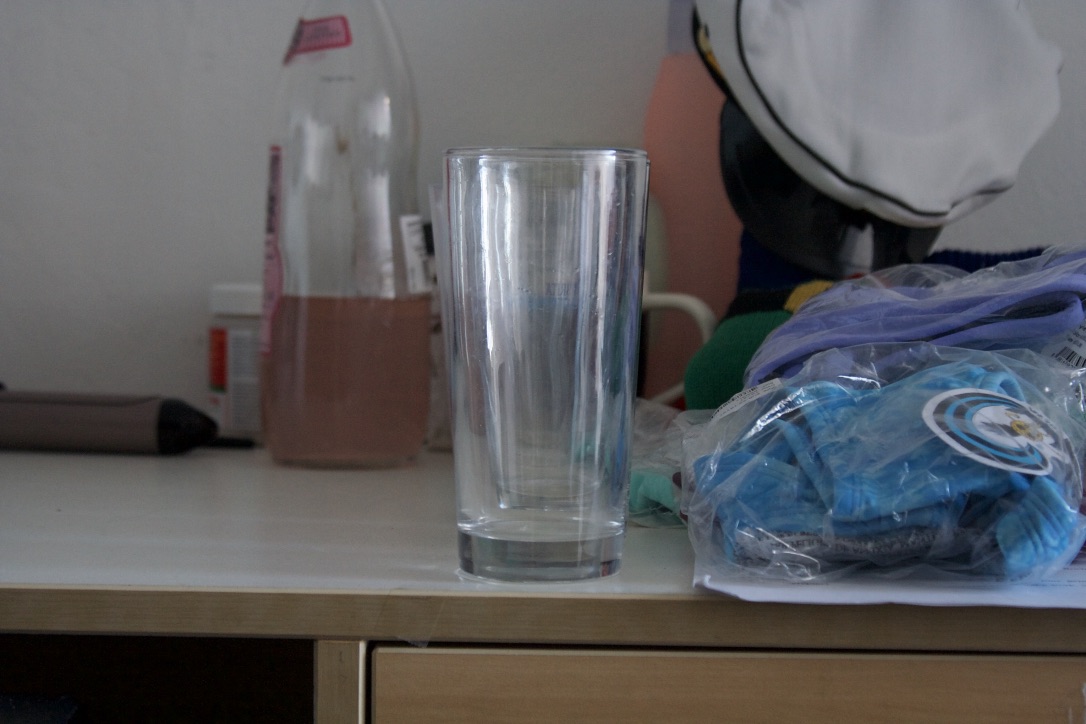
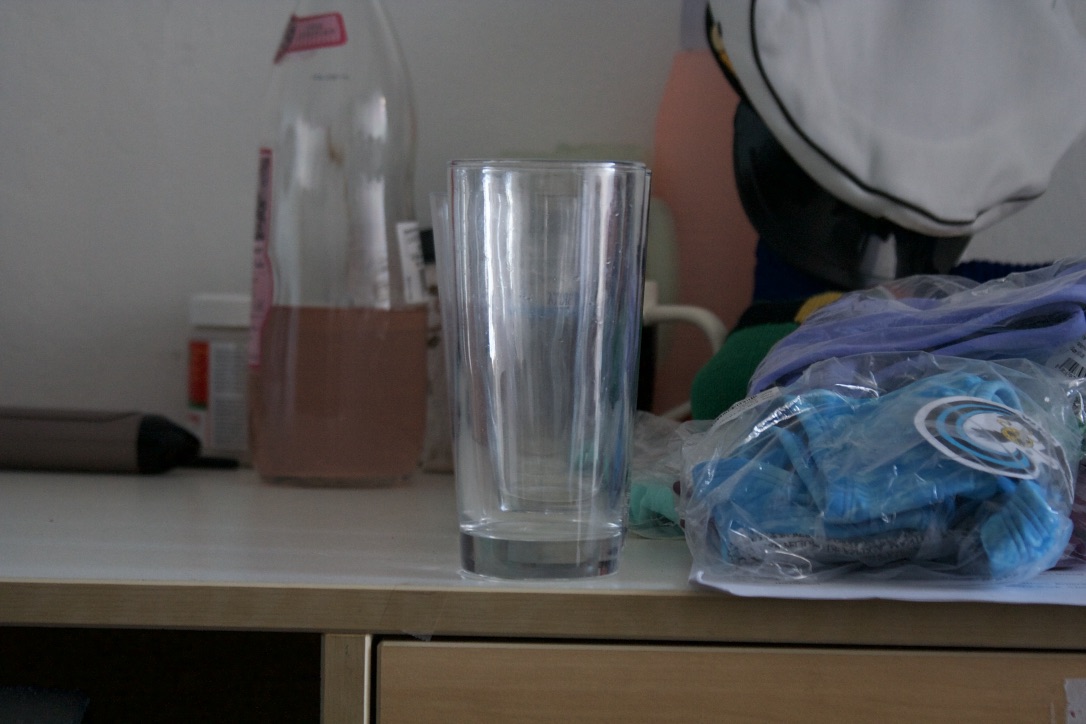
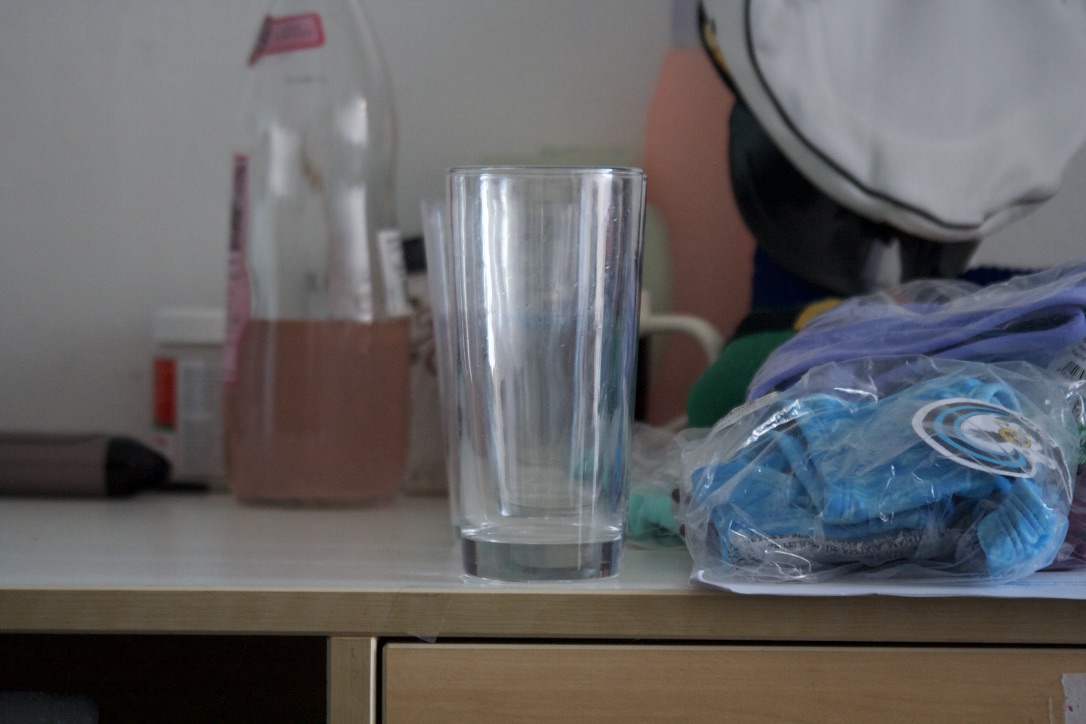
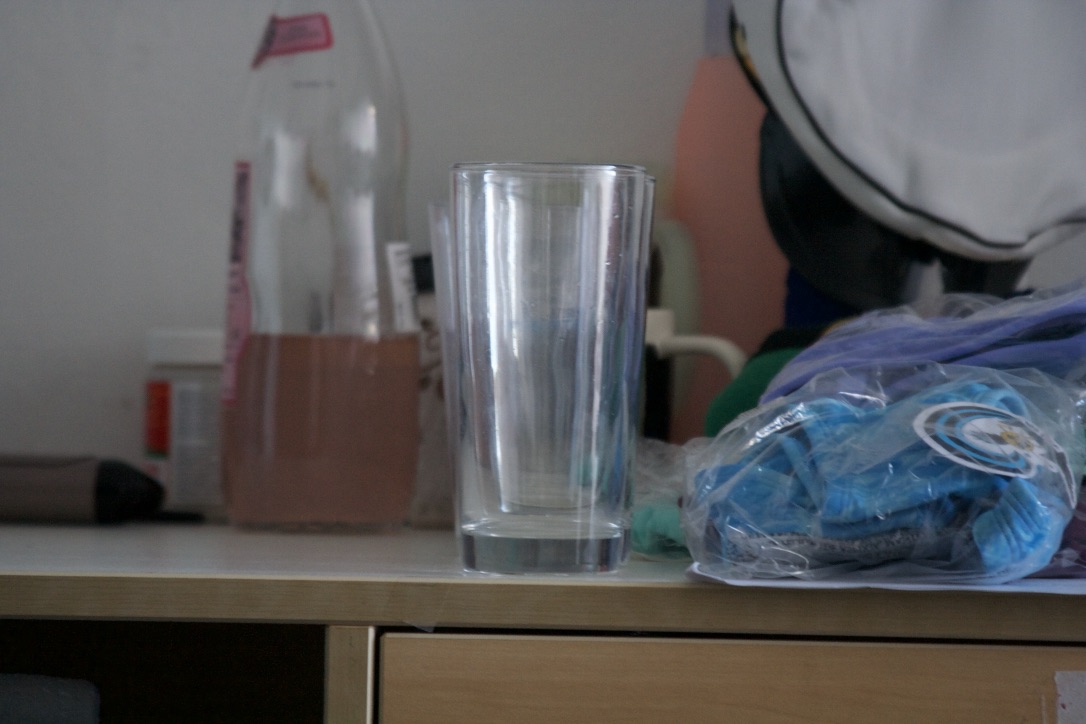
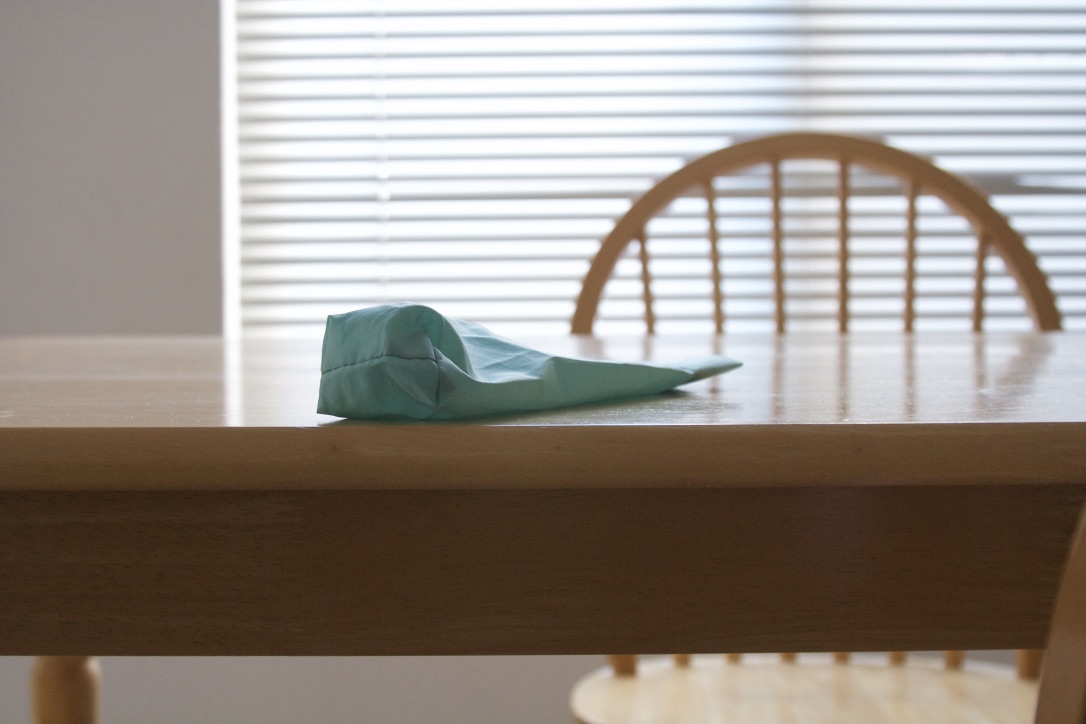
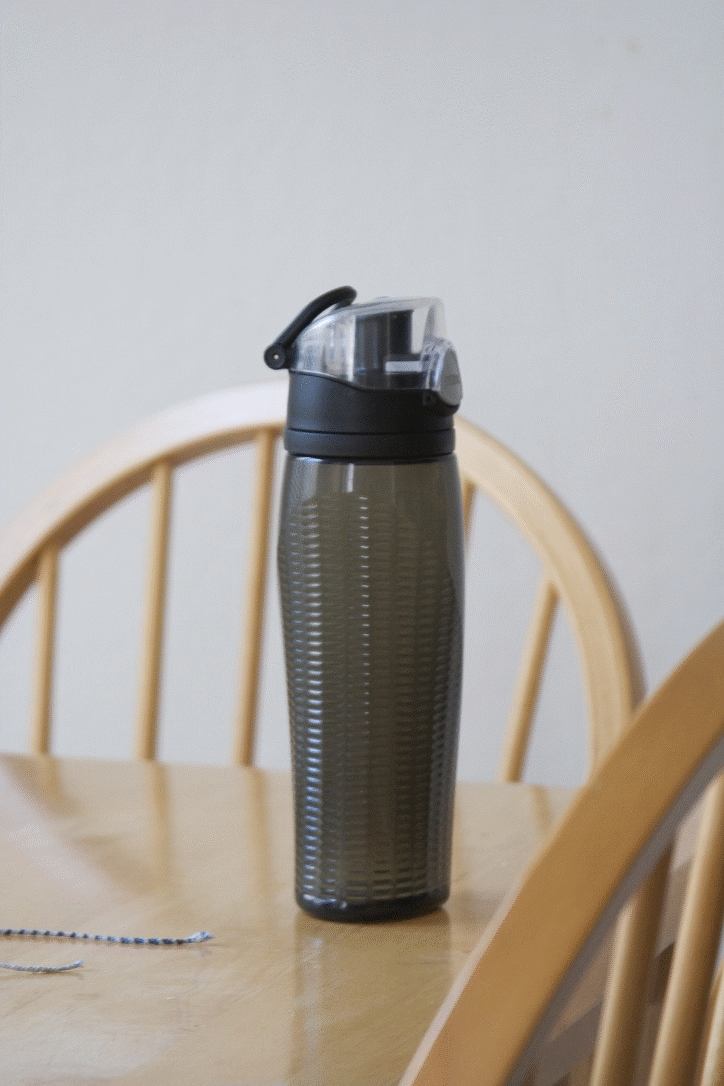
In this project, we attempt to replicate the 'Dolly Zoom' effect, also known as the Vertigo Shot. We do this by taking a sequence of photos of a single subject, backing away from the subject but increasing the zoom each time so as to keep the subject centered and a constant size throughout the sequence. I used a Canon Rebel XT DSLR camera and chose objects around my apartment. I found that the most difficult part was to keep the object centered and in the same position. I think this would have been easier with a tripod, but I did not have access to one. I think the Dolly Zoom effect is best seen with images where there are objects in the background, because this emphasizes the changing background which contrasts with the constant foreground subject.
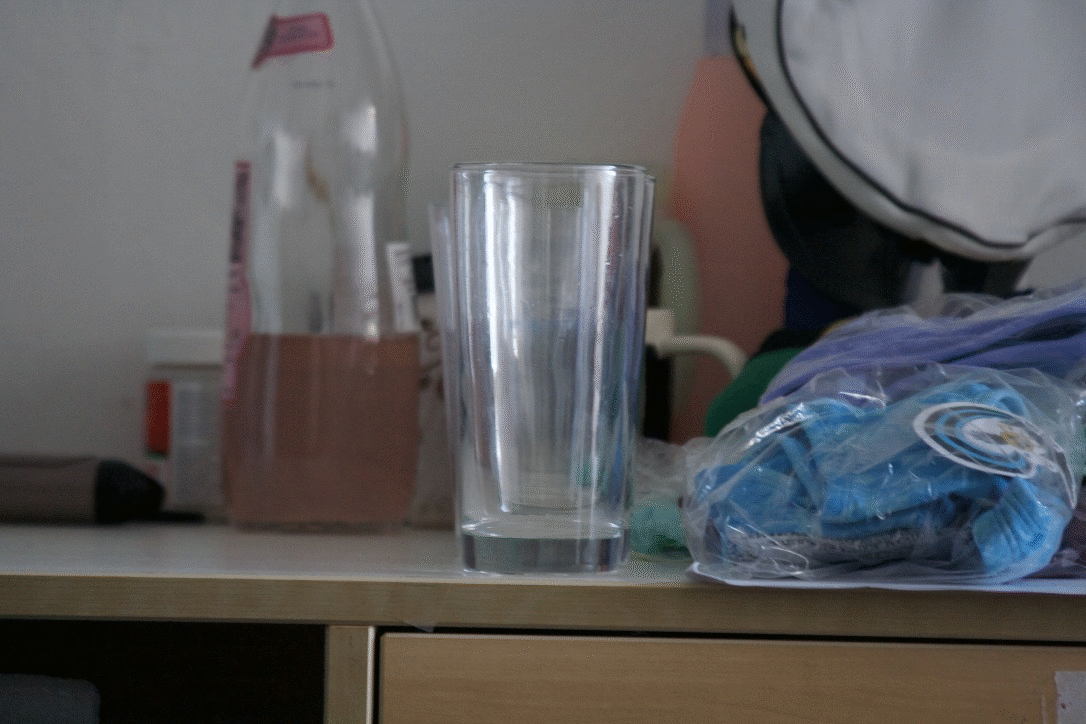
GLASS CUP
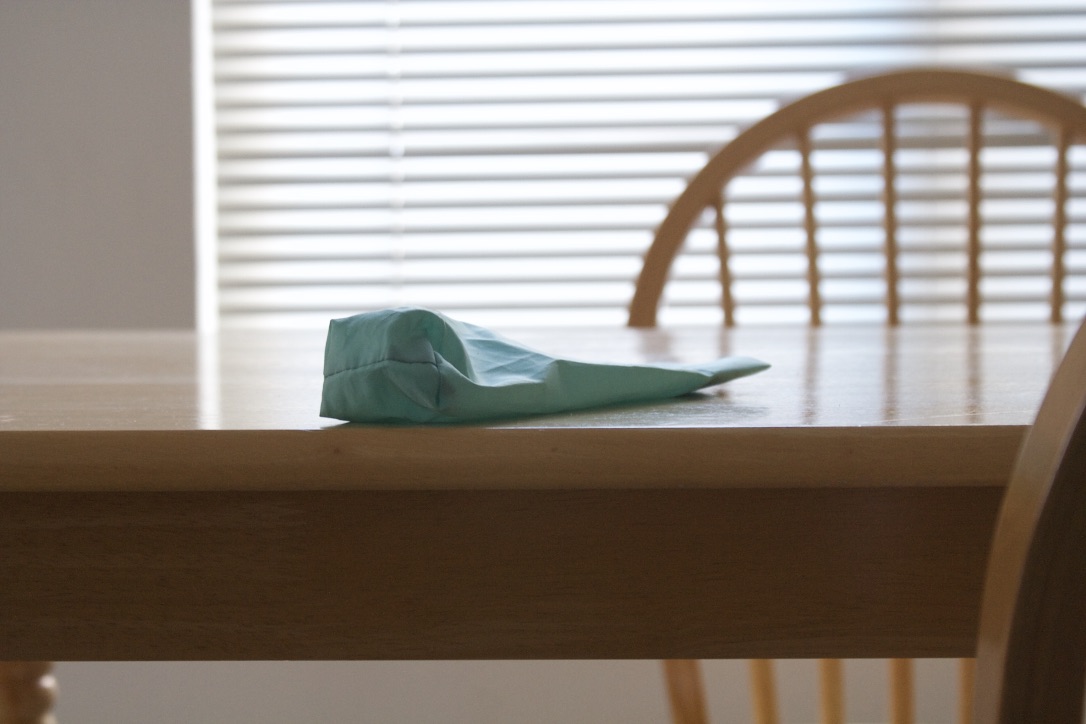
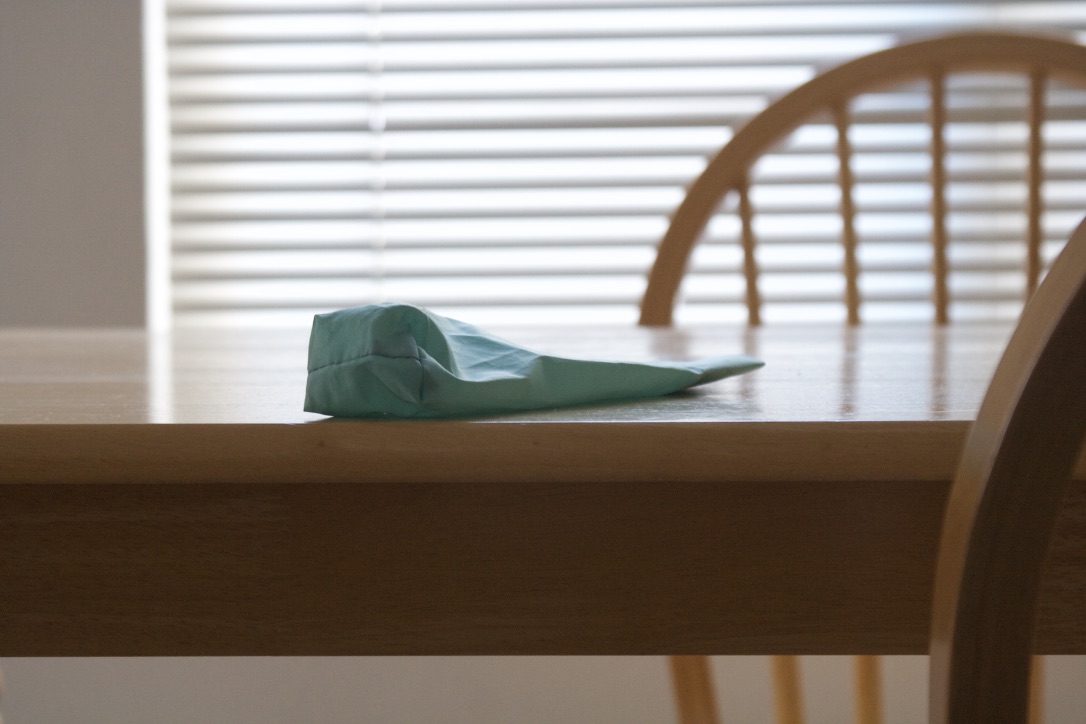
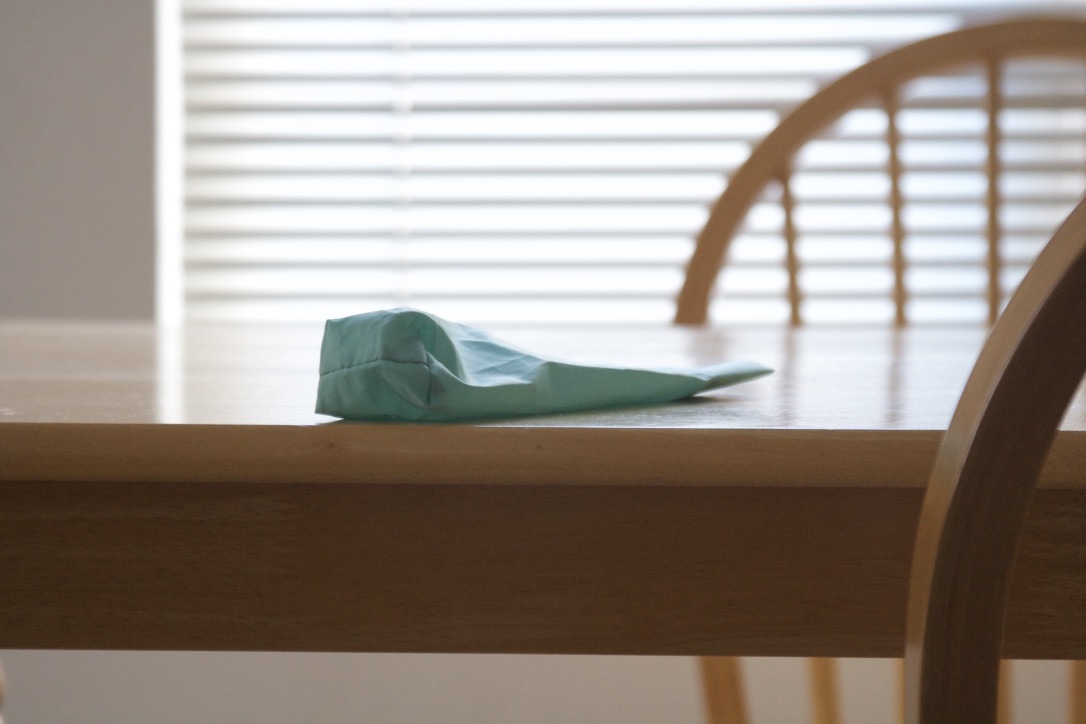
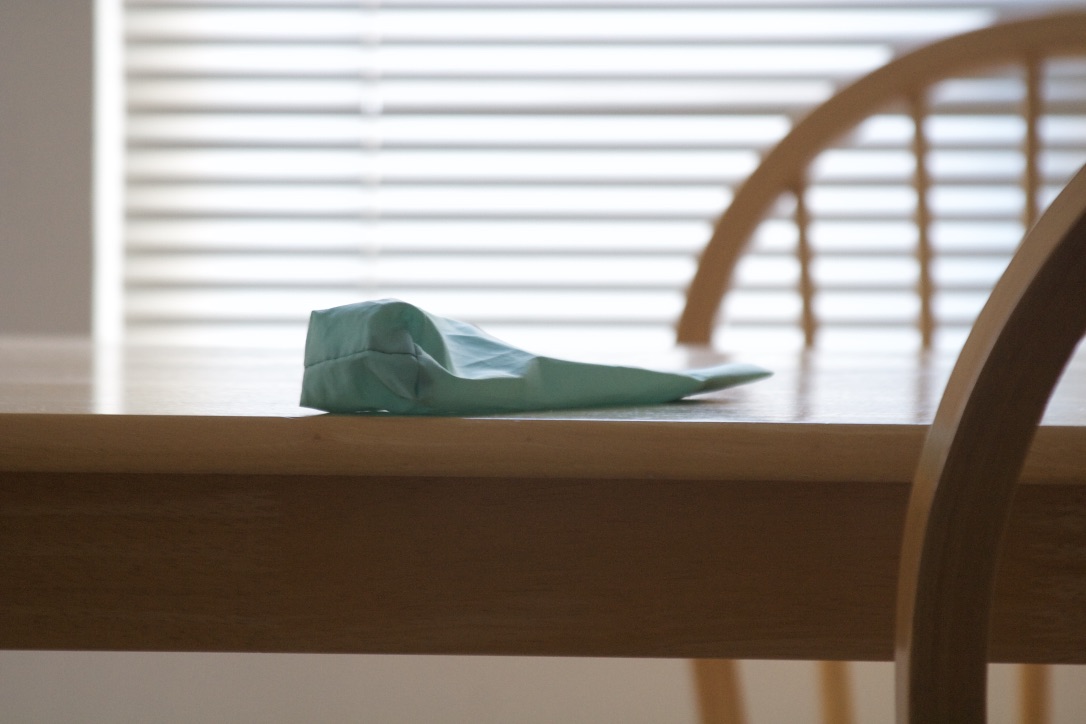
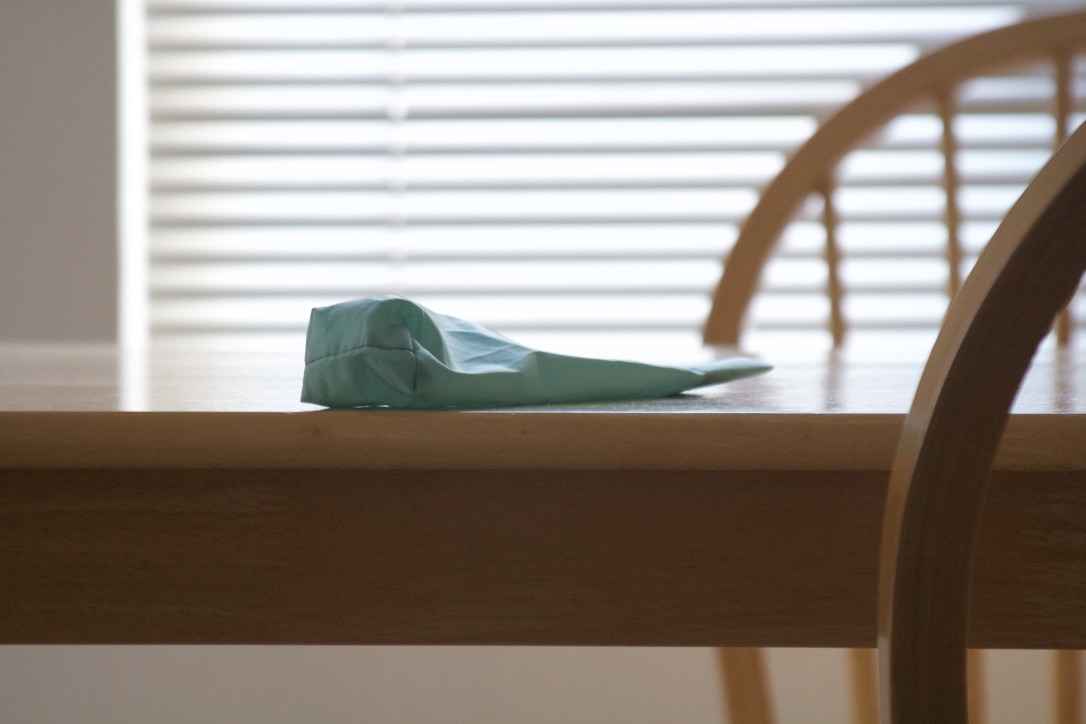
UMBRELLA COVER
I combined the JPG files from above to create an animated GIF. This lets us see the zoom effect more clearly!

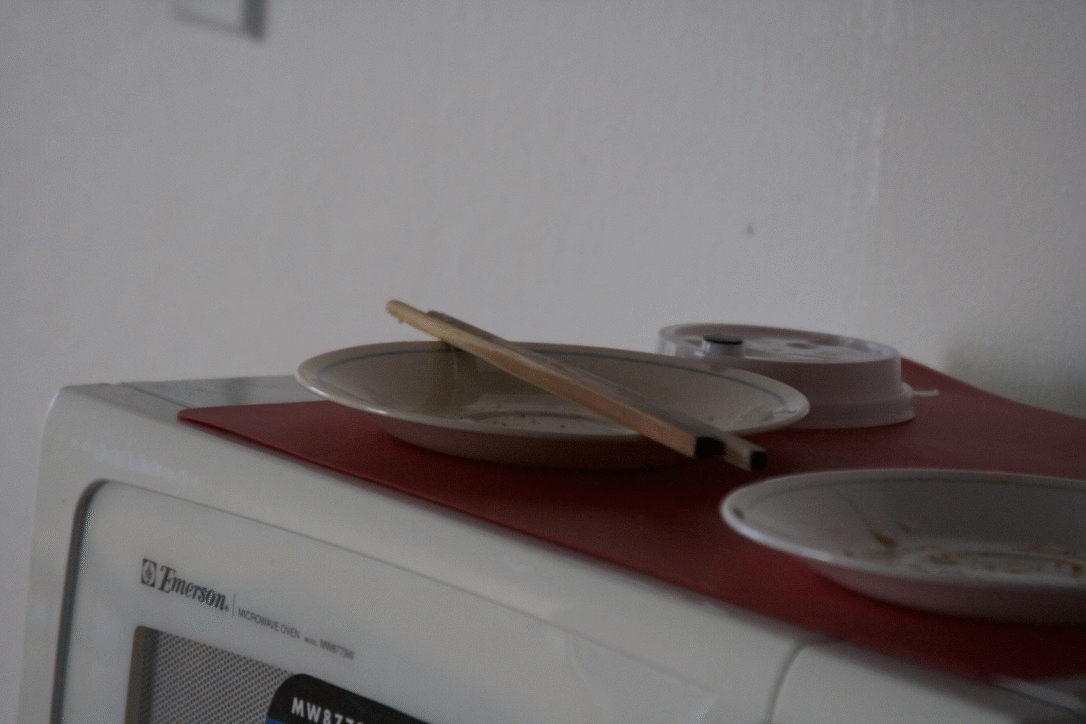
I also experimented with different combinations of movement to see what would happen. In the first sequence of images, I tried starting far away from the subject with a high zoom, and gradually moving closer while zooming out. In the second, I tried slightly moving the perspective of the camera such that the subject (the plate) remained centered, but each image shows it from a slightly different angle.
Thanks for a great class! Some of the projects were quite difficult and and frustrating, but the concepts were really interesting and now I know a lot more about how programs like Photoshop work.