In my final project, I attempt the assigned projects of the Vertigo shot and Fake Miniatures. Both projects were extremely interesting and I learned a lot from the process. Many thanks to Professor Efros, Jun-Yun, and the readers for an excellent semester!
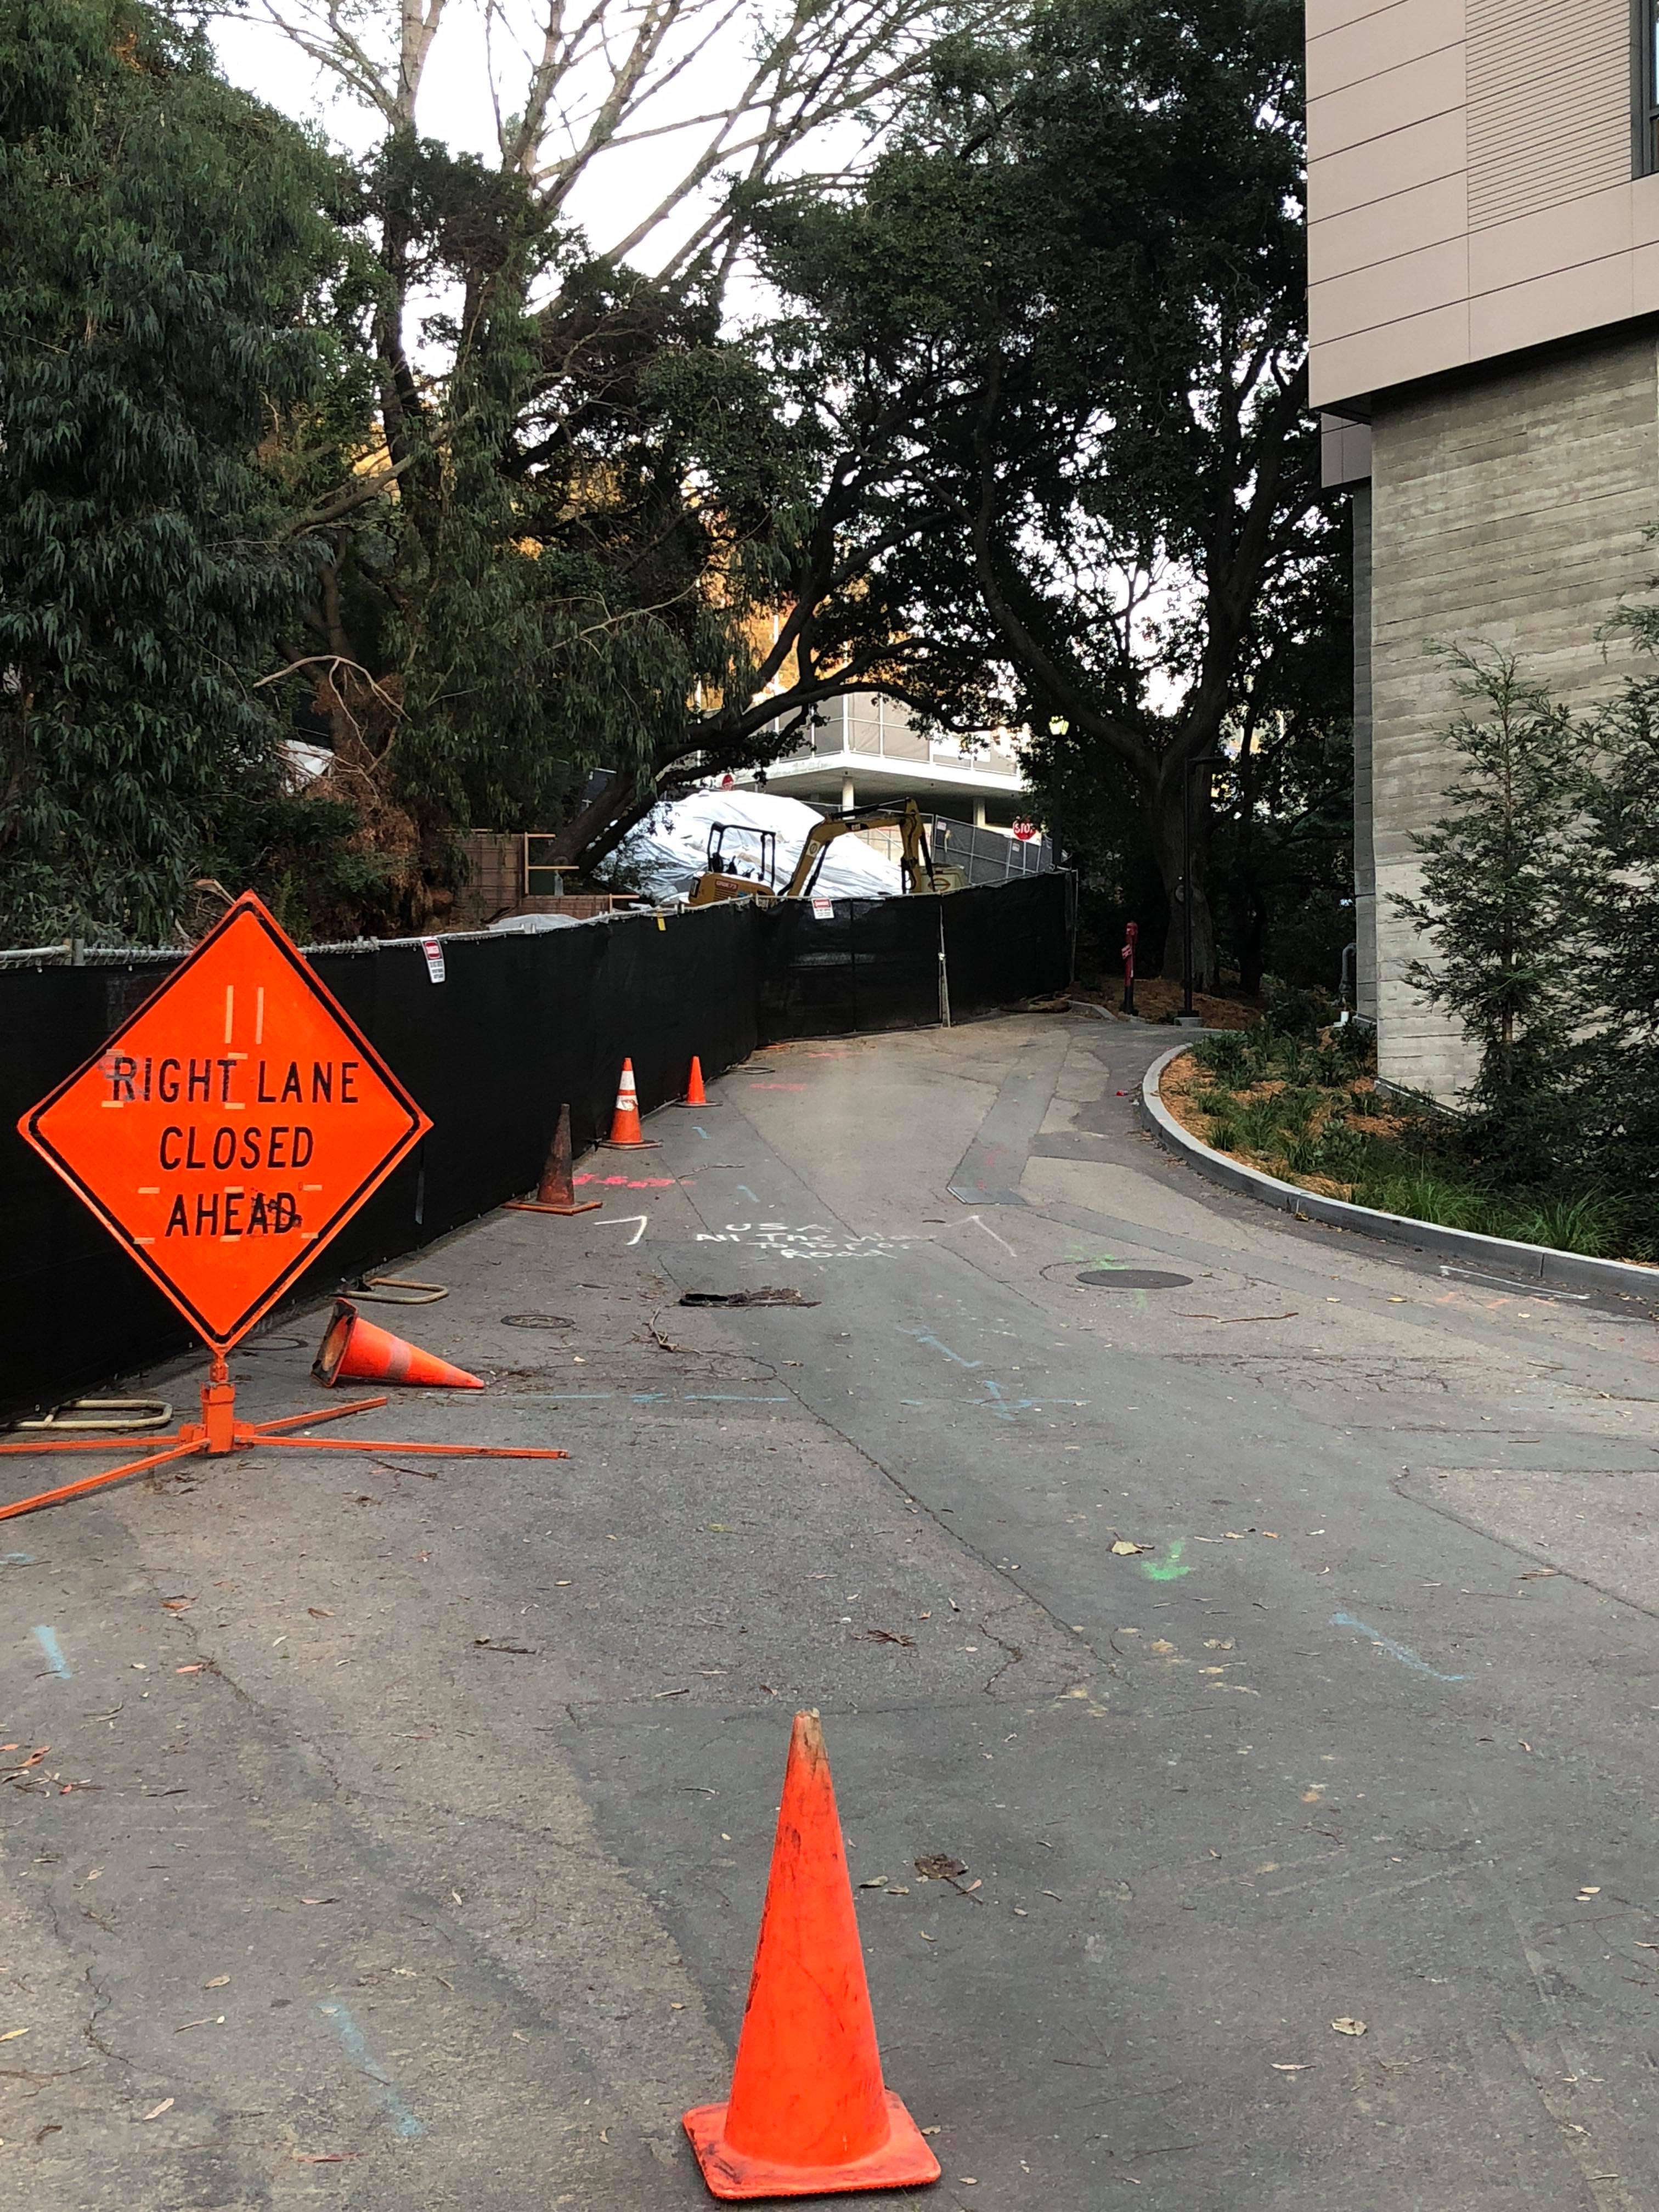
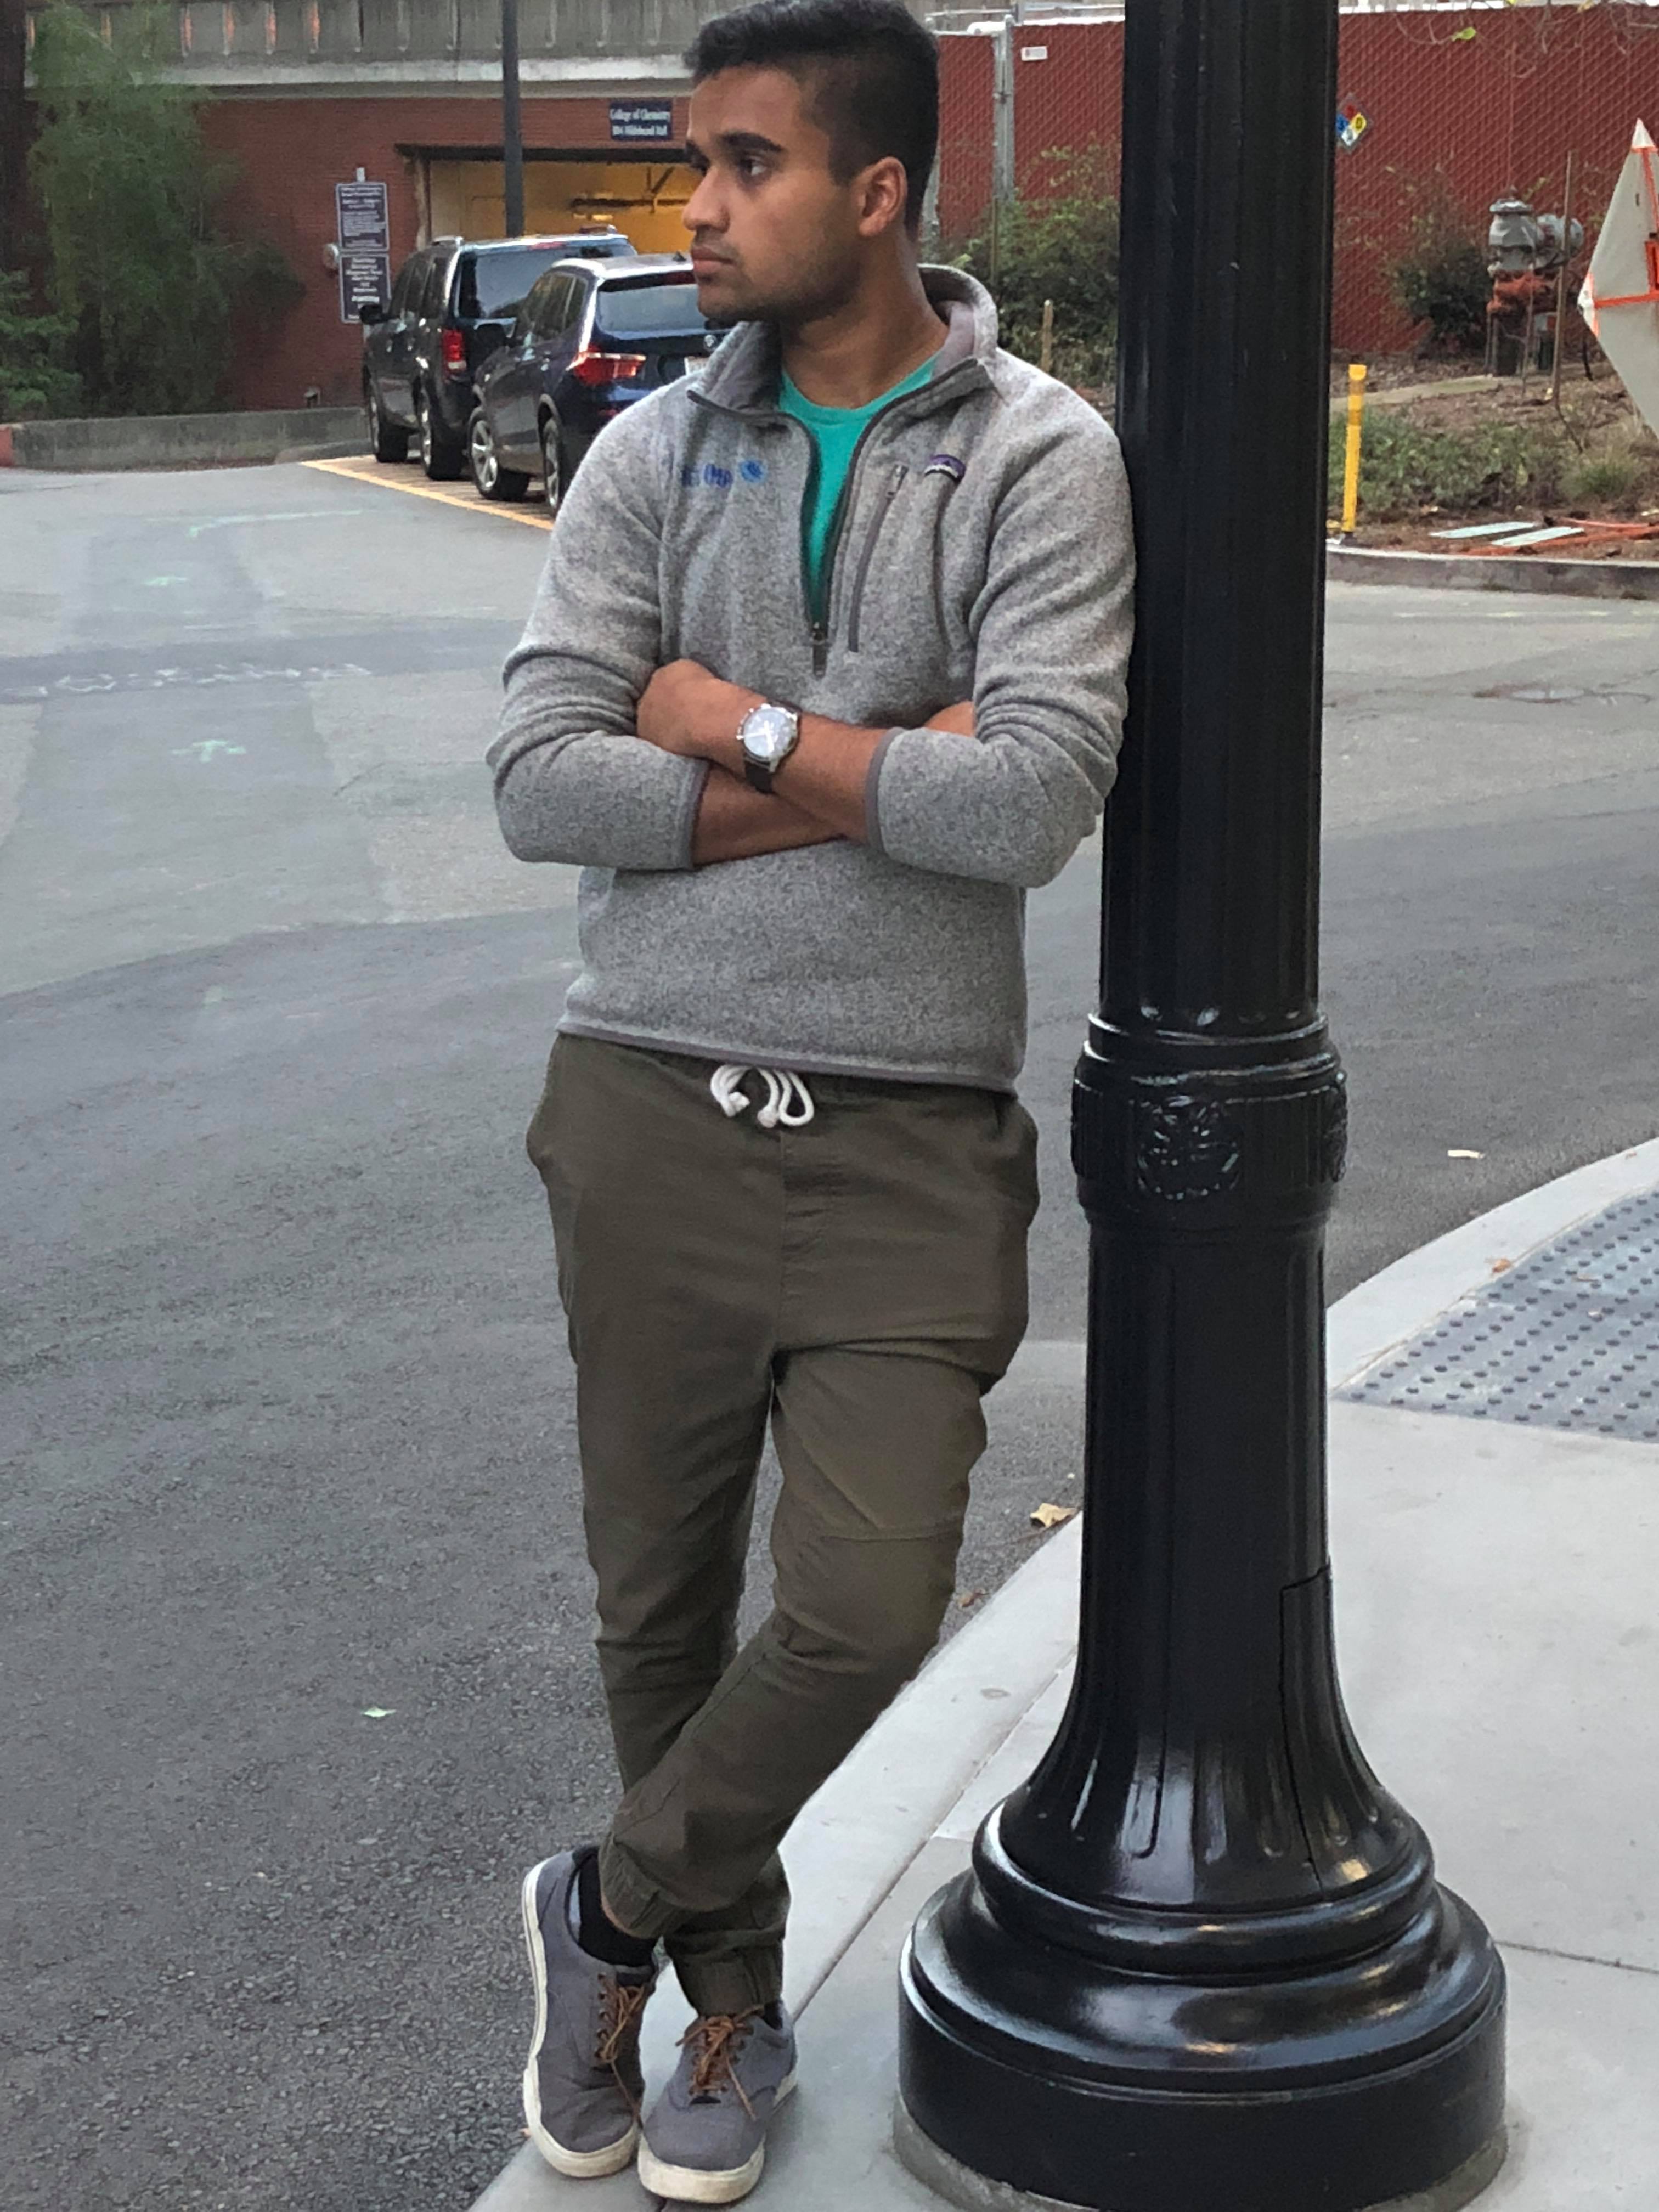
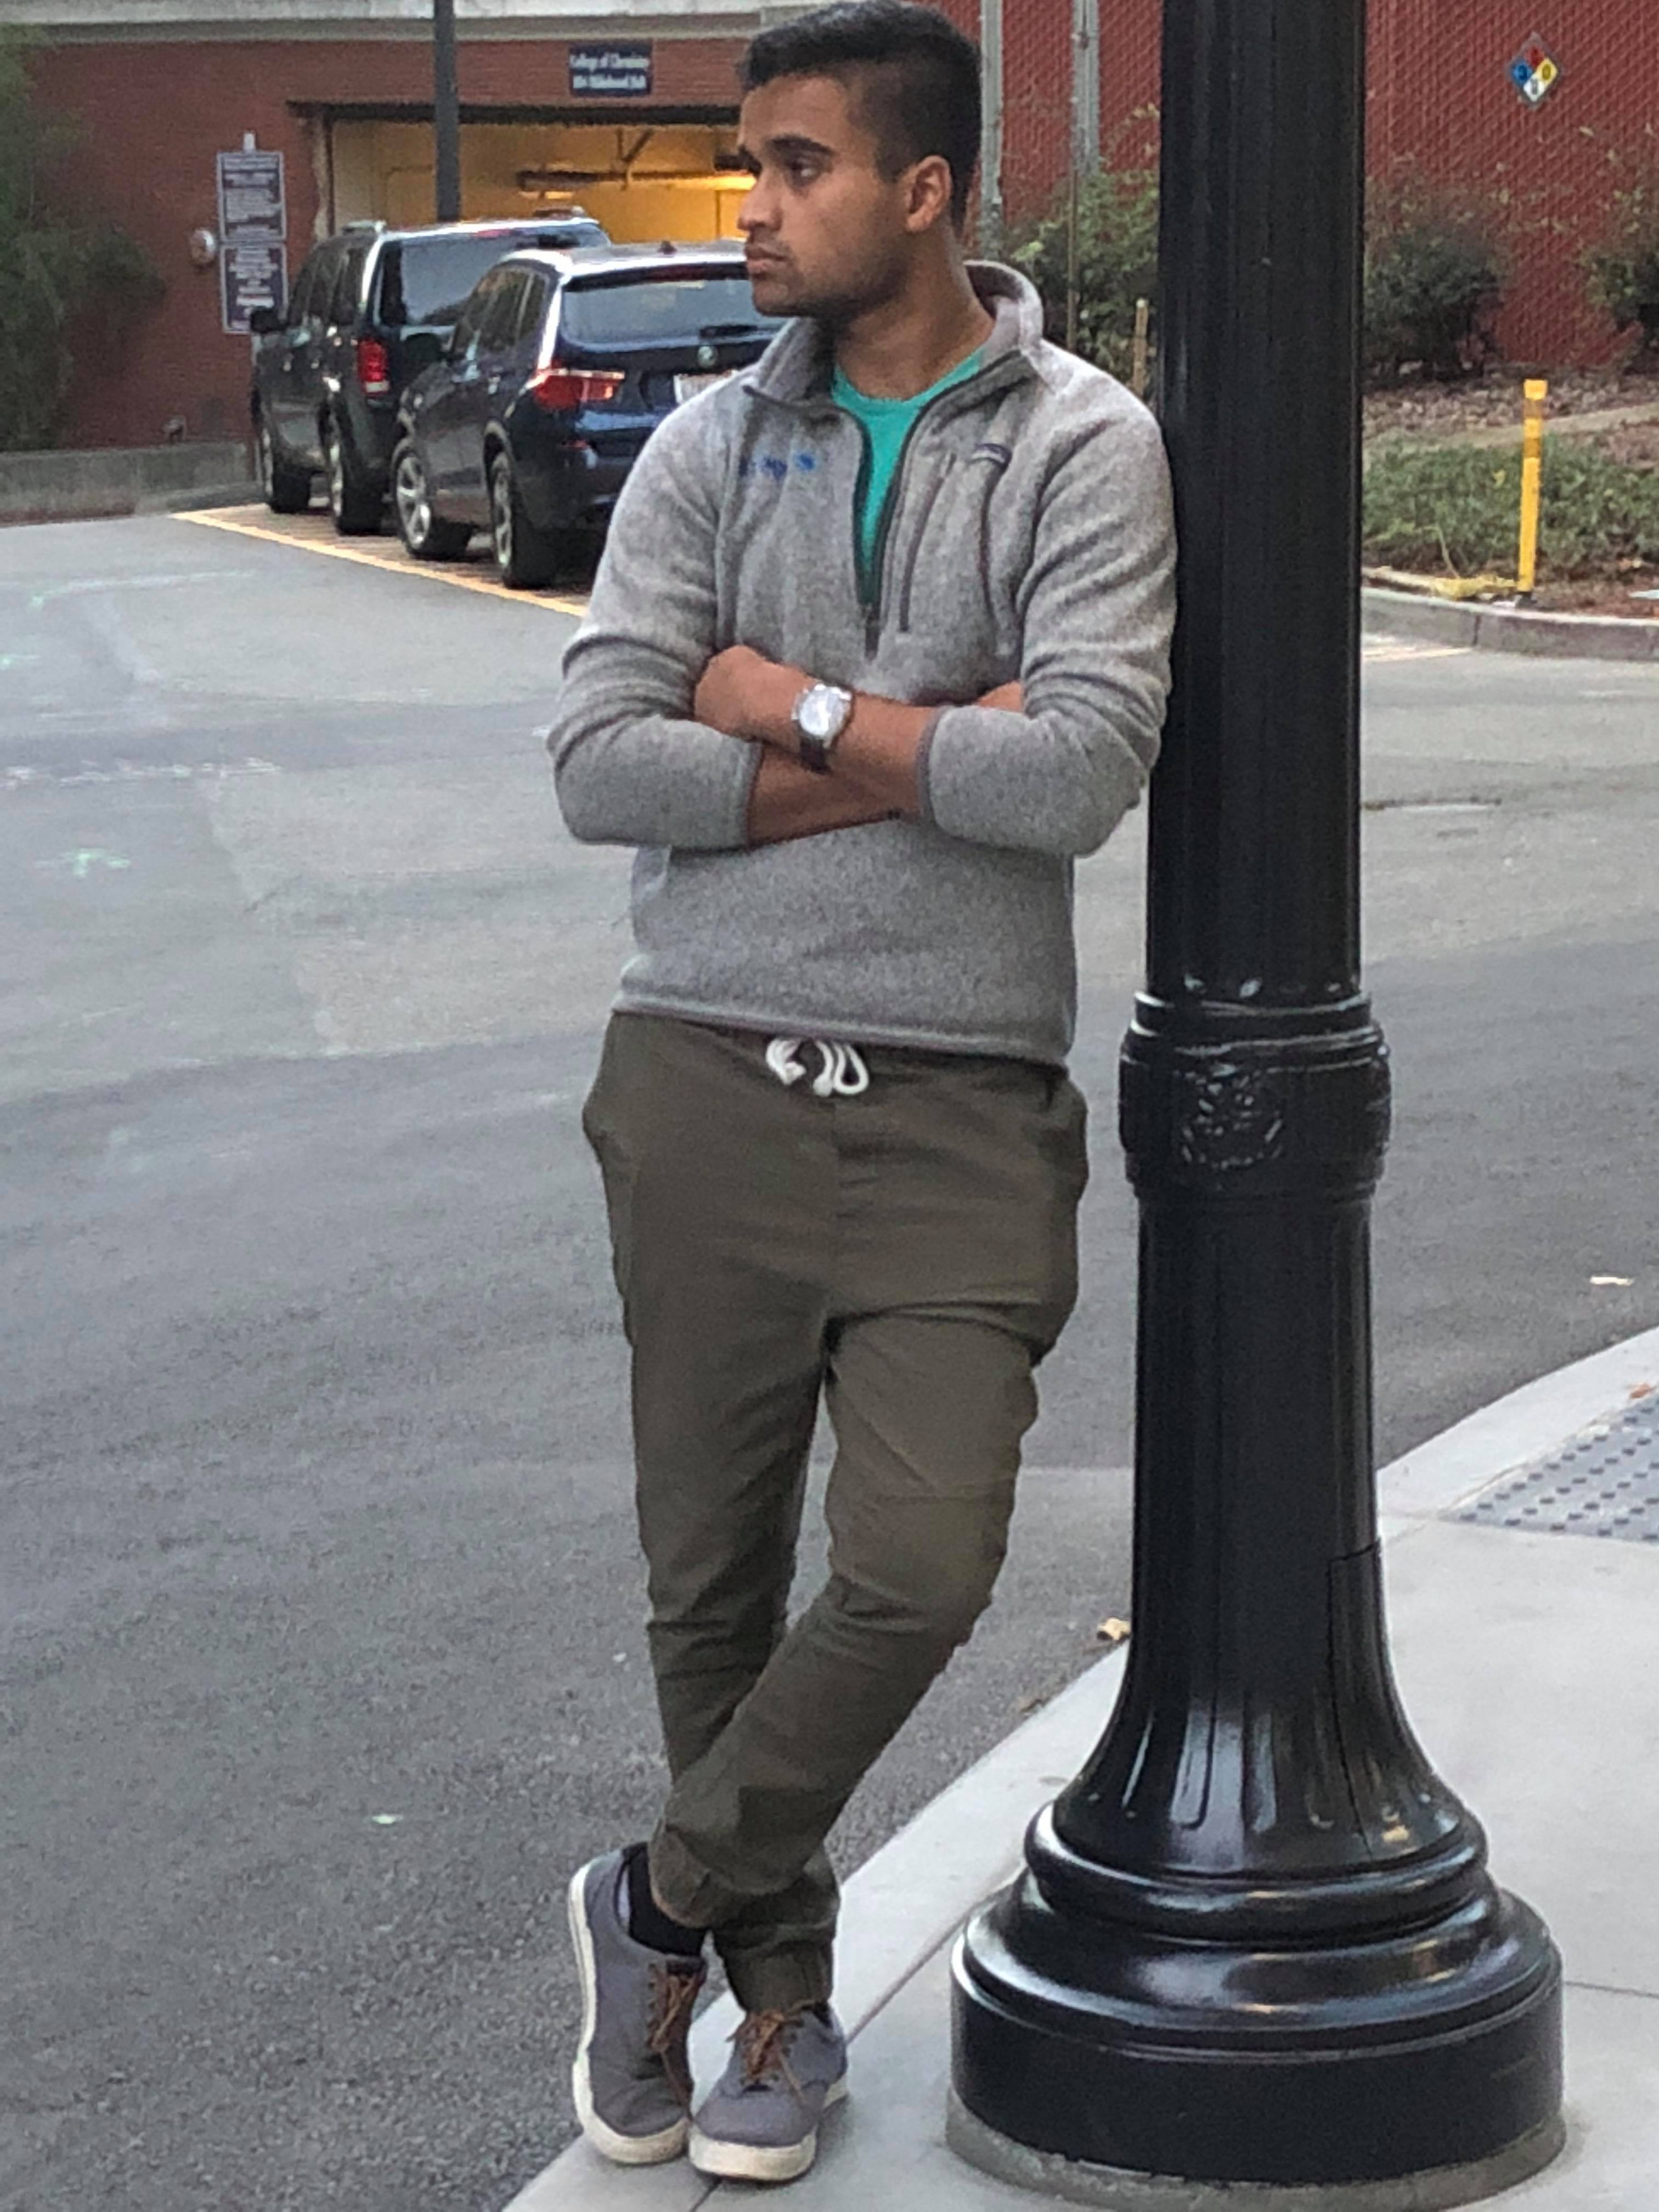
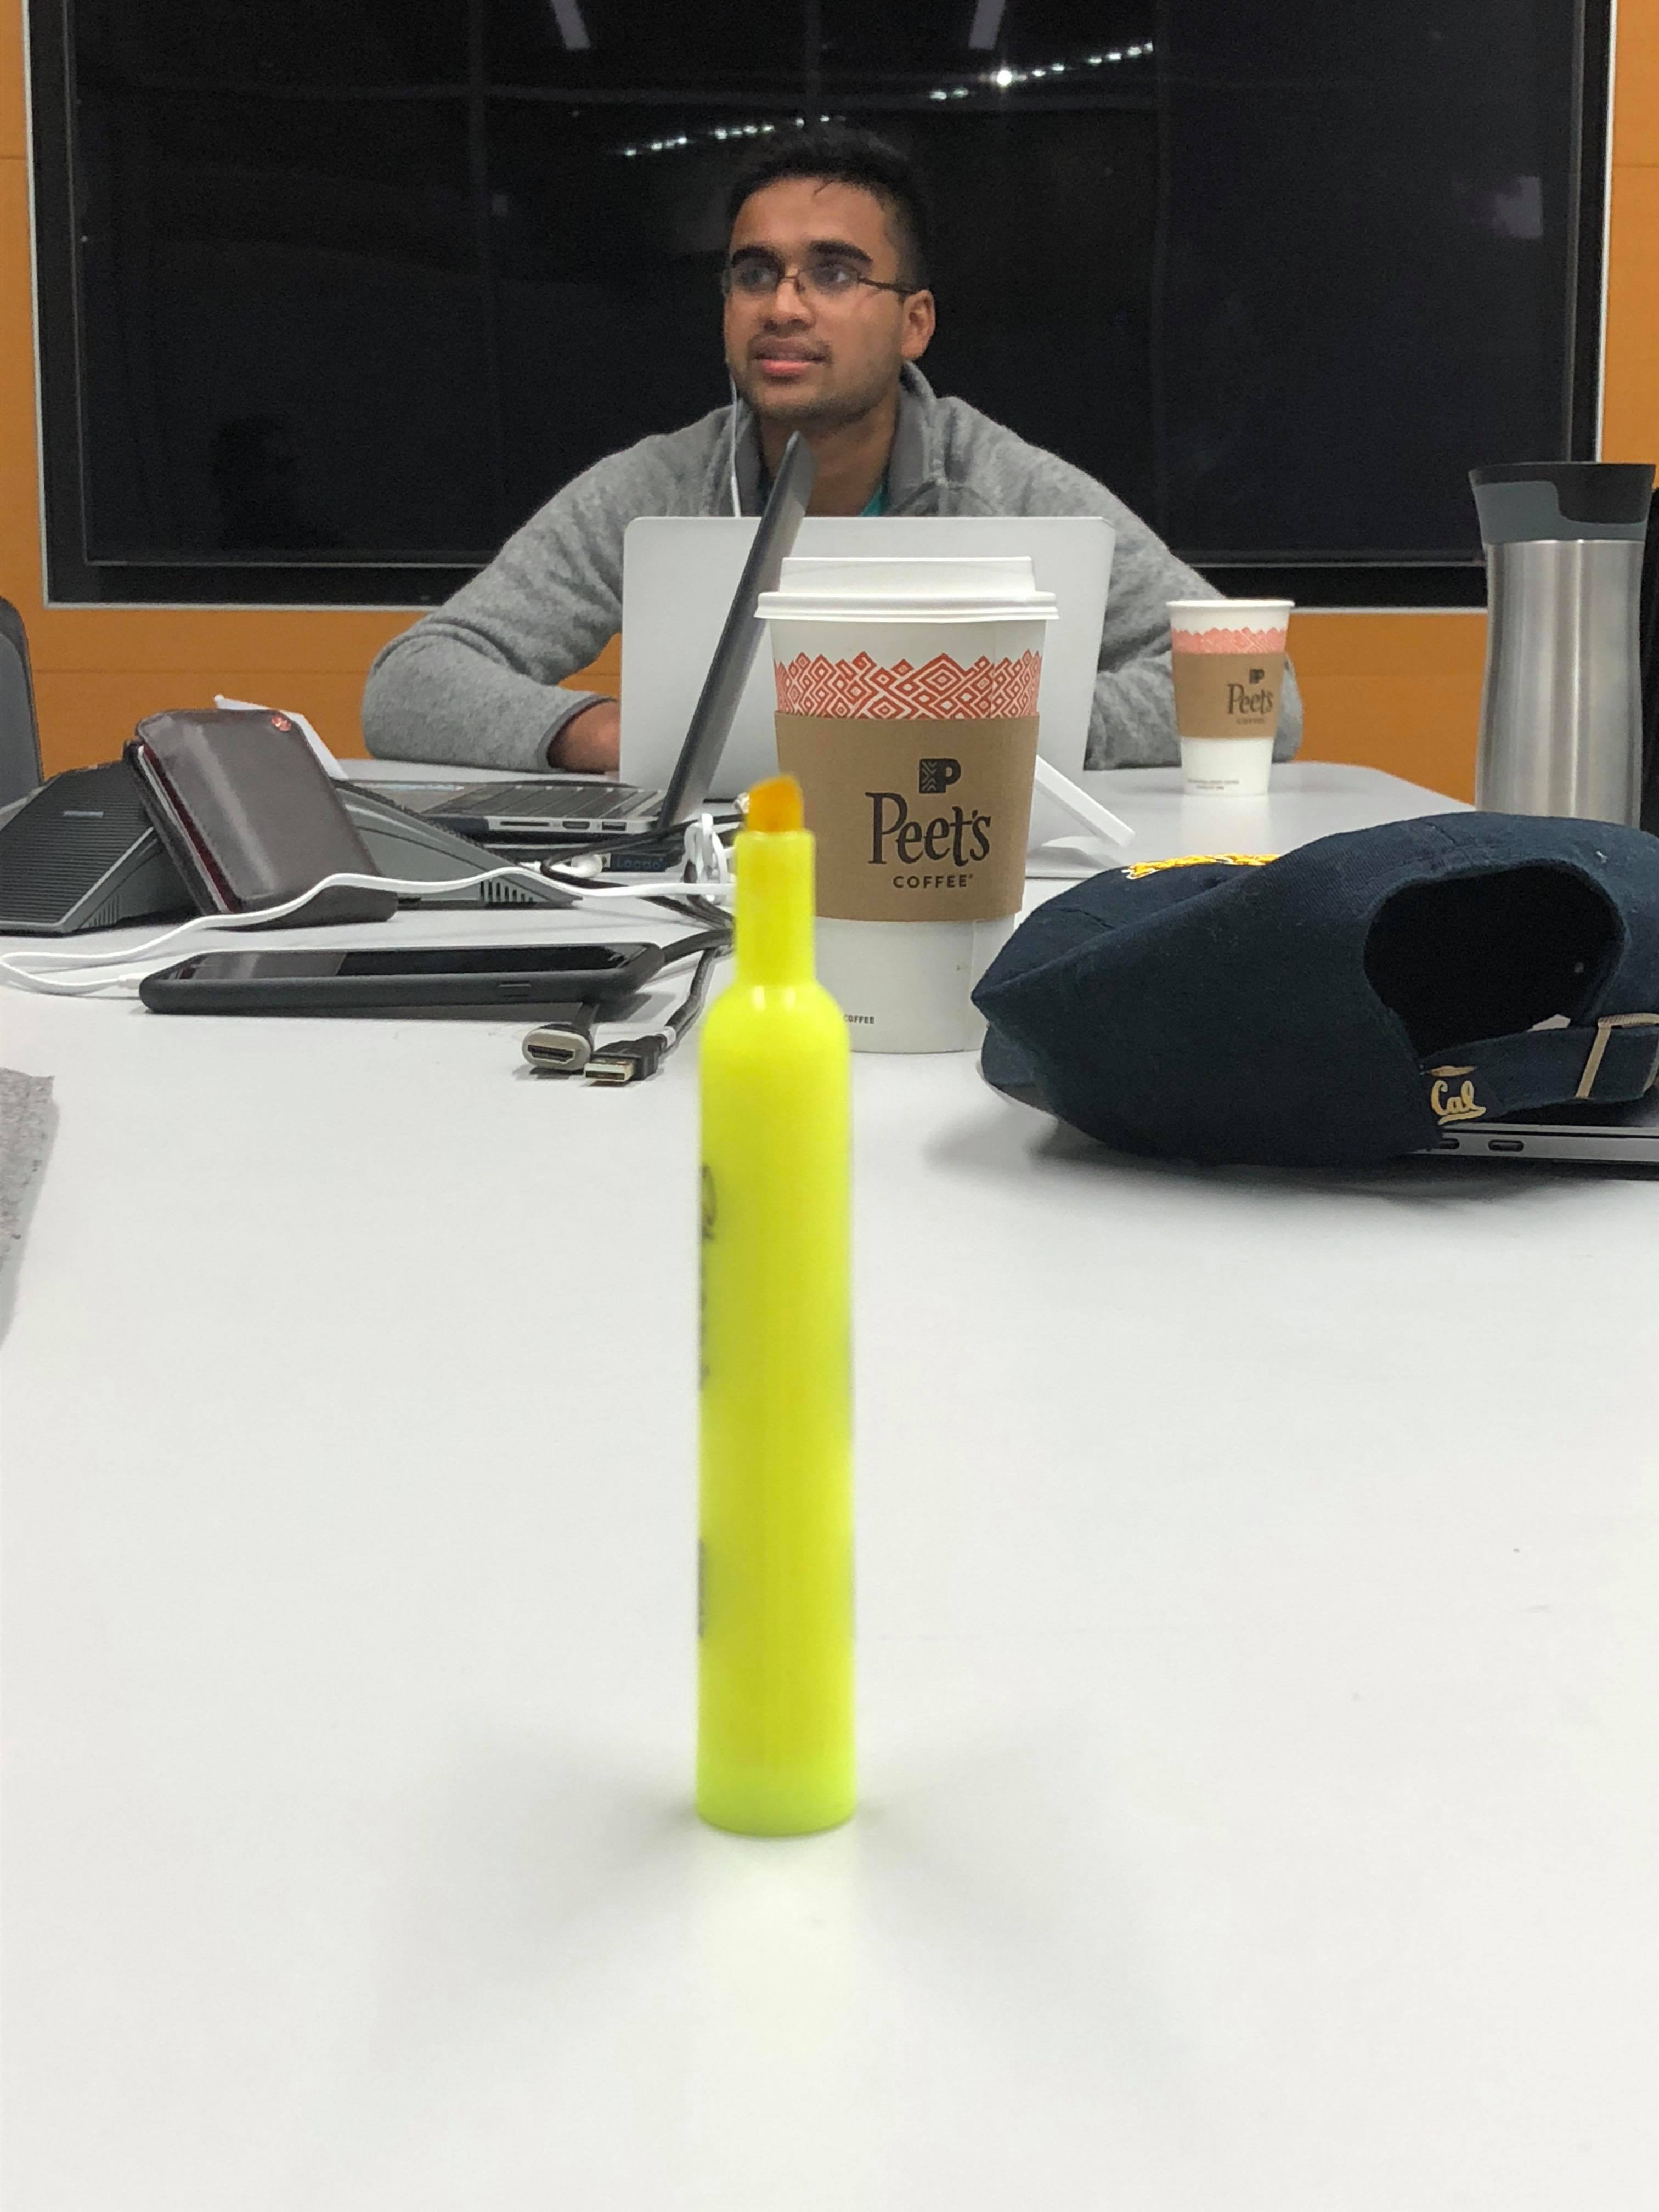
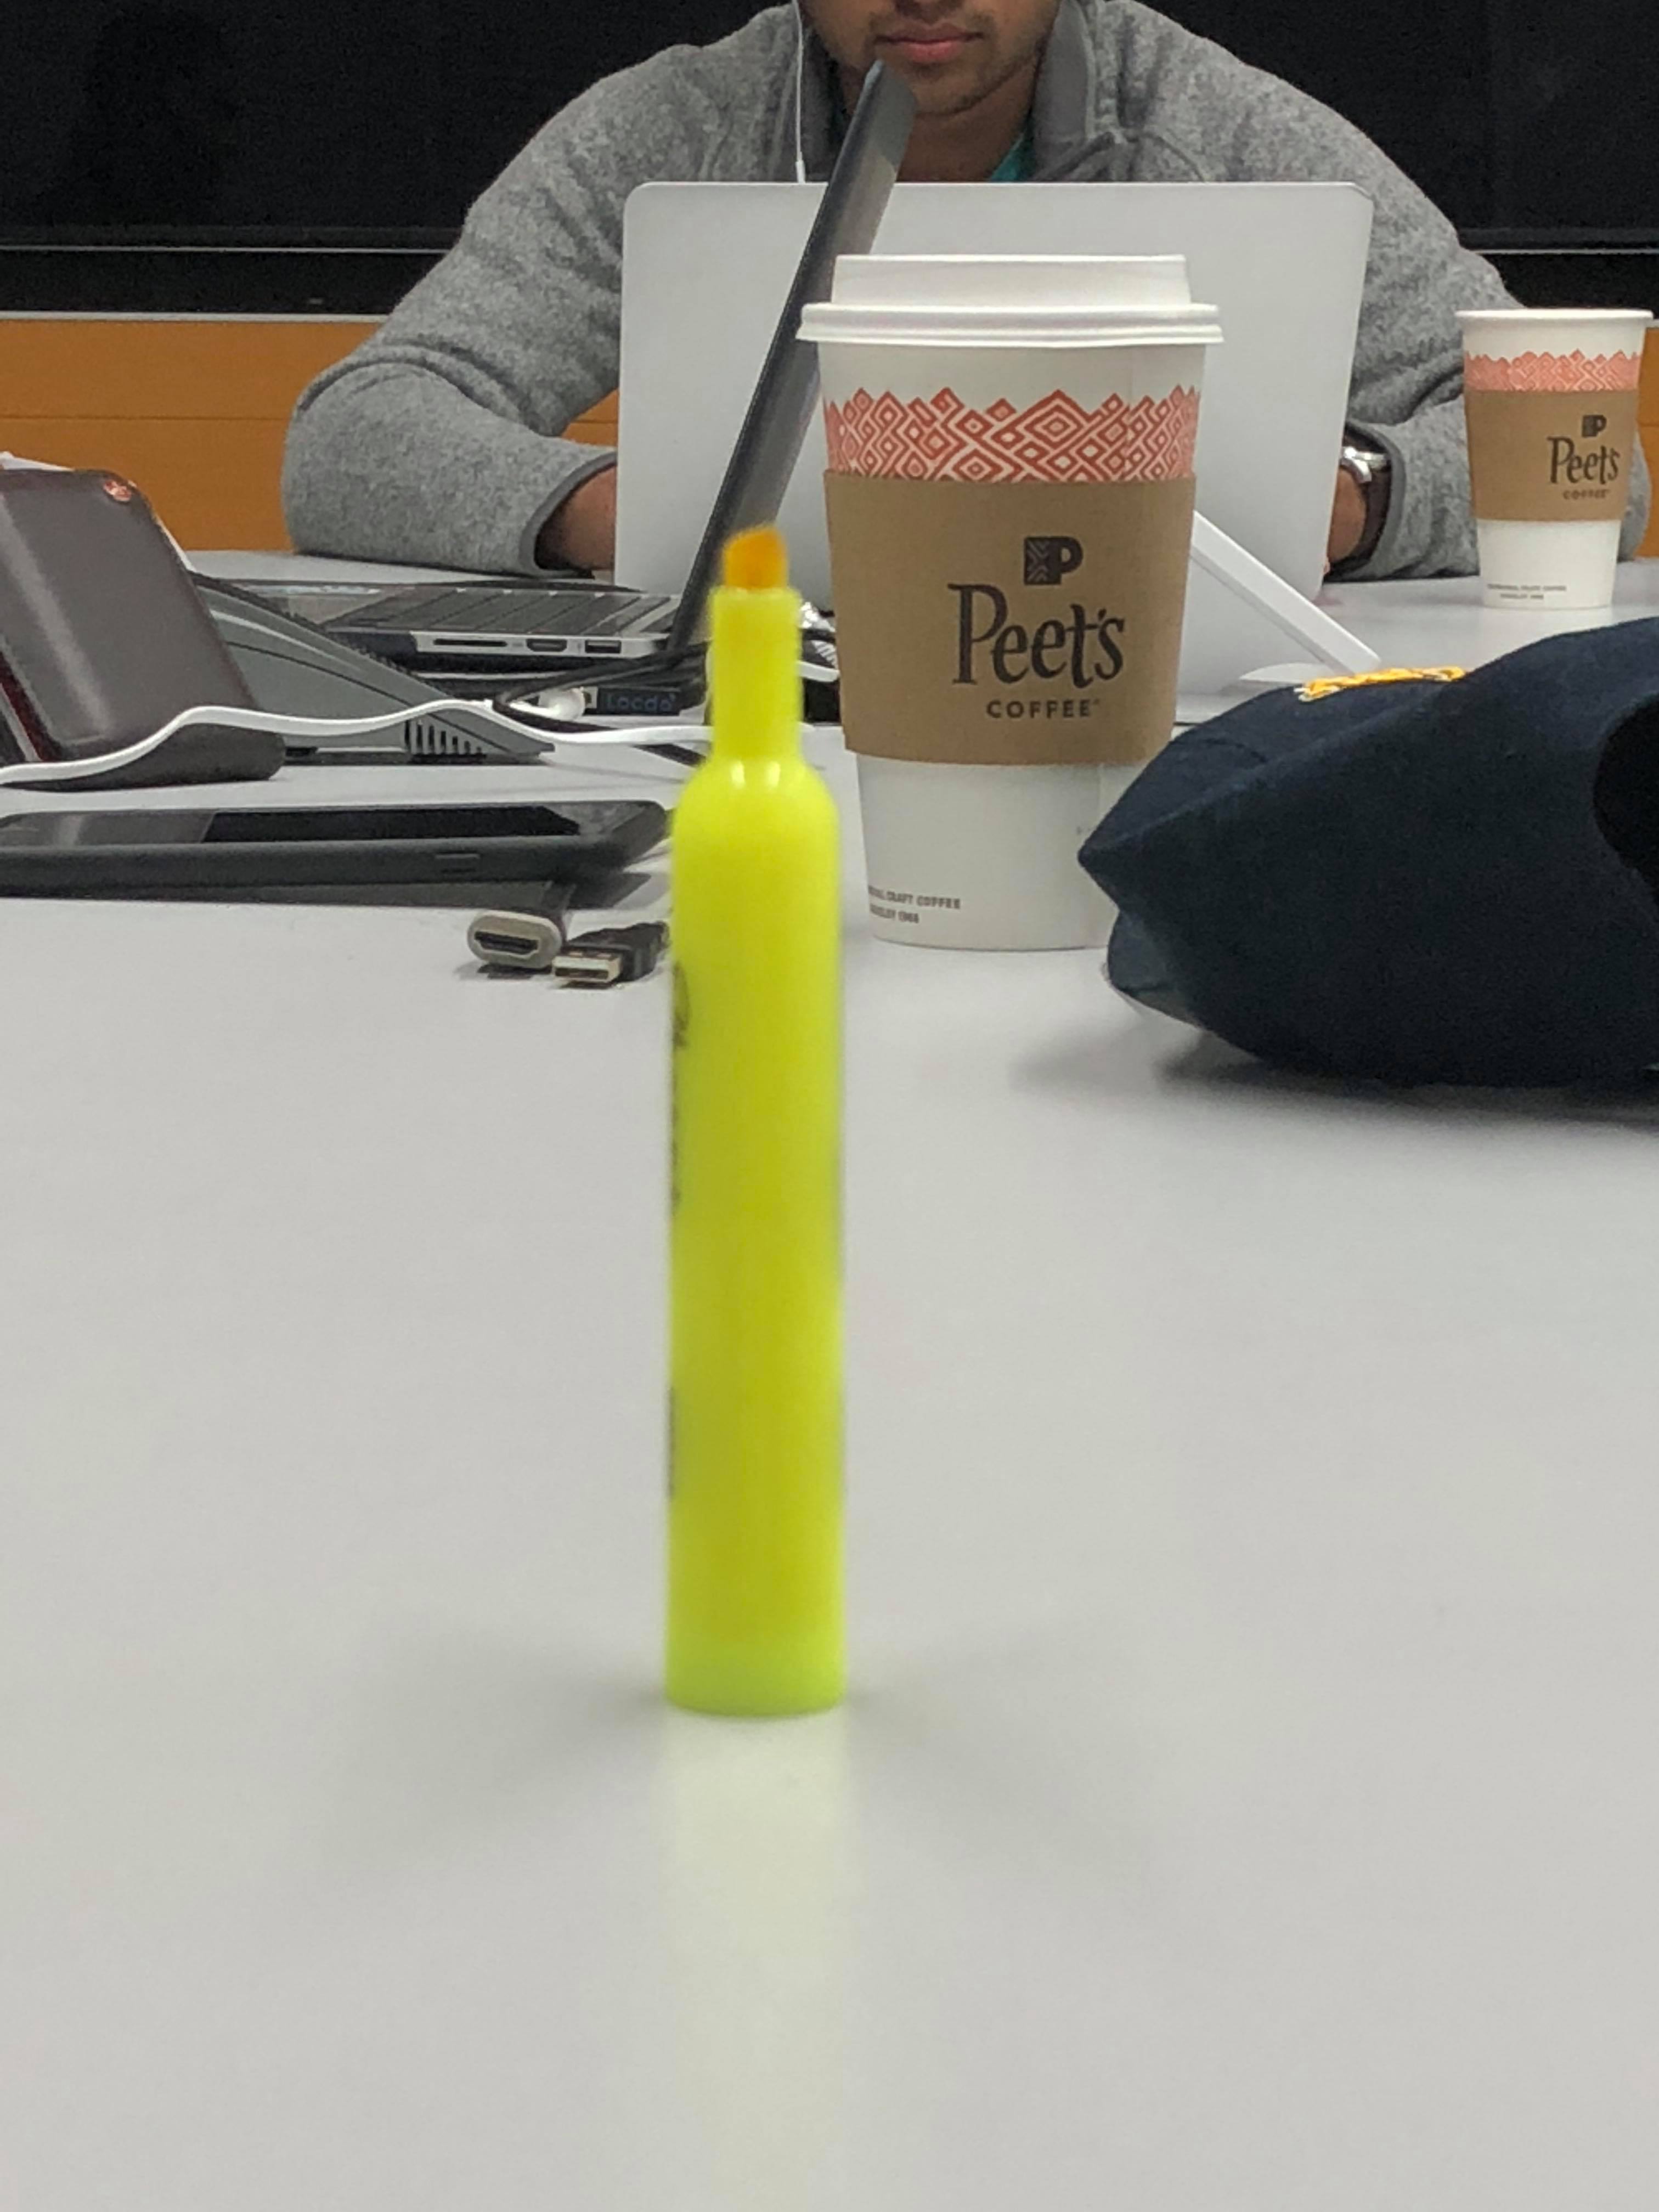
For this aspect of the final project, I duplicated the dolly zoom aka the "Vertigo shot" from Alfred's Hitchock's Vertigo. The algorithm is taking a picture of an object up-close, stepping back and zooming in. This way we keep the size of the object the same but we change the field of view as we step back. This creates a vertigo effect and that is seen in the movie.
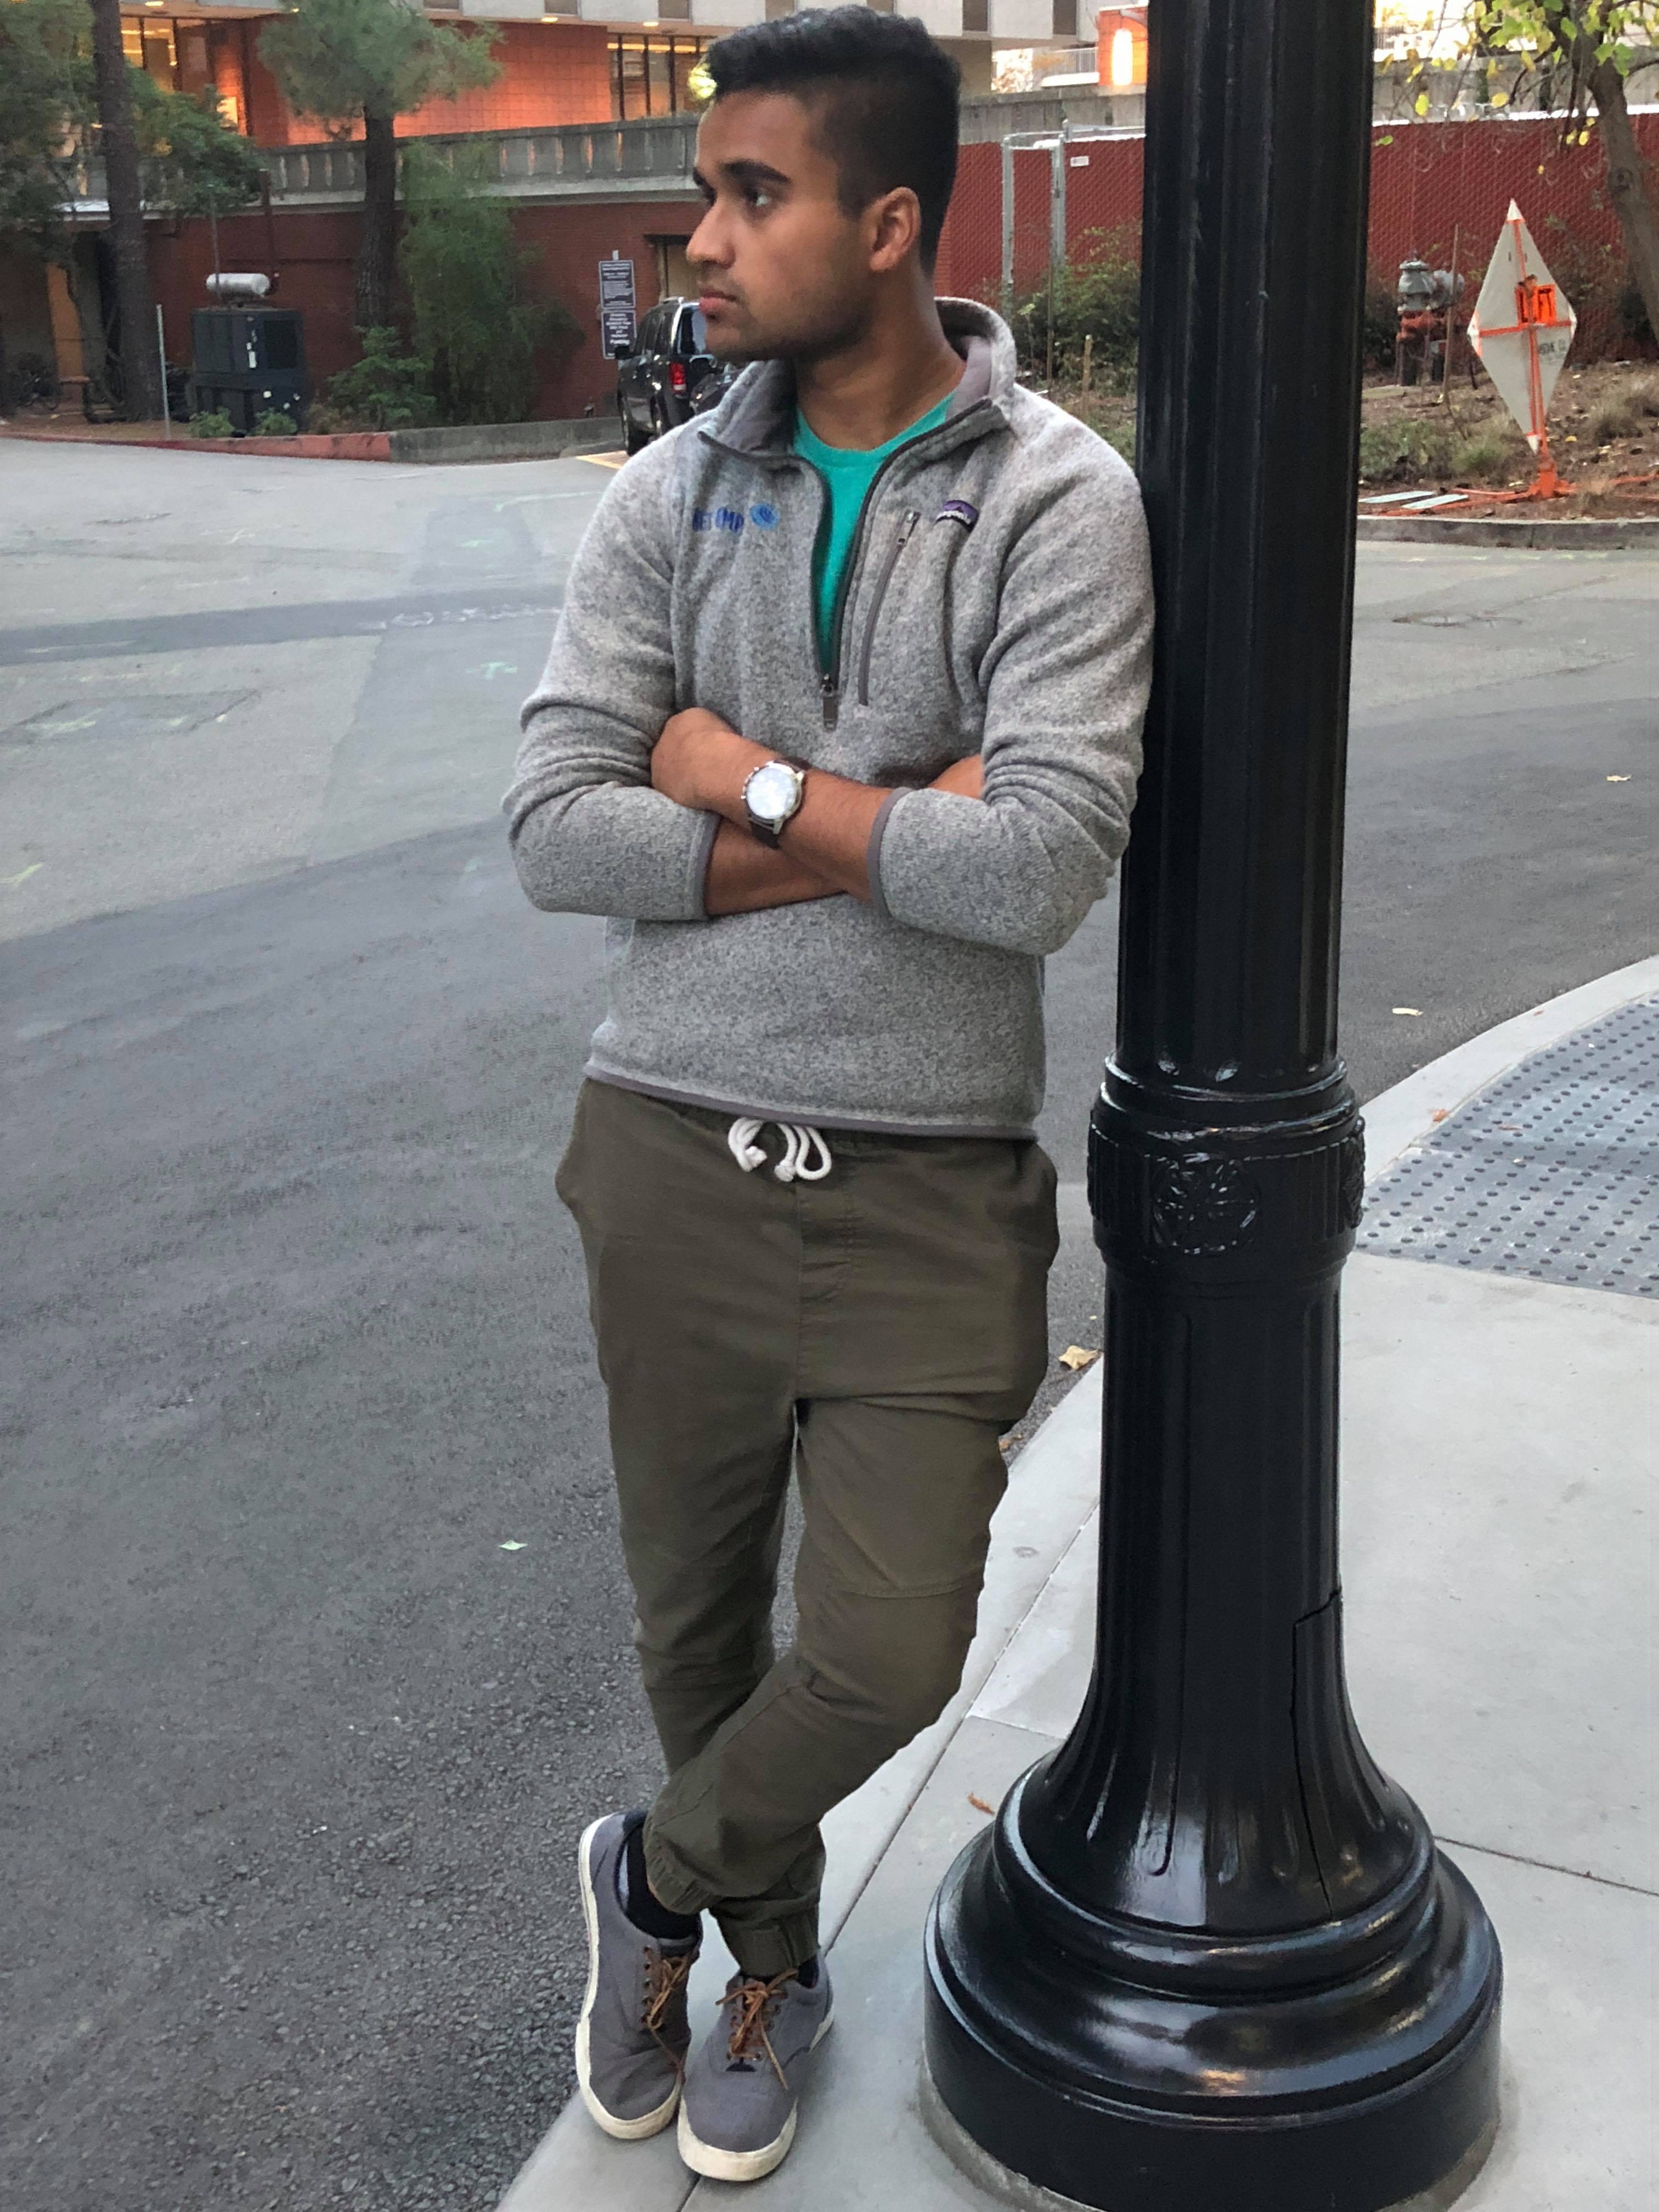
Actually implementing this was hard as holding the camera steady and getting a clear picture for all four shots is difficult. This why you can see slight angle shifts from image to image. The camera I happened is the high-def camera from the iPhone 8 as I did not have access to professional camera. Below are my results of a cone found outside the Haas School of Business and of my friend Ani (a fellow member in this class!).

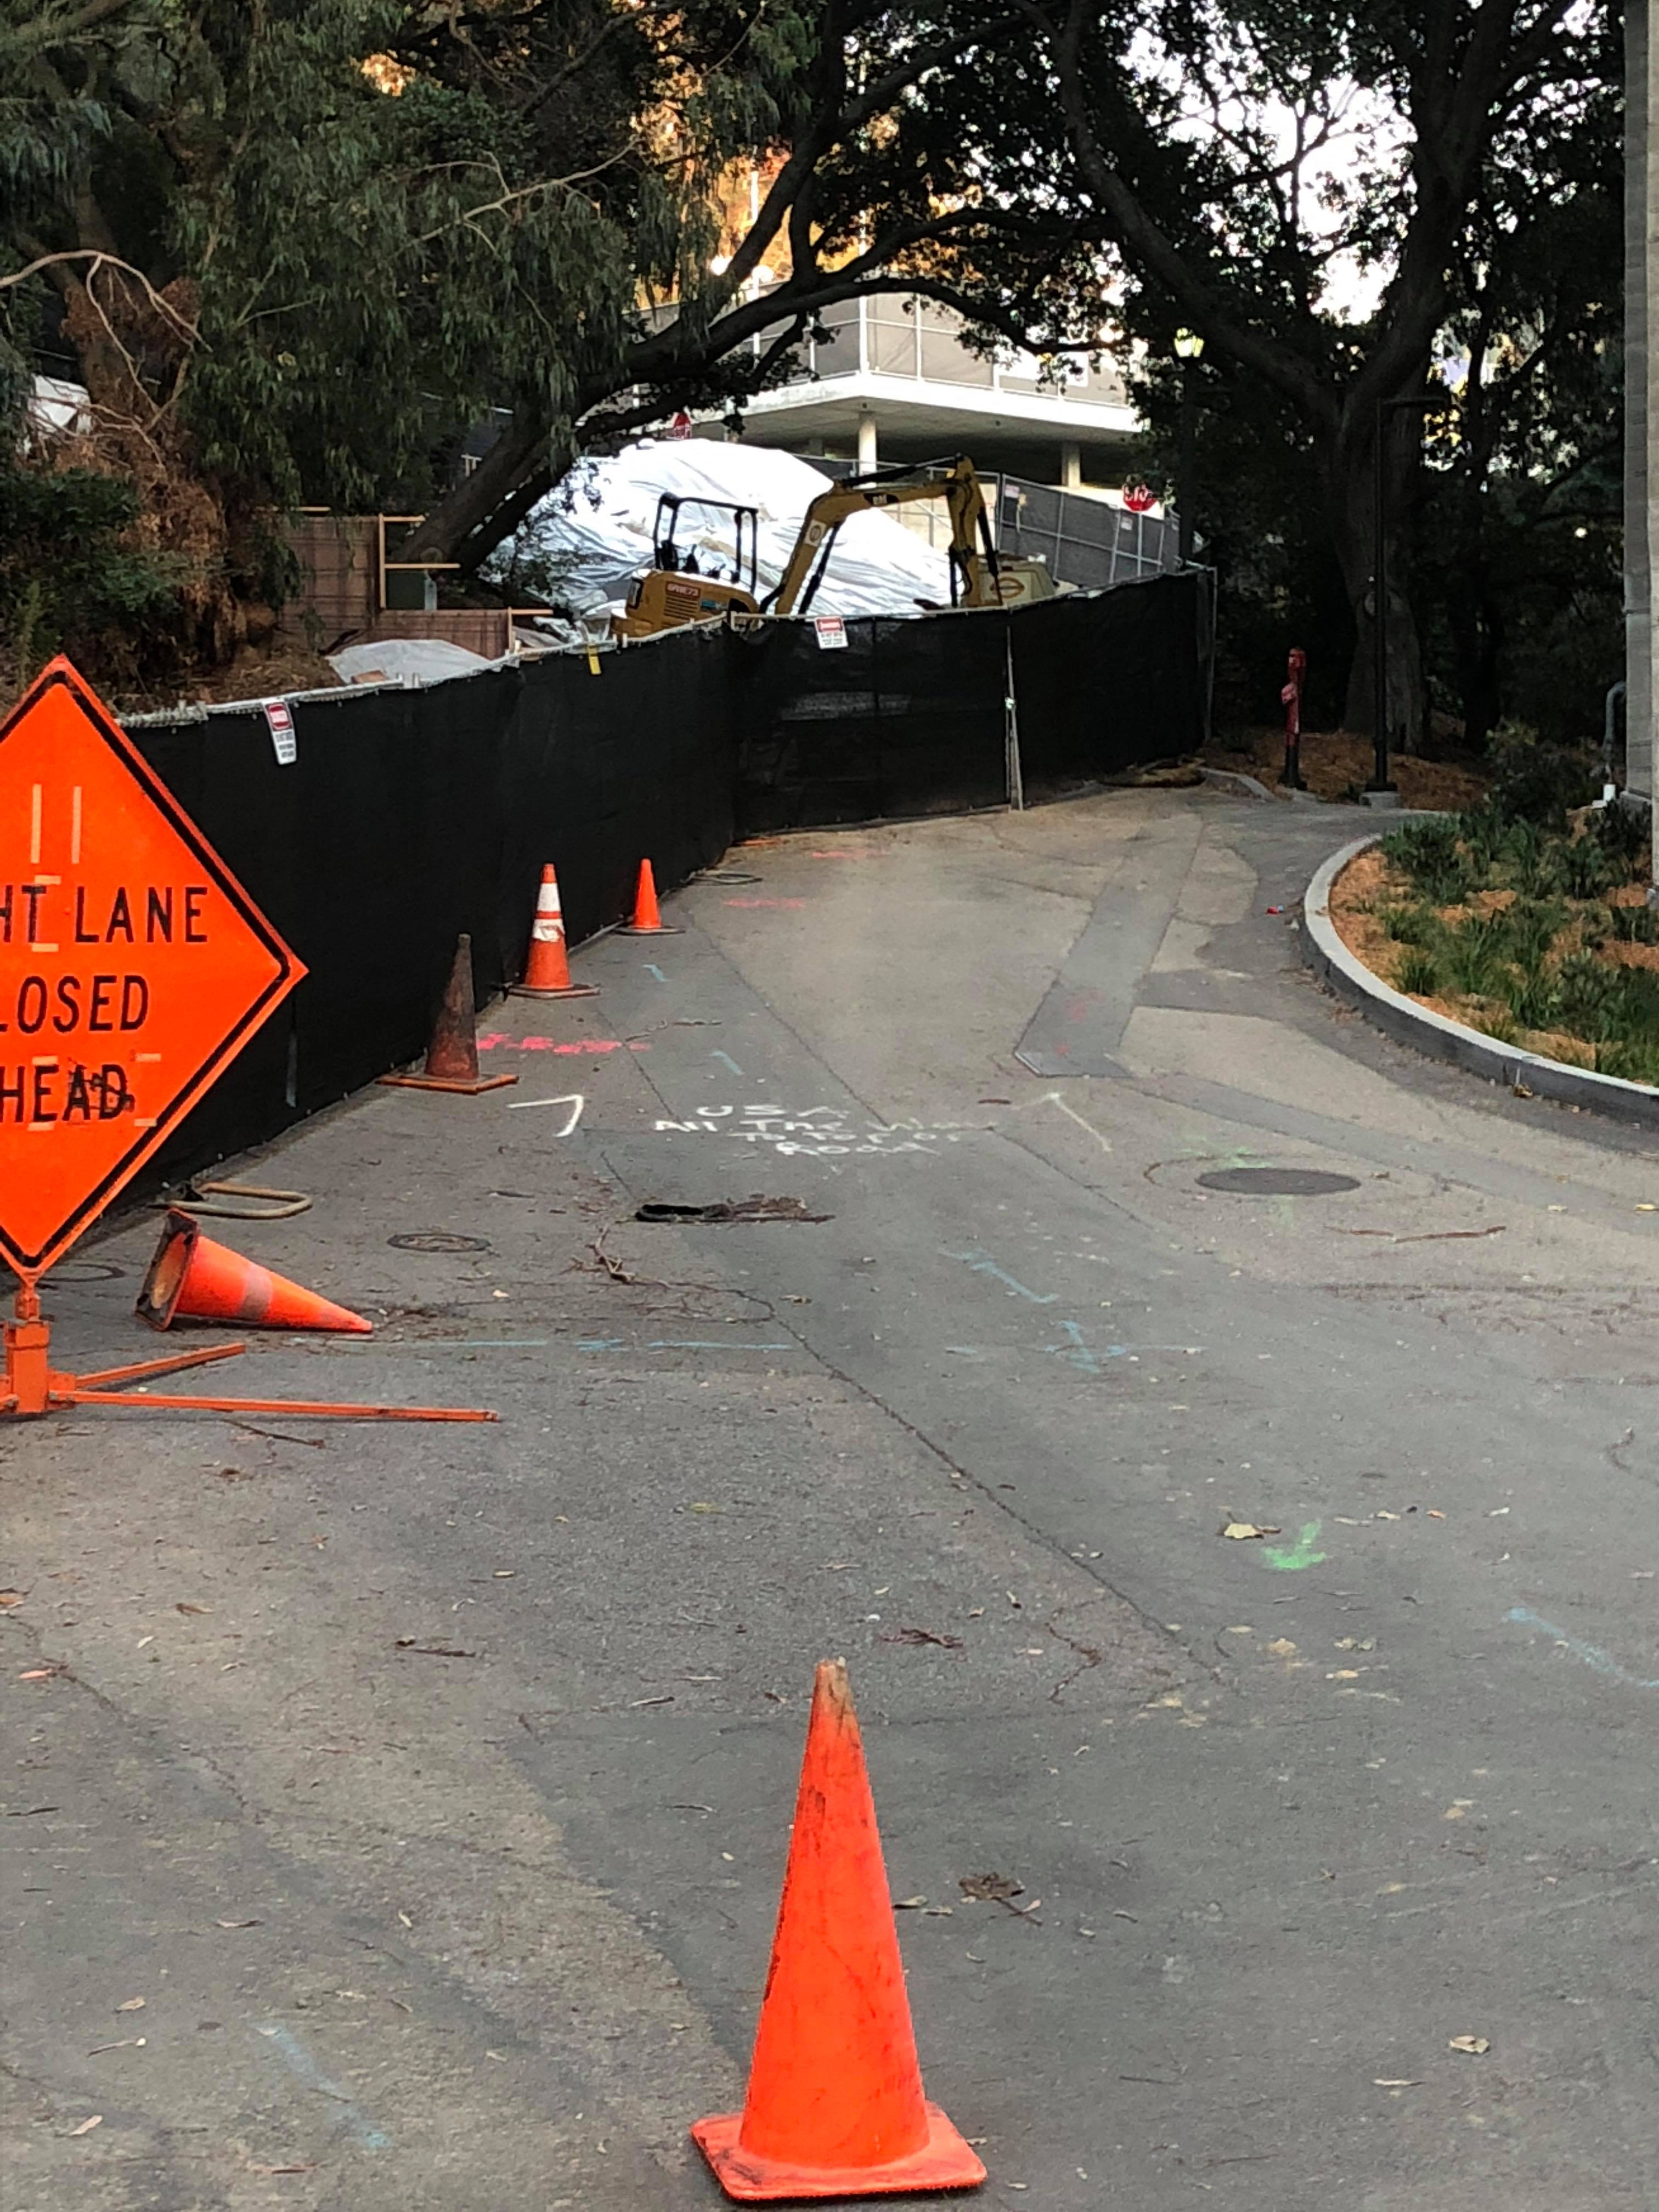
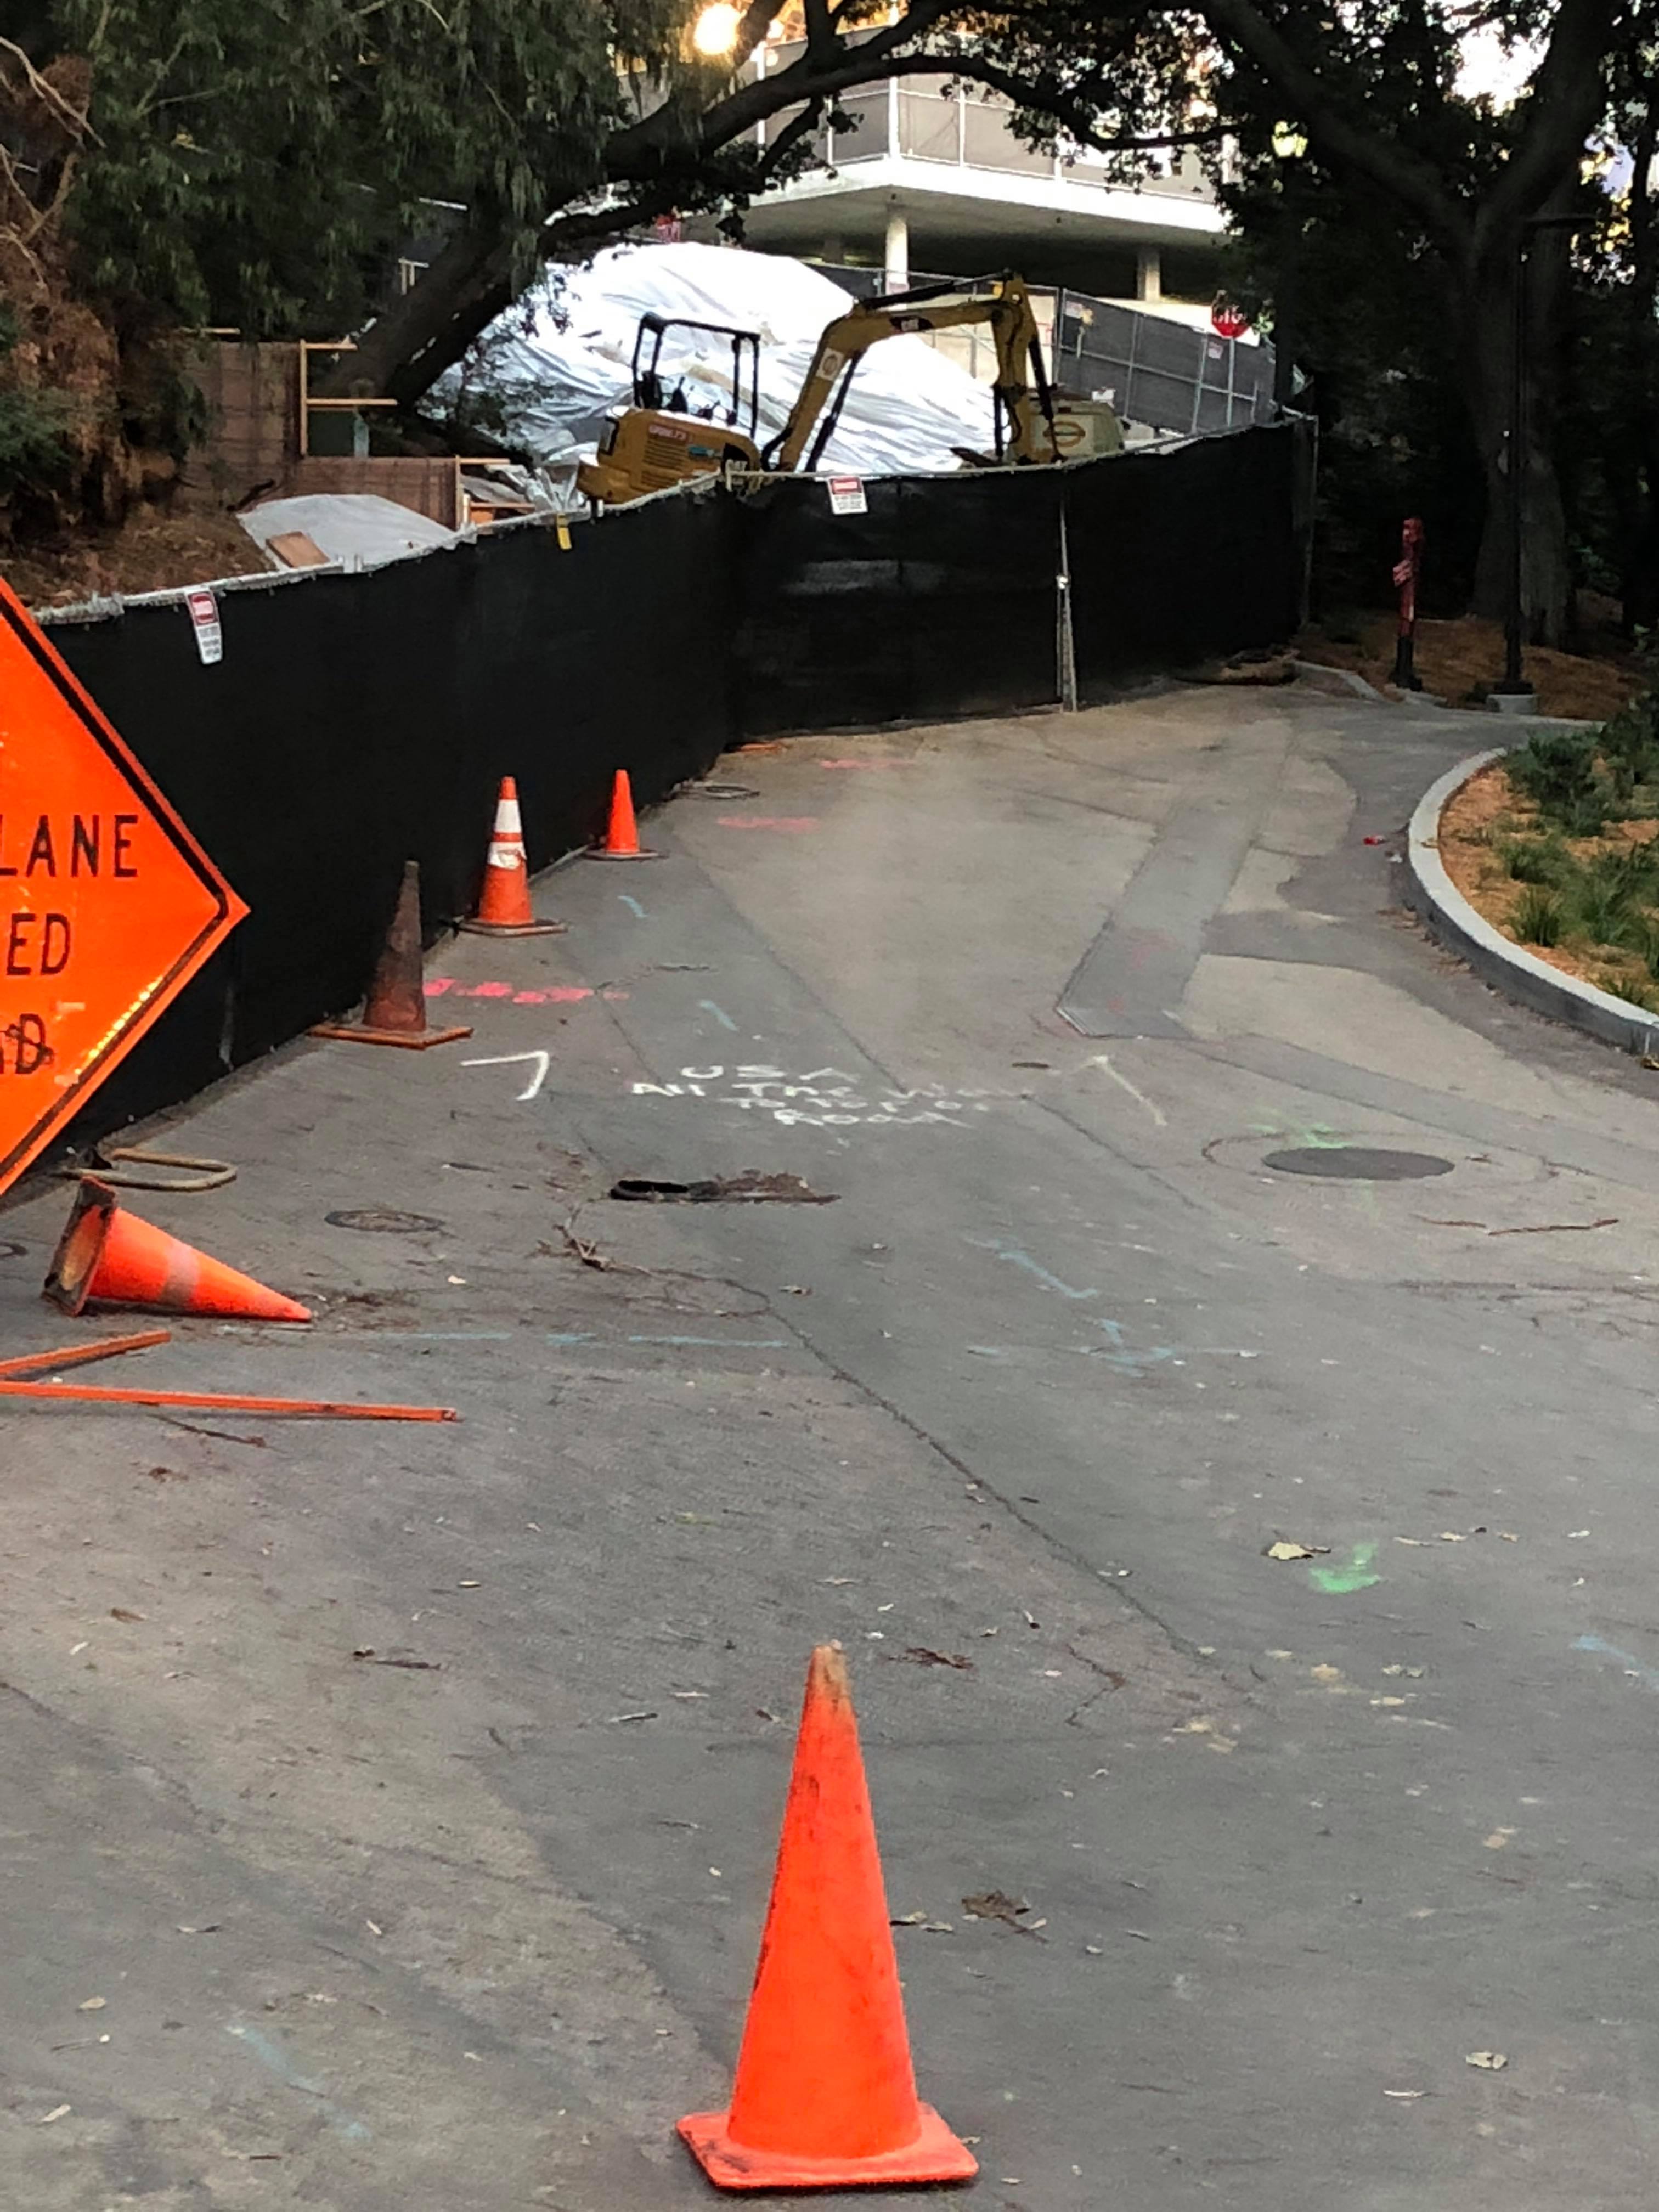
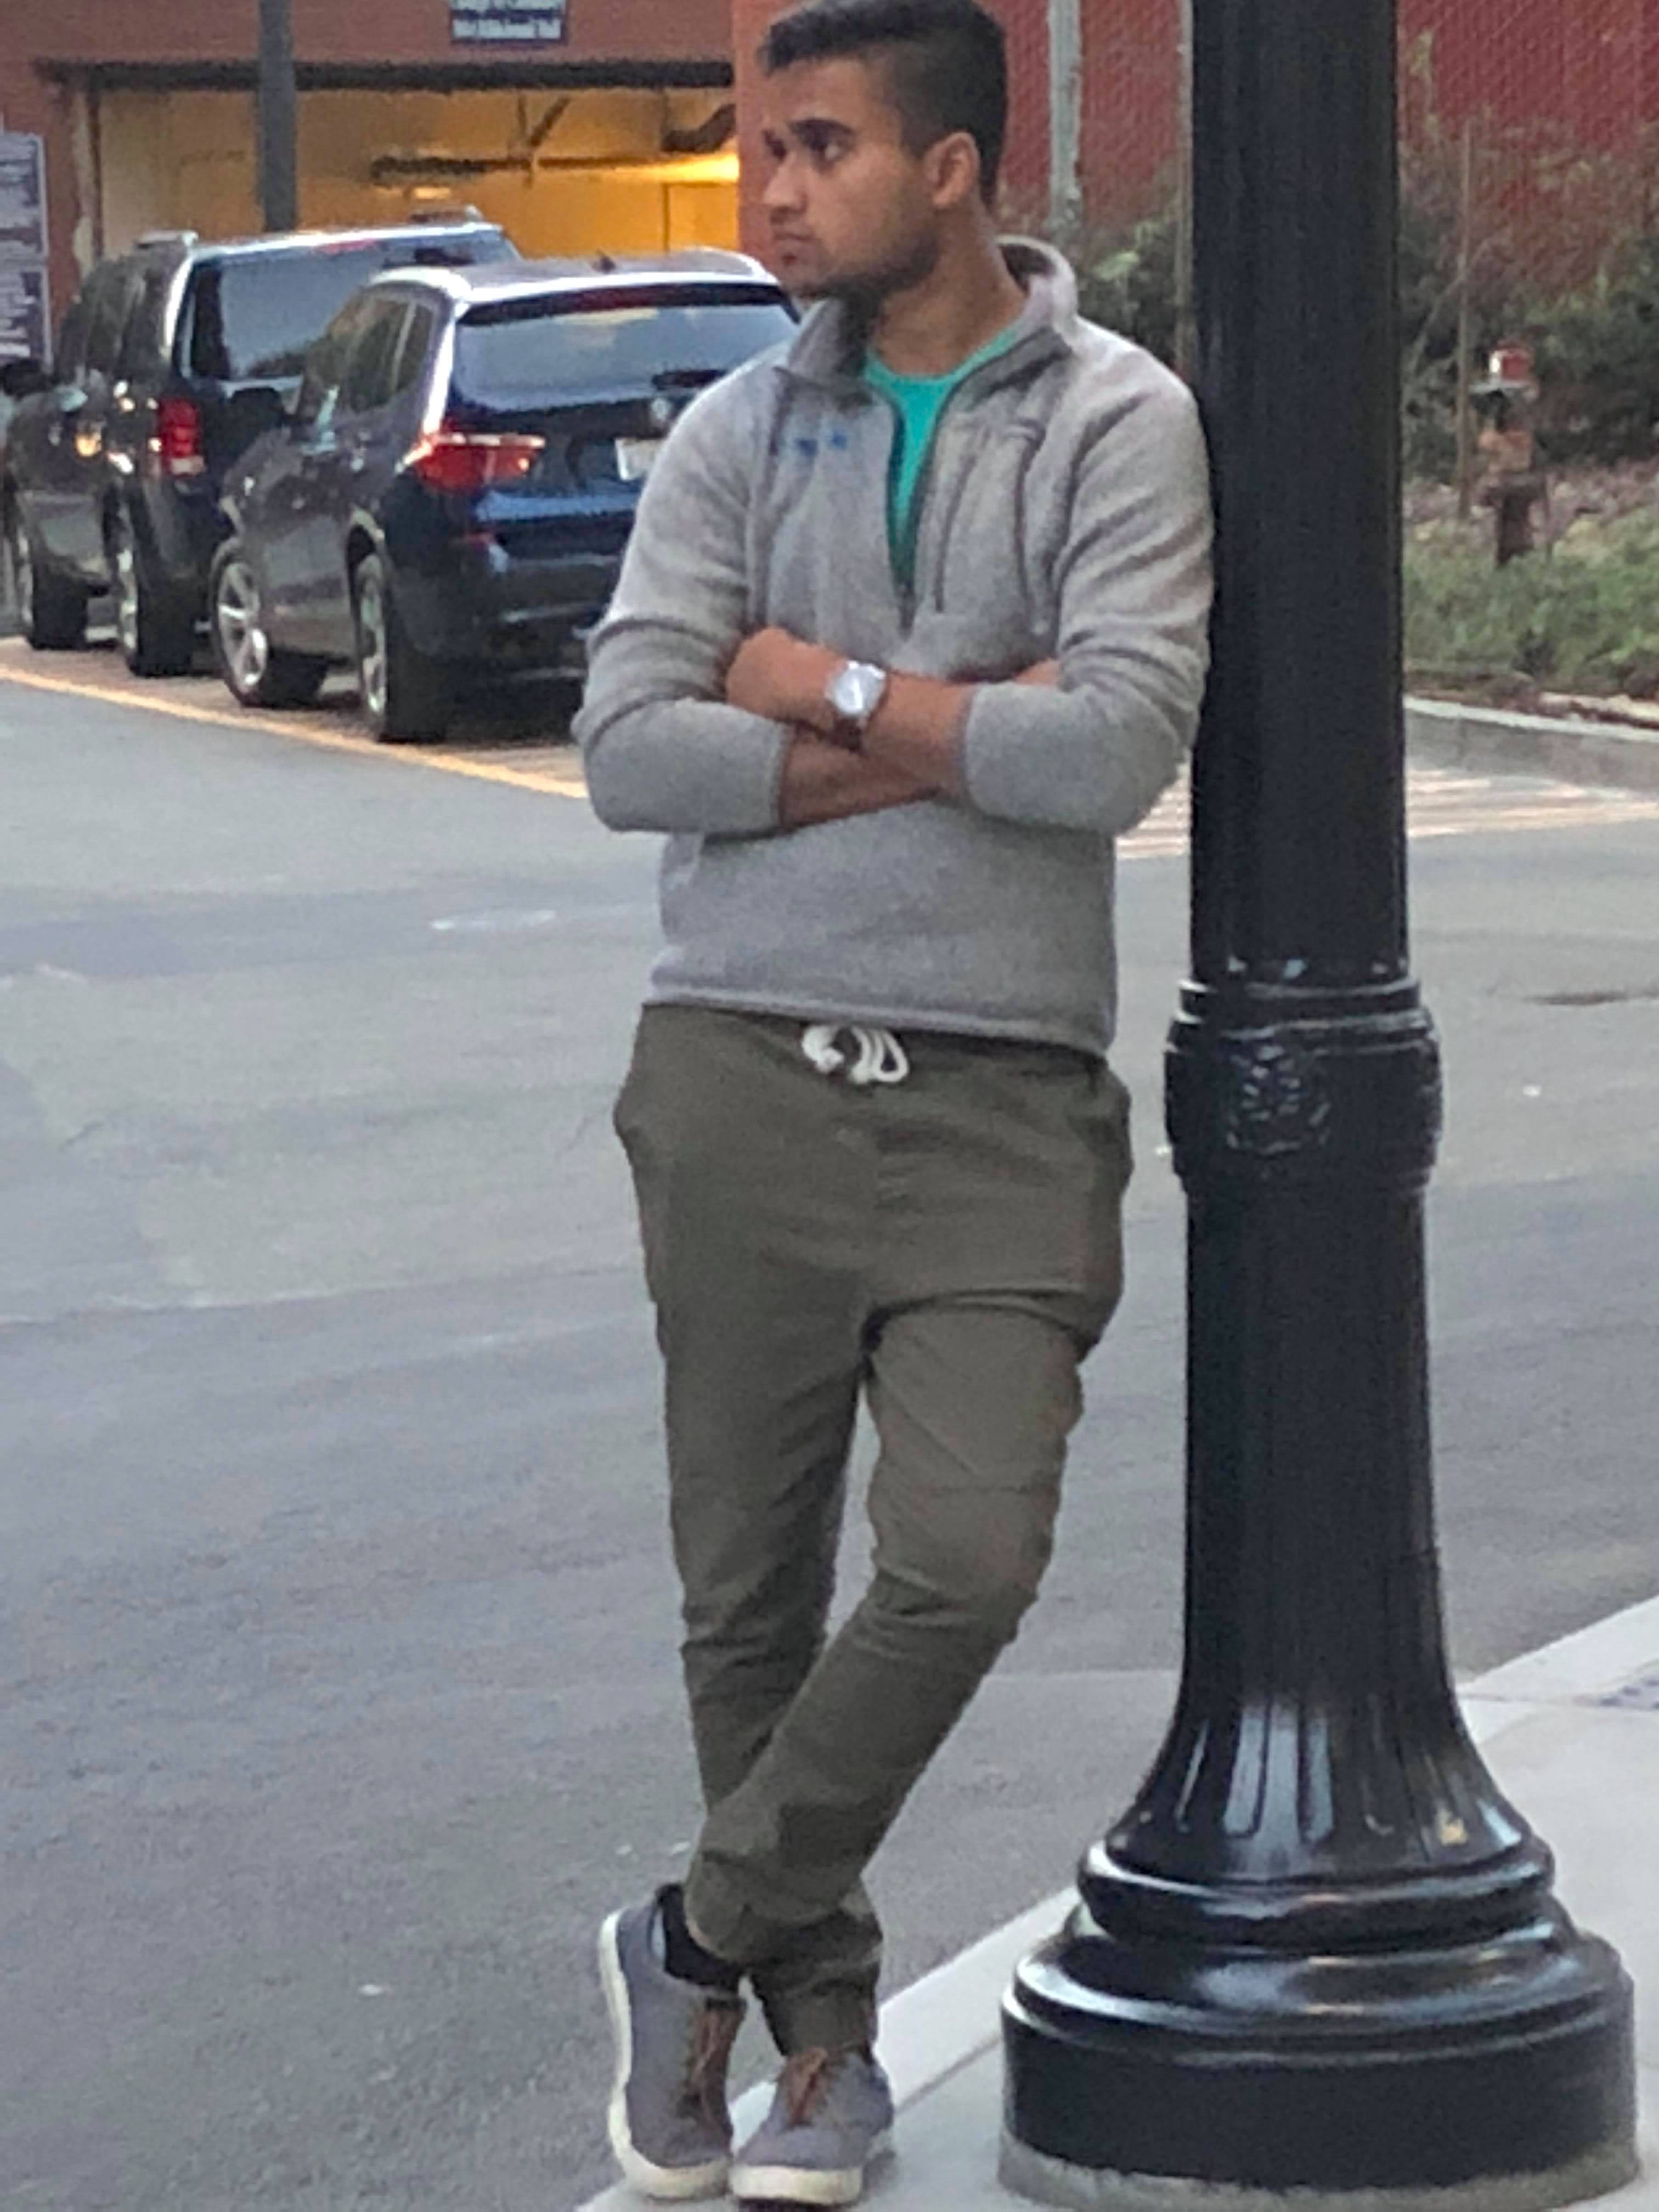
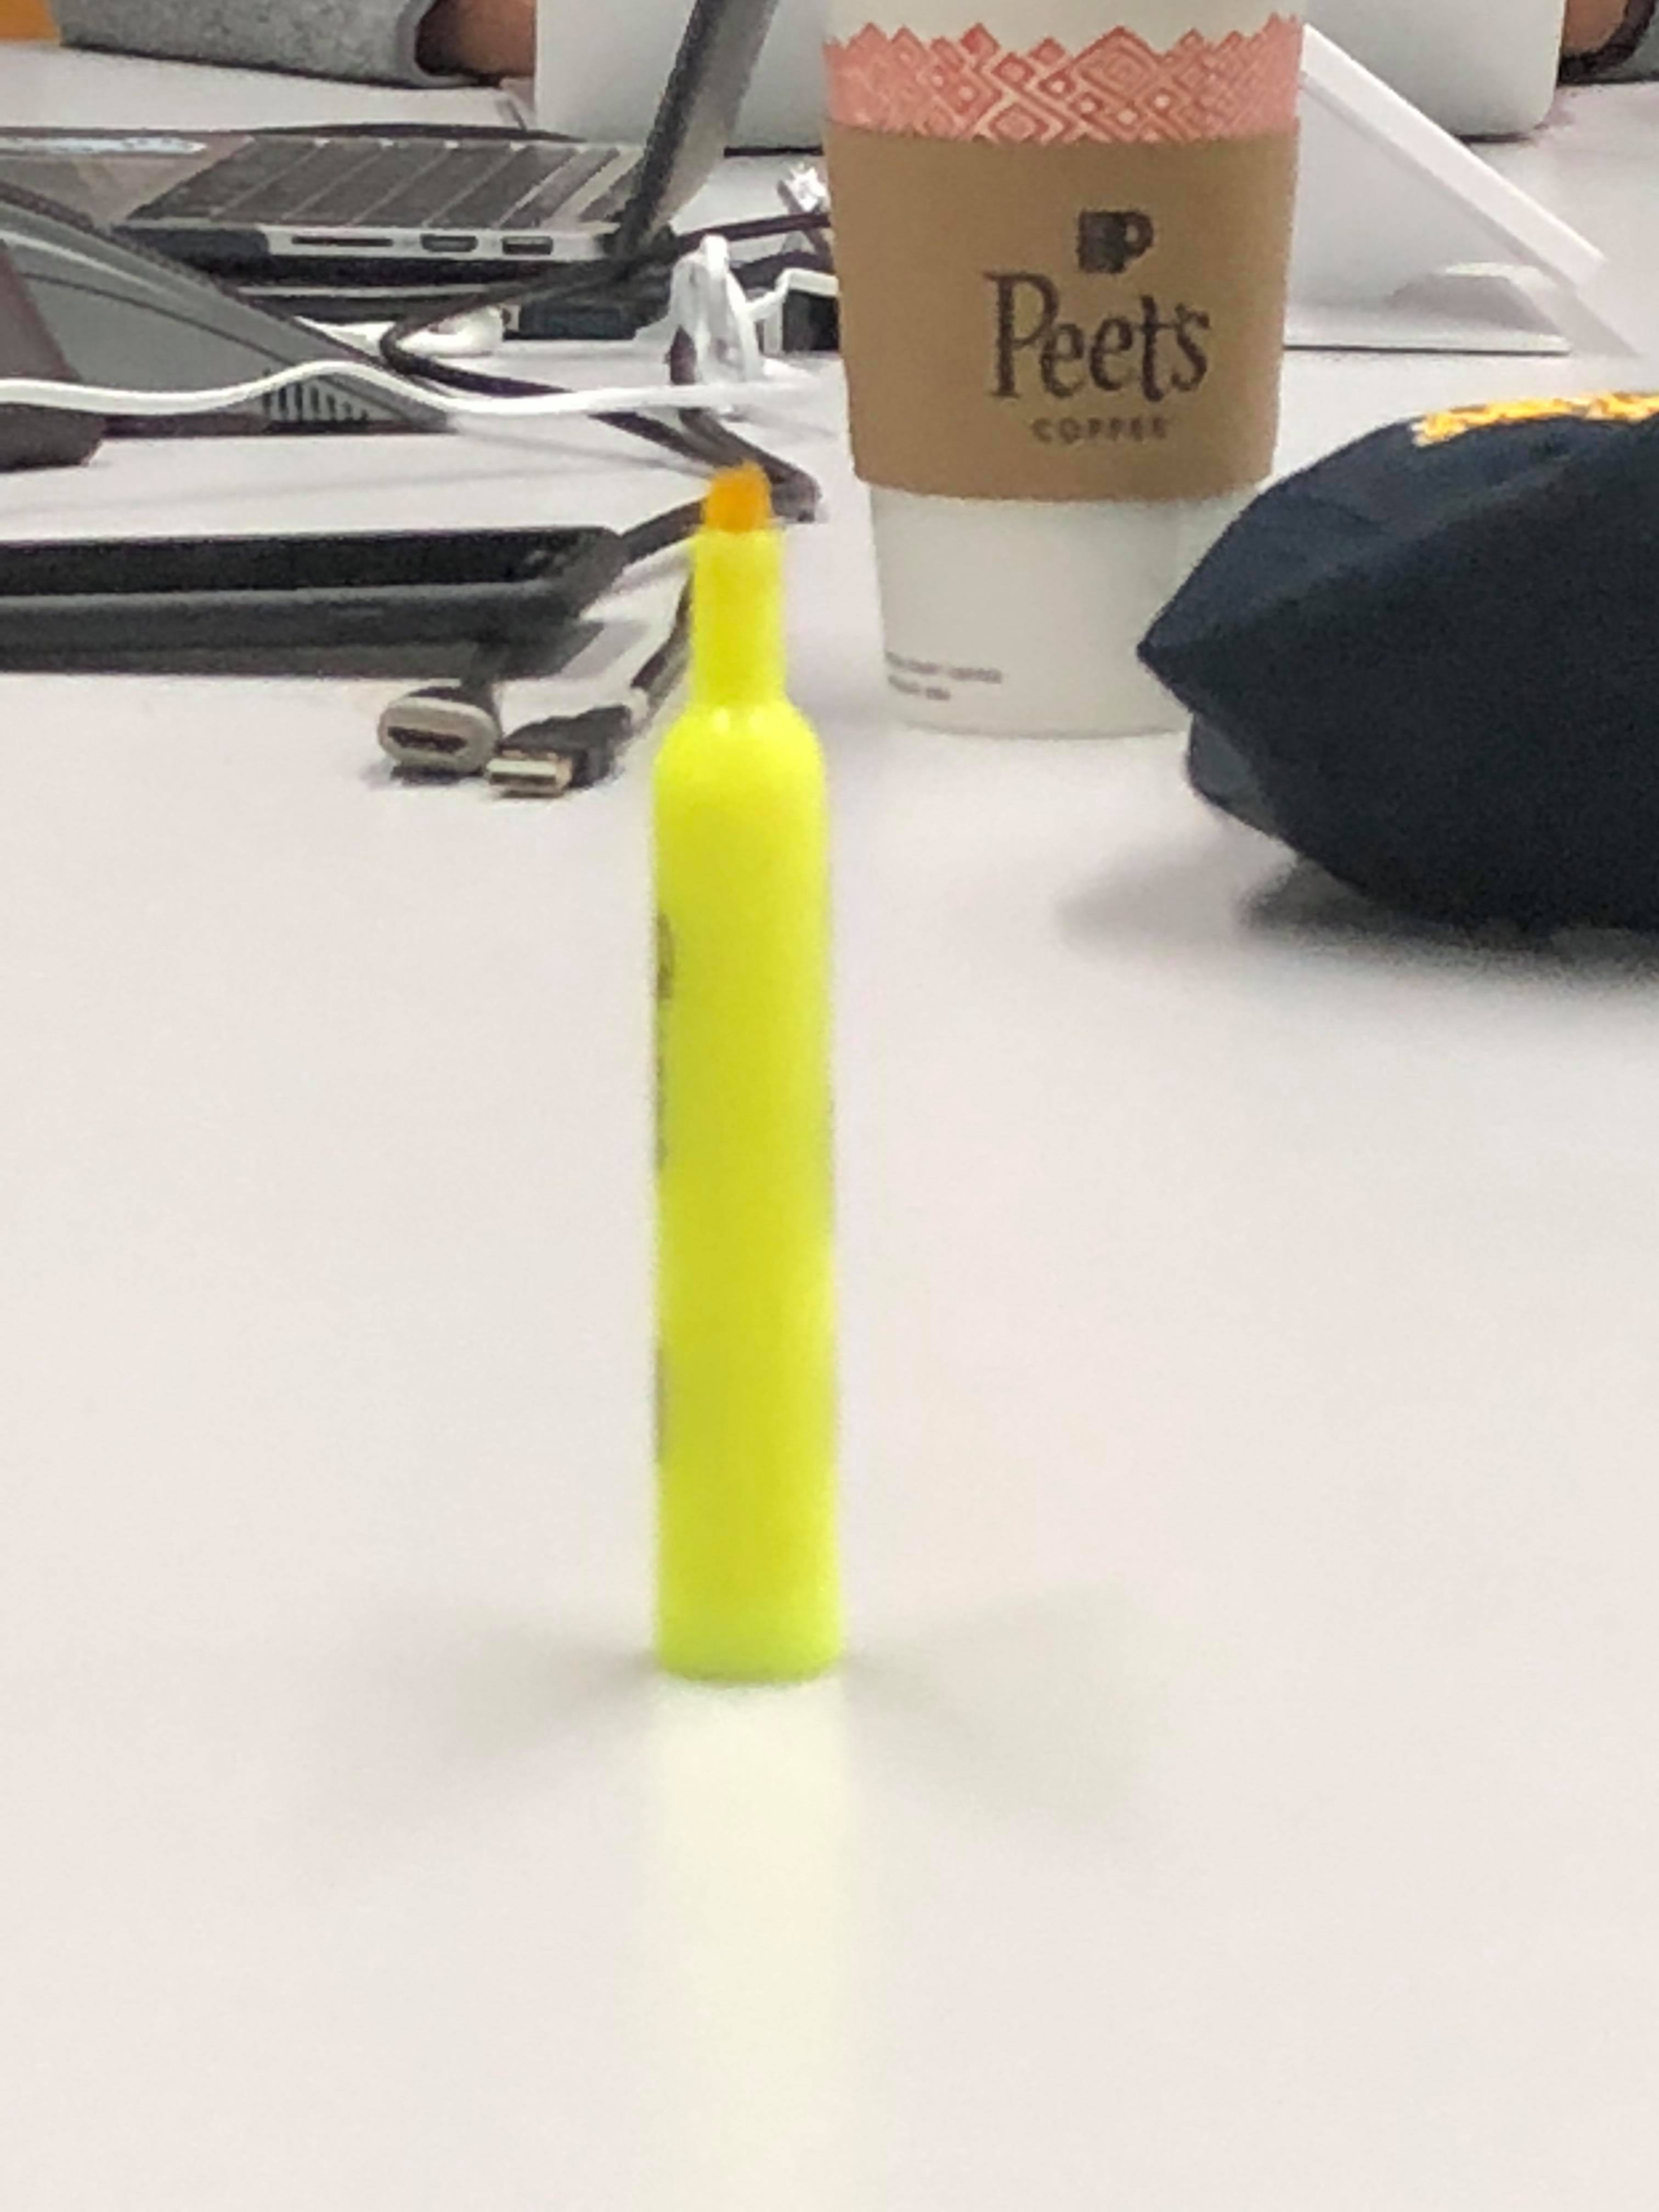
In addition, I tried to see what happens if we only shot three images, how it affected the result. I personally think it was better as there was less room for human/camera error. See my results below.

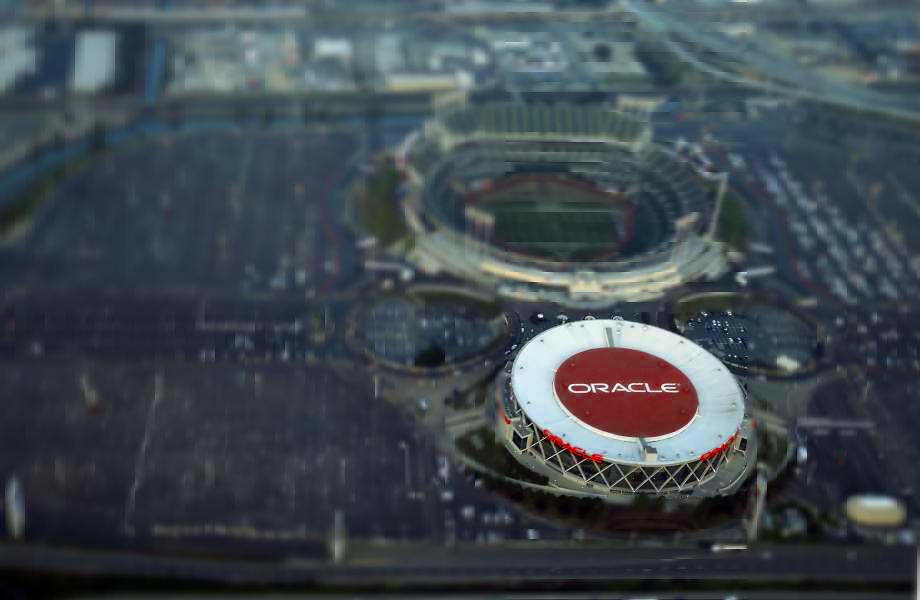
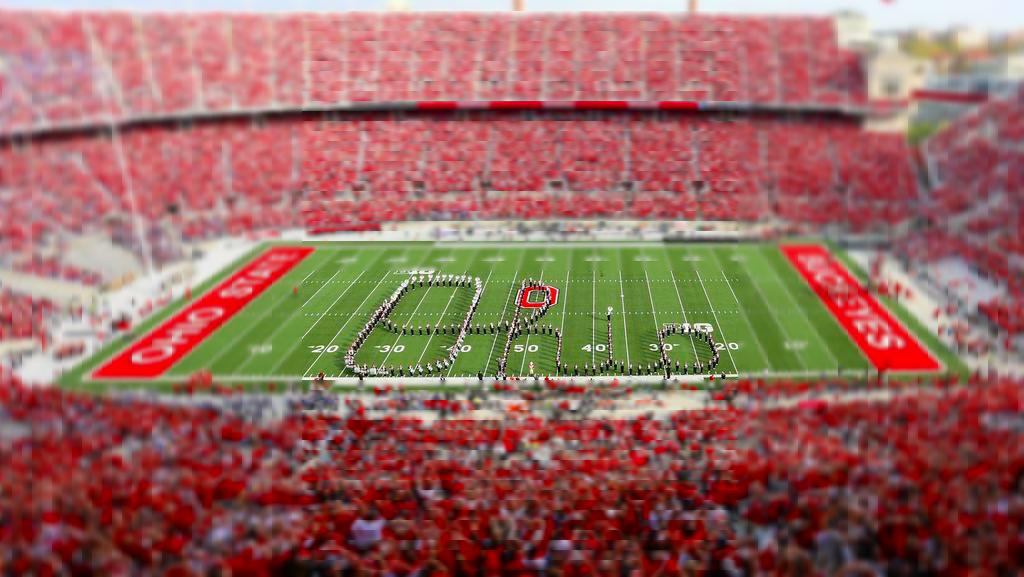
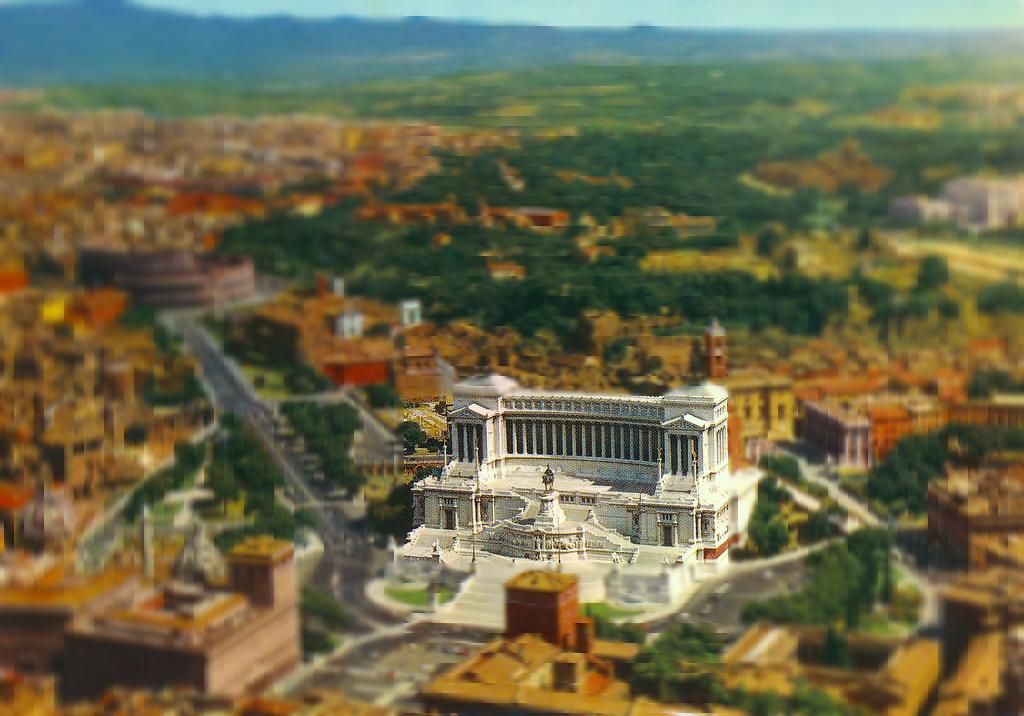
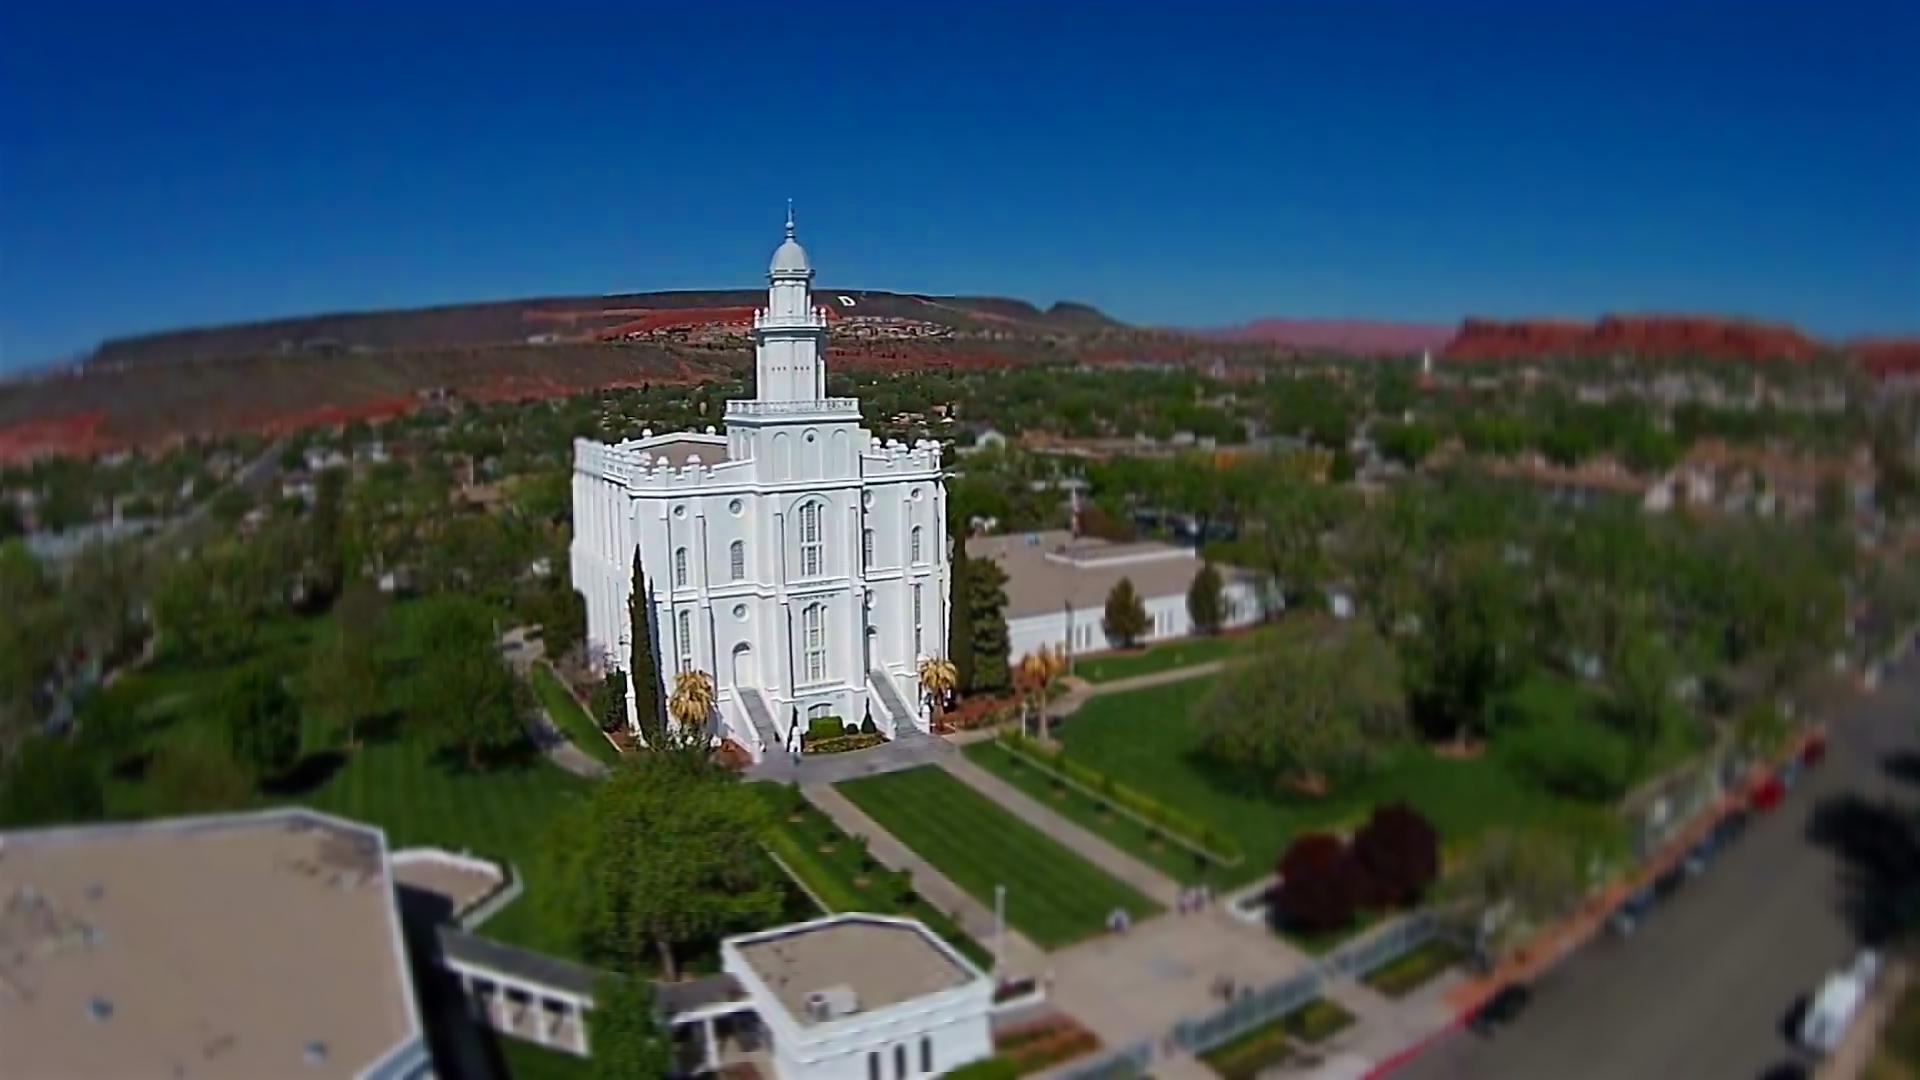
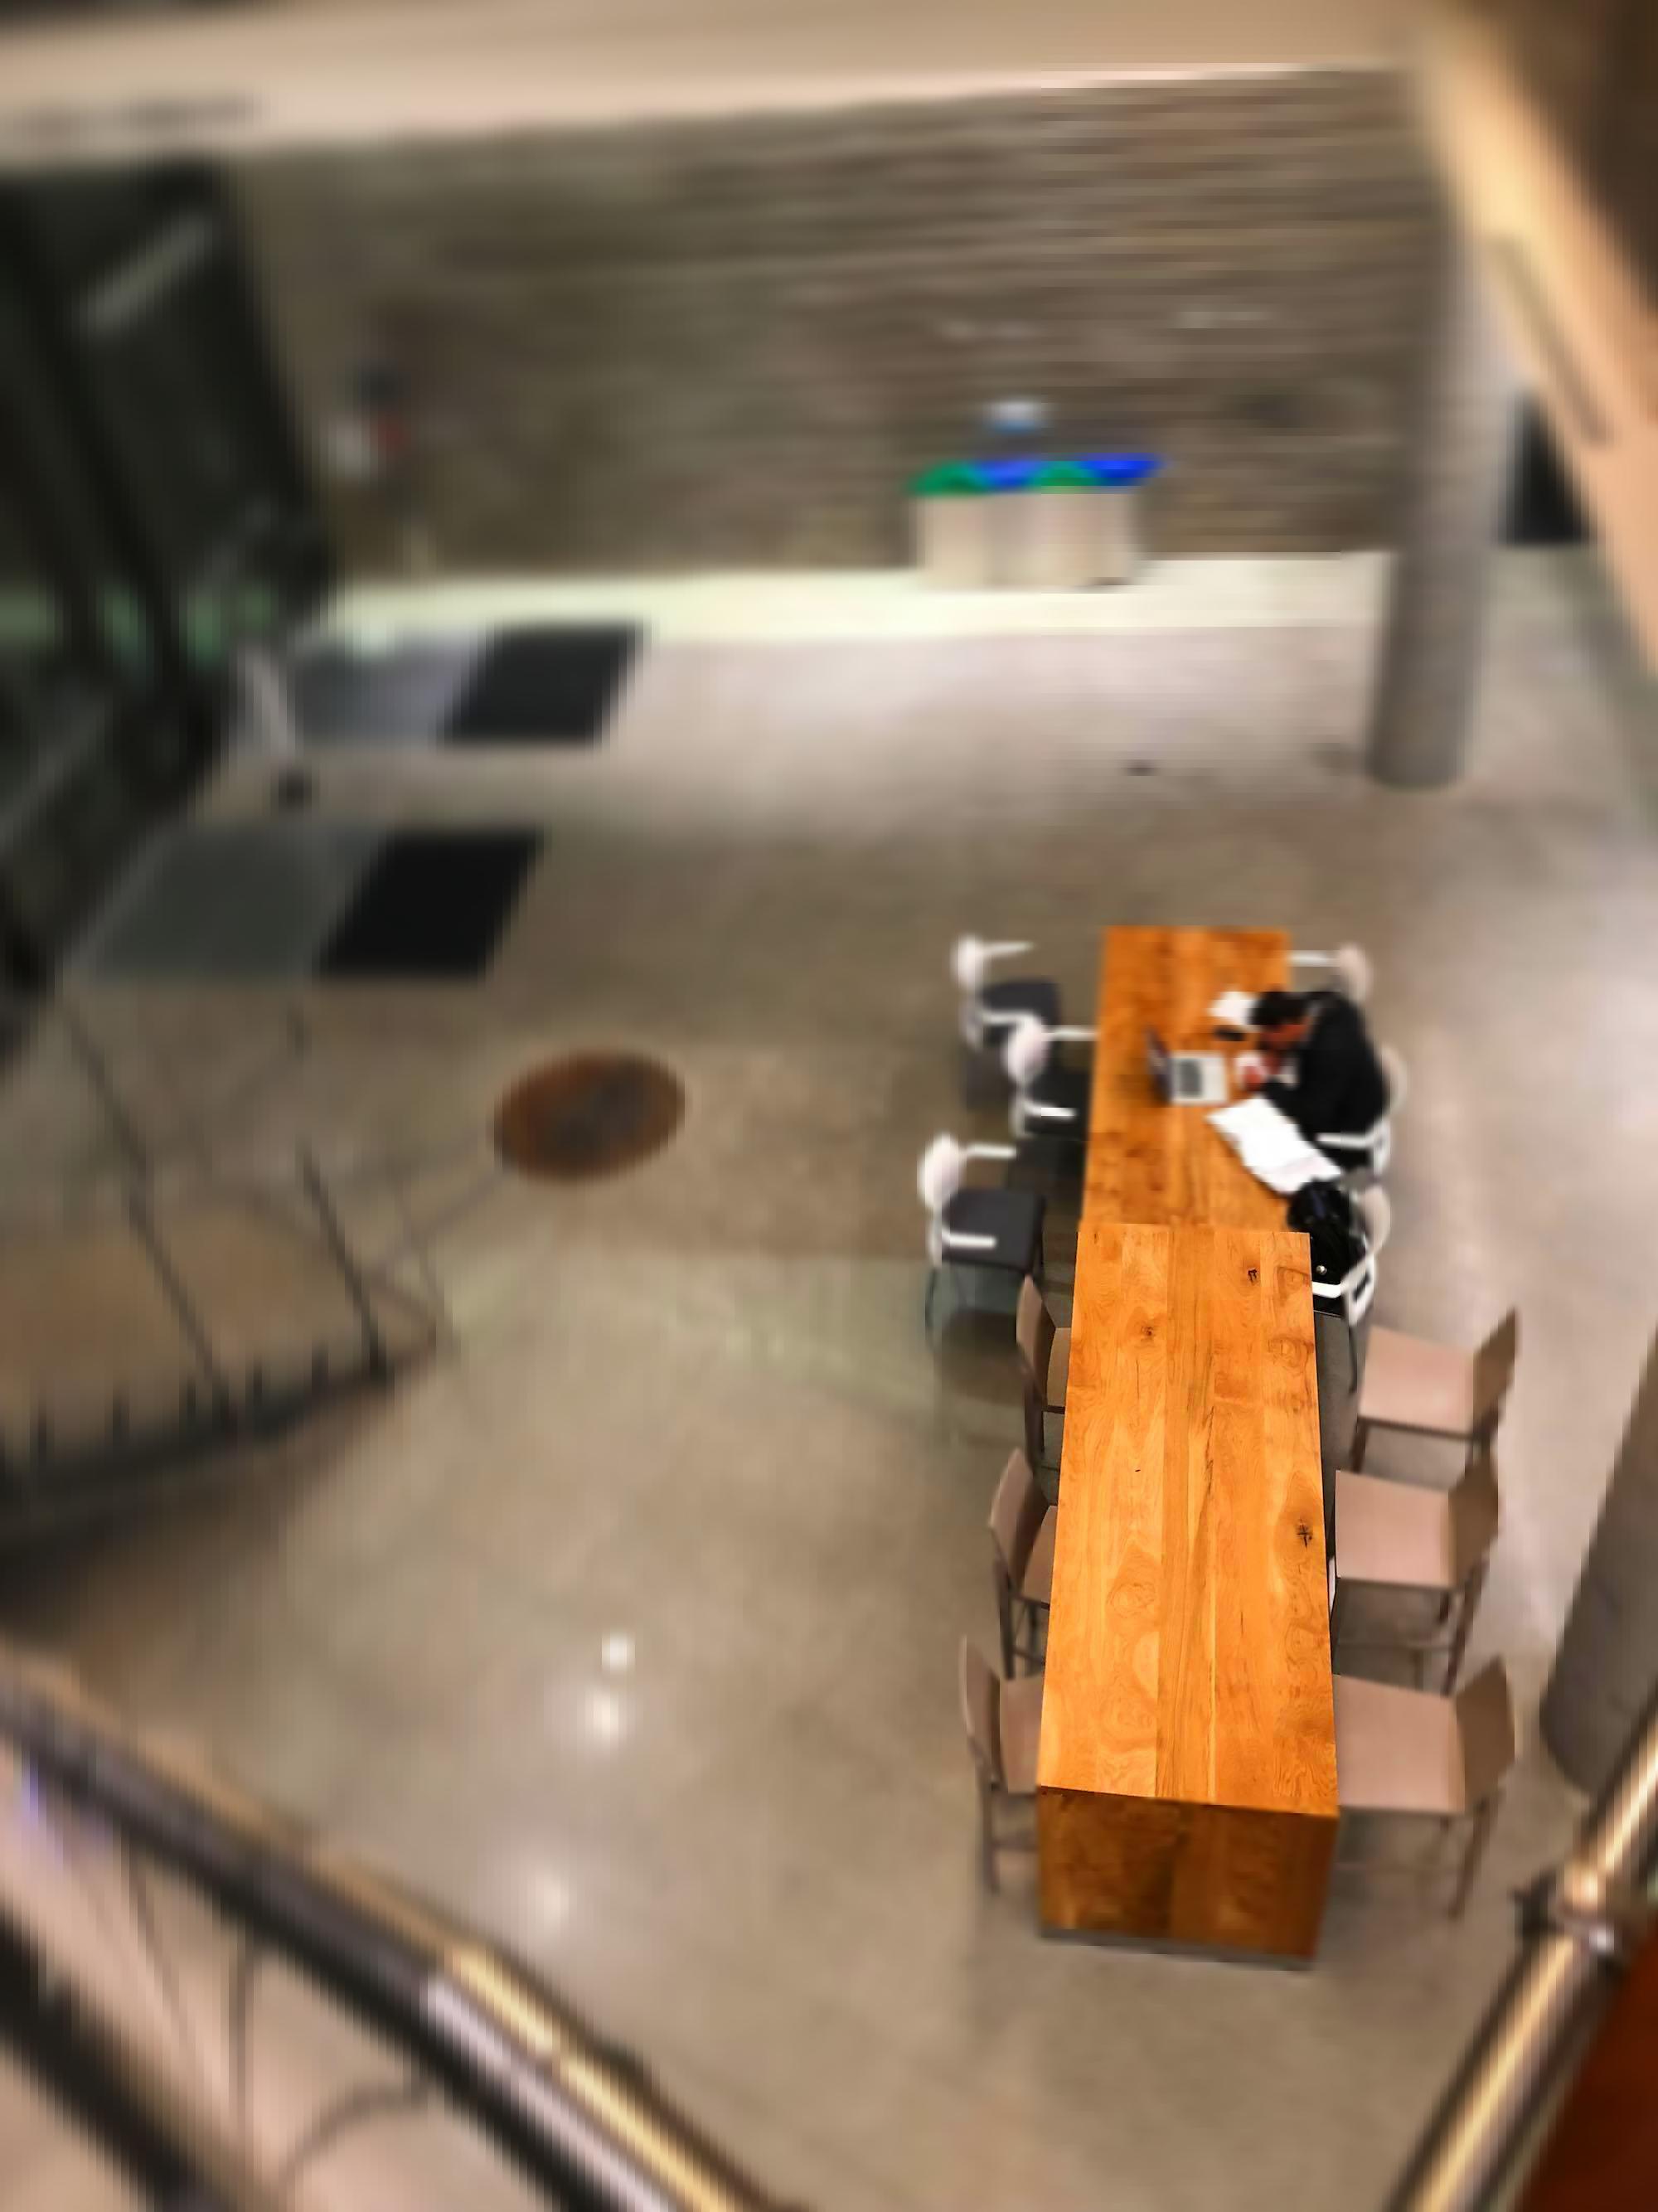
For this aspect of the final project, I created fake miniatures. What this basically means is that my code simulated the effect of Tilt Shift found in selective focus cameras. This is done via applying a mask to a building/region of interest and blurring the rest of scene. This causes the depth of field to appear wider than it is. Below is the algorithm I used to create the effect.
1. Select the points/objects that you want to focus on. This is region that is masked.
2. Increase the sigma of the blur away from the region every 10 pixels. The blur starts with sigma value of 2 and increments by 0.05. Do this in the left, right, top and down direction.
3. Increase the saturation of the image by 1.5. This causes us to see the miniature a bit more clearly.
Below are the images I found online and my miniature effect. They include Oracle Arena, Ohio Stadium, Rome, and a temple. I have attached the links below.
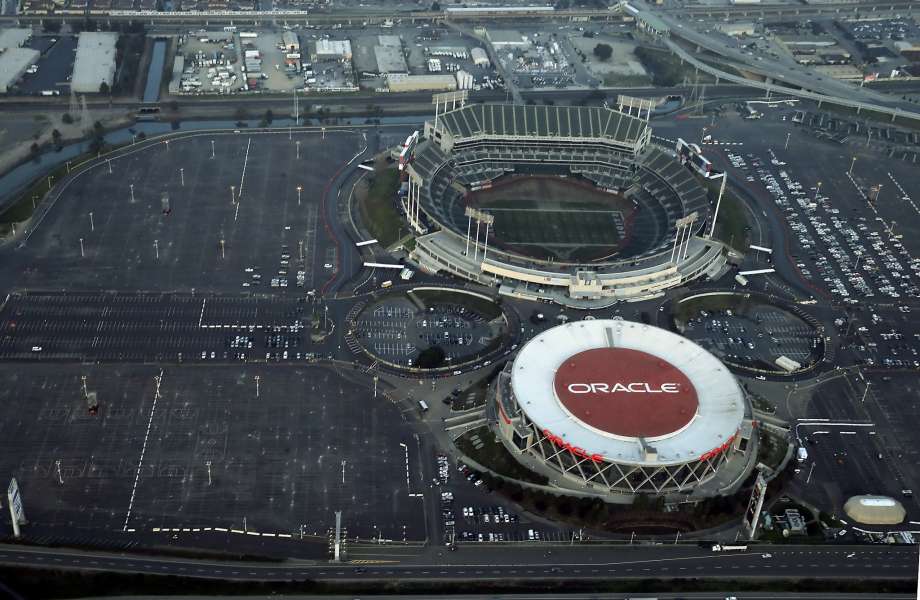
Source: http://ww3.hdnux.com/photos/35/37/17/7730146/9/rawImage.jpg
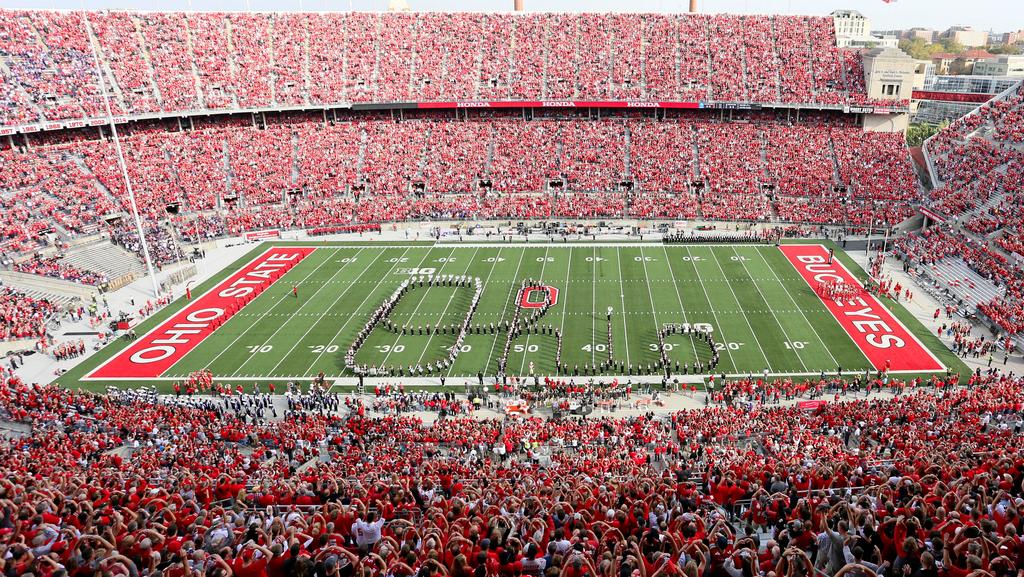
Source: https://media.bizj.us/view/img/10219374/ohio-stadium-osu-marching-band-tbdbitl*1200xx4368-2462-0-33.jpg
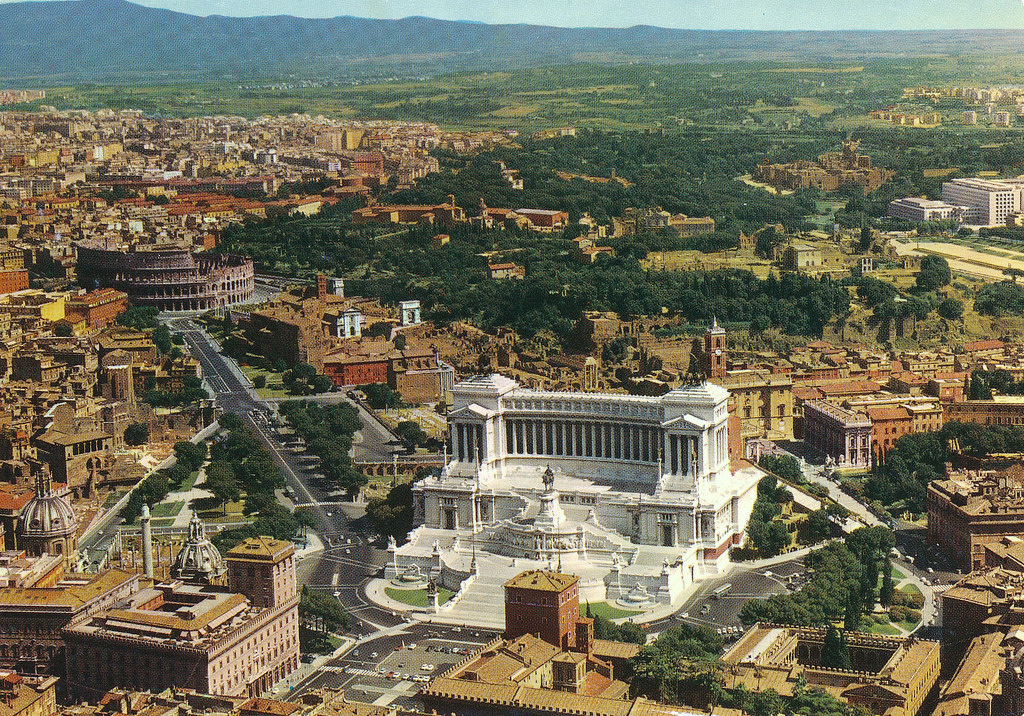
Source: https://c1.staticflickr.com/6/5022/5672427739_22b0517bc1_m.jpg
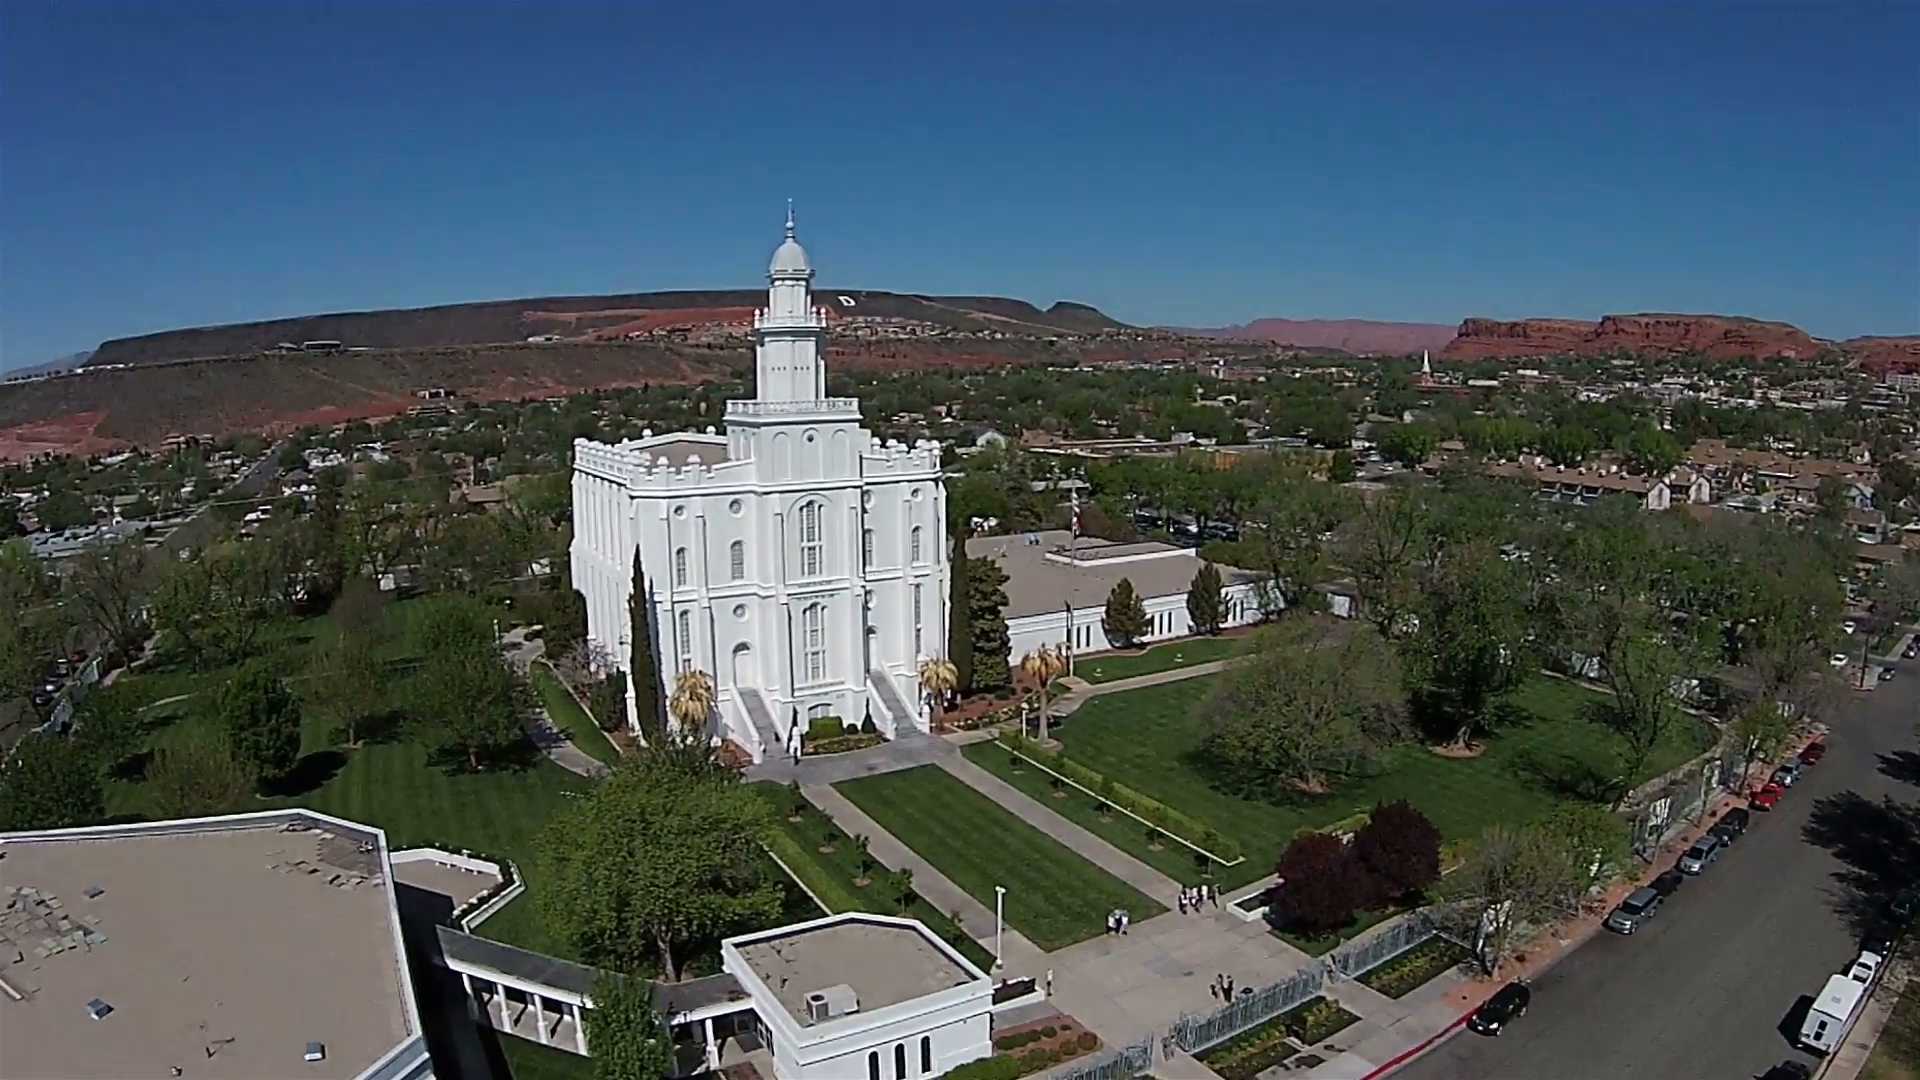
Source: http://ak2.picdn.net/shutterstock/videos/6121382/thumb/1.jpg
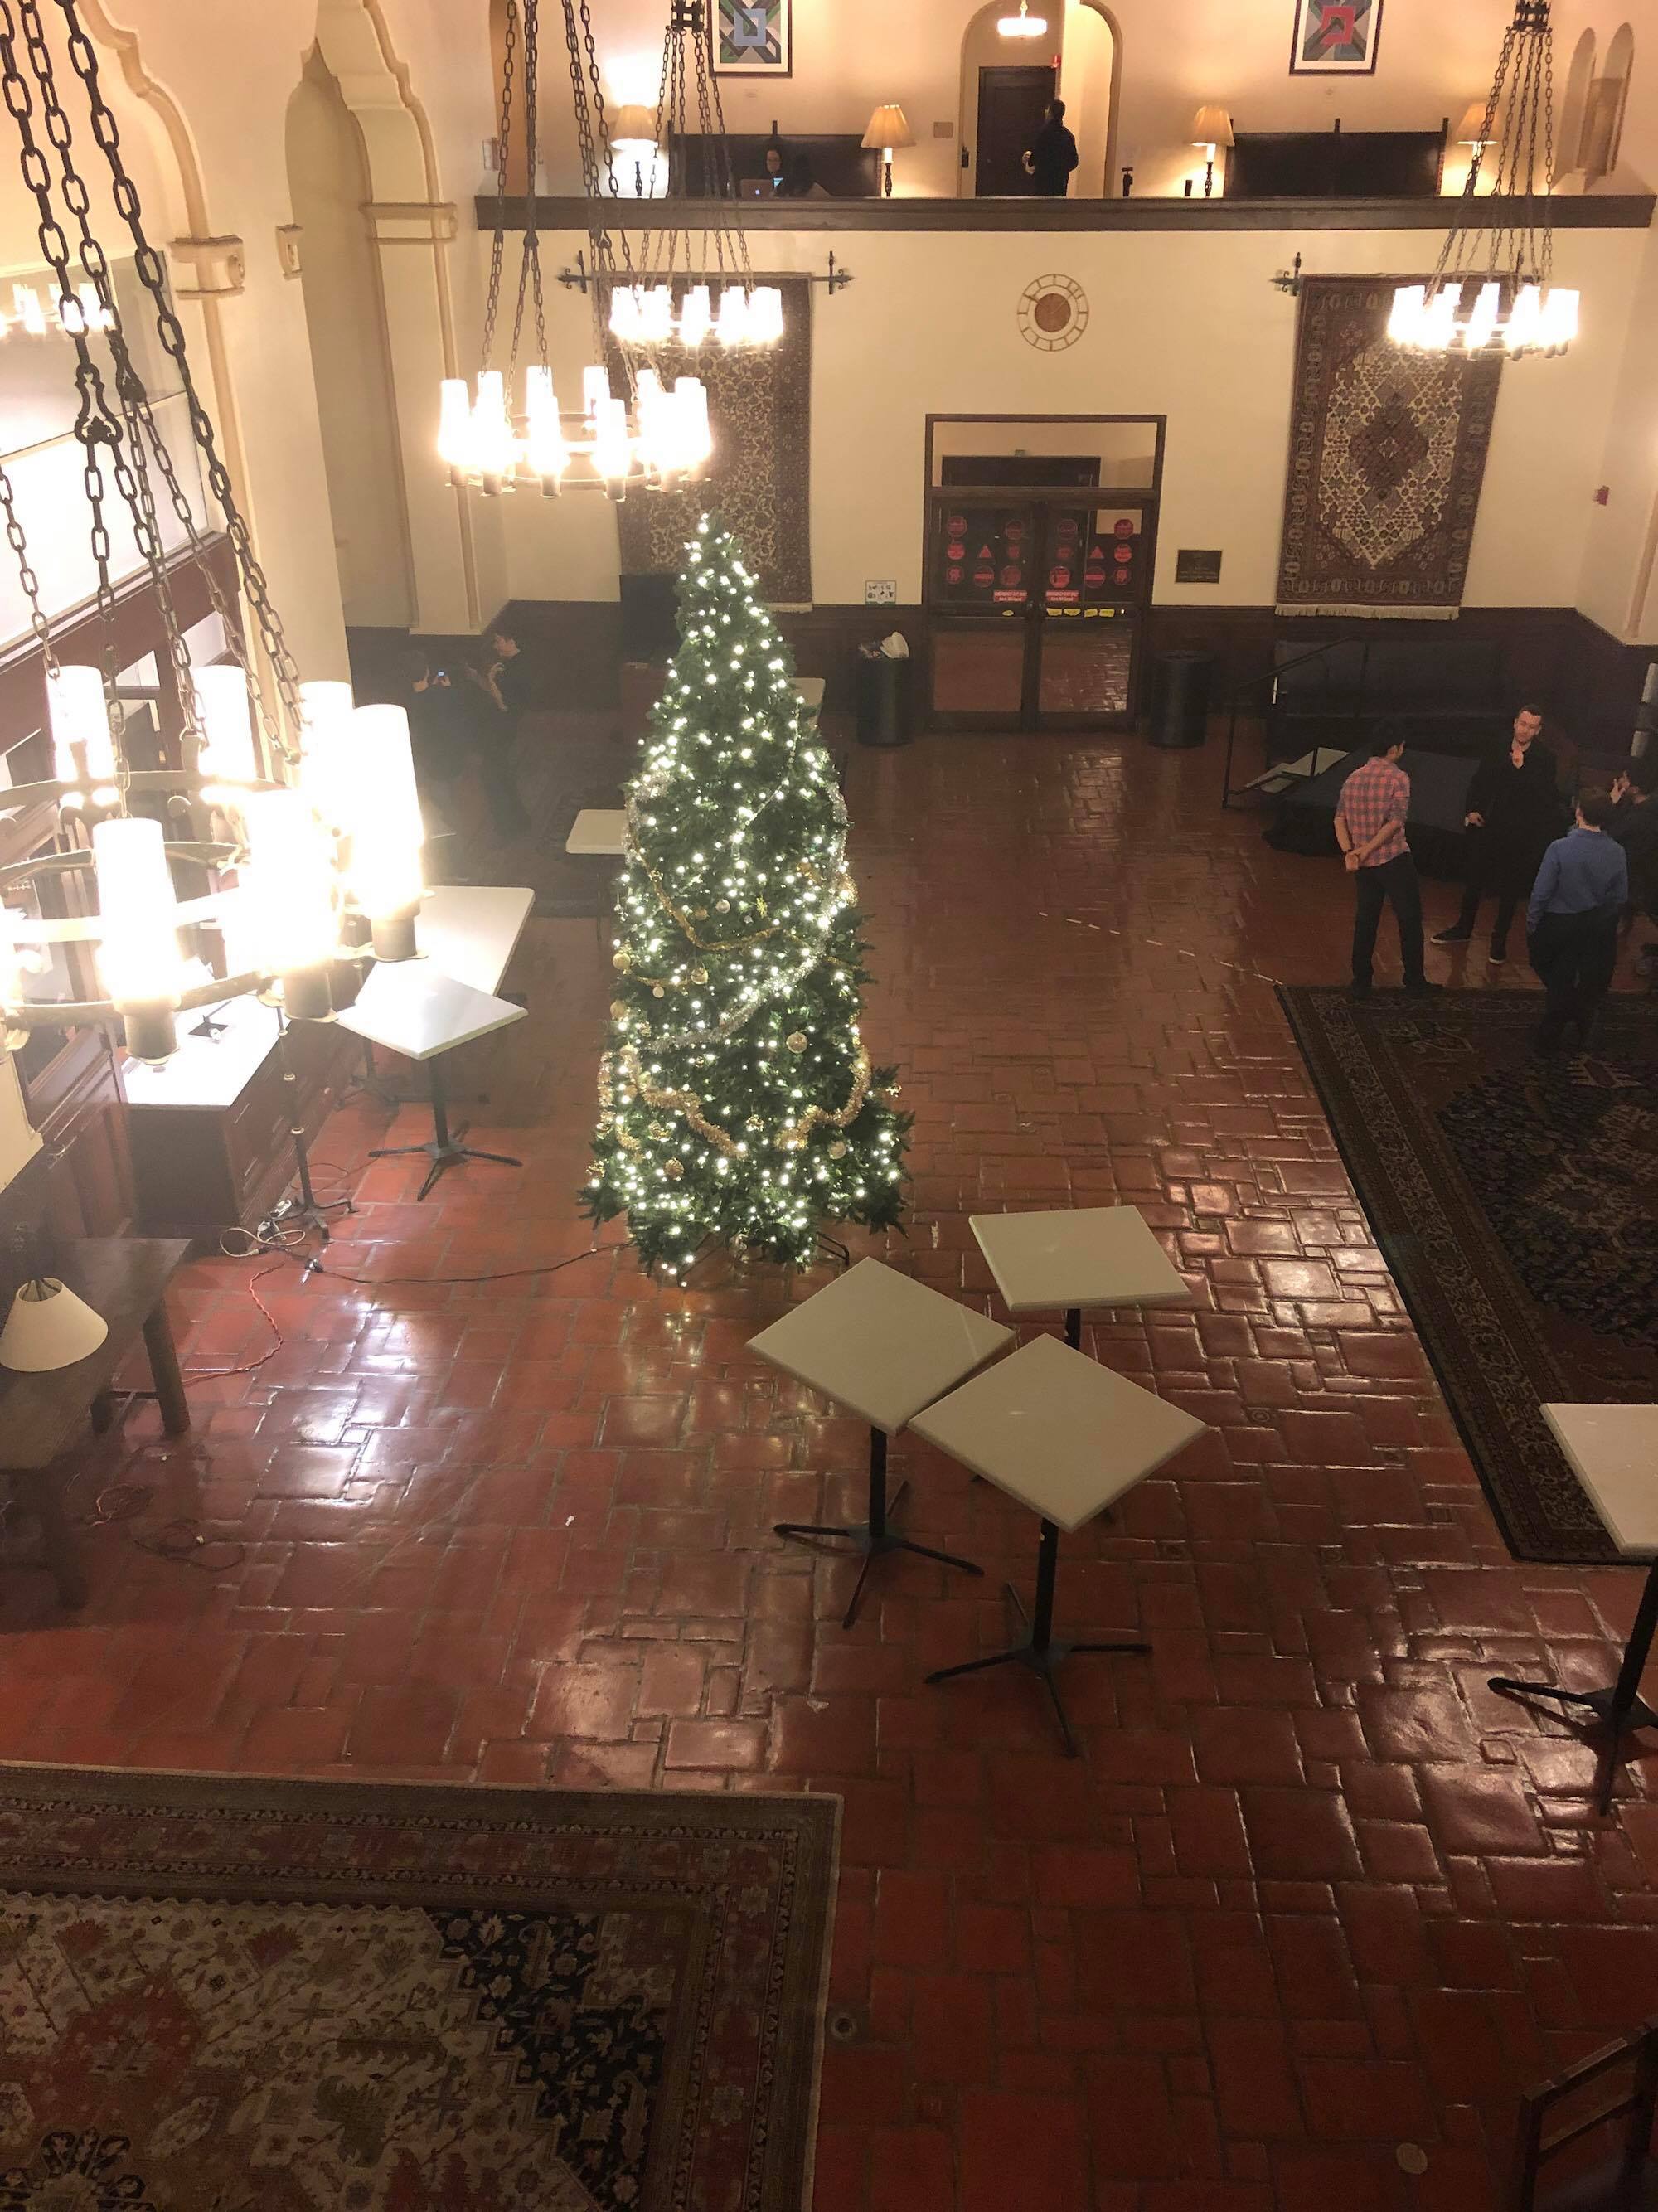
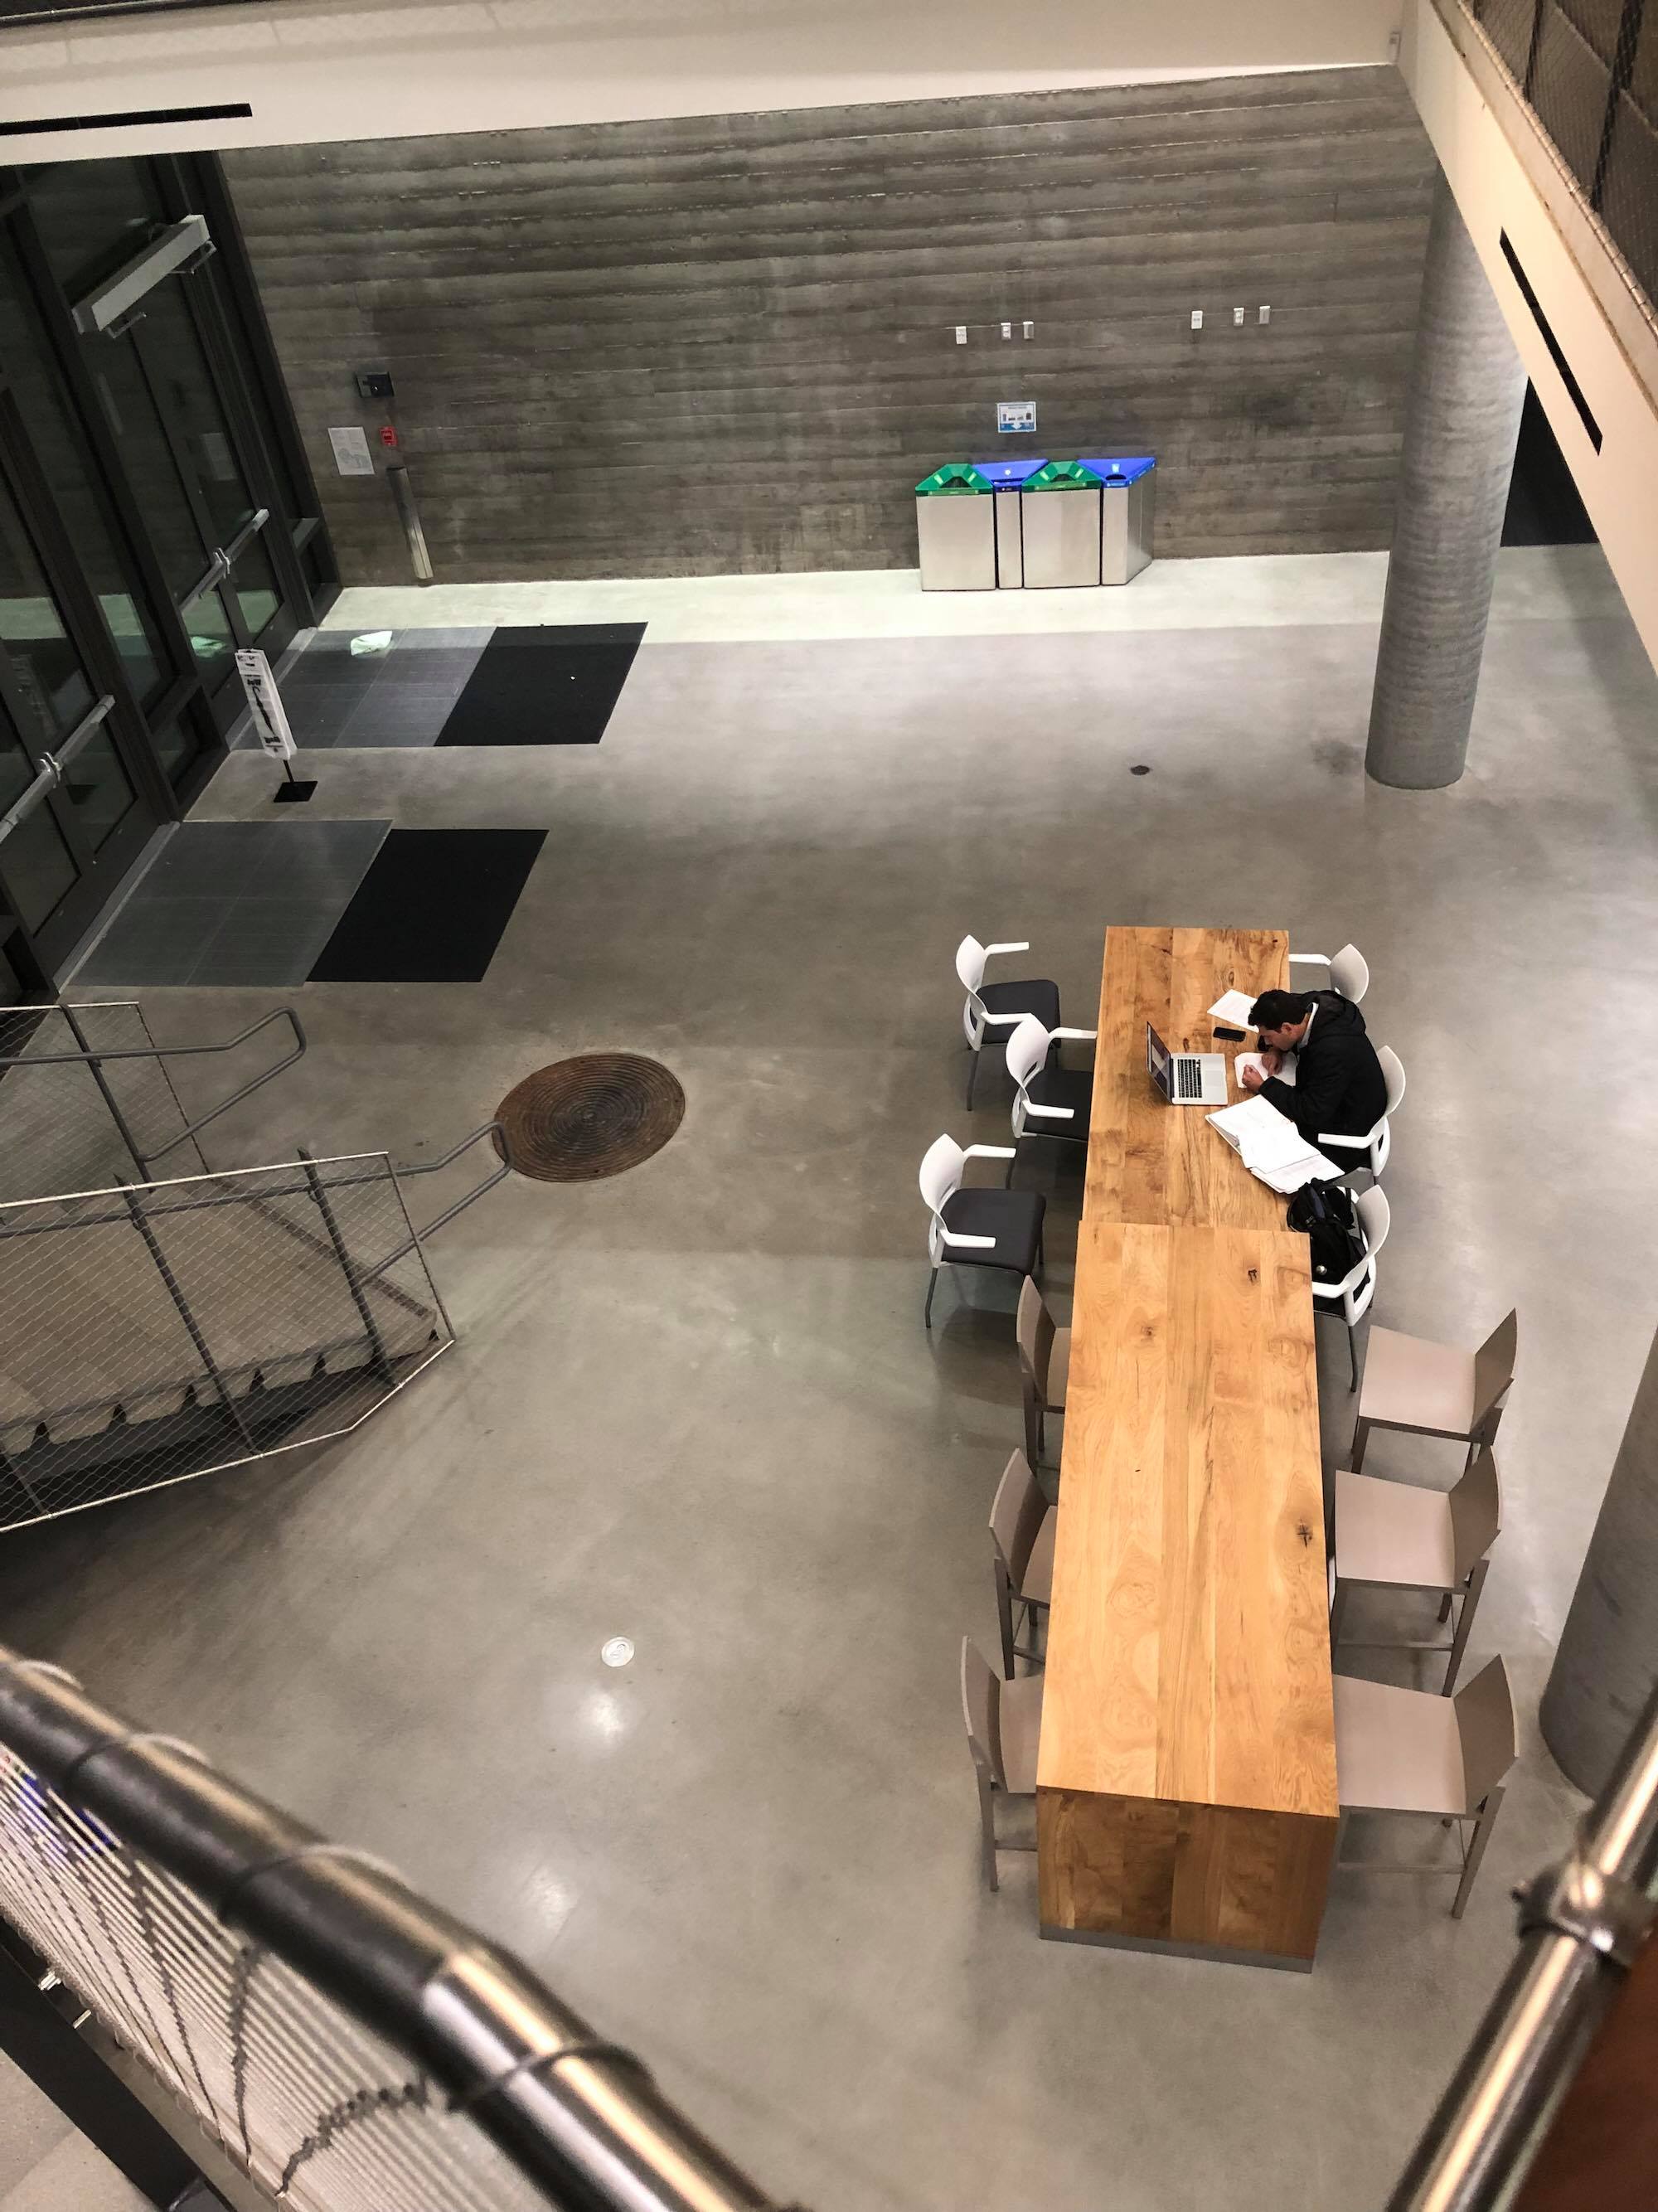
Below are the images I took and my miniature effect. One is the Christmas tree from I-House and the other is a table found at the Haas School of Business. I personally don't think they are as effective as the ones above because of lighting issues.

Again many thanks to the teaching staff for this amazing semester! While these projects were tough, I felt like I learned a lot about image manipulation and photography in general. Who knew photos were so cool? :)