Final Project
cs194-26-aeoGenevieve Tran
Introduction
In this assignment I create fake miniatures by simulating the effect of selective focus cameras. I accomplish this by selecting a focus plane around areas of interest and blurring out the rest of the image to create the illusion that the lens is really close to the subject by narrowing the perceived depth of field. Blurring is done by applying a distance-varying Gaussian filter, where the variance of the Gaussian (magnitude of blur) increases linearly with distance from the focal plane.
Linear Depth Of Field
The first approach was simple. I ask the user to choose either a horizontal or vertical depth of field and two input points chosen on an image. These points are averaged to find the row or column value which will serve as the center line of my depth of field. I define an area that is 10% of the width or heigth of an image around that center line as the depth of field, this are is not blurred and instead is copied over from the original image.
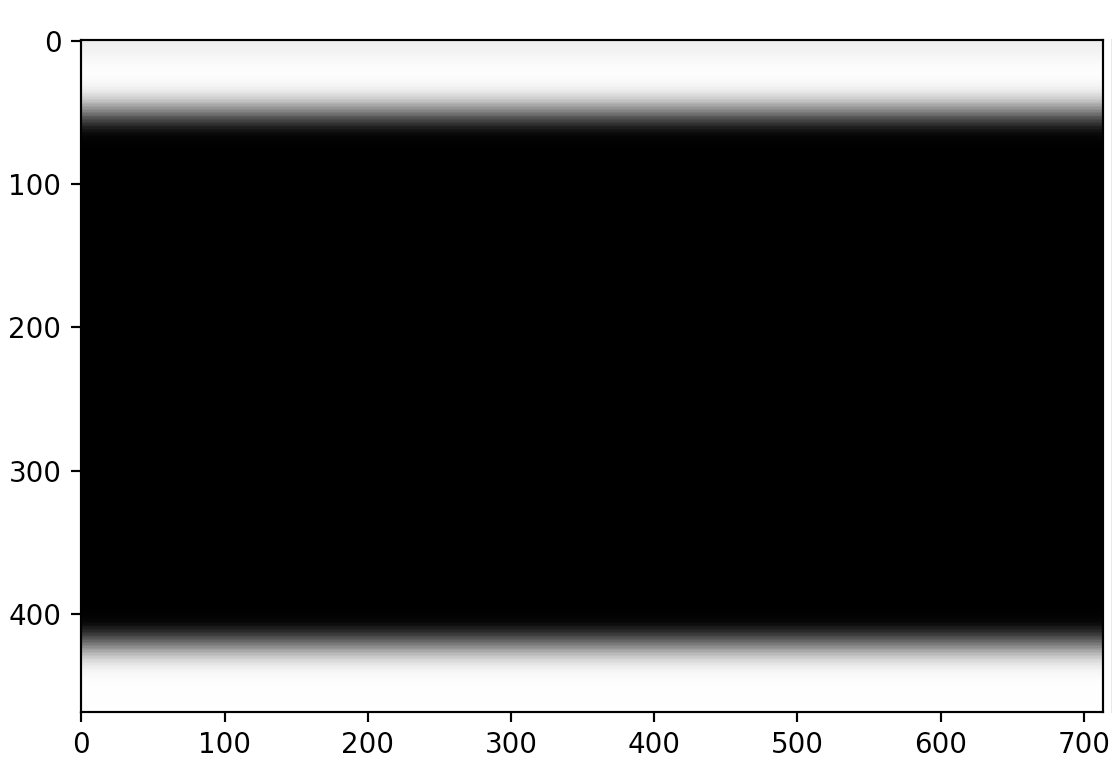
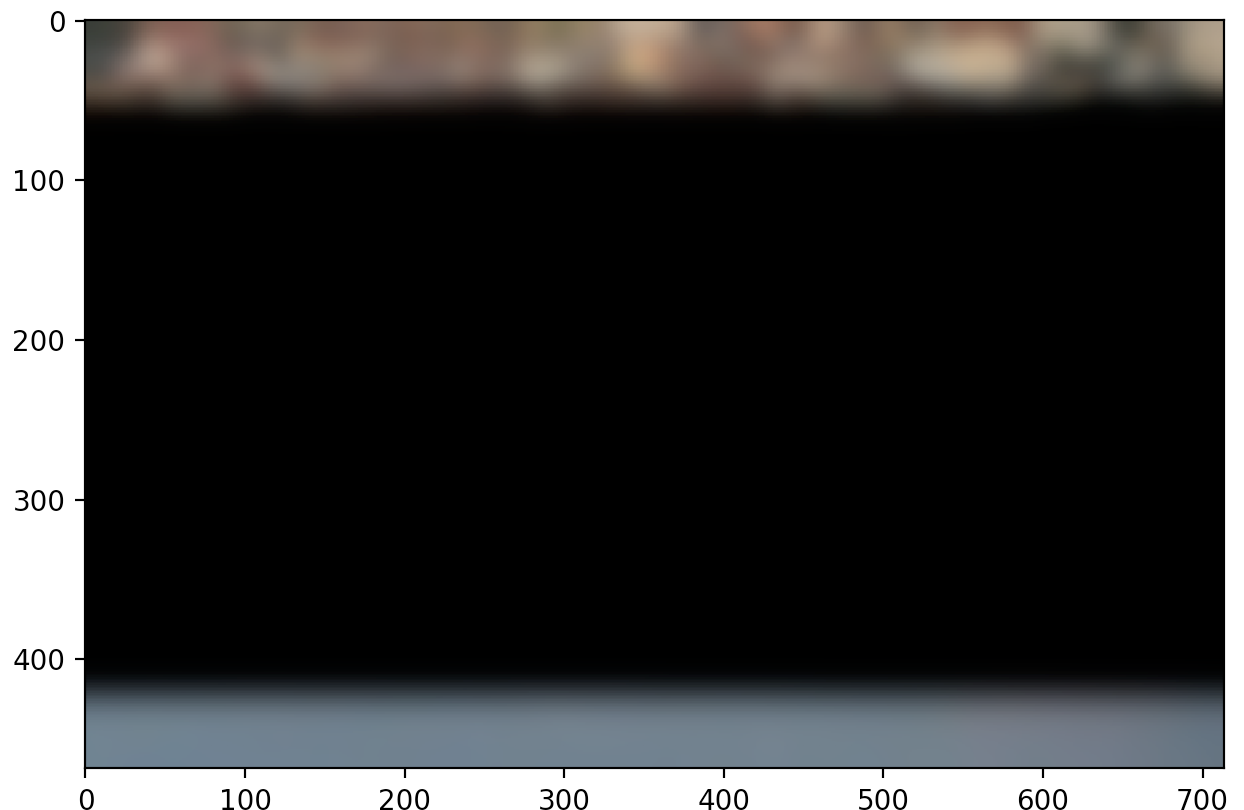
Then I build a gaussian stack iteratively and at each level increase the sigma of the gaussian blur by adding 2 (starting at 2). To construct the final image I create gaussian blurred masks for each level based on the distance away from the depth of field. This allows me to combine the images together without creating sharp edges between layers that have a different sigma. I exit the loop when my mask is contains only zeros, which means that we have filled up the dimensions of the original image. Finally, I increase the saturation of the stiched together image by 40% by converting to the hsv color space and manipulating the saturaion layer.
Below is a step by step illustrated example of an image given on the instructions website.
Original image |
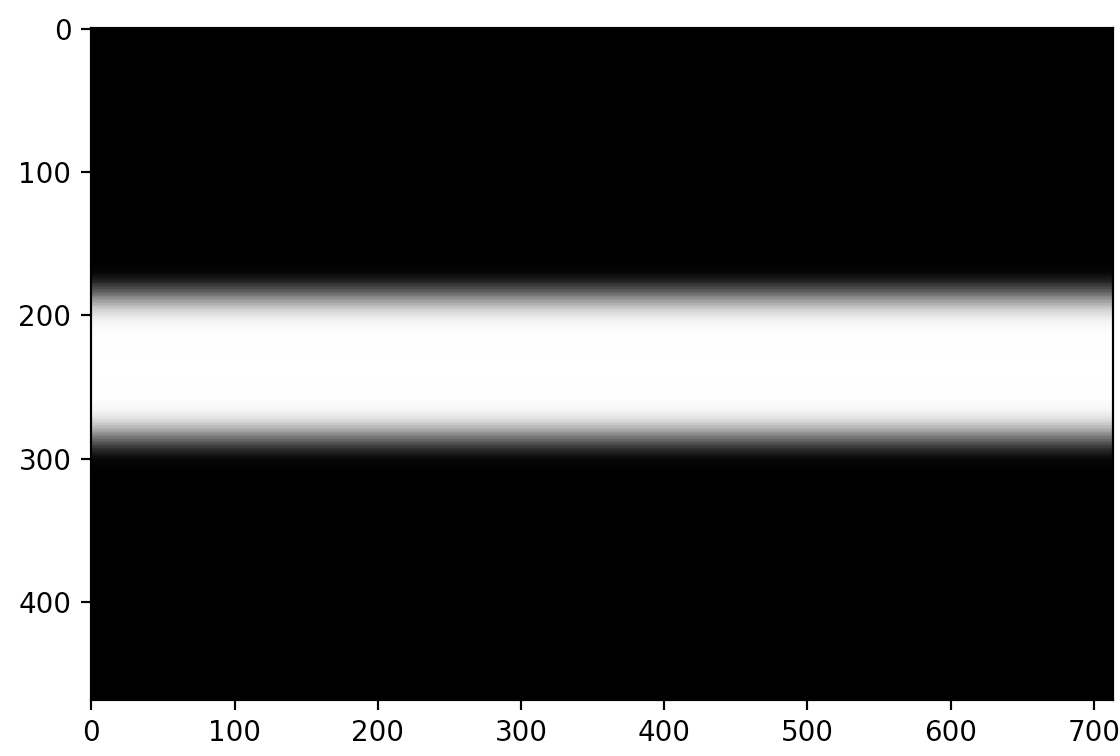
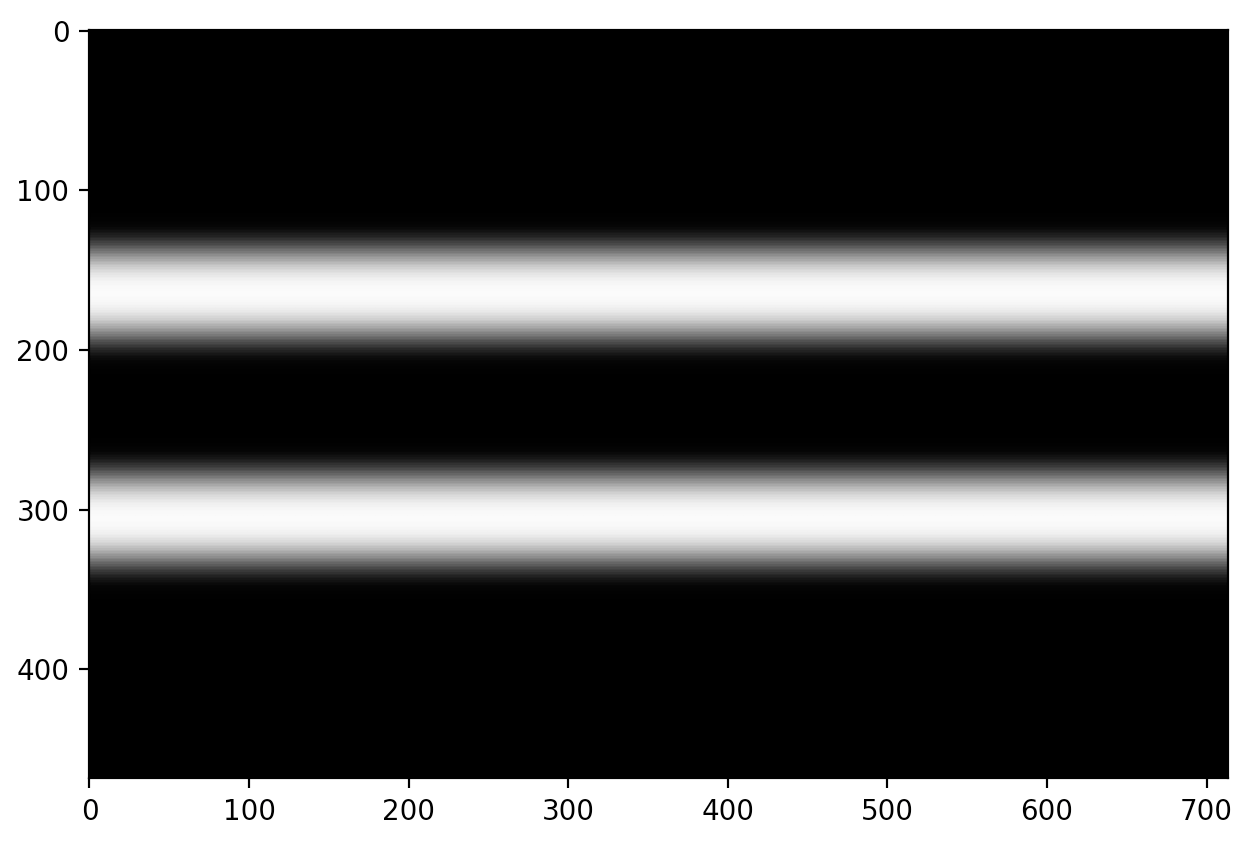
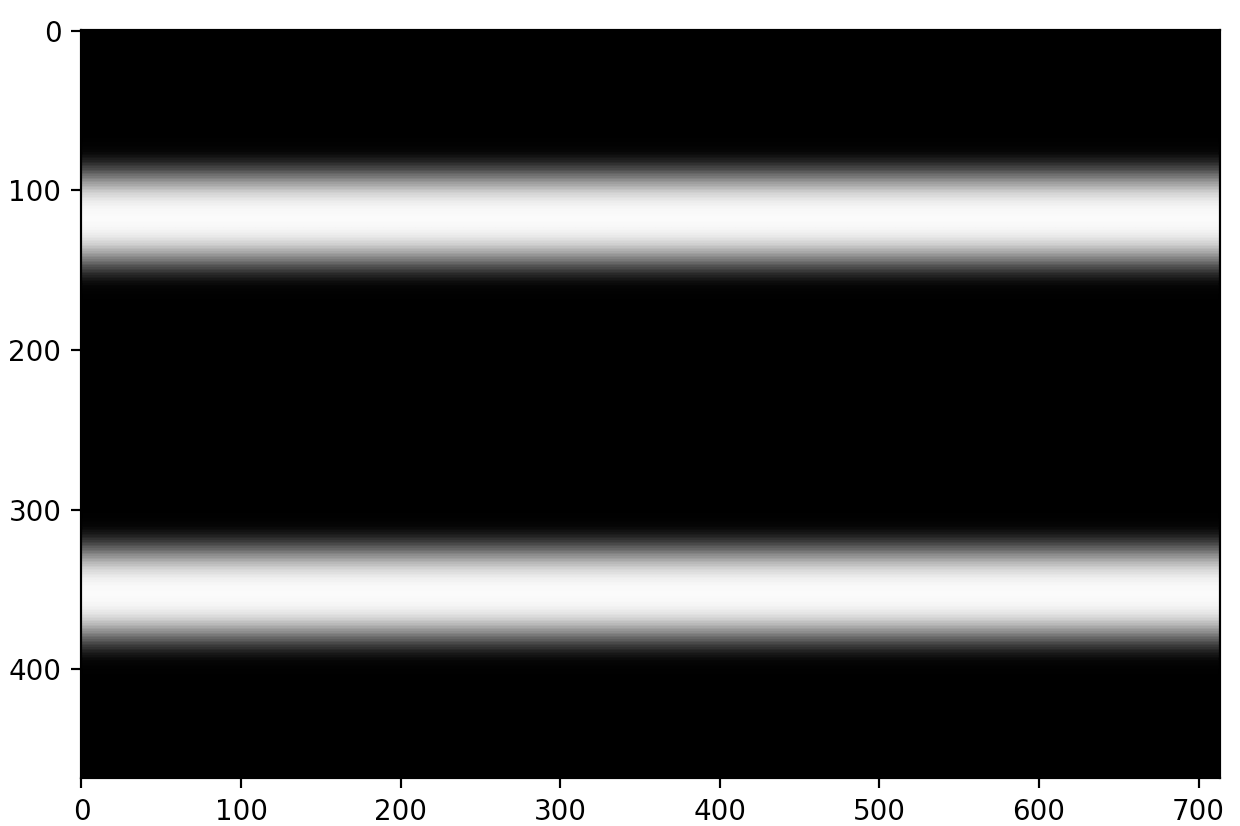
Depth of Field Mask |
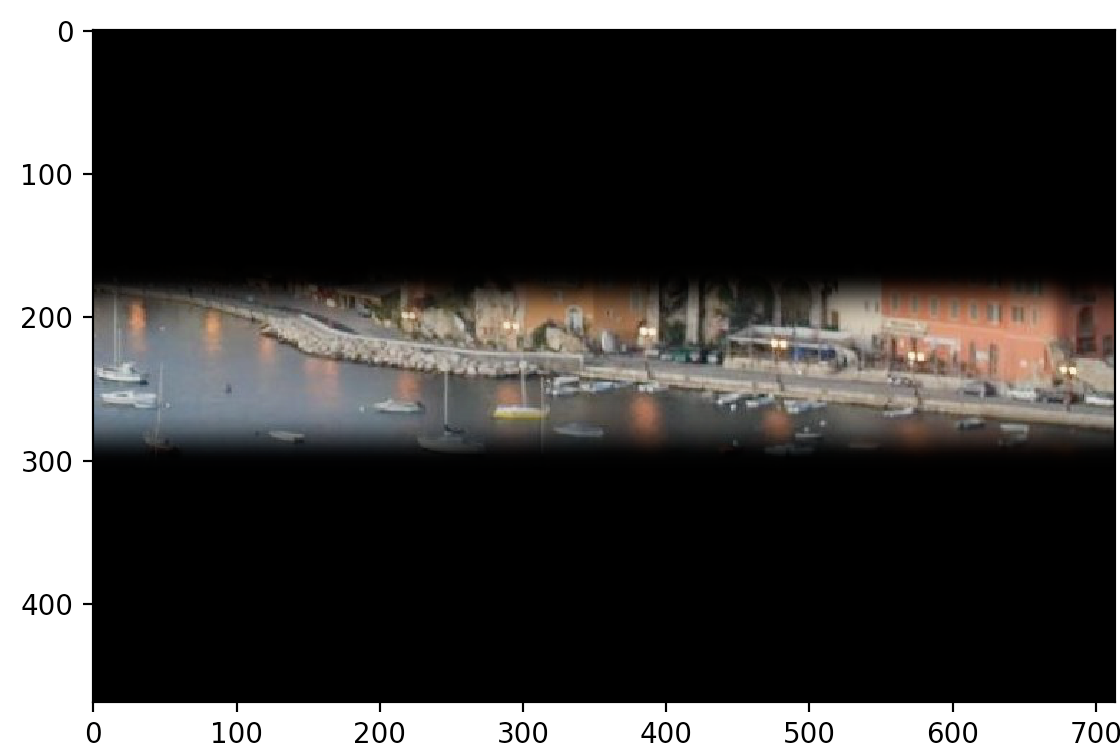
Depth of Field |
Gaussian Blur 1. Sigma = 2 |
Gaussian Blur 1 Mask |
Gaussian Blur 1 Layer |
Gaussian Blur 2. Sigma = 4 |
Gaussian Blur 2 Mask |
Gaussian Blur 2 Layer |
Gaussian Blur 3. Sigma = 6 |

Gaussian Blur 3 Mask |
Gaussian Blur 3 Layer |
Gaussian Blur 4. Sigma = 8 |
Gaussian Blur 4 Mask |
Gaussian Blur 4 Layer |
Final Blurred Stitched |
Final Miniature. Adjusted Saturation. |
Linear Depth Of Field Horizontal Examples
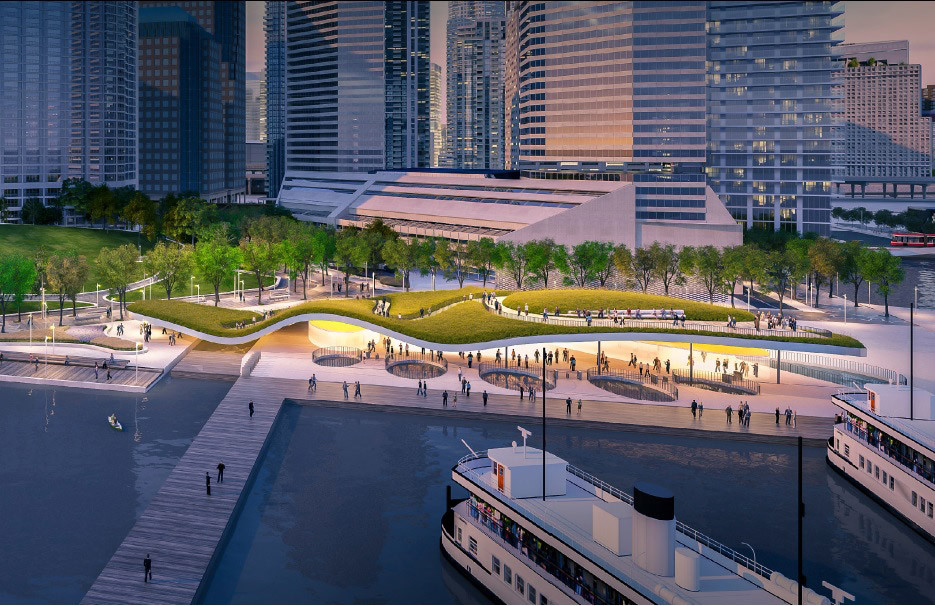
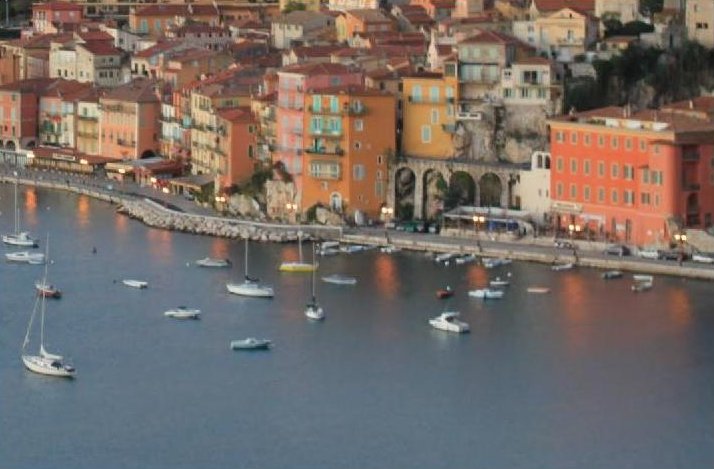
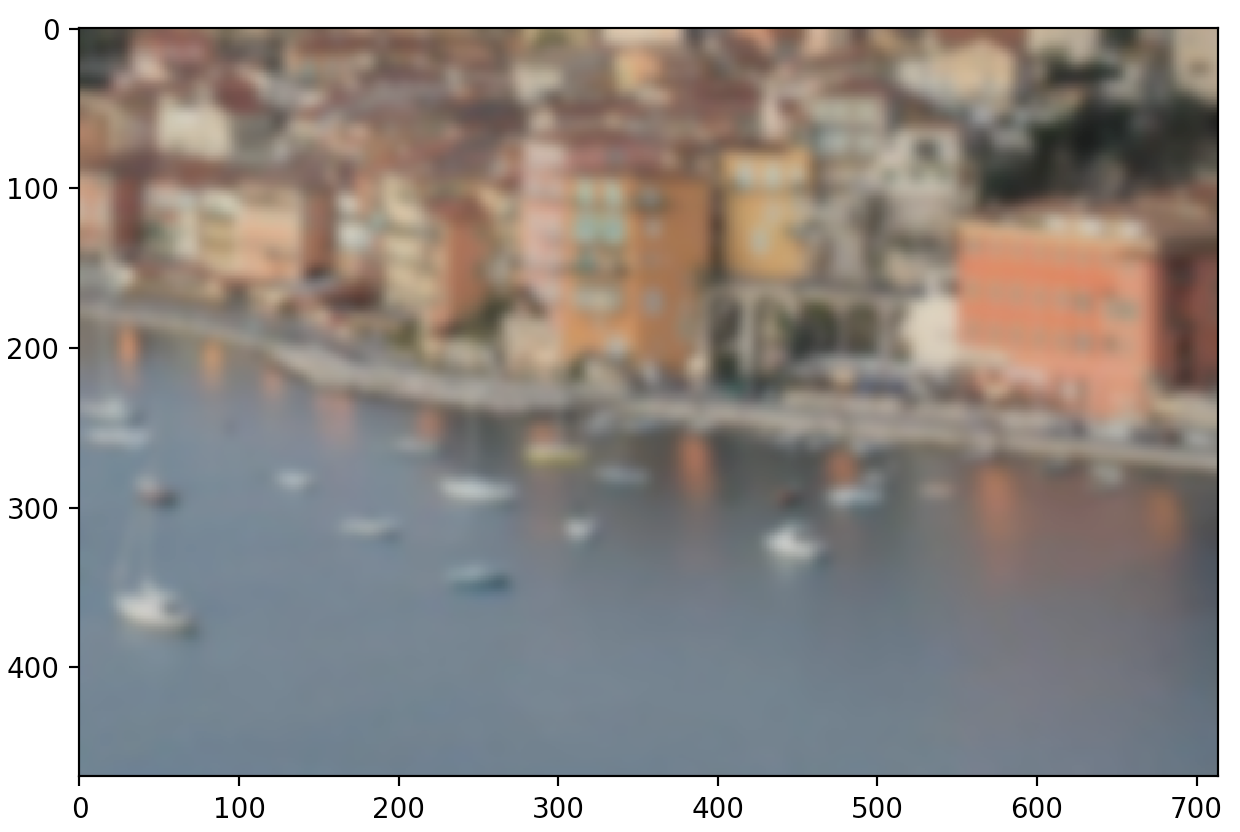
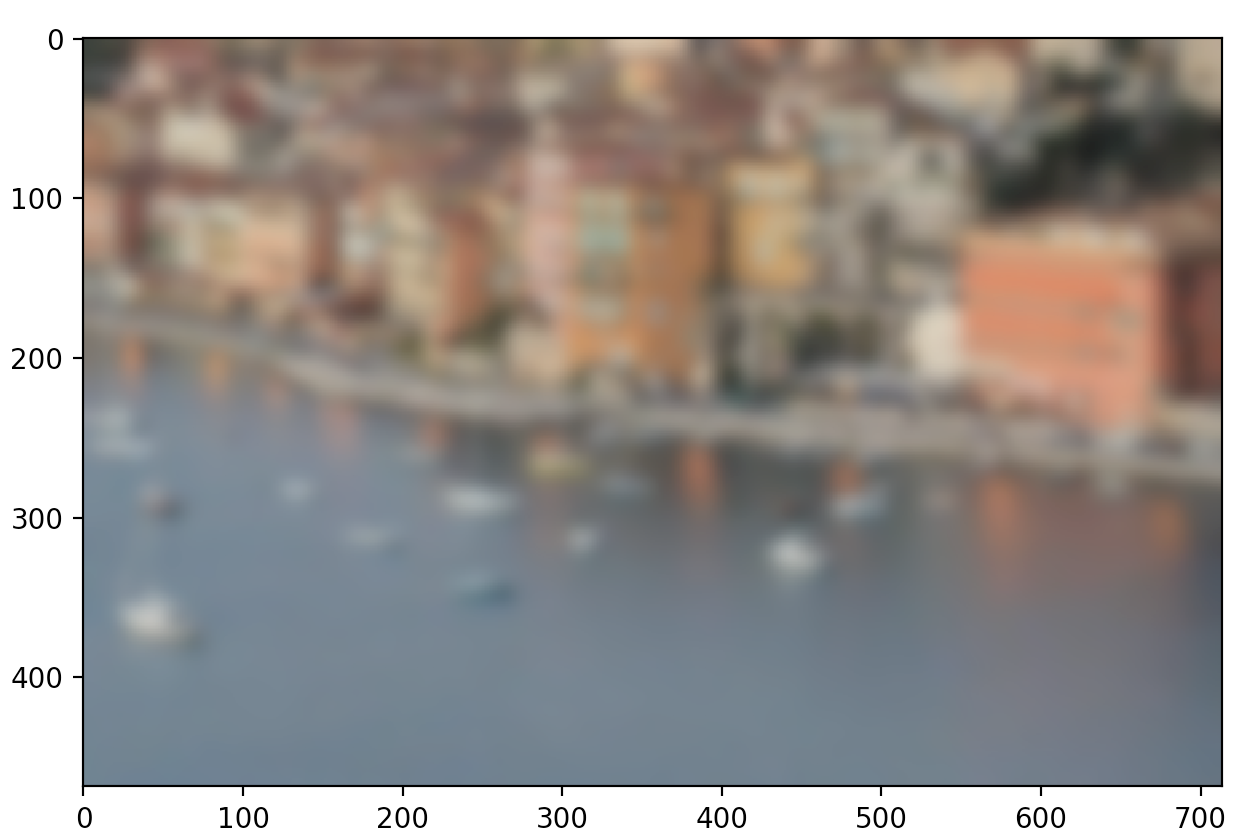
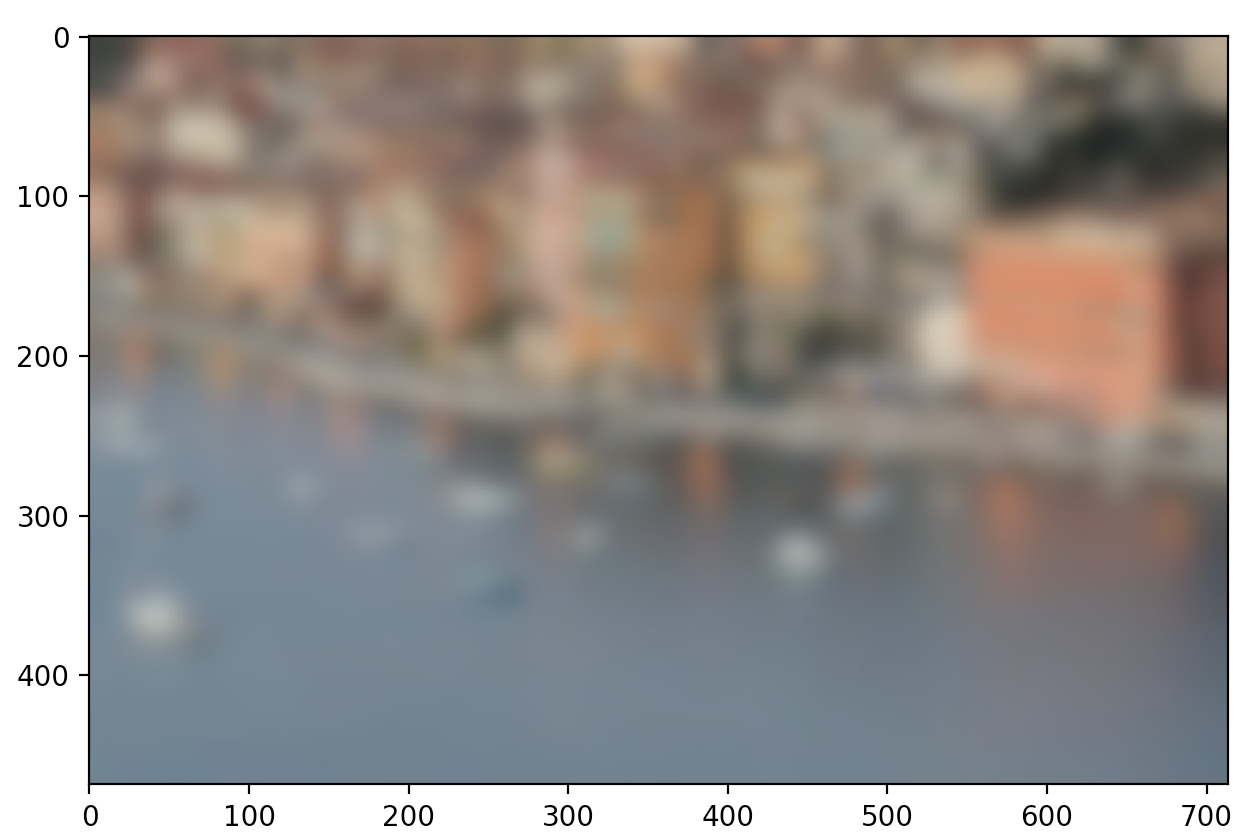
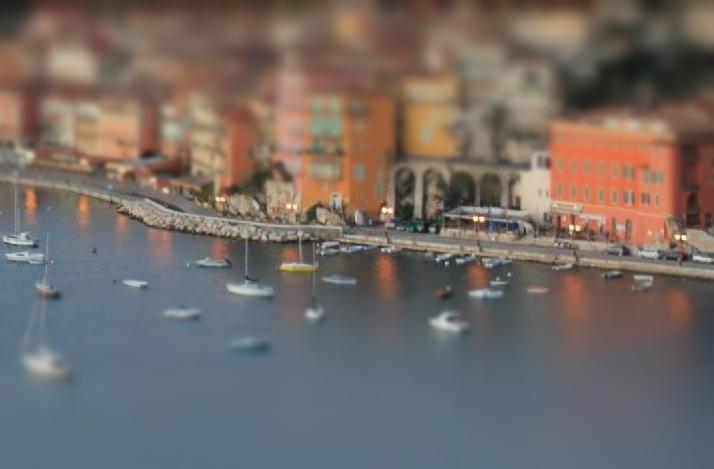
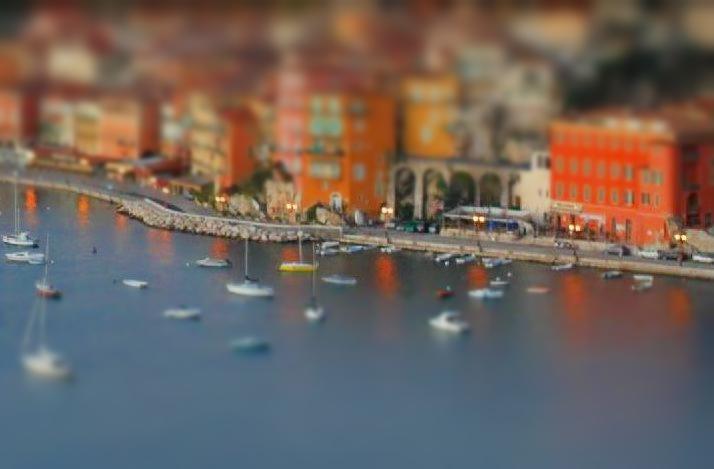
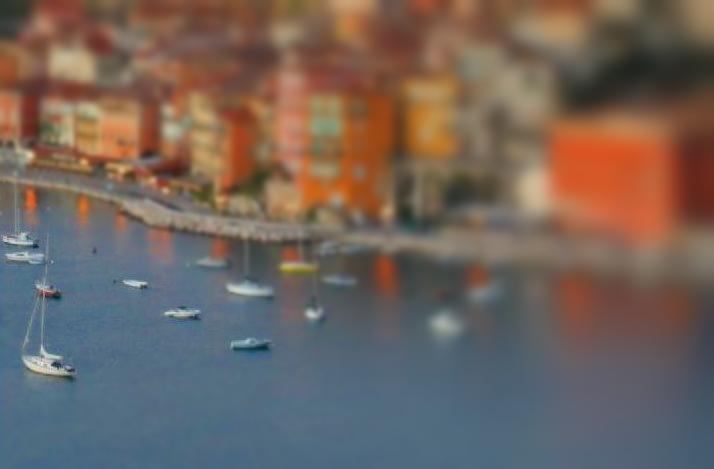
Original waterfront

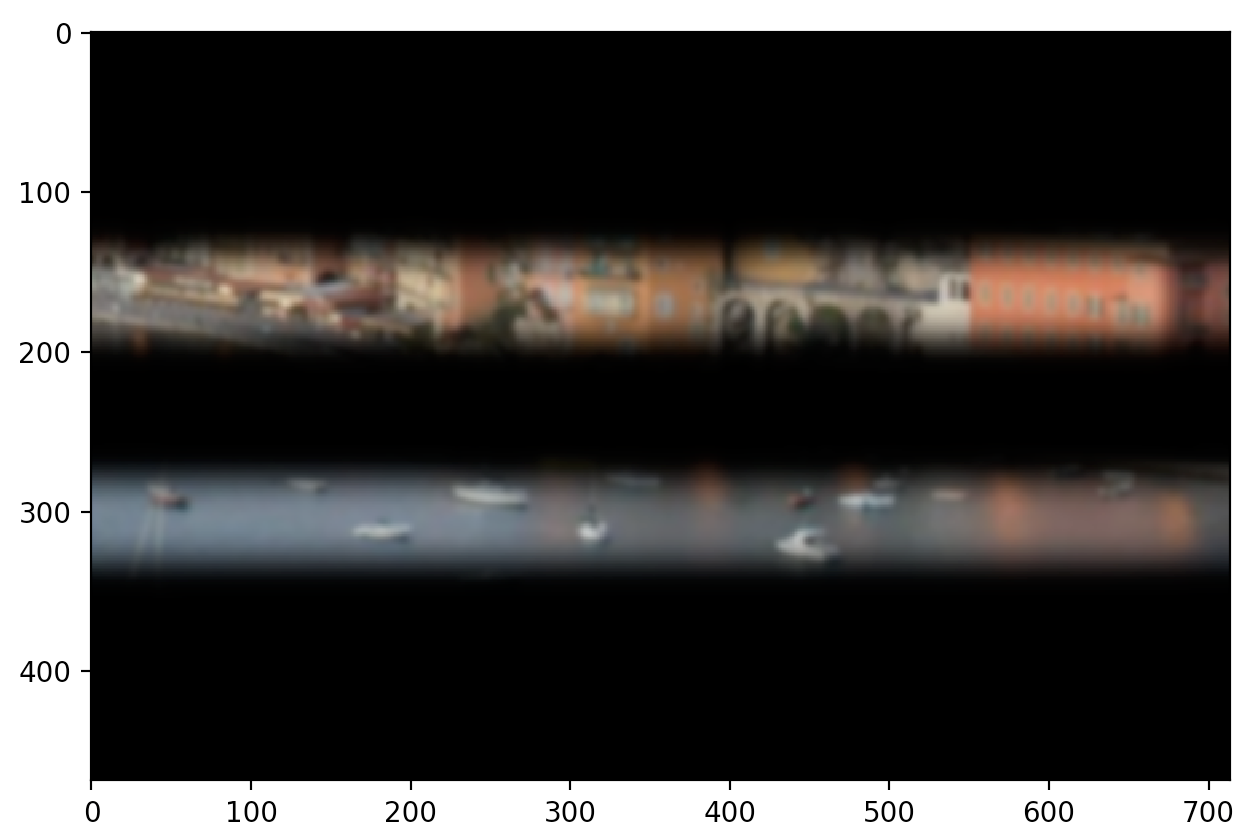
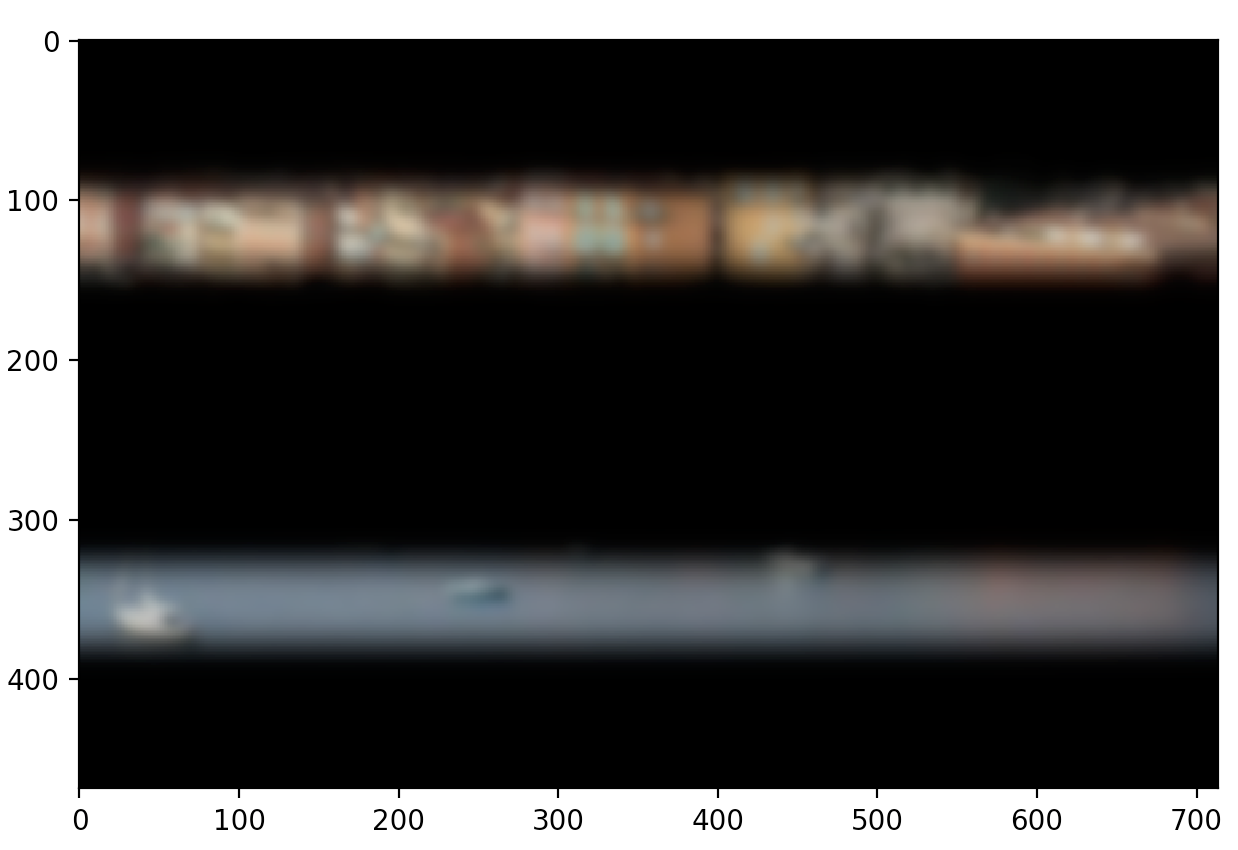
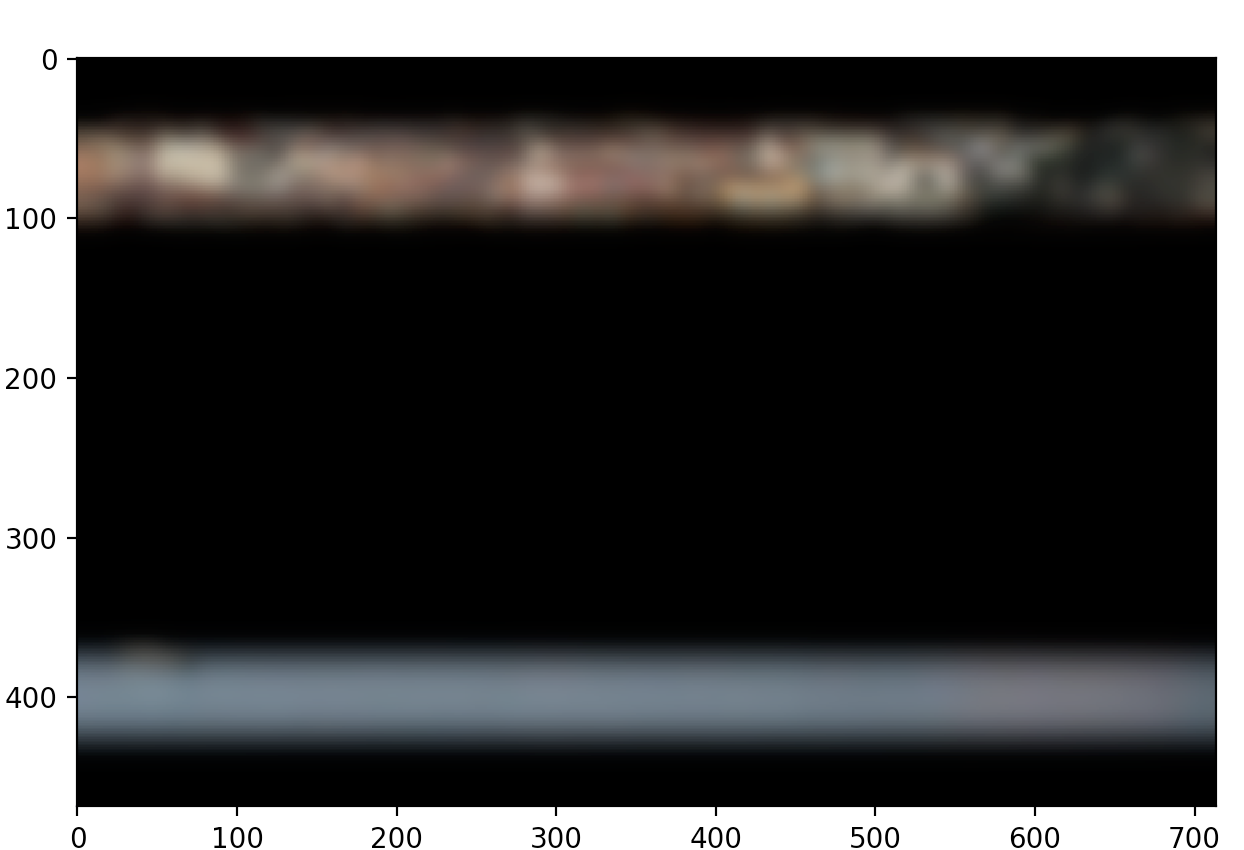
Blurred waterfront
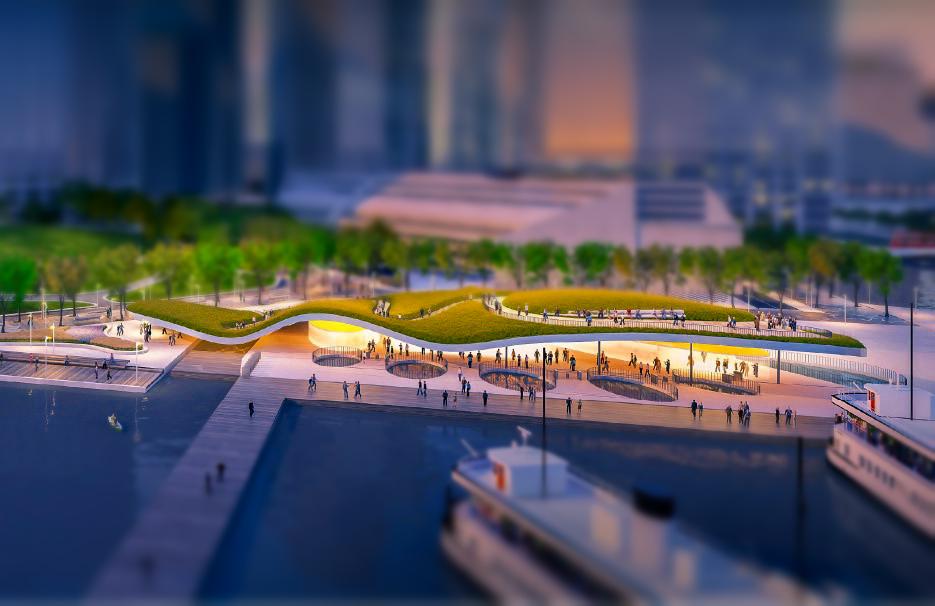
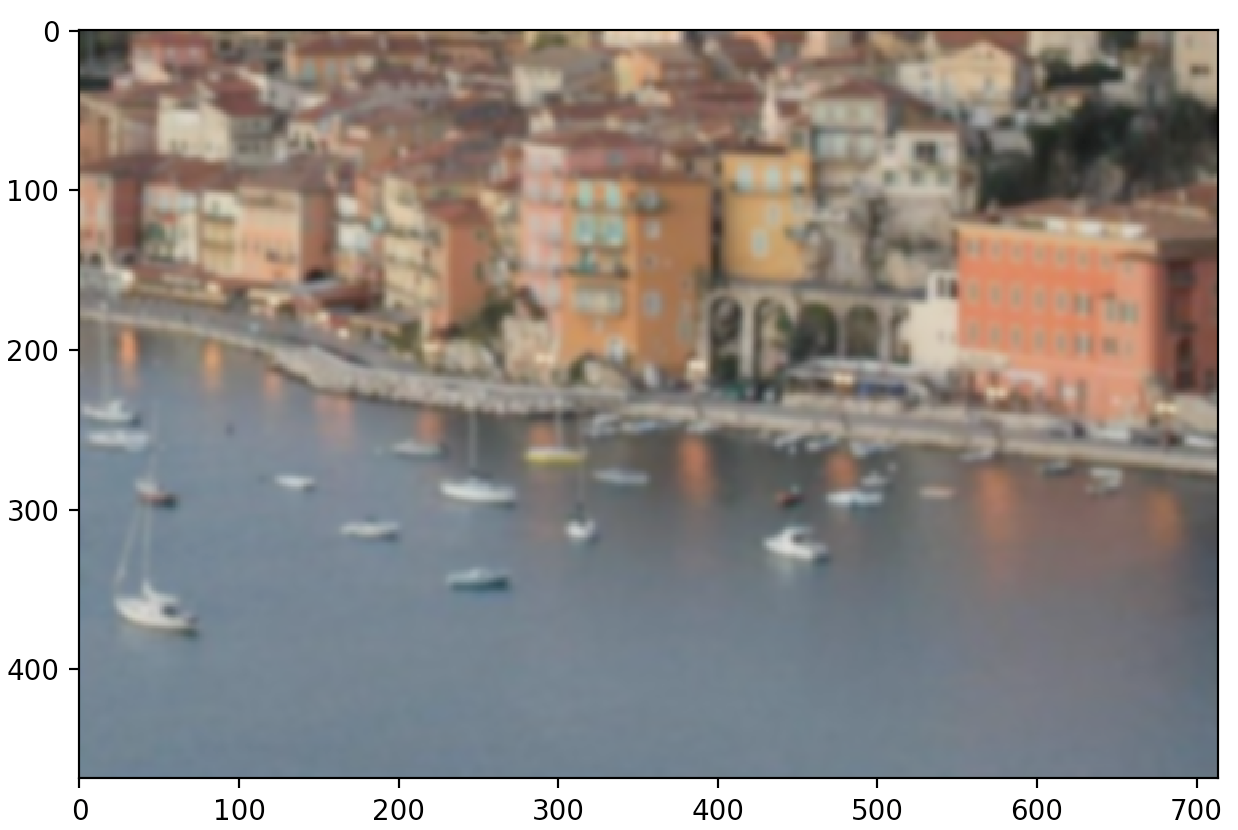
Miniature waterfront

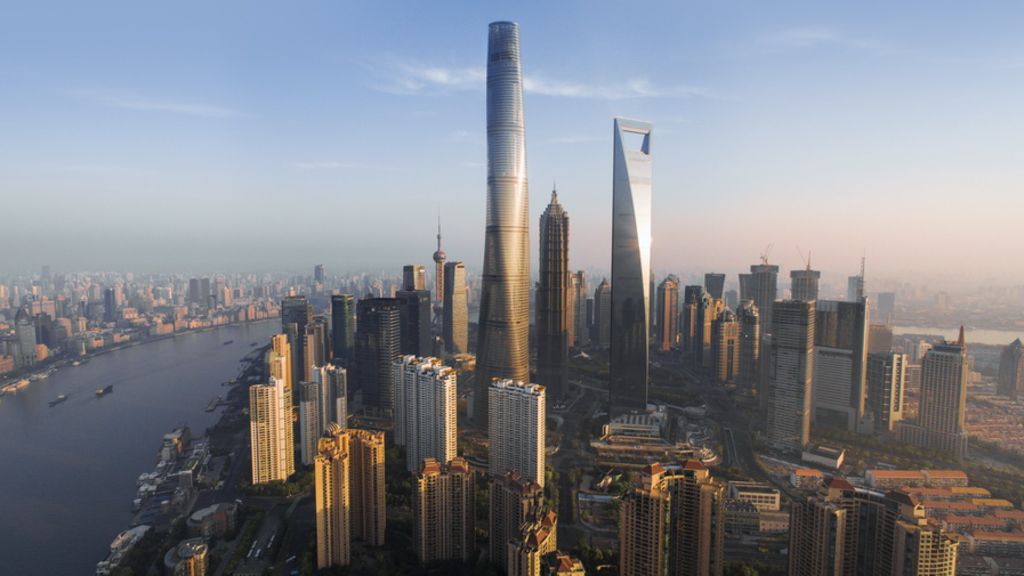
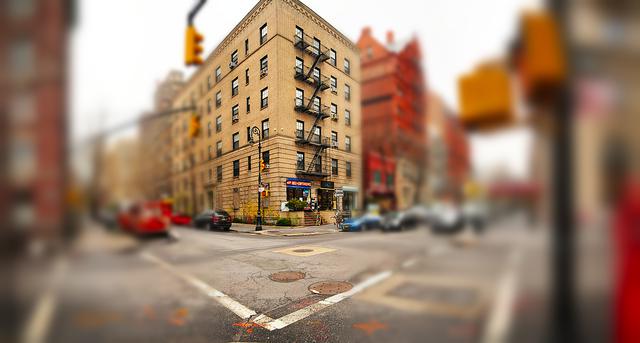
Original city
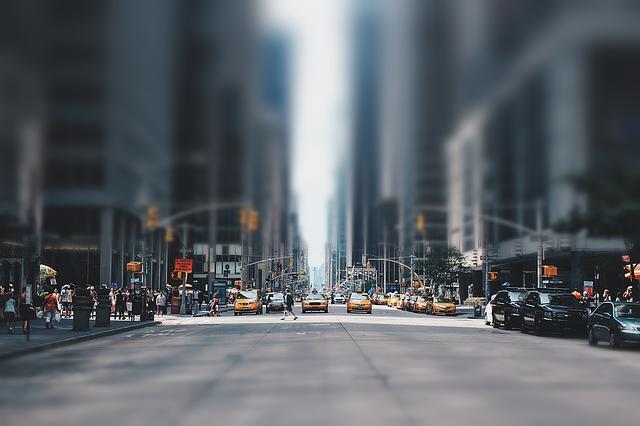
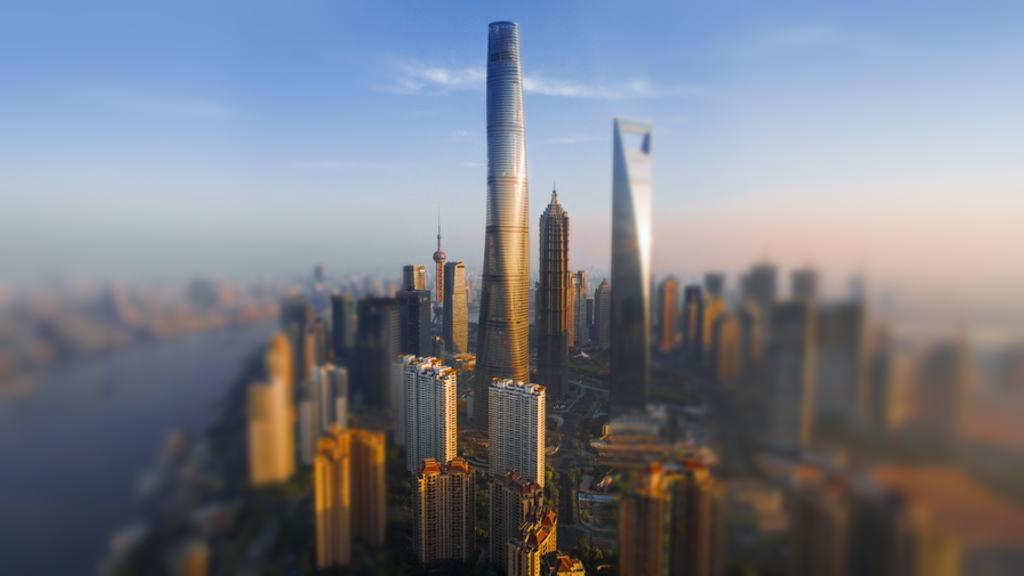
Blurred city

Miniature city
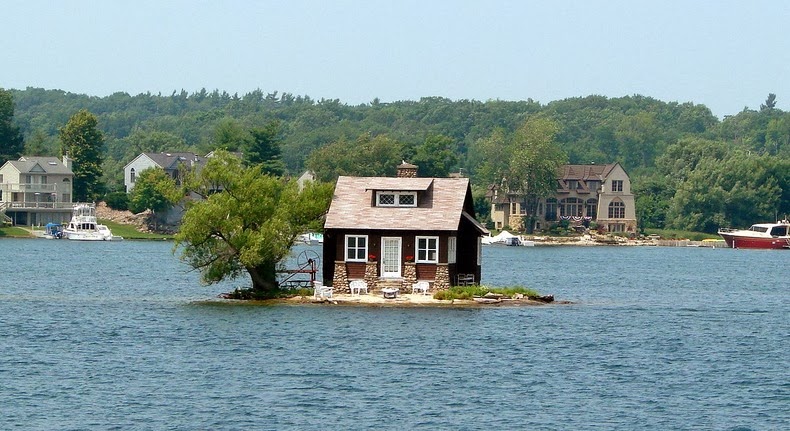
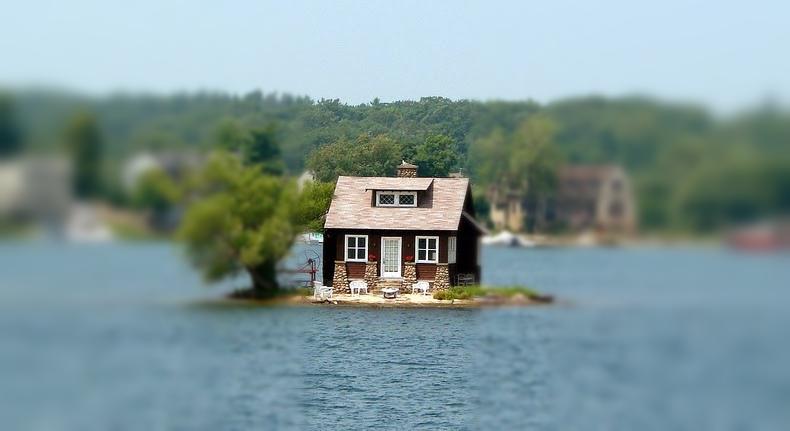
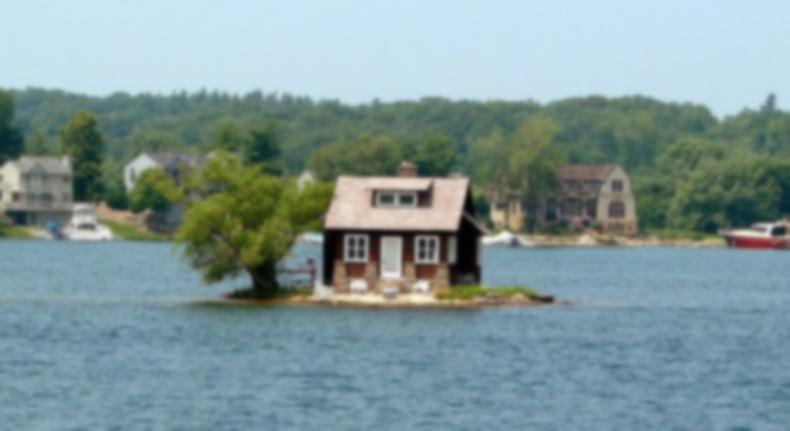
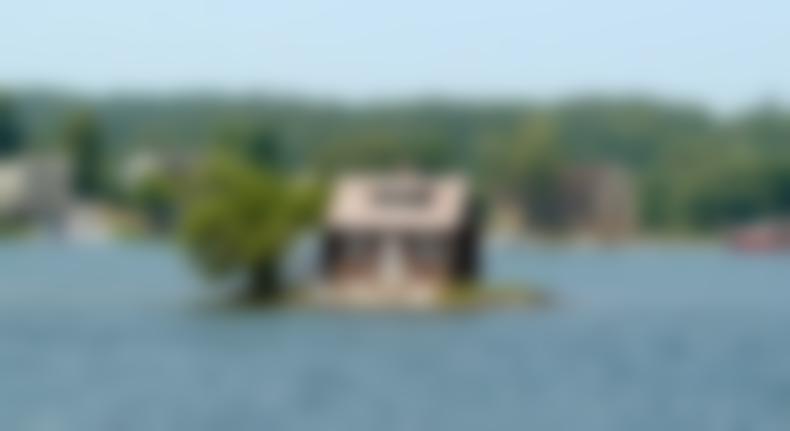
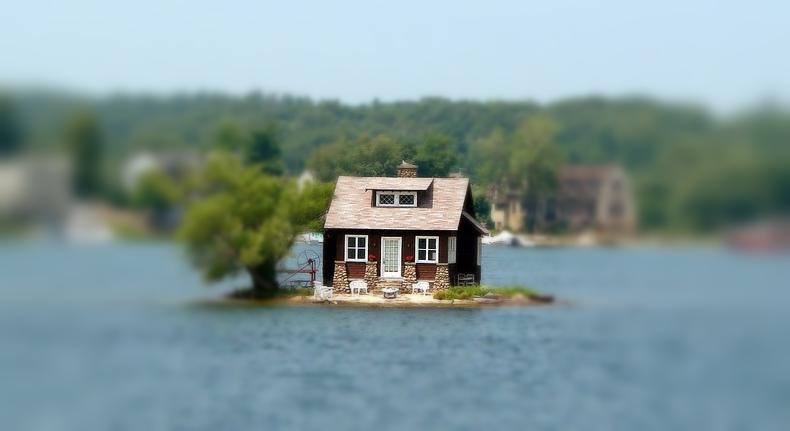
Original house

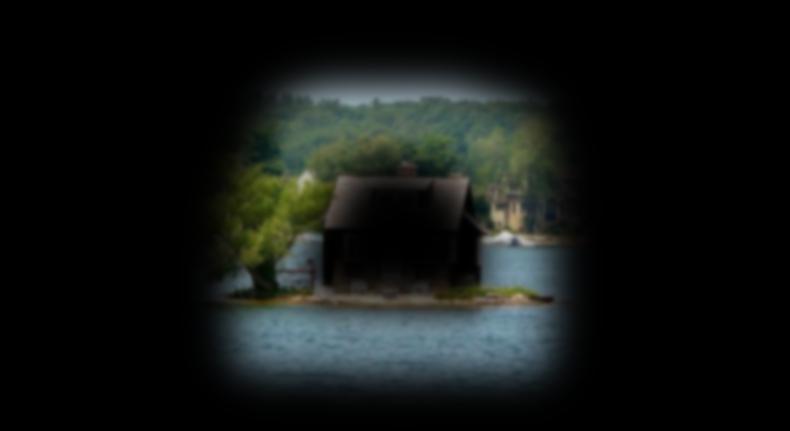
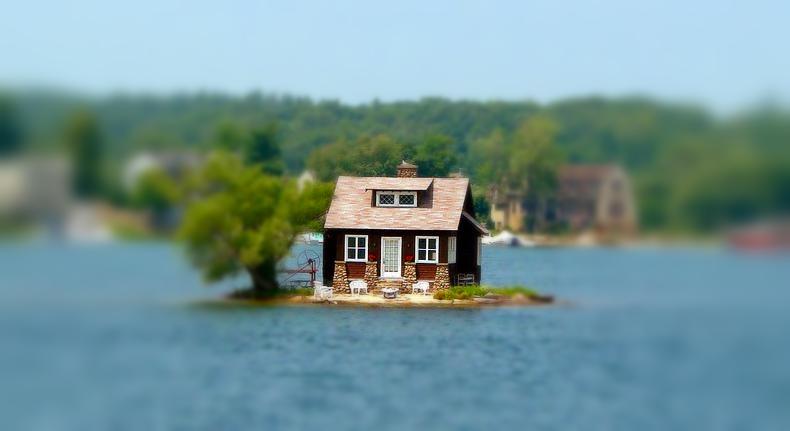
Blurred house
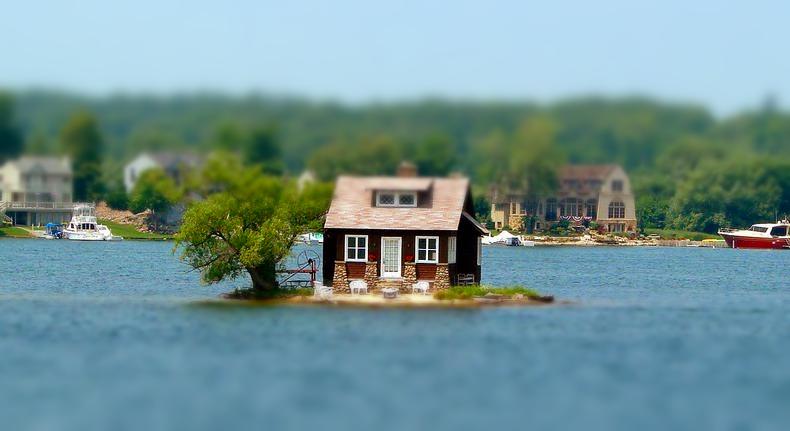
Miniature house
Linear Depth Of Field Vertical Examples
Original buildings

Blurred buildings
Miniature buildings
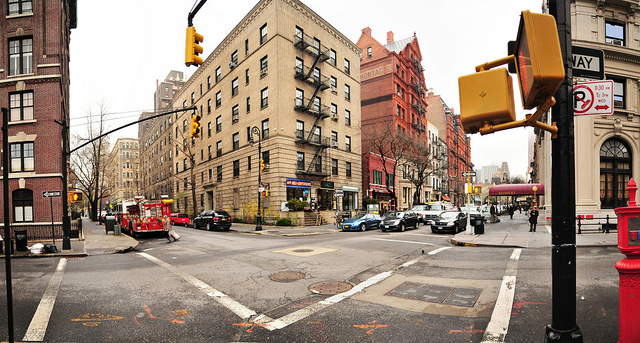
Original Brooklyn

Blurred Brooklyn
Miniature Brooklyn
Original house
Blurred house

Miniature house
Bells and Whistles: Complex Depth of Field
After implementing a linear depth of field both vertically and horizontally on the house image, I realized that this technique doesn't produce ideal results in every situation. For instance in the example of the house a more entertaining depth of field would potentially be the circle around the house itself to create the illusion of a tiny house. However my linear approaches currently either blur out desired portions or include areas vertically that are irrelevant.
I proceeded to implement the complex DOF by asking the user's input for points around the area of interest. Using these points I create a convex hull to select the points that will determine a polygon around the area of interest to create a mask. I proceed with the same logic from above except in order to expand my mask at each layer I use binary dilation from scipy. I set the number or iterations to 15% of the image height or width (depending on which is smaller). Likewise I proceed until the mask is all ones.
Below you can see a step by step example of the house.
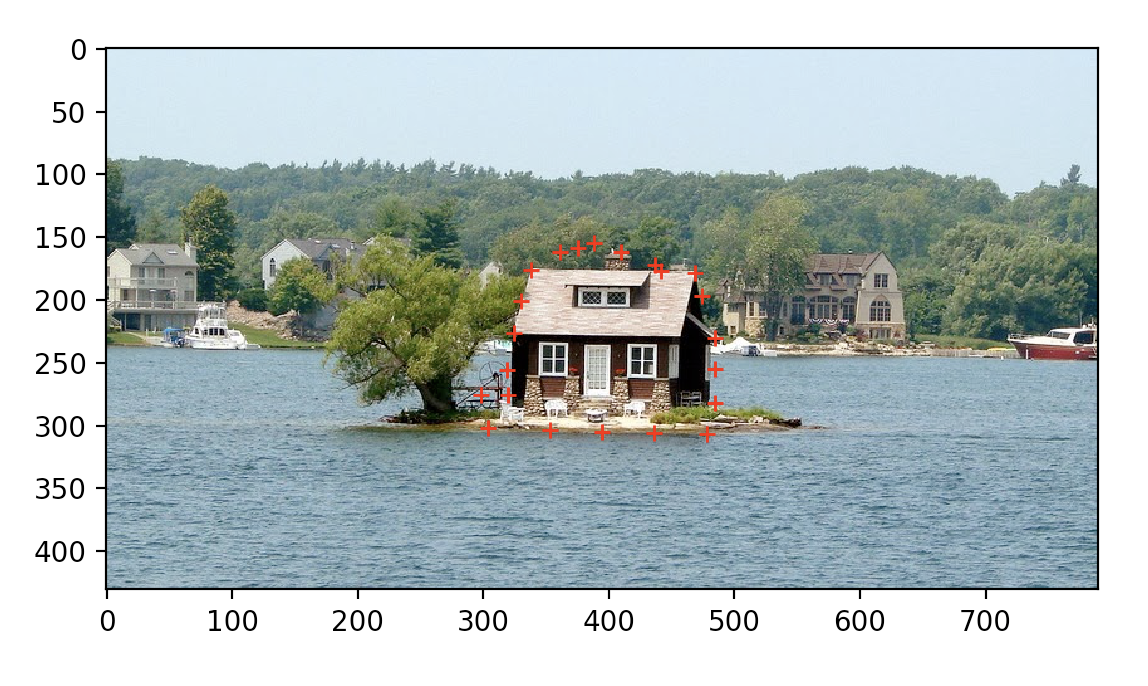
Points selected to define a polygon |

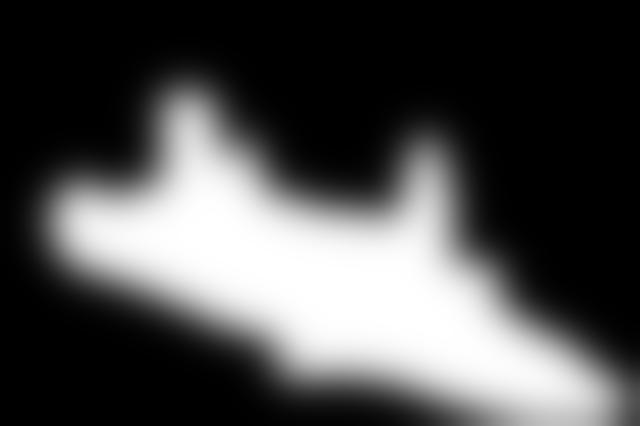
Depth of Field Mask |
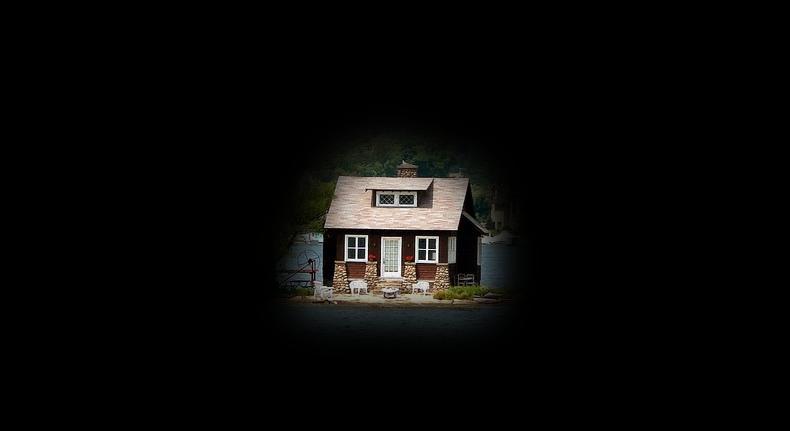
Depth of Field |
Gaussian Blur 1. Sigma = 2 |

Gaussian Blur 1 Mask |
Gaussian Blur 1 Layer |

Gaussian Blur 2. Sigma = 4 |

Gaussian Blur 2 Mask |
Gaussian Blur 2 Layer |

Gaussian Blur 3. Sigma = 6 |

Gaussian Blur 3 Mask |
Gaussian Blur 3 Layer |

Gaussian Blur 4. Sigma = 8 |
Gaussian Blur 4 Mask |
Gaussian Blur 4 Layer |
Gaussian Blur 5. Sigma = 10 |

Gaussian Blur 5 Mask |
Gaussian Blur 5 Layer |
Final Blurred Stitched |
Final Miniature. Adjusted Saturation. |
More Examples of Complex DOF
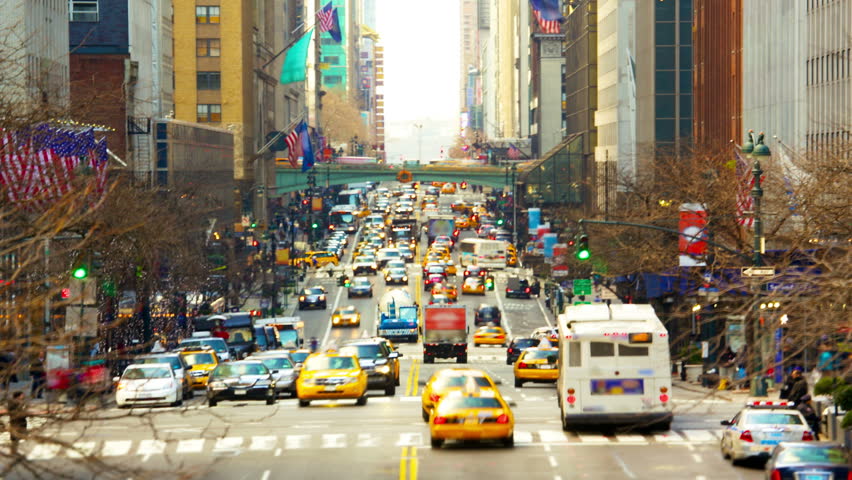
Original cars

DOF mask: cars
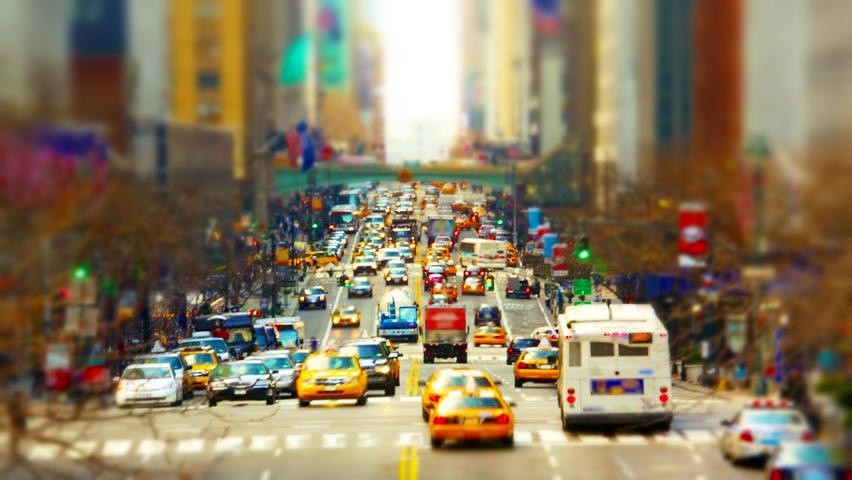
Miniature cars
Original toy

DOF mask: toy
Miniature toy
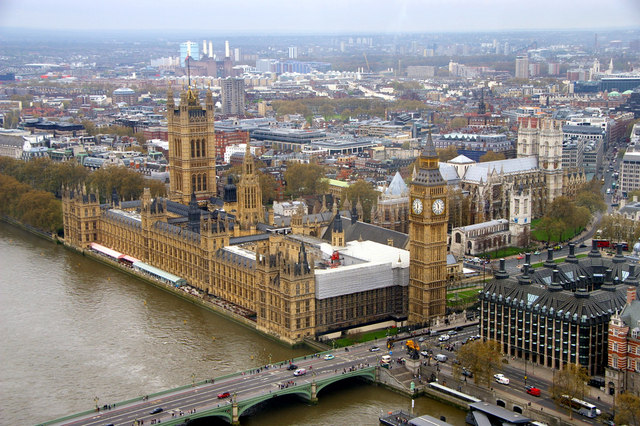
Original Big Ben
DOF mask: Big Ben (not using convex hull)
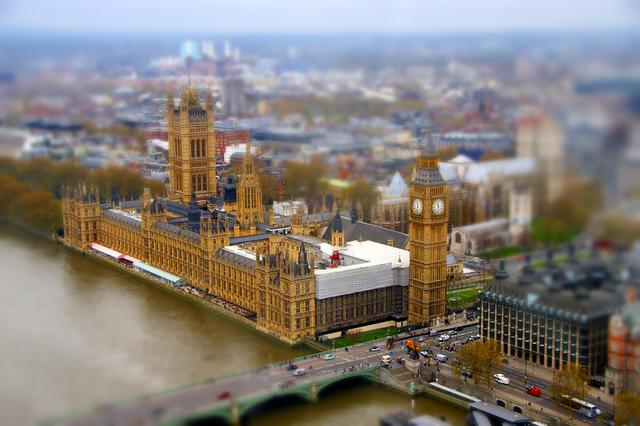
Miniature Big Ben
Part 1: Lessons Learned
This was a very interesting project to implement. I learned that using distance varying gaussian blurring we can effectively change the perceived depth of view of the image at post-processing. Figuring out the best techniques for implementing layering using gaussian stacks was a very interesting research challenge. Also, I learned that a simple saturation boost sometimes makes all the difference!
Introduction
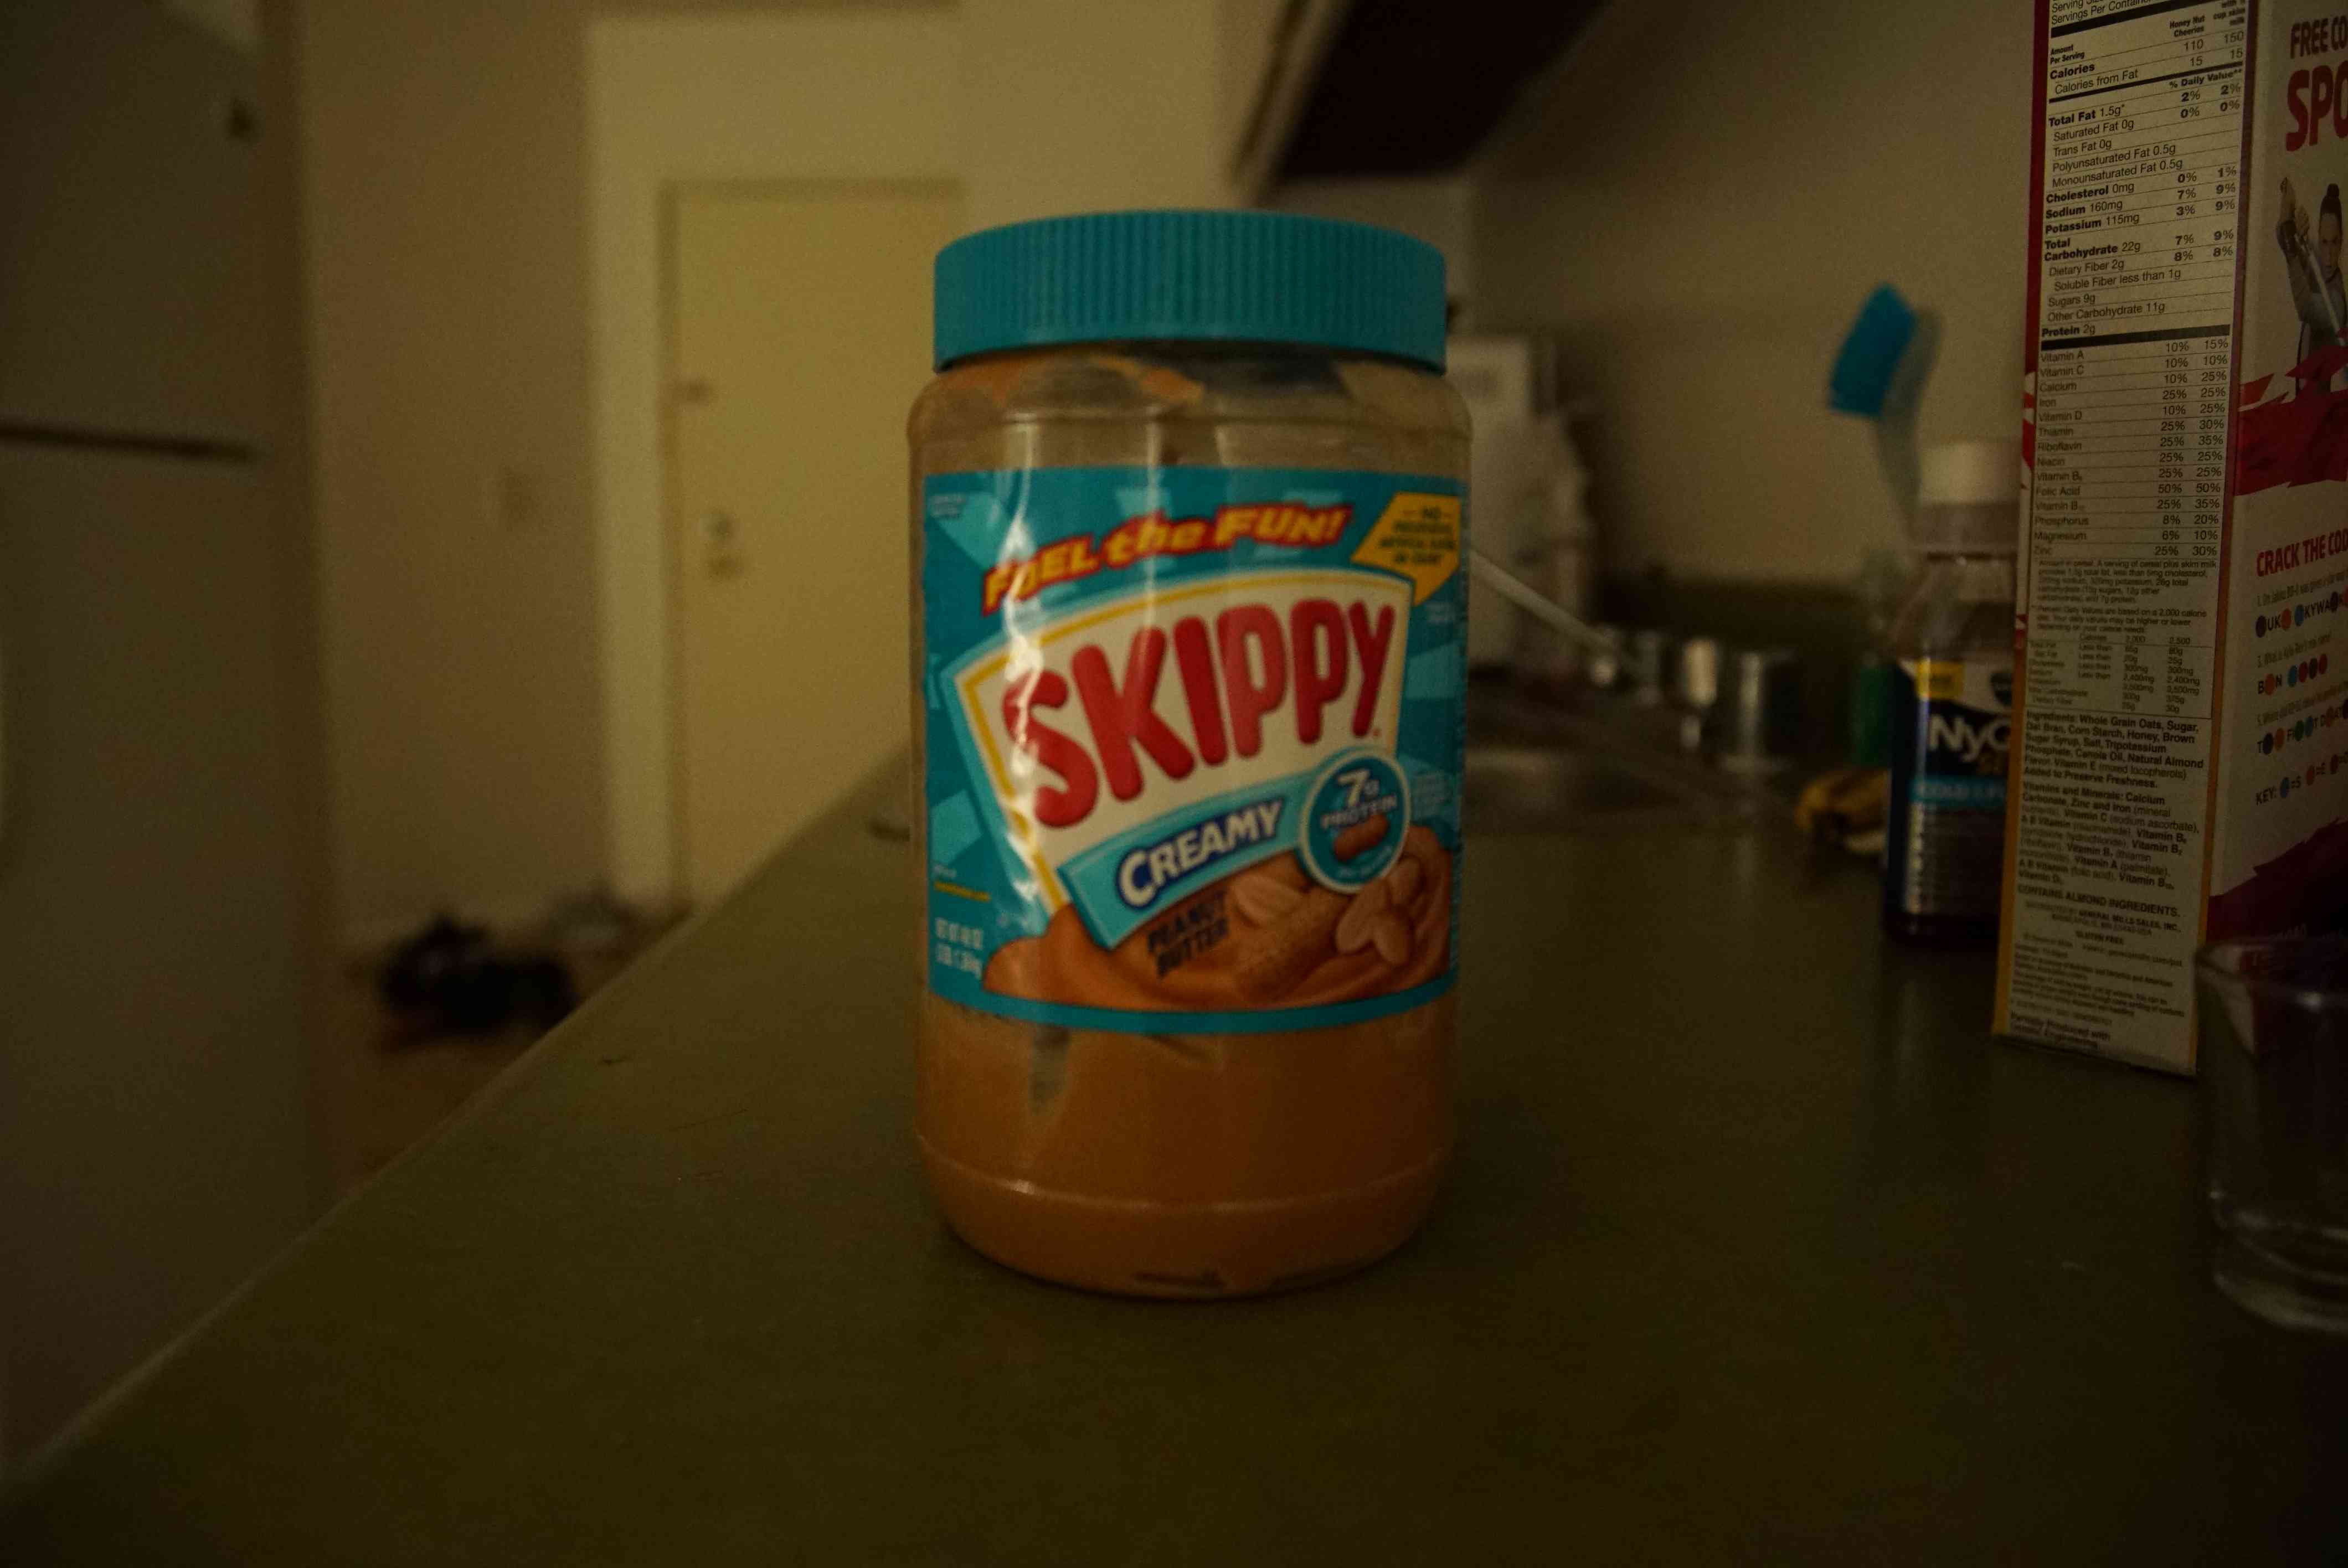
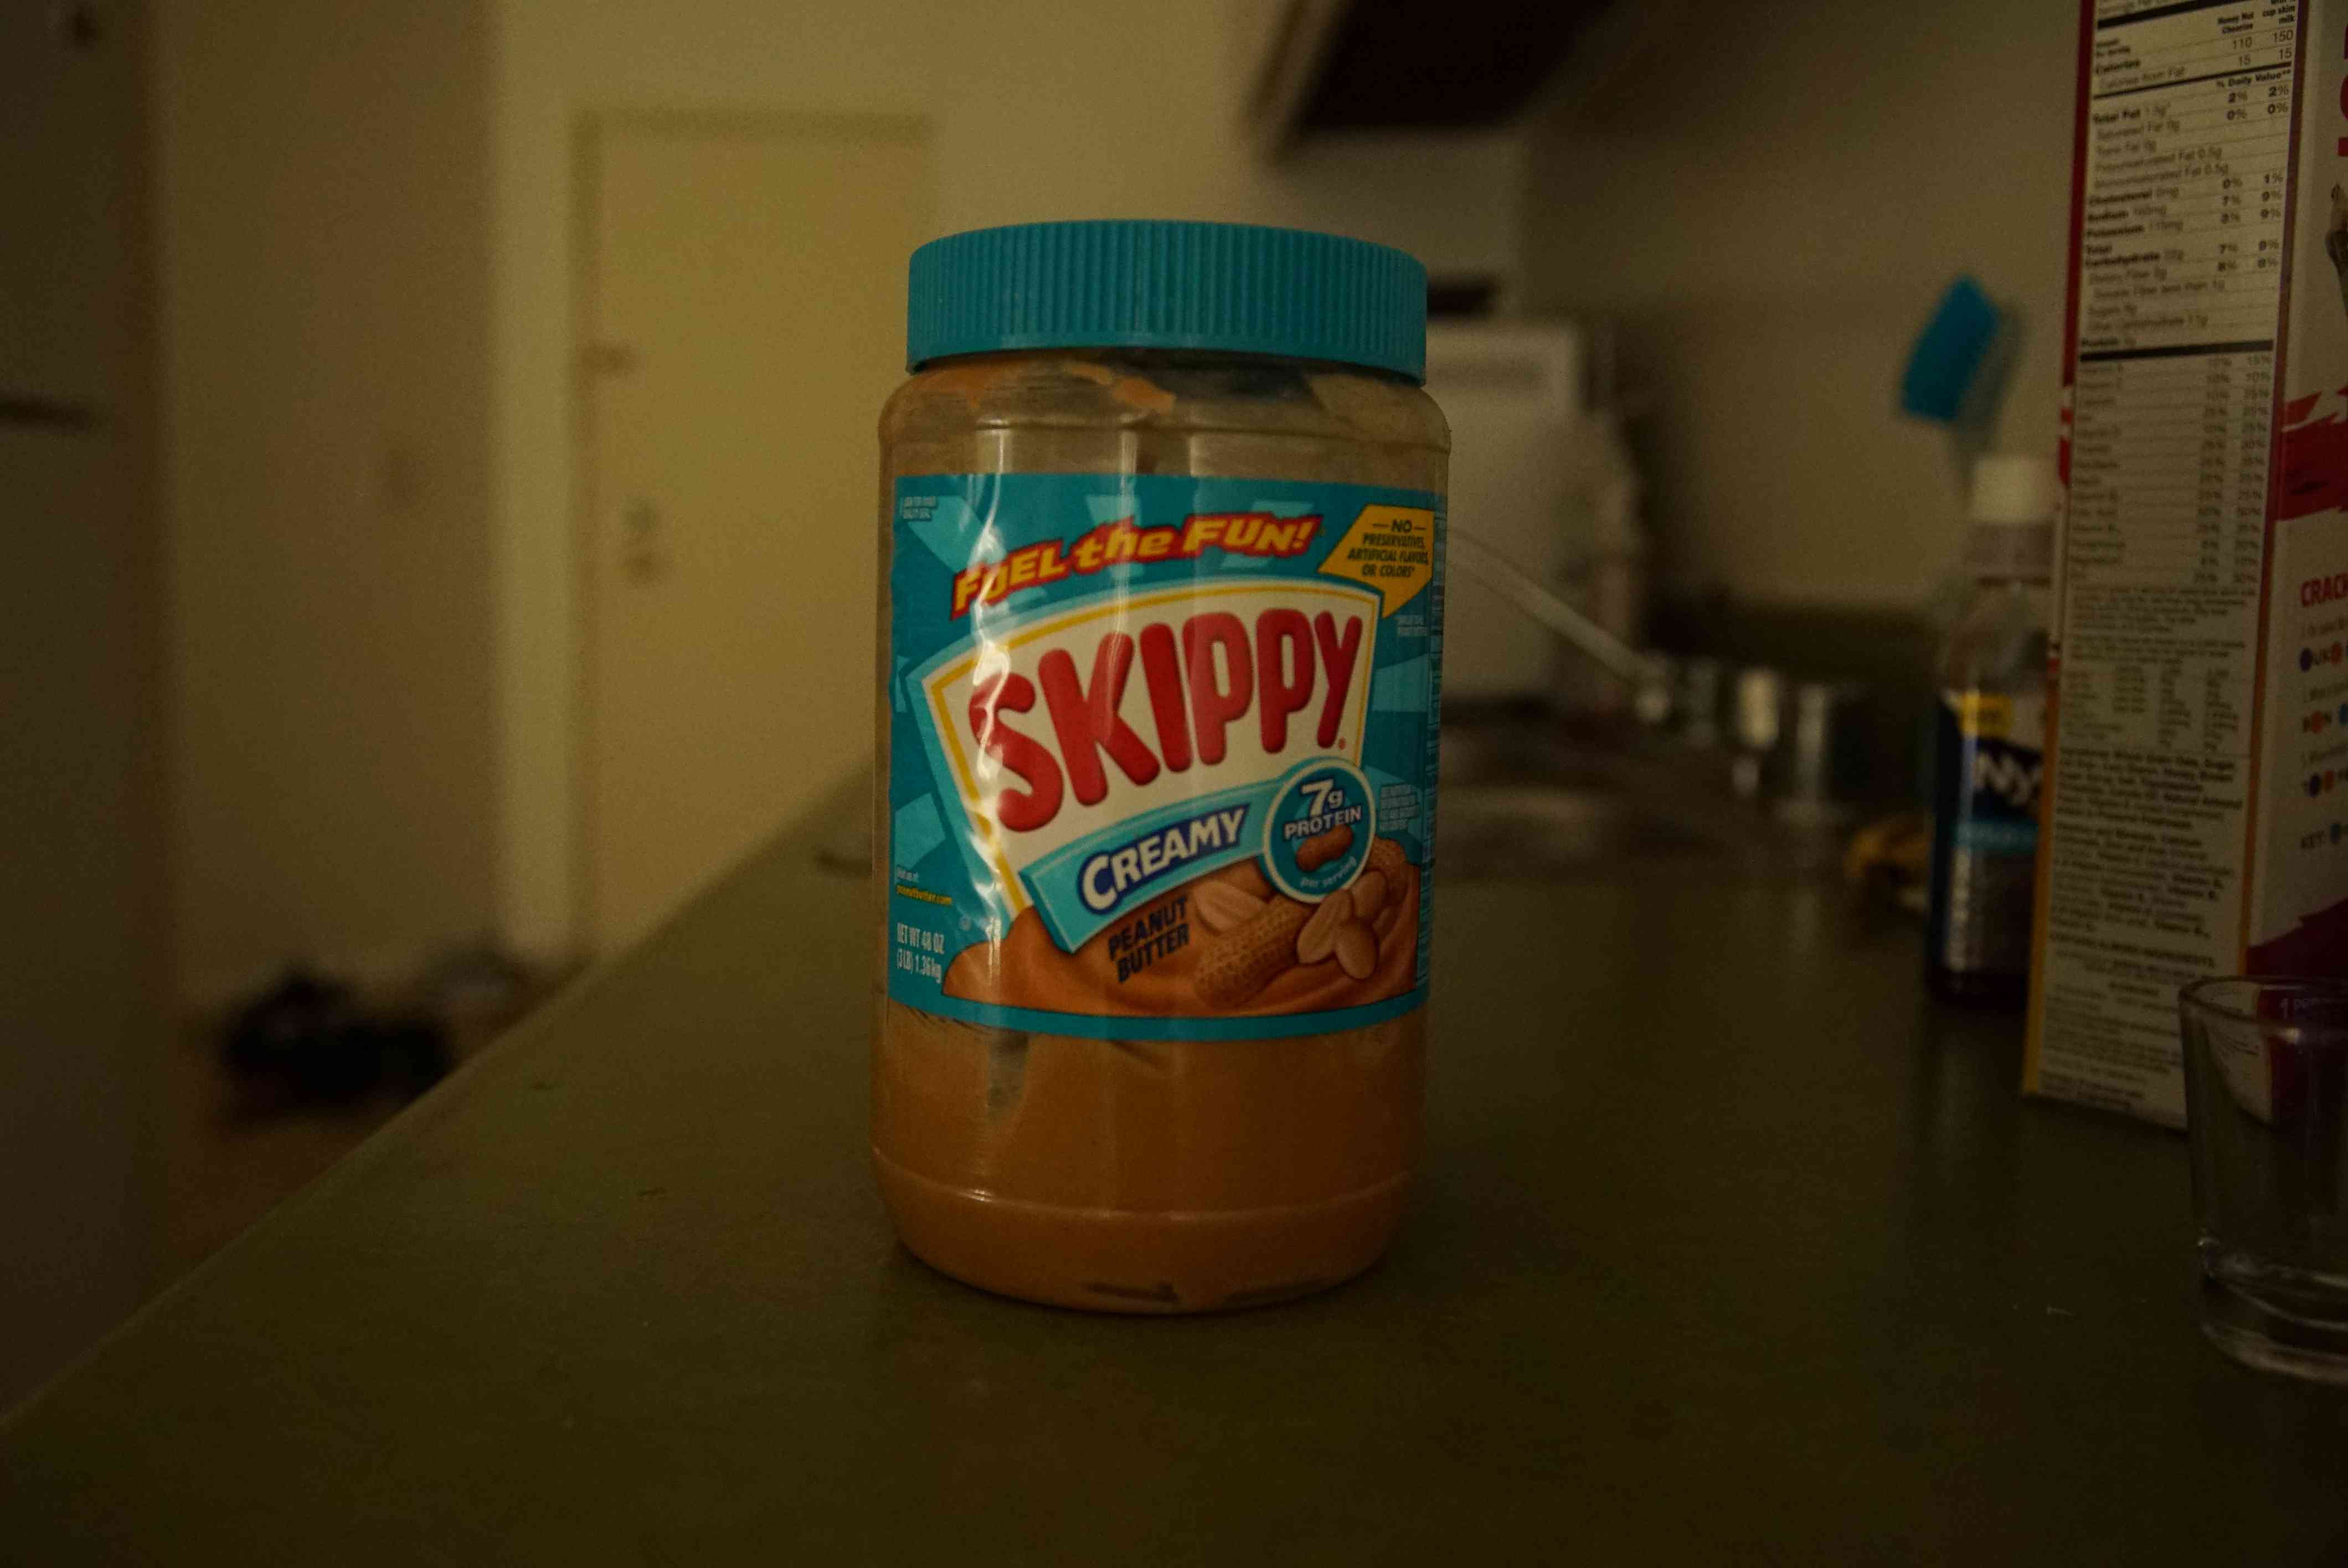
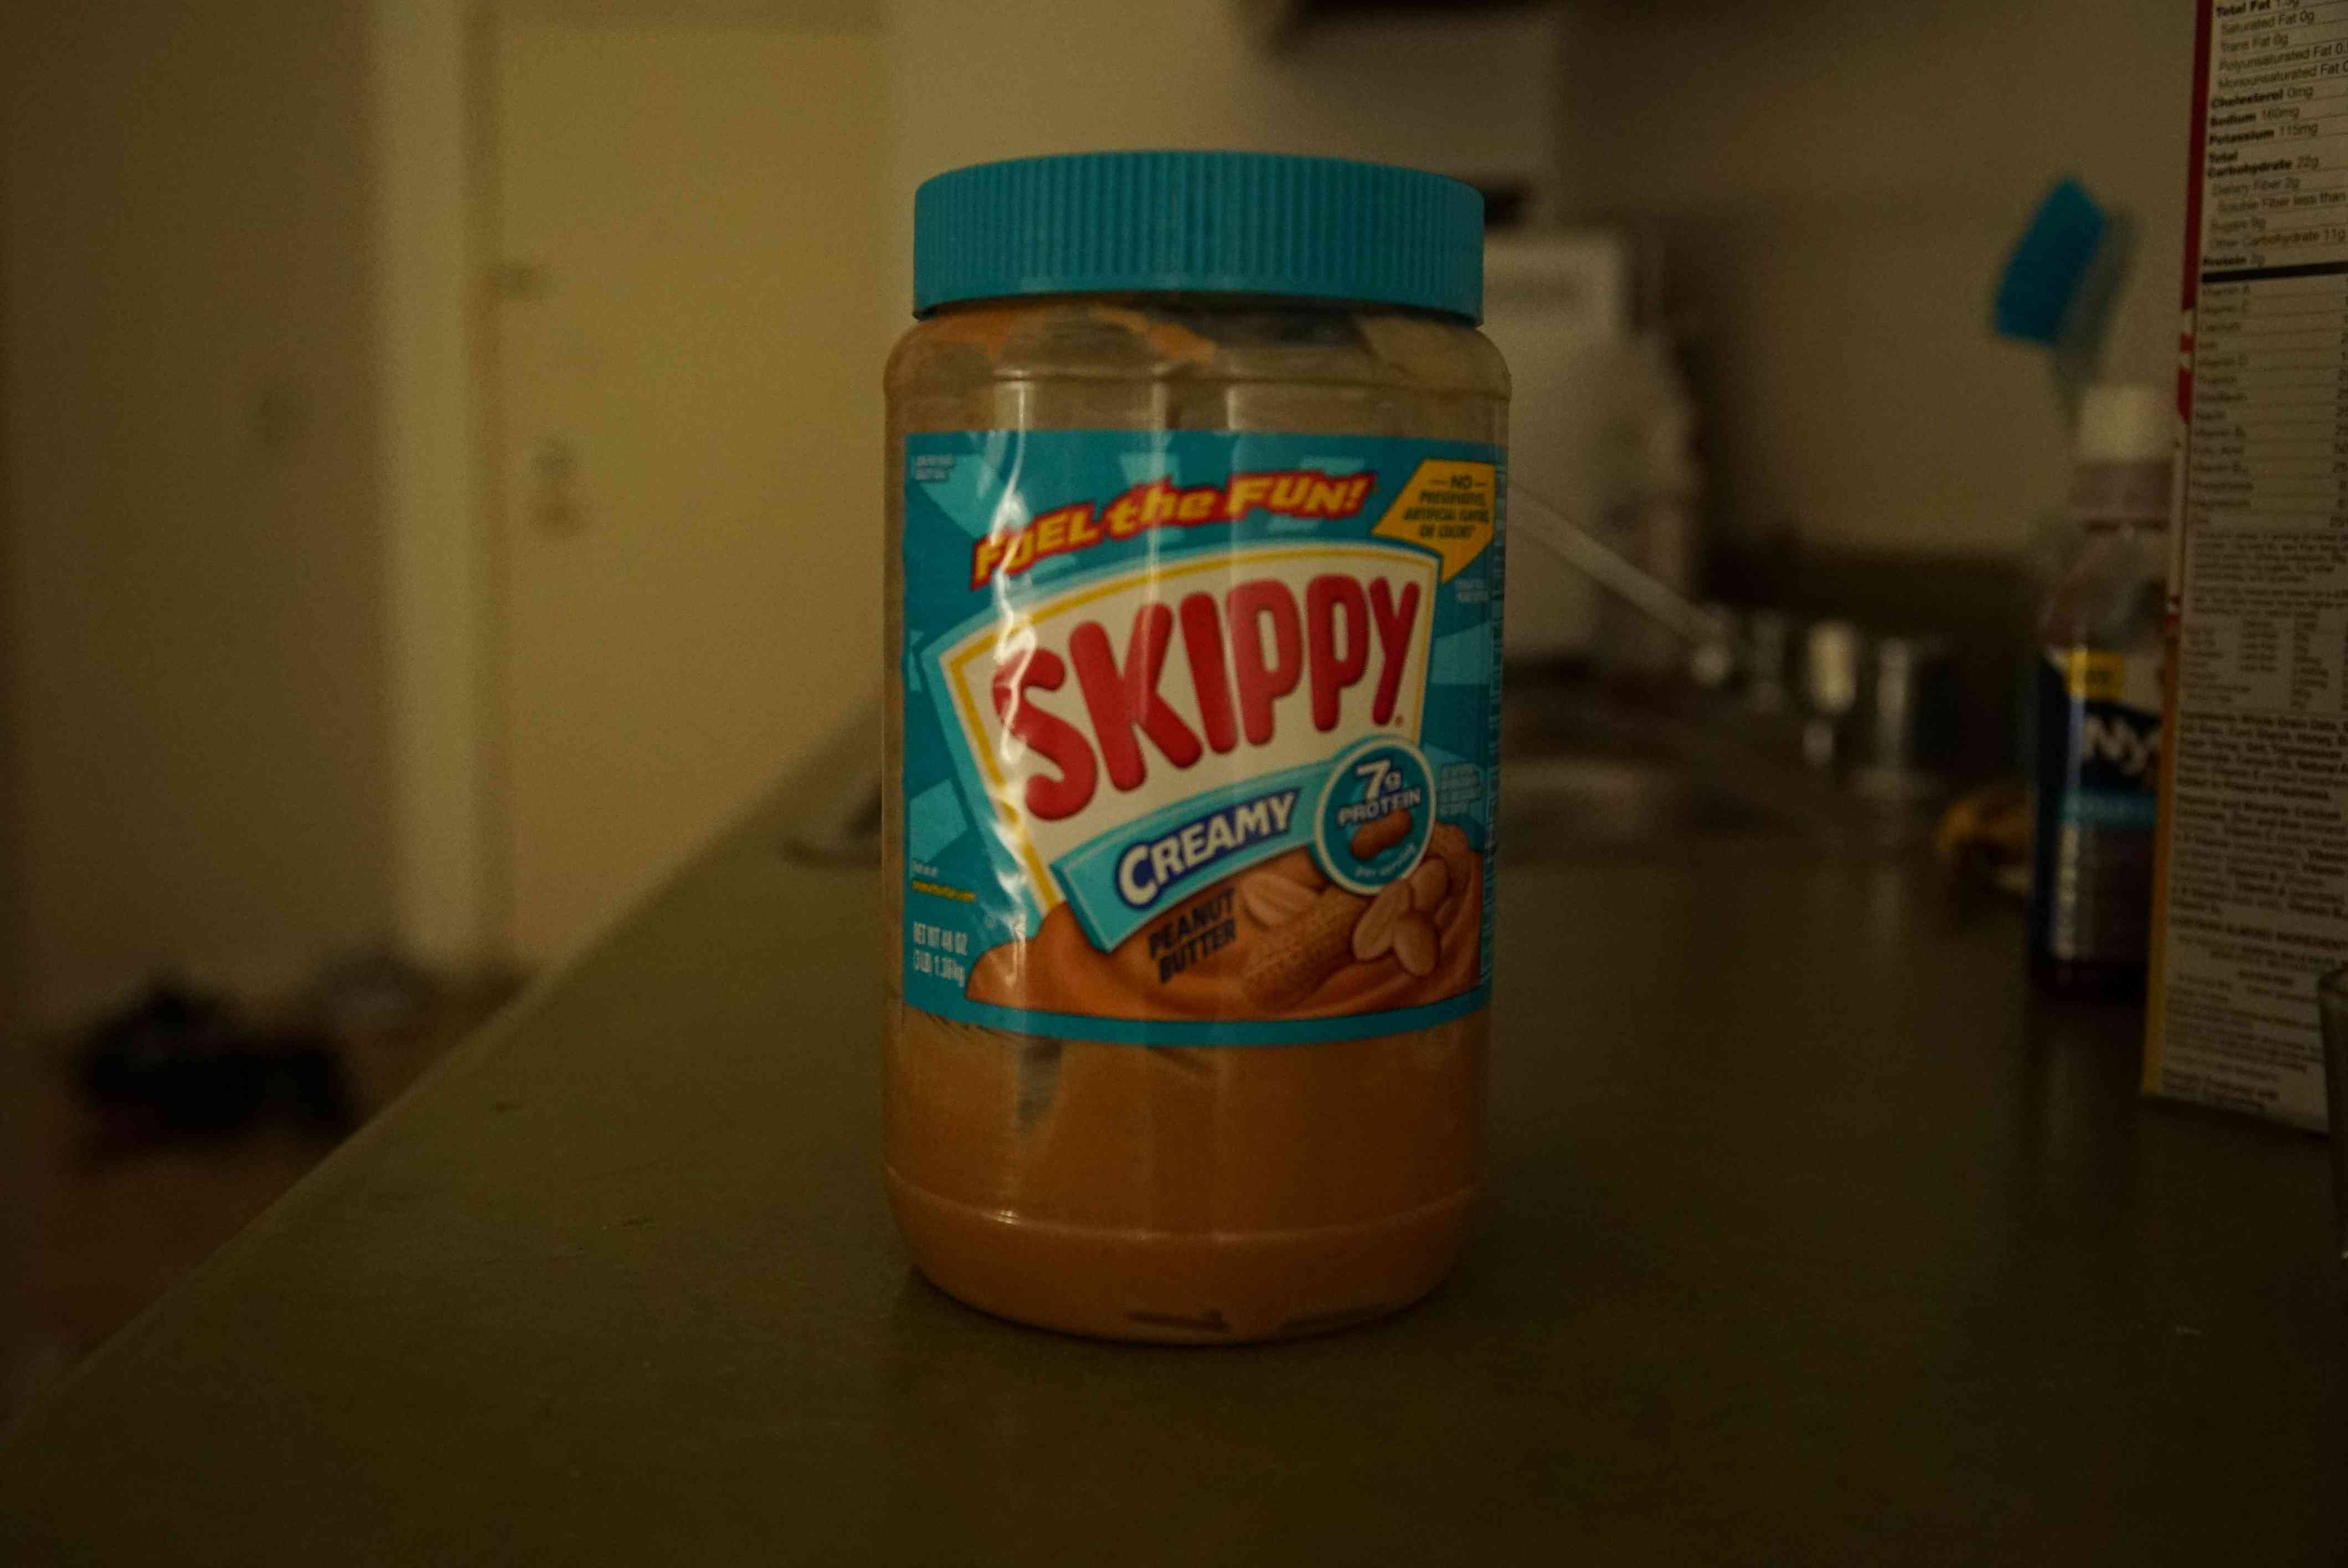
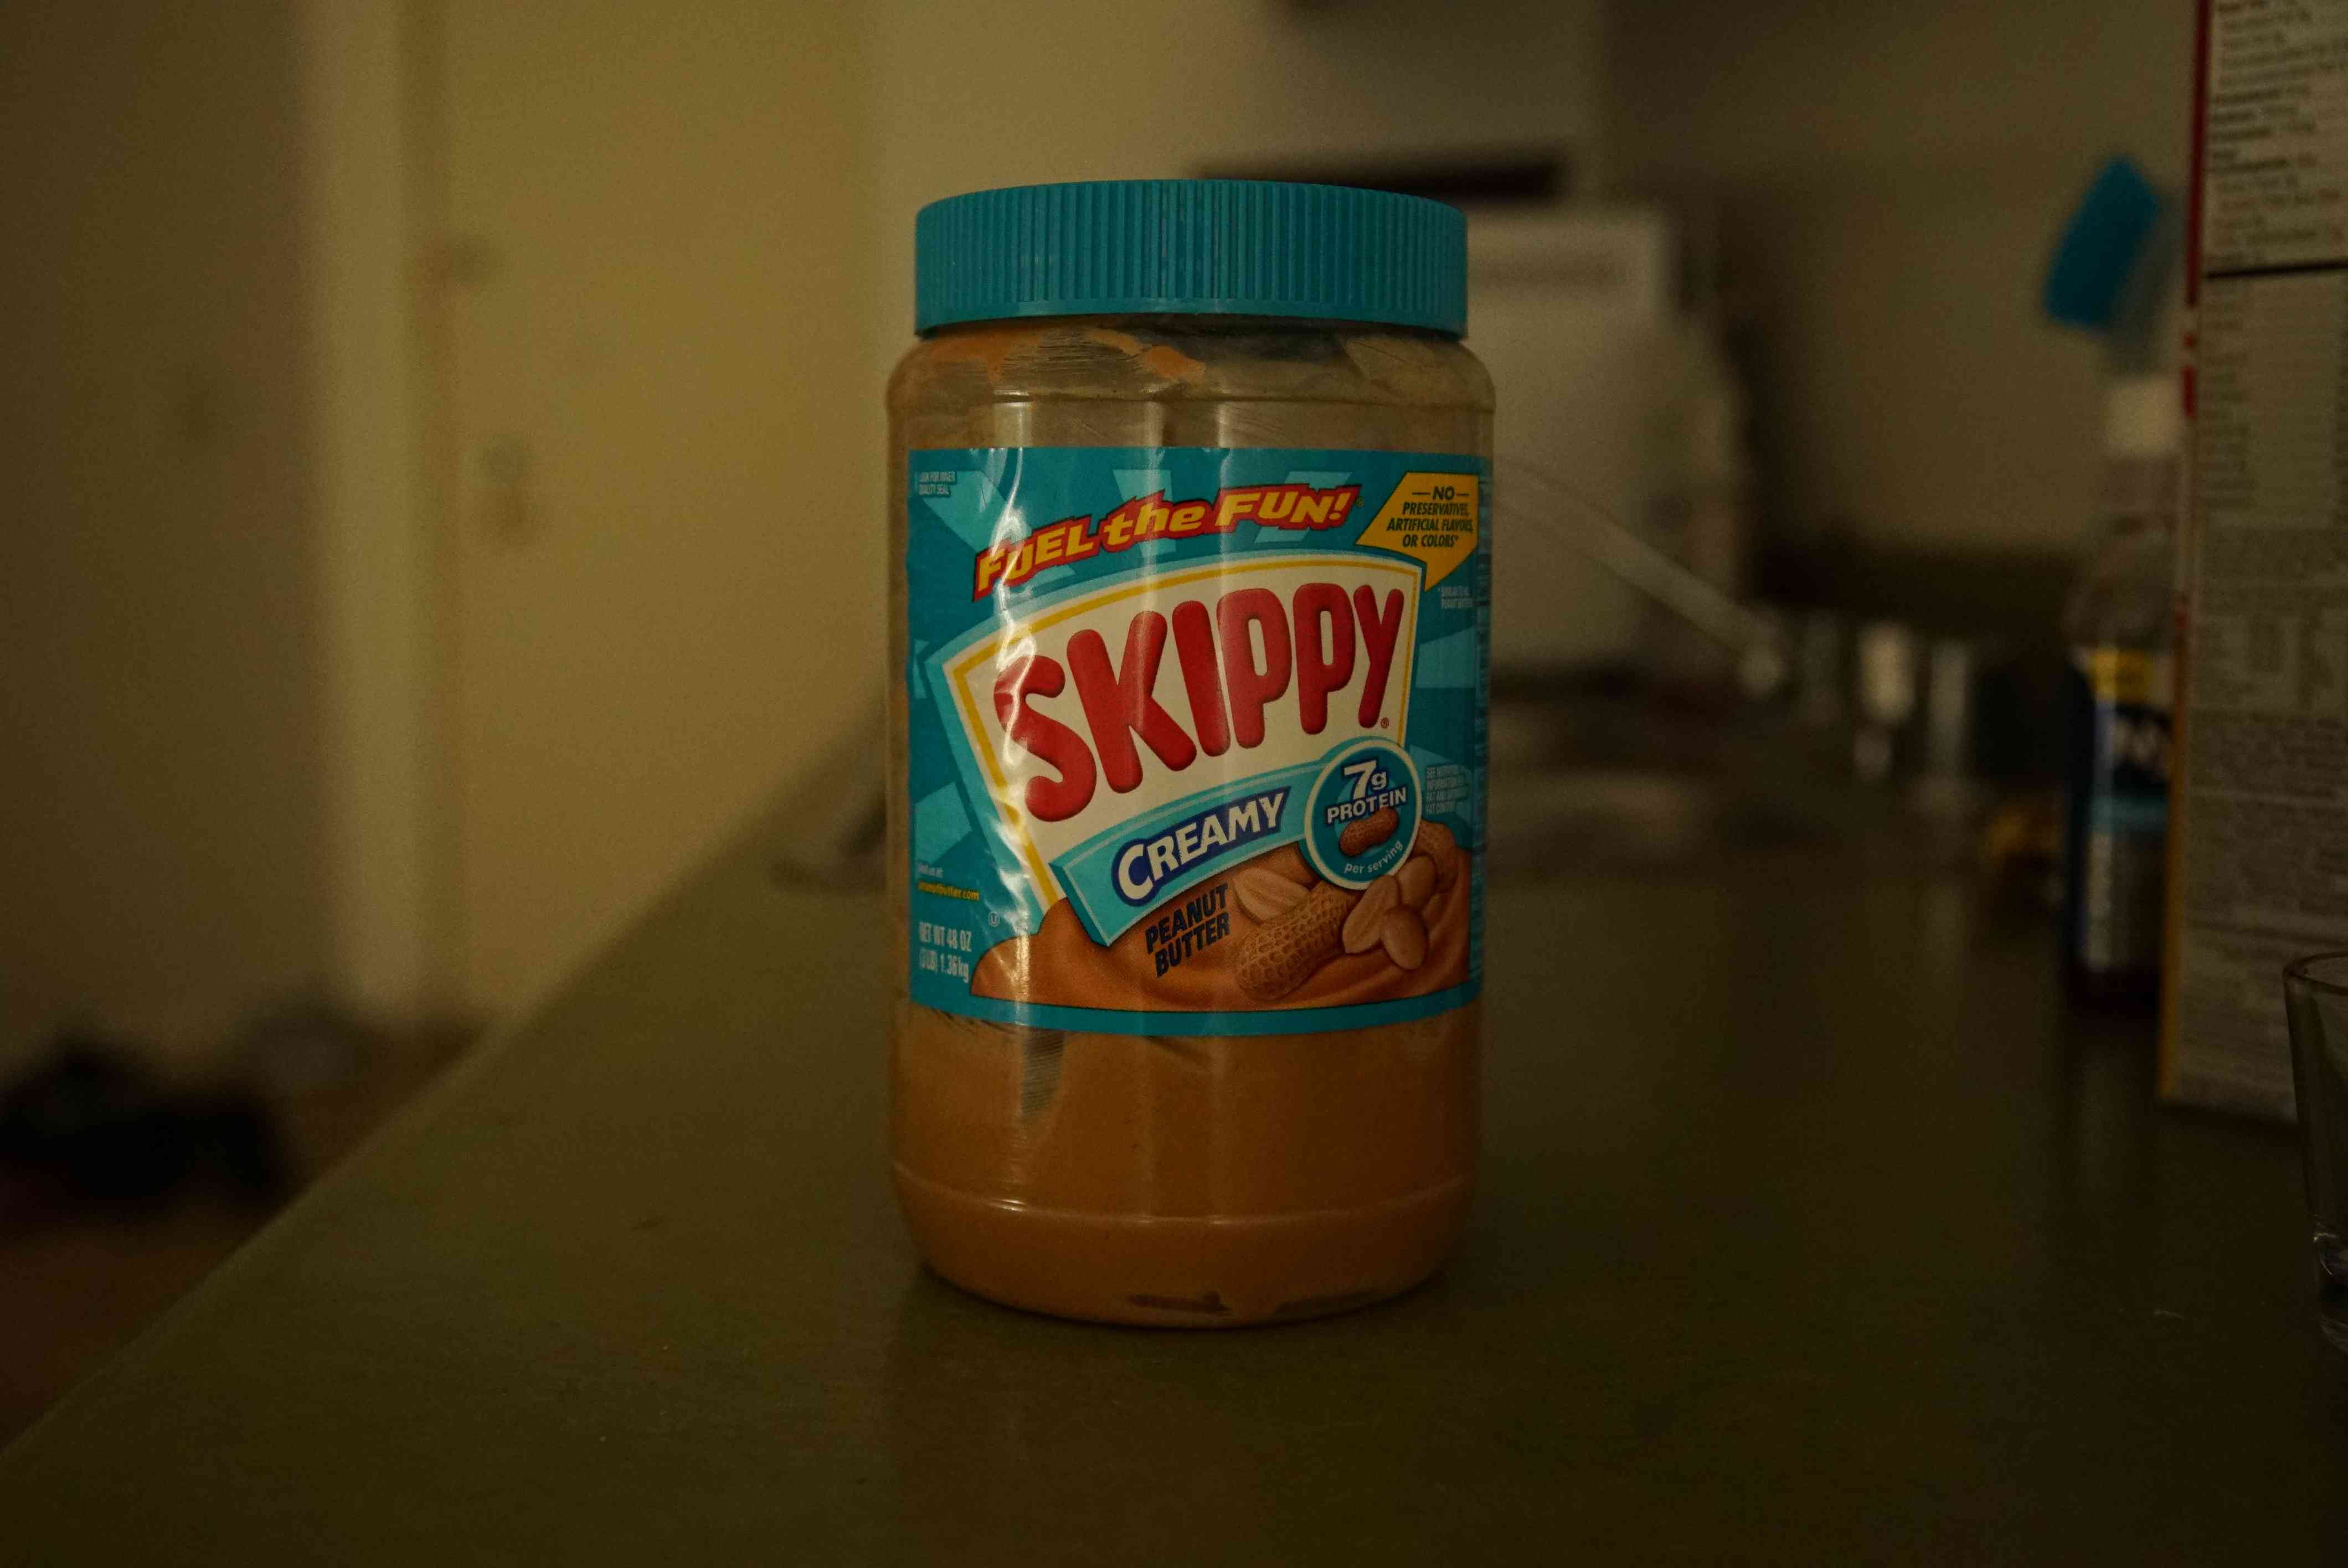
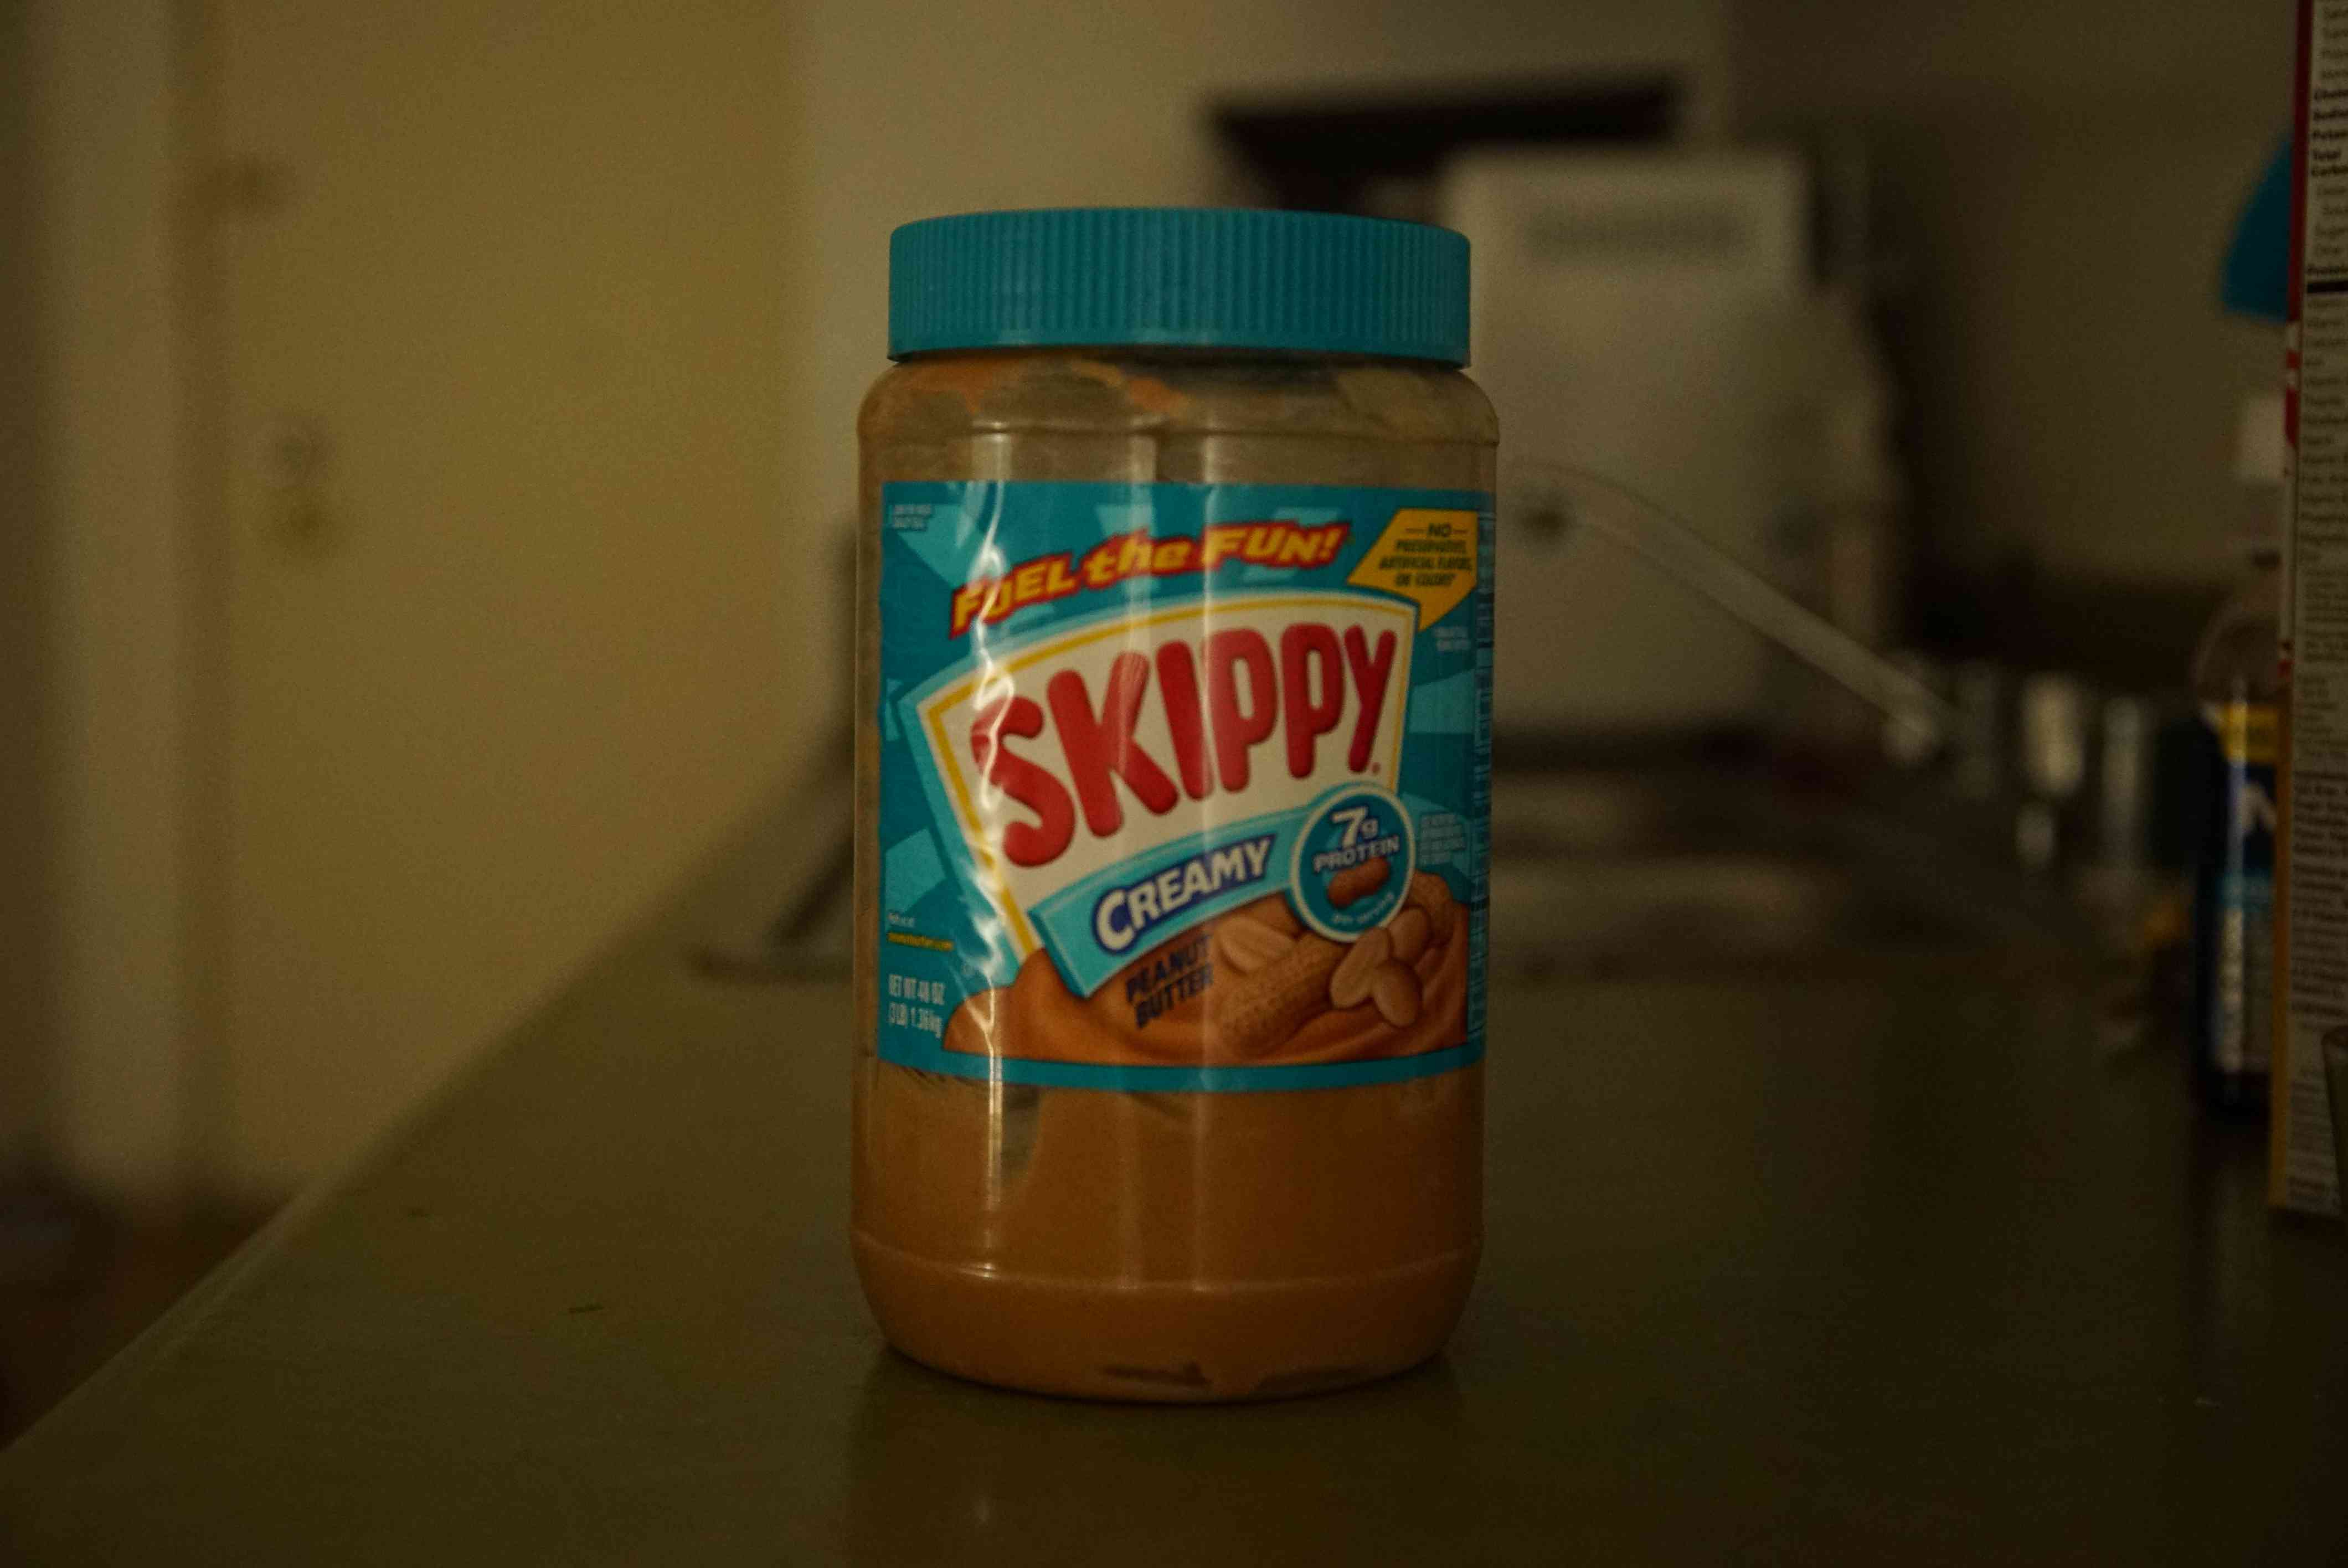
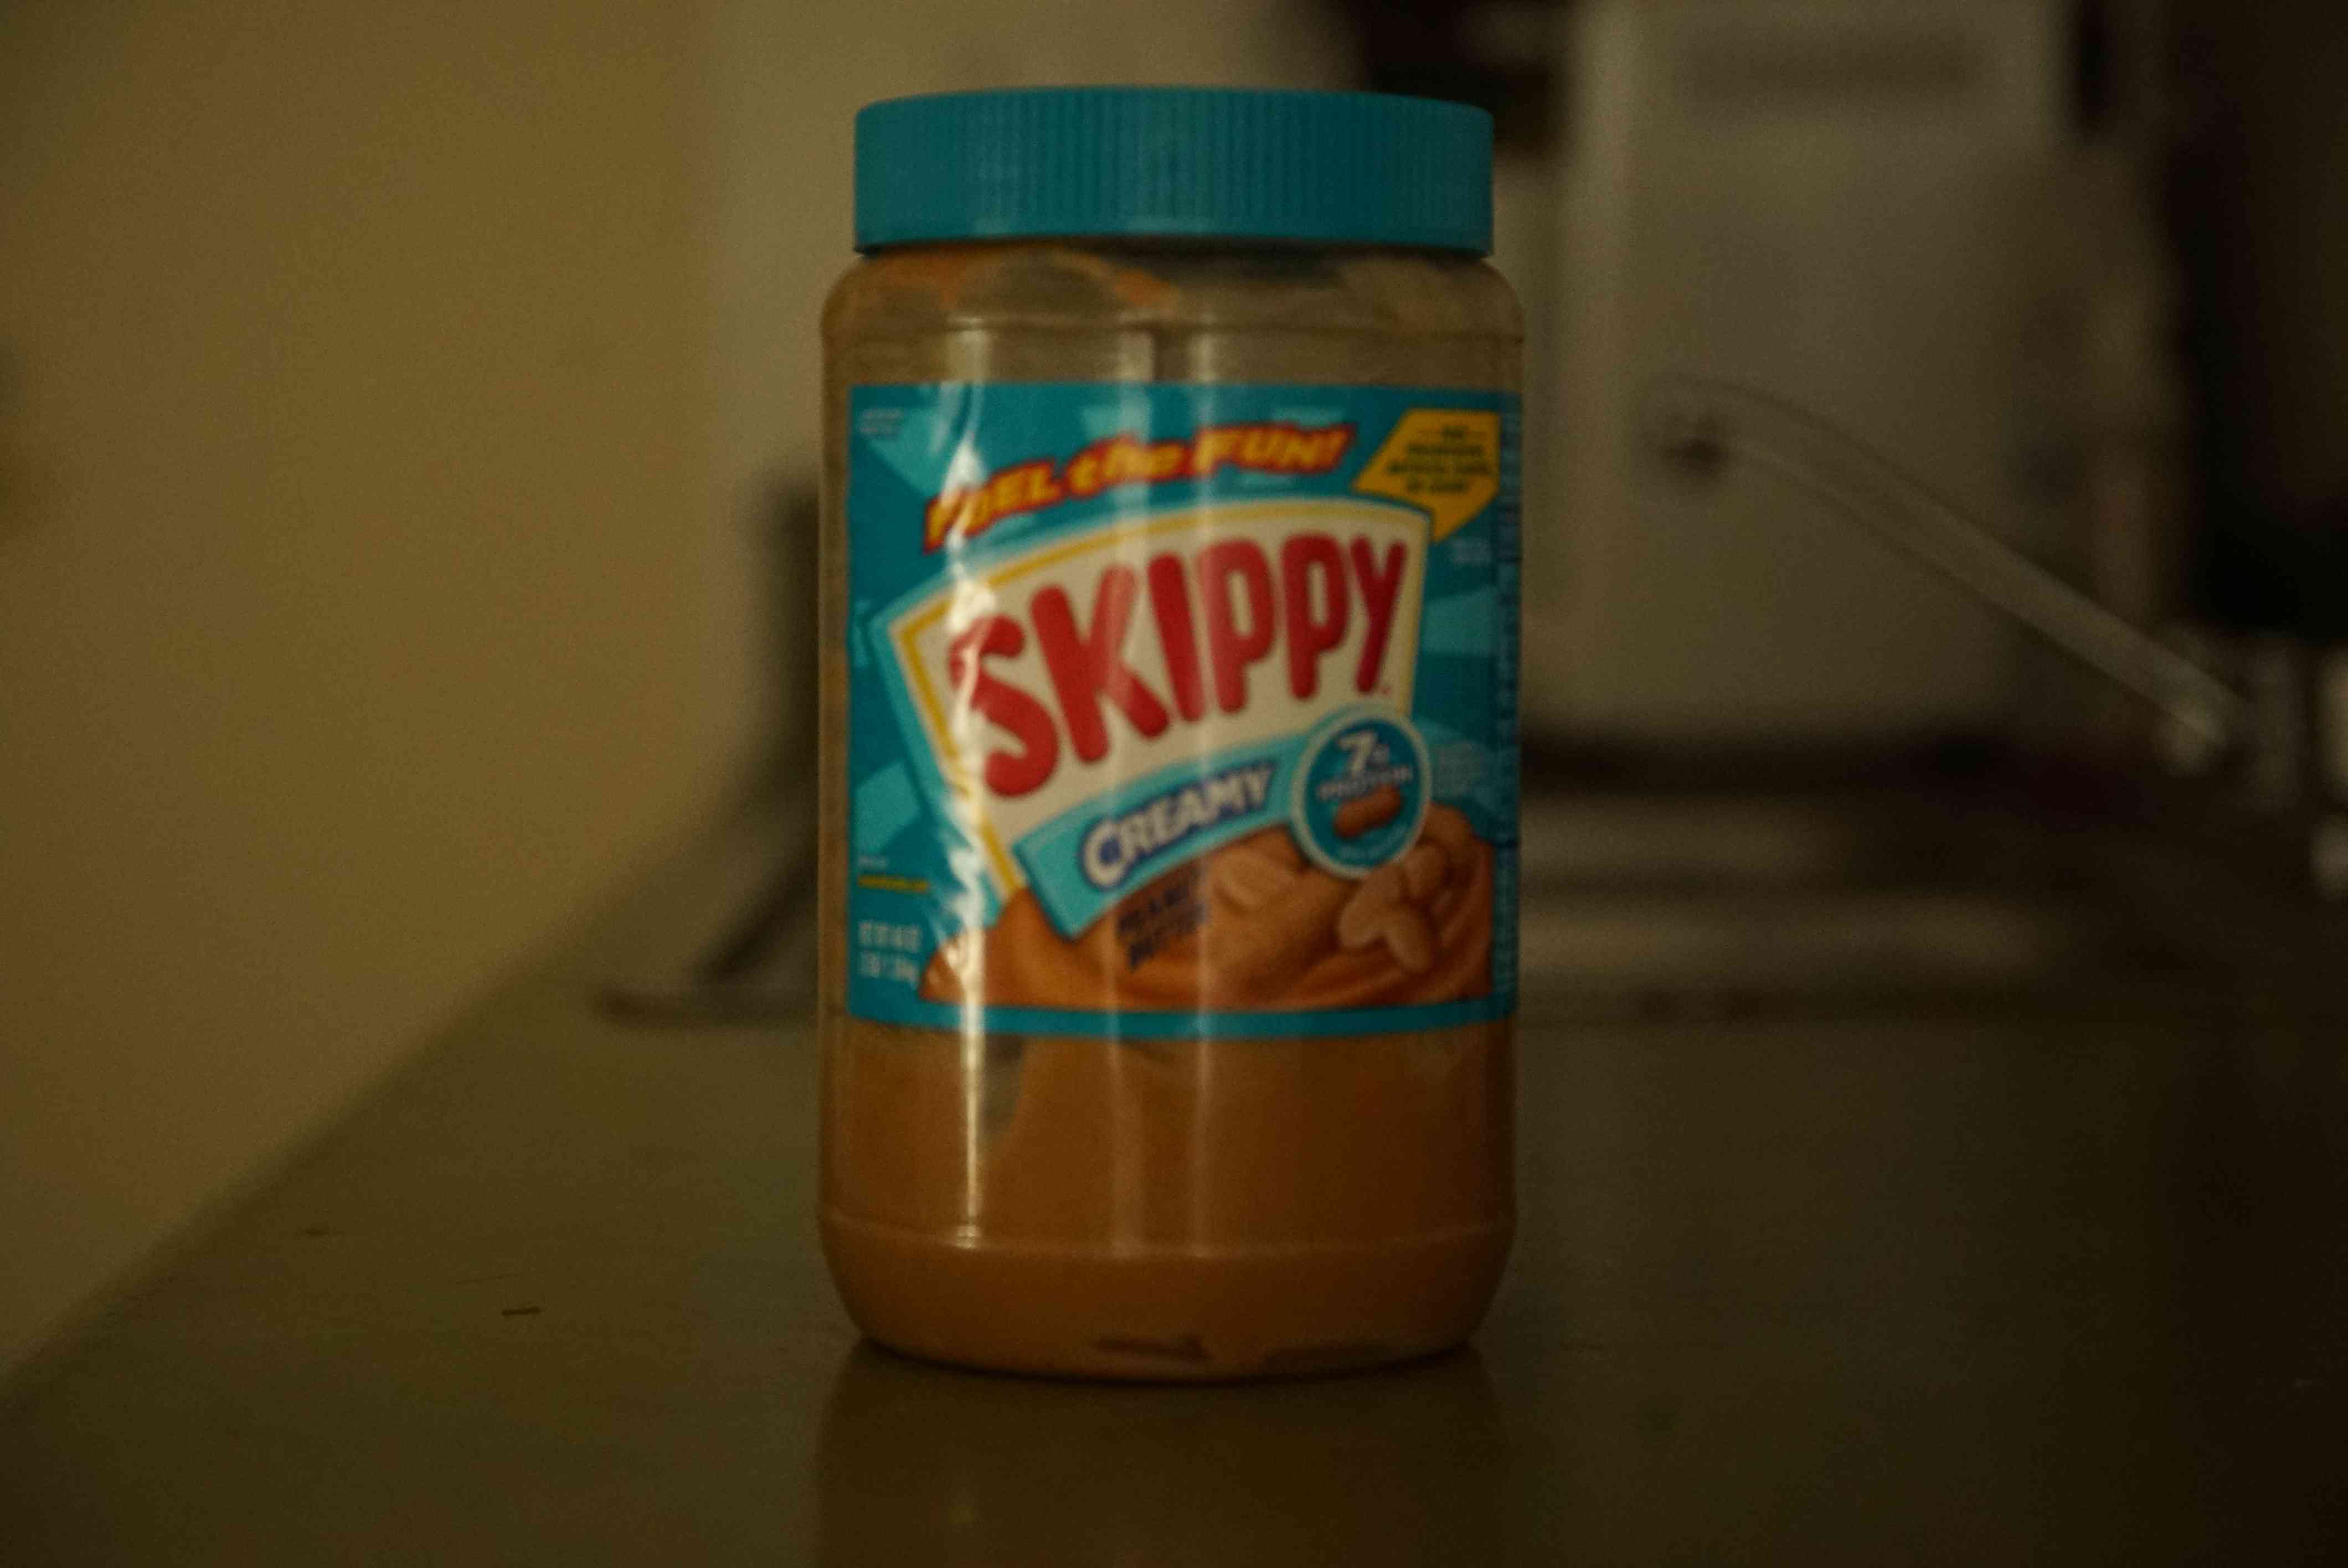
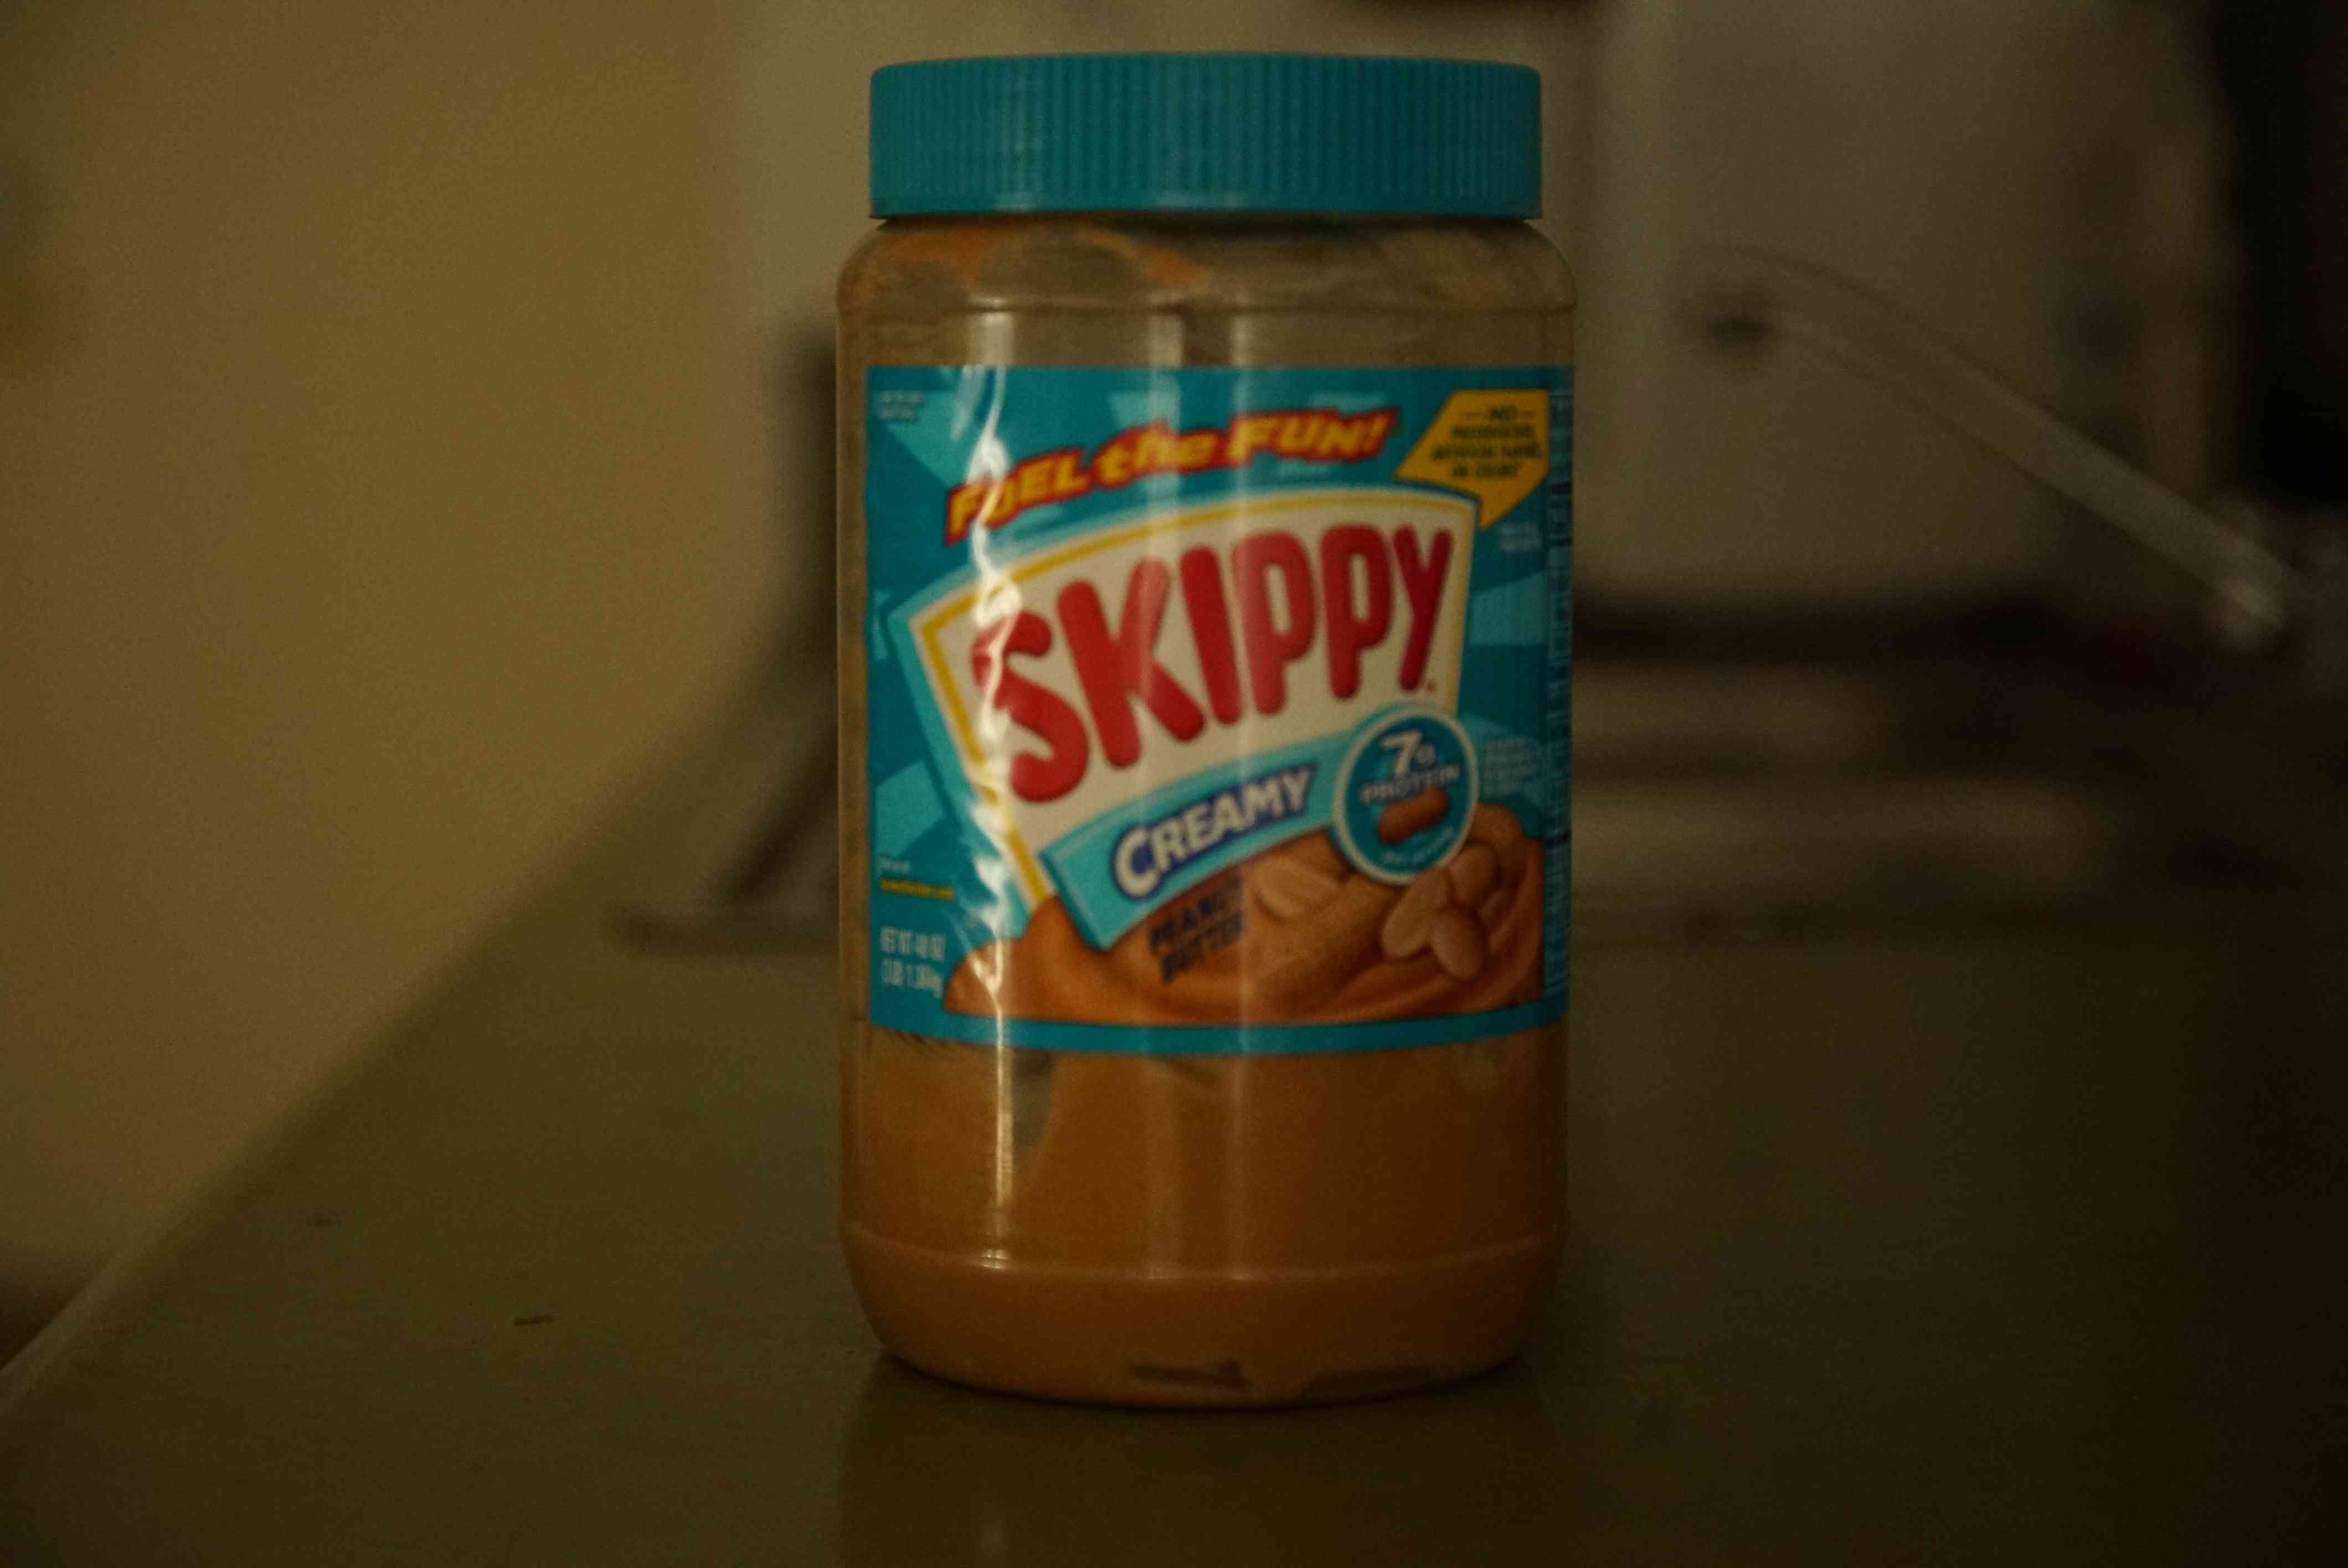
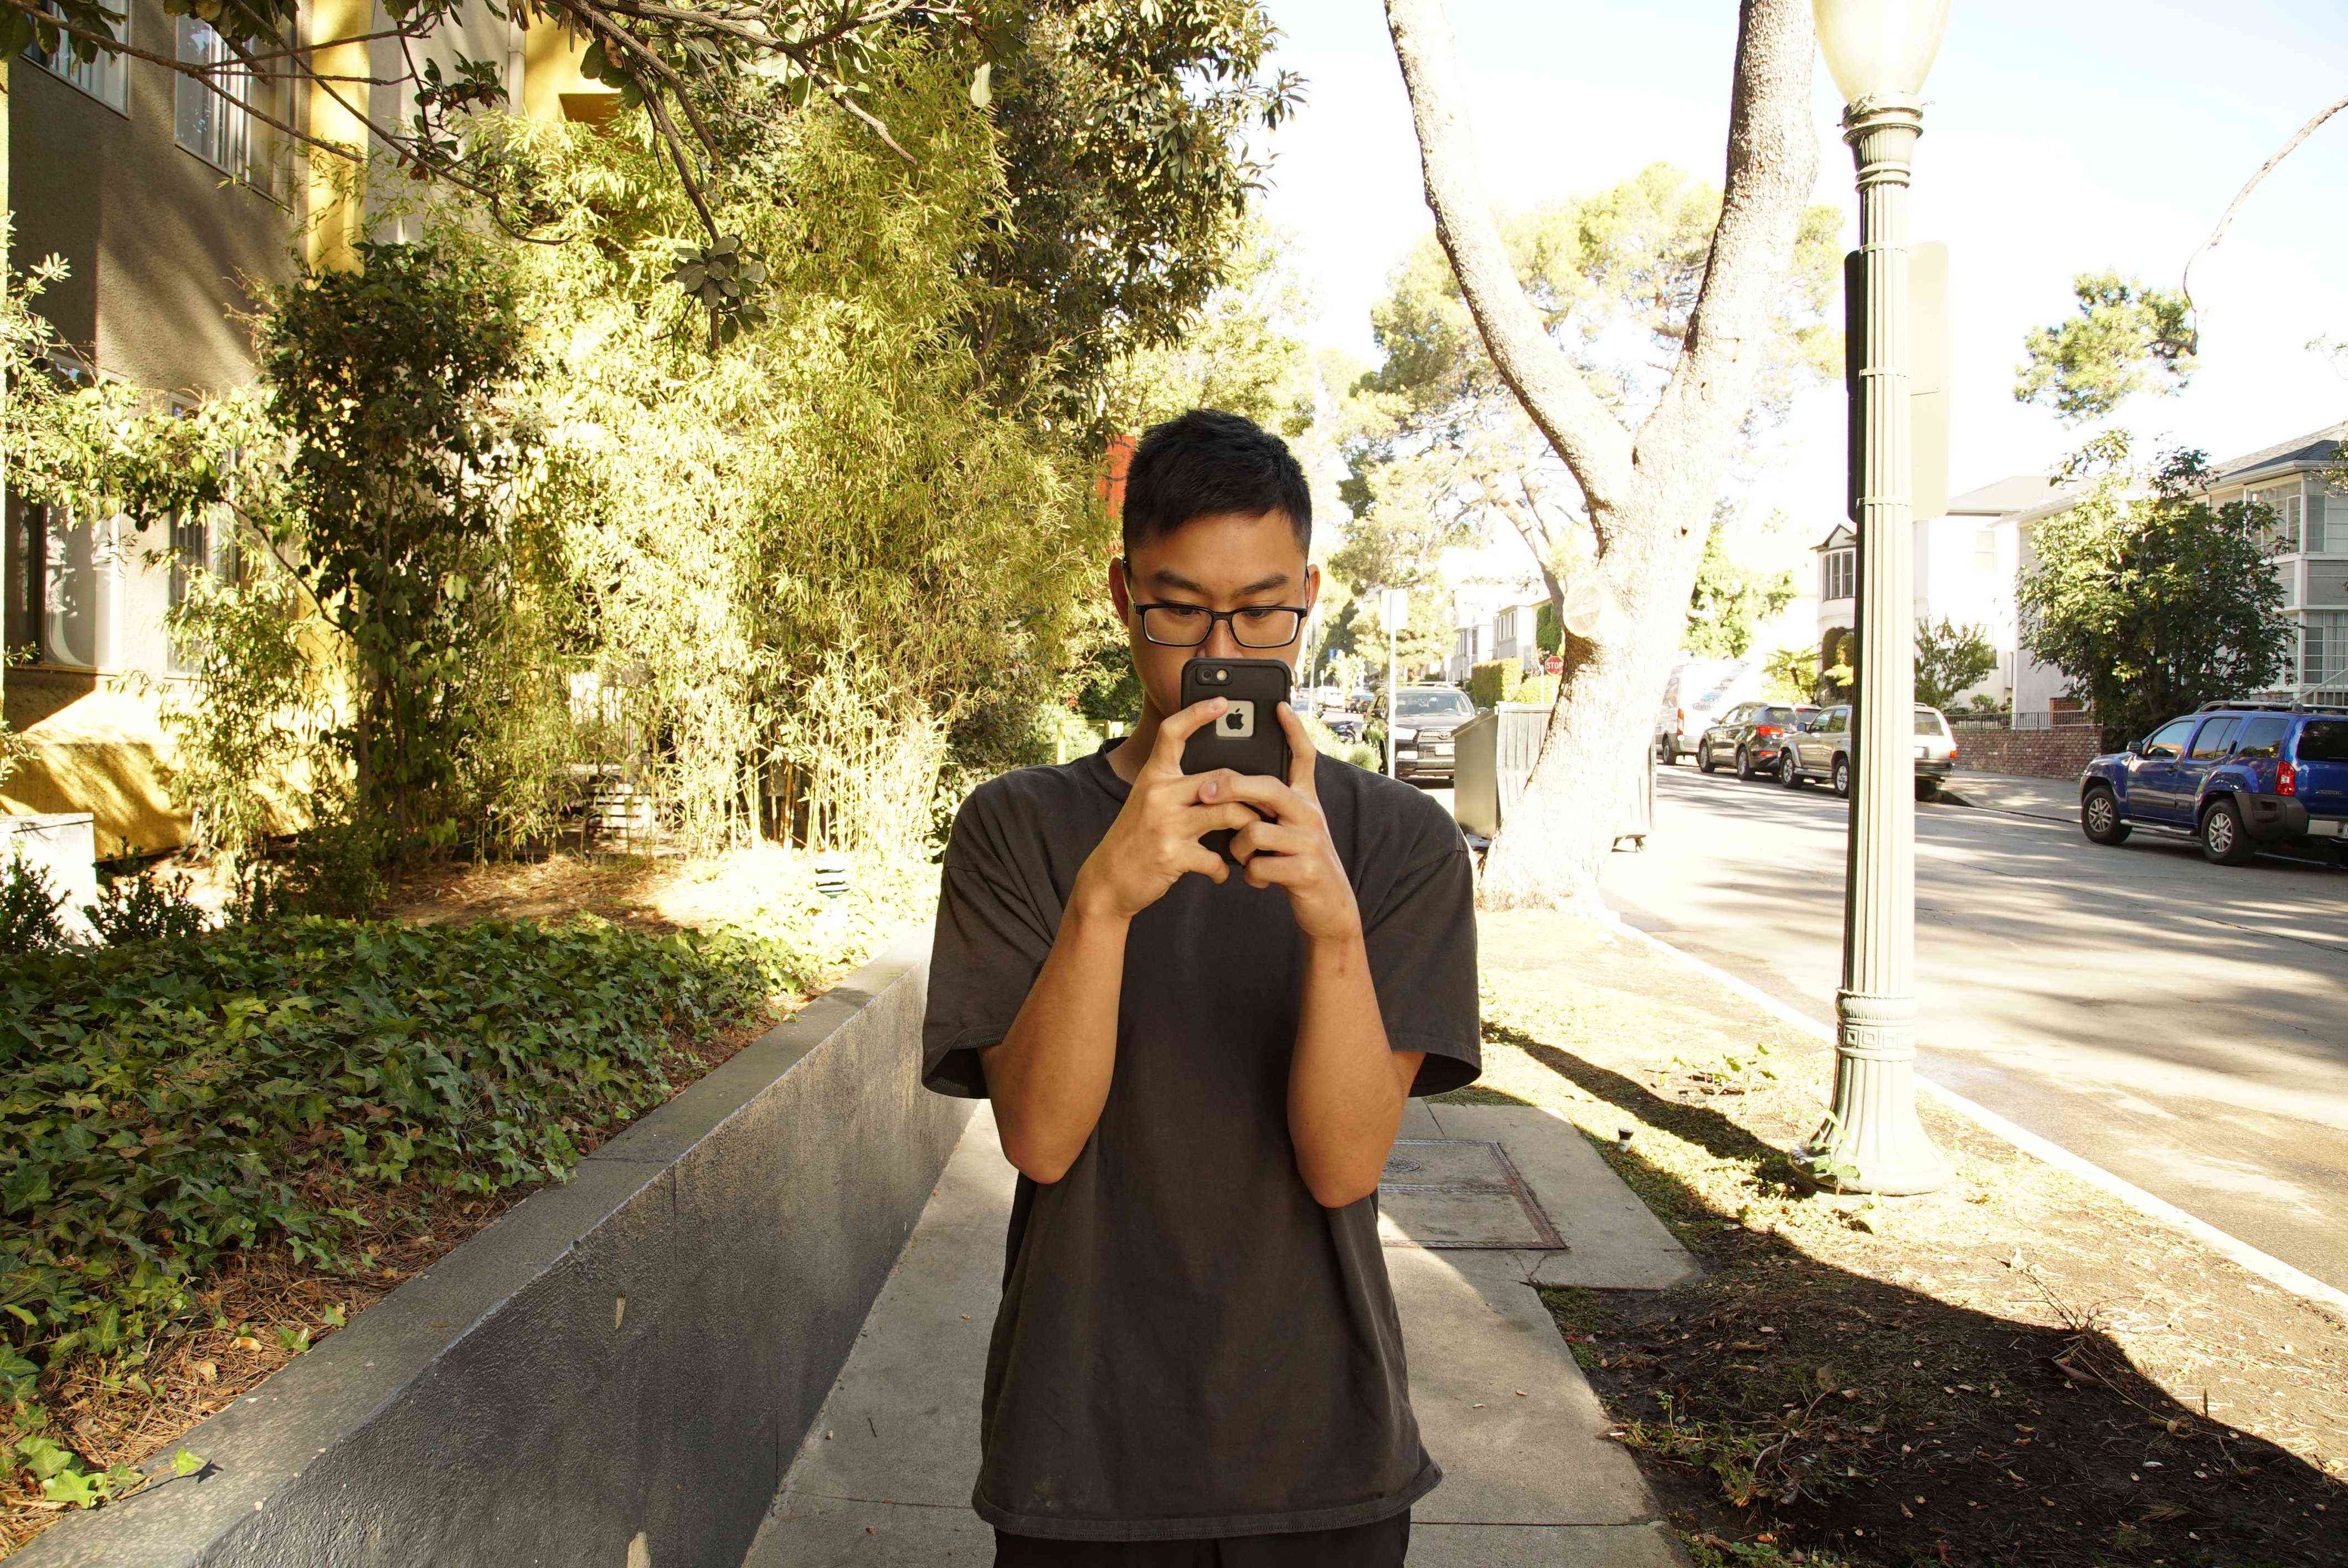
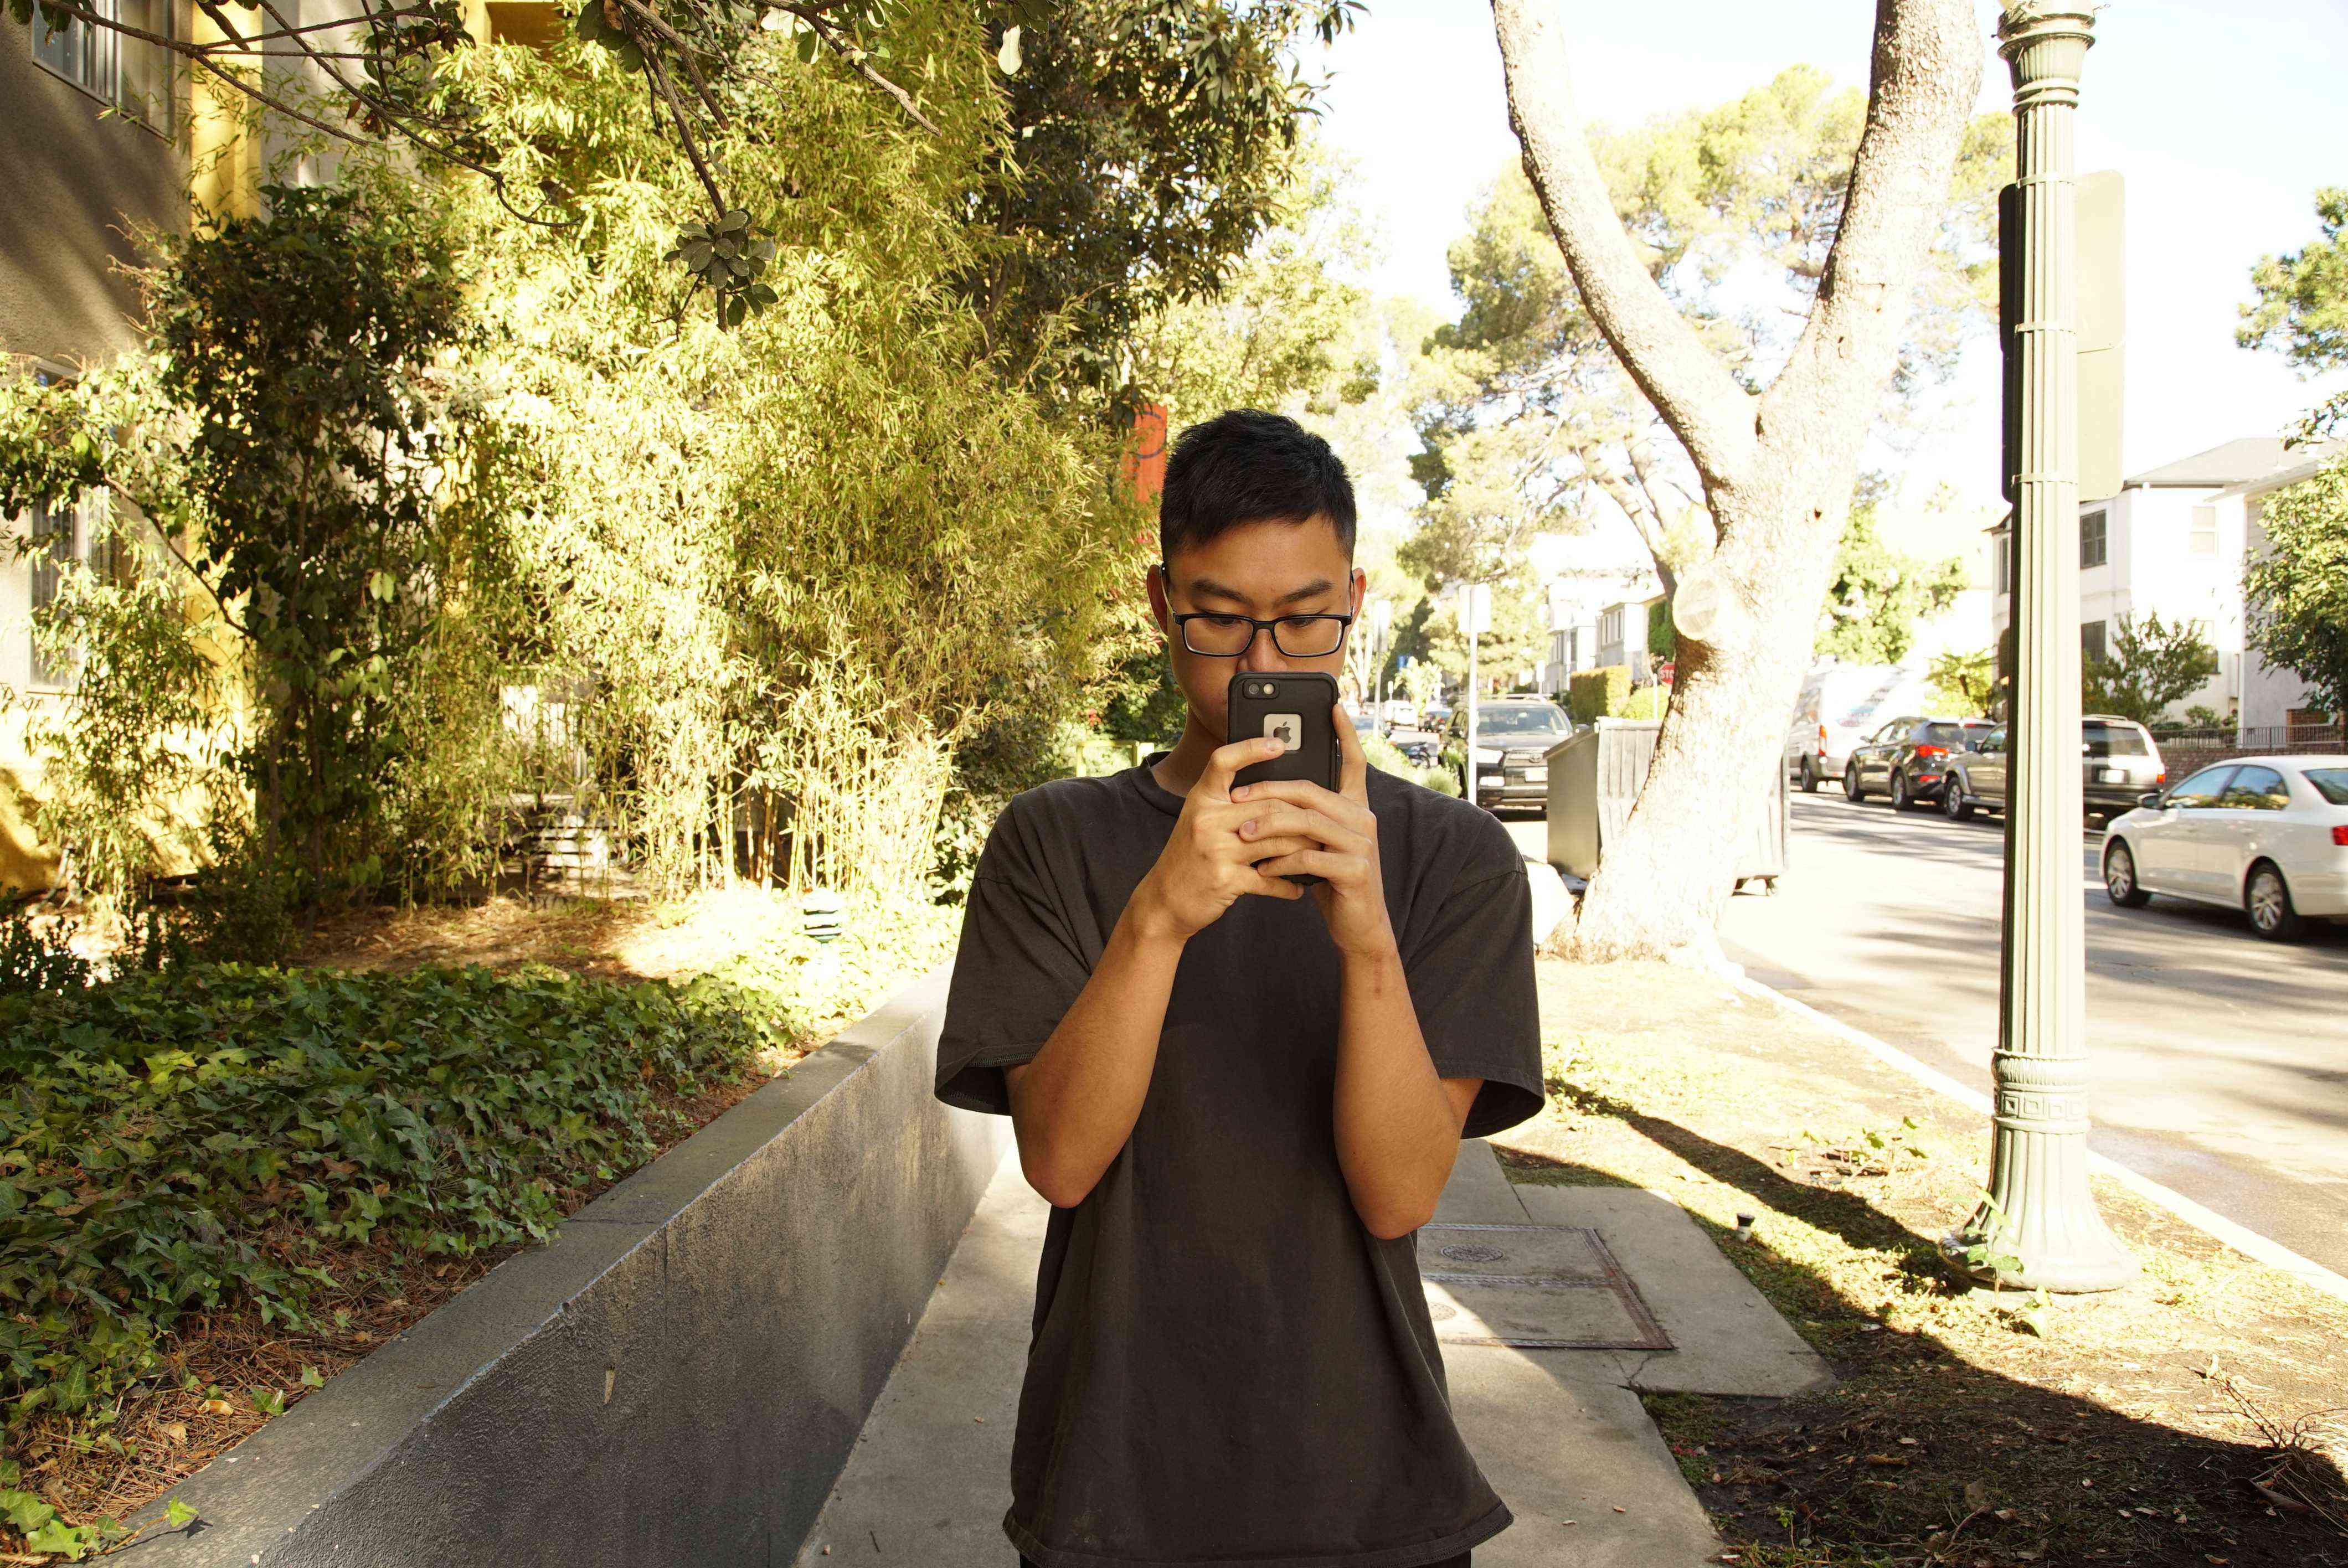
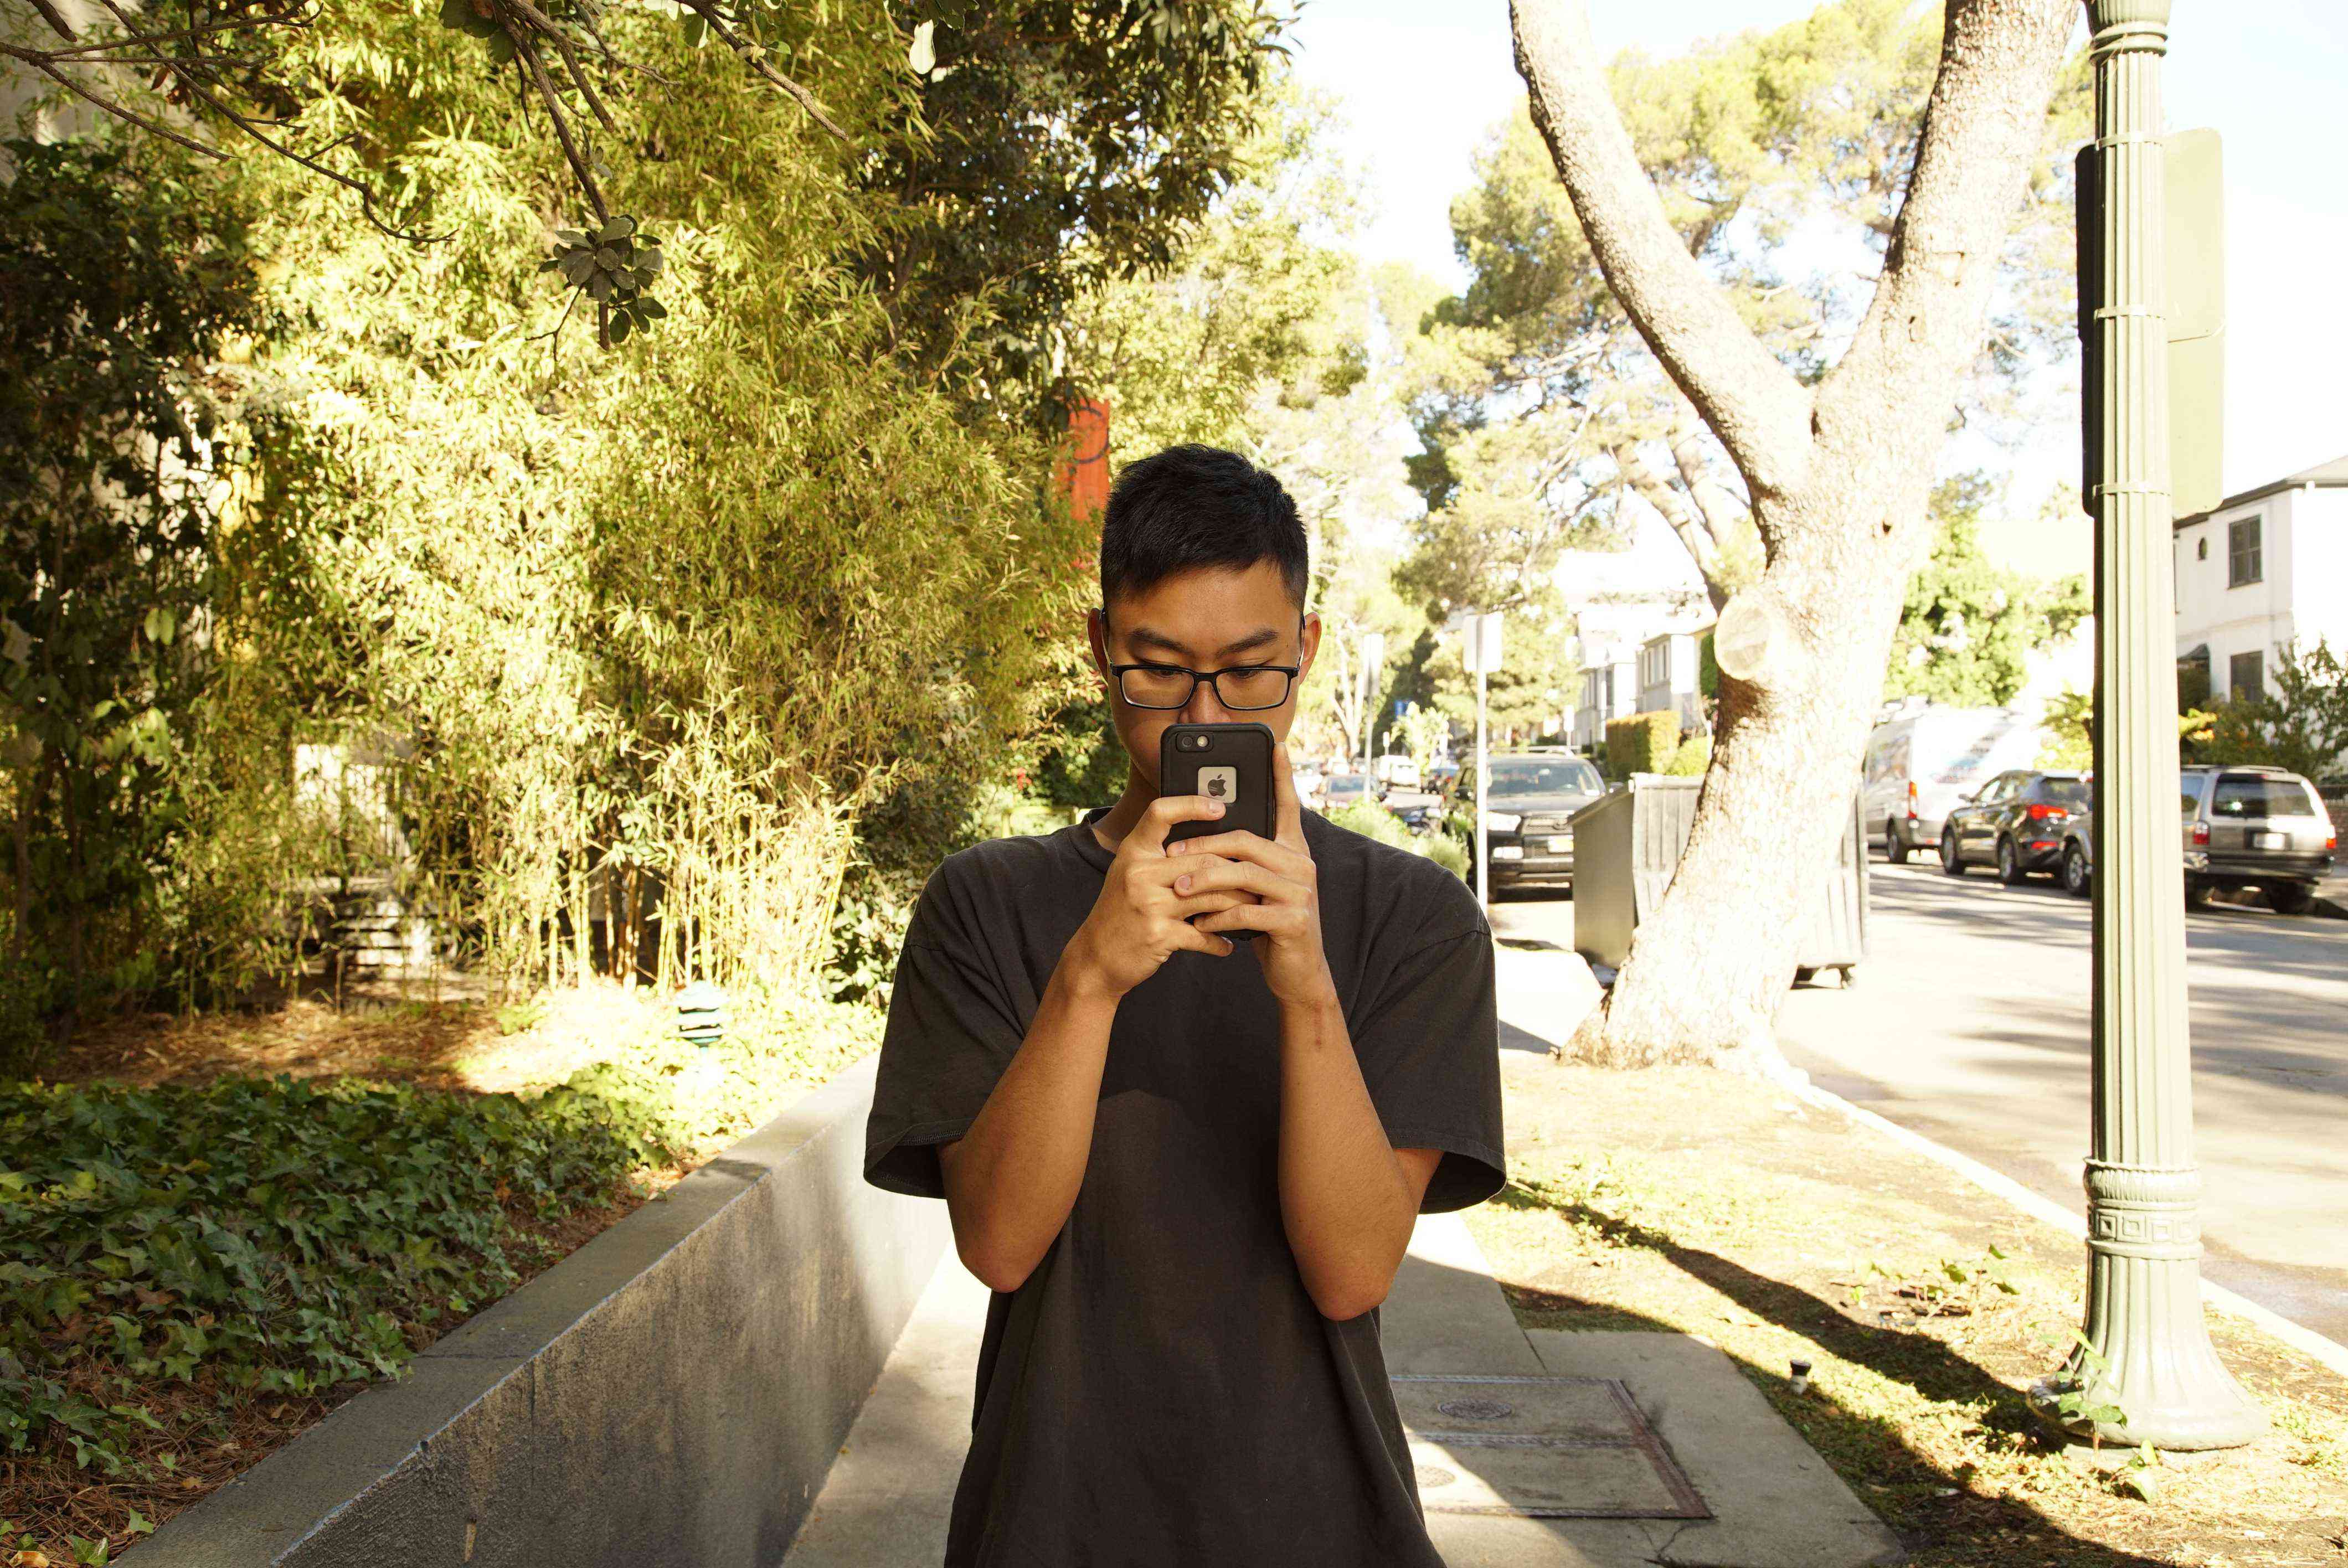
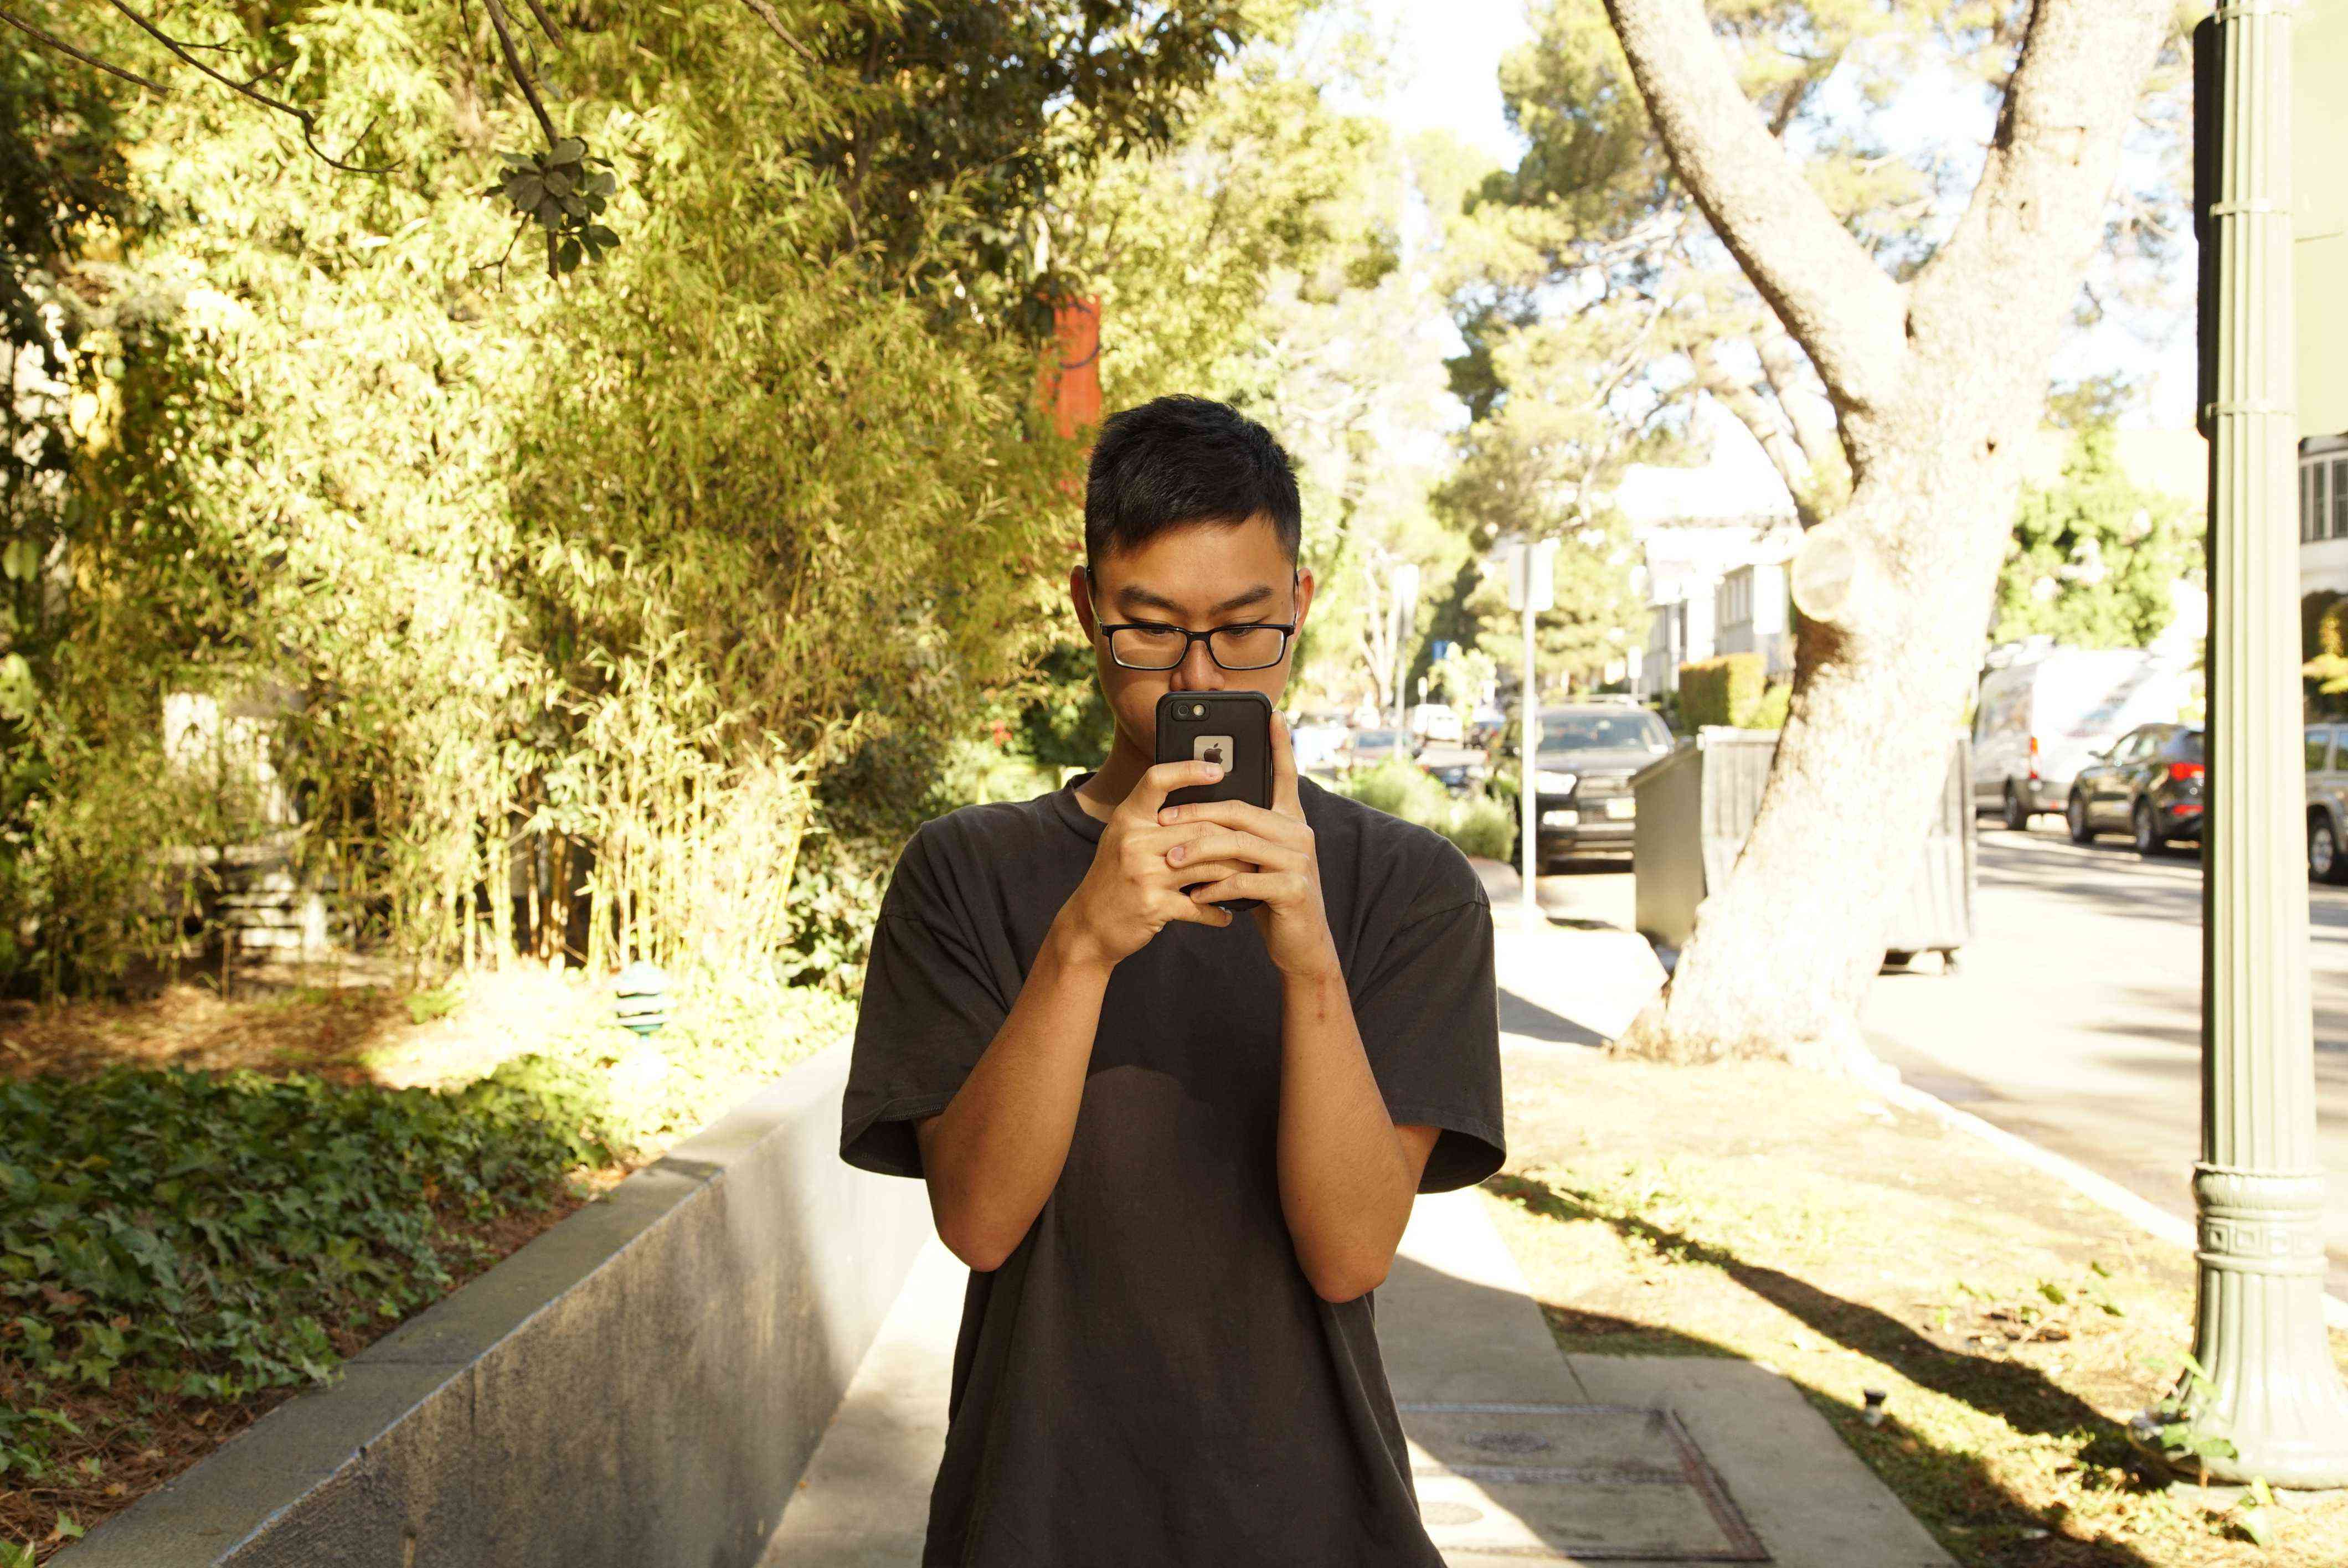
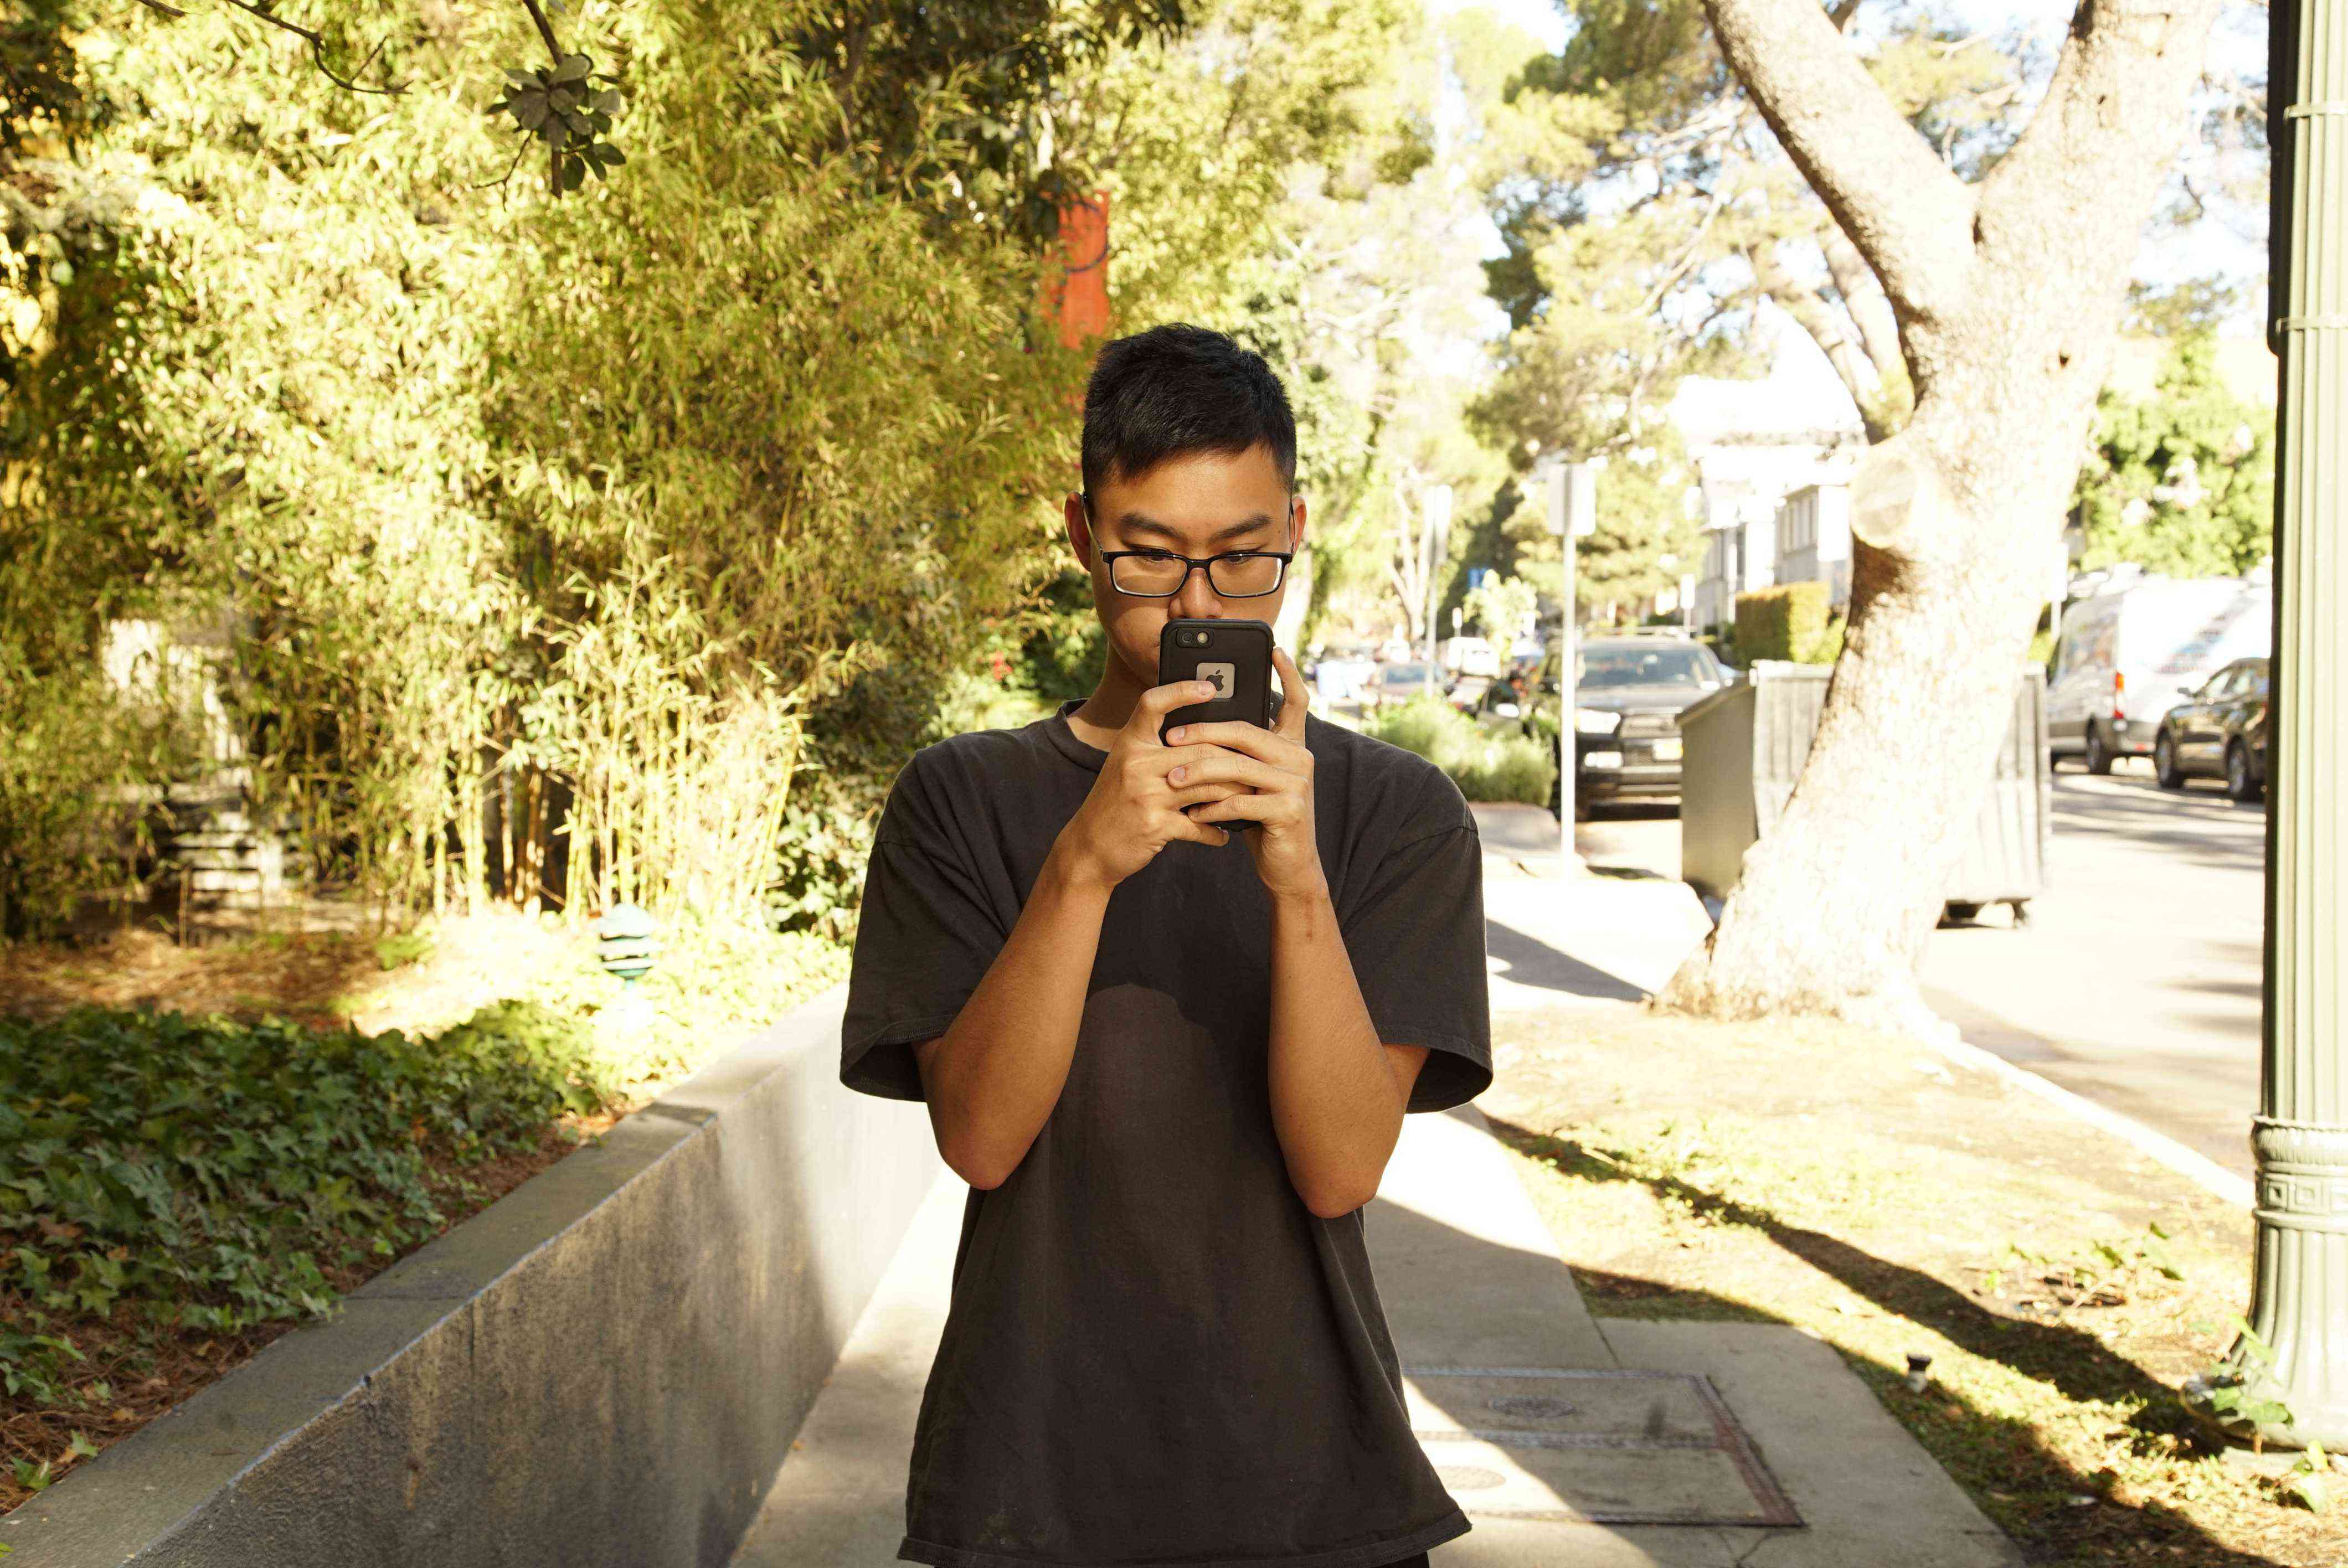
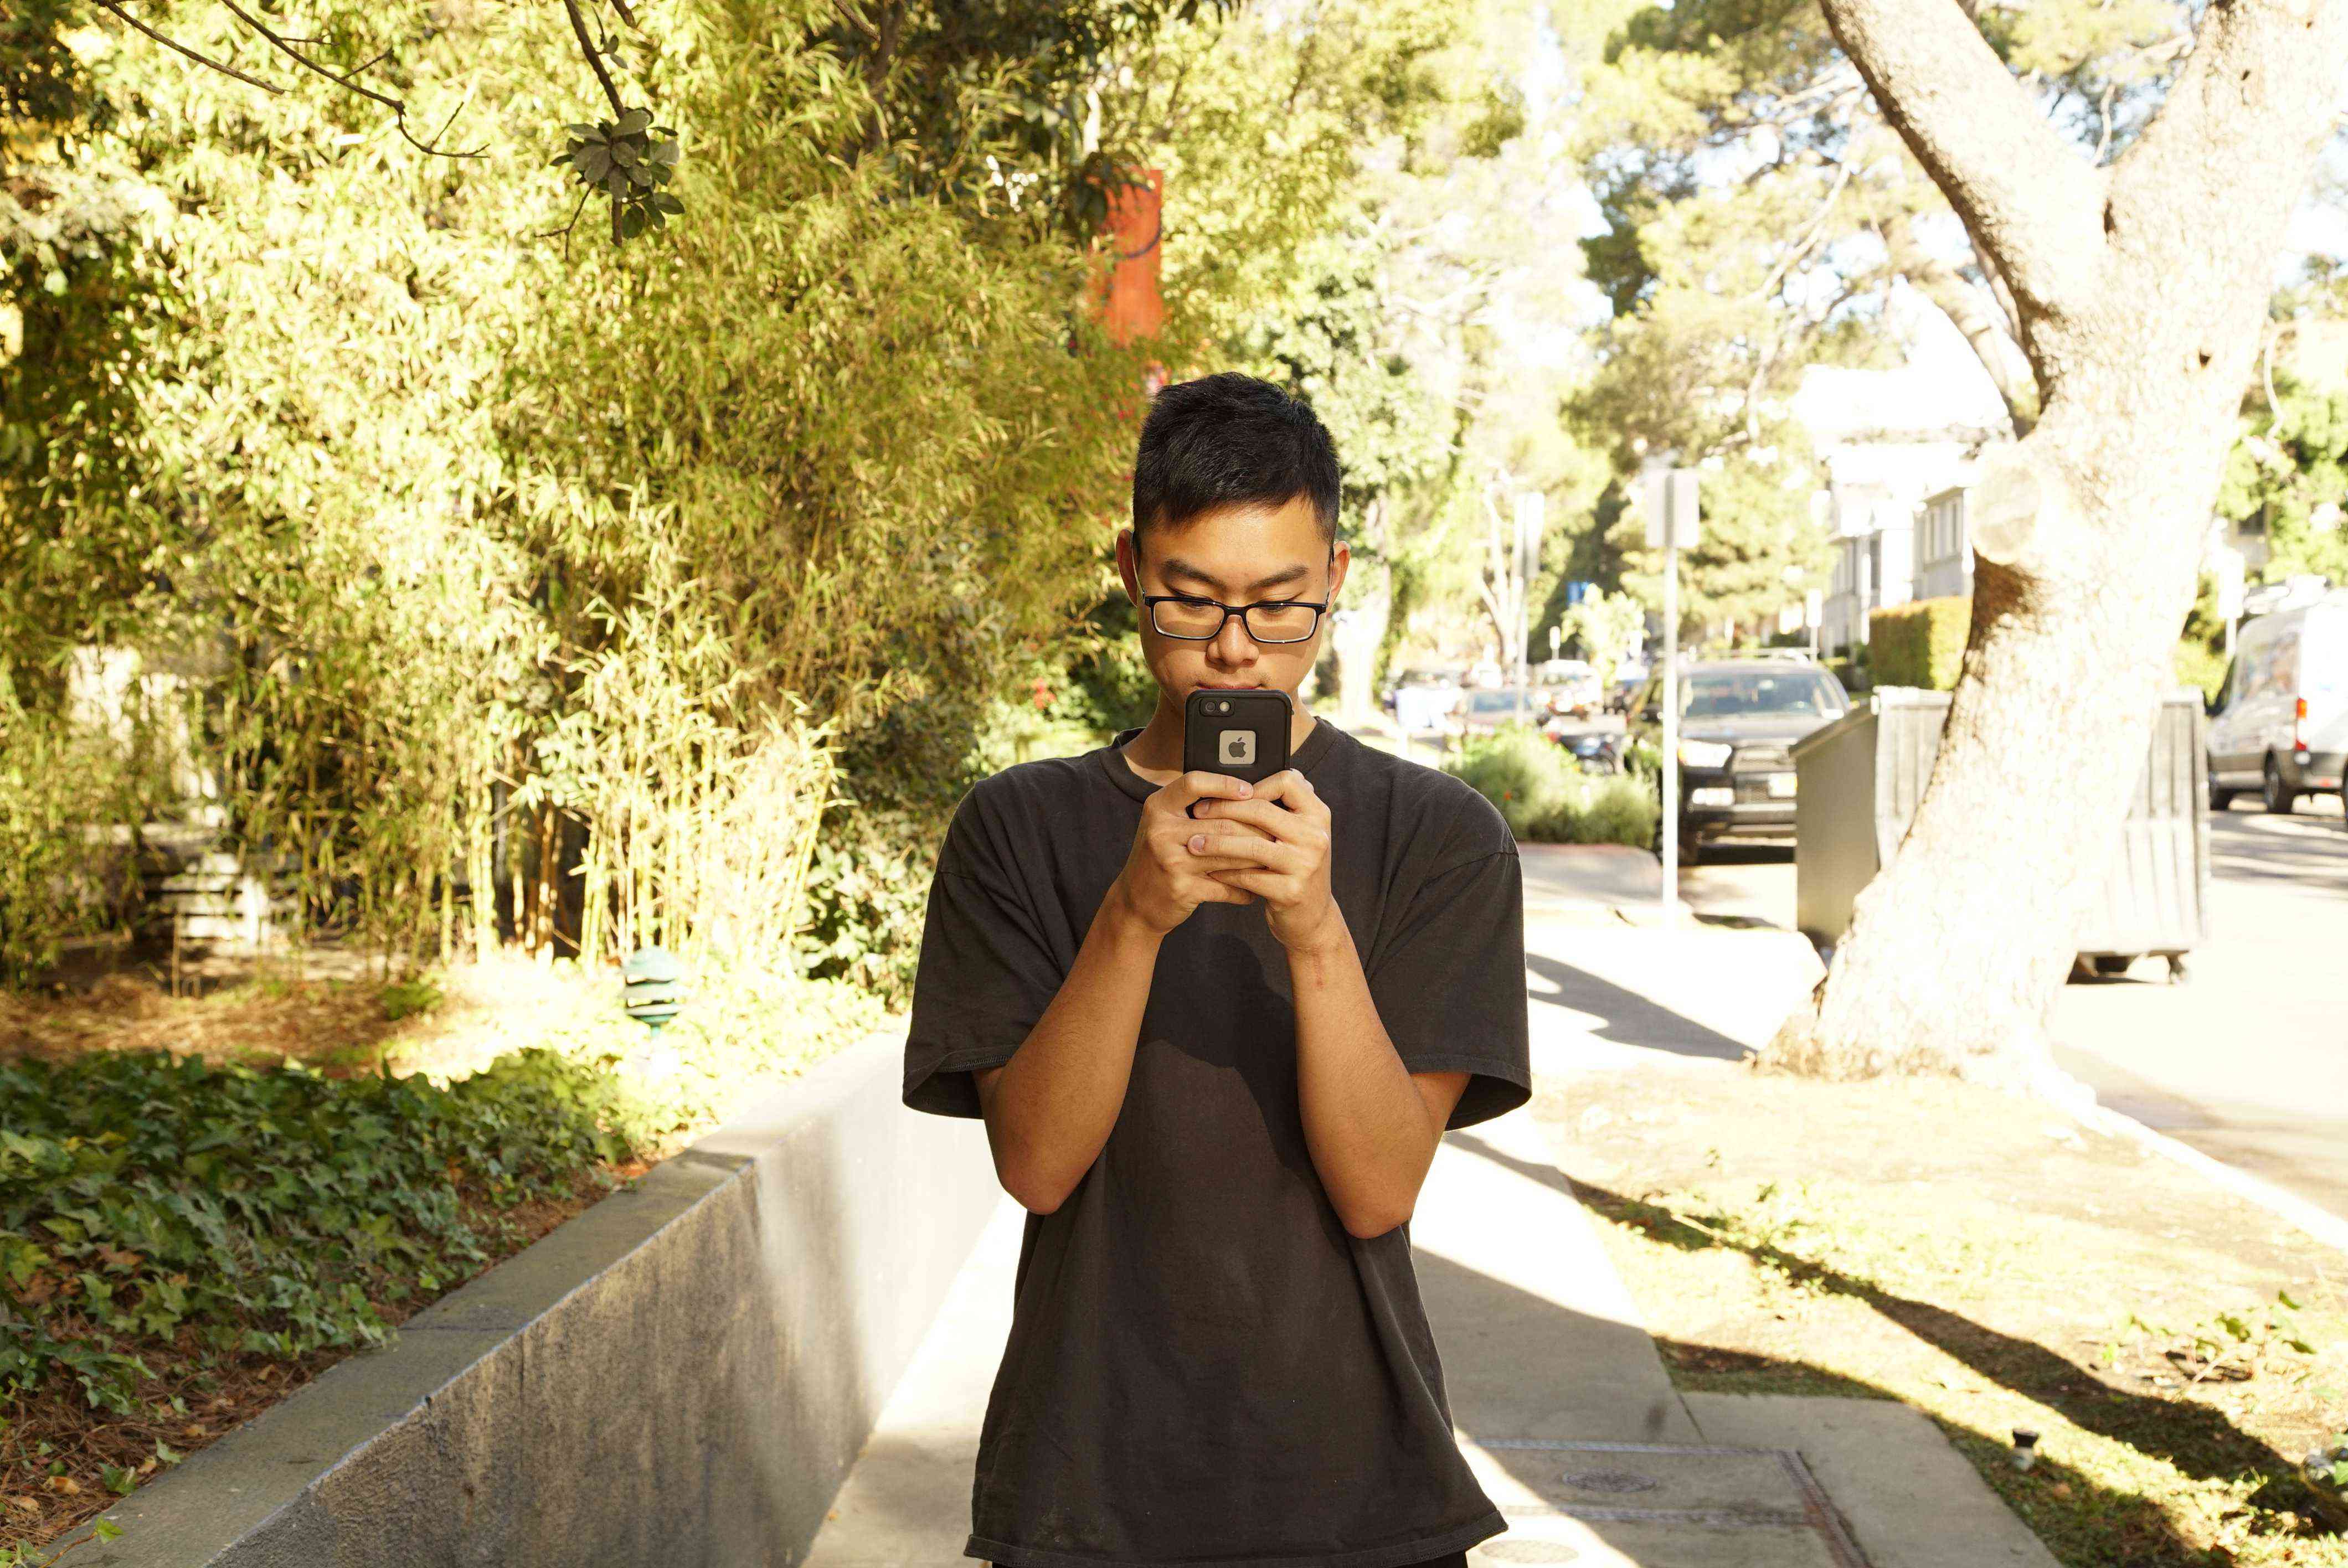
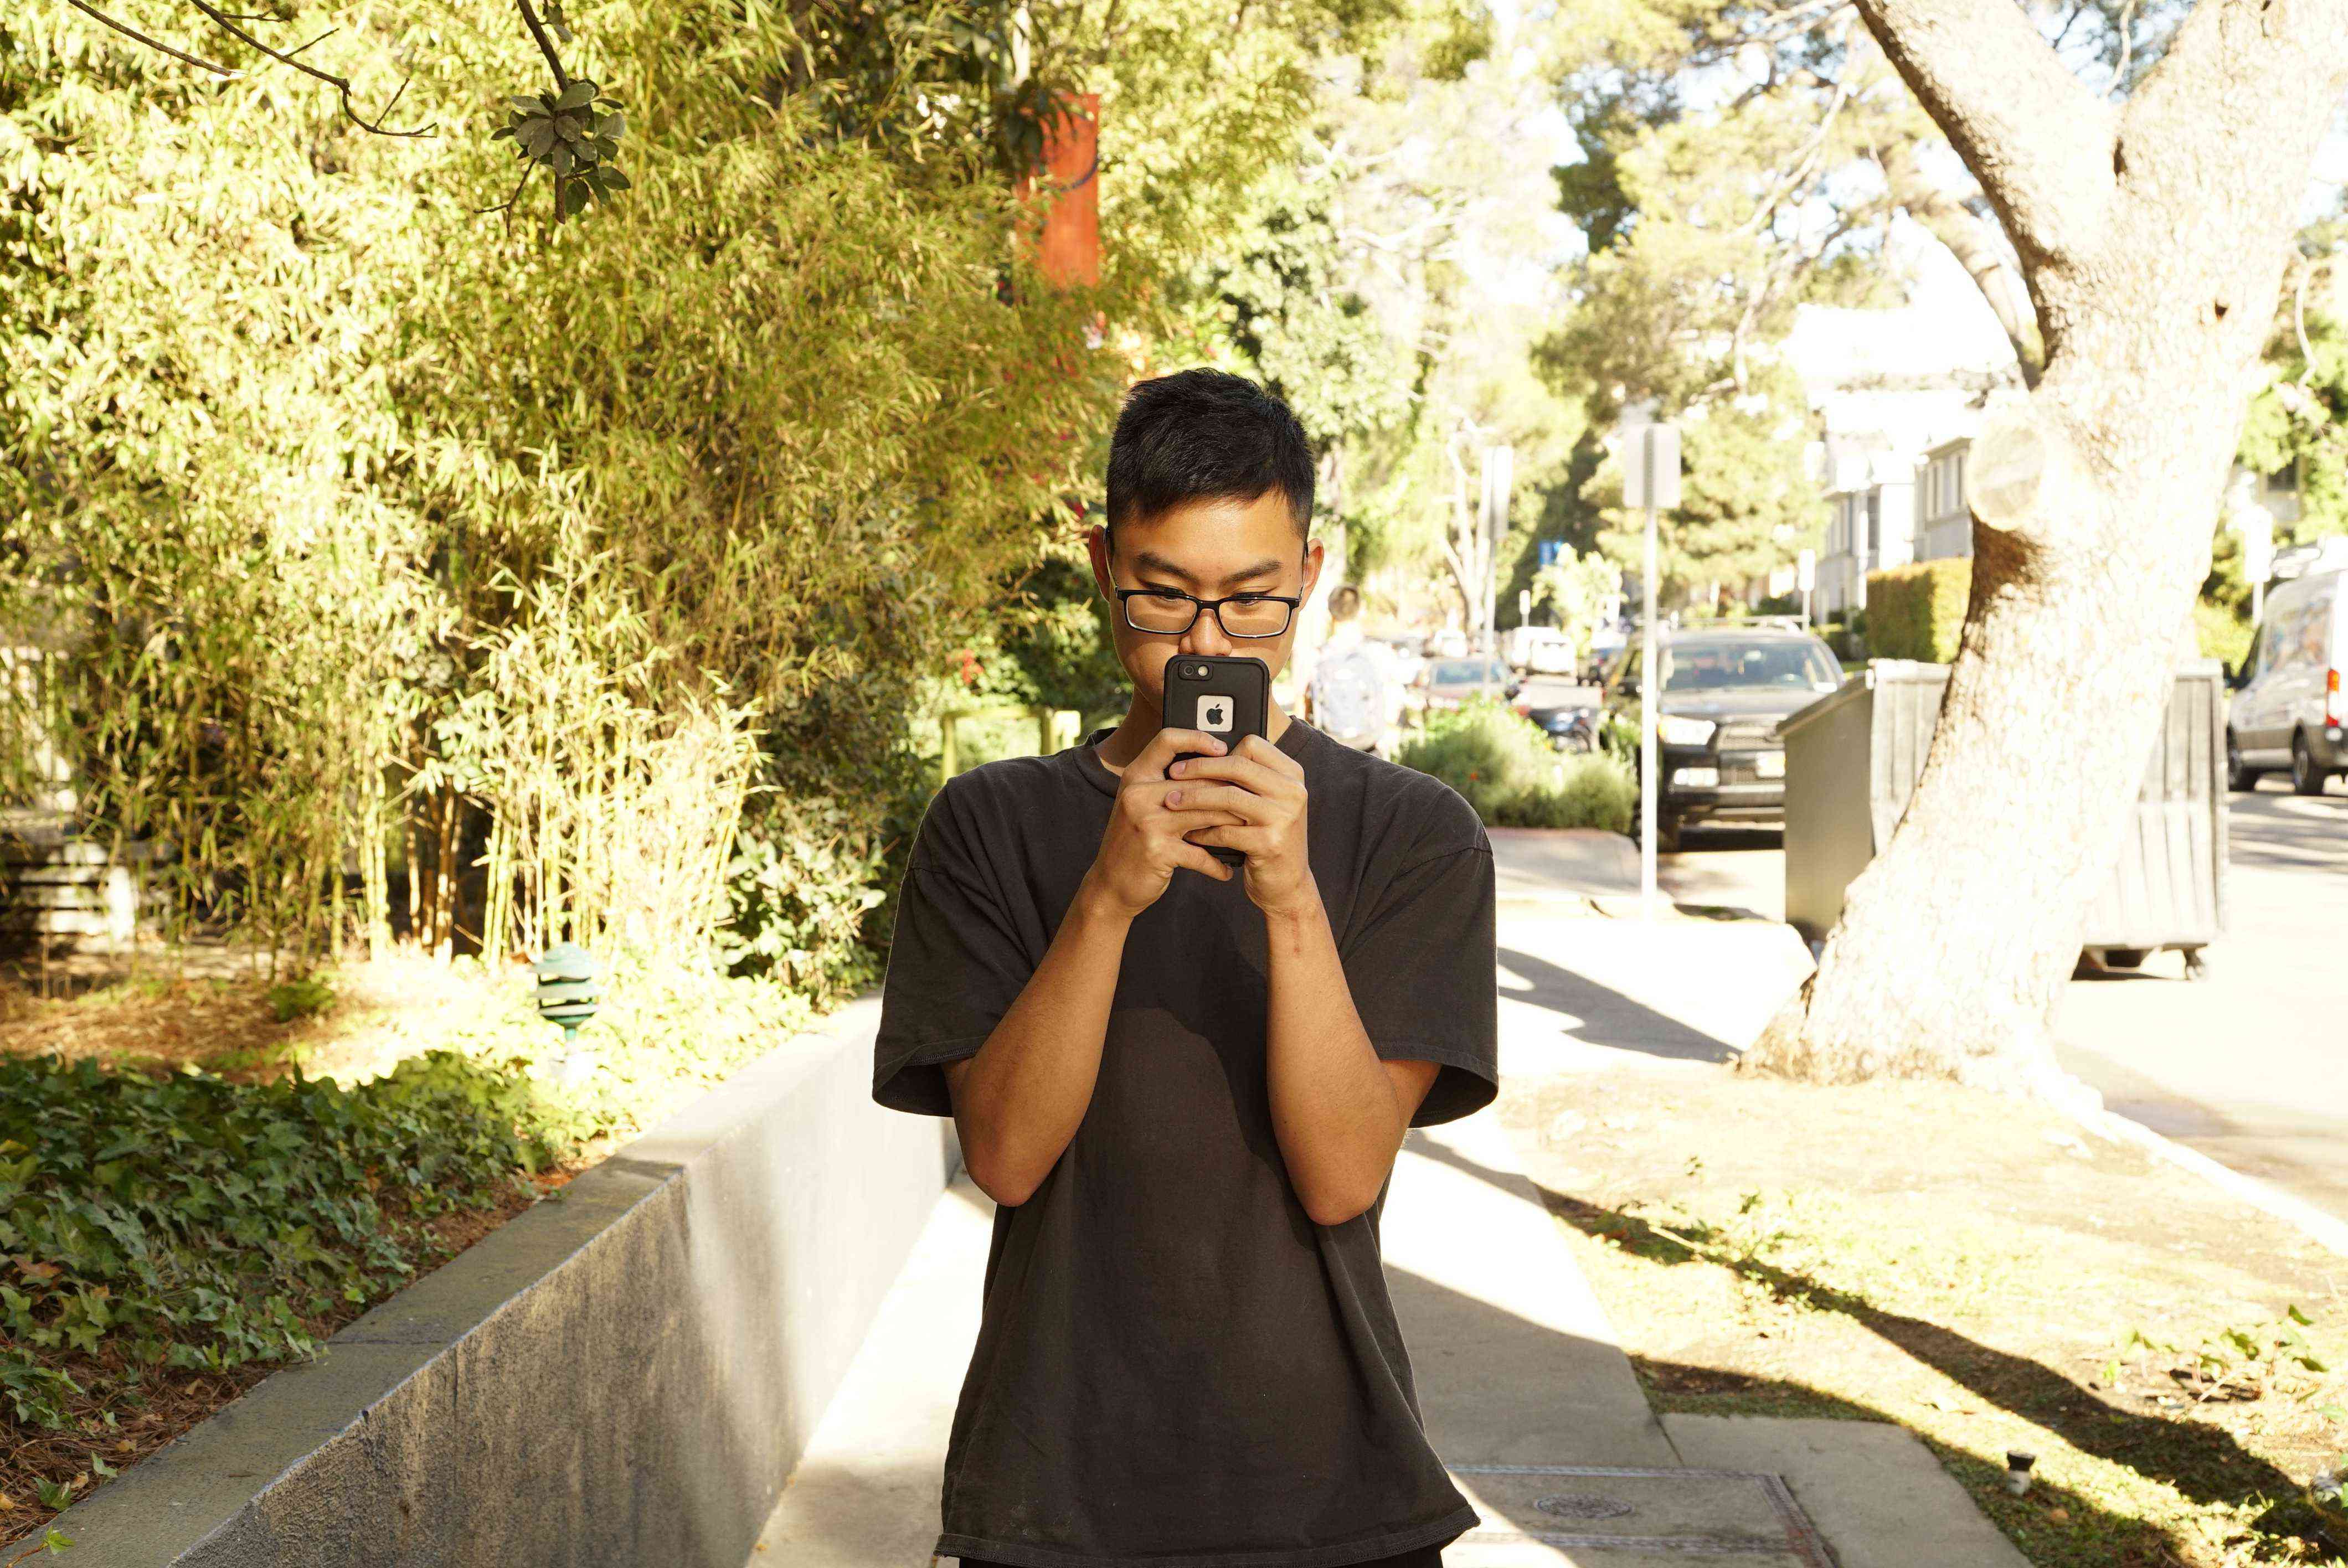
In this assignment, I duplicated a famous in-camera effect: the dolly zoom. This camera movement is also known as the "Vertigo shot", referencing a famous scene in Hitchcock's Vertigo.
This effect is achieved by simultaneously zooming out on the camera and stepping forward. This keeps the relative size of the object in the foreground constant while the background changes in depth, creating the above mentioned visual effect.
Results
Below, I'll display both the individual images that I've taken and them combined into a GIF.
Peanut Butter Jar.

My friend Colin.


Part 2: Lessons Learned
I was very excited to see how manipulating a simple camera setting can create an effect of a moving backgrounf without any additional editing! Also, the more frames you take and the smaller the transition between the frames, the smoother the created effect looks.