In seam carving, we apply a dynamic programming algorithm to find the least noticeable path through an image (either vertical or horizontal) to remove. We repeat this process until we have shrunk the image by the desired amount.
The algorithm works as follows. We define a dynamic programming algorithm where we compute an energy table. For each pixel, we compute the minimum cost to that pixel. Our recurrence is the following: E[i, j] = e(i, j) + min(E[i-1, j-1], E[i-1, j], E[i-1, j+1]). Basically what this means is that the least energy path is the least energy path to any previous location, the pixels above-left, above-middle, and above-right plus the energy at a given pixel. What is this energy? We define an energy function. In this instance we use the norm of the x-gradient and y-gradient.
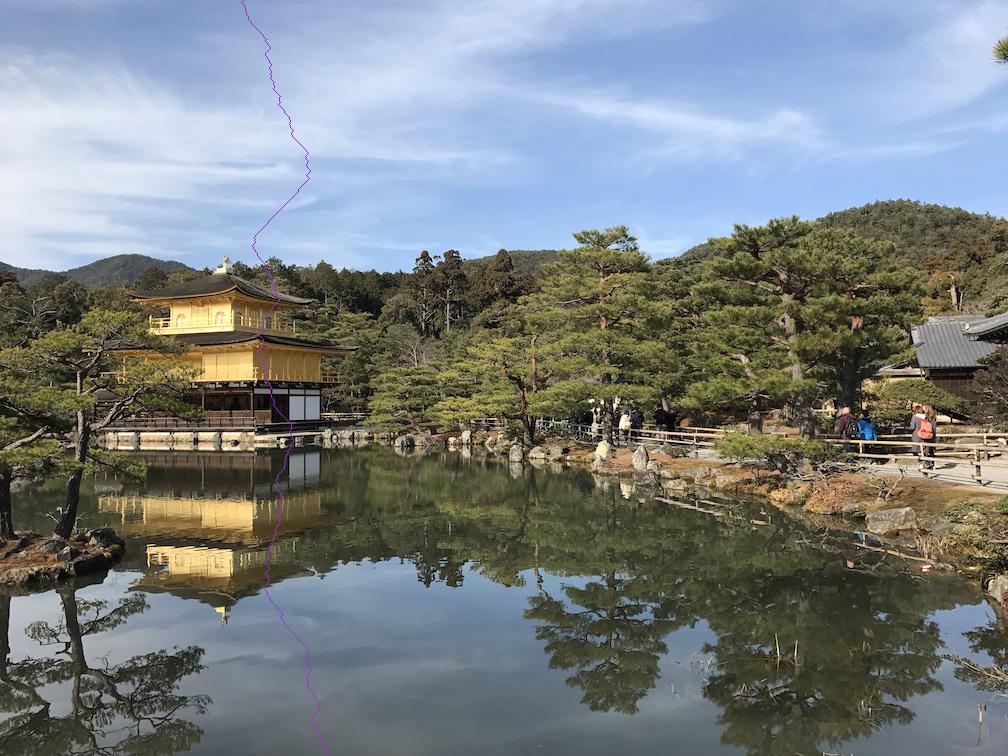
Once we compute the energy table, we can find the minimum path upwards. We do this as follows. From the bottom, we find the minimum energy path and follow it upwards. This is the seam we are looking for.
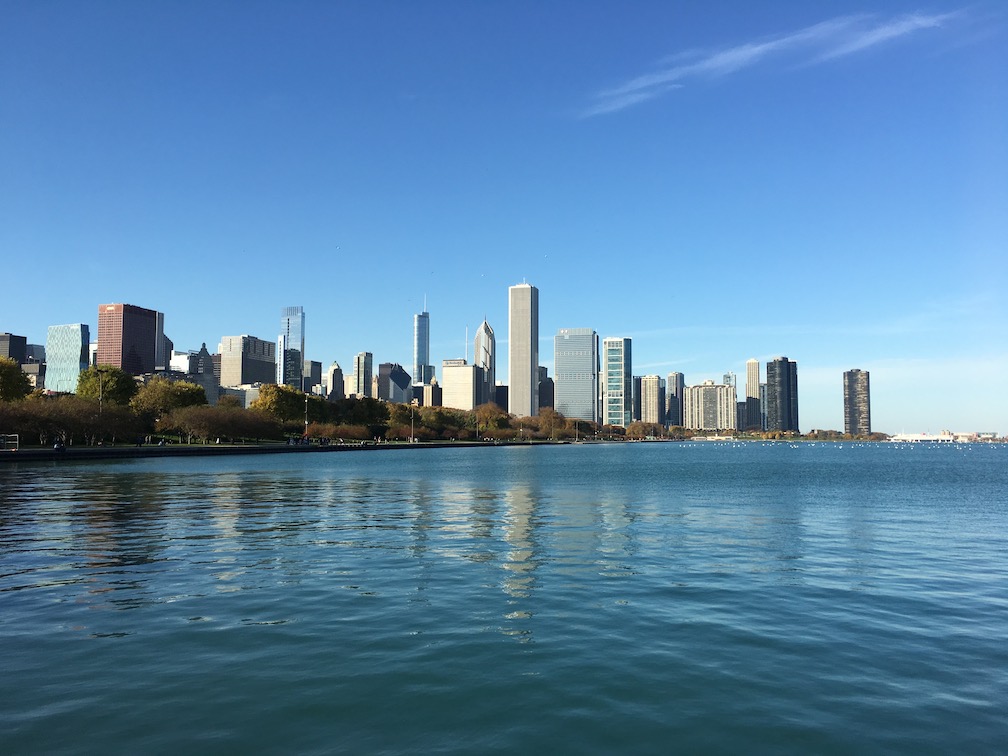
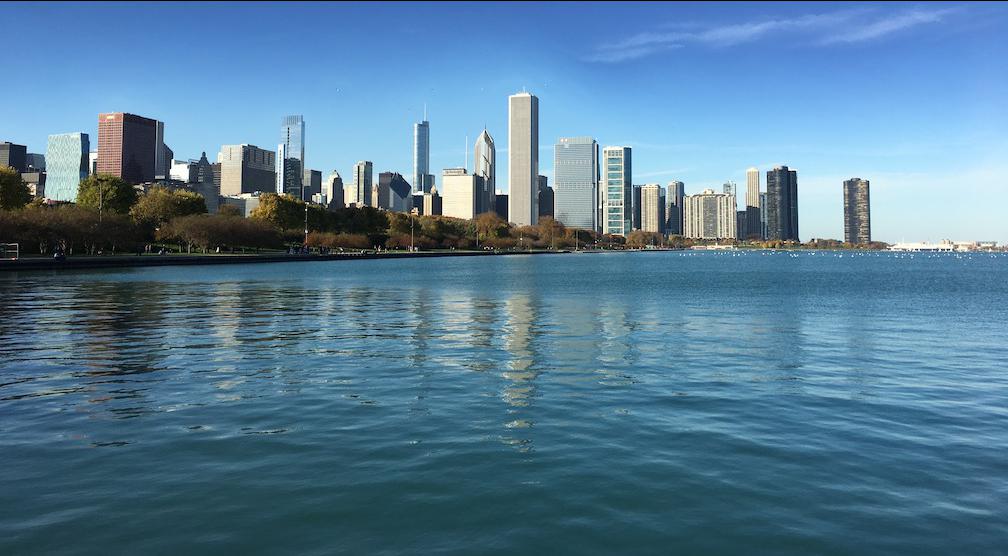
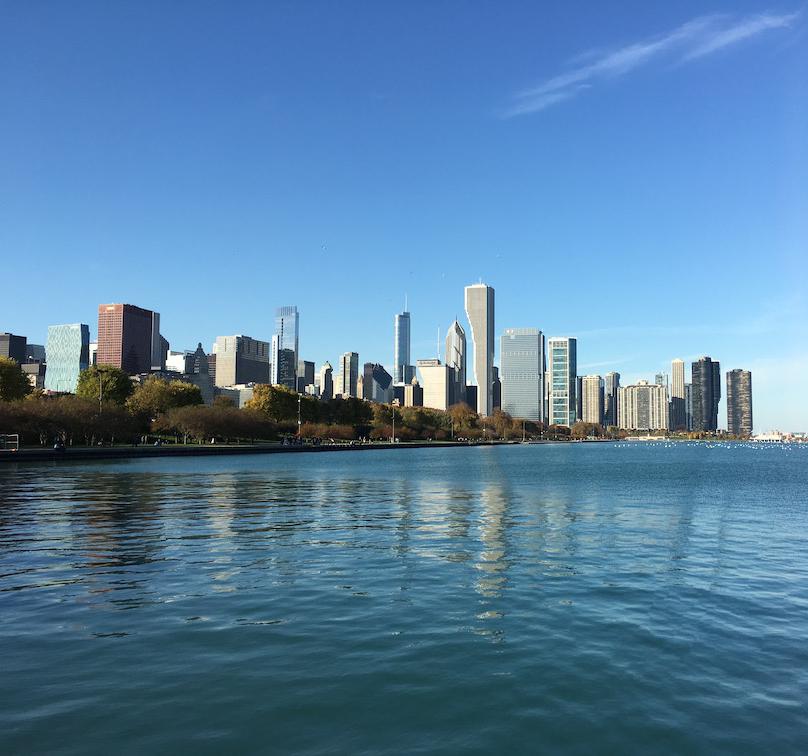
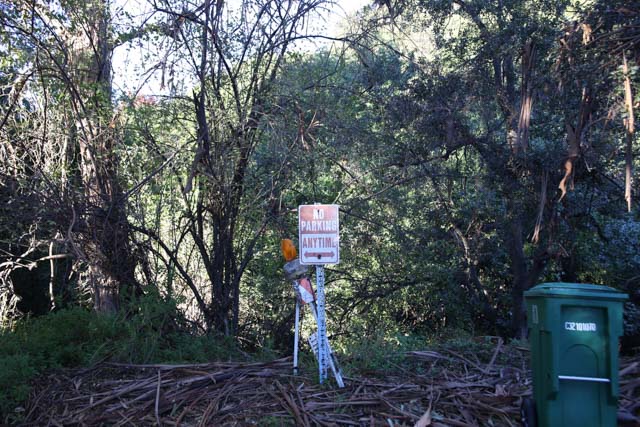
The seam is drawn in purple above. We remove this seam and then repeat the process. To deal with vertical seam carving, we can run the same process on the transposed image and just flip it back. We show the results of seam carving below.
| Original | Seam Carved |
|---|---|
 |
 |
 |
 |
 |
 |
 |
 |
| Original | Seam Carved |
|---|---|
|
 |
|
 |
|
 |
 |
 |
 |
 |
|
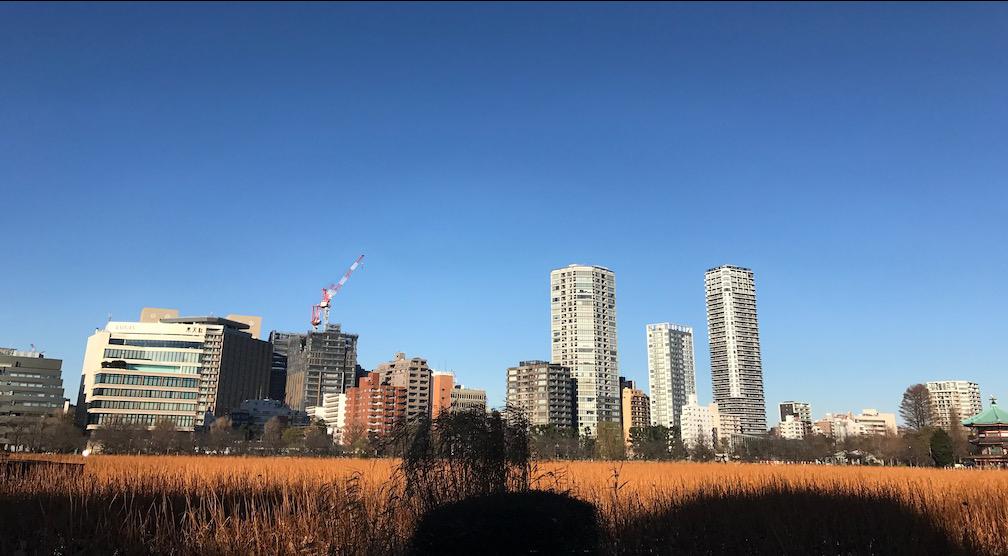 |
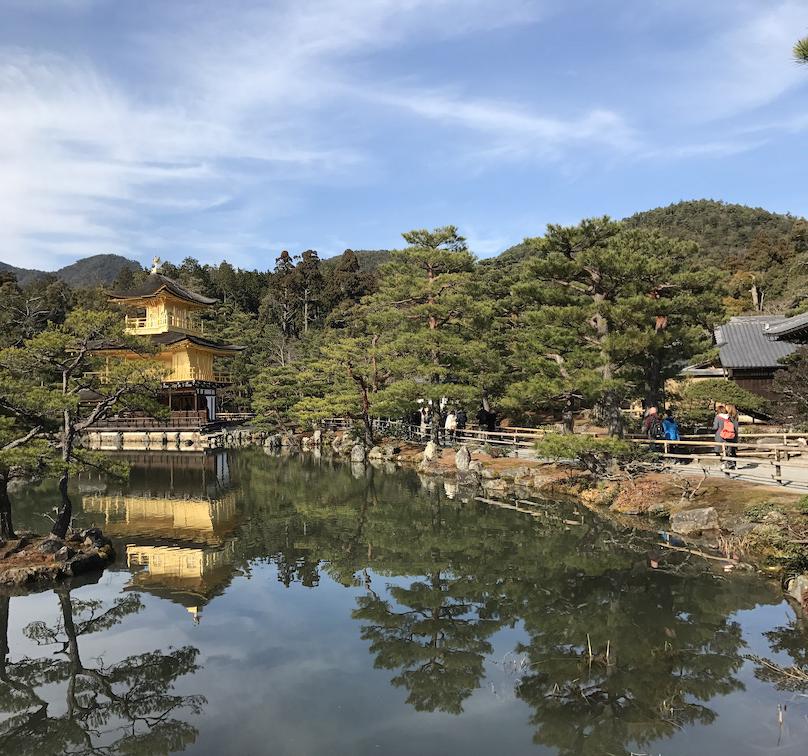
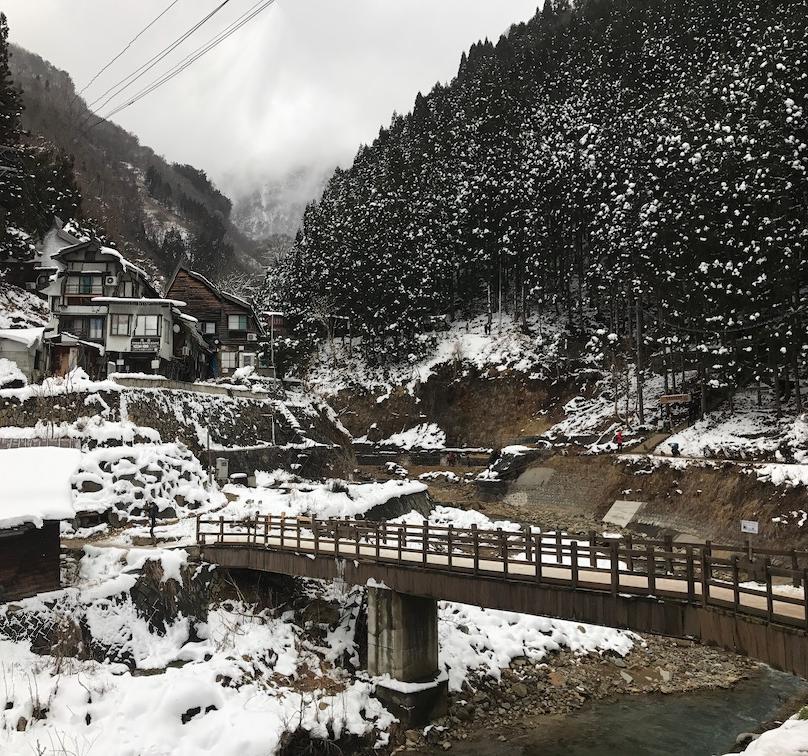
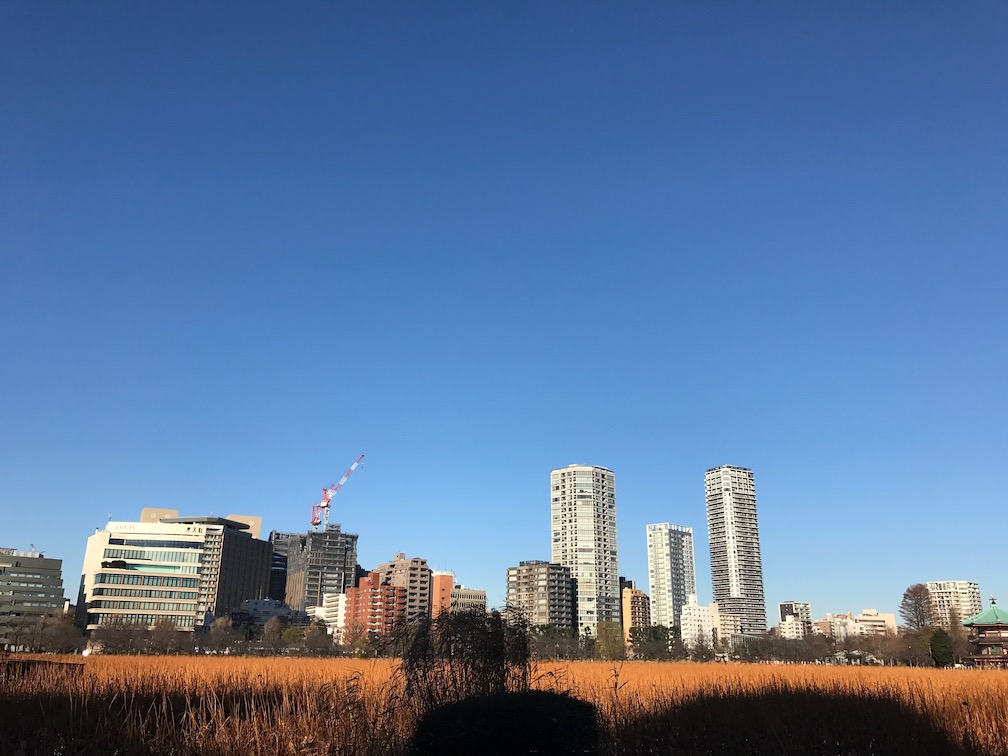
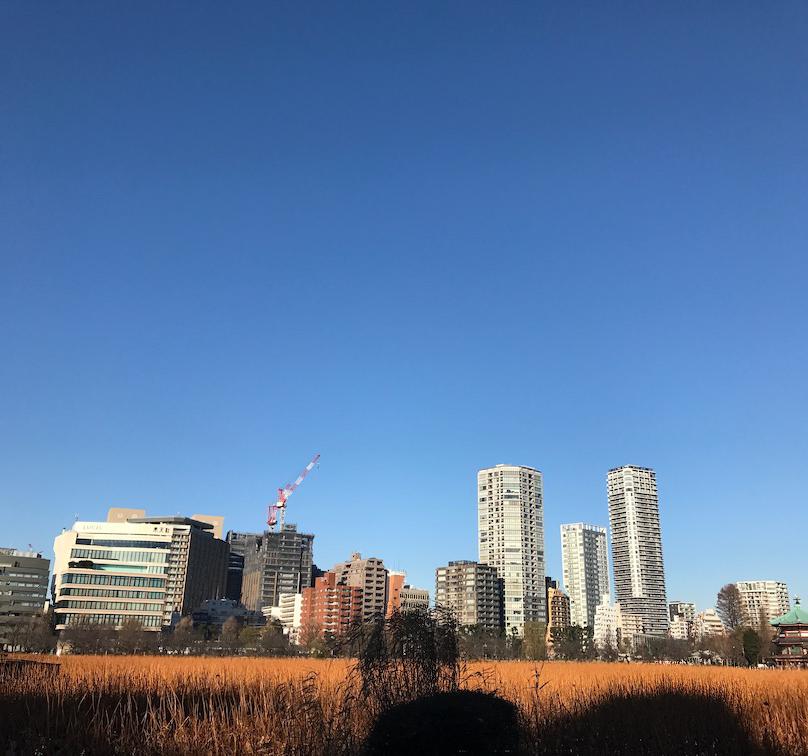
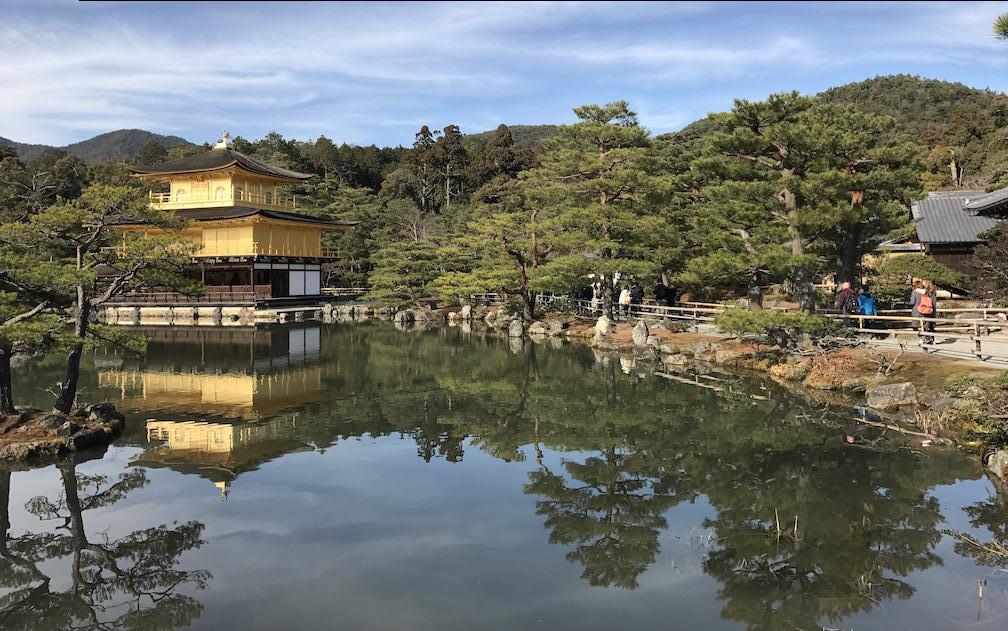
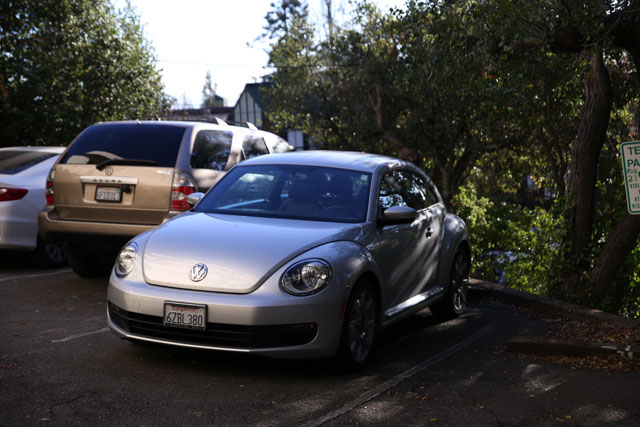
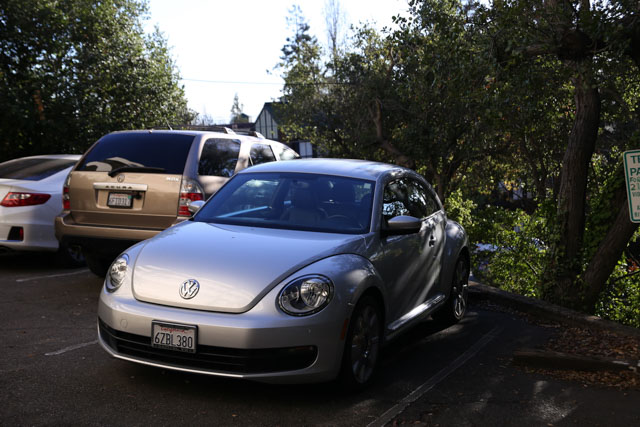
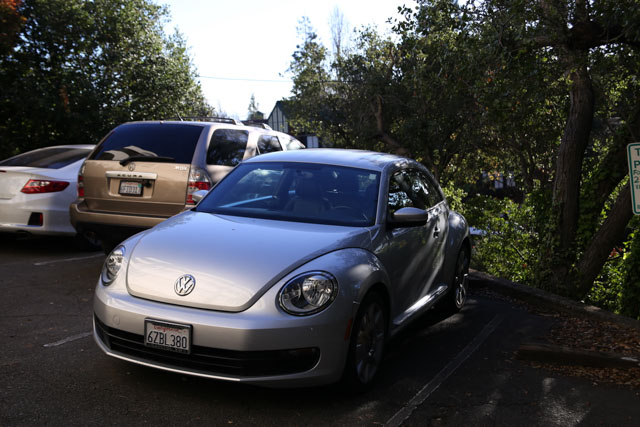
We find that in this example, the horizontal seam carving removes some of the building.
| Original | Seam Carved |
|---|---|
|
 |
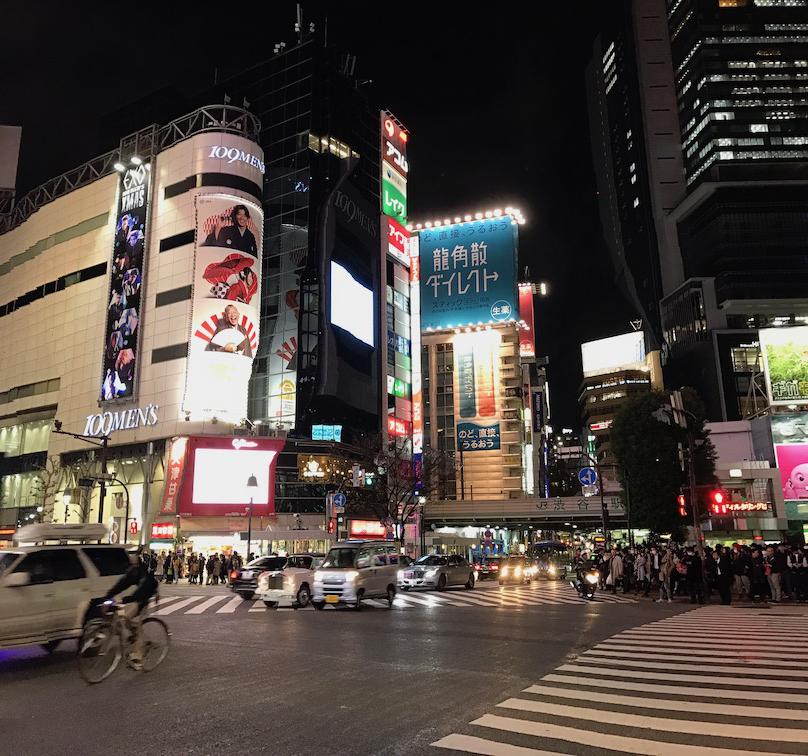
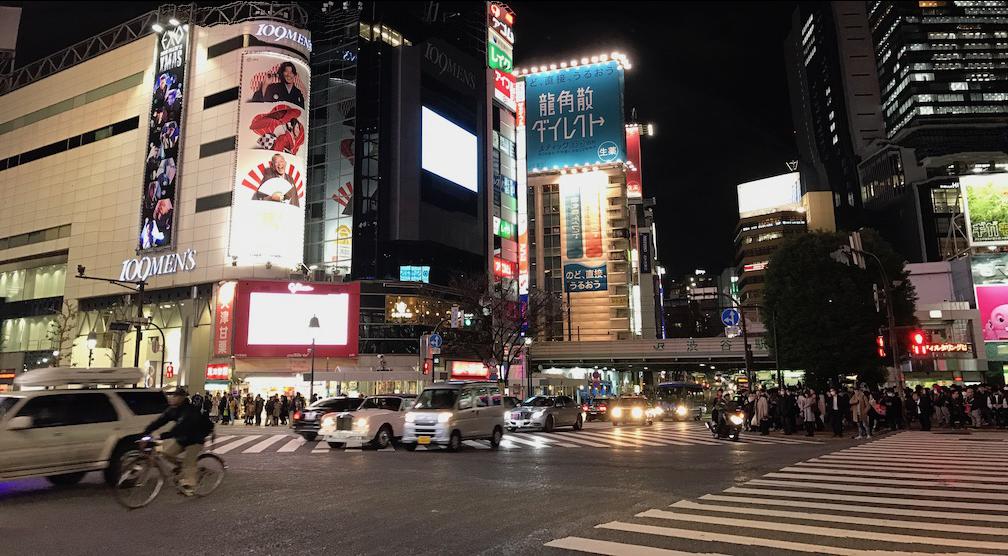
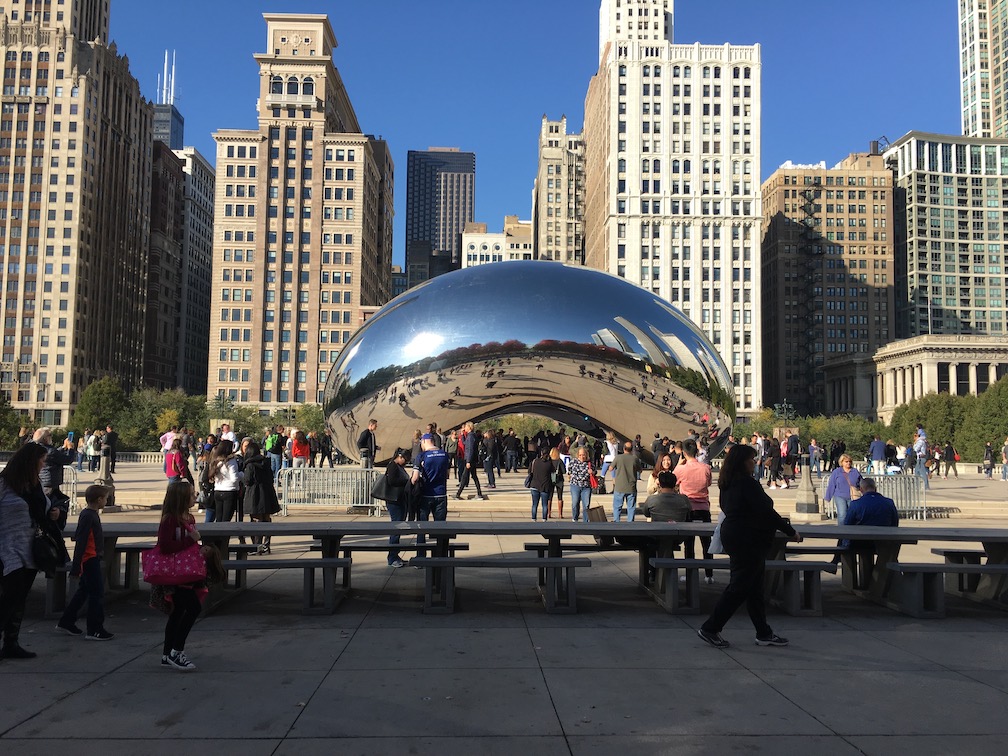
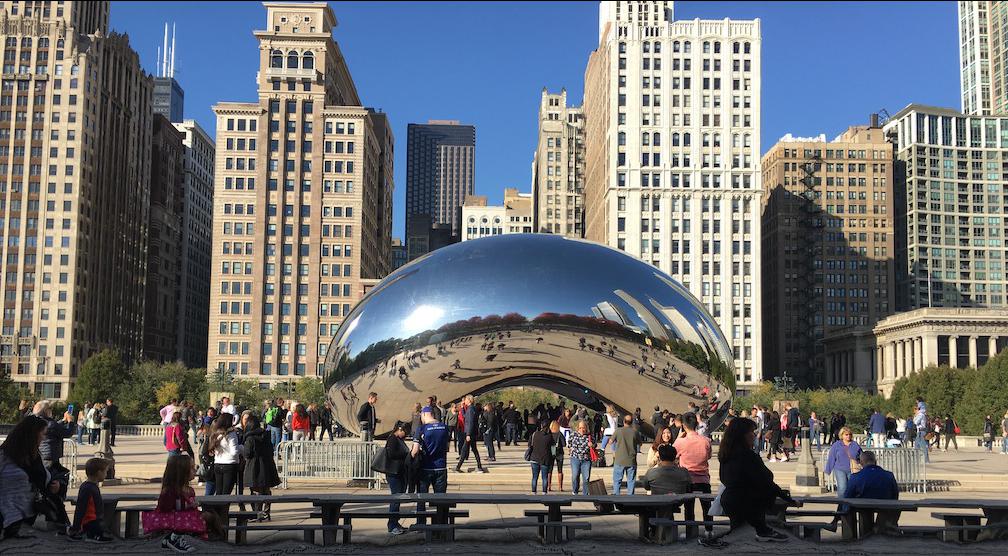
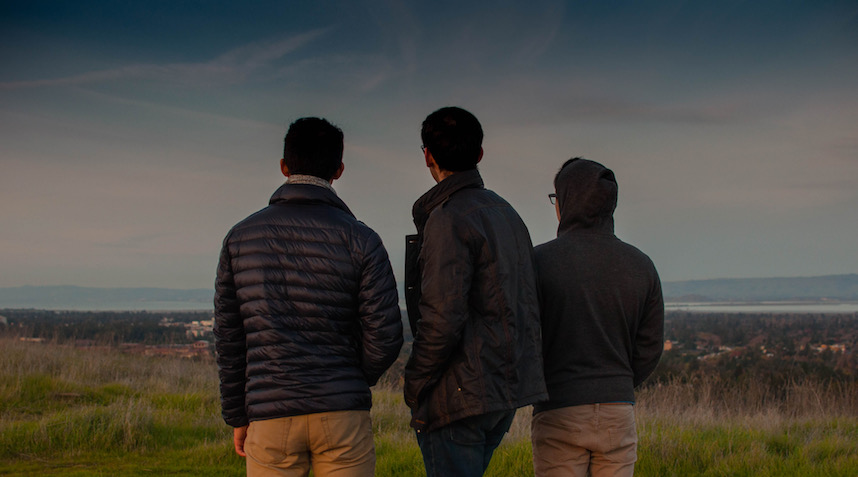
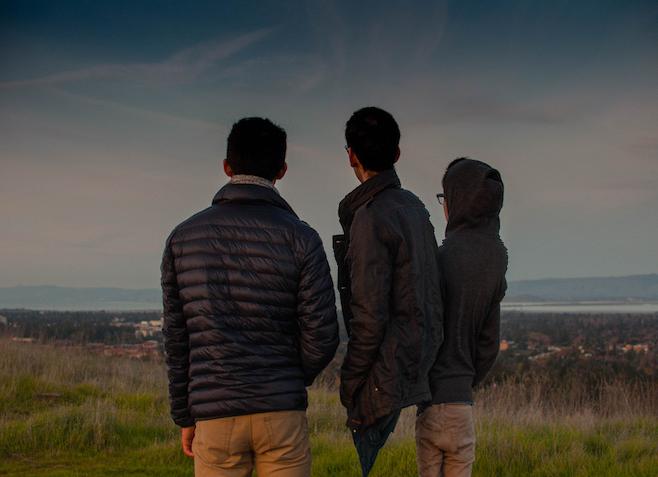
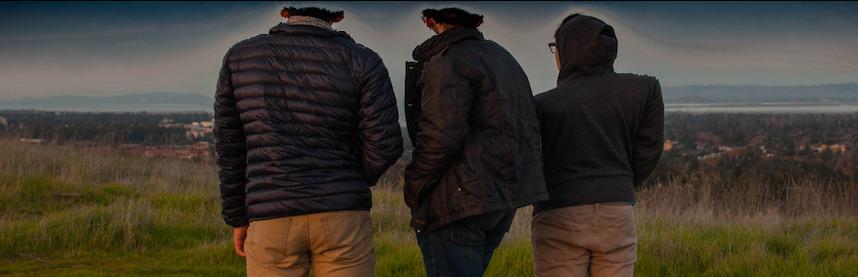
We also find that it's not very good with people. Seam carving picks seams with people in it and then they look funny.
| Original | Horizontal Seam Carved | Vertical Seam Carved |
|---|---|---|
 |
 |
 |
It was fun implementing the dynamic programming algorithm and see how well it work on a variety of pictures that I have taken. It was good to see its limitations as well with certain types of pictures.
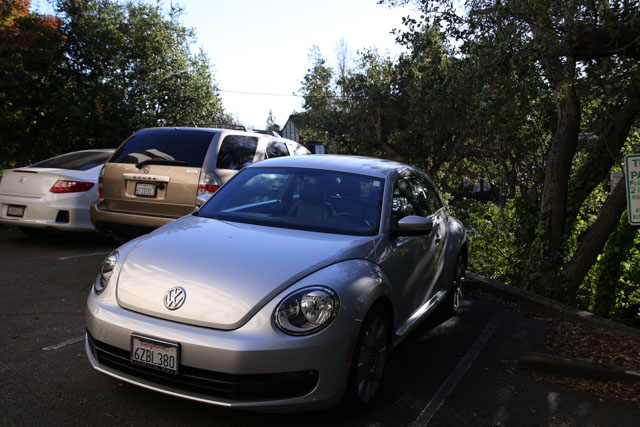
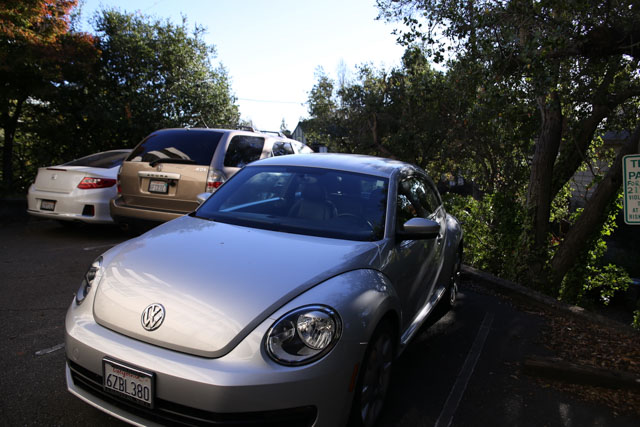
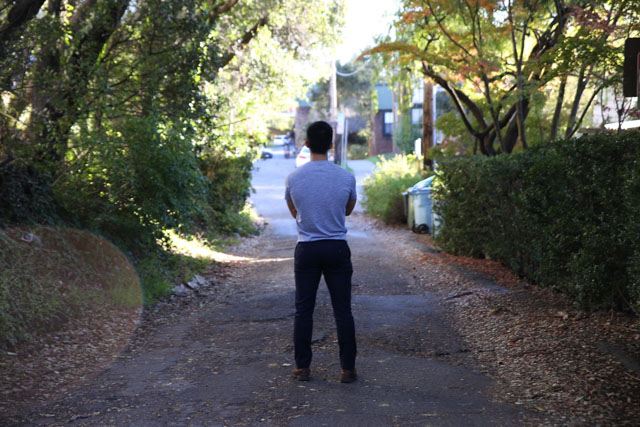
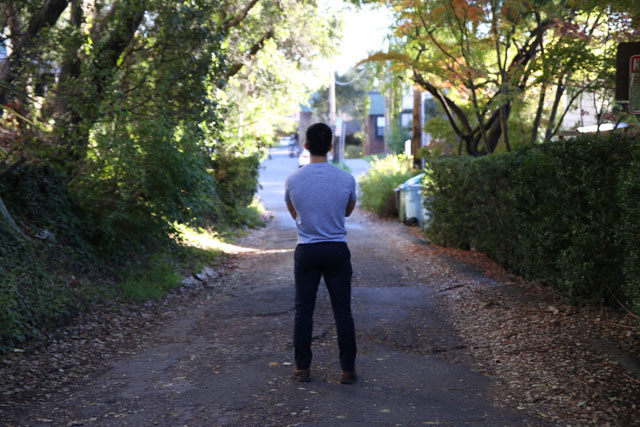
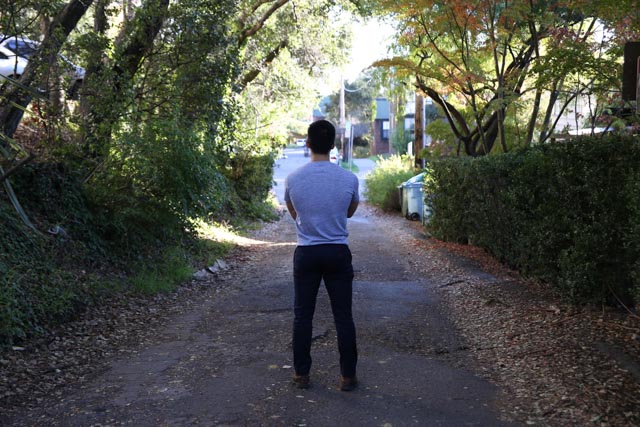
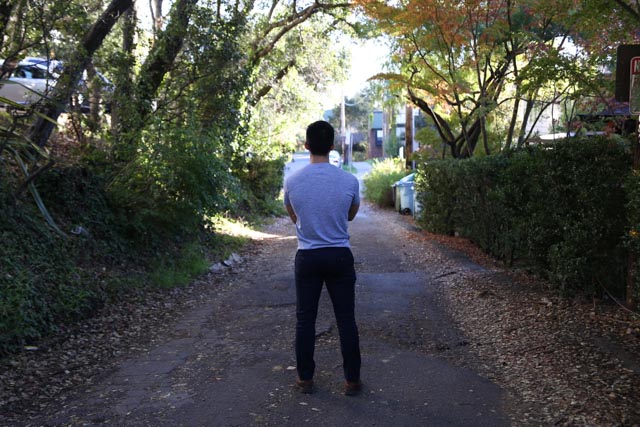
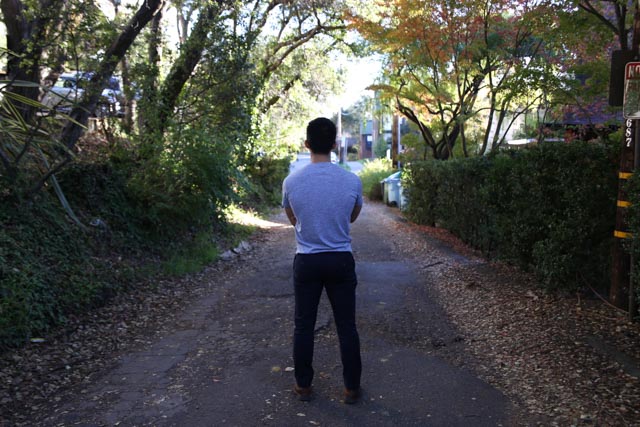
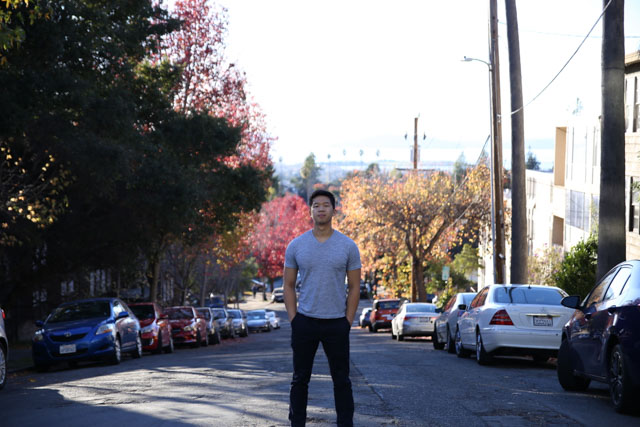
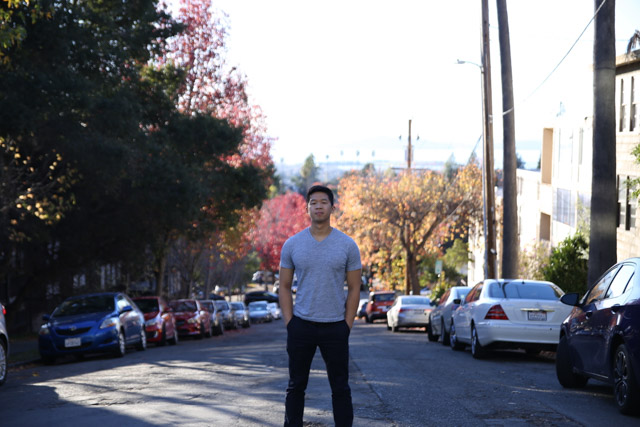
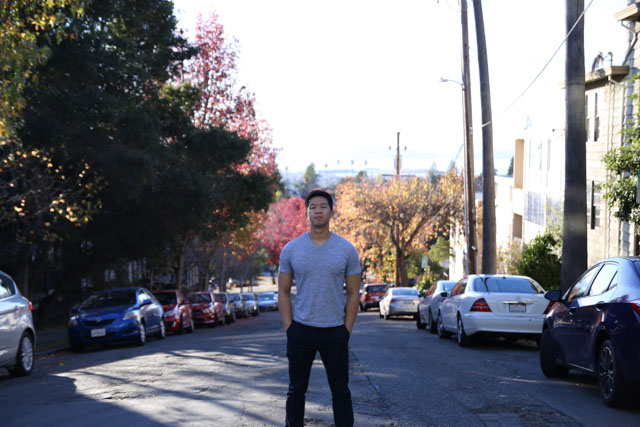
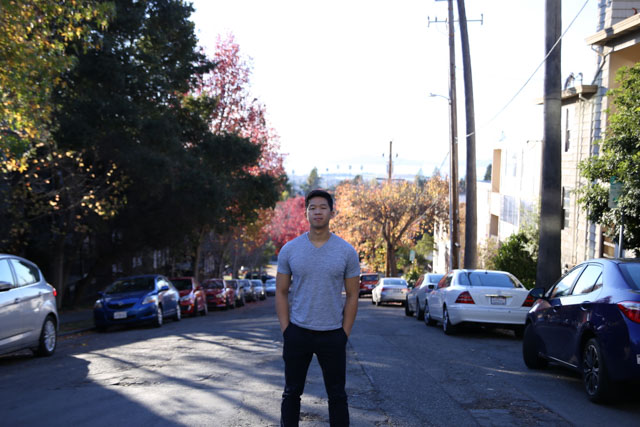
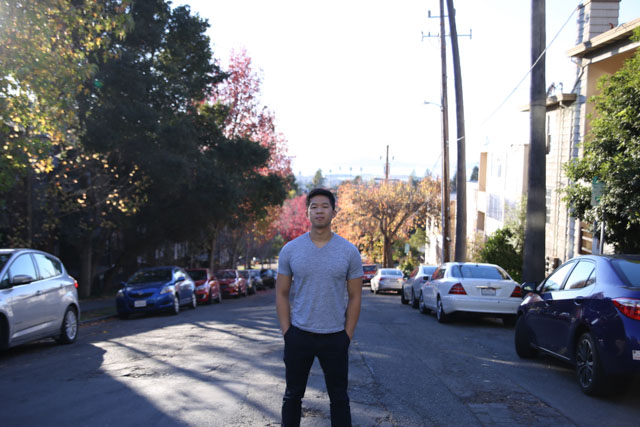
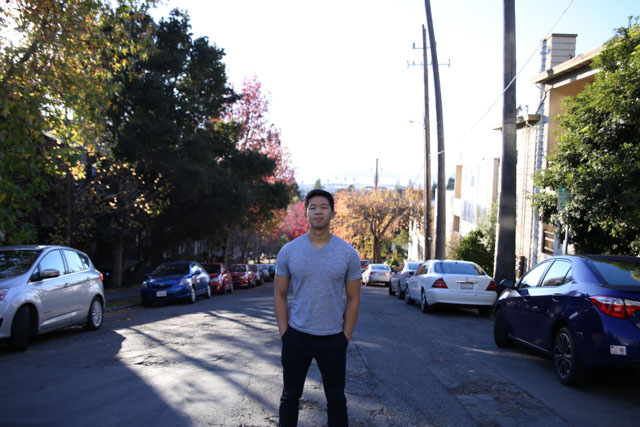
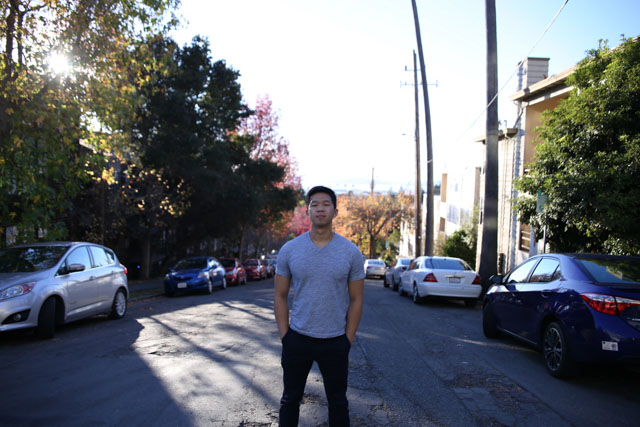
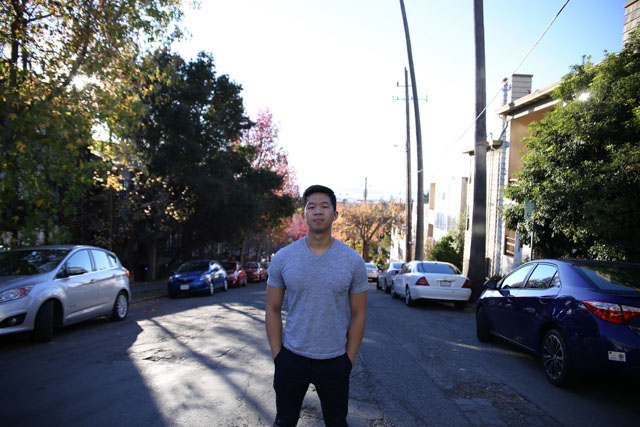
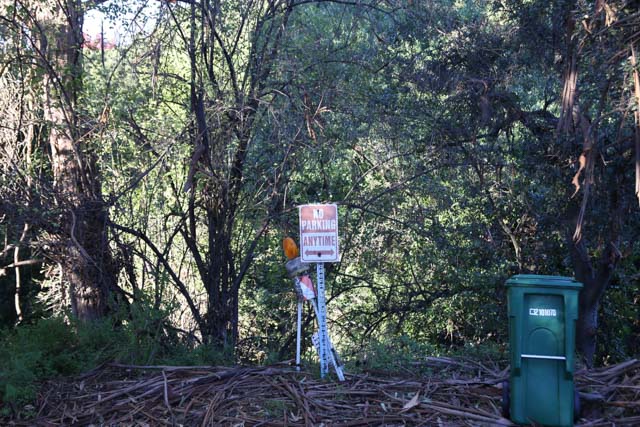
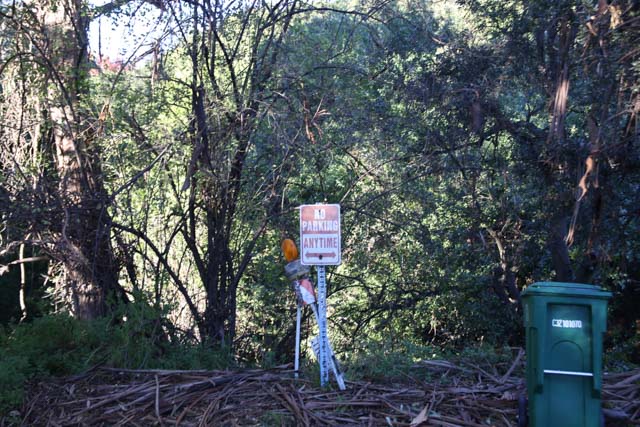
In this project we attempt to duplicate the Dolly Zoom, an in-camera effect first used in Alfred Hitchcock's film Vertigo.
First, we choose a subject. We take a series of photographs as we move towards the subject, simultaneously zooming out to keep the subject in the same size in the frame throughout. This creates an unsettling perspective effect where the background seems to move away, letting the foreground dominate the scene despite not changing in size.
We used a Canon EOS 6D with a 24-70mm zoom lens. The scenes below were taken right outside our apartment in Berkeley.
 |
 |
 |
 |
 |
 |
 |
 |
 |
 |
 |
 |
 |
 |
 |
 |
 |
 |
 |
 |
 |
 |
 |

The technique for reproducing the dolly zoom effect is quite simple in theory, but we learned that it's hard to get great-looking results. Doing so requires very fine control of the focus ring, a steady hand, and the ability to keep the subject in the exact same position within the frame. Our experience was made a lot easier due to the fact that we took a series of photographs in lieu filming a video.
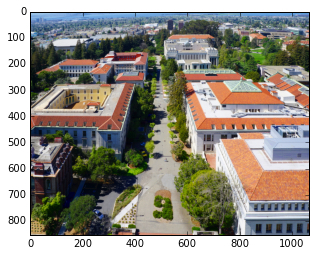
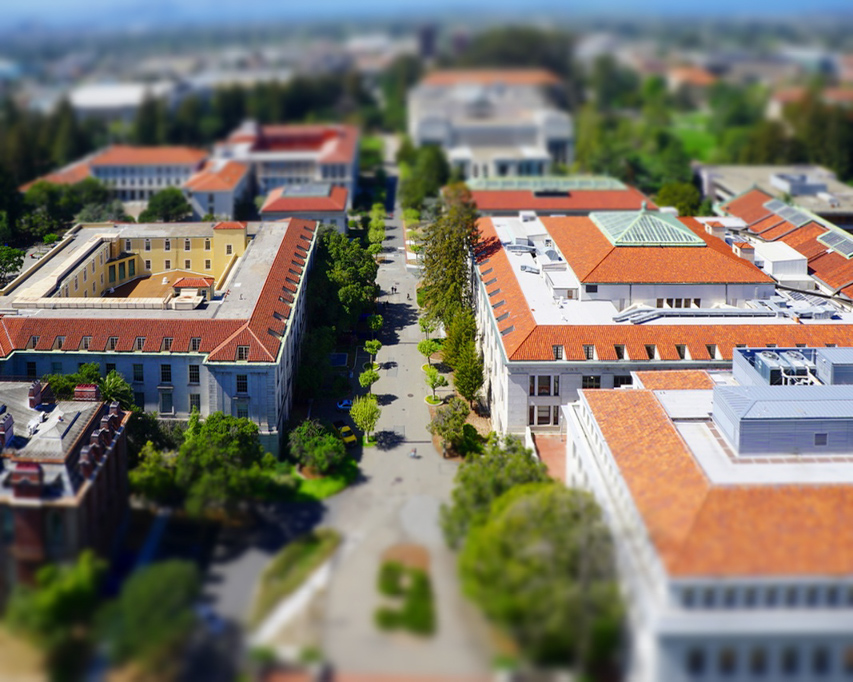
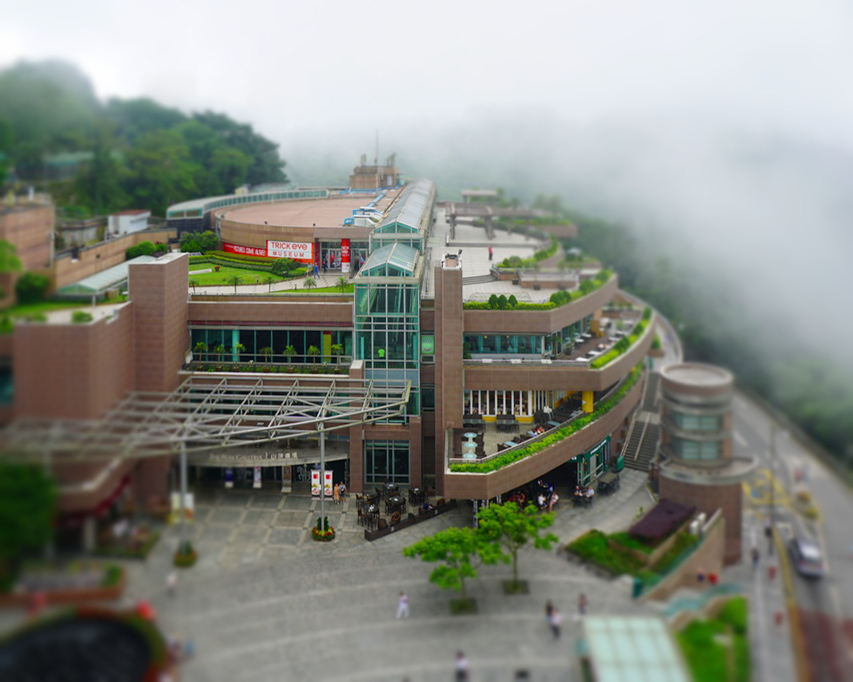
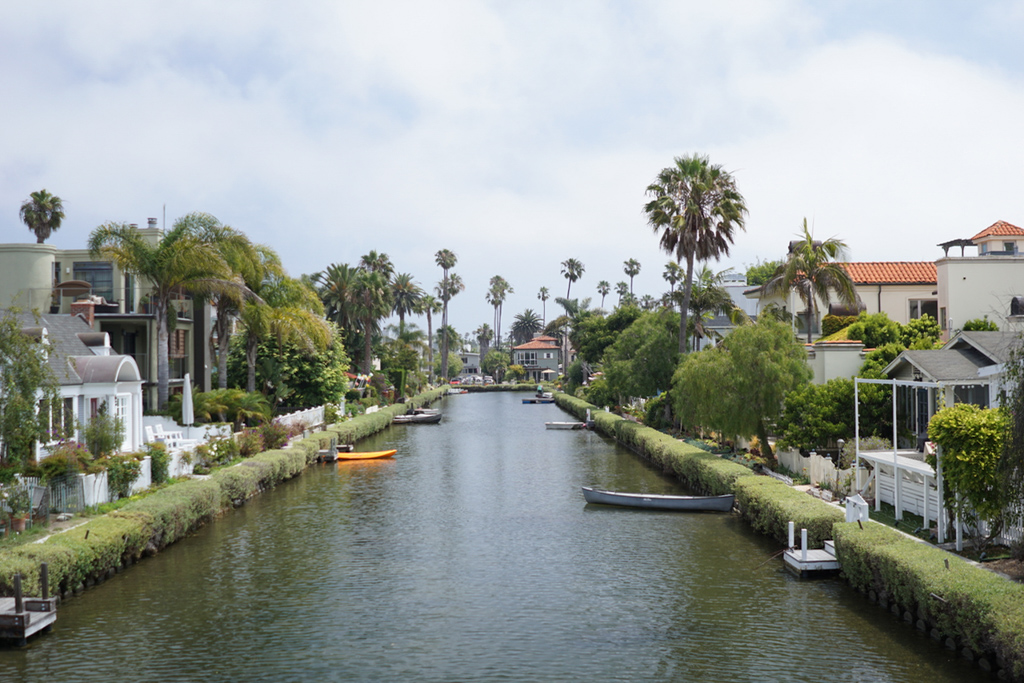
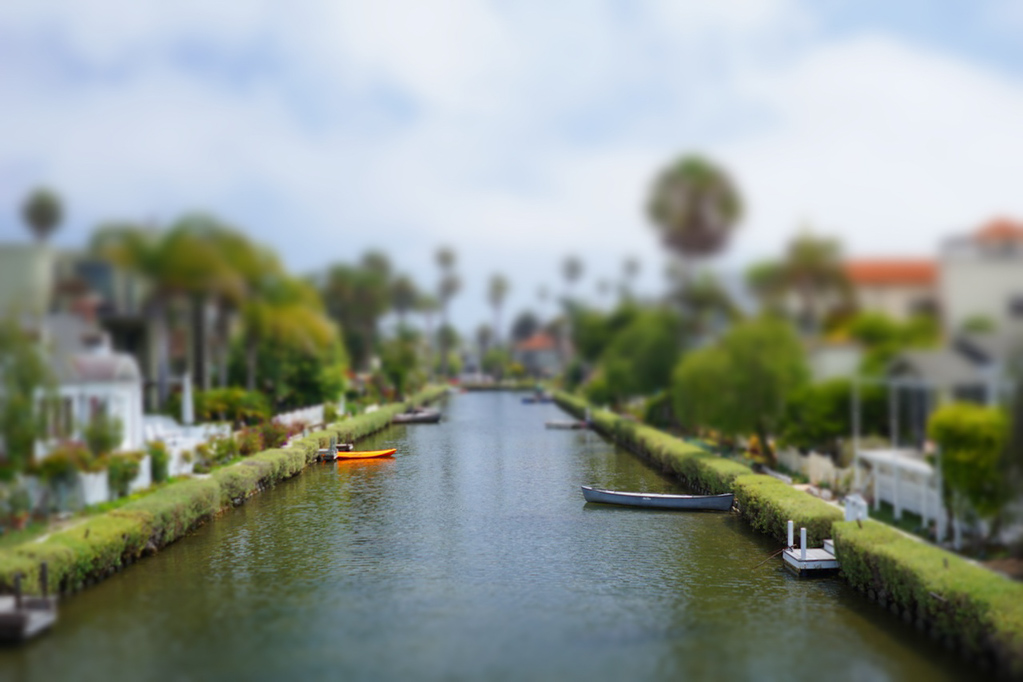
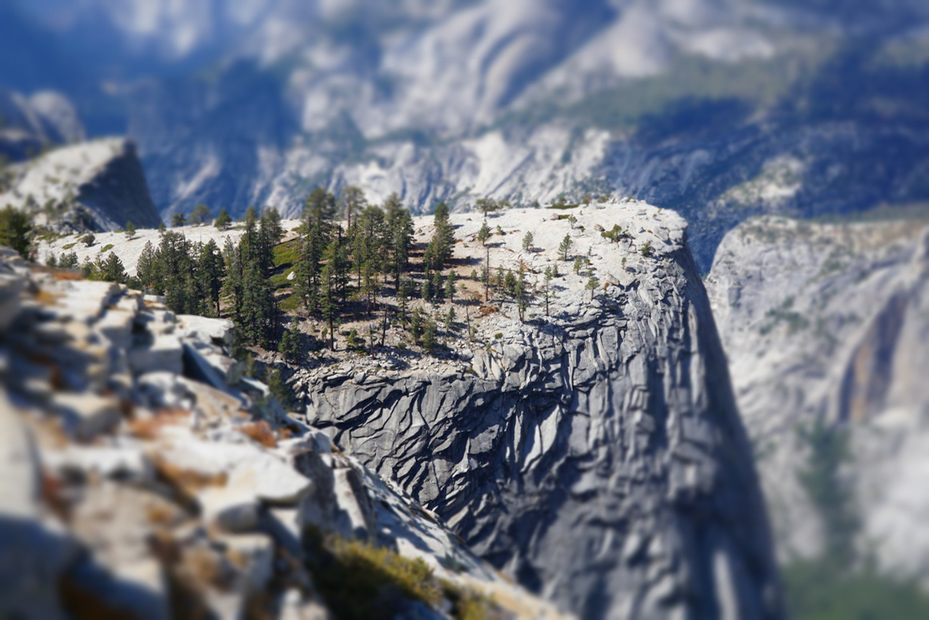
In this project we attempt to make photographs of life-size scenes look like photographs of miniature scale models. This is traditionally done through the use of a tilt-shift (perspective control) lens. Since tilt-shift lens are often quite expensive, we wish to achieve the same effect through digital post-processing.
In order to produce the illusion of a miniature scene, where the lens would be really close to the subject, we must simulate the shallow depth of field associated with macro photography. We can easily do this by selectively blurring parts of the image.
Our program allows the user to select a focus plane (a region of the image that should be in focus) before applying a blurring filter to the rest of the image. For many landscape photographs, we can assume that objects close to the camera are at the bottom of the image while objects far from the camera are at the top. With this heuristic in mind, we can simulate the shallow depth of field simply by progressively blurring the image from the center to both the top and bottom.
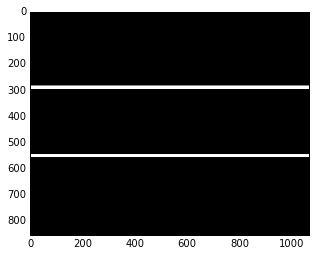
To create the progressive blur effect, we start with a gaussian stack of the image. The image at depth d of a gaussian stack is the original image blurred by a gaussian filter d times, so we create the gaussian stack by successively blurring the original image d times. The first image in the gaussian stack (the original image) is paired with the mask of the user-selected focus plane. Each subsequent image in the gaussian stack is paired with the "onion skin" of the previous-layer mask. The resulting miniaturized image is simply the sum of each layers of the gaussian stack times its corresponding mask.
Finally, we increase the saturation of the image in order to simulate the toy-like colors of a miniature.
| Gaussian |  |
 |
 |
 |
 |
 |
 |
 |
 |
 |
 |
 |
 |
 |
 |
|---|---|---|---|---|---|---|---|---|---|---|---|---|---|---|---|
| Mask | 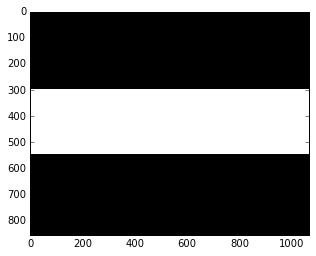 |
 |
 |
 |
 |
 |
 |
 |
 |
 |
 |
 |
 |
 |
 |
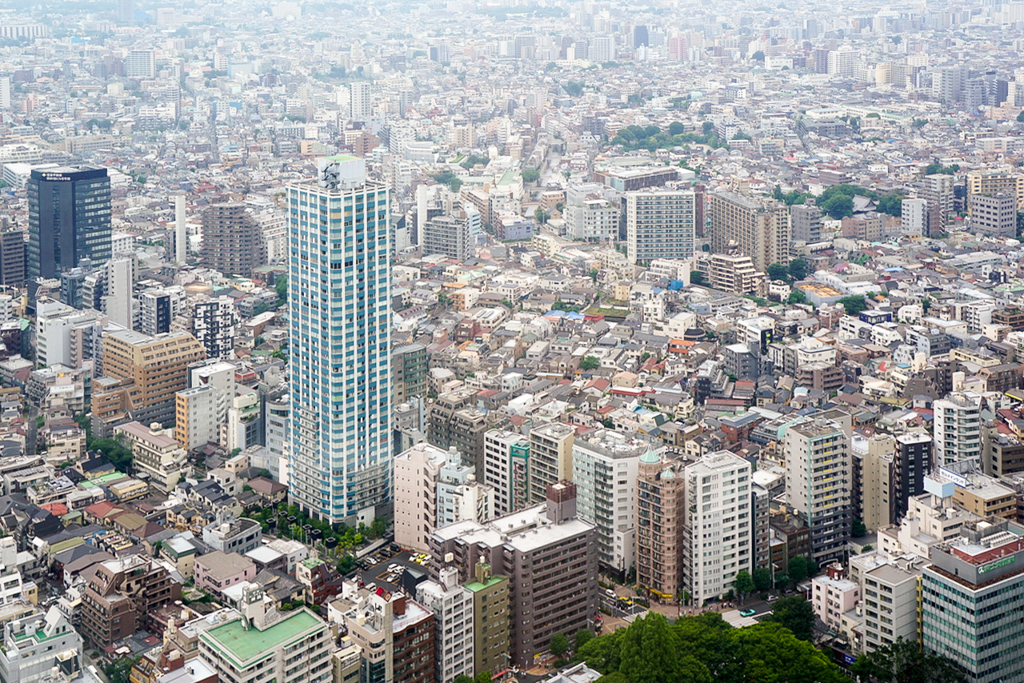
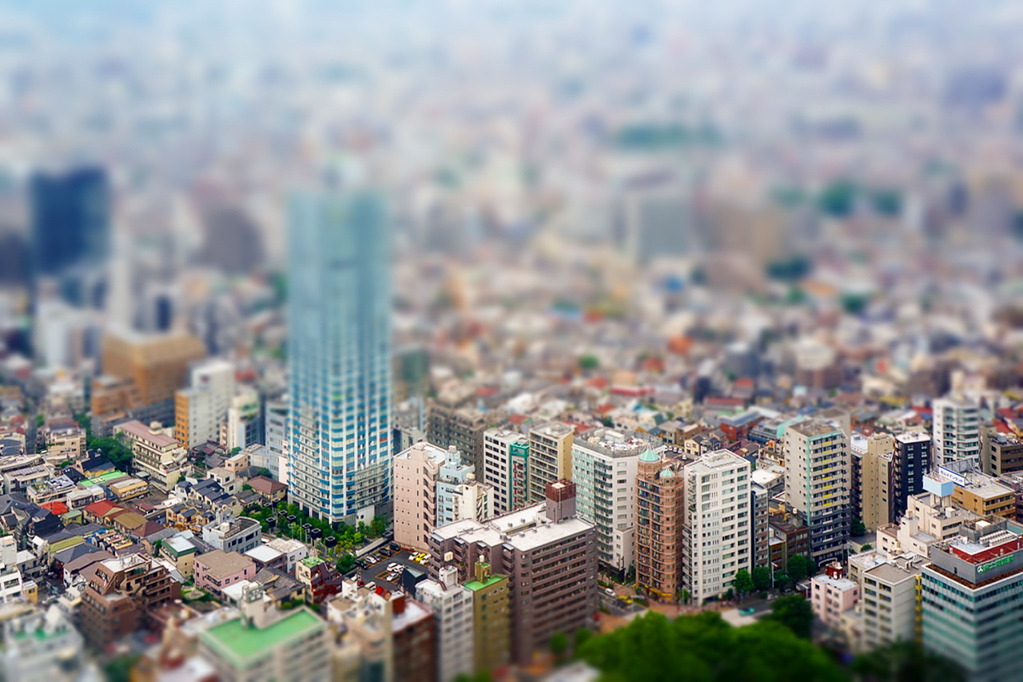
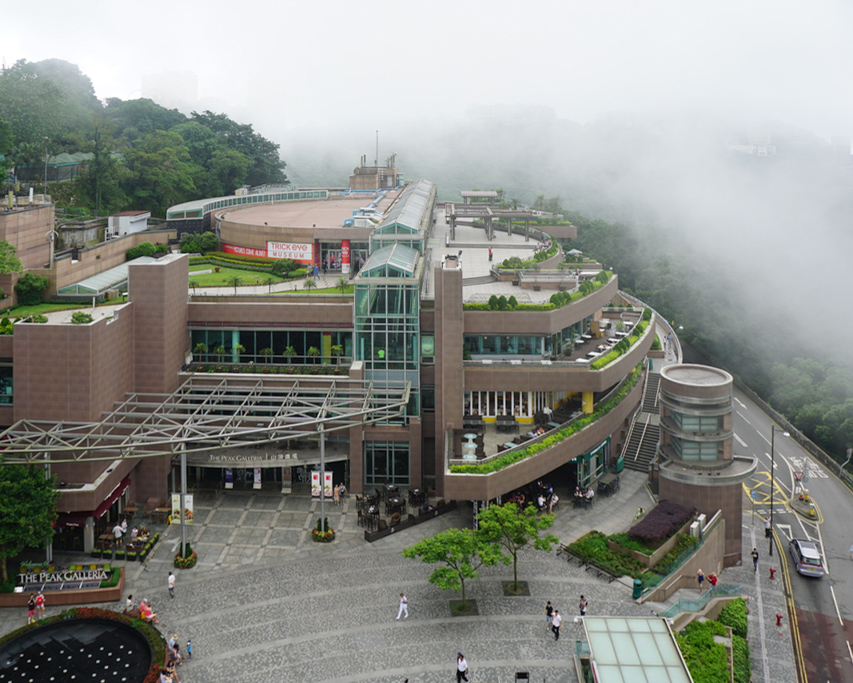
| Original | Miniature |
|---|---|
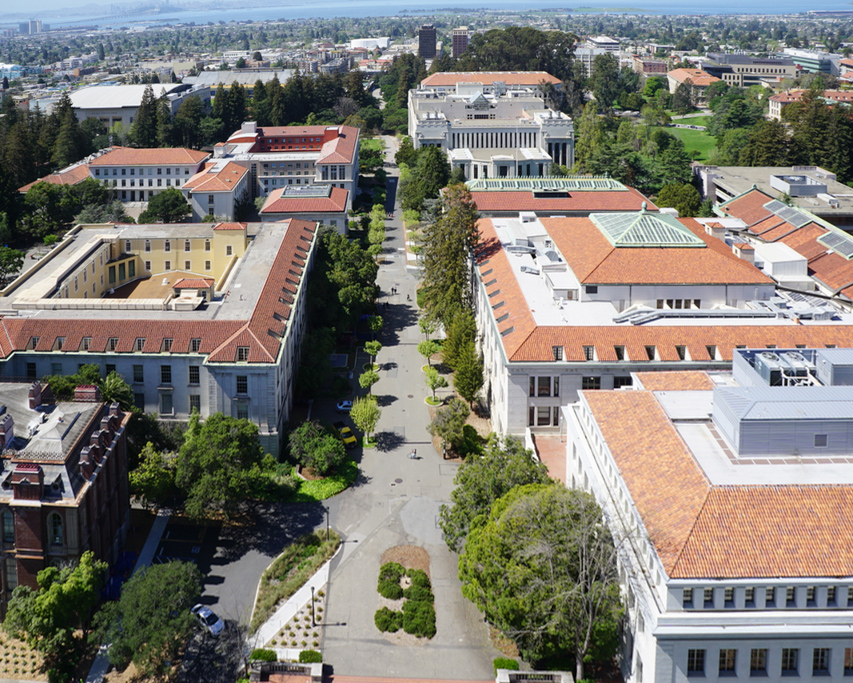 |
 |
 |
 |
 |
 |
 |
 |
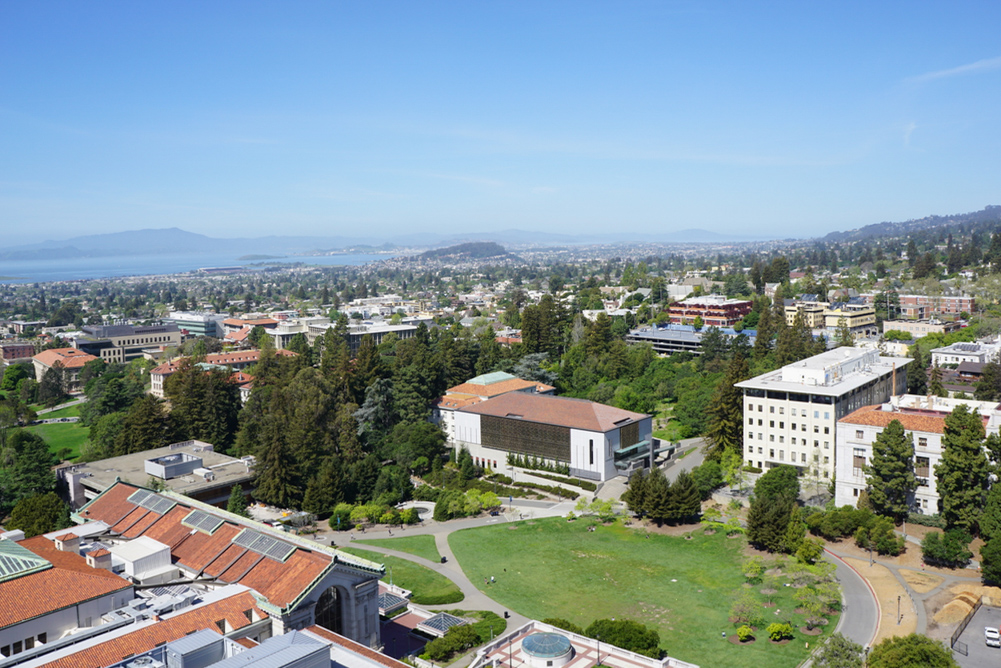
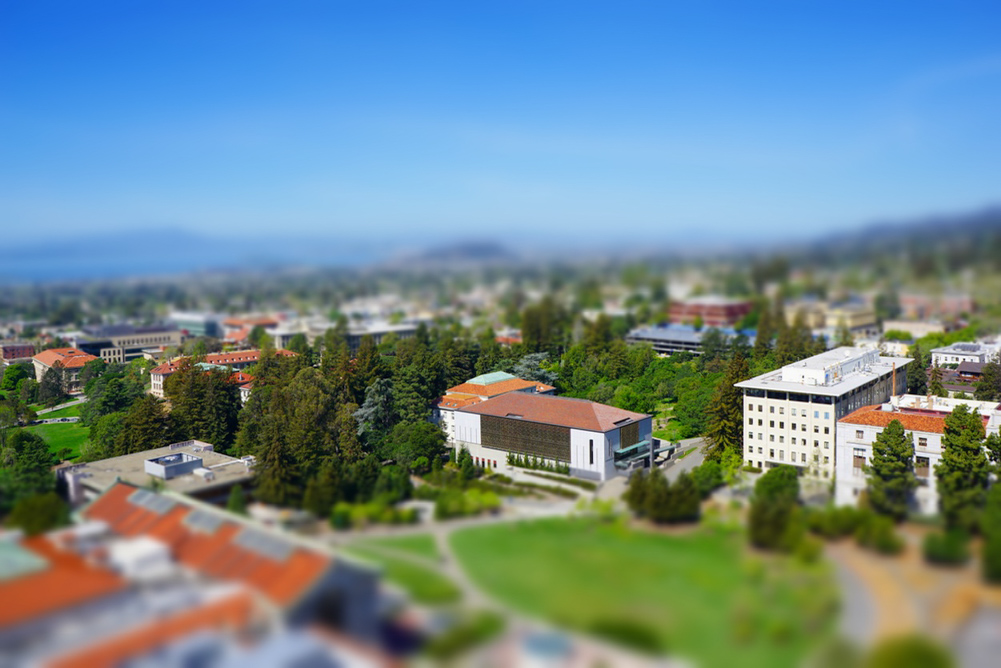
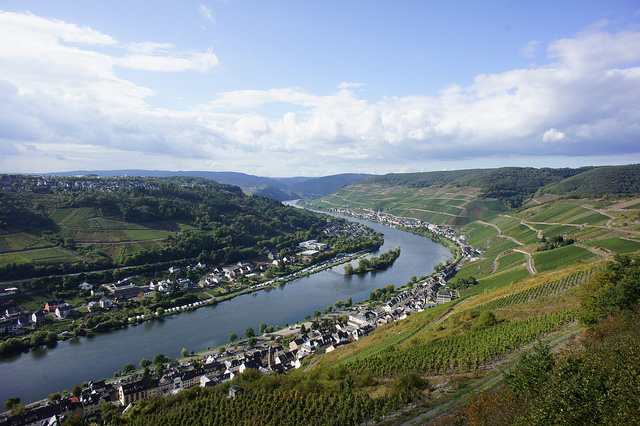
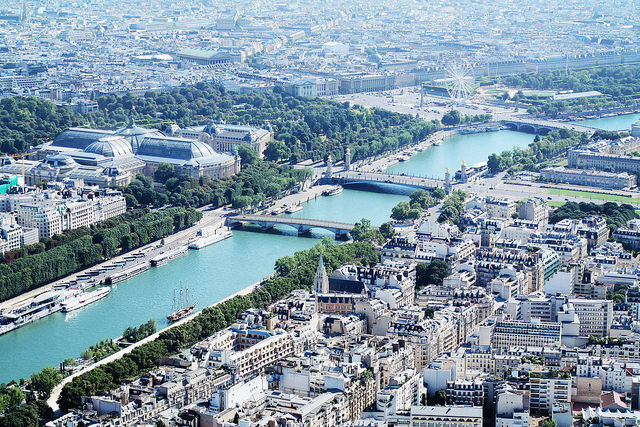
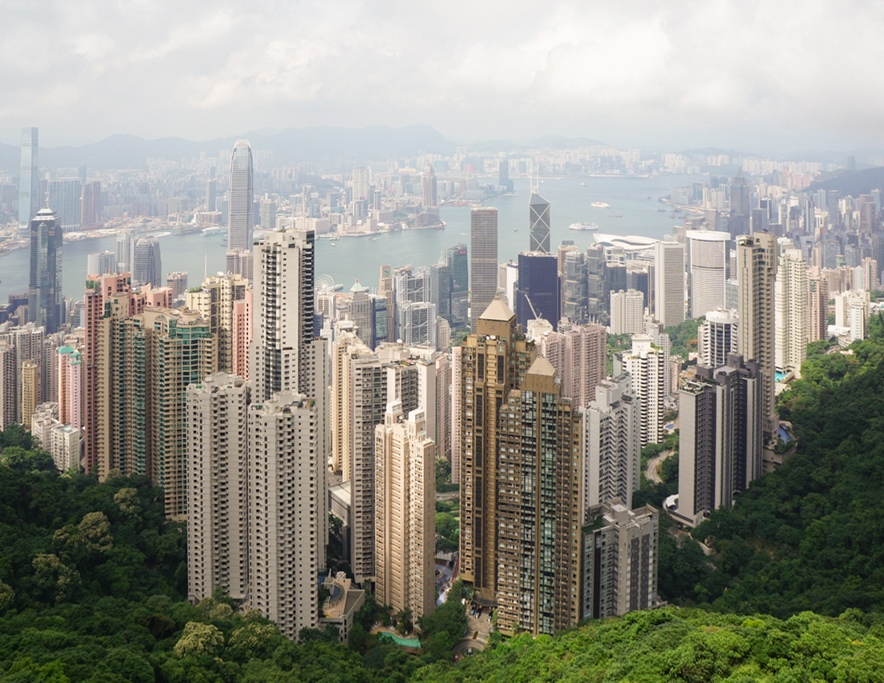
The two images below were sourced from Flickr.
| Original | Miniature |
|---|---|
 |
 |
 |
 |
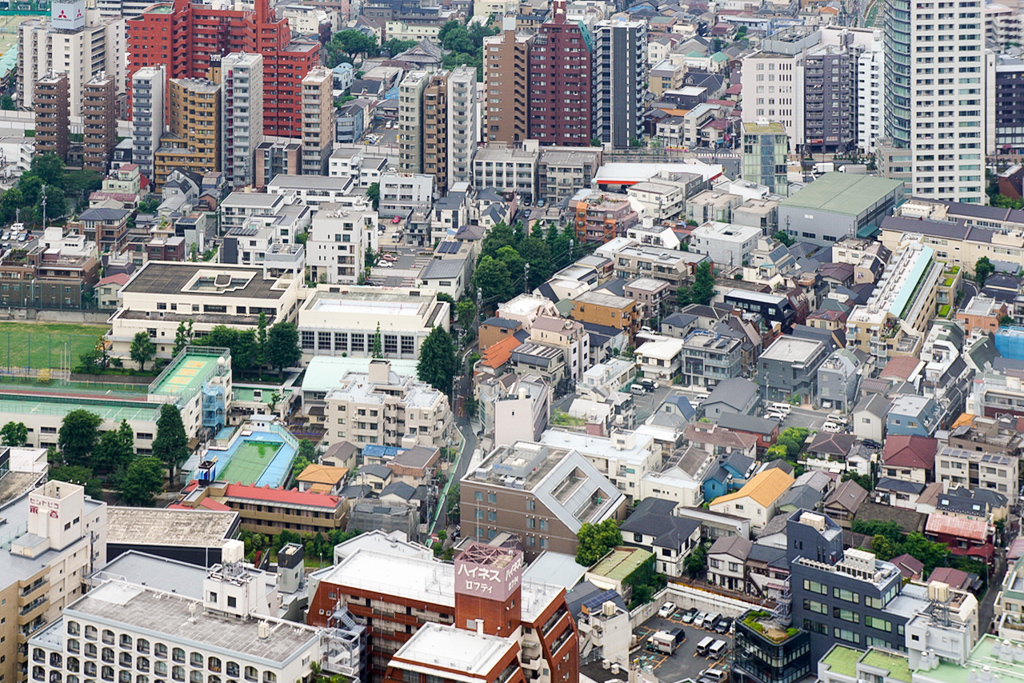
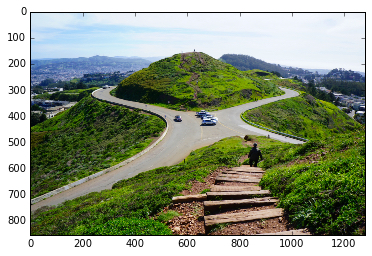
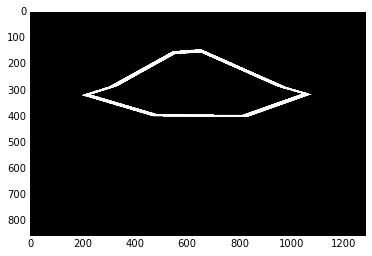
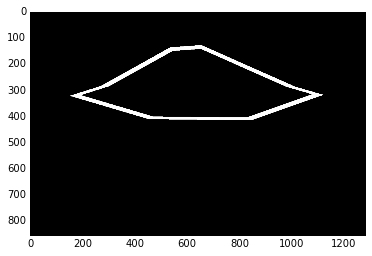
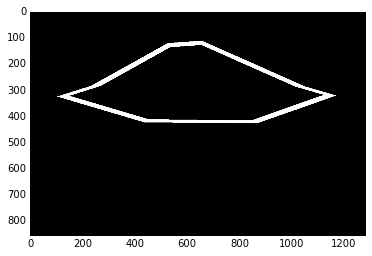
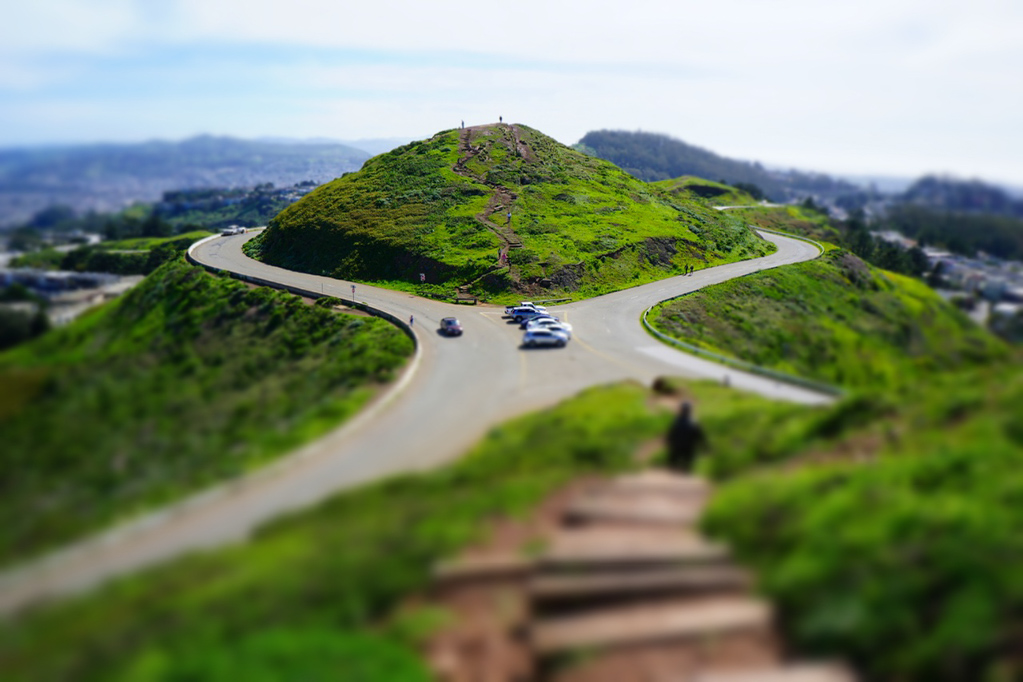
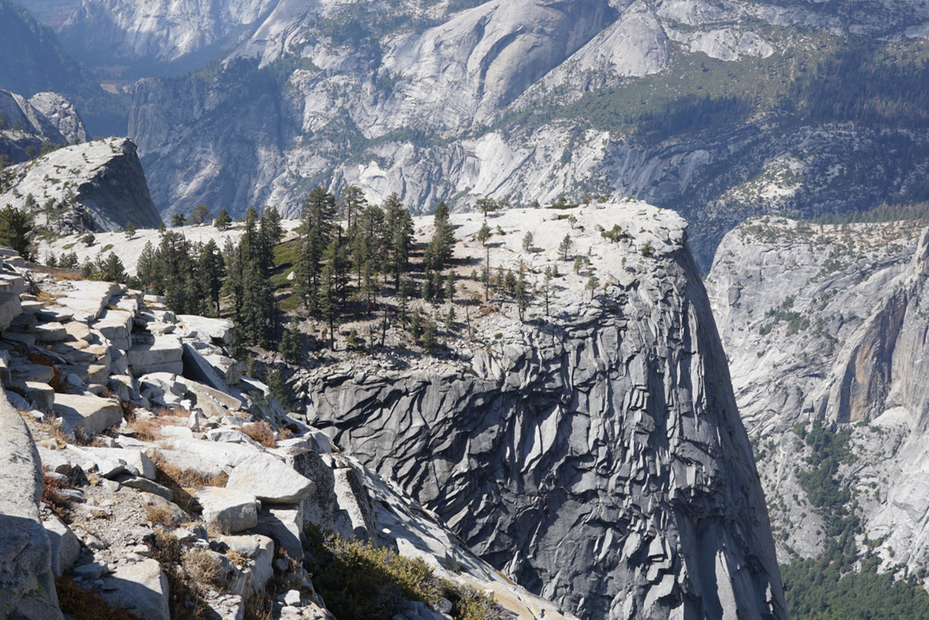
In more complex scenes (i.e. scenes photographed at a lower angle to the ground or containing objects with lots of height variation), simulating the DoF with just a rectangle around the focus line will not suffice.
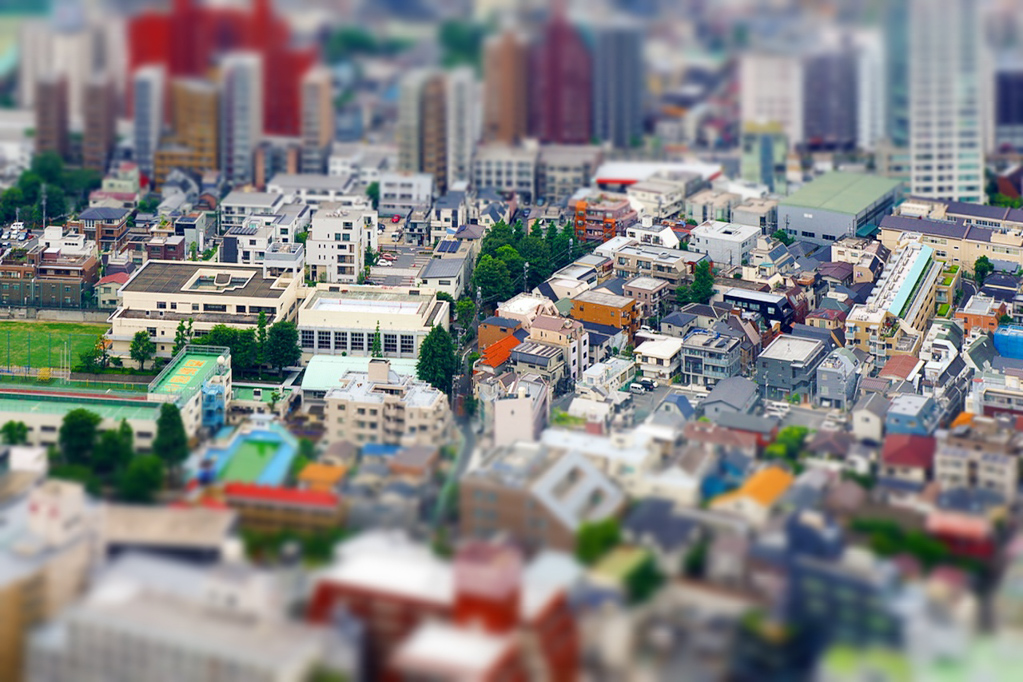
Our program allows the user to select an irregularly-shaped focus plane by selecting points of the polygon. The progressive blurring technique is much the same as the simpler case. We create the onion skin masks seen below by successively scaling the original polygon by a small factor (1.1x, for example) about its centroid.
| Gaussian |  |
 |
 |
 |
 |
 |
 |
 |
 |
 |
 |
 |
 |
 |
 |
 |
 |
|---|---|---|---|---|---|---|---|---|---|---|---|---|---|---|---|---|---|
| Mask | 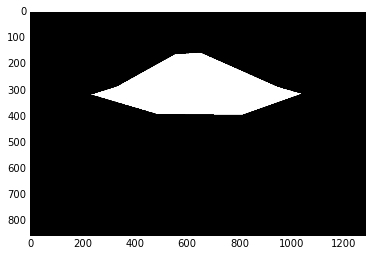 |
 |
 |
 |
 |
 |
 |
 |
 |
 |
 |
 |
 |
 |
 |
 |
 |
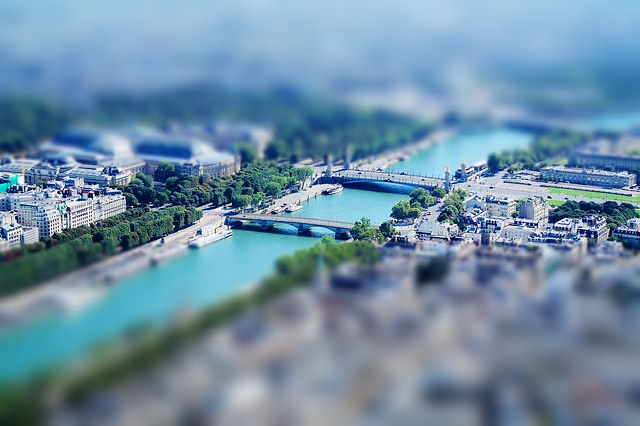
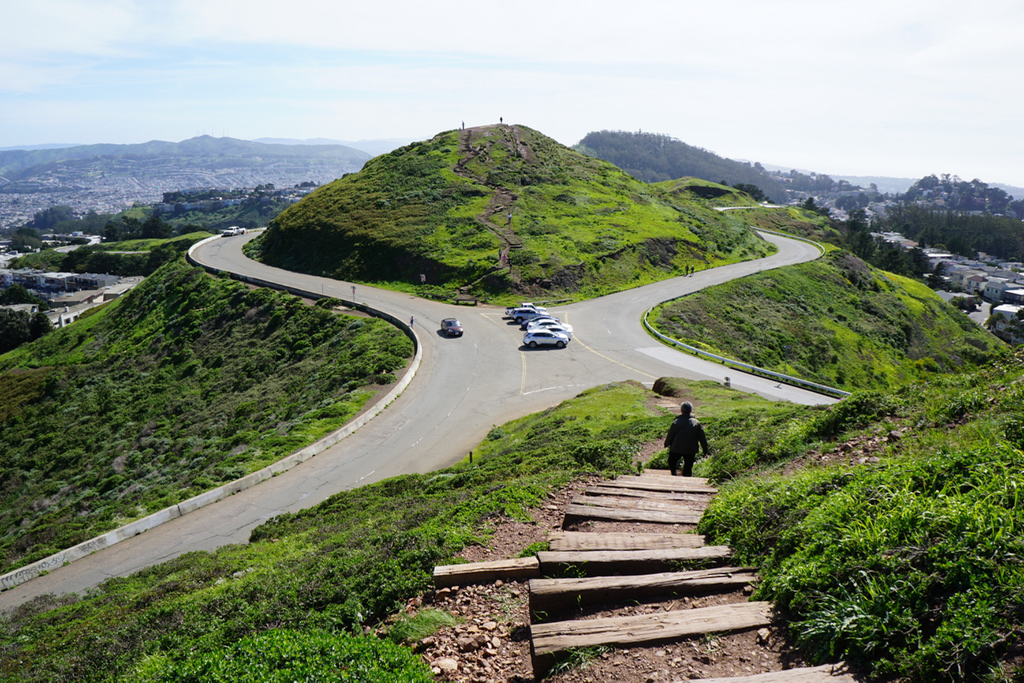
| Original | Miniature |
|---|---|
 |
 |
 |
 |
 |
 |
 |
 |
 |
 |
It's amazing to see how such a simple blurring effect can dramatically reduce the perceived size of the objects in a photograph. Tilt-shift lenses aren't cheap, so it pleases us to see that we can get comparable results (for free!) through digital post-processing.